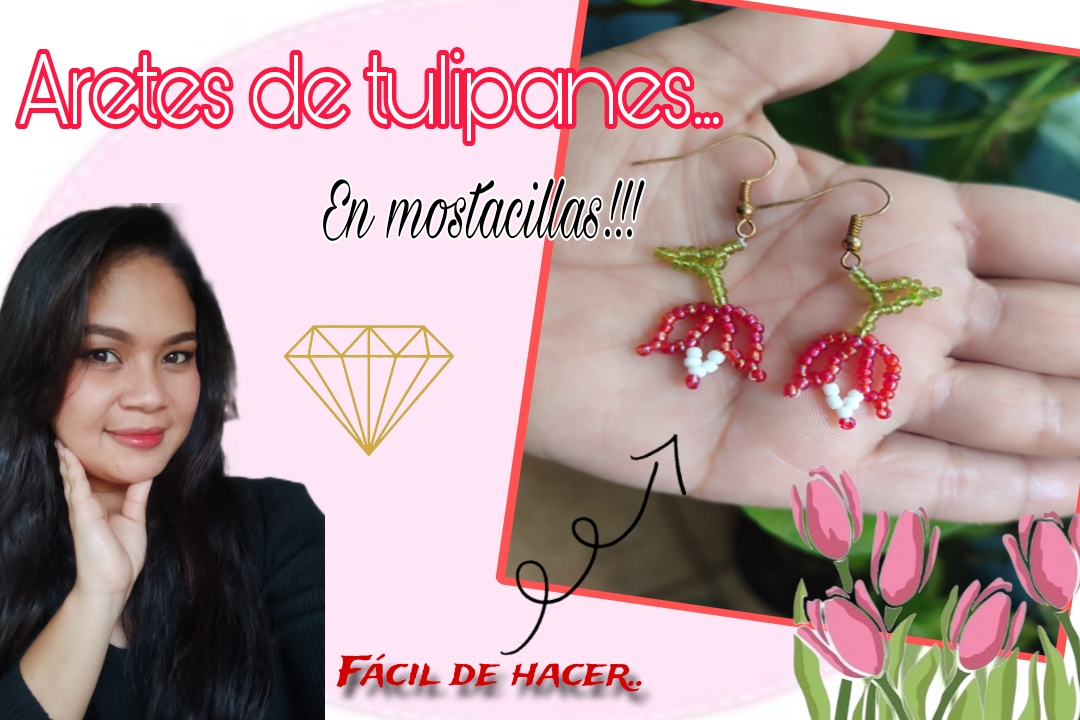
Maravilloso inicio de semana tenga toda la comunidad de #jewelry, espero estos días atrás hayan sido muy alegres llenos de gratos momentos. Siempre me complace saludarles y darles una cálida bienvenida a mi blog, está vez para enseñarles a elaborar unos lindos aretes de tulipanes con mostacillas.
Yo siempre he soñado con tener en mis manos una flor de tulipan, me encantaría sentir su textura y sobre todo, deleitarme con su aroma, a veces lo veo como un sueño inalcanzable, pero lo que sí, no es imposible, es crear mis propios accesorios de esta hermosa y exótica flor, por esto siempre que veo algo que tenga que ver con tulipanes, no dudo en poner en práctica cada paso para crearla, y así, de alguna manera ver plasmado uno de mis deseos. No es un secreto que está flor es preciosa y los diversos colores en que podemos apreciarlas, nos hacen volar la imaginación y facilitan el proceso de transferir su delicada forma en cualquier material, como en este caso lo hacen unos aretes de mostacillas rojas. Si te gustan, ven te invito a ver el paso a paso.
A wonderful start to the week for the entire #jewelry community! I hope these past few days have been very joyful and filled with pleasant moments. I'm always pleased to greet you and give you a warm welcome to my blog, this time to show you how to make some beautiful tulip earrings with beads.I've always dreamed of holding a tulip flower in my hands. I would love to feel its texture and, above all, delight in its aroma. Sometimes I see it as an unattainable dream, but what is certainly not impossible is creating my own accessories with this beautiful and exotic flower. That's why, whenever I see something related to tulips, I don't hesitate to put into practice every step to create it, and thus, in some way, see one of my wishes come true. It's no secret that this flower is beautiful, and the diverse colors we see in it inspire our imaginations and make it easier to transfer its delicate shape to any material,
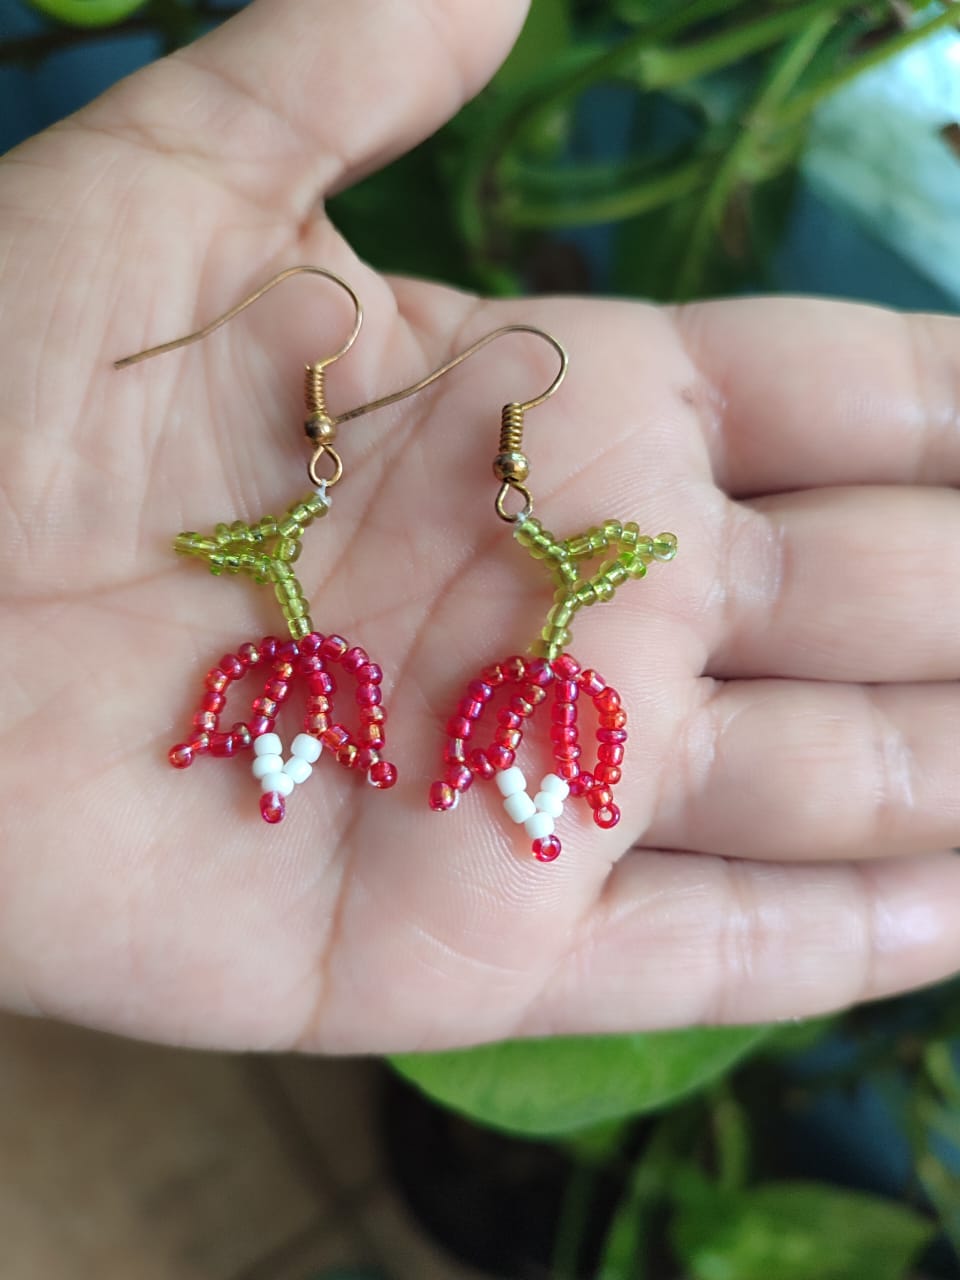
like in this case, these red beaded earrings are made. If you like them, I invite you to see the step-by-step instructions.
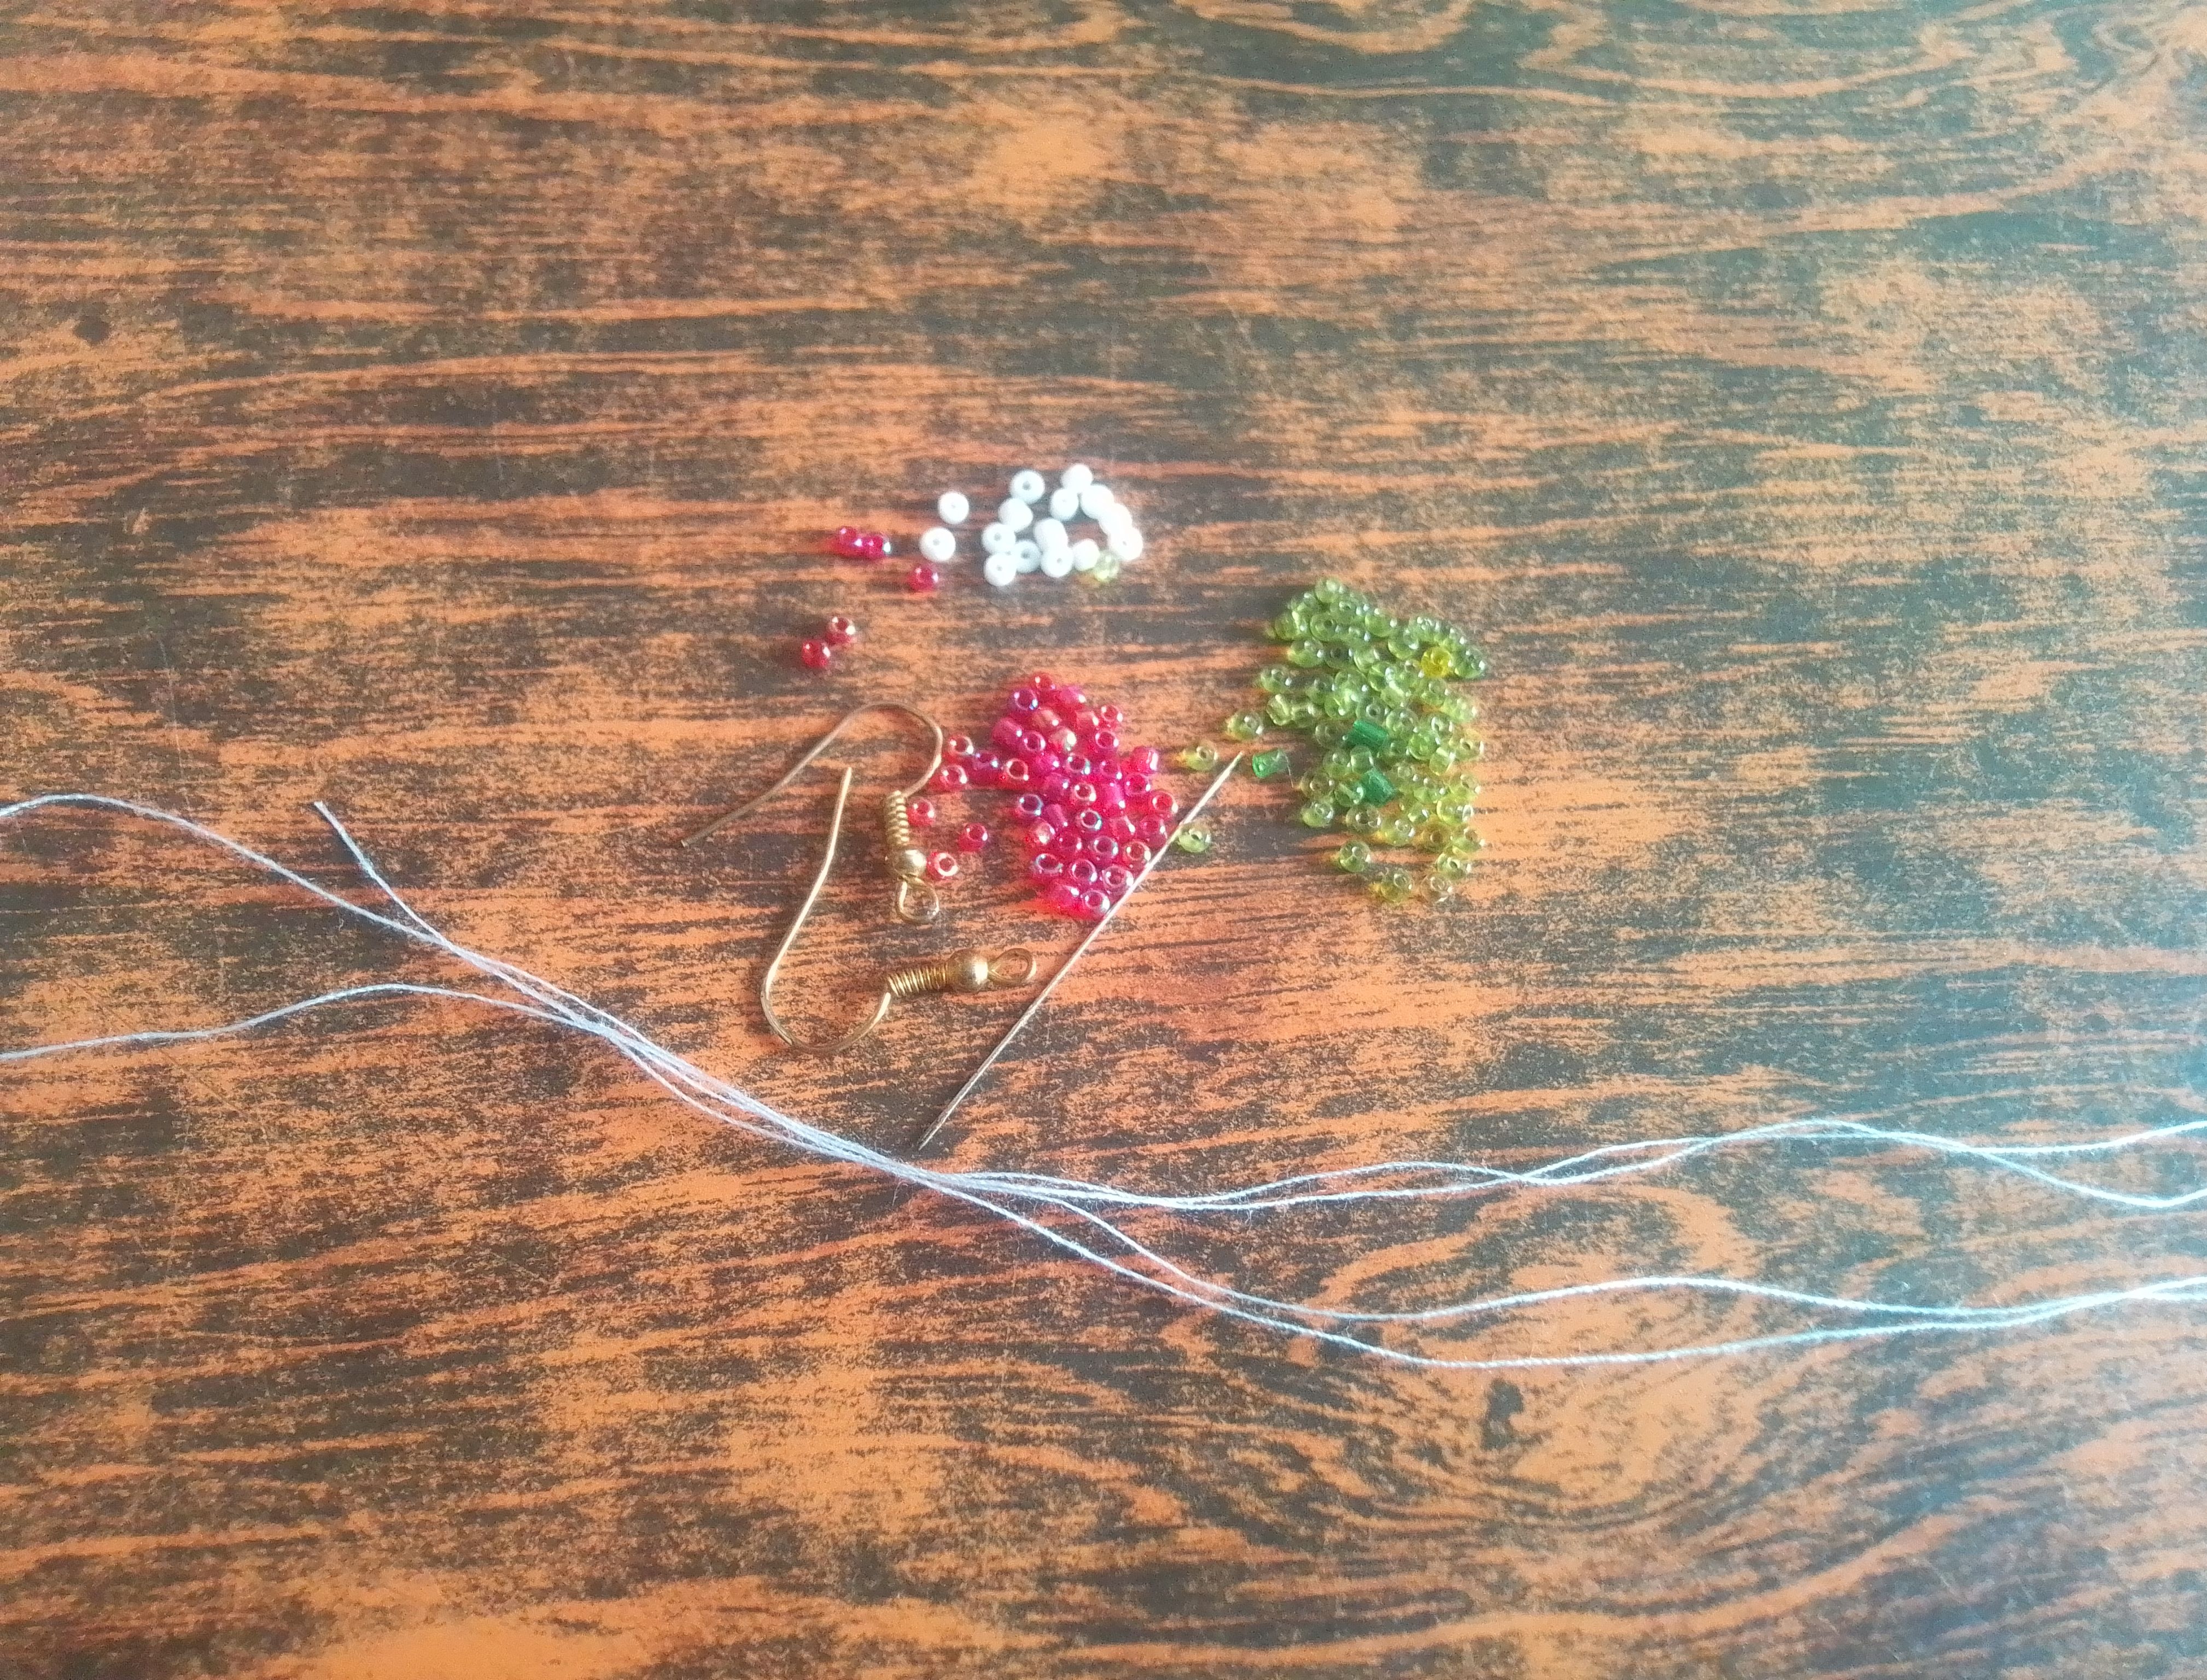
***Materiales que necesitas:***
***Materials you need:***
- Mostacillas rojas, blancas y verdes.
- Hilo nylon.
- Colgantes o sujetadores.
- Aguja de bisutería.
- Tijeras.
- Red, white, and green beads.
- Nylon thread.
- Charms or fasteners.
- Jewelry needle.
- Scissors.
***PROCEDIMIENTO***
Procedure
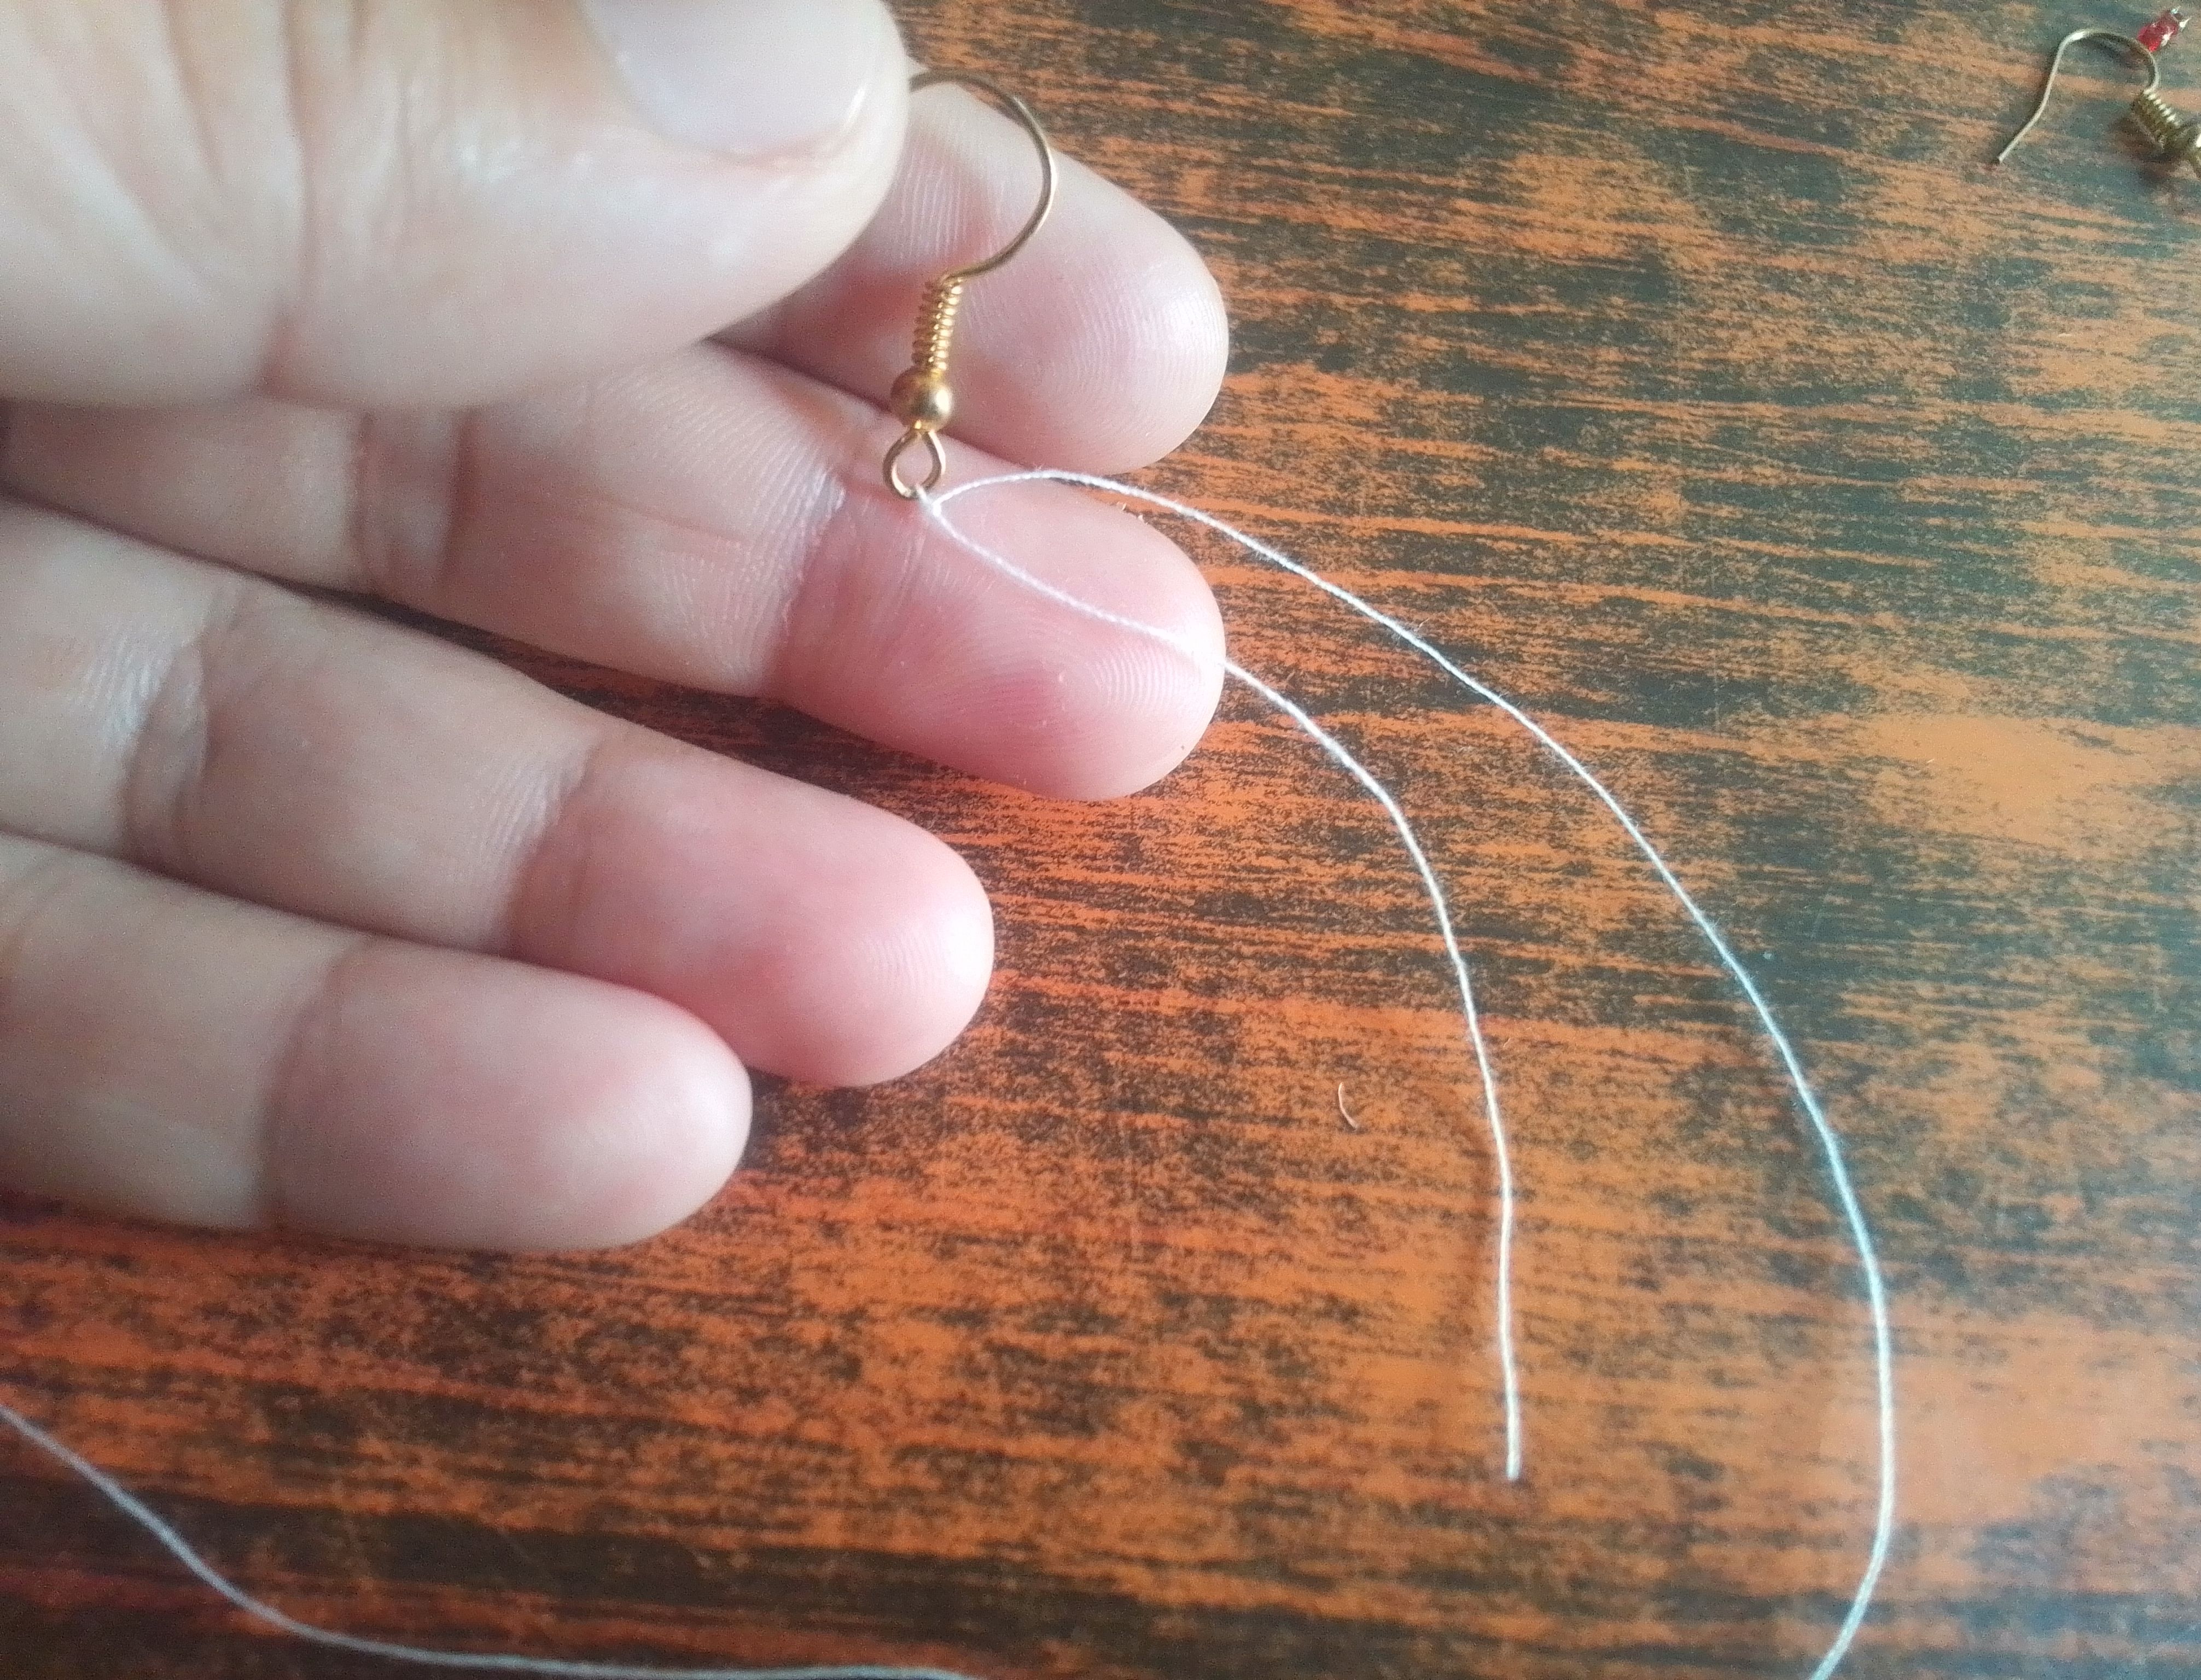
🌟Paso 01
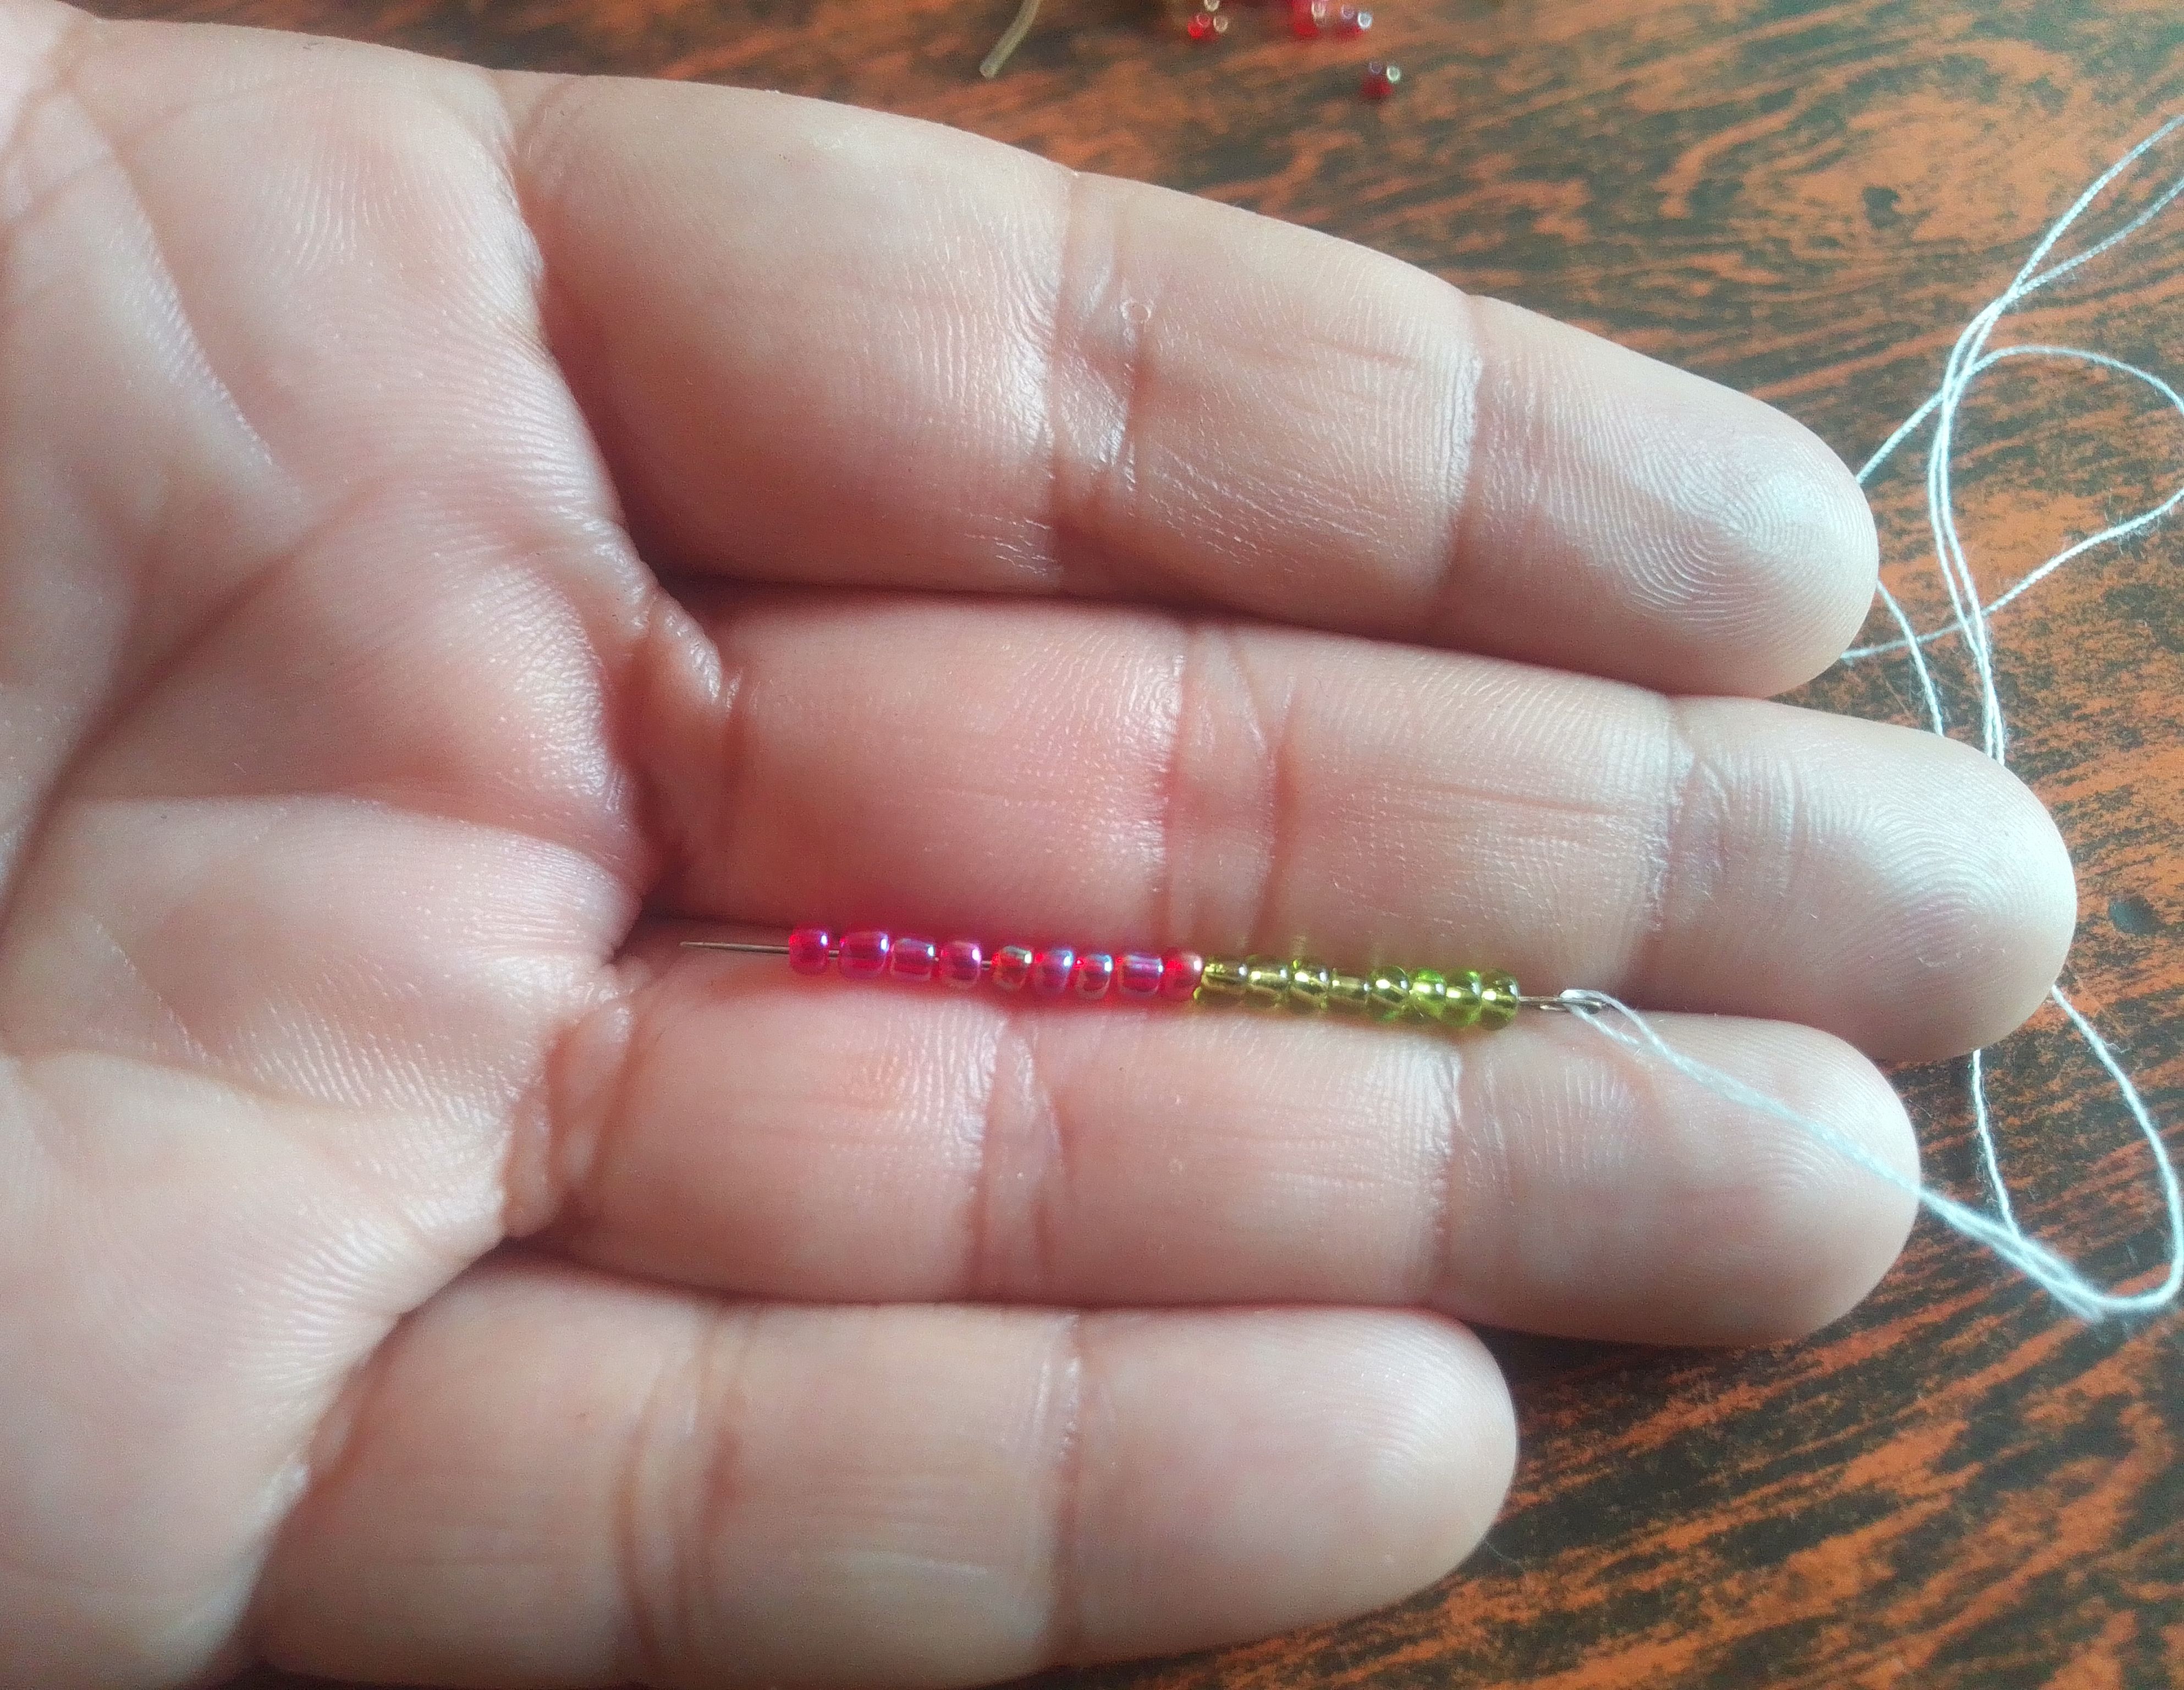
Bien, para comenzar voy a tomar un hebra de hilo de 60cm y la vamos a amarrar a la argolla que nos trae el colgante de gancho, también podemos colocar una argolla adicional si así queremos. Una vez amarrado el hilo, vamos a dejar el hilo que sobra así, pues luego lo utilizaremos más adelante. Del otro extremo insertamos la aguja y agregamos 8 mostacillas verdes y 9 rojas.
🌟Step 01
Okay, to start, I'm going to take a 60cm strand of thread and tie it to the ring that comes with the hook pendant. We can also add an additional ring if we want. Once the thread is tied, we're going to leave the excess thread like this, because we'll use it later. From the other end, we insert the needle and add 8 green and 9 red beads.
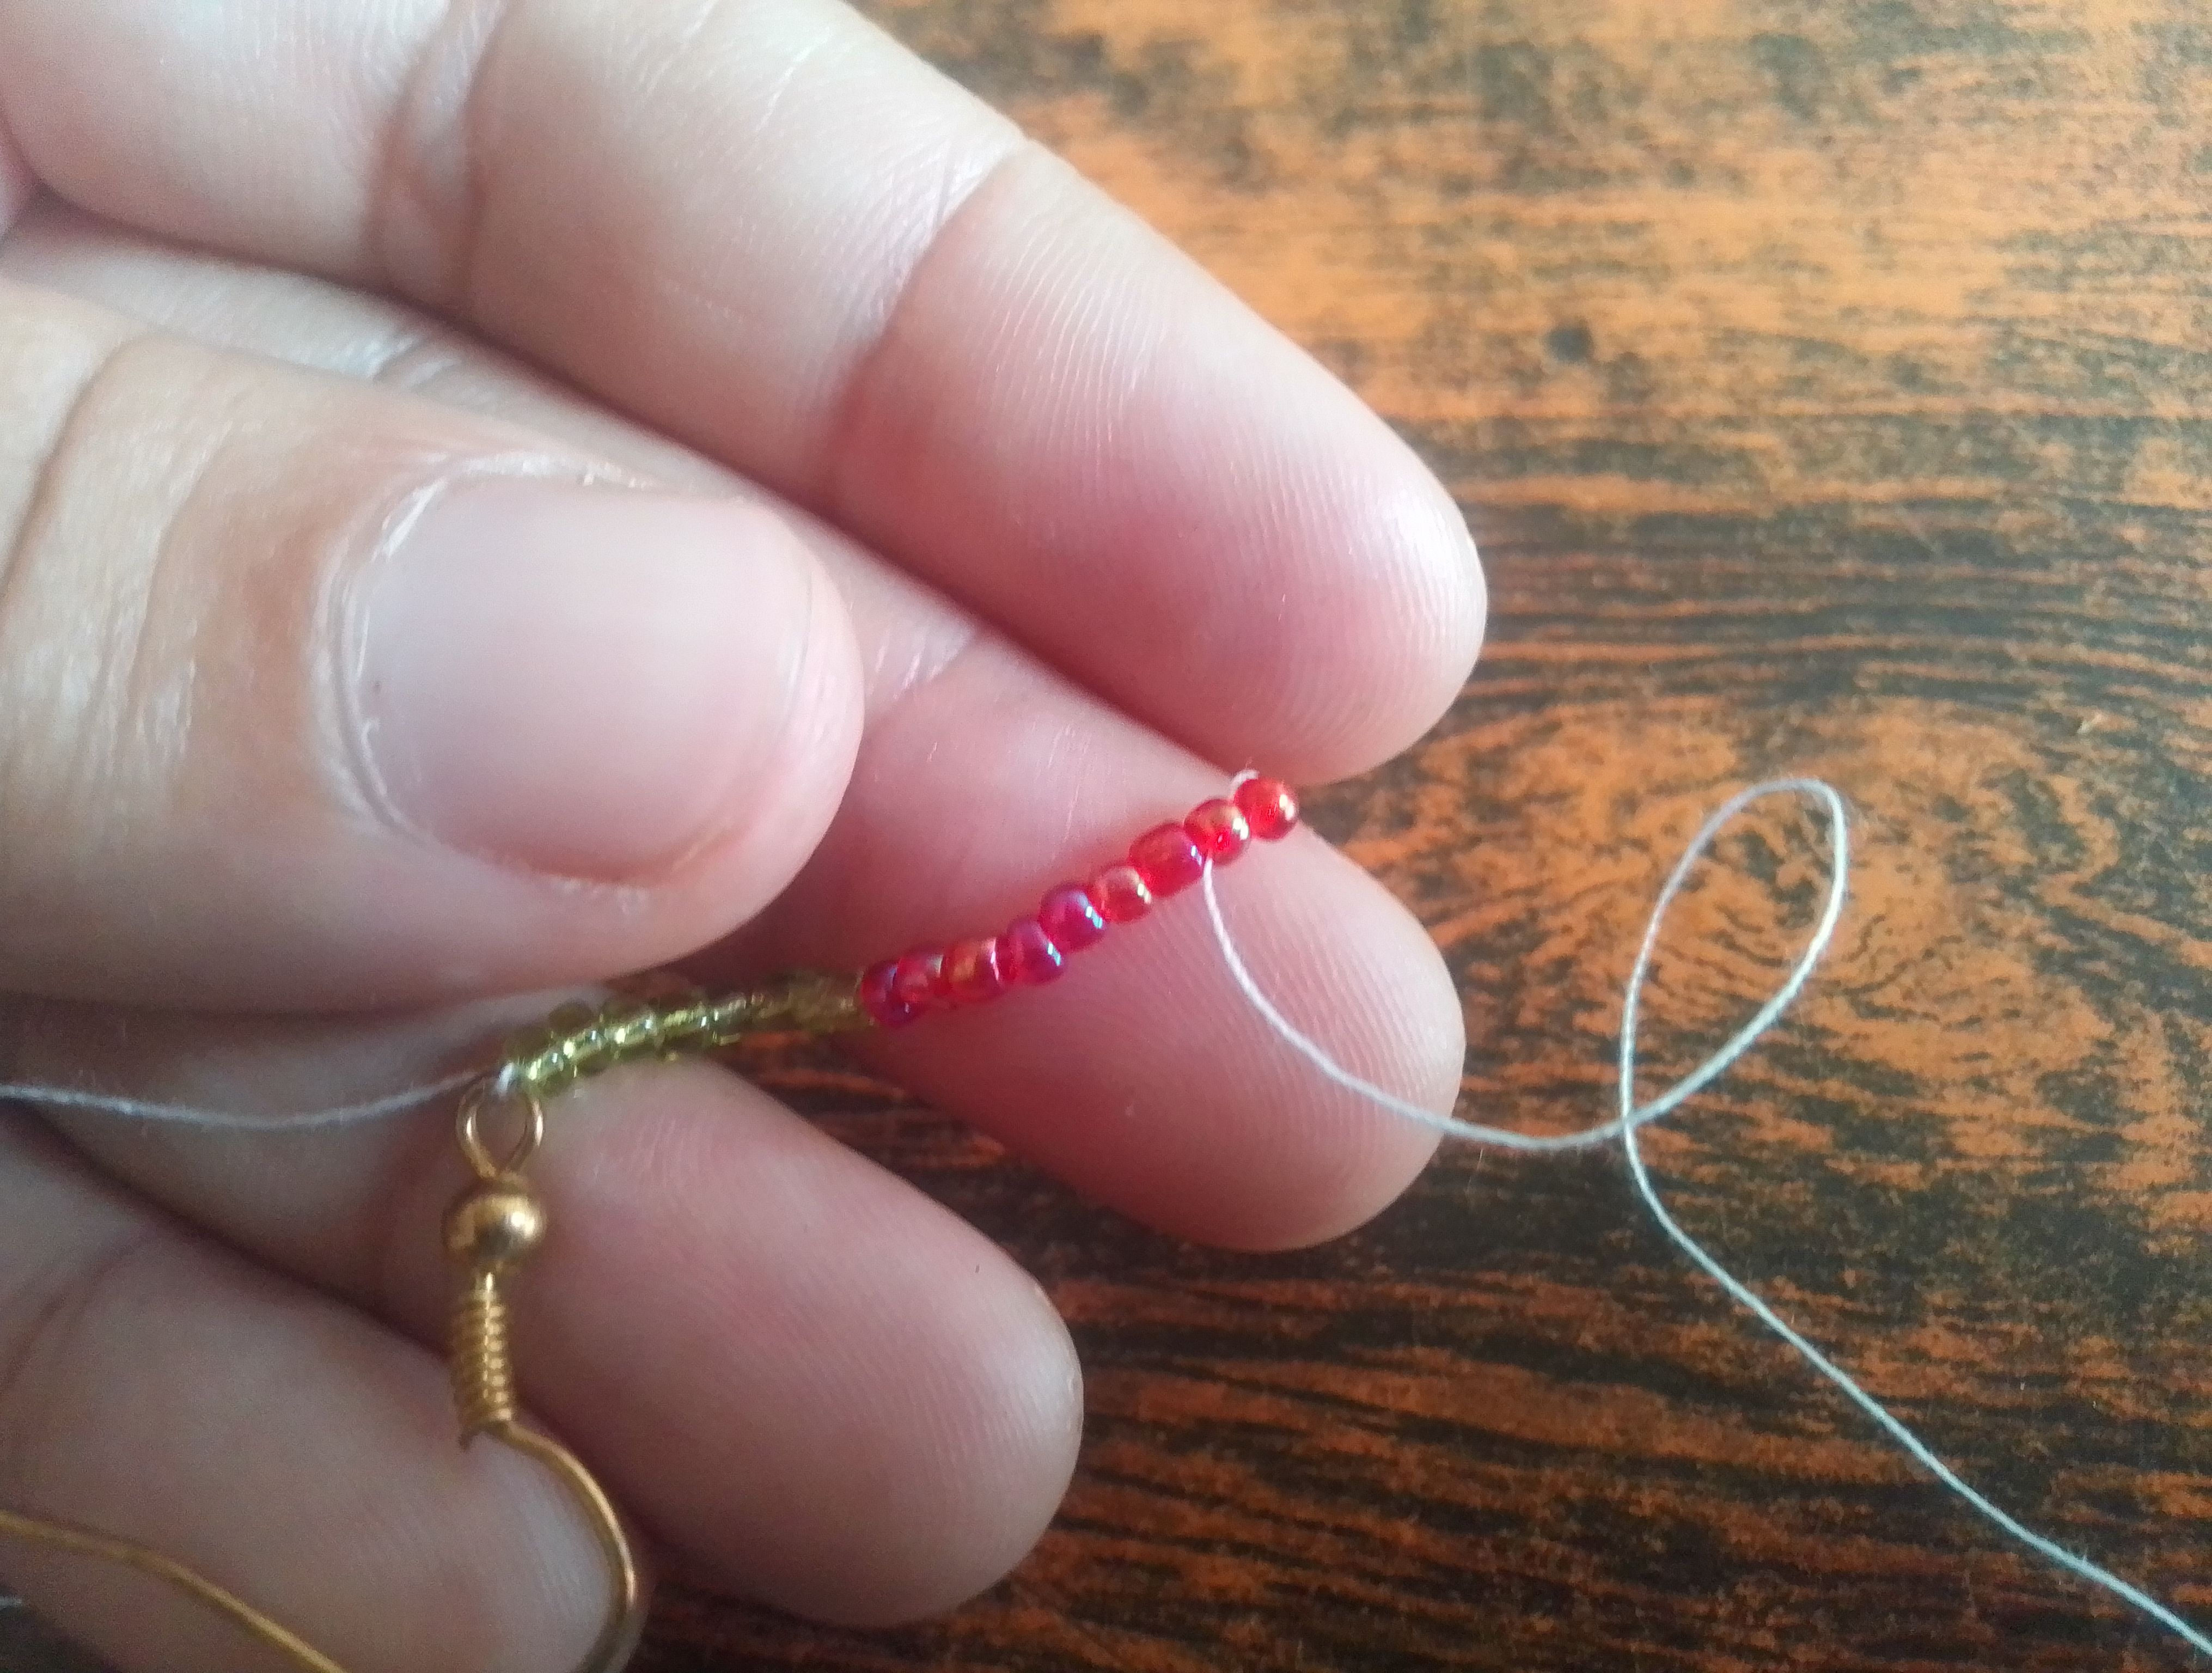
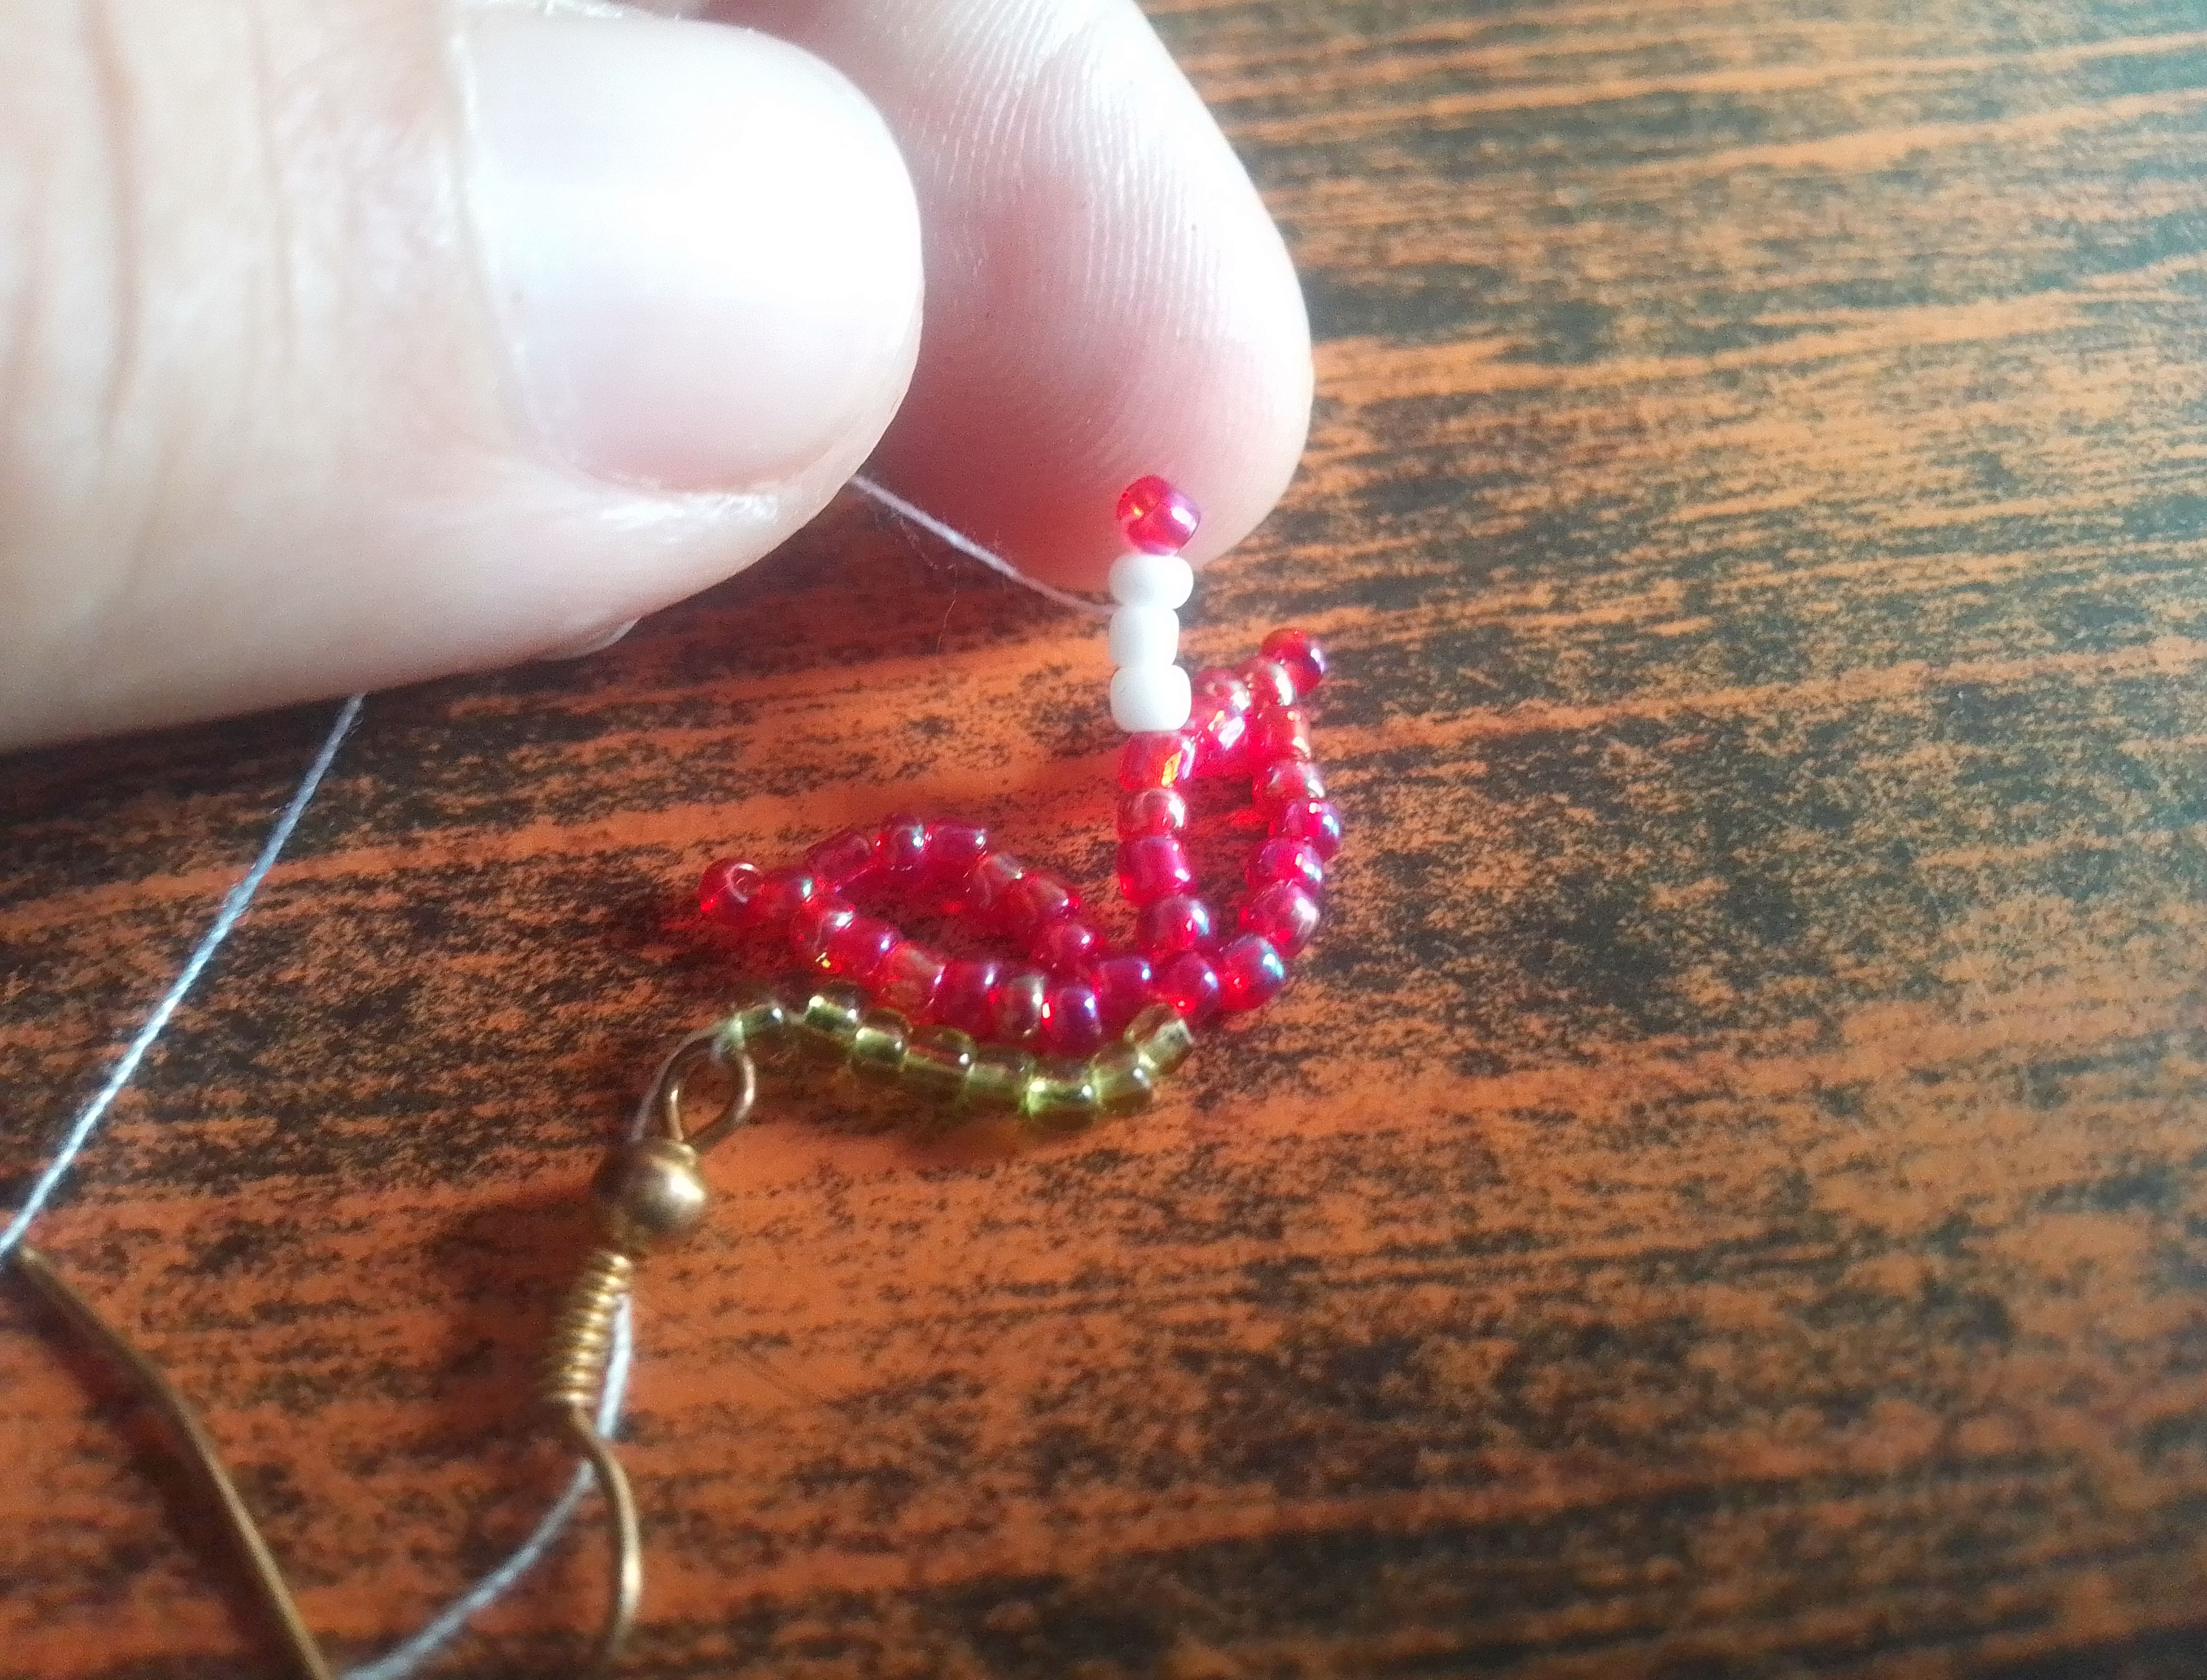
🌟Paso 02
Ahora voy a subir una mostacilla roja y voy pasar la aguja por la siguiente para formar una punta. Voy a continuar insertando 6 mostacillas rojas más y psamos la aguja por el centro de la primera mostacilla roja.
🌟Step 02
Now I'm going to pull up a red bead and pass the needle through the next one to form a point. I'm going to continue inserting 6 more red beads and pass the needle through the center of the first red bead.
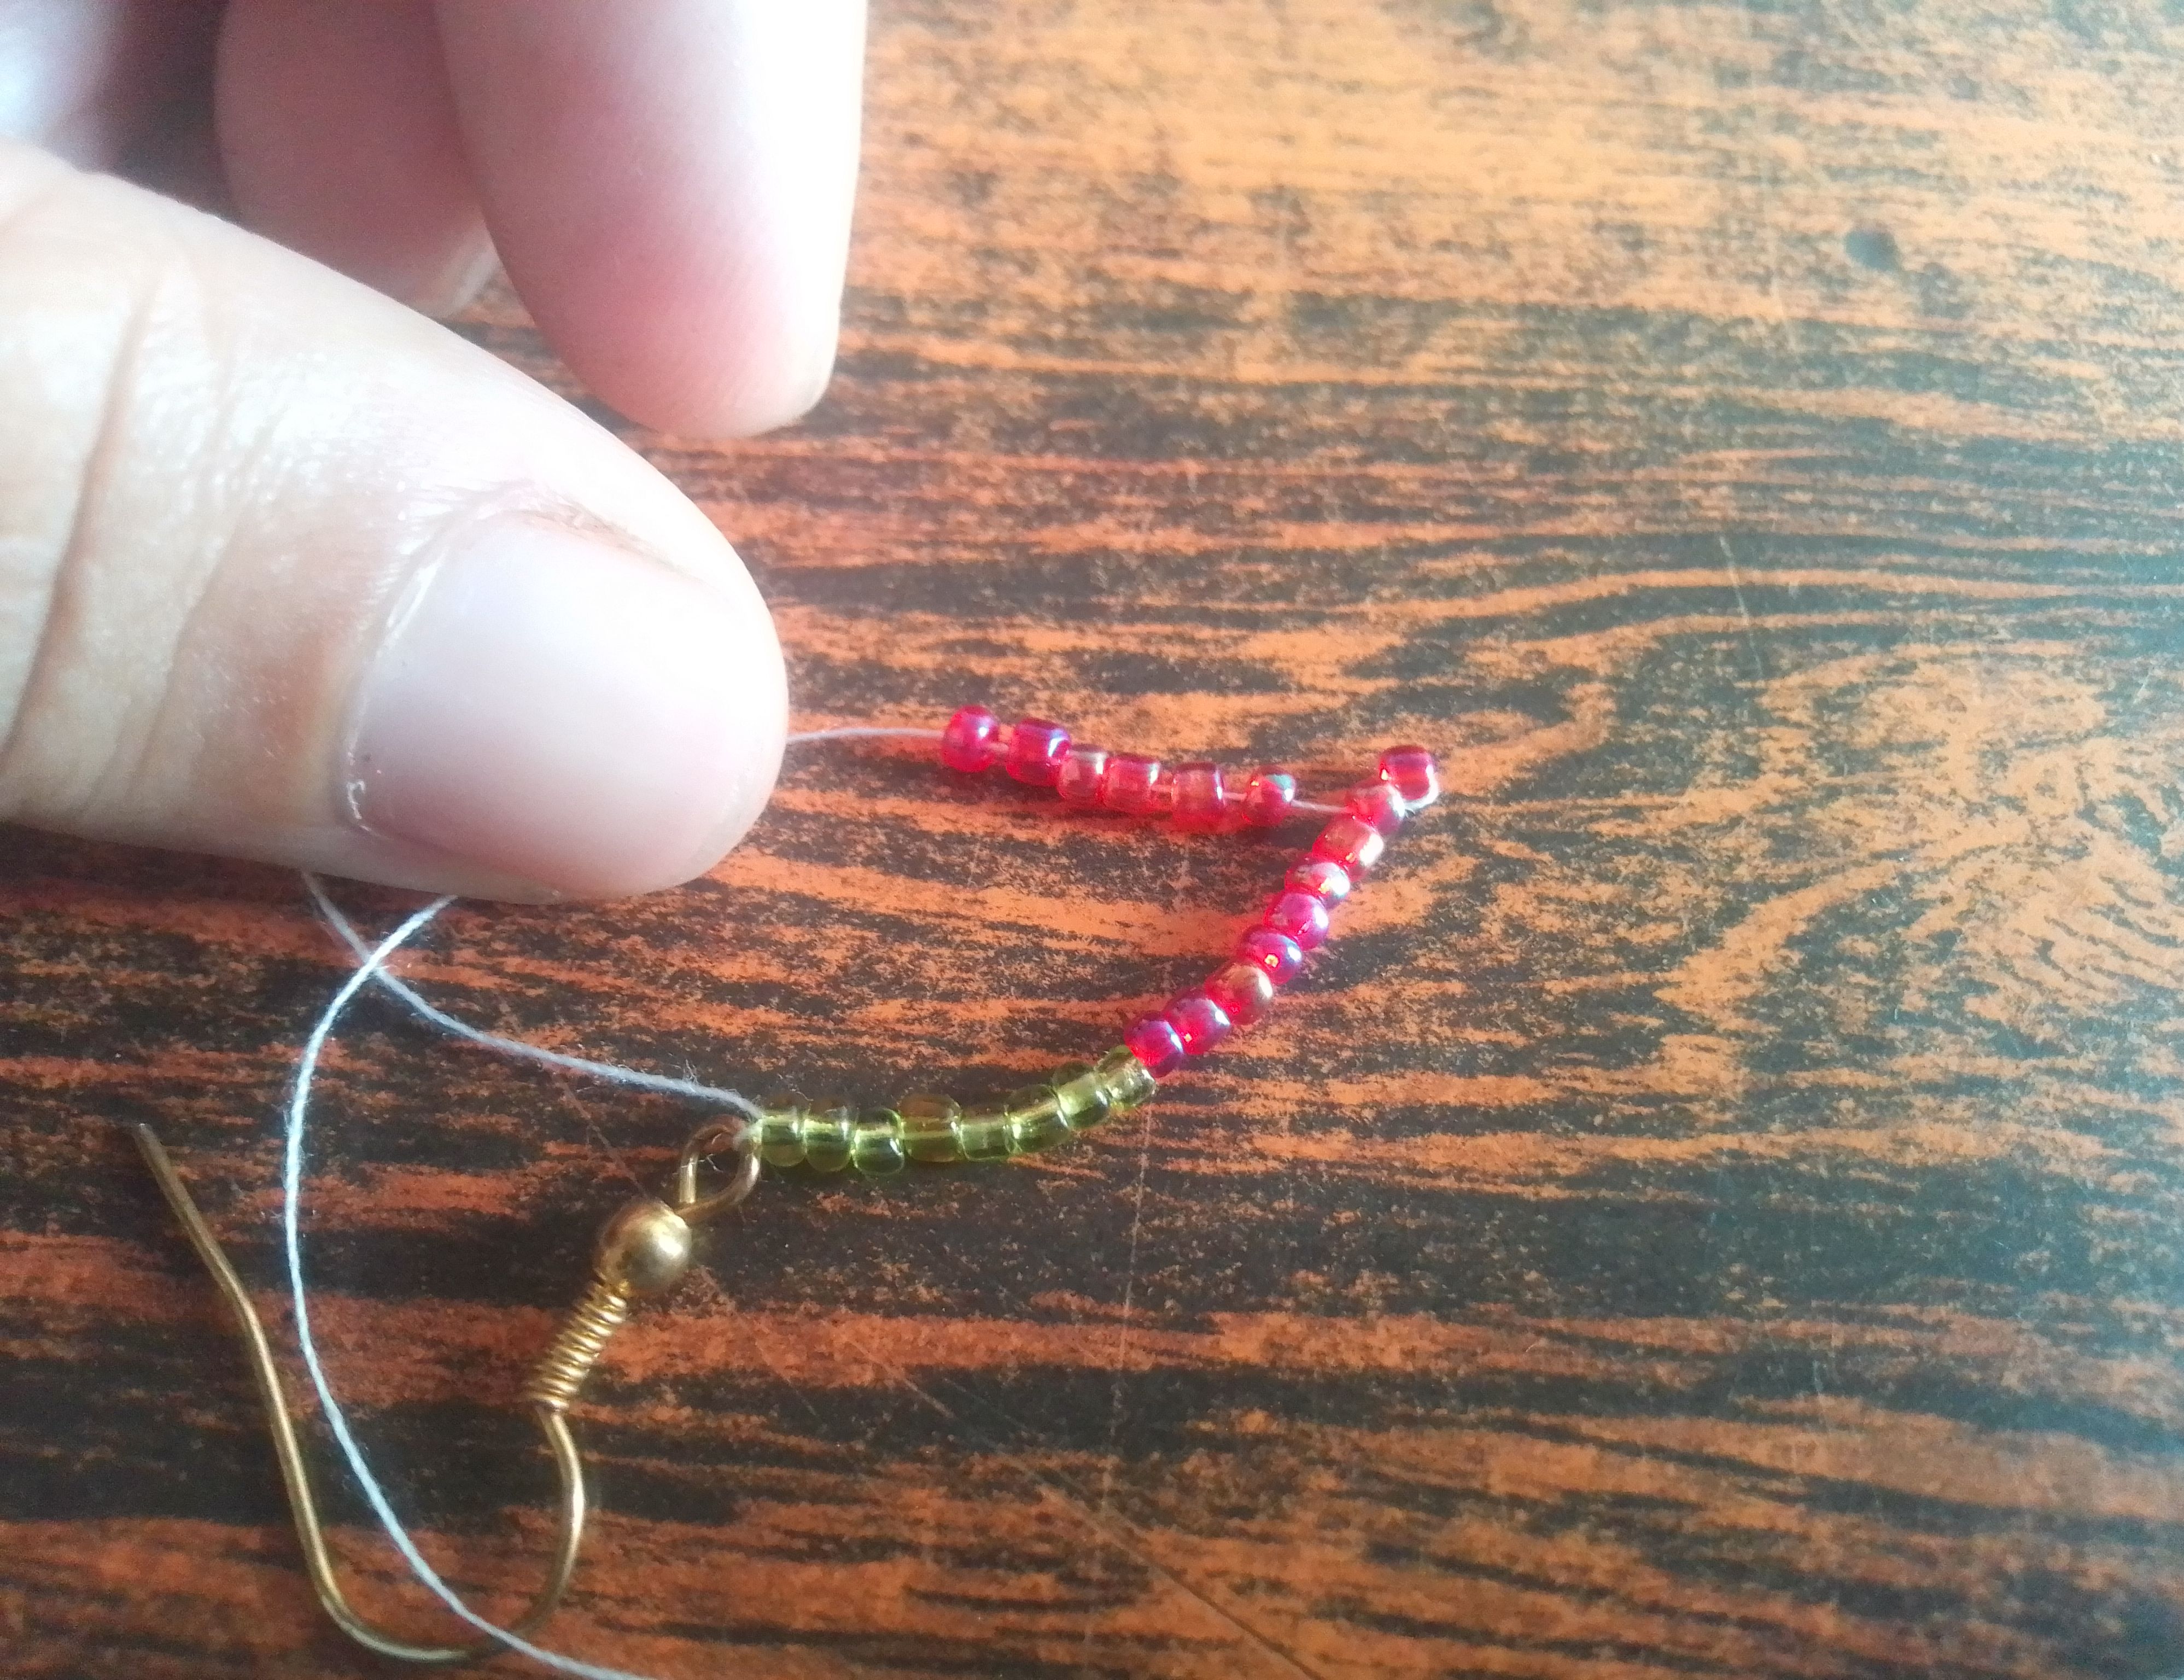
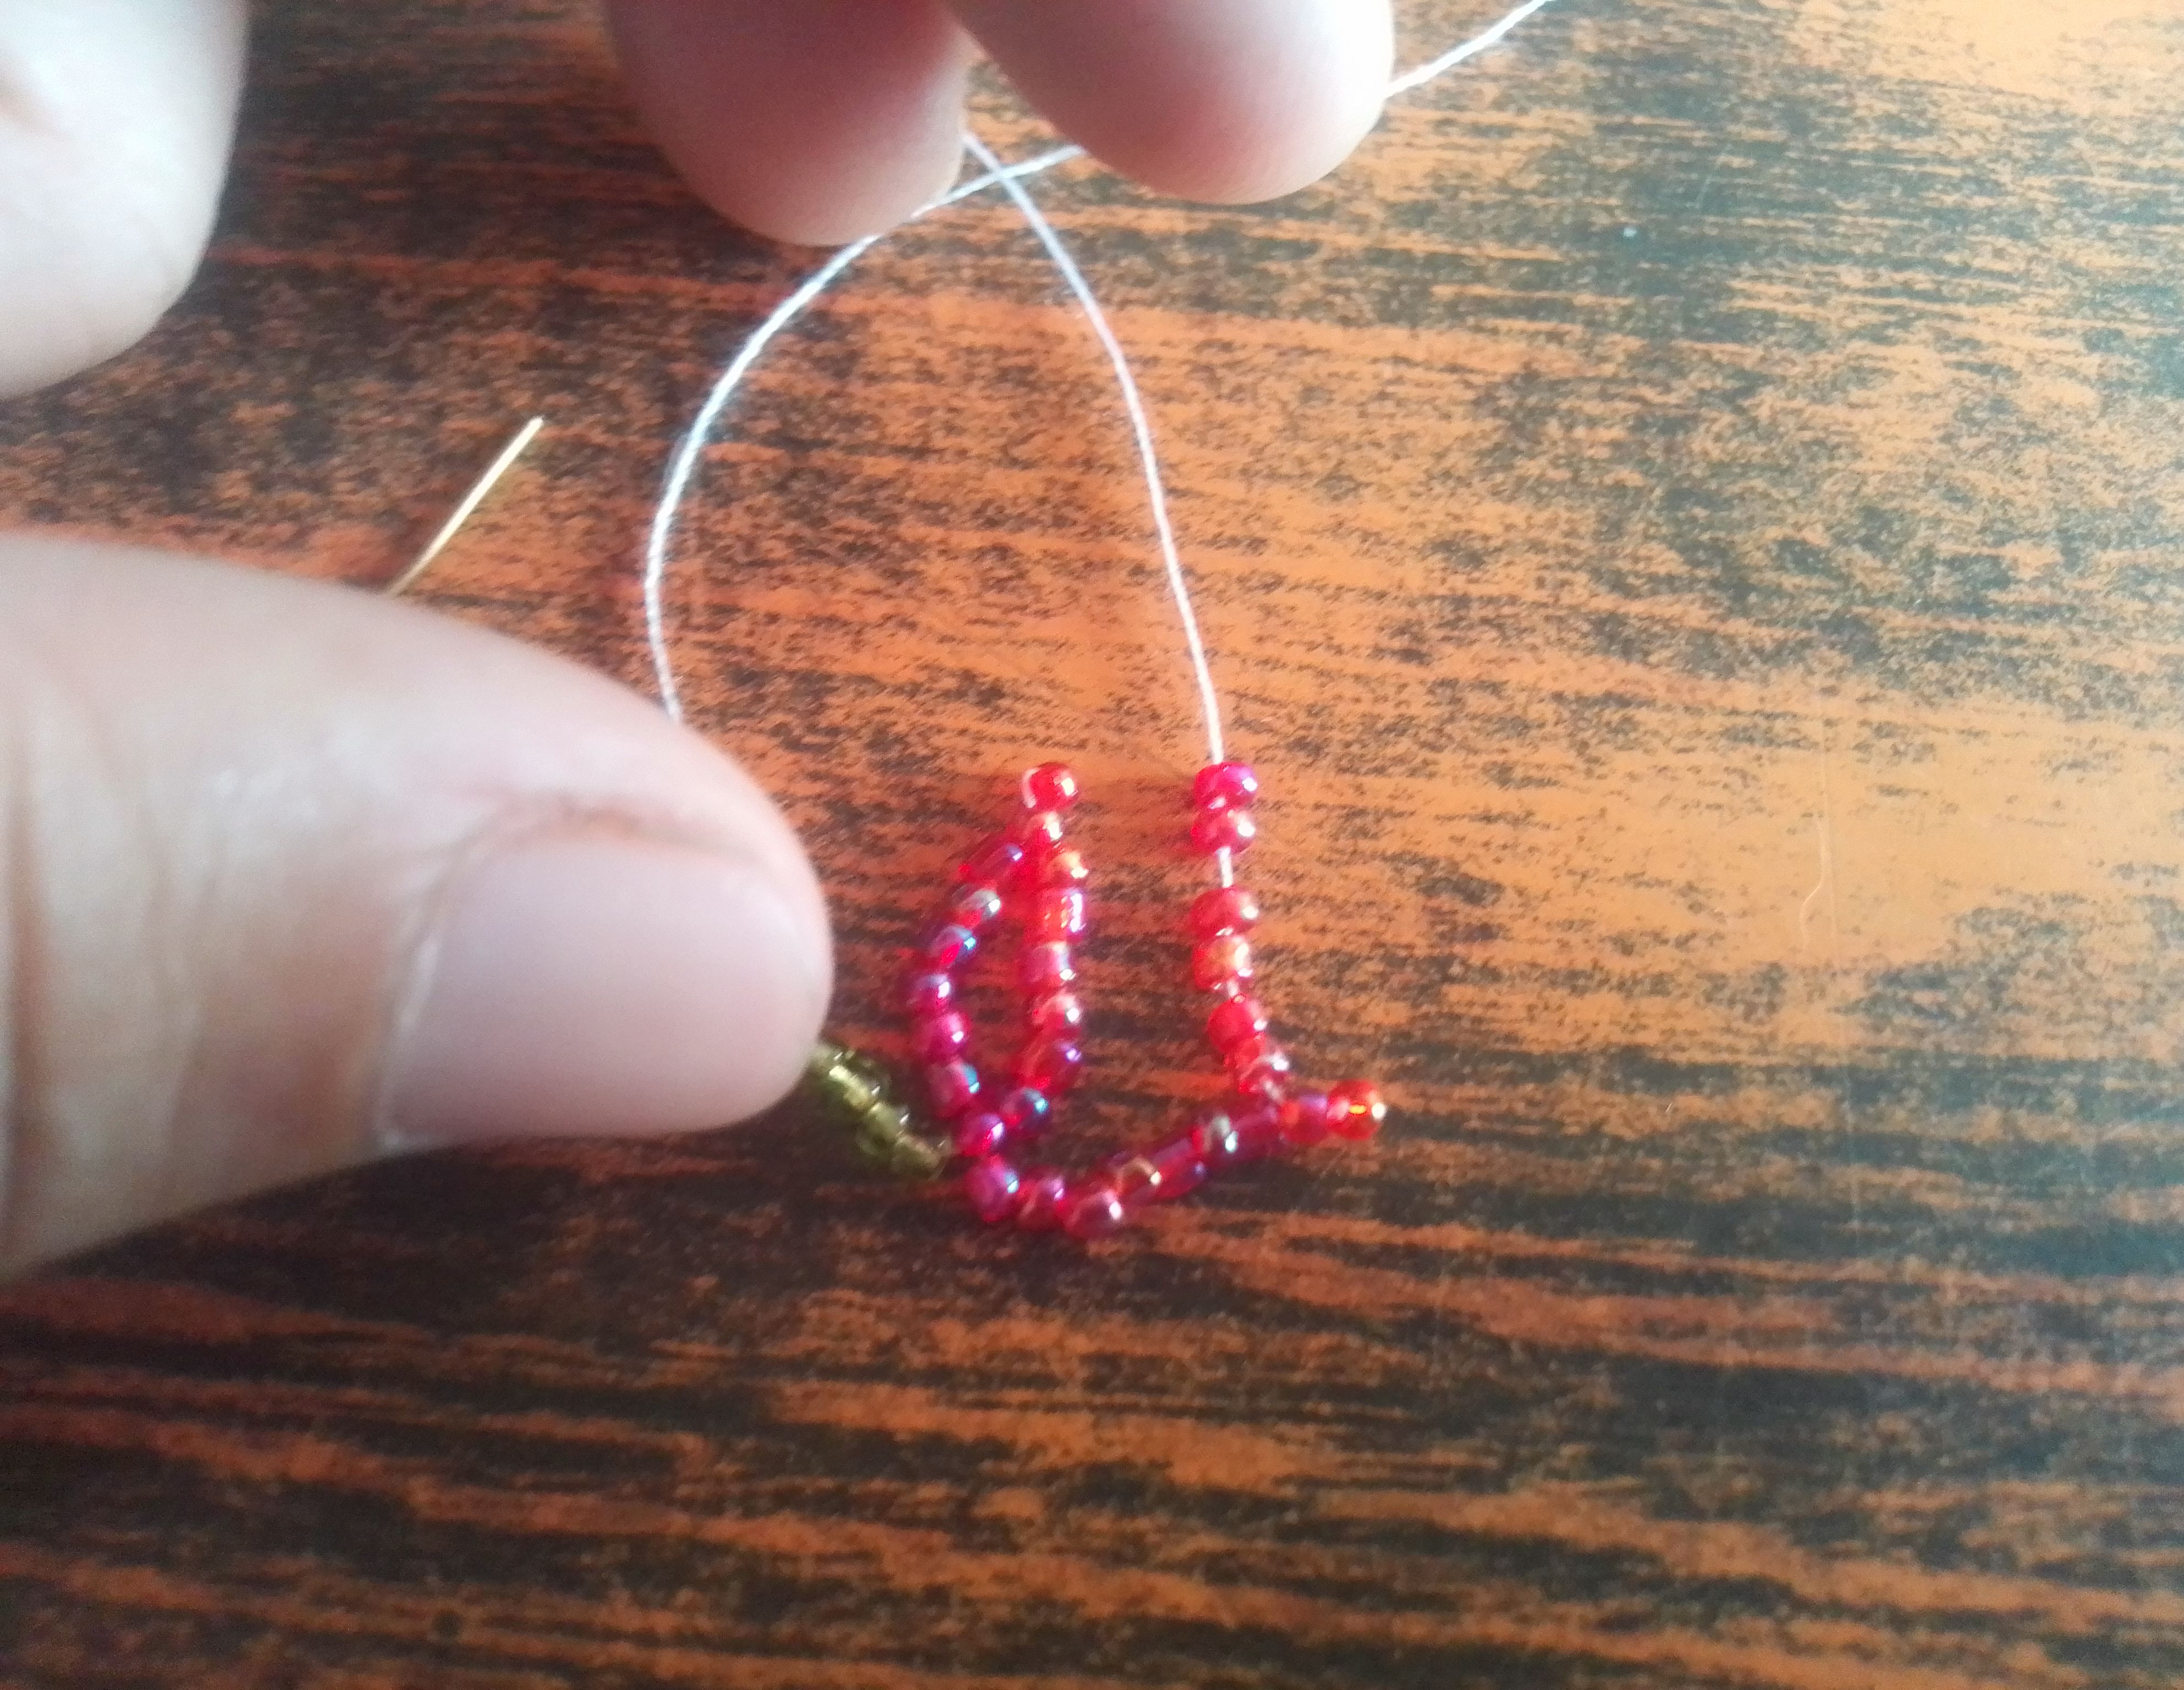
🌟Paso 03
Luego vamos a insertar nuevamente las 9 mostacillas rojas del siguiente pétalo y repetimos el proceso. Cruzamos por la última, insertamos 6 y cruzamos por la primera, de esta manera ya tendremos nuestros primeros pétalos.
🌟Step 03
Next, we'll insert the 9 red beads from the next petal again and repeat the process. We'll cross them through the last one, insert 6, and cross them through the first one. This way, we'll have our first petals.

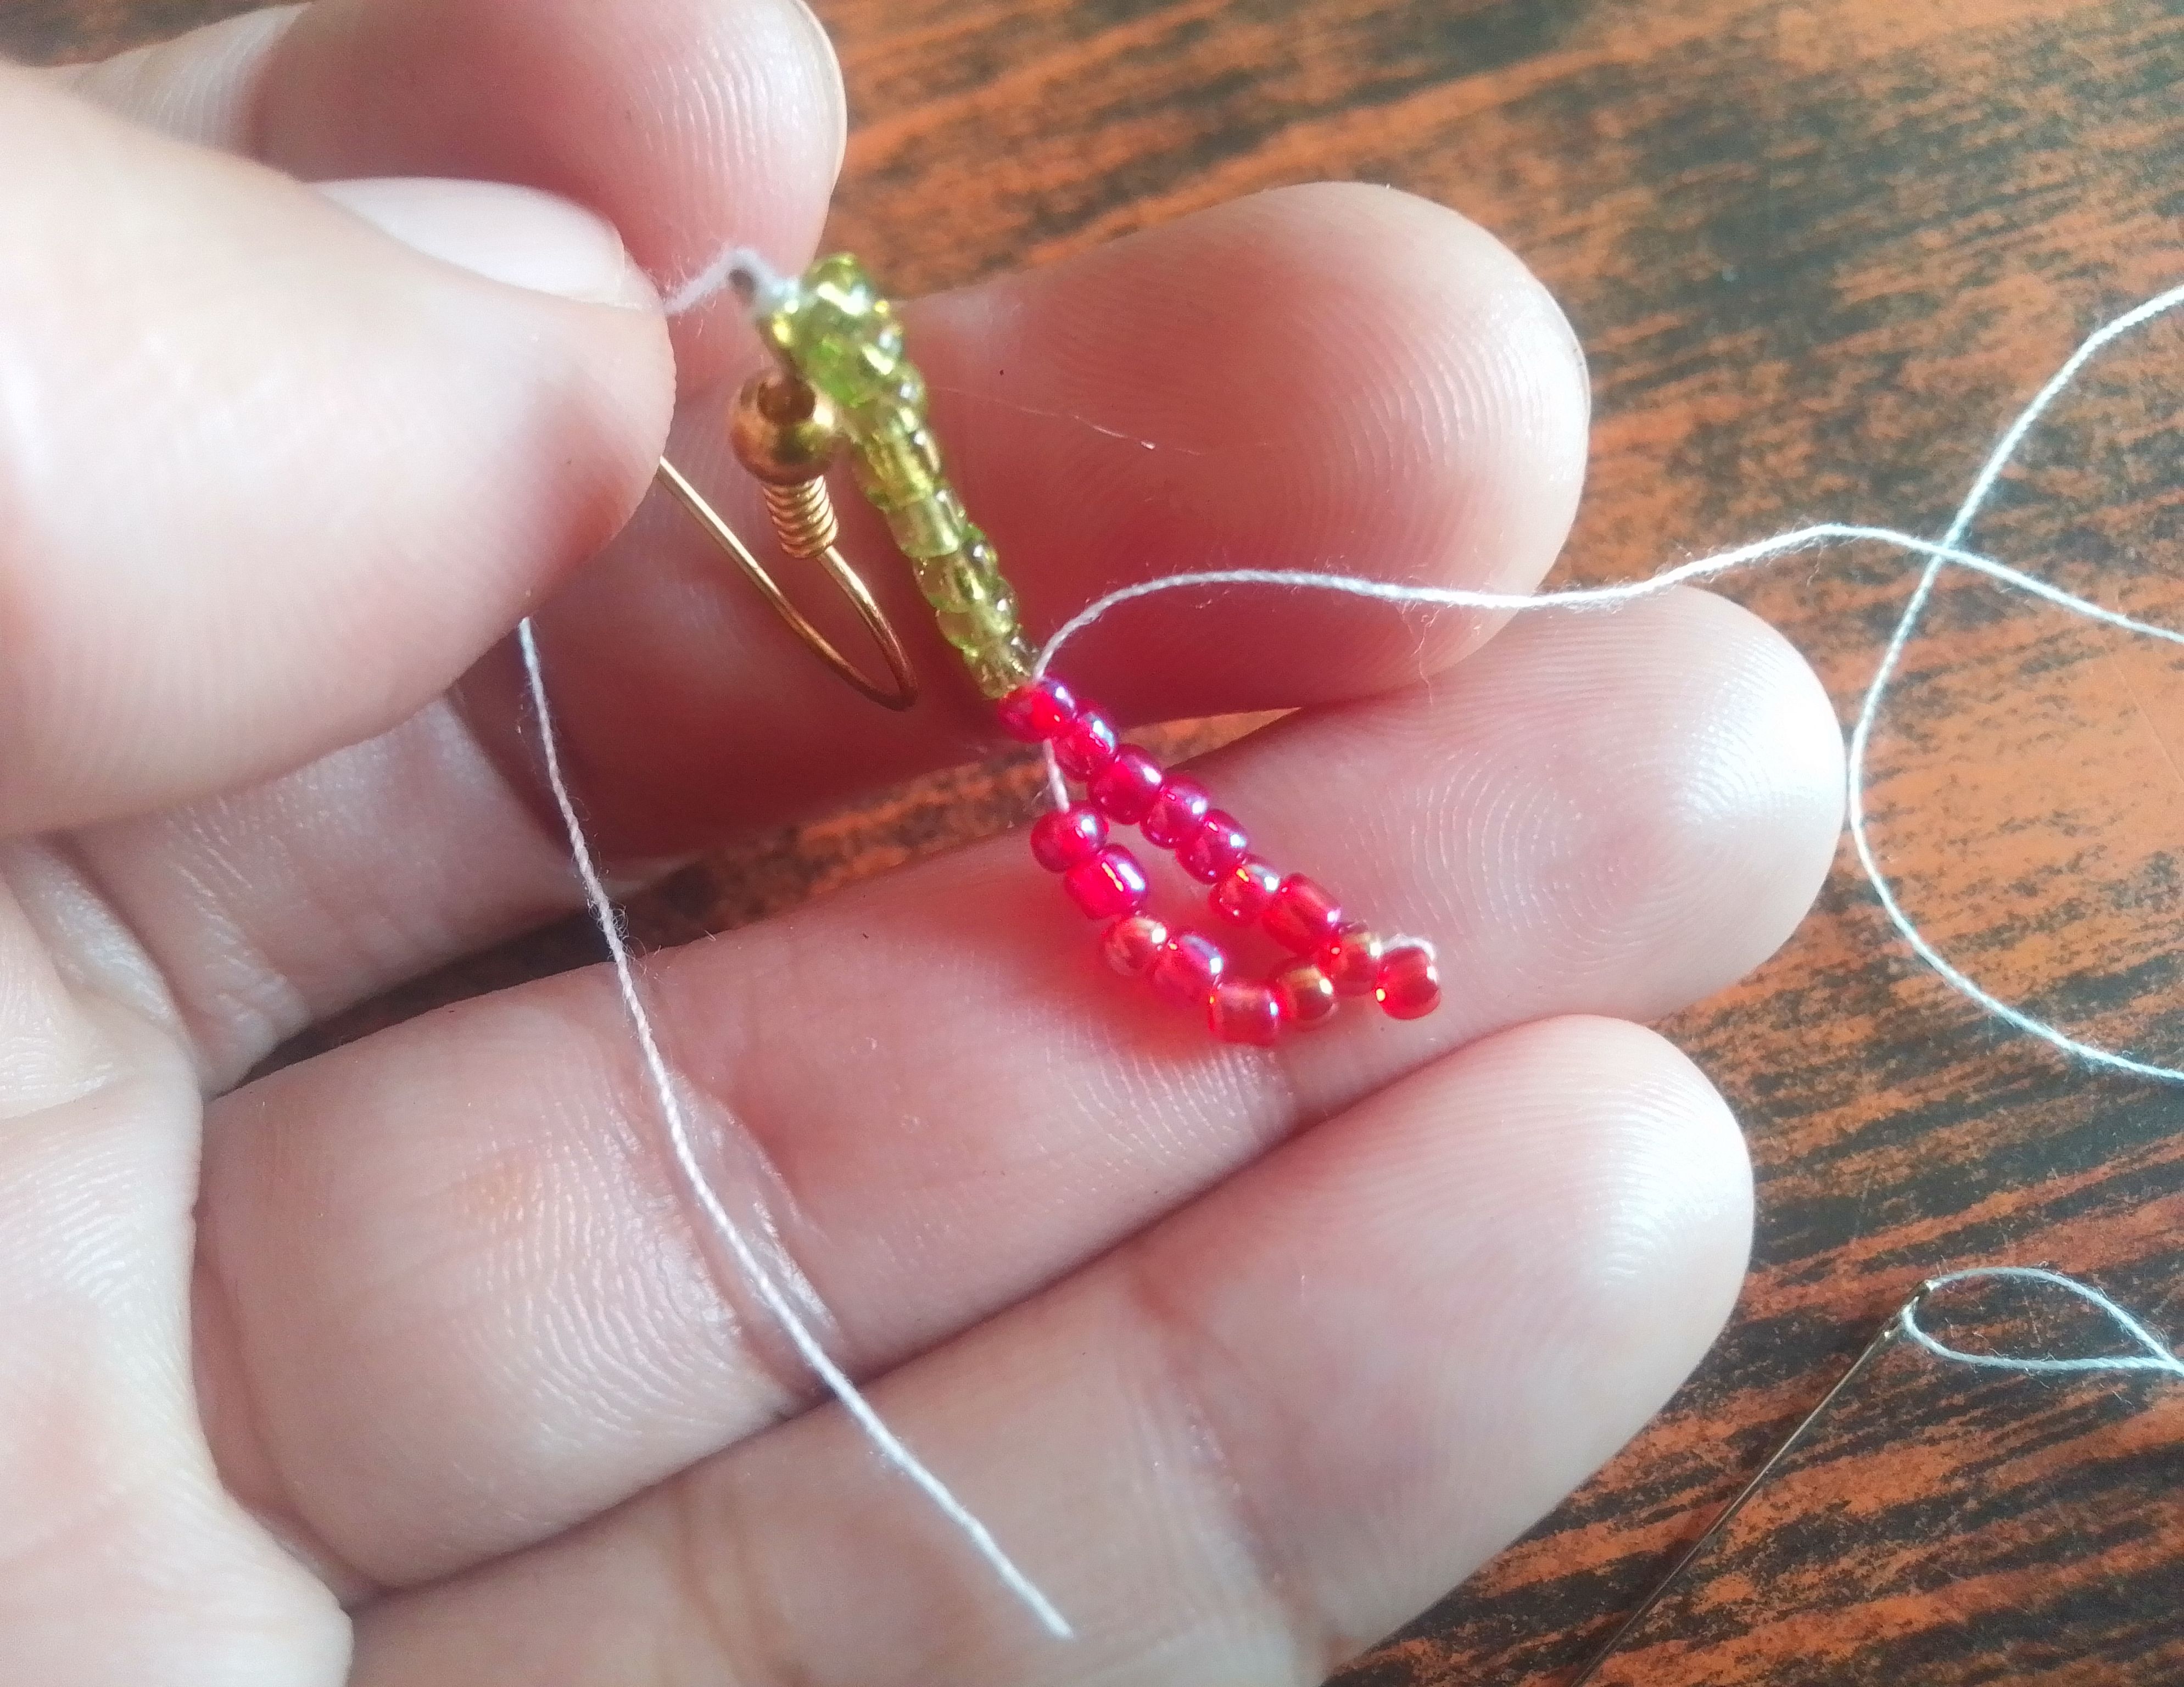
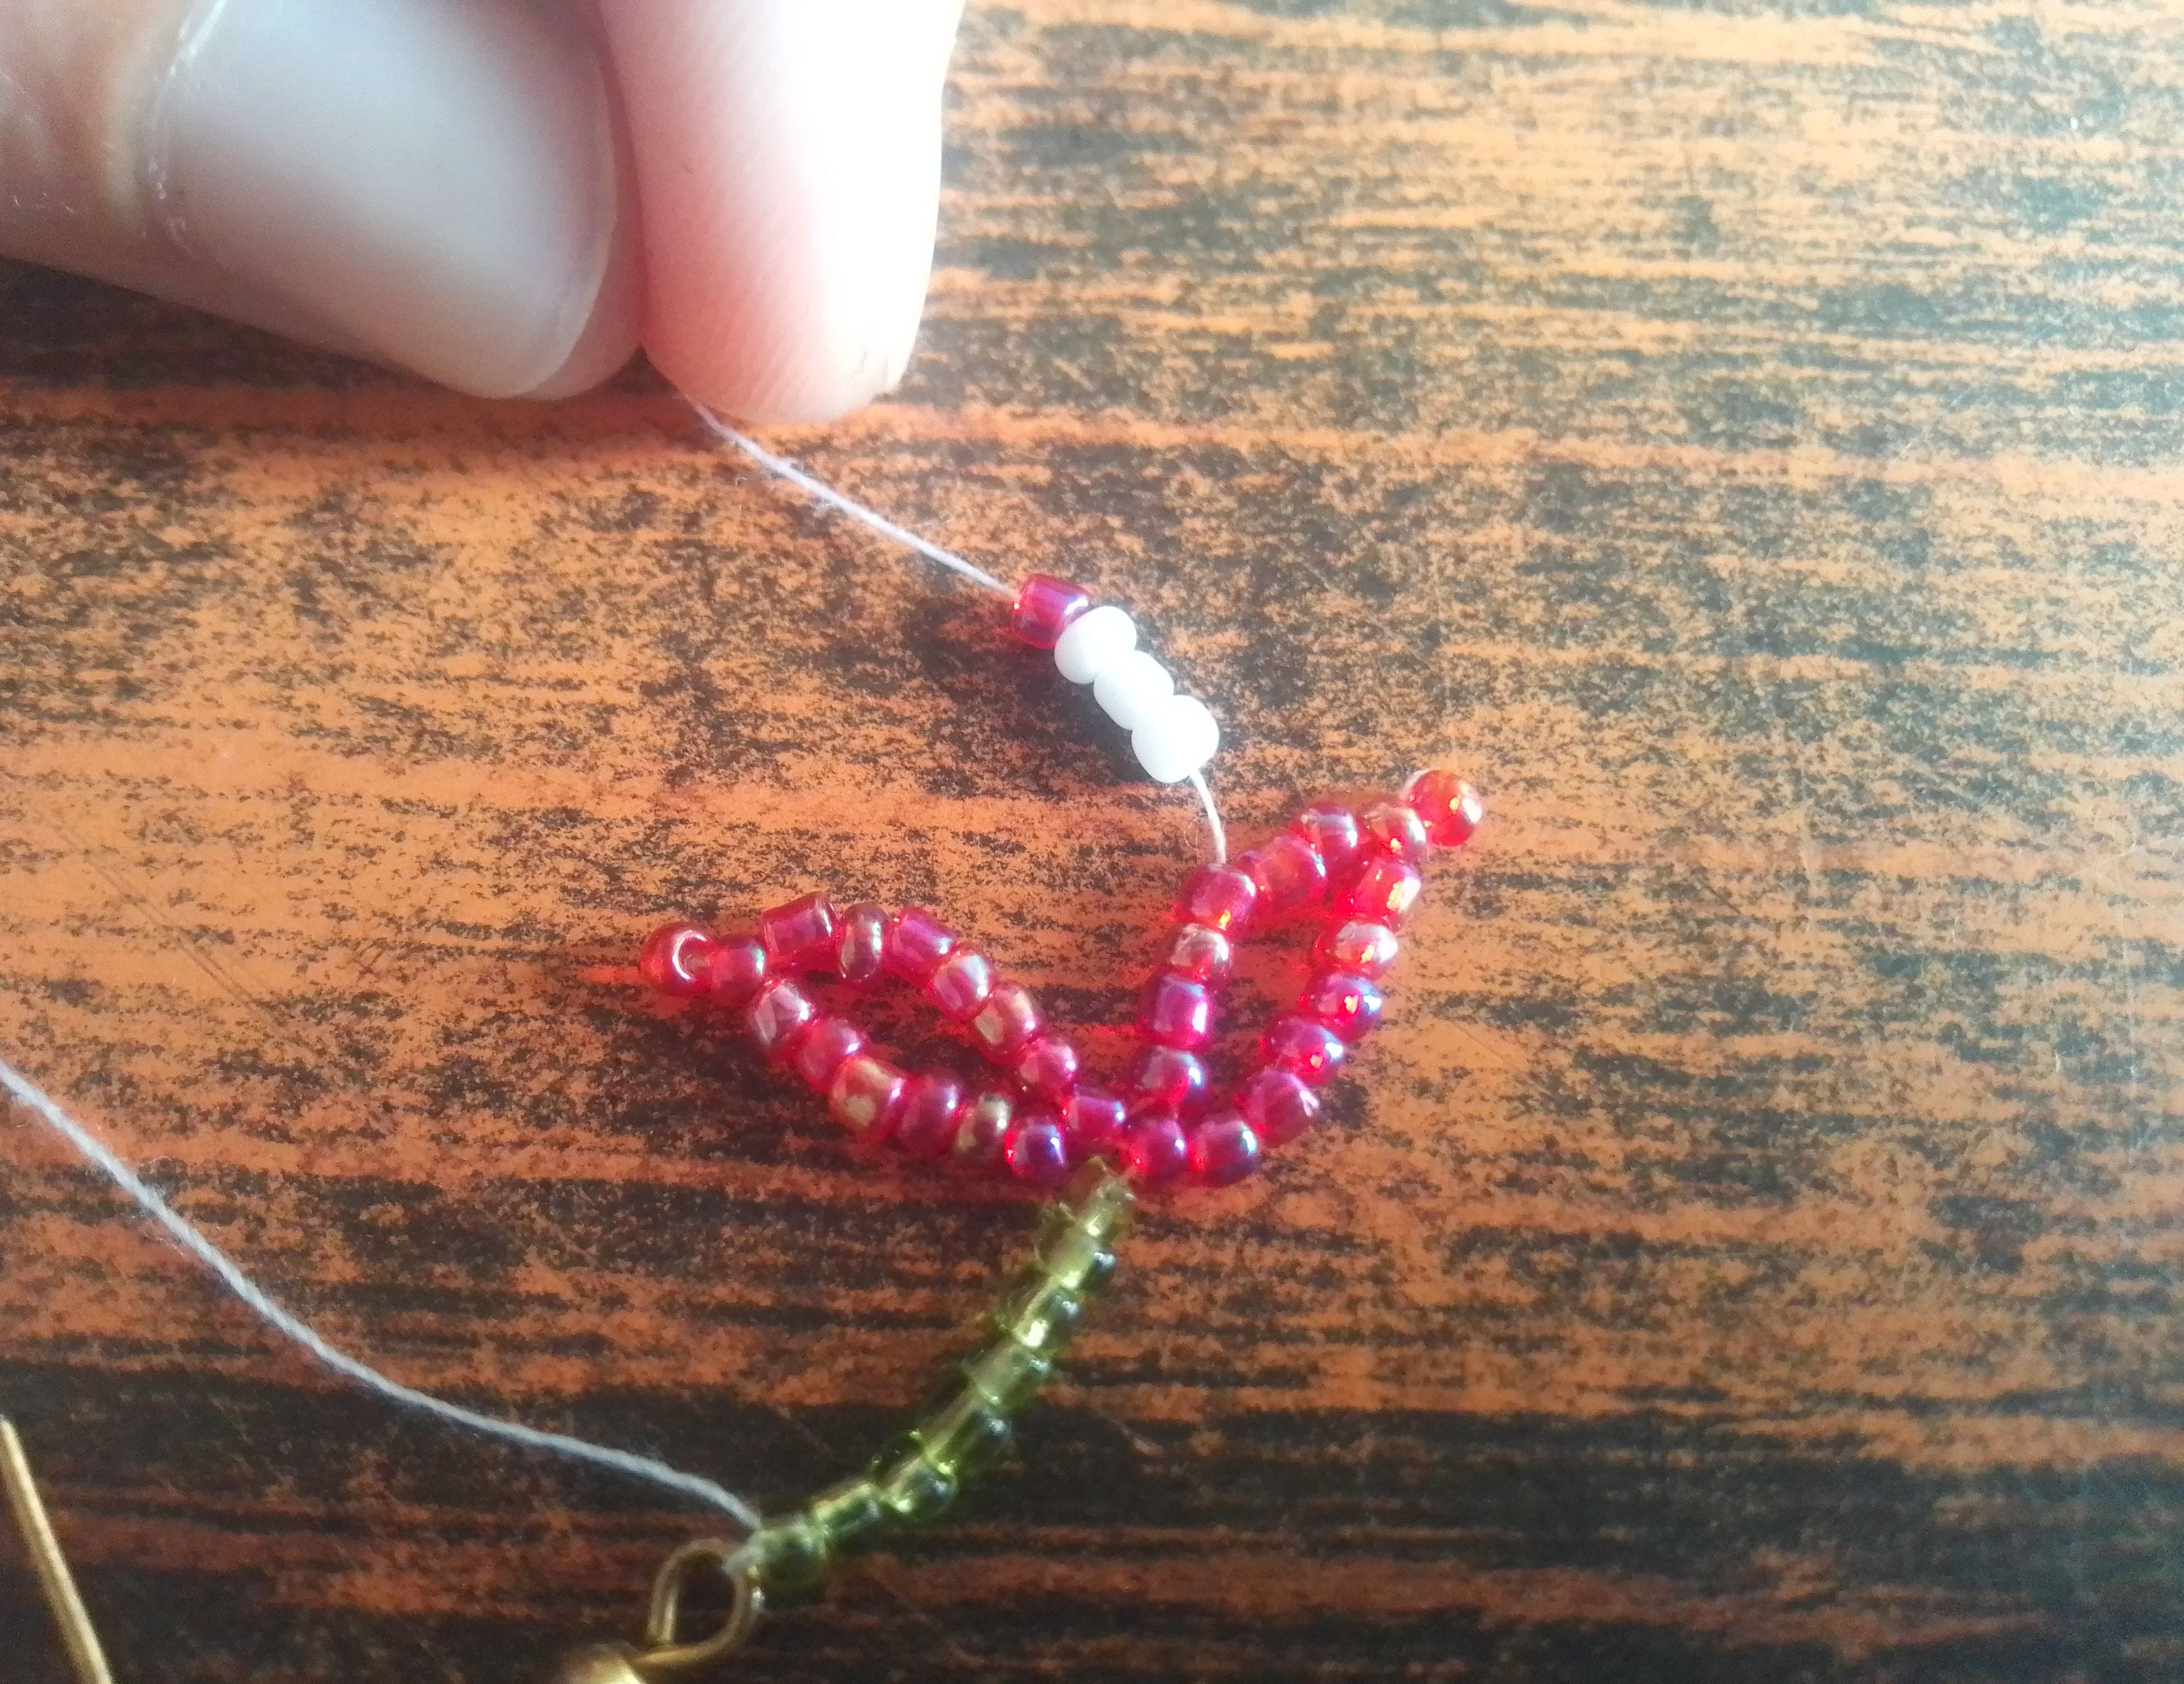
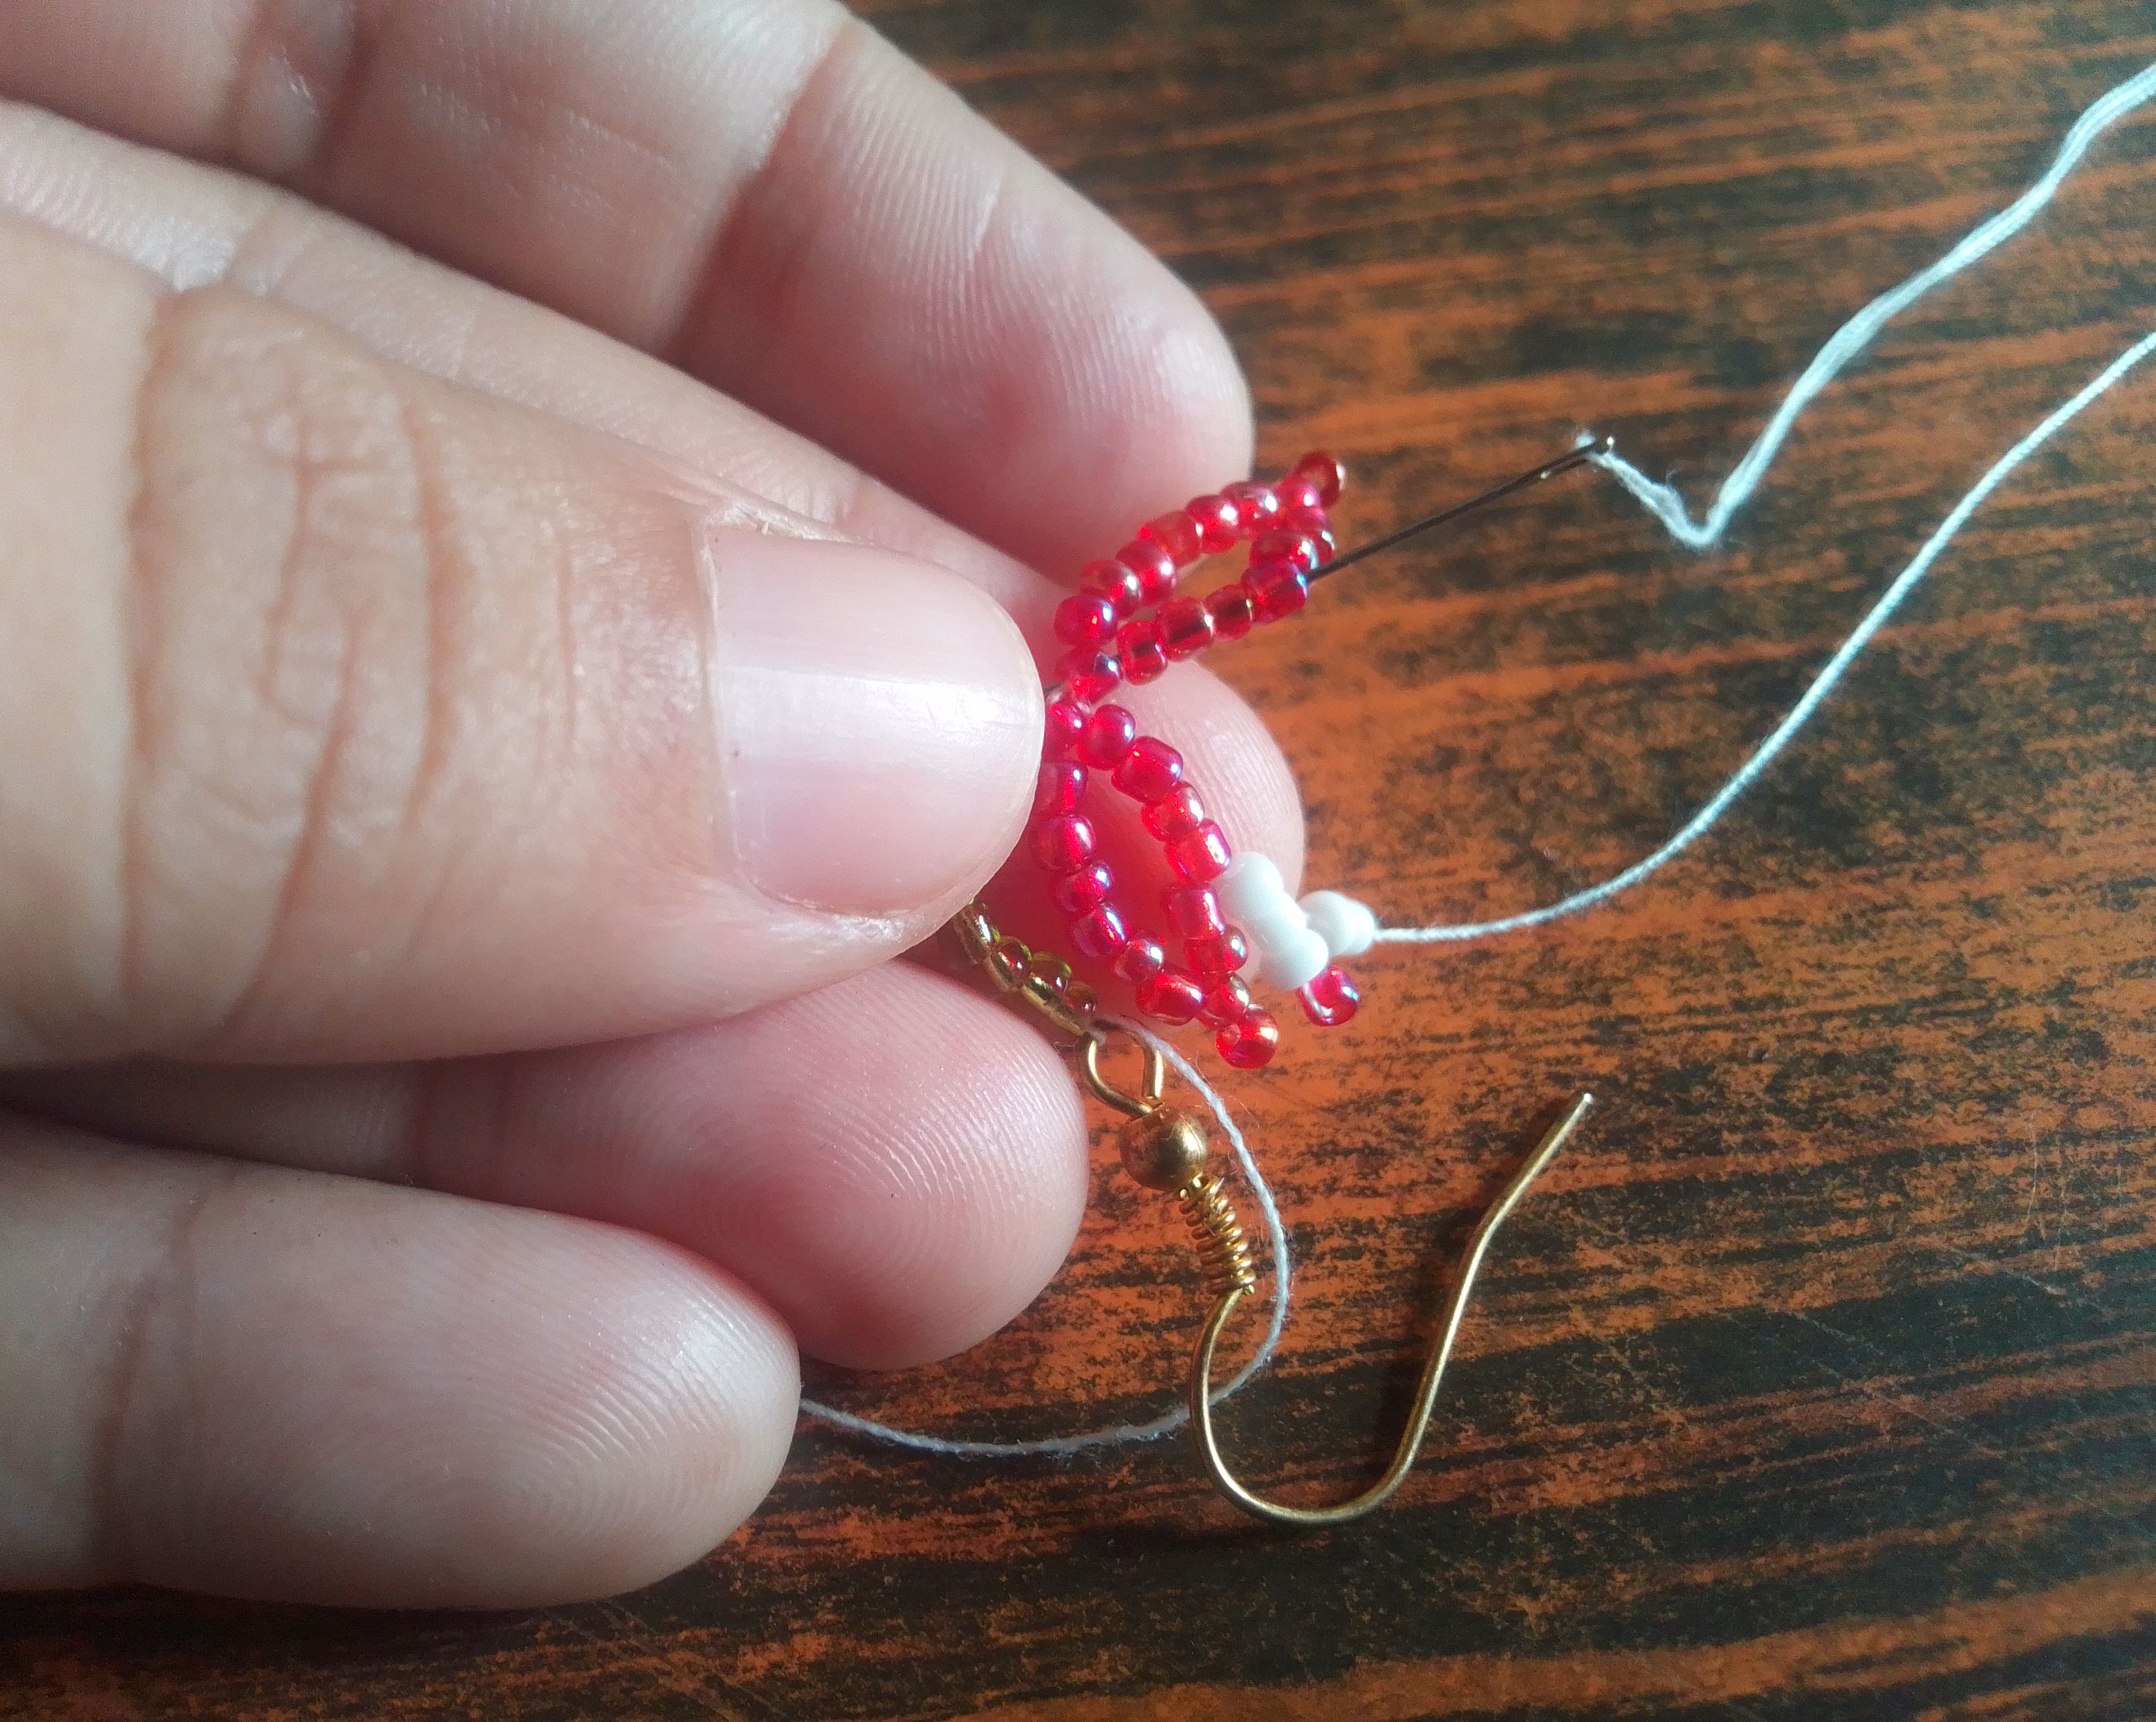
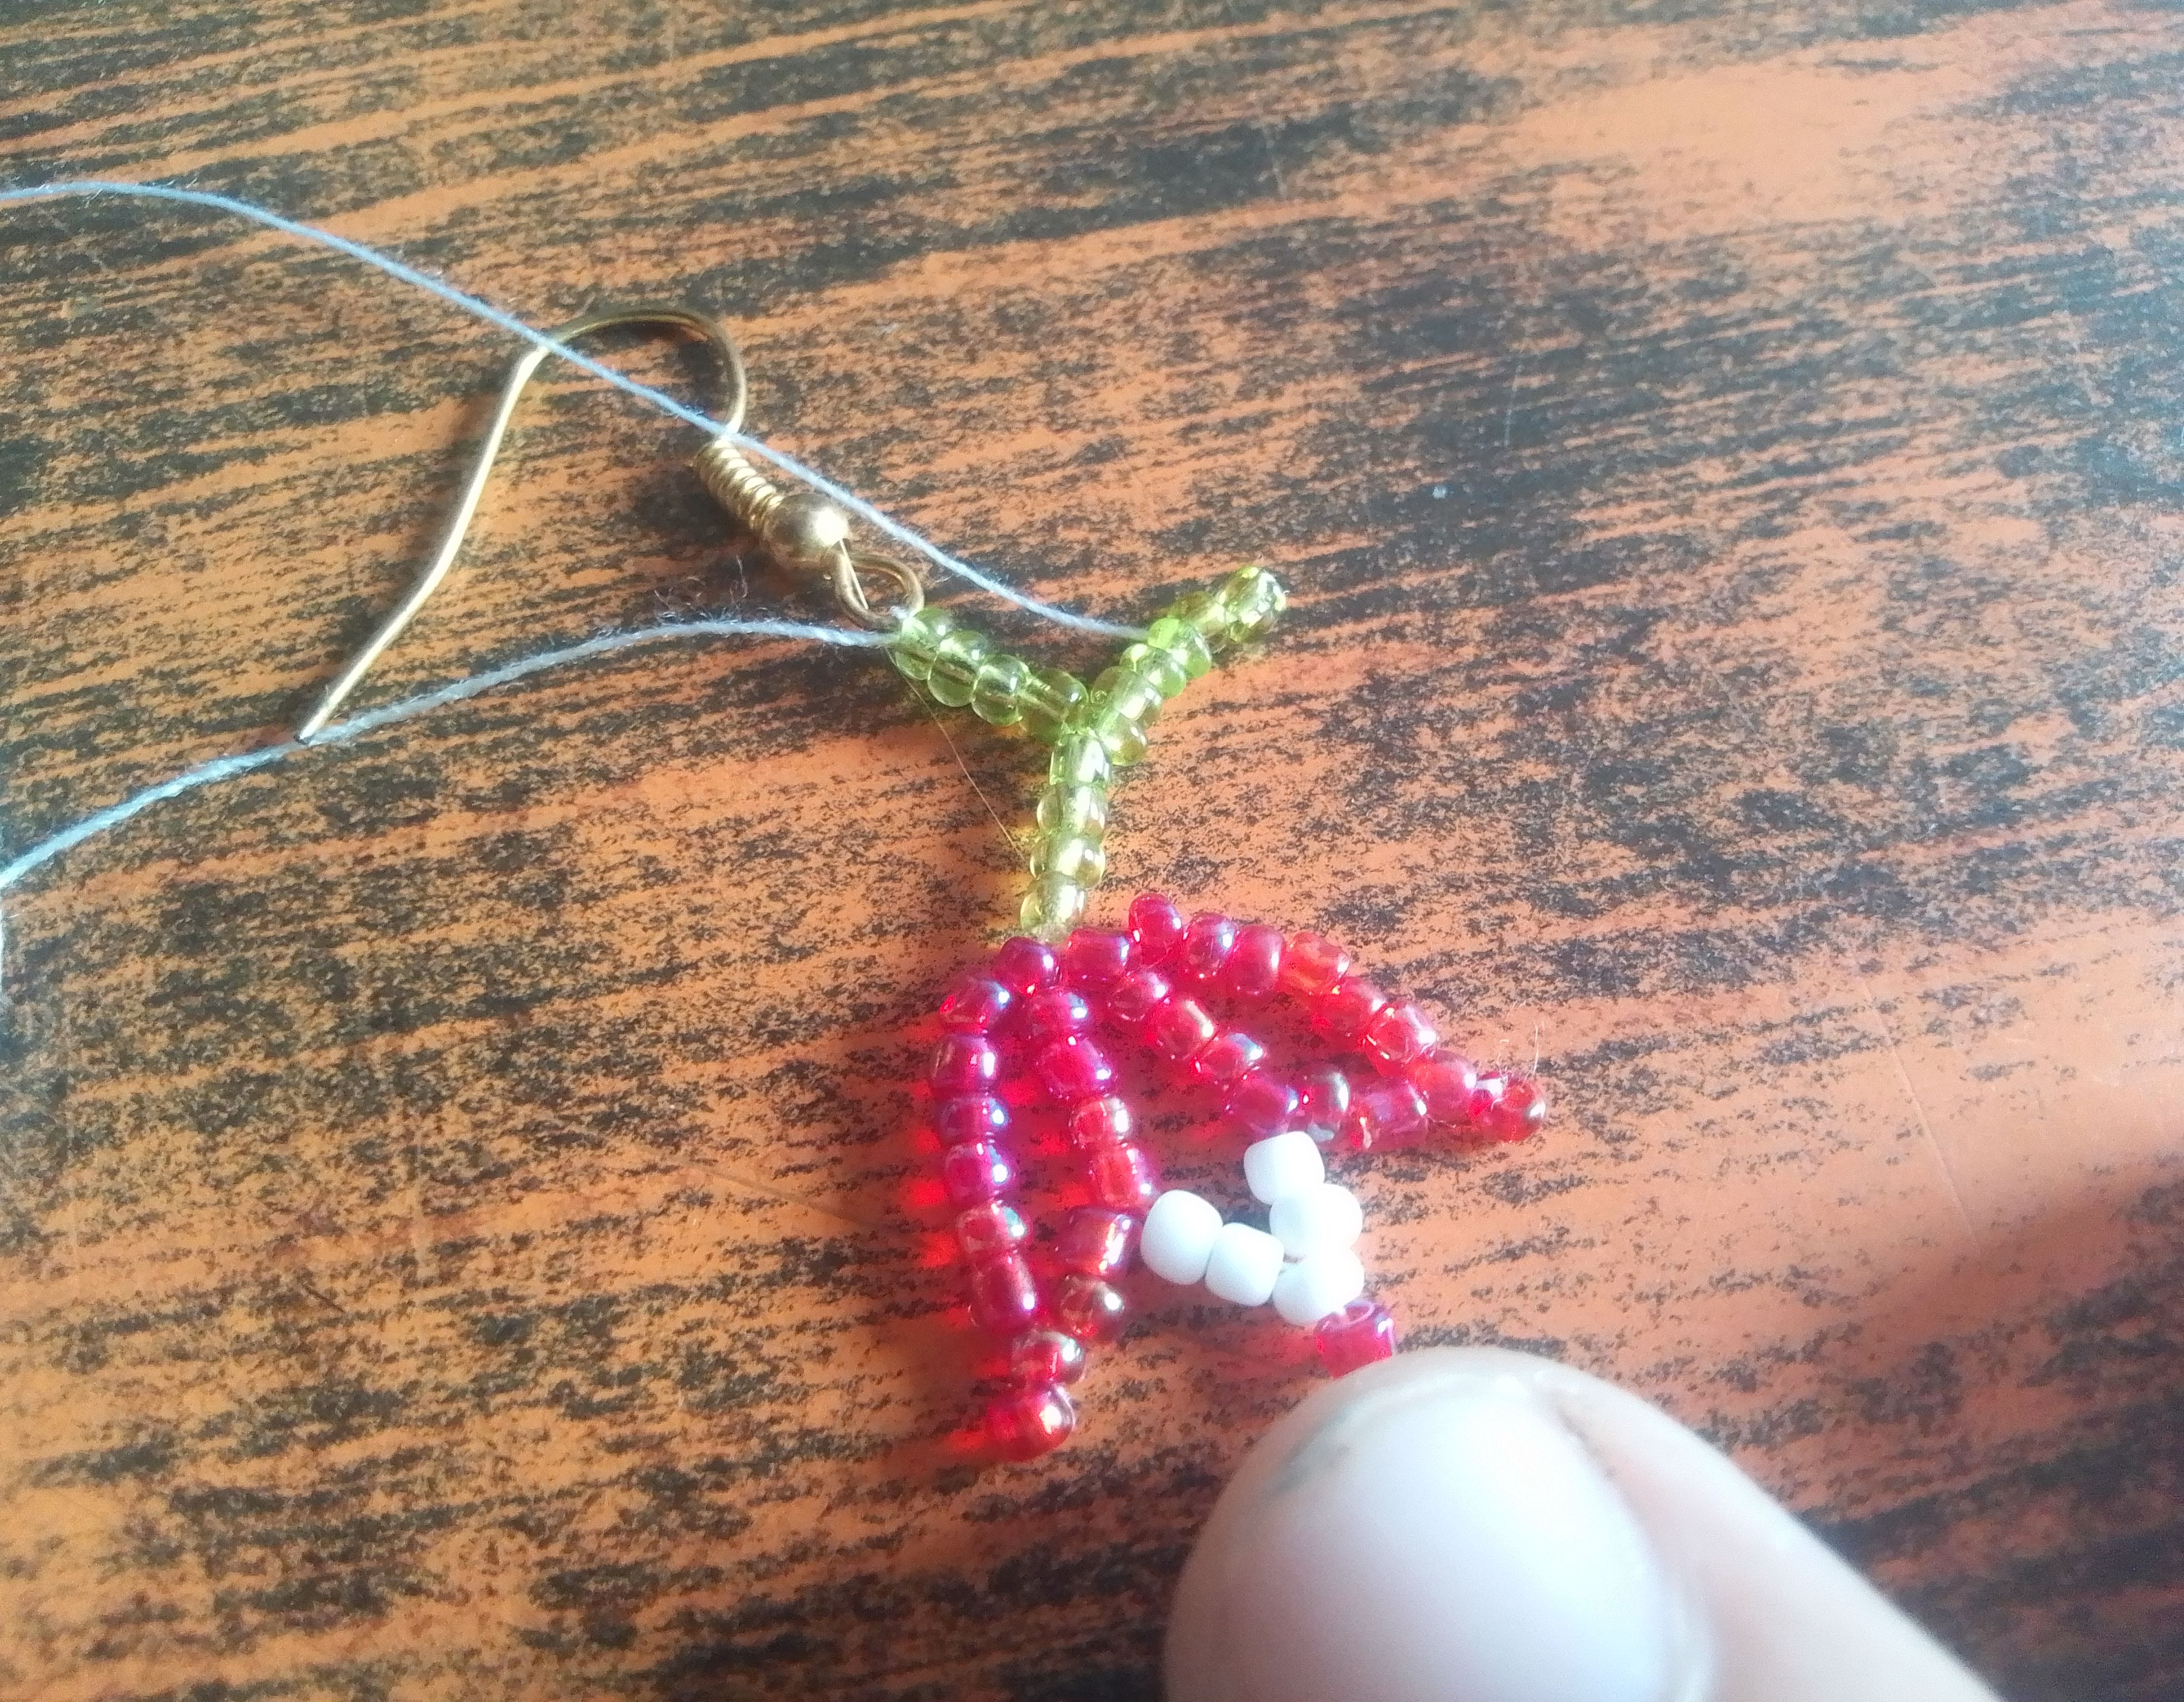
🌟Paso 04
Seguimos dando forma a nuestra flor y ahora hacemos el centro, para estoy voy a pasar la aguja por las primeras cinco mostacillas del pétalo contrario, insertamos tres mostacillas blancas y una roja y regresamos la aguja por la segunda mostacilla blanca.
🌟Step 04
We continue shaping our flower and now we make the center, for this I am going to pass the needle through the first five beads of the opposite petal, insert three white beads and one red one and return the needle through the second white bead.
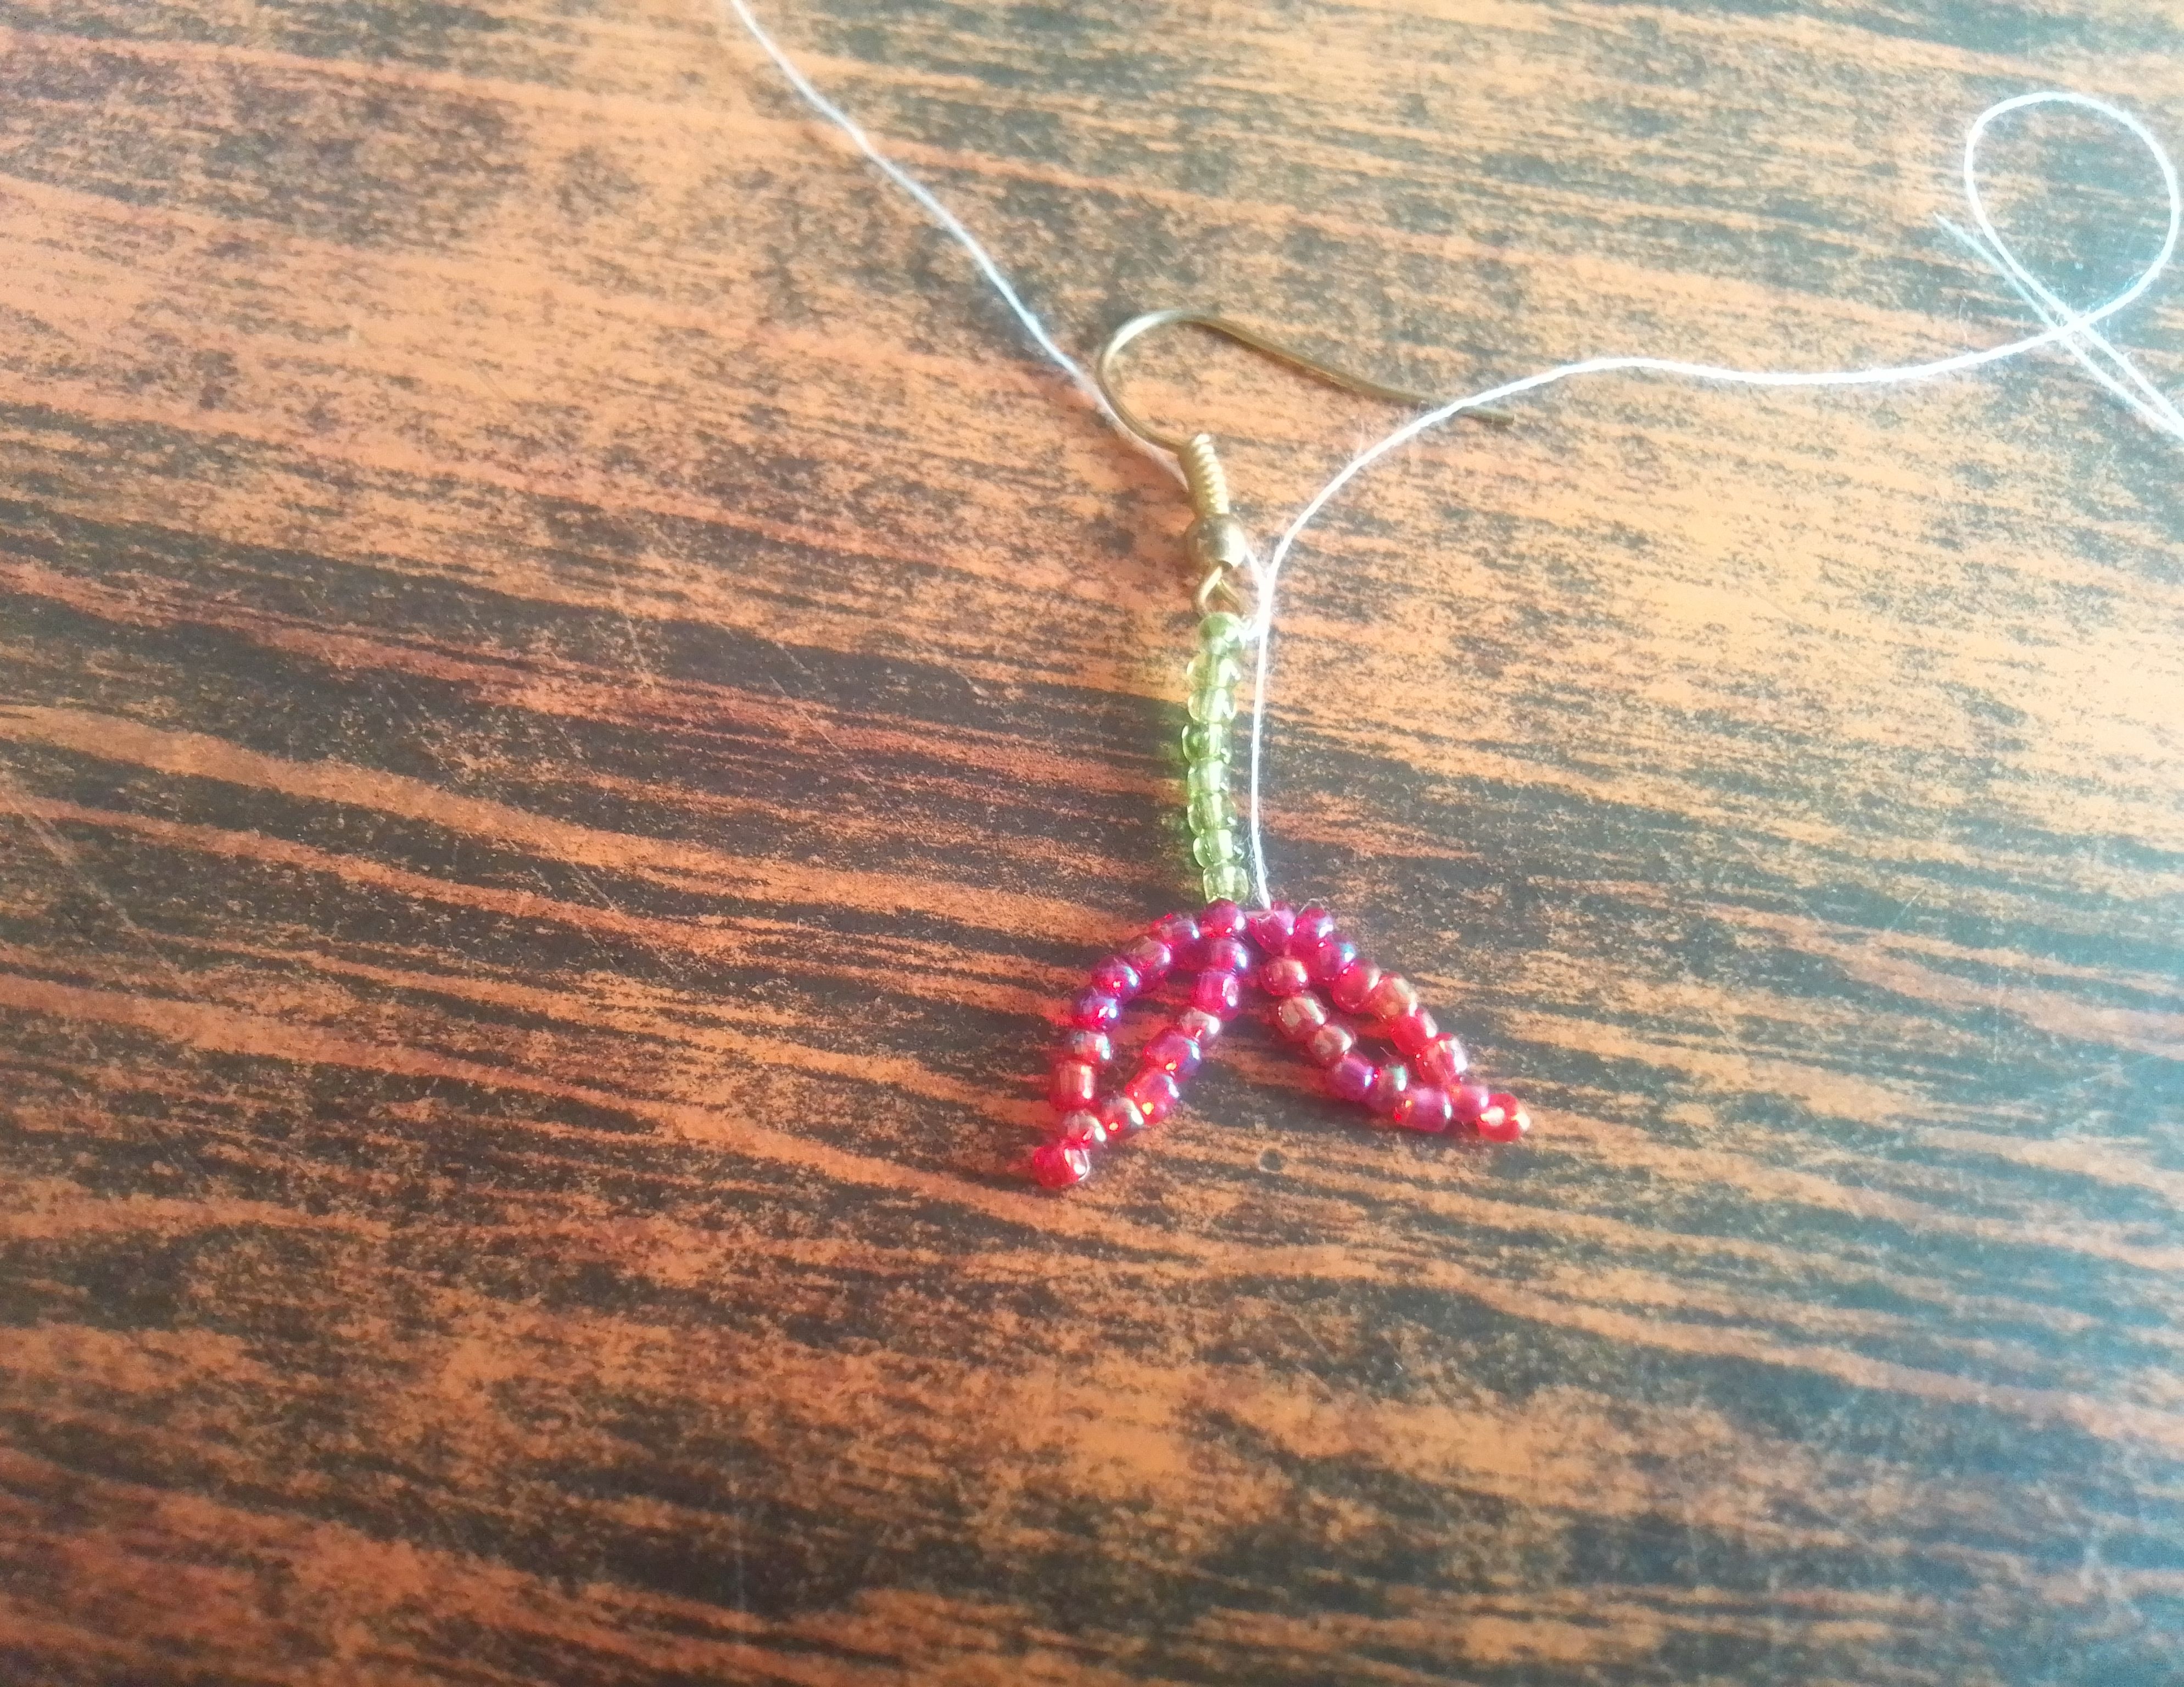
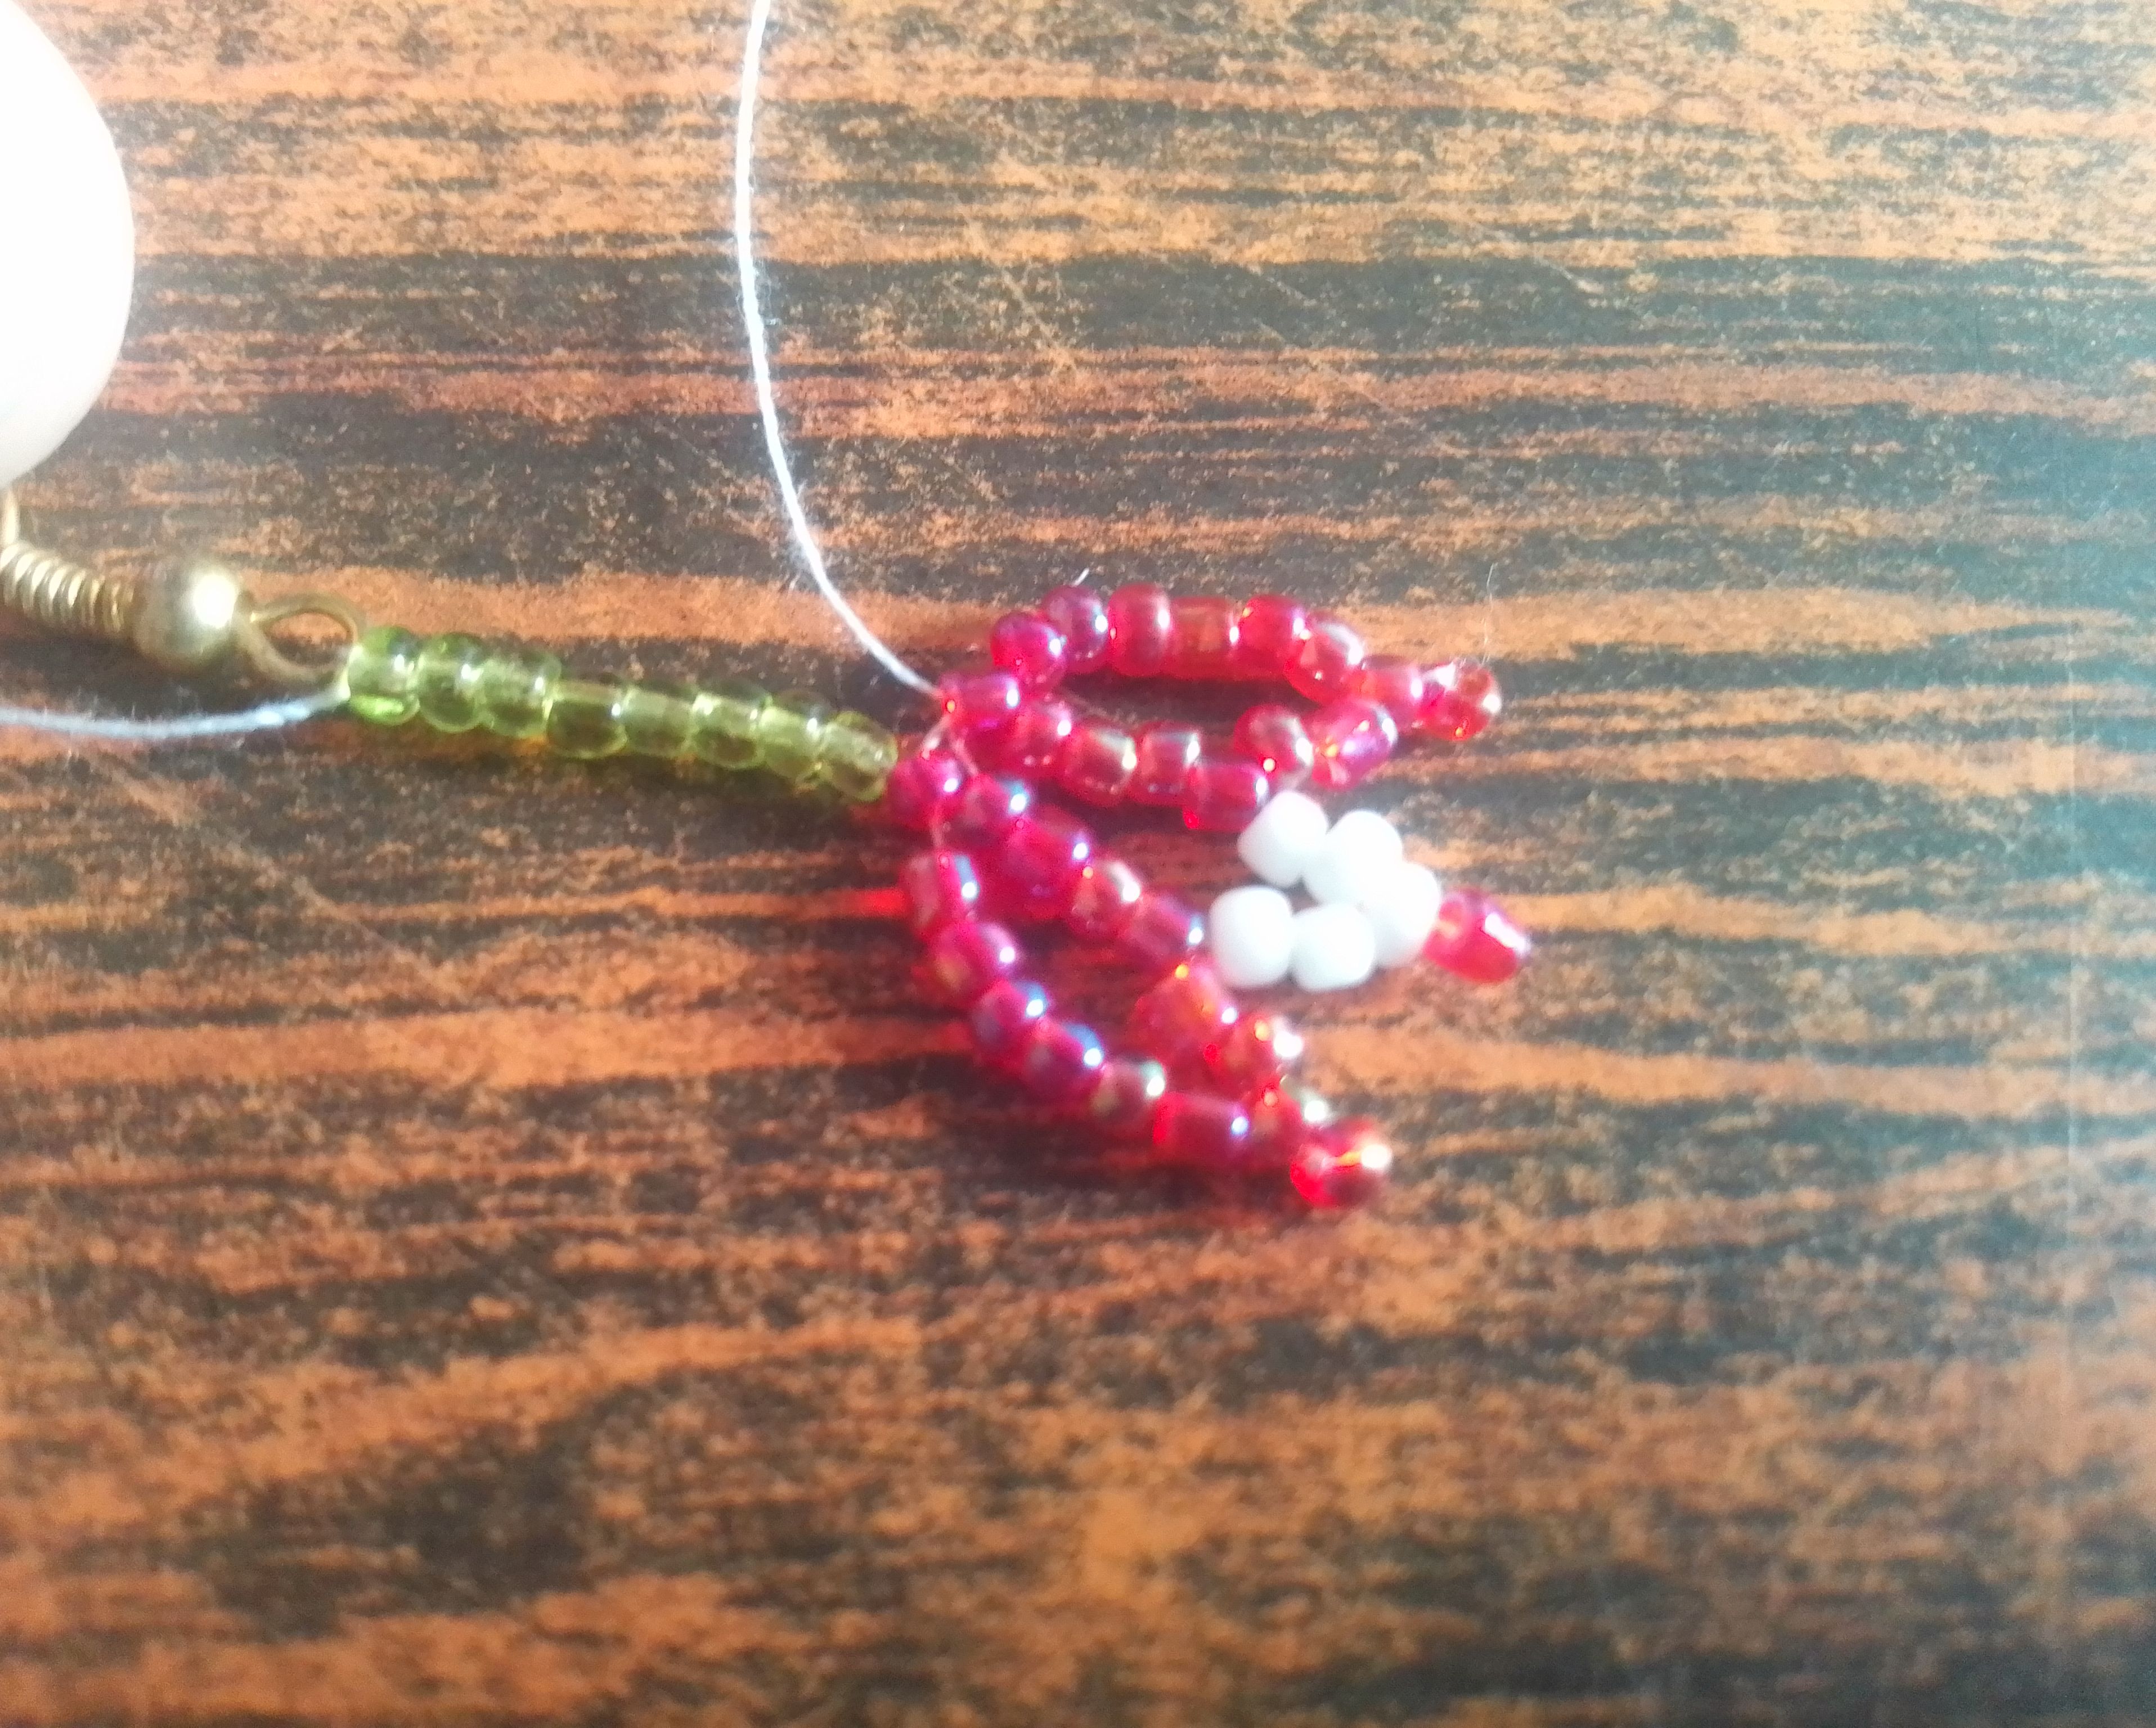
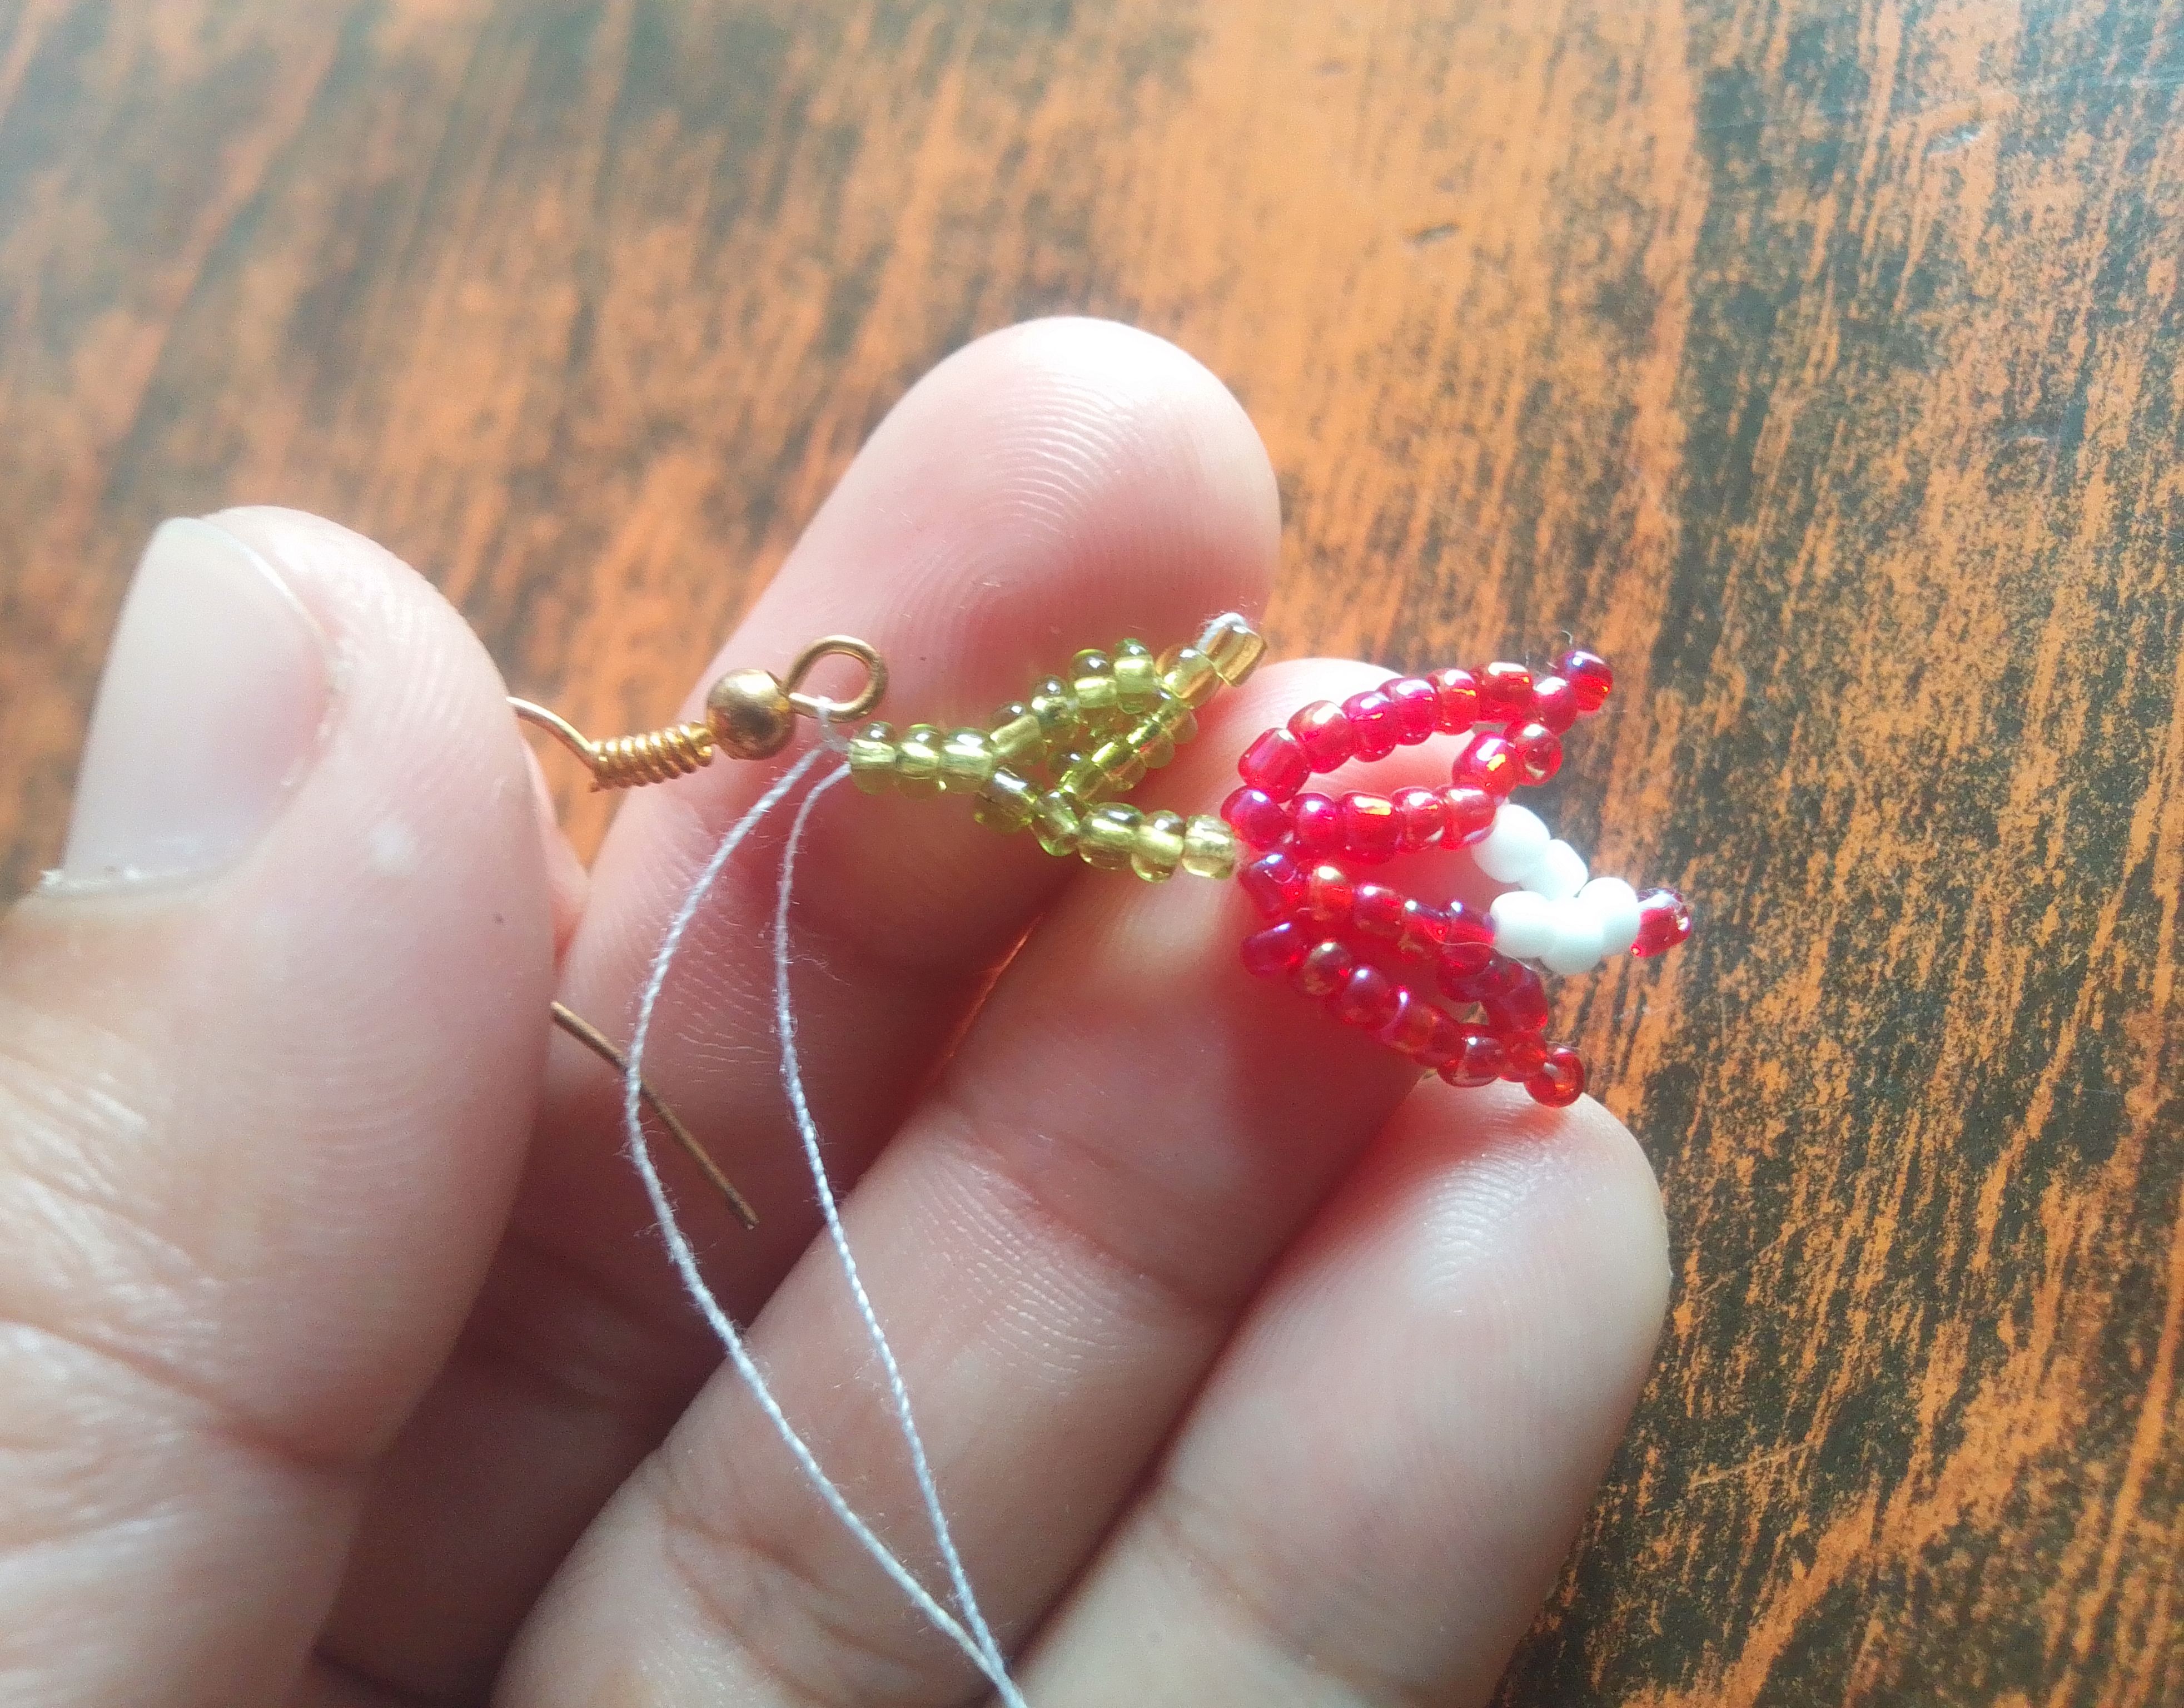
🌟Paso 05
Insertamos dos mostacillas blancas más, y subimos la aguja con el hilo por las 5 mostacillas rojas del otro pétalo y sigo subiendo por las 4 mostacillas verdes. Acá apretamos un poquito toda la flor.
🌟Step 5
Insert two more white beads, then thread the needle through the 5 red beads on the other petal, then continue up through the 4 green beads. Tighten the entire flower a little here.
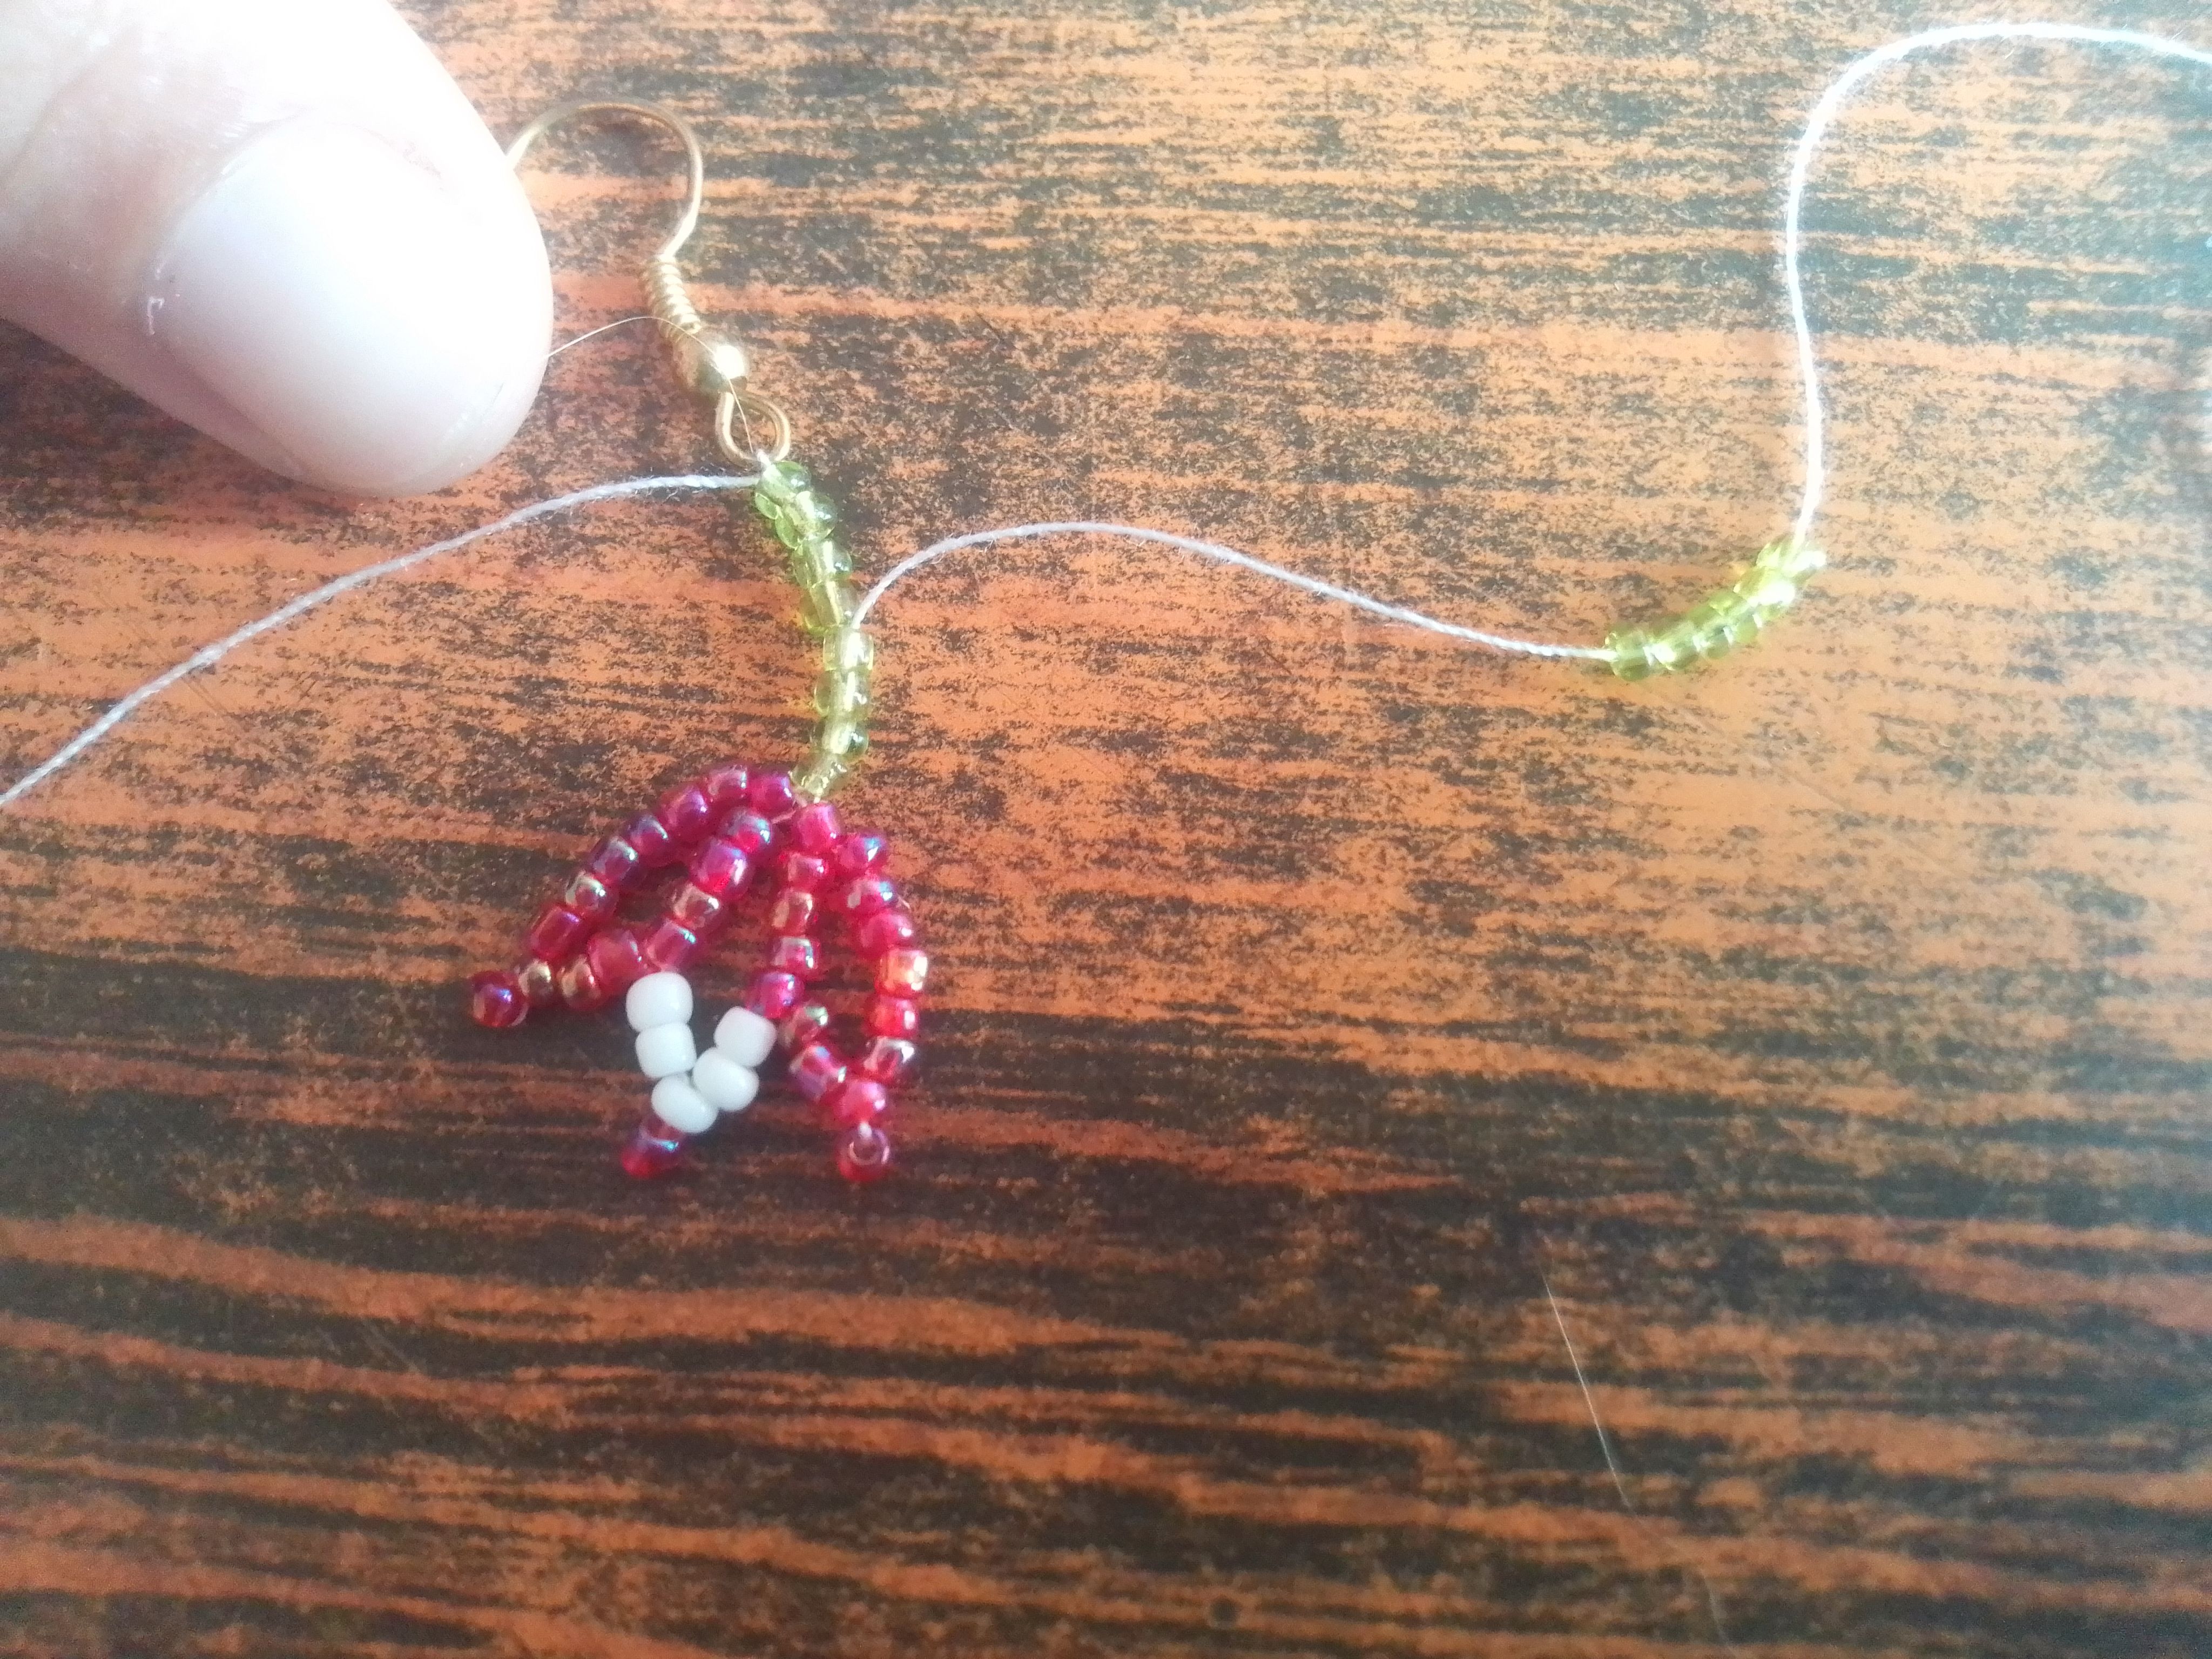
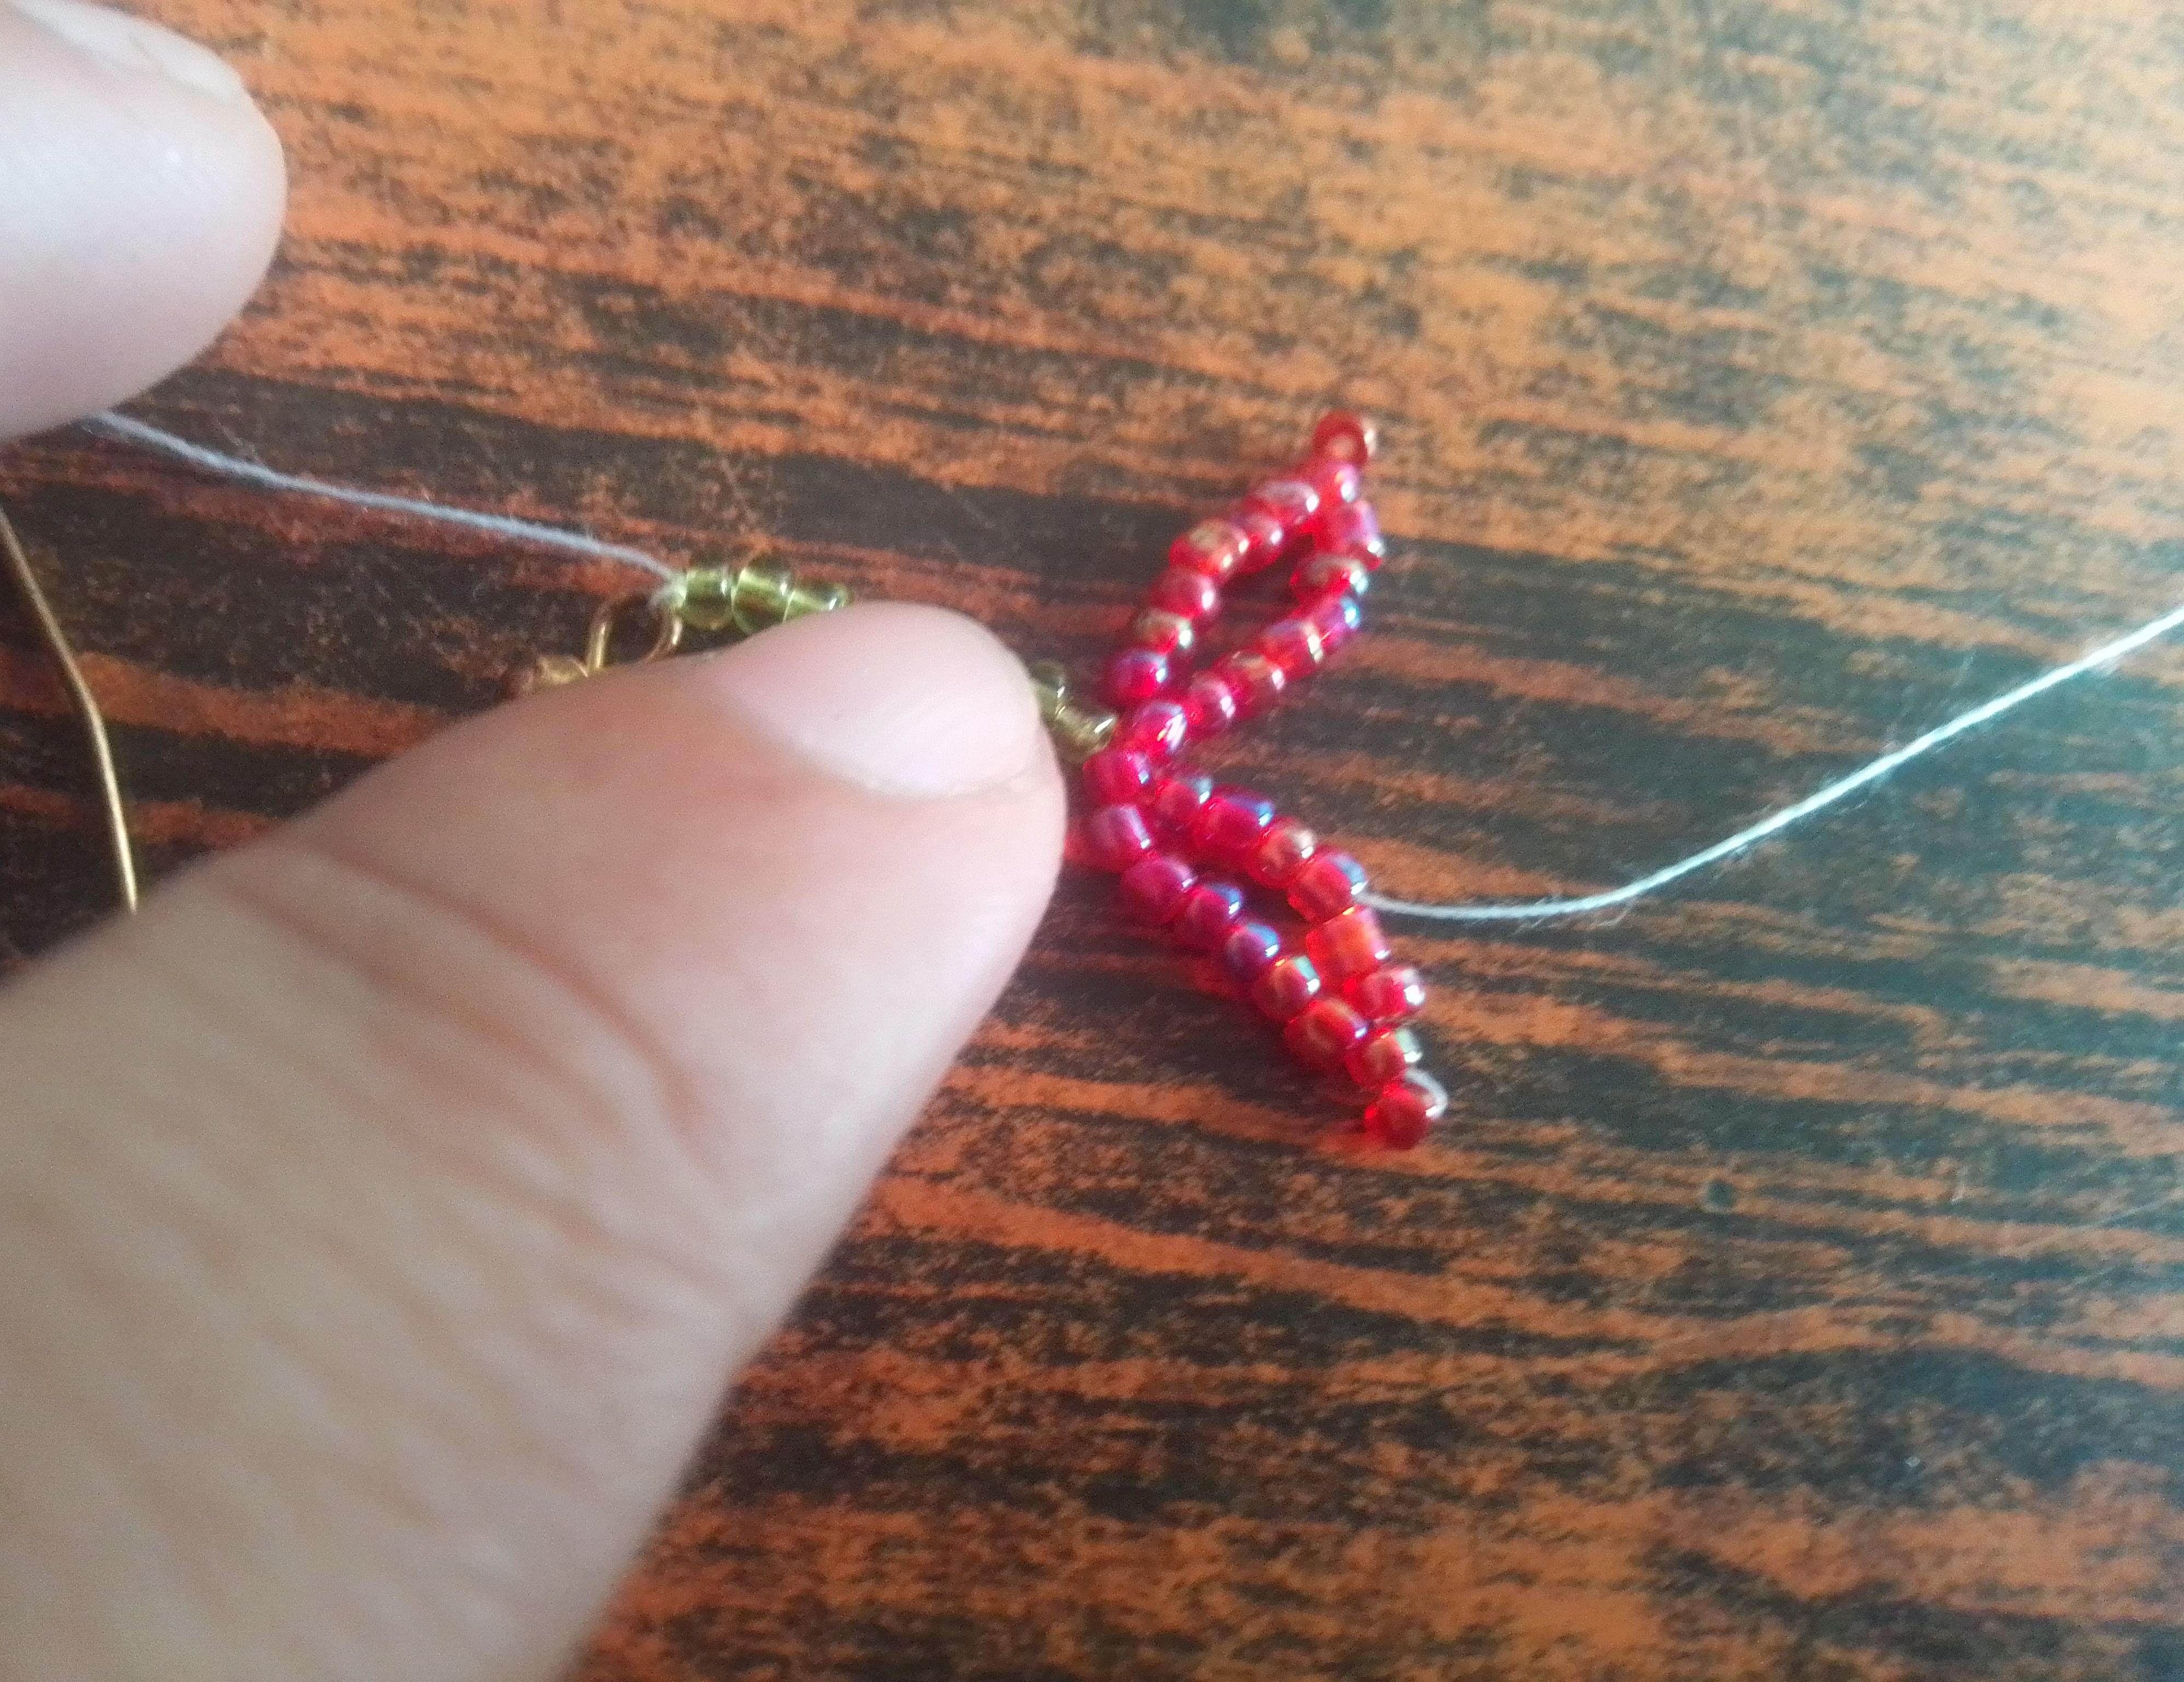
🌟Paso 06
Ahora hacemos una hoja y se se introducen 6 mostacillas verdes, nos regresamos por la quinta y agregamos 5 mostacillas más del mismo color verde. Saltamos una, y pasamos la aguja por las siguientes tres mostacillas verdes. Finalmente, amarramos con el hilo sobrante del principio y listo.
🌟Step 6
Now we make a leaf and if we insert 6 green beads, we go back to the fifth and add 5 more beads of the same green color. We skip one, and pass the needle through the next three green beads. Finally, we tie with the leftover thread from the beginning and that's it.
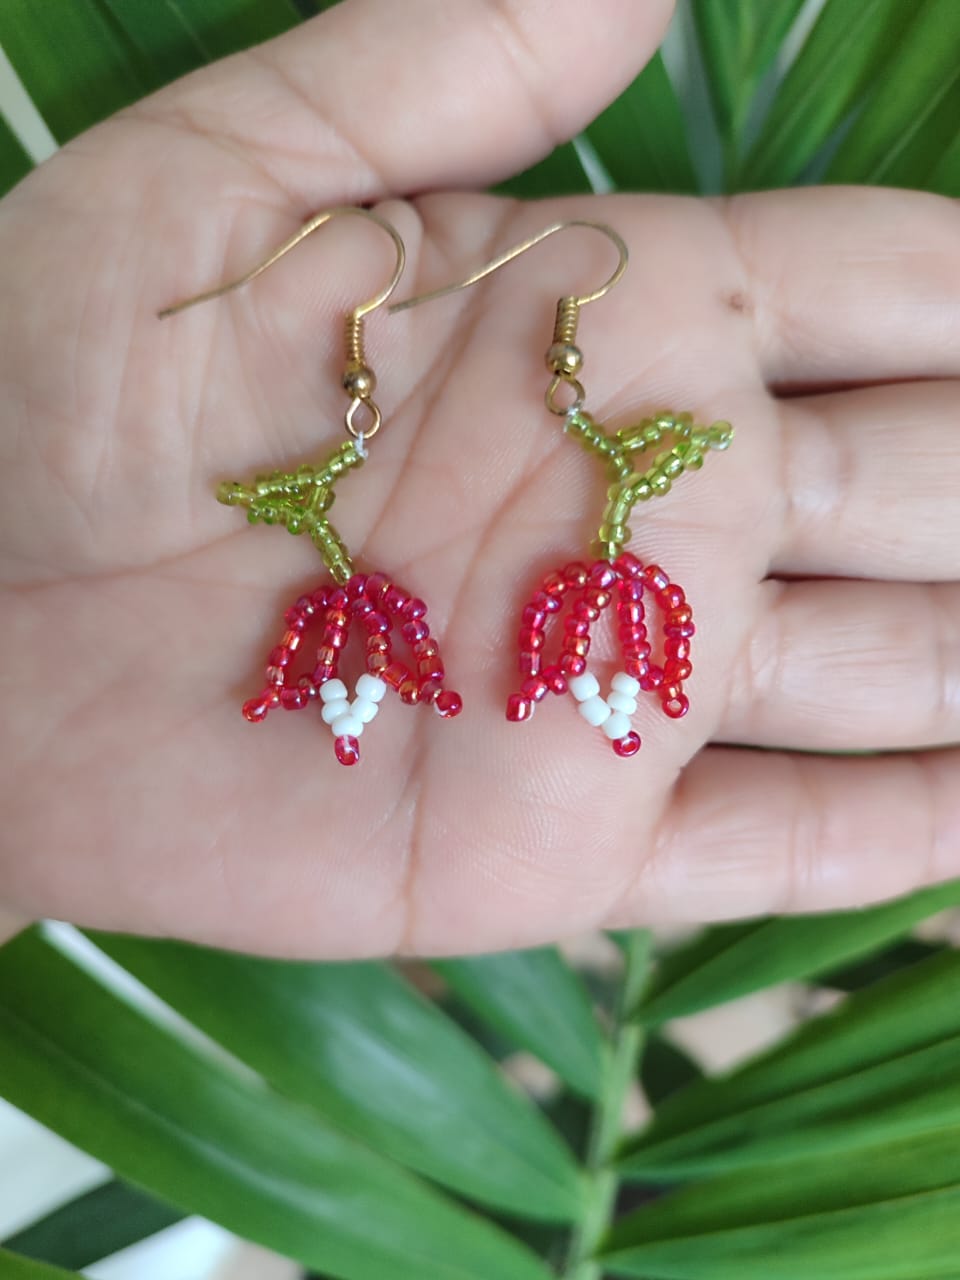
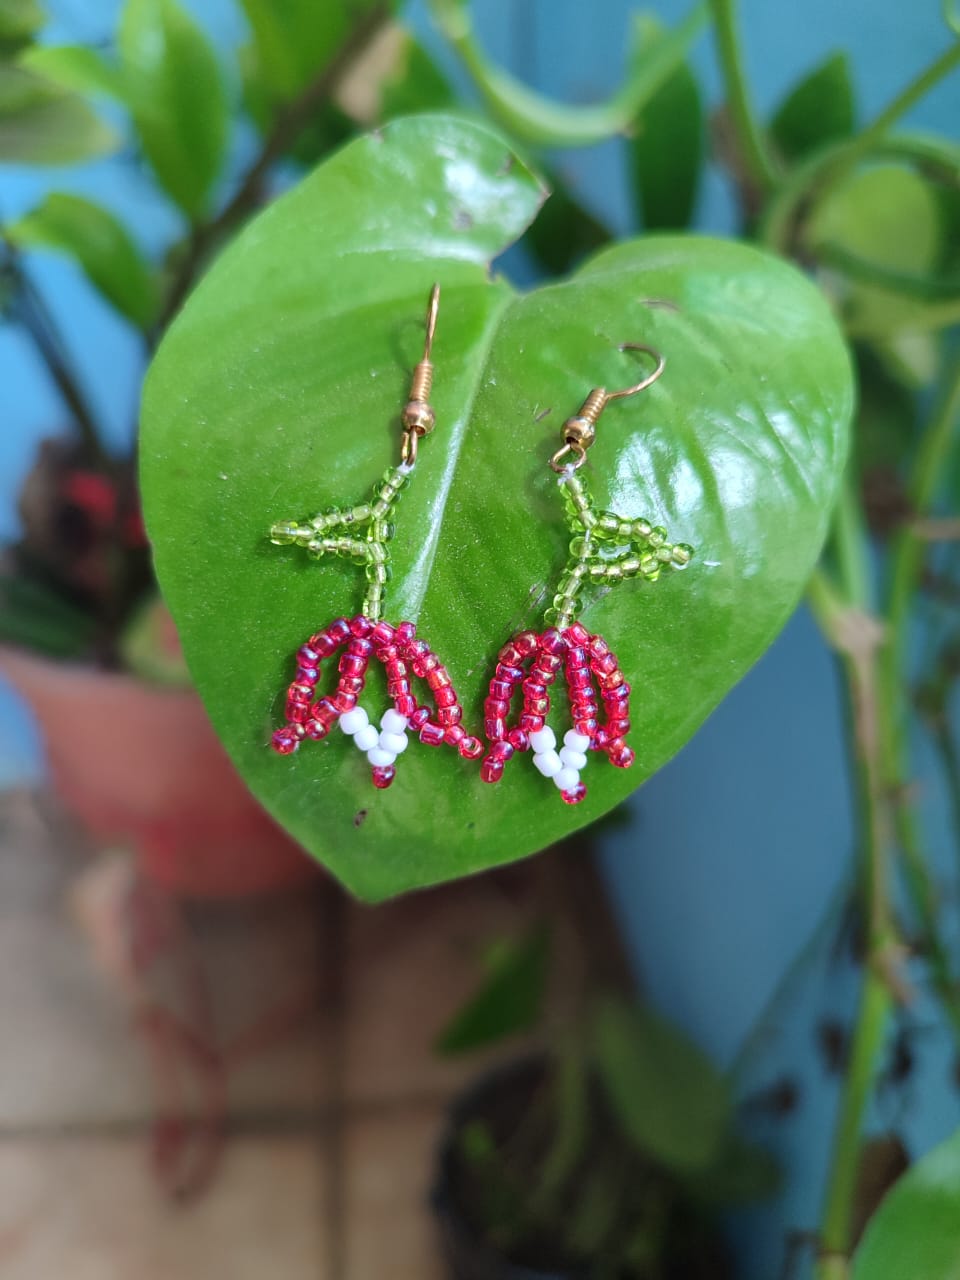
***Resultado!***
***Result!***
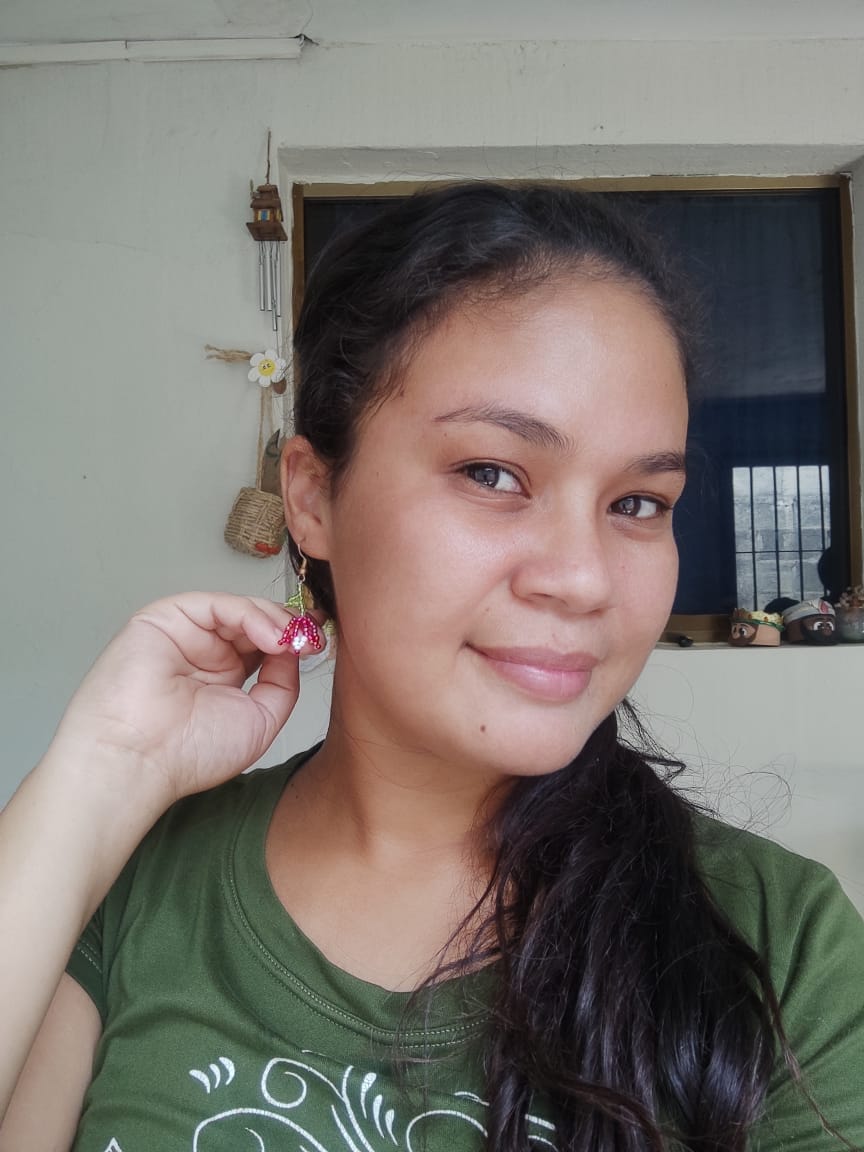
Tenemos un resultado muy bonito, llamativo y radiante para lucir como accesorios.. Me encanta el final de este trabajo, espero a ustedes también.
We have a very beautiful, striking and radiant result to show off as accessories. I love the end of this work, I hope you do too.
Con cariño me despido, deseándoles un lina linda tarde, espero leer que les pareció en los comentarios. Dios le bendiga,nos vemos pronto.!!
I bid you a fond farewell, wishing you a wonderful evening. I look forward to reading what you think in the comments. God bless, and see you soon!
🙋🏻Todas las imágenes de esta publicación son de mi autoria capturadas de mi dispositivo Smooth 6.5, primera imagen editada en PicsArt | Texto original traducido en el traductor de Google.
All images in this post are my own, captured from my Smooth 6.5 device, first image edited in PicsArt | Original text translated in Google translator.
