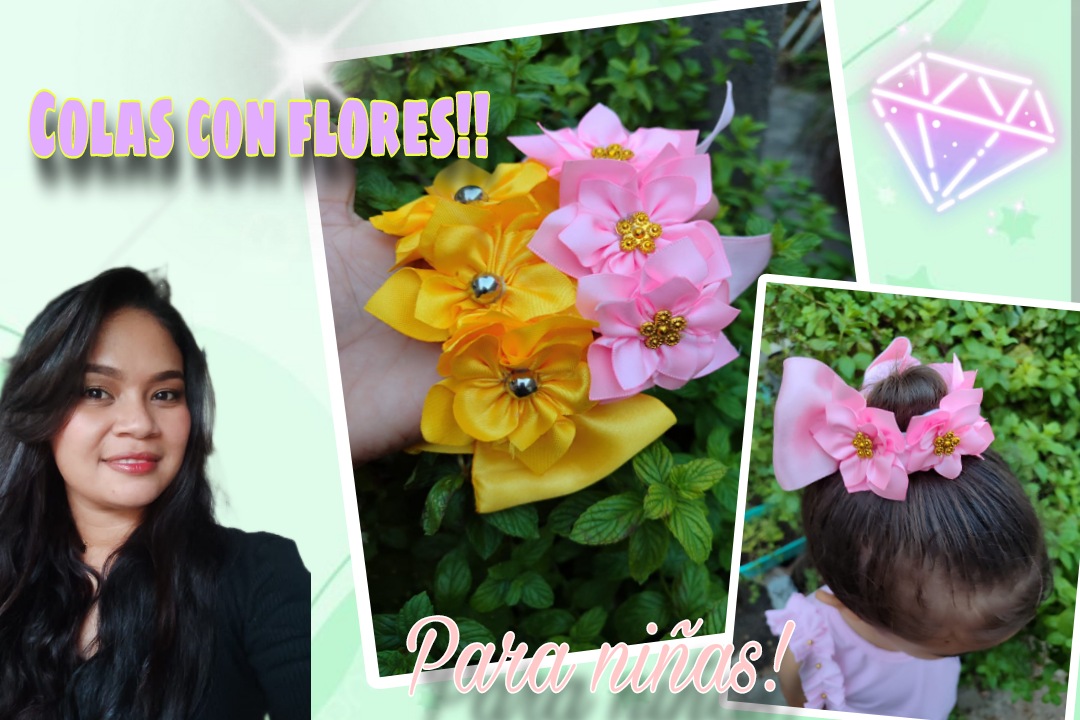
Hola, hola, mi gente bonita de #jewelry..!! Feliz noche tengan todos, permítanme darle una cálida bienvenida a mi blog y agradecerles por todo el cariño que recibo en la comunidad, siempre que tengo la oportunidad de compartir un paso a paso con ustedes..
El accesorio de hoy tiene varios nombres, ya que prácticamente todas tienen una misma función y es sujetar el cabello; algunos le dicen moñeras, otros coletas, colas o scrunchies, aunque yo las llamo de todas esas formas, este tiene un nombre muy específico por su hermosa manera de solo decorar un peinado; y es una moñera cebollera y ahora les explico por qué..!! Existe un peinado muy común y es llamado peinado "Cebolla", un peinado que a muchas mamis nos saca de apuro al momento peinar nuestras niñas pues es todo el cabello recogido; por su elegancia, muchas novias también suelen usarlo, pero lo he visto más en las bailarinas de ballet , entonces imagínate embellecerse a tu niña aún mas decorando este peinado con una moñera llena de flores como la que te enseñare a hacer hoy, acompáñame te muestro el proceso!!
Hello, hello, my beautiful #jewelry people!! Happy evening everyone! Allow me to extend a warm welcome to my blog and thank you for all the love I receive from the community whenever I have the opportunity to share a step-by-step guide with you.Today's accessory has several names, since practically all of them have the same function and that is to hold the hair; some call them buns, others ponytails, tails or scrunchies, although I call them all those ways, this one has a very specific name for its beautiful way of just decorating a hairstyle; and it is an onion bun, now I will explain why .. !! There is a very common hairstyle and it is called "Onion" hairstyle, a hairstyle that many moms get out of trouble when combing our girls because it is all the hair tied up; because of its elegance, many brides also tend to use it, but I have seen it more in ballet dancers, so imagine beautifying your little girl even more by decorating this hairstyle with a bun full of flowers like the one I will teach you how to do today, join me I will show you the process !!
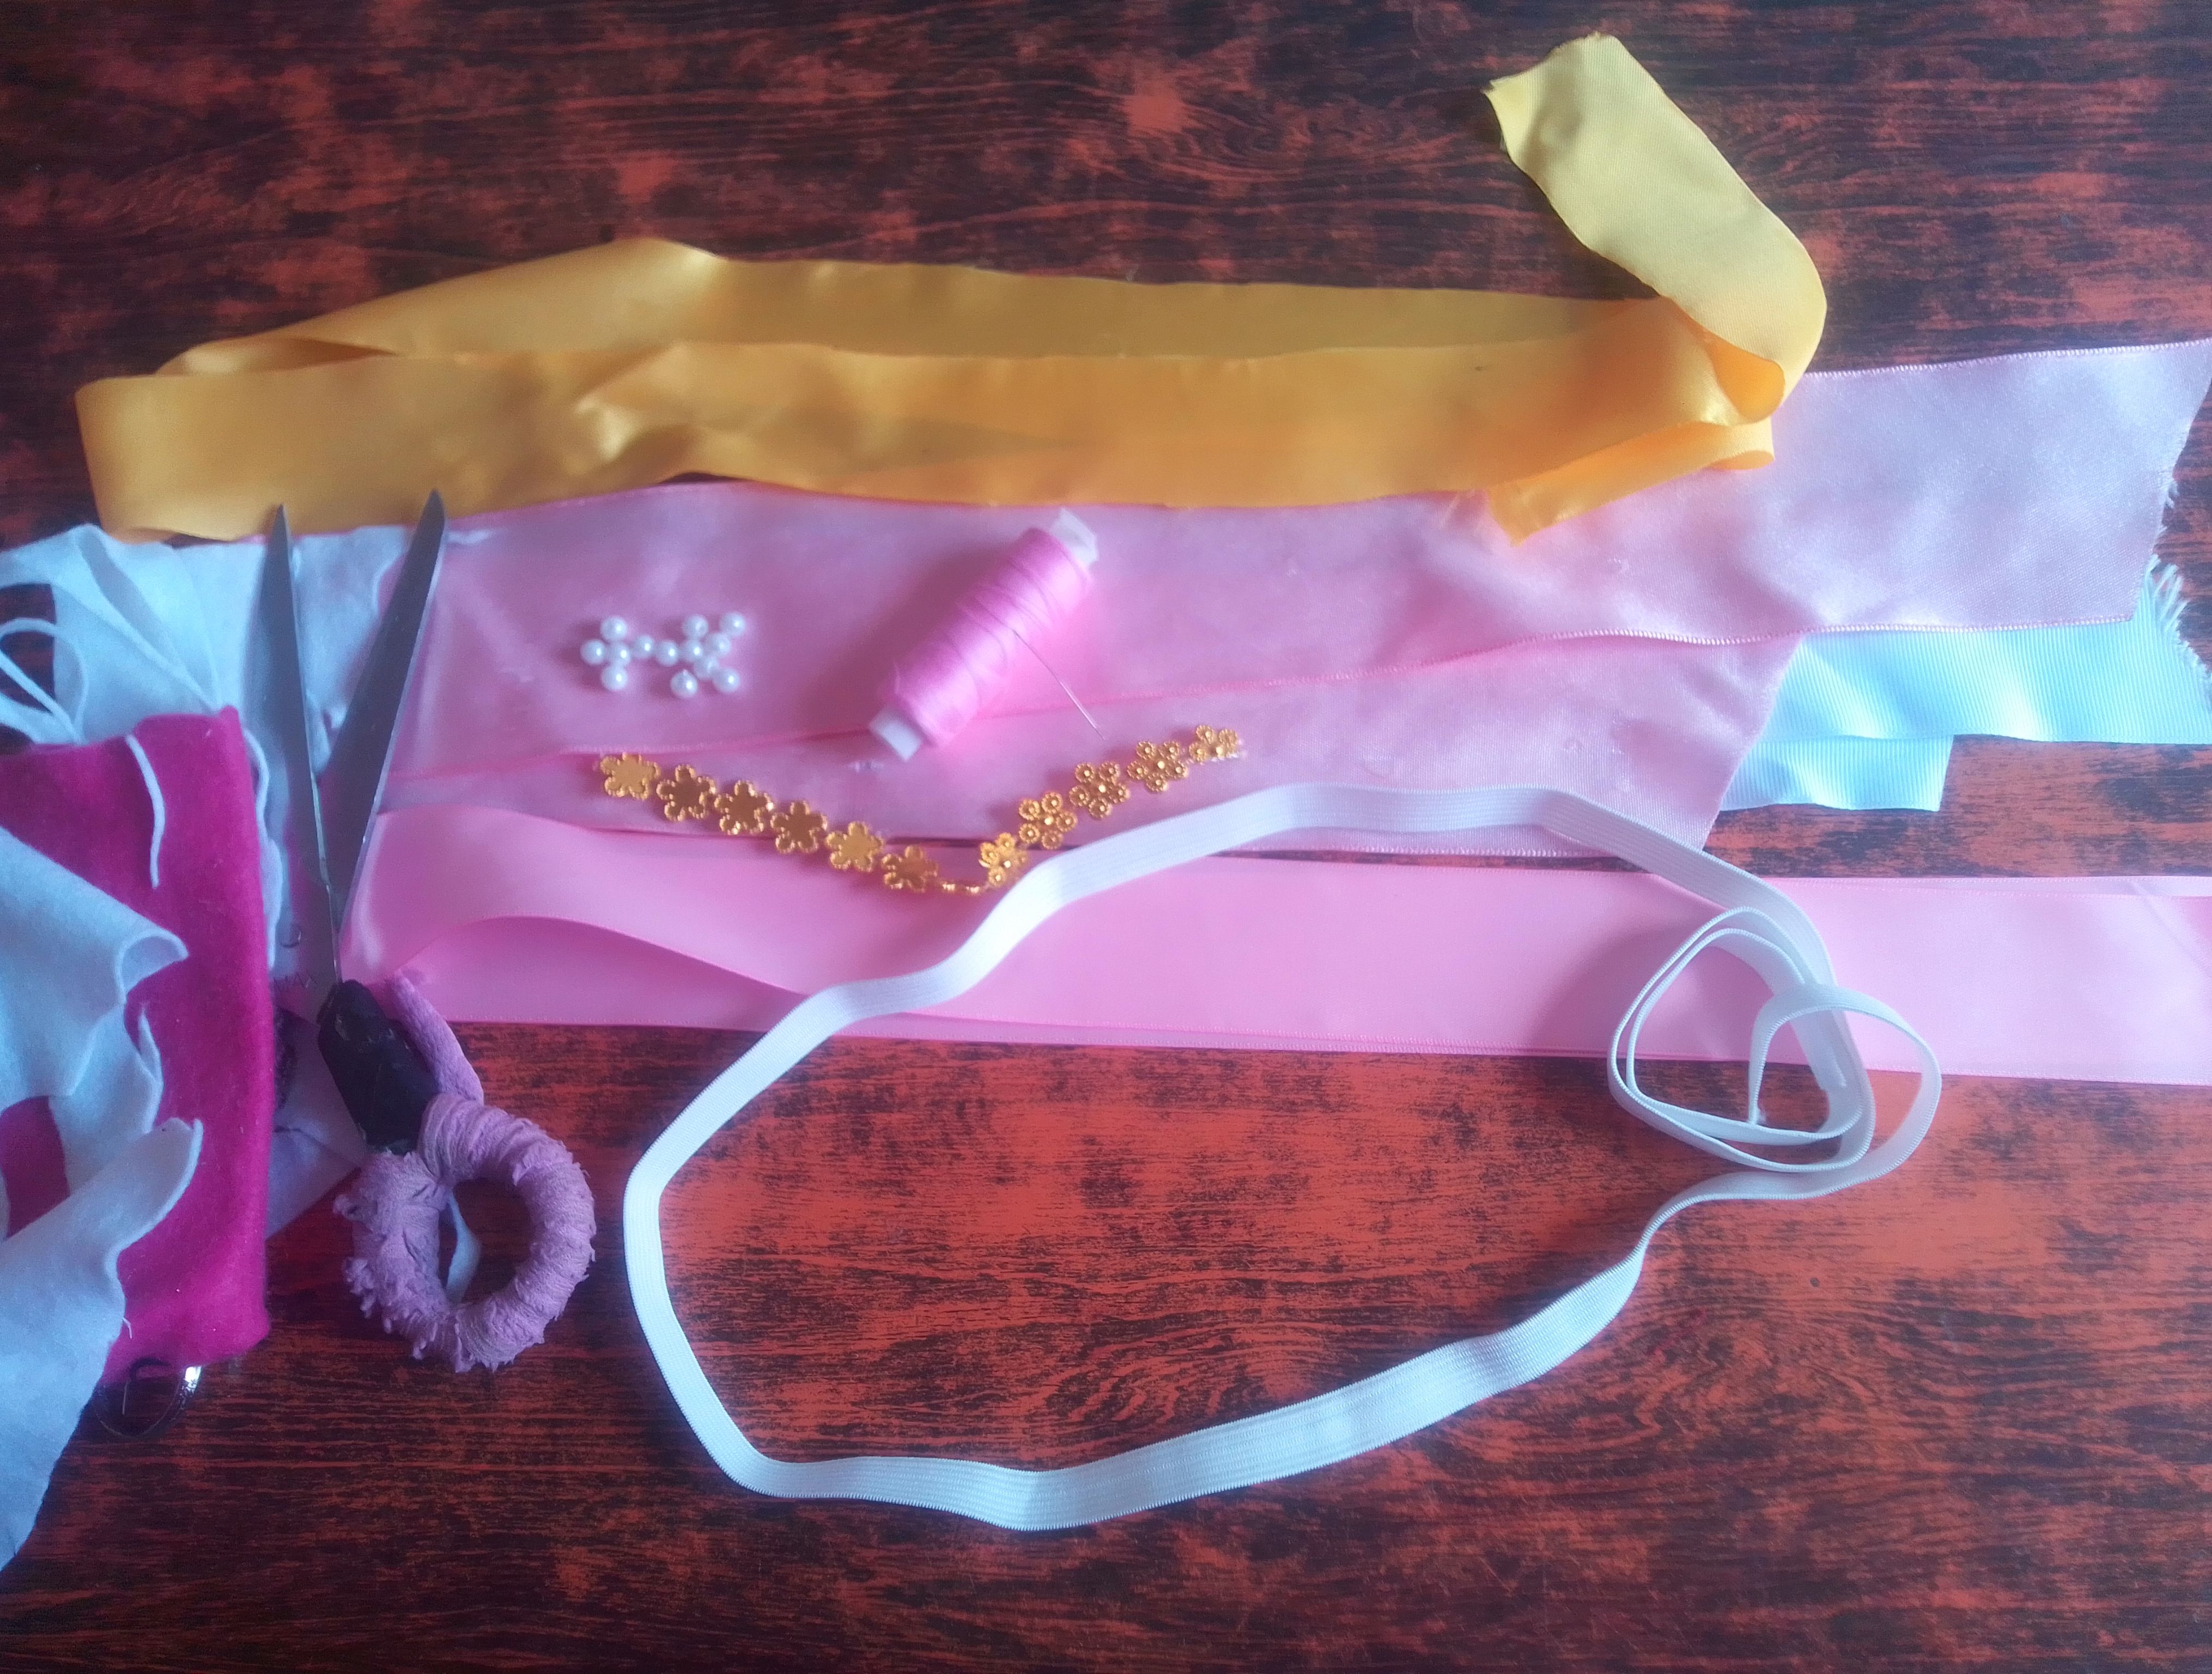
***Materiales que necesitas:***
***Materials you need:***
- Cinta de 4cm de ancho.
- Elástica de 1cm de ancho.
- Encendedor.
- Apliques dorados.
- Hilo y aguja.
- Tijeras.
- Silicón.
- Fieltro.
- 4cm wide ribbon.
- 1cm wide elastic.
- Lighter.
- Gold appliqués.
- Needle and thread.
- Scissors.
- Silicona.
- Felt.
***PROCEDIMIENTO***
Procedure
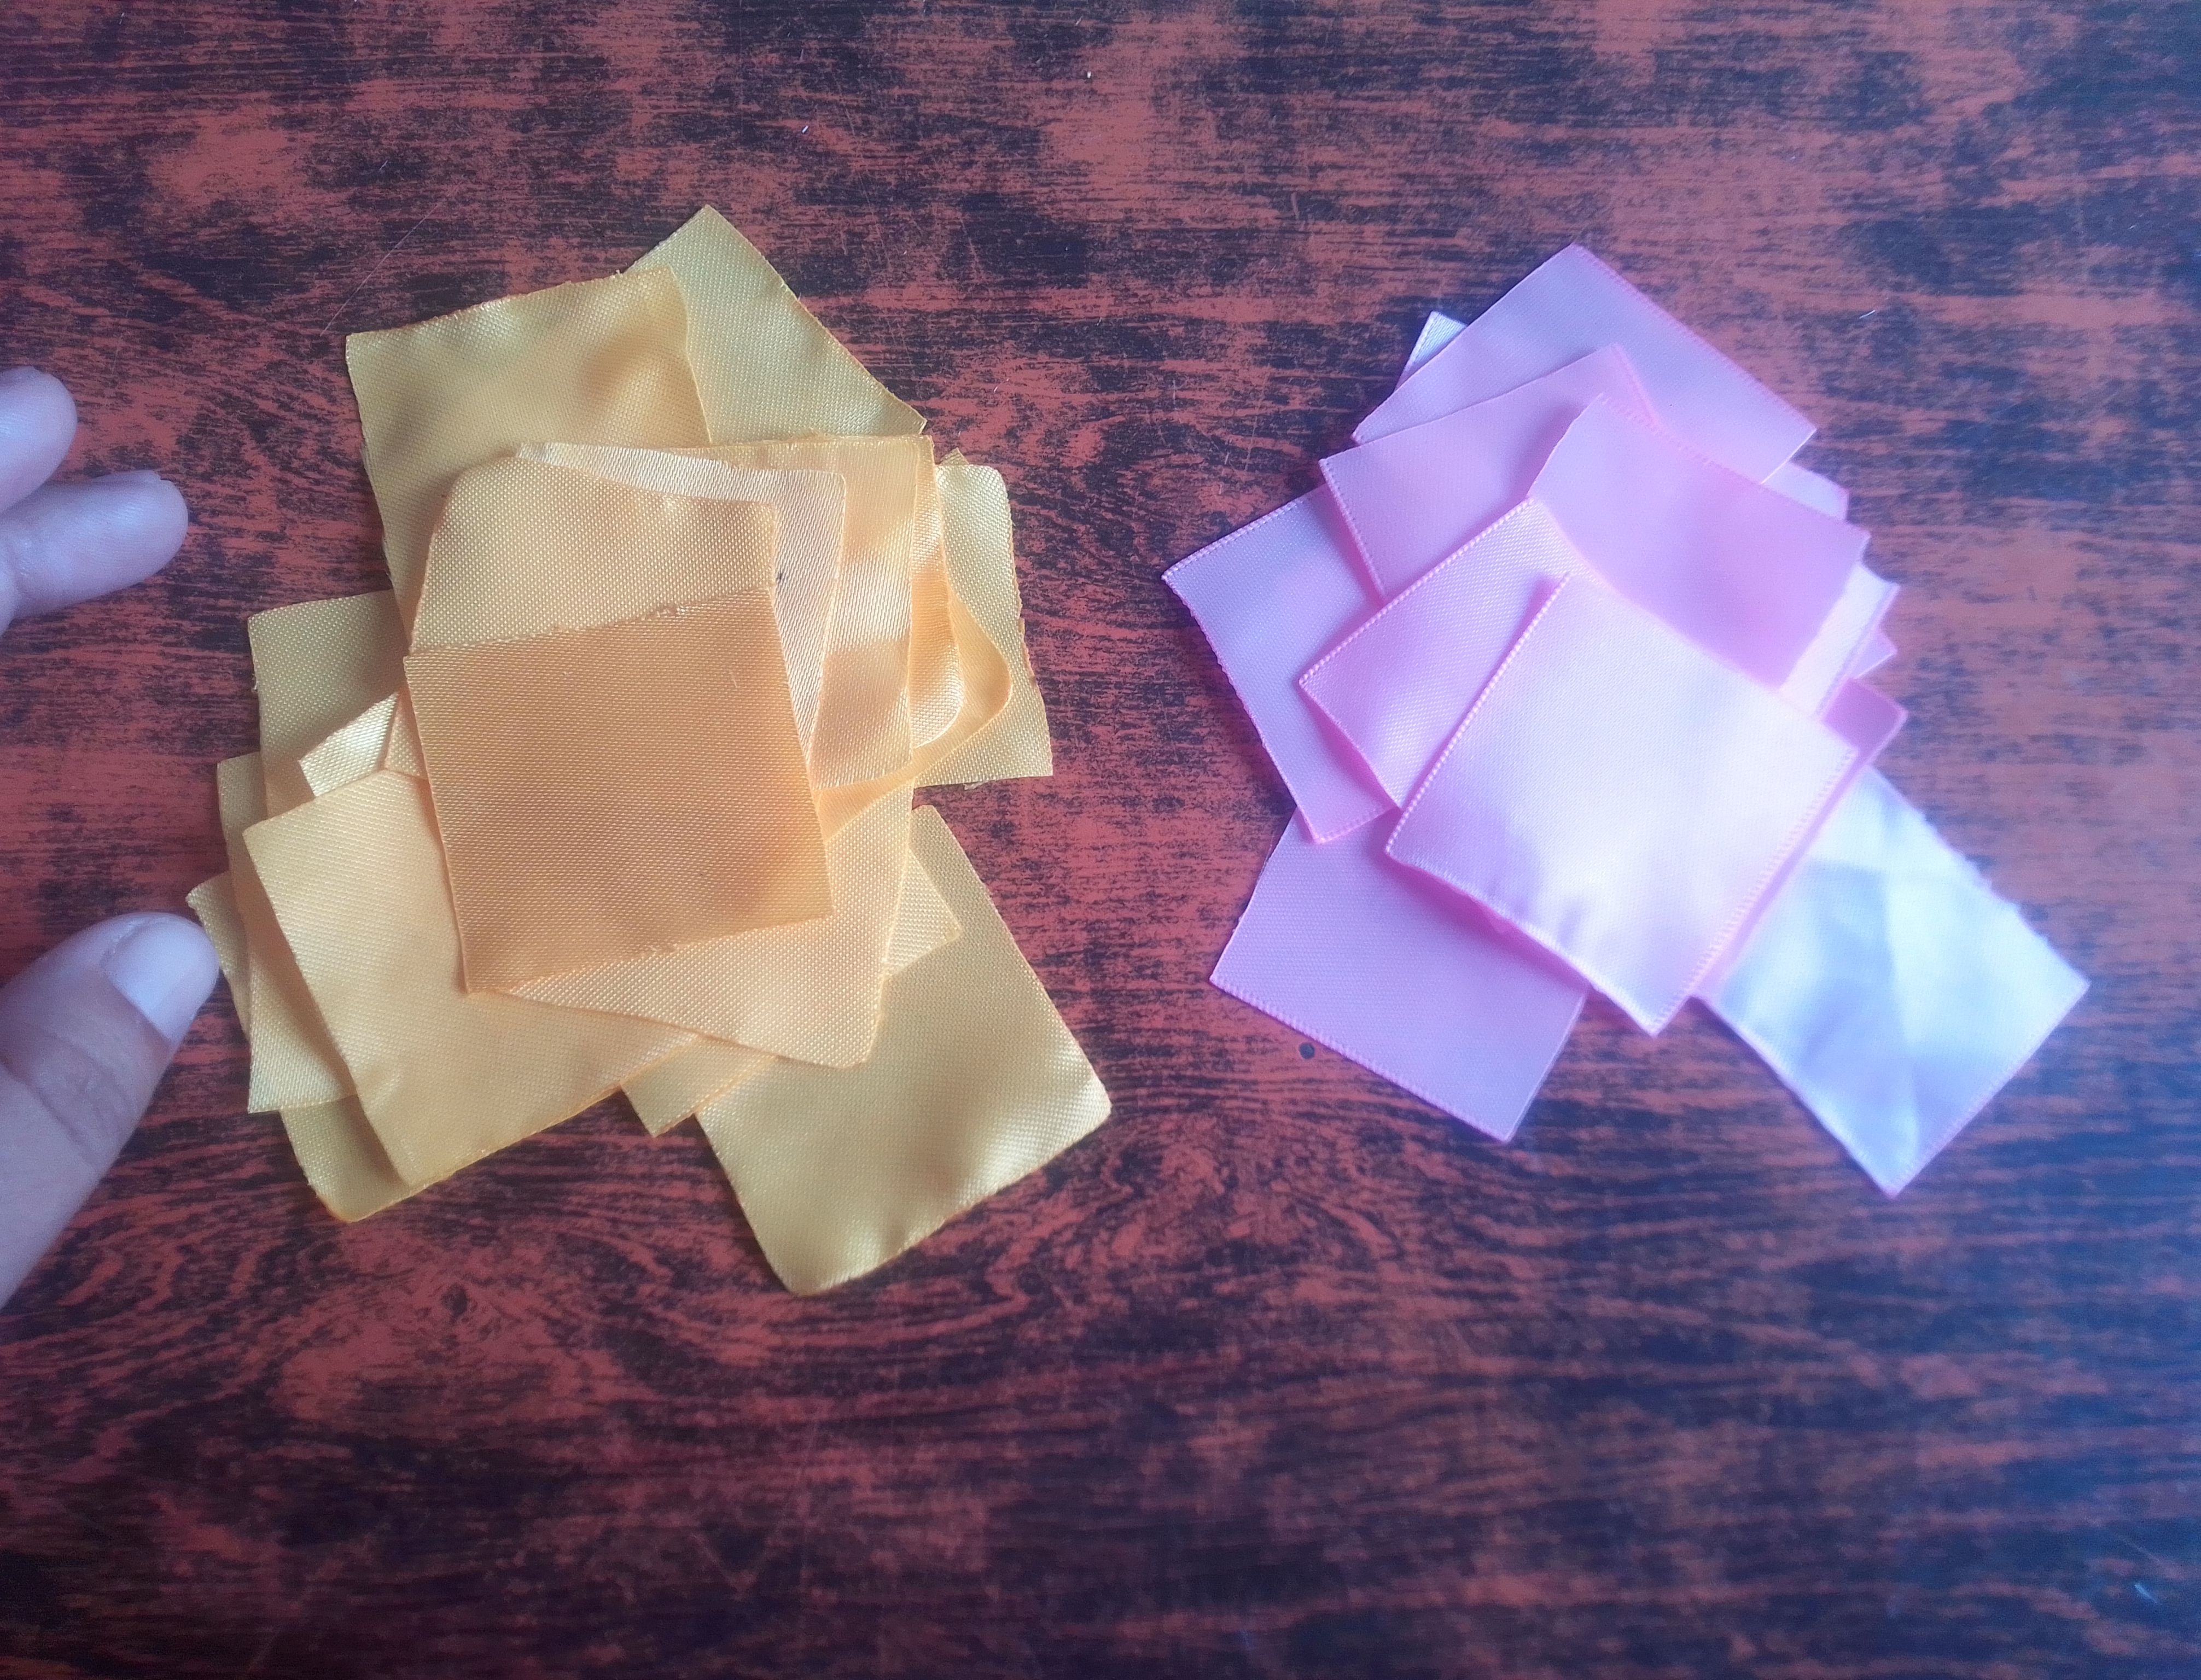
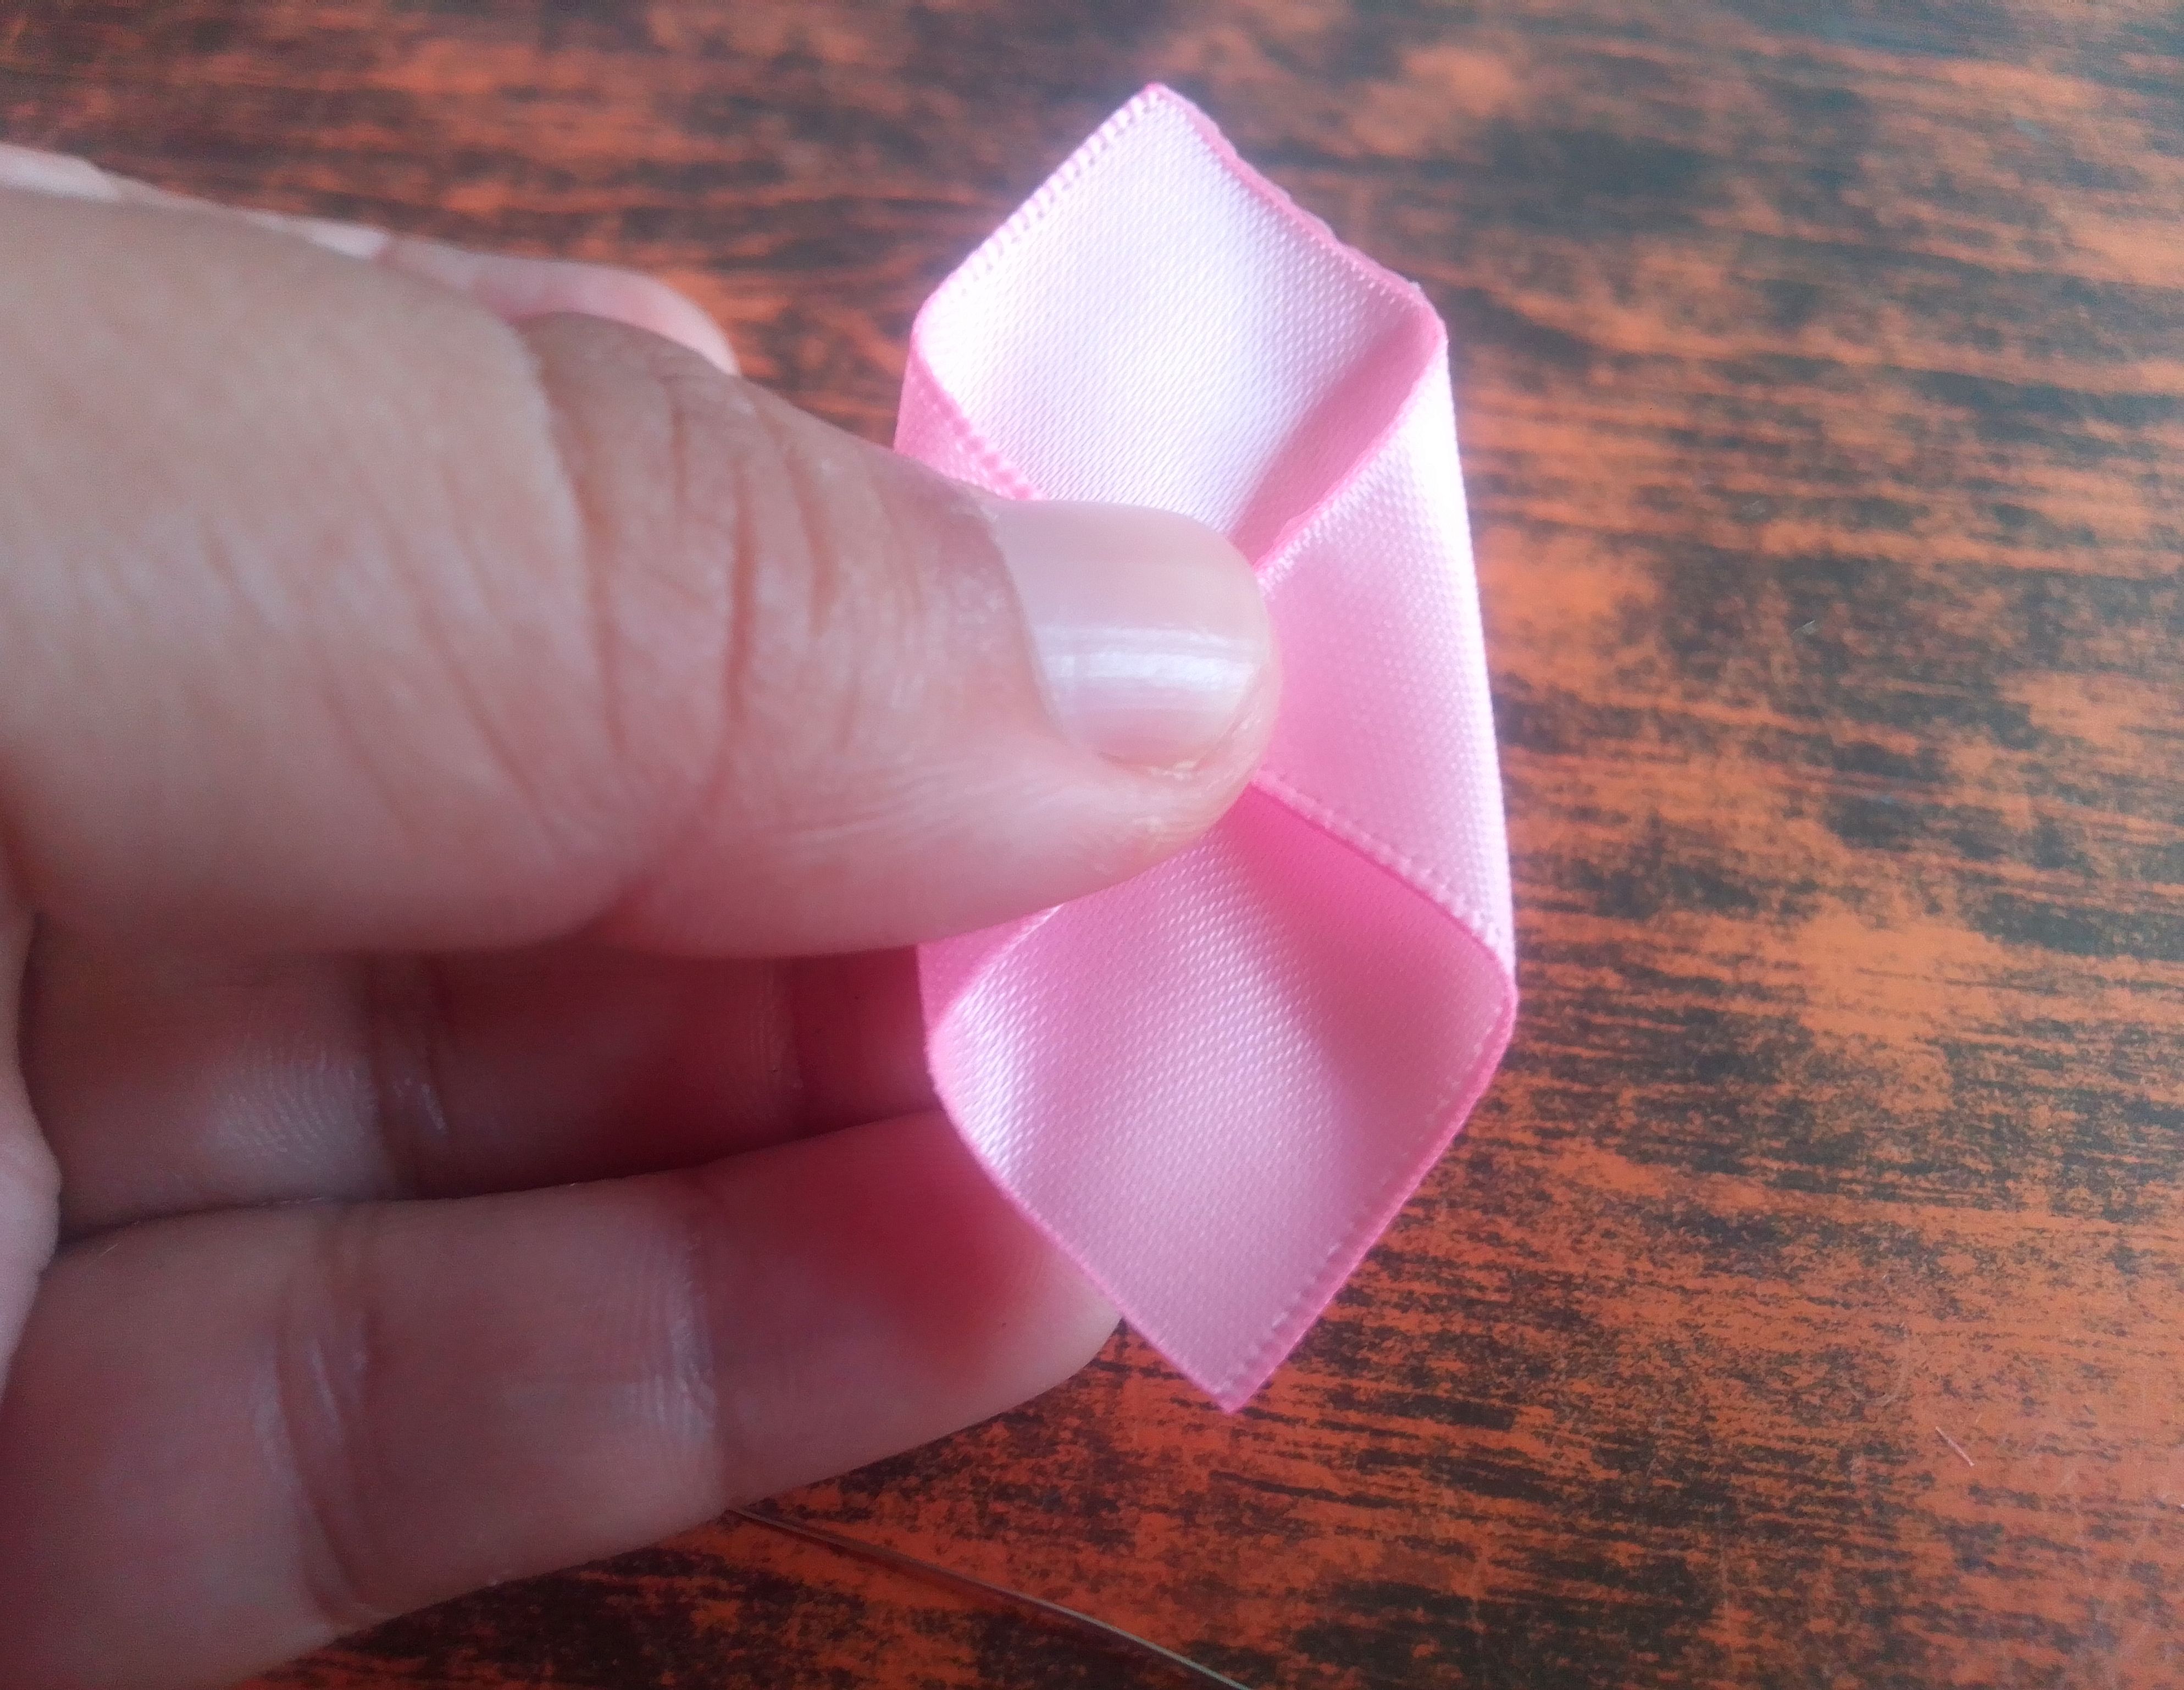
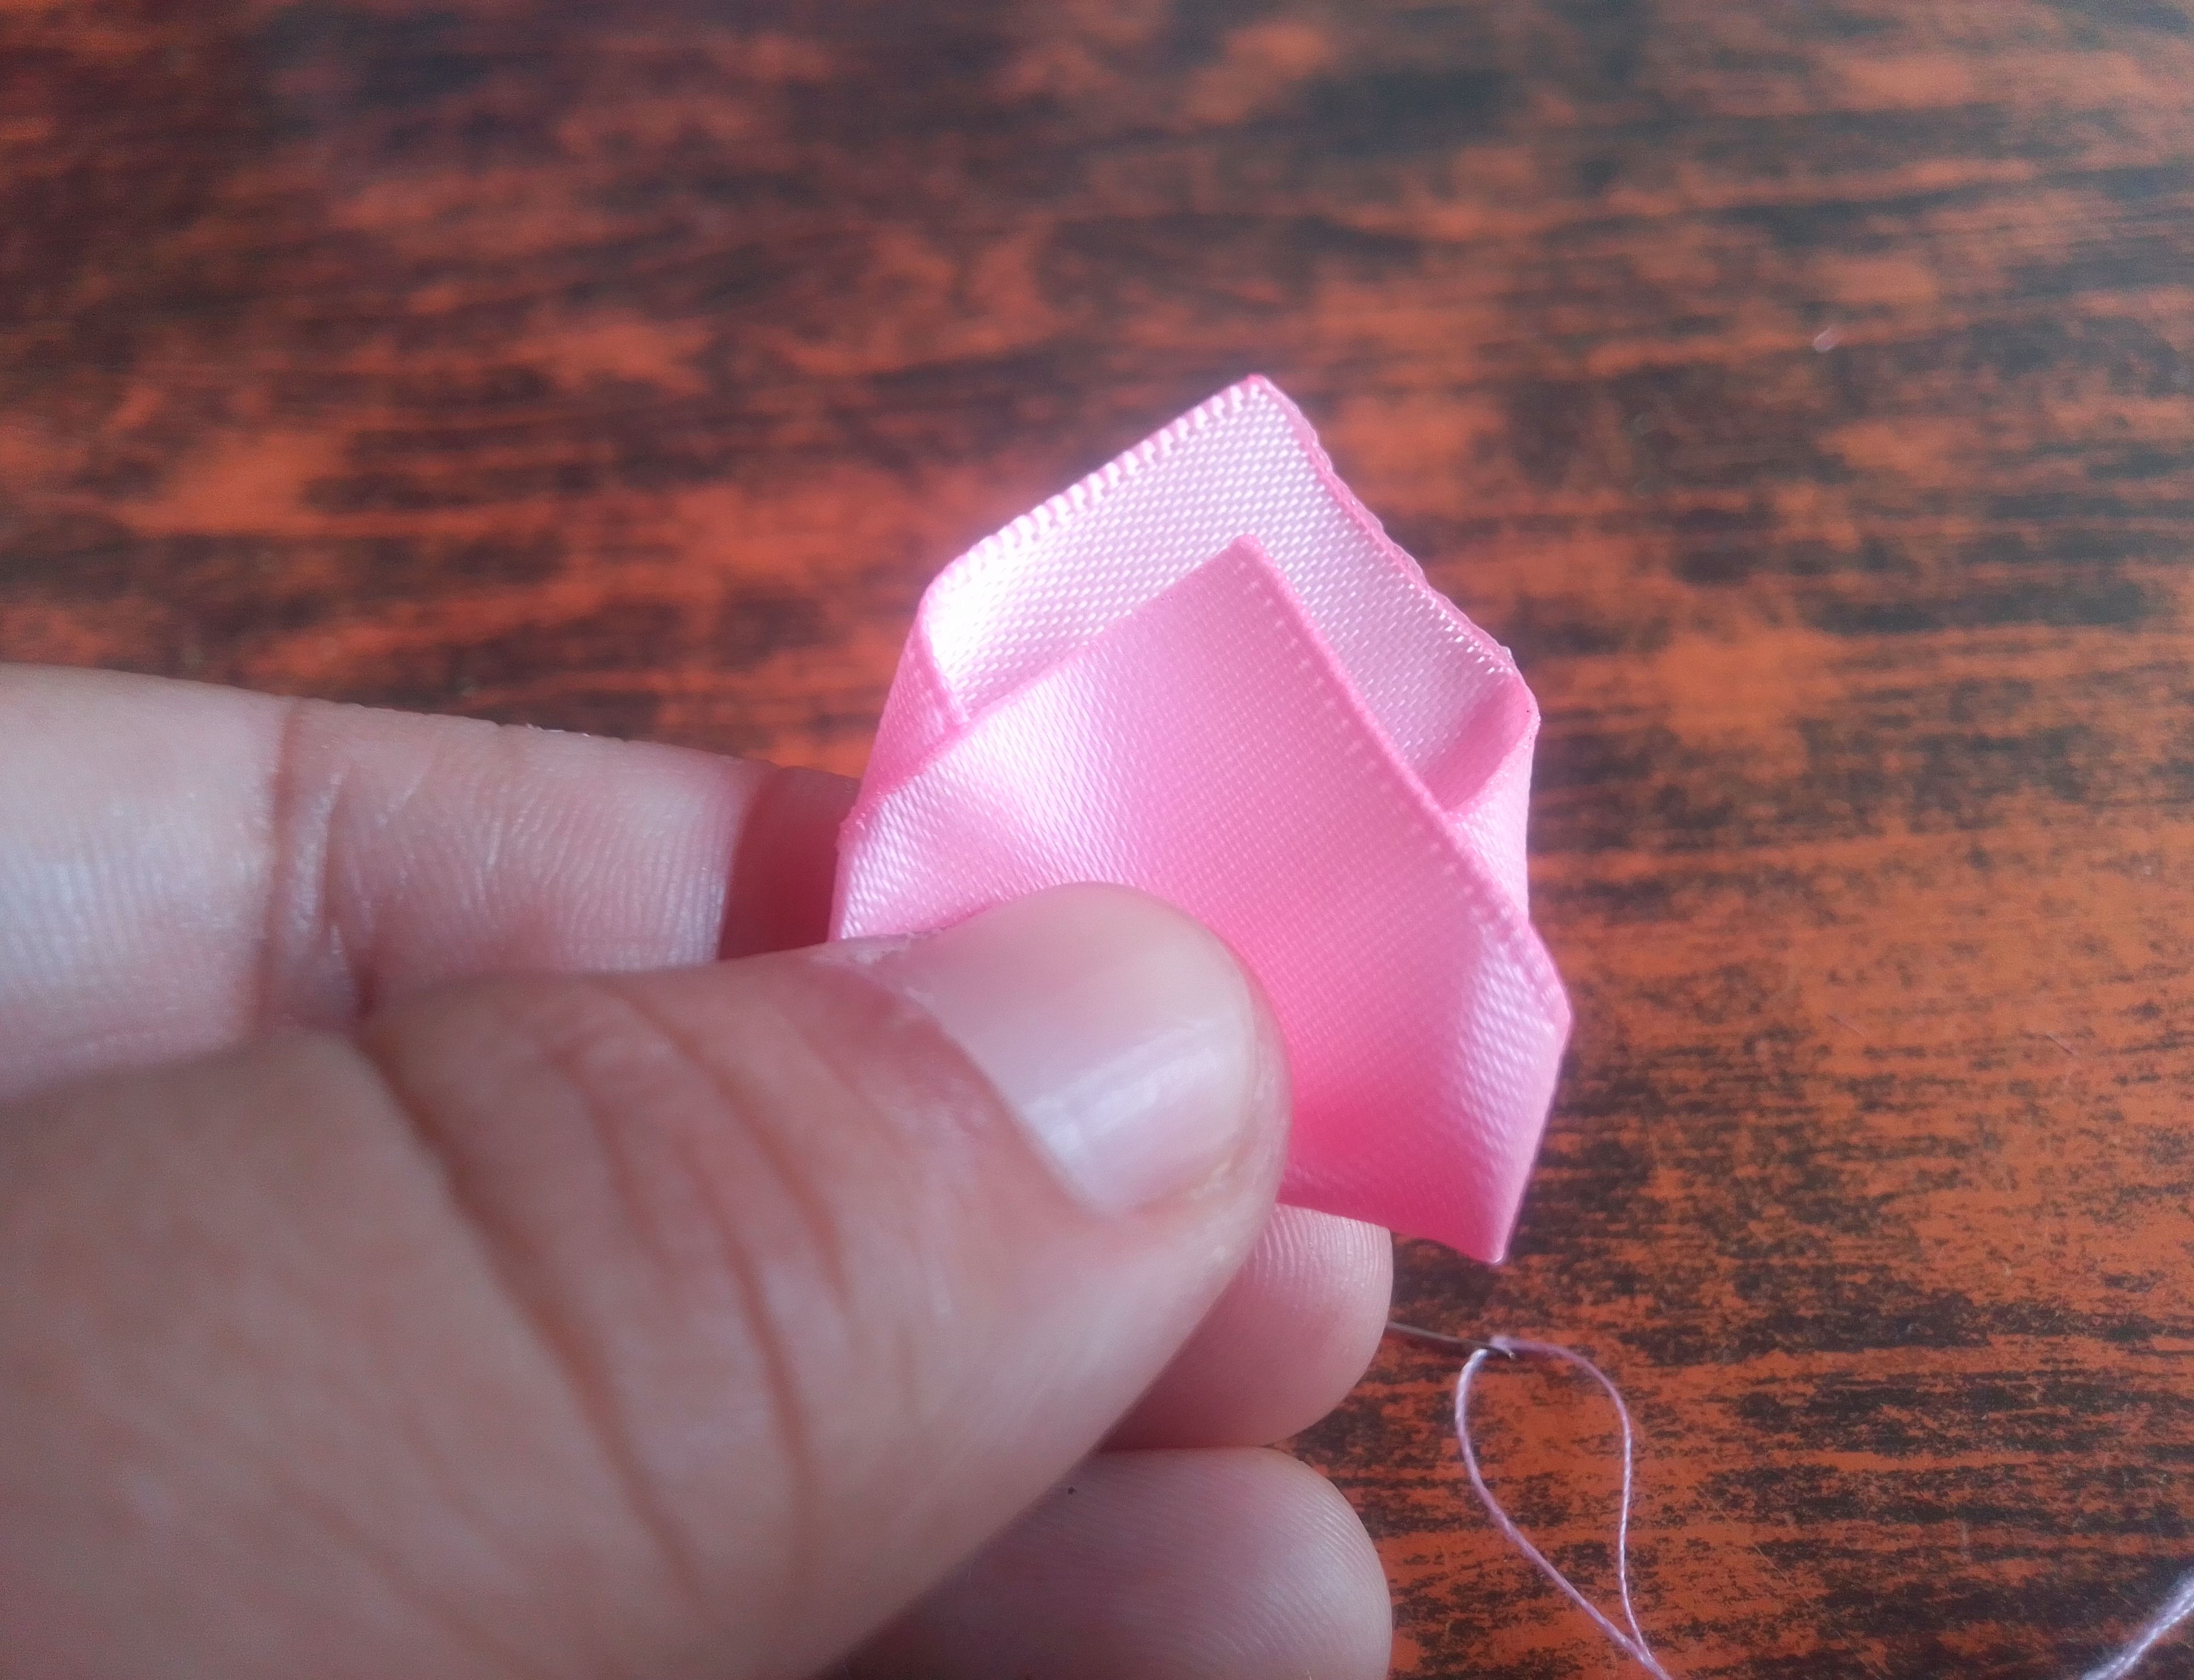
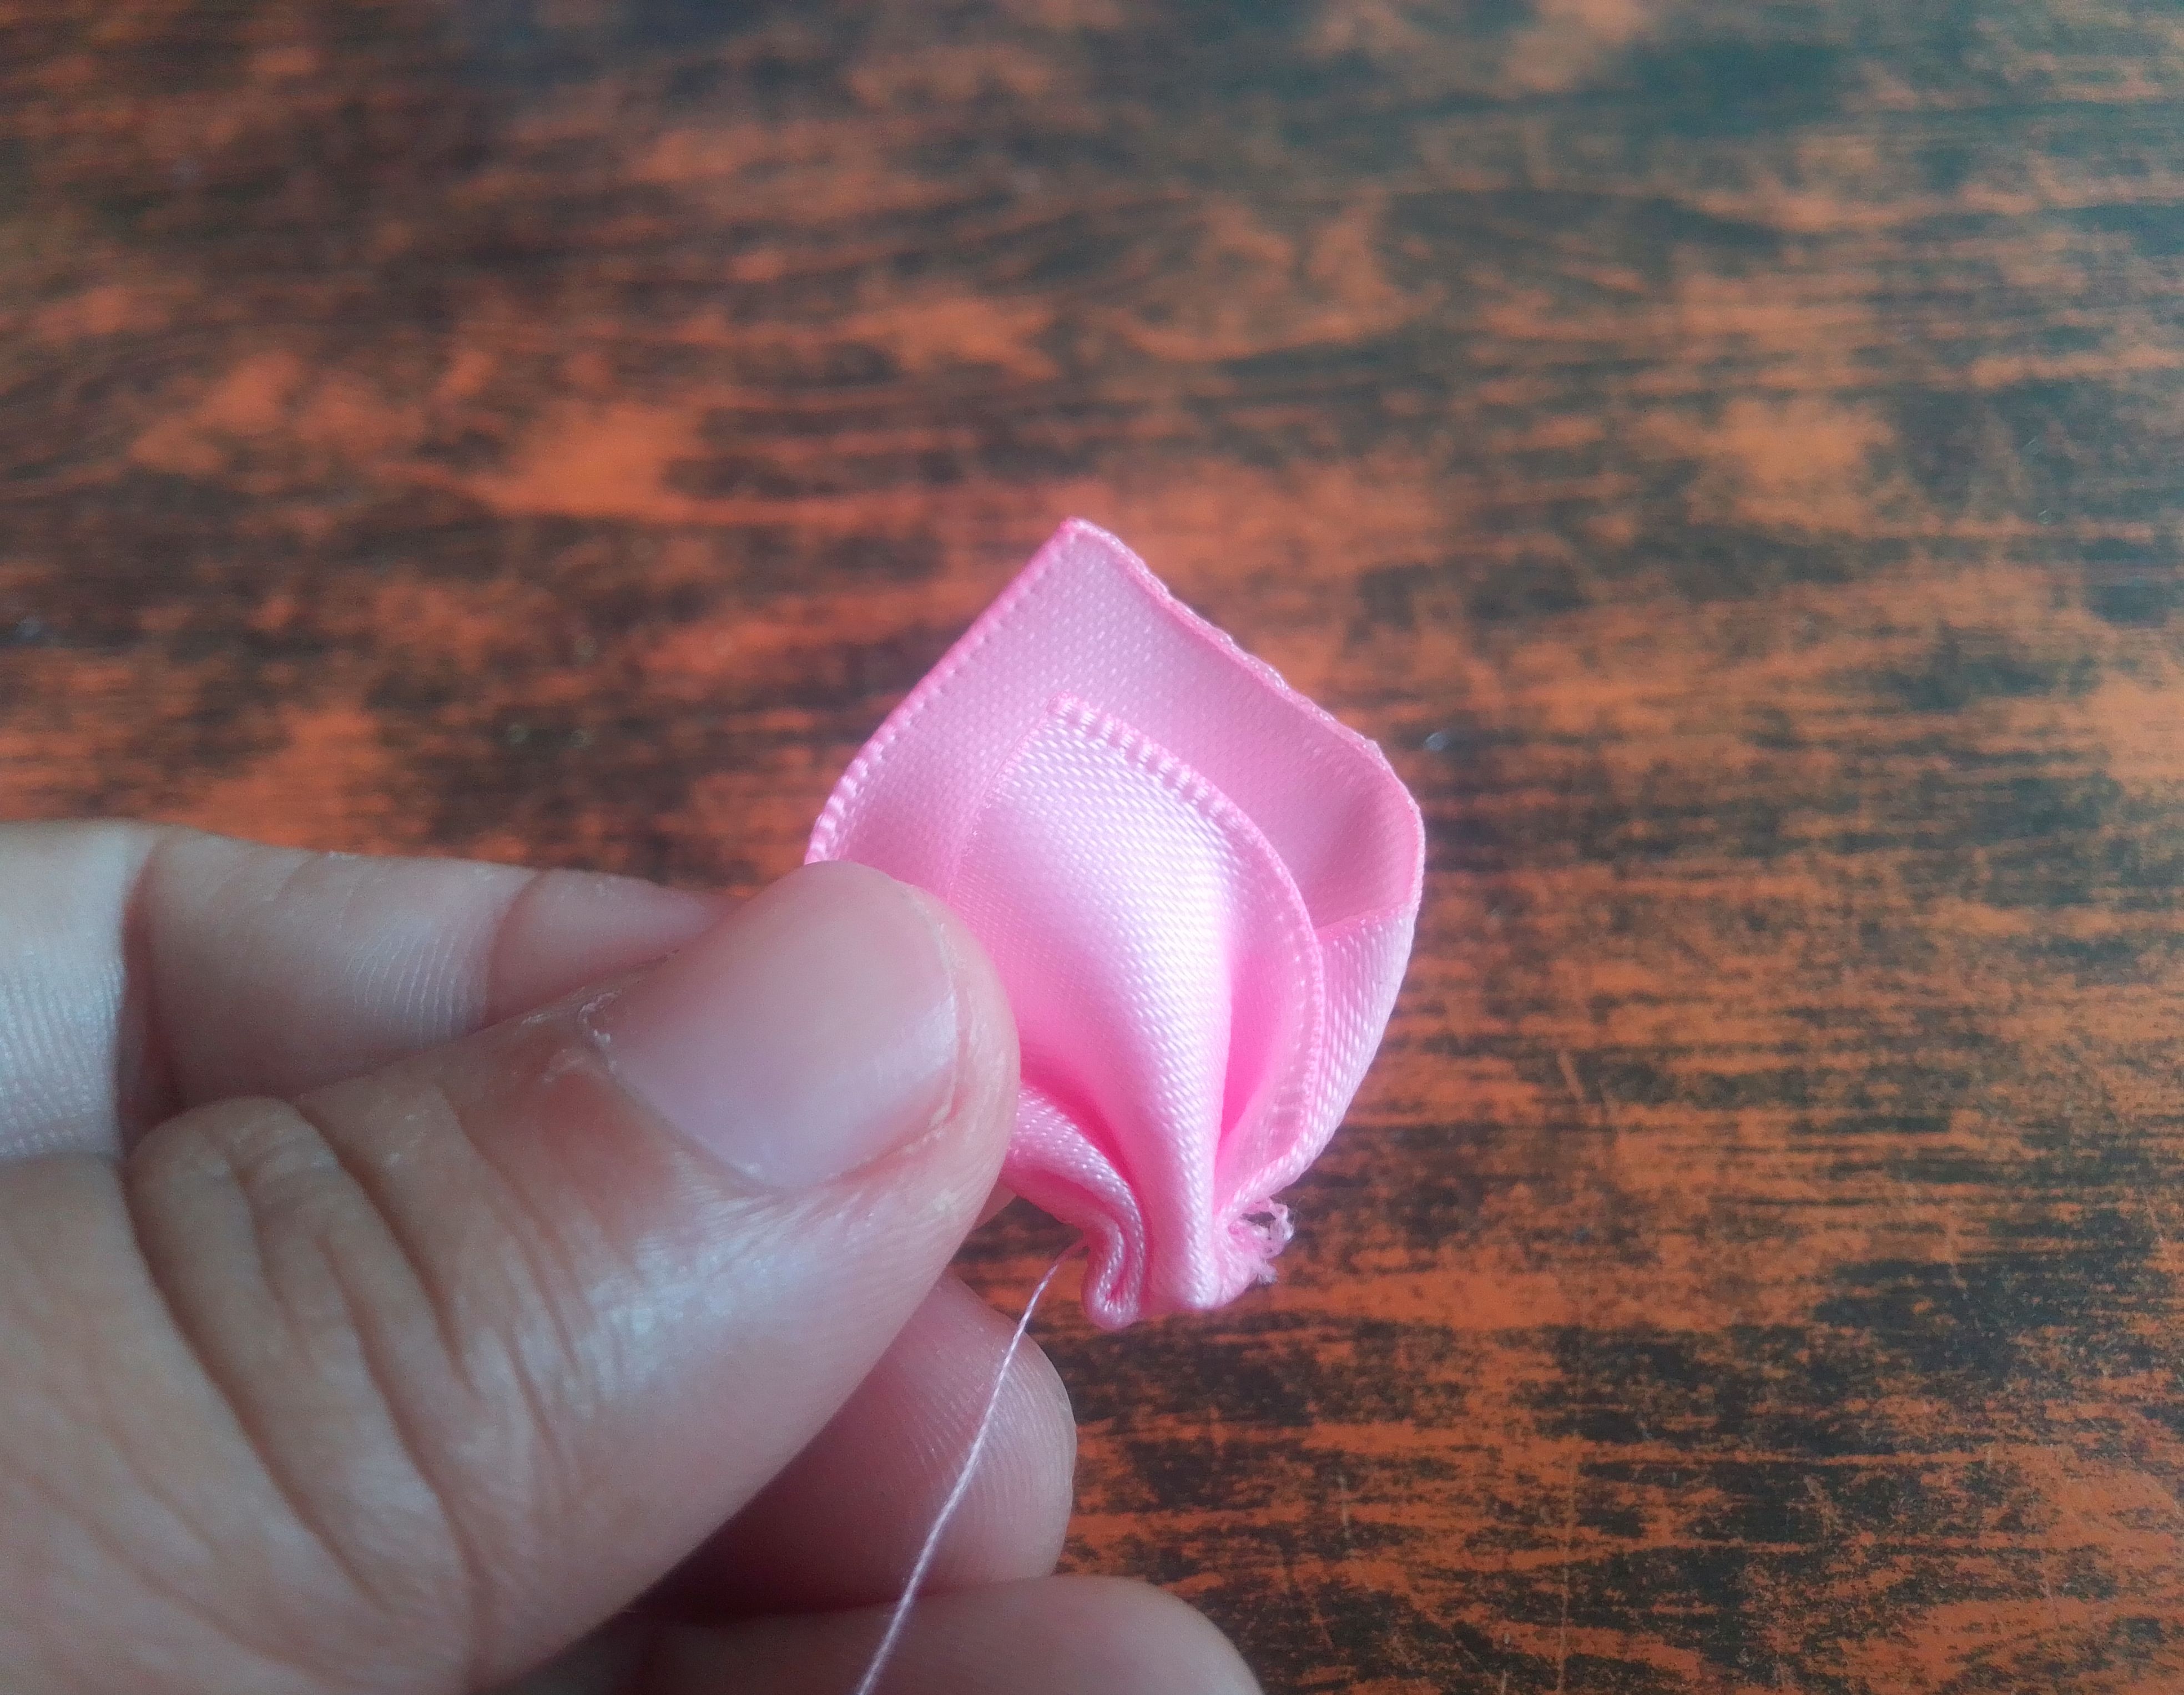
🌟Paso 01
Para comenzar voy a cortar la cinta en cuadrados de 4x4cm, yo intenté hacer uno con tela satén para ver que tal quedaban.A estos cuadritos le pasaremos calor para sellar las orillas. Luego voy a juntar punta con punta de manera diagonal y con el encendedor le damos fuego para que estas peguen. Ahora doblamos un poco más abajo de mitad las otras puntas y hago una costura hilvanada de 4 puntadas, formando así el pétalo de la flor.
🌟Step 01
To start, I'm going to cut the ribbon into 4x4cm squares. I tried making one with satin fabric to see how they would turn out. We'll heat seal the edges of these squares. Then, I'm going to join each point diagonally, and use a lighter to light them so they stick together. Now, fold the other points a little lower than halfway down, and sew a 4-stitch basting seam, forming the flower petal.
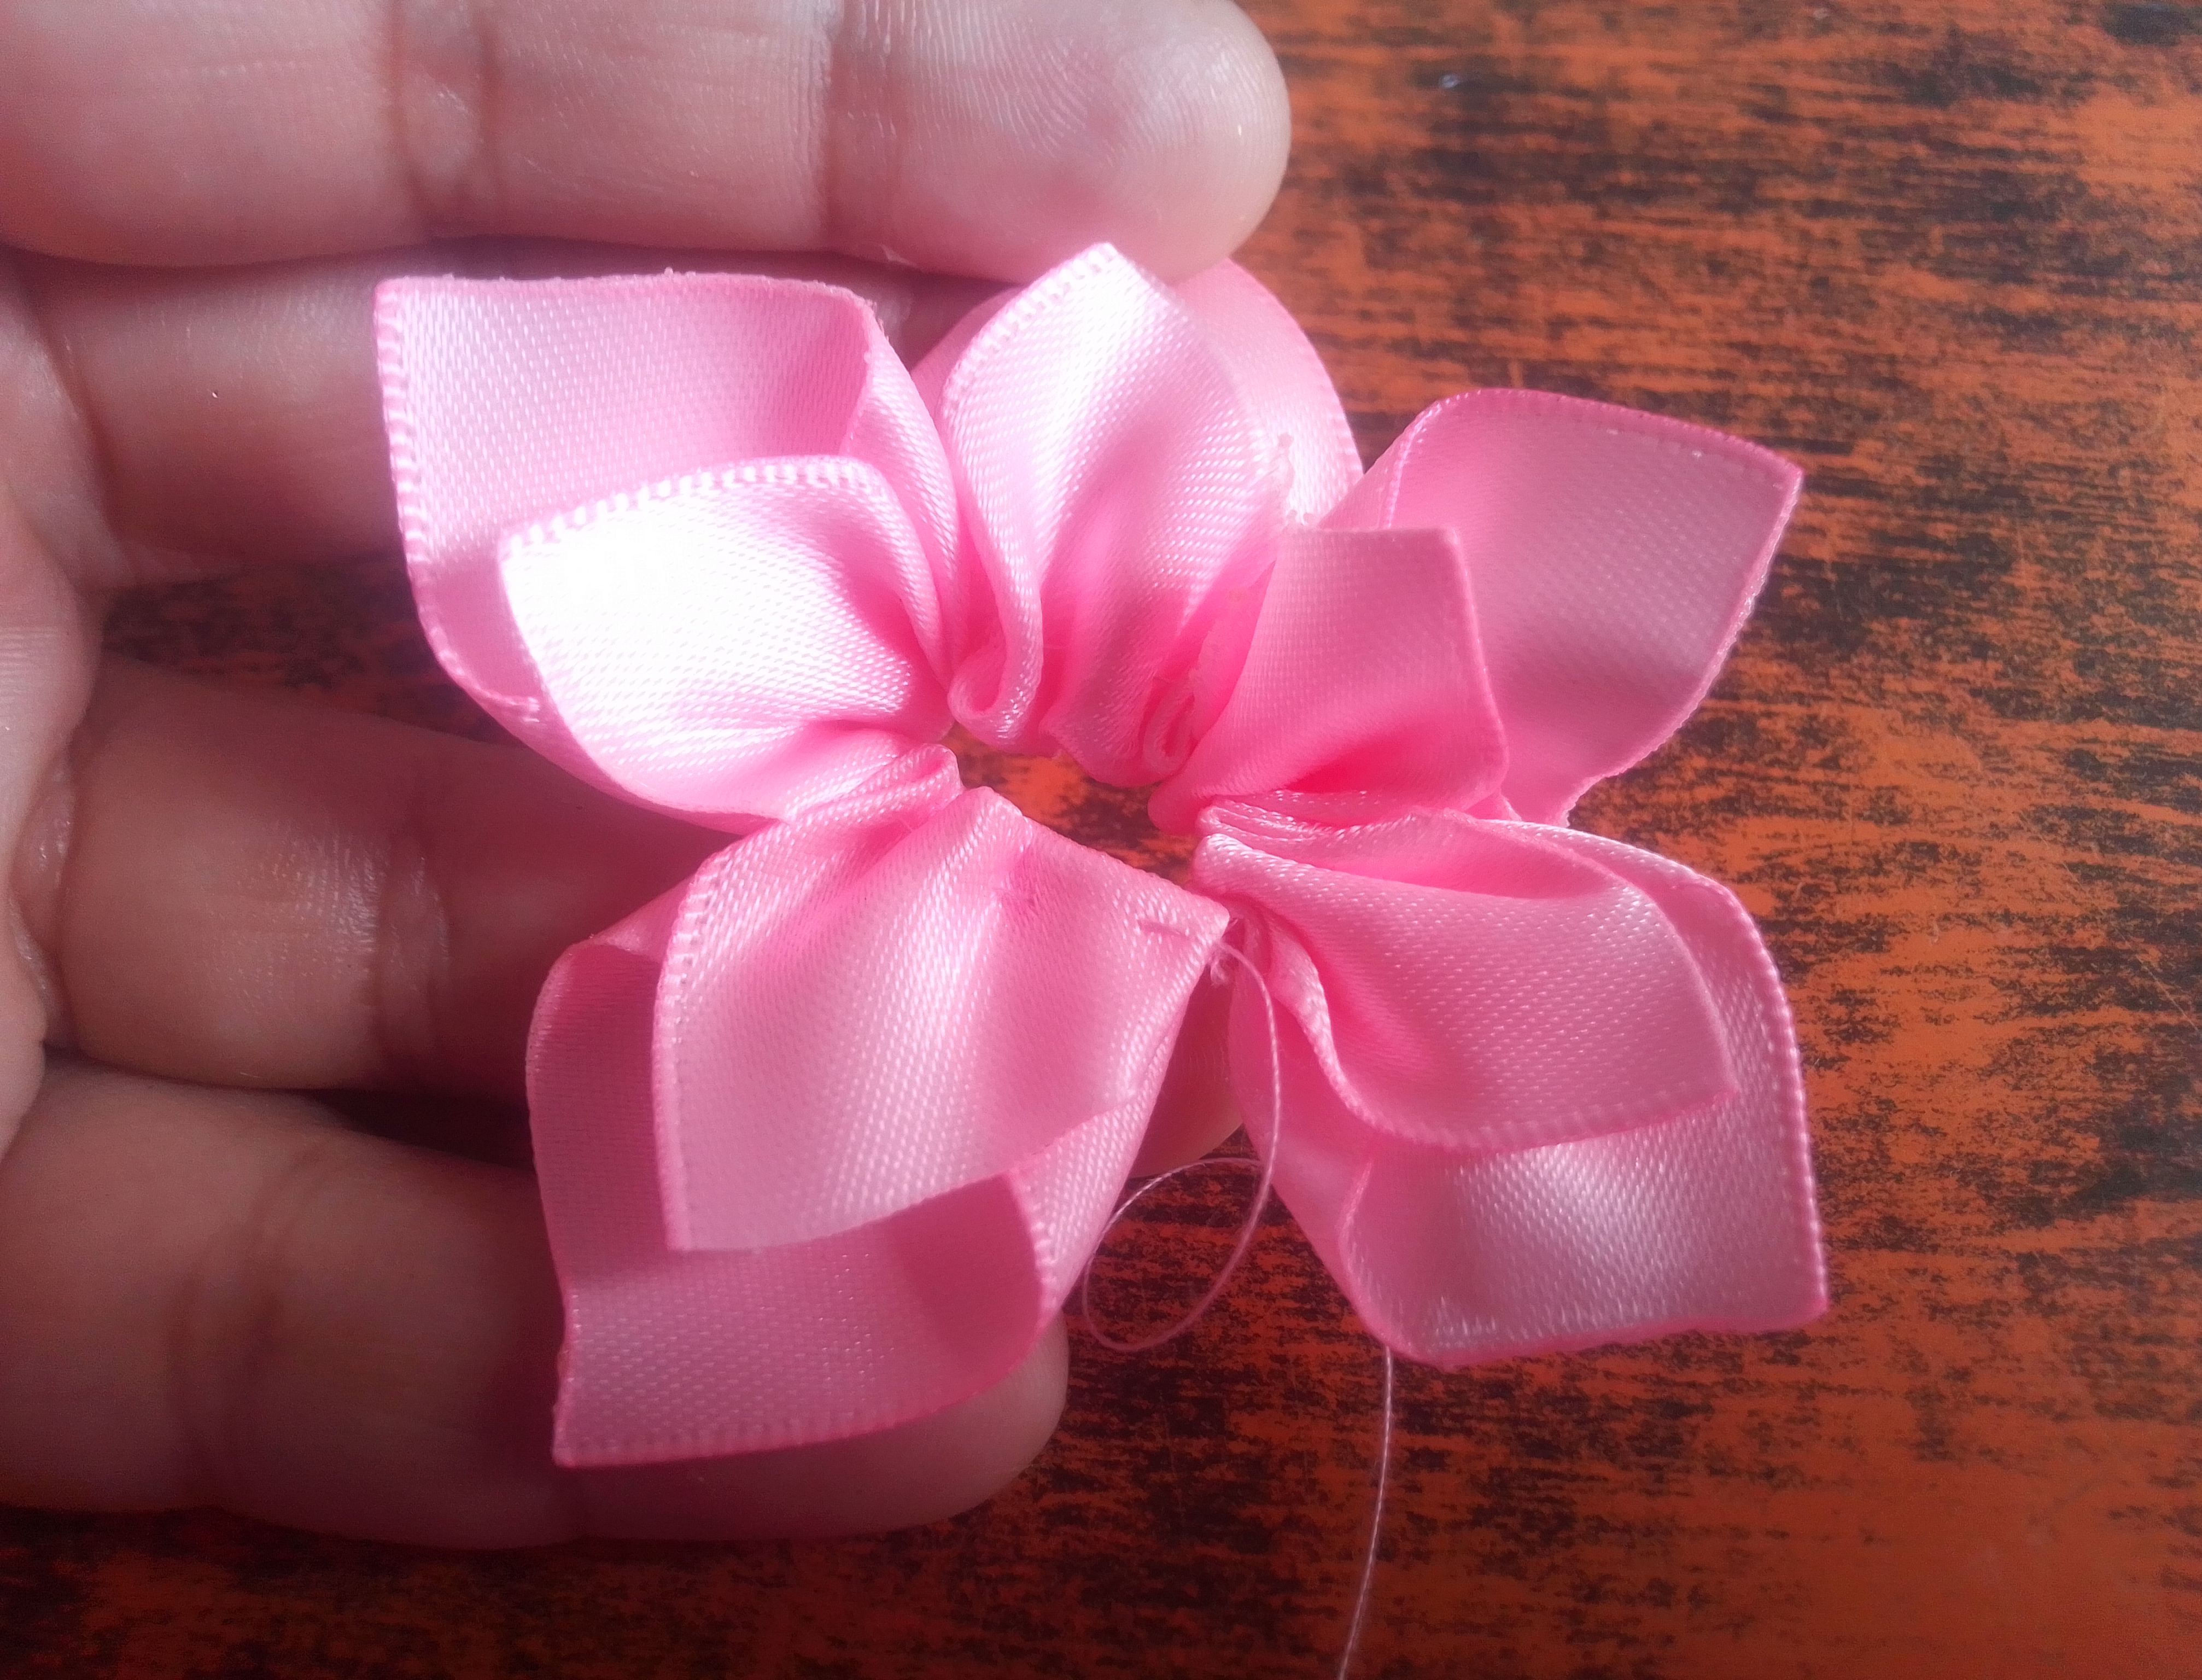
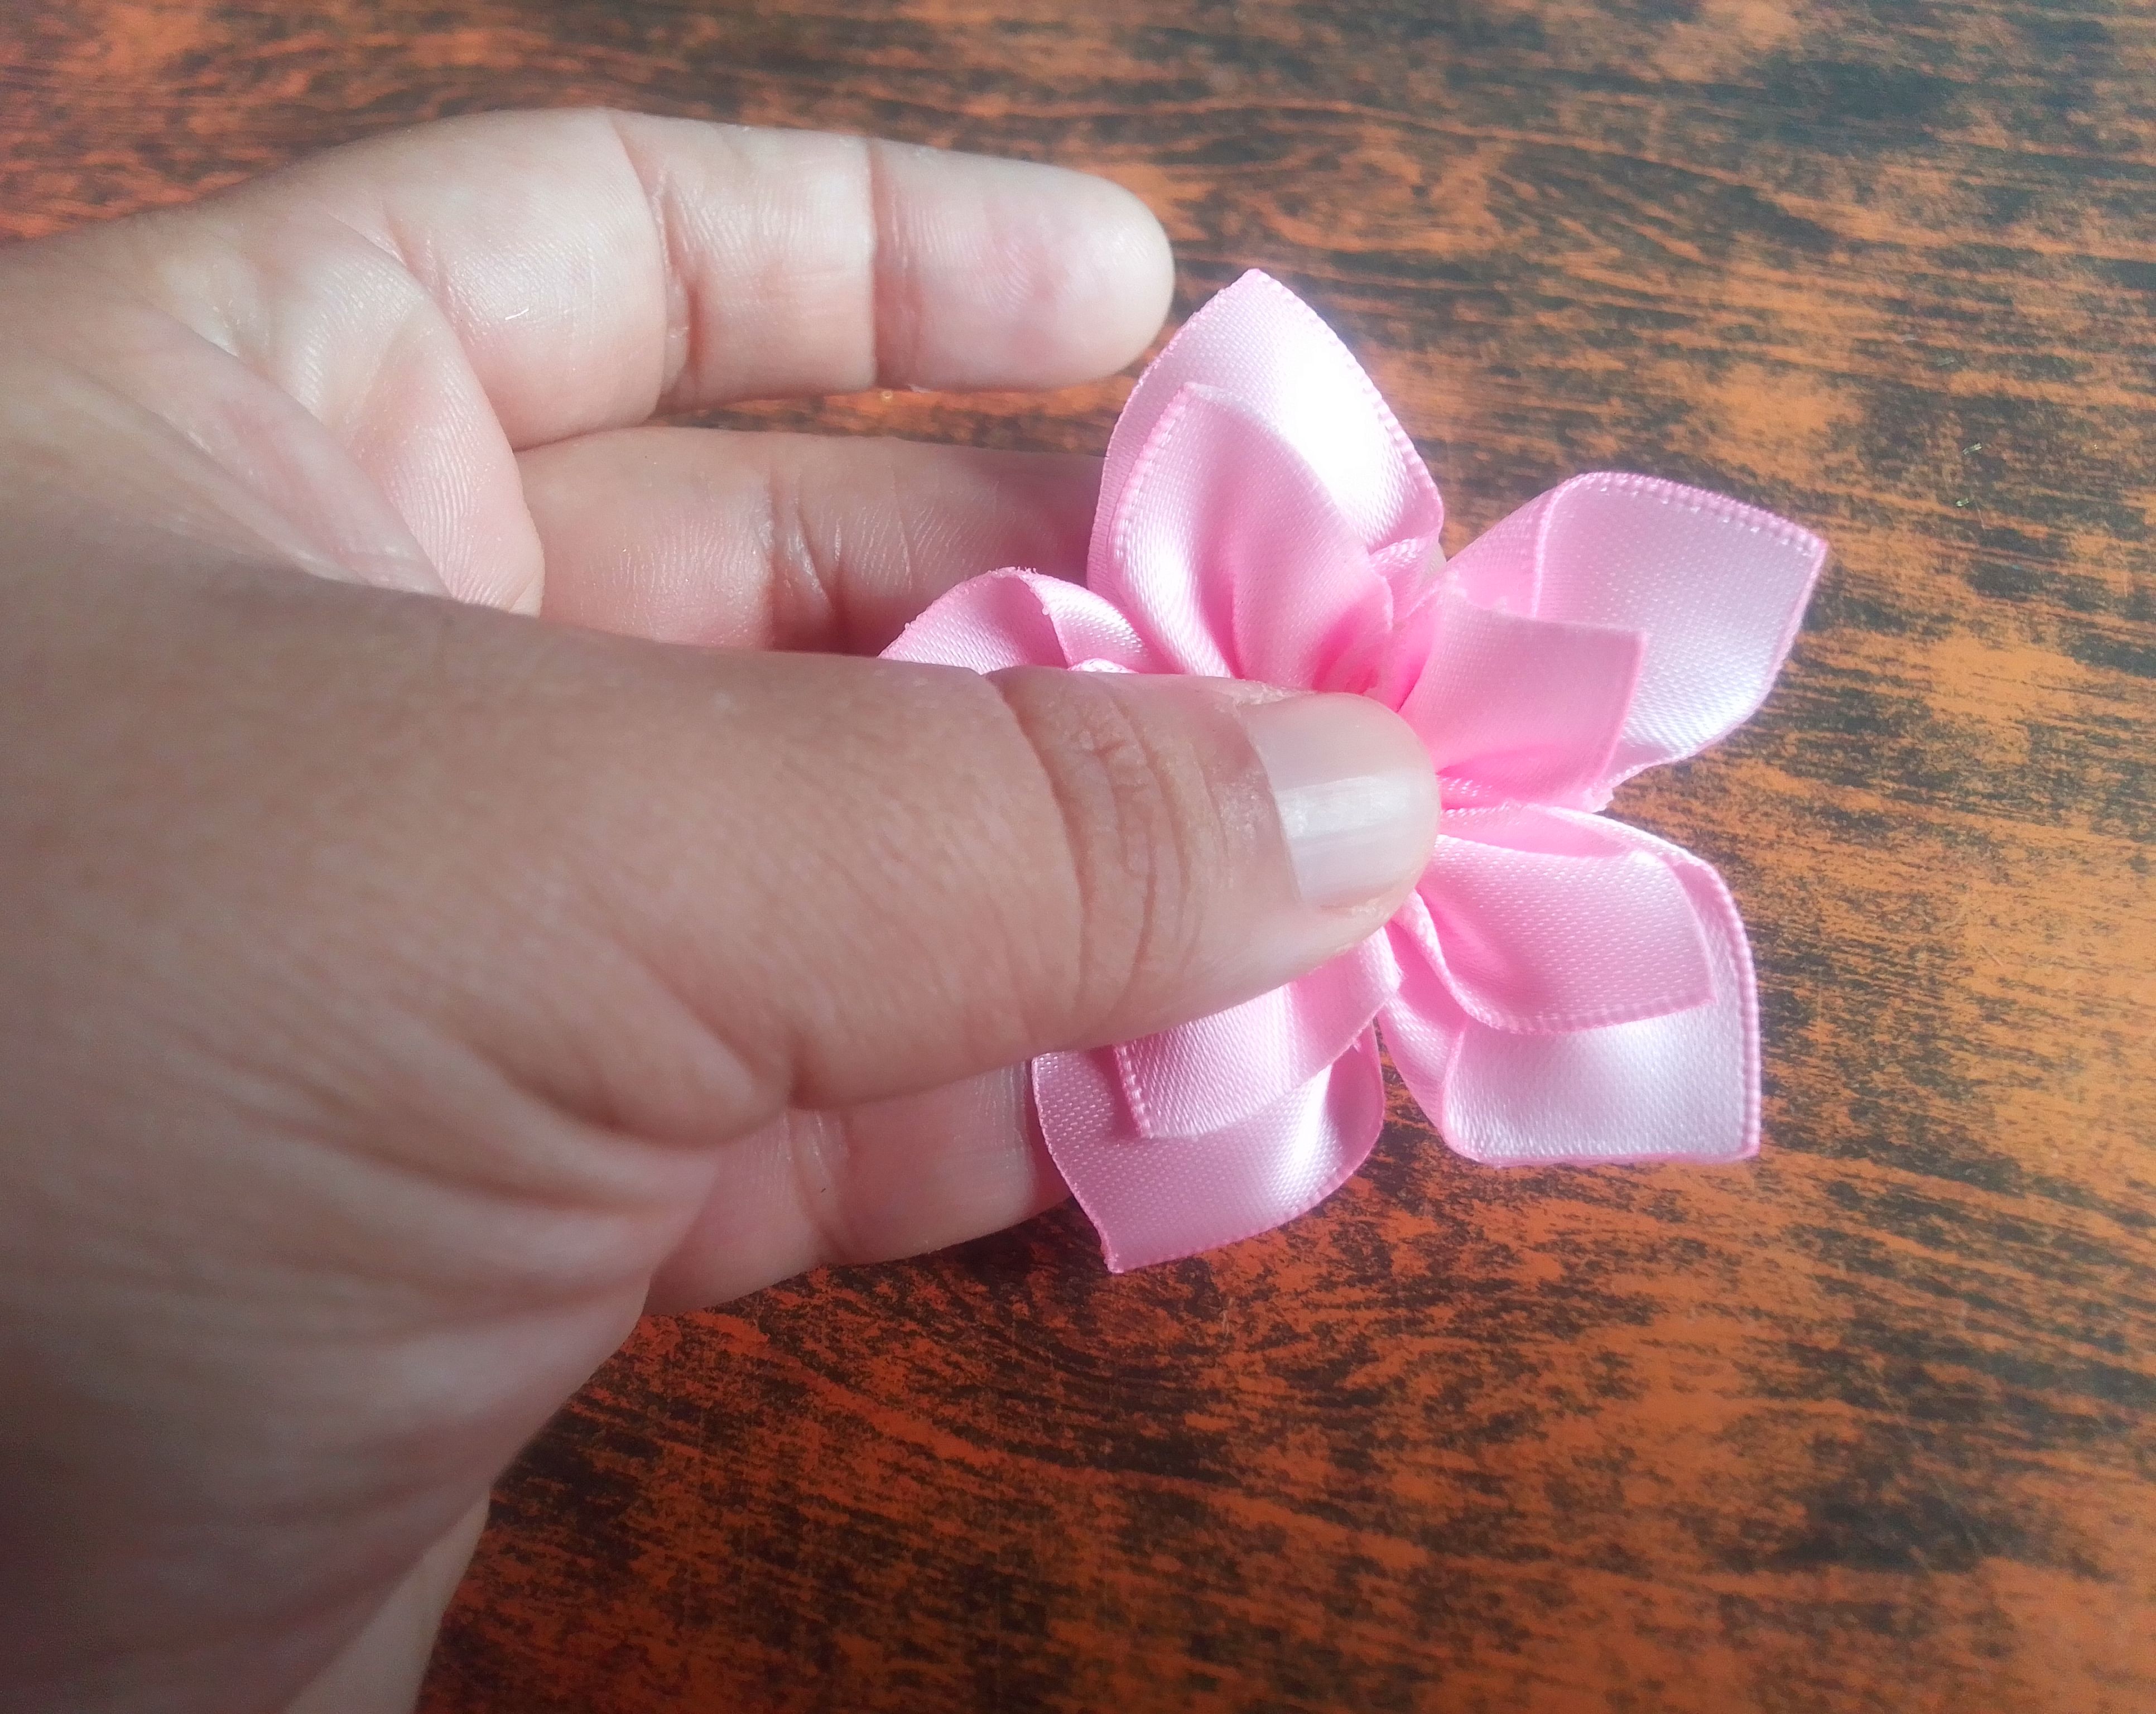
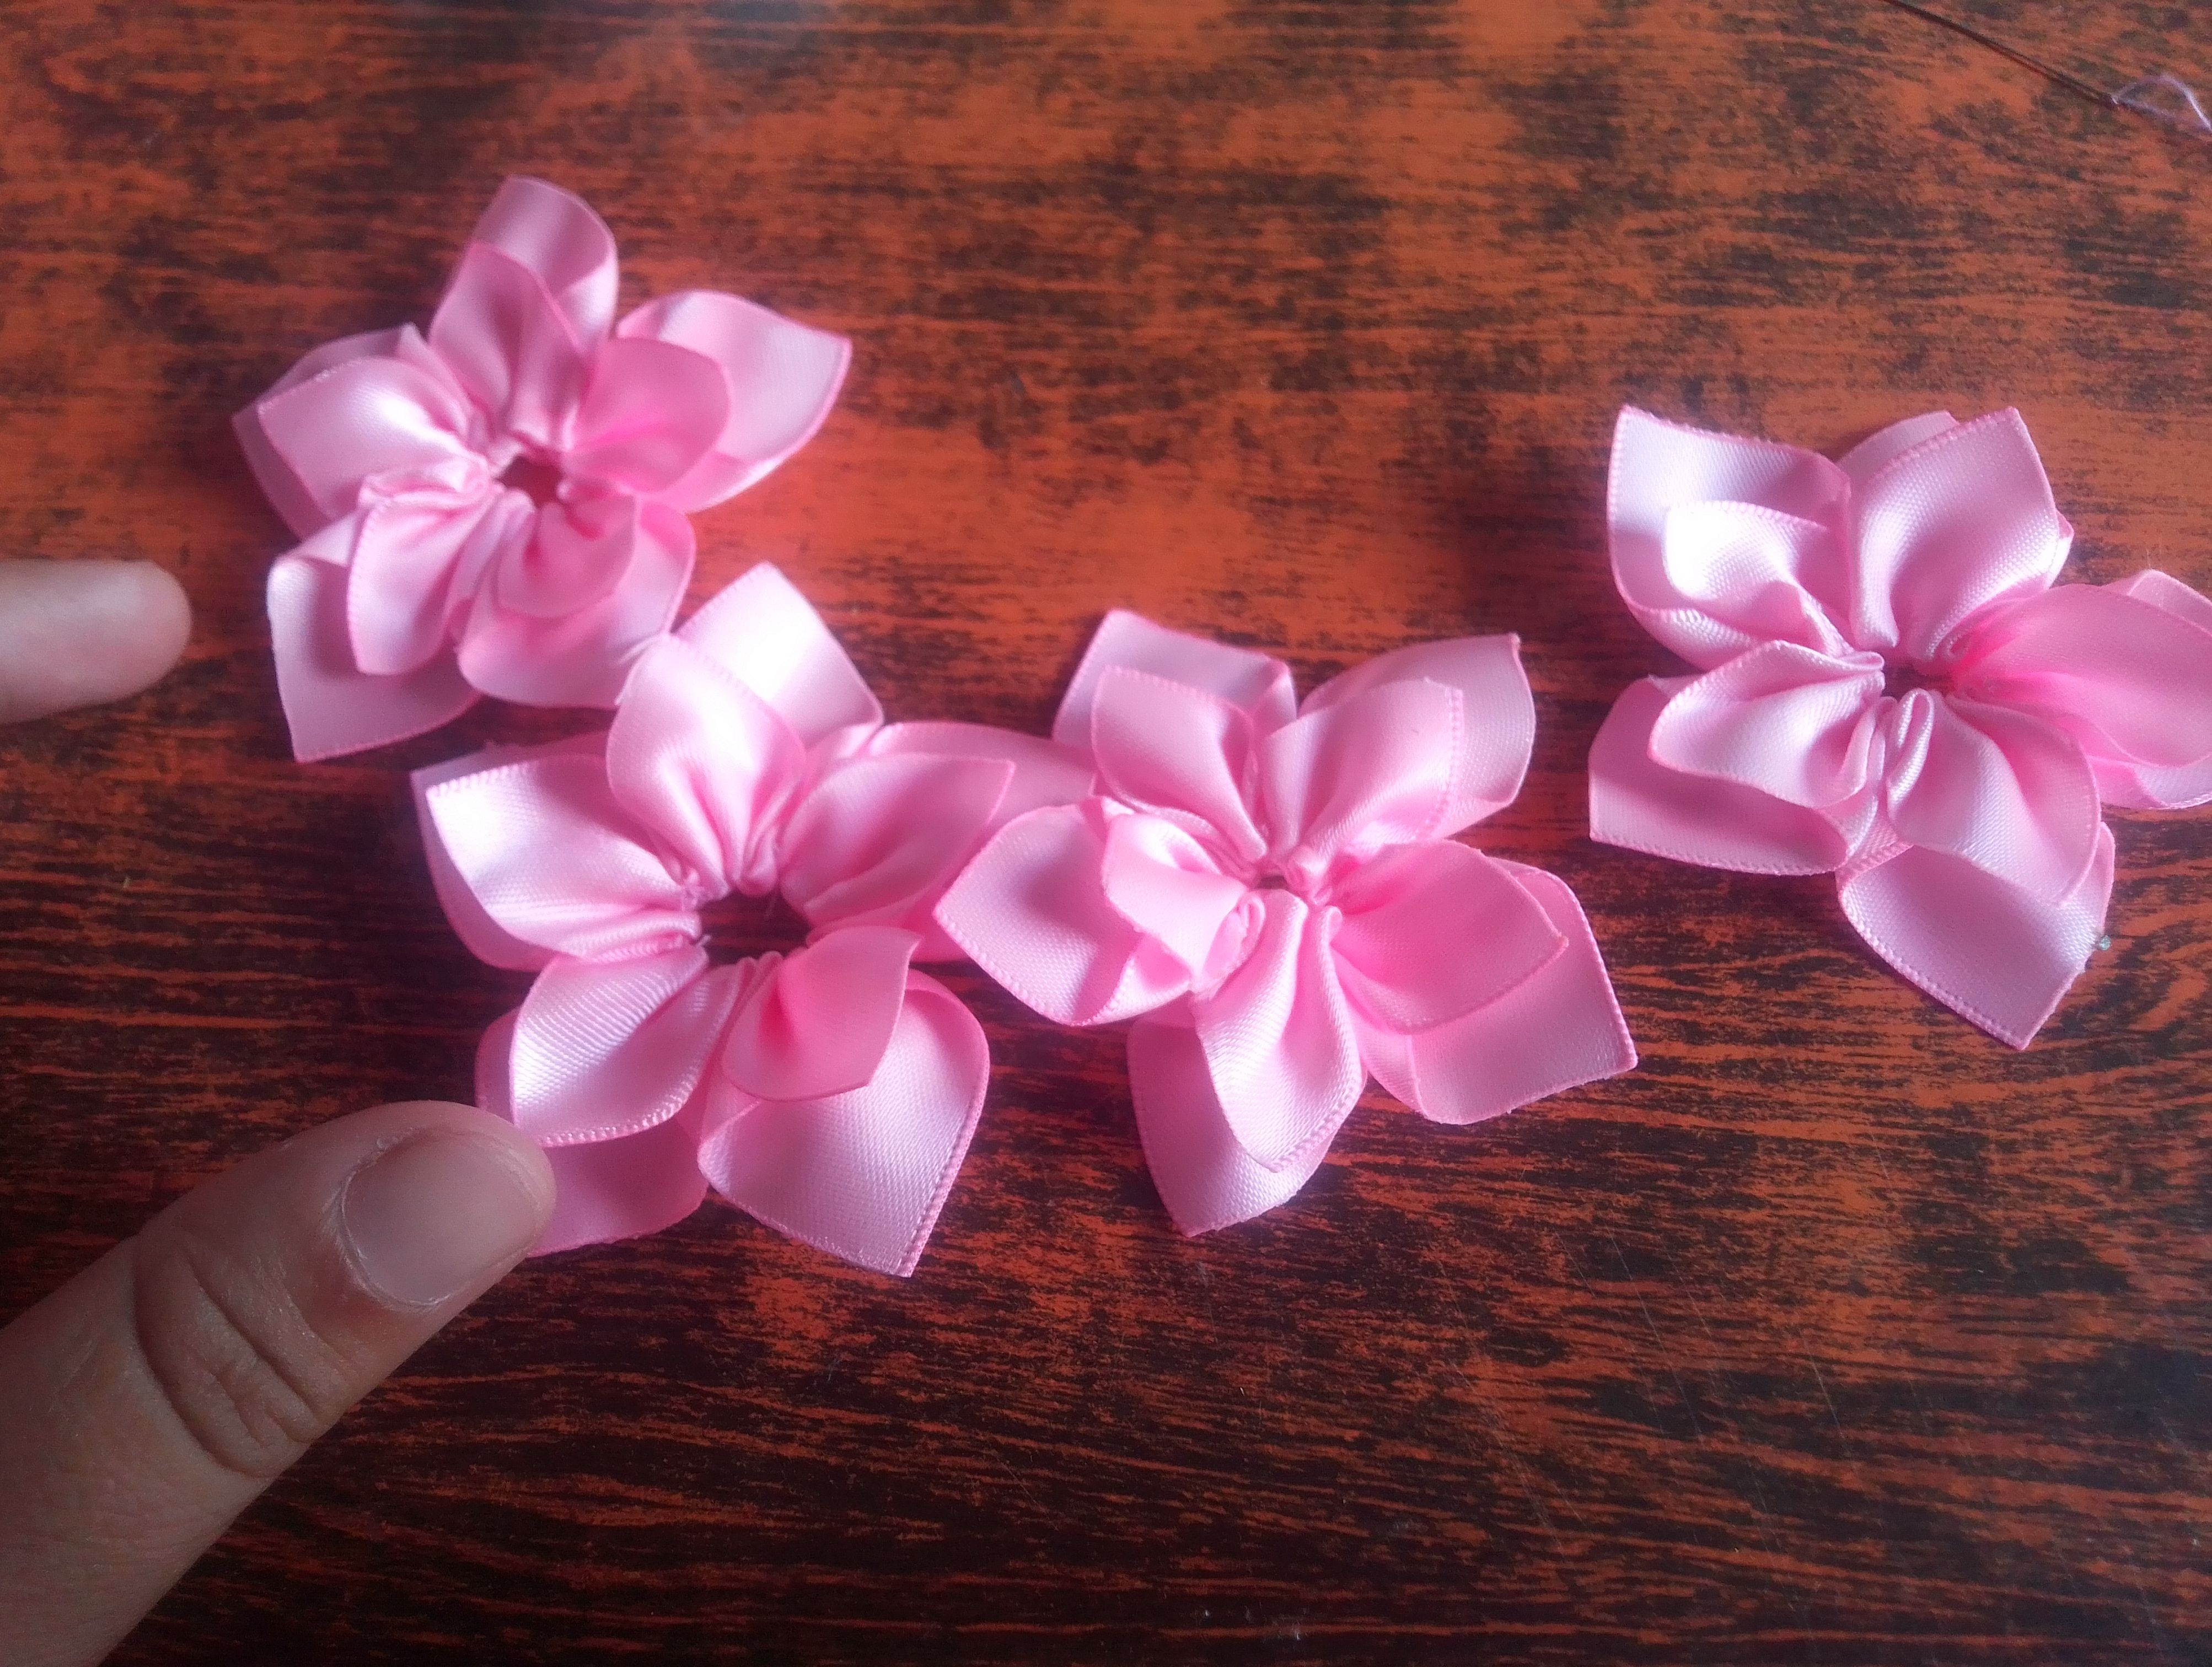
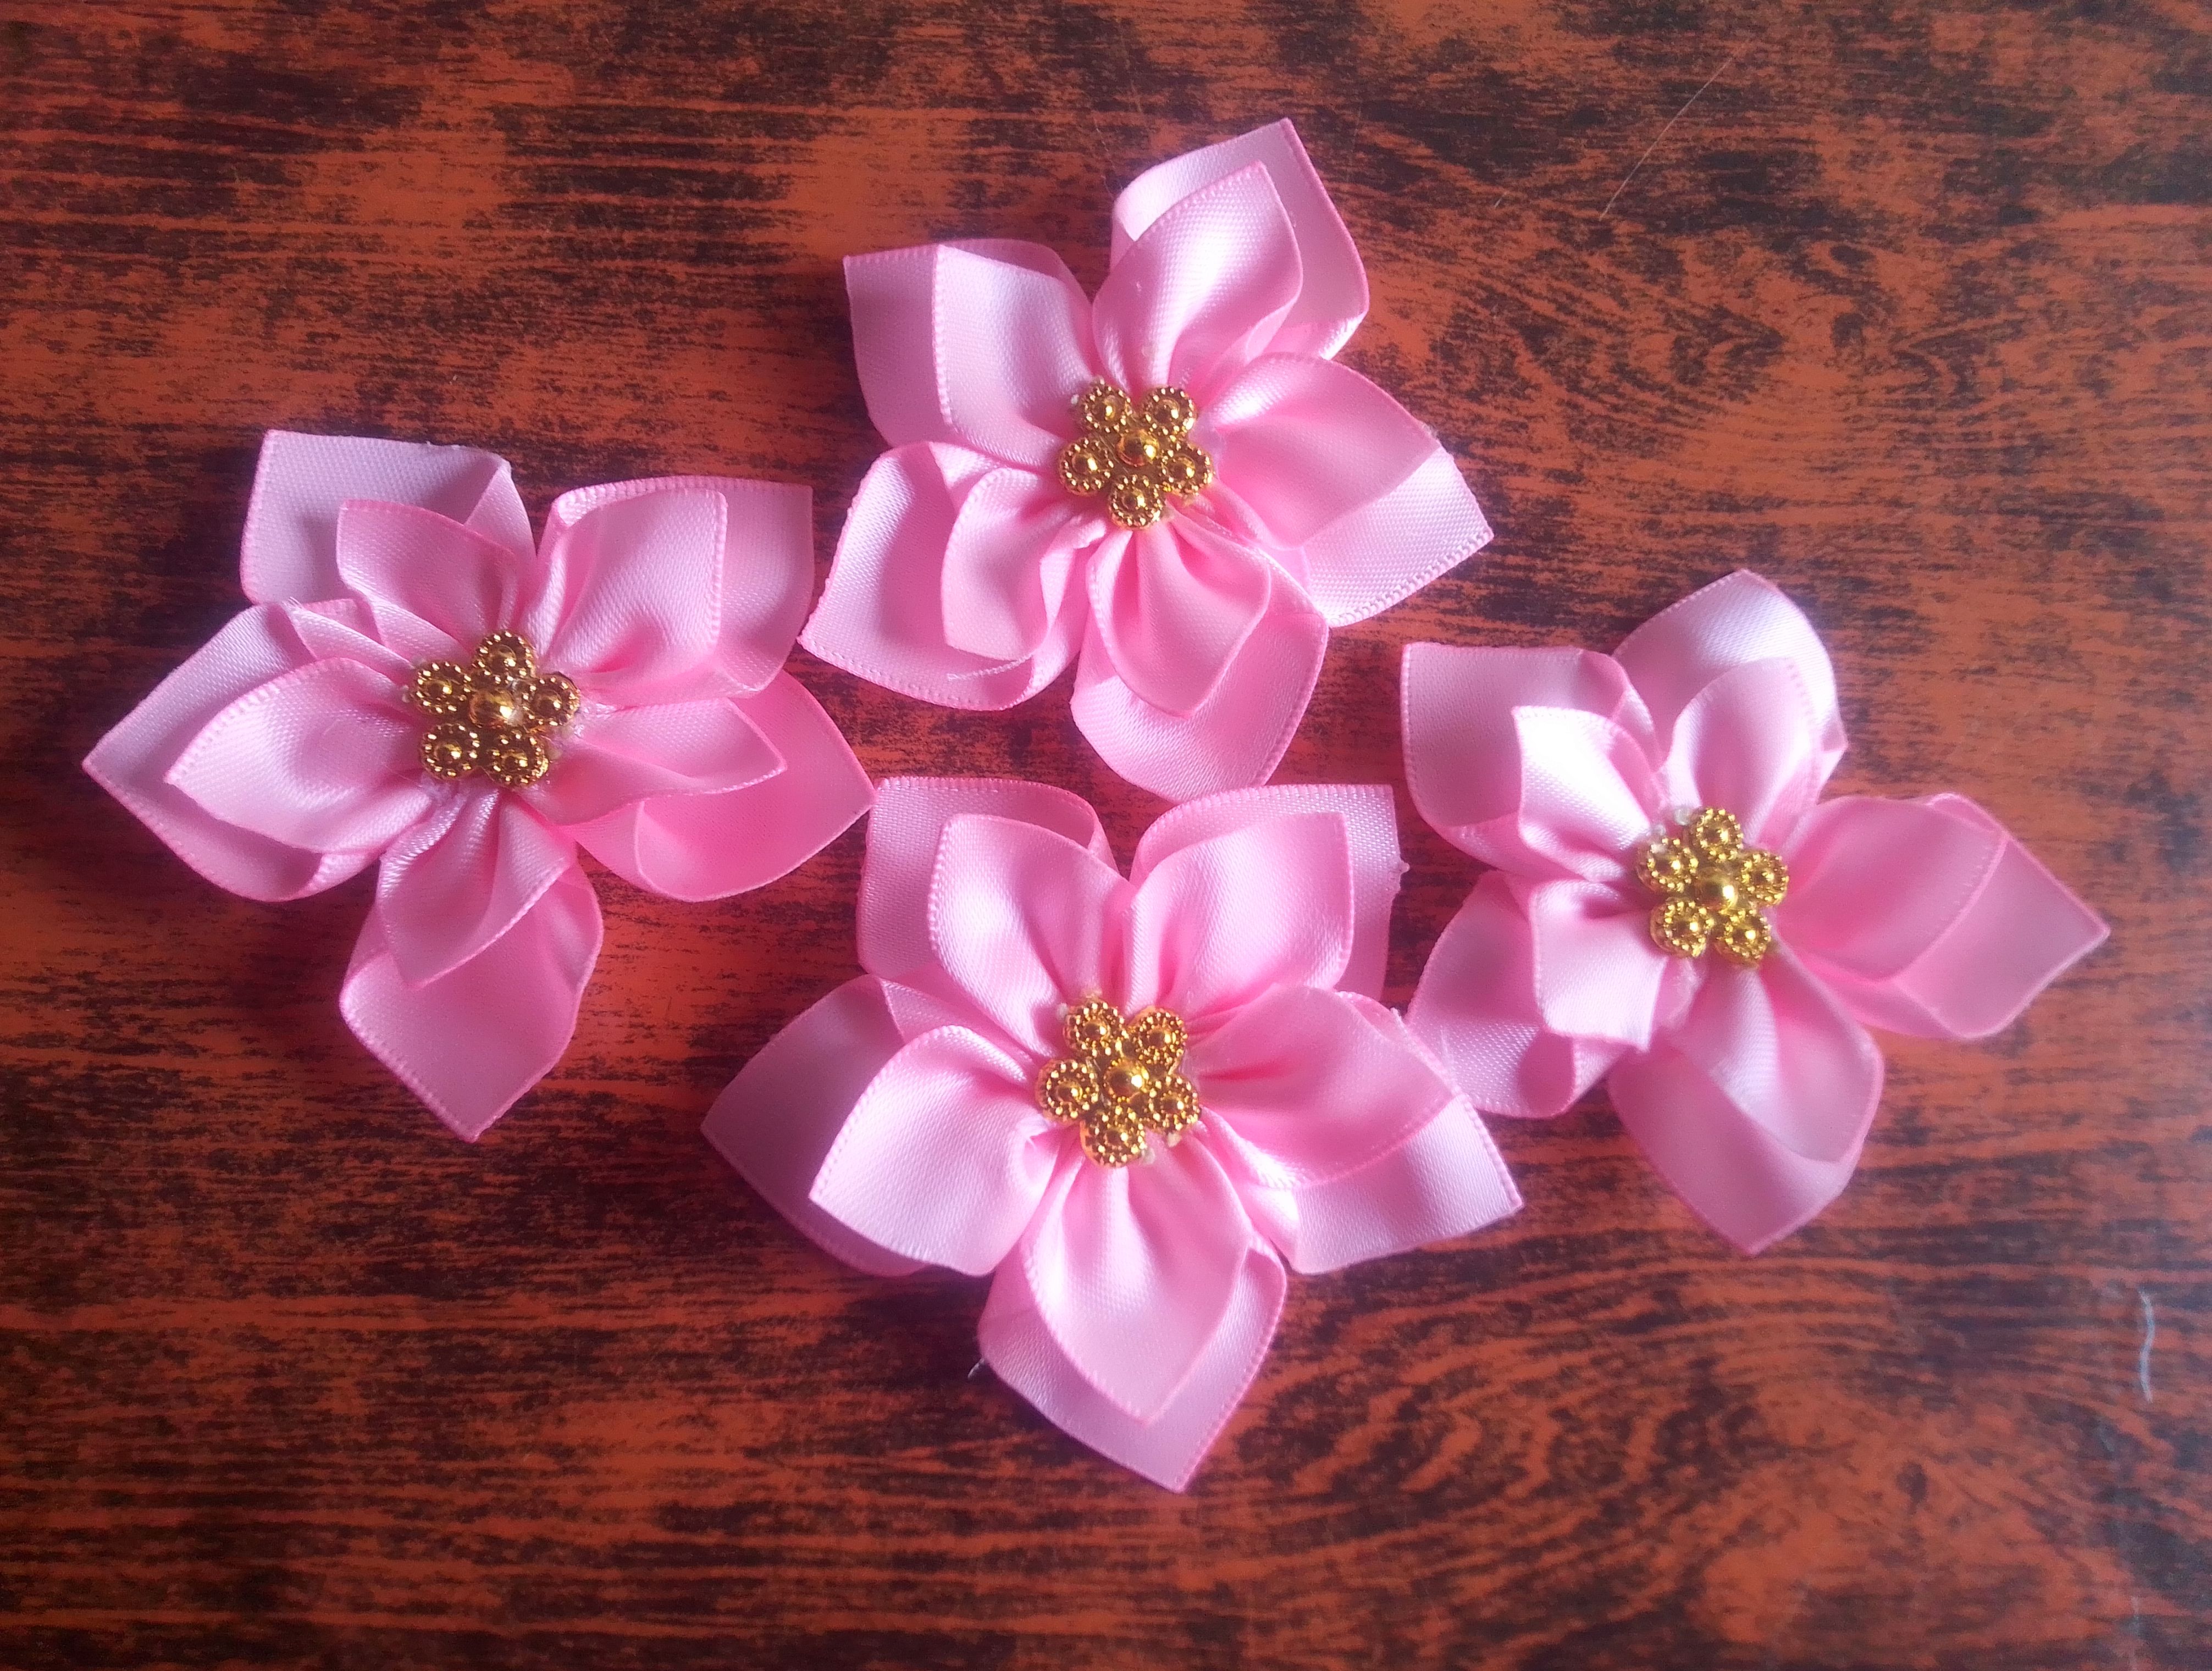
🌟Paso 02
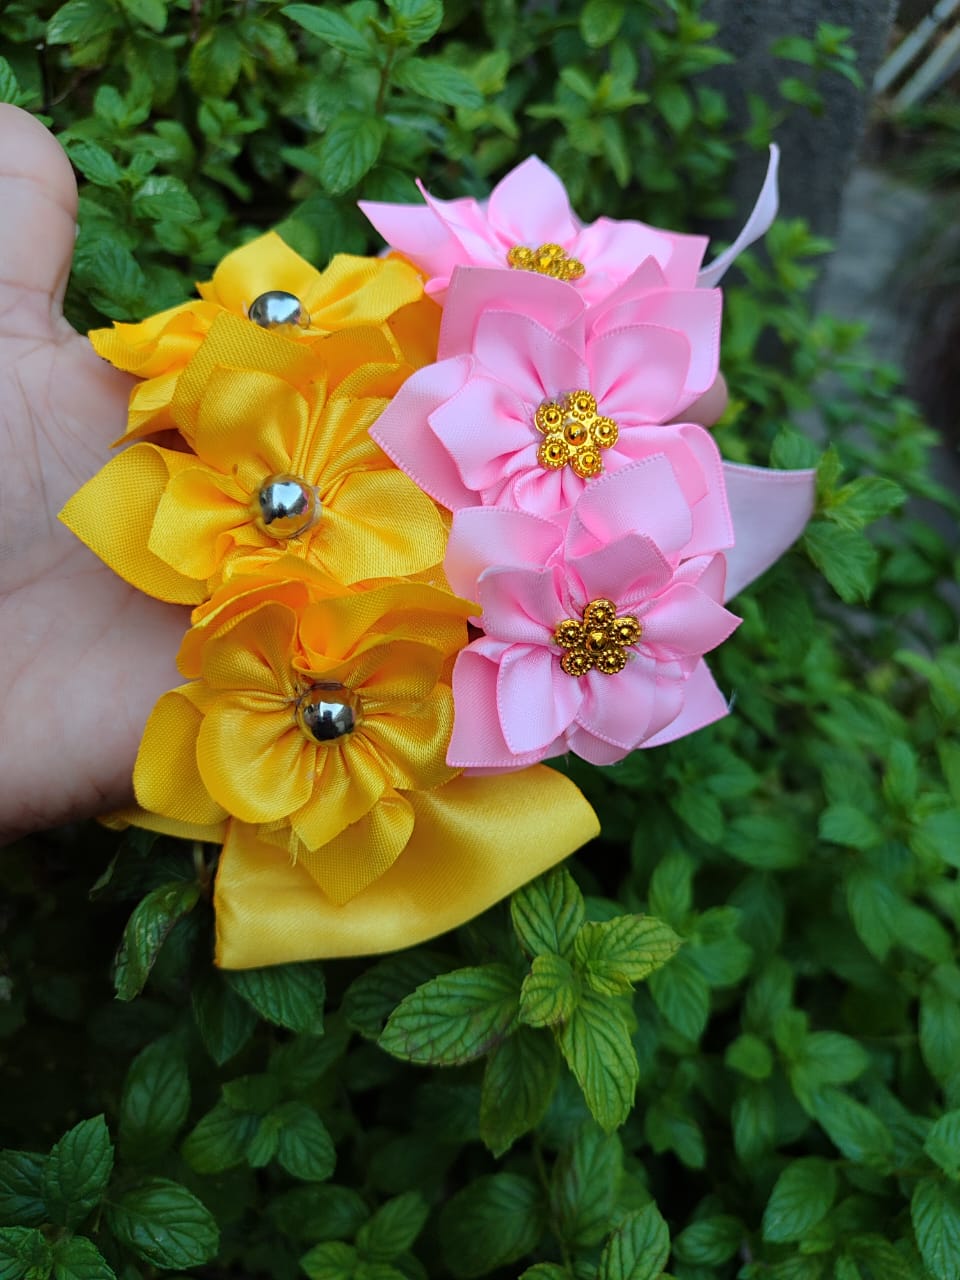
Repetimos los pasos para ir haciendo un fila de 5 pétalos y unirlos. Acomodamos muy bien y cerramos la costura. Mi cola era pequeña por lo que hice solo 4 flores y les pegué
apliques dorados en el centro.
🌟Step 02
Repeat the steps to make a row of 5 petals and join them together. Arrange them well and close the seam. My train was small, so I only made 4 flowers and glued gold appliqués in the center.
---
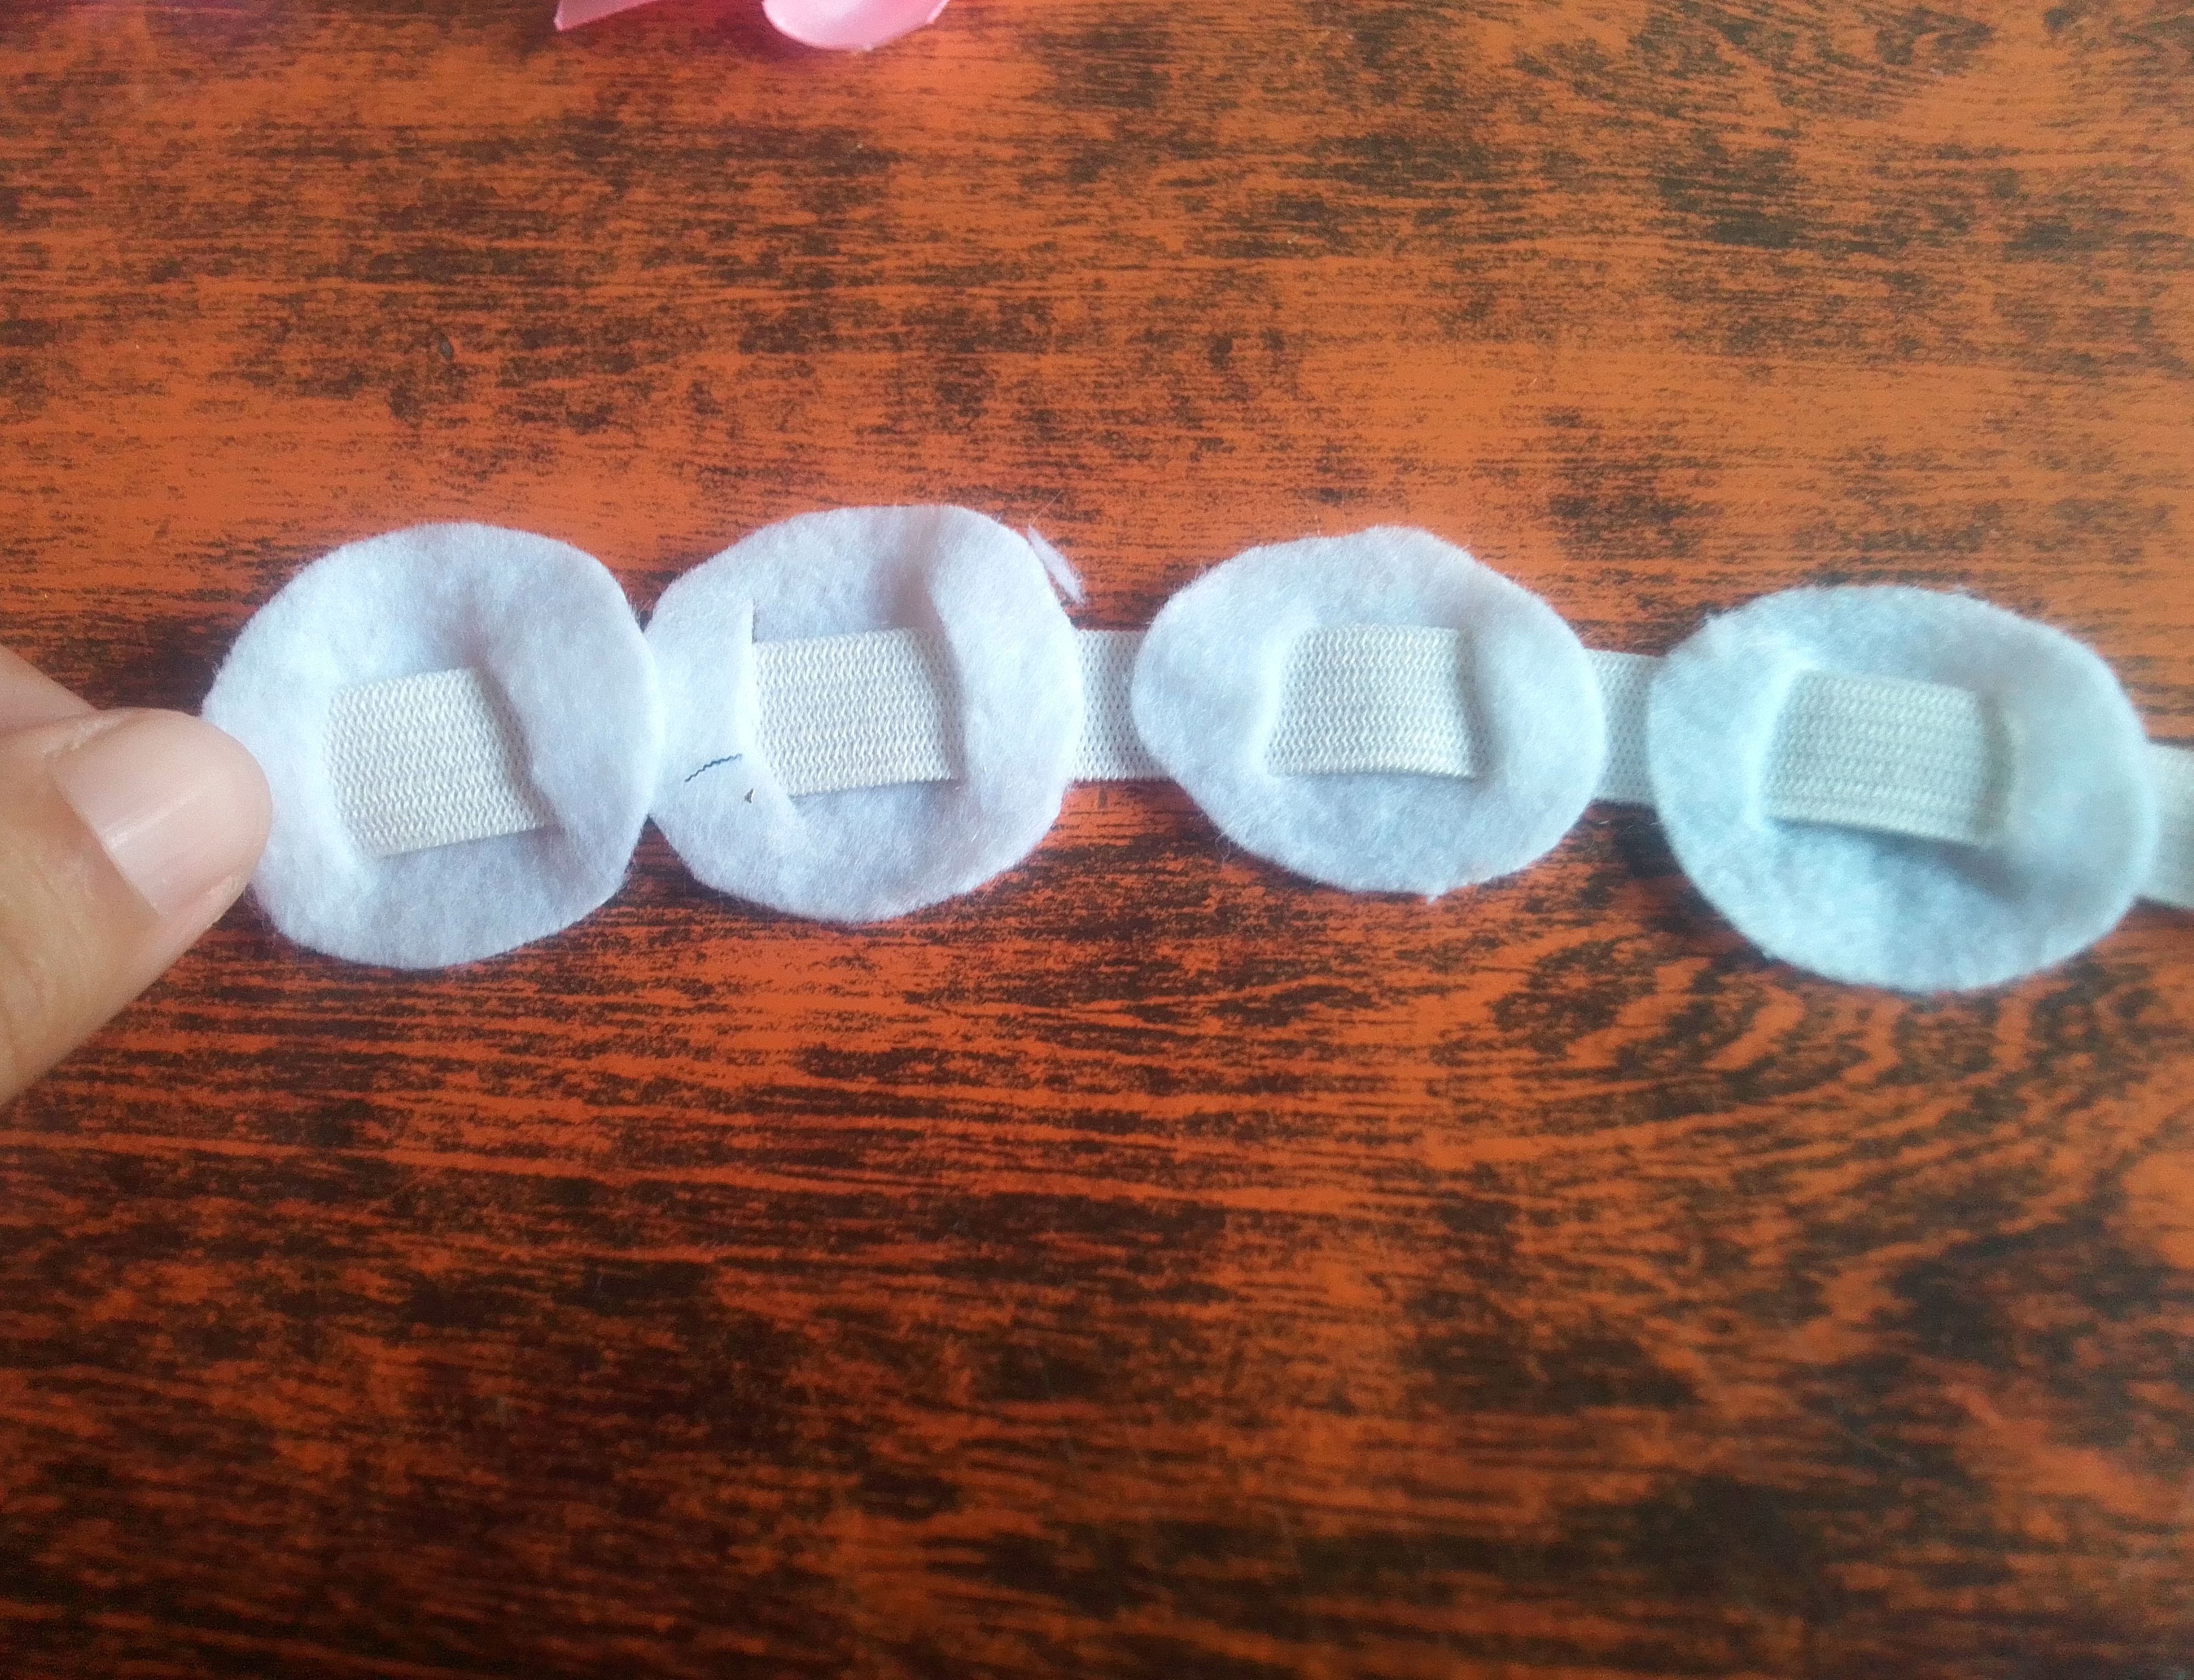
🌟Paso 03
El siguiente paso será cortar 5 círculos de fieltro y abrirle ranuras para entrelazar la elástica. Luego voy a pegar las flores solo en el fieltro sin que se llene de silicón las elástica, esto nos permitirá mover las flores y posicionarlas en el peinado.
🌟Step 03
The next step is to cut 5 felt circles and make slits to weave the elastic through. Then, I'm going to glue the flowers onto the felt only, without filling the elastic with silicone. This will allow us to move the flowers and position them in the hairstyle.

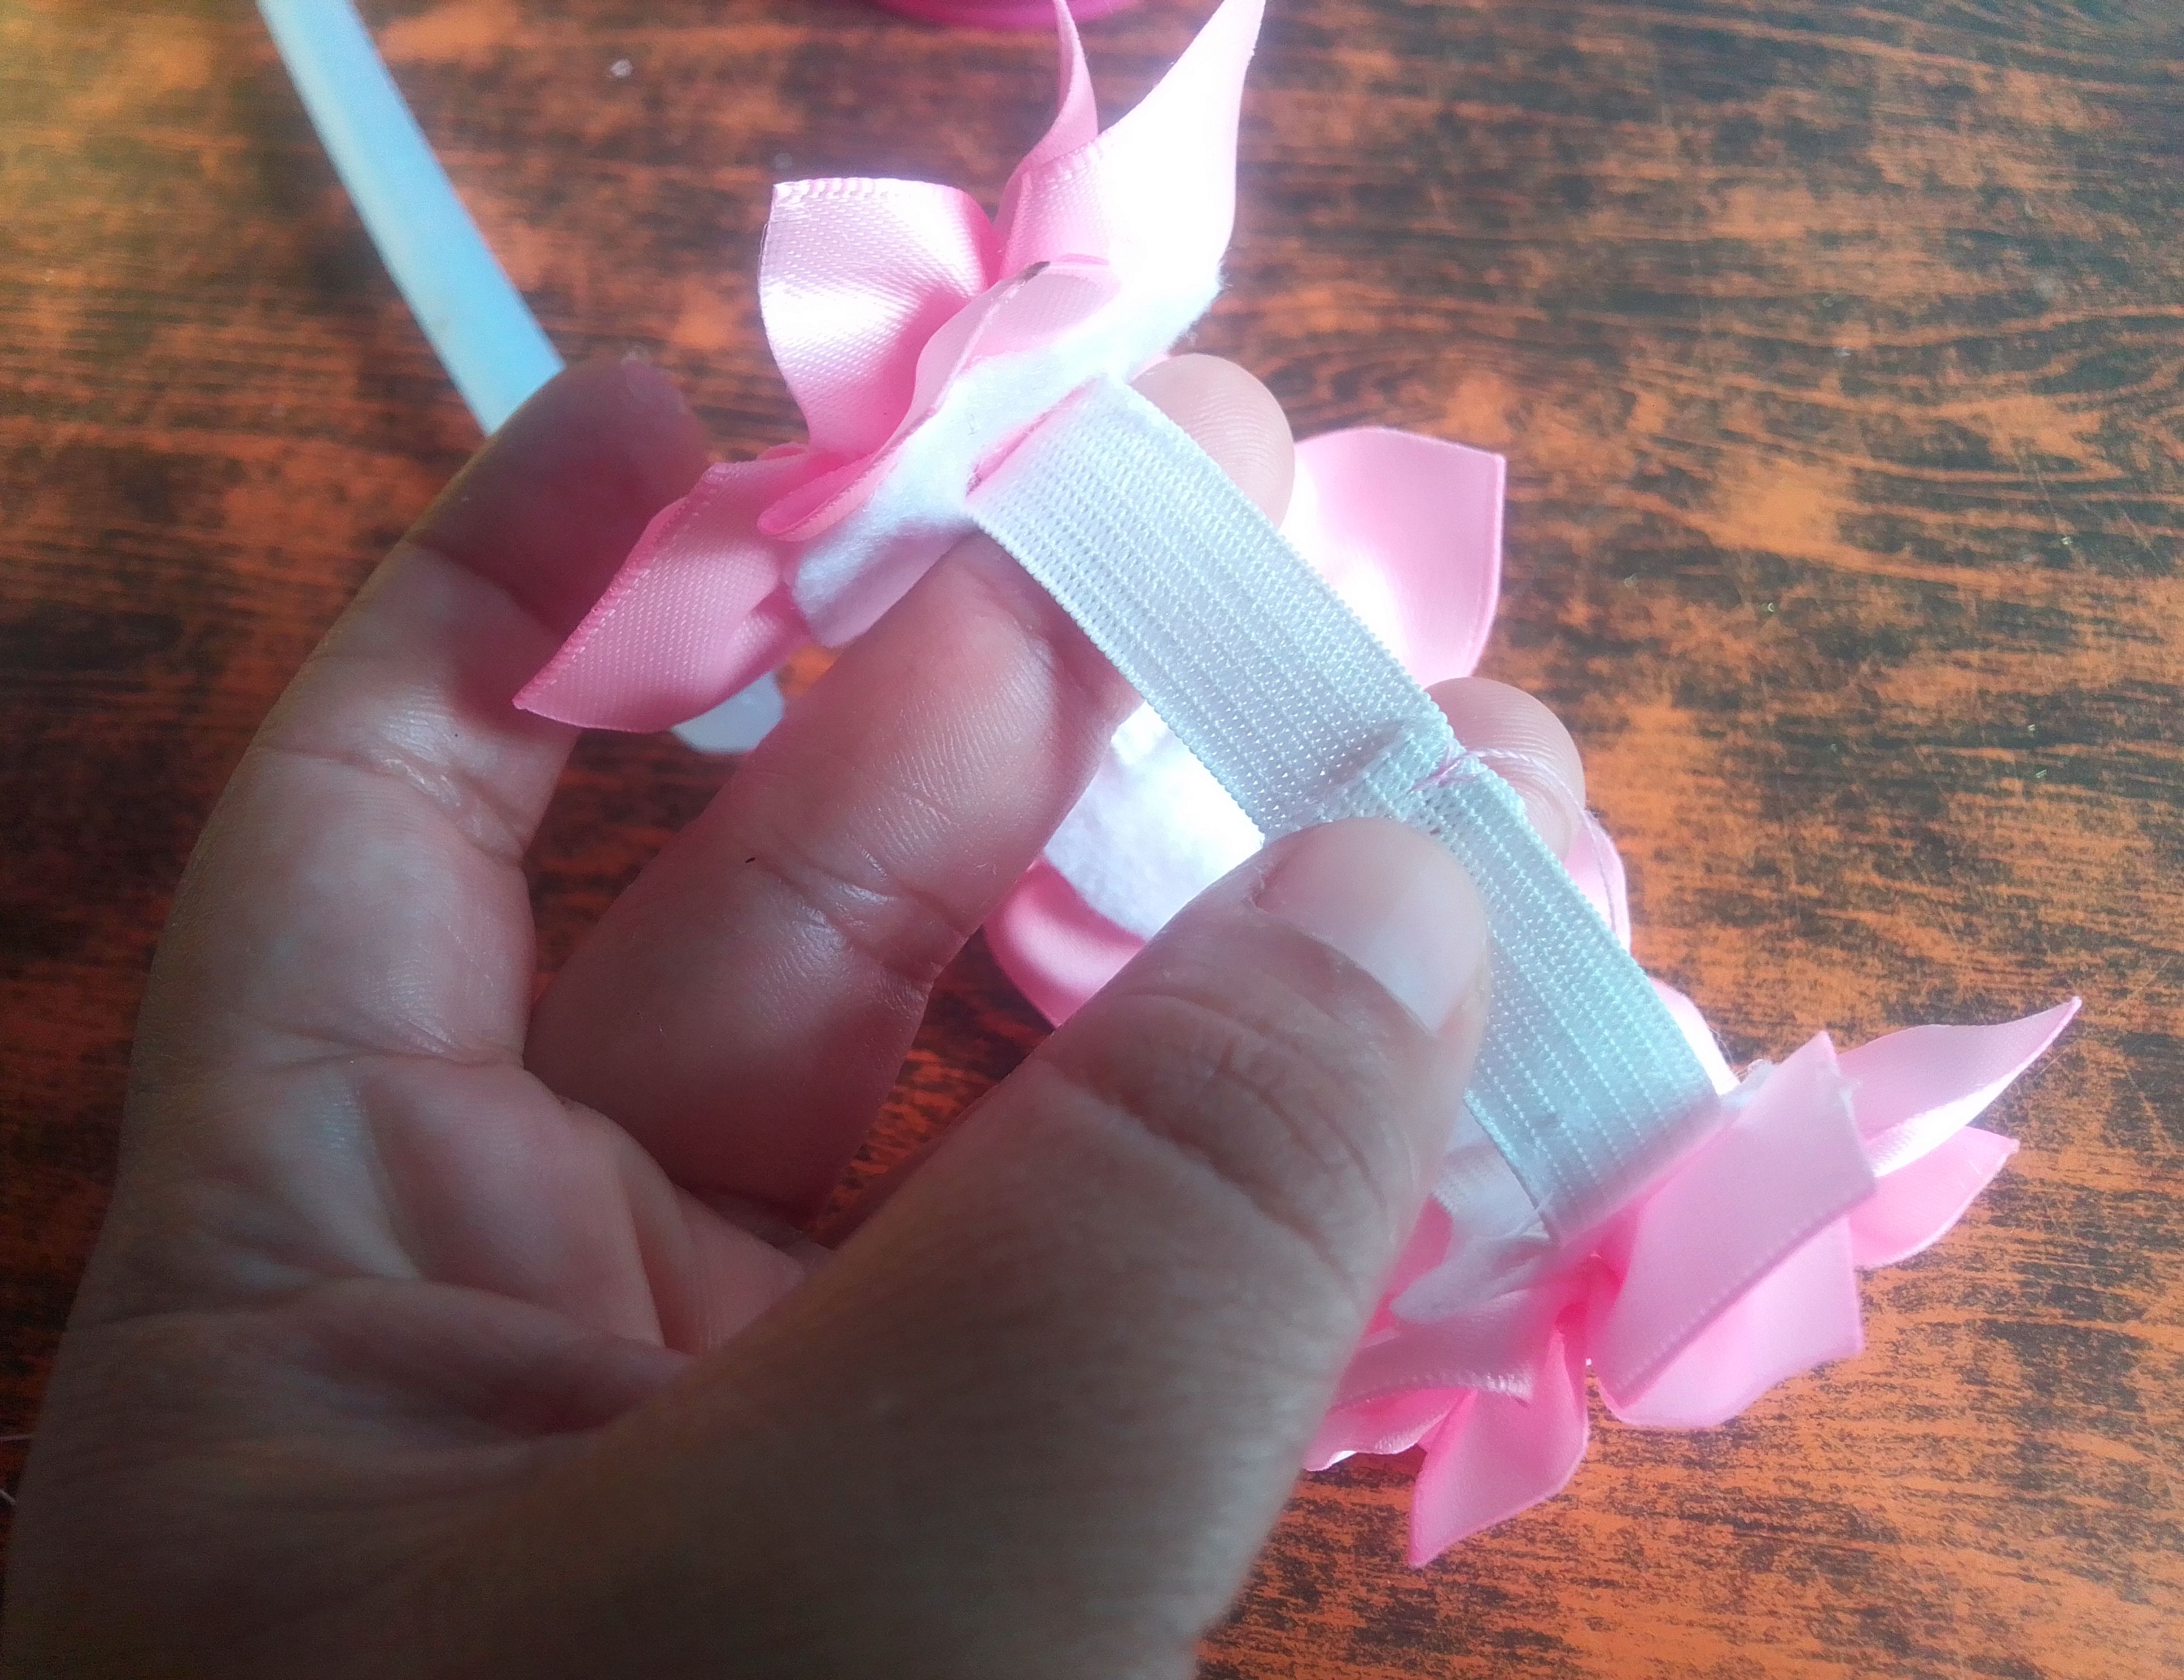
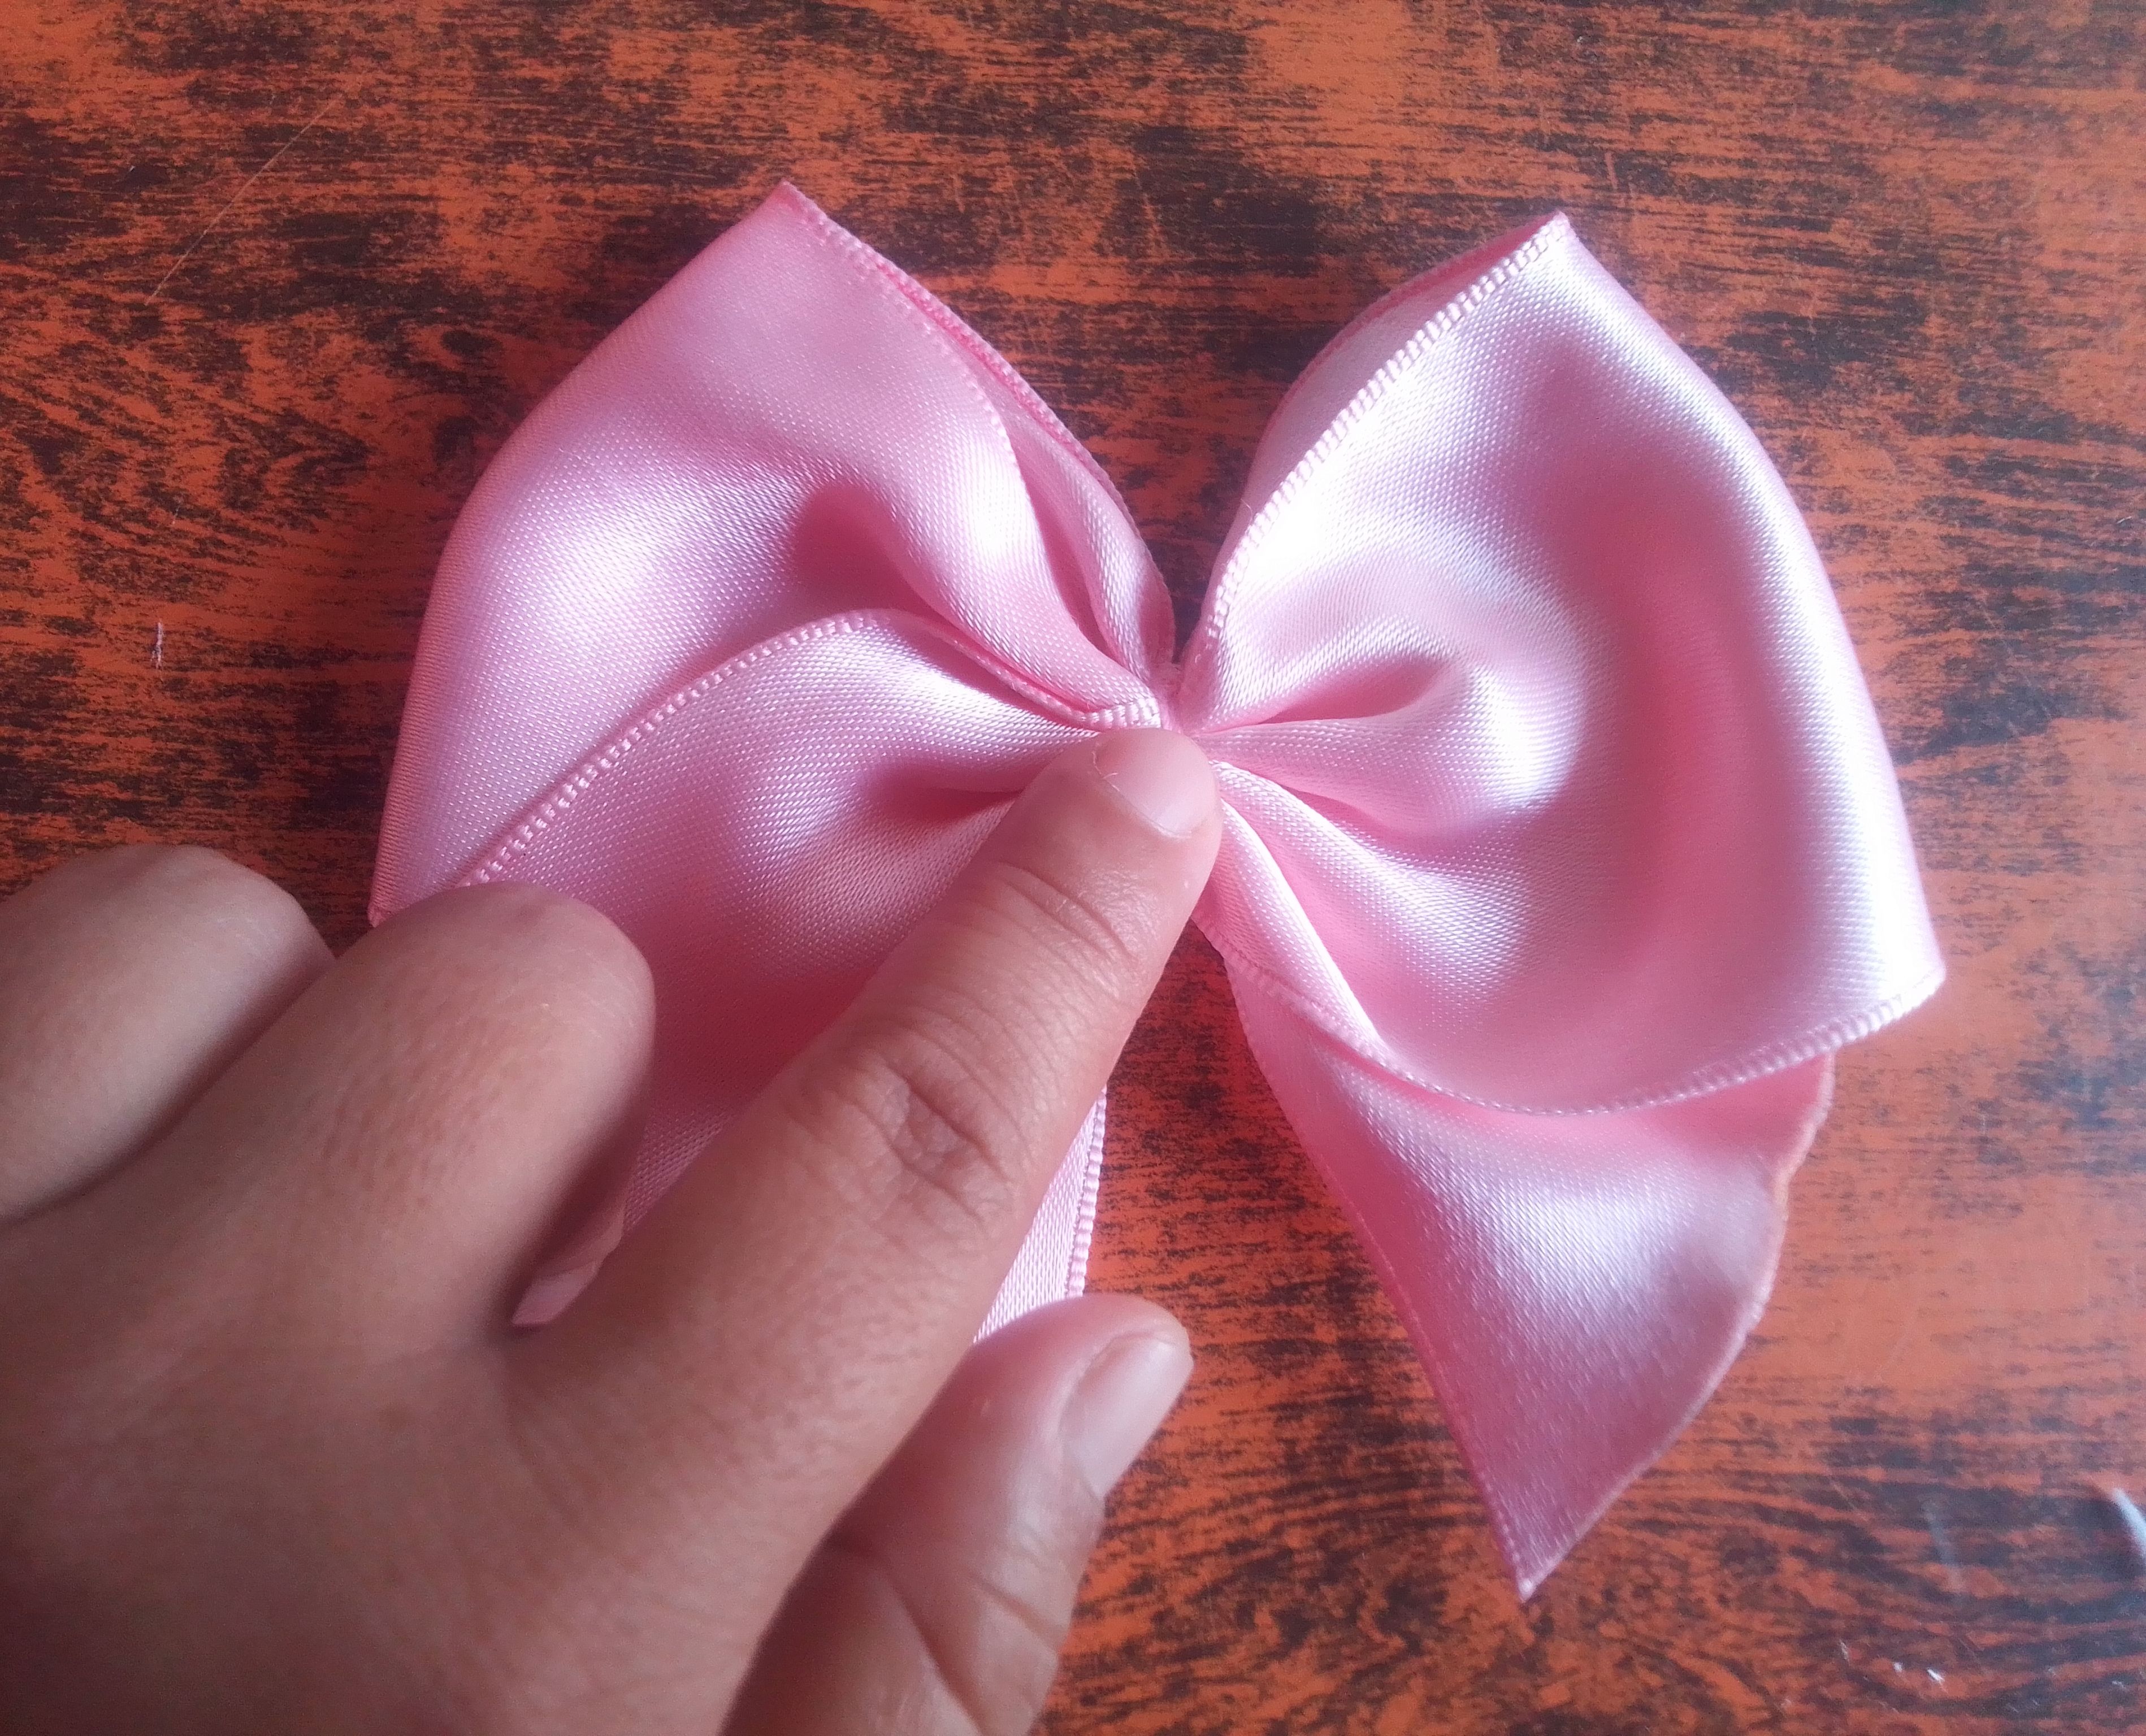
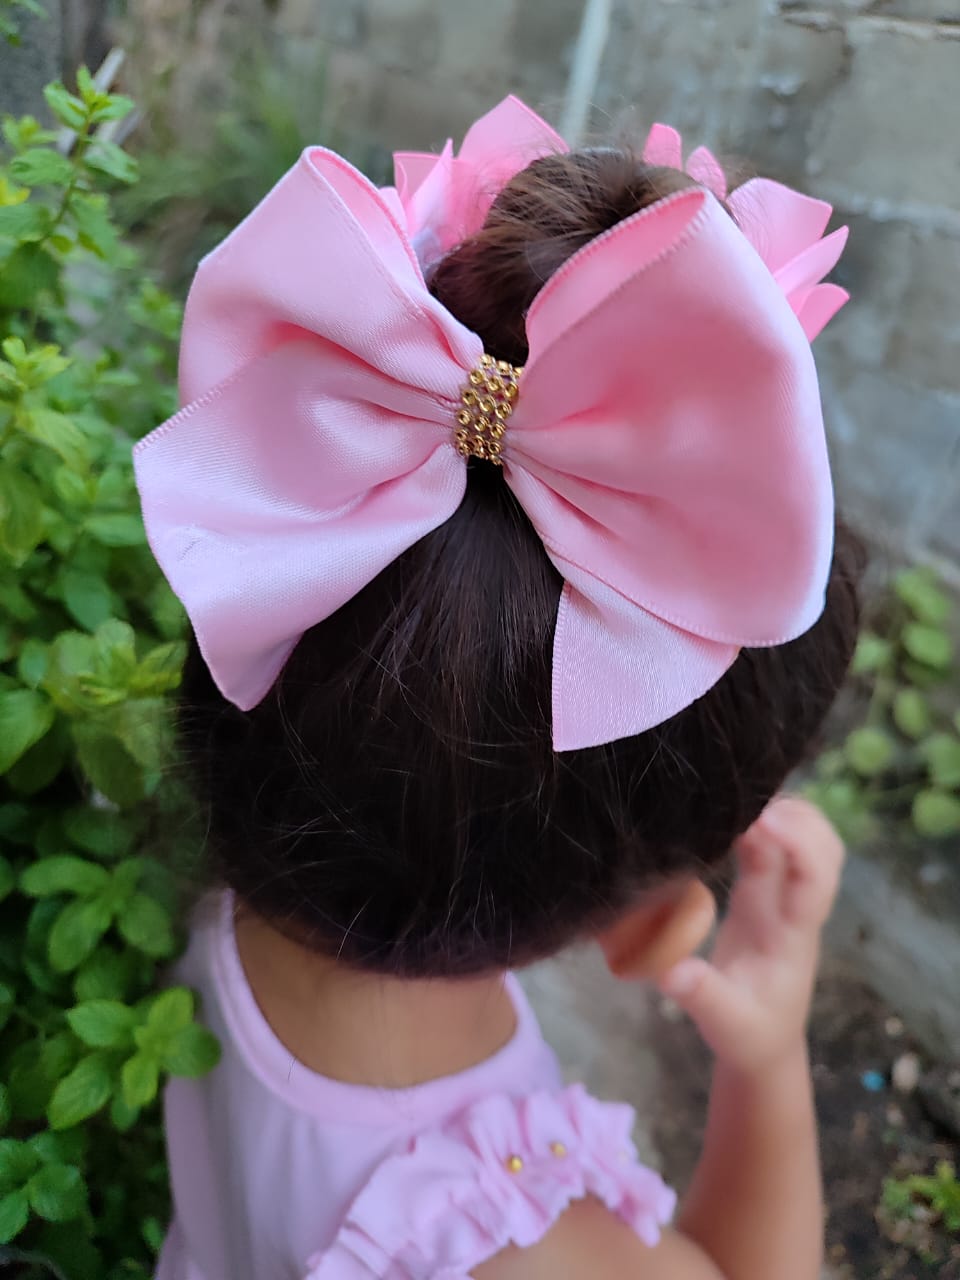
🌟Paso 04
Ahora voy a unir con costura los extremos de la goma y haré un lazo para colocarlo en el centro de las flores, aunque podemos hacerla toda de flores este lazo le da un toque moderno y más atractivo.
🌟Step 04
Now I'm going to sew the ends of the elastic together and make a bow to place in the center of the flowers. Although we could make it all out of flowers, this bow gives it a modern and more attractive touch.
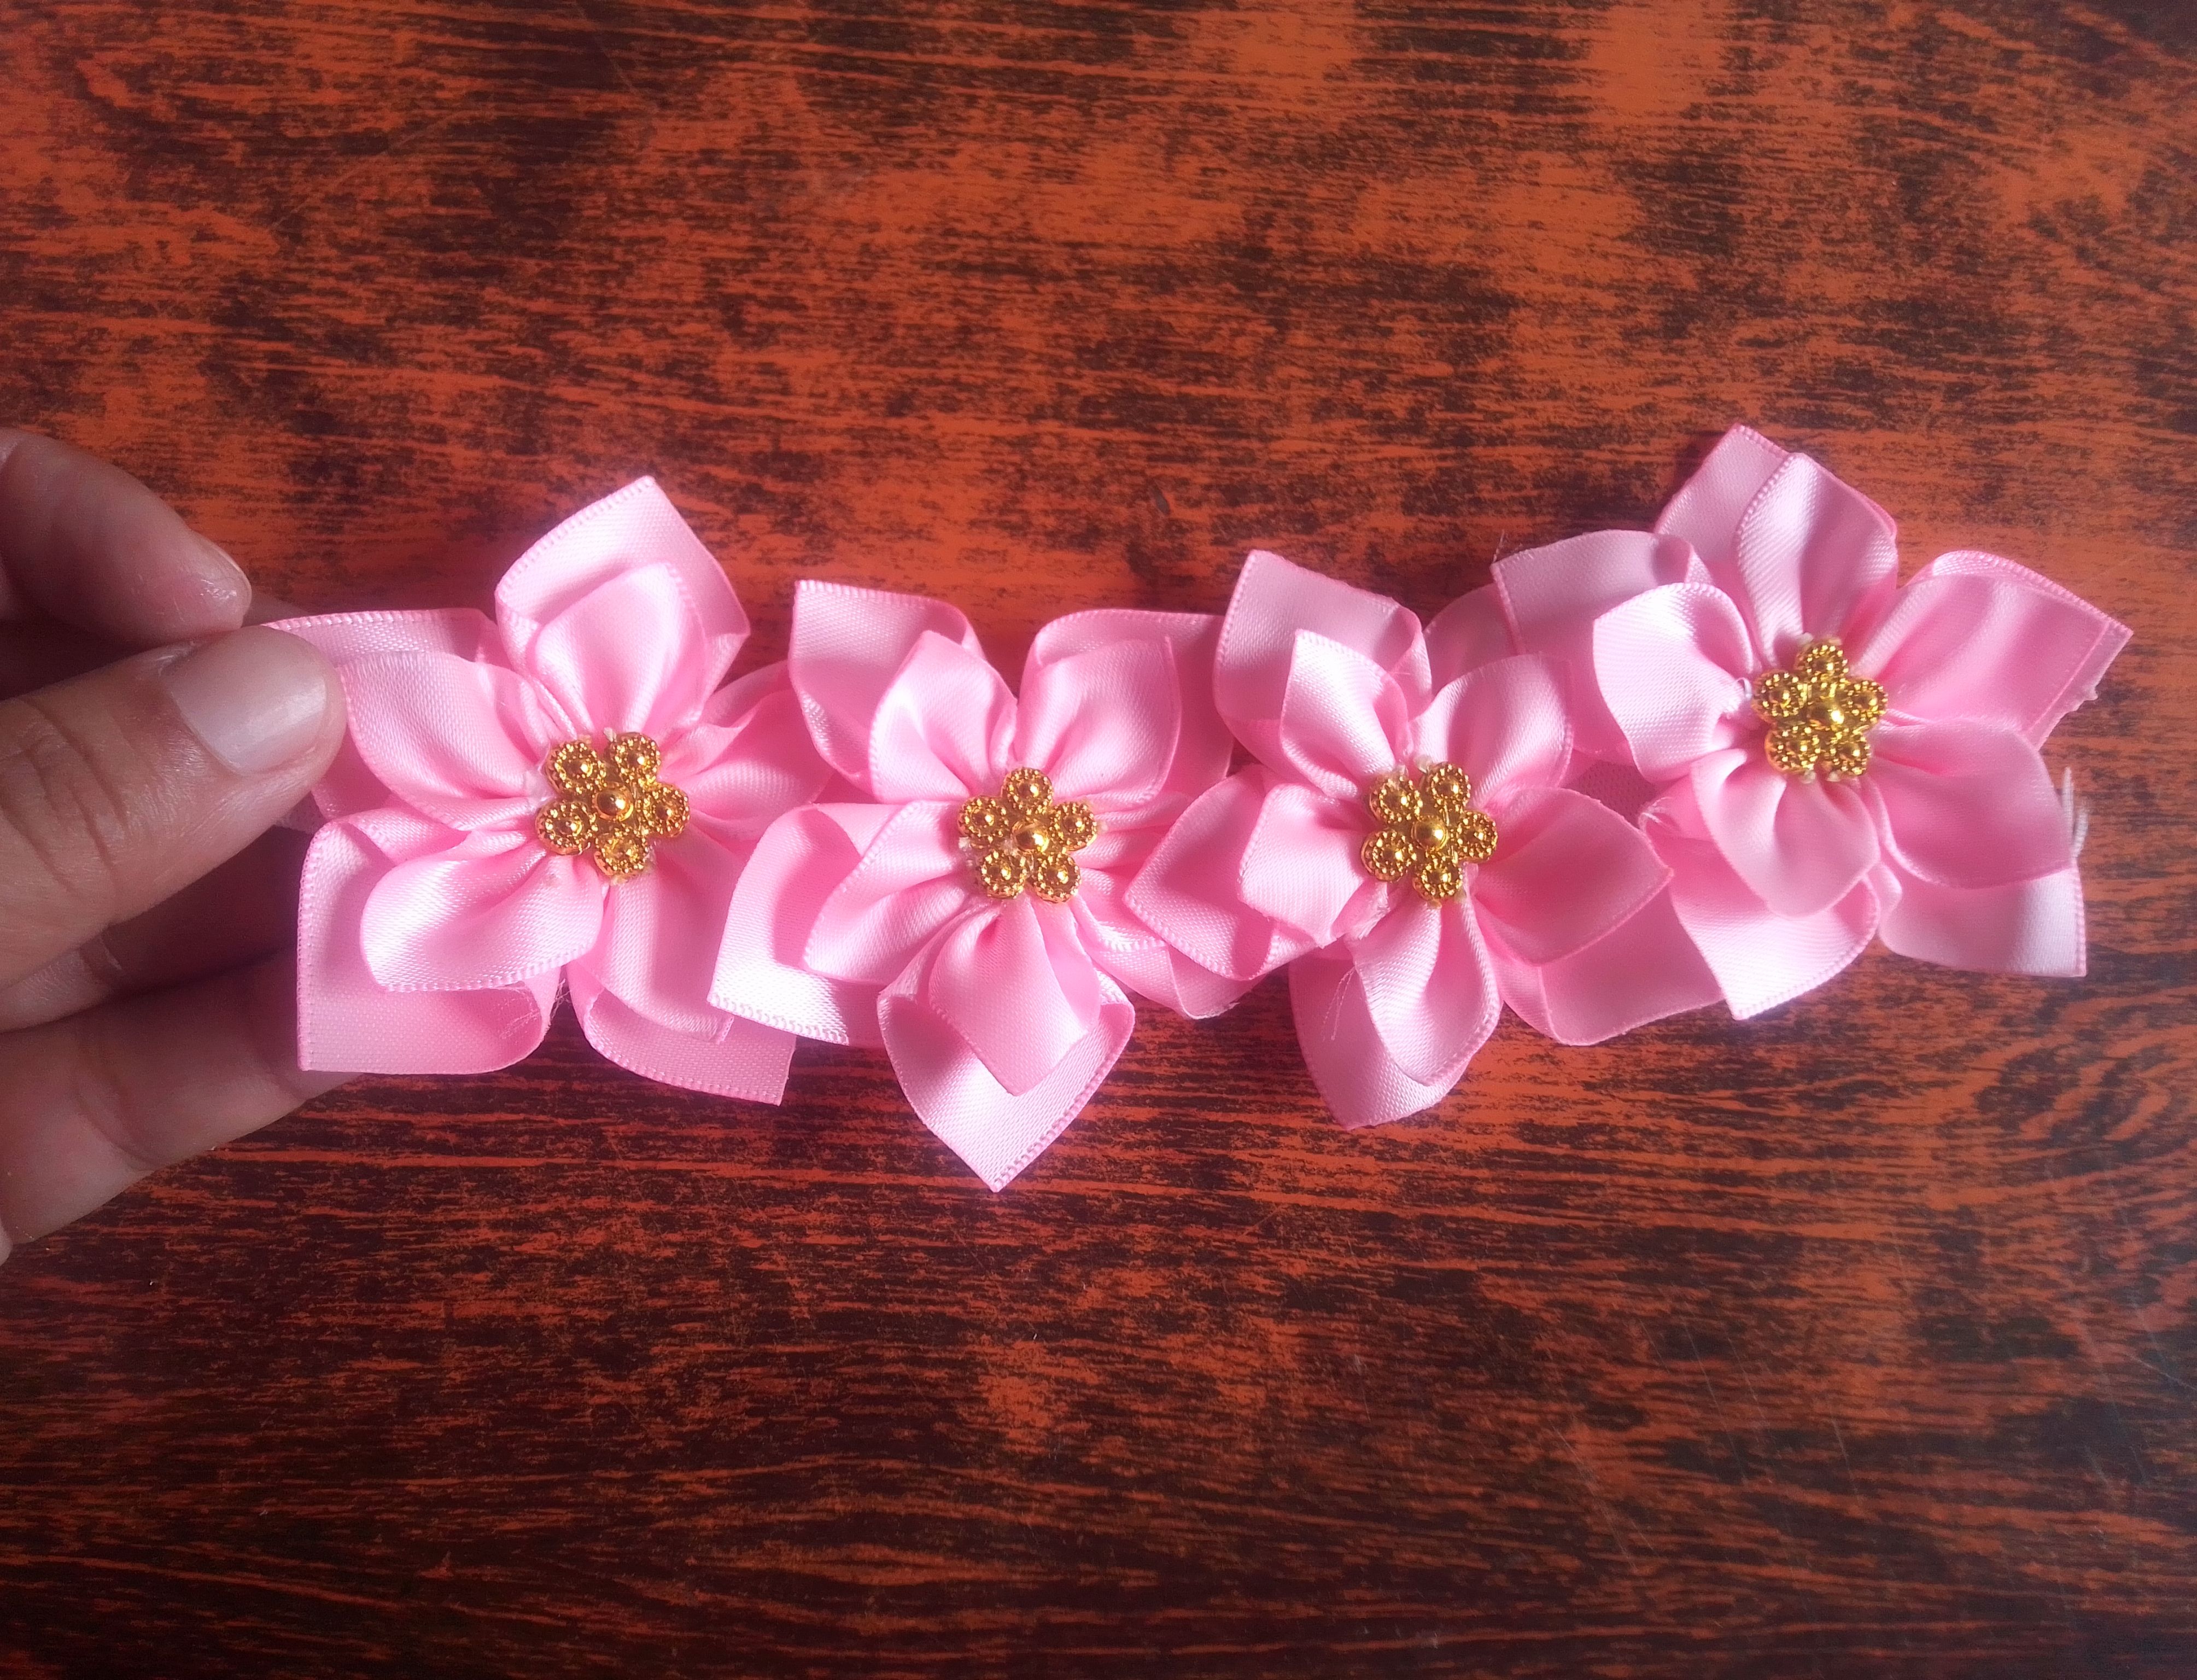
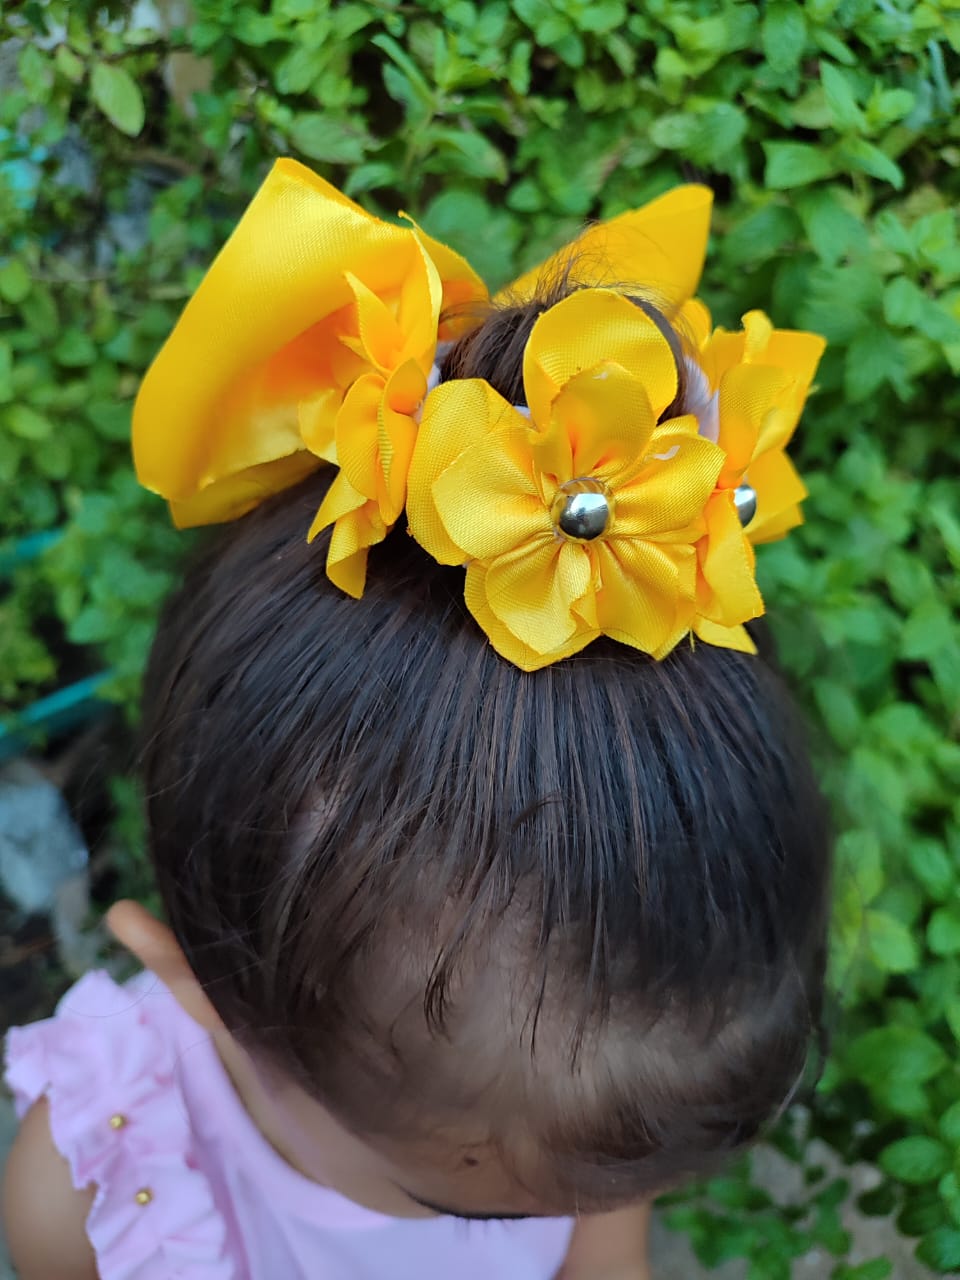
***Resultado!***
***Result!***
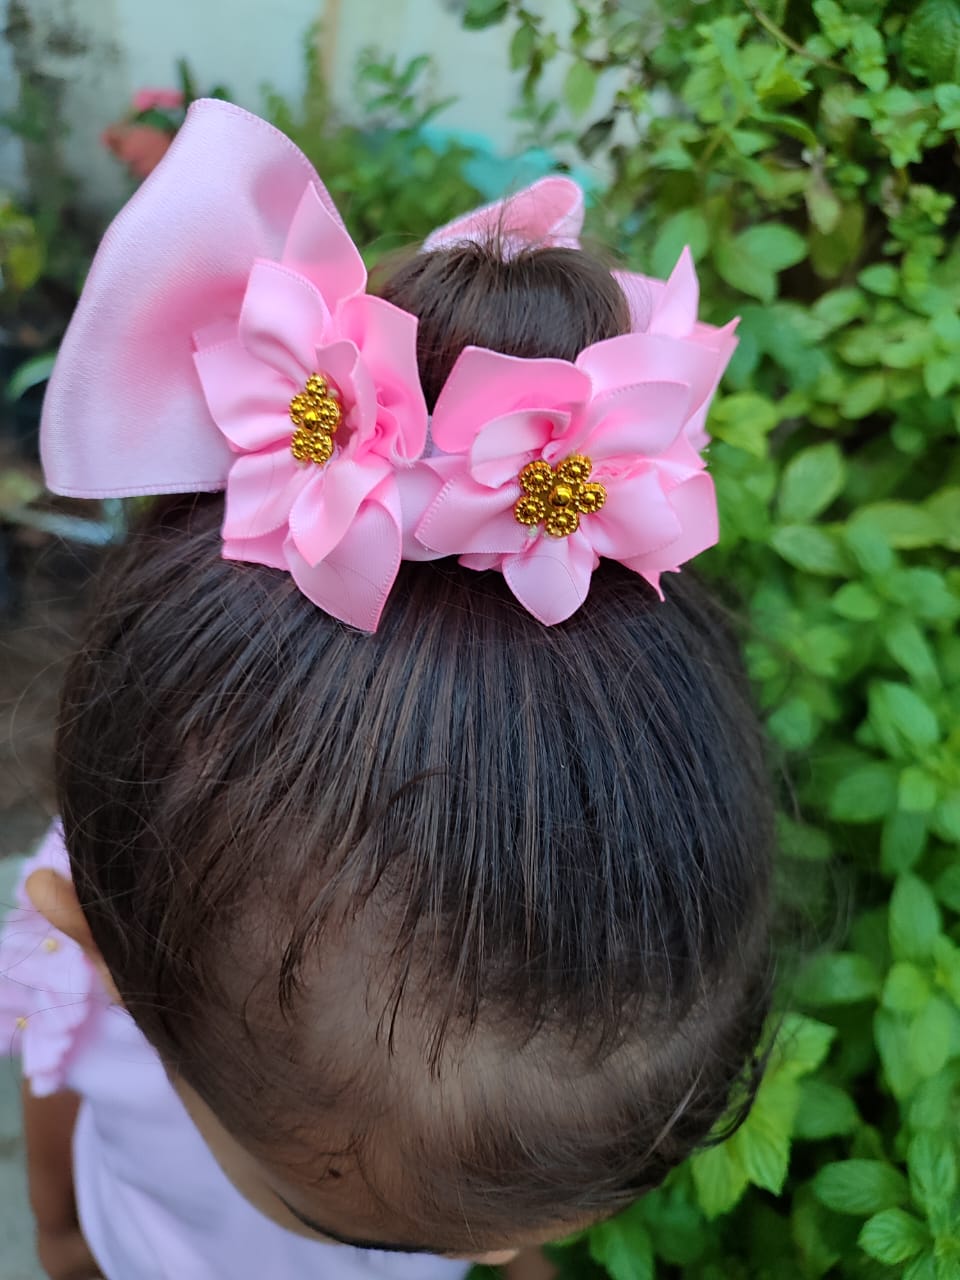
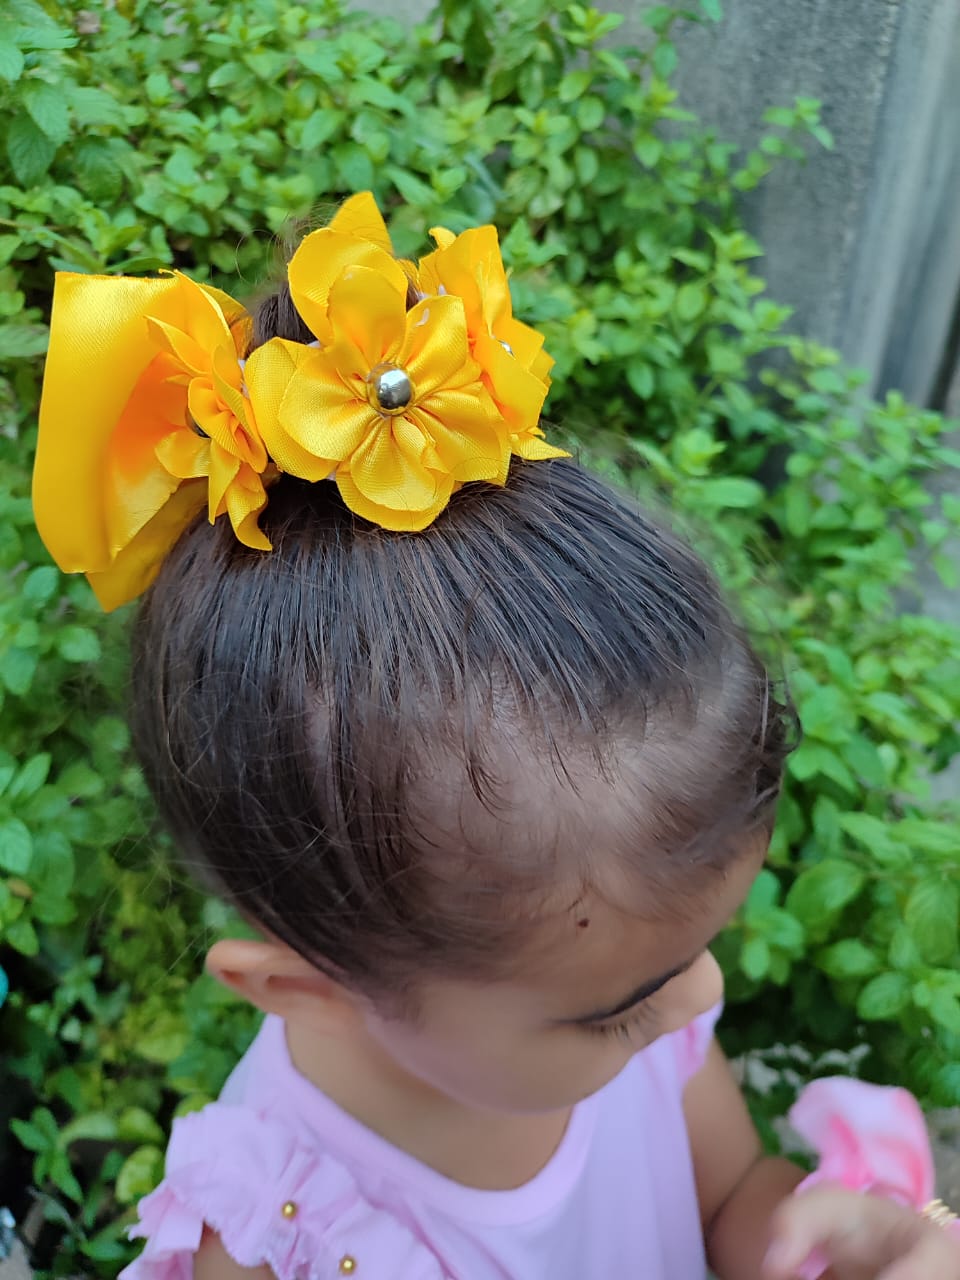
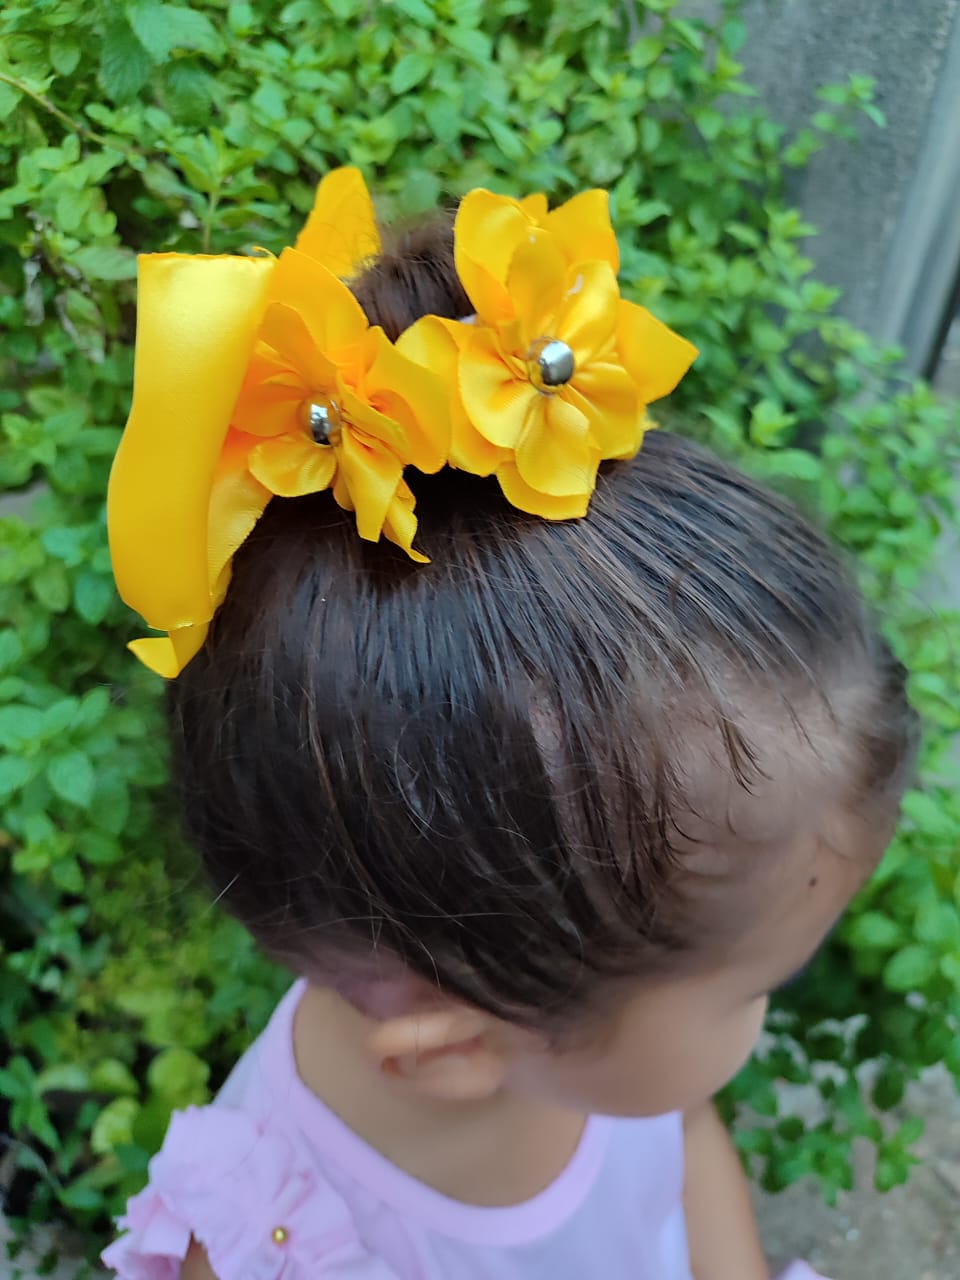
Tomé muchas fotitos pues el resultado me pareció sumamente precioso, y quería que ustedes apreciarán su belleza o lo bien que luce.
I took a lot of photos because the result seemed extremely beautiful to me, and I wanted you to appreciate its beauty or how good it looks.


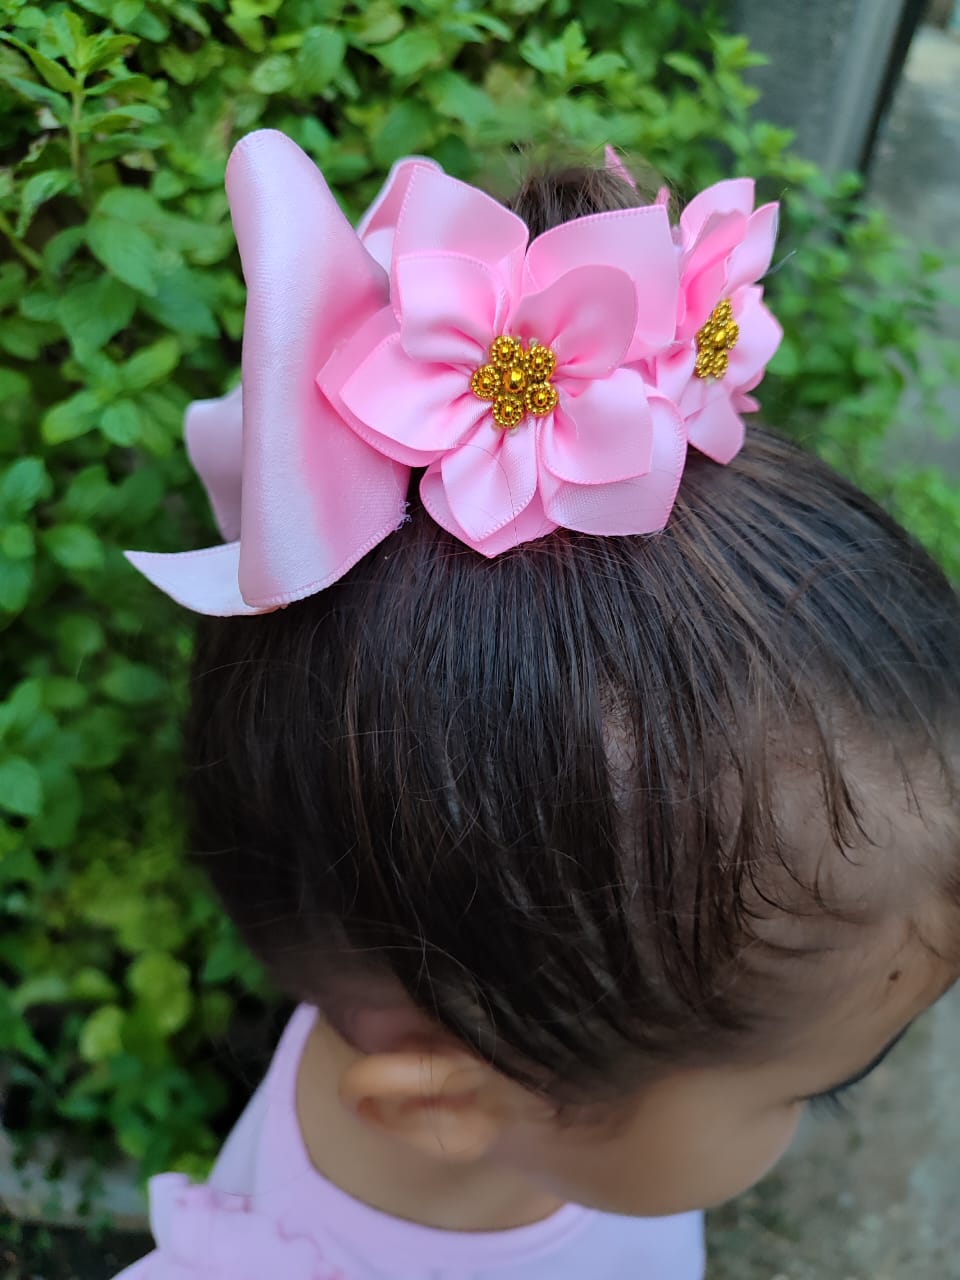
Espero les haya gustado, y me cuenten que les pareció! Me despido muy feliz de haber compartido este proyecto con ustedes, cuídense mucho, nos vemos pronto! Bendiciones!
I hope you enjoyed it, and please tell me what you think! I'm very happy to have shared this project with you. Take care of yourselves, and see you soon! Blessings!
🙋🏻Todas las imágenes de esta publicación son de mi autoria capturadas de mi dispositivo Smooth 6.5, primera imagen editada en PicsArt | Texto original traducido en el traductor de Google.
All images in this post are my own, captured from my Smooth 6.5 device, first image edited in PicsArt | Original text translated in Google translator.
