Last Sunday was the fiesta of our sitio, so naturally, we were very busy with various house chores. Early morning, we tidied up our house, and since we already had a general cleaning before that day, so it didn't take long for us to clean yesterday. Fiesta won't be a fiesta without the *handaan* or the food that we serve to our visitors. Various pork dishes were cooked, and of course we can't miss having *pancit*. It's kinda a family tradition for us to have it on every special occasion—not only because of the superstition, which says that it gives us good luck and long life, but also because it's the specialty of my mother.
She really cooks pancit so well, so I anticipate every special occasion just because of it. The way she cooks it is nothing like the ones I ate from eateries or even from the restaurants. It has its own taste—like the moment I eat it, I'll immediately know she's the one who cooked it. That's why for today, I'm going to share with you how my cook here must-have pancit. So if you're interested, scroll down and be with me as we go with it step by step.
---
##### Cooking Time!
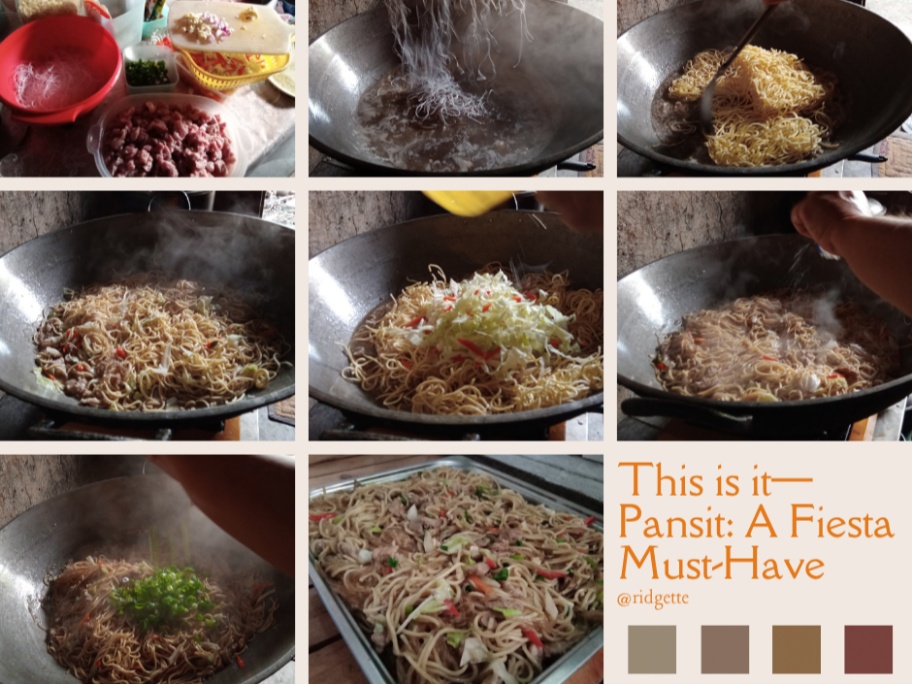
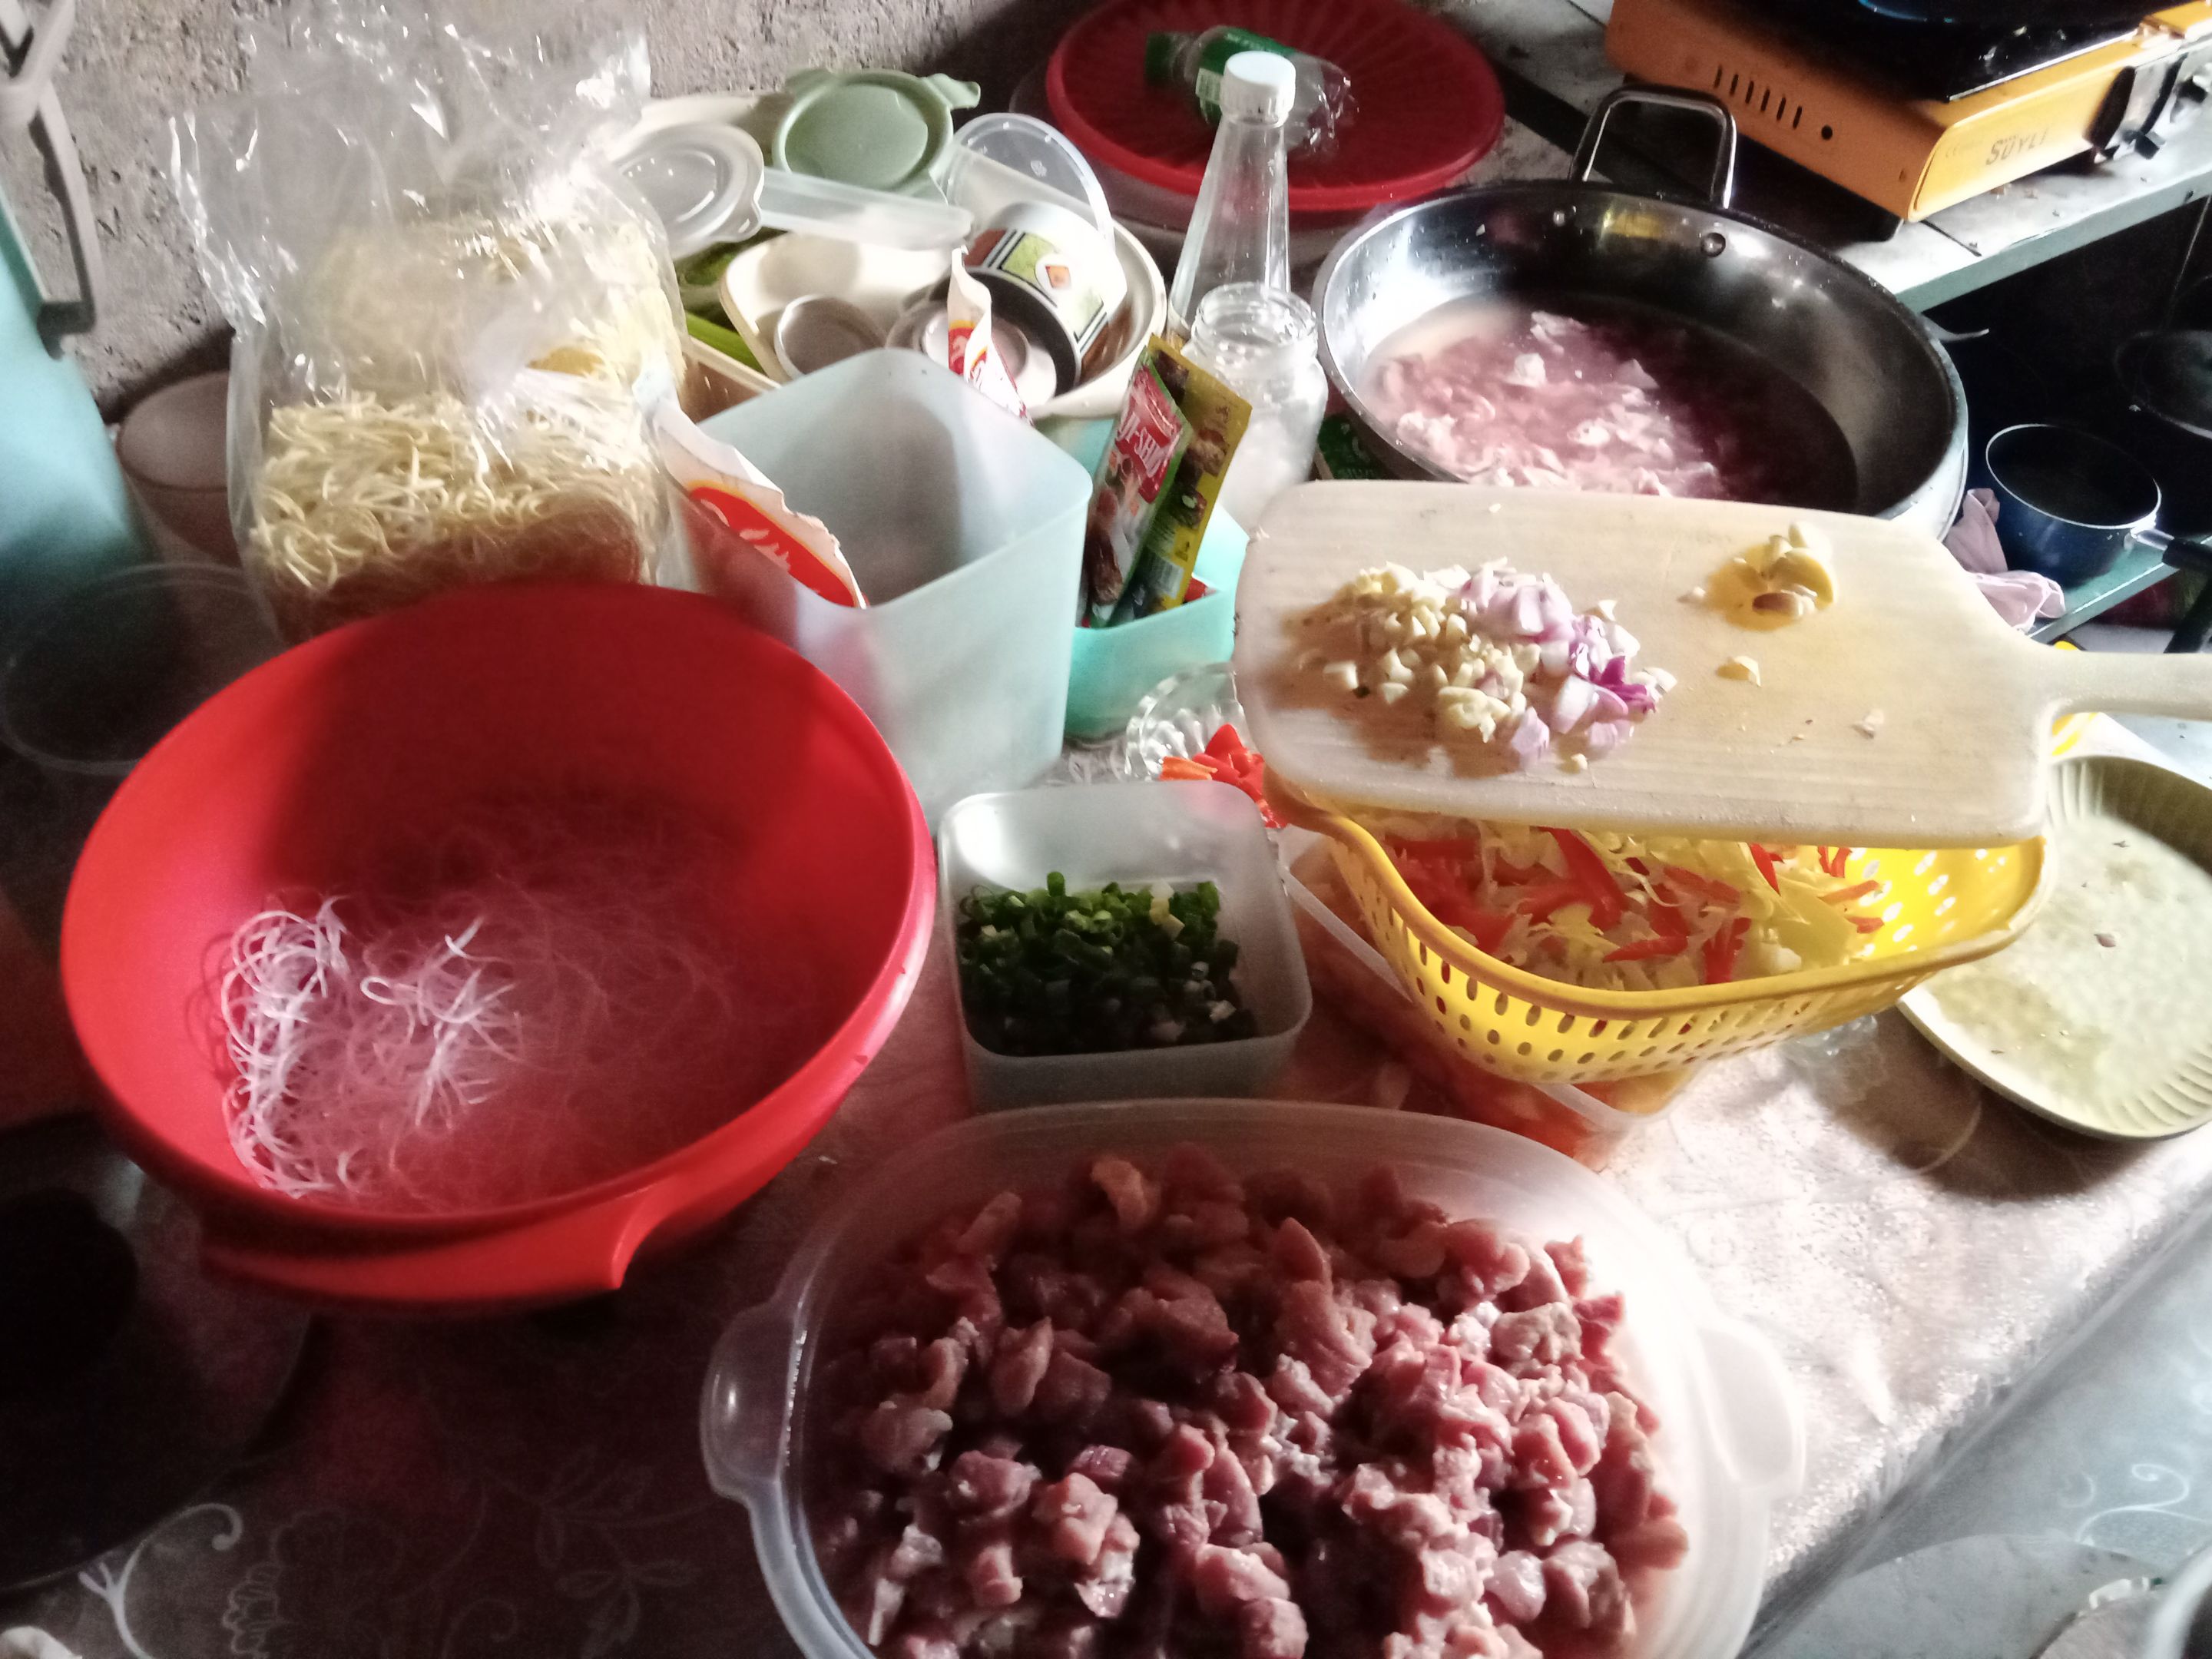
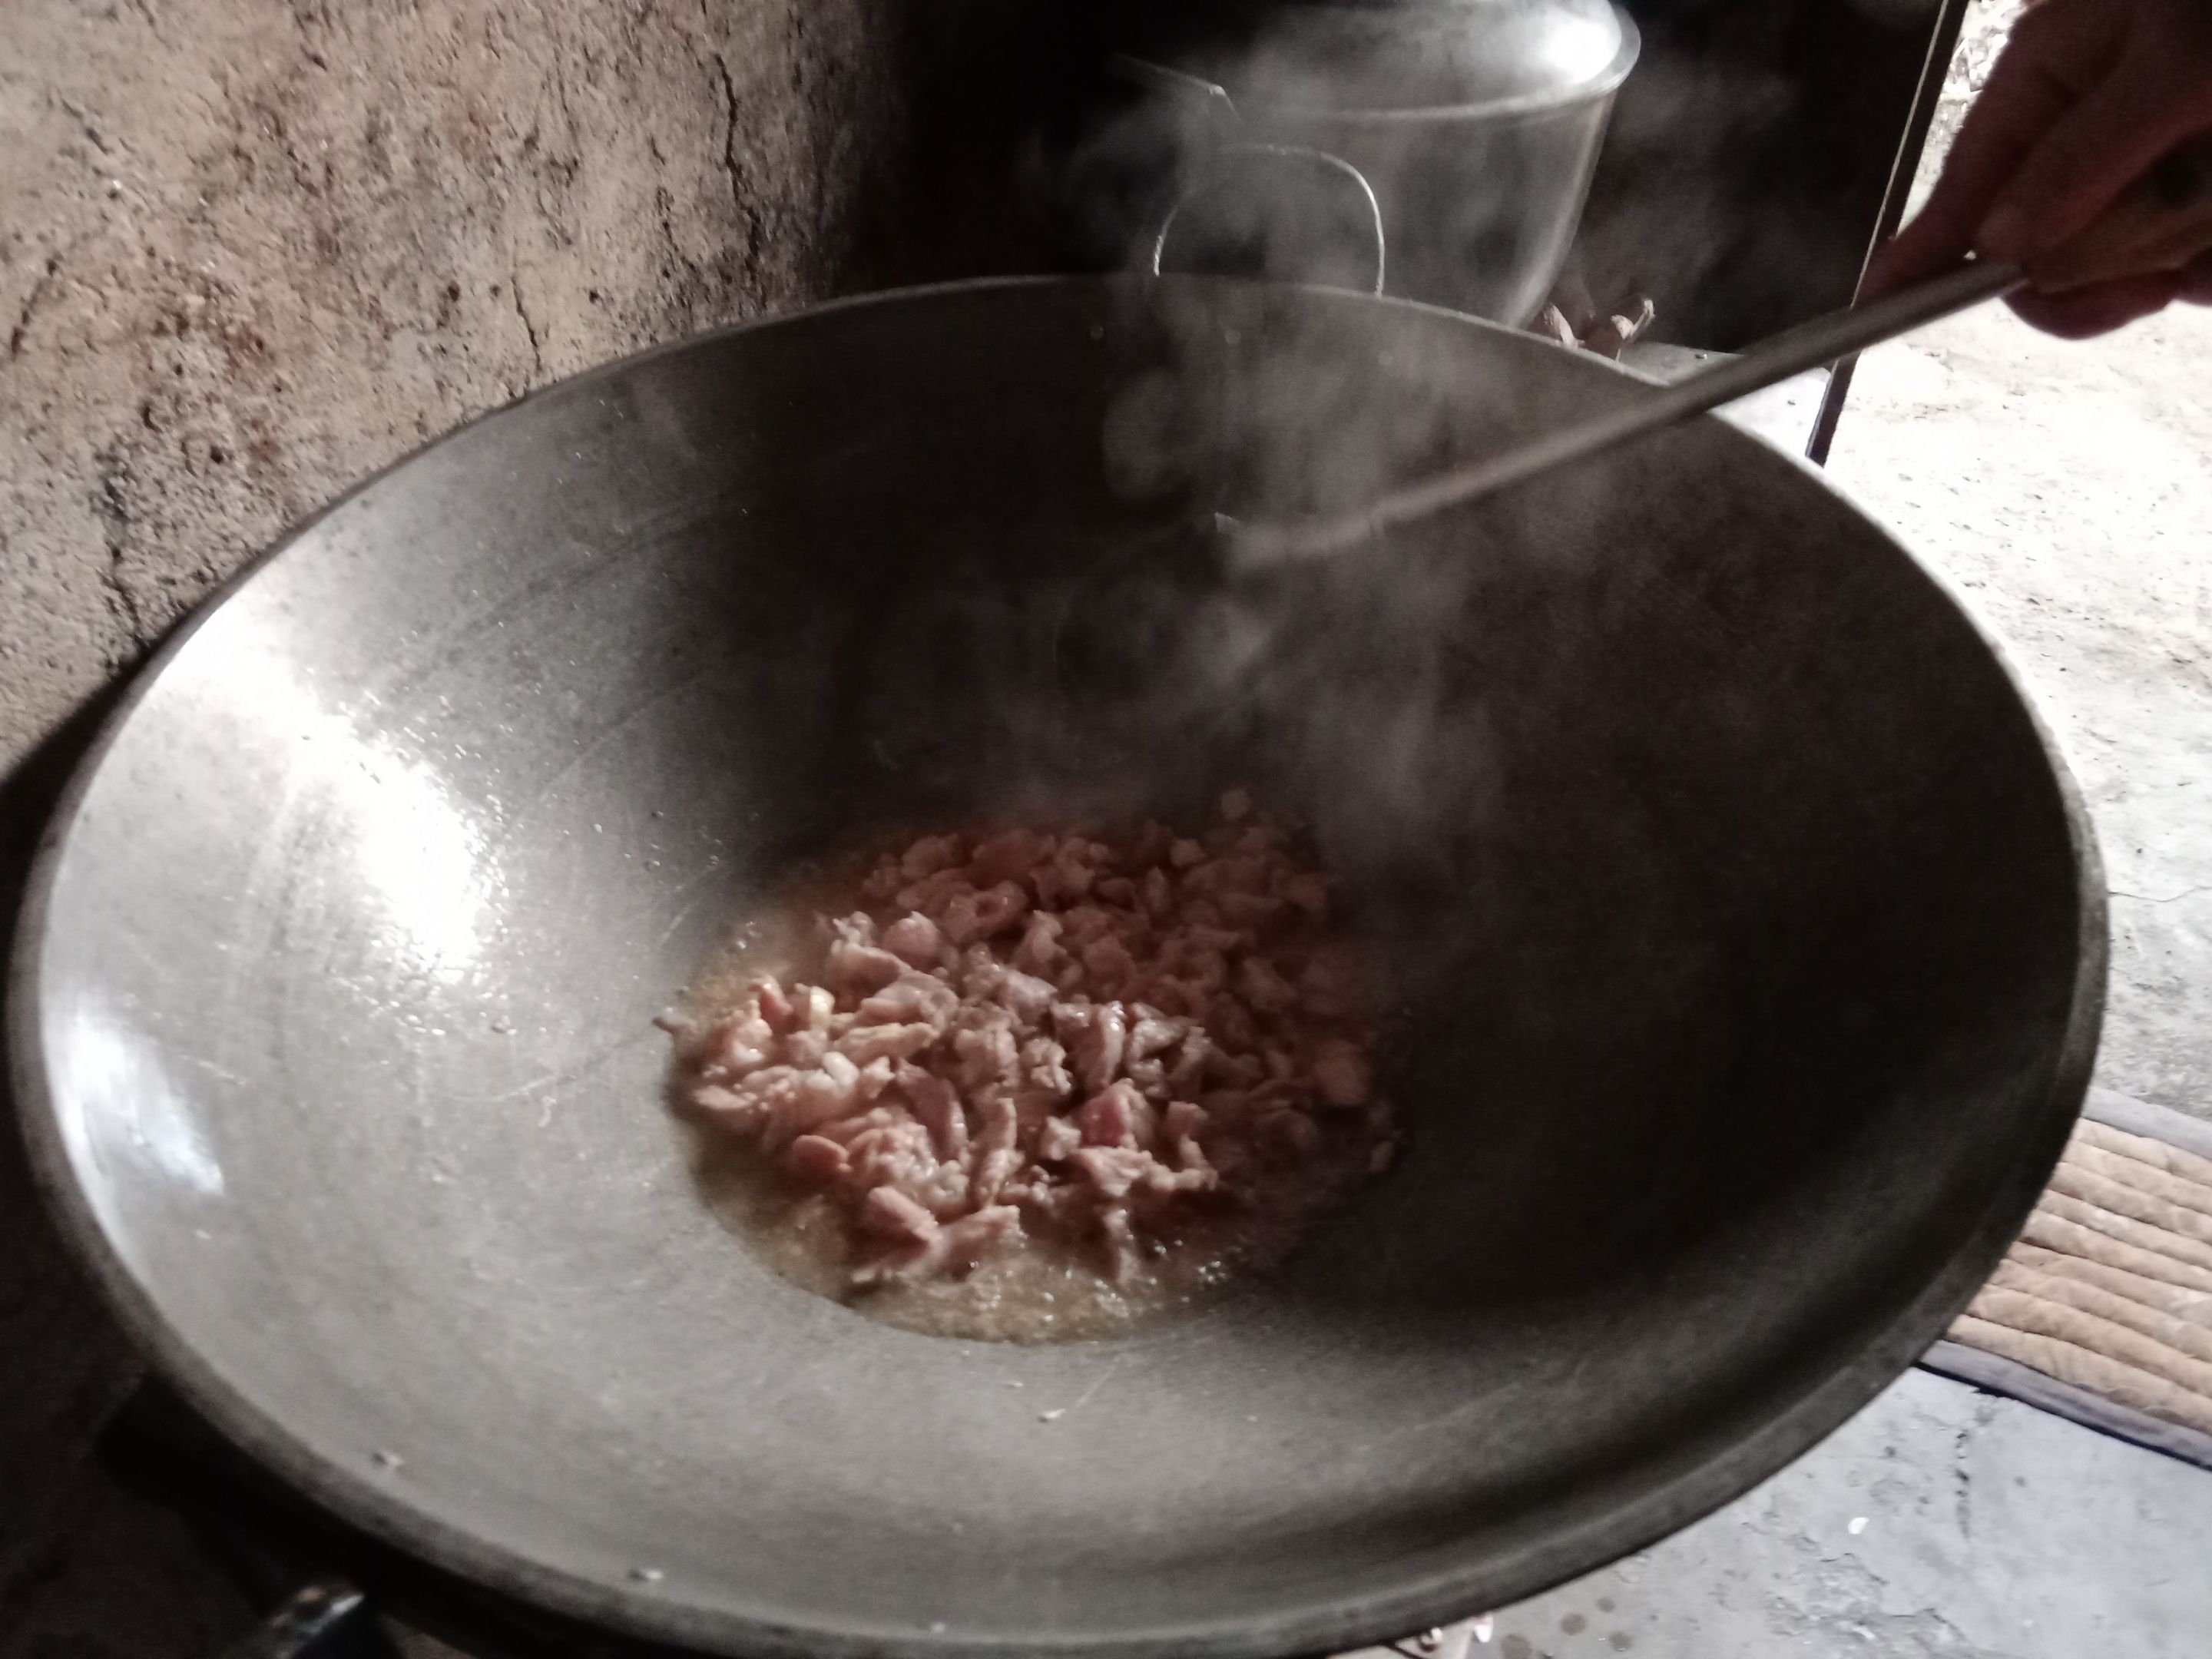
**1.** Before we proceed to the cooking proper, we first prepare our ingredients, which are the pork, *pansit canton* noodles, *longi vermicelli* noodles, spring onions, garlic, red onion, bell pepper, cabbage, carrots and various seasonings.
**2.** After preparing them, we then proceed to heat the oil and saute the garlic and red onions.
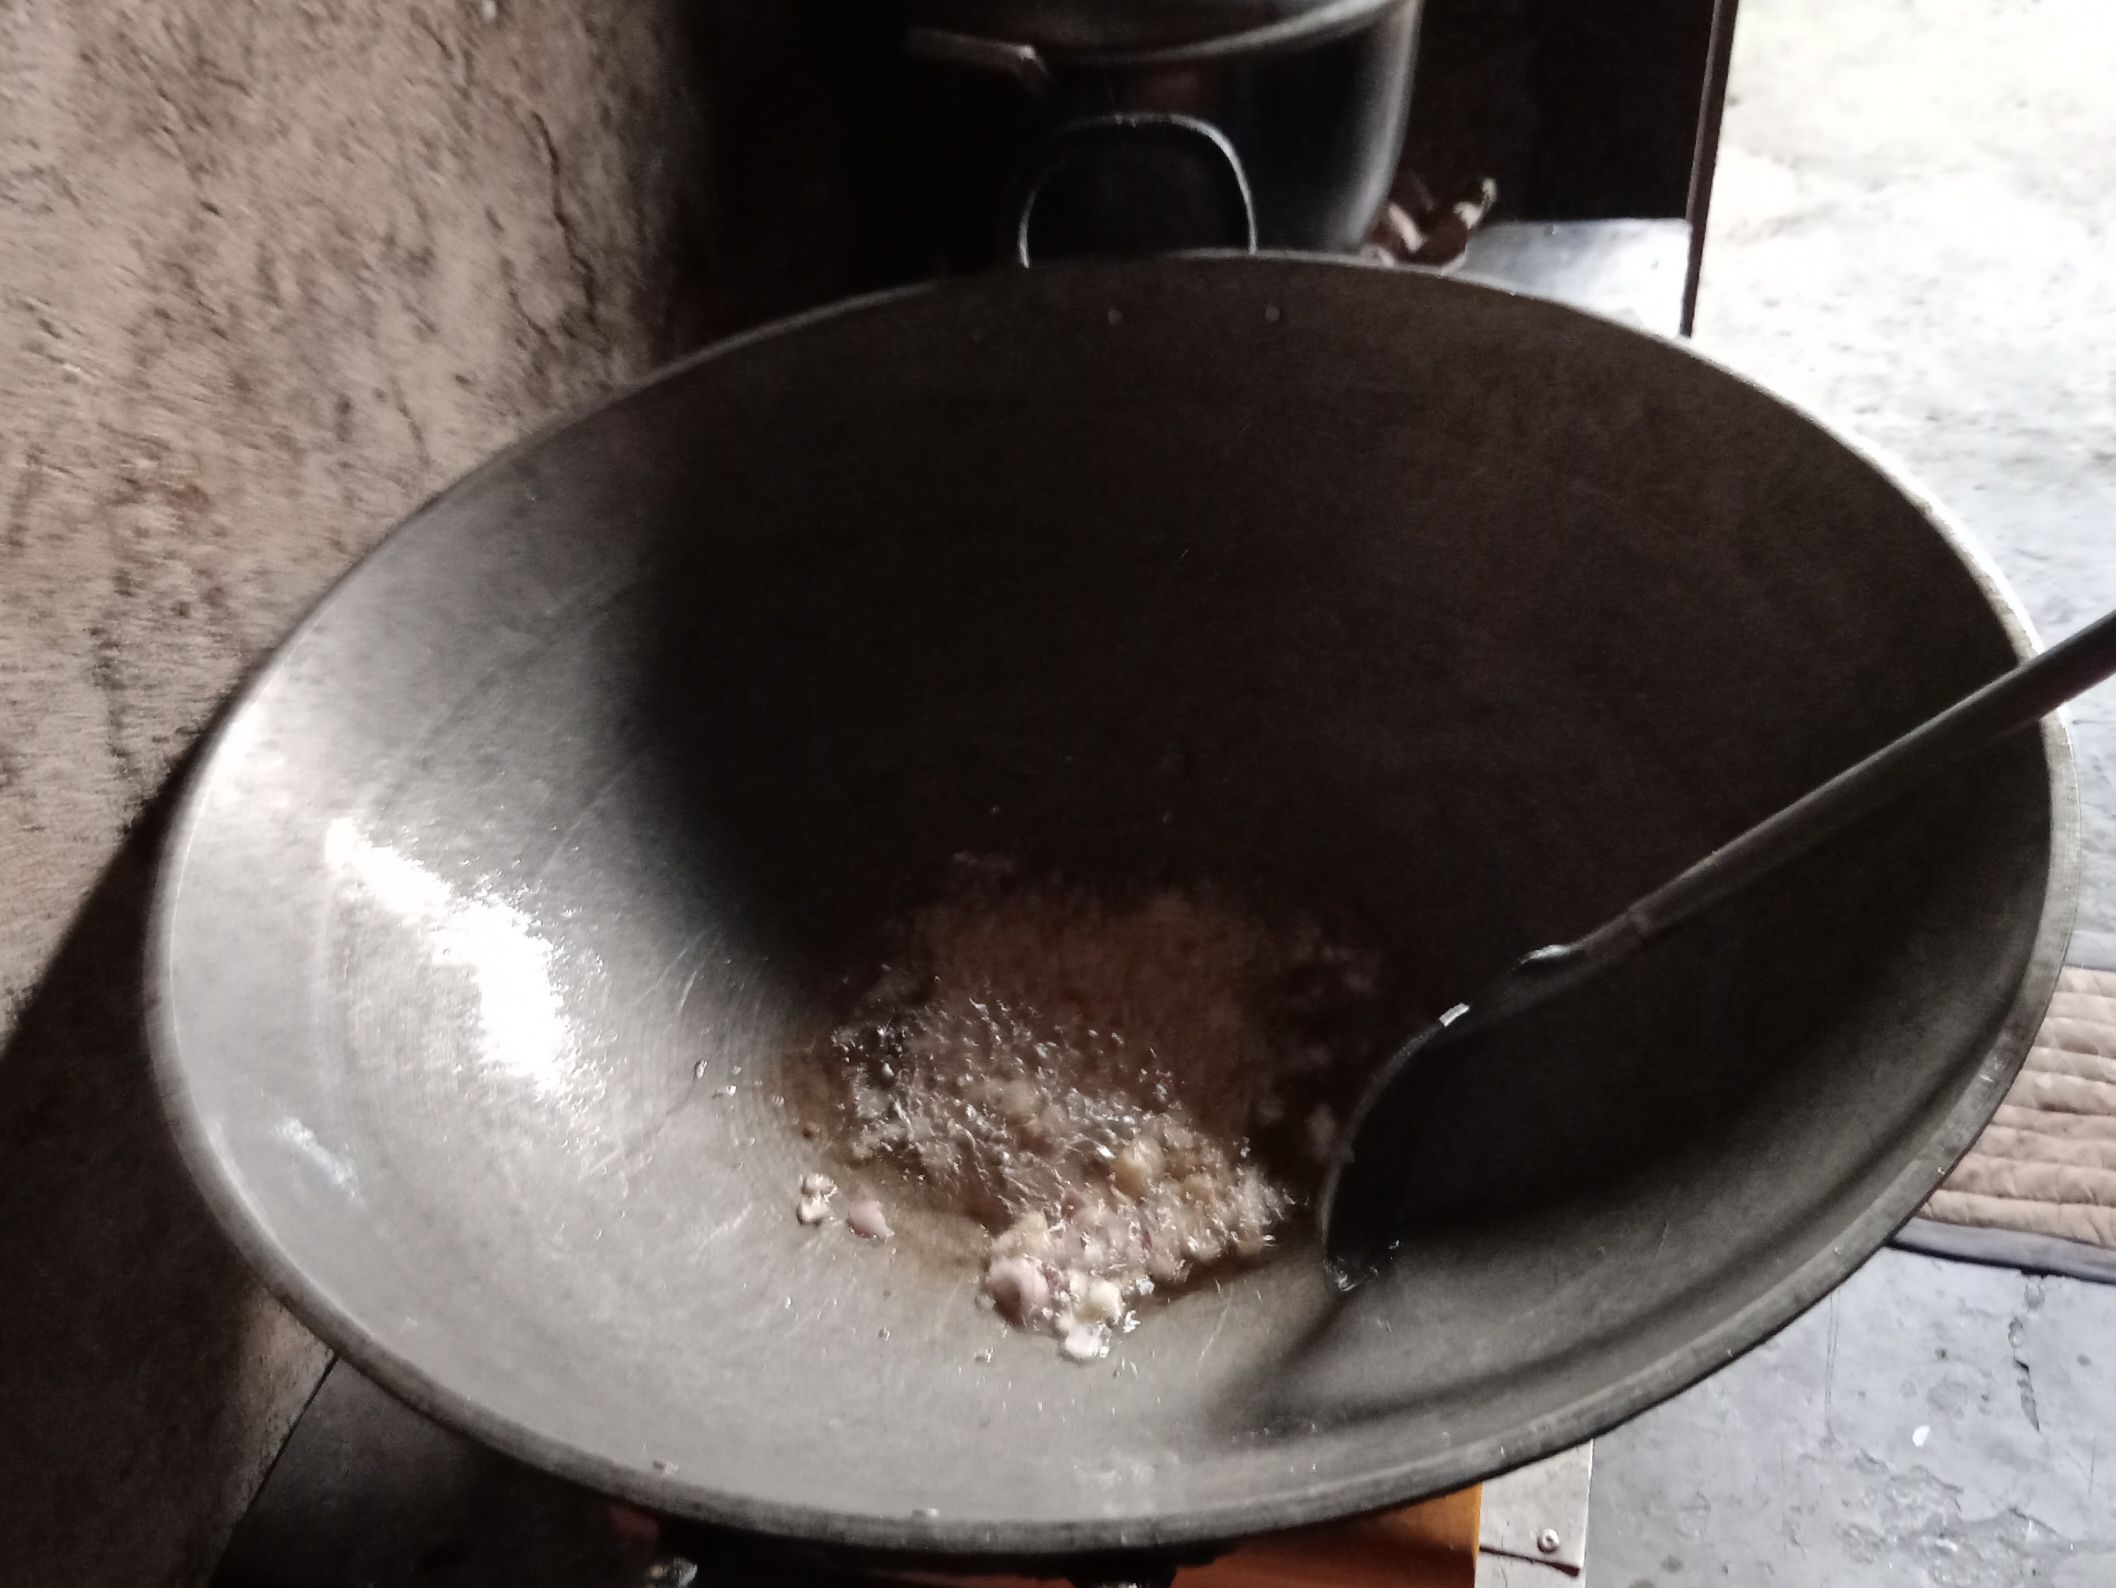
**3.** When the garlic is already golden brown and the onion is translucent, we then added the pork.
**4.** It kinda took time to really cook the pork, but by the time I came back from helping my grandma cook her humba, my mother was already adding water.
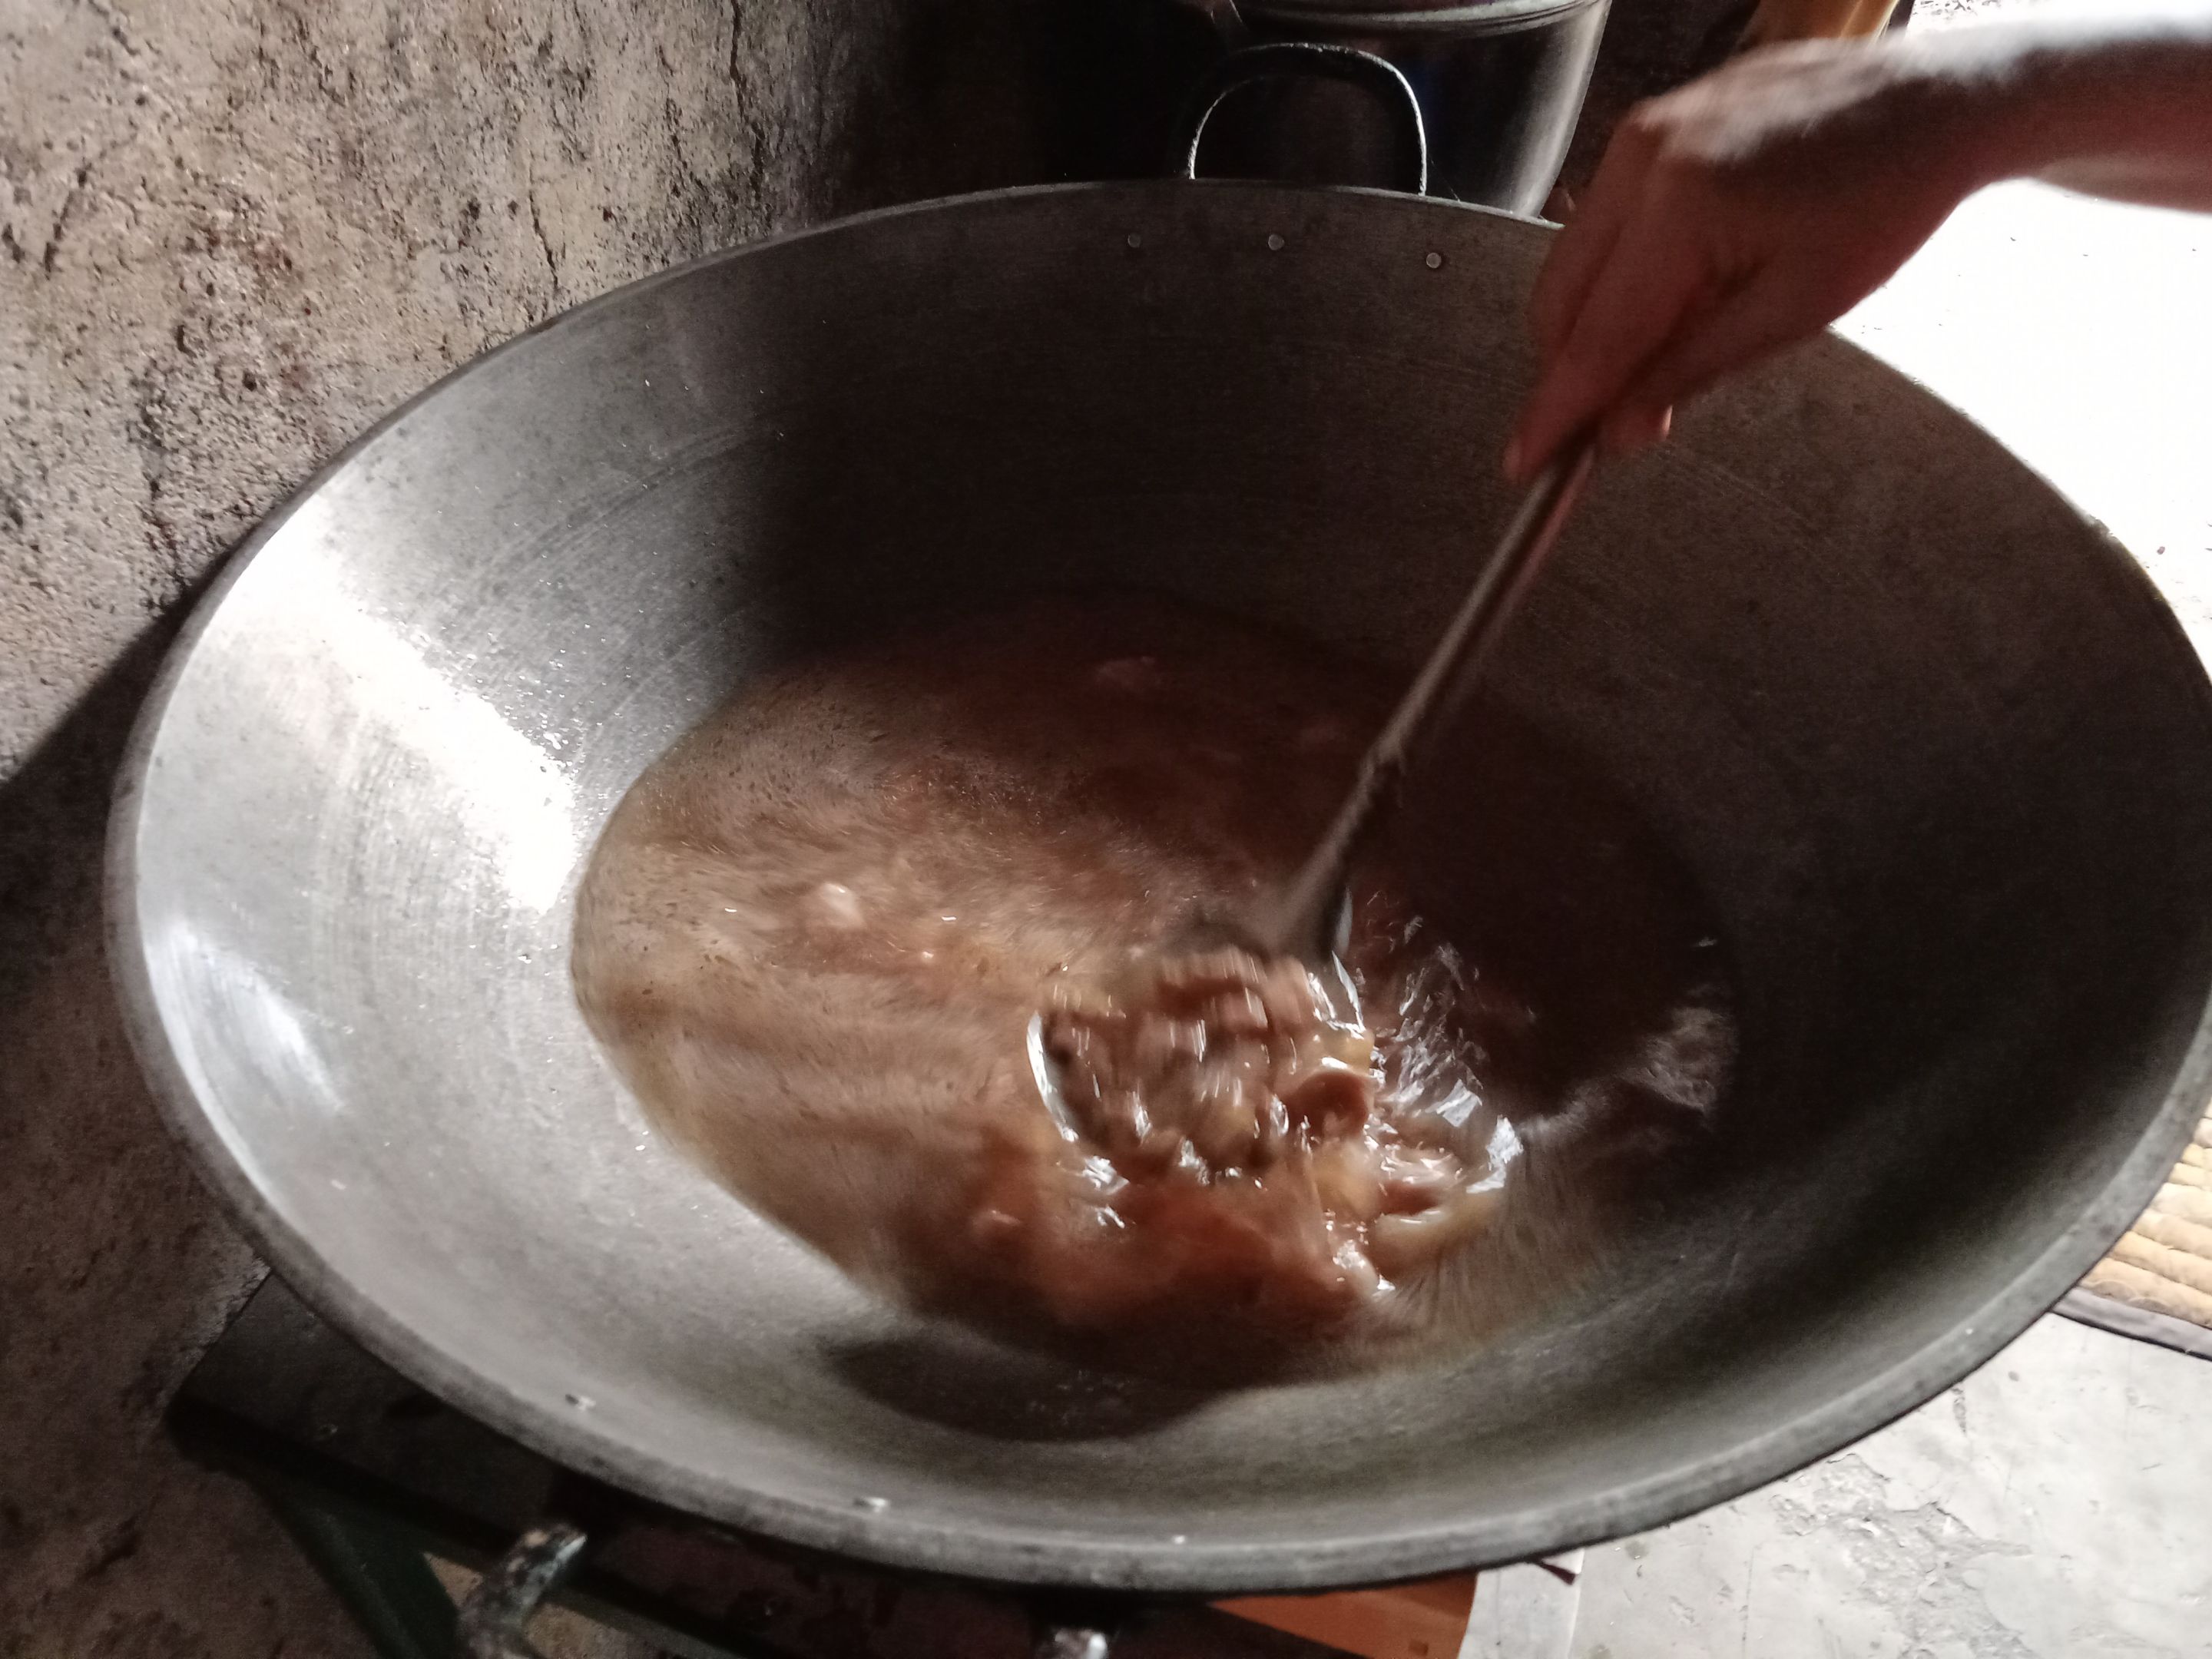
**5.** Then she added salt, soy sauce, pepper, garlic powder, and of course MSG.
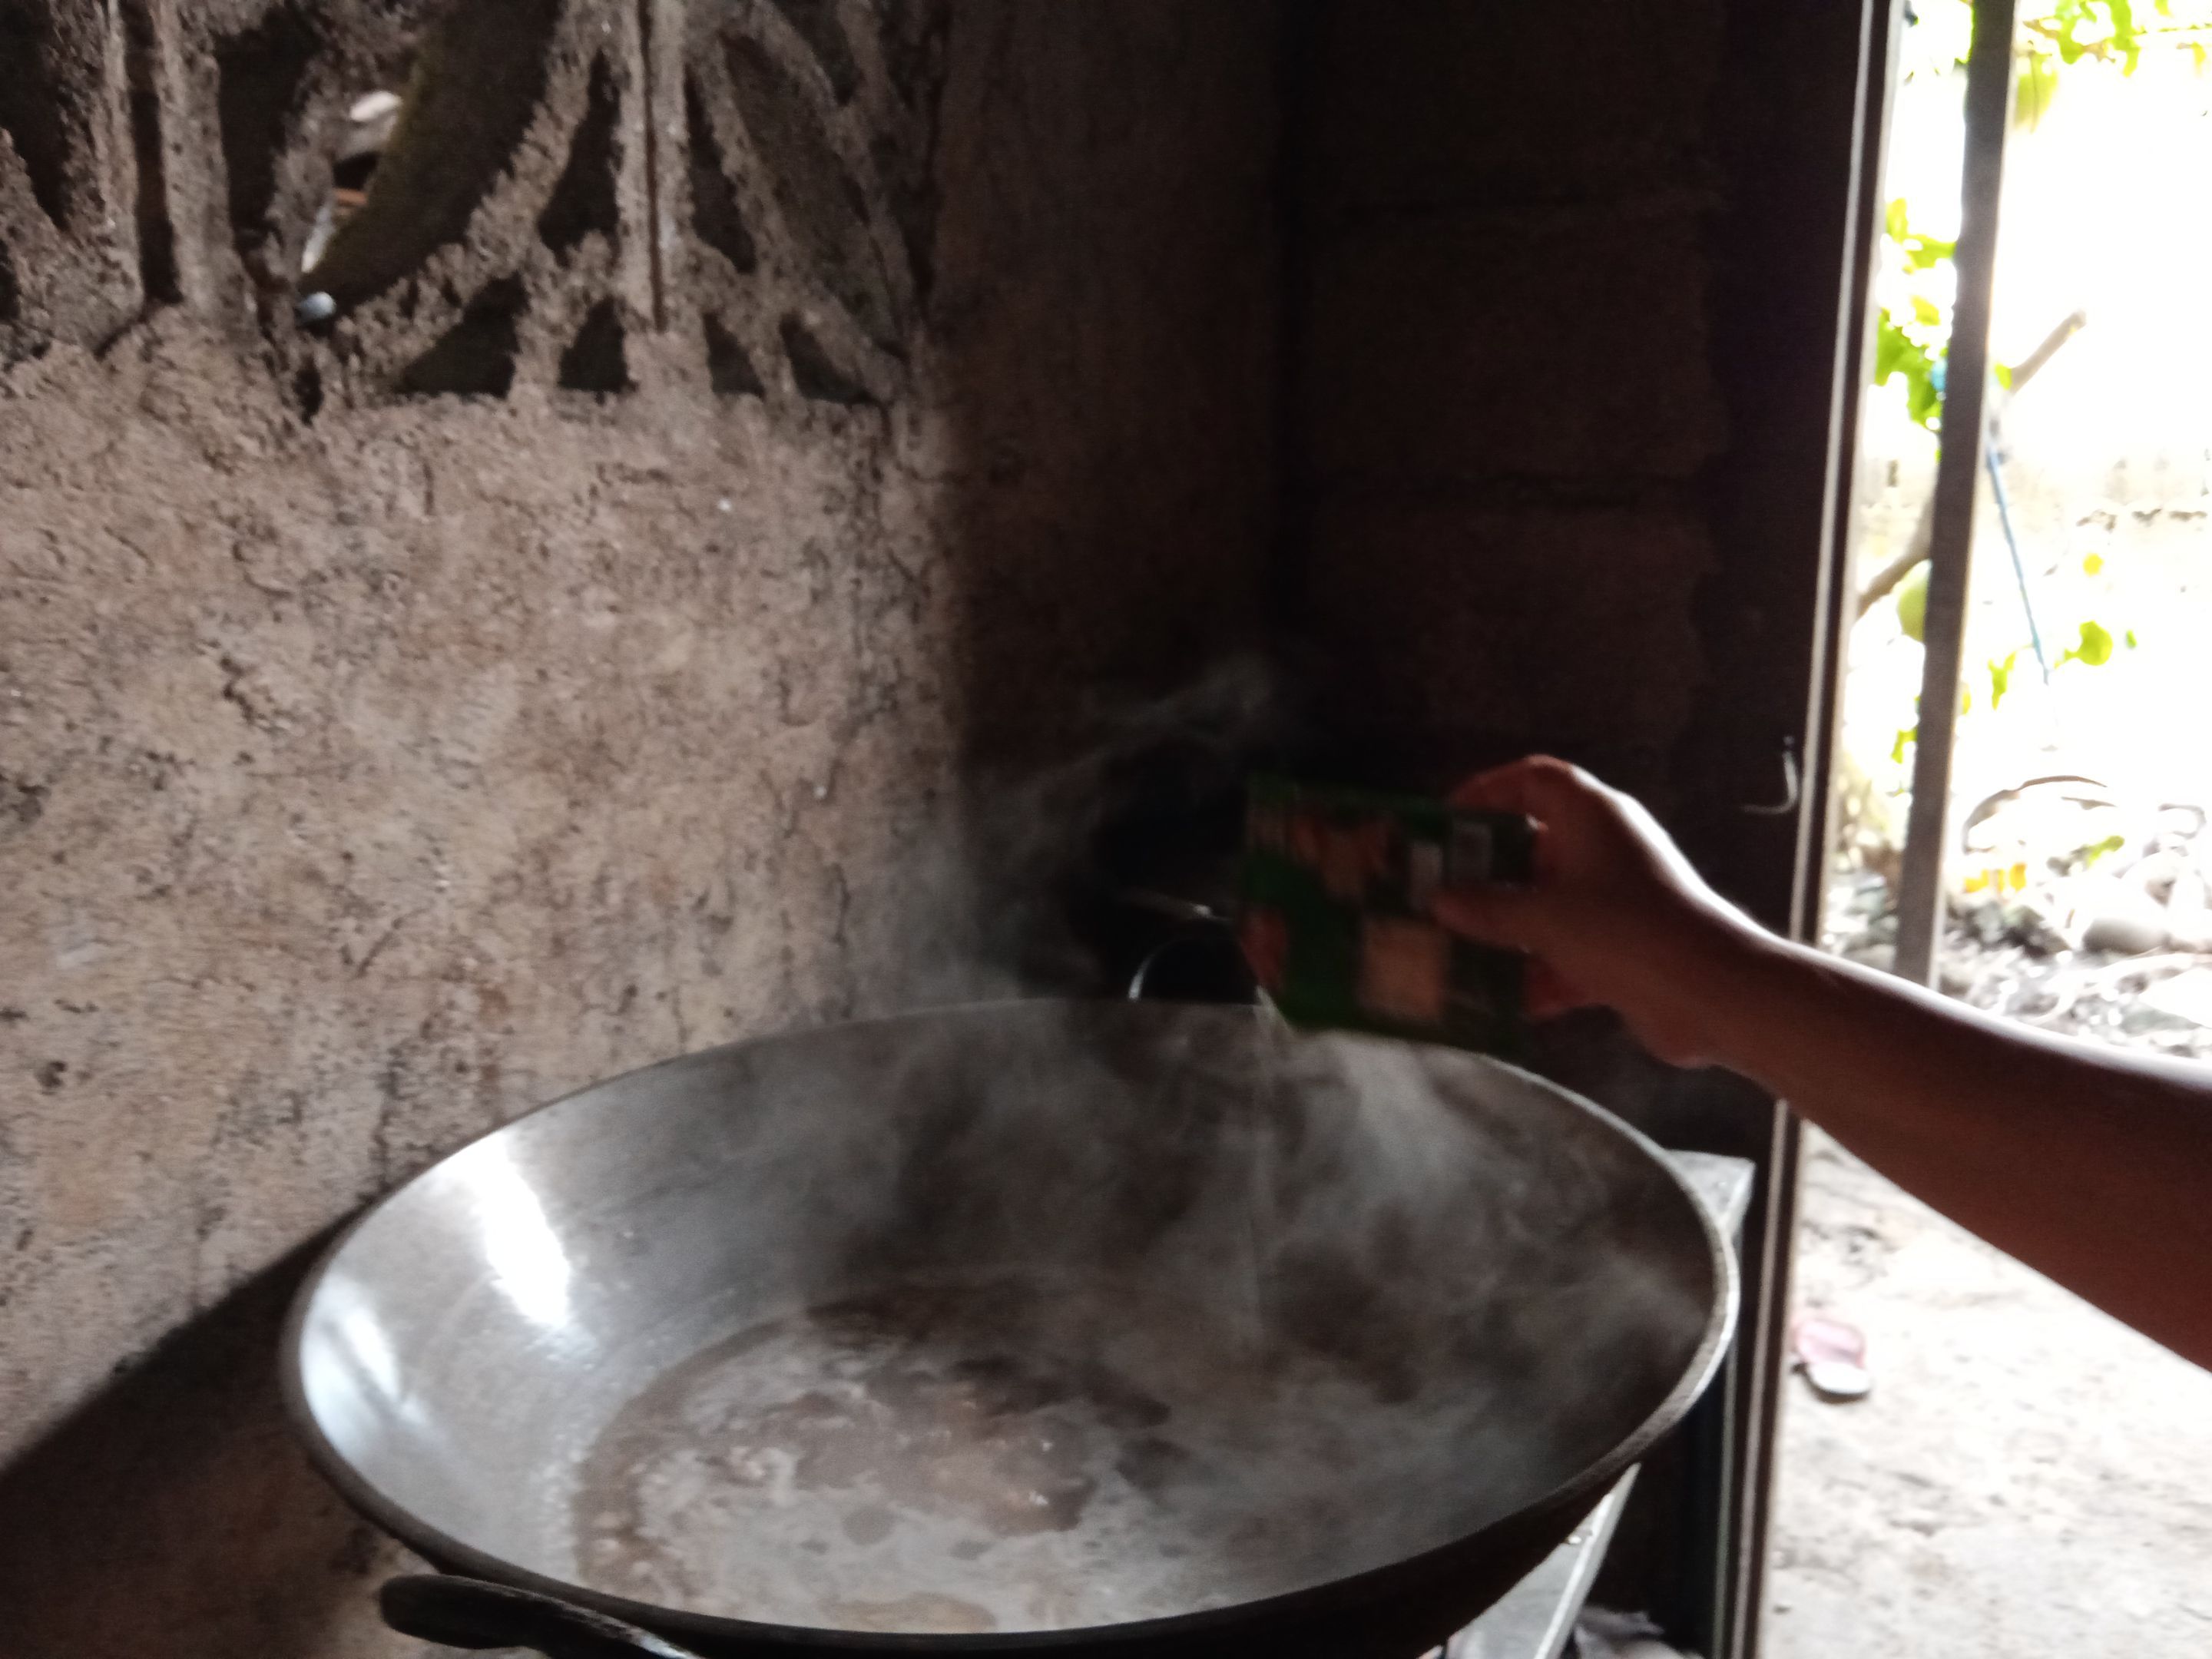
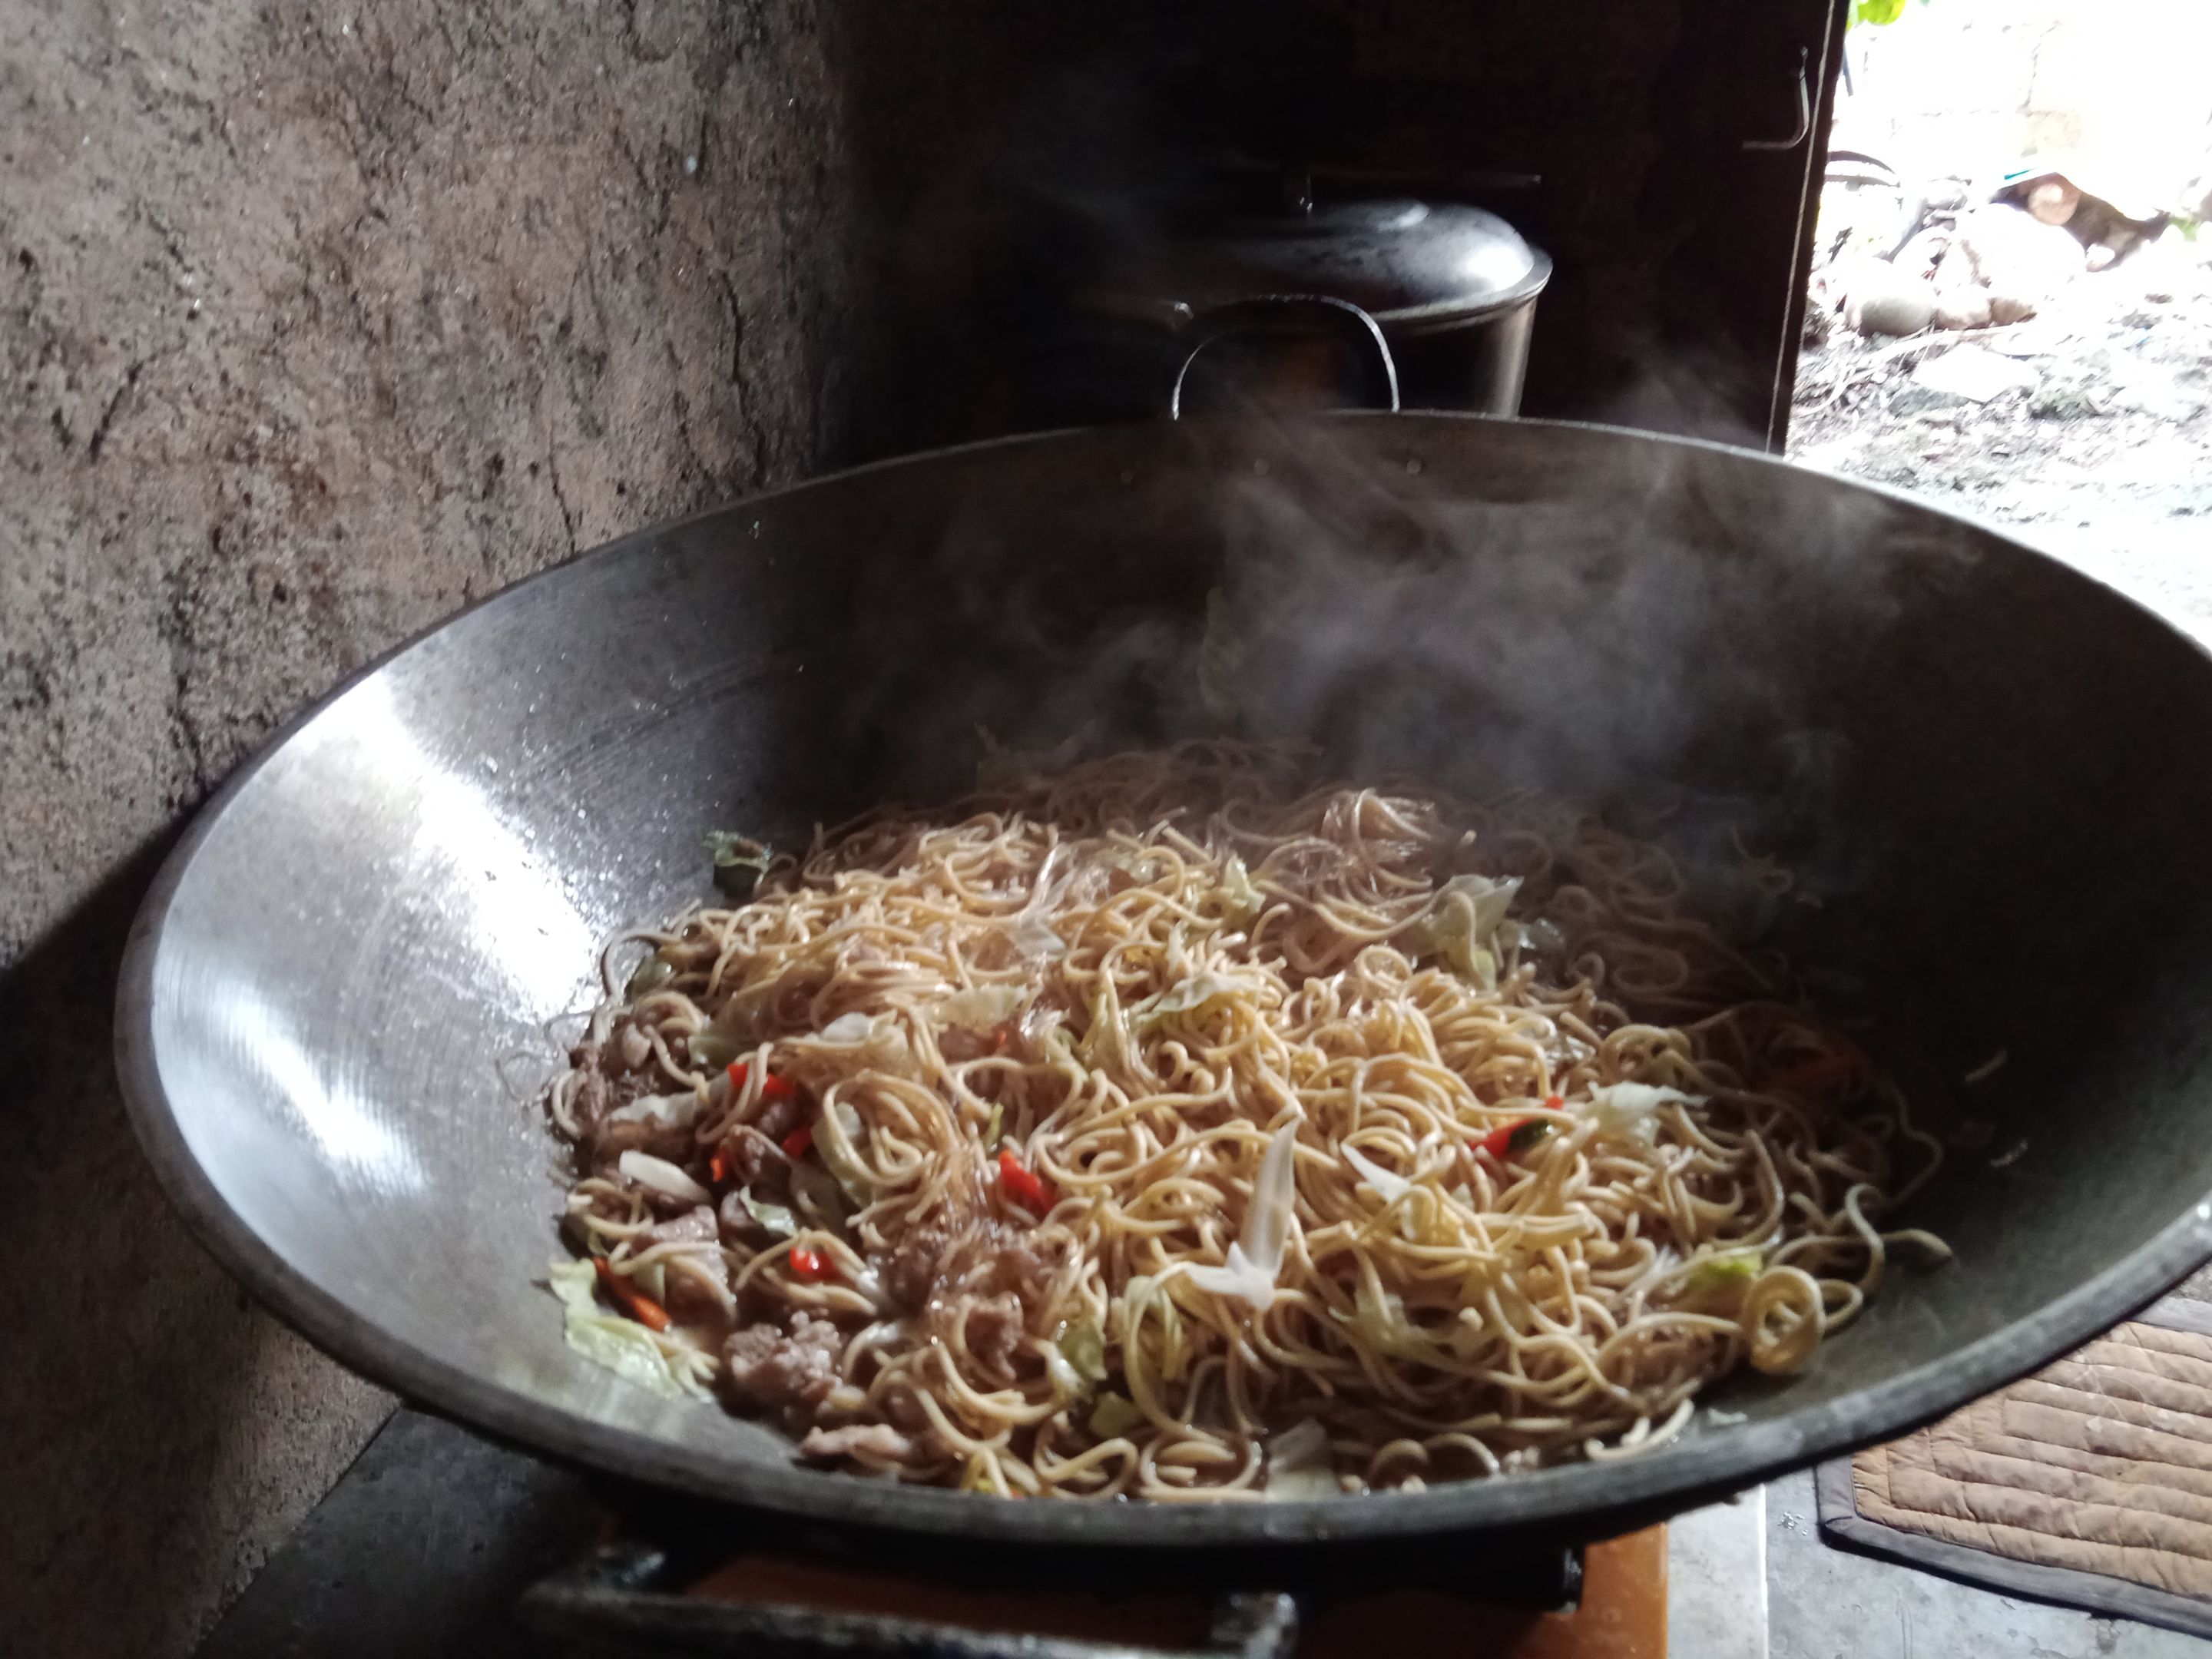
**6.** When it's already starting to boil, we add the *longi vermicelli* noodles.
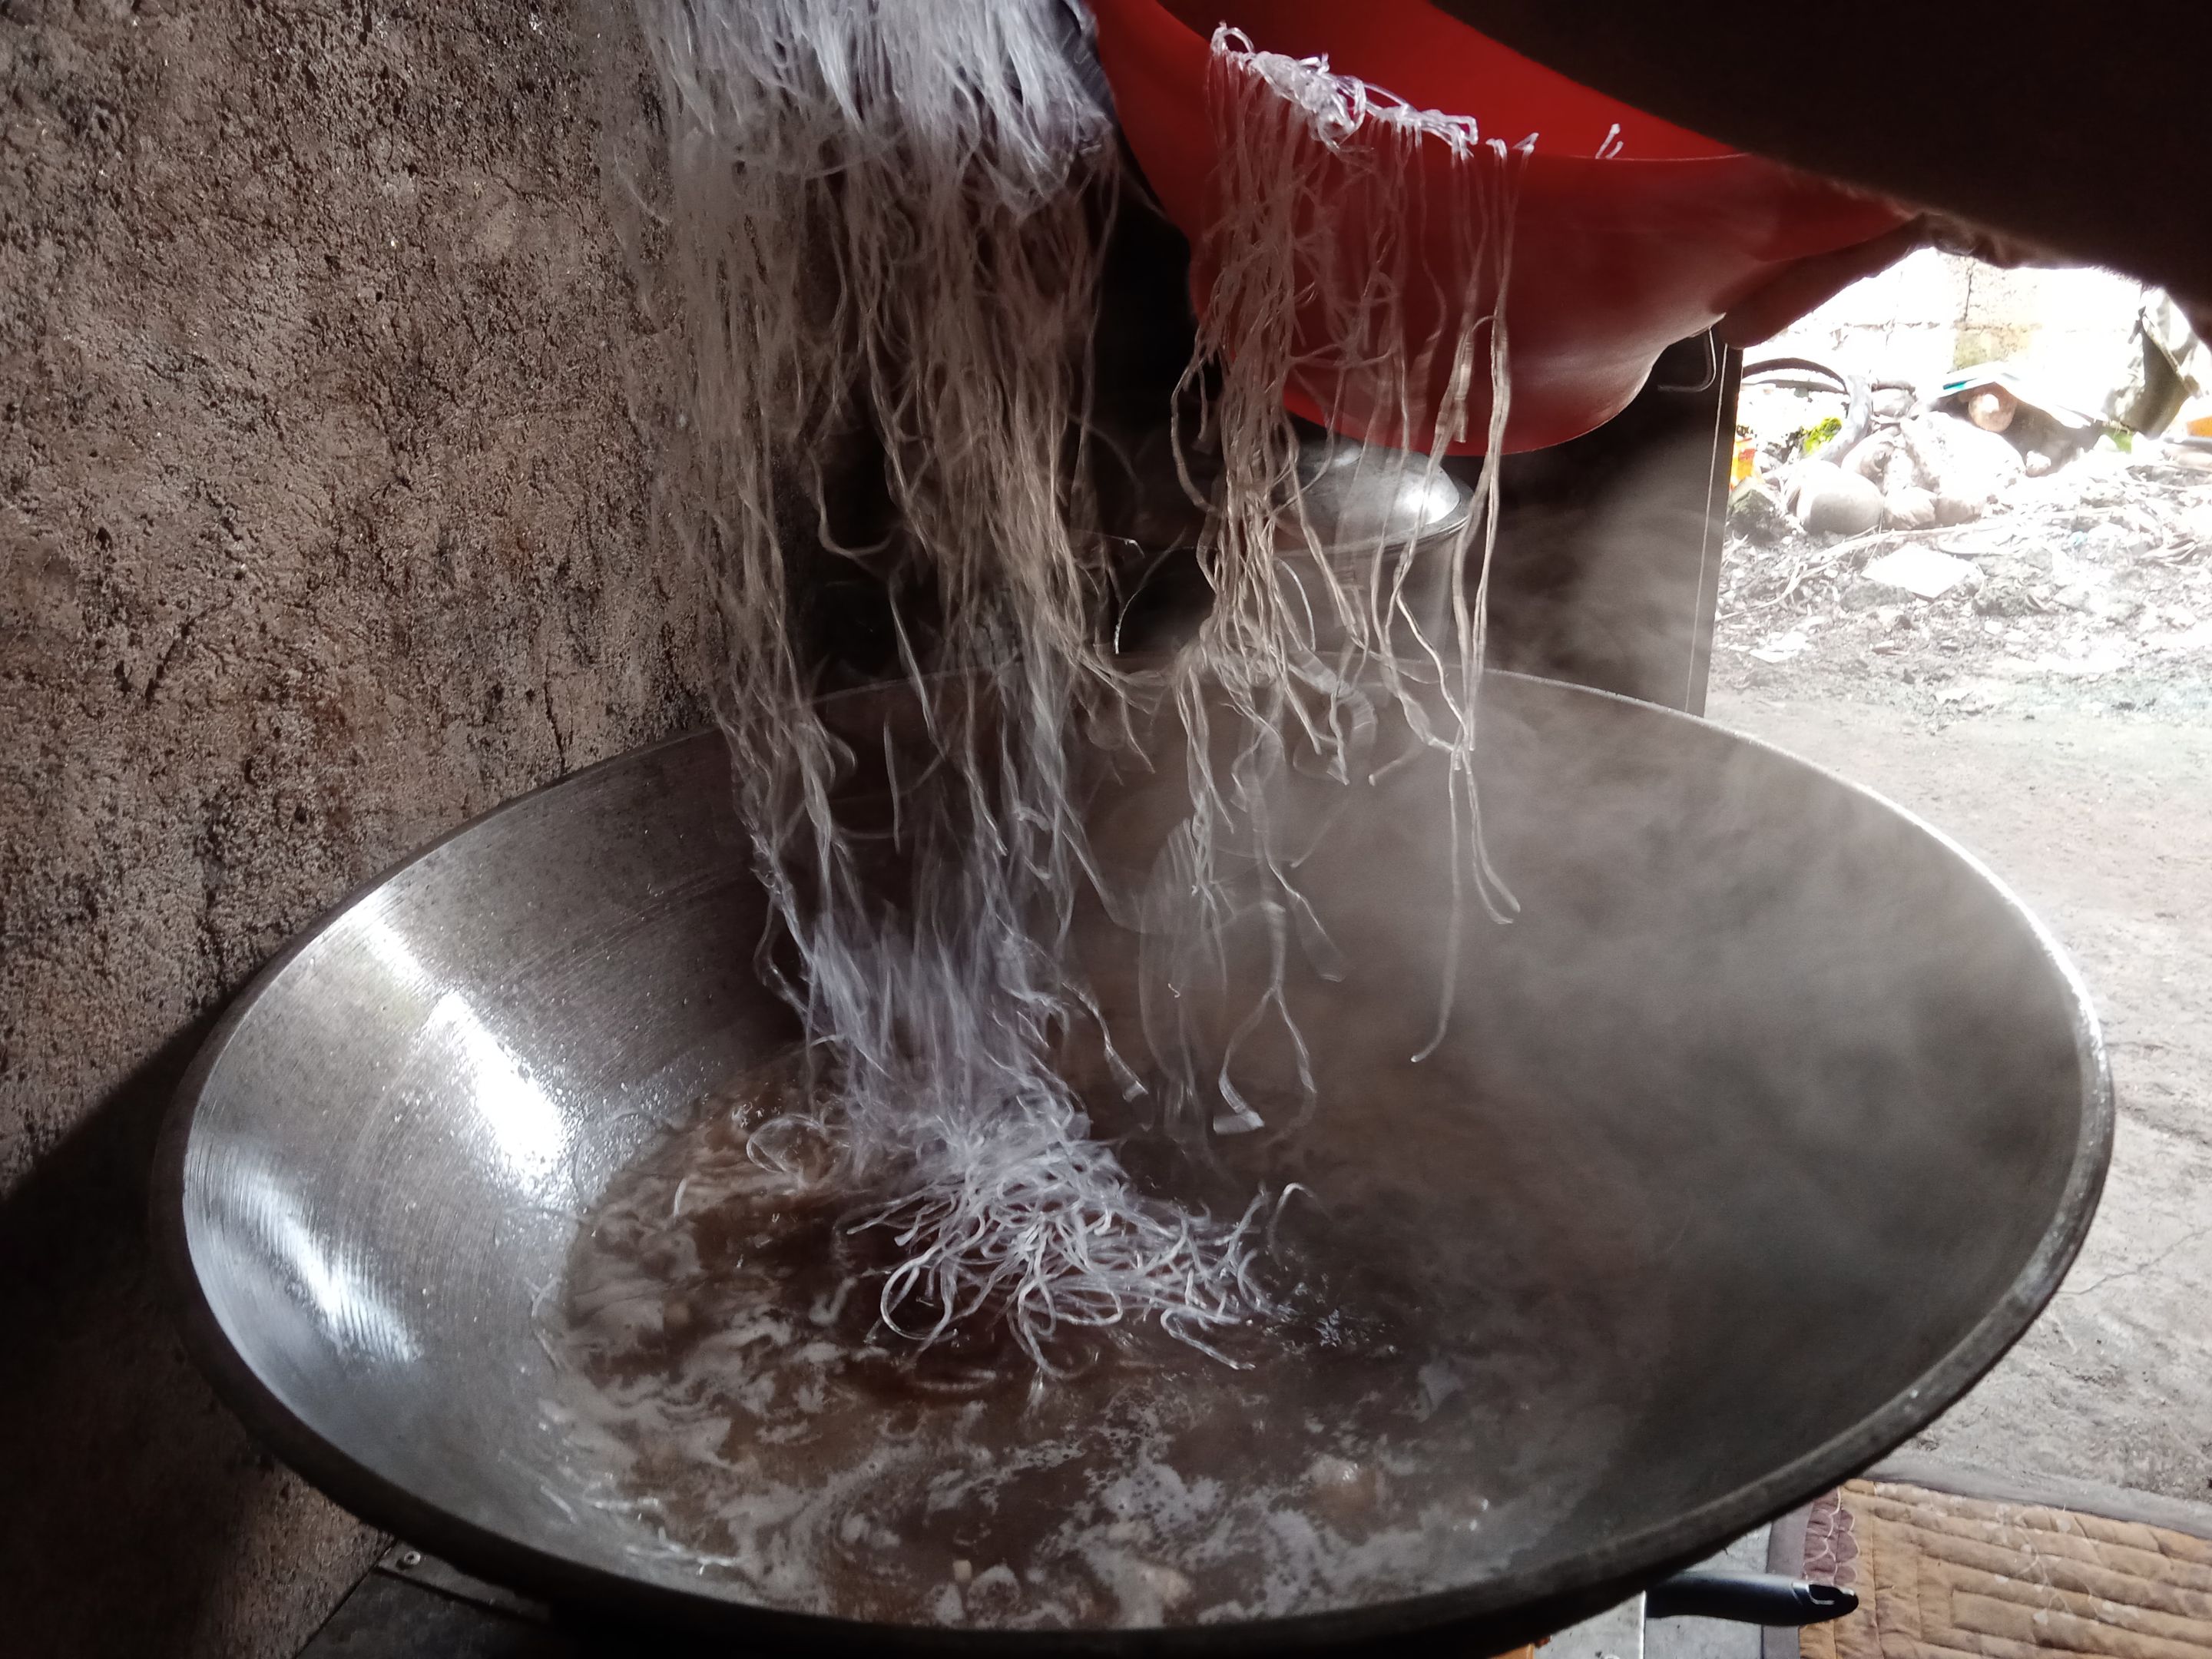
**7.** After letting it sit in, we also added the *pansit canton* noodles, which we stirred well.

**8.** When the noodles were stirred enough and when they weren't that stiff anymore, we then added the vegetables.
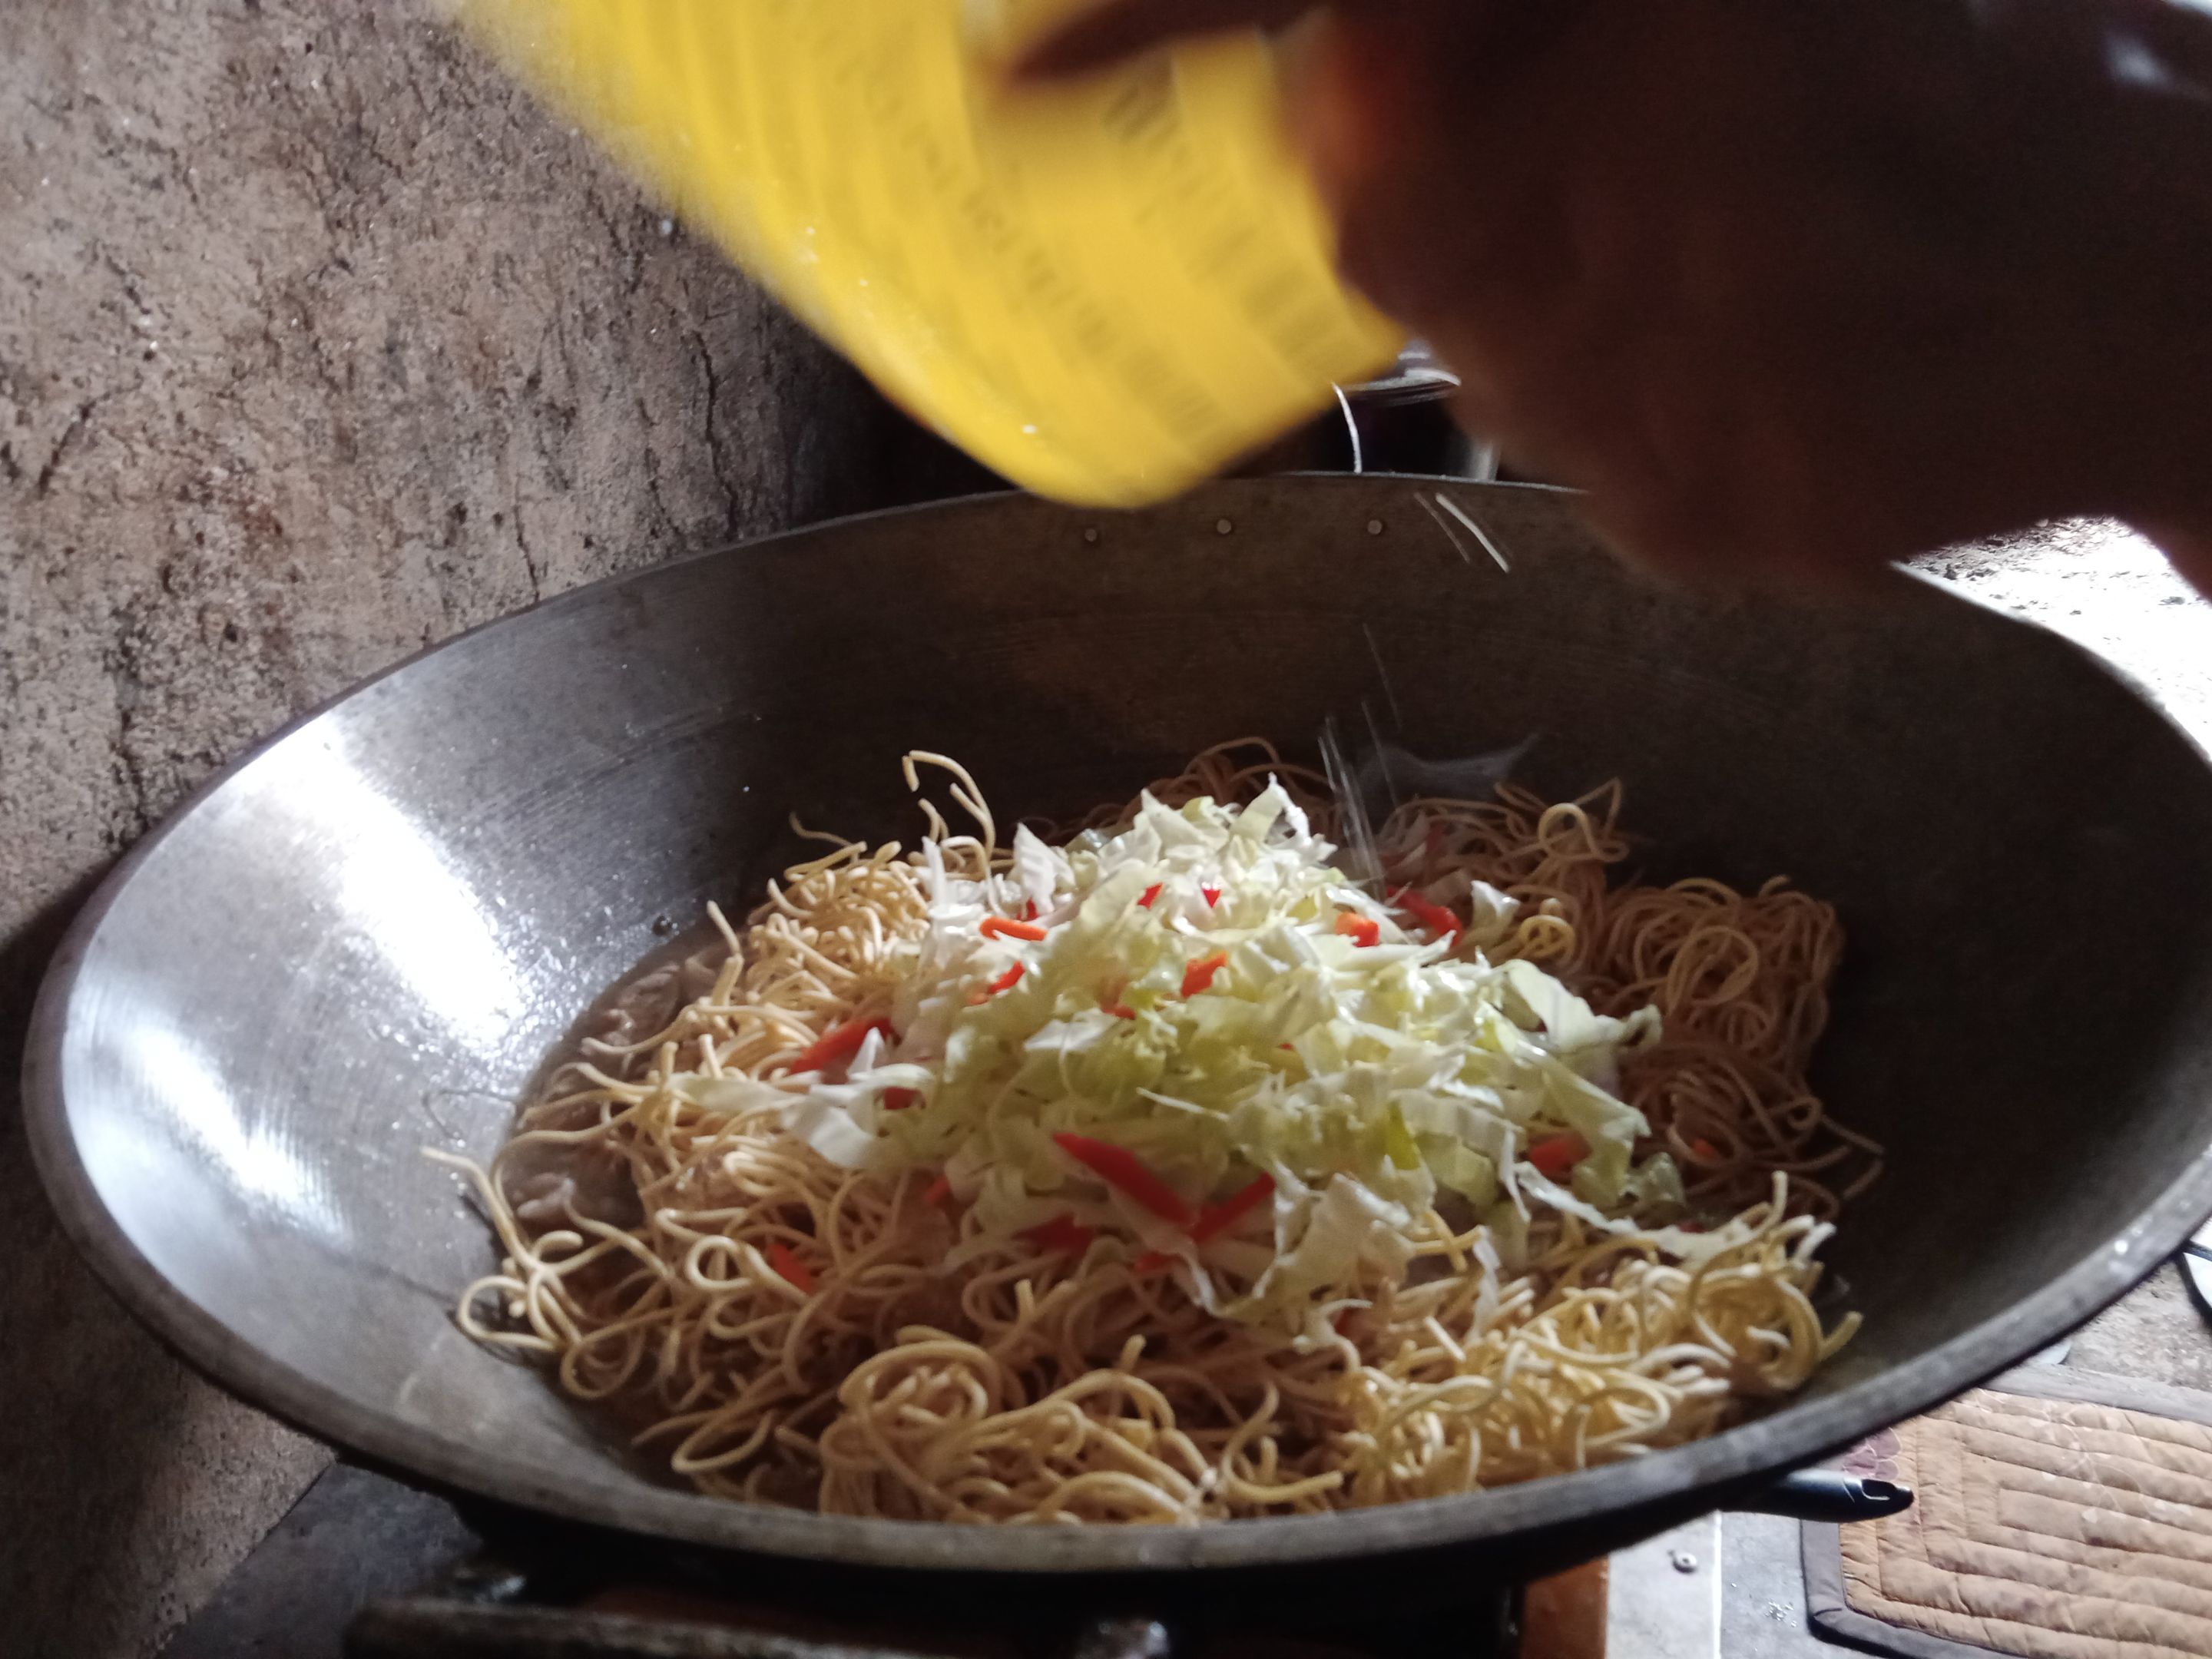
**9.** For a few minutes, we stirred it, then we let the vegetables cook.
**10.** From all that stirring, we then proceed to my favorite part—the taste test!
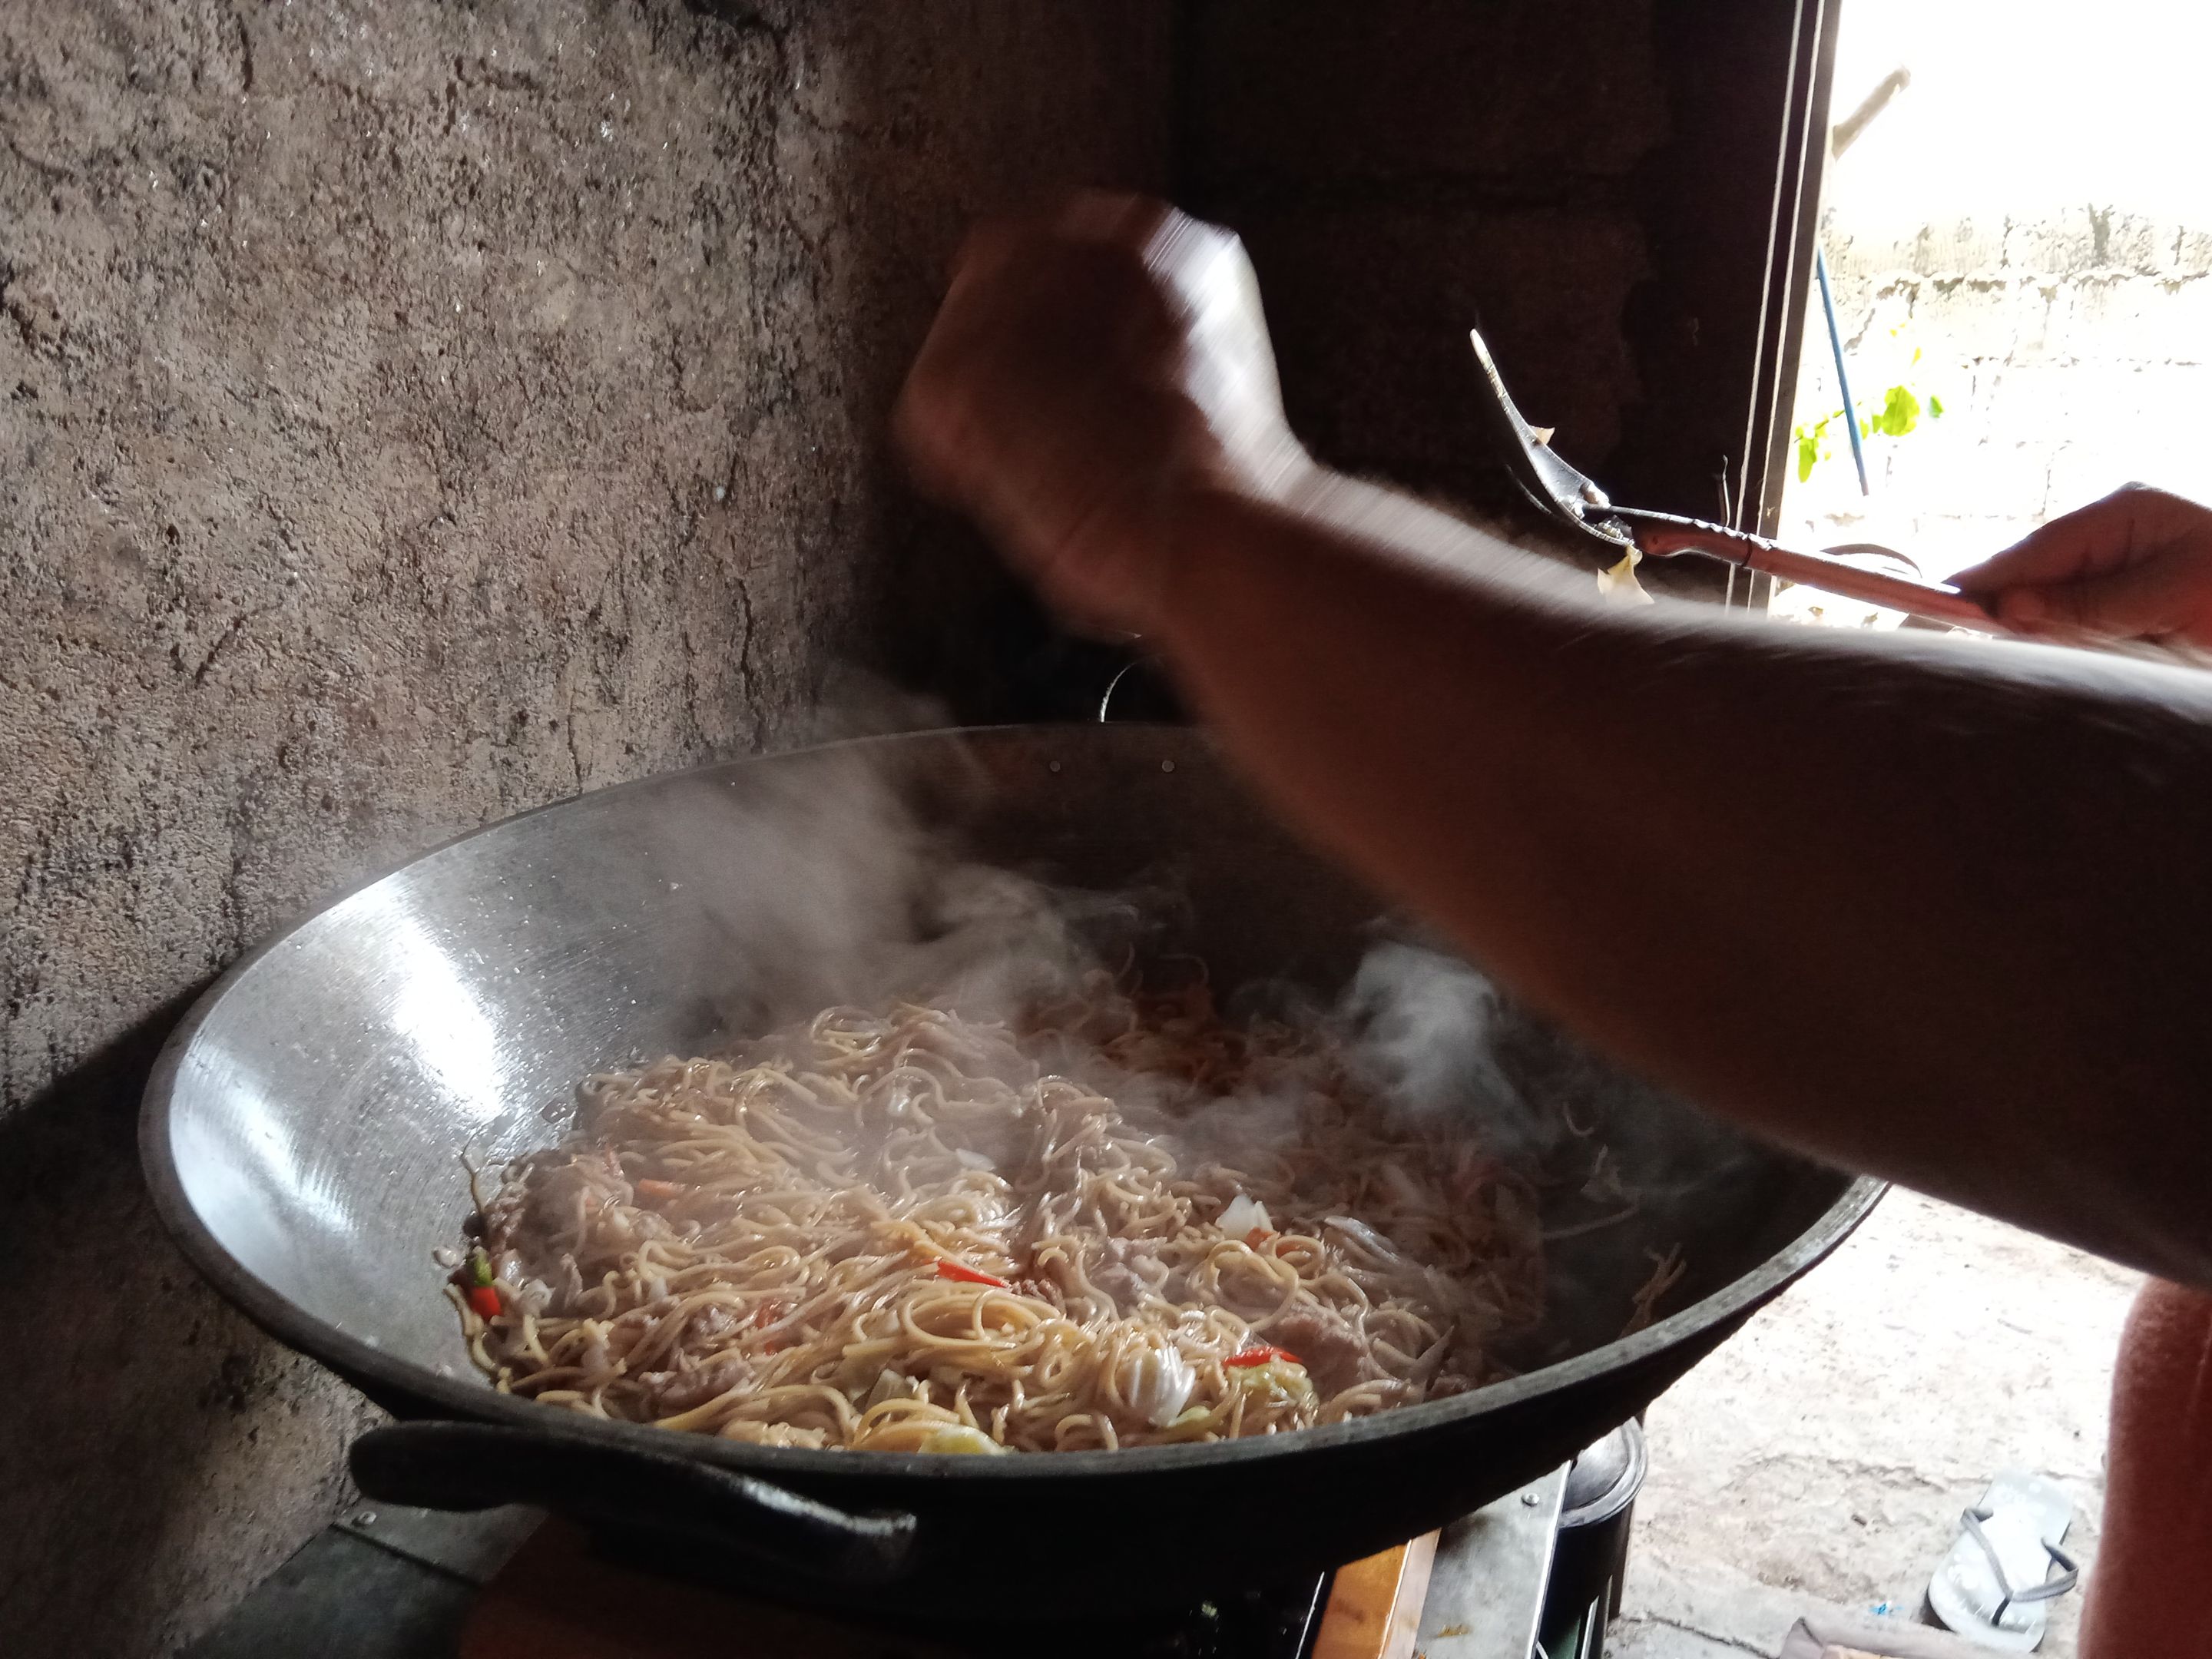
**11.** Since it's not to our taste yet, we added a little bit of seasoning.
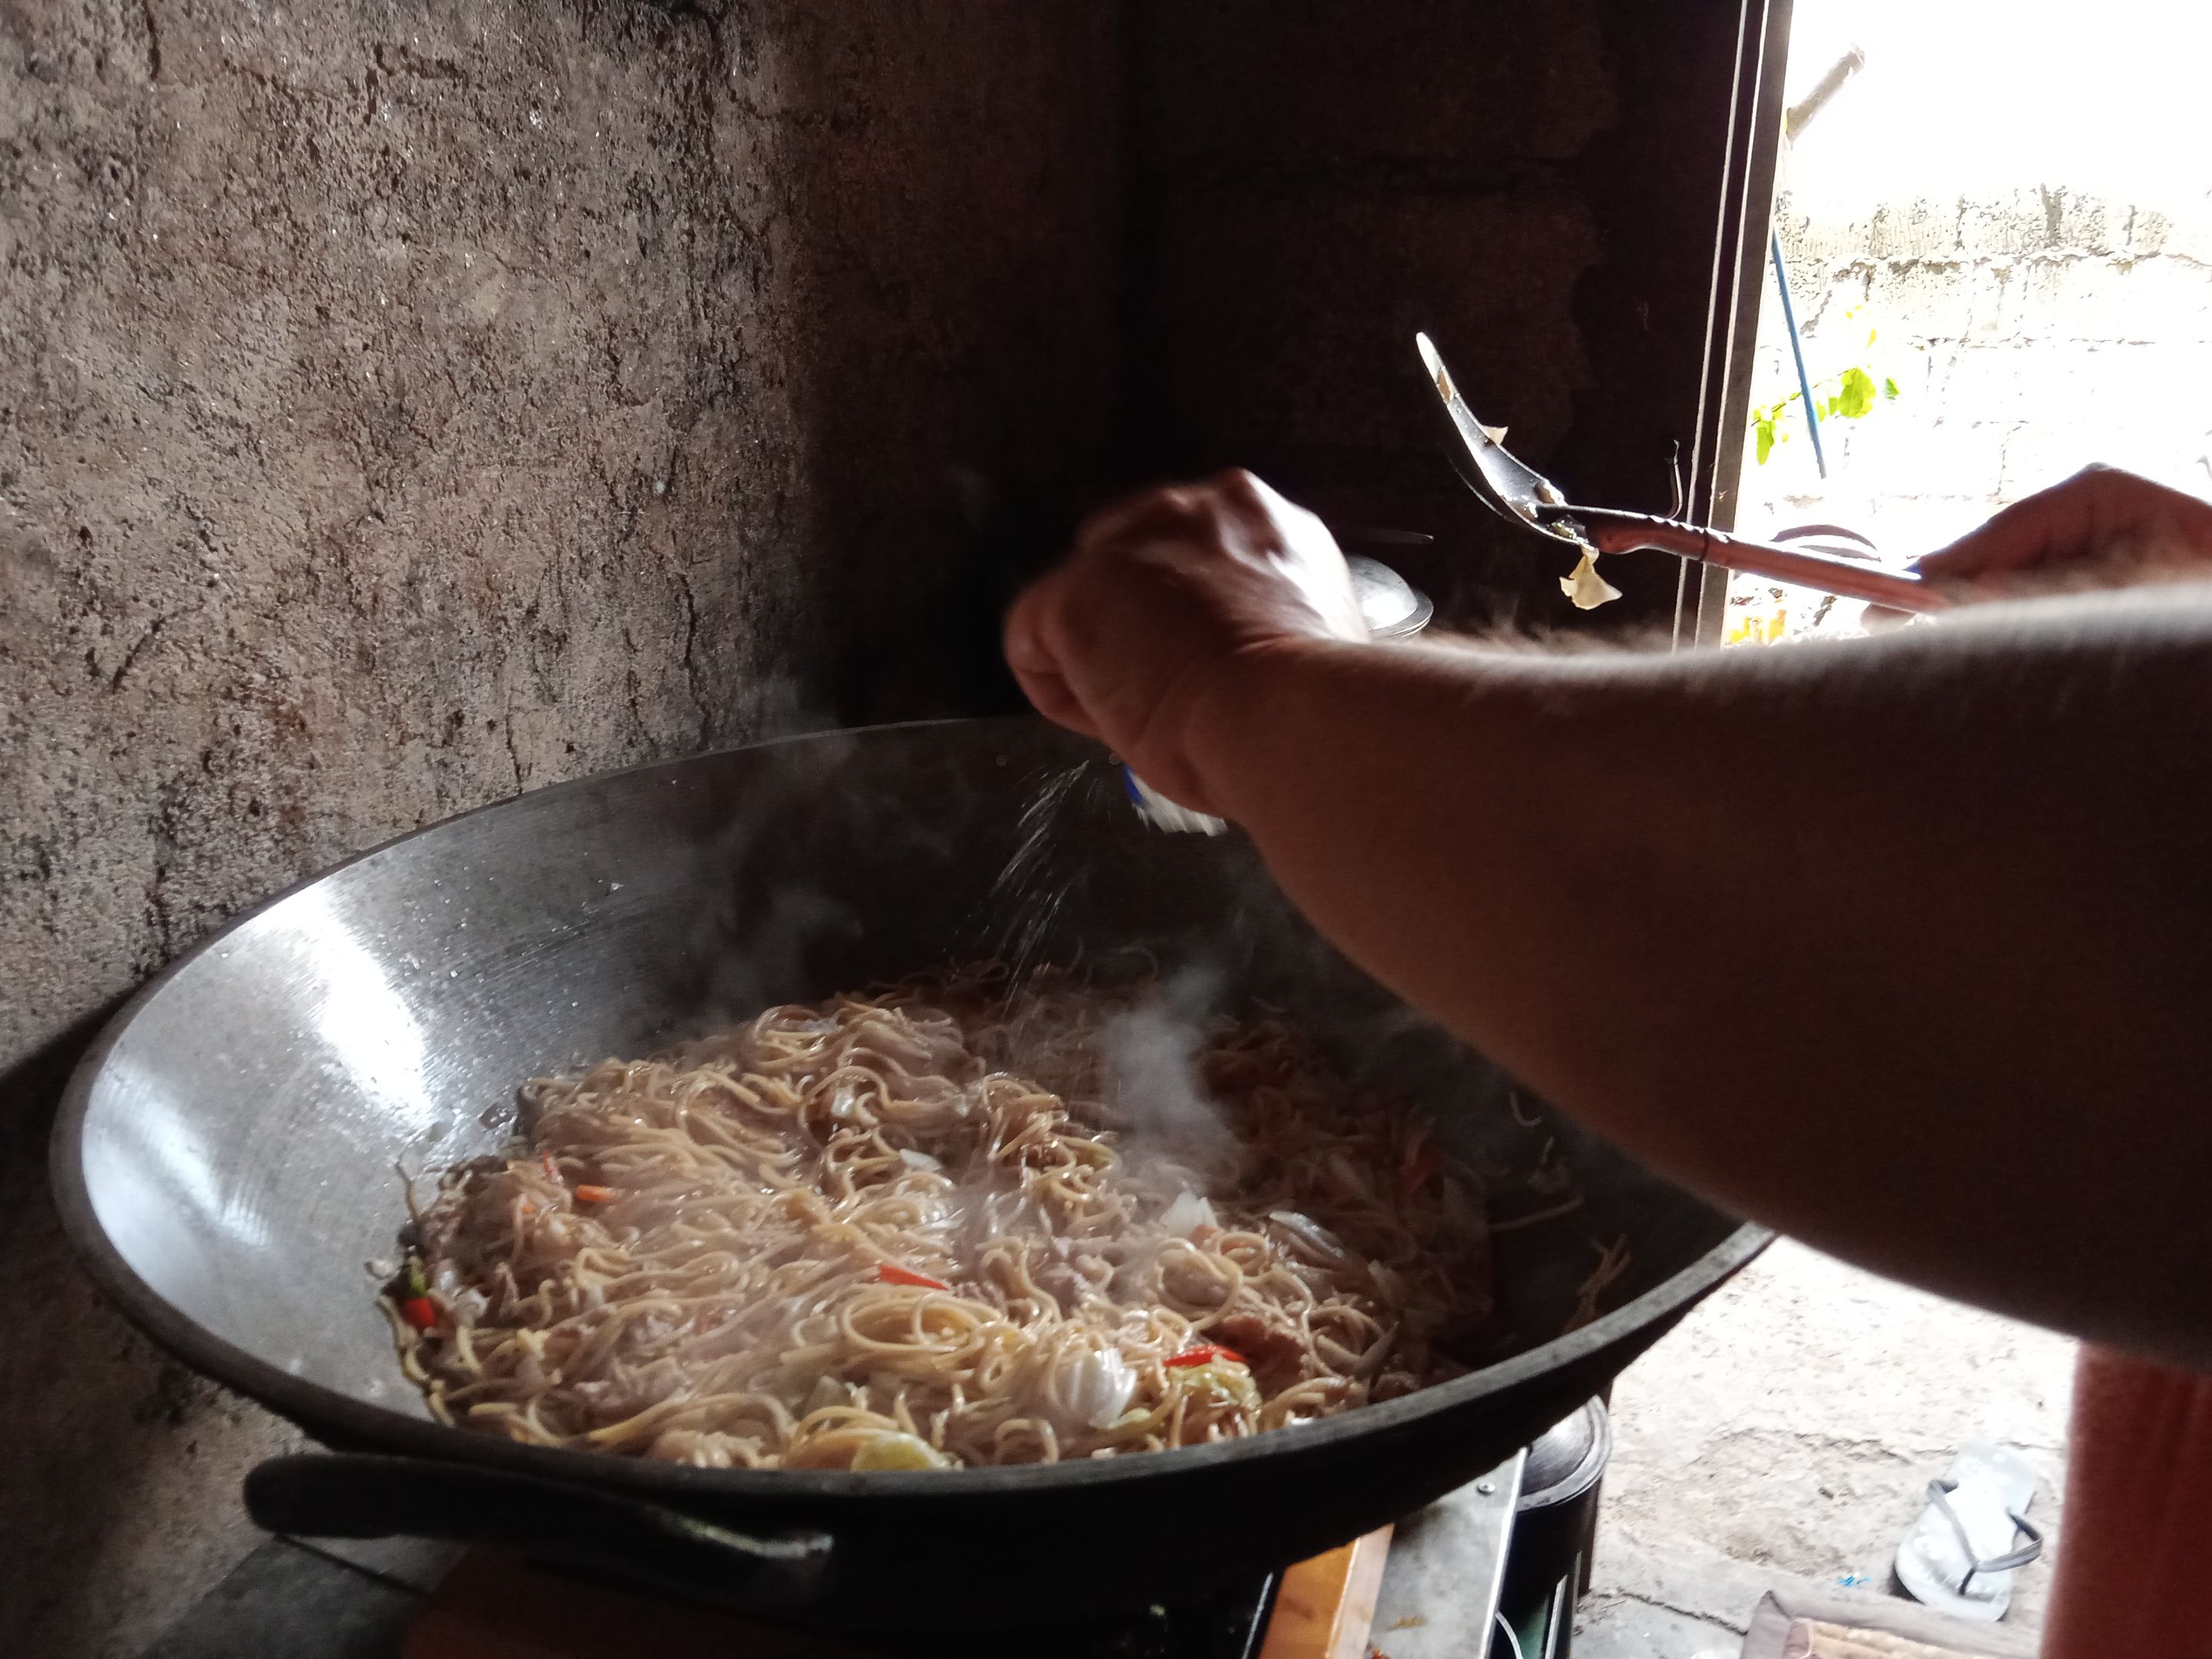
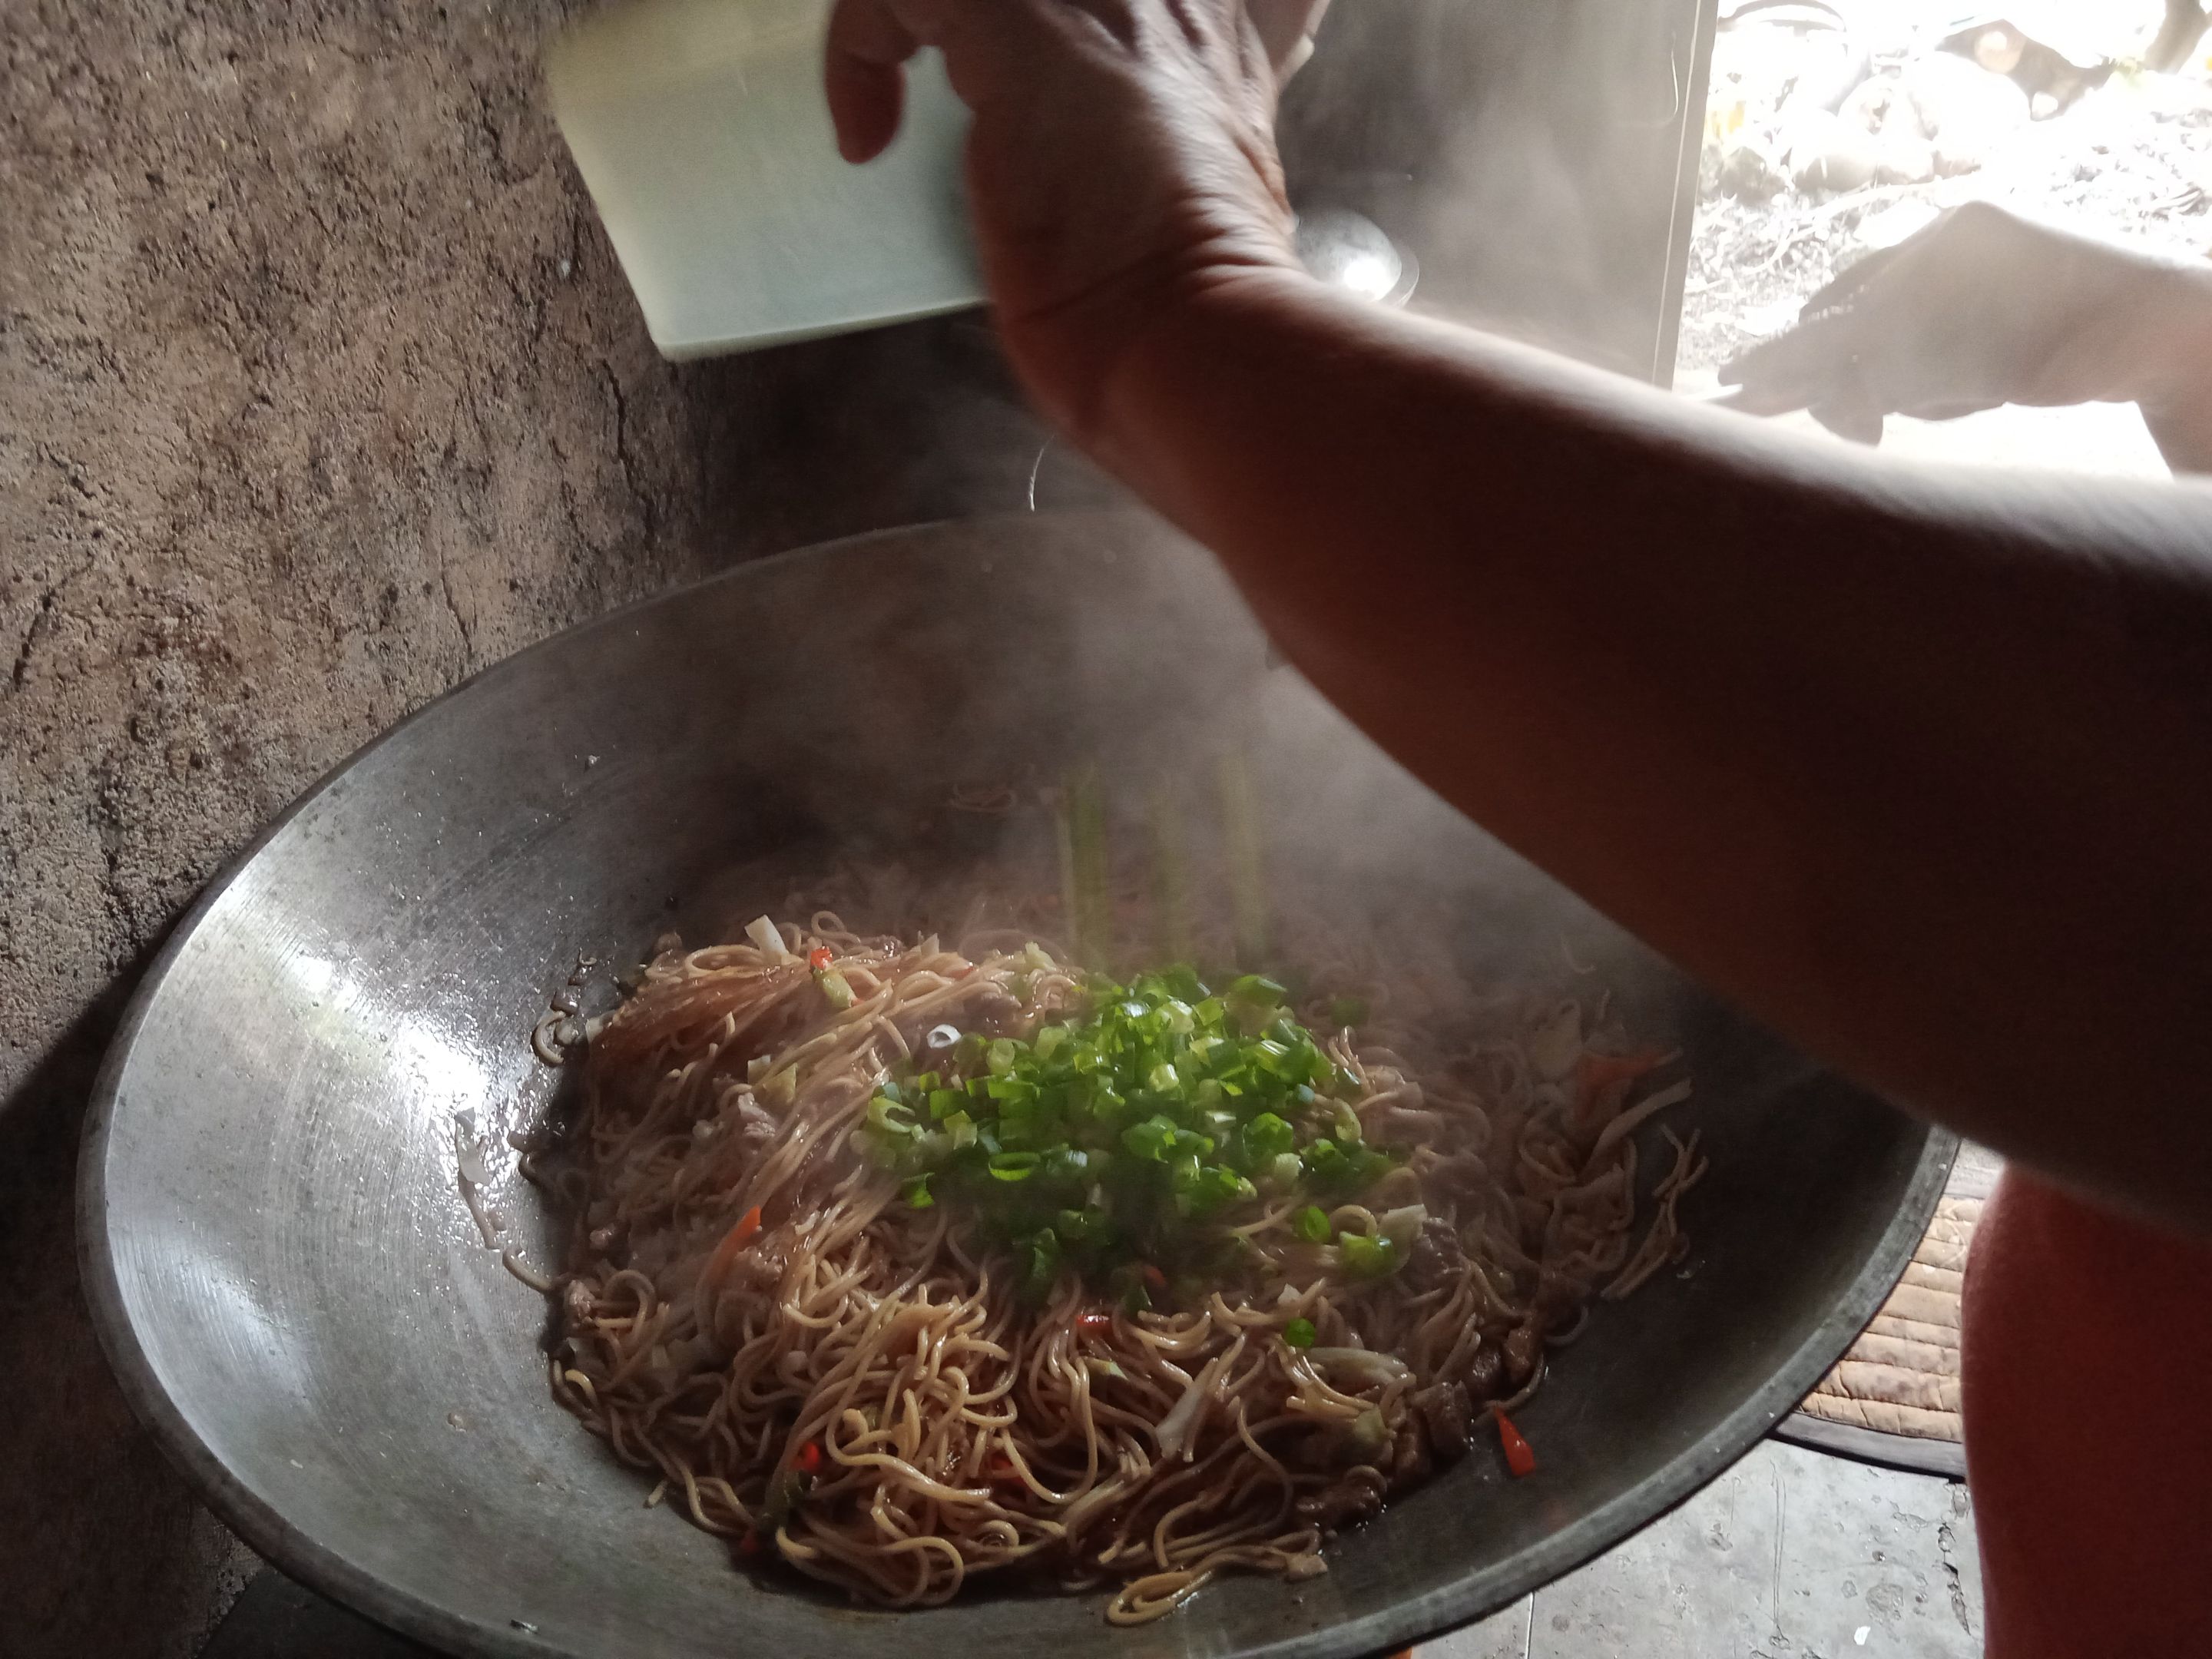
**12.** Lastly, we finished it by putting the spring onions.
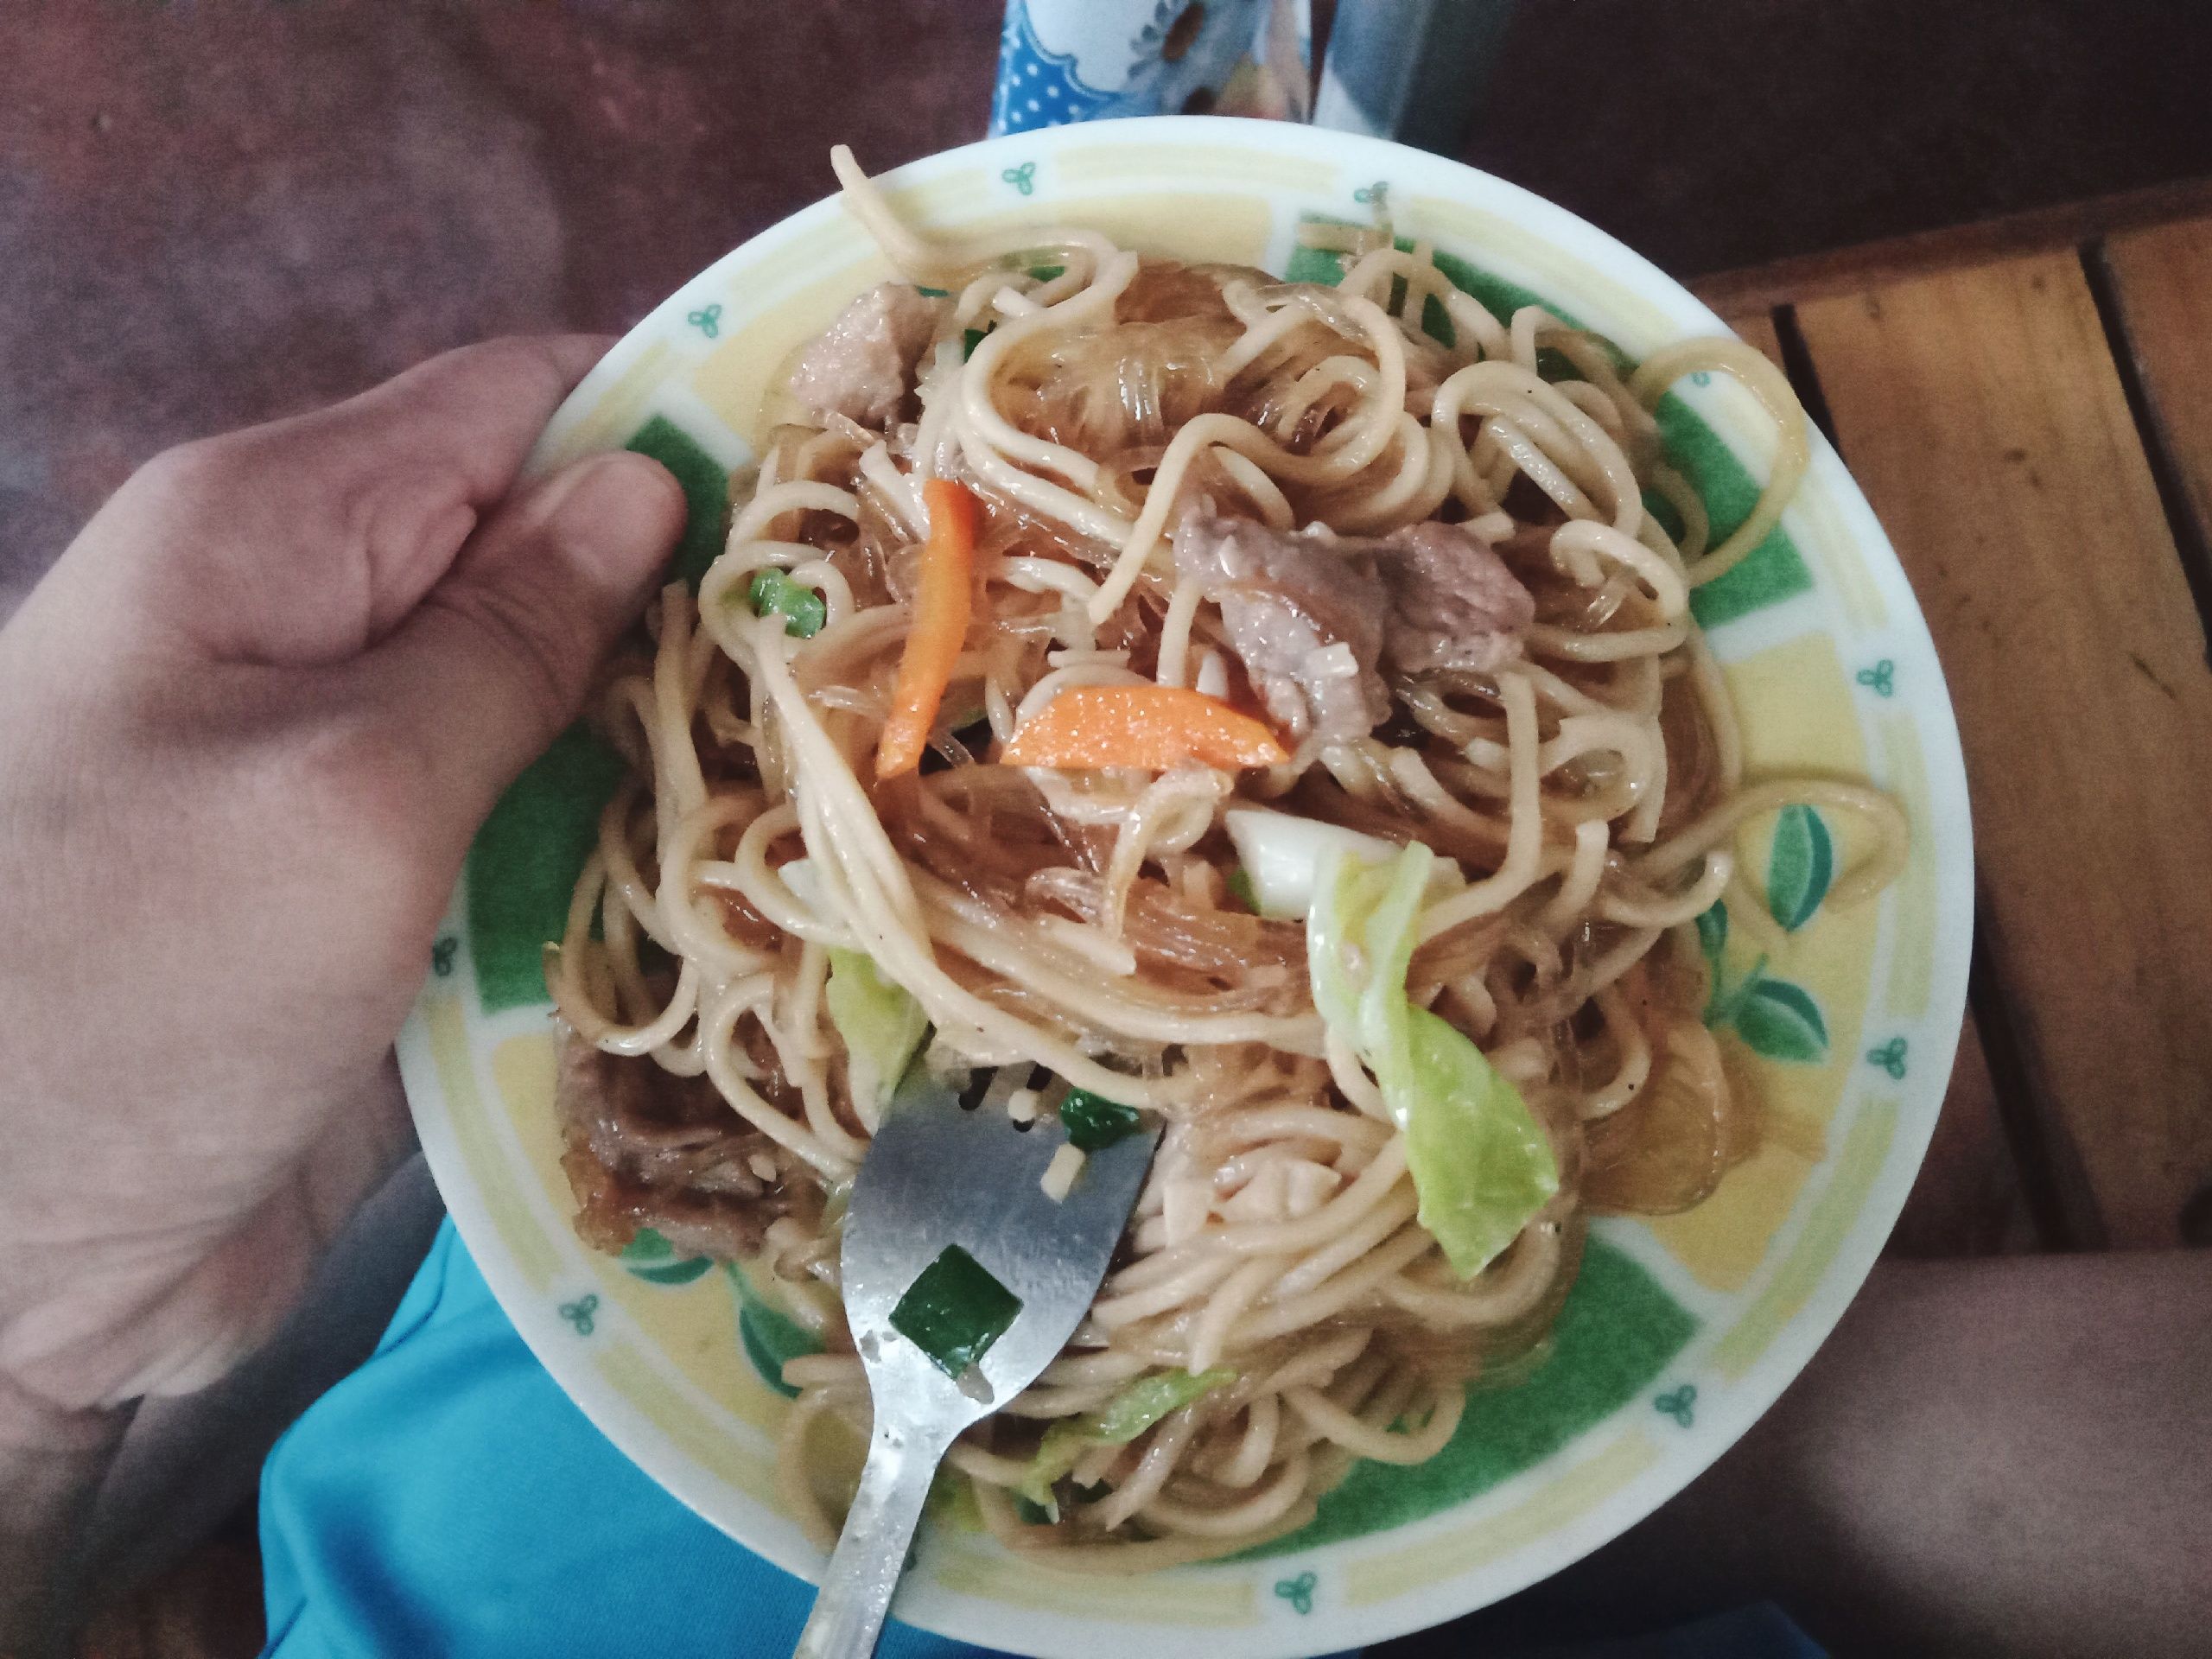
> *And tadahhhh >v
All of the pictures used are mine and the first picture was edited in Canva.