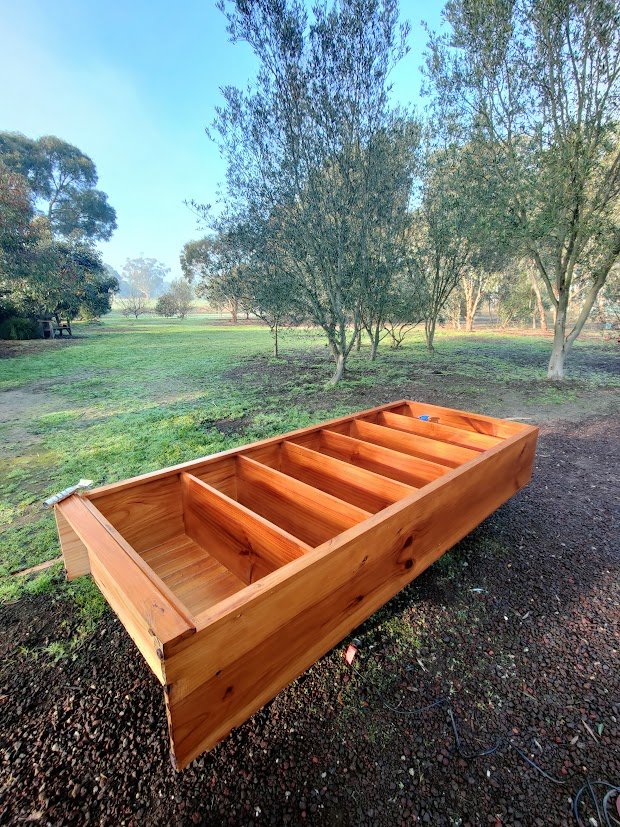
As many of you know, I'm a huge fan of reloving old furniture, scouring marketplace for the 'free' or very cheap, which is often pine. I don't mind pine - it's strong, and I like it's knots and whorls. It is a wood that smells good and though mass produced, it begs to be upcycled into something new.
When a bookcase came up for free, I had to take it. We're moving into a new house soon so I'll need a bookcase - probably more than one, but this is a start. I'll certainly miss my huge bookshelf in the place we have now.
The thing is with pine furniture is it's inevitably yellow. If you don't strip it, you gotta paint it. This bookshelf was going to be a bit of both but I couldn't find the stripper, so I ended up using far too much sandpaper. Still, it being old and pine, it didn't take long.
I decided to sand the sides and the front, before painting the interior, mainly as it was gonna be hell fiddly sanding inside the shelves. I then bleached it, let it dry, then neutralised the bleach with vinegar. This gave a more even tone and lightened the wood a little. In hindsight, I would have left the bleach for longer and done it twice but me and patience aren't good mates.
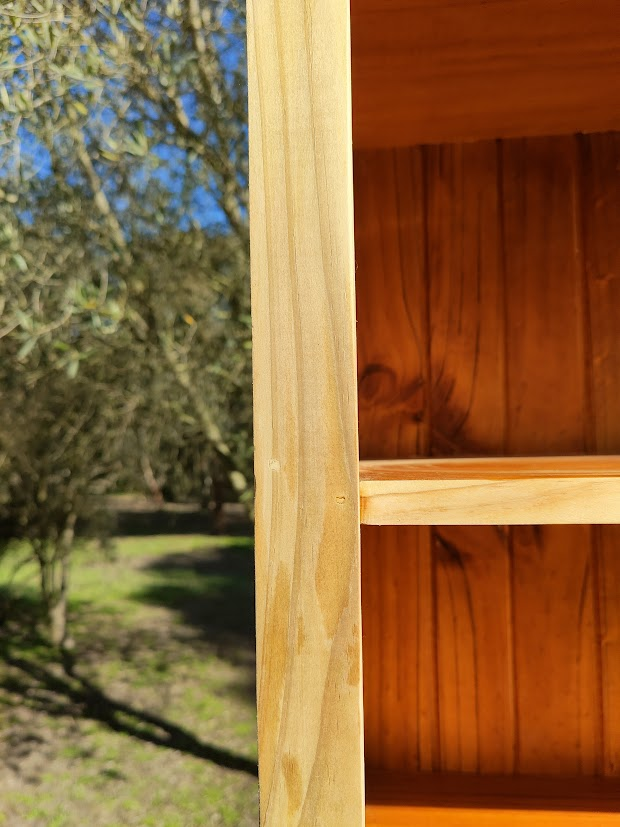
Because of the tone of pine, you need a greenish paint to balance the reds and oranges out - think colour wheel. I had a sample pot of a Taubman's paint with a green base that was called Oak - something or another. I diluted that 1 - 3 and painted it over the sanded parts of the shelf, rubbing it off with a cloth. It lightened it considerably.
Then I painted it with a Fusion Mineral paint, which is genius because it has a built in primer and topcoat. It's a taupe colour, kinda mushroomy - I'm not sure about it but I think it looks okay. It's not quite finished - I need to chop off the bottom to make it totally square (or rectangle) and put different legs on it. I like legs as you can vacuum underneath! I haven't decided what sort yet - any ideas?
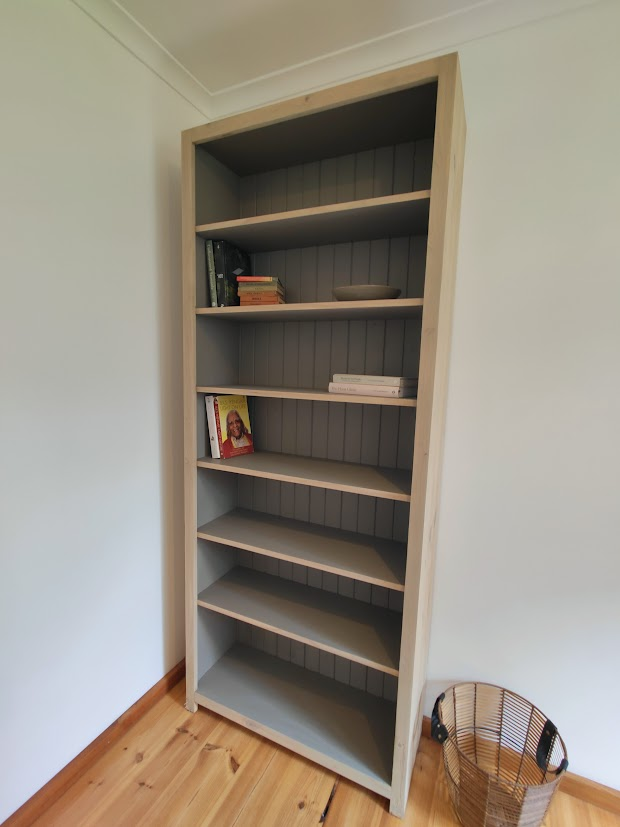
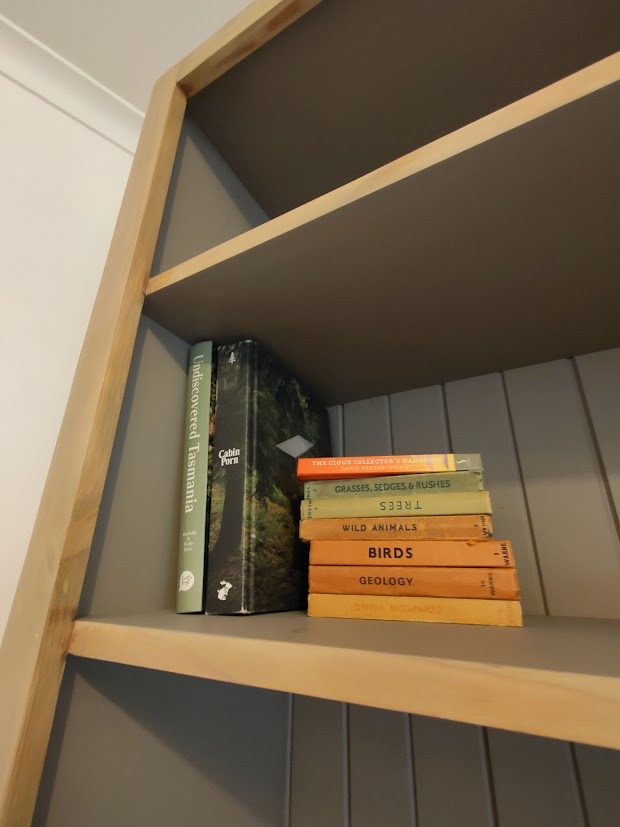
The next step was waxing it. If you wet pine, it'll pretty yellow/orange, so with a paintwash and then wax, it'll be much lighter. Adding the wax both protects it and warms it up a little. I really love the look now! And no, that's not a book on porn in cabins, it's just a book of cabins. Sorry to disappoint you.
I'm also excited to use a paint sprayer next time, as Jamie's going to buy one to paint the house. I'm sure I'll get a more even coating and be able to make the paint go further. I'm not sure the neighbours will appreciate me sanding all day - I'm used to living on five acres in the countryside so it's going to be some adjustment having neighbours. I might have to do things a little differently.
With Love,

Are you on HIVE yet? Earn for writing! Referral link for FREE account here