Como saben, por aquí ya estamos activados con la navidad, decorando algunos espacios de la casa, y por supuesto creando nuevos detalles para decorar a bajo costo como siempre, y como ya les conté en publicaciones anteriores los colores de este año serán rojo y blanco, y con respecto a los materiales trataré en lo posible que sean fieltro y estambre, ya que me gusta mucho la calidez que aportan, aparte que va mucho mejor con las decoraciones que quieren los niños que use en el árbol de Navidad, así que para hoy les quiero compartir como elaborar una guirnalda para las paredes, ventanas, e incluso el árbol de navidad elaborada en estambre.
Esta guirnalda es bastante sencilla, ya que solo necesitamos saber el punto básico para la cadeneta que básicamente es hacer una lazada, pasamos la aguja por dentro de ella, tomamos el hilo con el ganchito de nuestra aguja y lo sacamos por la lazada y repetimos las veces que sea necesario hasta tener el largo que deseamos, que para esta guirnalda, fue una cadeneta de 20 puntos.
As you know, we are already getting ready for Christmas here, decorating some areas of the house, and, of course, creating new decorations at low cost, as always. As I mentioned in previous posts, this year's colors will be red and white, and I will try to use felt and yarn as much as possible, since I really like the warmth they bring, and they go much better with the decorations that the children want me to use on the Christmas tree. So today I want to share with you how to make a garland for the walls, windows, and even the Christmas tree made of yarn.  En mi caso, esta es una transformación de unas guirnaldas que hice el año pasado para el árbol de navidad, y como precisamente utilicé estambre en color blanco para ellas, decidí volverlas a usar, pero darles un toque diferente, así que le agregué algunos detalles que sin dudas terminaron haciendo un *"match"* perfecto con las decoraciones que estoy usando este año, y de las que ya les he ido dando avances poco a poco. Volviendo a la guirnalda, aunque ya tengo varias listas en casa, la idea es mostrarles a ustedes como la pueden hacer desde cero, y no se preocupen, porque aunque es a ganchillo, la verdad es en extremo sencilla y les explicaré con todo detalle cómo elaborarla, así que vamos a los materiales y al paso a paso.
In my case, this is a transformation of some garlands I made last year for the Christmas tree, and since I used white yarn for them, I decided to reuse them but give them a different touch, so I added some details that undoubtedly ended up matching perfectly with the decorations I'm using this year, which I've been giving you little previews of. Getting back to the garland, although I already have several ready at home, the idea is to show you how you can make it from scratch, and don't worry, because even though it's crocheted, it's actually extremely simple, and I'll explain in detail how to make it, so let's get to the materials and the step-by-step instructions.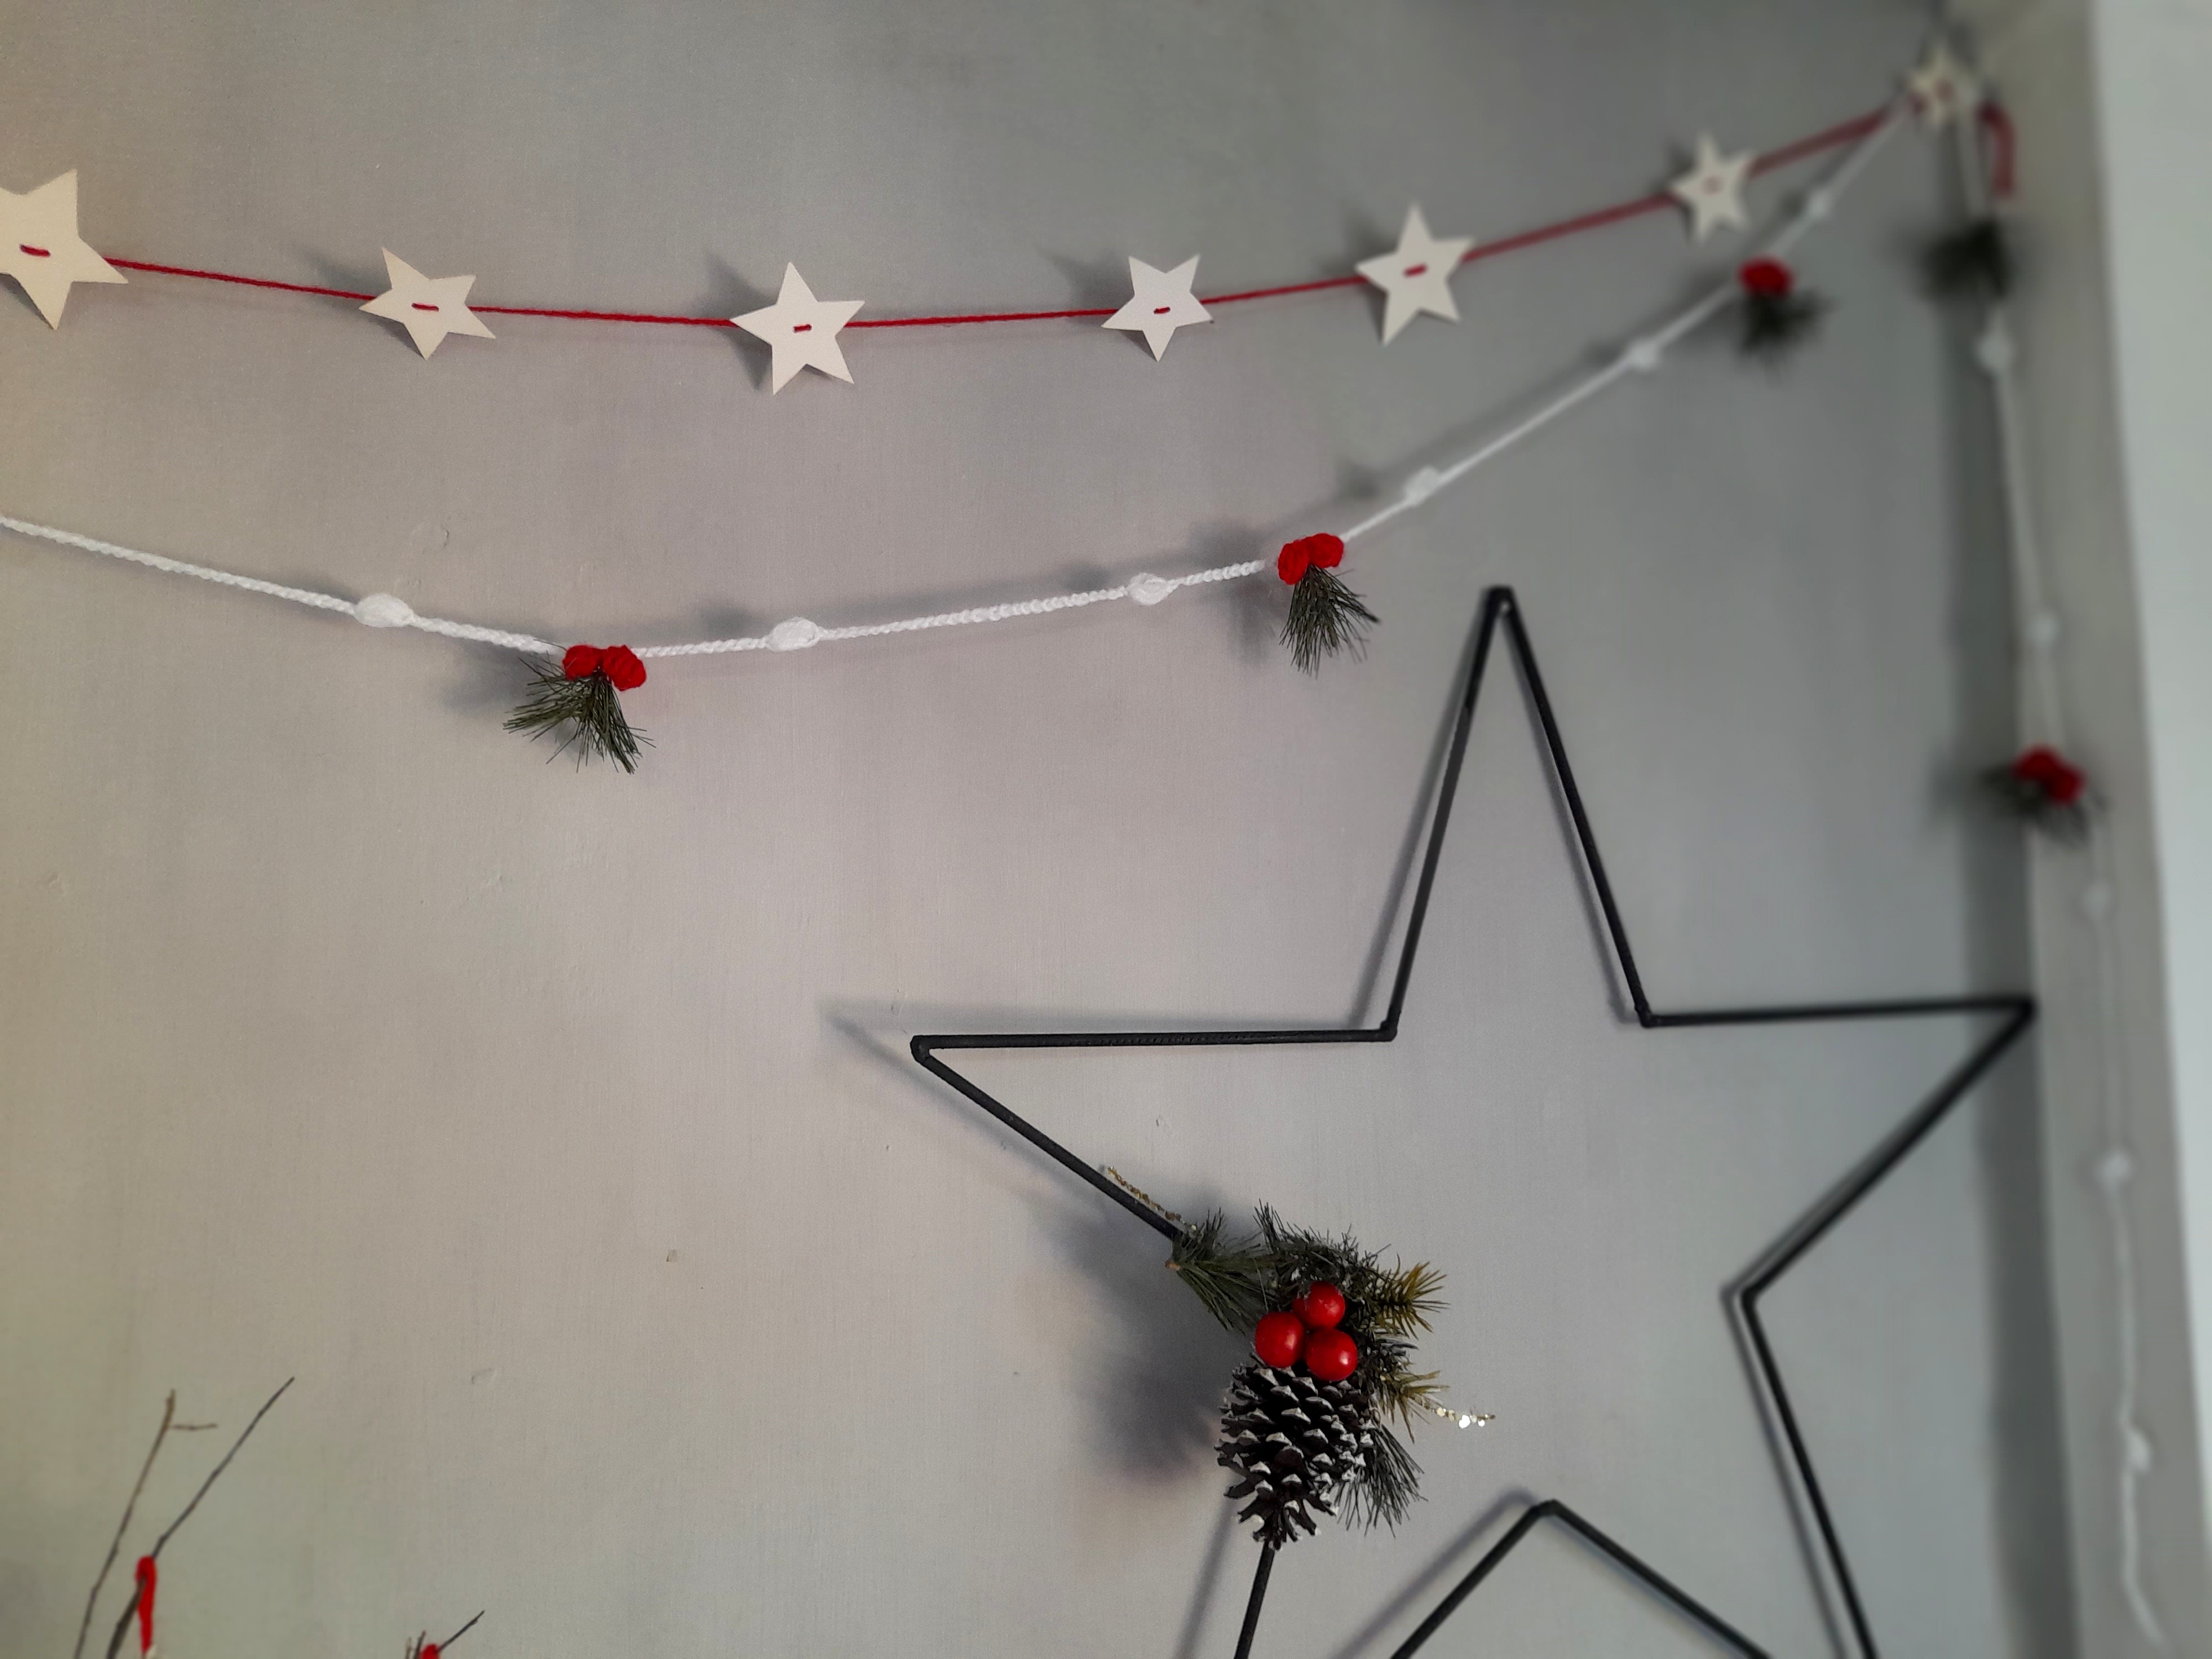 # Materiales Estambre blanco y rojo Aguja para ganchillo Guirnalda navideña Pistola de silicón Tijera
# Material White and red yarn Crochet hook Christmas garland Silicone gun Scissors
Esta guirnalda es bastante sencilla, ya que solo necesitamos saber el punto básico para la cadeneta que básicamente es hacer una lazada, pasamos la aguja por dentro de ella, tomamos el hilo con el ganchito de nuestra aguja y lo sacamos por la lazada y repetimos las veces que sea necesario hasta tener el largo que deseamos, que para esta guirnalda, fue una cadeneta de 20 puntos.
This garland is quite simple, as we only need to know the basic chain stitch, which basically involves making a loop, passing the needle through it, picking up the thread with the hook of our needle and pulling it through the loop, and repeating as many times as necessary until we have the desired length, which for this garland was a chain of 20 stitches.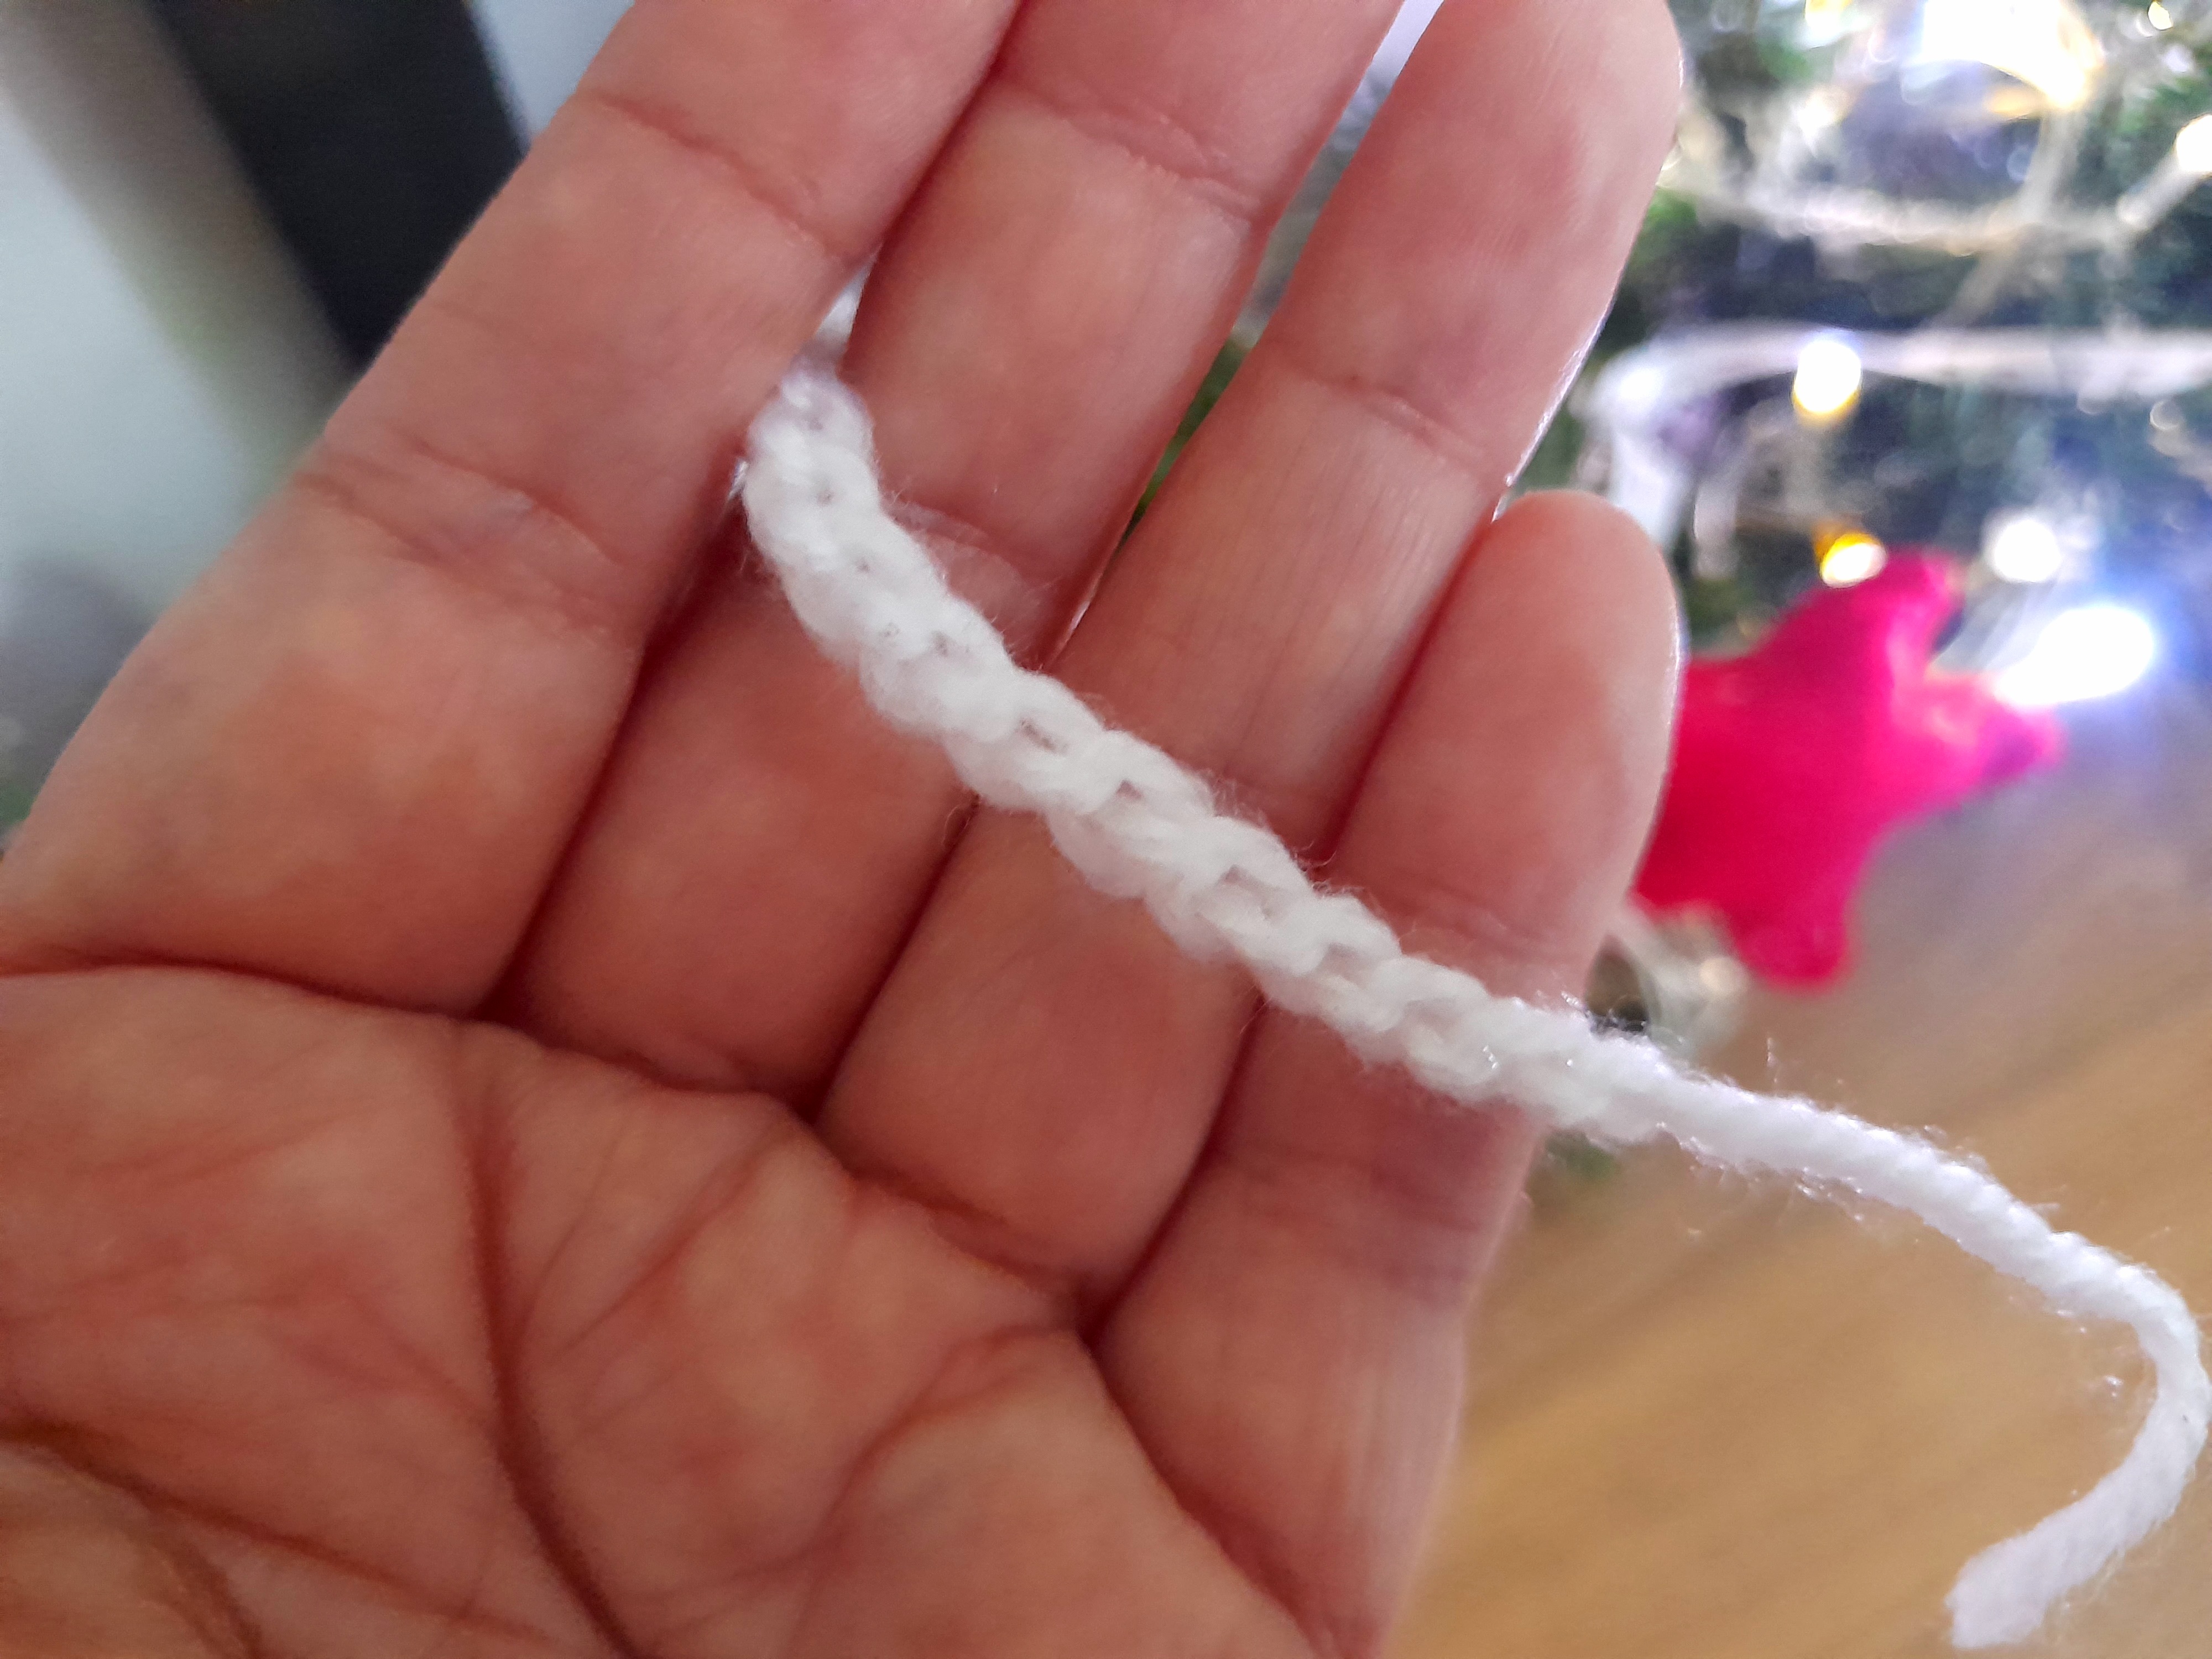   Una vez tengo mi cadeneta lista, lo que sigue es hacer una pequeña bolita, para lo que alargaremos el último punto aproximadamente 1cm, enlazamos el hilo con la aguja y lo hacemos pasar por el punto que se encuentra justo debajo del que tenemos extendido y hacemos lo mismo que cuando hacemos la cadeneta, es decir tomamos el hilo con la aguja y lo sacamos por el mismo punto, lo extendemos del mismo largo del anterior, volvemos a tomar hilo desde arriba y repetimos el proceso. Esto lo hacemos 5 veces.
Once I have my chain ready, the next step is to make a small ball, for which we will lengthen the last stitch by approximately 1 cm, thread the needle with the yarn, and pass it through the stitch just below the one we have extended, and do the same as when we make the chain, that is, we take the thread with the needle and pull it through the same stitch, extend it to the same length as the previous one, take the thread from above again, and repeat the process. We do this 5 times.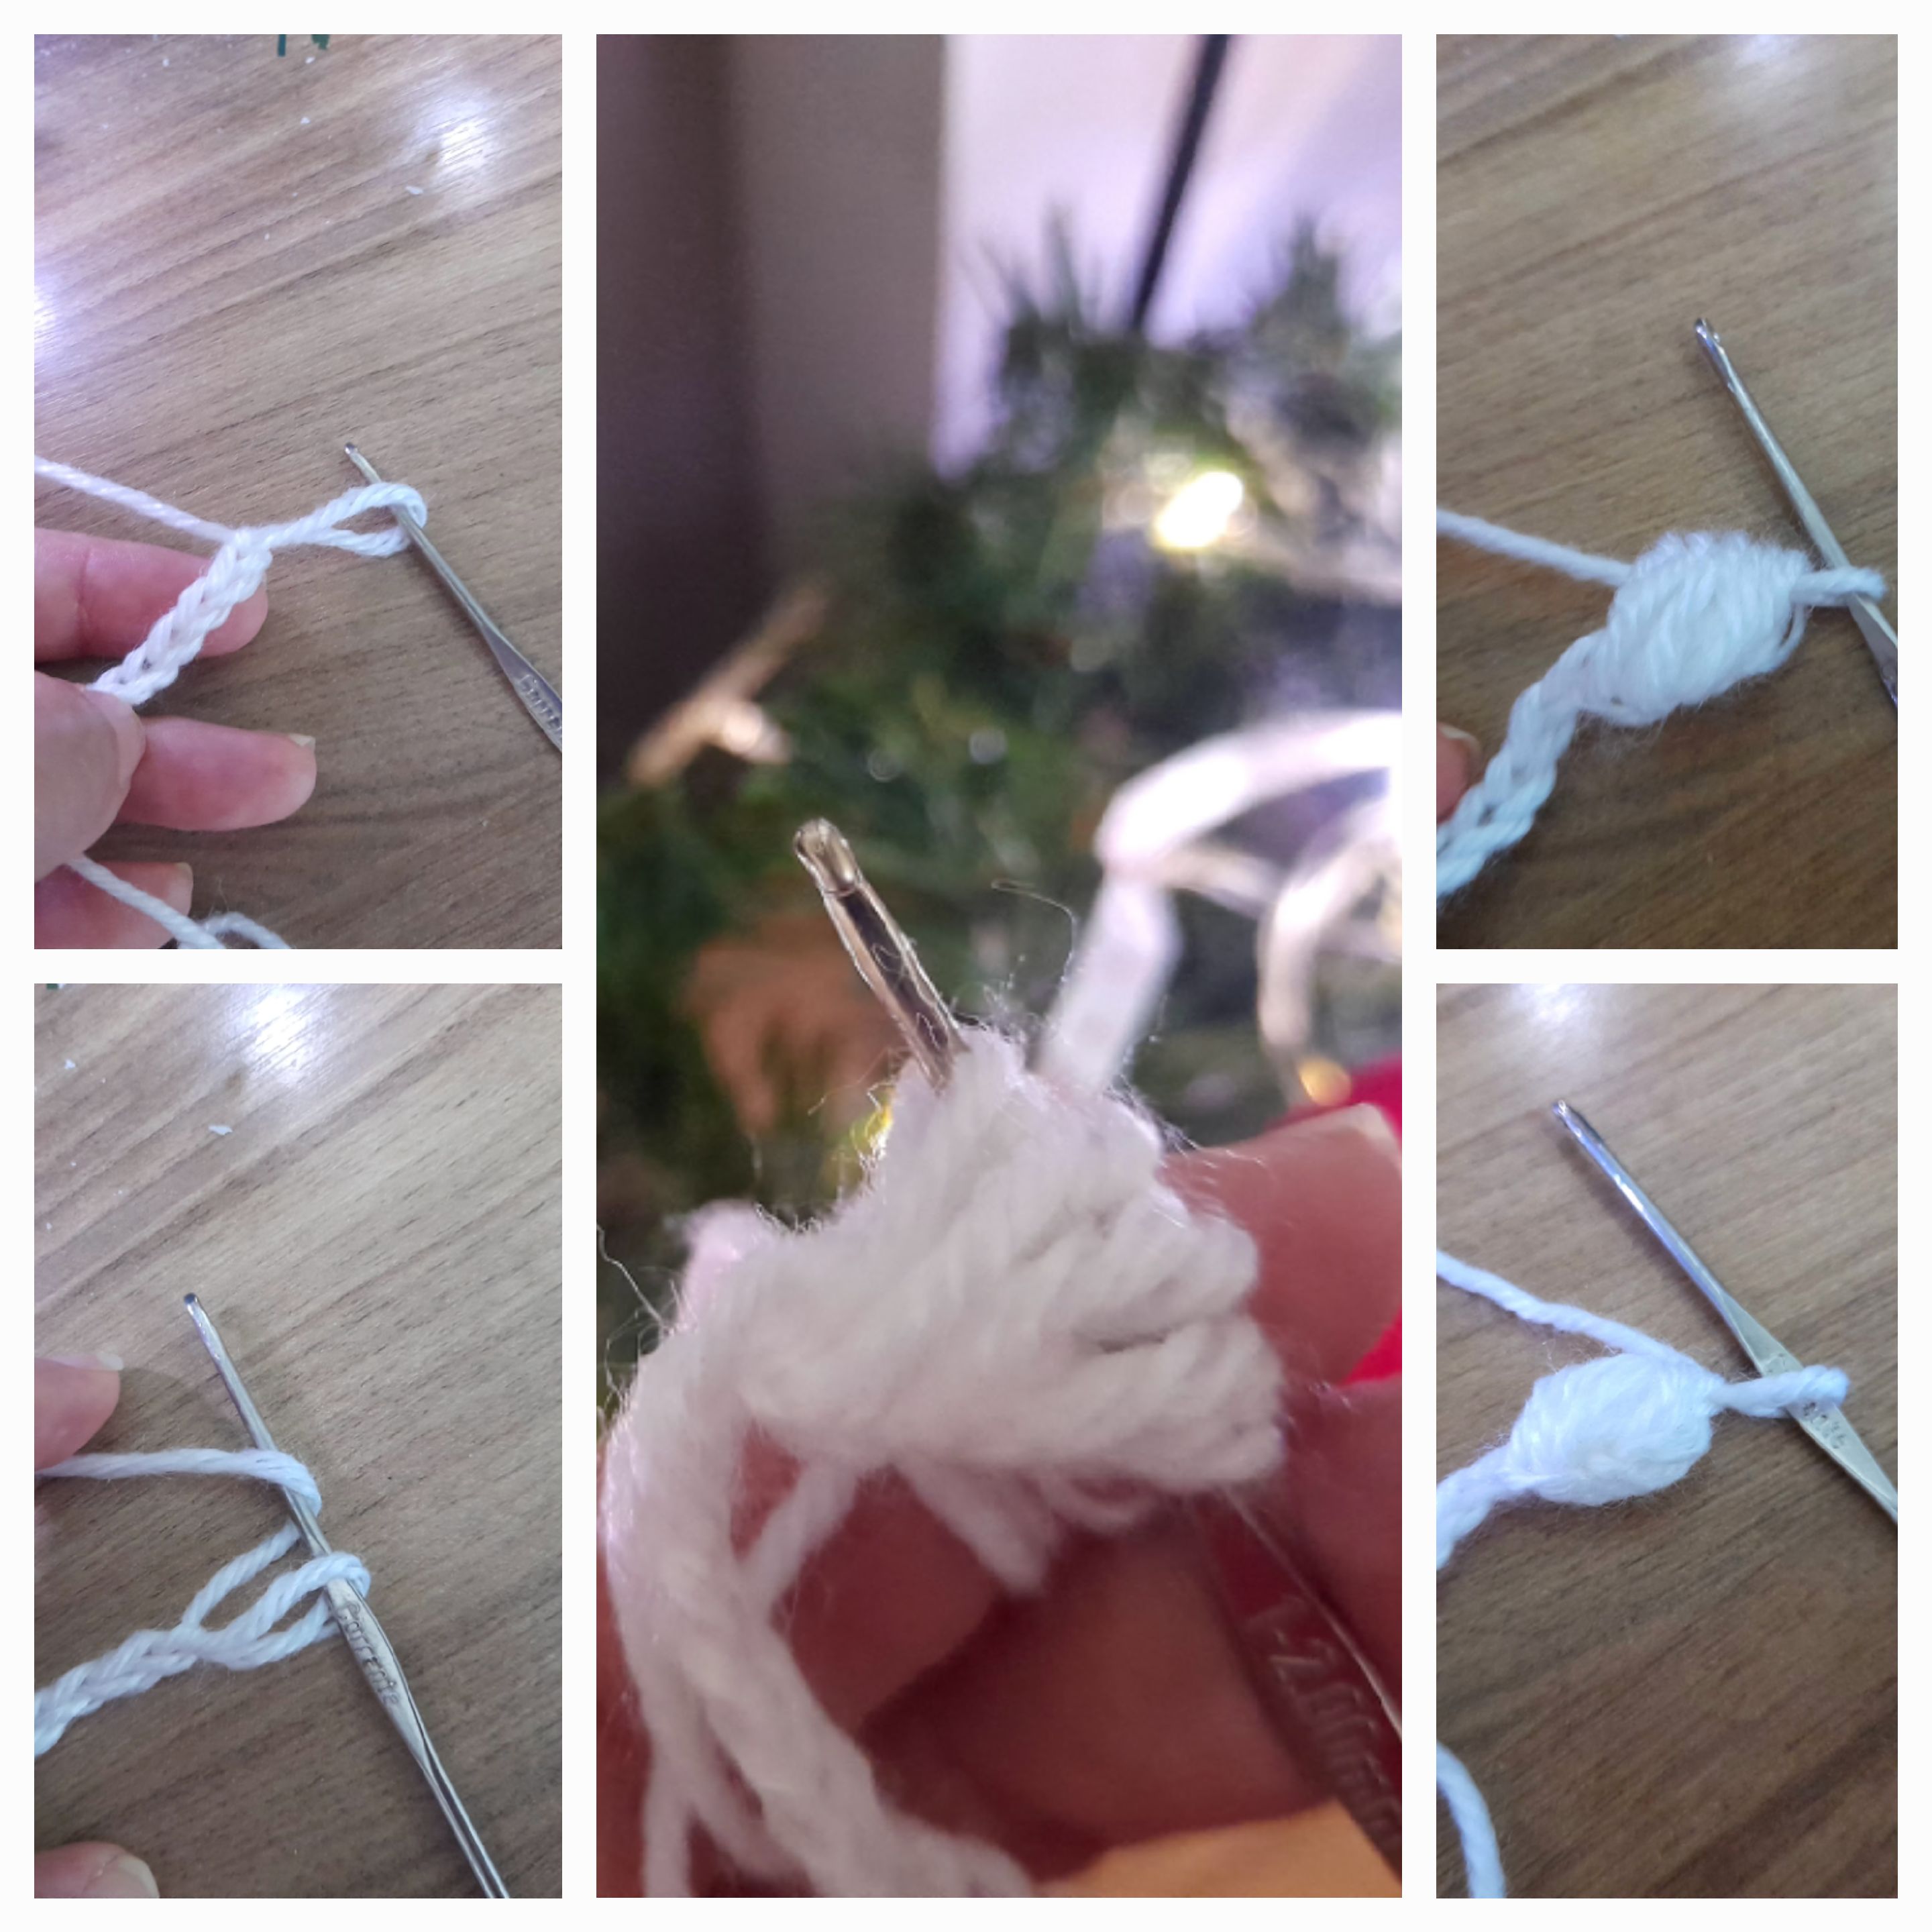    Listo ese paso, y una vez tengamos la última lazada, tomaremos nuevamente el hilo con la aguja, solo que esta vez no lo extenderemos, sino que lo haremos pasar por todas las lazadas que tenemos hechas en nuestra aguja, y una vez sacamos el hilo con la aguja, nos quedará una nueva lazada, y procedemos como con la cadeneta, es decir, pasamos la aguja, tomamos el hilo y hacemos 20 cadenetas más, y repetimos los pasos para la bolita, y continuamos así hasta que tengamos el largo deseado, cortamos el hilo y cerramos con un nudo.
Once that step is complete, and once we have the last loop, we will take the thread with the needle again, only this time we will not extend it, but rather we will pass it through all the loops we have made on our needle, and once we remove the thread with the needle, we will have a new loop, and we proceed as with the chain stitch, that is, we pass the needle, take the thread, and make 20 more chain stitches, and repeat the steps for the ball, continuing until we have the desired length.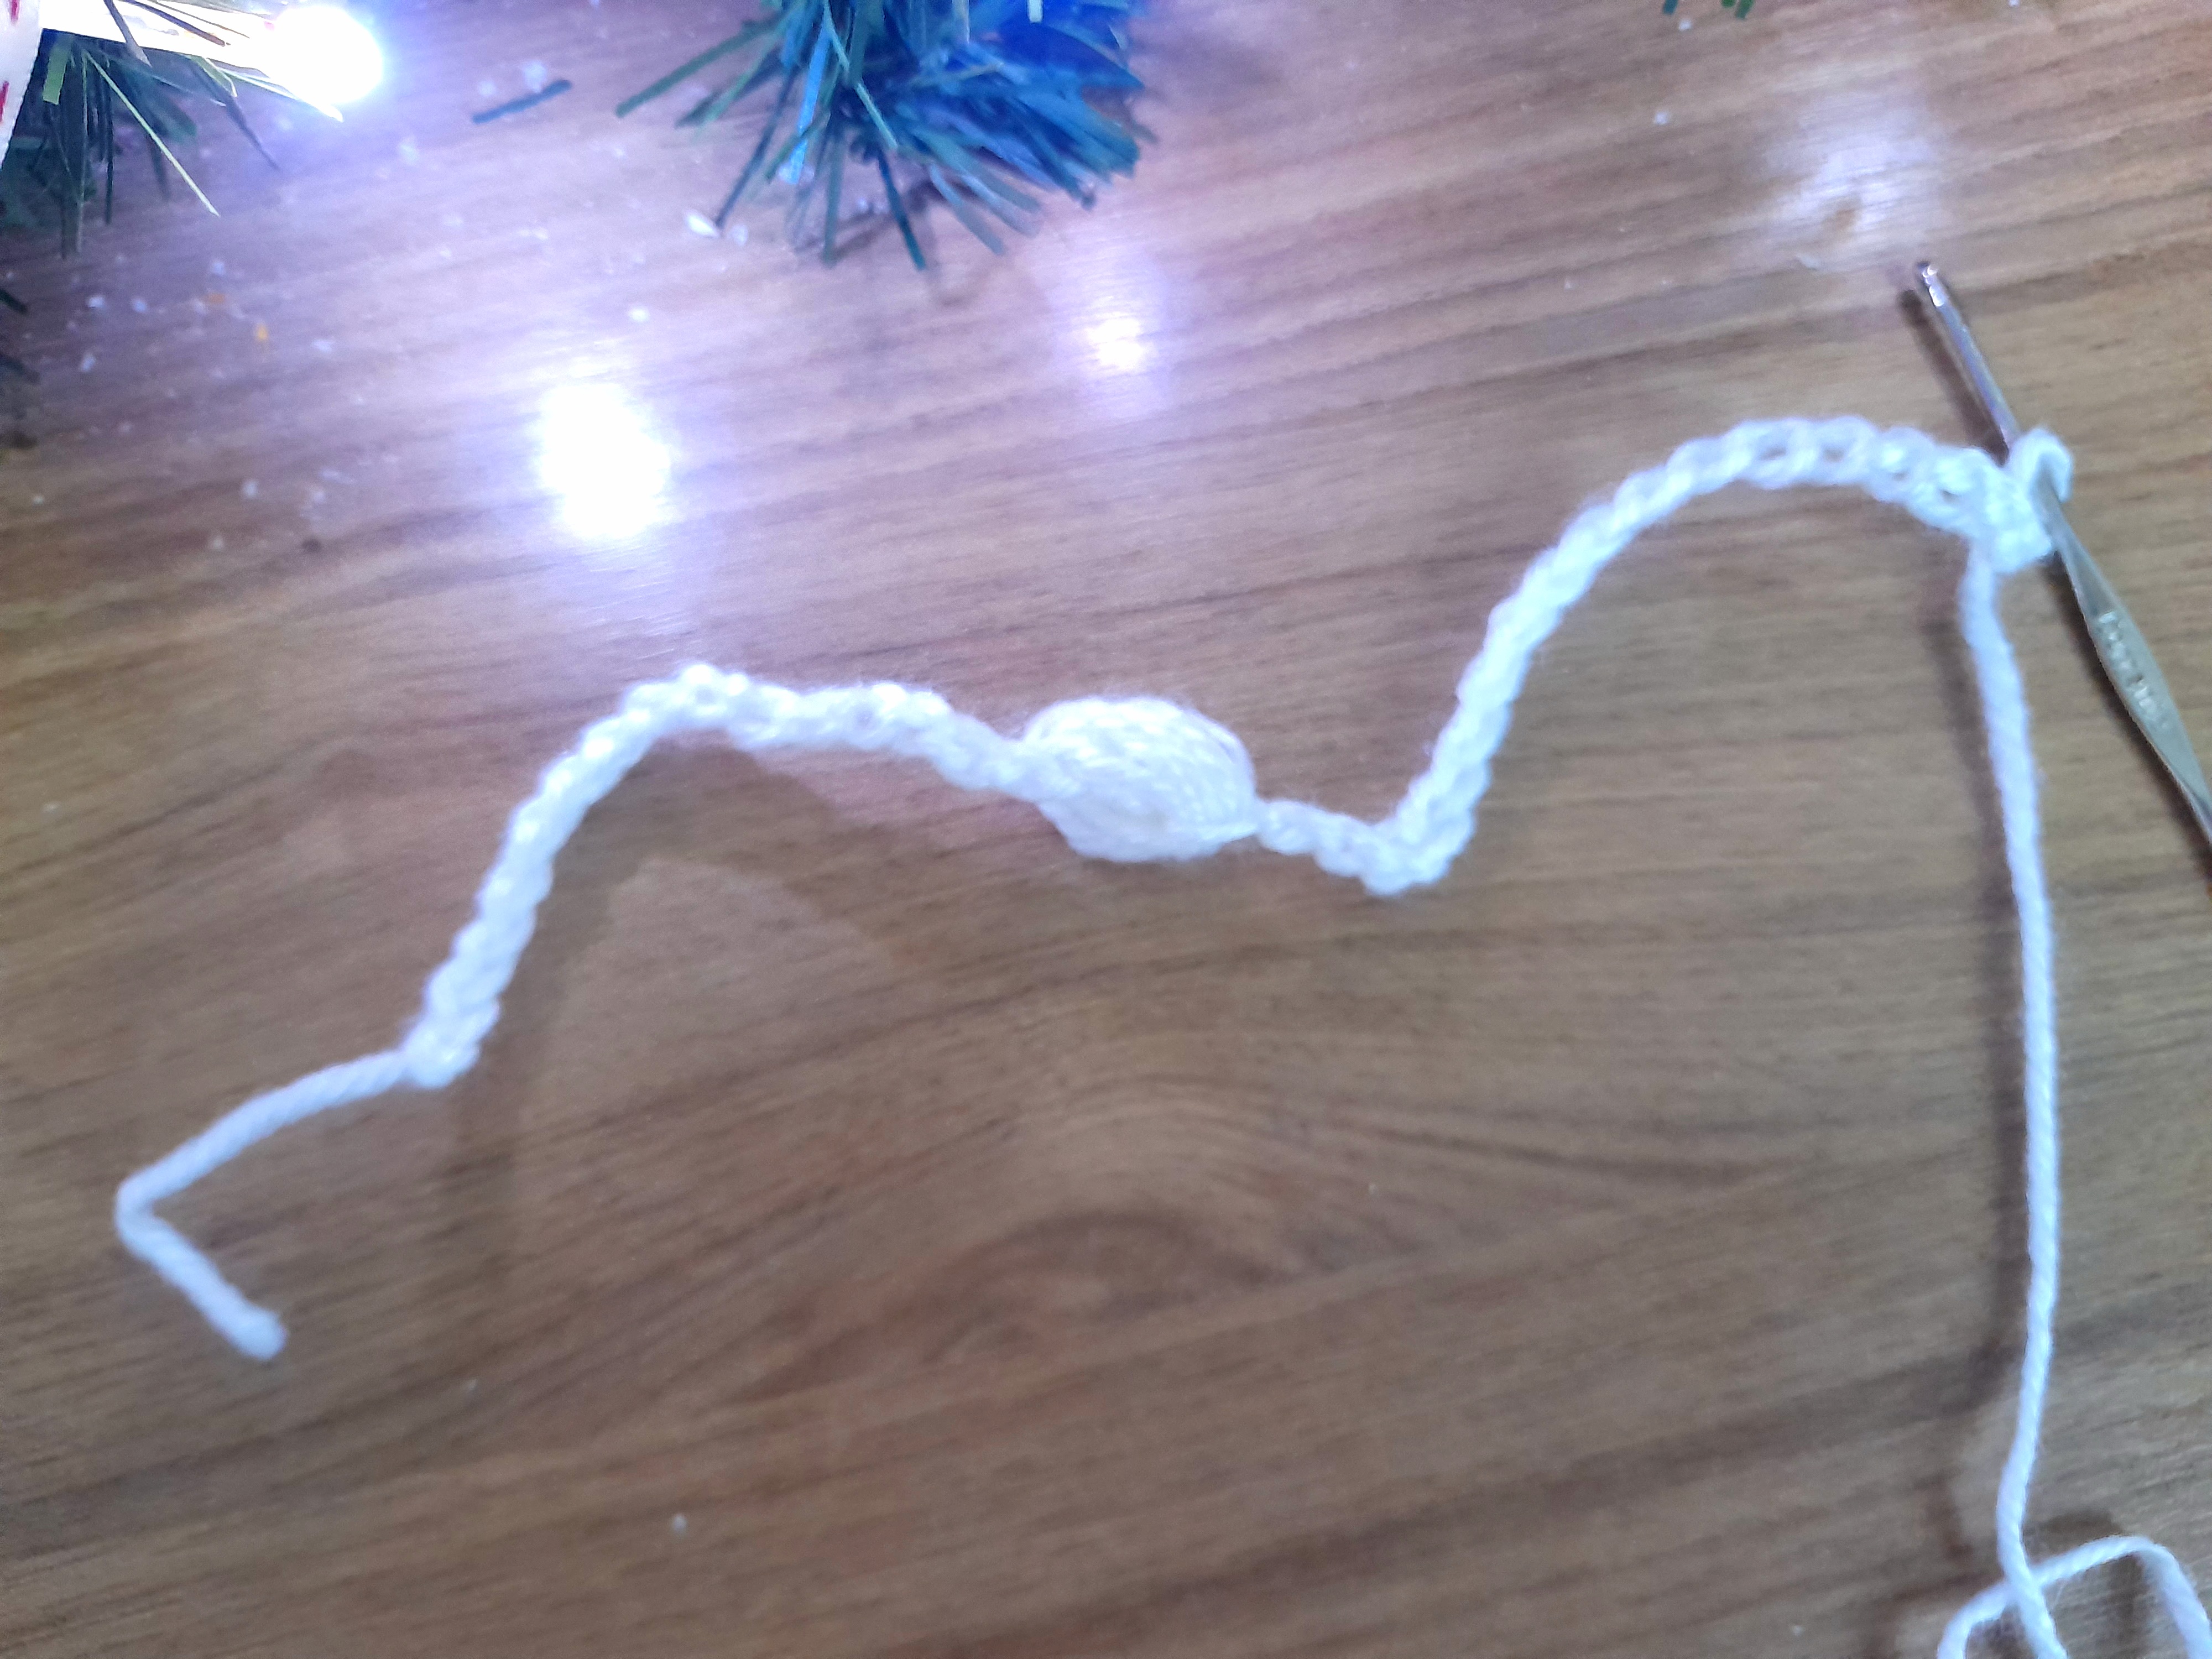 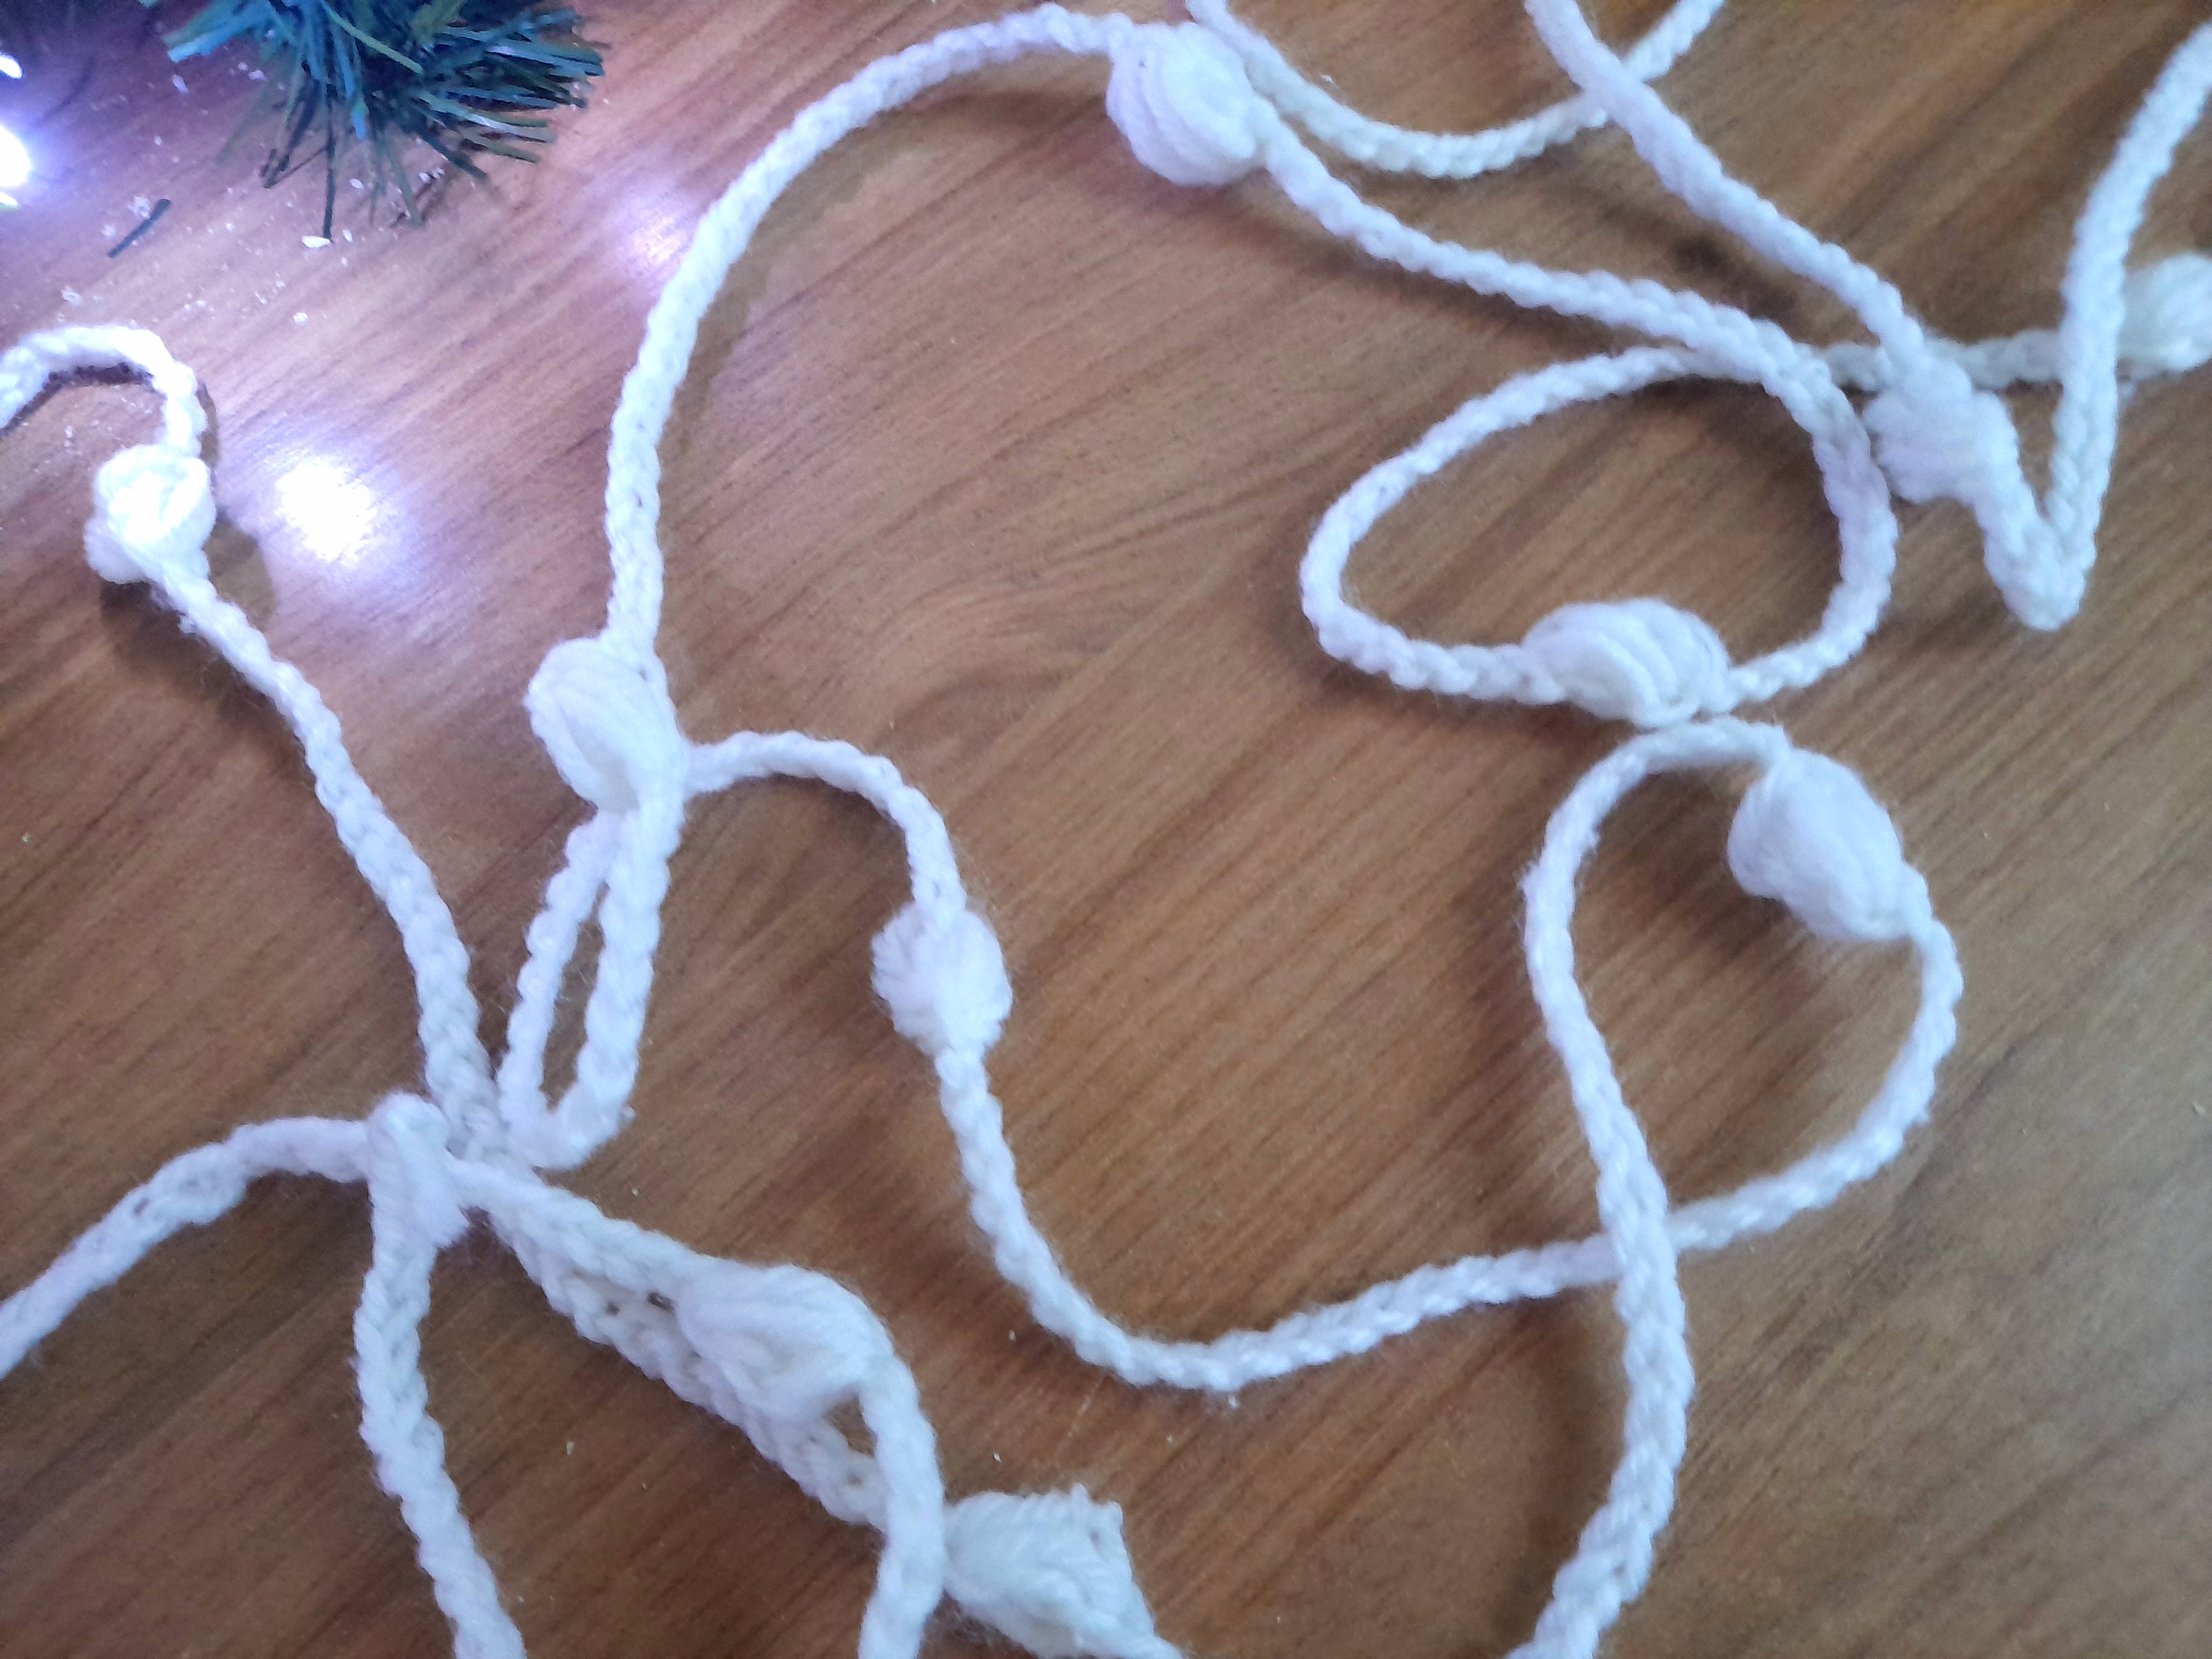 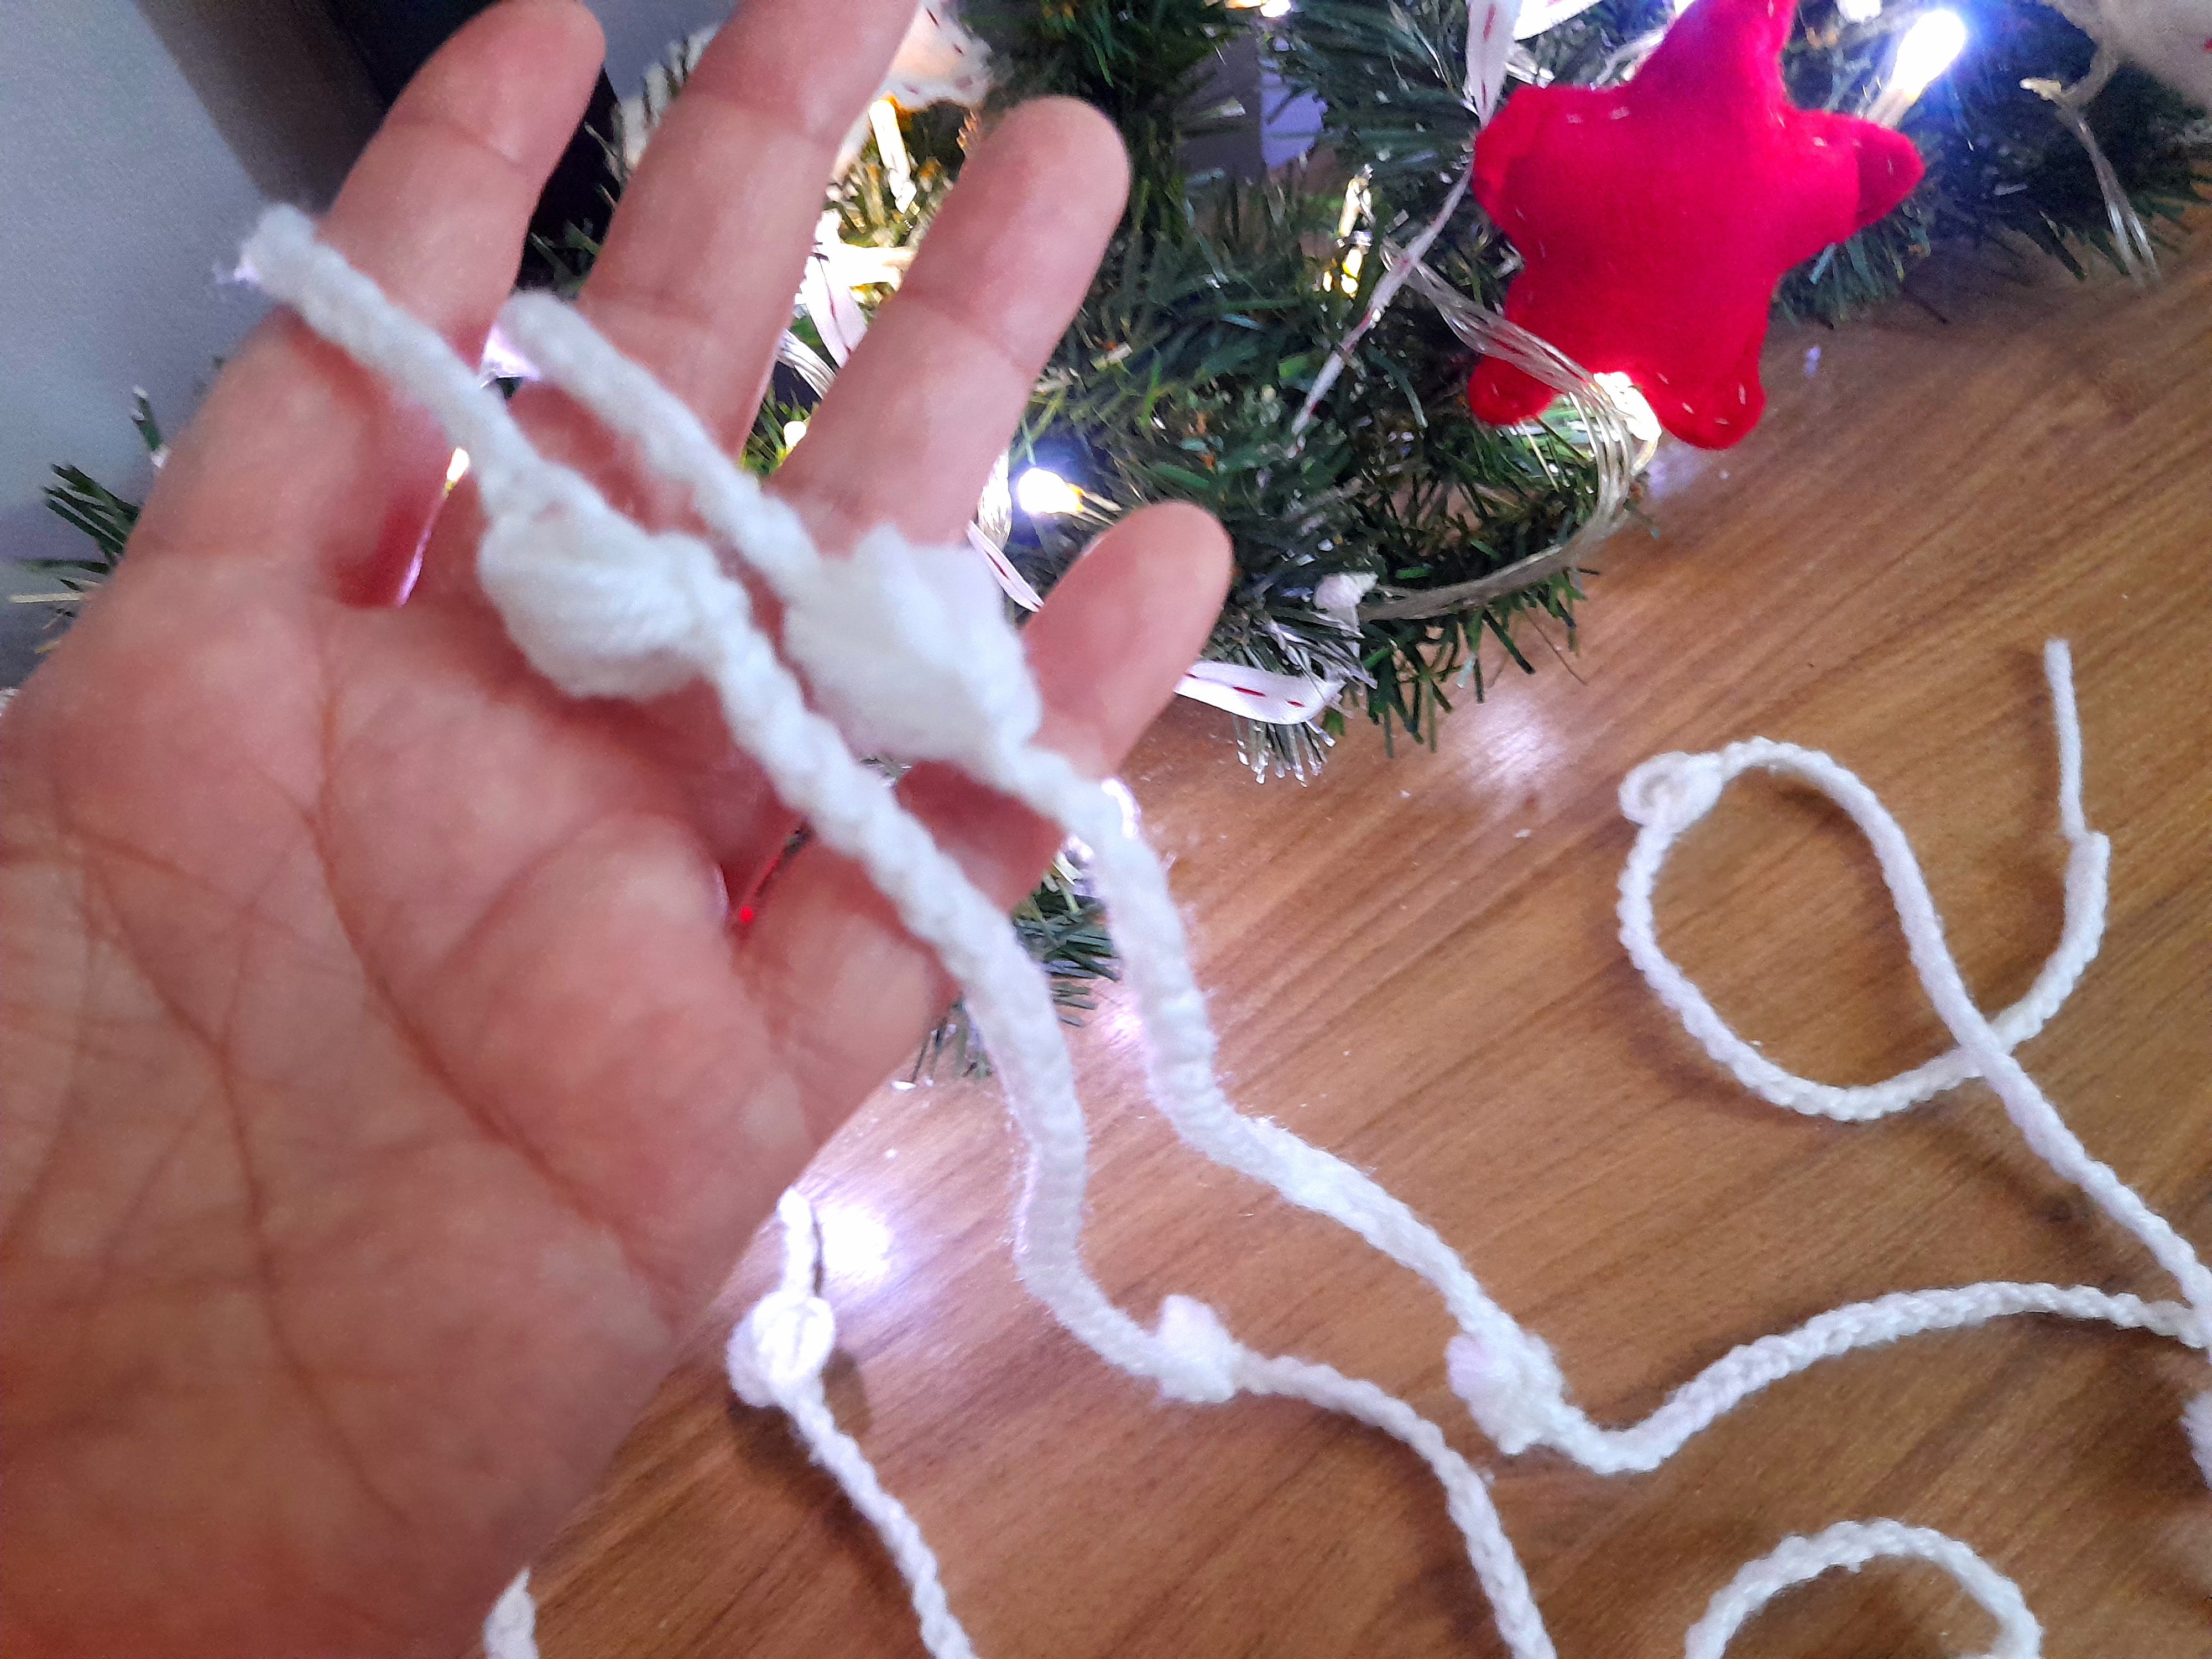  Ya de esta forma, la guirnalda se ve muy linda, de hecho las usé así el año pasado, por eso decidí darle un pequeño cambio para hacerlas lucir diferente en esta temporada navideña, y viendo tantas ideas por pinterest, vi algunas que tenían borlitas también en estambre, pero se me ocurrió que podía usar un trocito de guirnalda y hacer una pequeña decoración, tipo la ramita y unas bolitas rojas, pero como no las tenía en casa, decidí usar lo que sí tenía, y eso era estambre rojo. Así que decidí hacer las mismas bolitas que hice para la guirnalda. En este caso, solo di dos puntos de cadeneta, y realicé la bolita tal como lo hice con la guirnalda, y lista la primera, solo hice dos puntos más y realicé la segunda, y de esta forma tenía listo este pequeño accesorio para mi guirnalda.
The garland looks very pretty like this, and I actually used it this way last year, so I decided to make a small change to make it look different this Christmas season. Looking at so many ideas on Pinterest, I saw some that also had tassels made of yarn, but I thought I could use a piece of garland and make a small decoration, like a twig and some red balls. However, since I didn't have any at home, I decided to use what I did have, which was red yarn. So, I decided to make the same balls I made for the garland. In this case, I only made two chain stitches, and I made the ball the same way I did with the garland, and the first one was ready. I just made two more stitches and made the second one, and that's how I had this little accessory ready for my garland.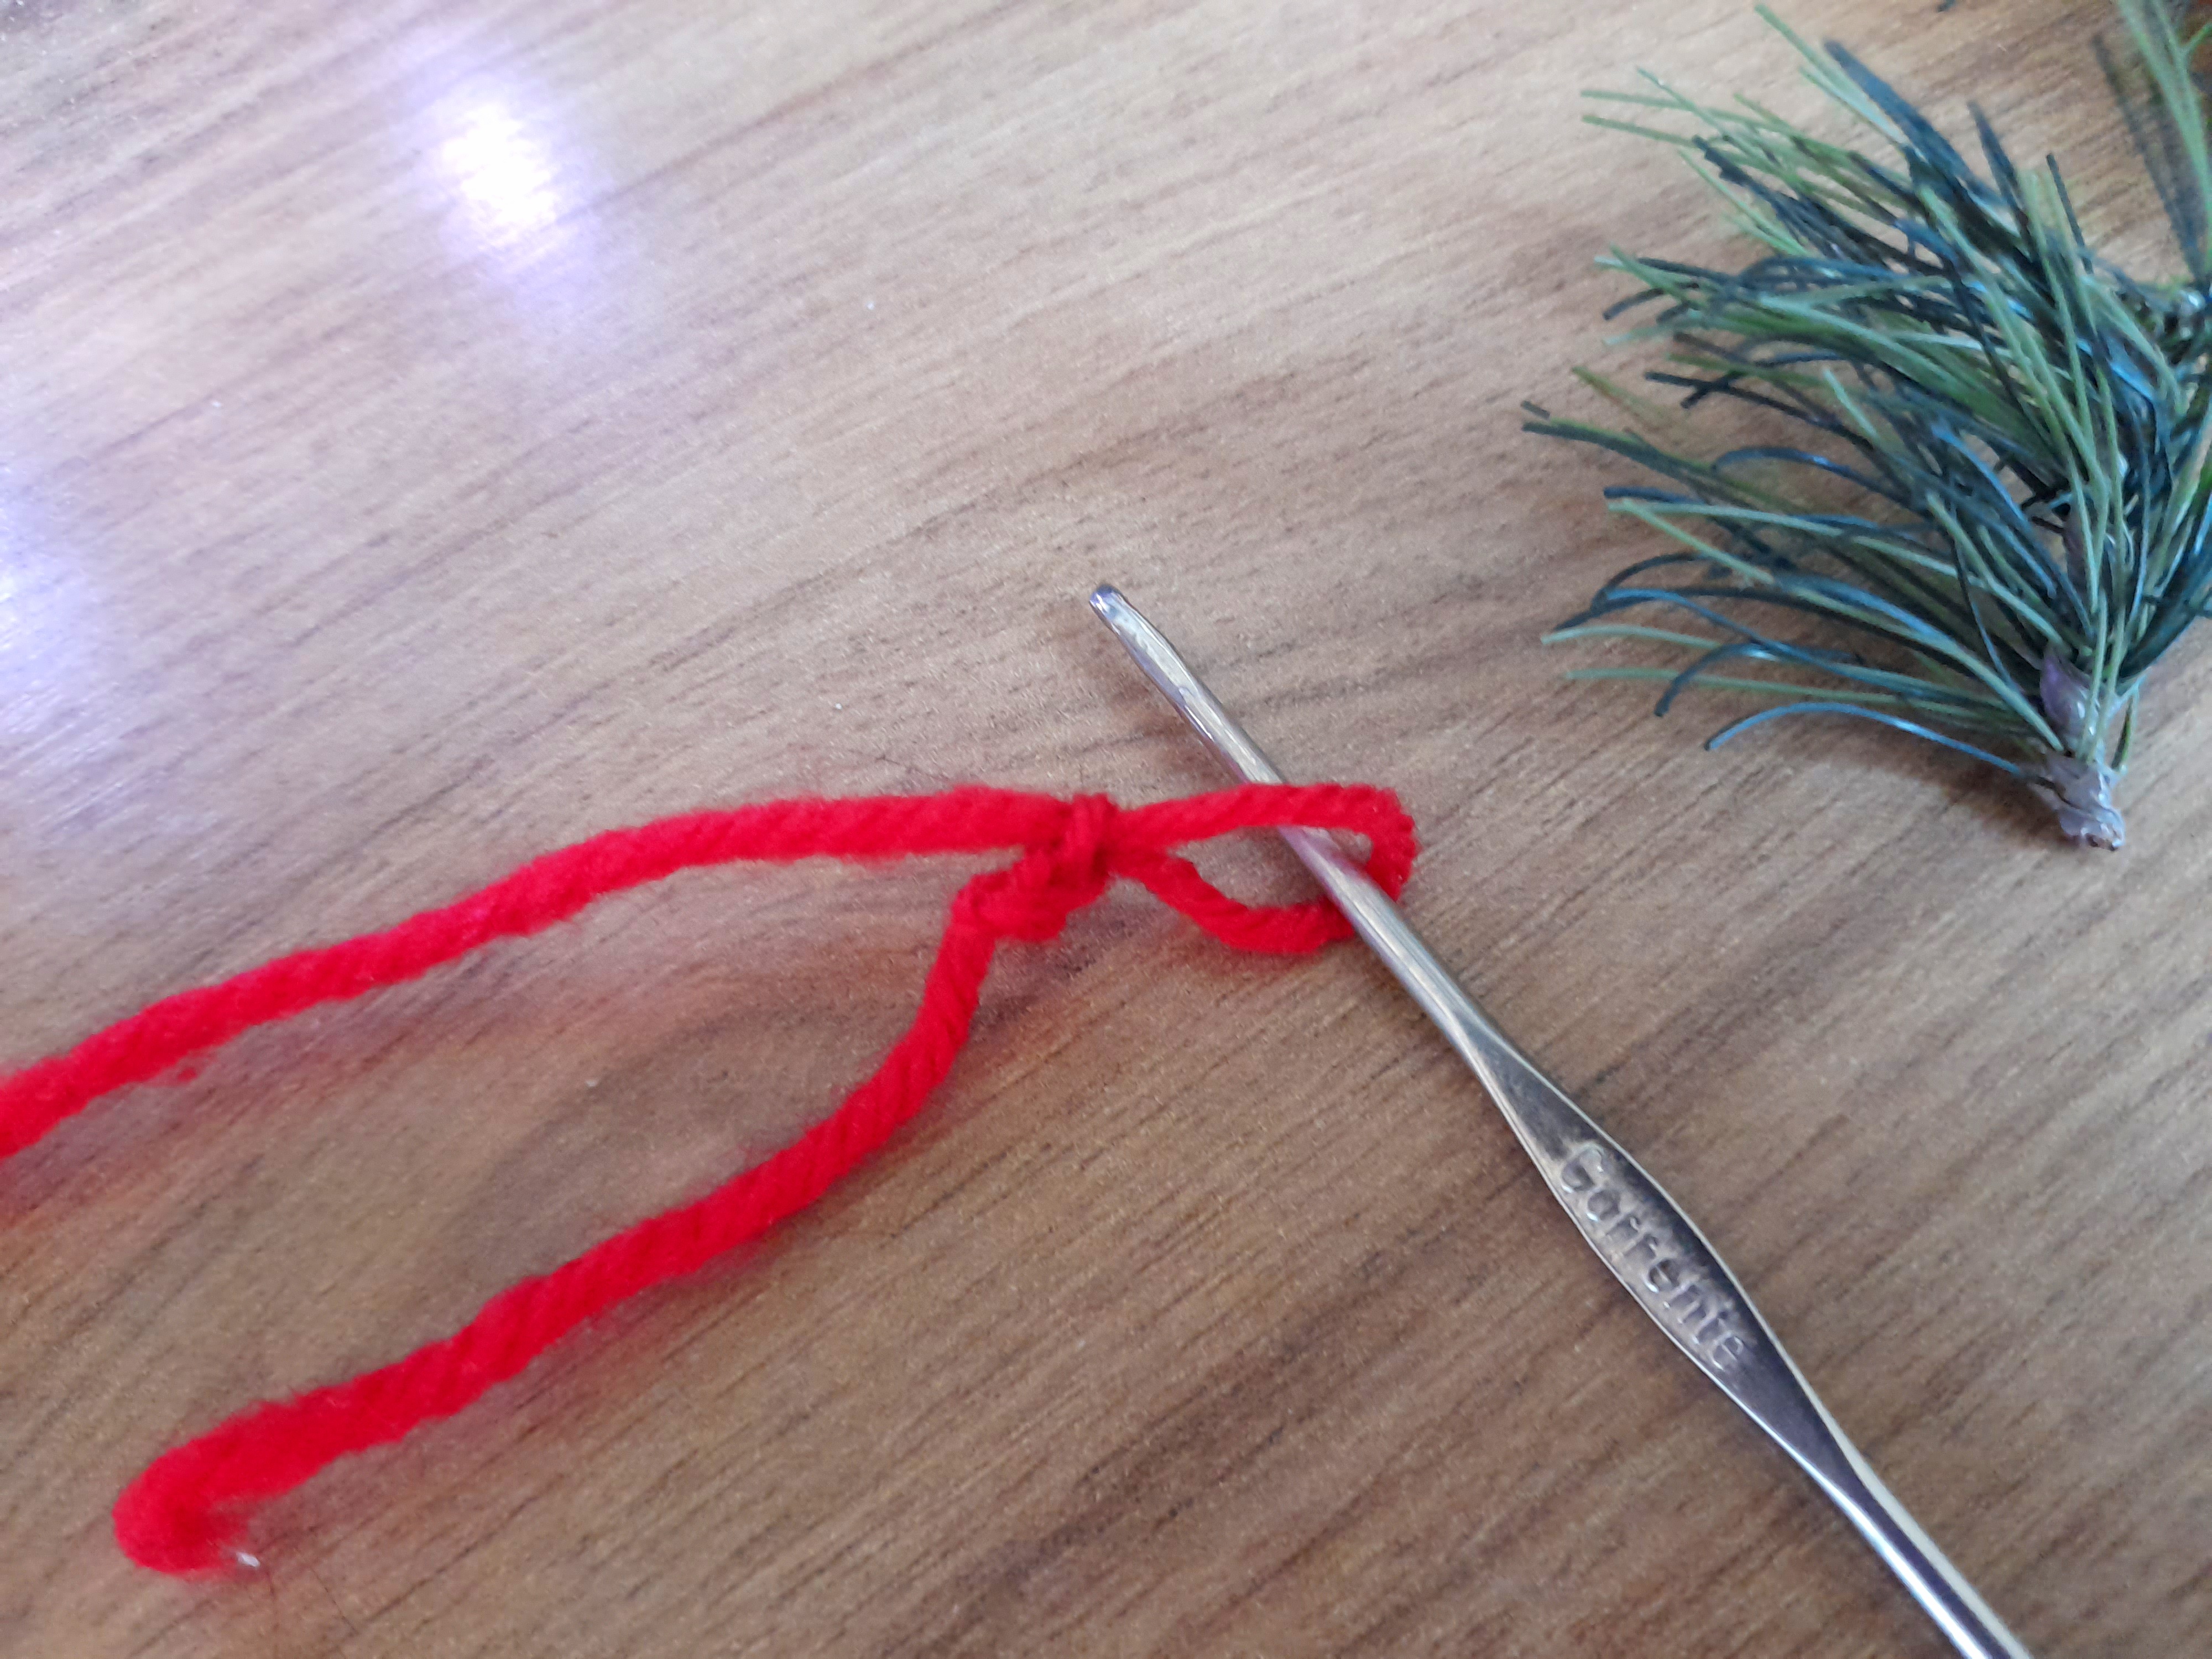 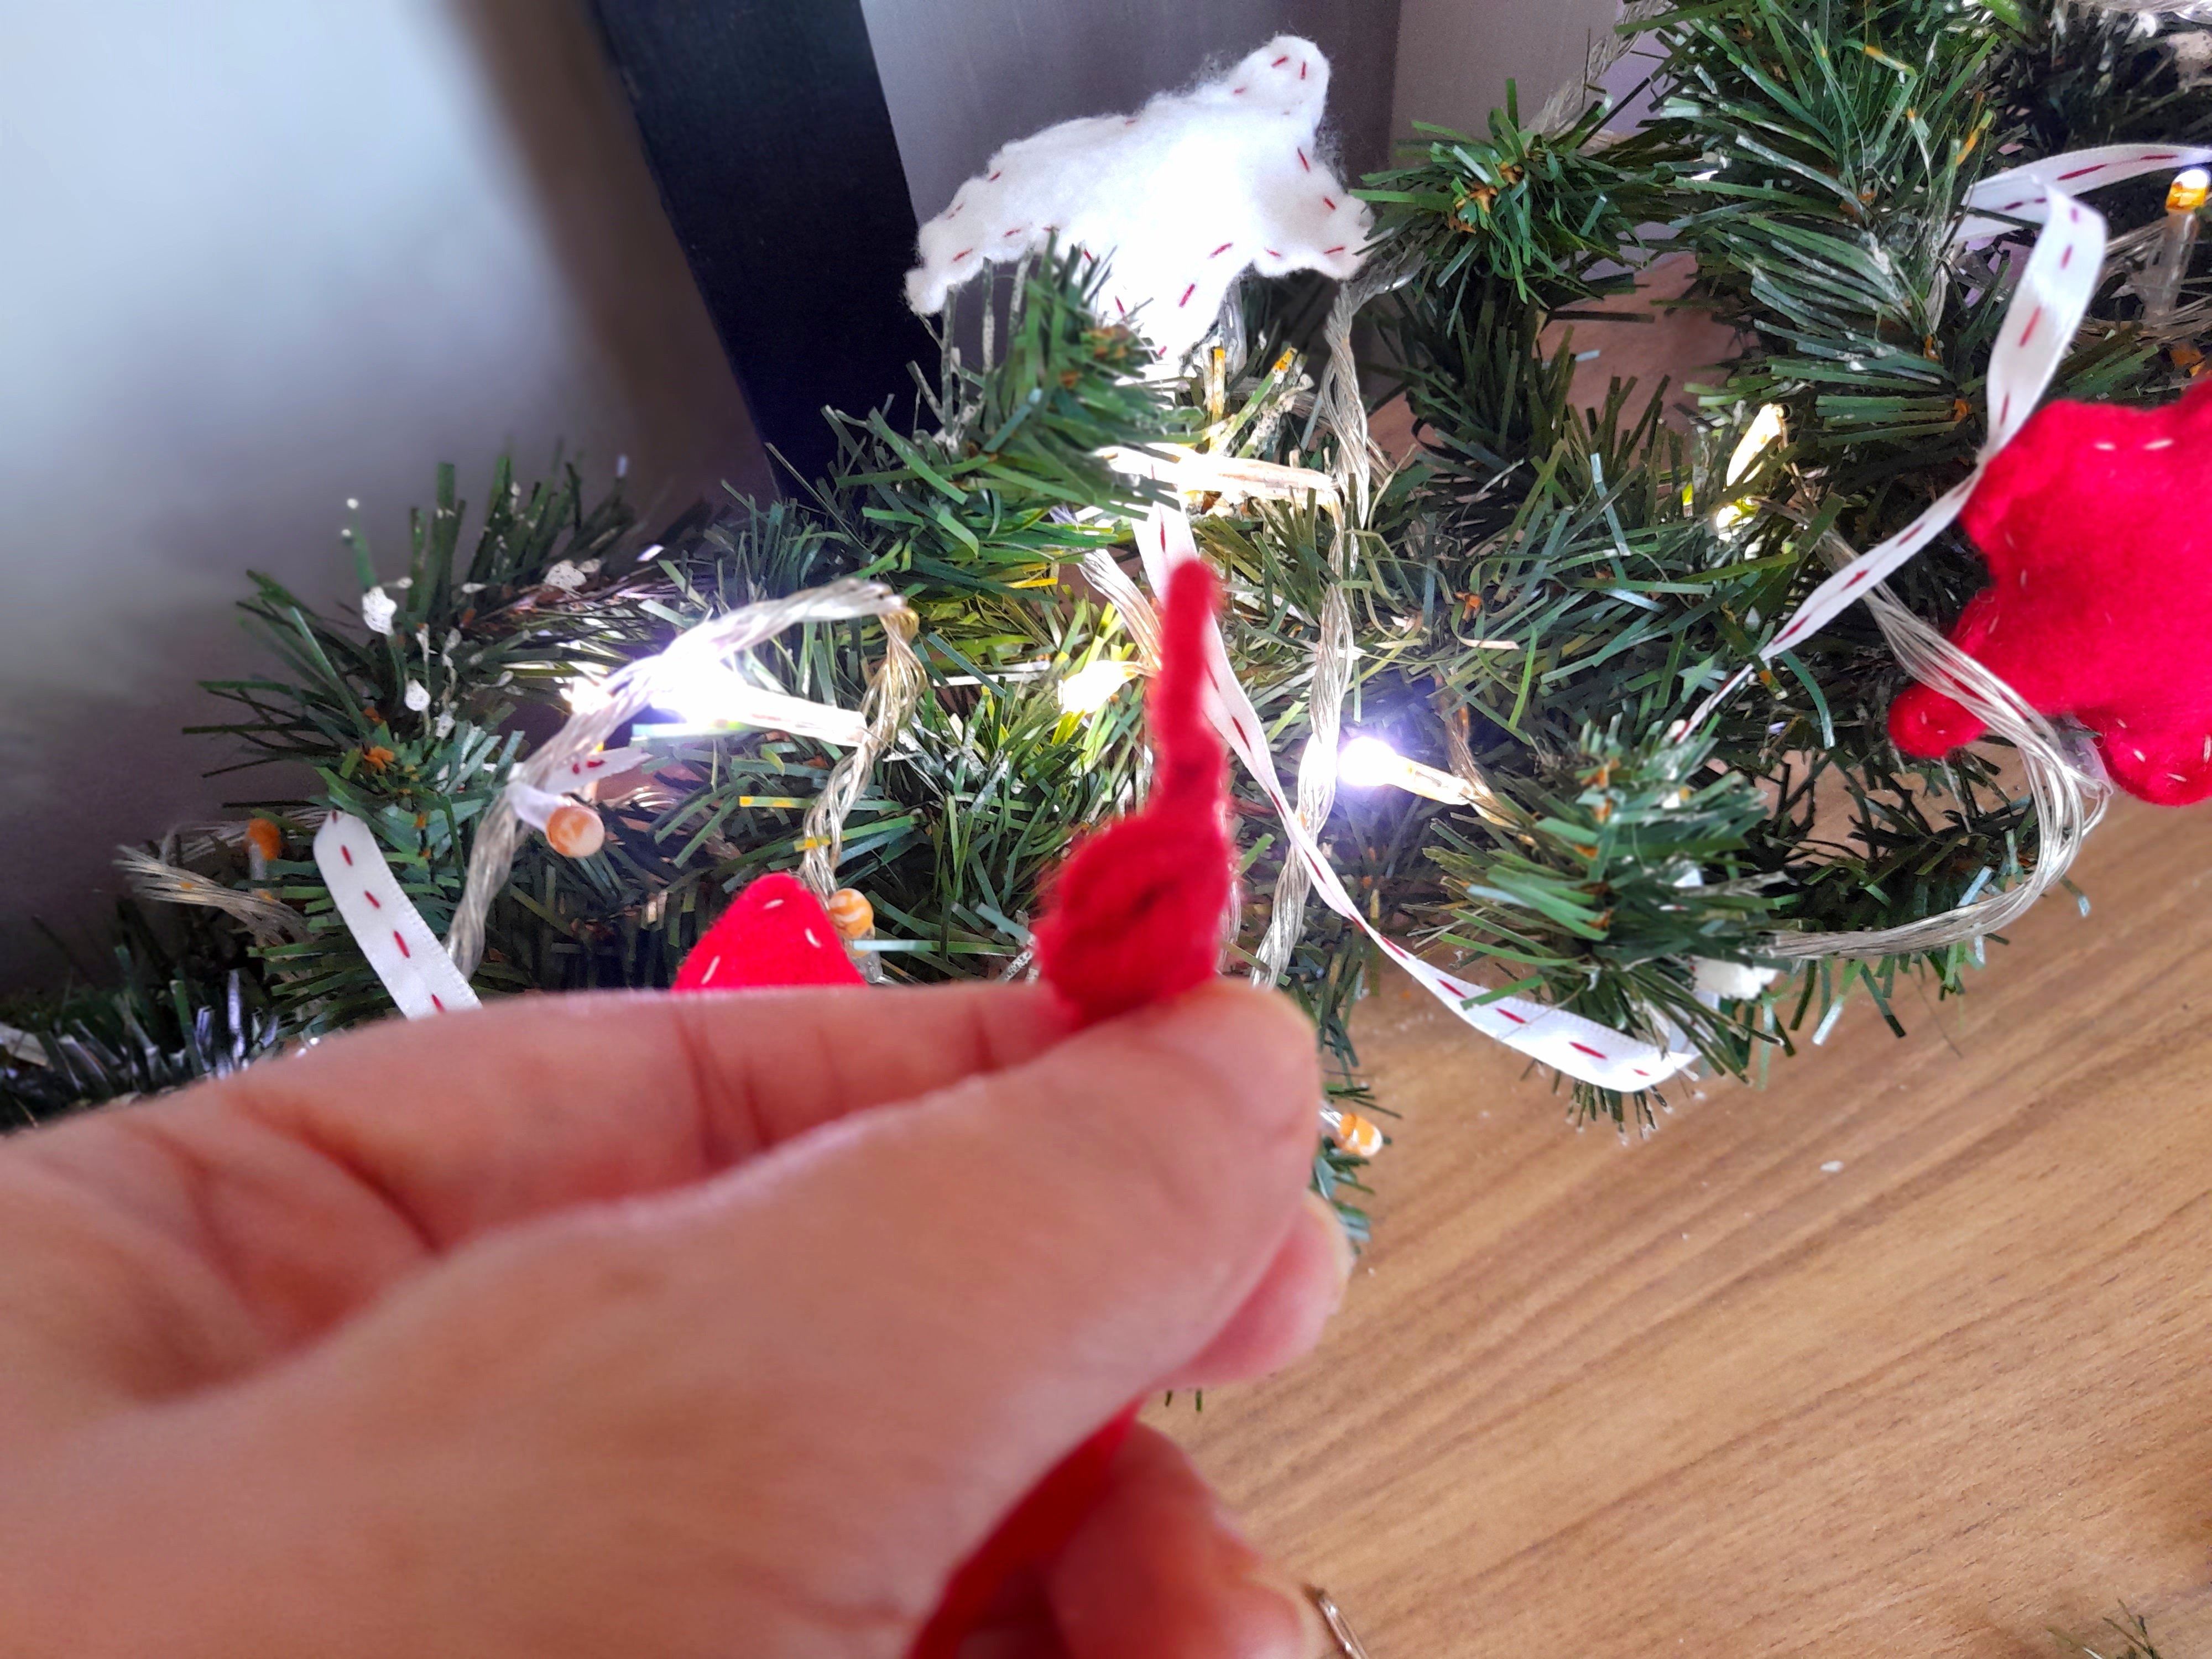  Listas las bolitas rojas con ayuda de la tijera o tenaza, corté un trocito de las guirnaldas verdes que solemos usar para navidad, y con la pistola de silicón le pegué las bolitas rojas, y finalmente las pegué en la guirnalda de la misma manera. En mi caso formé un patrón dejando dos bolitas libres, y colocando la ramita a la mitad de la siguiente bolita, trabajando de esta forma hasta el final, y así ya estaba mi guirnalda, súper linda, sin mucho trabajo, con una inversión mínima y que combina perfecto con todo lo que estoy usando este año.
Once the red beads were ready, I used scissors or pliers to cut a small piece of the green garland we usually use for Christmas, and with the silicone gun I glued the red beads onto it, and finally glued them onto the garland in the same way. In my case, I created a pattern by leaving two balls free and placing the twig in the middle of the next ball, working this way until the end. And there you have it, my garland was super cute, without much work, with minimal investment, and it goes perfectly with everything I'm using this year.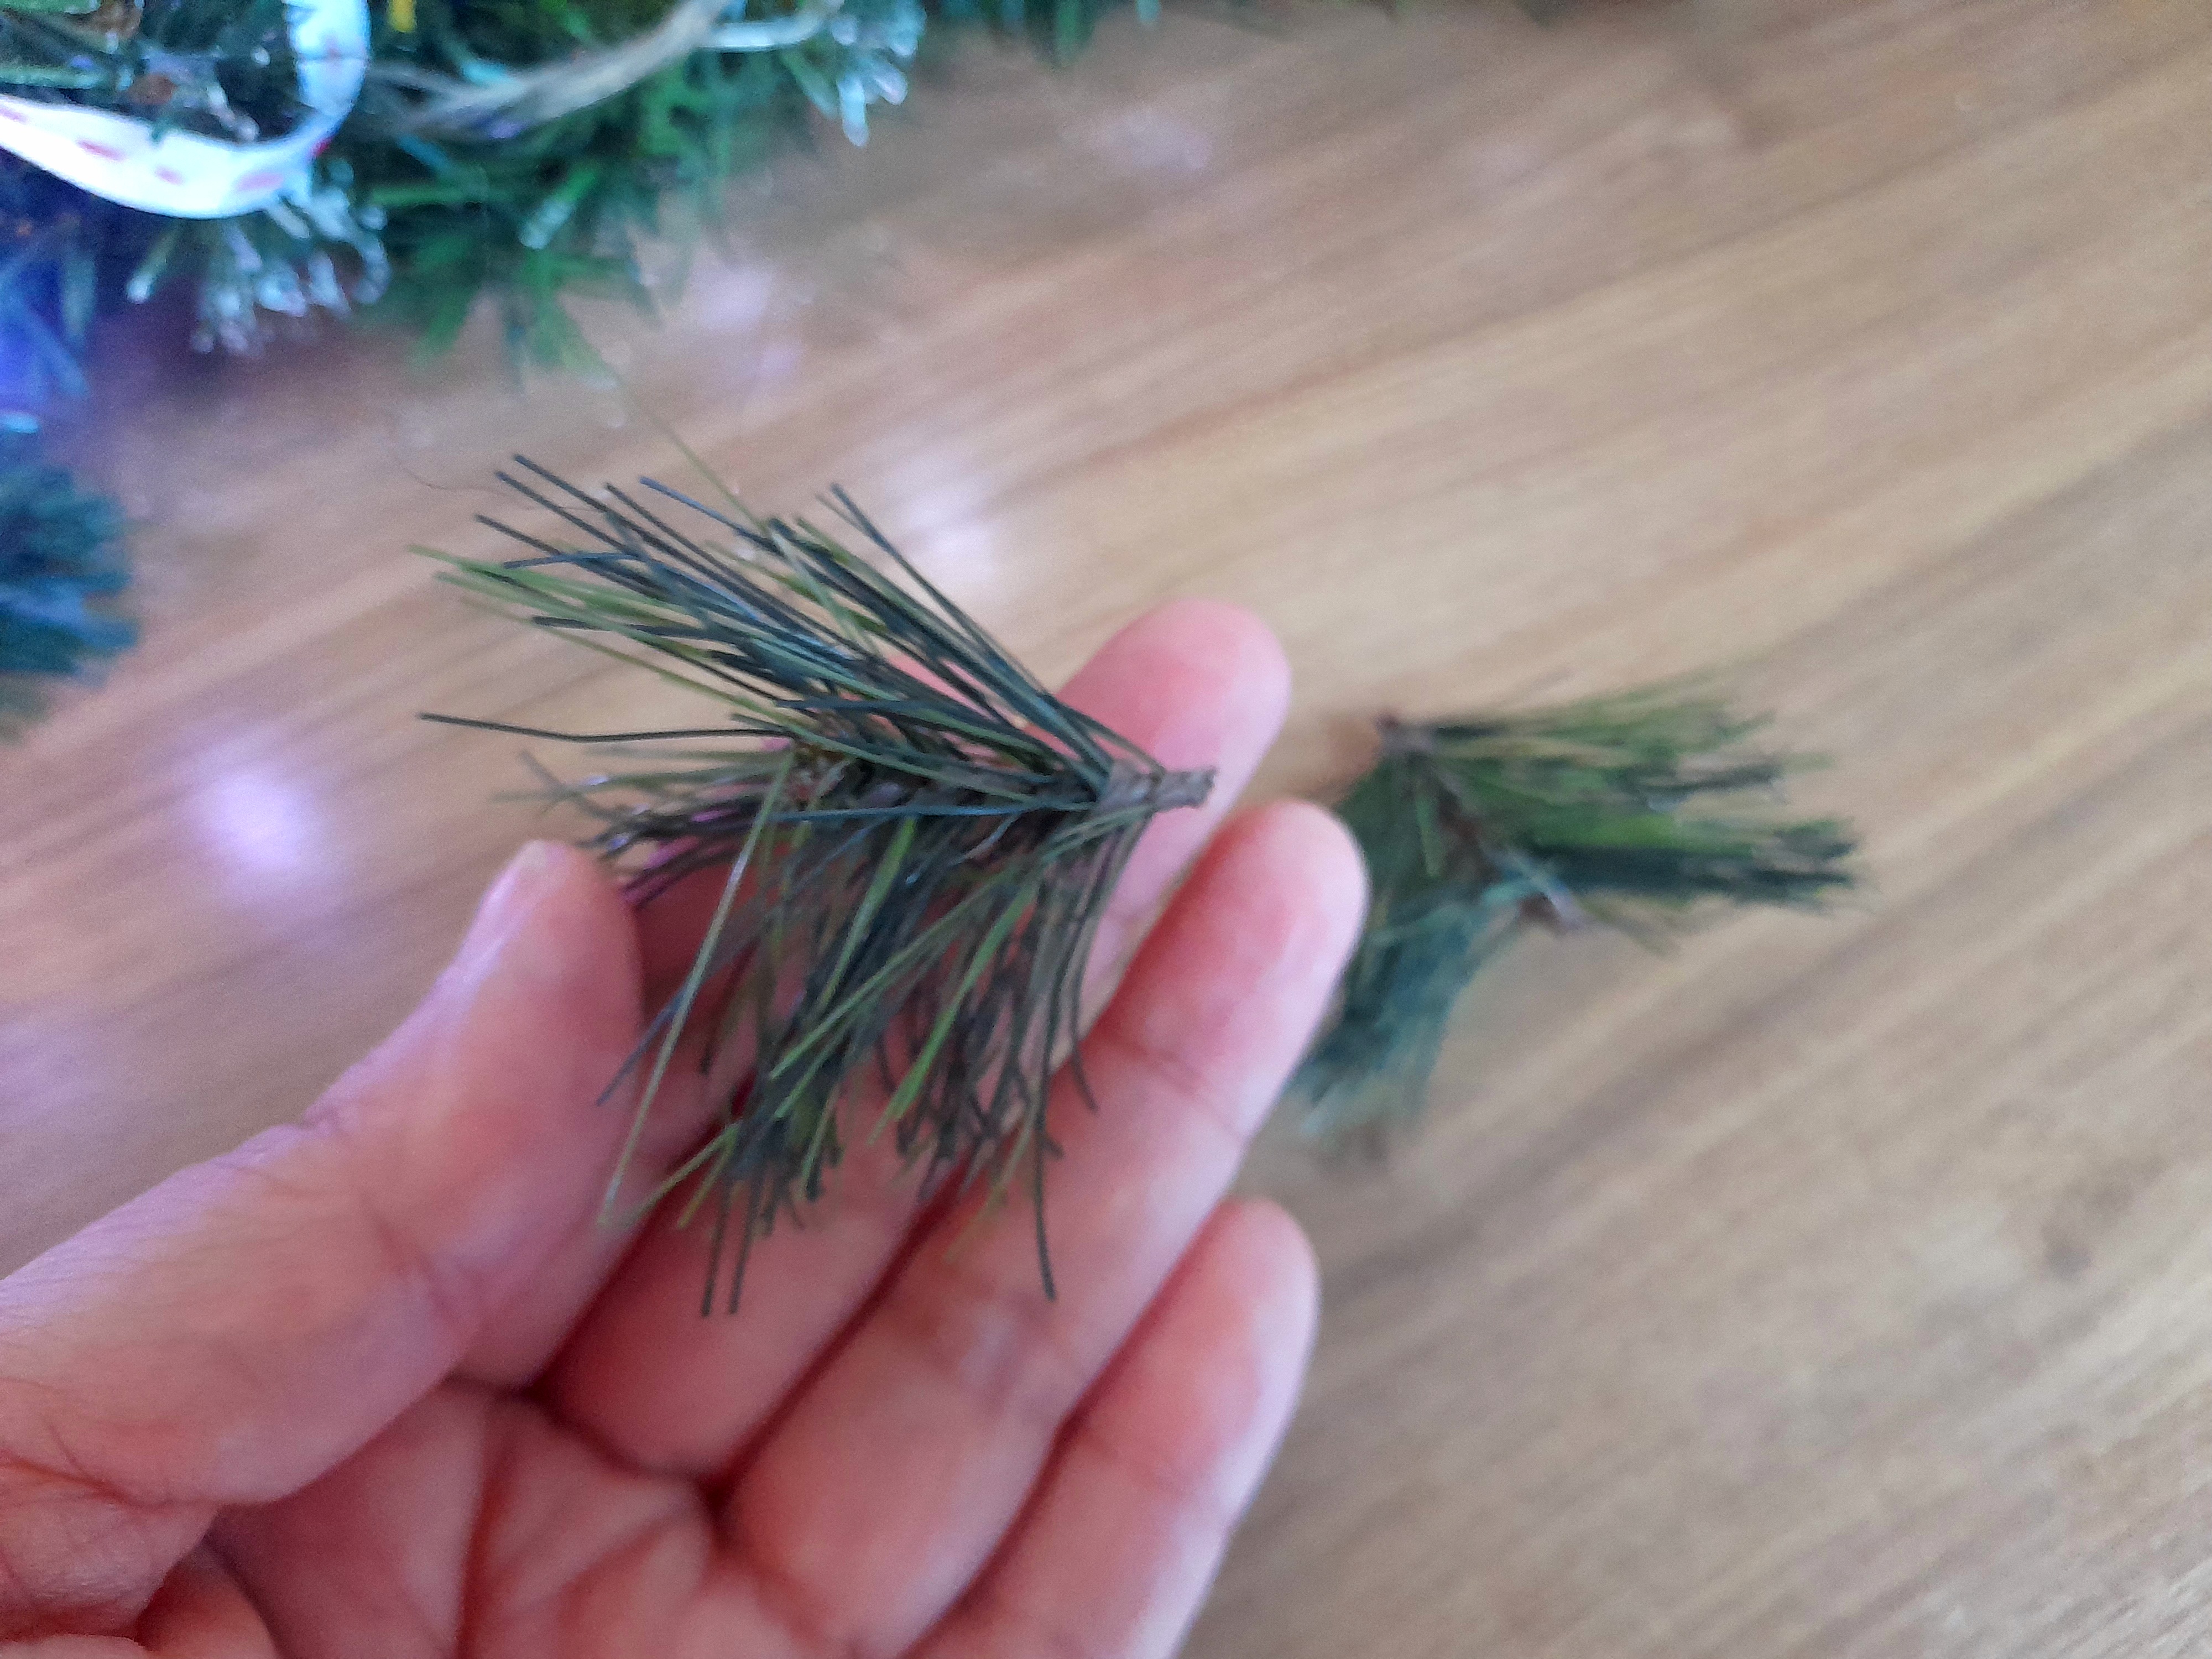 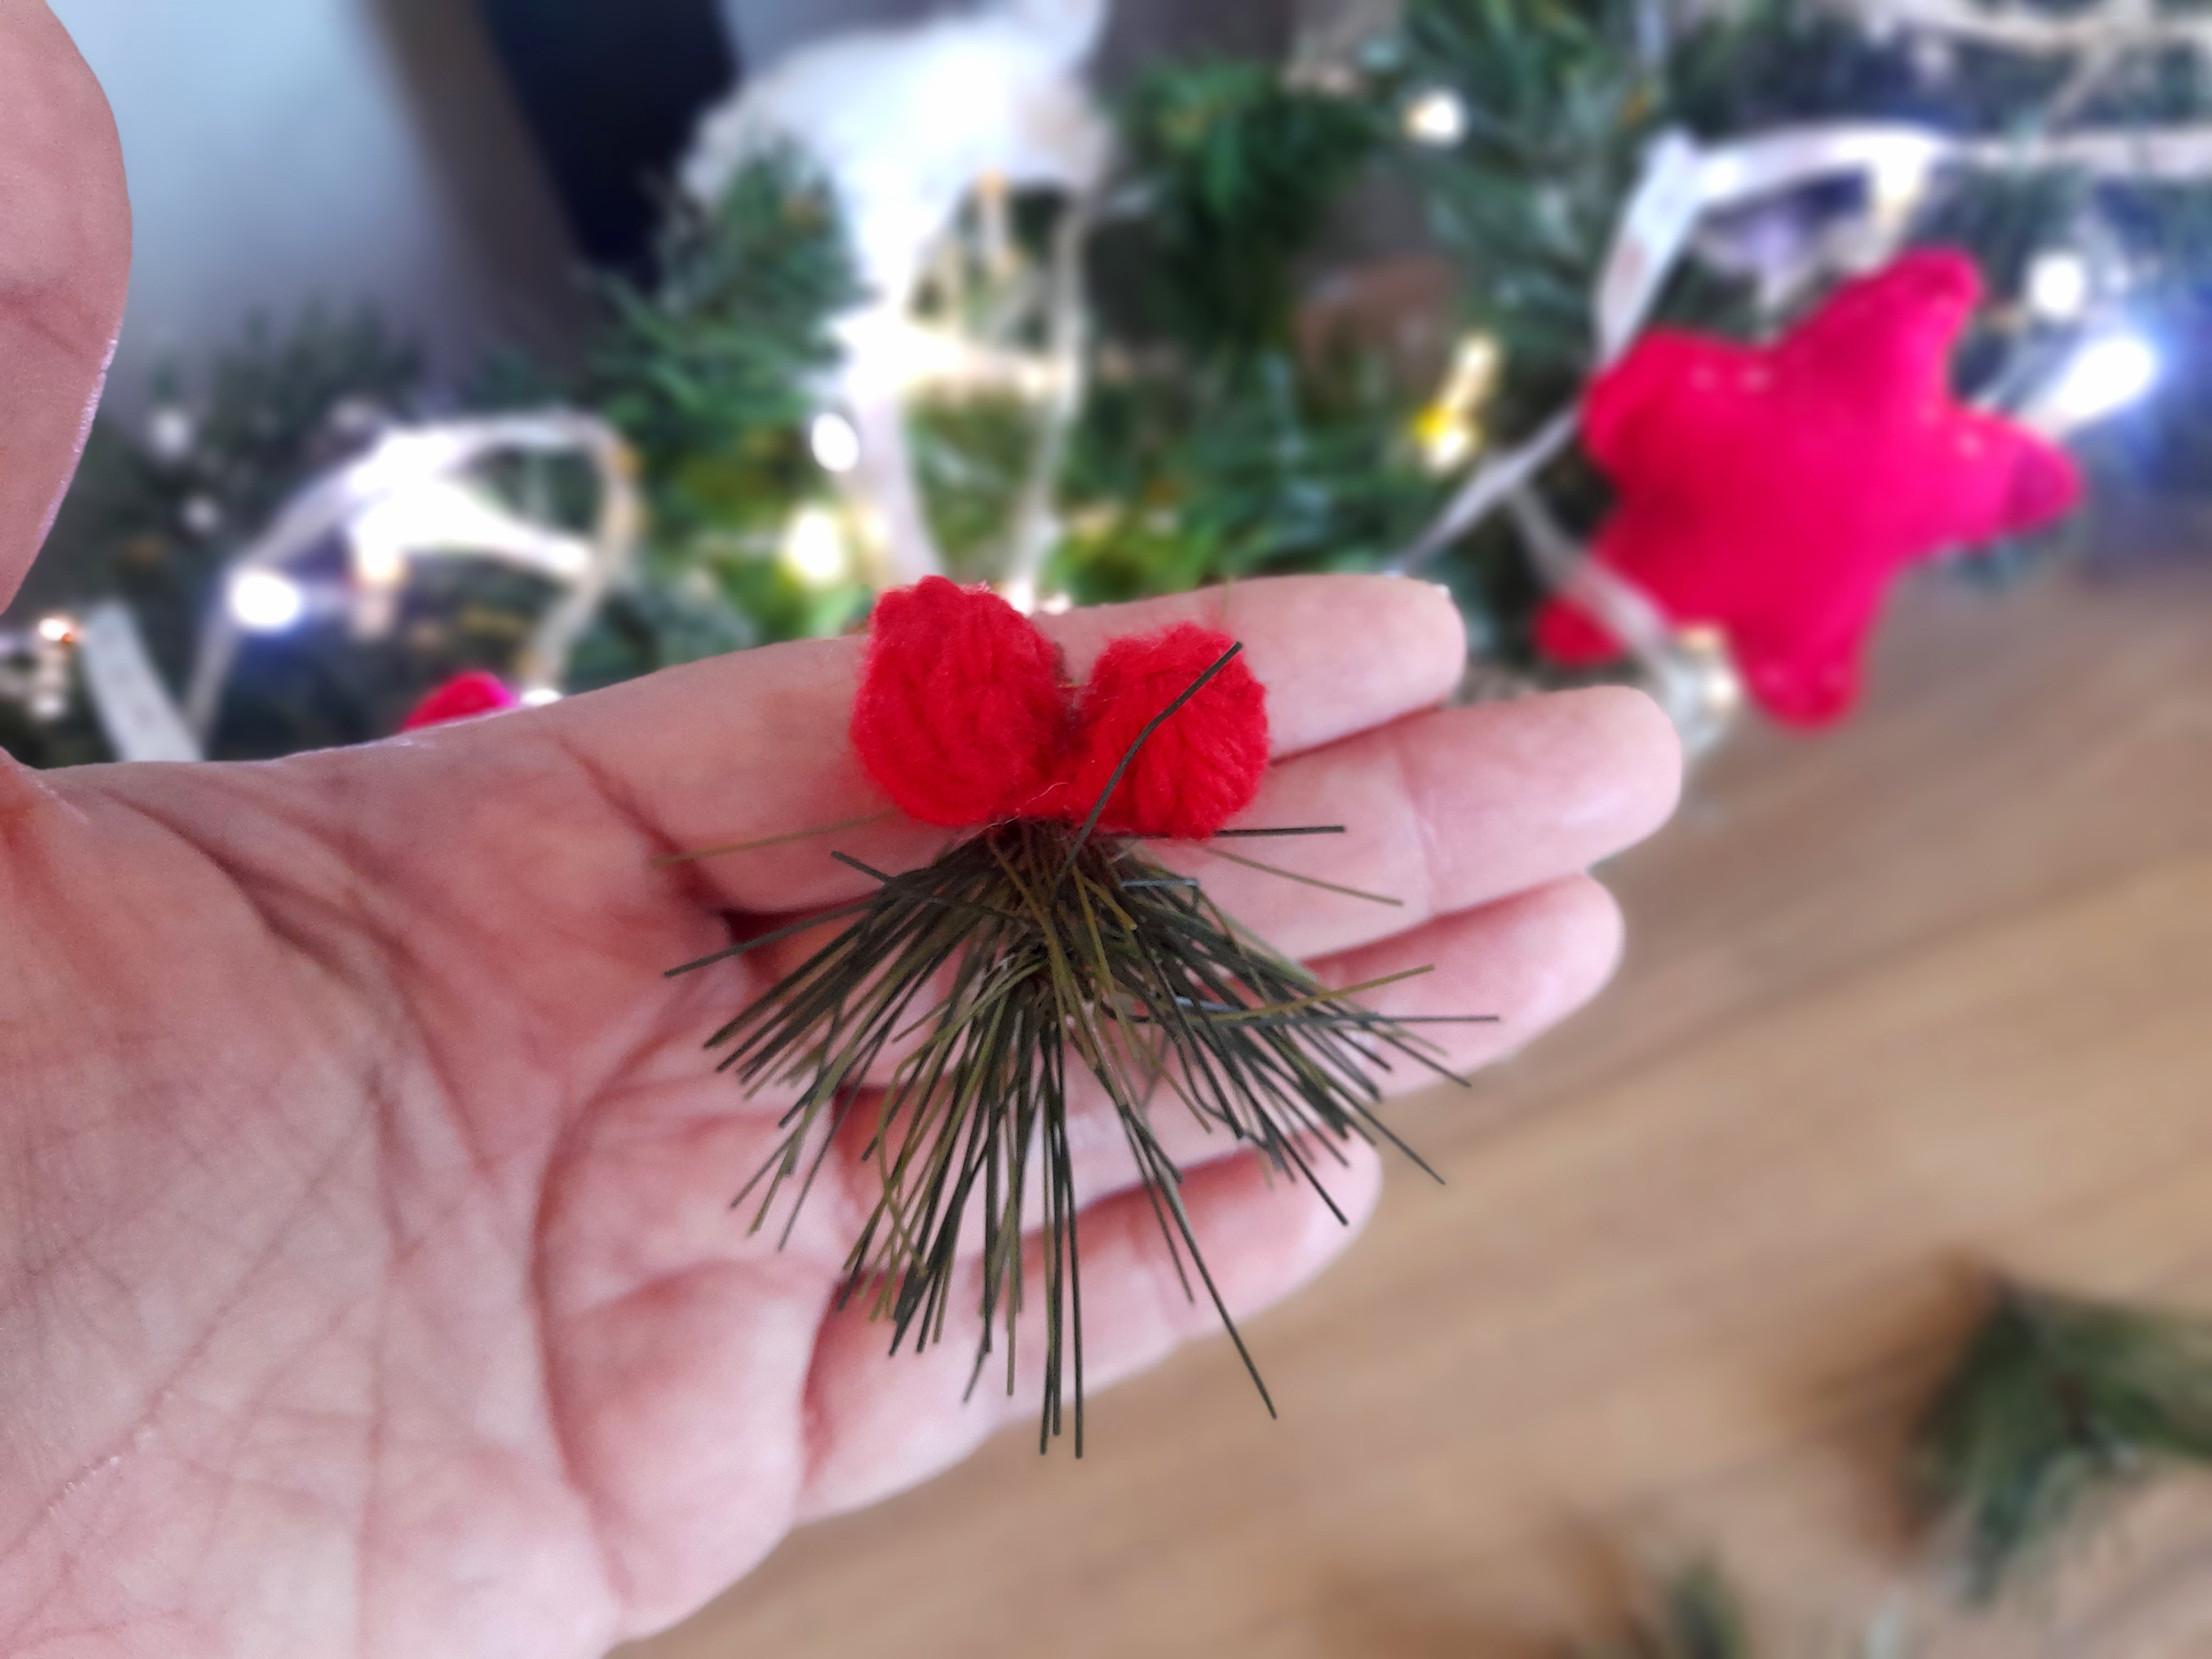 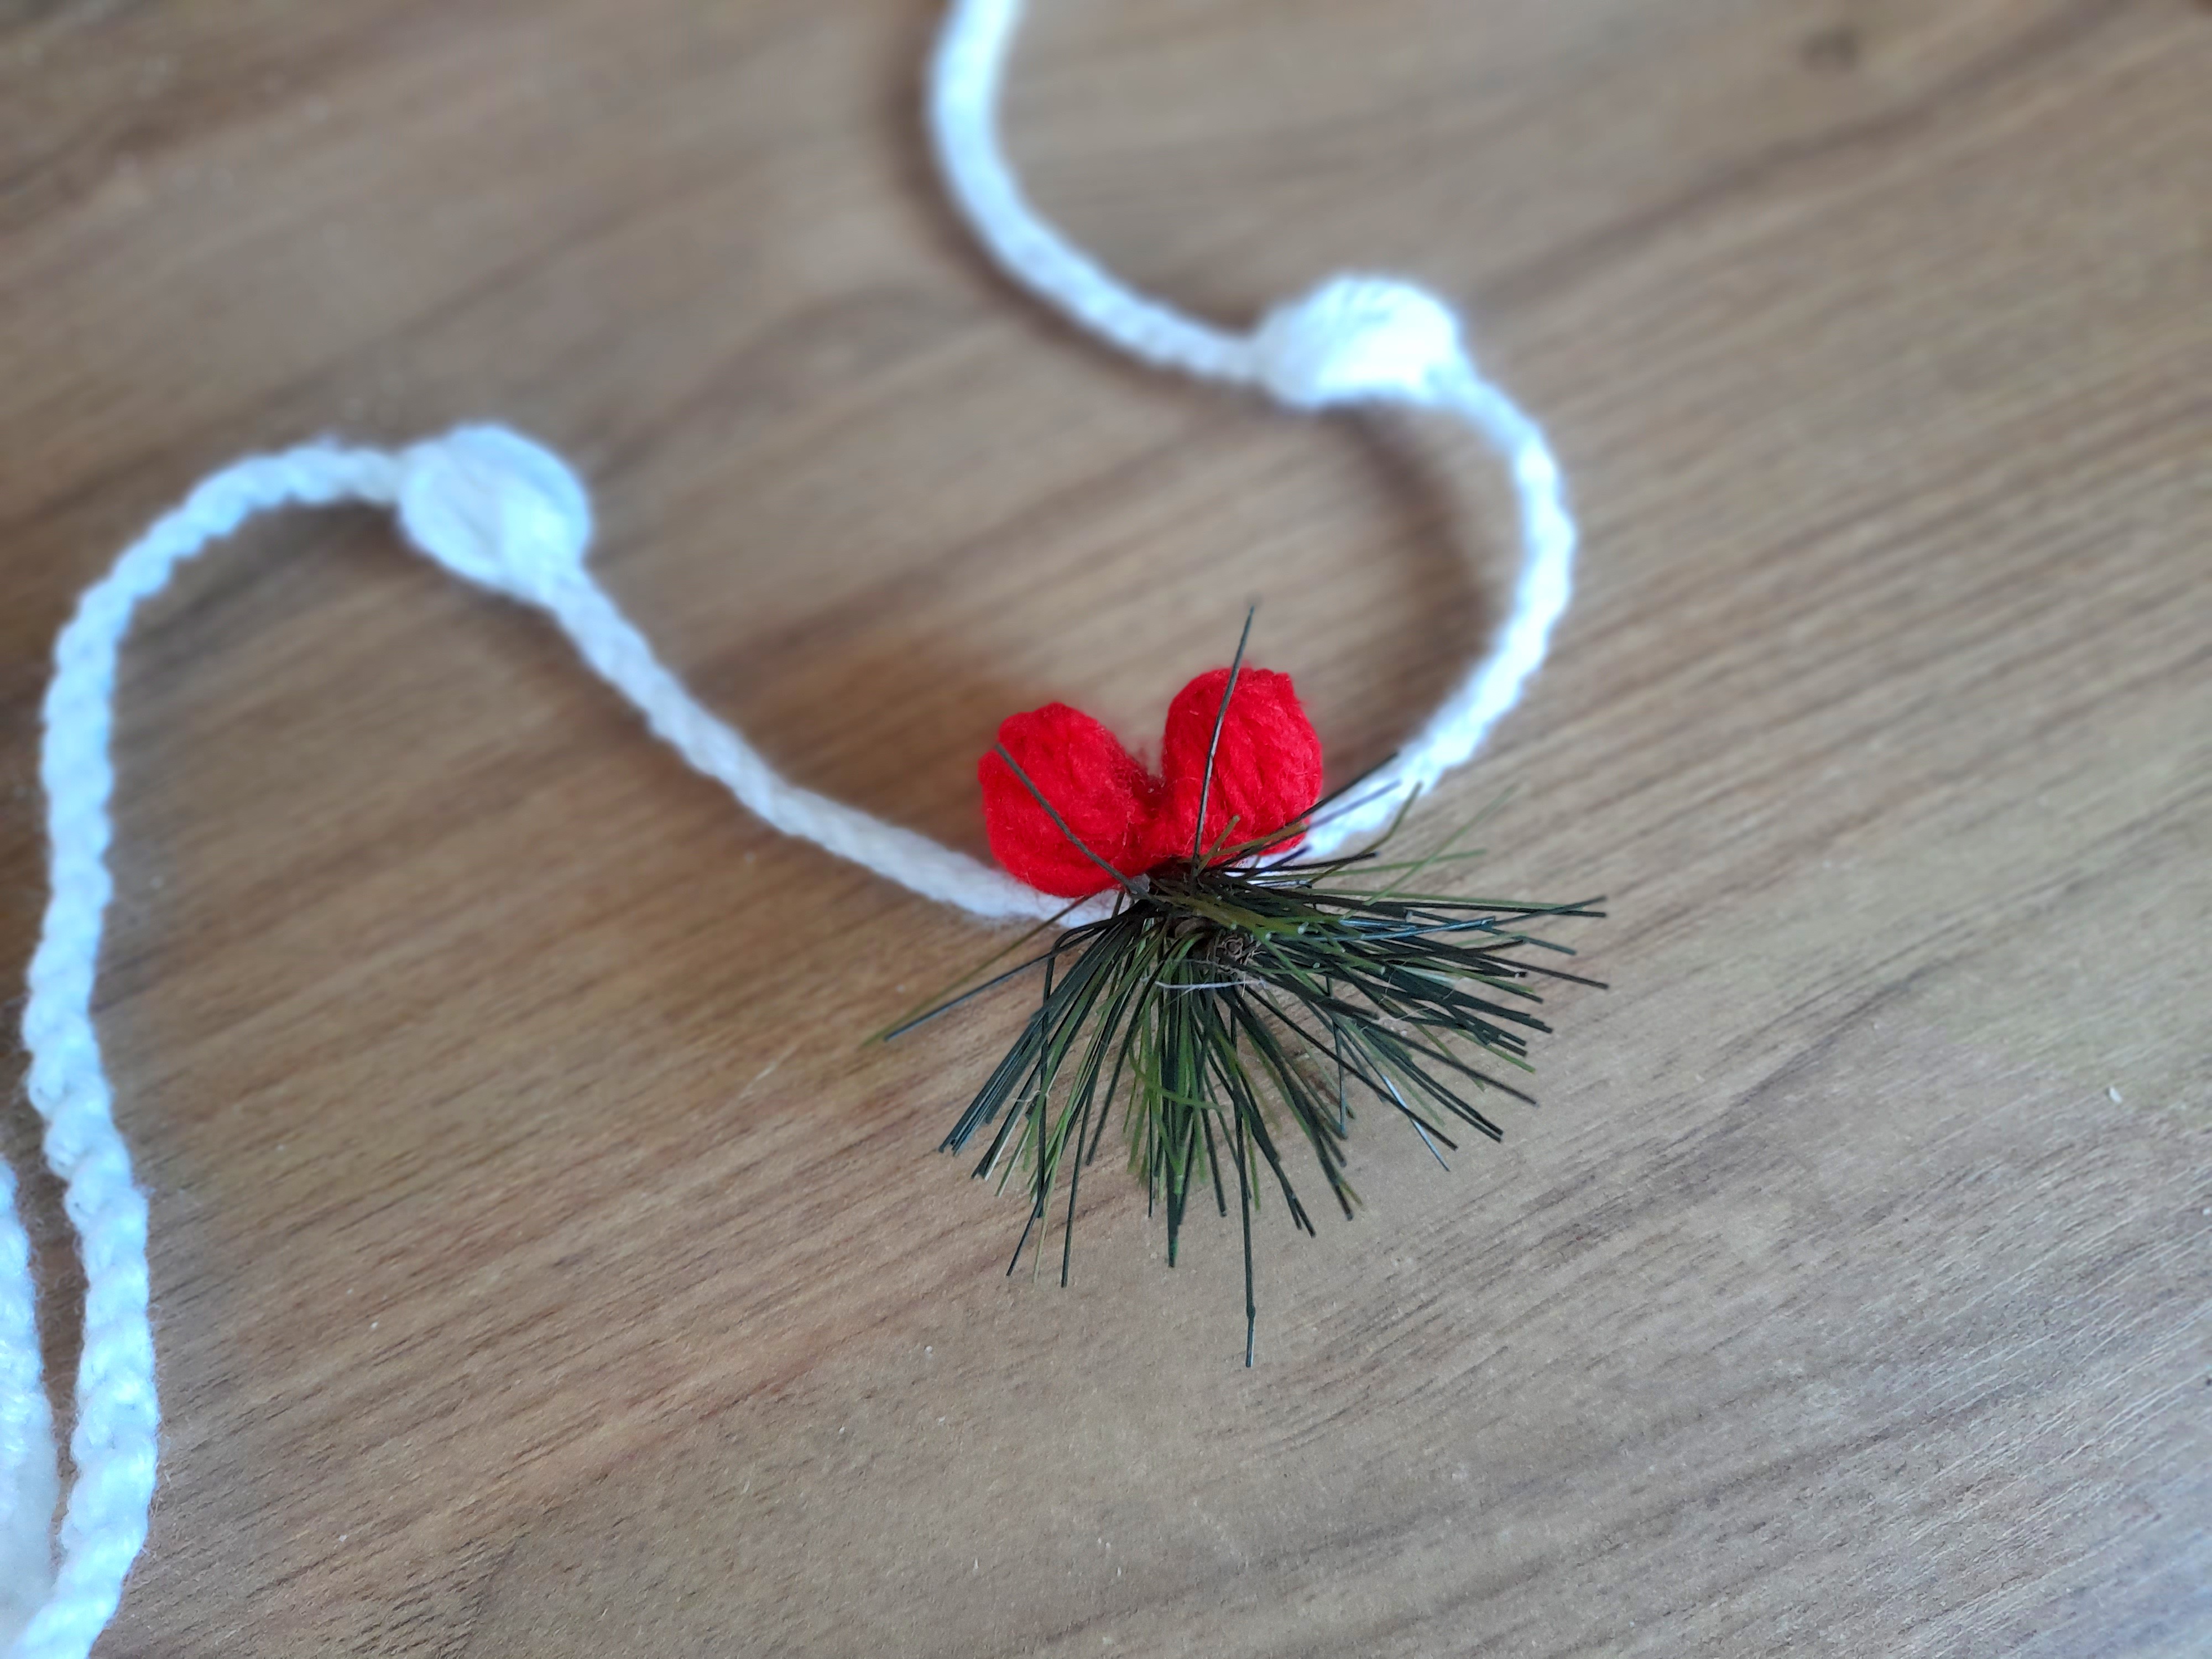 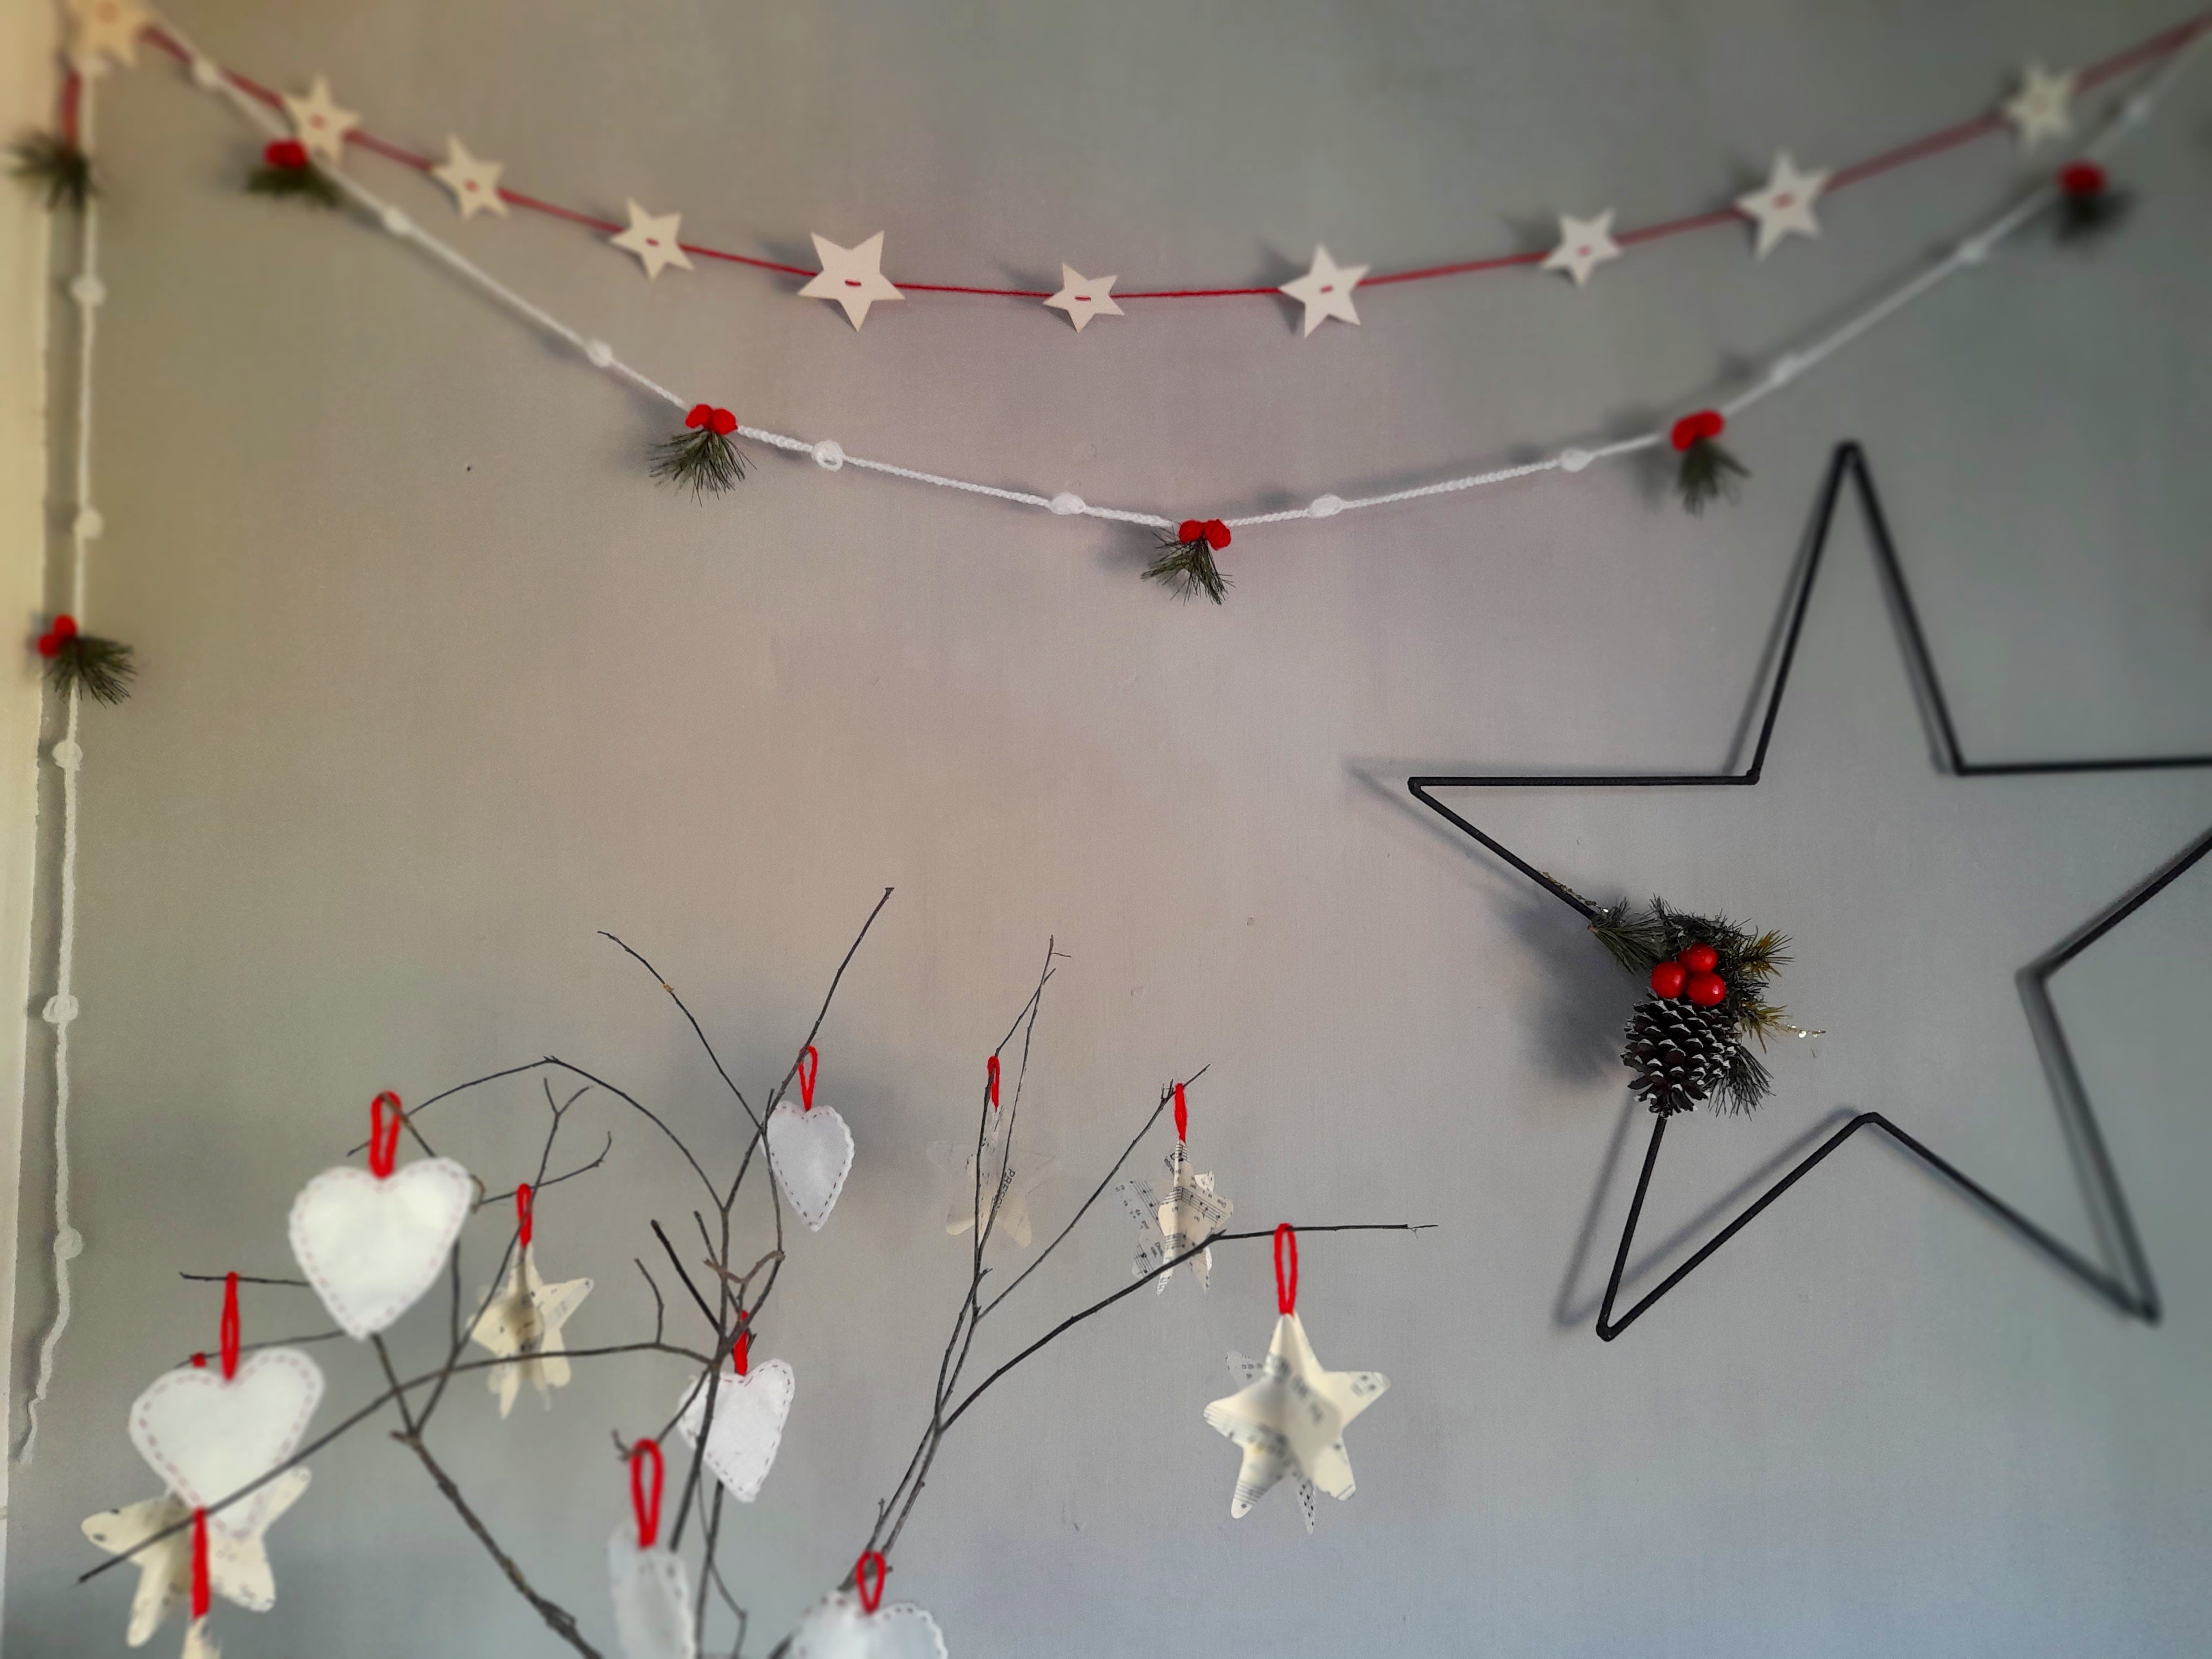  Como pueden ver es un trabajo bastante sencillo, de hecho tengo pensado este año hacer varias guirnaldas tejidas para las ventanas, ya que las guirnaldas navideñas que usaba para ellas, las usé para colocarlas sobre los gabinetes de la cocina, y la verdad no pienso comprar más, por lo que toca idear decoraciones *"low cost"*. En fin, espero que les haya gustado esta sencilla guirnalda navideña, y por supuesto que intenten hacerla en casa dándoles su propio estilo personal.
As you can see, it's quite a simple project. In fact, this year I plan to make several woven garlands for the windows, since I used the Christmas garlands I had for them to decorate the kitchen cabinets, and I don't really plan on buying any more, so I have to come up with some low-cost decorations. Anyway, I hope you liked this simple Christmas garland, and of course, try making it at home, adding your own personal style.
📷Photography by|Fotografía por:@rlathulerie,🔅 Cover created in/Portada creada en Canva, Separator and banner/separador y banner, 🇺🇸Translated with www.DeepL.com/Translator (free version)