Hola amigos de la Colmena, bendiciones para todos ustedes espero pasen un excelente martes.
#
Hoy quiero compartir con ustedes cómo hacer una romántica caja de regalo redonda ideal para obsequiar a nuestras personas especiales, espero les guste y se animen a realizarla.
> Hello friends of the Hive, blessings to all of you, I hope you have a great Tuesday.
>
> Today I want to share with you how to make a romantic round gift box ideal to give to our special people, I hope you like it and encourage you to make it.
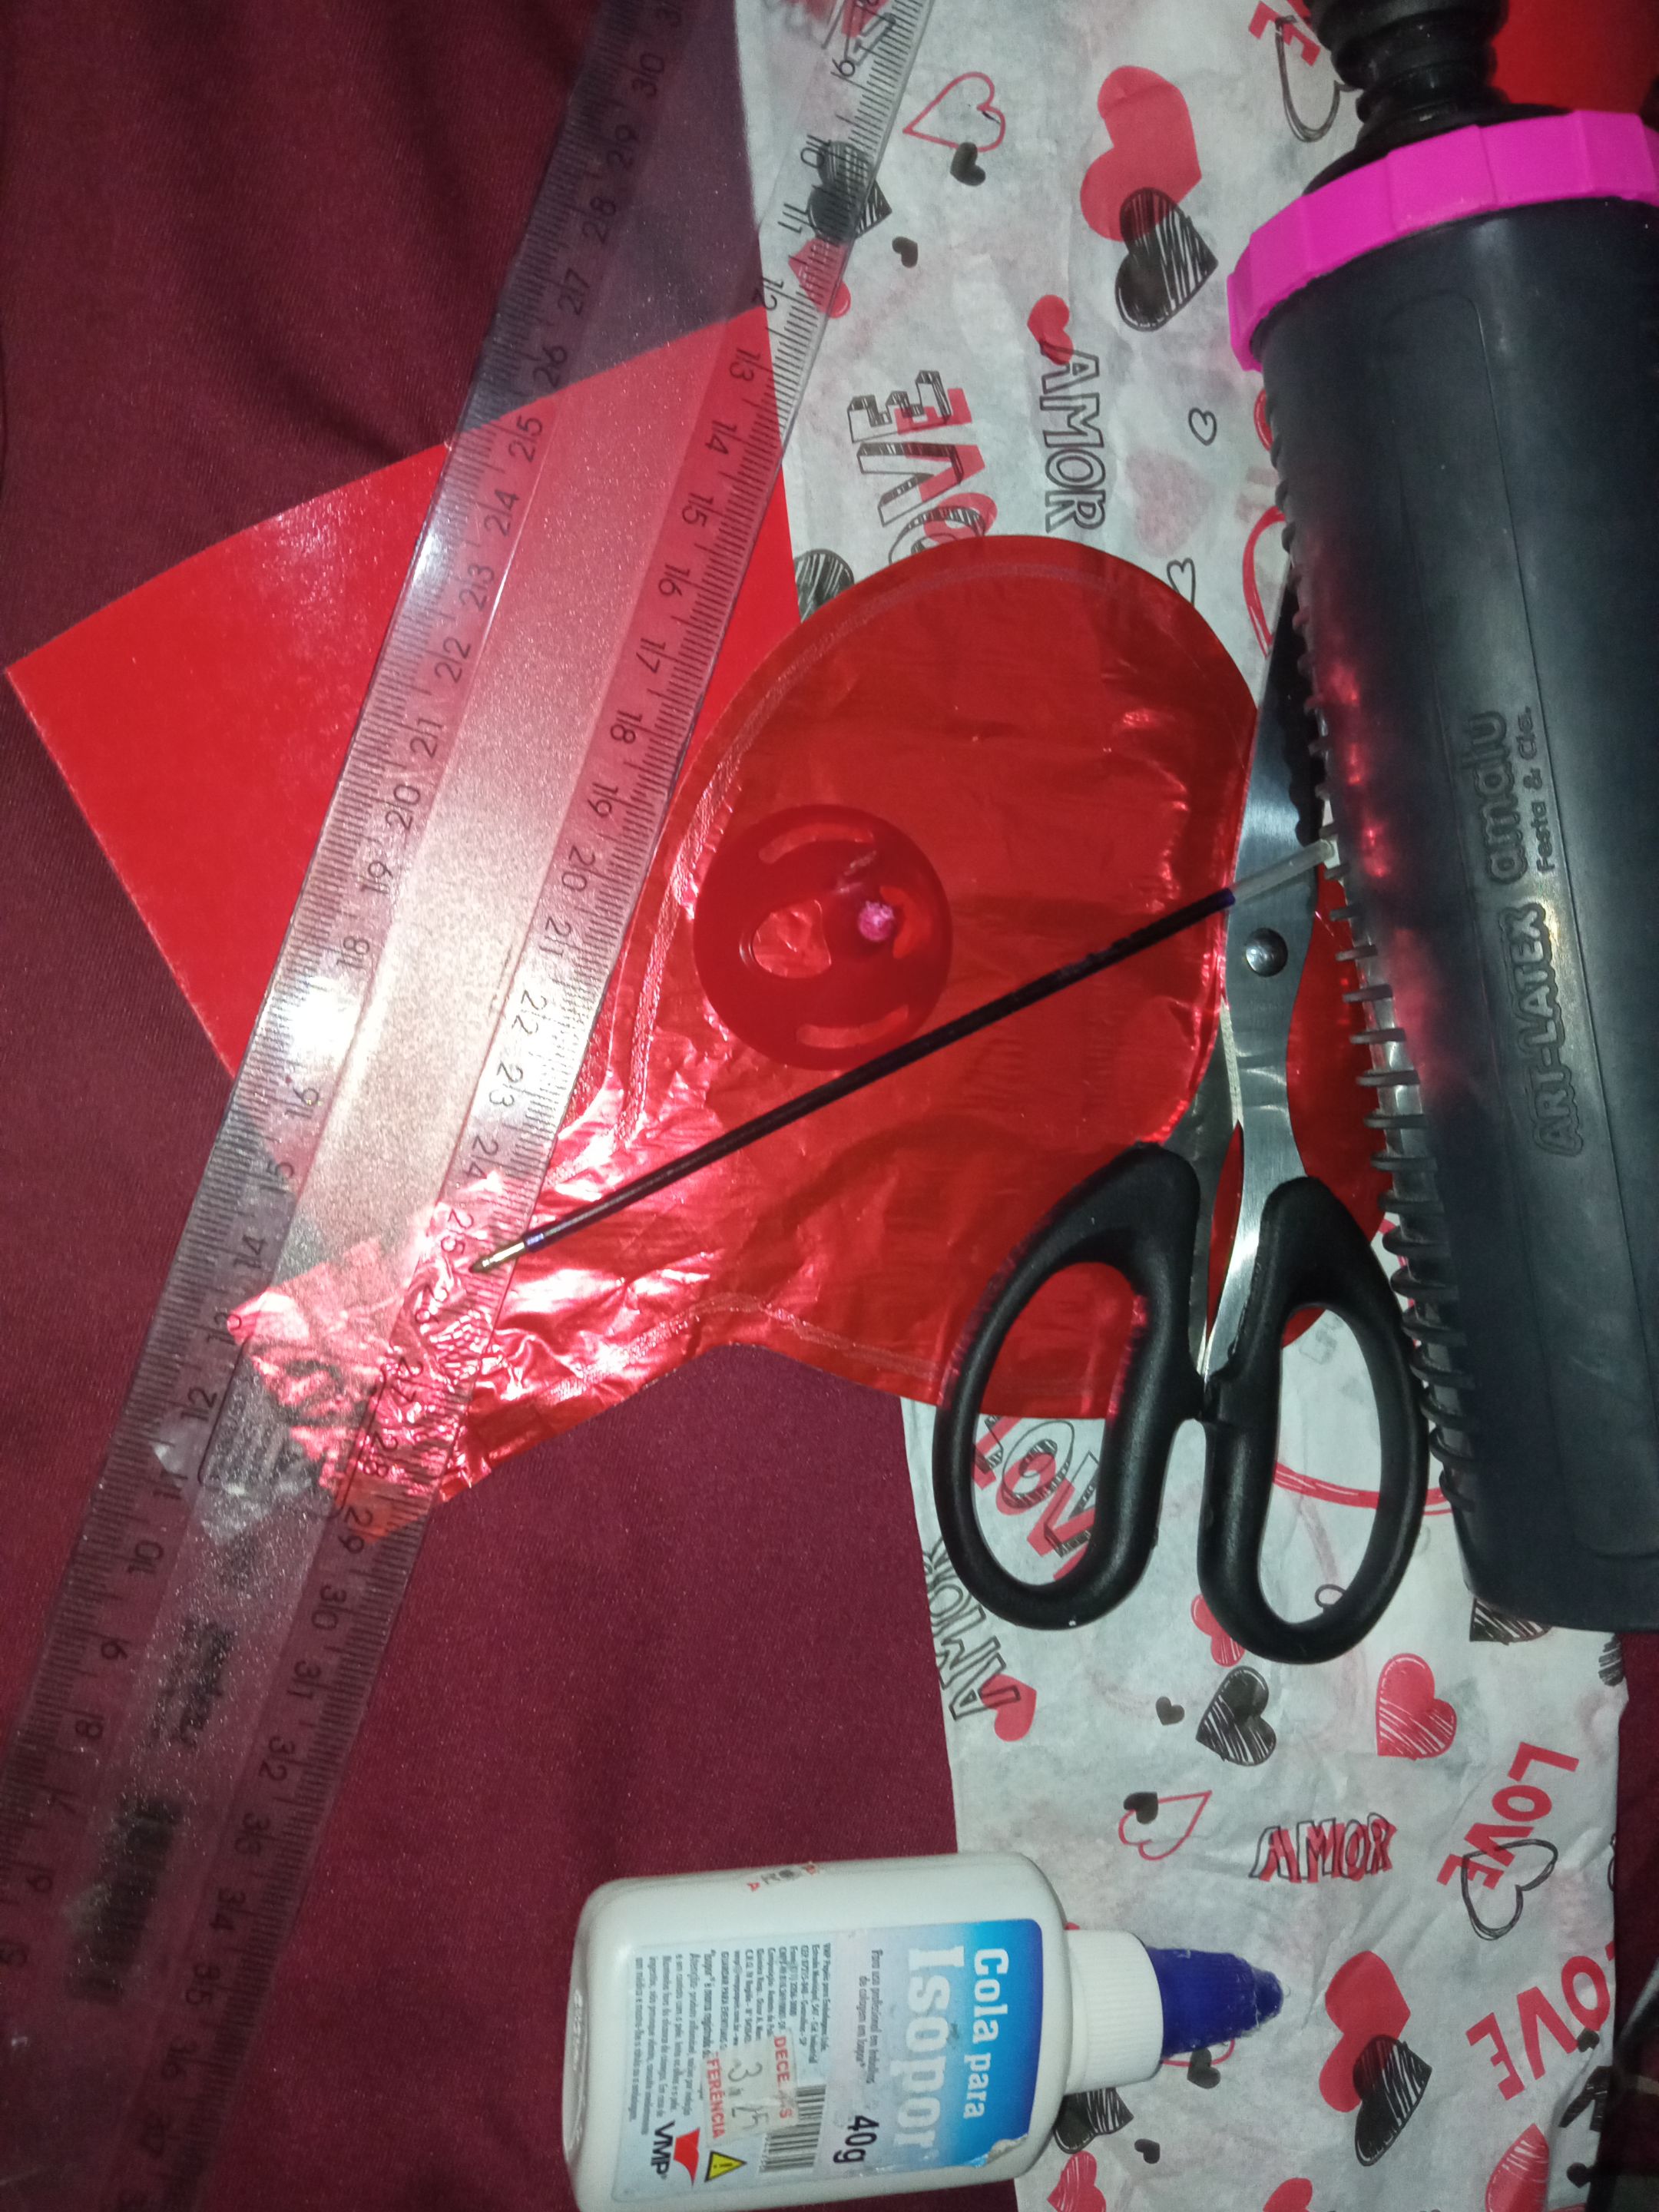
# **Materiales utilizados:**
Cartulina (Roja)
Regla
Tijera
Pegamento
Papel de seda (Estampado)
Boquilla de palillo de globos
Globo pequeño en forma de corazón (Rojo)
Lápiz
Inflador de globos
> ## **Materials used:**
>
> Cardboard (Red)
> Ruler
> Scissors
> Glue
> Tissue paper (Stamped)
> Balloon stick nozzle
> Small heart-shaped balloon (Red)
> Pencil
> Balloon inflator
# **Pasos a seguir | Steps to follow**
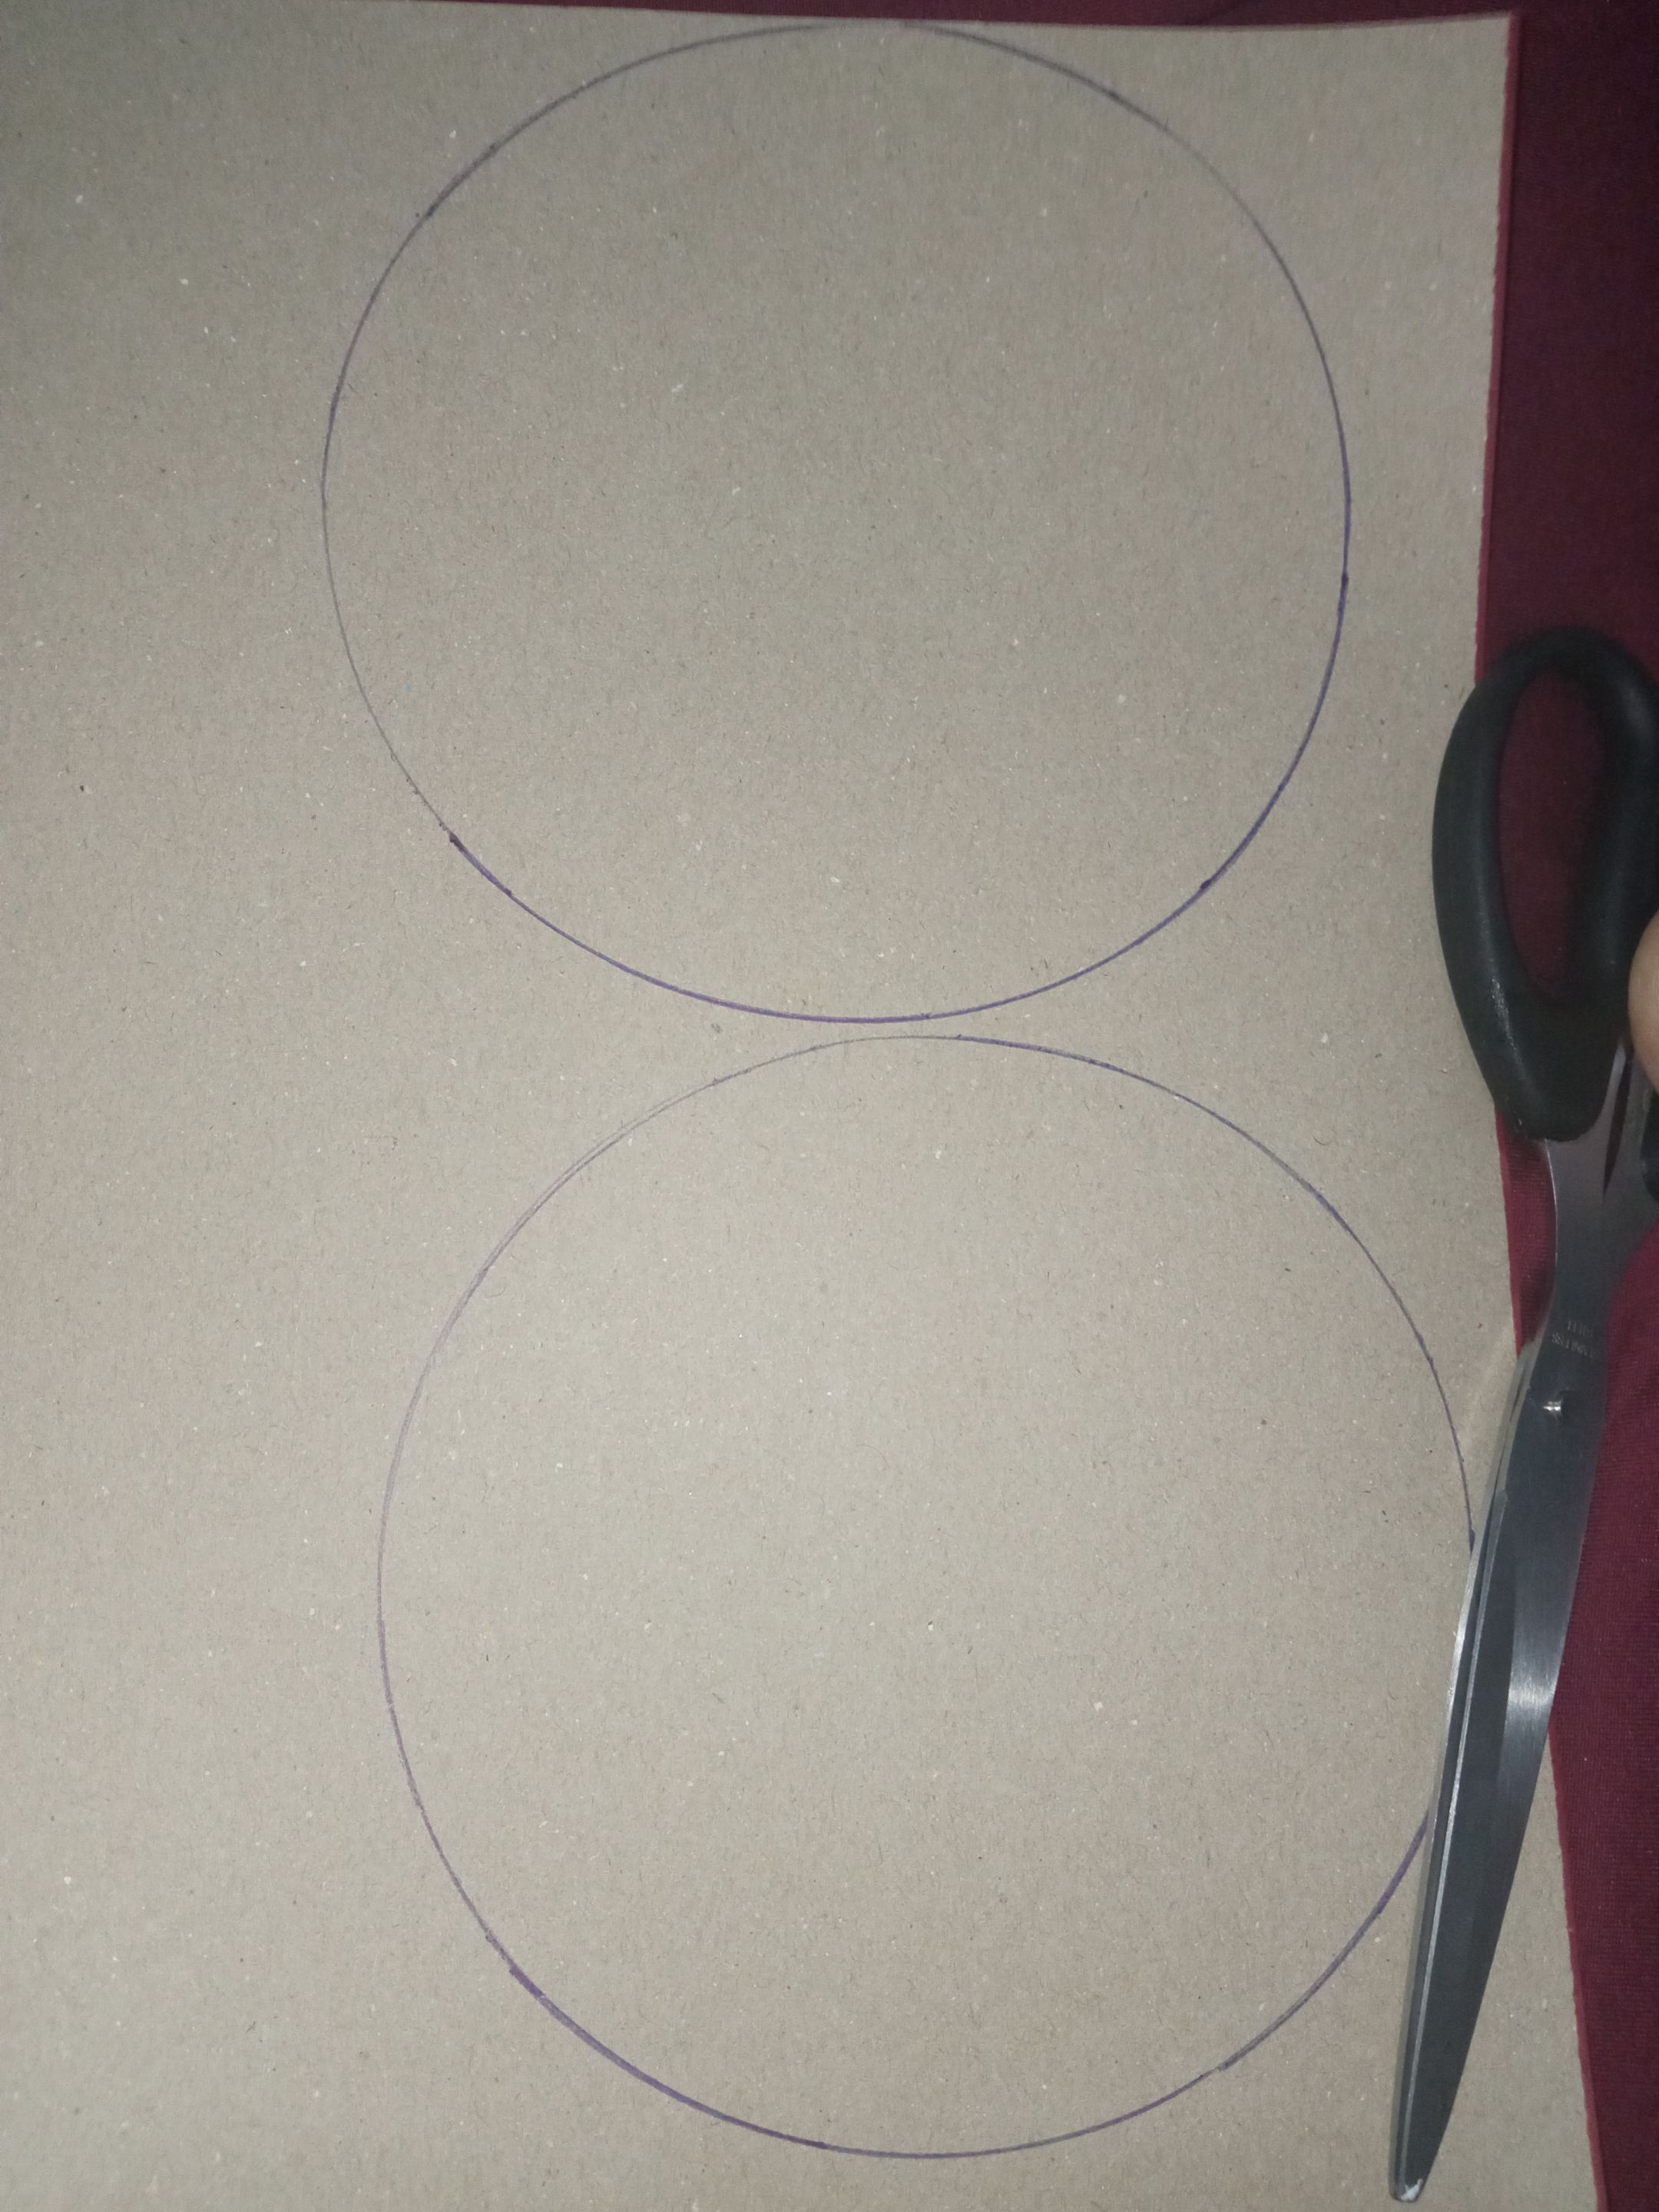
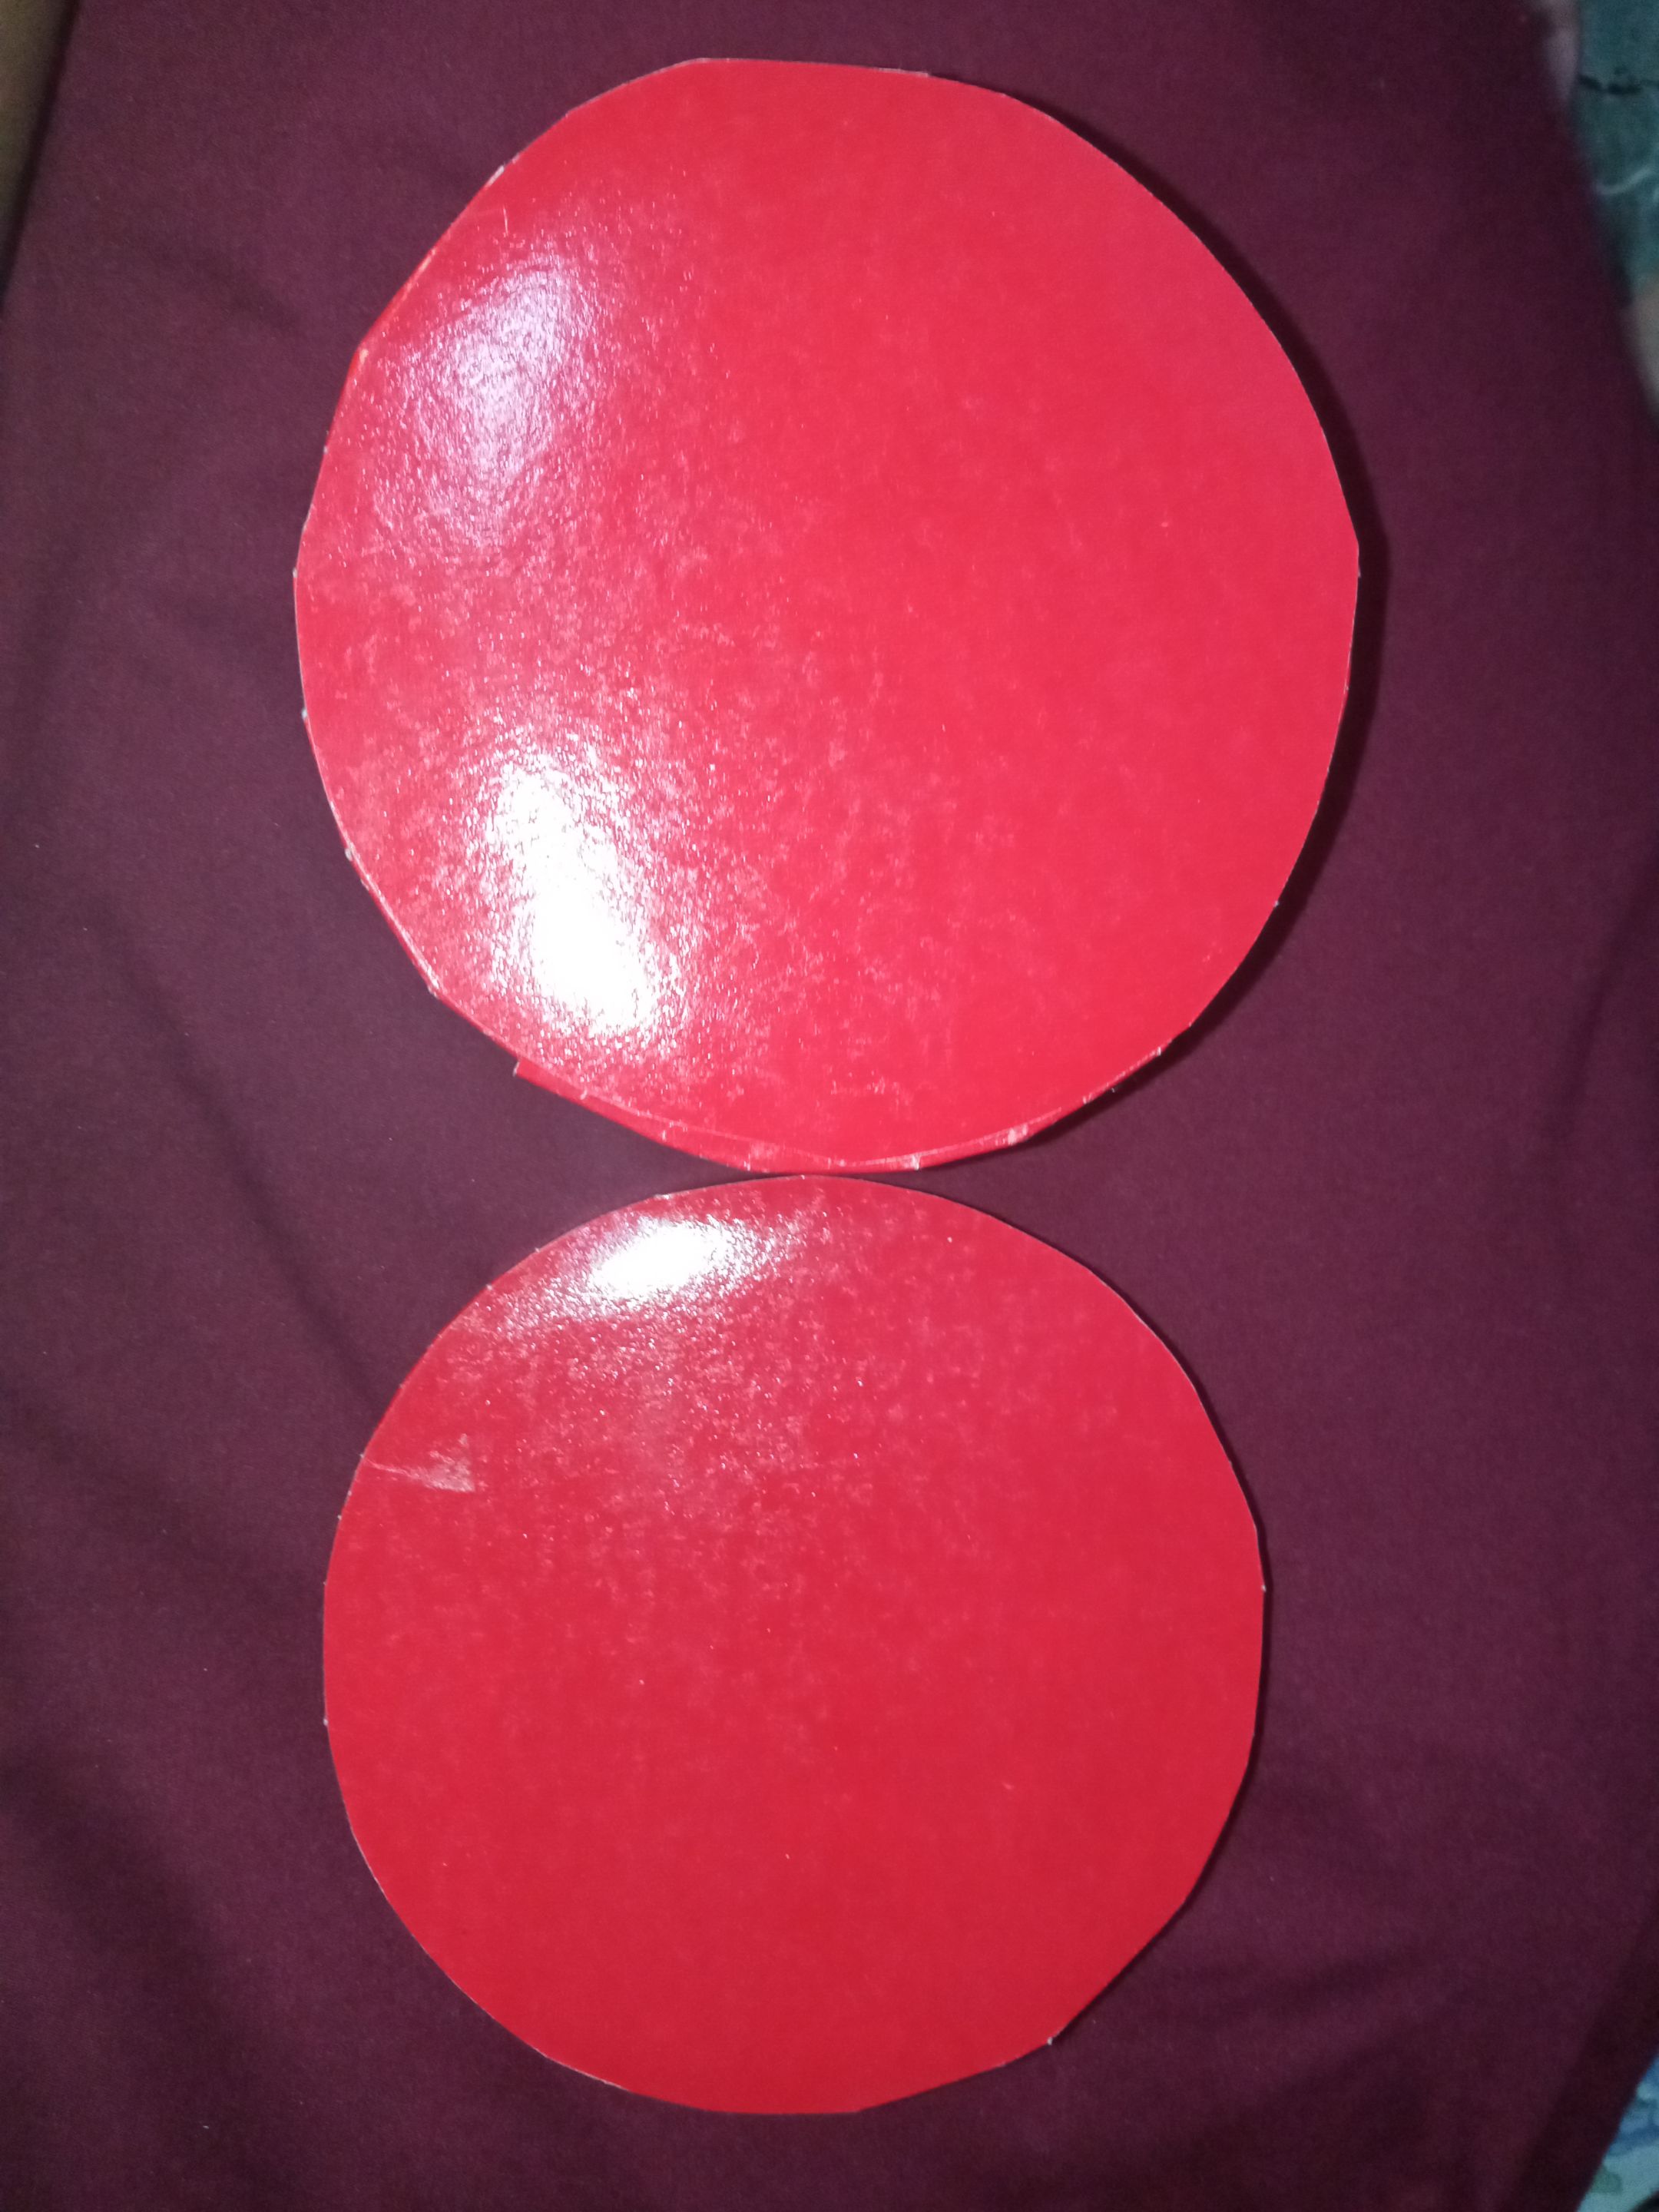
Para iniciar marcaremos en la cartulina dos círculos uno más grande que el otro.
> To start, we will mark two circles on the cardboard, one larger than the other.
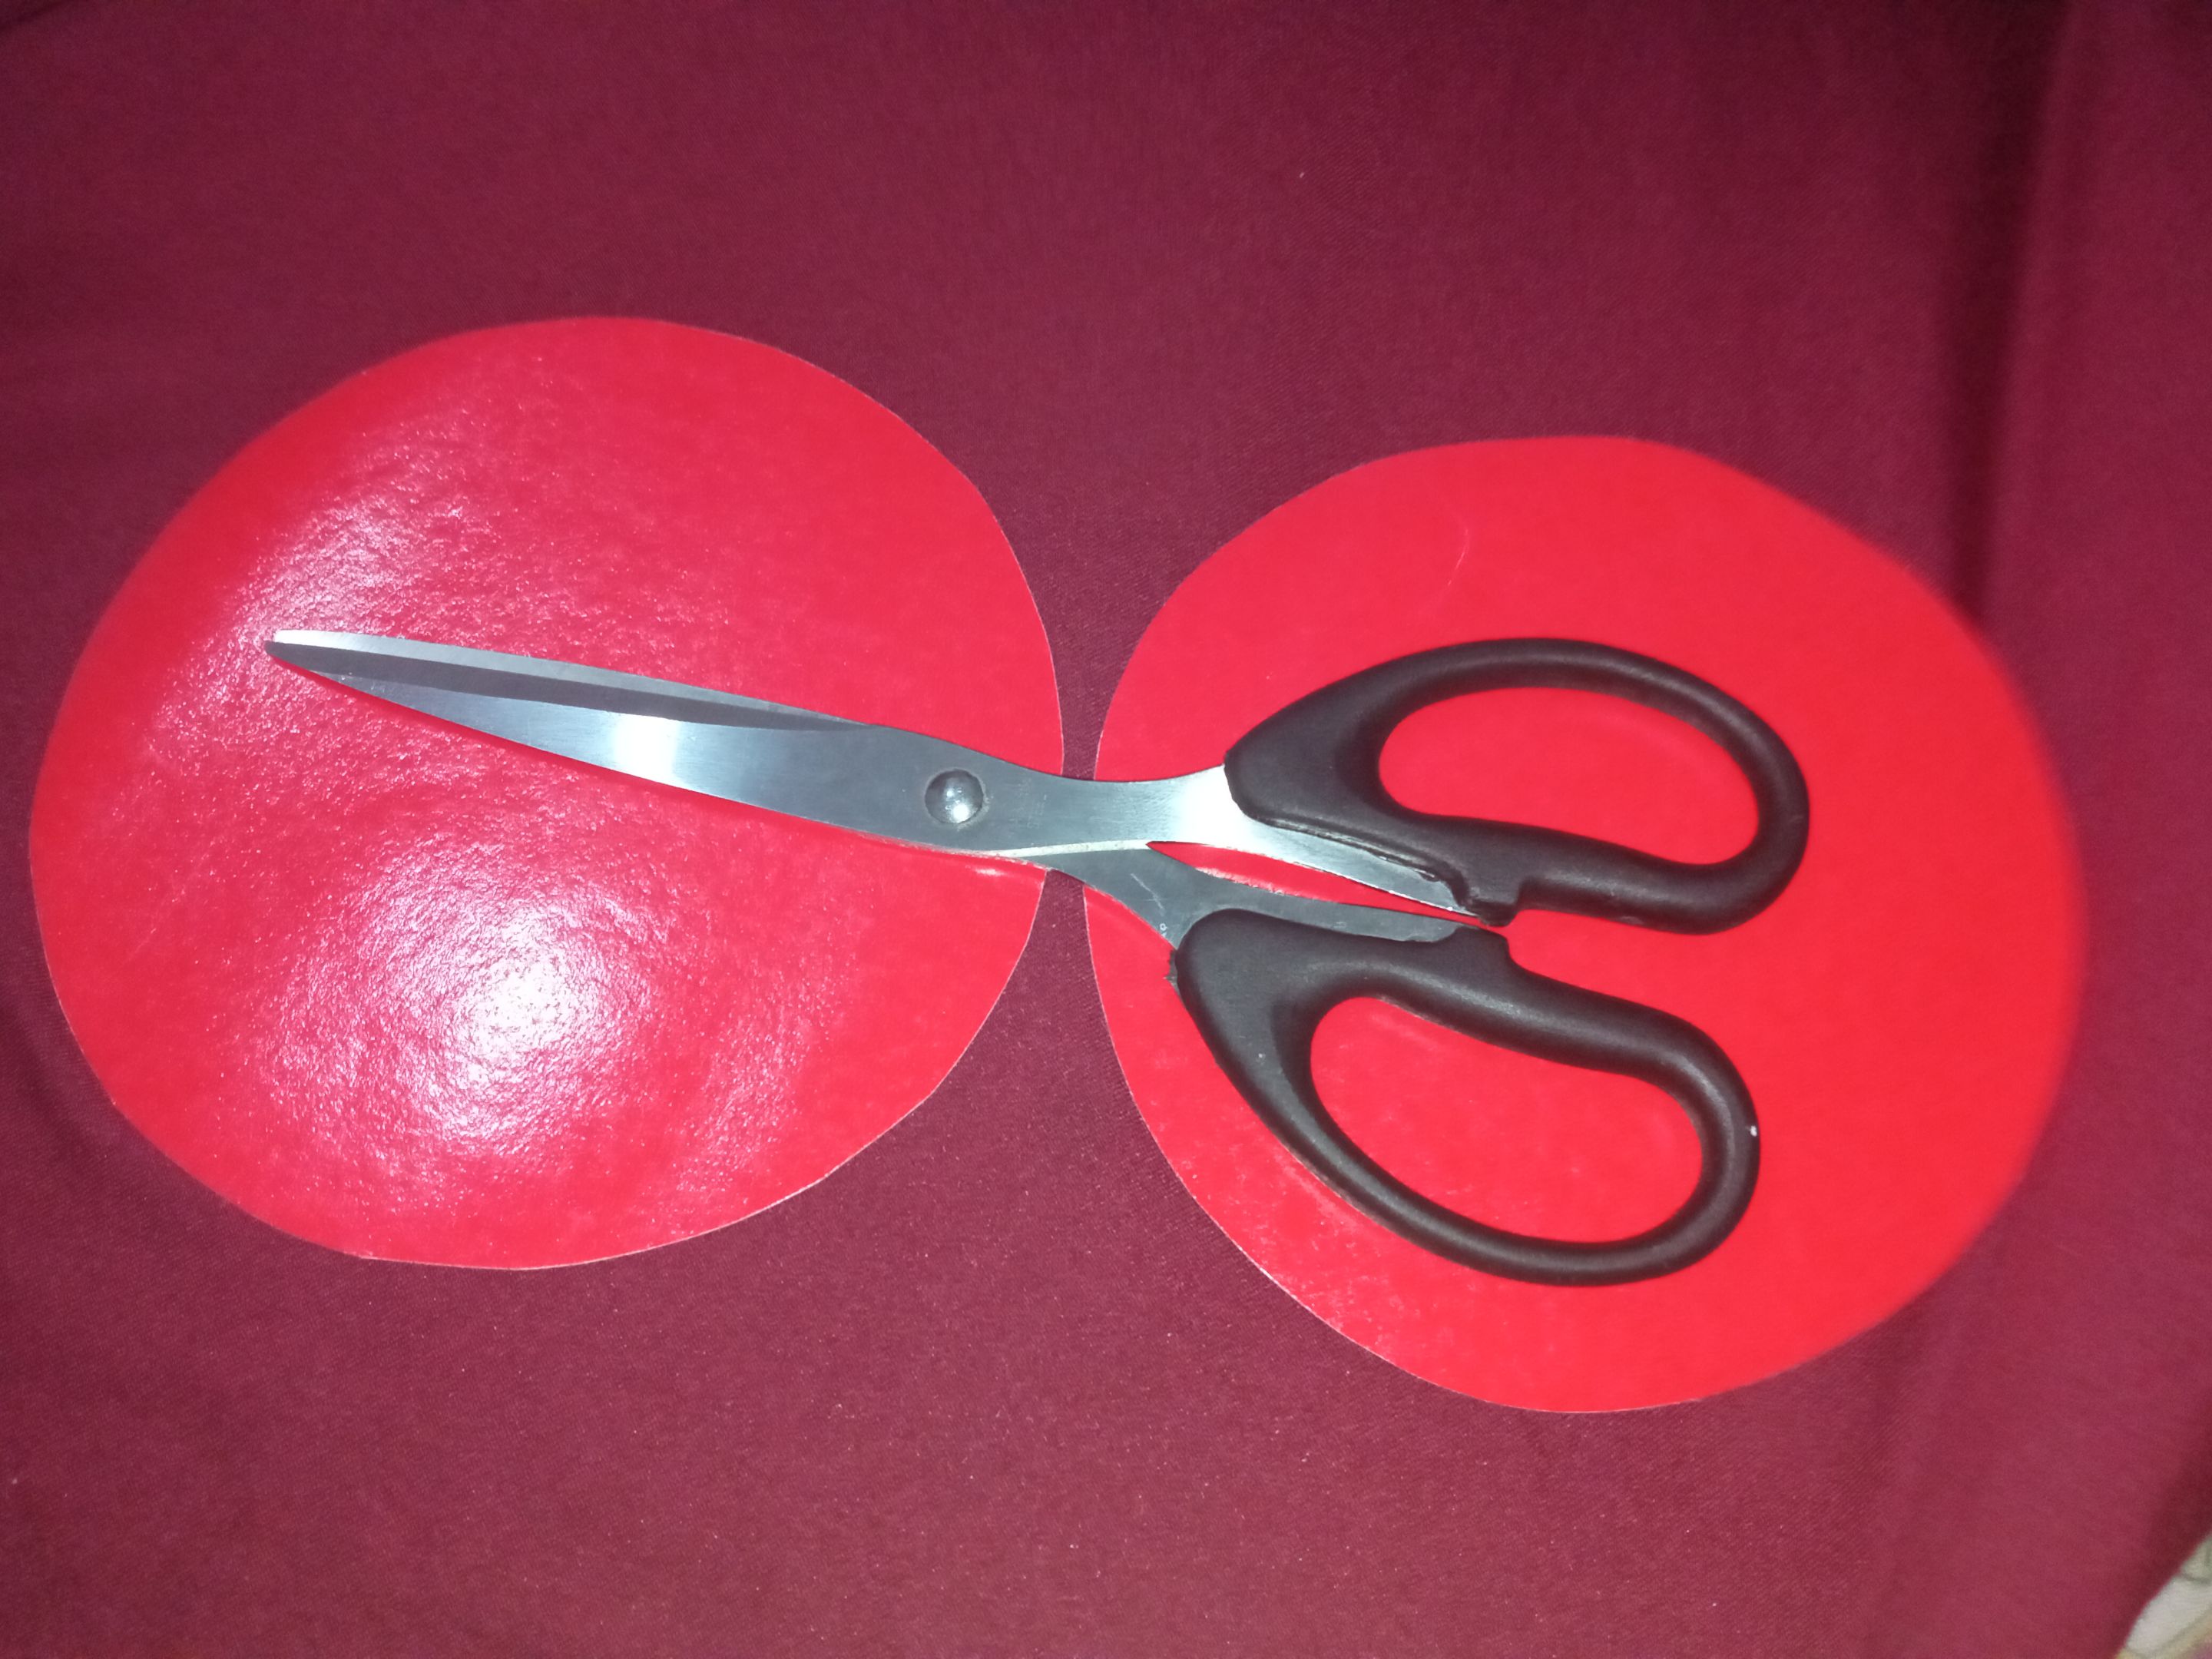
Recortamos los círculos marcados en el paso anterior con mucho cuidado de no dañar.
> Cut out the circles marked in the previous step being very careful not to damage them.
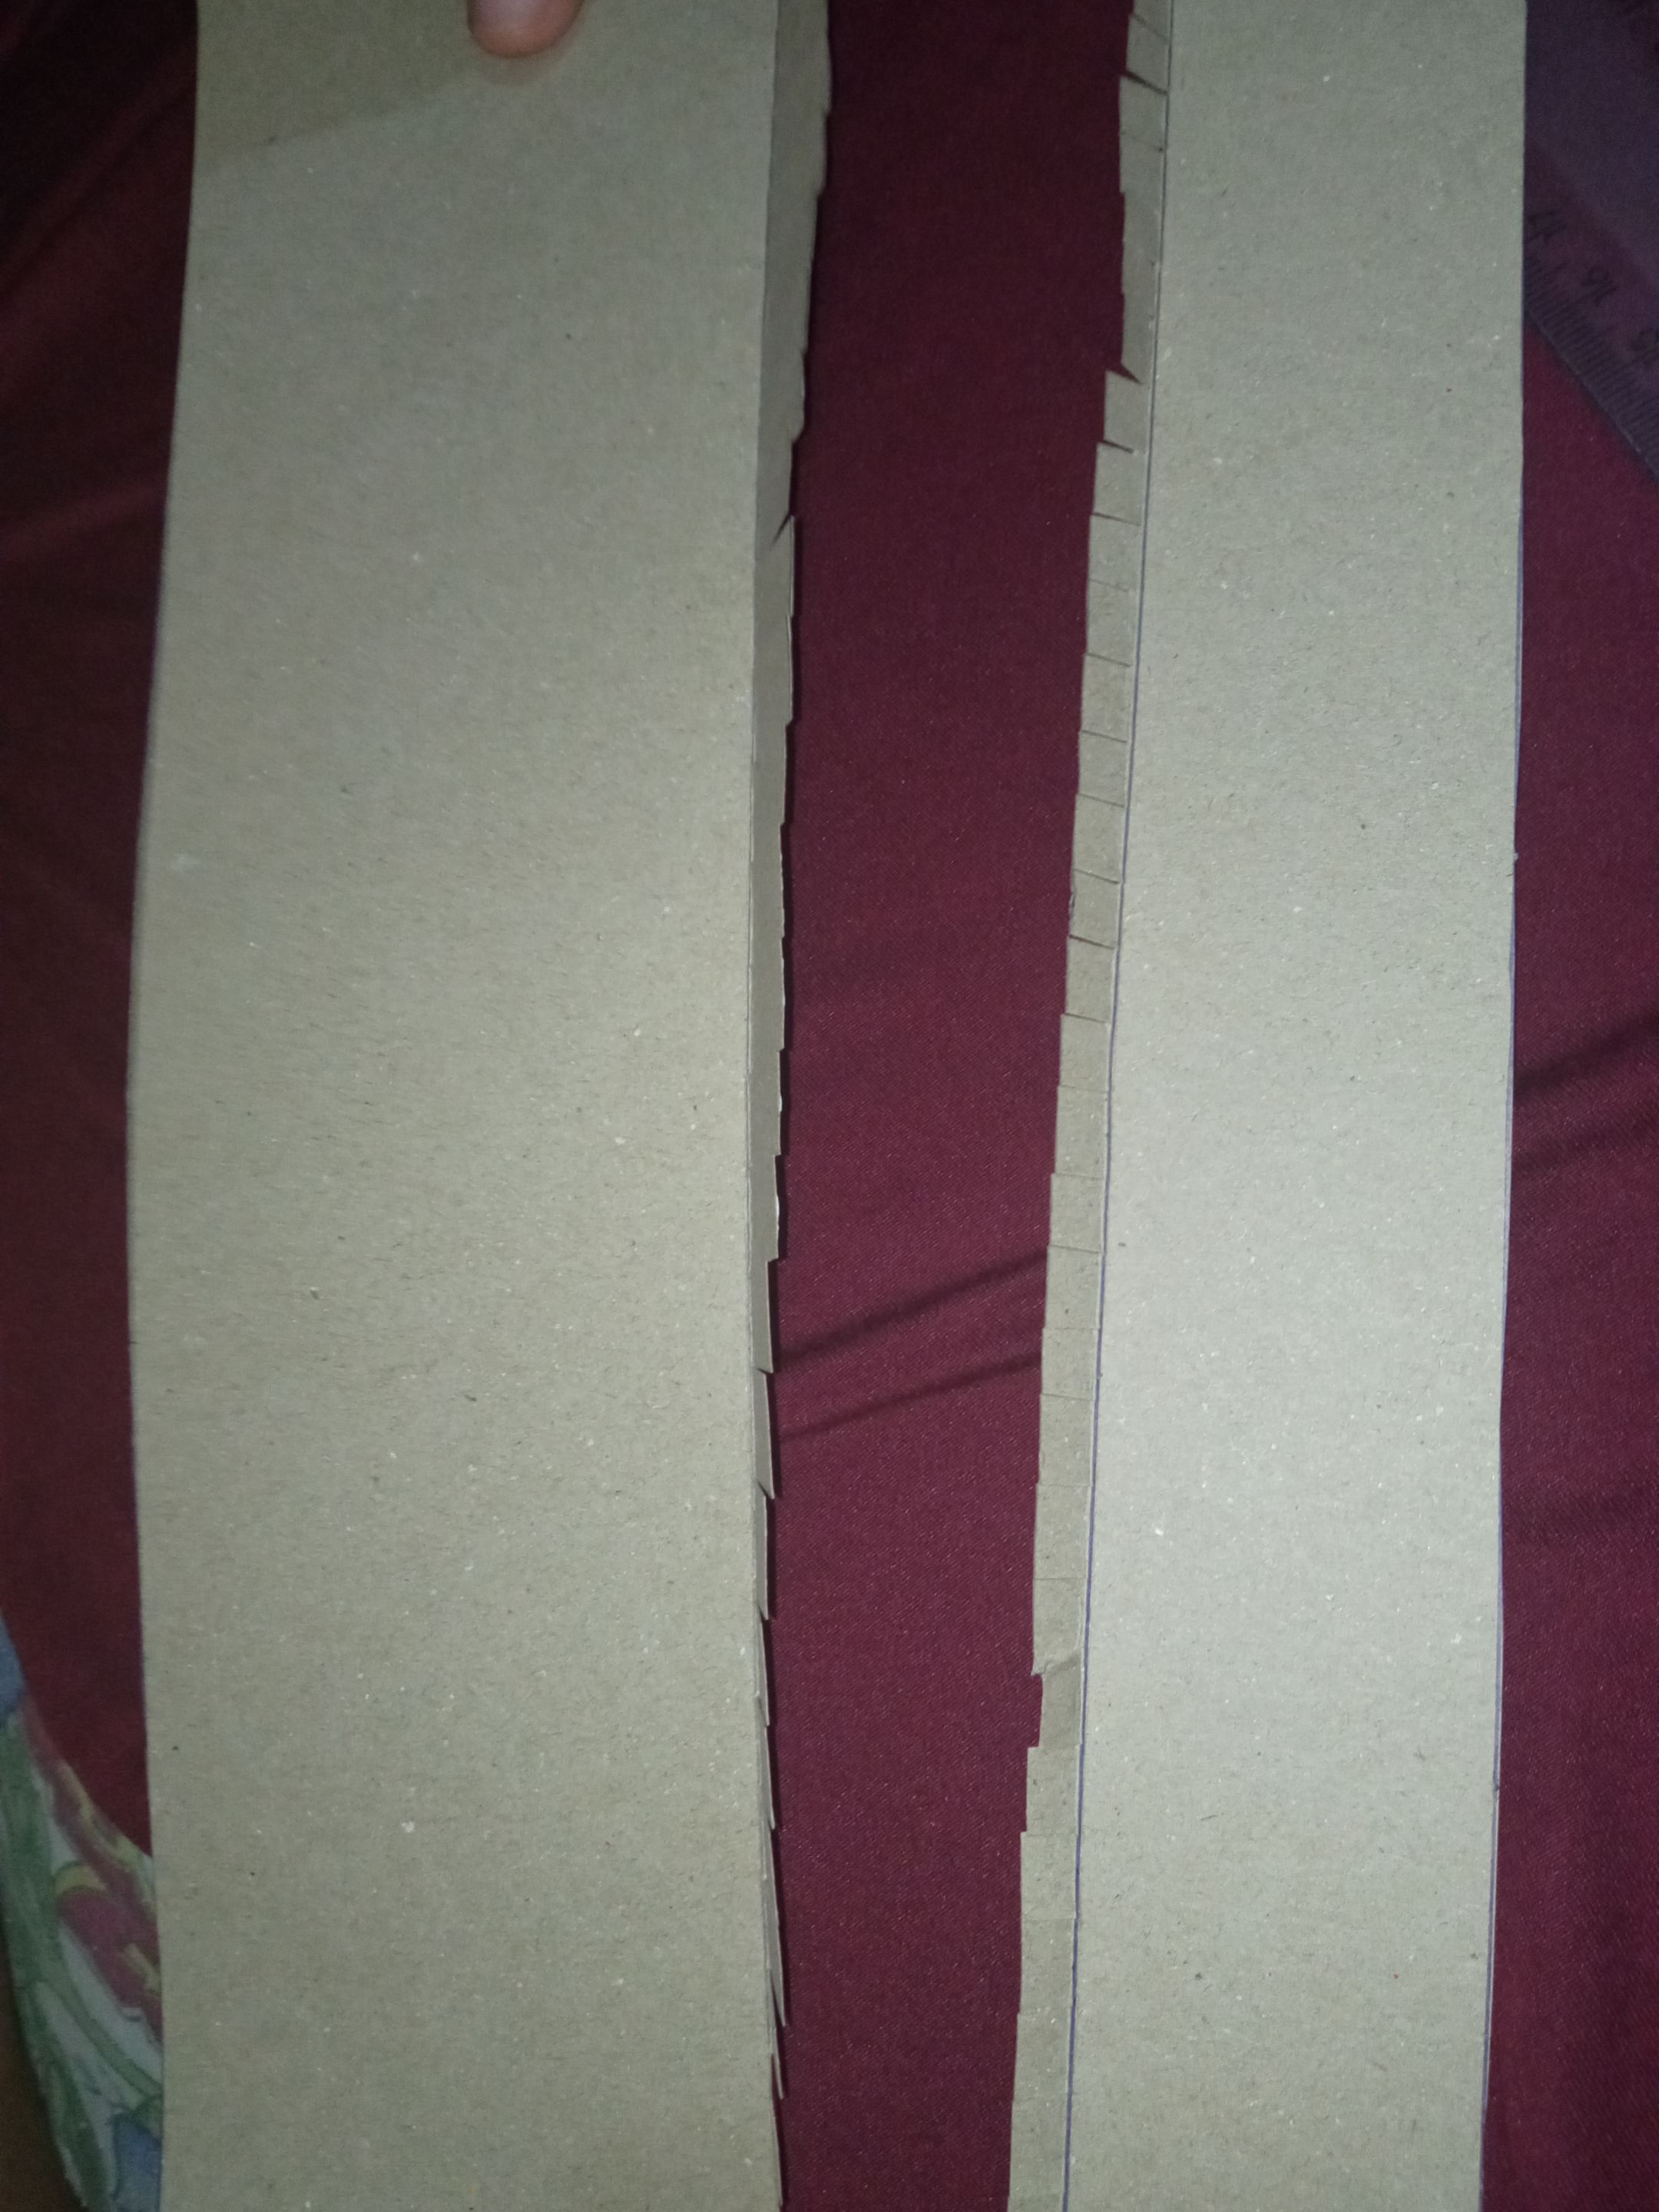
Con ayuda de la regla marcamos dos tiras ancho una de 6 centímetros y la otra de 20 centímetros aproximadamente, recortamos, con la misma regla doblamos menos de un centímetro y hacemos flequillos con la tijera en ambas tiras.
> With the help of the ruler we mark two wide strips, one of 6 centimeters and the other of 20 centimeters approximately, we cut, with the same ruler we fold less than one centimeter and we make bangs with the scissors in both strips.
Pegamos las tiras a los círculos y dejamos secar por unos minutos.
> Glue the strips to the circles and let dry for a few minutes.

Recortamos dos círculos y pegamos en las estructuras realizadas esto lo hacemos para darle firmeza a la caja.
> We cut out two circles and glue them on the structures we have made to give the box firmness.
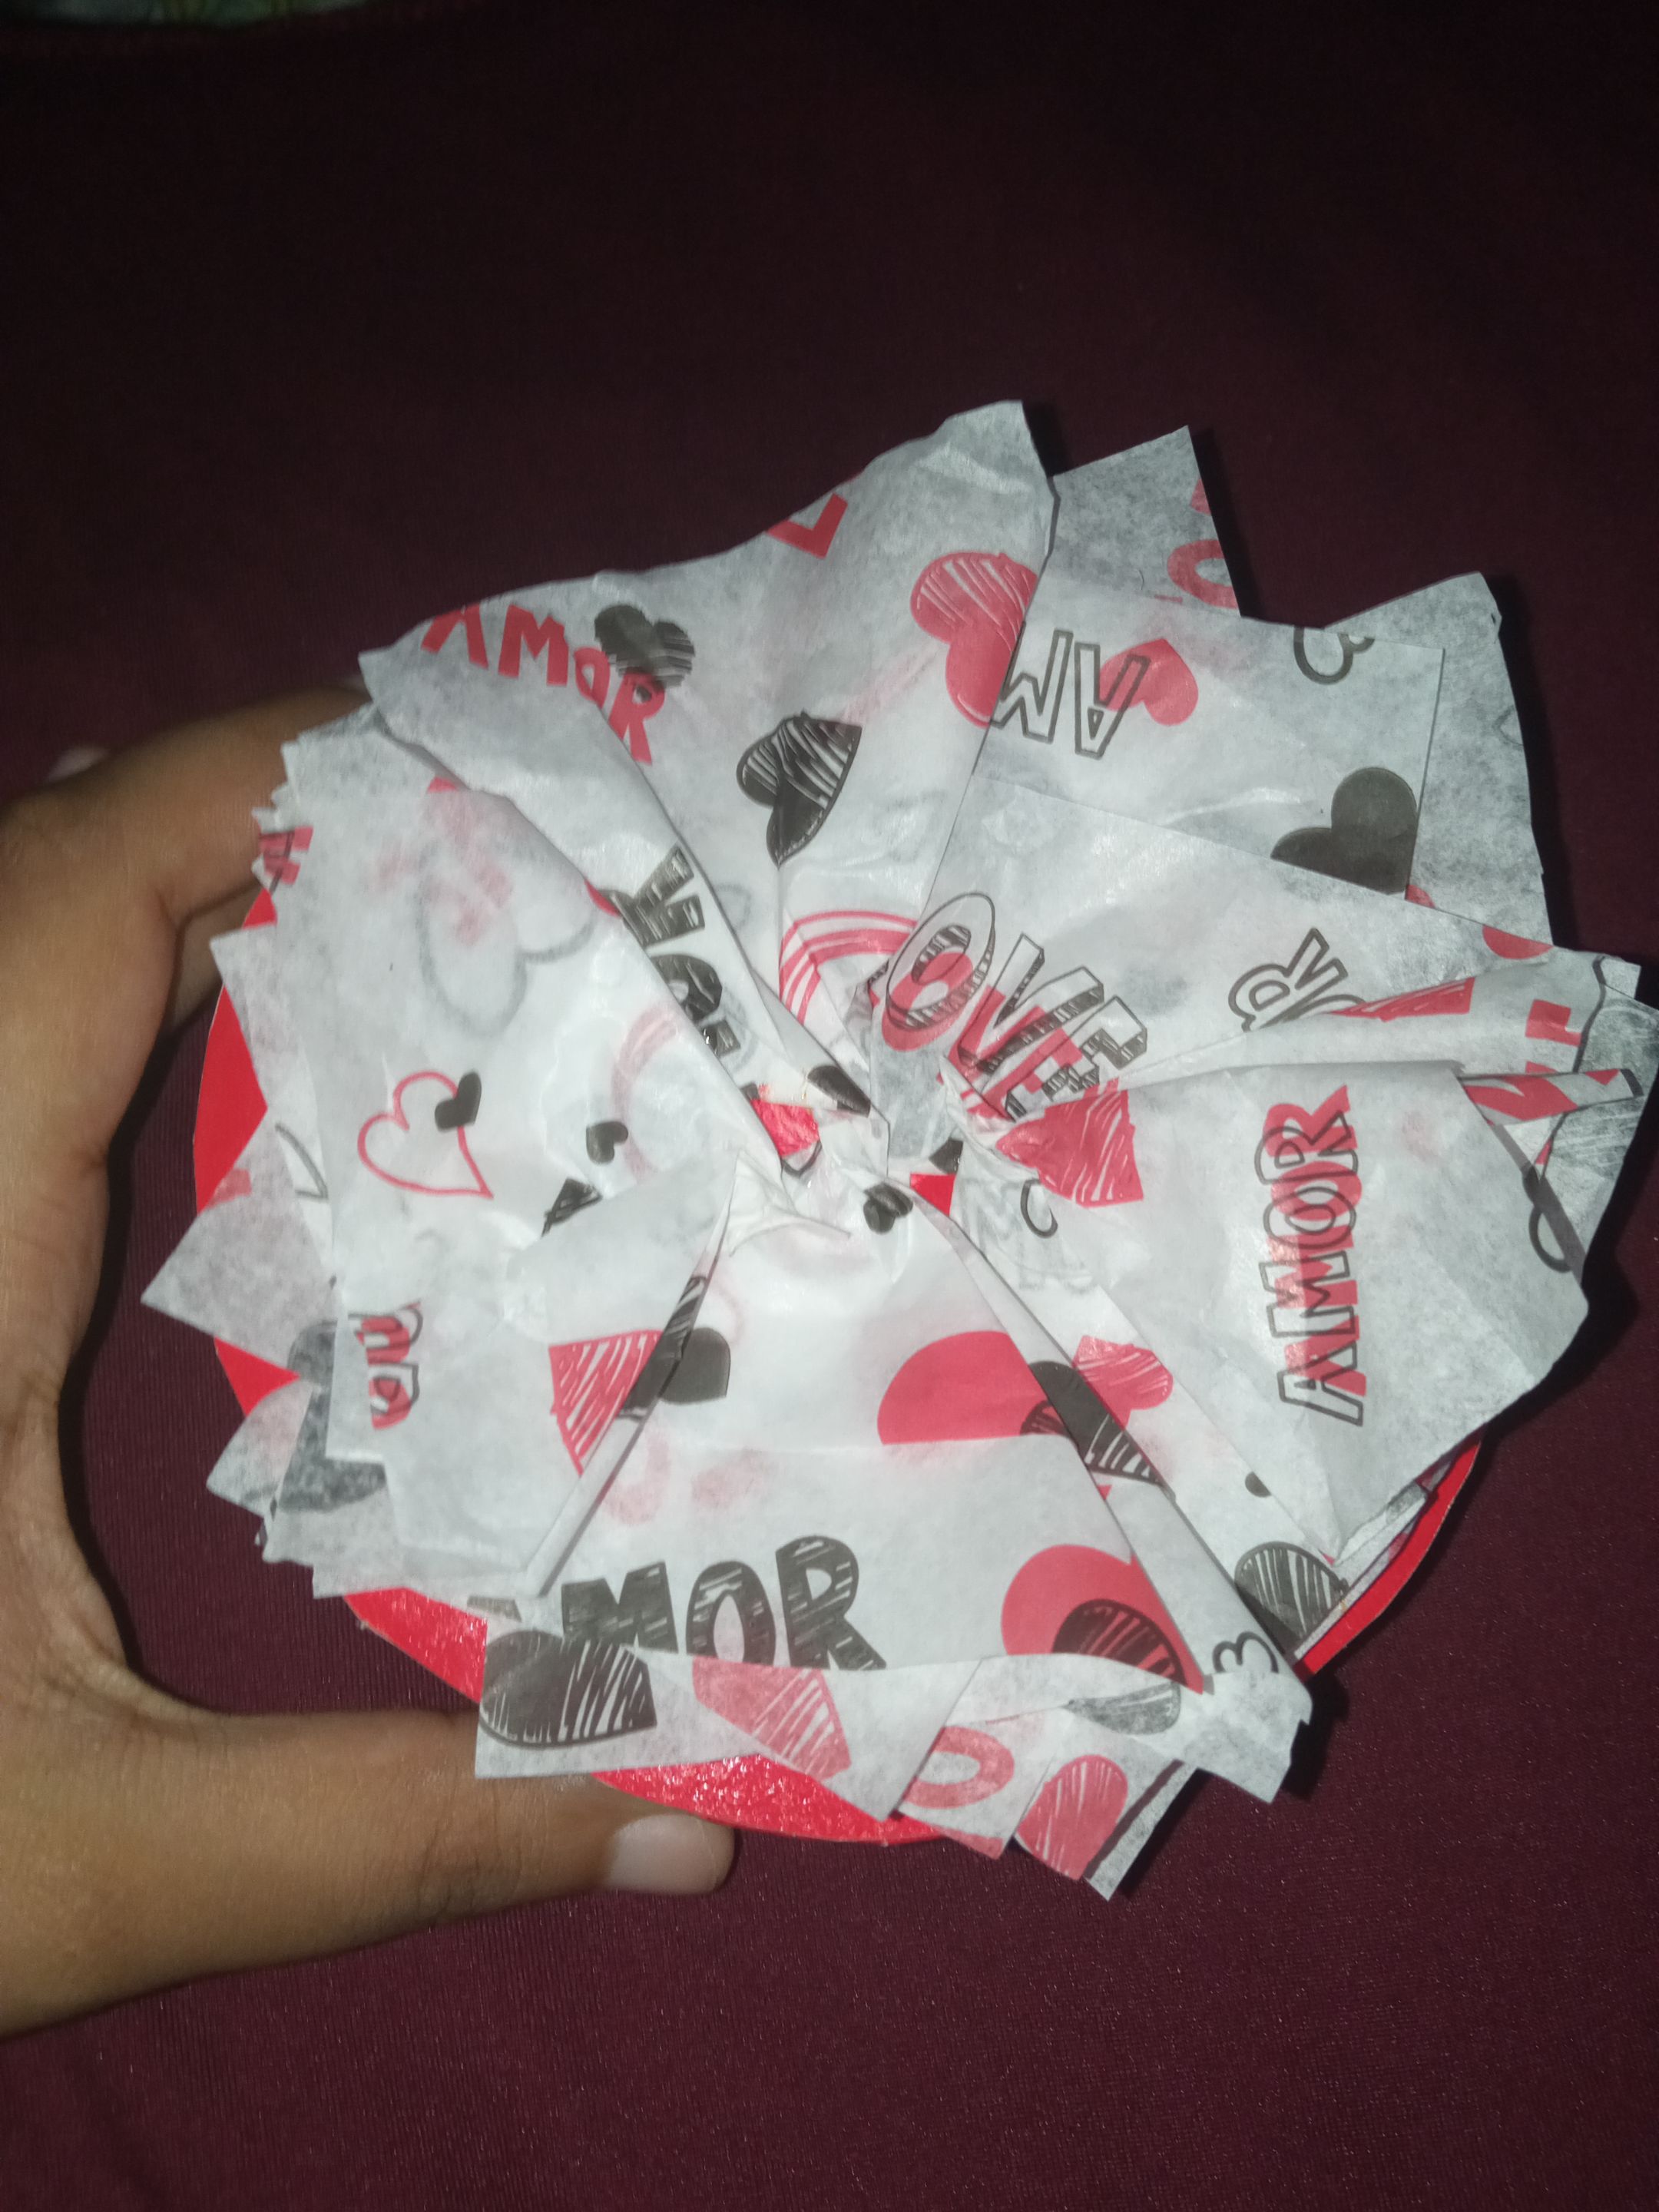
Luego recortamos cuadros de papel de seda estampado, hacemos flores y pegamos en la parte de arriba de la tapa.
> Then we cut out squares of patterned tissue paper, make flowers and glue them on the top of the lid.
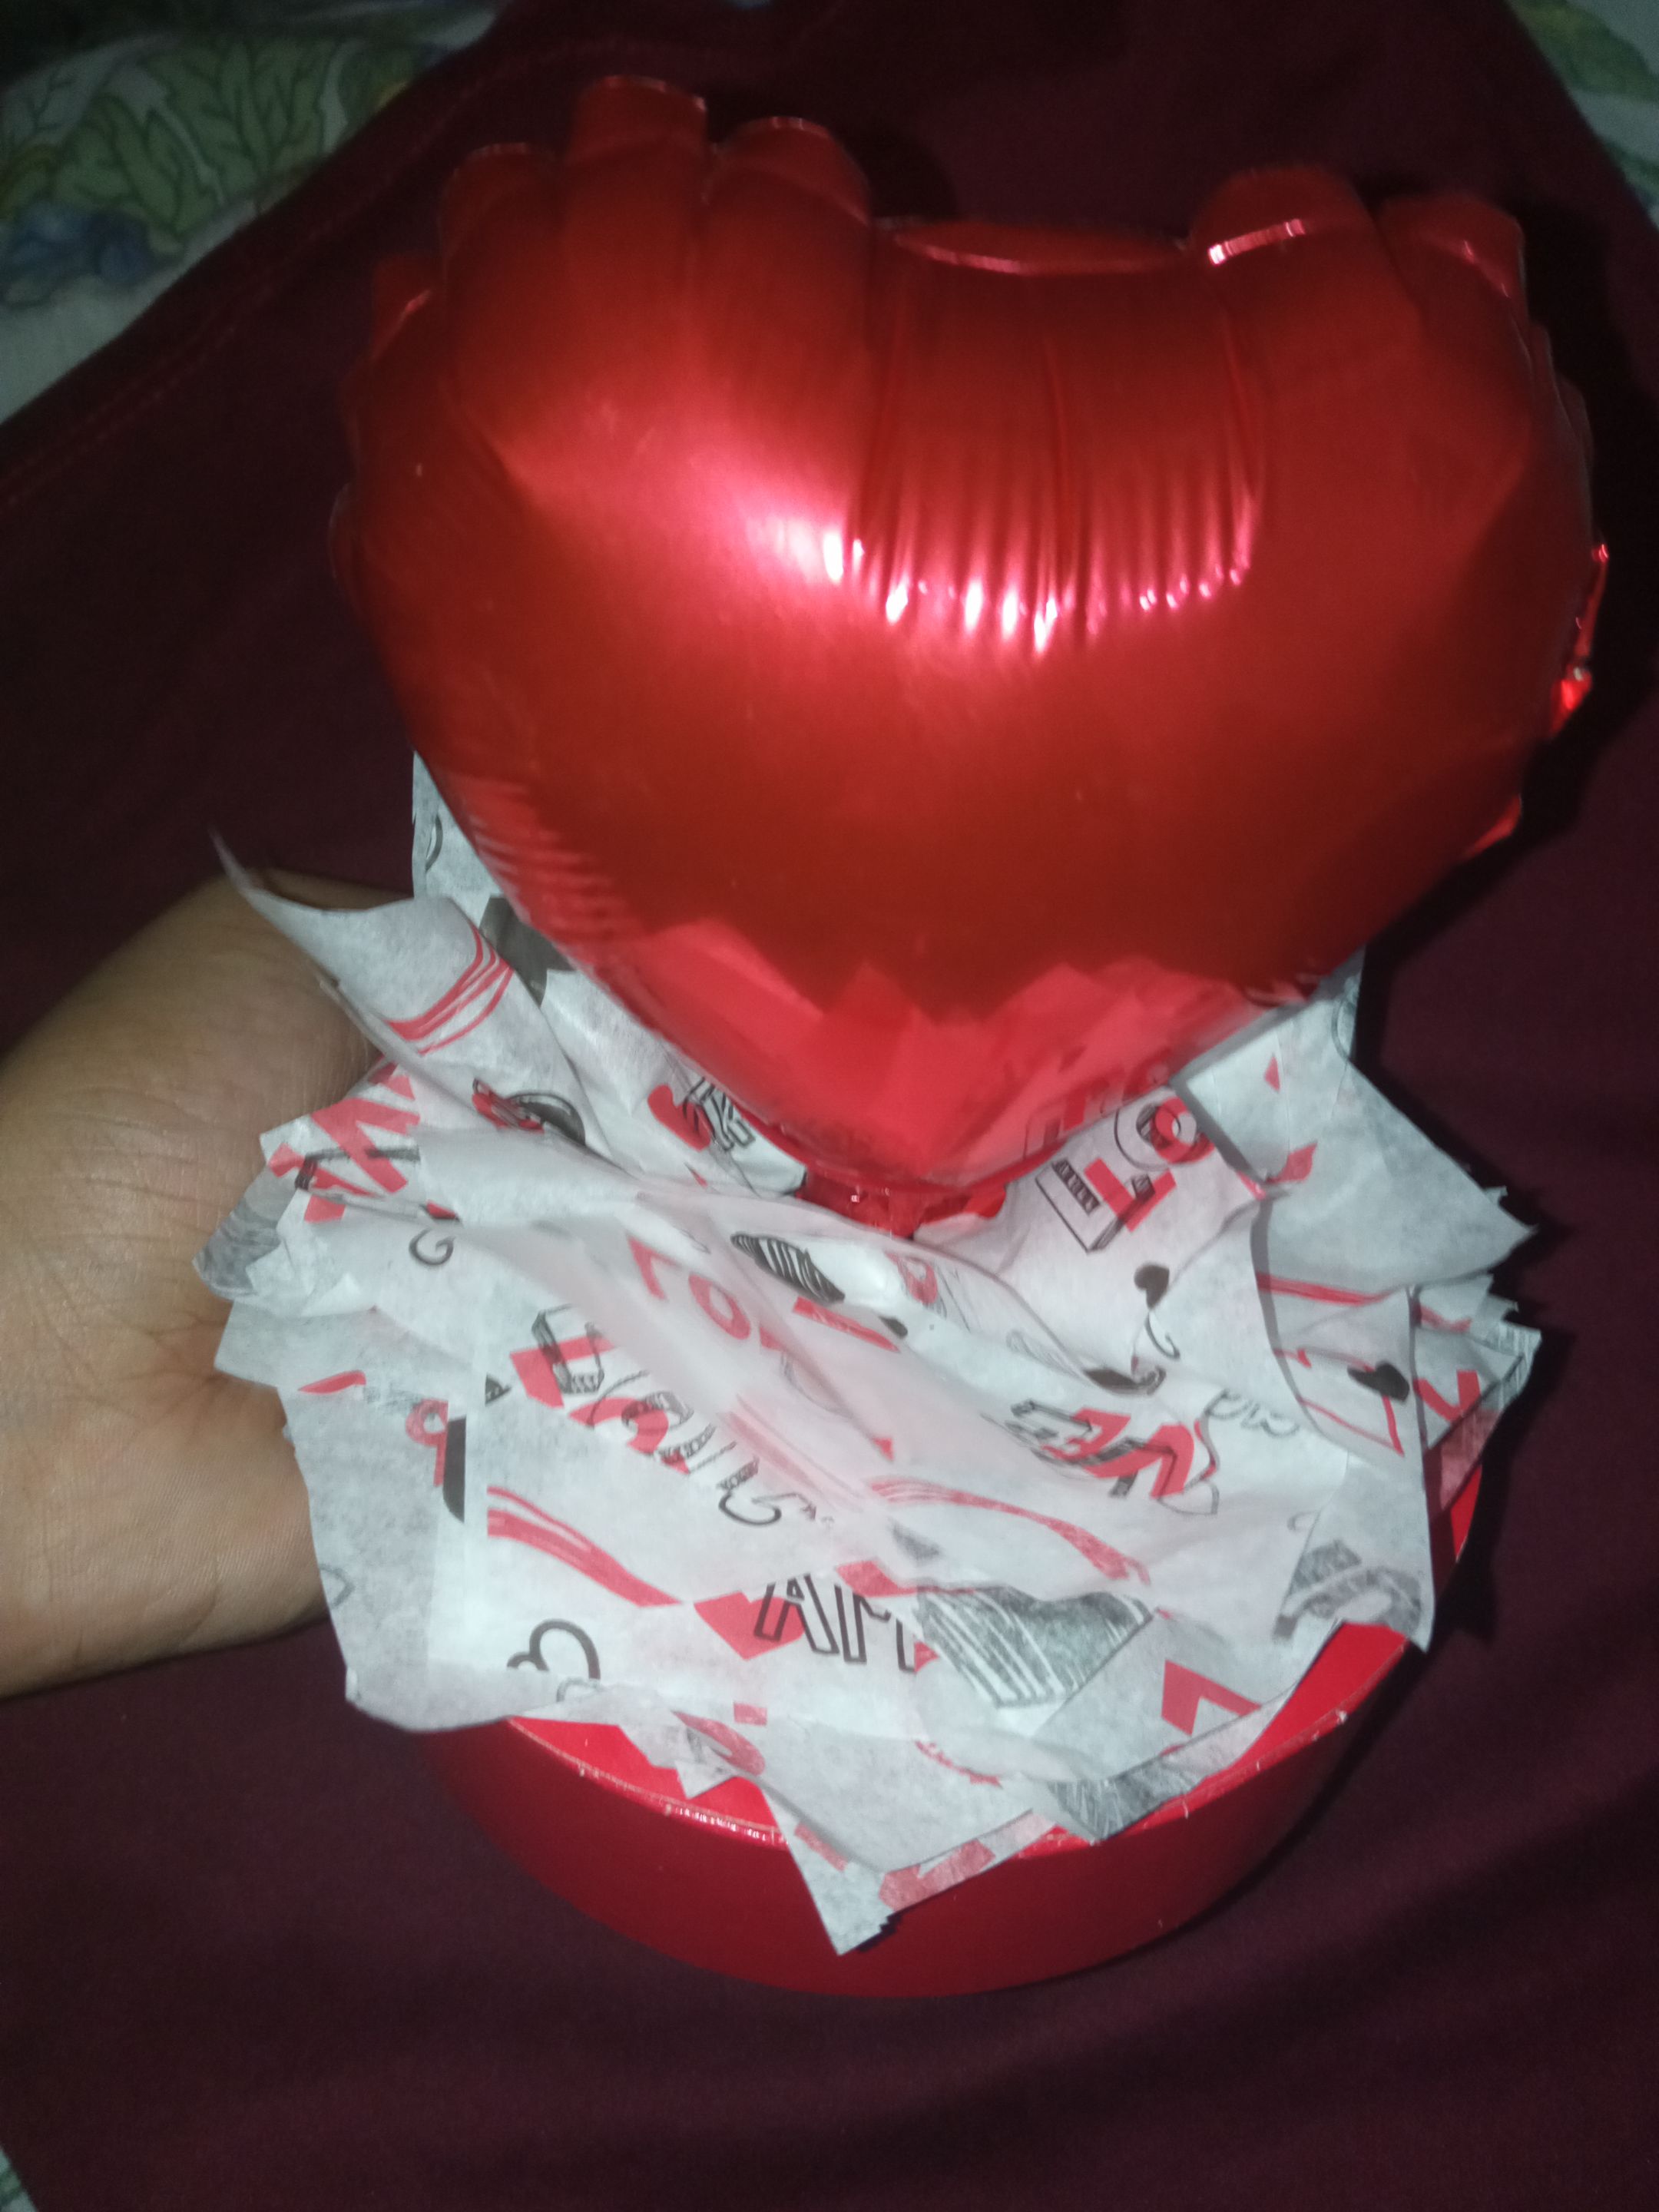
Llenamos el globo, introducimos en la boquilla de palillo para globos y pegamos en el centro de las flores que están en la tapa.
> Fill the balloon, insert into the balloon stick nozzle and glue in the center of the flowers that are in the lid.
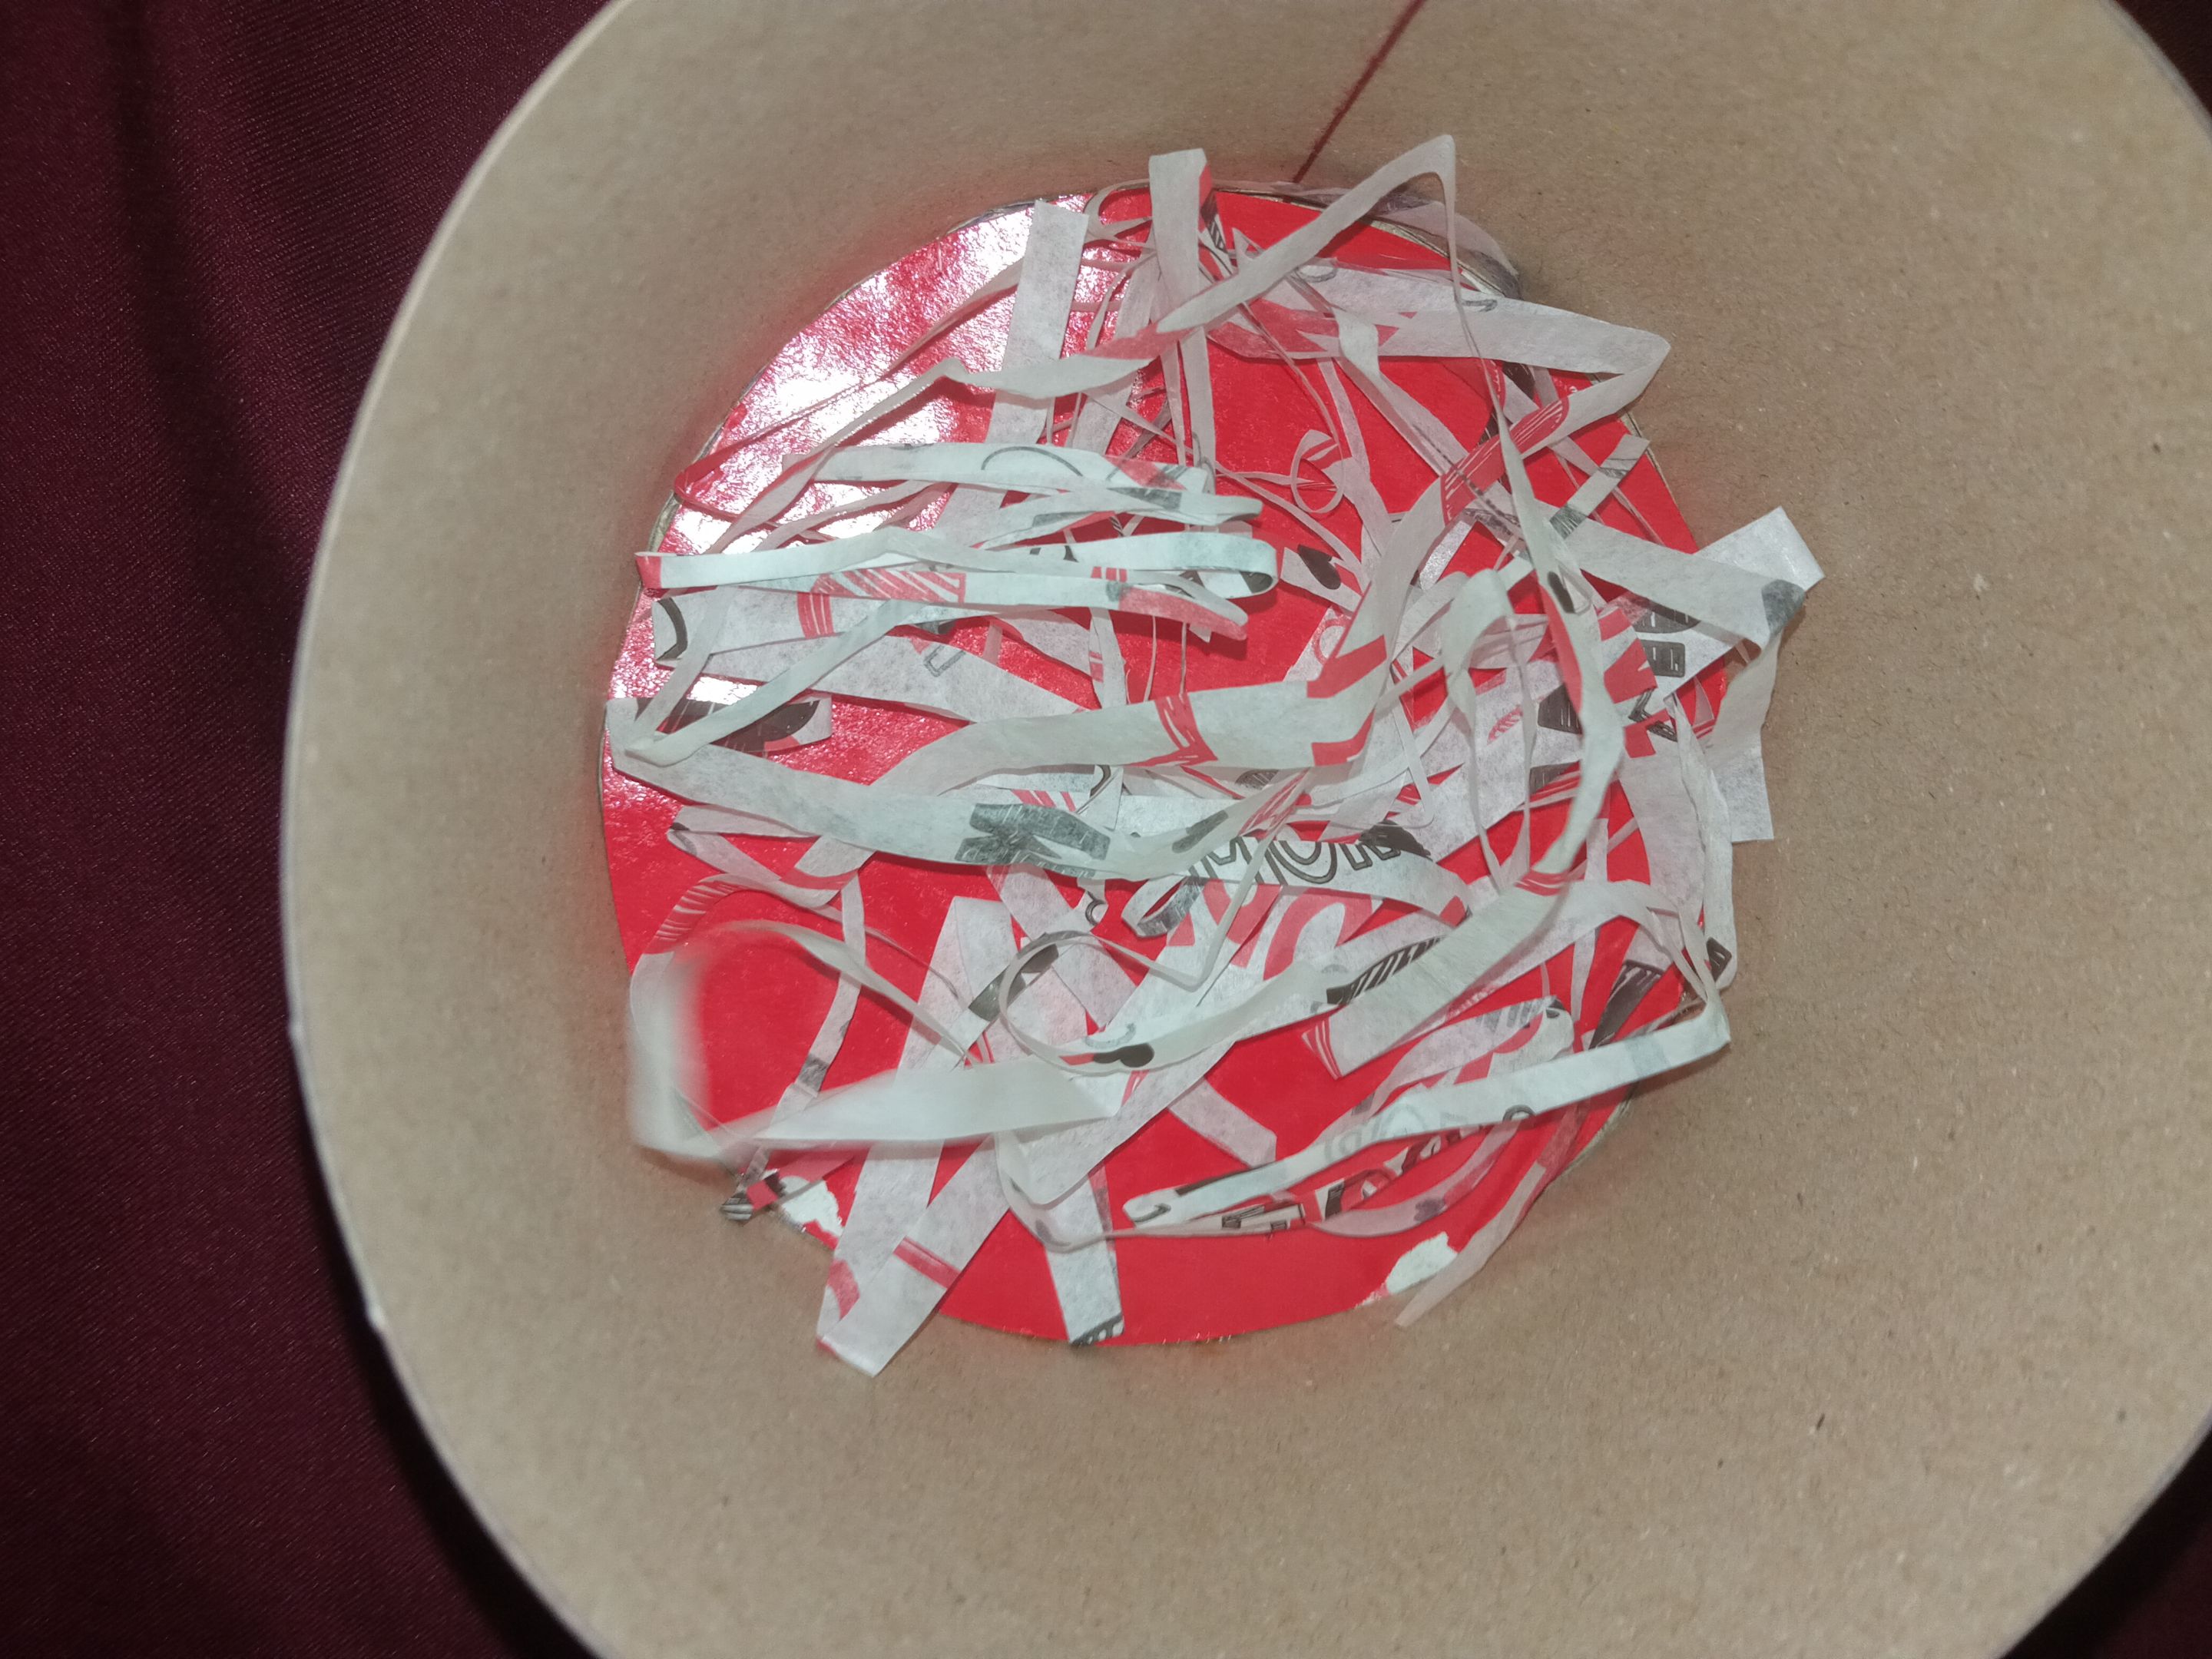
Para finalizar recortamos pequeñas tiras de papel de seda estampado e introducimos en la caja para decorar.
> Finally, we cut small strips of patterned tissue paper and insert them into the box to decorate.
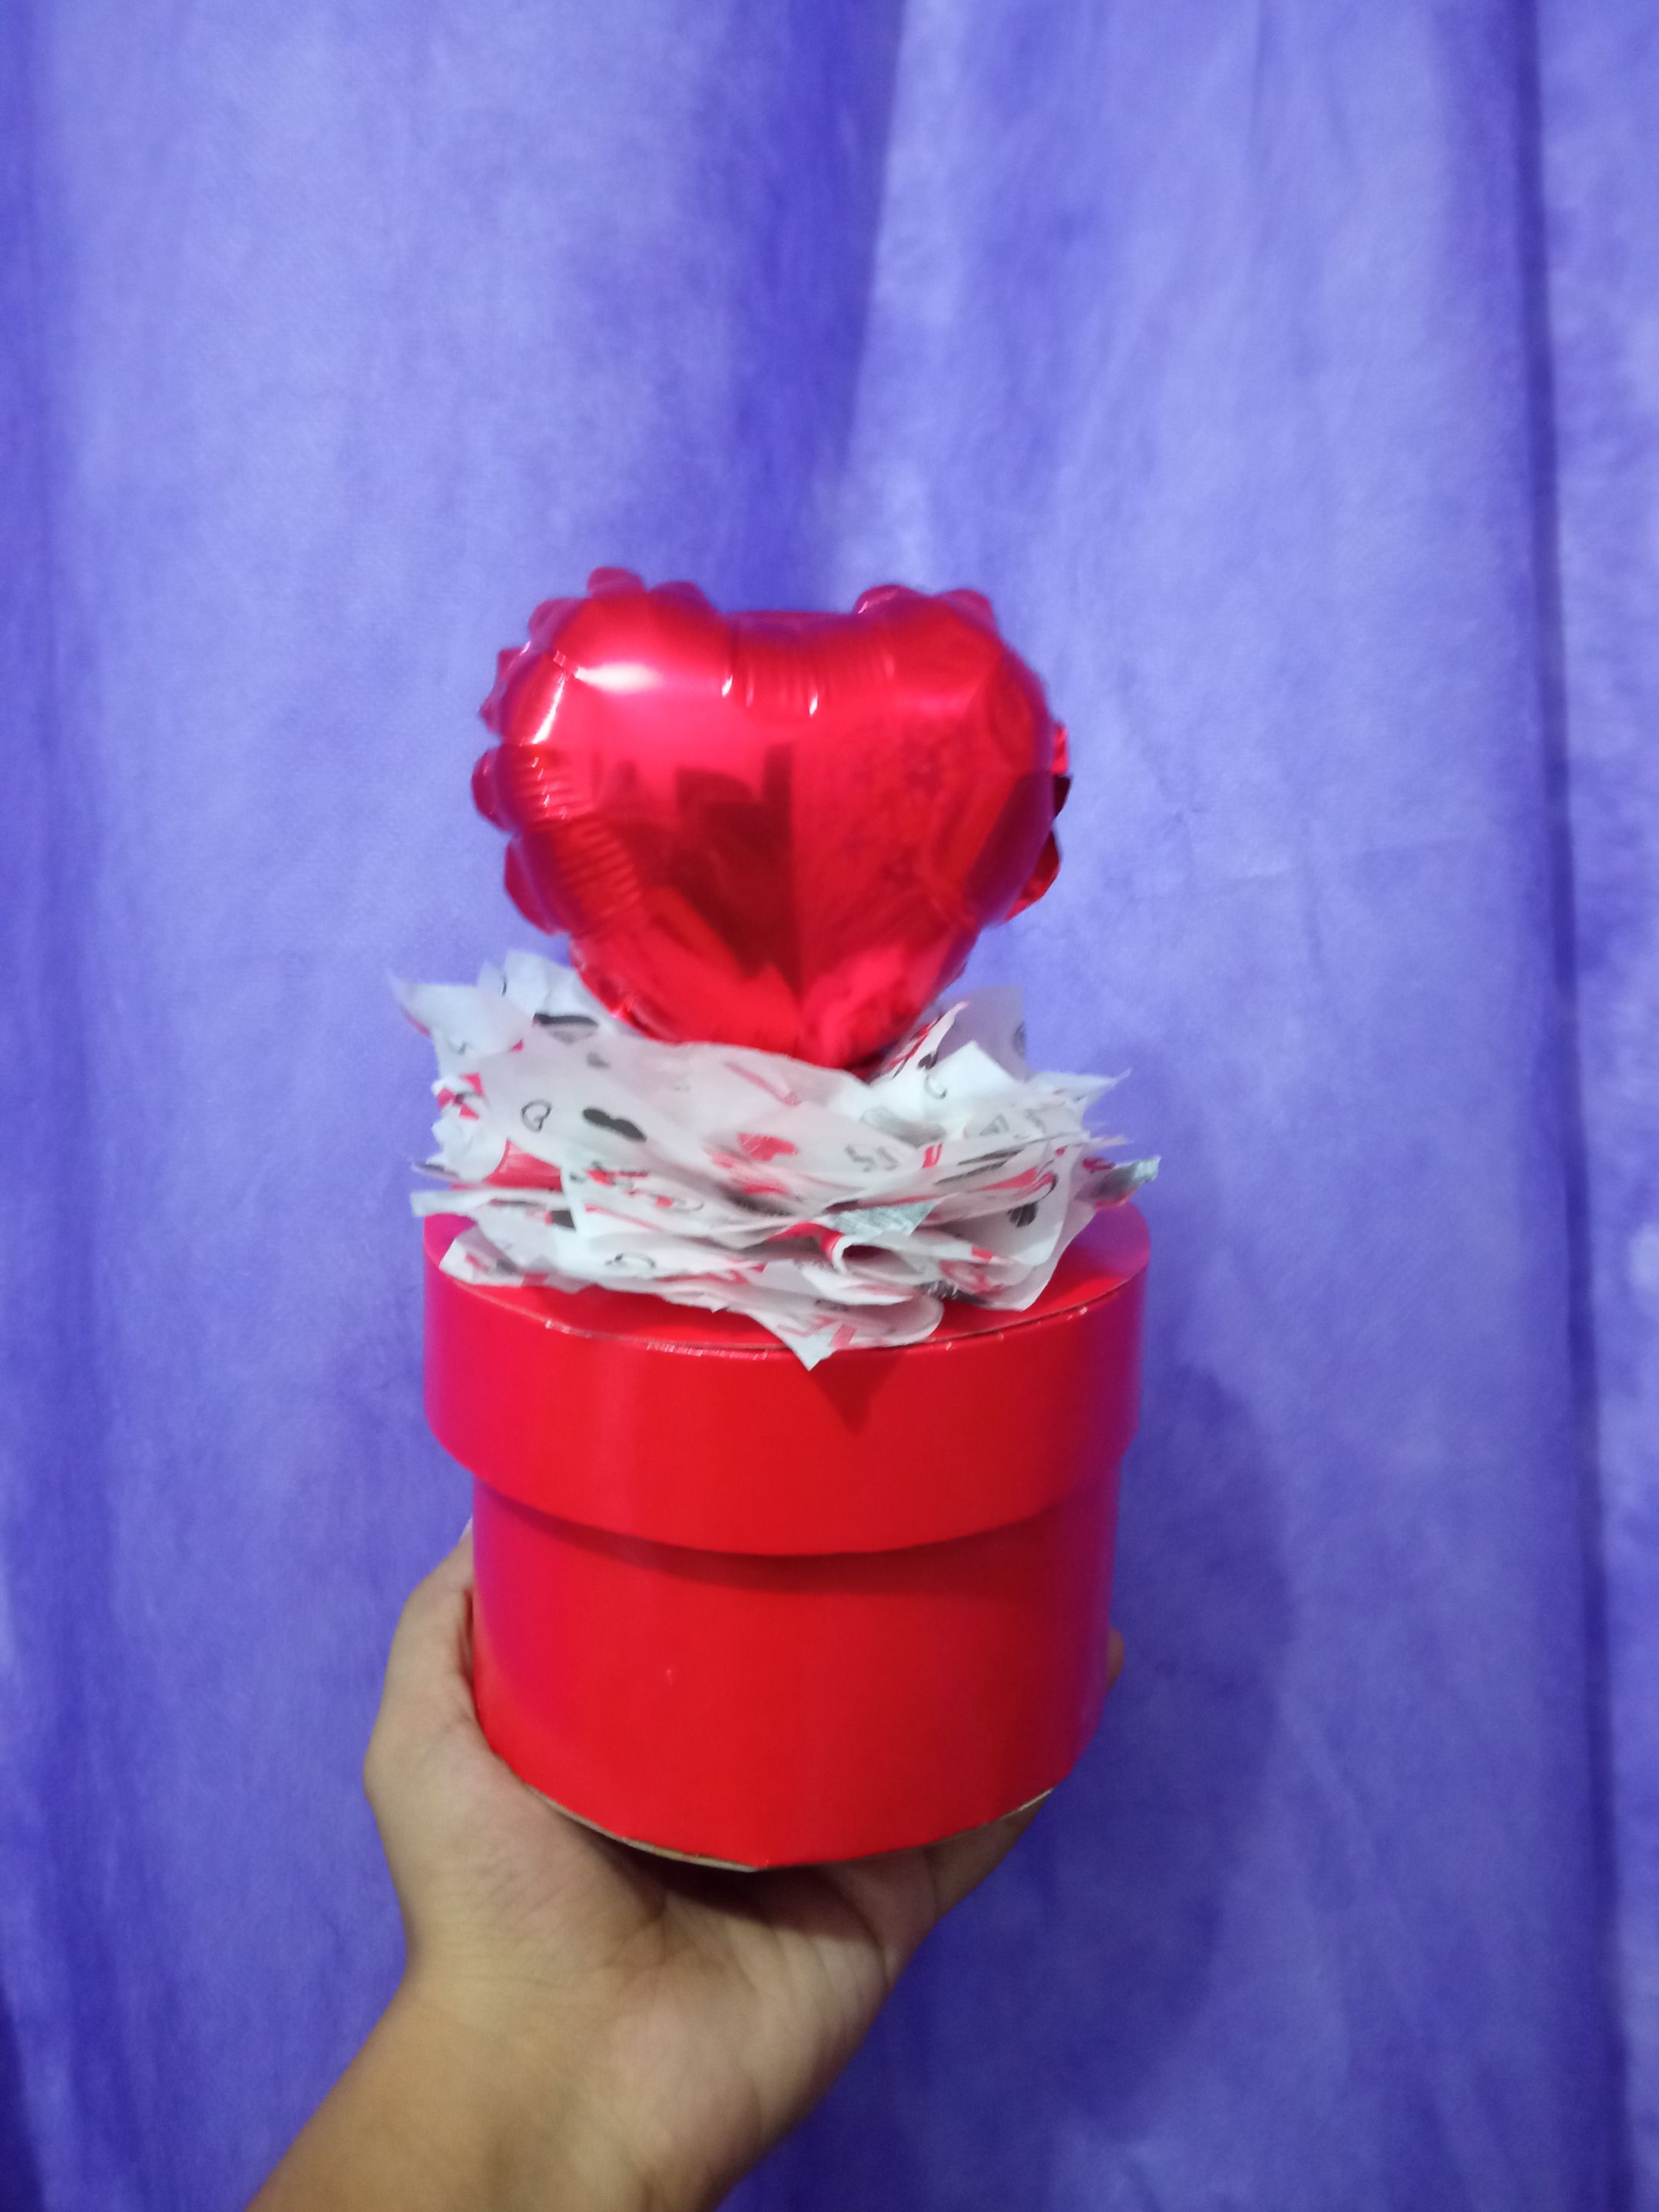
Aquí les muestro cómo quedó el resultado final de esta hermosa y romántica caja de regalo:
> Here I show you how the final result of this beautiful and romantic gift box turned out:
Espero les haya gustado está hermosa idea y se animen a realizarla para que se las regalen a esas personitas importantes de sus vidas.
> I hope you liked this beautiful idea and I encourage you to make it as a gift for those important people in your life.
Me despido hasta un próximo post, siempre deseándoles los mejores éxitos.
> I bid you farewell until a future post, always wishing you the best success.
#
**¡Nos vemos!**
> ##
**¡See you!**
#
**@rosilys20**
Texto traducido en: www.DeepL.com
[Esp-Eng] Elaboración de una romántica caja de regalo redonda. by: @rosilys20
@rosilys20
· 2021-12-07 07:01
· Hive Diy
#spanish
#crafts
#manualidades
#diy
#tutorial
#handmade
#creativecoin
#neoxian
Payout: 0.000 HBD
Votes: 107
More interactions (upvote, reblog, reply) coming soon.