**
ESPAÑOL
**
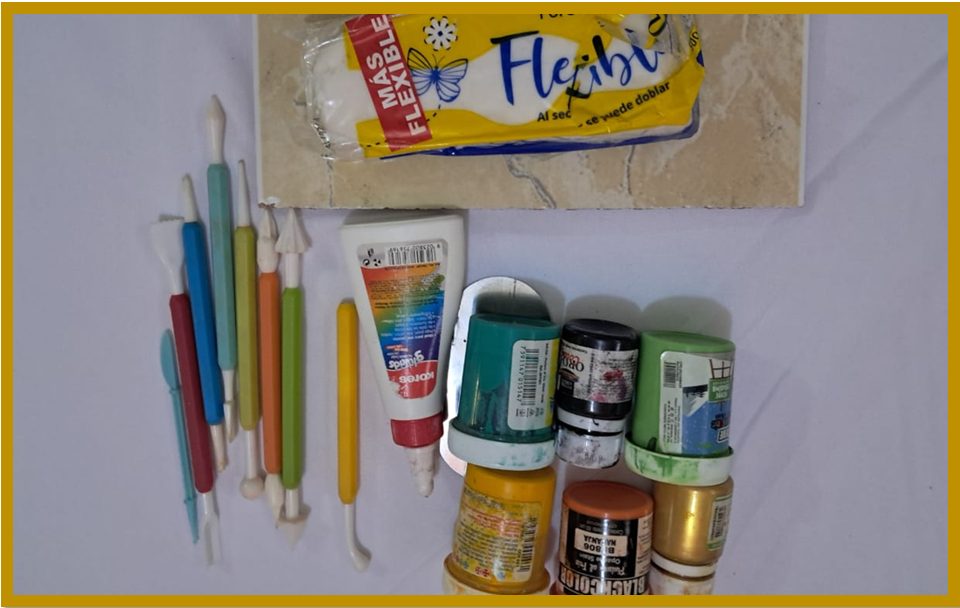
Saludos amigos creativos y comunidad @diyhub,es un placer saludarles esperando que tengan un feliz fin de semana en unión de sus seres queridos, me siento feliz de compartir un nuevo proyecto inspirado en los personajes de splinterlands, el cual está elaborado con masa flexible, mi material favorito, para moldear y hacer esculturas.
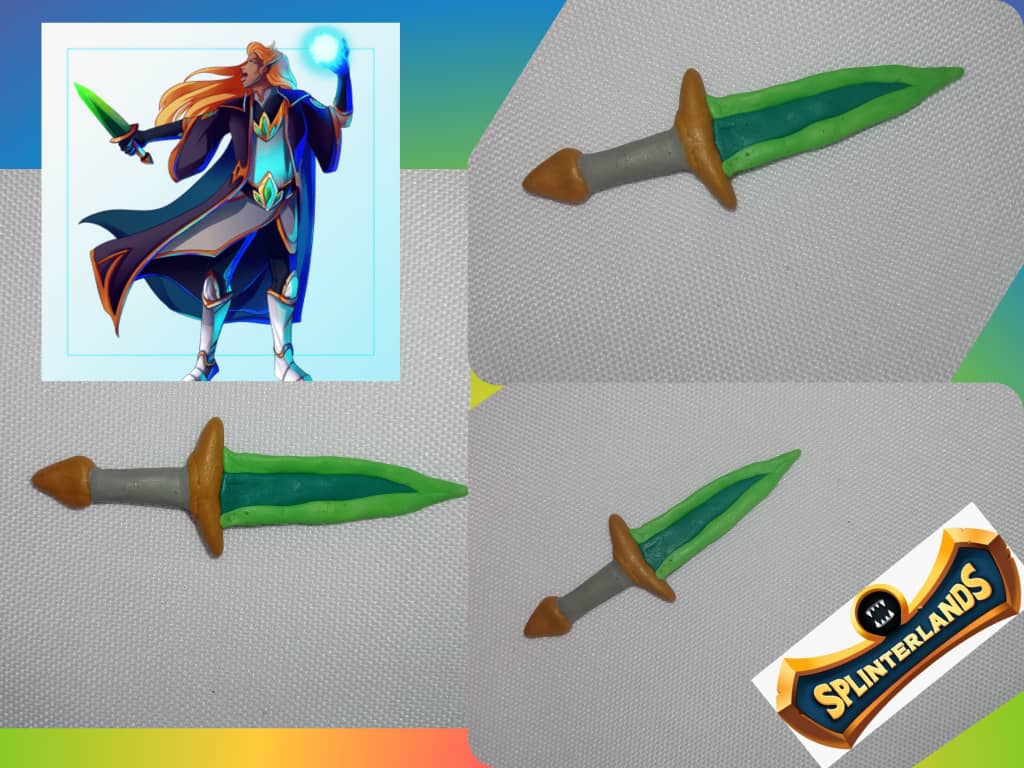
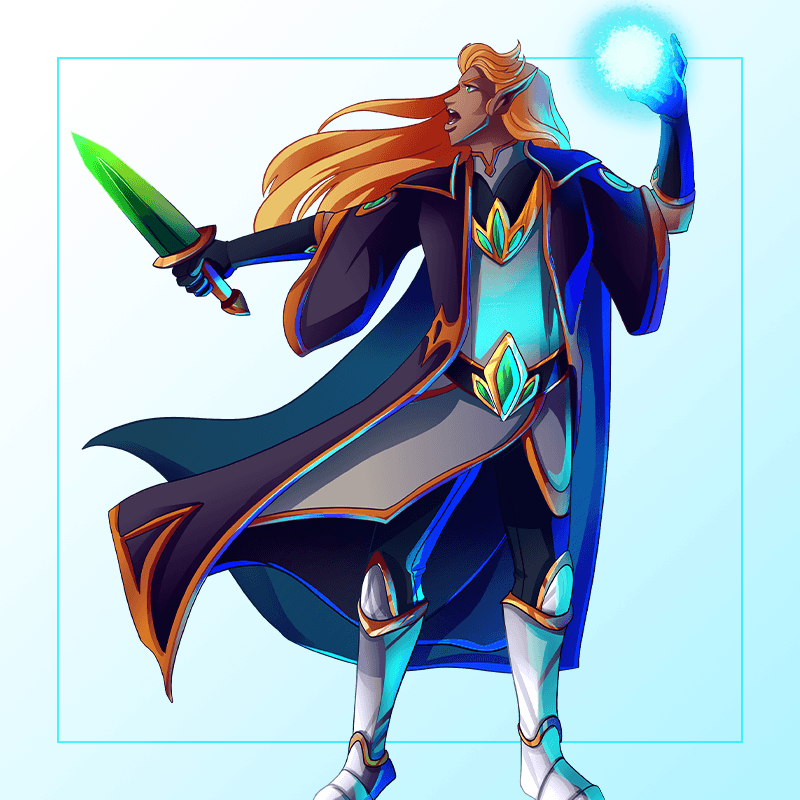
Hace varios días pude comprar otra masa flexible y esta a diferencia de las que he usado en proyectos anteriores, es más blanda y elástica, lo cual permite moldear con más facilidad y algo que me gustó mucho es que puedo ir agregando el pegamento a medida que voy moldeando, no hace falta dejar secar porque por su elasticidad se va secando progresivamente, este detalle de la masa me pareció interesante y muy bueno,porque así trabajo más rápido voy añadiendo las partes de la daga sin necesidad de esperar a que sequen las piezas que voy agregando, la elasticidad de esta masa permite trabajar más cómodo y se invierte menos tiempo, ya que no necesita secado, para colocar las otras piezas, este se hace en el transcurso de los días, así pude terminar más rápido este proyecto, que se trata una daga que lleva el personaje [River Hellondale](https://www.splintercards.com/chaos_core_river-hellondale), es de color de color dorado y verde, les muestro el proceso de elaboración.
**
ENGLISH
**
Greetings creative friends and the @diyhub community, it's a pleasure to greet you. I hope you have a wonderful weekend with your loved ones. I'm happy to share a new project inspired by the Splinterlands characters, made with flexible clay, my favorite material for molding and sculpting.
Several days ago I was able to buy another flexible dough and this one, unlike the ones I have used in previous projects, is softer and more elastic, which allows for easier molding and something that I really liked is that I can add the glue as I mold, there is no need to let it dry because due to its elasticity it dries progressively, this detail of the dough seemed interesting and very good to me, because this way I work faster, I add the parts of the dagger without having to wait for the pieces I am adding to dry, the elasticity of this dough allows me to work more comfortably and less time is invested, since it does not need to dry, to place the other pieces, this is done over the course of the days, so I was able to finish this project faster, which is a dagger carried by the character [River Hellondale](https://www.splintercards.com/chaos_core_river-hellondale), it is gold and green in color, I show you the elaboration process.

---
**
MATERIALES
**
Pintura al frío
Estecas
Crema para moldear
Pegamento
Masa flexible
Superficie plana para moldear
**
MATERIALS
**
Cold paint
Cuttings
Modeling cream
Glue
Flexible compound
Flat surface for modeling
---
**
PROCEDIMIENTO
**
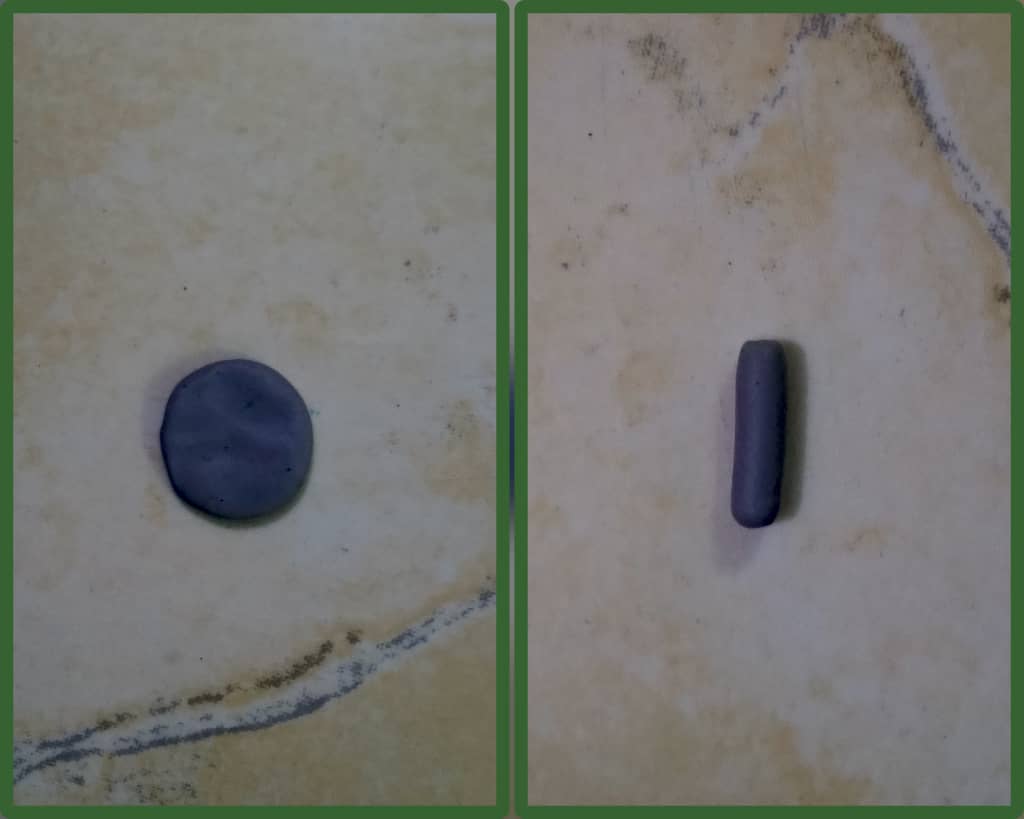
Iniciamos dividiendo la masa en pequeñas porciones, en esta ocasión necesitamos tres colores; dorado, verde y gris, añadimos pintura y mezclamos hasta obtener el color deseado, formamos varias bolas, una de cada color, las aplanamos y desde allí hacemos el mango o empuñadura, que es de color gris, moldeamos un cilindro y con la esteca aplanamos los extremos para darle forma circular.
Para obtener el color gris, mezclé negro, naranja y amarillo, ya que quería un tono oscuro y con estos tres colores obtuve el color que deseaba, agregué seis gotas de color negro, dos gotas de naranja y dos gotas de amarillo e integré con la masa.
**
PROCEDURE
**
We start by dividing the dough into small portions. This time, we need three colors: gold, green, and gray. We add paint and mix until we get the desired color. We form several balls, one of each color, flatten them, and from there, we make the handle, which is gray. We shape it into a cylinder and, with the spatula, flatten the ends to give it a circular shape.
To get the gray color, I mixed black, orange, and yellow, since I wanted a dark shade. With these three colors, I got the color I wanted. I added six drops of black, two drops of orange, and two drops of yellow, and mixed it into the dough.
---
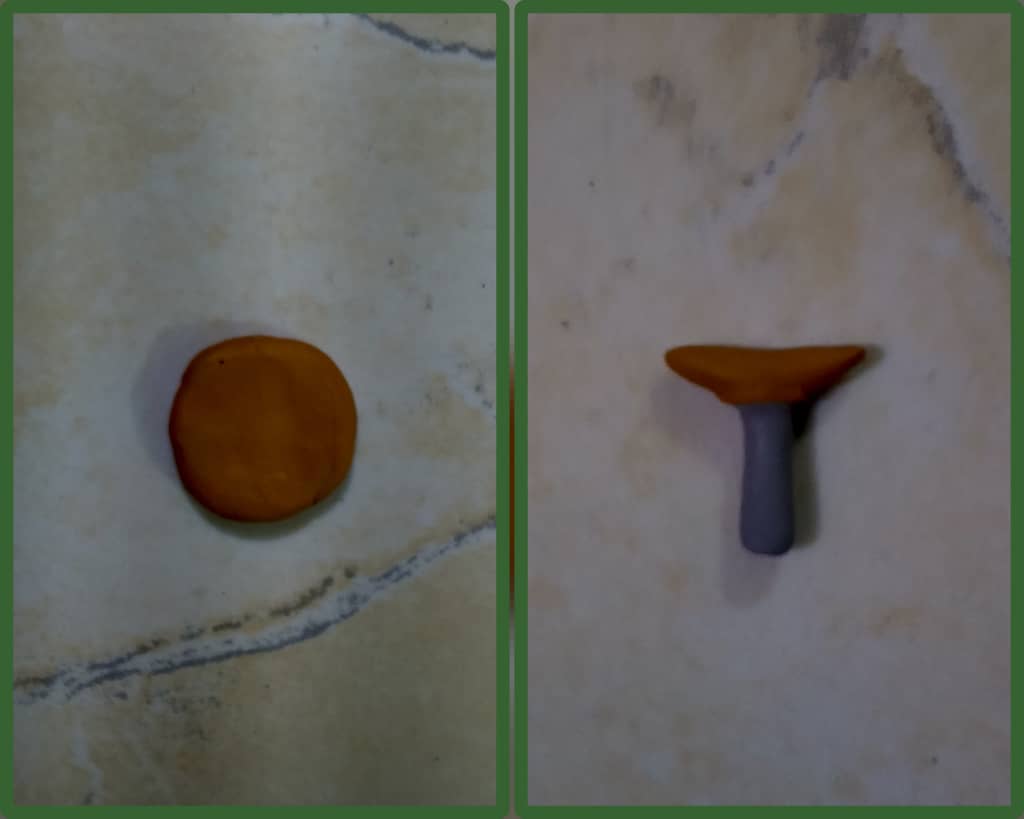
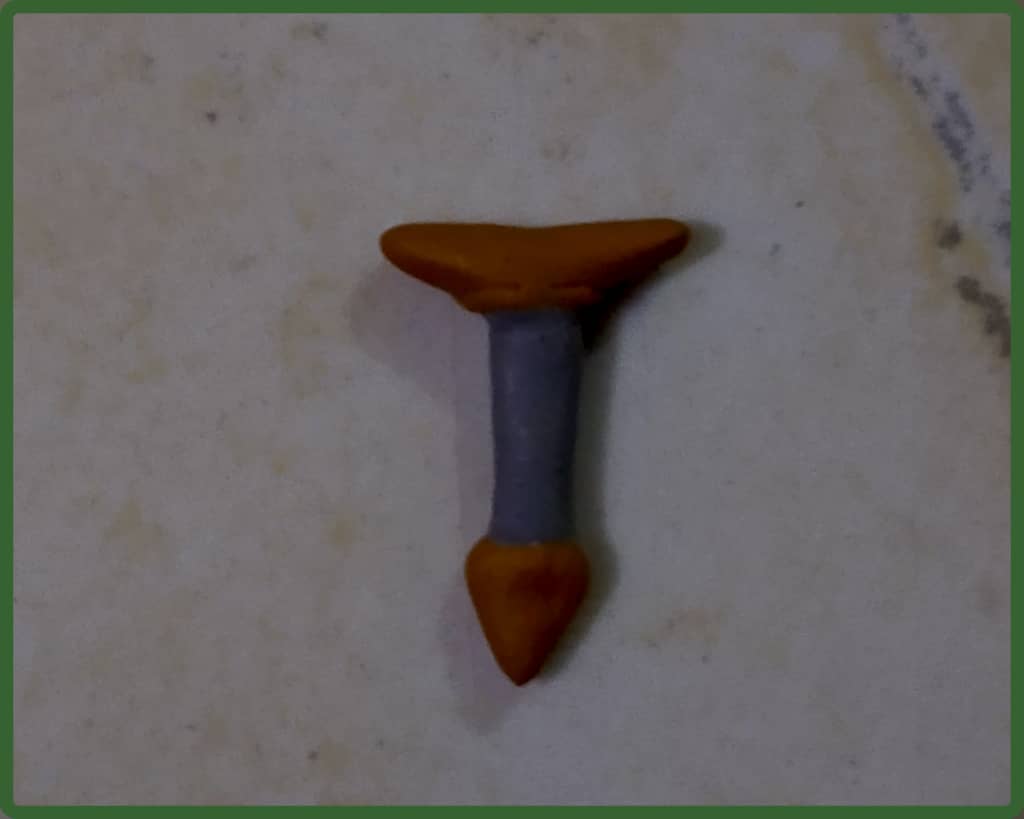
Con la masa dorada formamos un trapecio alargado hacia los lados, al cual con ayuda de la esteca le haremos las puntas afiladas y planas, en la parte de abajo del trapecio, hacemos un corte en línea recta y aplanamos, usando la estaca hacemos un agujero, agregamos pegamento y lo unimos al cilindro.
Continuamos con la masa dorada y hacemos un triángulo que vaya acorde con el grosor del cilindro, luego hacemos un orificio en la base, igual al que hicimos en el trapecio, agregamos pegamento y lo colocamos en la parte de abajo del cilindro, con ayuda de la esteca damos forma a la punta de triángulo y aplanamos la base y los lados.
Using the golden dough, we form a trapezoid elongated to the sides. Using the stake, we make sharp, flat points. At the bottom of the trapezoid, we make a straight cut and flatten it. Using the stake, we make a hole, add glue, and attach it to the cylinder.
We continue with the golden dough and make a triangle that matches the thickness of the cylinder. Then, we make a hole in the base, similar to the one we made in the trapezoid. We add glue and place it on the bottom of the cylinder. With the help of the stake, we shape the point into a triangle and flatten the base and sides.
---
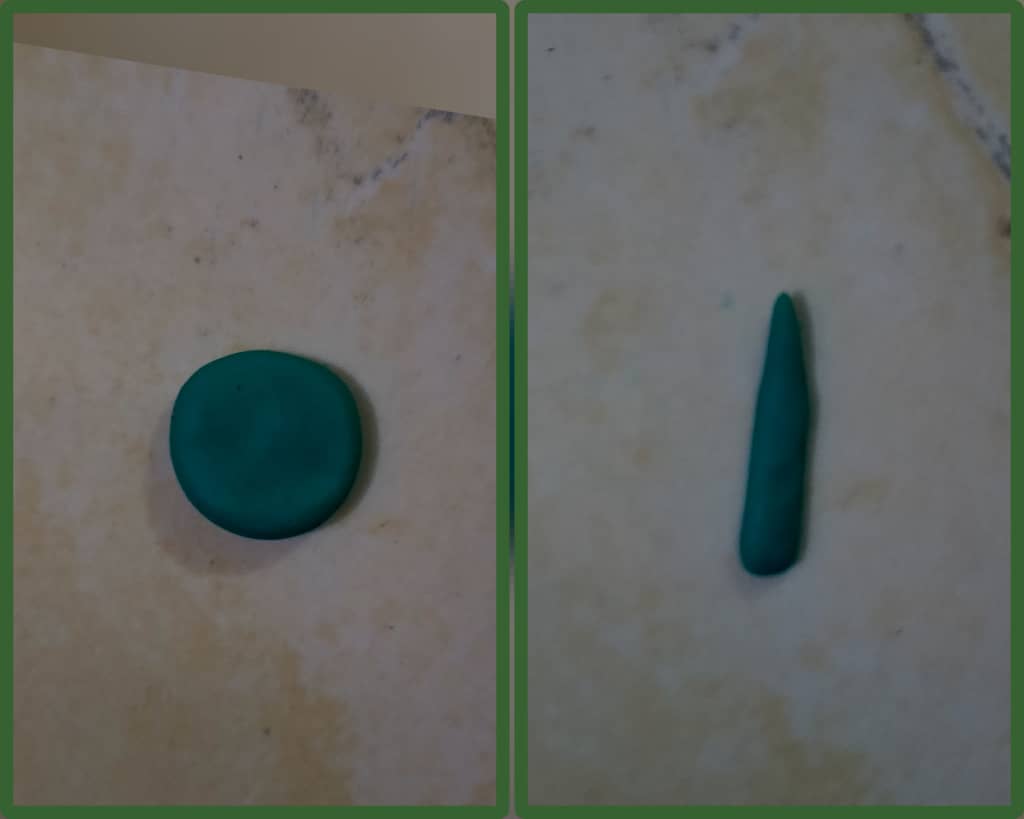
Para hacer la hoja de la daga utilizaremos la masa de color verde, iniciamos a partir de un círculo aplanado y con las manos vamos moldeando hasta obtener una gota alargada, esta debe tener la punta triangular y la base circular, con la esteca terminamos de dar forma a la punta, la base y los lados, en la superficie plana vamos alisando por los bordes y así está lista la hoja de la daga.
To make the dagger blade we will use the green dough, we start from a flattened circle and with our hands we mold it until we obtain an elongated drop, this should have a triangular tip and a circular base, with the stake we finish shaping the tip, the base and the sides, on the flat surface we smooth the edges and thus the dagger blade is ready.
---
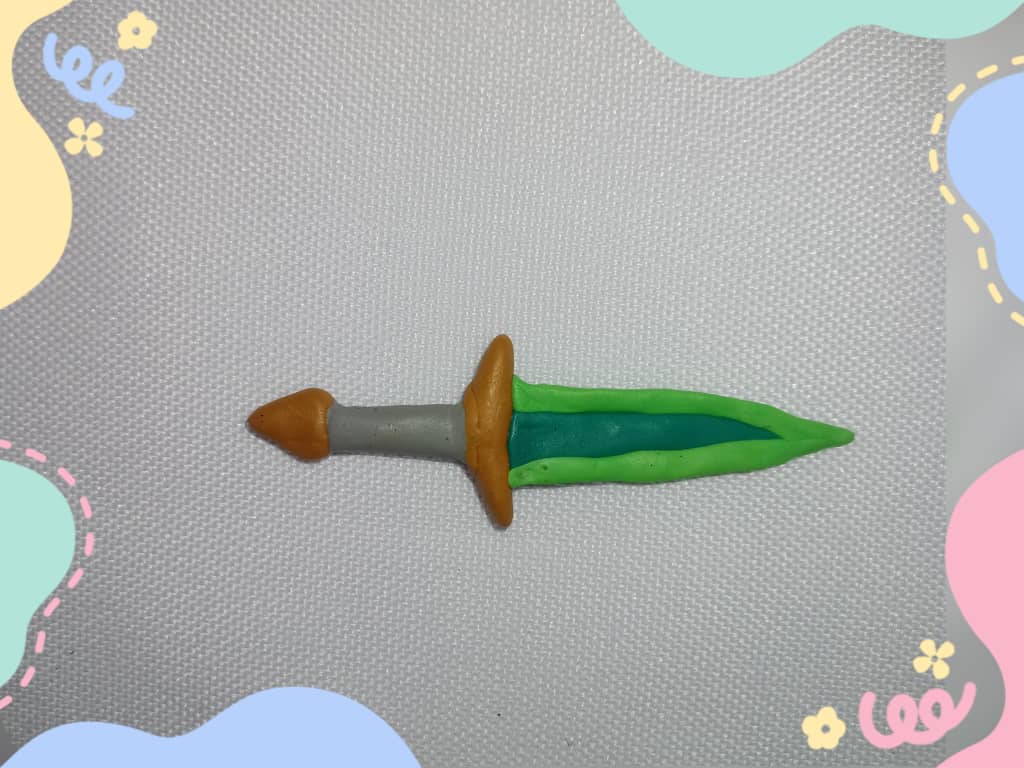
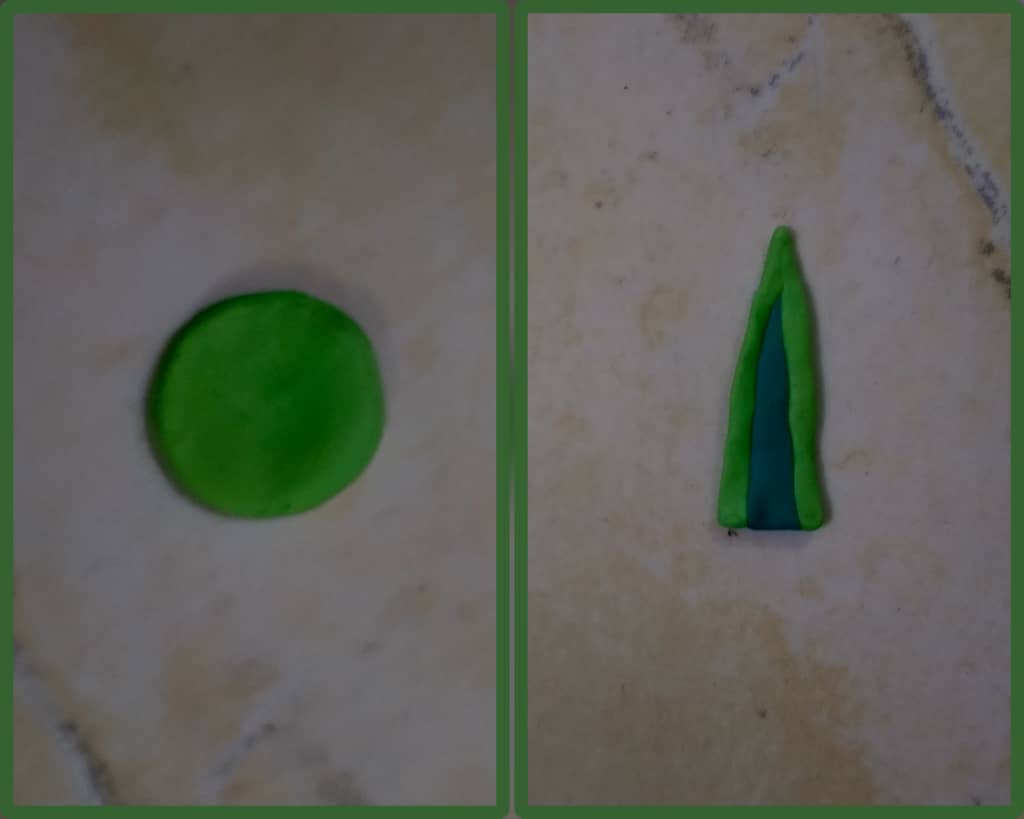
Luego con masa verde de un color más claro, haremos los bordes de la daga, para ello estiramos la masa lo más delgado posible y formamos dos tiras, colocamos pegamento en los bordes de la daga y con mucho cuidado pegamos las tiras iniciando desde la parte de arriba y haciendo coincidir ambas tiras para que formen un triángulo en esta parte, luego pegamos en los bordes verificando que cubra la parte delantera y la parte trasera, al pegar los bordes, el siguiente el último paso sería unirla a la empuñadura, colocamos el pegamento en el trapecio alargado y allí colocamos la hoja, dejamos secar y así está terminada una daga inspirada en Splinterlands.
Then with green dough of a lighter color, we will make the edges of the dagger, for this we stretch the dough as thin as possible and form two strips, we put glue on the edges of the dagger and very carefully glue the strips starting from the top and matching both strips so that they form a triangle in this part, then we glue the edges checking that it covers the front and the back, when gluing the edges, the next the last step would be to join it to the handle, we put the glue on the elongated trapezoid and there we place the blade, let it dry and so a dagger inspired by Splinterlands is finished.
---
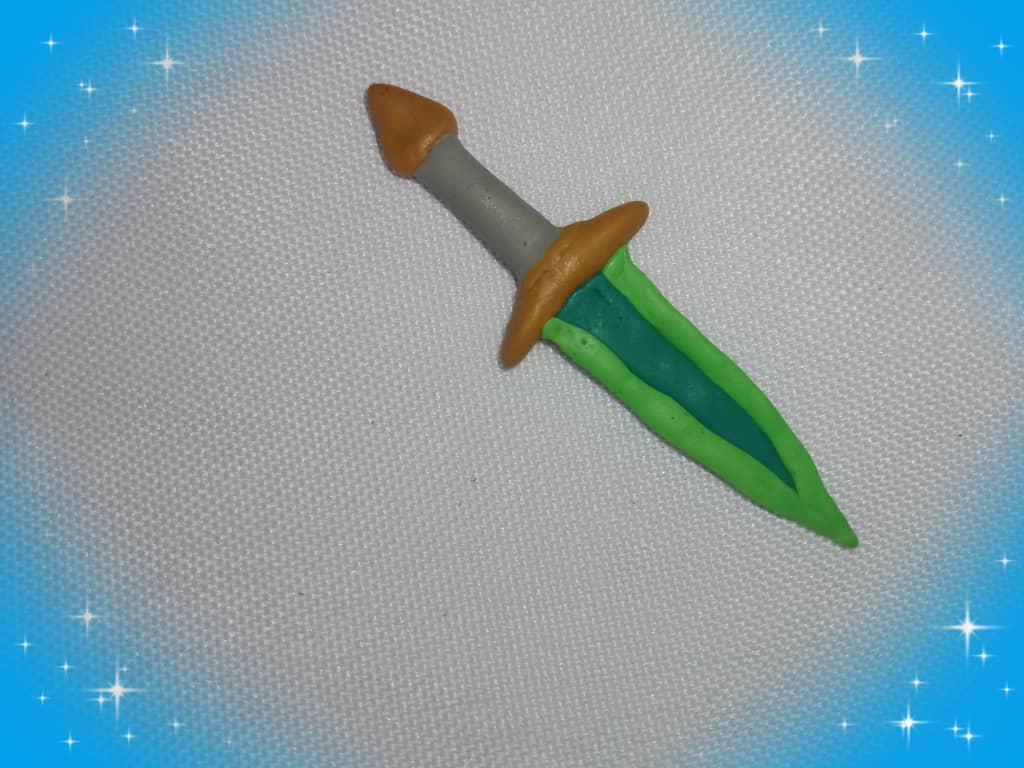
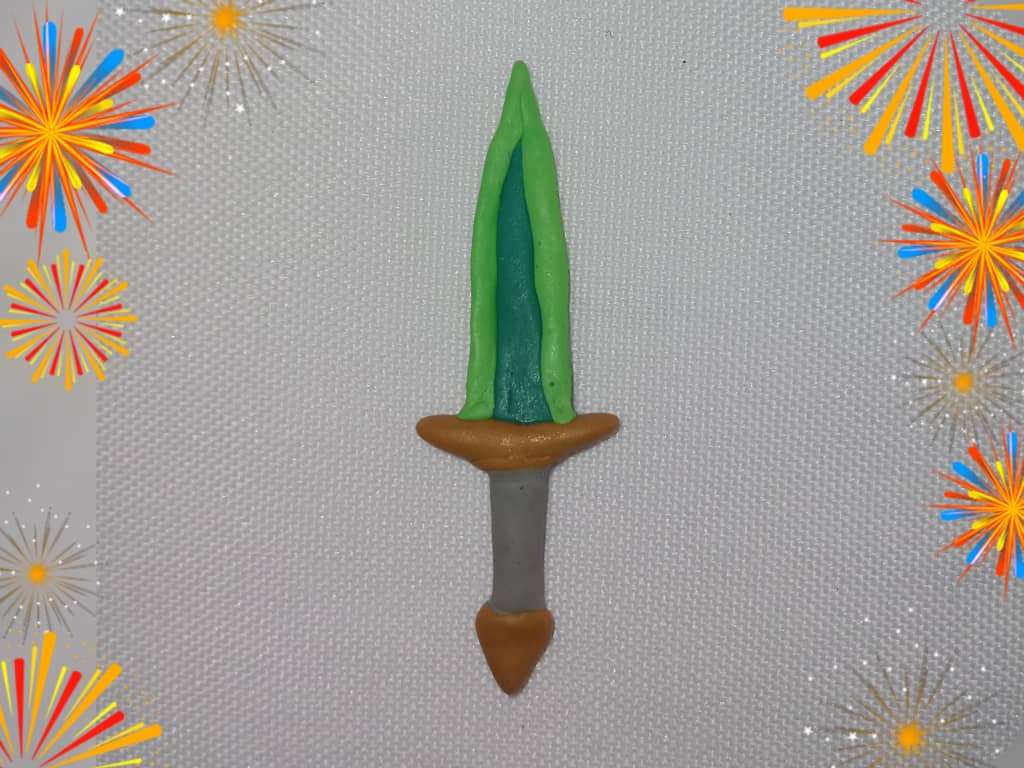
Les muestro el resultado.
I show you the result.

---
Gracias por Leer.
Thank you for reading.
---
Hasta Luego!
See you later!
---
---
Translated with https://www.deepl.com/translator
All images are of my authorship captured with an Alcatel phone.Separator designed by @emansitticoof.
Todas las imágenes son de mi autoría capturadas con un teléfono Alcatel. Separador diseñado por @emansitticoof.
---
#diy
#splinterlands
#spanish
#neoxian
#creative
#artwork
#crafting
#fanart
#tutorial
#handmade
Payout: 0.000 HBD
Votes: 312
More interactions (upvote, reblog, reply) coming soon.