**
ESPAÑOL
**
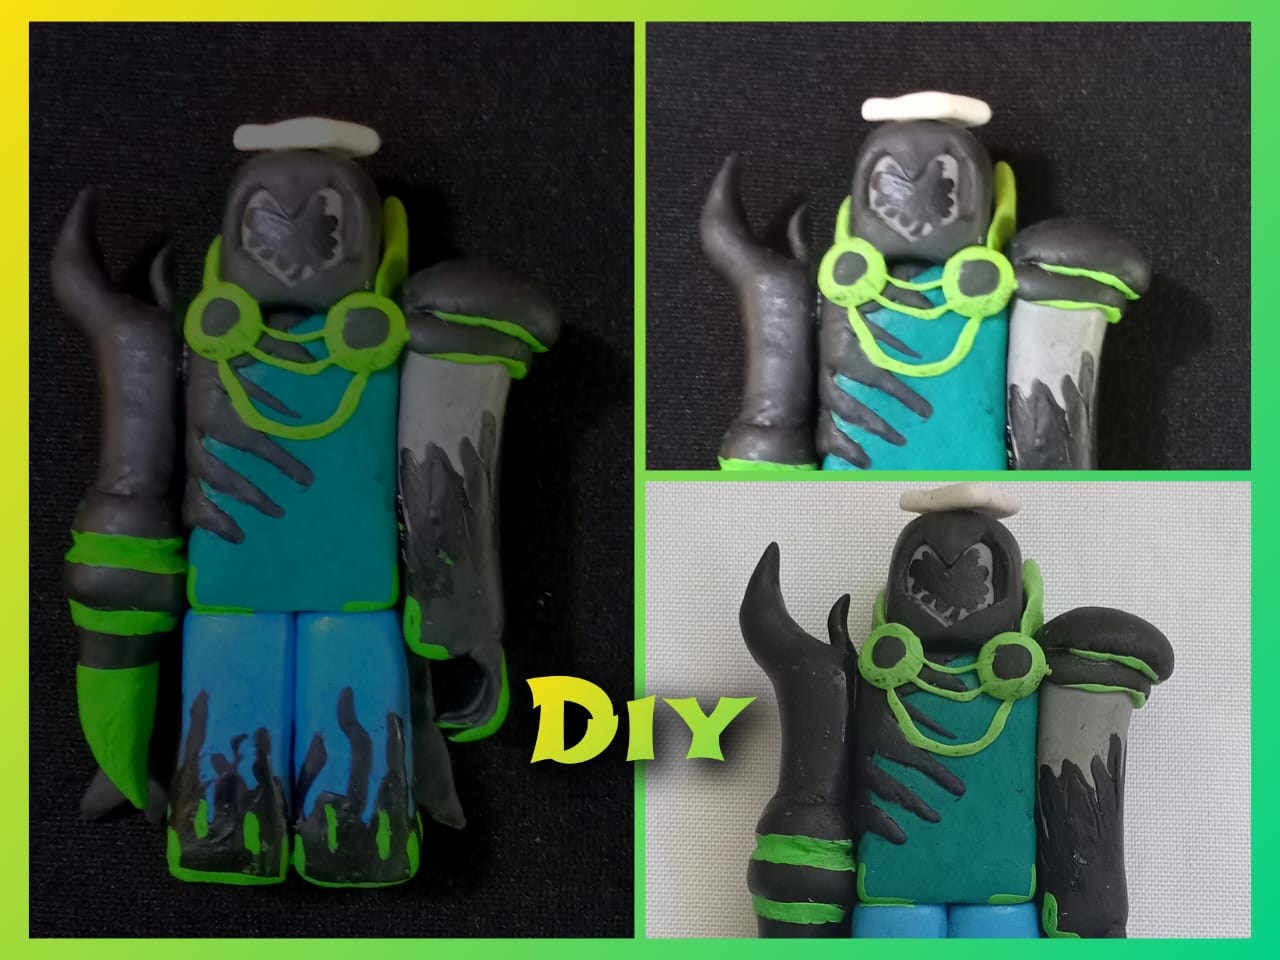
Saludos comunidad @hivediy, les deseo un feliz día en unión familiar, me siento feliz de compartir un nuevo proyecto de moldeado con masa flexible, tengo pensado hacer una colección de personajes de diferentes juegos, que tienen en común su parecido a los personajes de legos por la forma rectangular y cilíndrica de las piezas que integran el cuerpo, se trata del personaje [John Doe](https://forsaken2024.fandom.com/wiki/John_Doe/Skins#Living_Legend), que destaca por sus brazos únicos, ambos son diferentes en forma y color, la figura del personaje está envuelta en los colores verde , negro y azul, que forman destellos, para lograr este efecto, apliqué capas de masa delgada en el torso piernas y brazos de color negro, con ayuda de las estecas hice varias puntas y agregué pintura al frío para los colores restantes, les muestro el proceso de elaboración.
**
ENGLISH
**
Greetings @hivediy community, I wish you a happy day with your families. I'm happy to share a new modeling project with flexible clay. I plan to make a collection of characters from different games, which have in common their resemblance to Lego characters due to the rectangular and cylindrical shape of the pieces that make up their bodies. This is the character [John Doe](https://forsaken2024.fandom.com/wiki/John_Doe/Skins#Living_Legend), who stands out for his unique arms; both are different in shape and color. The character's figure is covered in green, black, and blue colors, which create sparkles. To achieve this effect, I applied thin layers of clay to the torso, legs, and arms in black. With the help of modeling tools, I made several points and added acrylic paint for the remaining colors. I'll show you the process.

---
**
MATERIALES
**
Pintura al frío
Estecas
Crema para moldear
Pegamento
Masa flexible
**
MATERIALS
**
Cold paint
Modeling tools
Modeling cream
Glue
Flexible clay
---
**
PROCEDIMIENTO
**
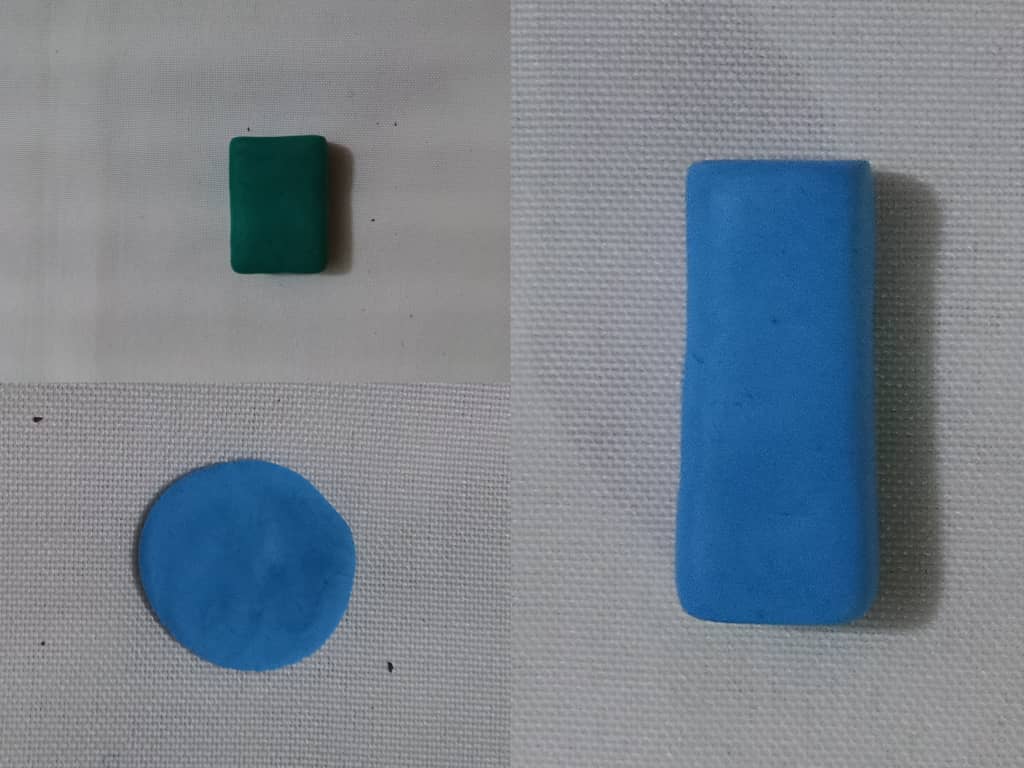
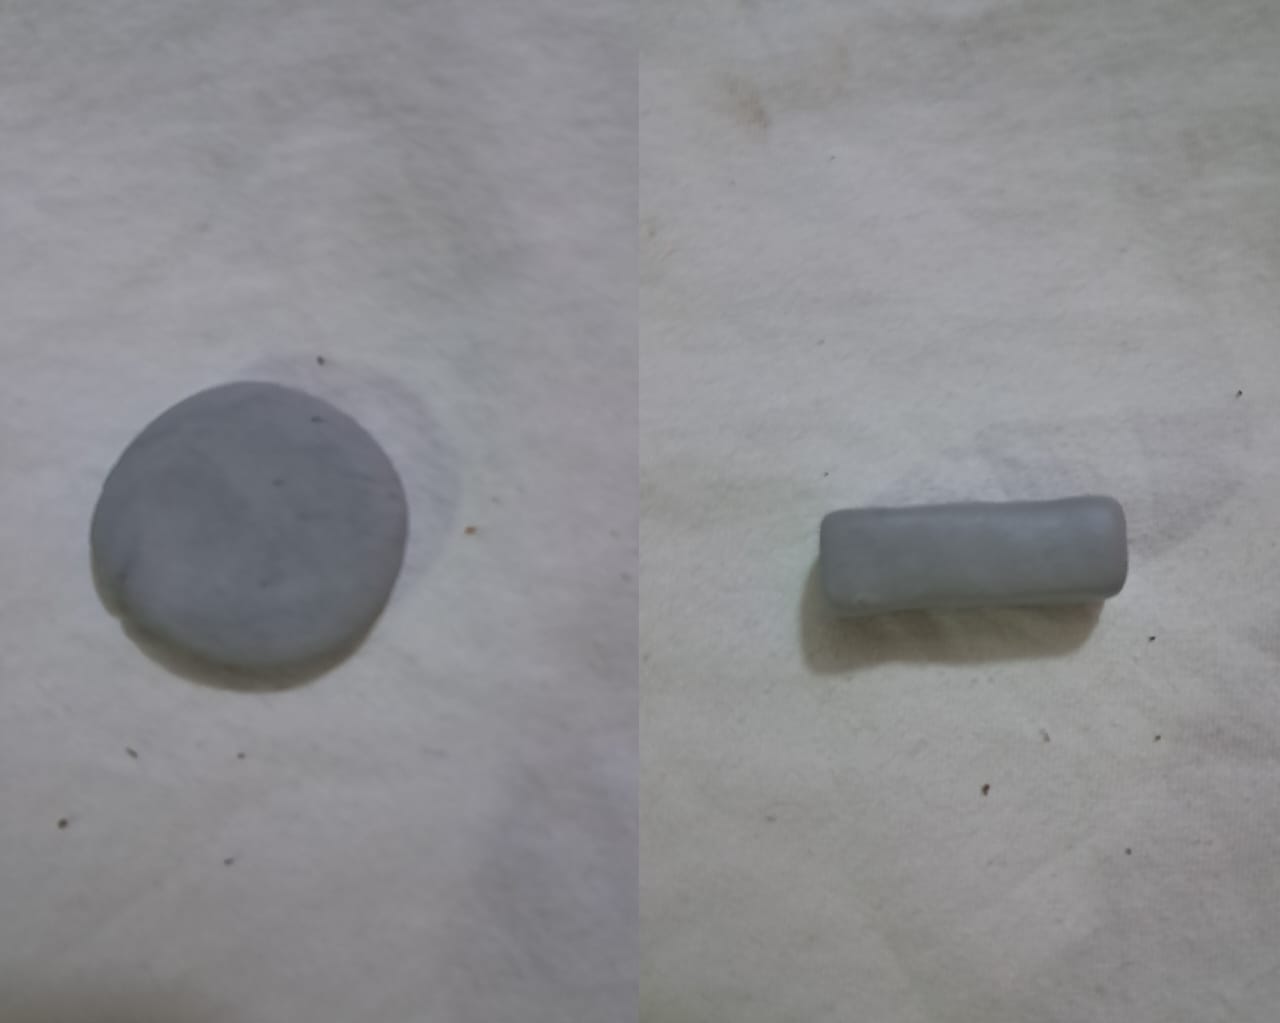
Comenzamos dividiendo la masa en pequeñas porciones, luego añadimos pintura y mezclamos hasta obtener el color deseado, después formamos una bola, la aplanamos y formamos un rectángulo verde que será la base del cuerpo.
Utilizando masa azul, moldeamos dos rectángulos más delgados que el anterior para hacer las piernas.
**
PROCEDURE
**
We start by dividing the dough into small portions, then we add paint and mix until we get the desired color, then we form a ball, flatten it and form a green rectangle that will be the base of the body.
Using blue dough, we molded two rectangles thinner than the previous one, to make the legs.
---
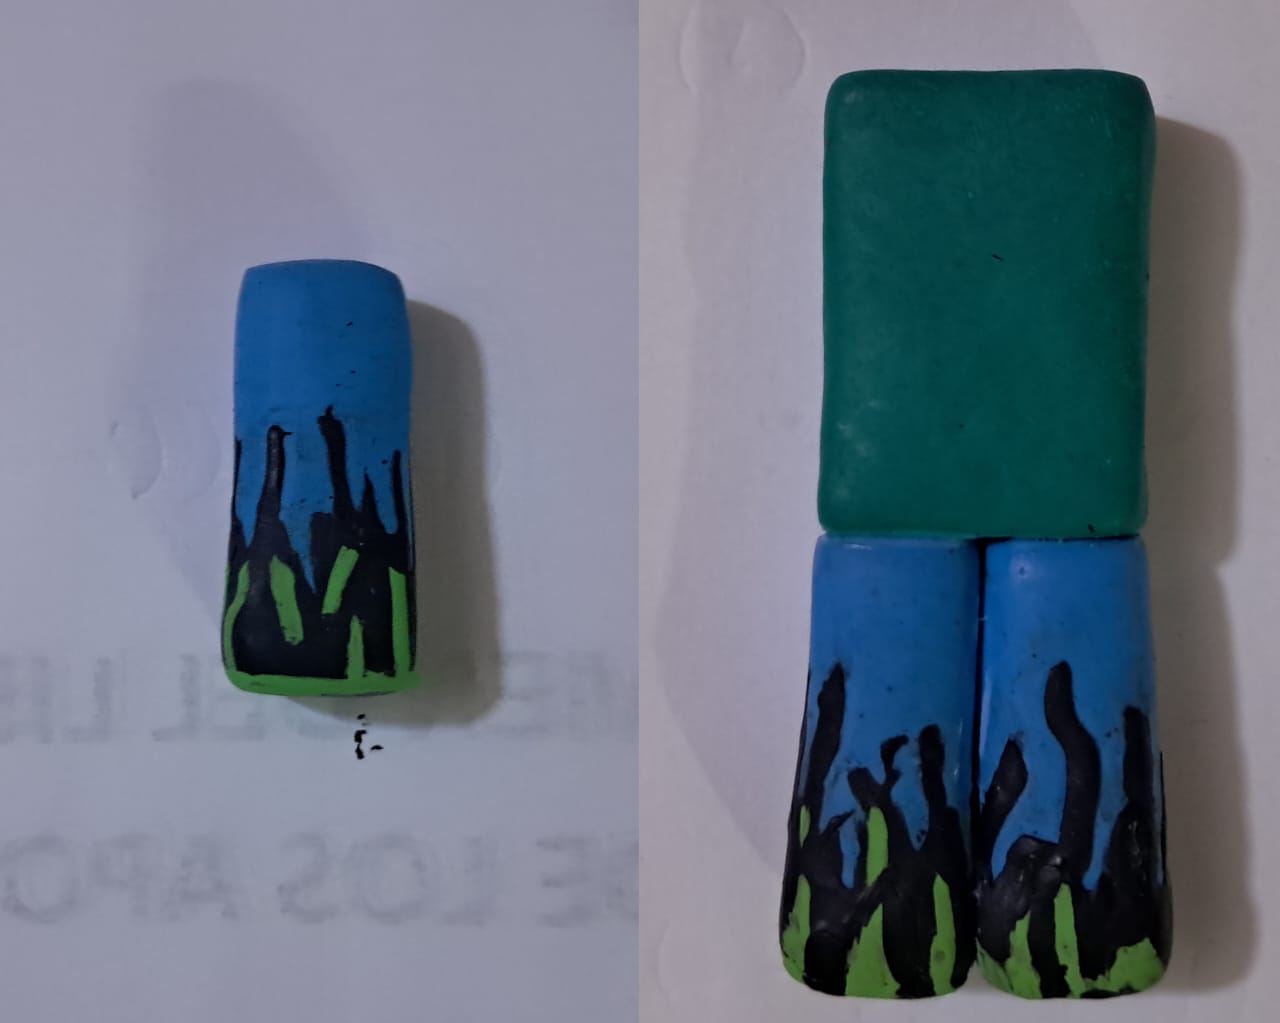
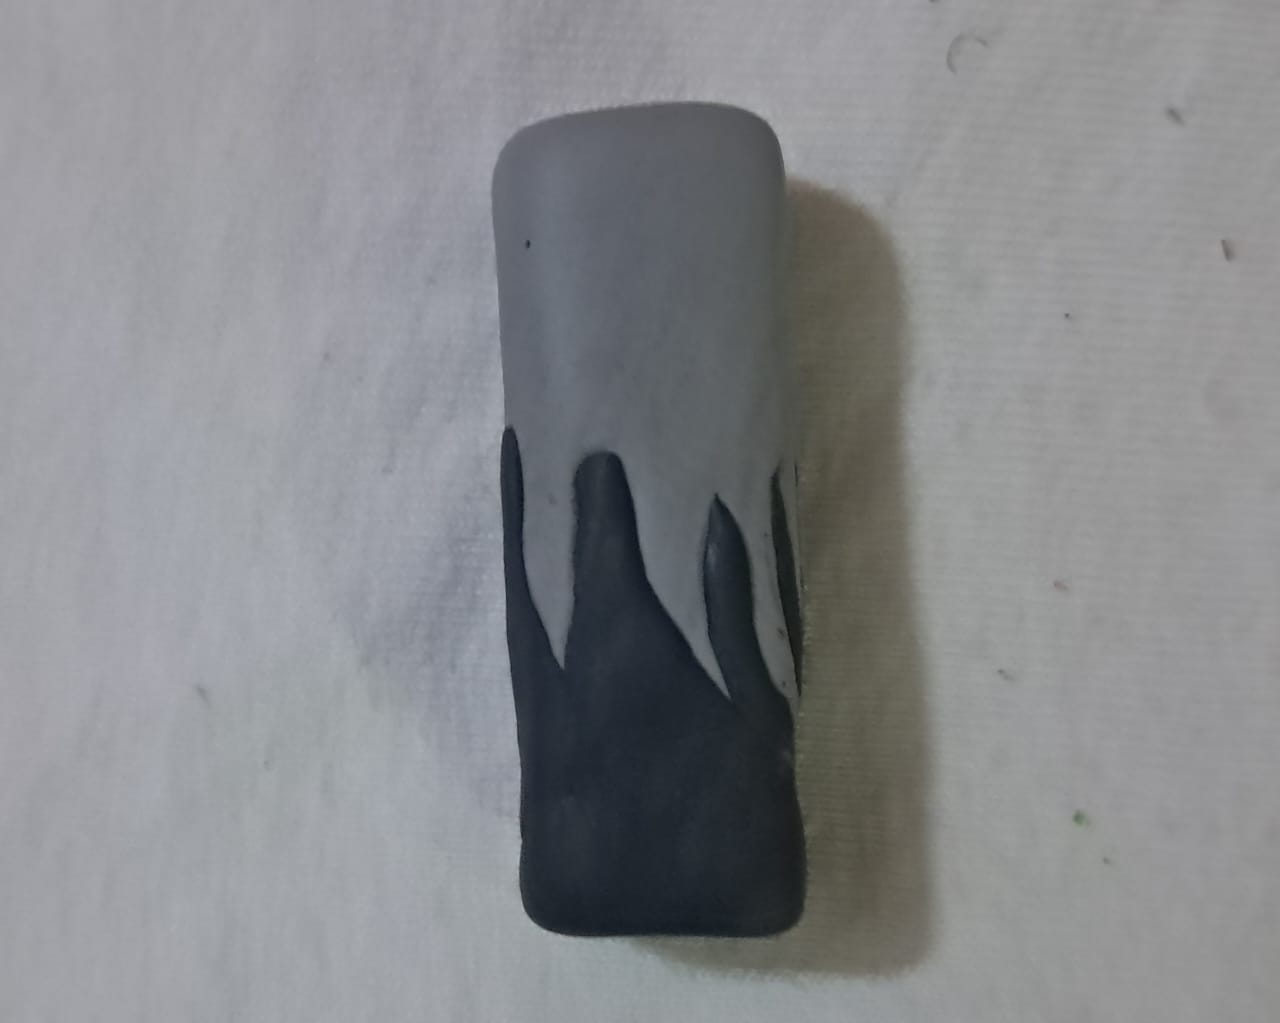
Luego alisamos los bordes y con las estecas aplanamos la parte de arriba y abajo, luego agregamos una capa delgada de masa negra en la parte de abajo, colocamos pegamento y con la estecas vamos sacando varias puntas que serán los destellos, dejamos secar durante 20 o 30 minutos y agregamos la pintura verde y azul, revisamos que la pintura esté completamente seca y unimos las piernas al torso, nuevamente dejamos secar para que las piezas peguen bien.
Then we smooth the edges and flatten the top and bottom with the modeling tools. Next, we add a thin layer of black clay to the bottom, apply glue, and use the modeling tools to create several points that will be the highlights. We let it dry for 20 or 30 minutes and add the green and blue paint. We check that the paint is completely dry and attach the legs to the torso. Again, we let it dry so that the pieces stick together well.
---
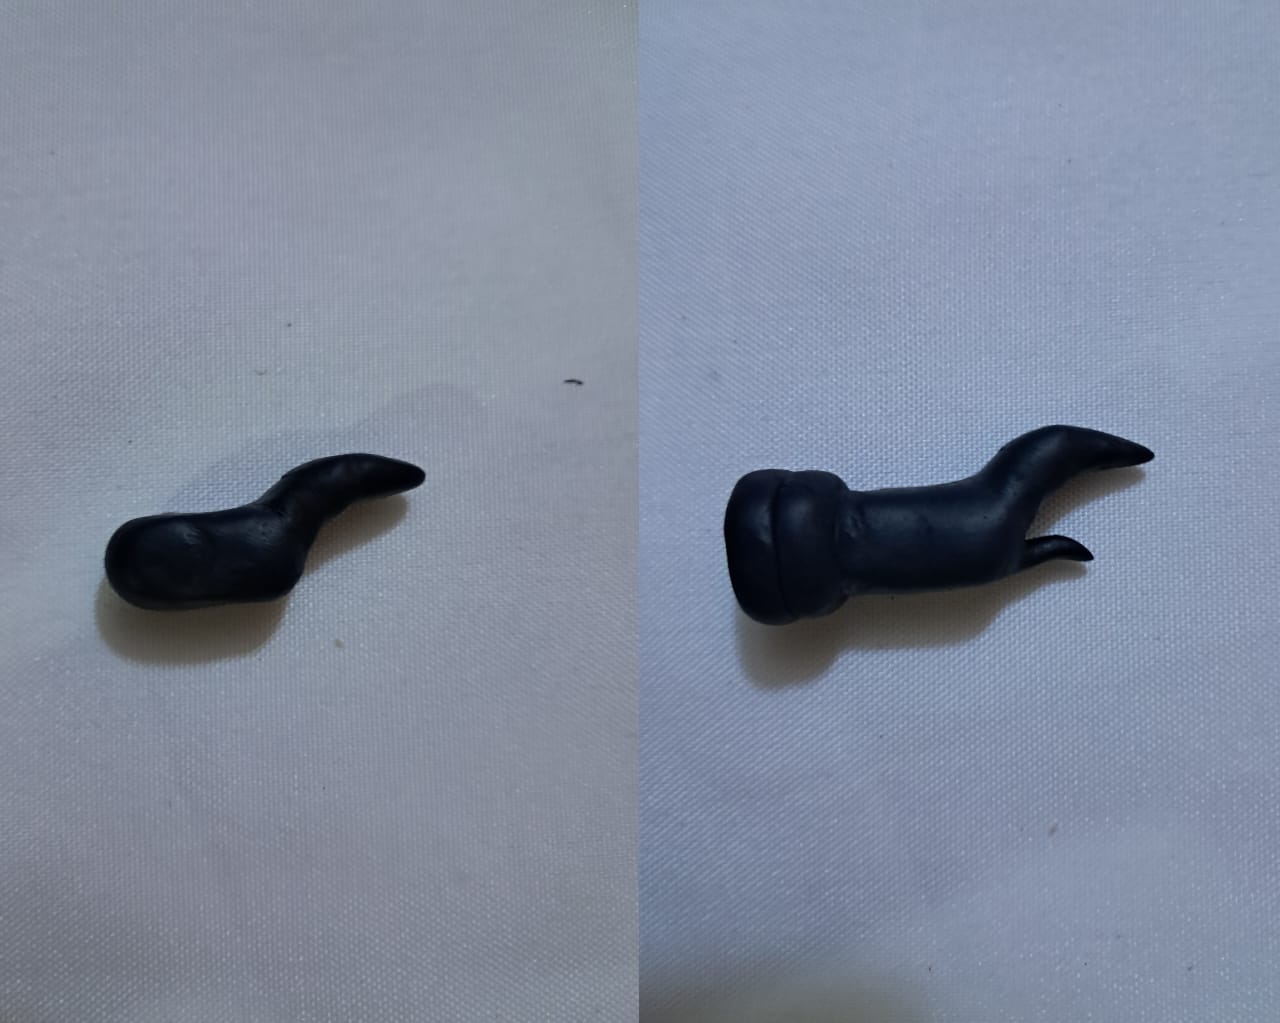
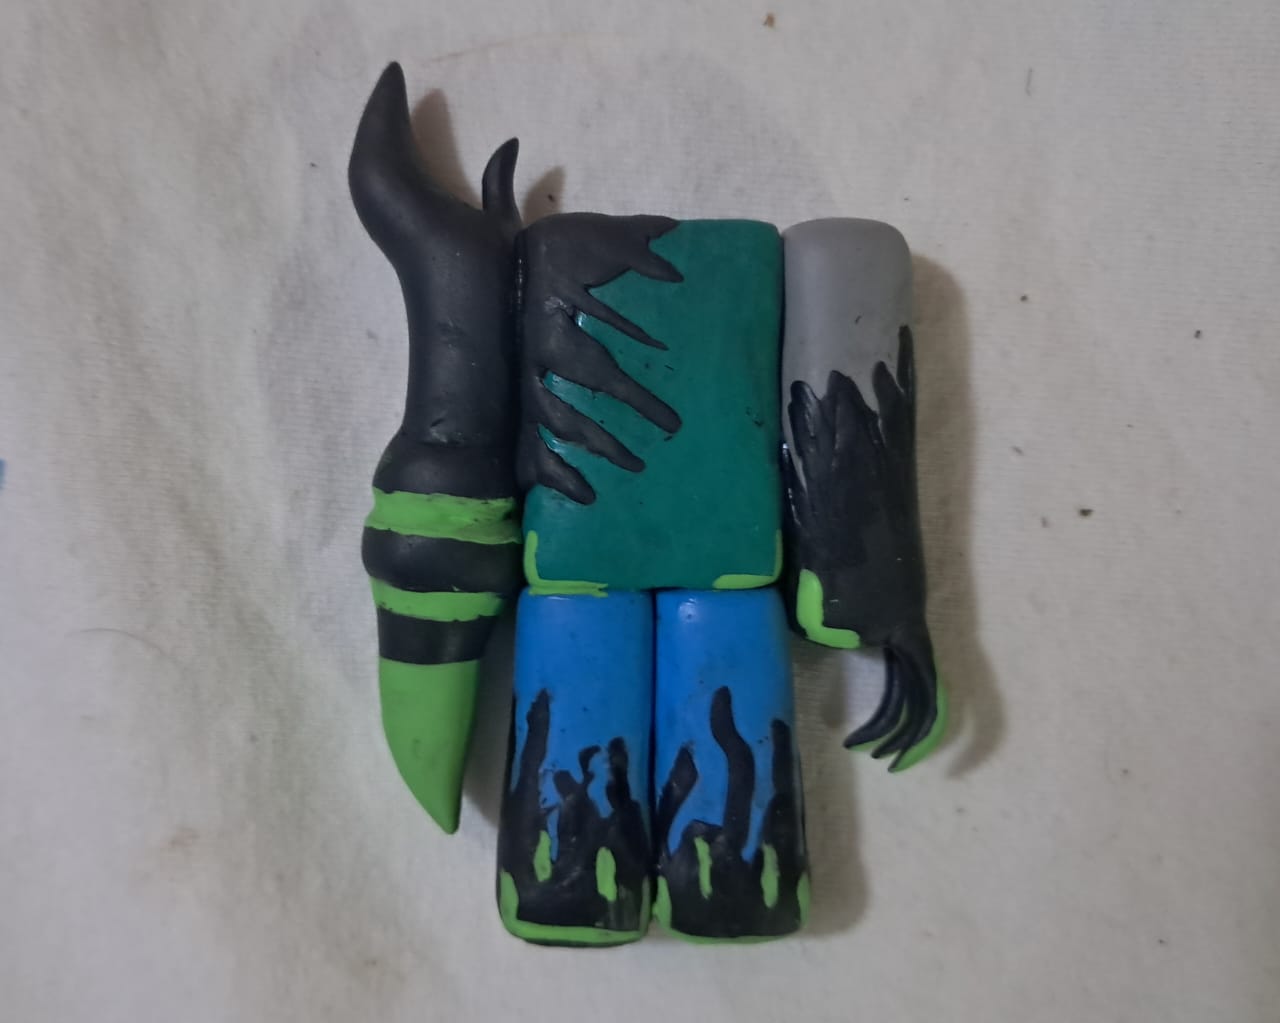
Para hacer hacer uno de los brazos utilizamos masa negra, moldeamos una especie de letra C, luego hundimos un poco en el centro para dar la forma de la mano, en la parte más pronunciada agregamos el dedo colocamos suficiente pegamento, dejamos secar y colocamos dos círculos en la parte de atrás a esta parte unimos la pieza de color verde, es un triángulo puntiagudo con dos círculos de color negro.
To make one of the arms, we used black clay. We molded a sort of C shape, then made a slight indentation in the center to create the hand shape. At the most prominent point, we added the finger, applied enough glue, let it dry, and then placed two circles on the back. To this, we attached the green piece, which is a pointed triangle with two black circles.
---
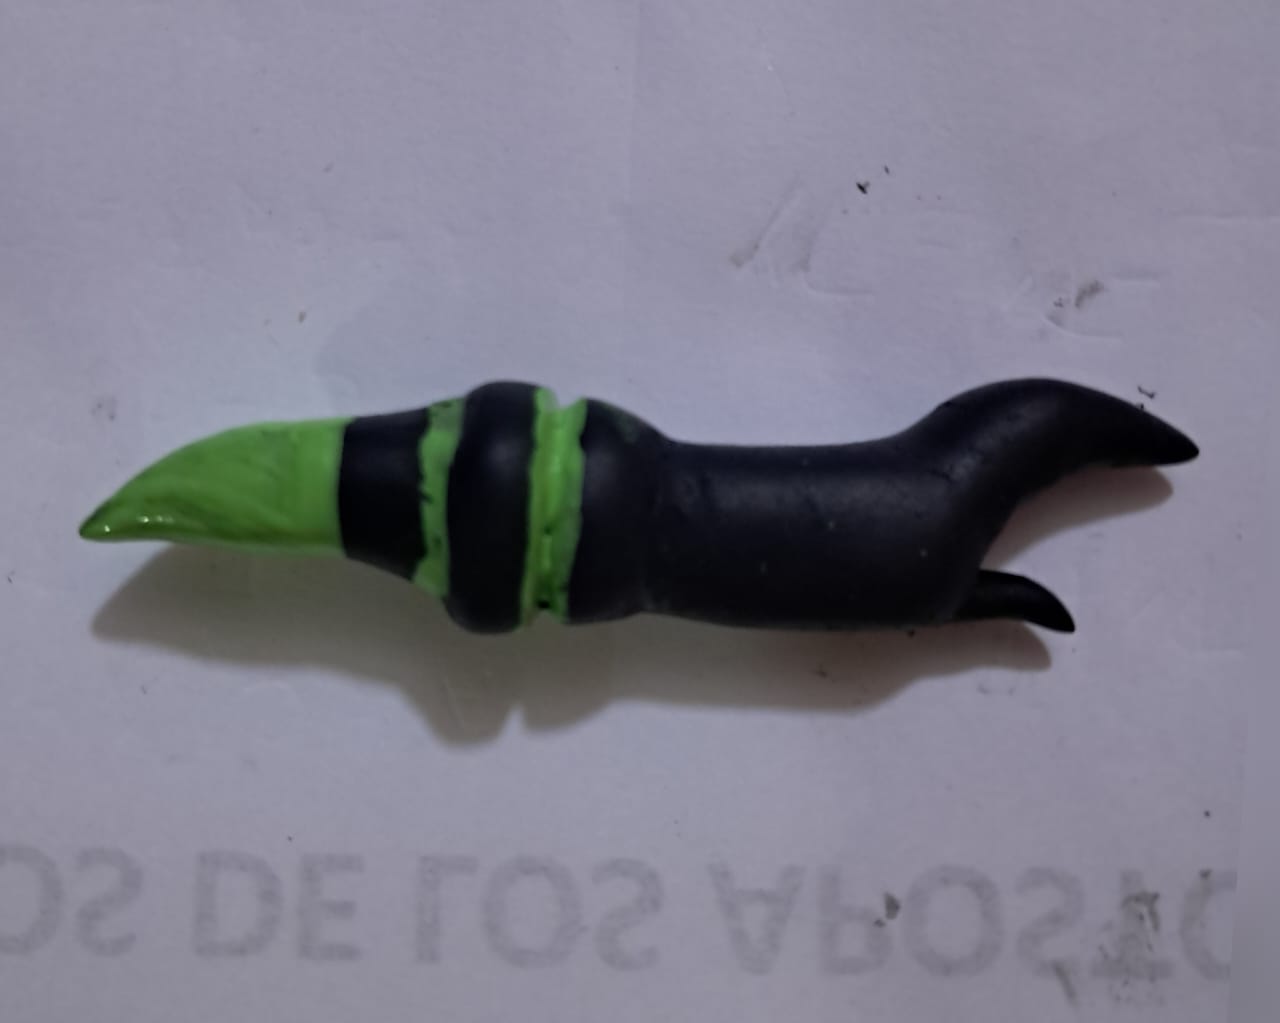
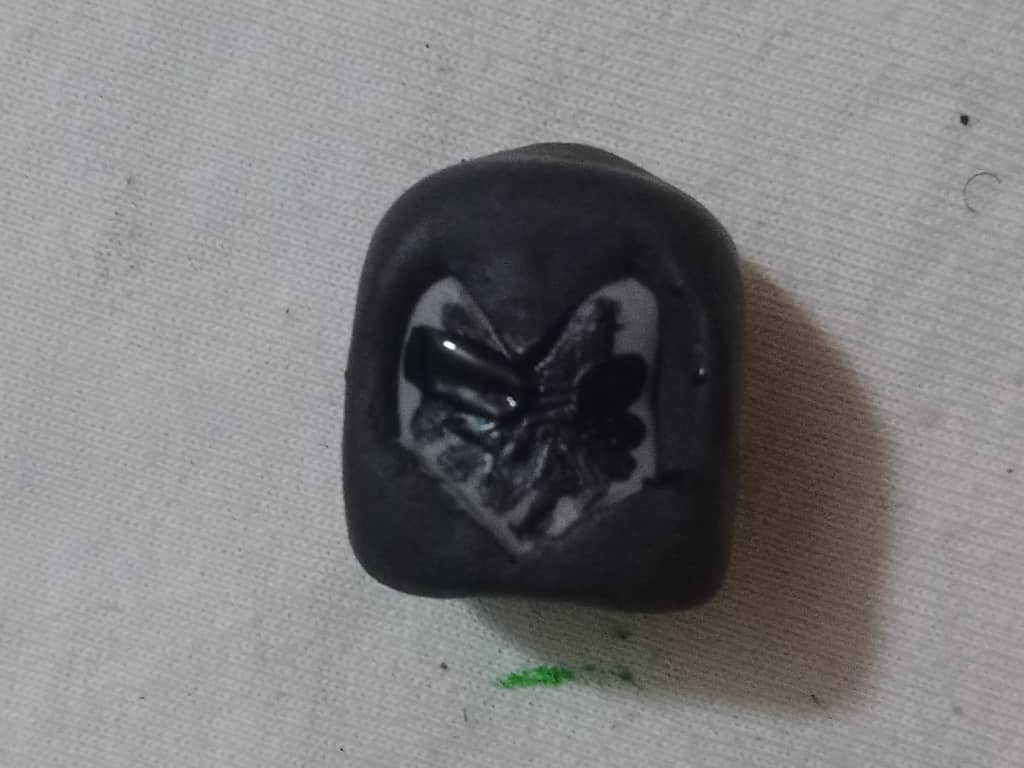
Para moldear el siguiente abrazo utilizaremos masa de color gris, hacemos un rectángulo, aplanamos los bordes, la parte de arriba y abajo y con n una capa delgada de masa negra forramos la parte de abajo hasta llegar al centro, en la parte cubierta con masa negra colocamos los dedos de color negro y varias capas de color verde.
To sculpt the next hug, we'll use gray clay. We'll make a rectangle, flatten the edges, top, and bottom, and then cover the bottom with a thin layer of black clay, working our way up to the center. On the black clay-covered portion, we'll place the black fingers and several layers of green clay.
---
We'll also add a layer of black clay to the torso, create several points, and attach the arms. We'll apply enough glue, let it dry, and then move on to the other pieces.
Agregamos al torso también, una capa de masa negra, sacamos varias puntas y pegamos los brazos, colocamos suficiente pegamento dejamos secar y avanzamos con las otras piezas.
---
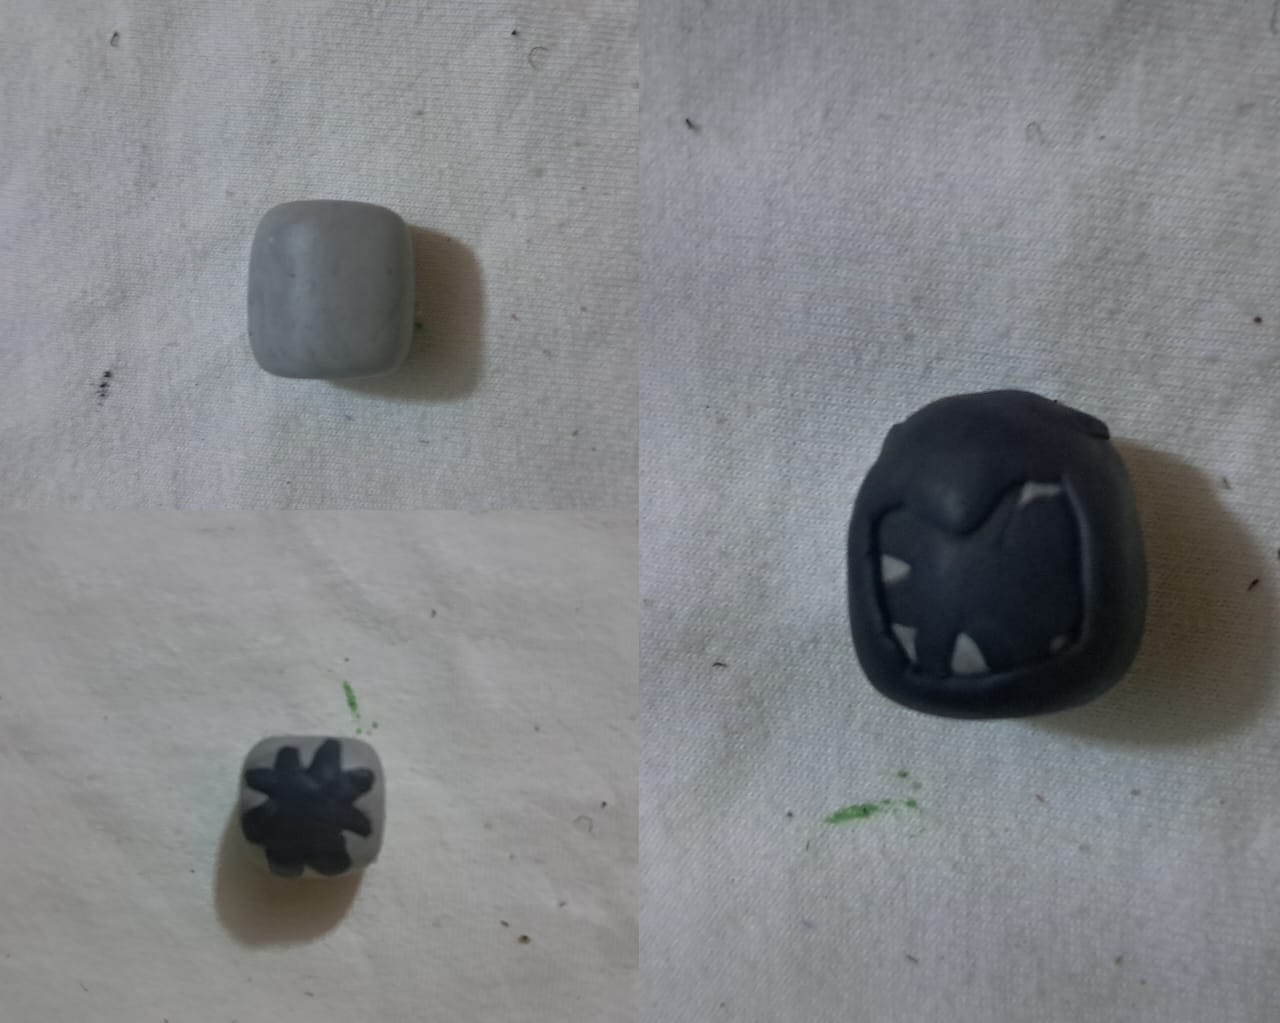
Luego con masa de color gris hacemos un cilindro y moldeamos la cara, al igual que los pasos anteriores aplanamos los bordes y extremos, con masa negra colocamos varias líneas tiras puntiagudas en el centro, y fina y la envolvemos en una especie de casco afilamos el centro del casco y en la parte de abajo también sacamos una forma triangular.
Next, using gray clay, we make a cylinder and shape the face. As in the previous steps, we flatten the edges and ends. With black clay, we place several pointed strips in the center and a thin layer, wrapping it into a helmet-like shape. We sharpen the center of the helmet and also create a triangular shape at the bottom.
---
Con masa verde moldeamos las alas, pegamos la cabeza al cuerpo, agregamos los detalles de los botones y cadenas en color verde, pegamos las alas, una a cada lado y dejamos secar.
Using green clay, we shaped the wings, attached the head to the body, added the details of the buttons and chains in green, glued the wings on, one on each side, and let it dry.

---
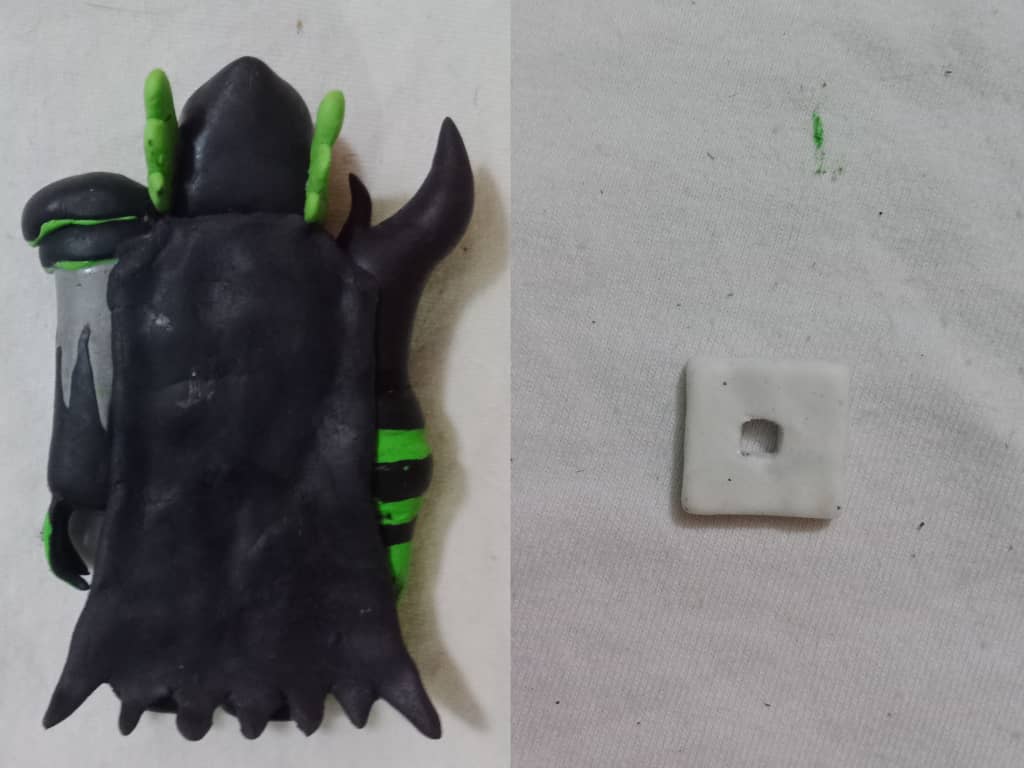
Nuevamente utilizando masa negra, hacemos la capa de su vestuario, en la parte de abajo sacamos varias puntas y finalmente con masa blanca hacemos un cuadrado con un orificio en el centro, el cual pegaremos en la cabeza del personaje, así está terminada la escultura de John Doe.
Using black clay again, we make the cape of his outfit, at the bottom we make several points and finally with white clay we make a square with a hole in the center, which we will glue onto the character's head, thus the John Doe sculpture is finished.
---
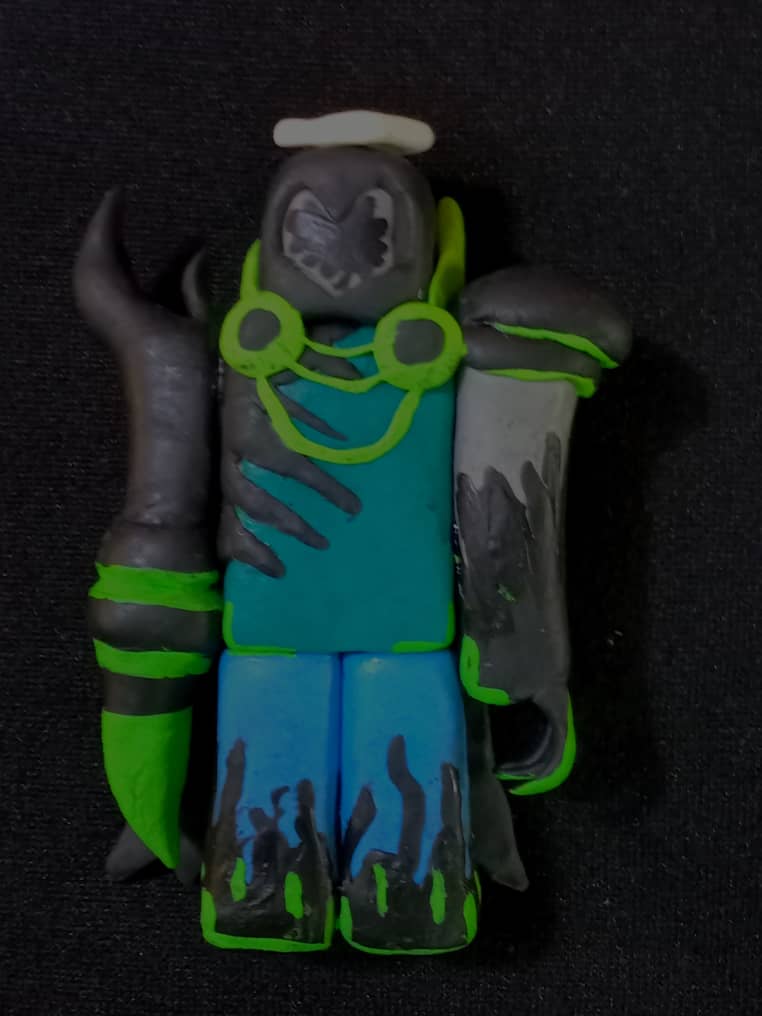
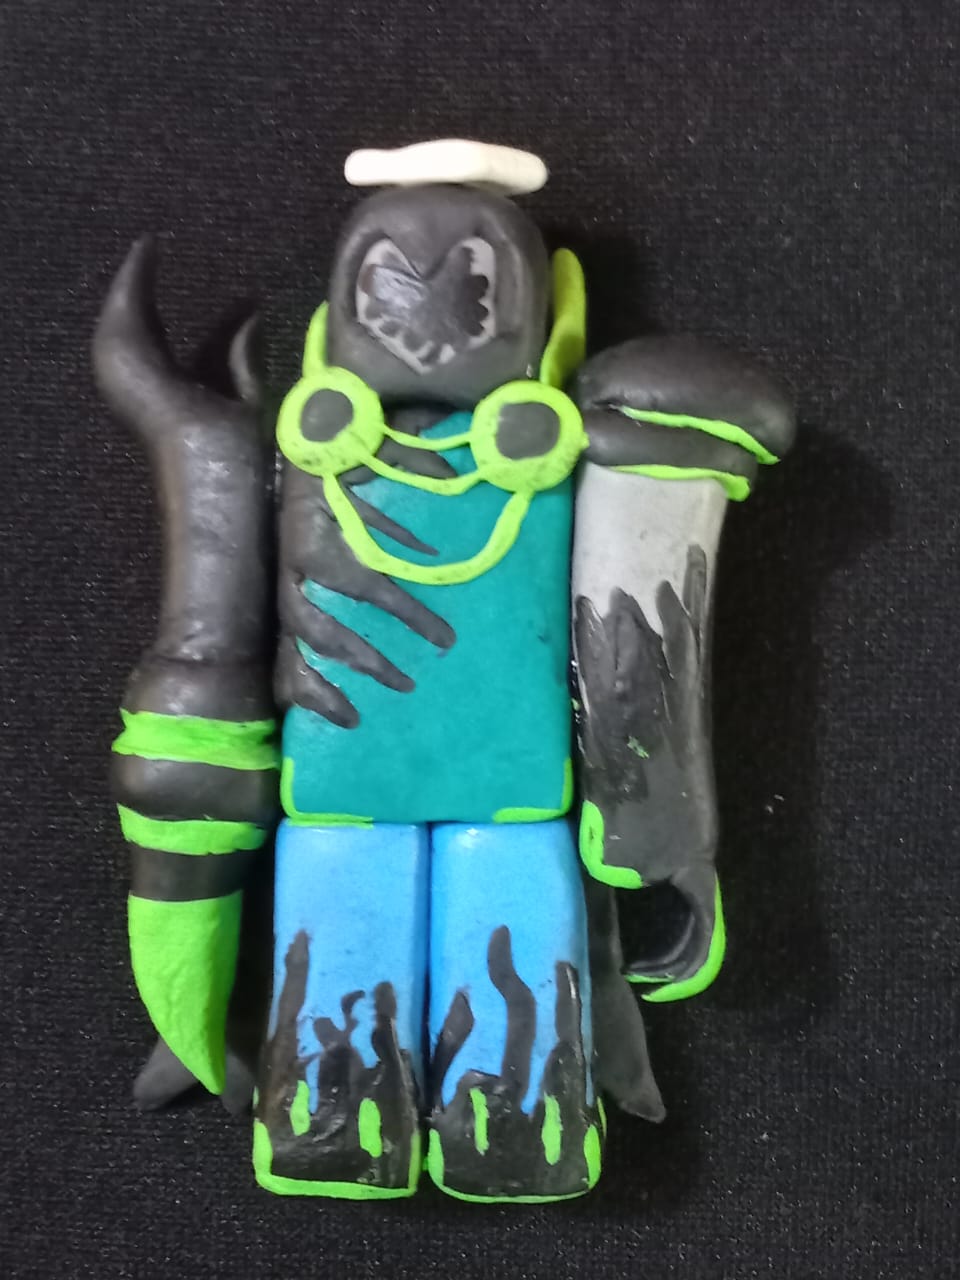
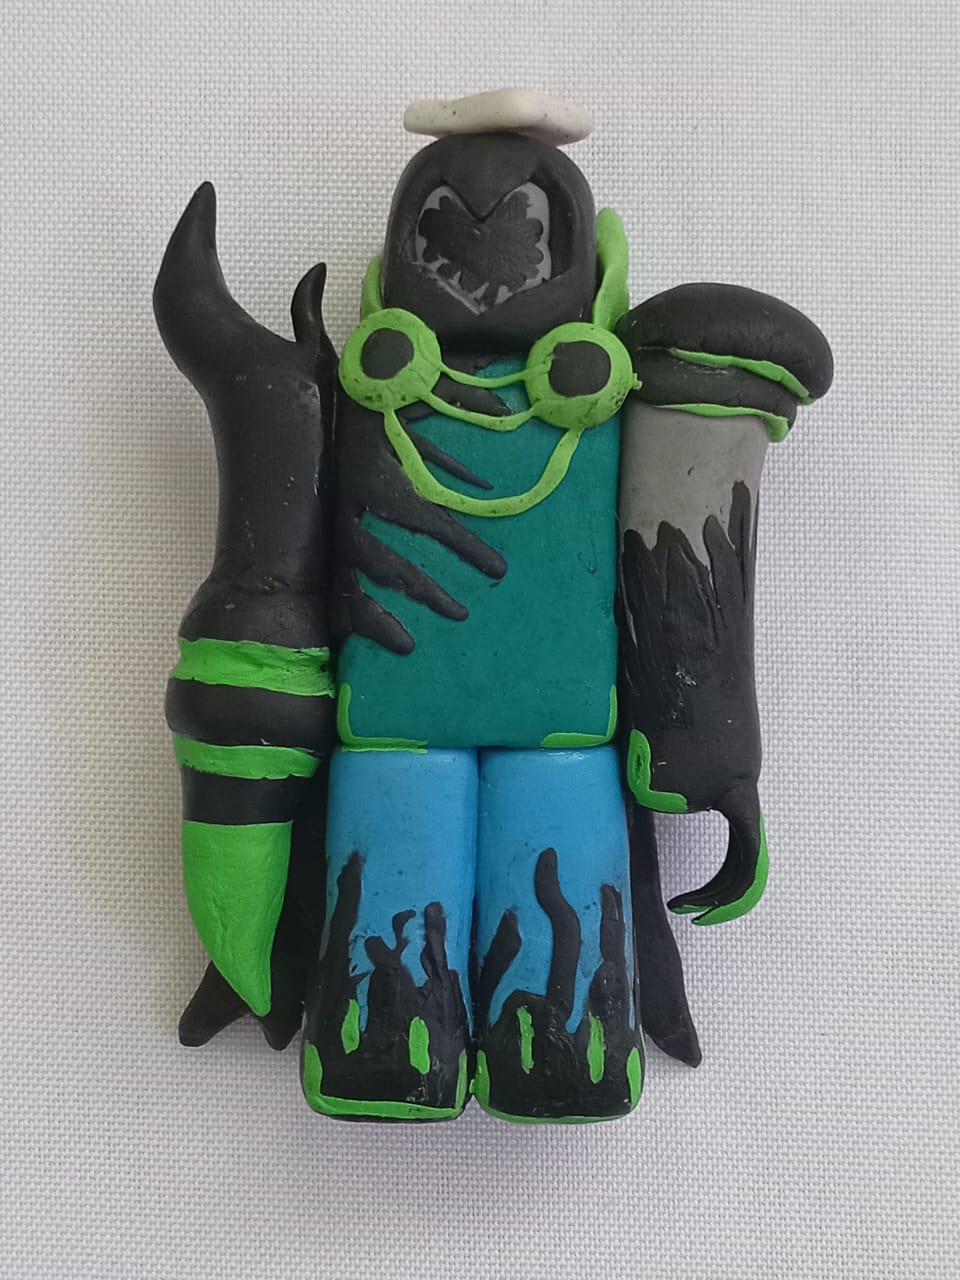
Les muestro el resultado
I'll show you the result


---
**Gracias por Leer.**
**Thank you for reading.**
---
**Hasta Luego!**
**See you later!**
---
---
Translated with https://www.deepl.com/translator
All images are of my authorship captured with an Alcatel phone.
Todas las imágenes son de mi autoría capturadas con un teléfono Alcatel.
---
#diy
#spanish
#manualidades
#handmade
#neoxian
#creativecoin
#hivediy
#craft
#tutorial
#creative
Payout: 3.852 HBD
Votes: 247
More interactions (upvote, reblog, reply) coming soon.