**
ESPAÑOL
**
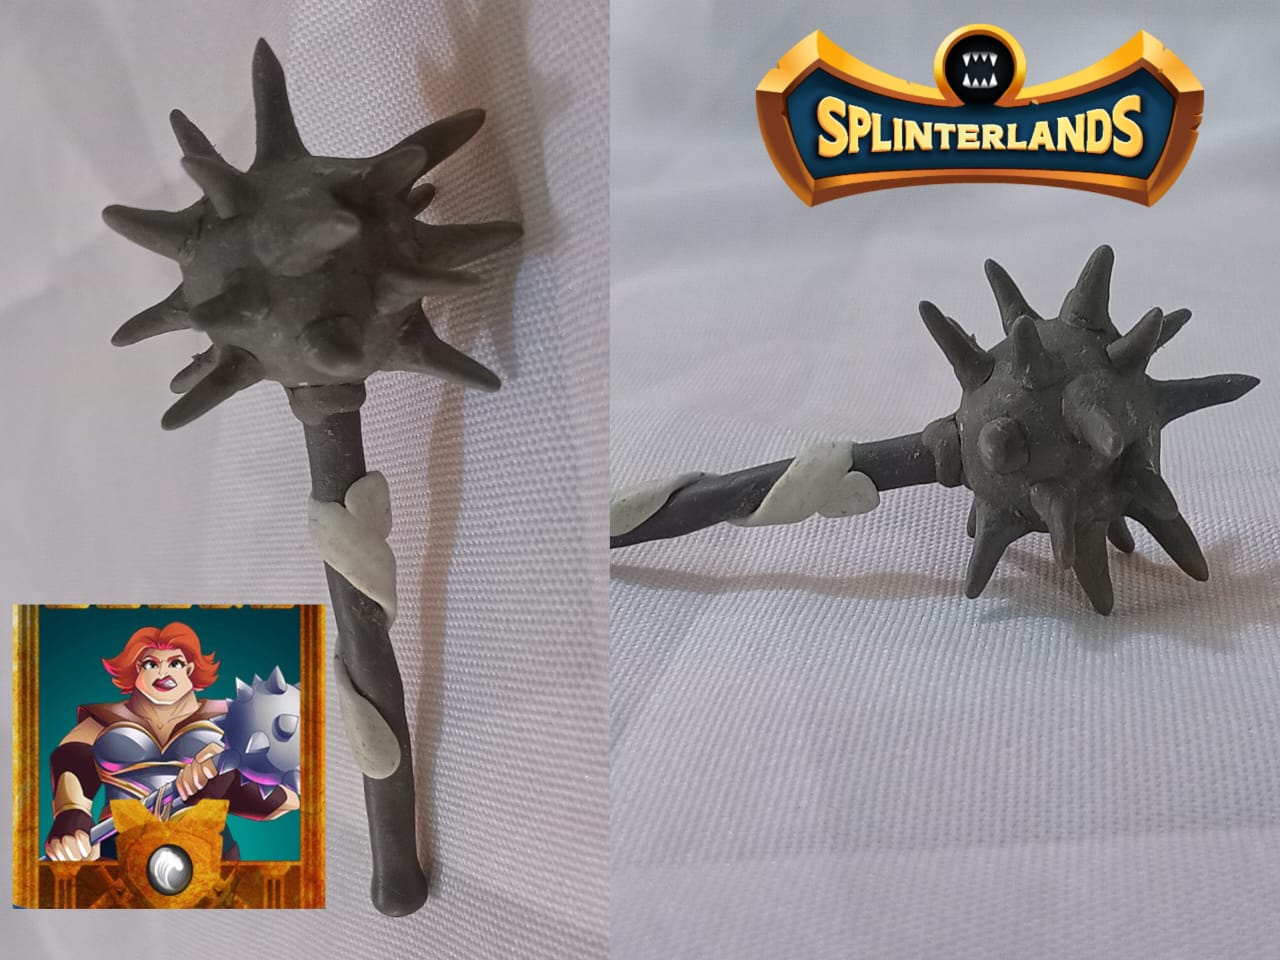
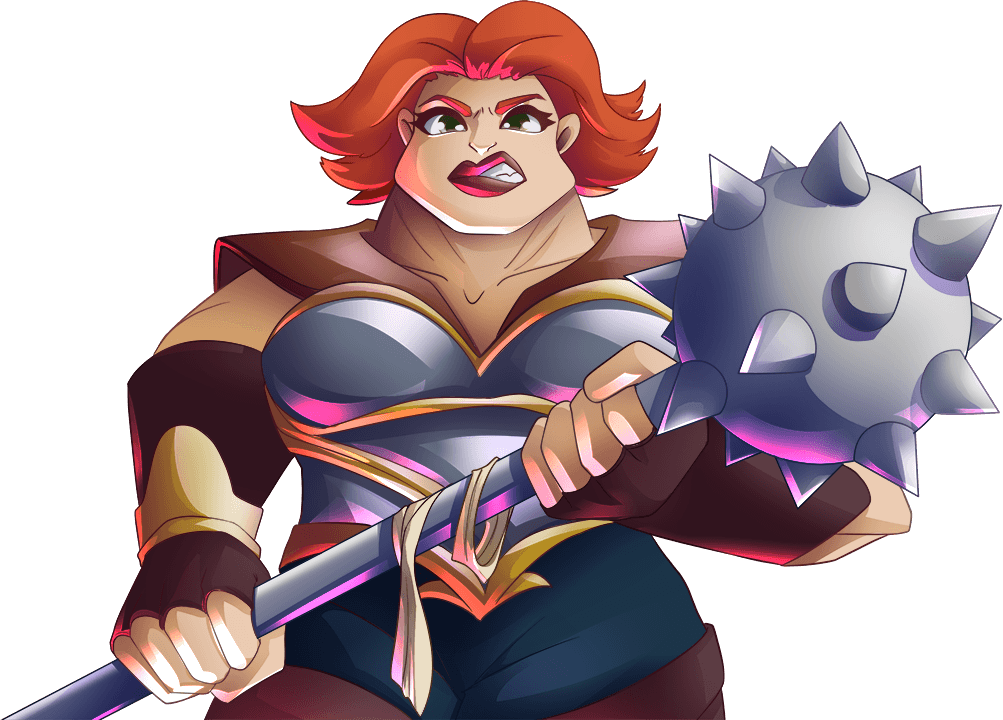
Saludos, comunidad de @diyhub. Espero que estén pasando un excelente día junto a sus seres queridos. Me complace compartir un nuevo proyecto de modelado inspirado en Splinterlands: una maza medieval con Alva la Trituradora. Es gris con una banda blanca en el mango. Este tipo de arma, como su nombre indica, se usaba en la Edad Media para el combate cuerpo a cuerpo. Se caracteriza por varios triángulos puntiagudos unidos a una bola, que a su vez está unida a un mango. Es la primera vez que veo este tipo de arma, y le pregunté a mi profesora de historia sobre su nombre. Me explicó que era un arma utilizada en la guerra medieval y que evolucionó gradualmente. Para usarla, el oponente debía estar en buena forma física y ser fuerte. Aquí les muestro el proceso de elaboración.
**
ENGLISH
**
Greetings @diyhub community, I hope you have an excellent and blessed day with your loved ones. It's a pleasure to share a new Splinterlands-inspired molding project: a medieval mace, [Alva the Crusher](https://www.splintercards.com/gladius_core_alva-the-crusher) It's gray with a white band on the handle. This type of weapon was used in medieval times, as its name suggests, for hand-to-hand combat. It's characterized by having several pointed triangles attached to a ball, which in turn is attached to a handle. This is the first time I've seen this type of weapon, and I asked my history teacher about its name. She explained that it was a weapon used in medieval wars and that it gradually evolved. To use it, the opponent had to be in good physical condition and strong. I'll show you the crafting process.

---
**
MATERIALES
**
Masa flexible
Estecas
Pegamento
Papel
Superficie para moldear
Pintura al frío
Crema de moldeado
**
MATERIALS
**
Flexible clay
Modeling tools
Glue
Paper
Molding surface
Cold paint
Molding cream

---
**
PROCEDIMIENTO
**
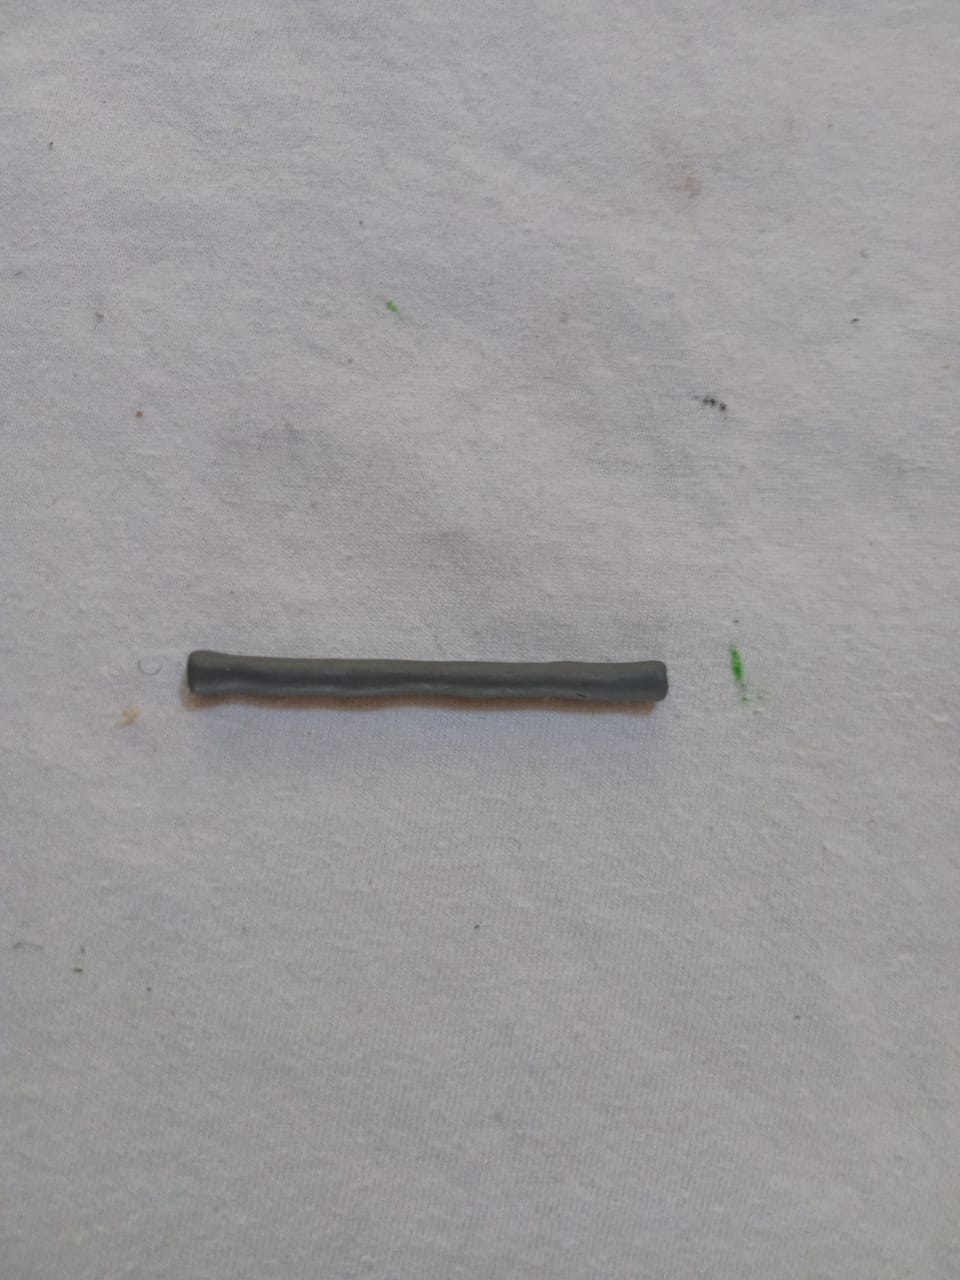
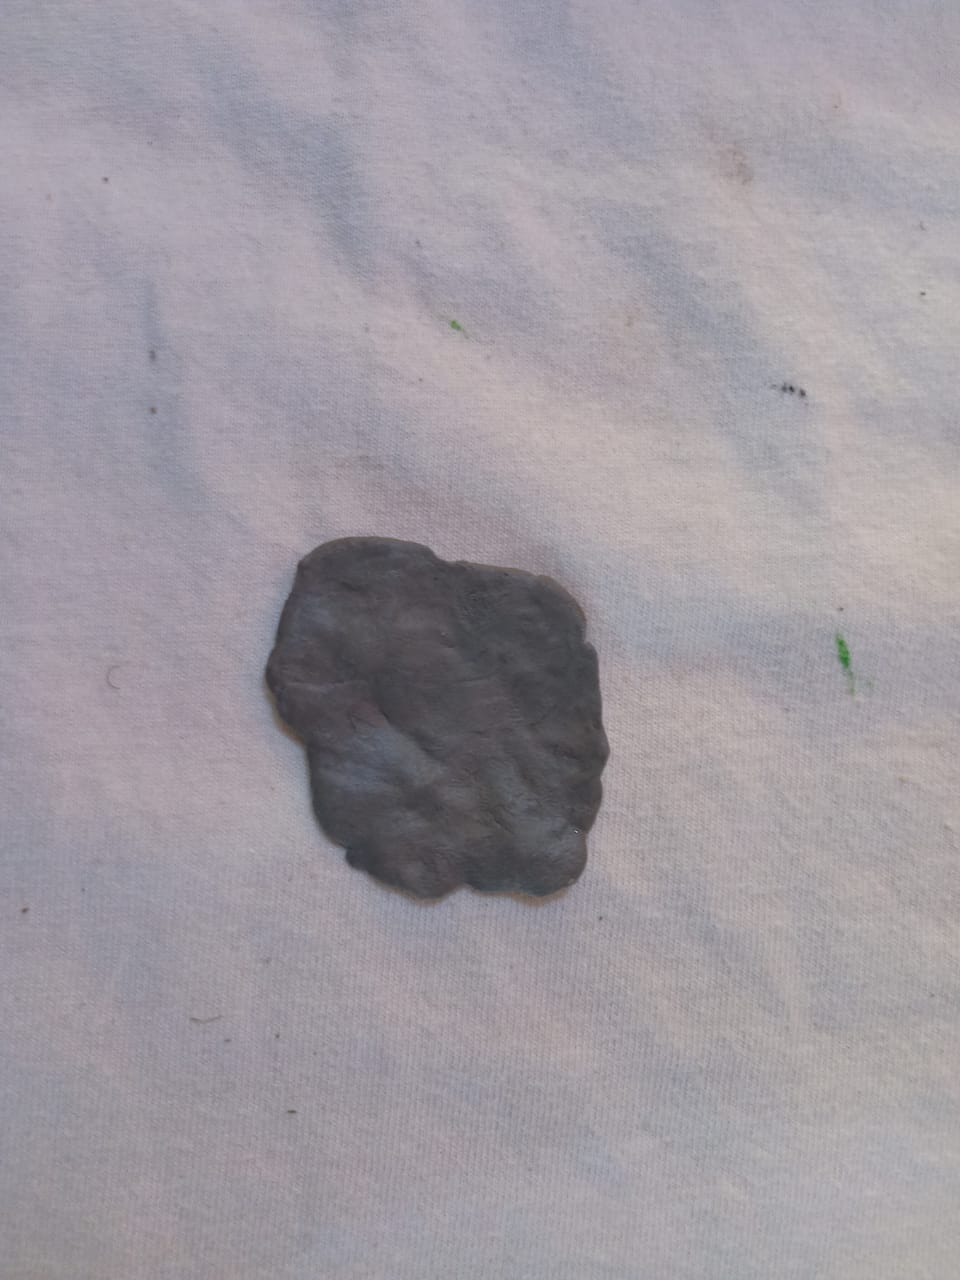
El primer paso para elaborar esta herramienta medieval, es separar la masa en porciones luego agregamos pintura y mezclamos hasta obtener el color deseado, en este proyecto emplearemos los colores gris blanco, con la masa lista y sus respectivos colores, aplanamos y a partir de una bola moldeamos un cilindro que será la base de la maza, en la superficie plana damos forma, alisamos los bordes y aplanamos los extremos.
**
PROCEDURE
**
The first step in making this medieval tool is to separate the clay into portions. Then, we add paint and mix until we obtain the desired color. In this project, we will use gray and white. With the clay ready and its respective colors, we flatten it and, starting from a ball, mold a cylinder that will be the base of the mace. On the flat surface, we shape it, smoothing the edges and flattening the ends.


---
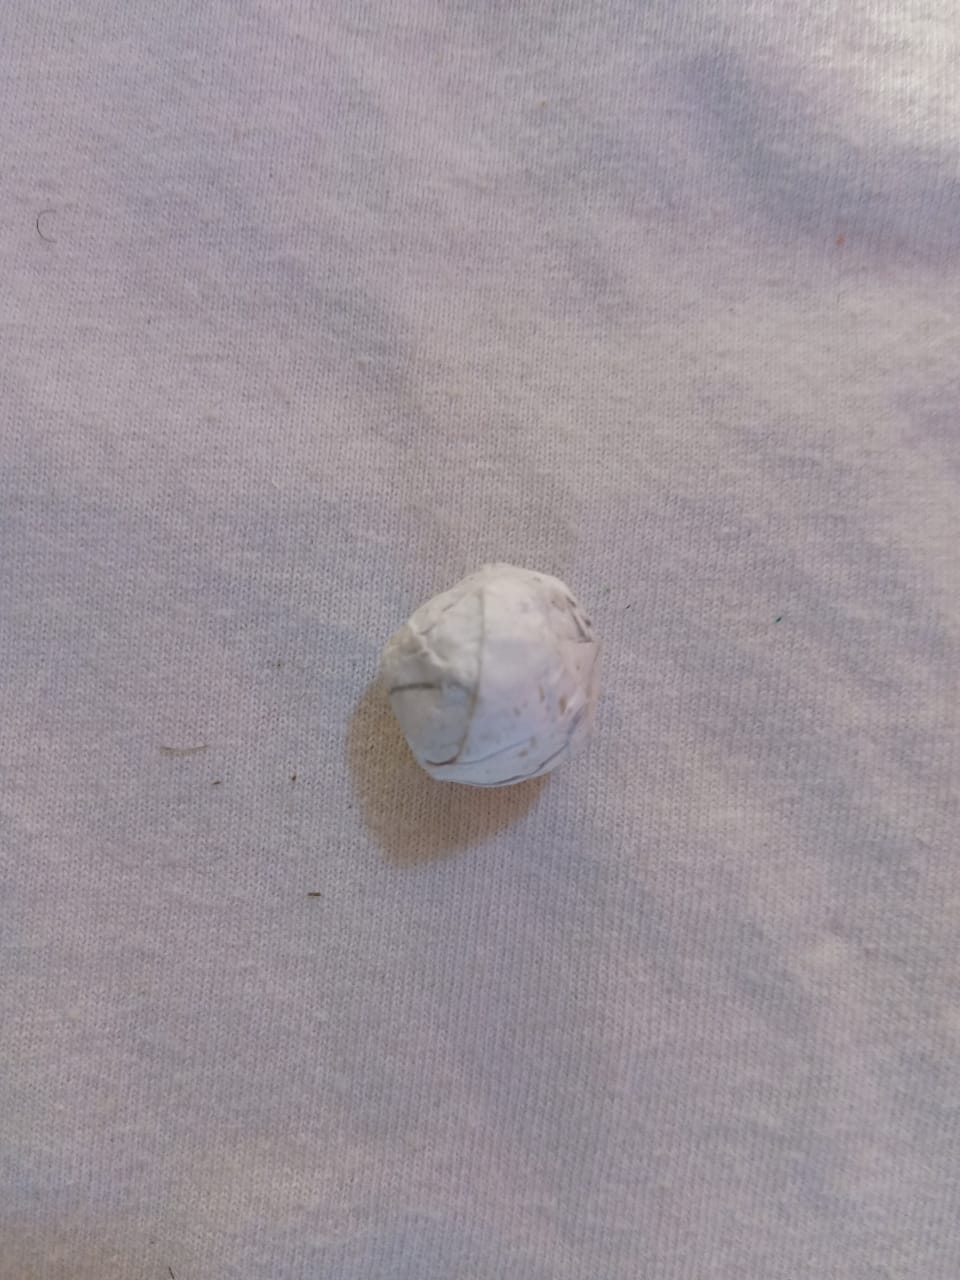
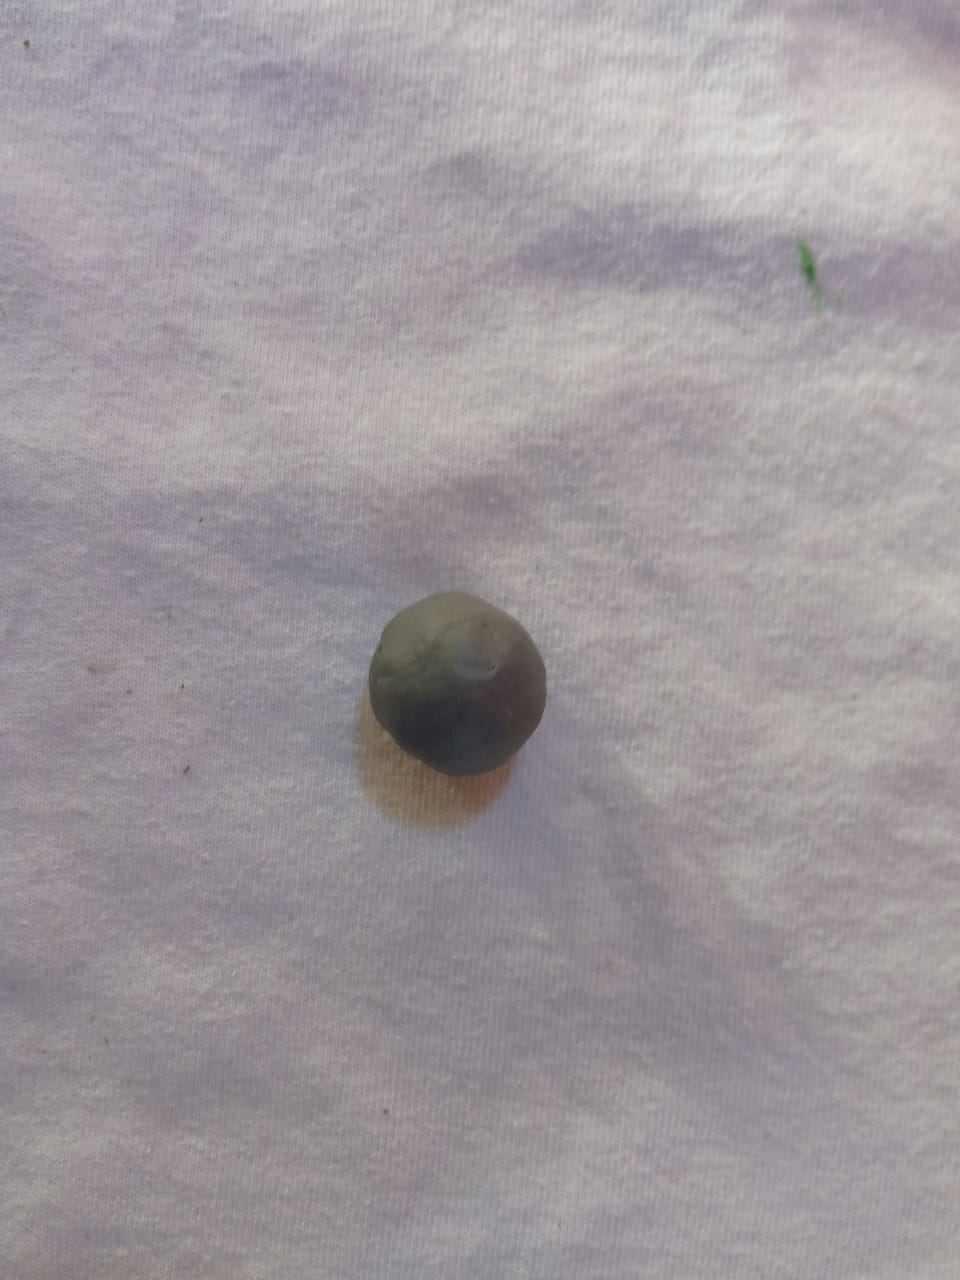
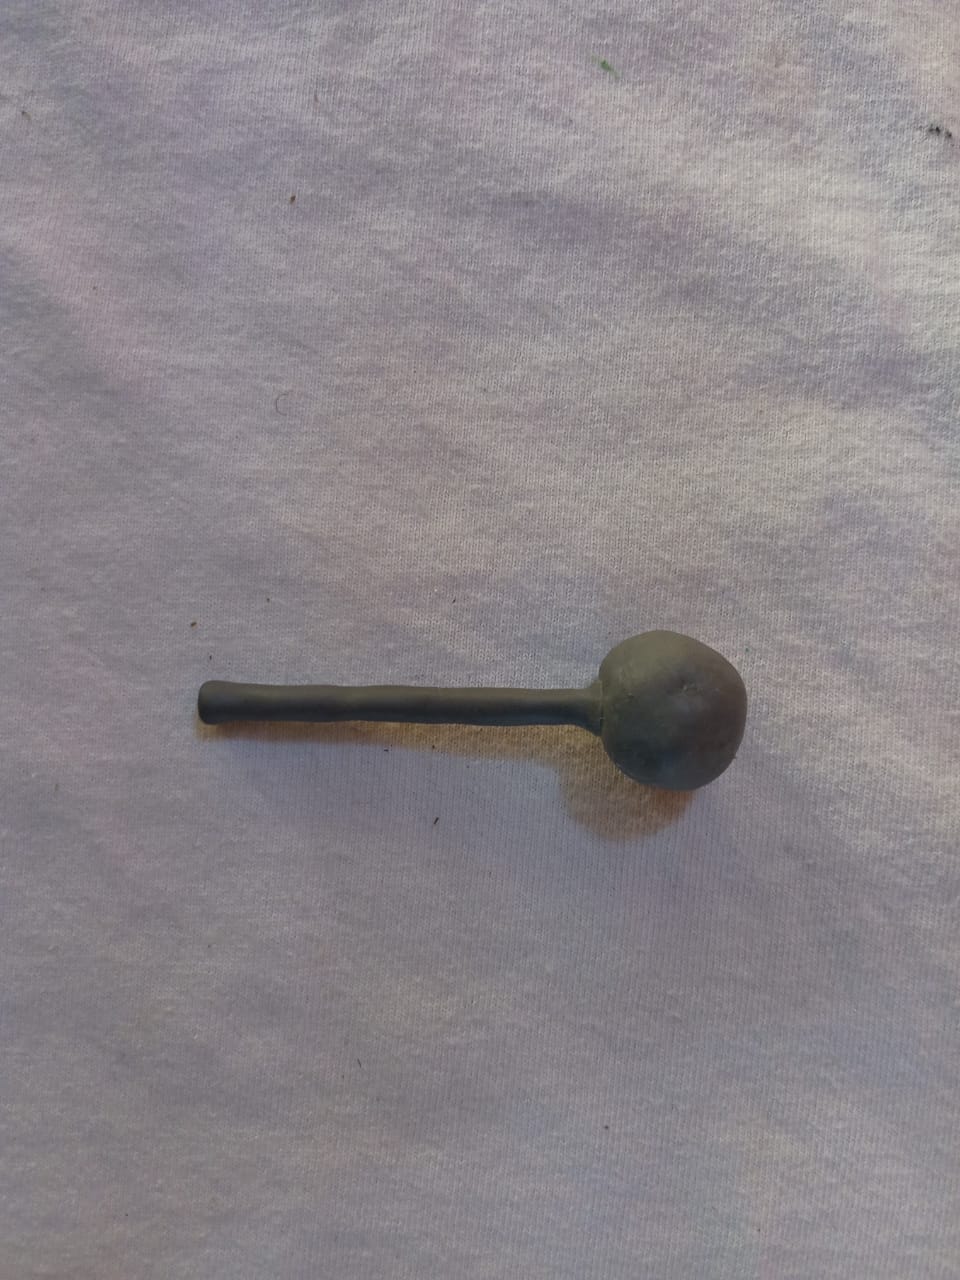
To make the ball of the mace, we take paper, add glue until we form a sphere of the desired size, let it dry for approximately 20 minutes, so that it compacts well and flatten the gray-colored mass as thin as possible, then put glue on the mass and cover the ball of paper, stretch it until it covers it completely and with the modeling tool we flatten the top and bottom again and let it dry.
Para hacer la bola de la maza, tomamos papel, agregamos pegamento hasta formar una esfera del tamaño deseado, la dejamos secar durante 20 minutos aproximadamente, para que compacte bien y aplanamos la masa de color gris lo más delgado posible, luego colocamos pegamento a la masa y cubrimos la bola de papel, estiramos hasta cubrirla por completo y con la esteca aplanamos la parte de arriba y de abajo nuevamente dejamos secar.

---
Next, we attach the ball to the handle, add enough glue, cover the joint, and let it dry again. The drying time is important here, as the handle will support the ball and must be strong and well glued to prevent it from coming loose due to weight.
Luego unimos la bola a la empuñadura, agregamos suficiente pegamento cubrimos la unión y nuevamente dejamos secar, aquí es importante el tiempo de secado, ya que la empuñadura será el soporte de la bola y debe quedar fuerte y bien pegada, así evitamos que se desprenda por el peso.

---
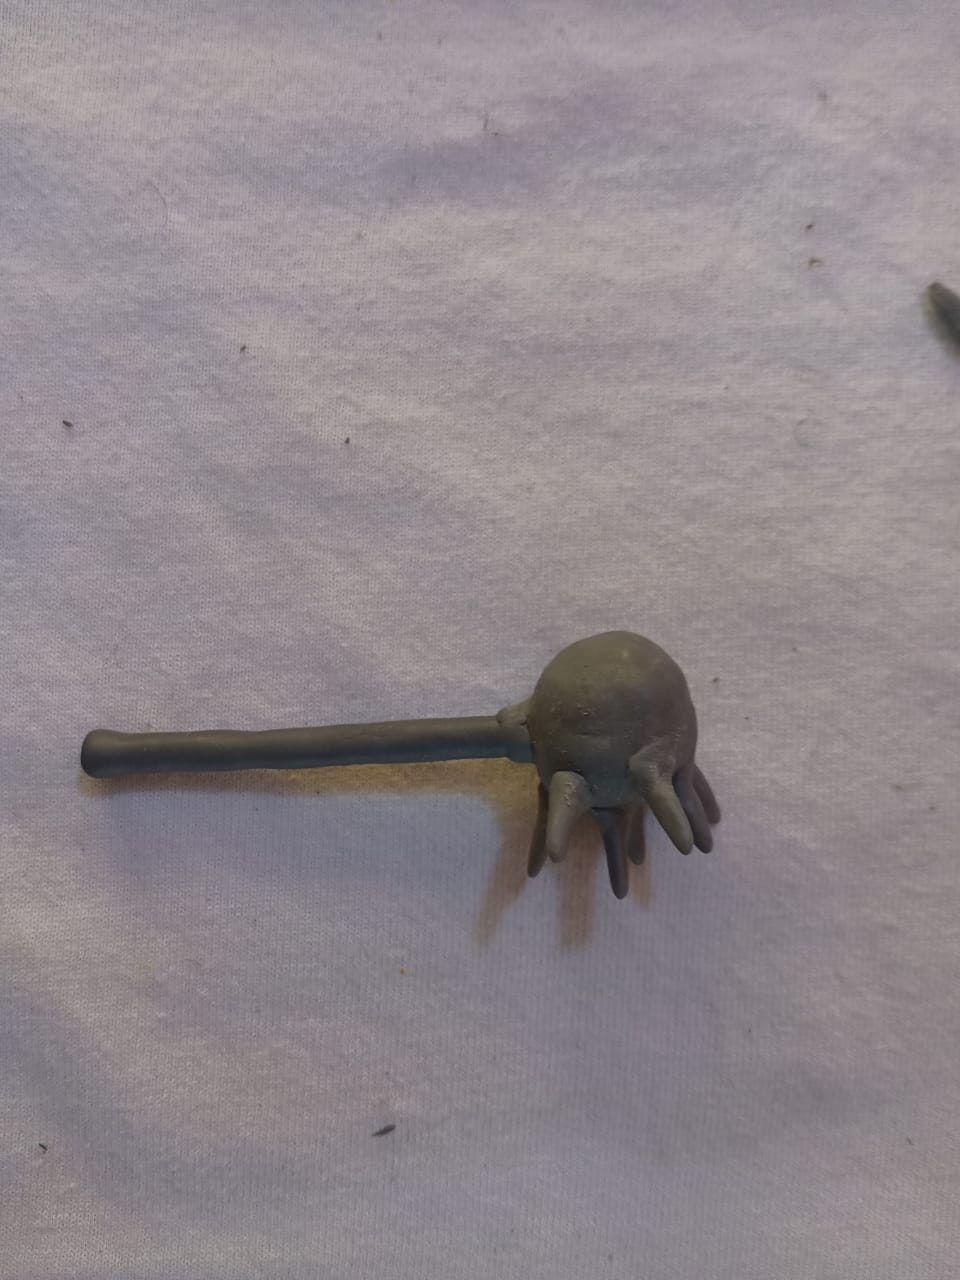
We continue with the gray clay and shape several triangles or spikes, which we will gradually attach to the ball until it is covered. These triangles have a flat base for applying glue and attaching them to the piece, we glue them in two parts, first those that go on the bottom, so that the drying process is complete. We turn the ball over so that the side without spikes dries completely. When they are dry and firmly attached, we add the next set of spikes. Once they dry, we place them on the side that is already glued, so that the process is complete. We let it dry for two or three days so that they bond well and become firm.
Continuamos con la masa de color gris y moldeamos varios triángulos o pinchos que iremos pegando poco a poco, hasta cubrir la bola estos triángulos tienen una base plana para colocar pegamento y unirlos a la pieza, los pegamos en dos partes, primero los que van en la parte de abajo, para que el proceso de secado se haga completo, volteamos la bola por la parte sin pinchos hasta que sequen por completo,cuando estén secos y bien pegados, agregamos los siguientes pinchos, al momento de secar los colocamos del lado que ya está pegado, para que el proceso sea completo, lo dejamos secar dos o tres días, así se unen bien y quedan firmes.


---
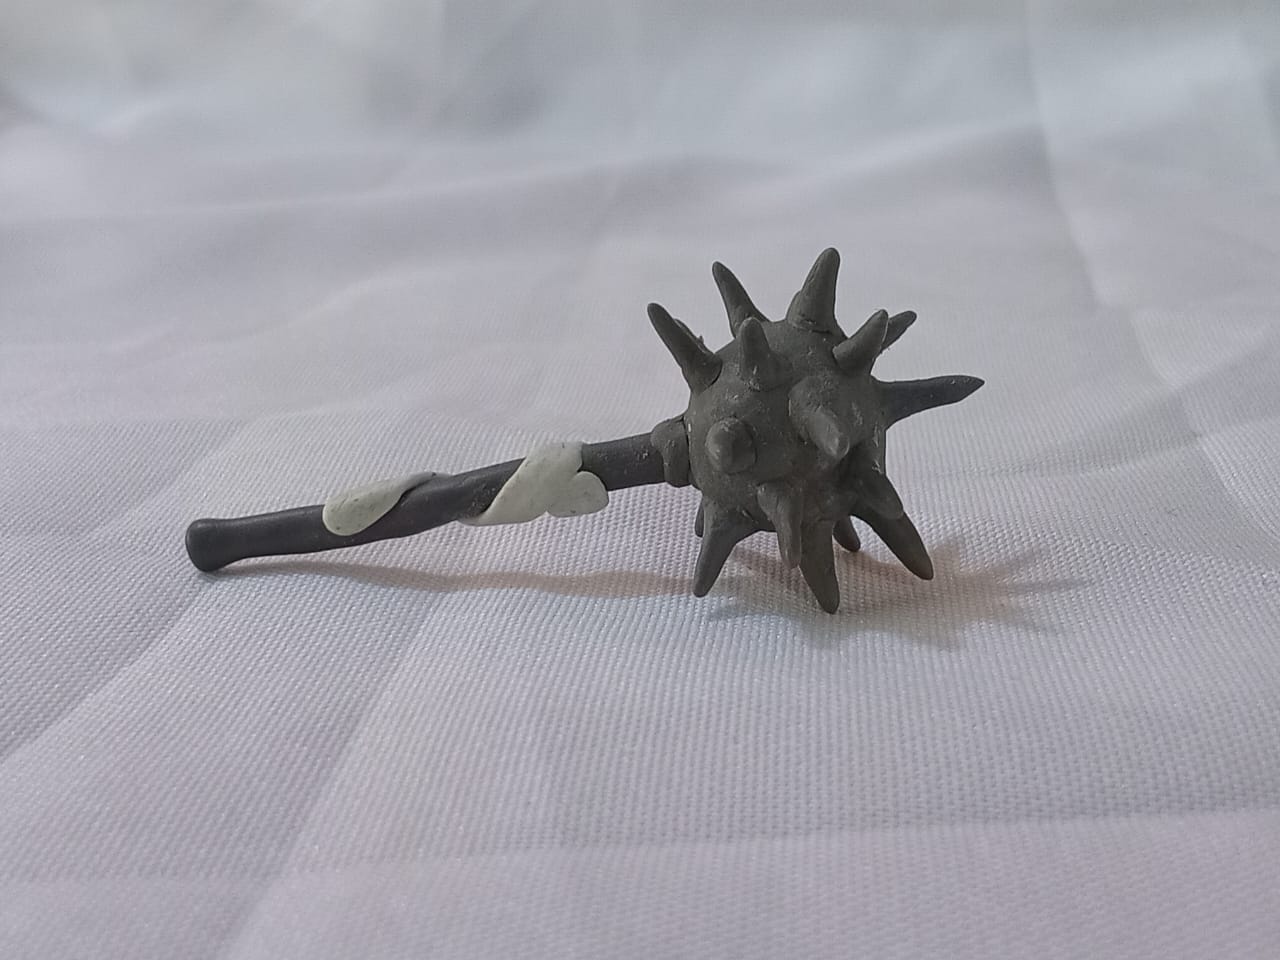
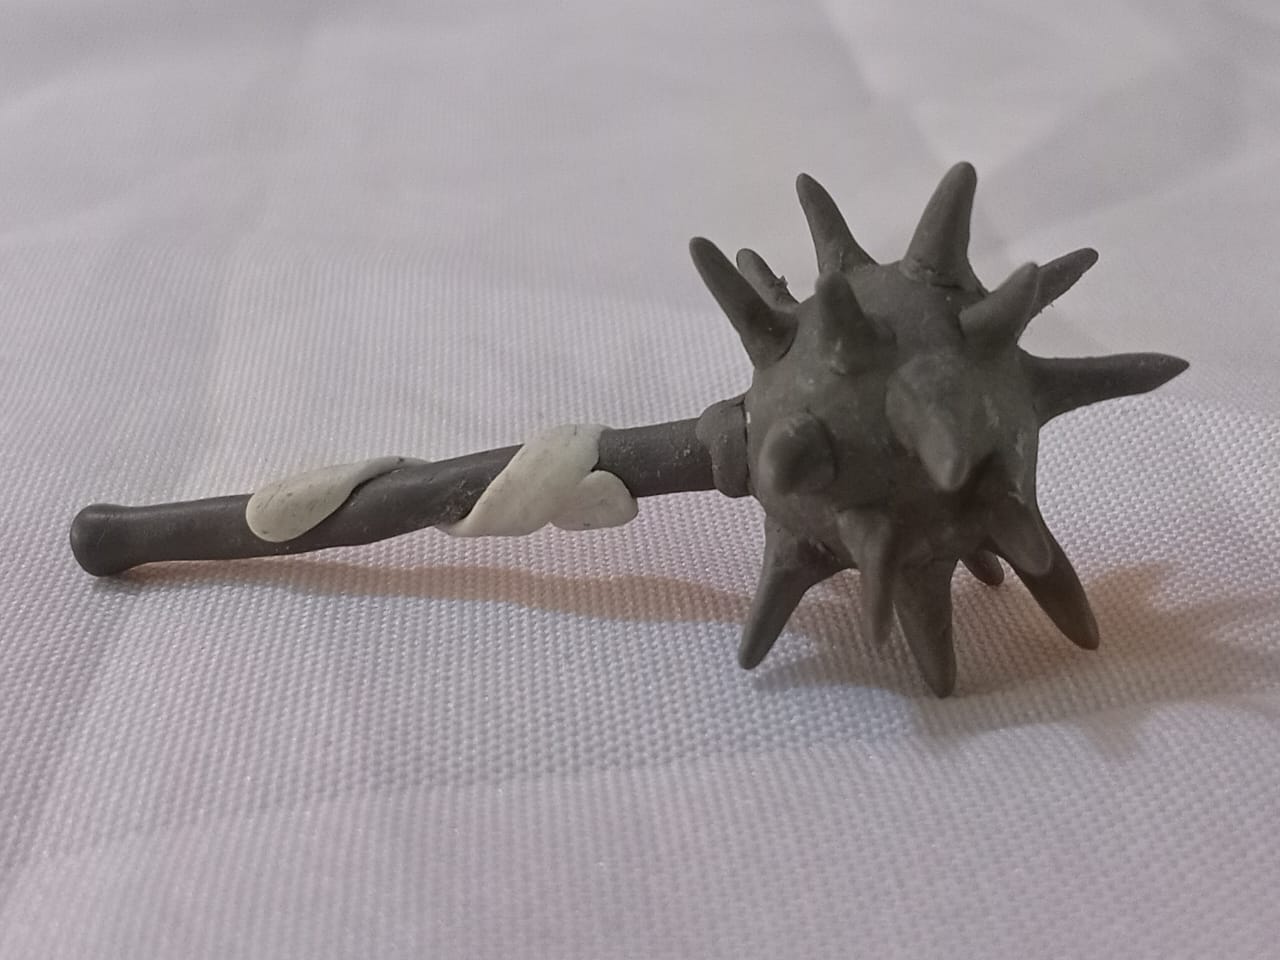
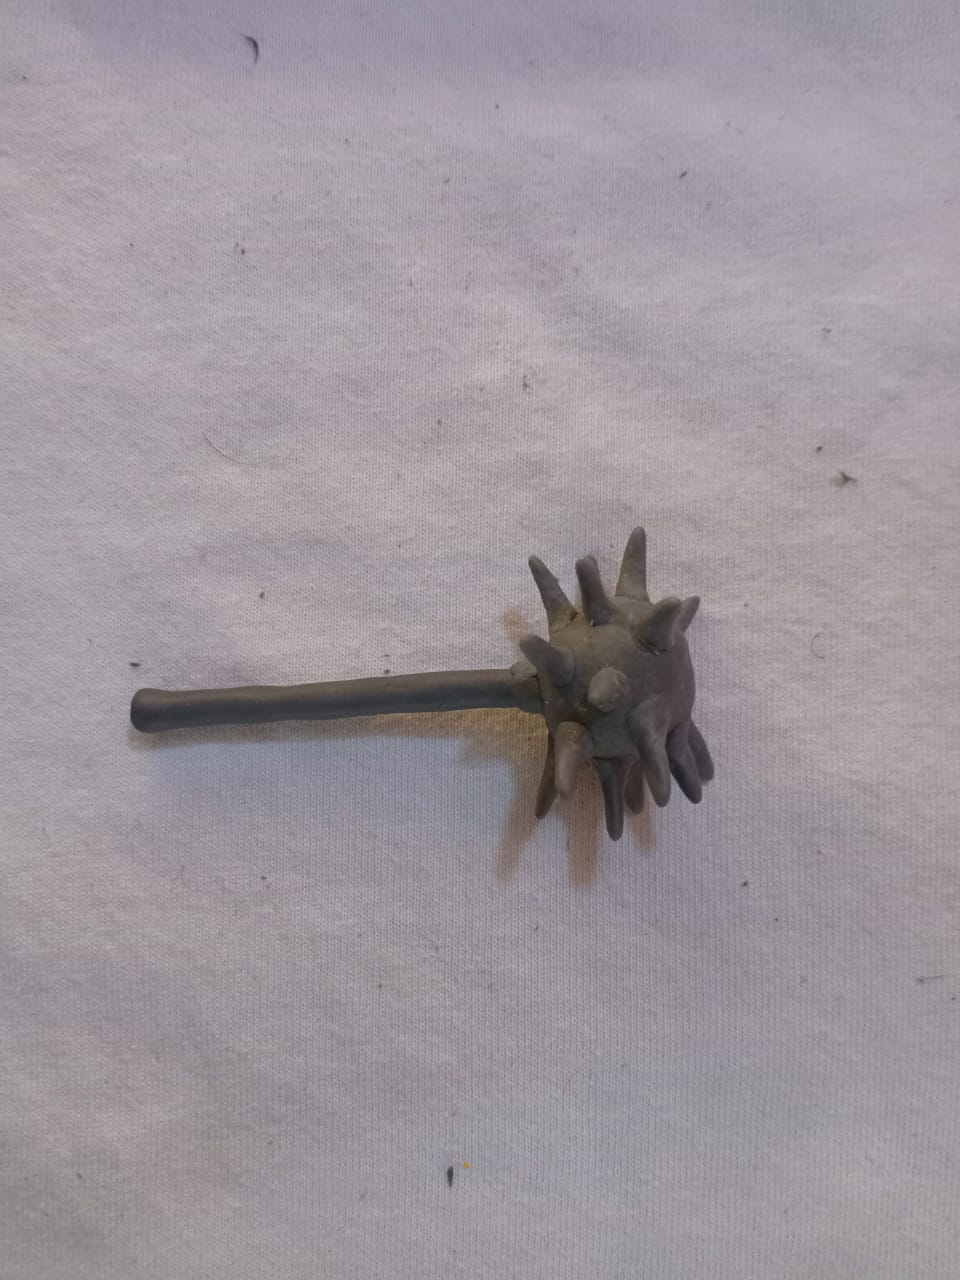
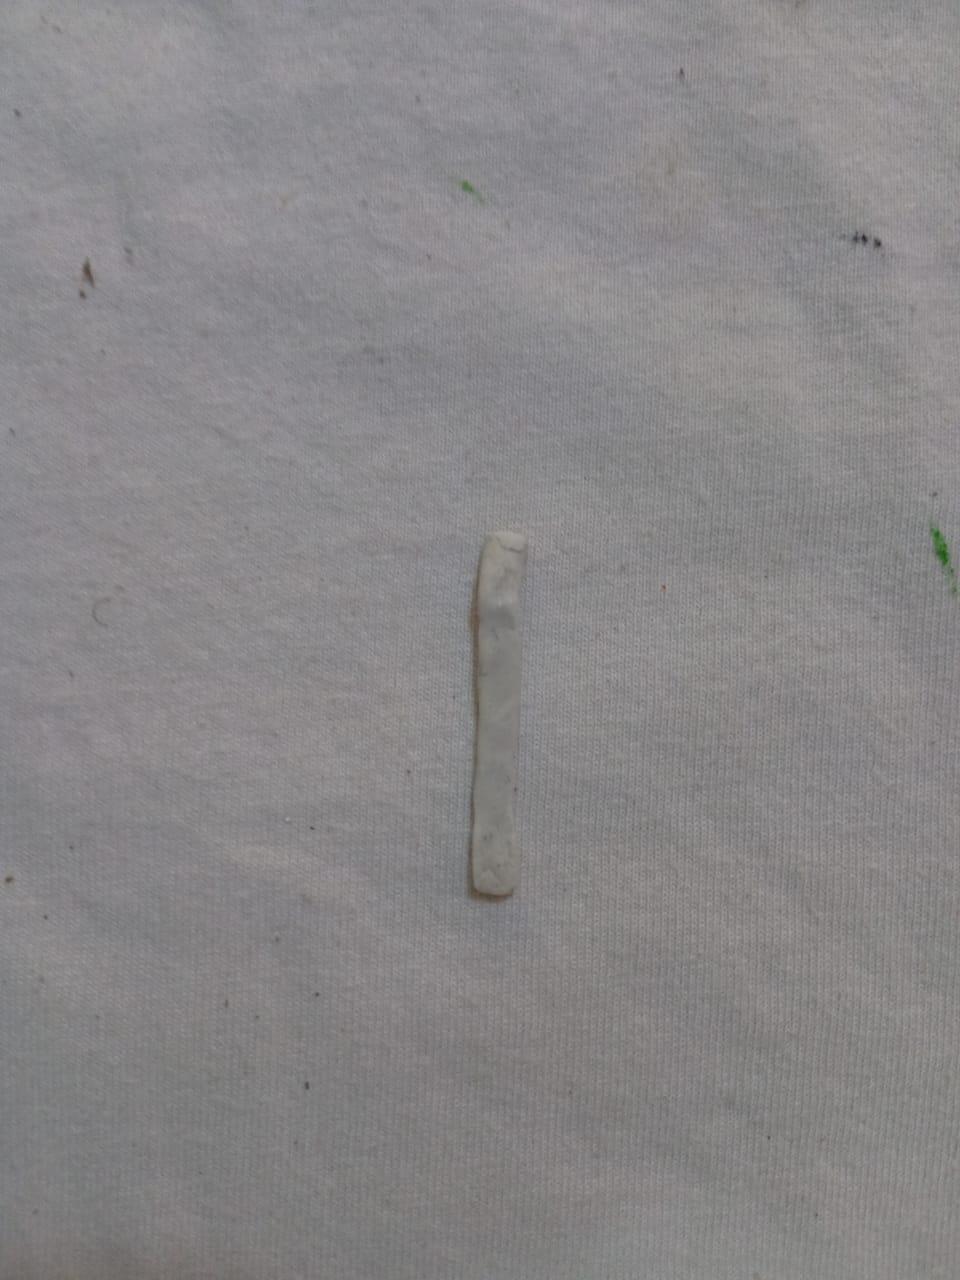
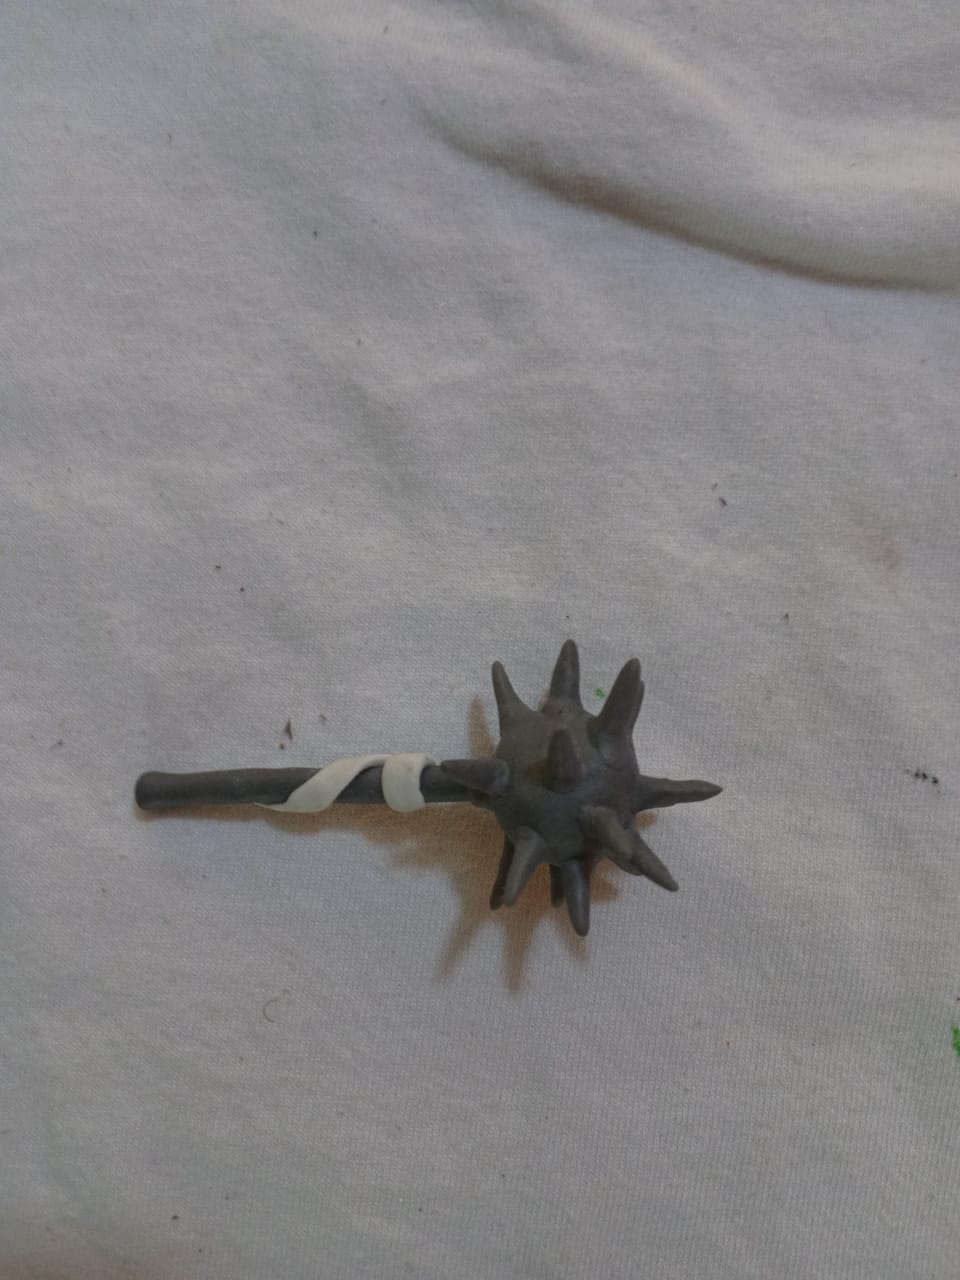
Para finalizar estiramos la masa blanca y hacemos una tira delgada de 12 centímetros de largo, colocamos pegamento y unimos la cinta a la empuñadura, así está terminada una herramienta medieval inspirada en los personajes de Splinterlands, hacer este proyecto me tomó más tiempo del que había pensado, al momento de moldear los pinchos tuve complicaciones por su tamaño quería que todos fuesen iguales, pero solo dos o tres quedaban simétricos, varias veces moldeé estas pequeñas figuras, pero el resultado era igual, no todas quedaban del mismo tamaño y grosor, para no alargar el proceso de elaboración, coloqué los pinchos intercalando delgados y gruesos, dejando un pequeño espacio entre ellos, para cubrir la bola.
El resultado se ve bien y es similar al que lleva el personaje, el cual también tiene espacio entre cada pincho.
Finally, we rolled out the white clay into a thin strip 12 centimeters long. We applied glue and attached the strip to the handle. And there you have it, a medieval tool inspired by the characters of Splinterlands. This project took me longer than I expected. When shaping the spikes, I had trouble with their size. I wanted them all to be the same, but only two or three were symmetrical. I shaped these small figures several times, but the result was the same; they weren't all the same size and thickness. To avoid lengthening the process, I arranged the spikes, alternating thin and thick ones, leaving a small space between them to cover the ball.
The result looks good and is similar to the one the character carries, which also has space between each spike.

---
Les muestro el resultado
I'll show you the result


---
Gracias por Leer.
Thank you for reading.
---
Hasta Luego!
See you later!
---
---
Translated with https://www.deepl.com/translator
All images are of my authorship captured with an Alcatel phone.
Todas las imágenes son de mi autoría capturadas con un teléfono Alcatel.
---
#diy
#splinterlands
#creative
#crafting
#fanart
#neoxian
#spanish
#artwork
#handmade
#tutorial
Payout: 4.294 HBD
Votes: 81
More interactions (upvote, reblog, reply) coming soon.