**
ESPAÑOL
**
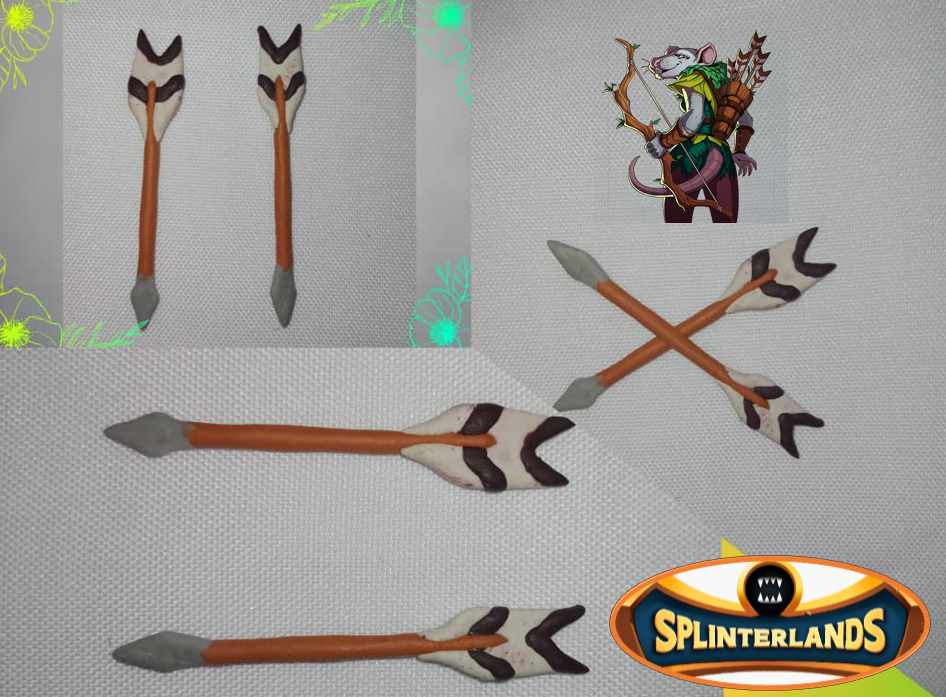
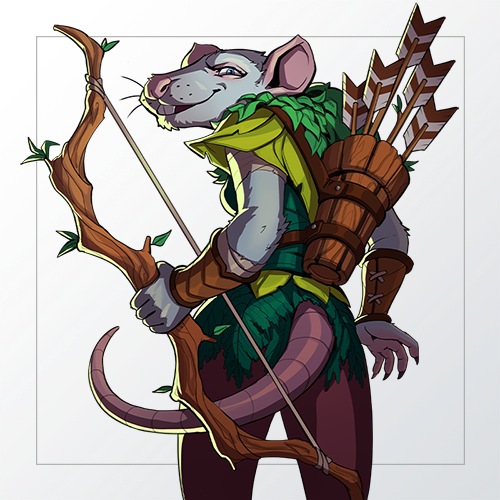
Saludos amigos creativos y comunidad @diyhub, deseo que tengan un excelente día en unión de sus seres queridos, nuevamente comparto un proyecto de moldeado, tomando como referencia las cartas de Splinterlands, en esta ocasión se trata de dos flechas inspiradas en el personaje [Venari Marksrat](https://www.splintercards.com/chaos_rewardsb_venari-marksrat), quien lleva en la espalda una canasta con varias flechas y un arco de madera en la mano derecha , la canasta al igual que el arco es también de madera, las flechas combinan los colores blanco y marrón, la base es de madera, para elaborarla usé mi material favorito, que es la masa flexible, es la primera vez que moldeo flechas y se varán muy bien en mi colección de esculturas, les muestro el proceso de elaboración.
**
ENGLISH
**
Greetings creative friends and community @diyhub, I wish you have an excellent day with your loved ones, again I share a molding project, taking as reference the Splinterlands cards, this time it is about two arrows inspired by the character [Venari Marksrat](https://www.splintercards.com/chaos_rewardsb_venari-marksrat), who carries on his back a basket with several arrows and a wooden bow in his right hand, the basket like the bow is also made of wood, the arrows combine the colors white and brown, the base is made of wood, to make it I used my favorite material, which is flexible dough, it is the first time that I mold arrows and they will fit very well in my collection of sculptures, I show you the elaboration process.

---
**
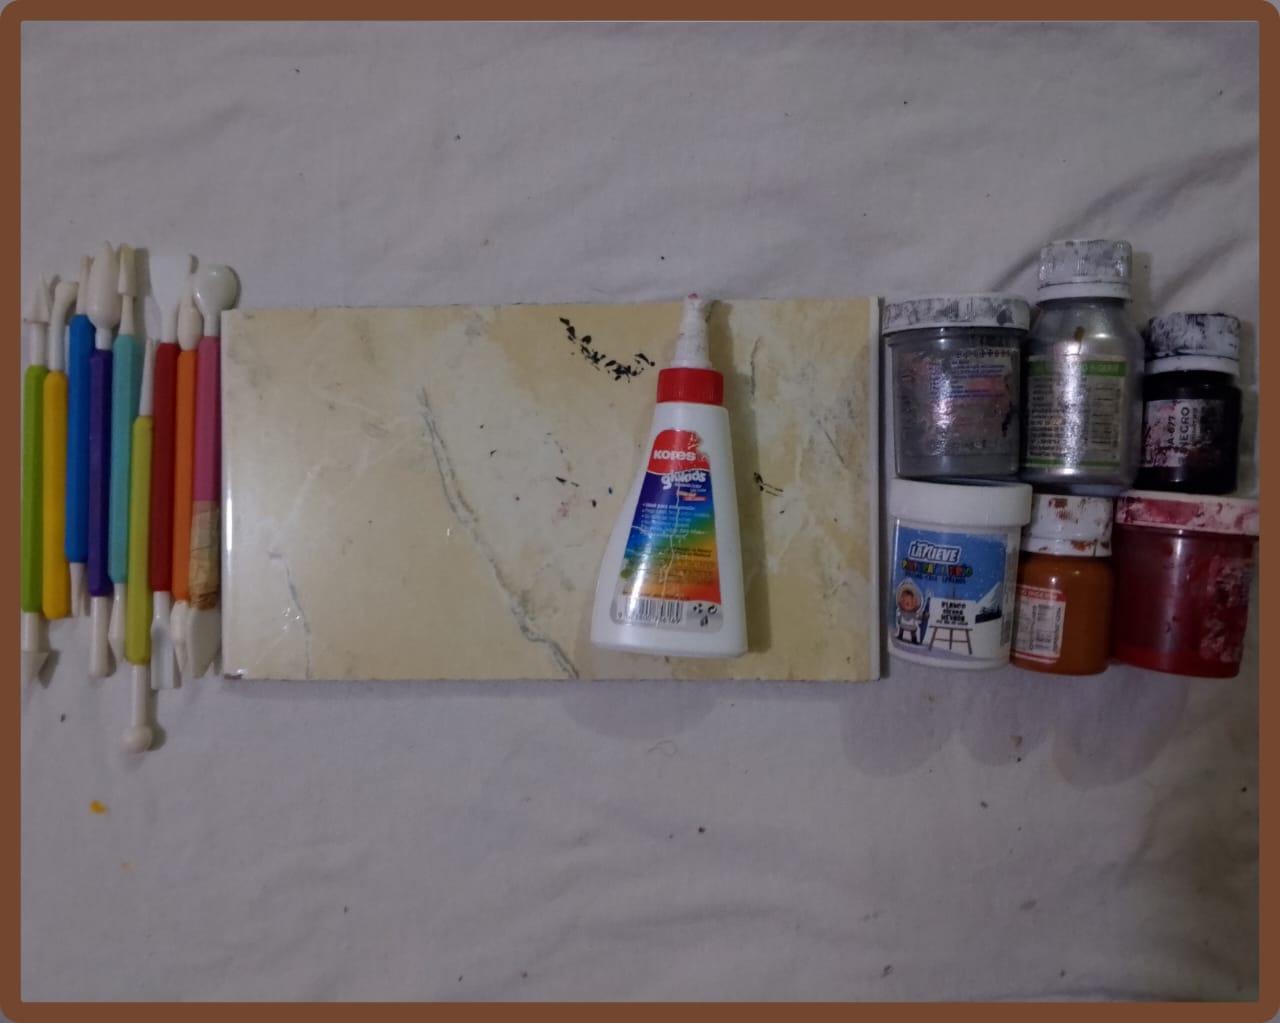
MATERIALES
**
Masa flexible
Estecas
Superficie para moldear
Pintura al frío
Pegamento
**
MATERIALS
**
Flexible dough
Cutting materials
Molding surface
Cold paint
Glue
---
**
PROCEDIMIENTO
**
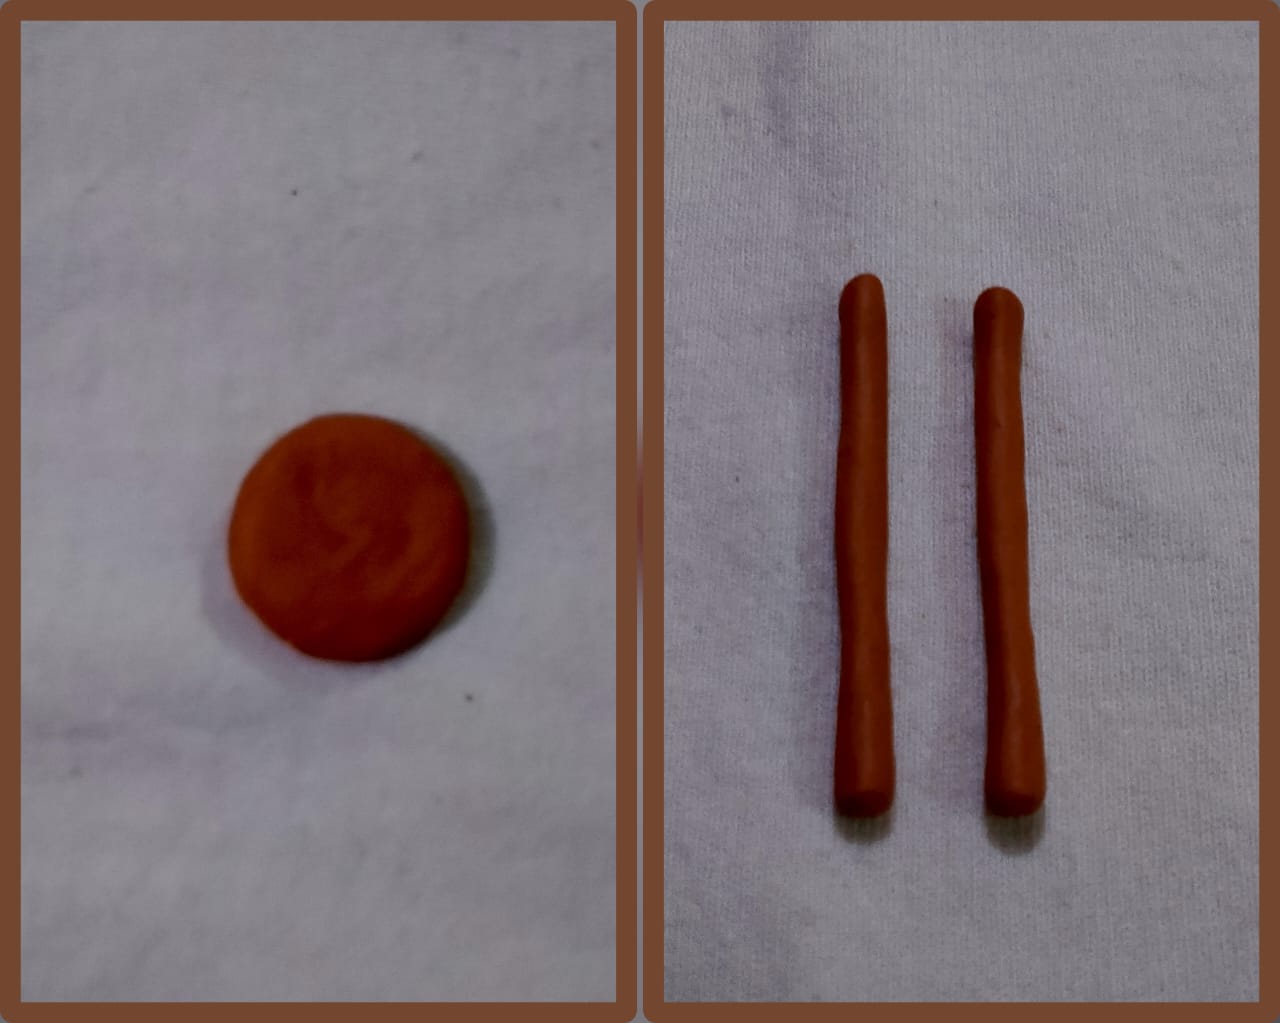
Iniciamos dividiendo la masa en pequeñas porciones, luego agregamos pintura y mezclamos hasta obtener el color deseado. Luego de mezclar las pinturas con las porciones de masa, formamos varias bolas, una de cada color que usaremos, las aplanamos y partiendo de las bolas de masa empezamos a moldear, lo primero que haremos serán las bases o varas de color marrón, para darle un color más parecido a la madera, añadiremos varias gotas de pintura roja a la masa hasta tener el color que más se asemeje, hacemos dos cilindros delgados y con las estecas aplanamos los extremos.
Con ayuda de la superficie plana vamos estirando los cilindros, esto permite una textura lisa, con las estecas aplanamos los extremos.
**
PROCEDURE
**
We start by dividing the dough into small portions, then add paint and mix until we get the desired color. After mixing the paint with the dough portions, we form several balls, one of each color we'll use. We flatten them, and starting with the dough balls, we begin to shape them. The first thing we'll do is make the brown bases or sticks. To give it a color more similar to wood, we'll add several drops of red paint to the dough until we have the color that most closely resembles it. We make two thin cylinders and flatten the ends with the stakes.
With the help of the flat surface, we stretch the cylinders; this allows for a smooth texture; we flatten the ends with the stakes.
---
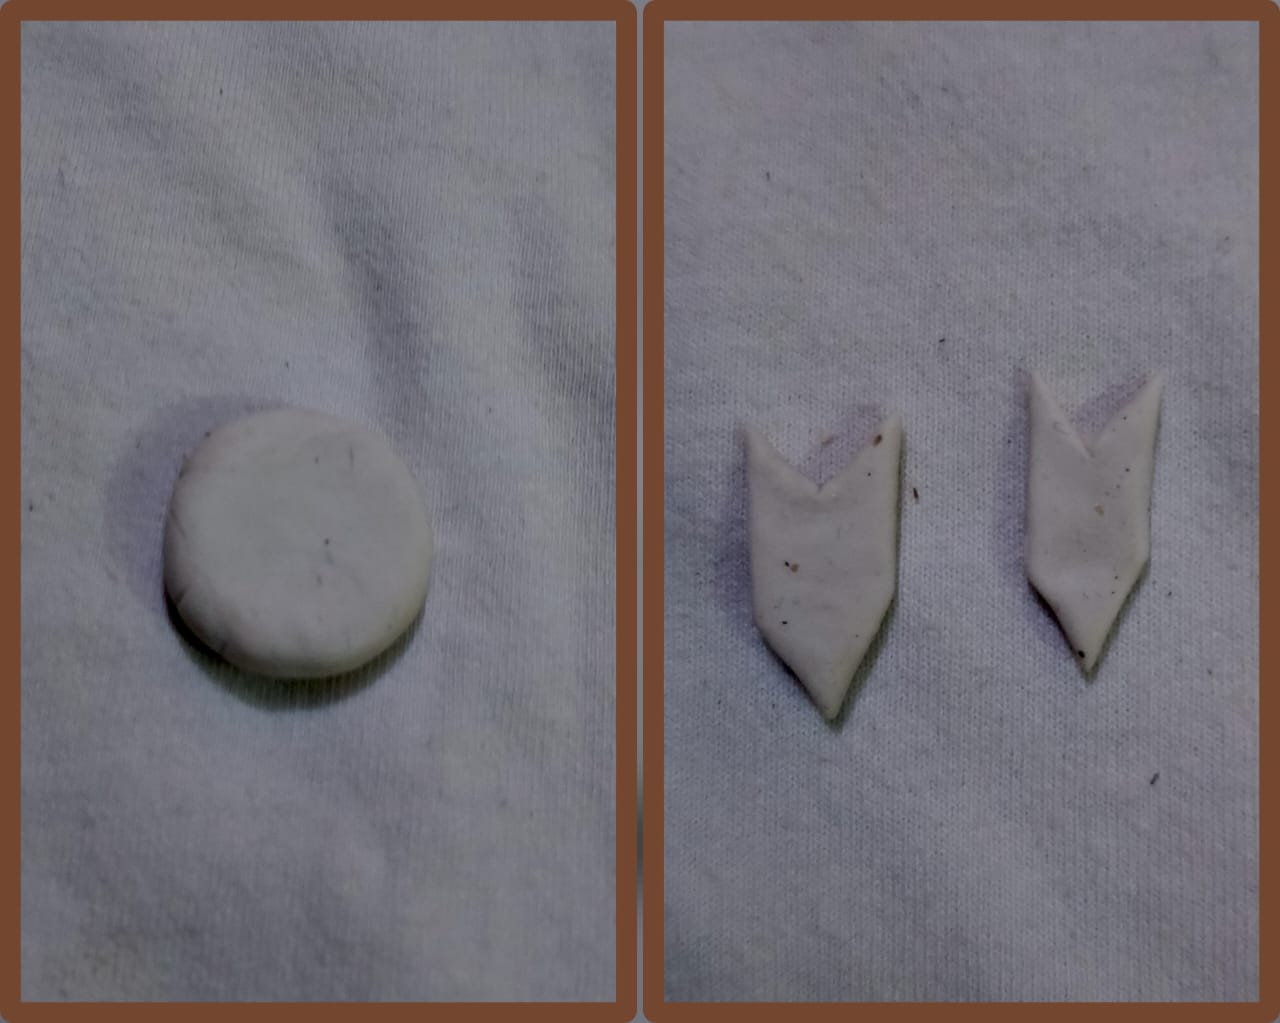
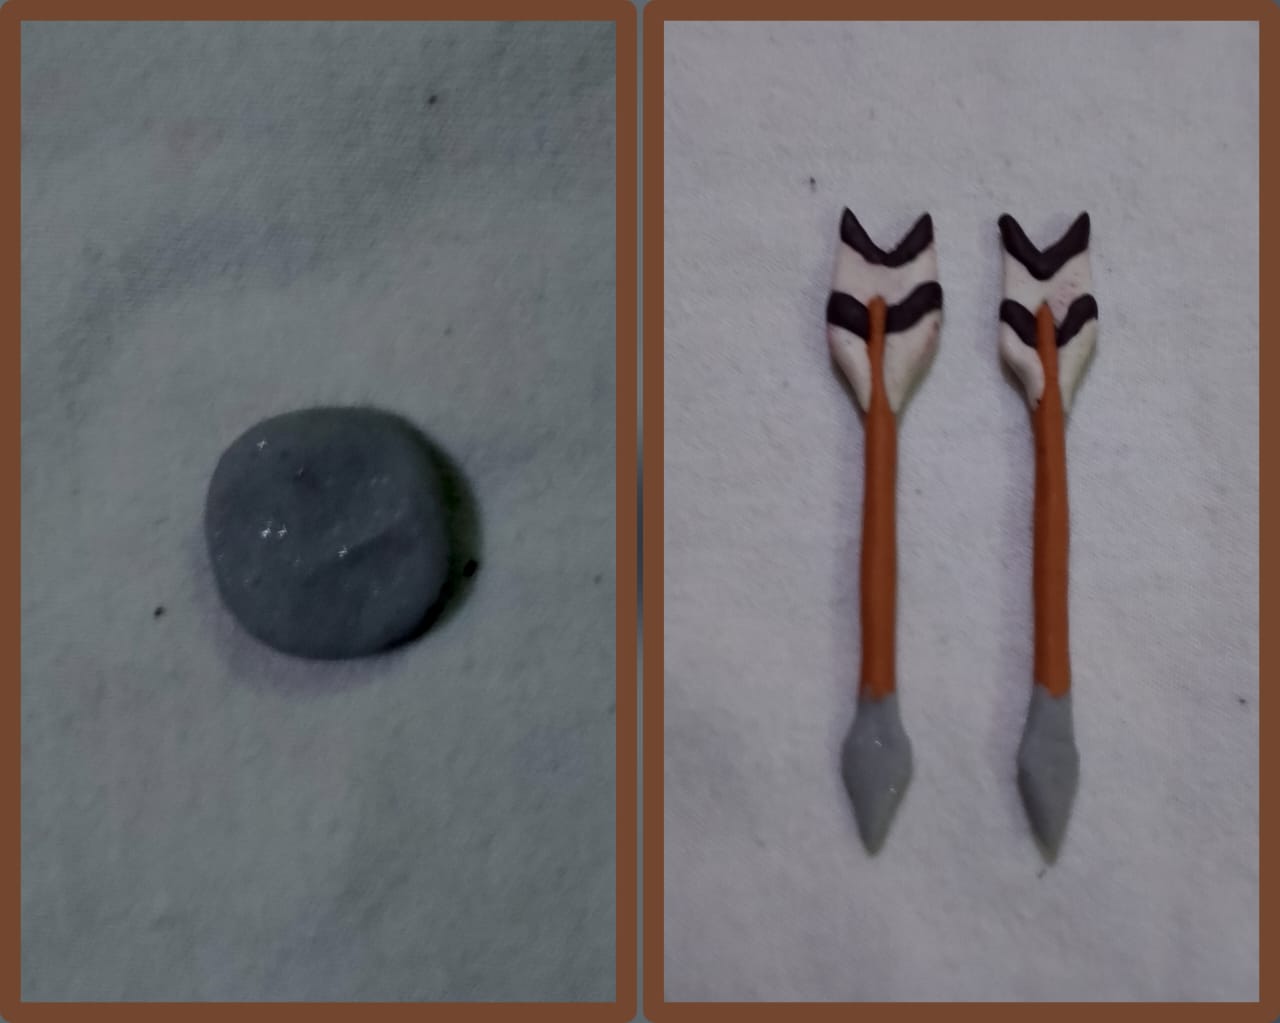
Con la masa de color gris, formaremos dos triángulos y con ayuda de las estecas, afilamos las puntas lo más que podamos, luego aplanamos en el centro y con la esteca hacemos un corte enforma de V en la parte de abajo.
With the gray dough, we will form two triangles and with the help of the stakes, we will sharpen the tips as much as possible, then flatten them in the center and with the stake we make a V-shaped cut at the bottom.
---
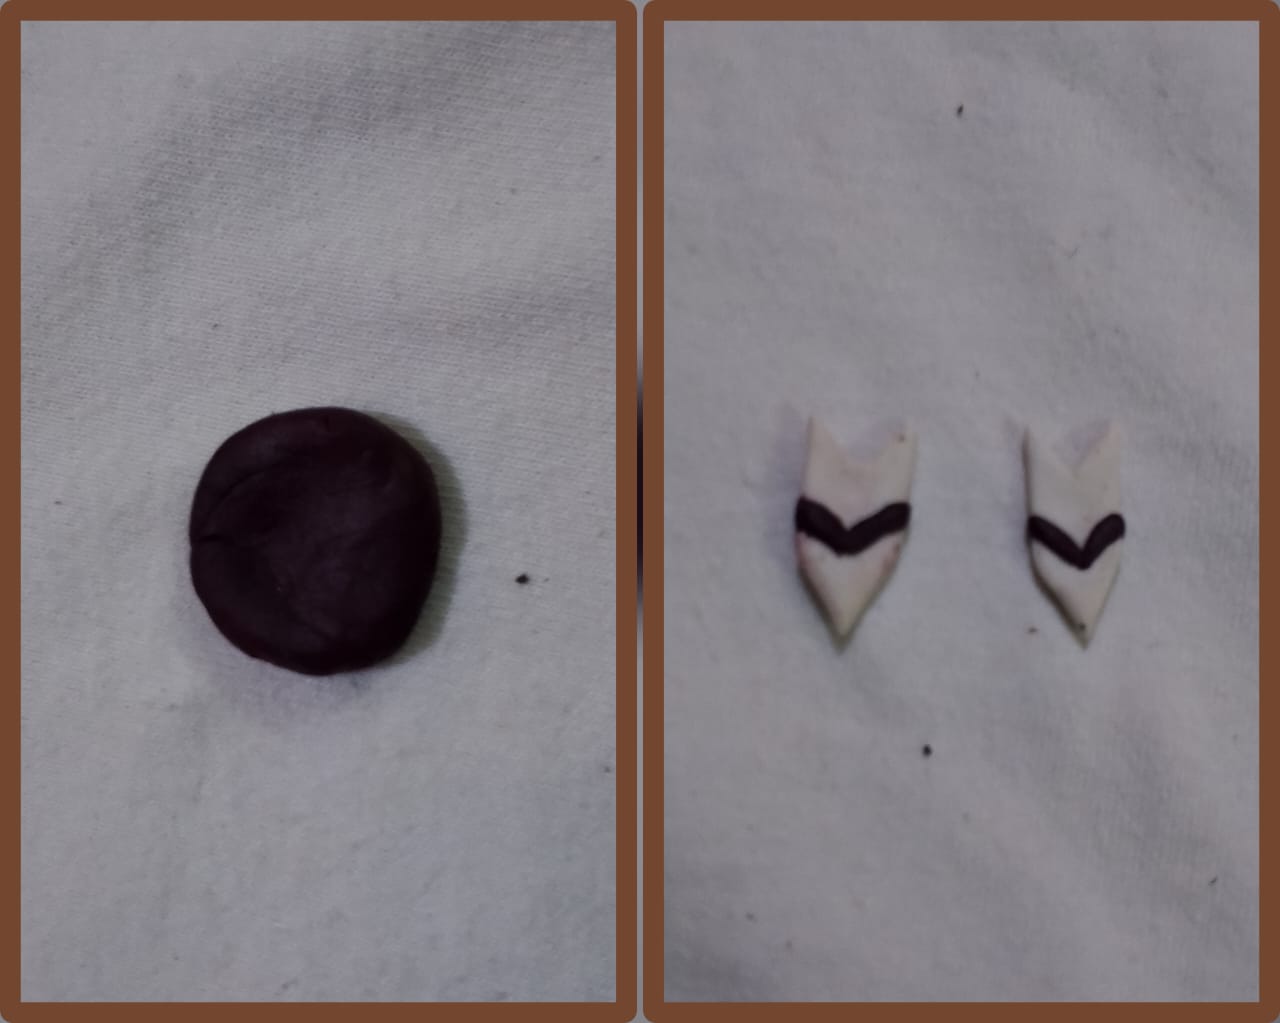
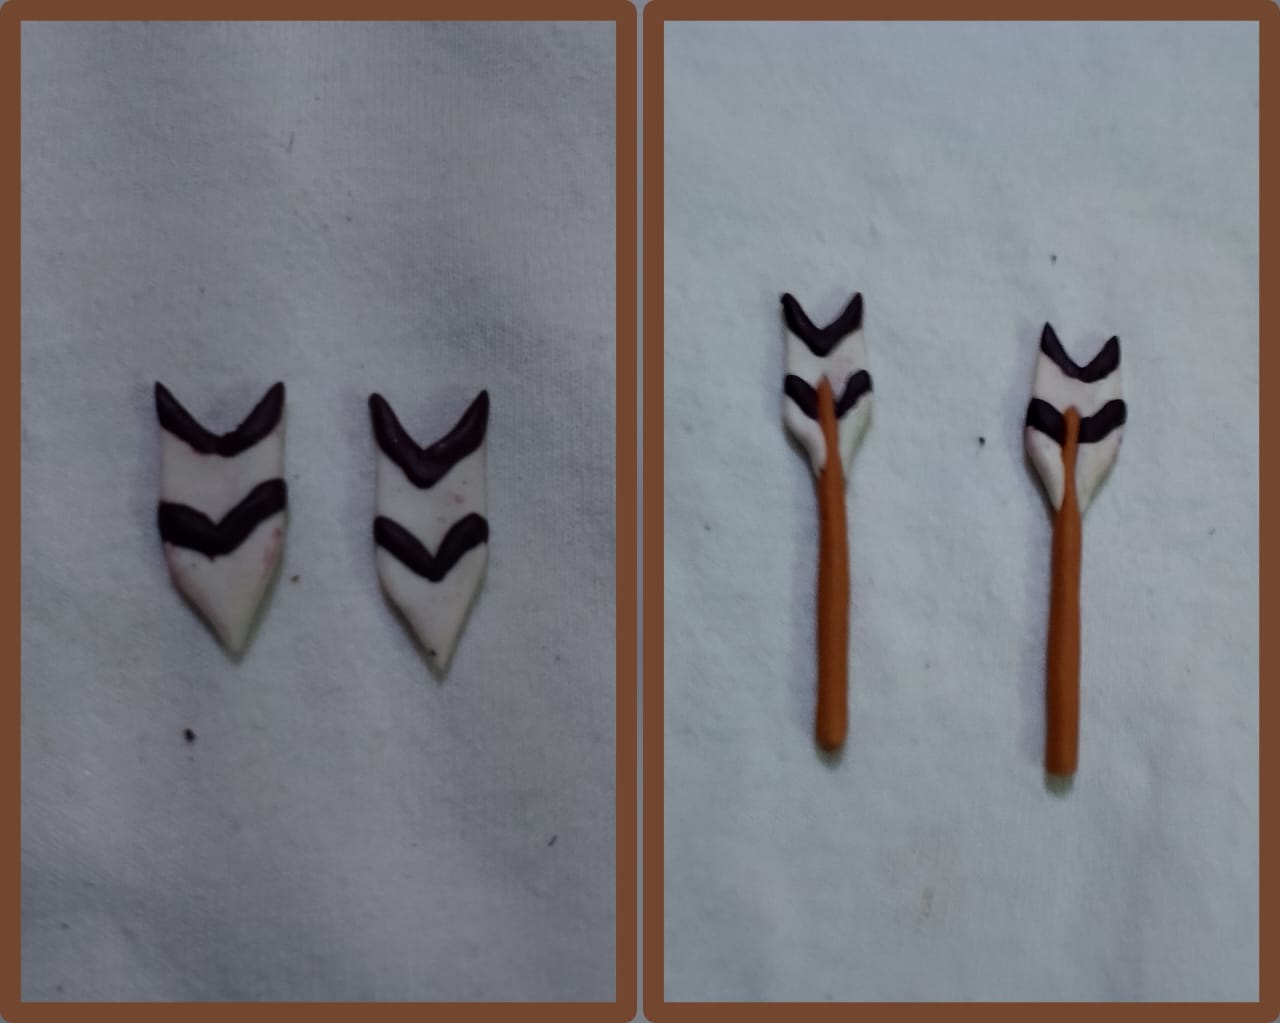
Para hacer las bandas de la flecha agregamos pintura roja a la masa marrón para darle un tono más oscuro, aplanamos y moldeamos una tira delgada, luego añadimos pegamento con ayuda de la esteca la pegamos formando una V, dejamos secar durante 20 monutos o más.
To make the arrow strips, we added red paint to the brown dough to give it a darker shade. We flattened and shaped a thin strip. Then, we added glue using the stick and glued it into a V shape. We let it dry for 20 minutes or more.
---
Luego agregamos otra banda o cinta con la masa que utilizamos anteriormente, colocamos nuevamente pegamento y como la tira es delgada nos ayudaremos con la esteca puntiaguda para agregar pegamento, presionamos un poco y unimos la tira al triángulo.
En la parte de abajo donde hicimos el corte en V, agregamos pegamento y unimos la flecha a la vara, presionamos con cuidado para que no se rompa la pieza, pegamos y dejamos secar, al unir estas piezas se debe dejar secar por un tiempo prolongado, ya que al ser piezas pequeñas y la de arriba más ancha que la de abajo, necesita completar el proceso de secado para evitar que se rompa. Esta masa es más elástica que las otras que he usado y una de sus ventajas es que al unir las piezas queda manejable y se pueden ir agregando detalles, en aproximadamente seis días se seca y compacta por completo.
Then we added another strip or ribbon using the dough we used earlier. We applied glue again. Since the strip is thin, we used the pointed stick to add glue. We pressed down a little and joined the strip to the triangle.
At the bottom where we made the V-cut, we add glue and join the arrow to the stick. We press carefully so the piece doesn't break. We glue it and let it dry. When joining these pieces, they must be left to dry for a long time, since they are small pieces and the top one is wider than the bottom one, it needs to complete the drying process to avoid breaking. This dough is more elastic than the others I've used, and one of its advantages is that when the pieces are joined, it remains manageable and details can be added. It takes approximately six days to dry and compact completely.
---
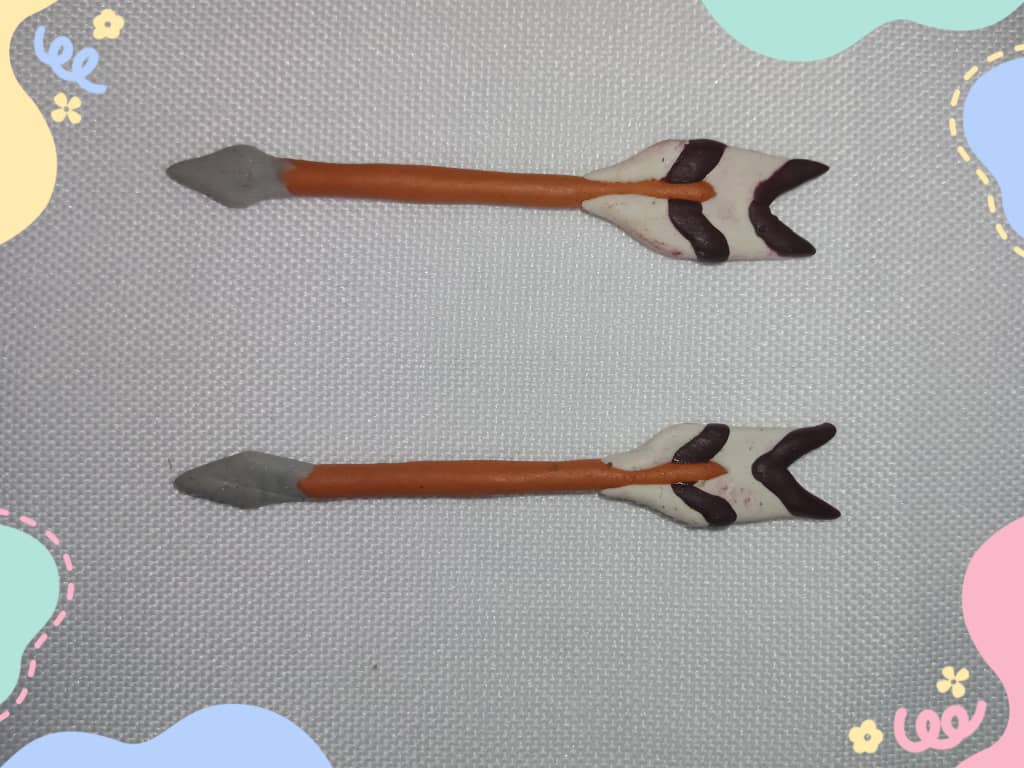
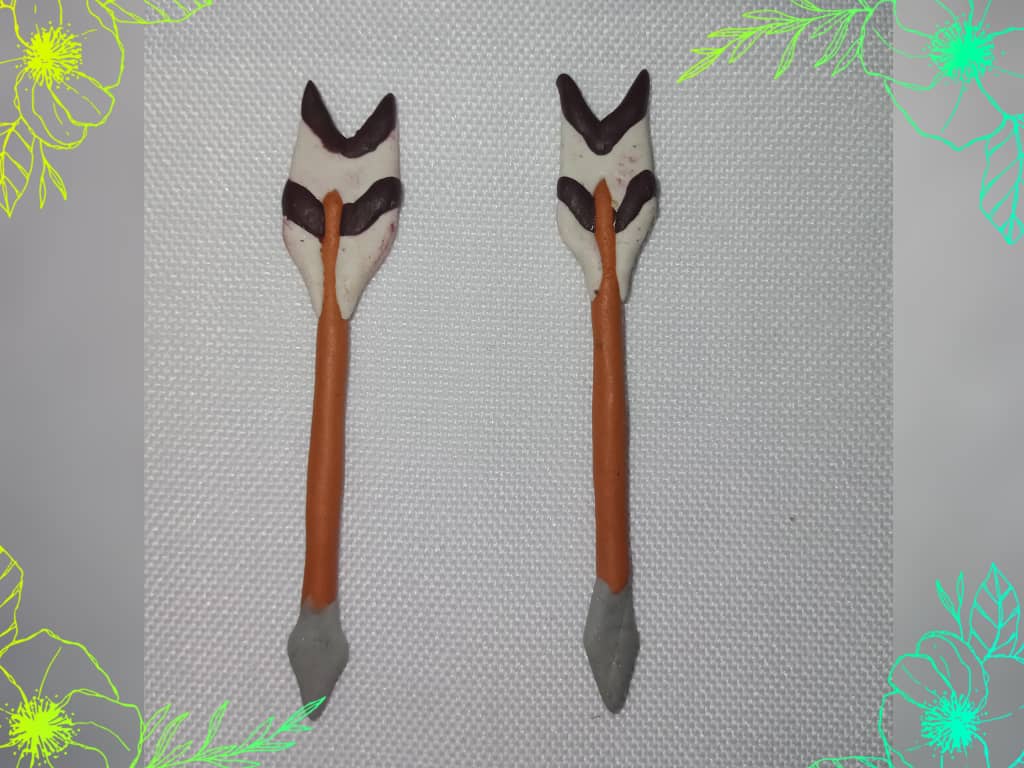
A la masa de color gris, agregamos pintura plateada mezclamos muy bien y formamos dos triángulos que serán la punta de la flecha, estiramos la masa lo más delgado posible unimos a la vara de la flecha y le vamos dando forma, con las manos y superficie plana, colocamos pegamento y cubrimos la vara por ambos lados,al igual que en el paso anterior, dejamos secar, durante cuatro o cinco días para que las piezas compacten y queden fuertes, así están terminadas las flechas inspiradas en Splinterlands.
To the gray dough, we add silver paint, mix very well and form two triangles that will be the tip of the arrow, we stretch the dough as thin as possible, join it to the arrow shaft and we give it shape, with our hands and a flat surface, we apply glue and cover the shaft on both sides, just like in the previous step, let it dry for four or five days so that the pieces compact and are strong, this is how the Splinterlands inspired arrows are finished.
---
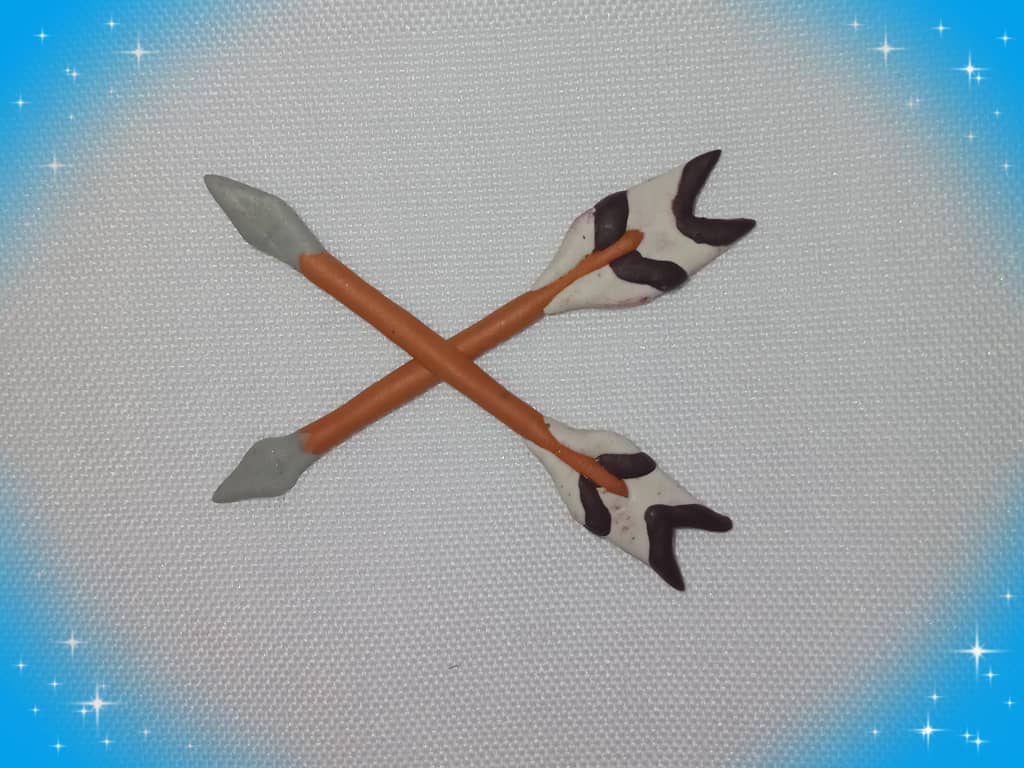
Les muestro el resultado.
I show you the result.


---
**Gracias por Leer.**
**Thank you for reading.**
---
**Hasta Luego!**
**See you later!**
---
---
Translated with https://www.deepl.com/translator
All images are of my authorship captured with an Alcatel phone.
Todas las imágenes son de mi autoría capturadas con un teléfono Alcatel.
---
#diy
#splinterlands
#creative
#spanish
#neoxian
#fanart
#crafting
#handmade
#artwork
#tutorial
Payout: 0.000 HBD
Votes: 279
More interactions (upvote, reblog, reply) coming soon.