Un gran saludo amigos de #hive, como estan el día de hoy?
En esta oportunidad quiero compartir con ustedes un proyecto que quise desempeñar a ver si me resulta, llevo días investigando sobre la cría de hormigas y como diseñar un hormiguero, la mayoria de personas que vi que lo hacian compraban sus granjas por Internet y es mucho mas sencillo desempeñar la crianza de estos animales; vi algunos que no hacian con materiales reciclados pero ninguno me convenció, entonces quise inventar mi propio modelo basado en algunos de los observados.
Aquí estaré mostrando la elaboración de mi hormiguero, espero puedan seguir mi contenido y seguir viendo mas adelante como va el proceso de mis hormigas.
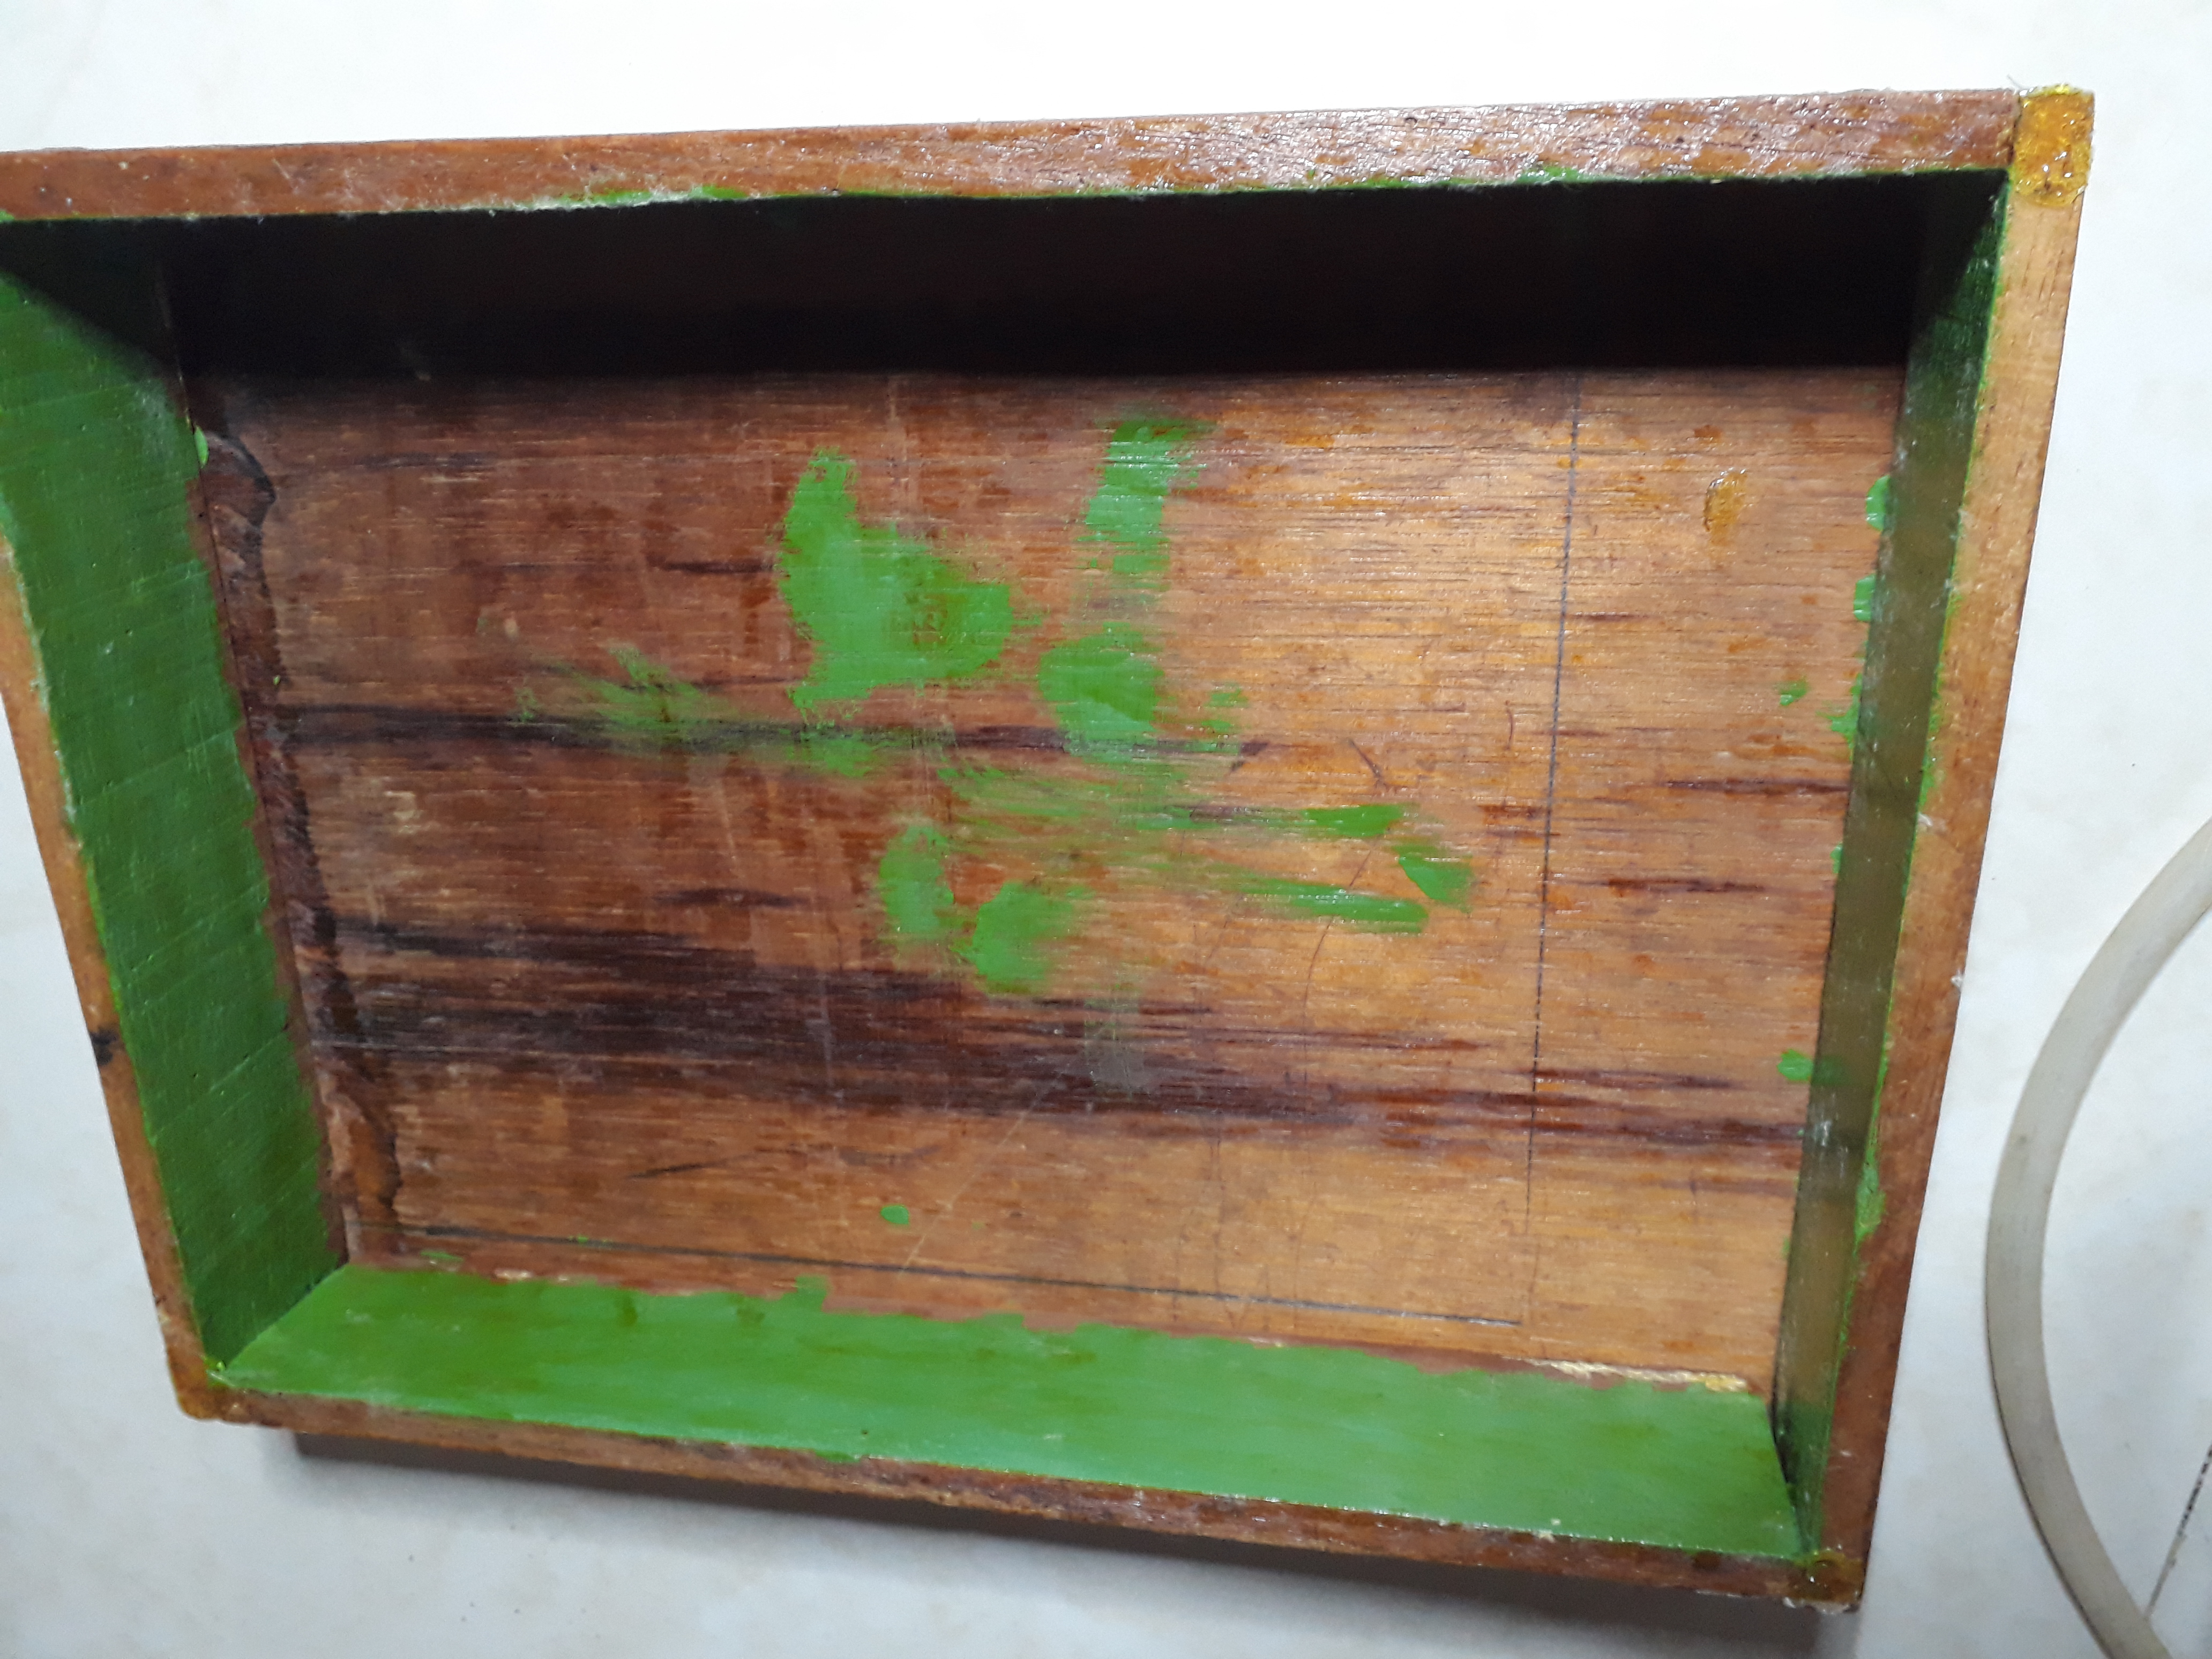
Los materiales que use fueron diferentes cosas reutilizadas que tenia a la mano en mi casa. Lo principal fue una caja de mareda donde iba a desempeñar la construcción de mi hormiguero, tambien busque 2 vidrios, una manguera, un recipiente plastico transparente y silicon para pegar todo.
Greetings #hive friends, how are you today?
This time I want to share with you a project that I wanted to carry out to see if it works for me, I have been researching for days on the breeding of ants and how to design an anthill, most of the people I saw that they did it bought their farms online and it is much more simple to carry out the raising of these animals; I saw some that were not made with recycled materials but none convinced me, so I wanted to invent my own model based on some of those observed.
Here I will be showing the elaboration of my anthill, I hope you can follow my content and continue to see later how the process of my ants is going.
The materials that I used were different reused things that I had on hand in my house. The main thing was a mareda box where I was going to carry out the construction of my anthill, I also looked for 2 glasses, a hose, a transparent plastic container and silicone to glue everything.
.jpg)

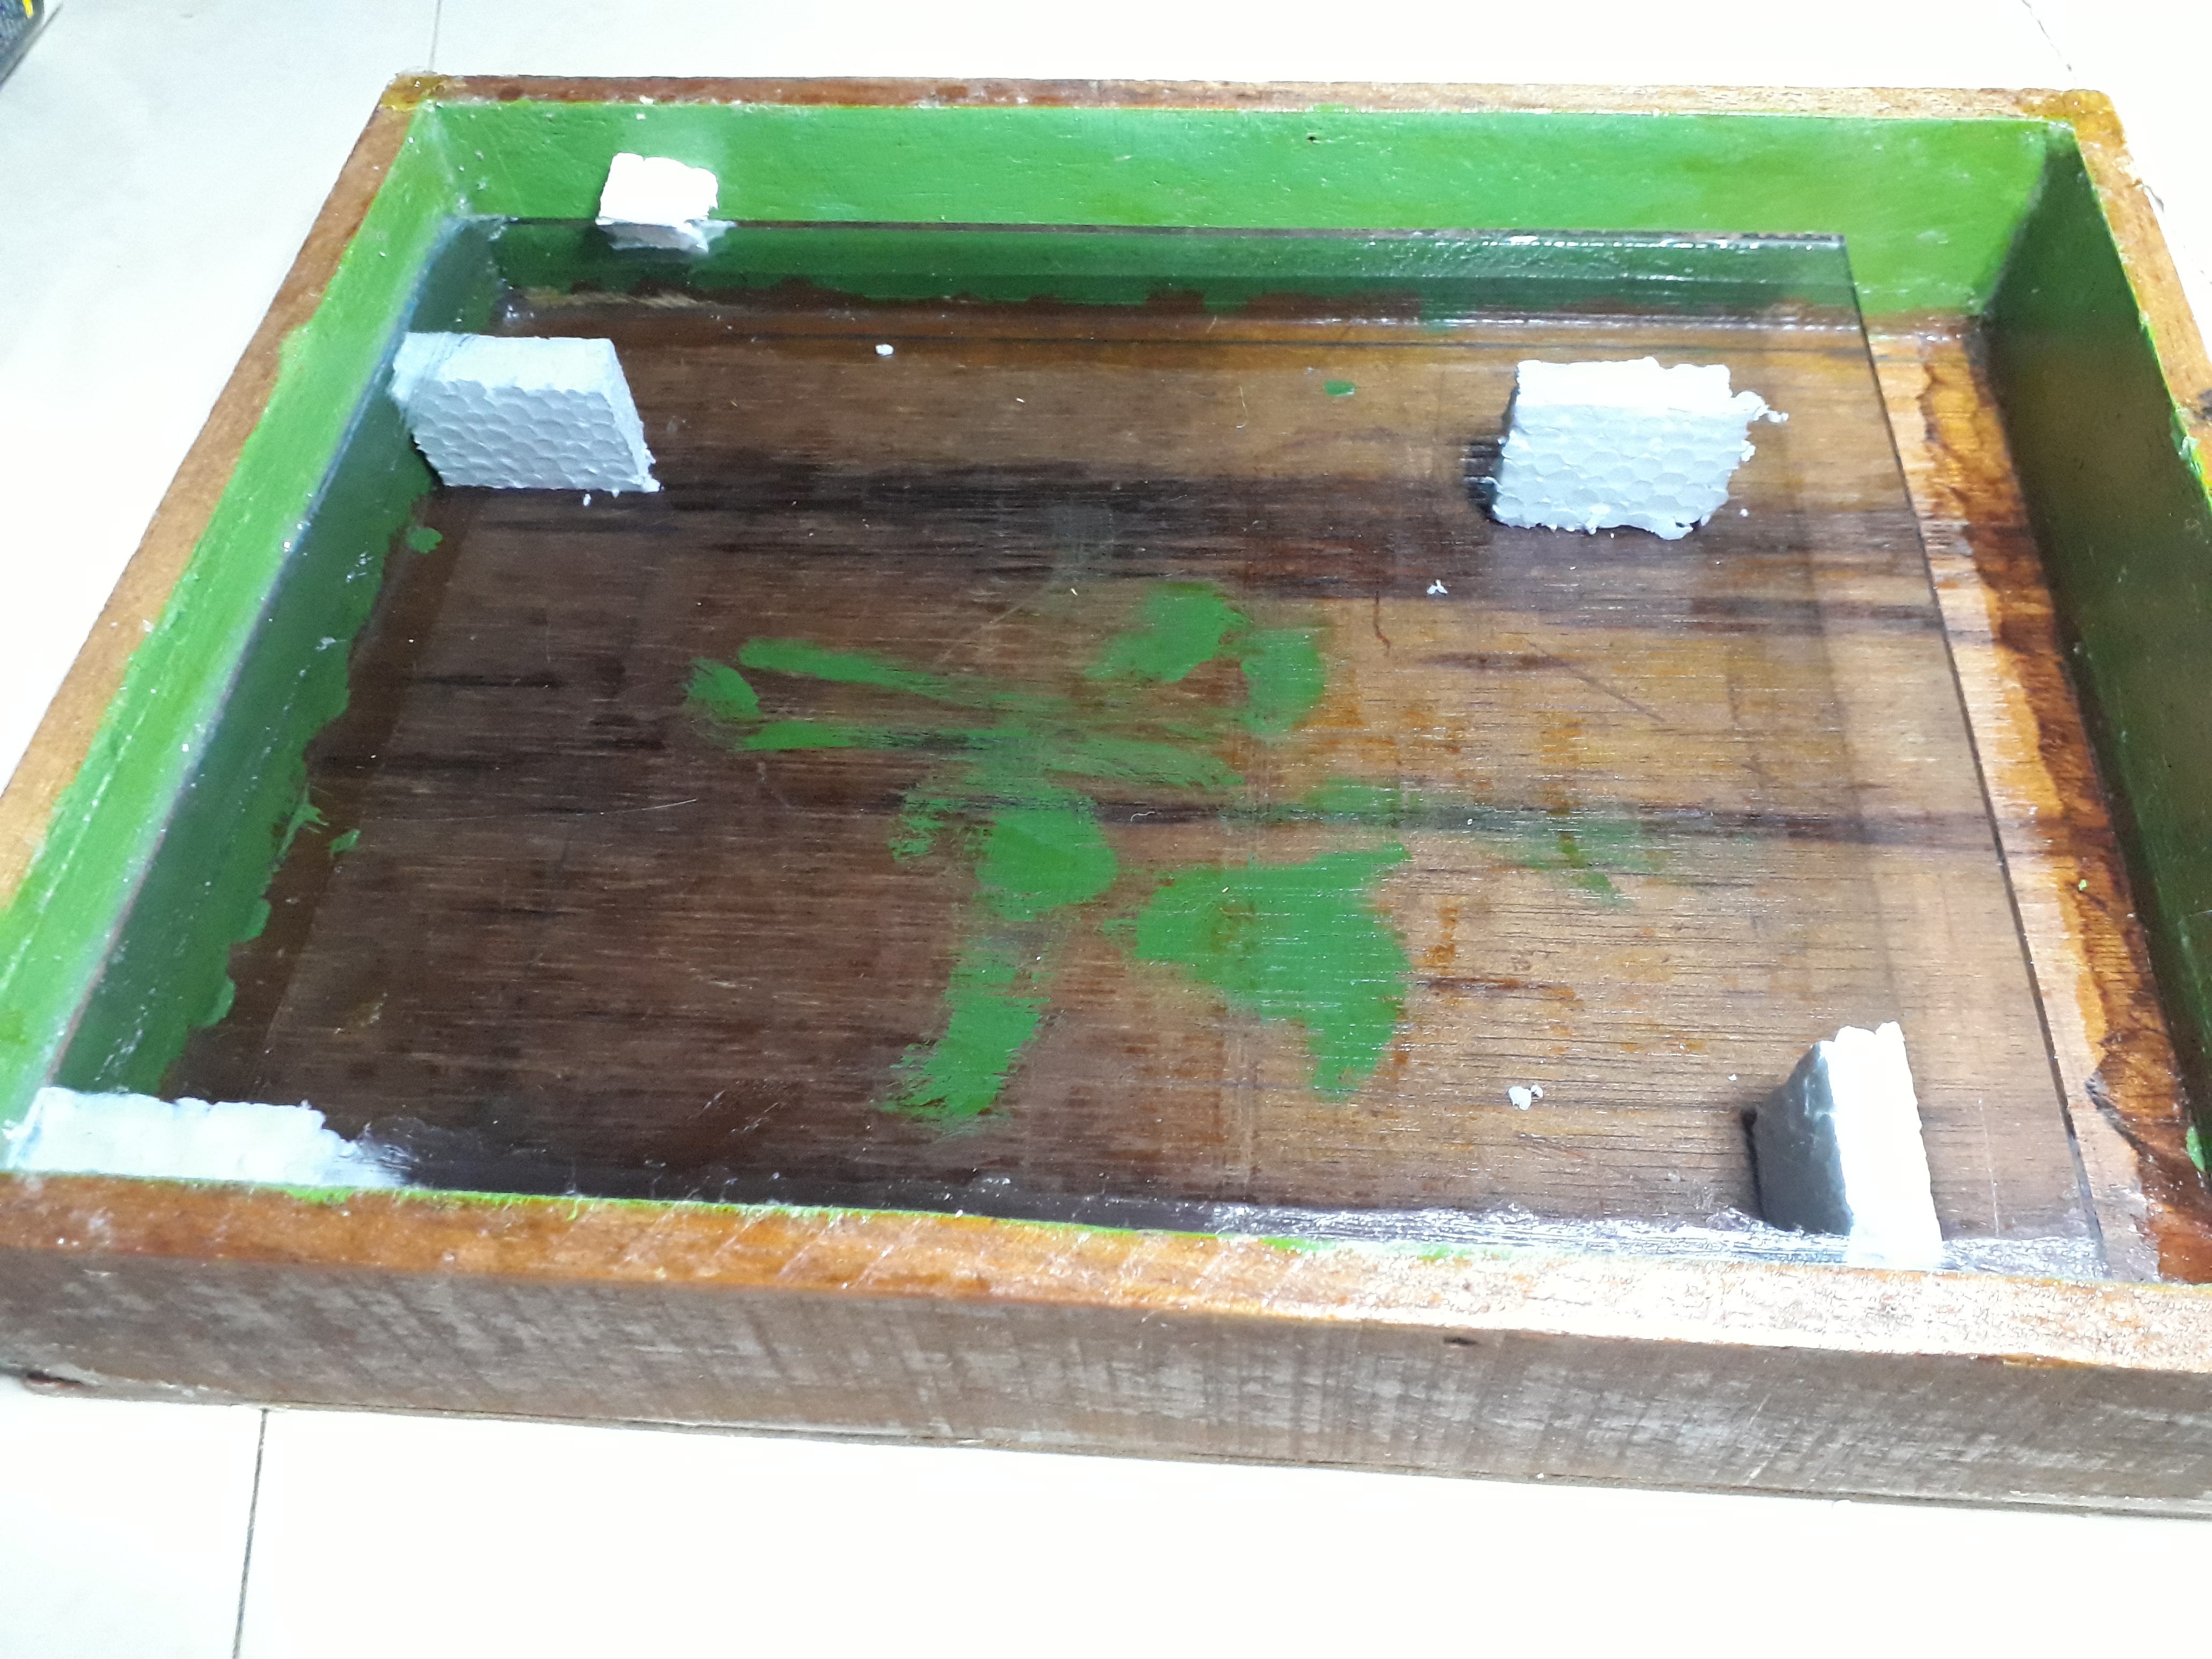
Para el primer paso lo que hice fue tomar la caja de madera y el vidrio mas pequeño, este lo pegue en la mitad de la caja, busque unos pedazos de anime que utilicé como separadores y con abundante silicon lo deje pegar durante un par de horas;
la finalidad de este vidrio en la mitad es crear dos ambientes, uno con tierra seca atras y otro con tierra humeda adelante donde queremos que las hormigas hagan sus tuneles, el la parte de atras es preferible la tierra seca para que la humedad no dañe nuestra caja.
For the first step, what I did was take the wooden box and the smaller glass, I glued it in the middle of the box, I looked for some pieces of anime that I used as separators and with plenty of silicon I let it stick for a couple of hours ; The purpose of this glass in the middle is to create two environments, one with dry earth behind and the other with moist earth in front where we want the ants to make their tunnels, the back part is preferable dry earth so that the humidity does not damage our box.
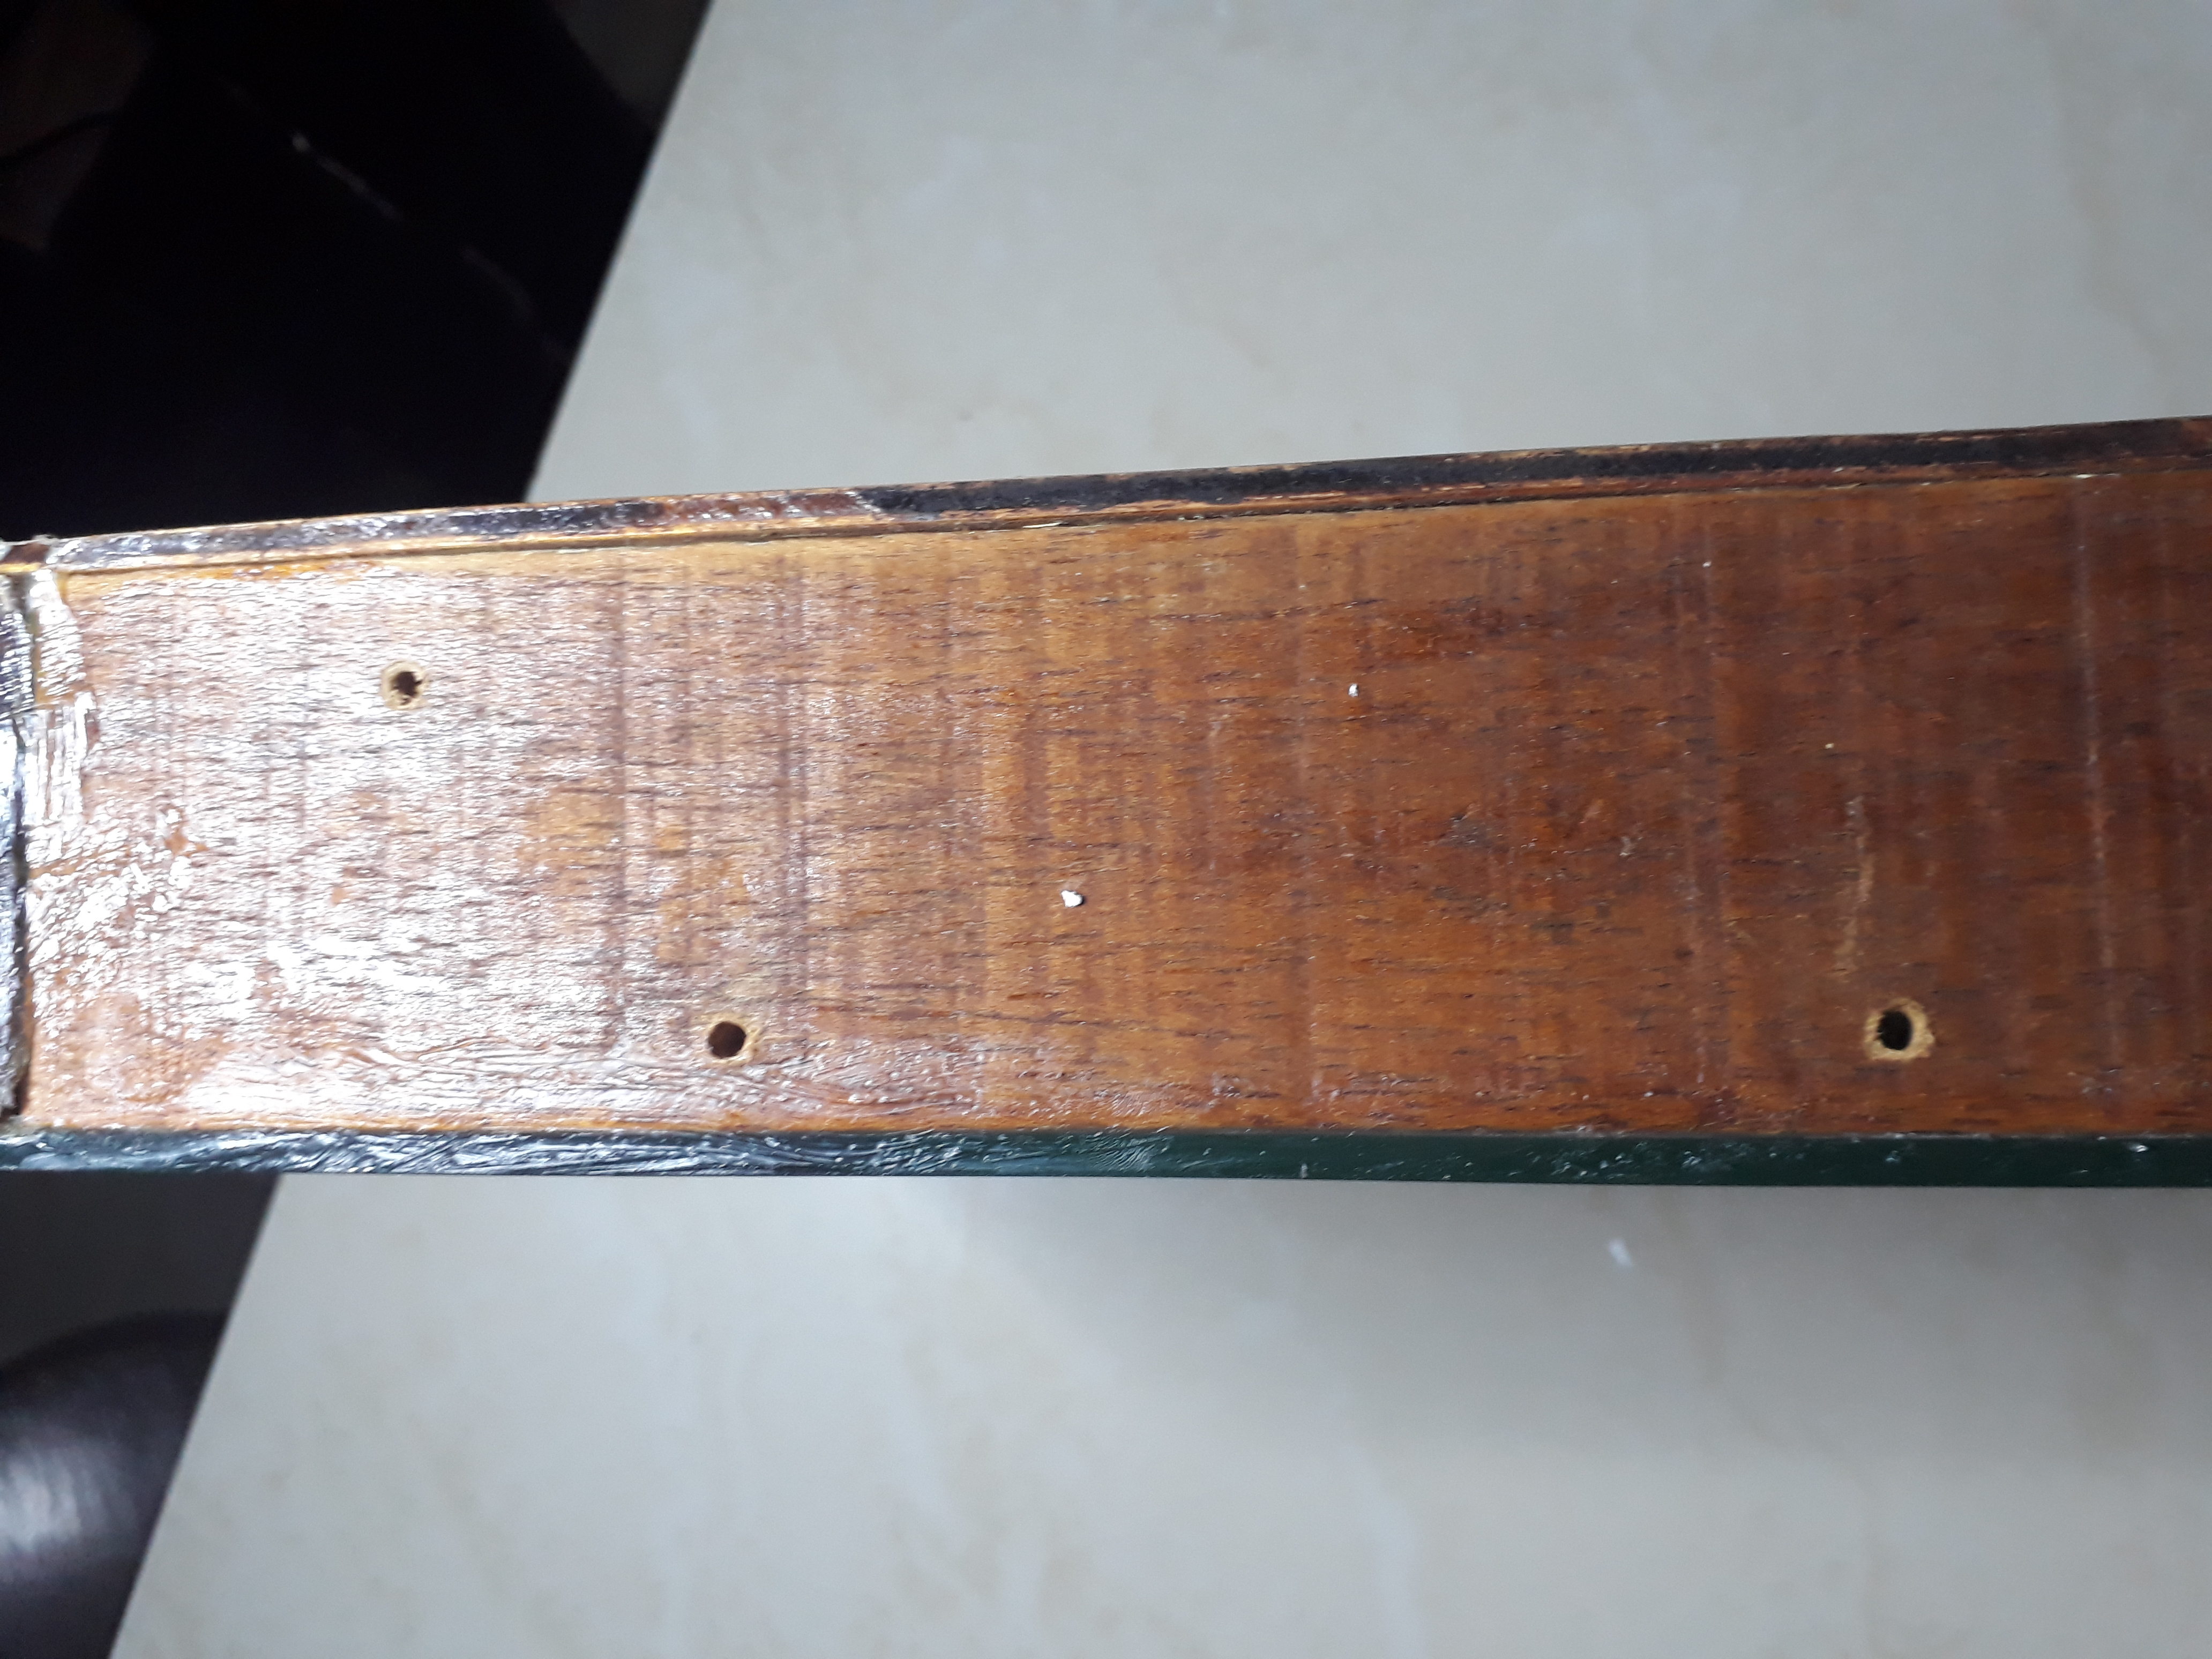
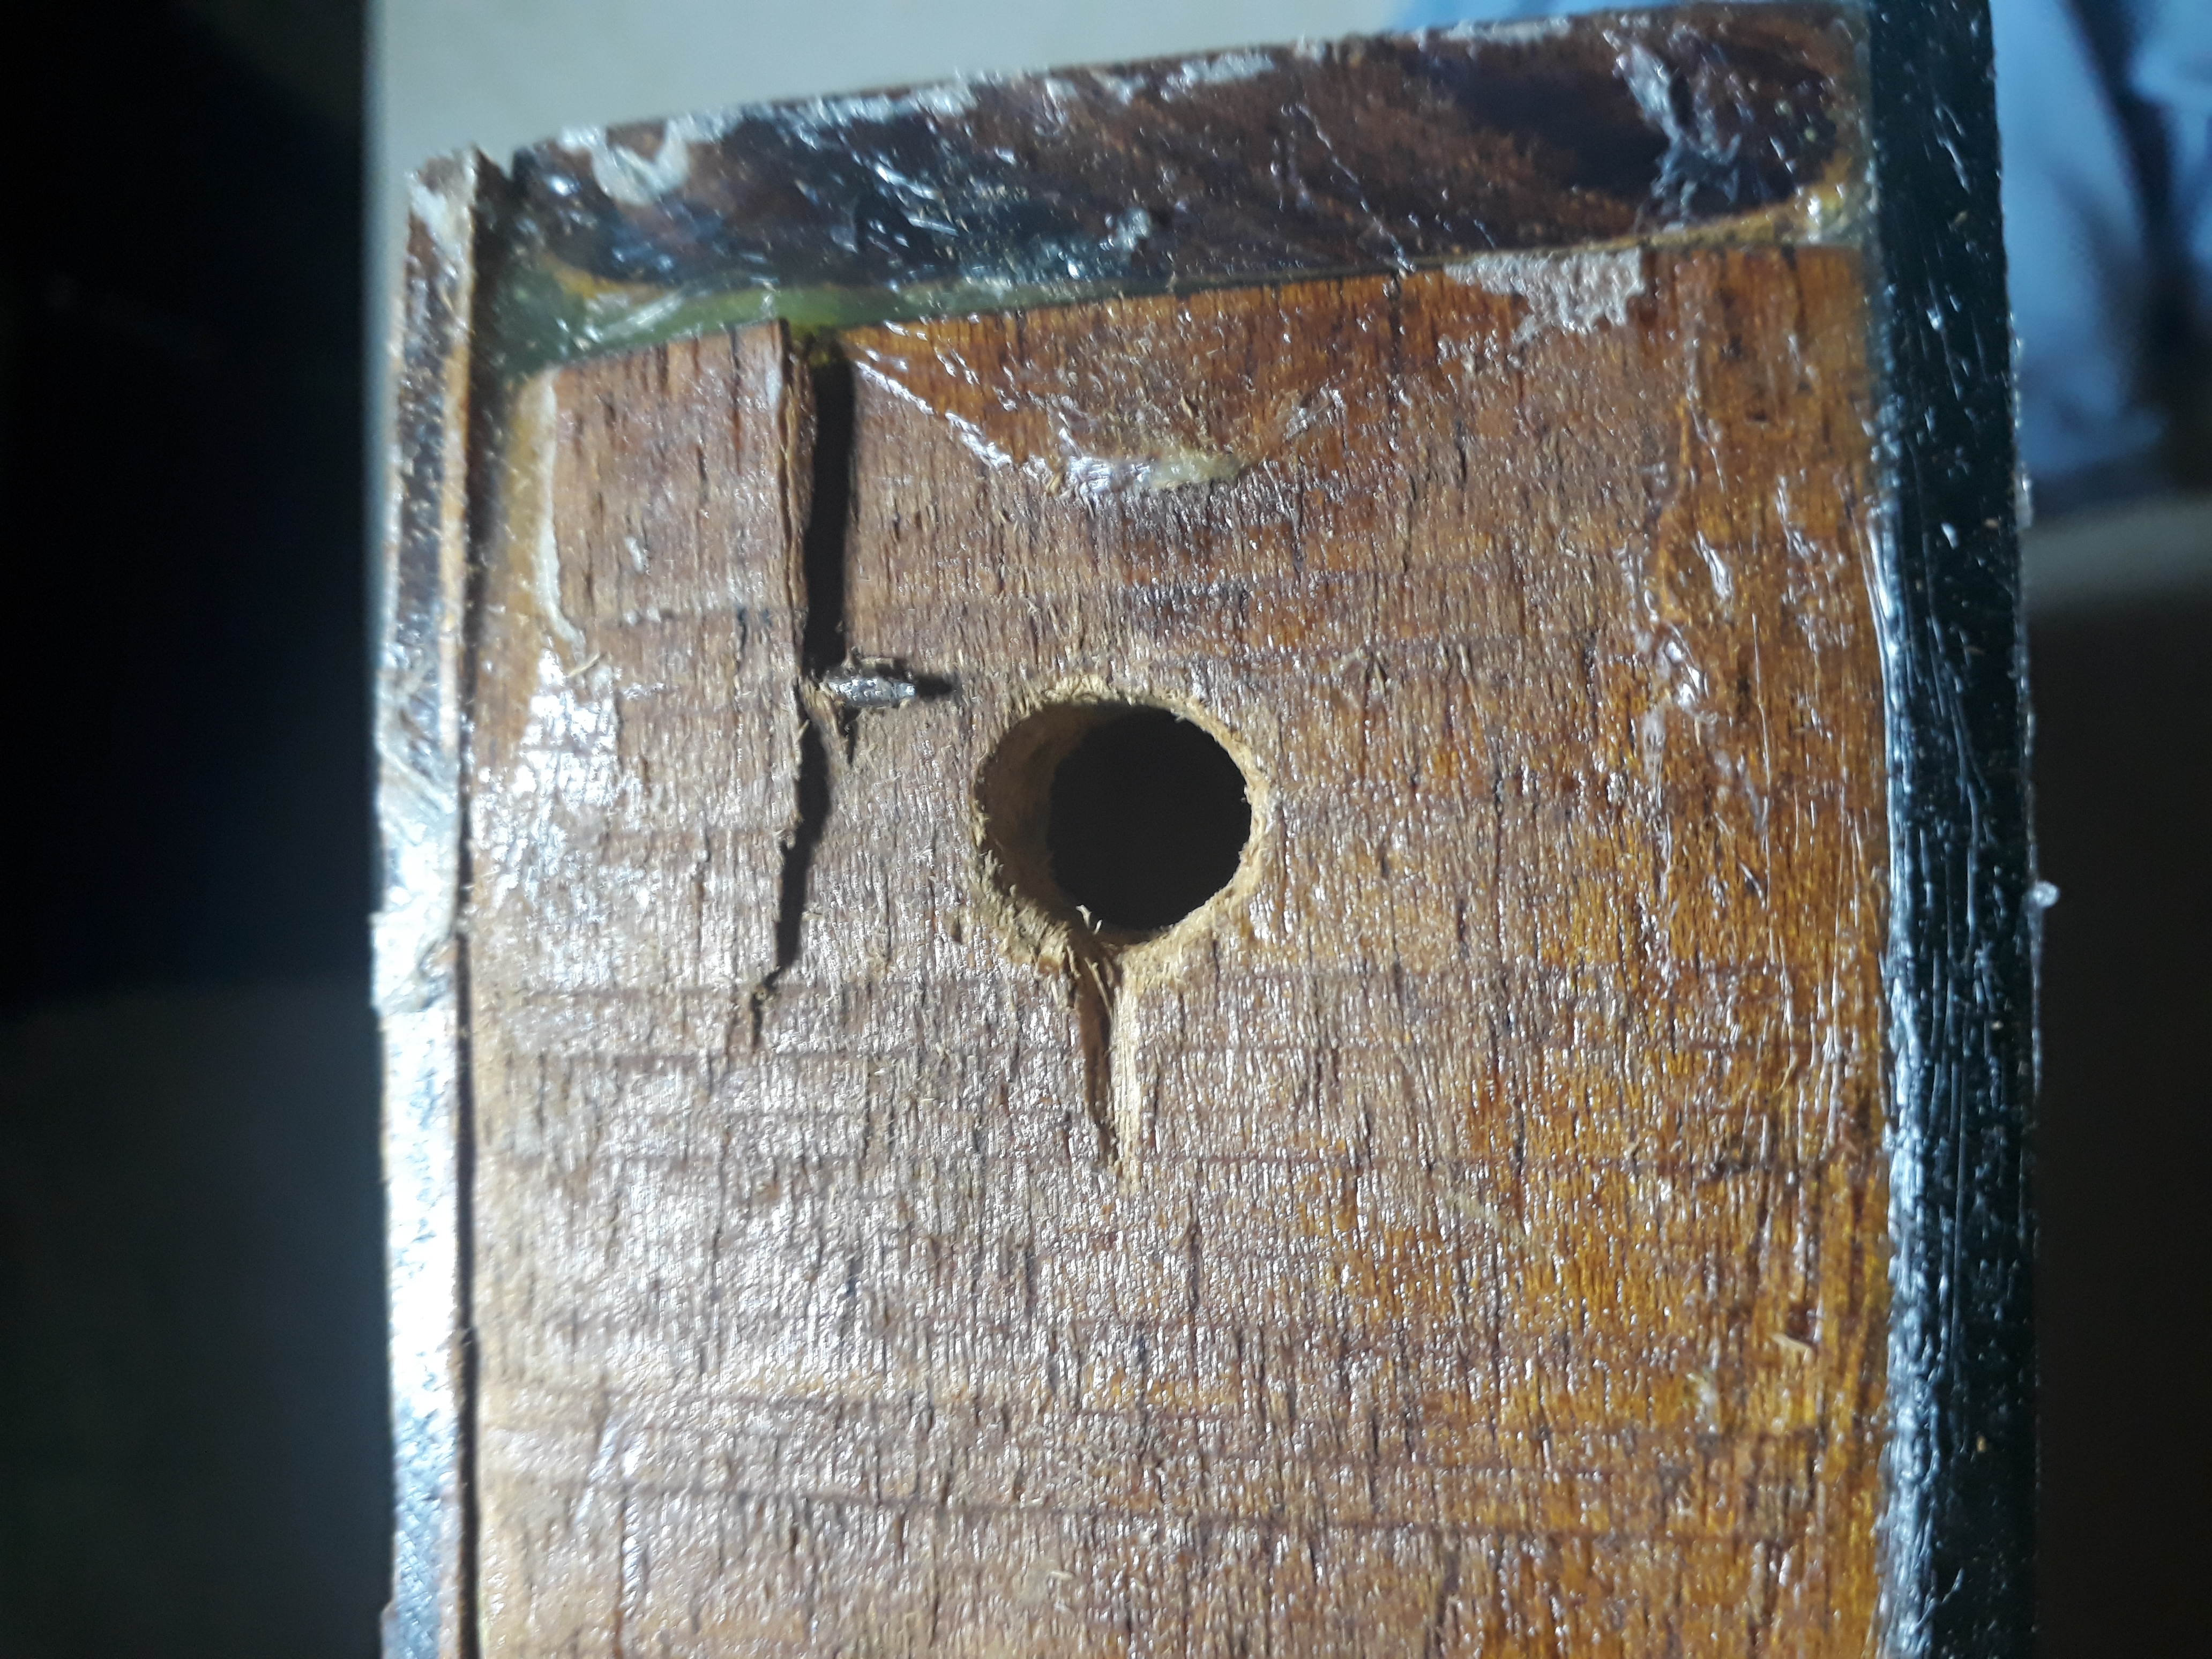
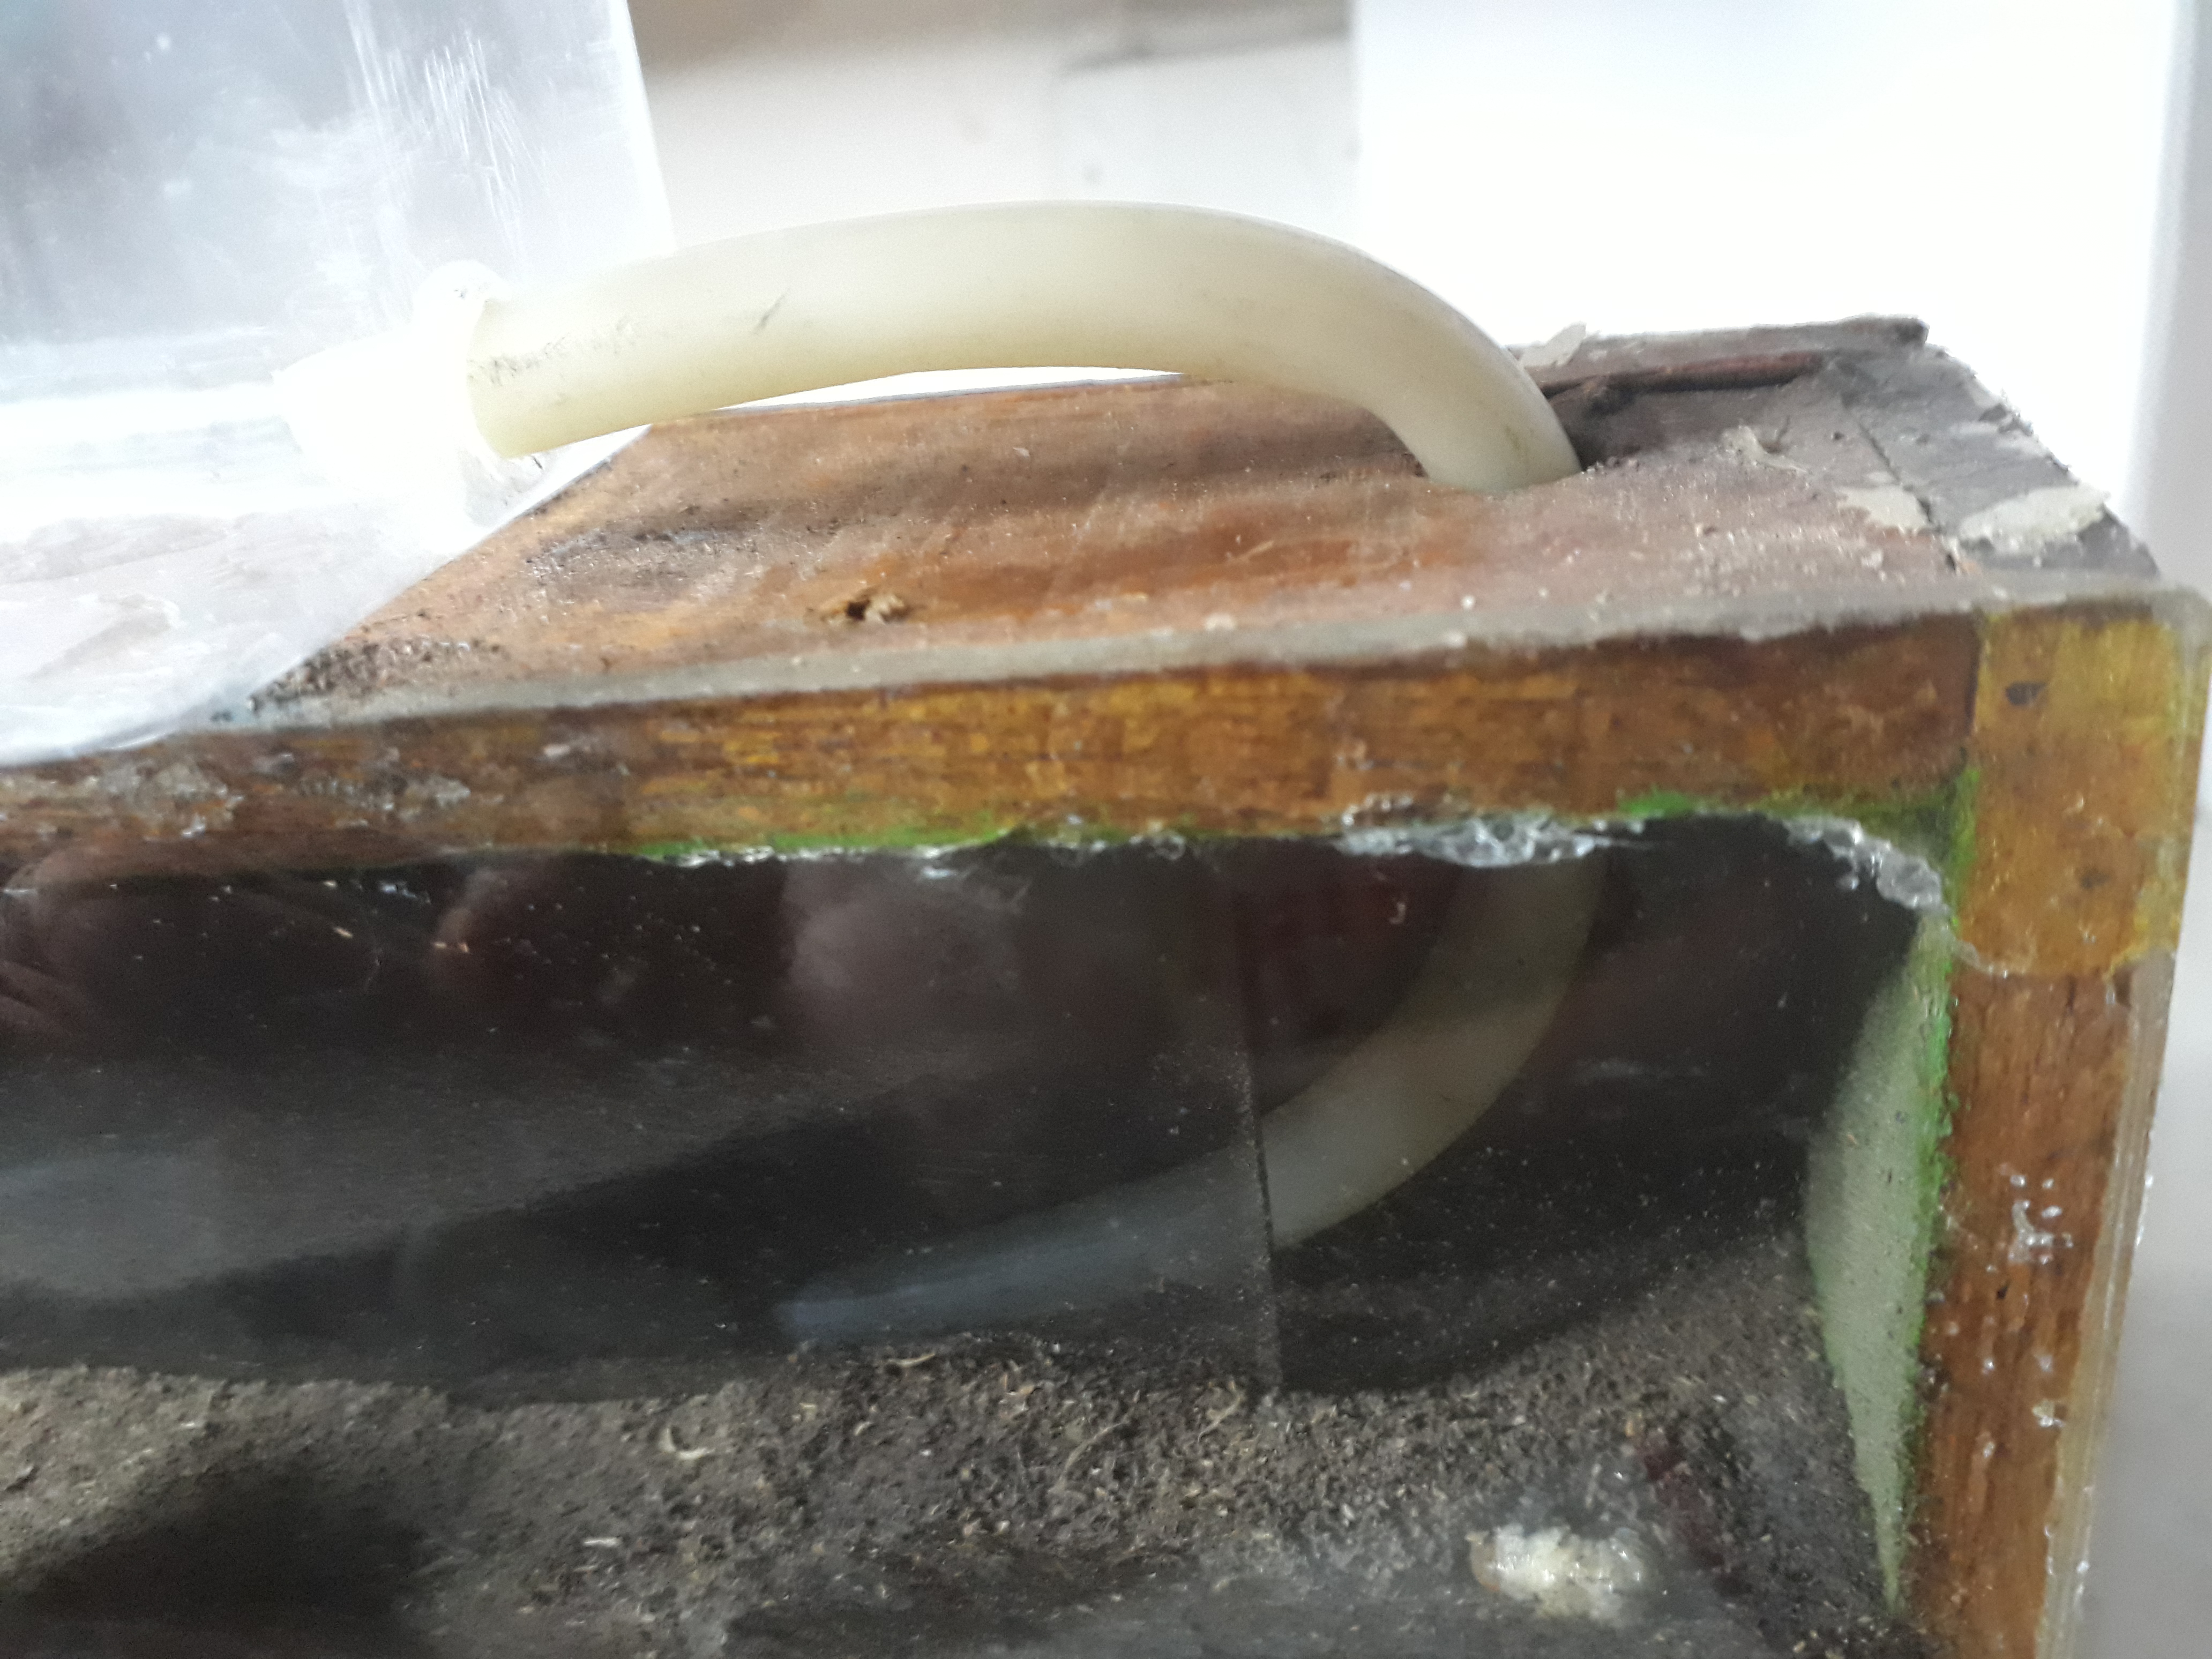
Para el siguiente paso procedí a hacer unos agujeros en la parte superior de la caja, con estos permitiremos el oxígeno dentro del hormiguero, la otra función es poder echarle agua mediante estos, las hormigas necesitan tener un suele humedo para poder construir; por ultimo haremos un agujero mucho mas grander por donde pasara la manguera, ya verán mas adelante cual sera la funcion de esta.
Una vez tengamos los agujeros hechos podemos pegar el vidrio de la parte delantera, igual que el anterior con abundante silicon y bien pegado, este vidrio debe ser totalmente transparente para poder ver el trabajo de las hormigas.
For the next step I proceeded to make some holes in the upper part of the box, with these we will allow oxygen inside the anthill, the other function is to be able to pour water through these, the ants need to have a humid soil to be able to build; Finally we will make a much larger hole through which the hose will pass, you will see later what the function of this will be.
Once we have the holes made, we can glue the glass from the front, like the previous one with plenty of silicone and well glued, this glass must be completely transparent to be able to see the work of the ants.
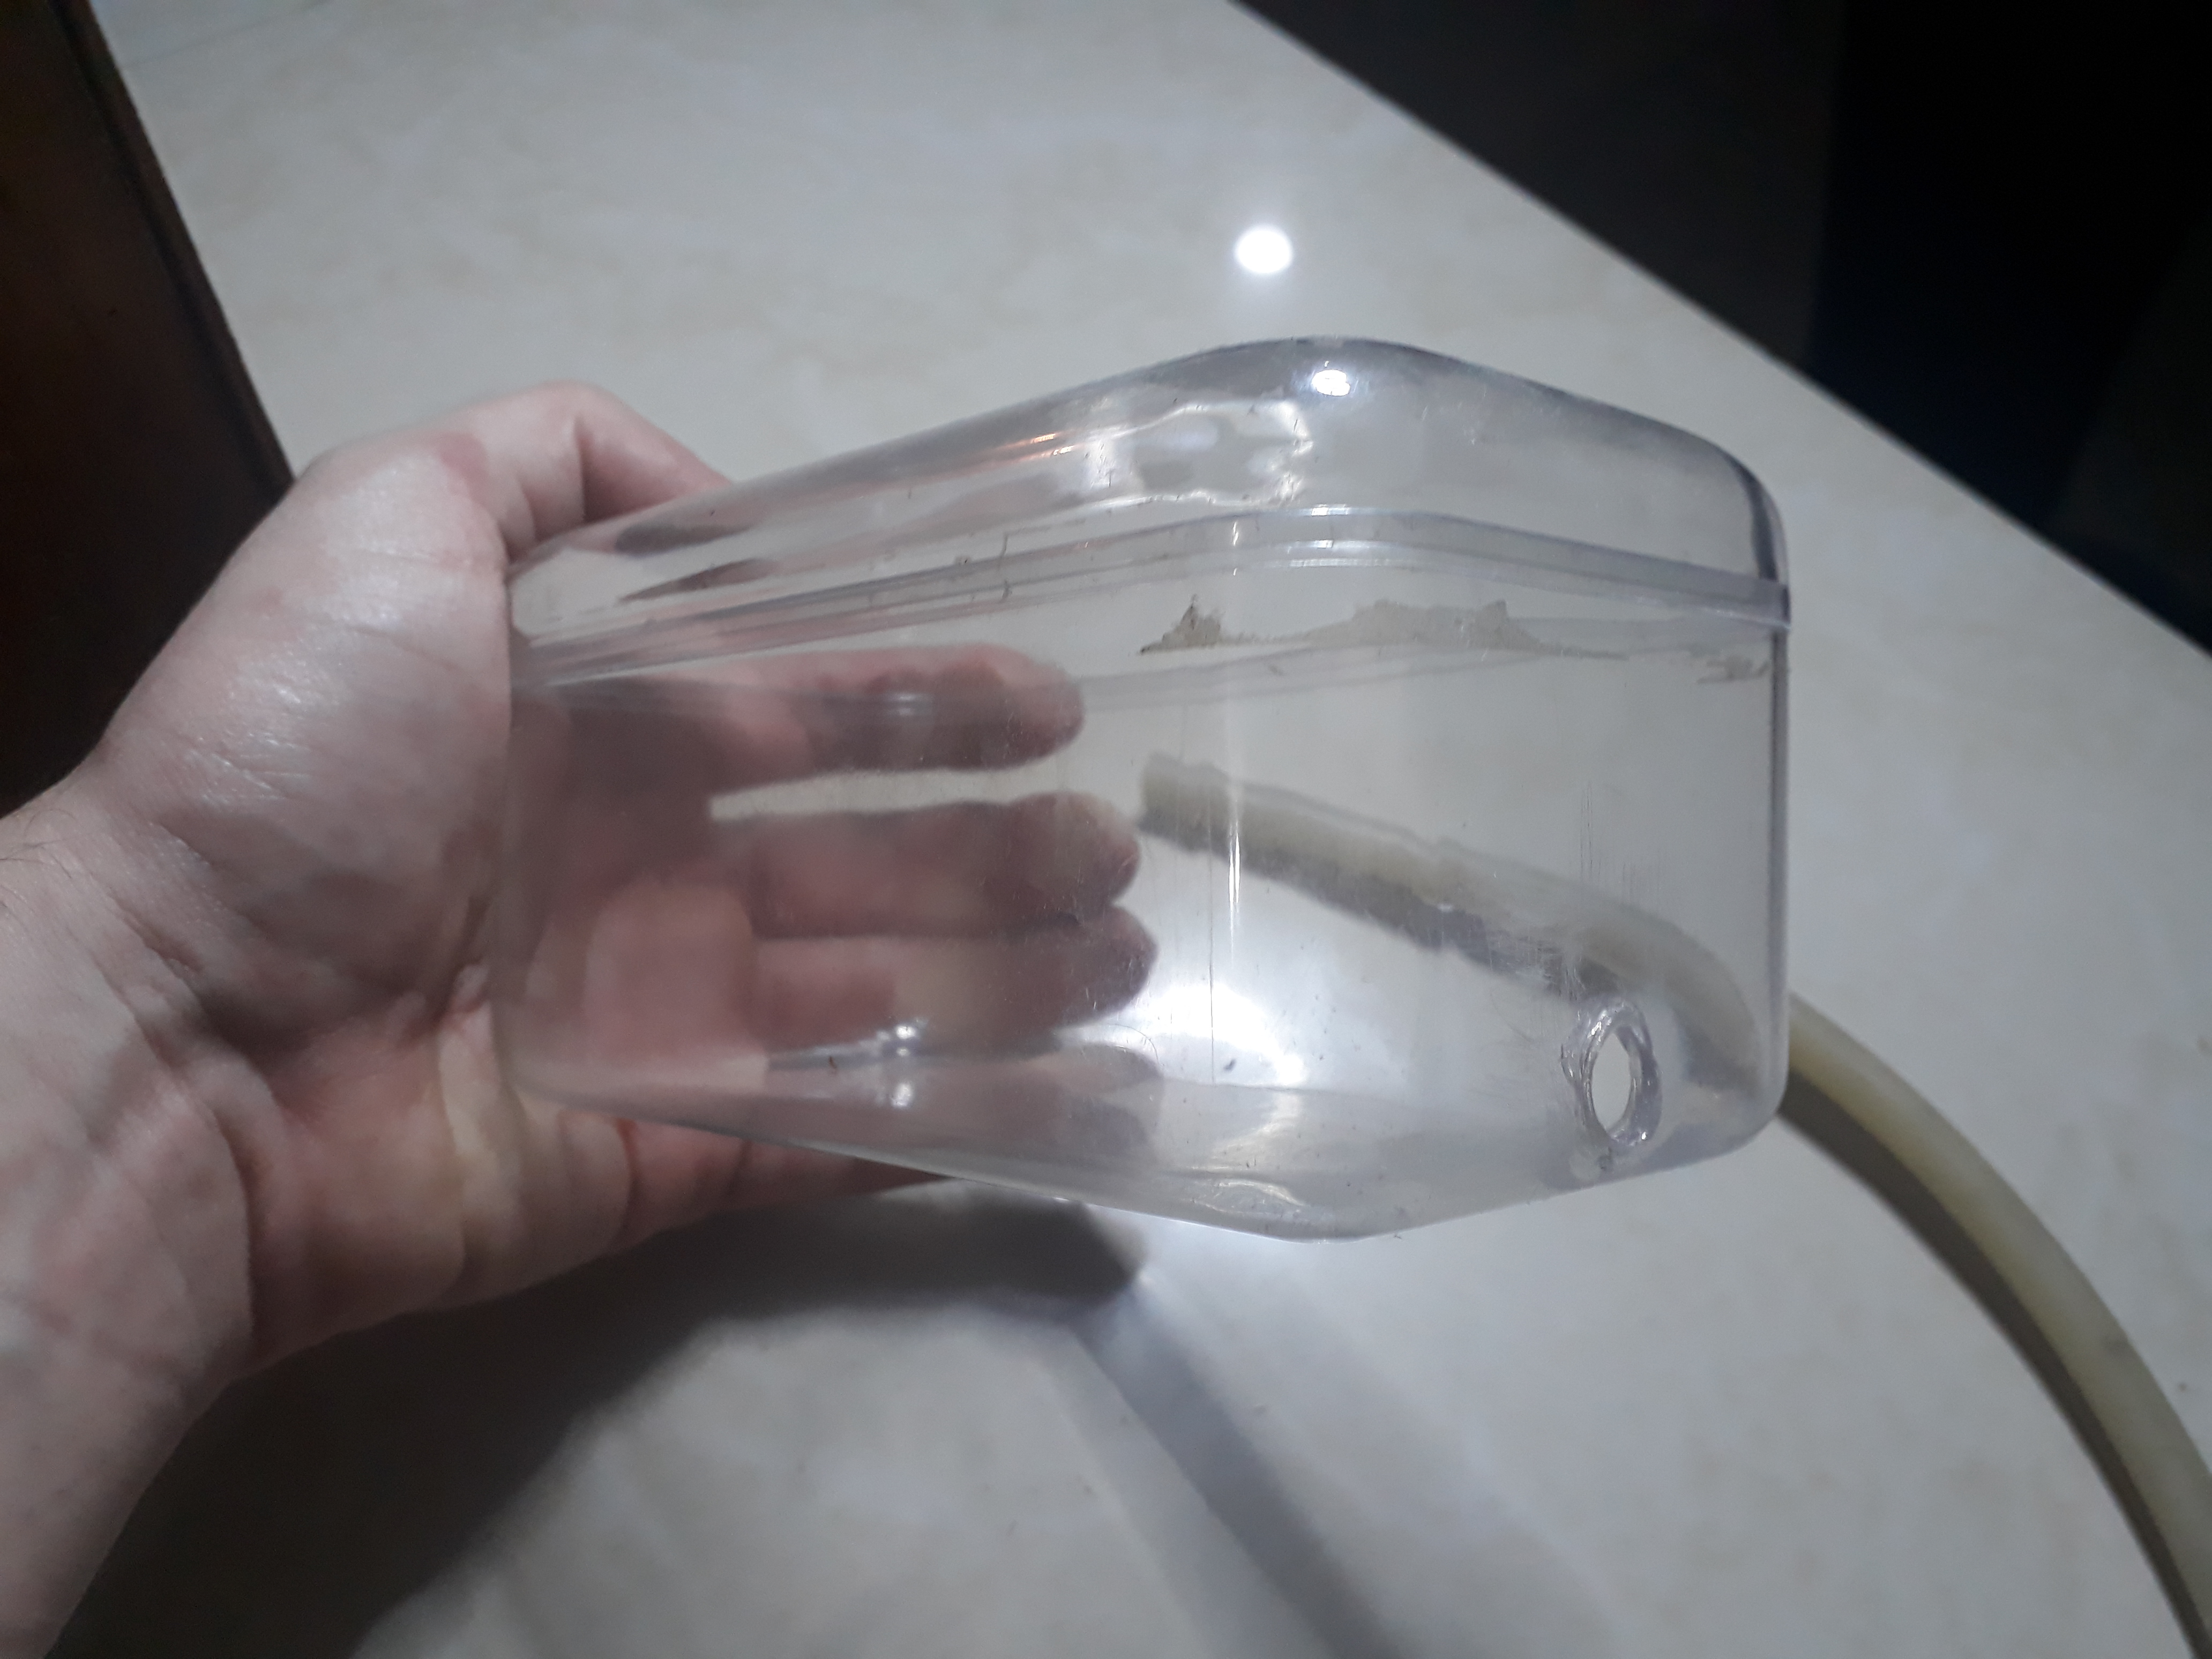
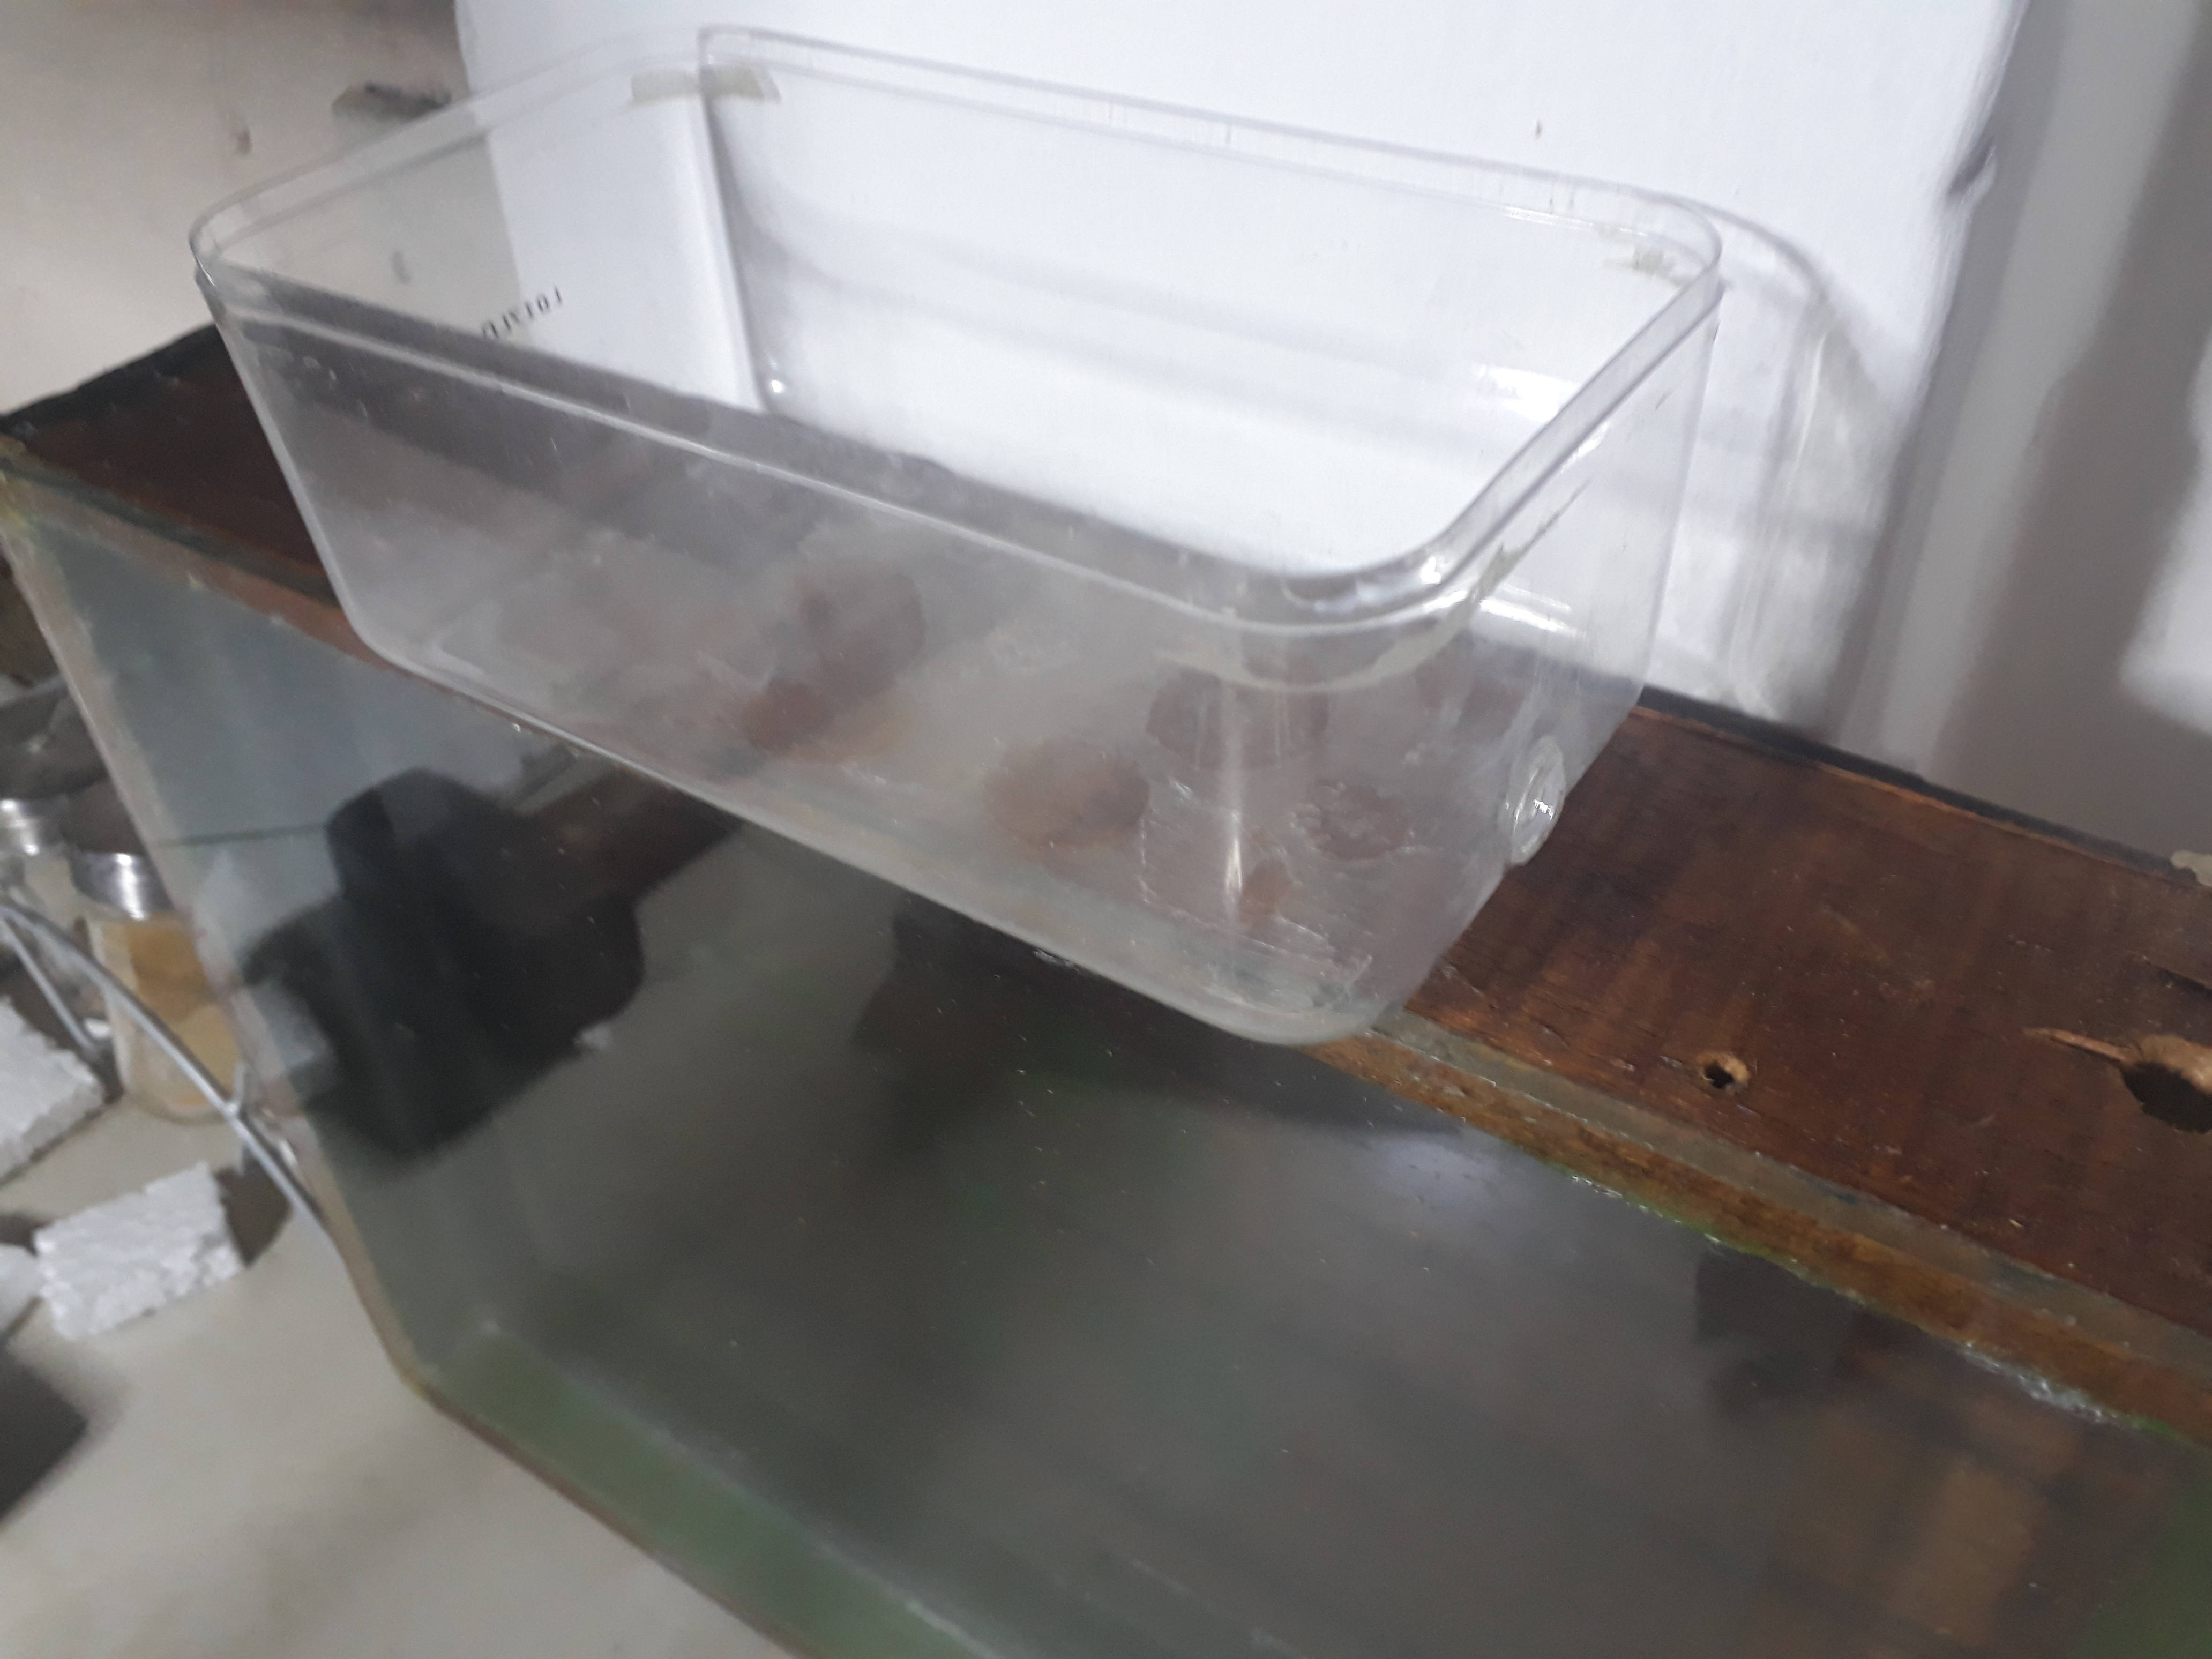
Ahora tomaremos el recipiente ya antes mencionado y a nivel de su base le haremos un agujero por donde va a pasar la otra parte de la manguera, para que puedan hacer este proceso es recomendable con un destornillador bien caliente que pueda derretir el plástico;
Cuando ya tengamos el agujero y no necesitemos manipularlo mas, pasamos a pegarlo en la parte superior de la caja, recuerden que el agujero del recipiente debe ir al mismo lado que el agujeron mas grande de la caja.
Now we will take the aforementioned container and at its base we will make a hole through which the other part of the hose will pass, so that they can do this process it is recommended with a very hot screwdriver that can melt the plastic; When we already have the hole and we do not need to manipulate it anymore, we will stick it on the top of the box, remember that the hole in the container must go to the same side as the largest hole in the box.
.jpg)
.jpg)
Cuando el recipiente este firmemente pegado paramos al siguiente paso, ahora llenaremos nuestro hormiguero con tierra o arena, yo lo hice con tierra y para que sea mejor la visualización tuve que cernir o colar todo esto, es un proceso lento y que lleva bastante paciencia pero que sera mejor para poder ver a nuestras hormigas.
Cuando echemos 3/4 de tierra en nuestro hormiguero, podemos poner la manguera, como lo ven en la imagen la idea es tener comunicación entre el recipiente y el hormiguero; en el recipiente sera donde pongamos el alimento y ciertas cosas para ellas, no queremos echarlas directamente en el hormiguero porque sino dañariamos sus nidos contaminando, es mejor que ellas seleccionen lo que quieren llevar para abajo.
When the container is firmly glued we stop to the next step, now we will fill our anthill with earth or sand, I did it with earth and to make the visualization better I had to sift or strain all this, it is a slow process and it takes a lot of patience but that it would be better to be able to see our ants.
When we put 3/4 of the earth in our anthill, we can put the hose, as you can see in the image, the idea is to have communication between the container and the anthill; In the container it will be where we put the food and certain things for them, we do not want to throw them directly into the anthill because otherwise we would damage their nests by polluting, it is better that they select what they want to take down.

Como pueden ver este es el resultado final, espero les haya gustados, próximamente estare publicando el proceso de mis hormigas, aqui les agregue un poco de agua para que vean como se humedece la parte delantera y tenerles listo el terreno para que ellas trabajen ahi.
Otra acotación que quiero hacer es que para tener un hormiguero se necesita una reina para que las hormigas tengan un propósito y puedan desempeñar todos sus roles, sin una reina no tendran ningun propósito y no harán nada.
Todas las fotos son de mi propiedad
As you can see this is the final result, I hope you liked it, soon I will be publishing the process of my ants, here I add a little water so that they can see how the front part is moistened and have the land ready for them to work there.
Another point I want to make is that to have an anthill you need a queen so that the ants have a purpose and can perform all their roles, without a queen they will have no purpose and will do nothing.
All photos are my property

Gracias por llegar hasta aquí, que tengan un felíz día!!
Thanks for getting here, have a happy day!!