**Holis gente bonita|Hello beautiful people**🥰
Cómo les comenté en el post anterior, hice otra manualidad para regalarle a mi sobrina por su cumpleaños, a mi sobrina y a mi nos gustan mucho los bolígrafos así que siempre que podemos nos regalamos algún bolígrafo que sabemos nos gustará, ví en unos chinos unos lindos bolígrafos con motivo de animales y cuando ví el panda 🐼 pensé que le gustaría y se lo compré para regalarselo en su cumpleaños.
>As I told you in the previous post, I made another craft to give to my niece for her birthday, my niece and I love pens so whenever we can we give each other a pen that we know we will like, I saw in some Chinese some cute pens with animal motifs and when I saw the panda 🐼 I thought she would like it and I bought it to give it to her for her birthday.
Pero a pesar de que el bolígrafo por si solo es un espectáculo no quería dárselo así nada más, entonces se me ocurrió hacerle una cajita de cartón y entregárselo allí, ya saben que me gusta mucho ponerle amor a las cosas que regaló. 🥰
>But even though the pen by itself is a spectacle I didn't want to give it to him just like that, so I thought of making him a little cardboard box and give it to him there, you know I really like to put love to the things I give as gifts. 🥰
No soy muy buena haciendo cajitas, de hecho e intentado varias veces hacerlas y muero en el intento así que está vez incluso hice moldes con las medidas que quería que tuvese la cajita, pero les confieso que al final en algunos momentos los moldes no me sirvieron de mucho, 🤣 pero lo importante es que por fin logré hacer una cajita, así que les estaré contando cómo la hice y los errores o fallos que tuve con los moldes, sin más preámbulo los dejo con la lista de materiales y el proceso de elaboración de la cajita. 🥰
>I am not very good at making little boxes, in fact I have tried several times to make them and died trying, so this time I even made molds with the measurements I wanted the box to have, but I confess that in the end at some points the molds did not help me much, 🤣 but the important thing is that I finally managed to make a box, so I will be telling you how I made it and the mistakes or failures I had with the molds, without further ado I leave you with the list of materials and the process of making the box. 🥰

✨**Materiales|Materials**✨
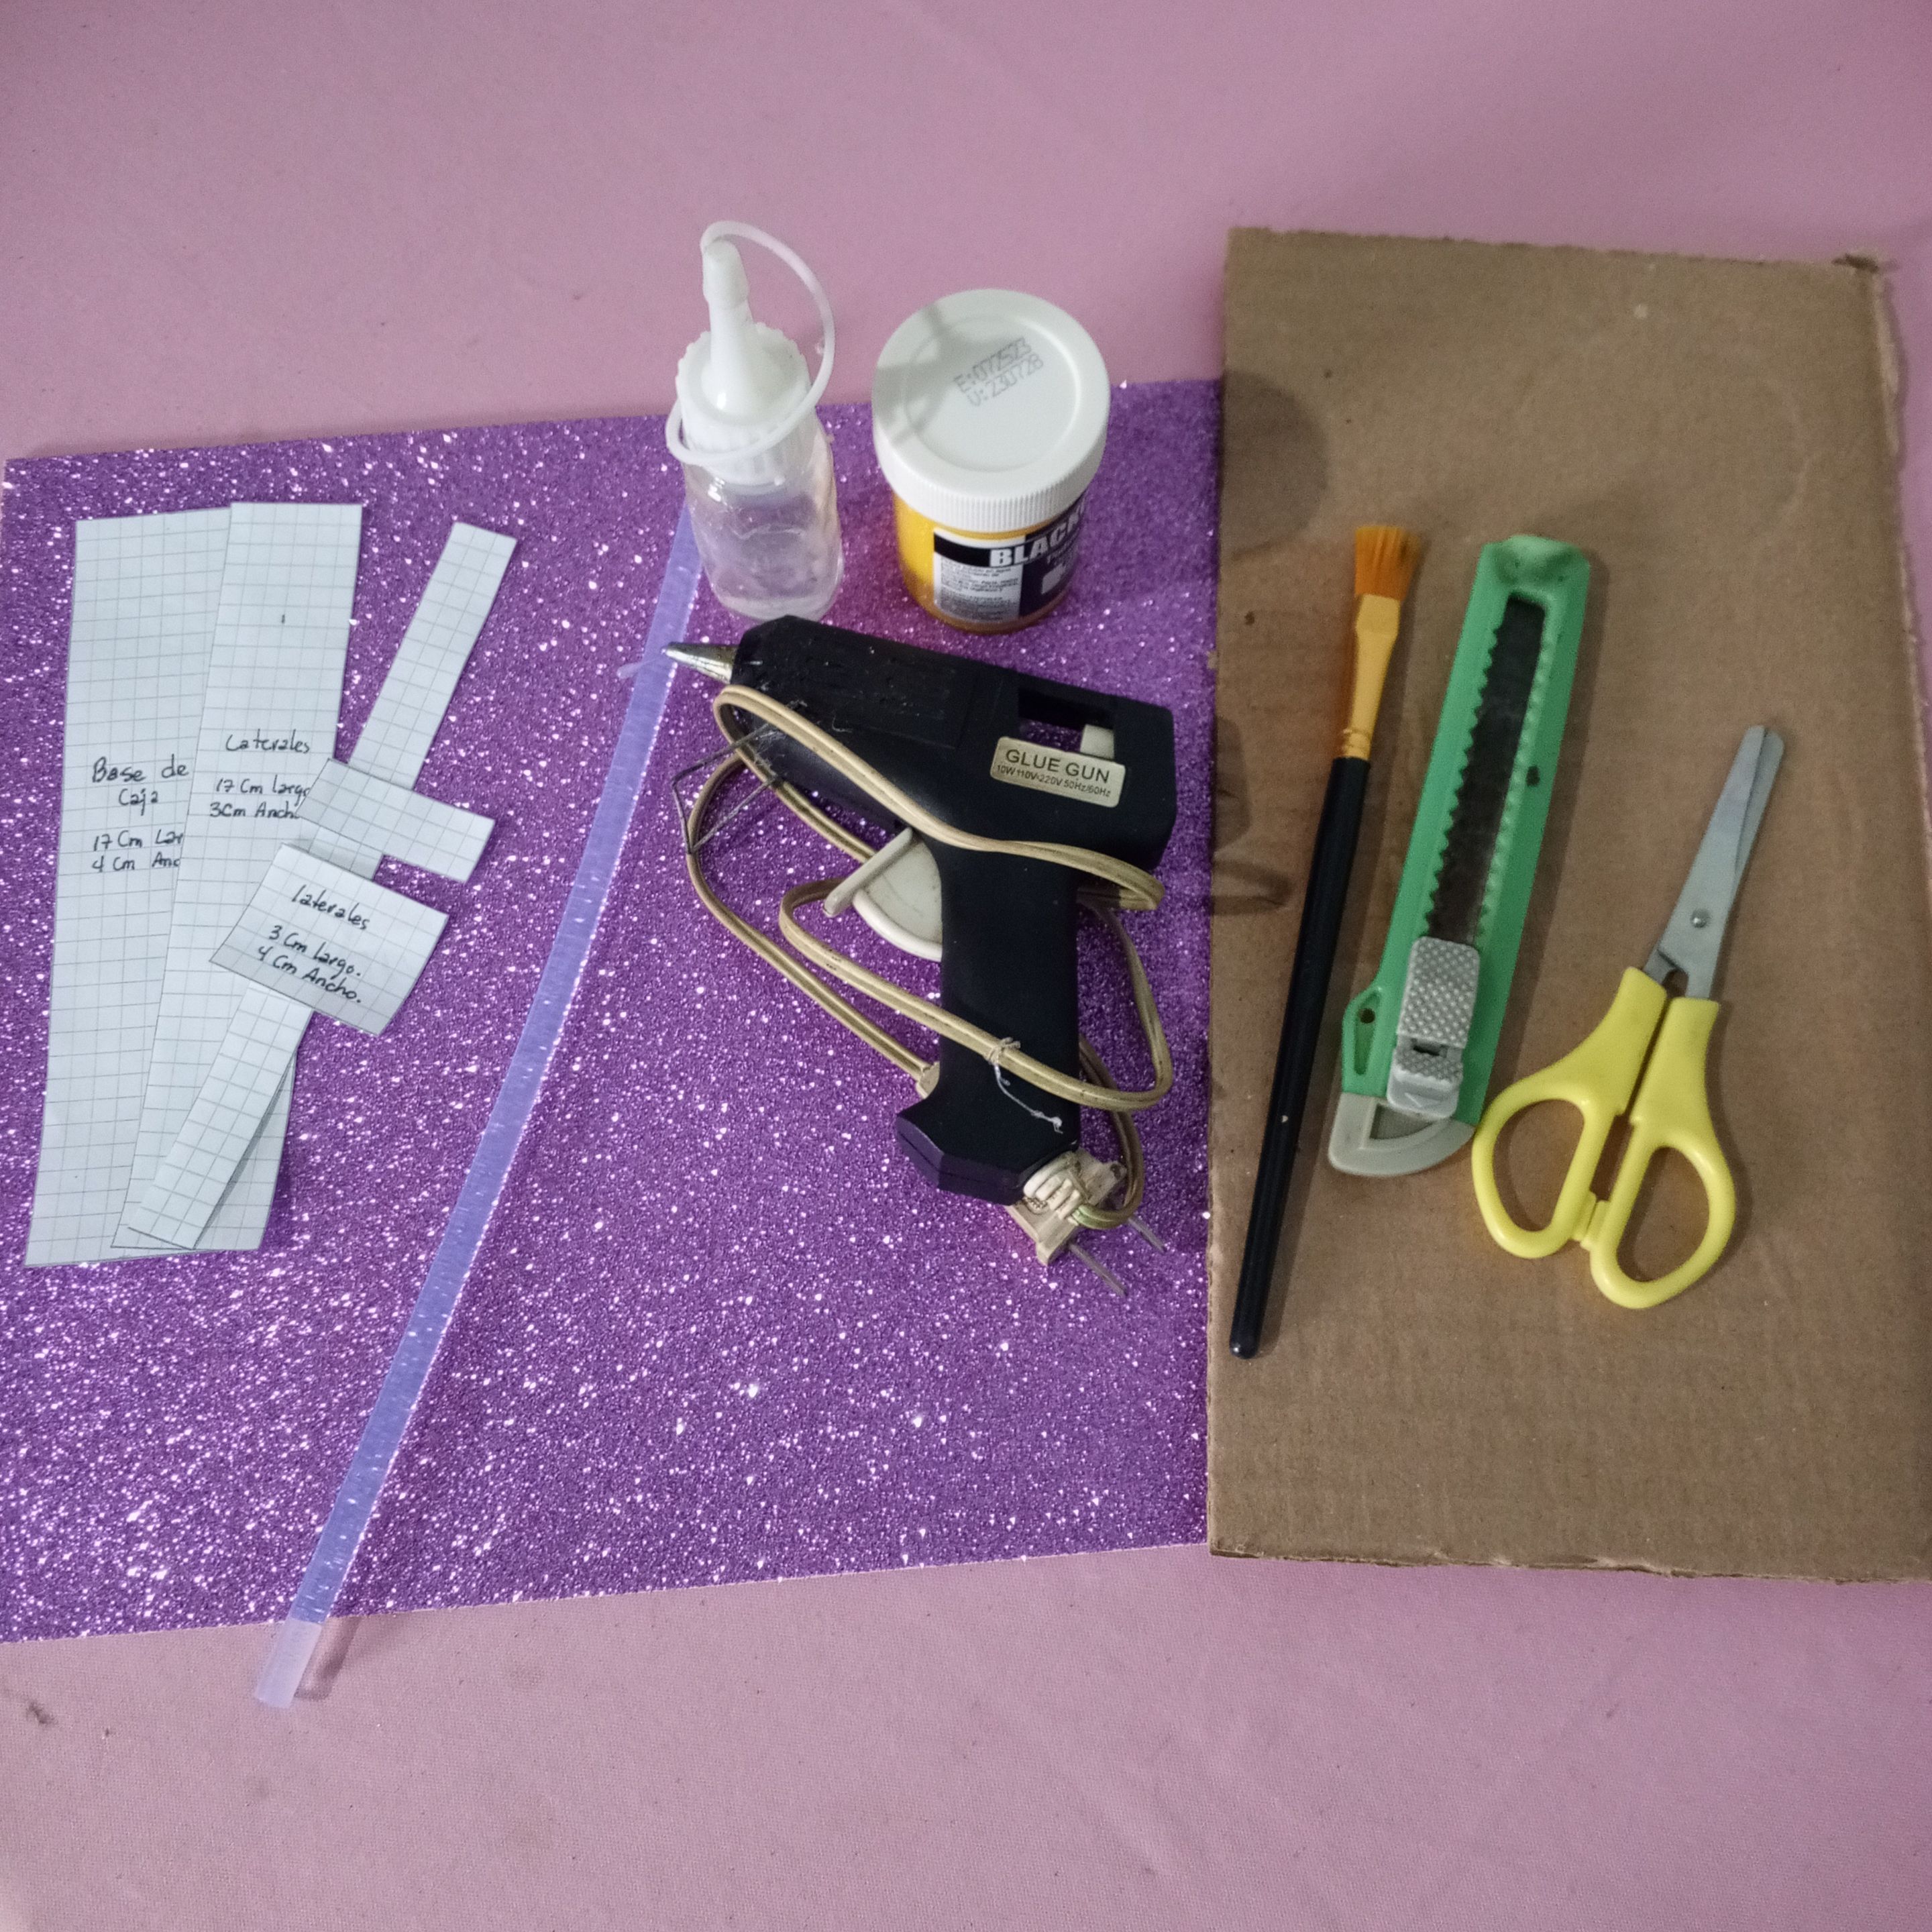
* Cartón.
* Foami morado escarchado.
* Moldes.
* Tijera.
* Cúter.
* Pistola de silicón.
* Silicón en barra.
* Silicón líquido.
* Pintura al frio amarilla.
* Pincel.
- - -
* Cardboard.
* Purple frosted Foami.
* Molds.
* Scissors.
* Cutter.
* Silicone gun.
* Silicone stick.
* Liquid silicone.
* Yellow cold paint.
* Brush.

✨**Paso a paso**|**Step-by-step**✨
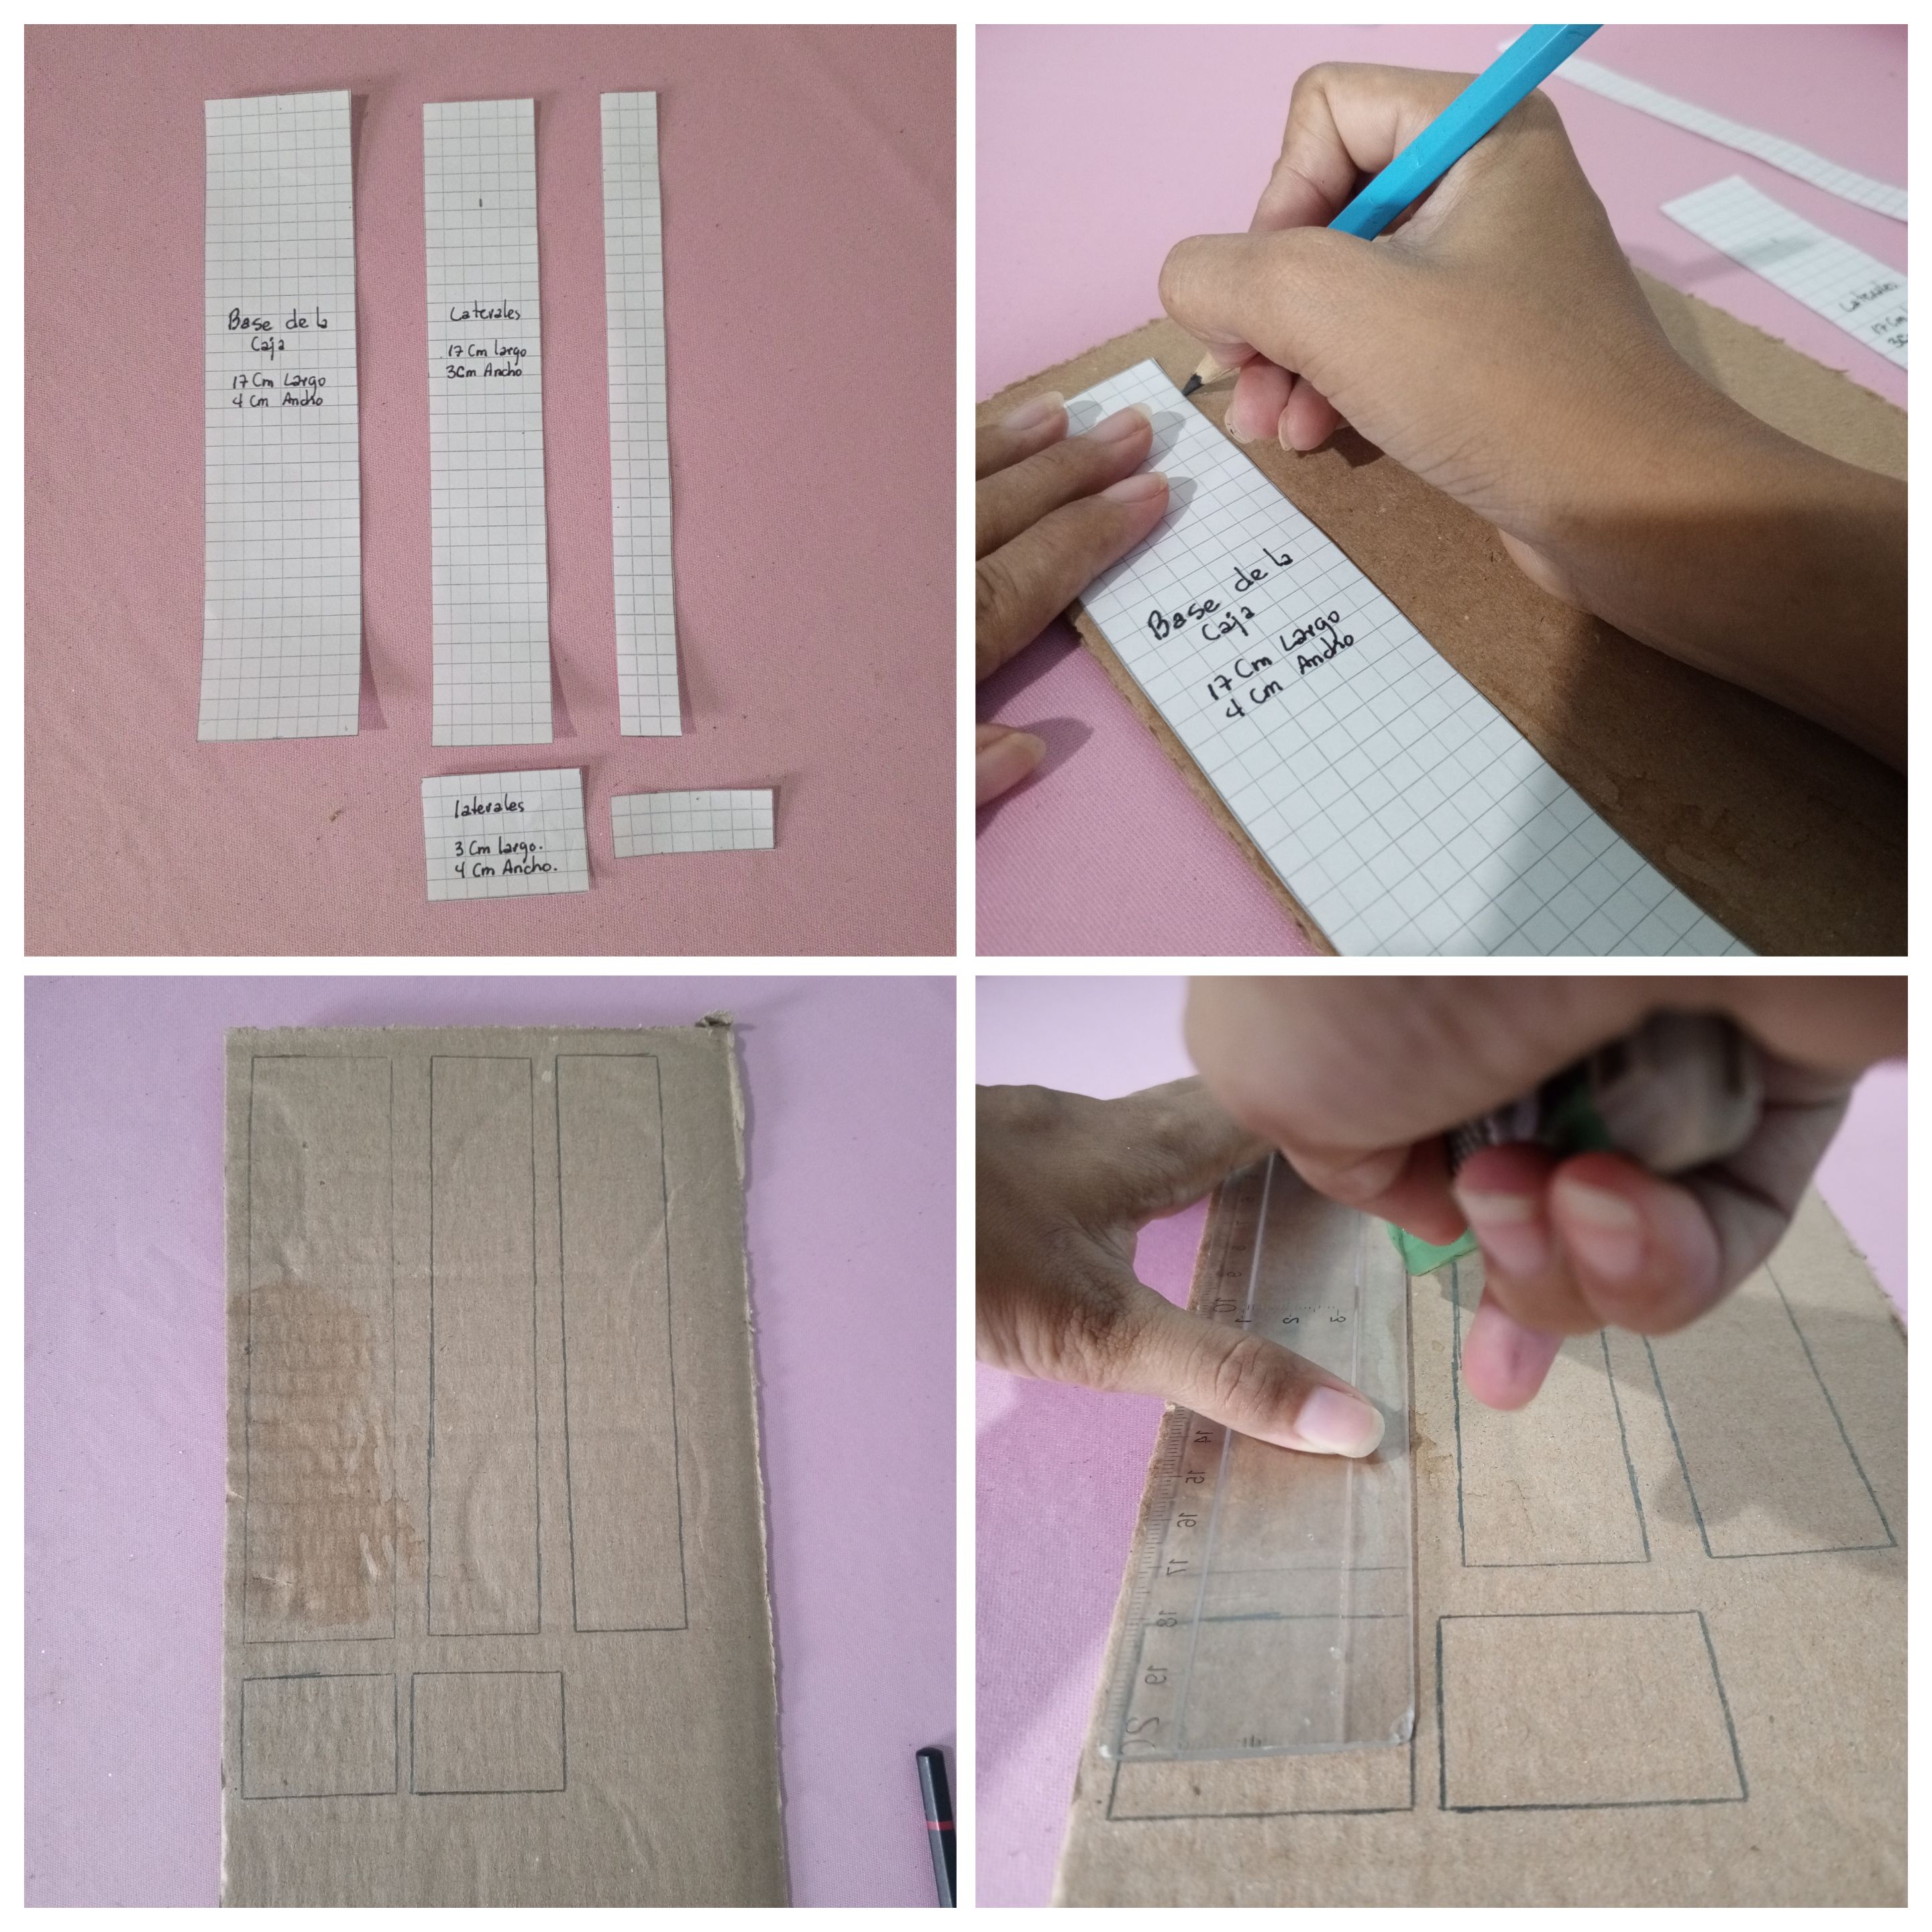
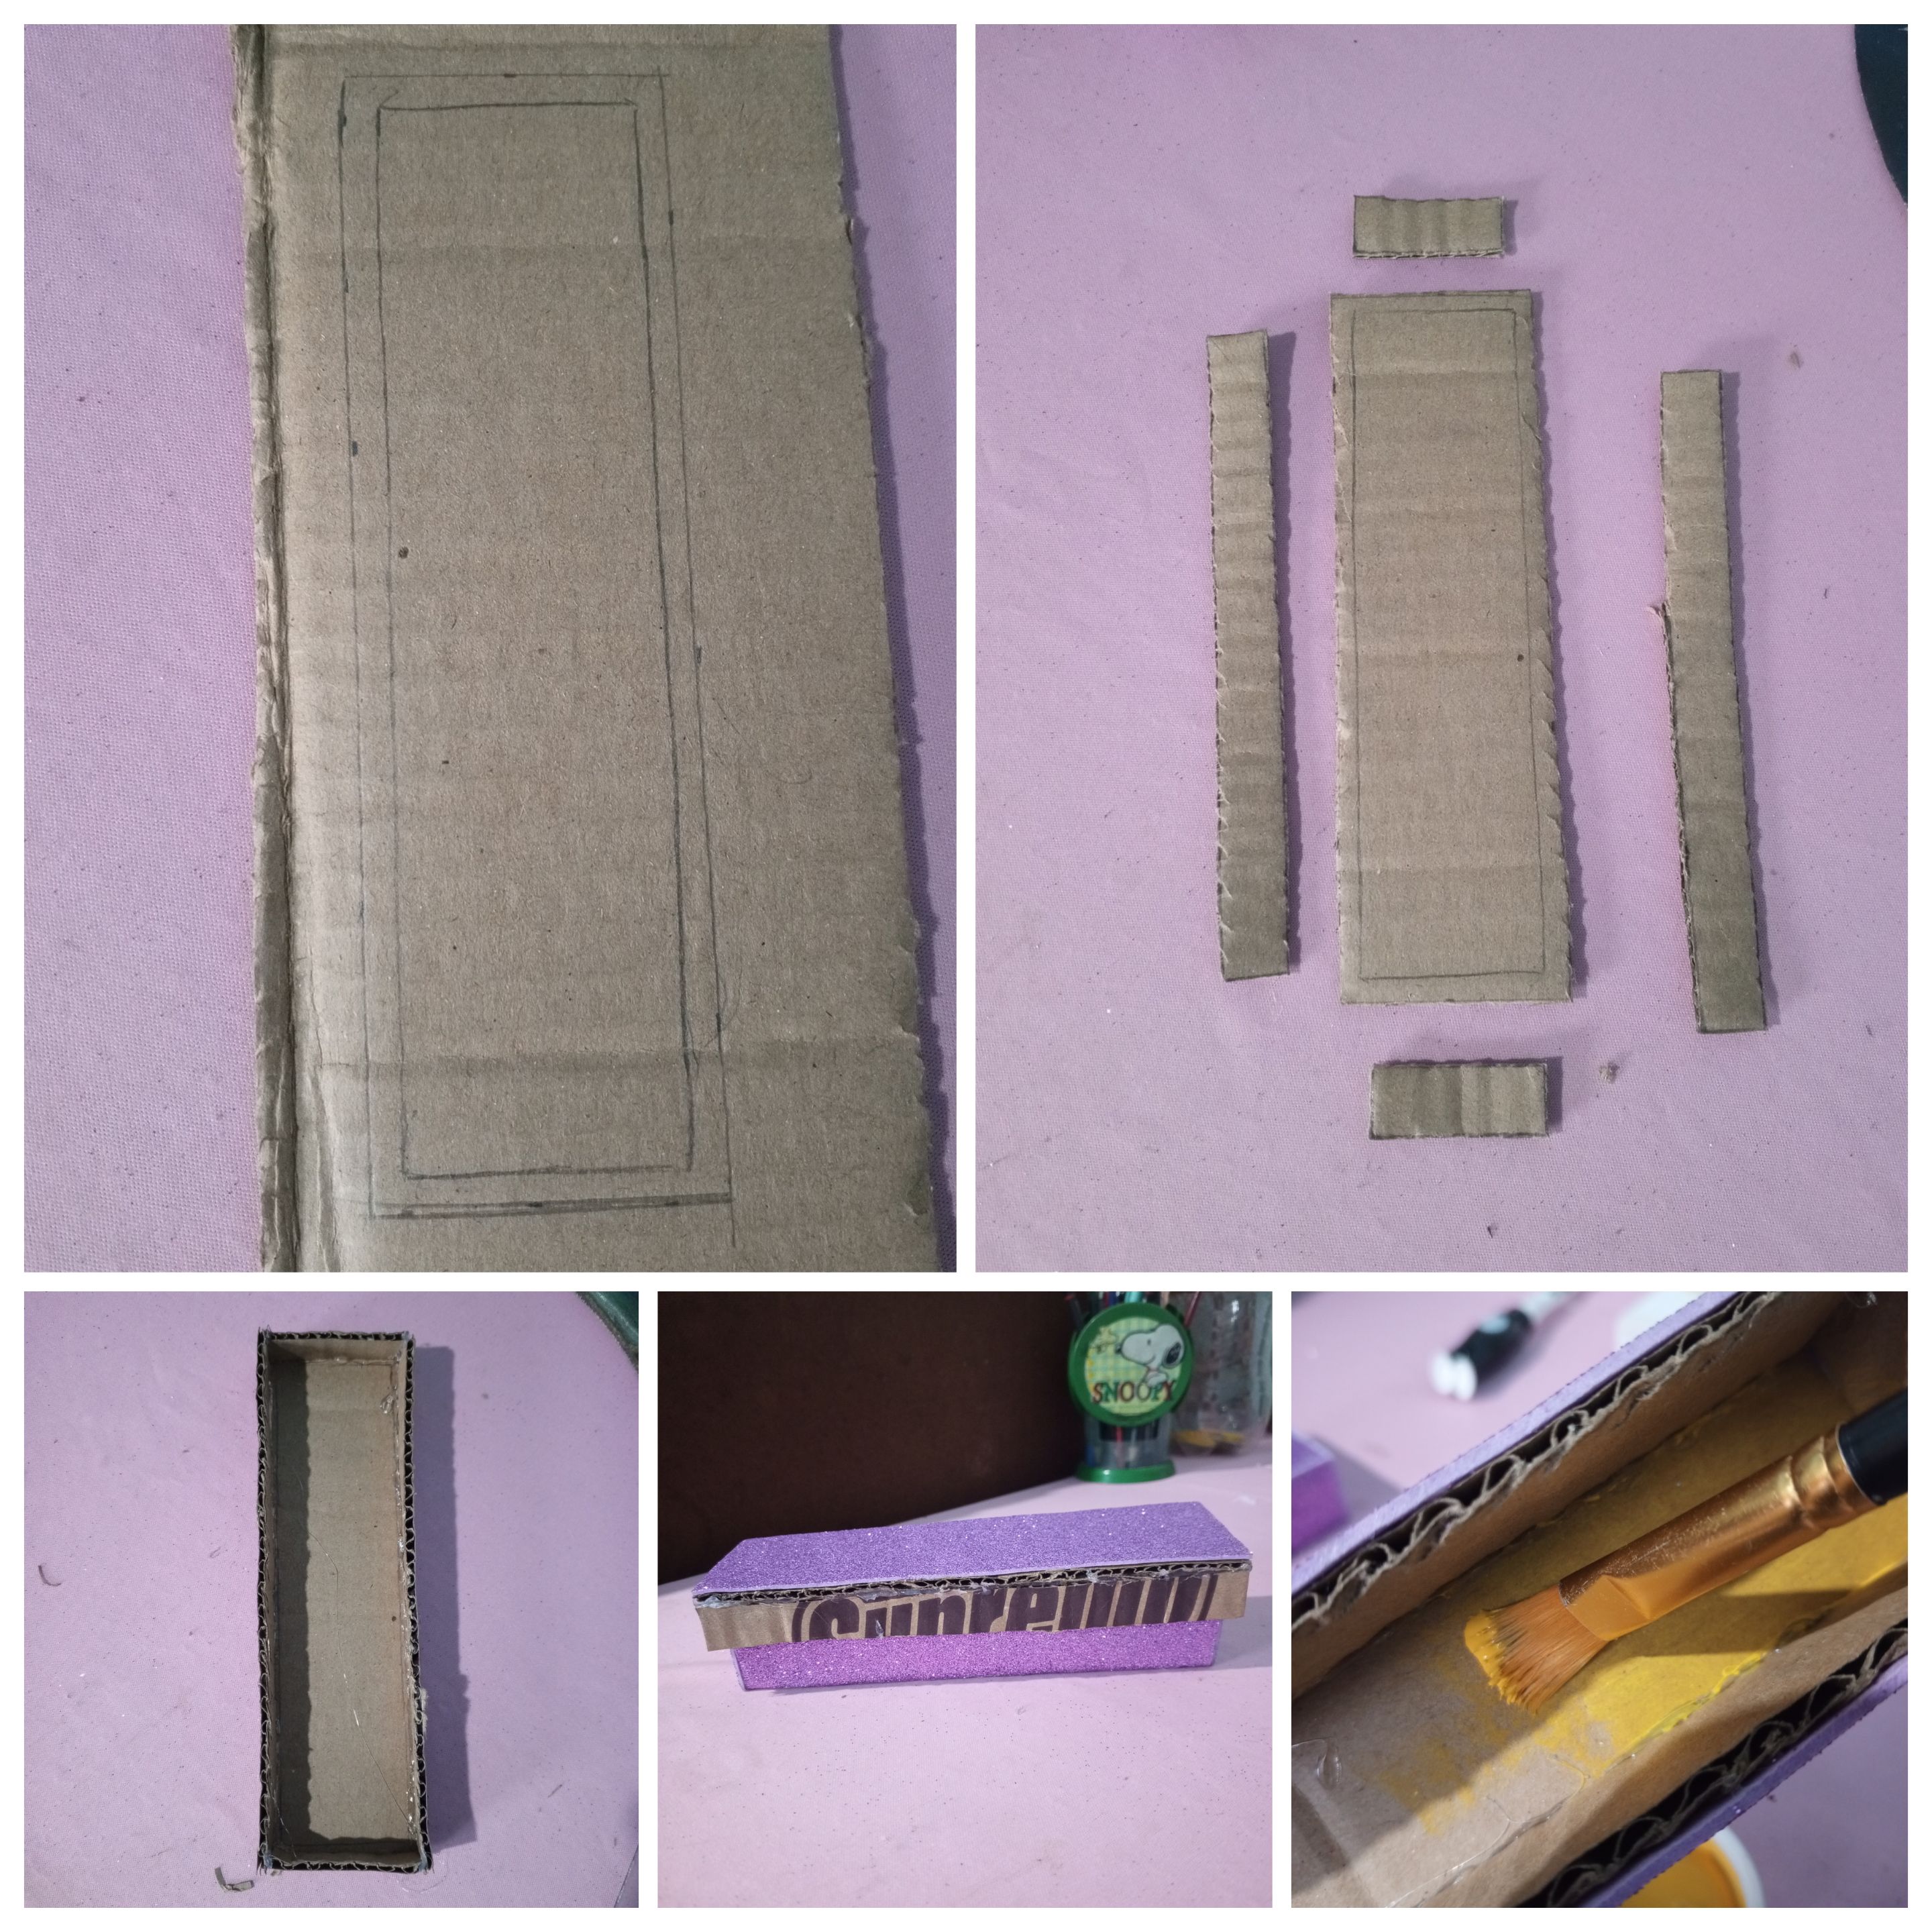
Traspase los moldes que hice previamente al cartón con la ayuda de un lápiz, ✏️ y luego con un cúter y también unas tijeras ✂️ recorte cada pieza.
>Transfer the molds I made previously to the cardboard with the help of a pencil, ✏️ and then with a cutter and also a pair of scissors ✂️ cut out each piece.

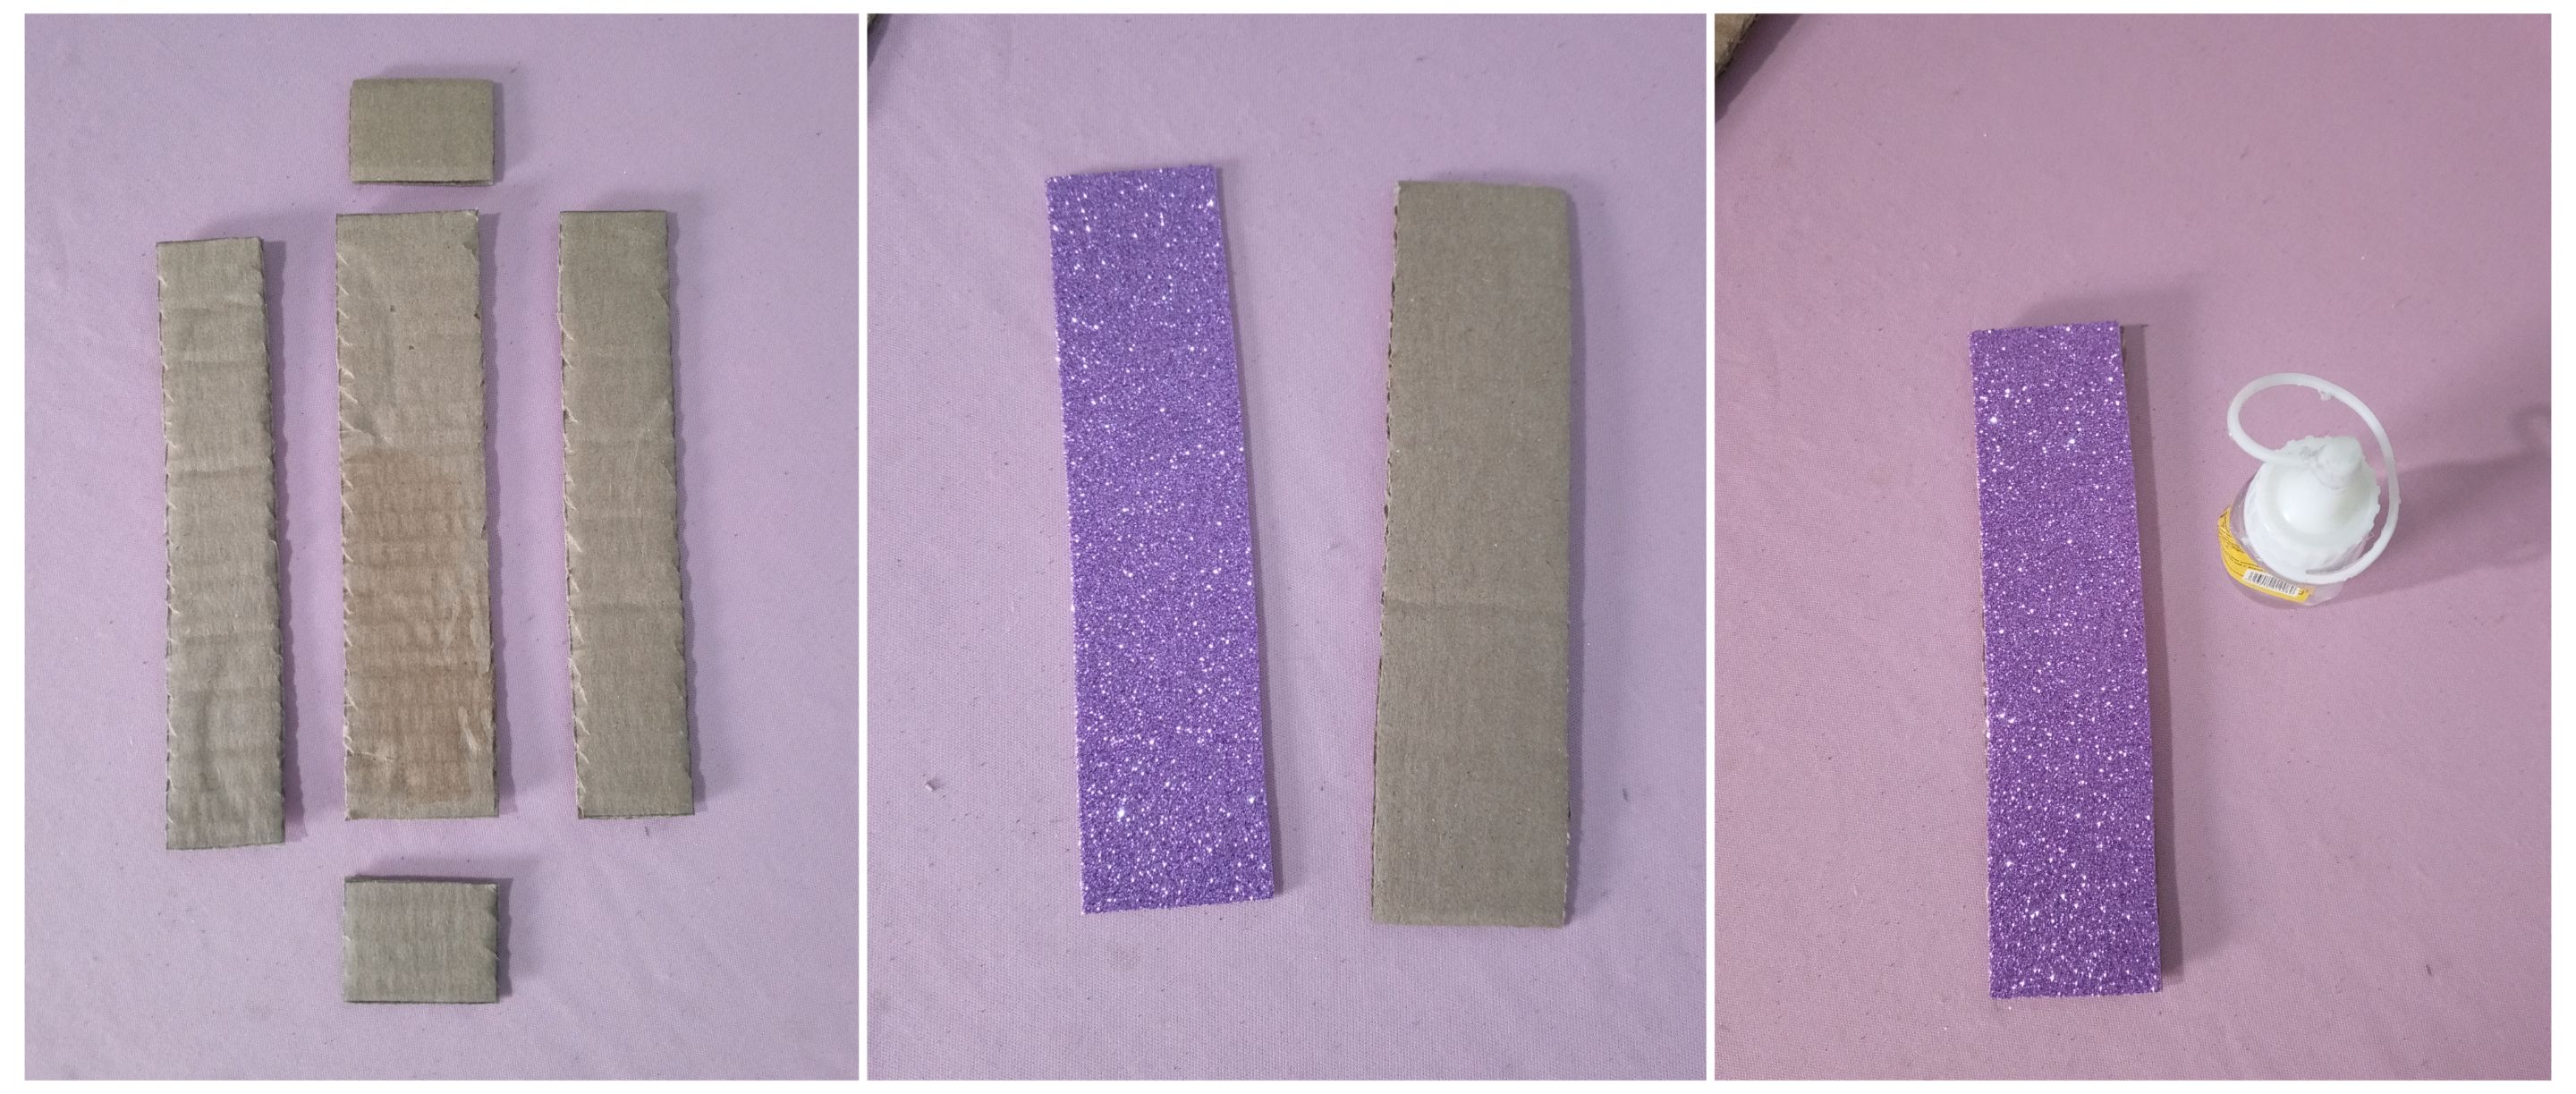
Recortadas las piezas, la base y los laterales de la caja, lo siguiente que hice fue forrar la base con foami morado escarchado, para esto use silicón líquido para poder colocar la pieza con más facilidad.
>Once the pieces, the base and the sides of the box were cut out, the next thing I did was to line the base with frosted purple foami, for this I used liquid silicone to be able to place the piece more easily.


Forrada la base comencé a armar la caja, colocando primero los laterales más pequeños, esto lo hice con silicón caliente porque este pega más rápido. Pero aquí fue donde comencé mi pequeño calvario, había hecho los moles con 17 cm de largo, pero al pegar los laterales más pequeños me di cuenta de la otra pieza era muy grande y pues allí entendí que debía hacer restado medio centímetro a los laterales para que quedara a la medida.
>Once the base was lined I began to assemble the box, placing the smaller sides first, I did this with hot silicone because it sticks faster. But here was where I began my little ordeal, I had made the moles with 17 cm long, but when I glued the smaller sides I realized that the other piece was very large and then I understood that I had to subtract half a centimeter to the sides to fit the size.
Pero nada que no se pueda resolver, le quite medio centímetro y listo, las piezas encajaron perfectamente, pero si les soy sincera pensé que no lo iba a lograr, pero seguí adelante y confíe en el proceso.
>But nothing that can not be solved, I removed half a centimeter and ready, the pieces fit perfectly, but if I'm honest I thought I was not going to make it, but I went ahead and trust the process.

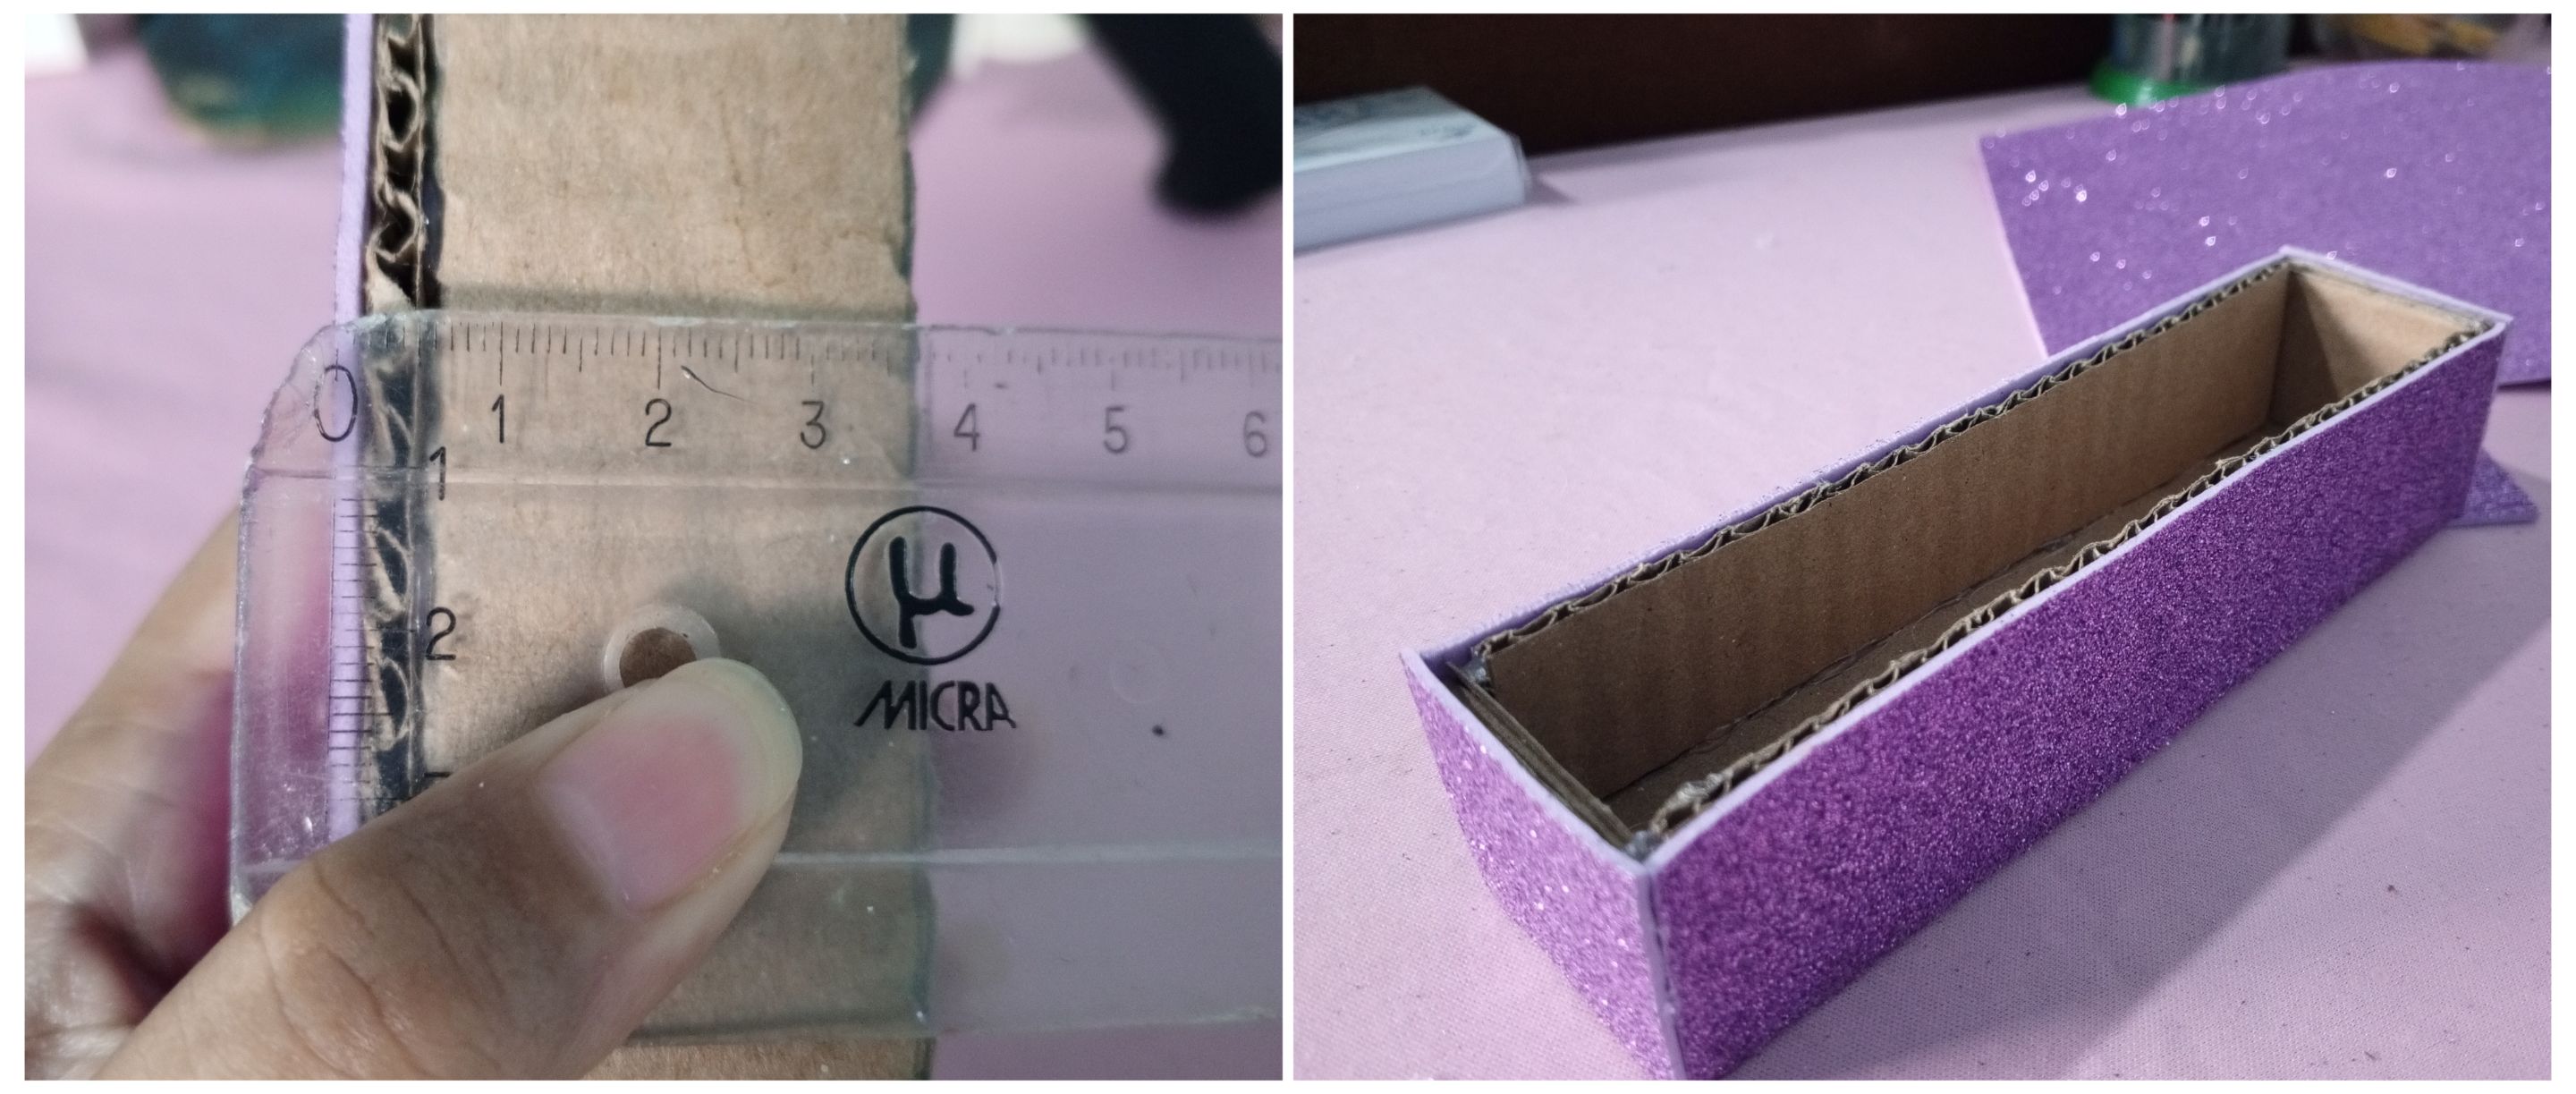
Luego que estuvo armada la caja, procedí a terminar de forrarla, para esto la medi para utilizar la cantidad justa de foami.
>After the box was assembled, I proceeded to finish lining it, for this I measured it to use just the right amount of foami.

Para hacer la tapa hice el mismo procedimiento anterior, solo que a la base le agregué un contorno de medio centímetro más o menos, para que quedara un poco más grande y pudiera en cajar, bien, incluso antes de terminar de forrar la caja la medi a ver si había quedado bien, porque había intentado antes hacer una tapa para caja que quedará bien, y no lo había logrado hasta ahora, o quedaba muy grande o muy pequeña y está quedó perfecta, ¡el que persevera vence!
>To make the lid I did the same procedure as before, only that I added a half centimeter contour to the base, so that it would be a little bigger and could fit in the box, well, even before I finished lining the box I measured it to see if it looked good, because I had tried before to make a box lid that would fit well, and I had not succeeded until now, it was either too big or too small and this one was perfect, he who perseveres wins!
Luego la termine de forrar y cuando estuvo lista, pinte la caja por dentro, si les soy sincera hubiese preferido pintarla de blanco o rosado, pero los únicos colores que tengo son amarillo y marrón y pues decidí usar el amarillo, también hubiese podido dejarla con el color natural del cartón, pero no sé me hacía bonito.
>Then I finished lining it and when it was ready, I painted the inside of the box, to be honest I would have preferred to paint it white or pink, but the only colors I have are yellow and brown and I decided to use yellow, I could have also left it with the natural color of the cardboard, but I don't know it was pretty.

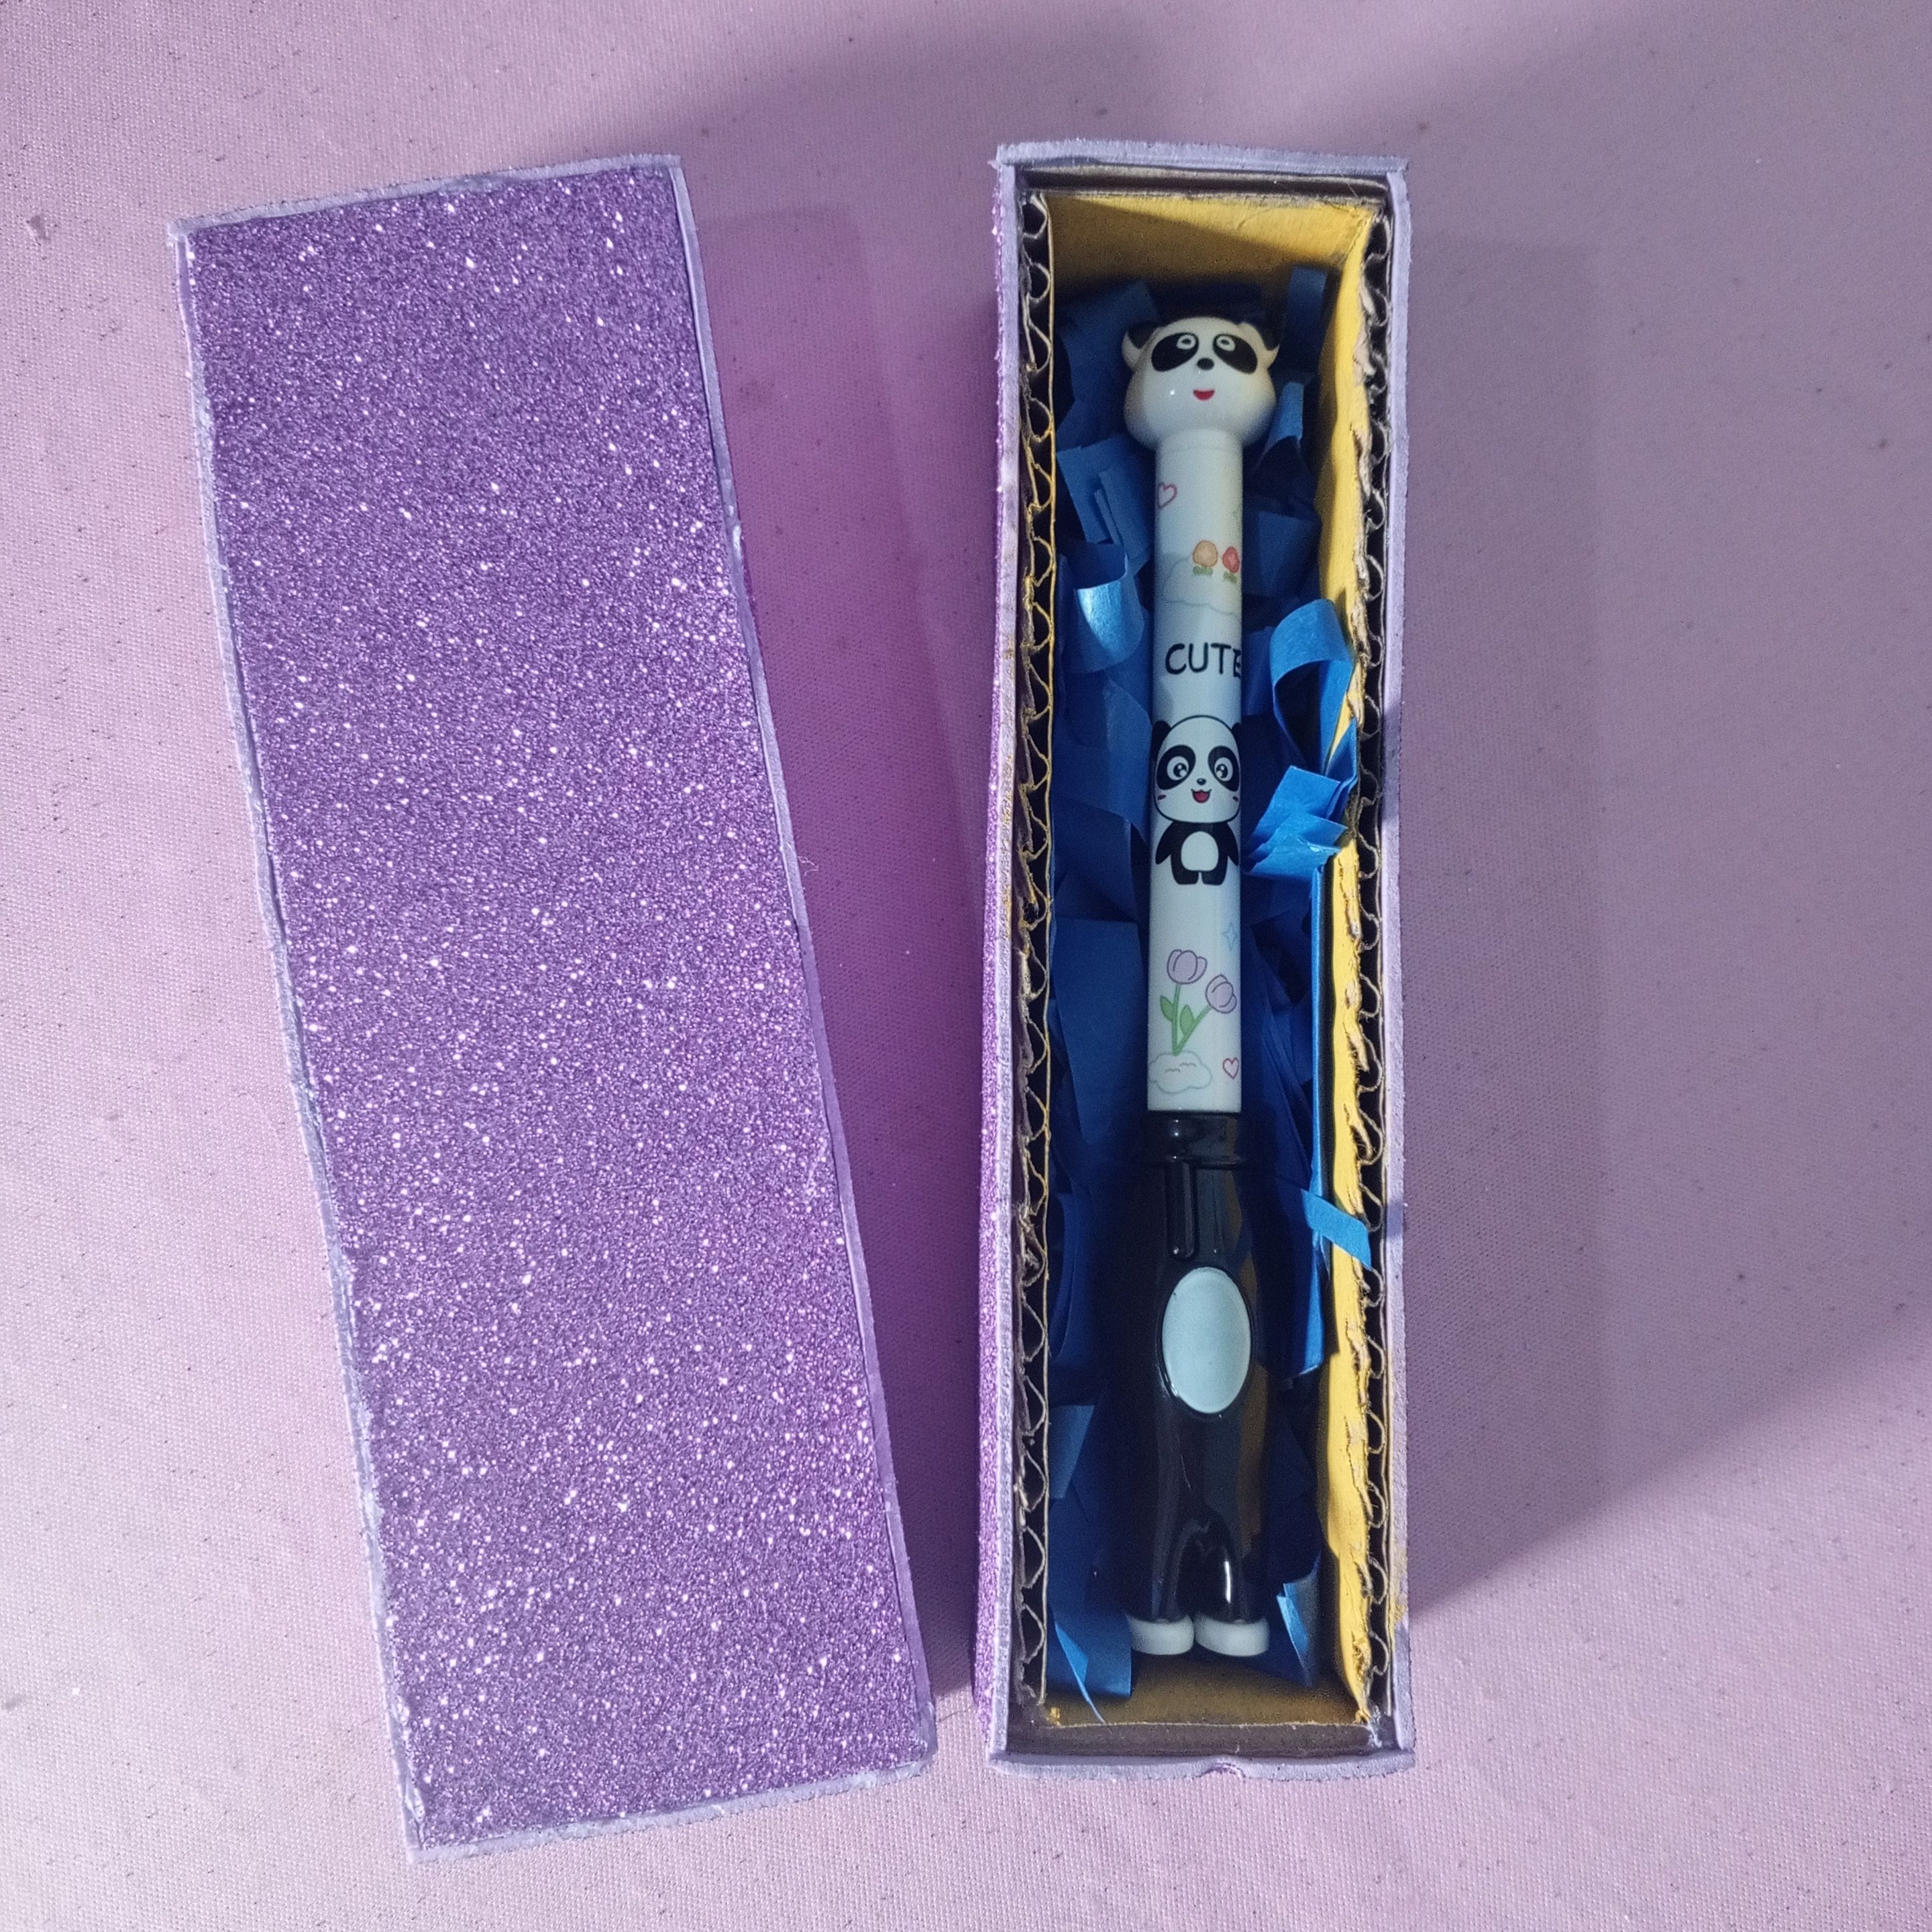
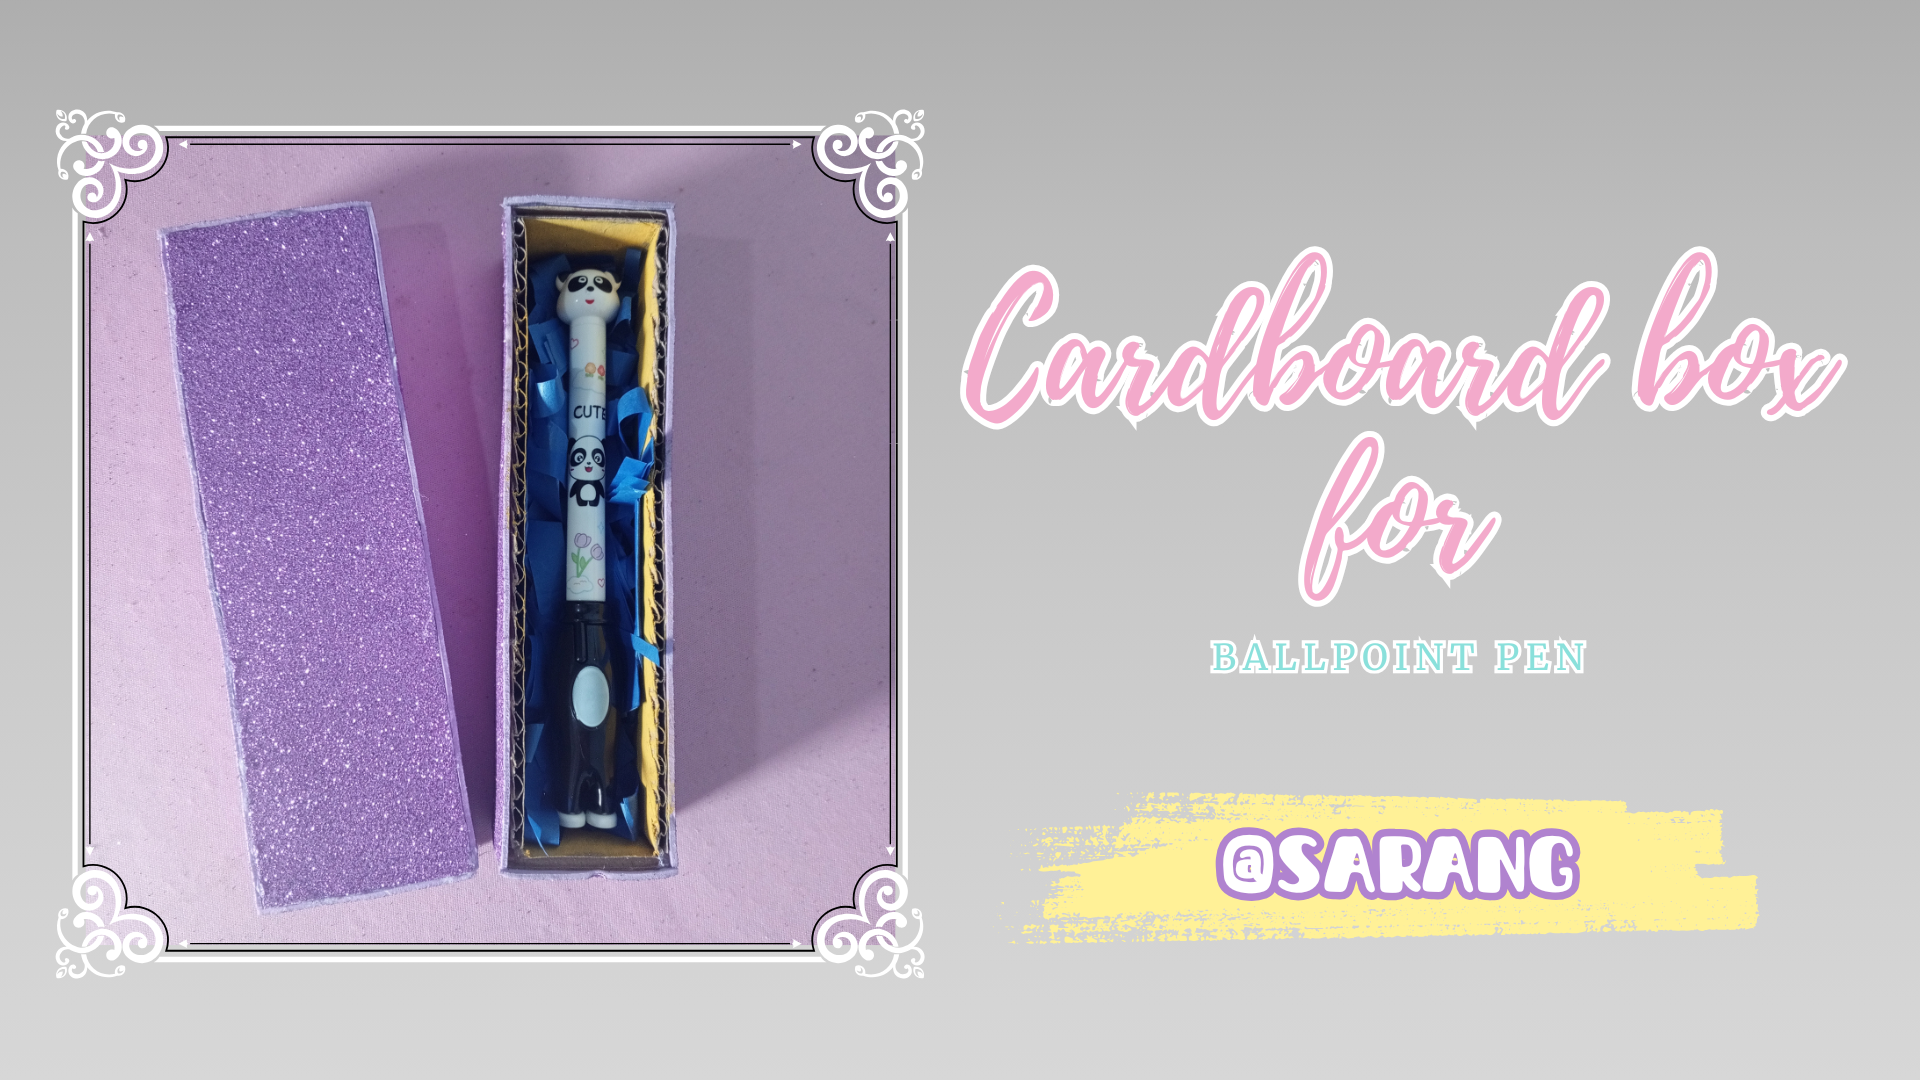
Por último recorte unas tiras de papel seda azul a modo decorativo o algo así, 🤣 y coloque el bolígrafo encima. Y este fue el resultado, a pesar de los errores logré hacer una caja y pues la verdad quedé muy satisfecha con él resultado, a veces cuando algo no me sale bien me desánimo, pero no me doy por vencida, al cabo de un tiempo vuelvo a intentarlo tratando de aprender de los errores cometidos antes y termino obteniendo un buen resultado. 🥰
>Finally I cut some strips of blue tissue paper as decorative or something like that, 🤣 and put the pen on top. And this was the result, despite the mistakes I managed to make a box and the truth is that I was very satisfied with the result, sometimes when something does not go well I get discouraged, but I do not give up, after a while I try again trying to learn from the mistakes made before and end up getting a good result. 🥰
Espero les haya gustado, como quedé encantada con mi caja, quiero aprender a hacer otras ,para las siguientes si buscaré un tutorial donde pueda aprender a hacerlo bien, la verdad es que el mundo de las cajas me llaman mucho la atención.
>I hope you liked it, as I was delighted with my box, I want to learn how to make others, for the following ones I will look for a tutorial where I can learn how to do it well, the truth is that the world of boxes call my attention.
**Y esto es todo por hoy, sí les gusto no olviden darle amorshito a mi post dejando un lindo comentario o dando click en el corazoncito. 💜😉😊🤭🥰
Nos vemos en un próximo post, que estén bien y Dios los bendiga, bye.**🥰😘💜🌹🪷
>**And that's all for today, if you like me don't forget to give love to my post by leaving a nice comment or clicking on the little heart. 💜😉😊🤭🥰
See you in a next post, be well and God bless you, bye.**🥰😘💜🌹🪷

***Fotografías propias, tomadas con mi Tecno Spark 10 Pro editadas en incollage/ portada creada en Canva. Traducción al inglés con DeepL.***
>***Own photos, taken with my Tecno Spark 10 Pro edited in incollage/ cover created in Canva. Translation to English with DeepL.***

(ESP-ENG)Cardboard box for ballpoint pen(Recycling)🥰✂️🎁❤️😍
@sarangzg7
· 2025-10-13 10:01
· Hive Diy
#hivediy
#manualidades
#crafts
#handmade
#reciclaje
Payout: 0.000 HBD
Votes: 142
More interactions (upvote, reblog, reply) coming soon.