Early in June, one of the strings broke in our living room window blind. It had to be repaired or replaced. I knew of one man in our area who had repaired a blind for us several years ago, but when I called the number on his business card I got the voicemail for somebody else. He had been getting up in years back when we engaged his services, so I assume he either died or retired.
I sewed two Roman shades for a bedroom many years ago, so had a little experience with stringing blinds. I decided I would look up a YouTube video and have a go at it. If it didn't work out, I would only be out some time and maybe a little money. If I succeeded, I would have saved a few hundred dollars for a new blind.
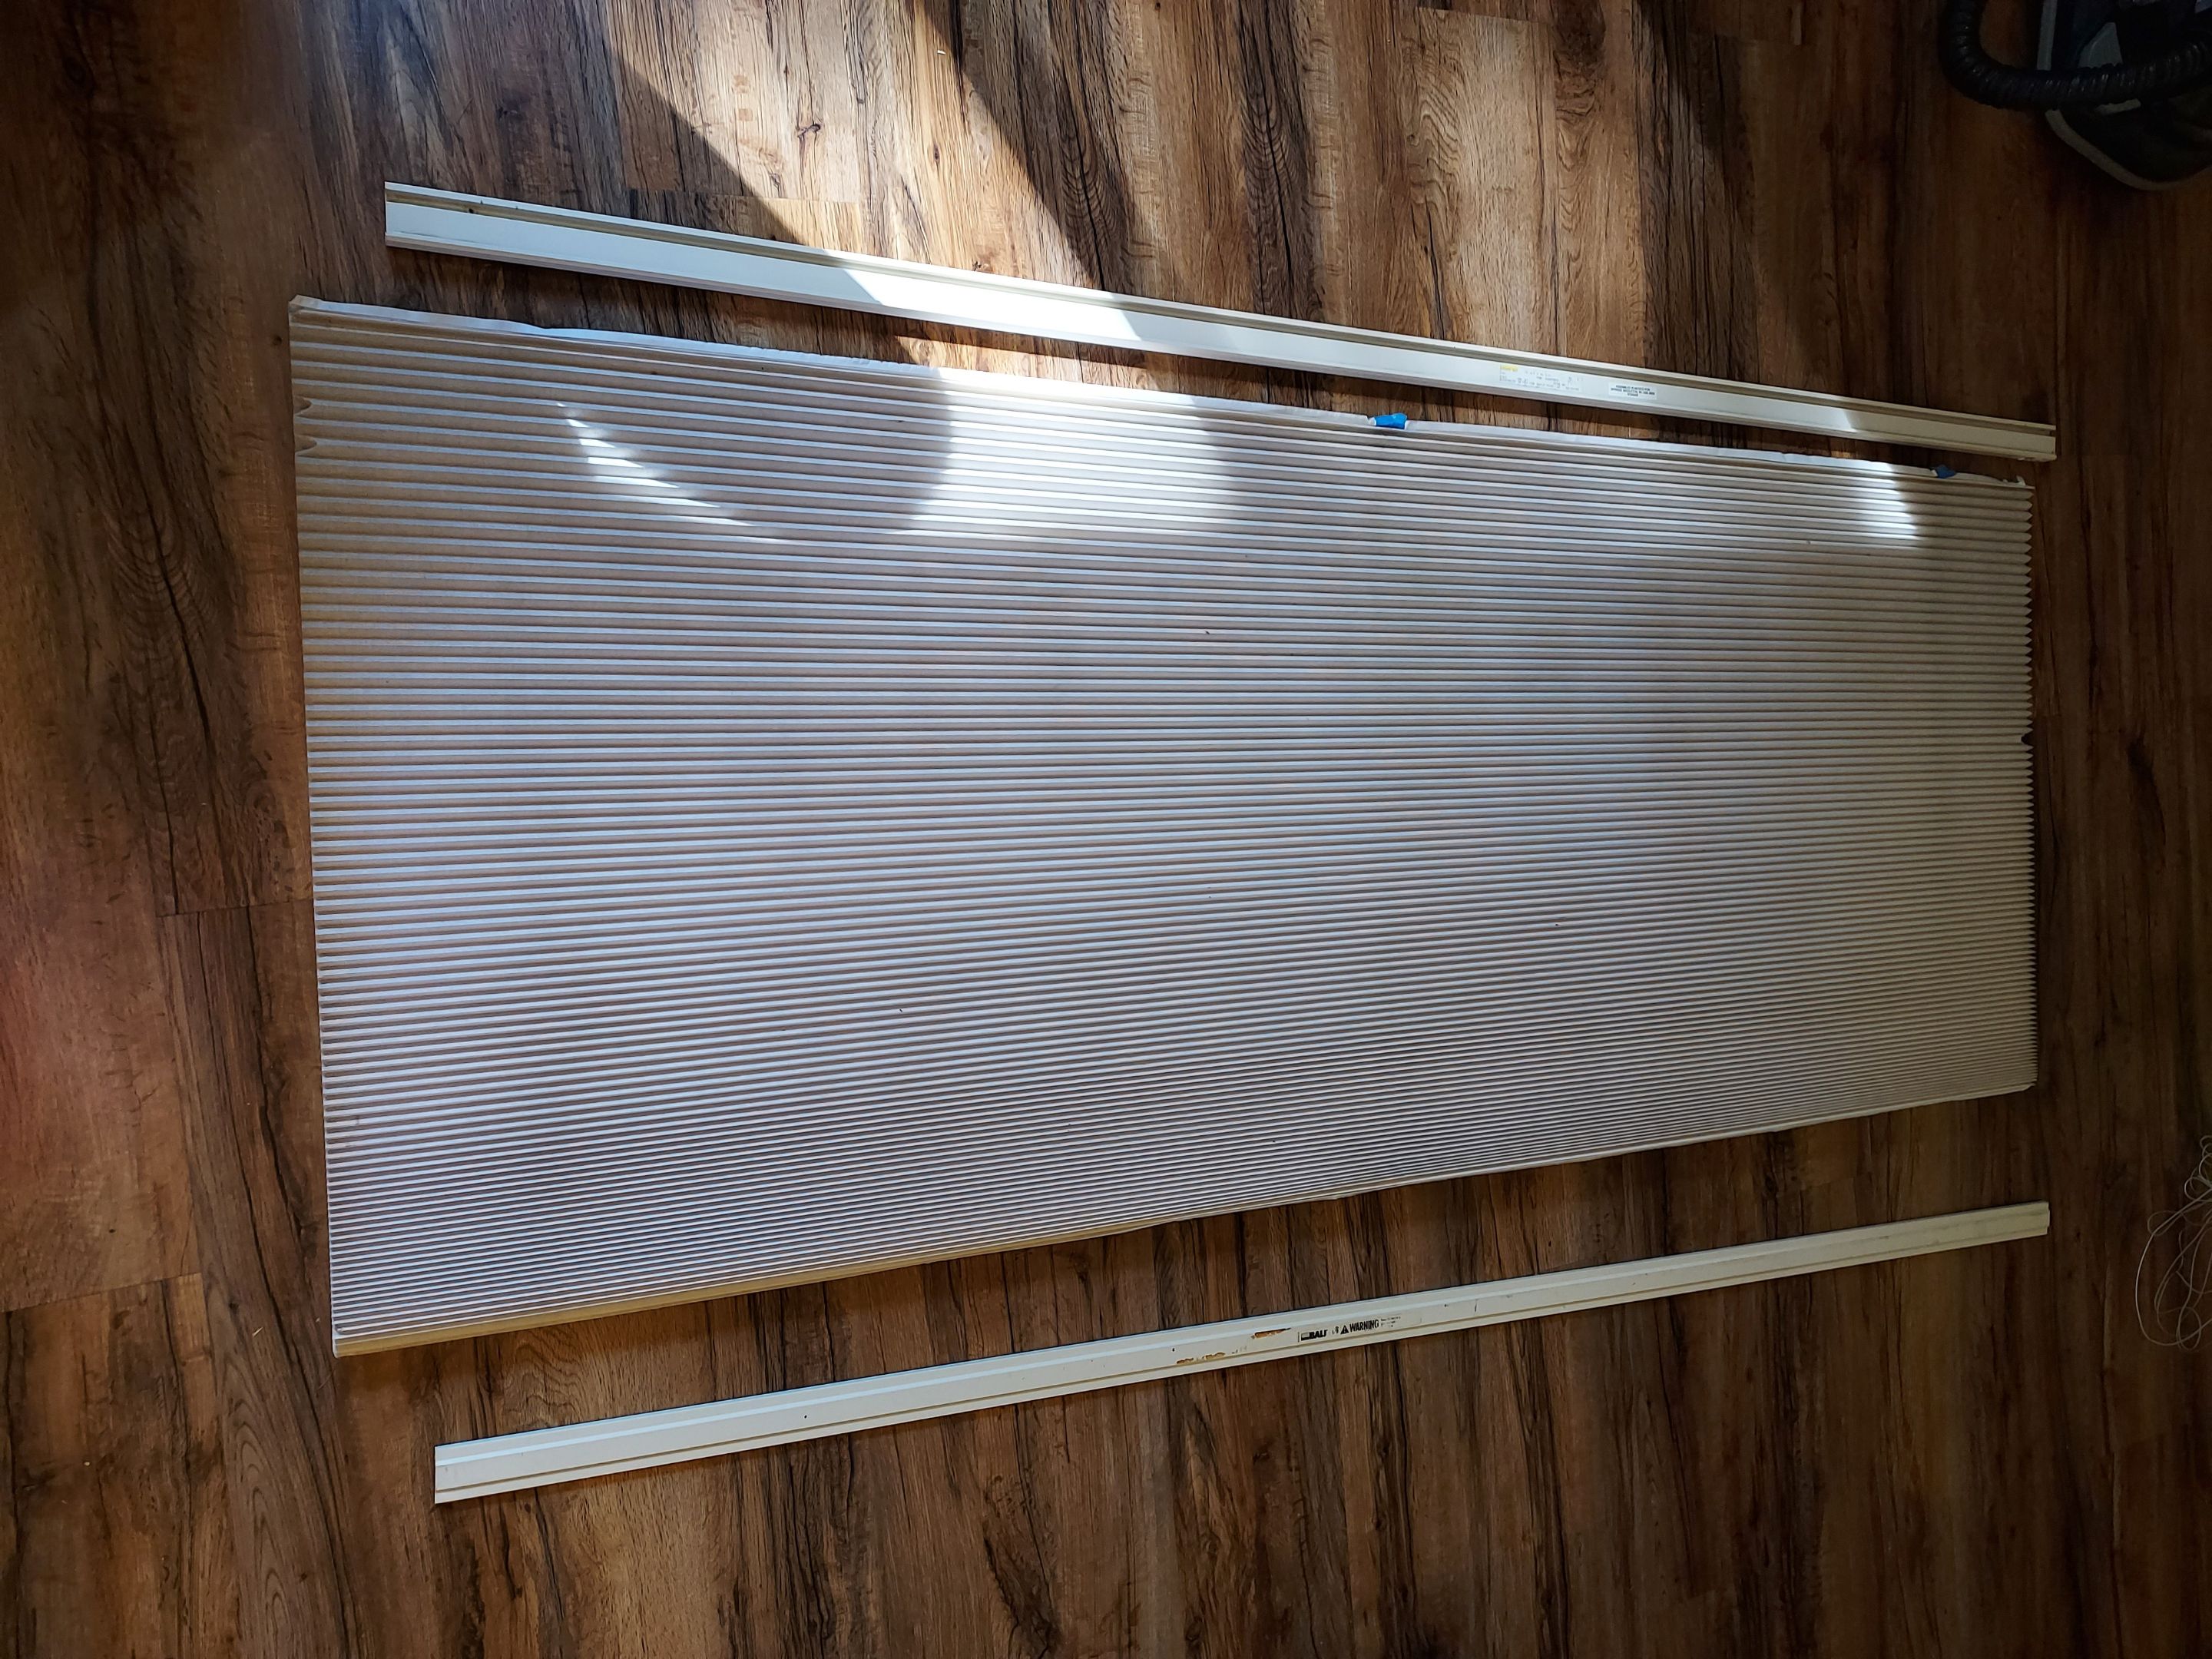
This project began on June 10th. After watching this video, it was time to take down the blind. It looked simple enough in the video, but their sample blind was very small. I needed my son to help me, as ours is about six feet wide and quite heavy.
Following the instructions, I removed the end caps and the set screw and took the top and bottom rails off. I took a few photos in hopes of it helping me put it back together some day.
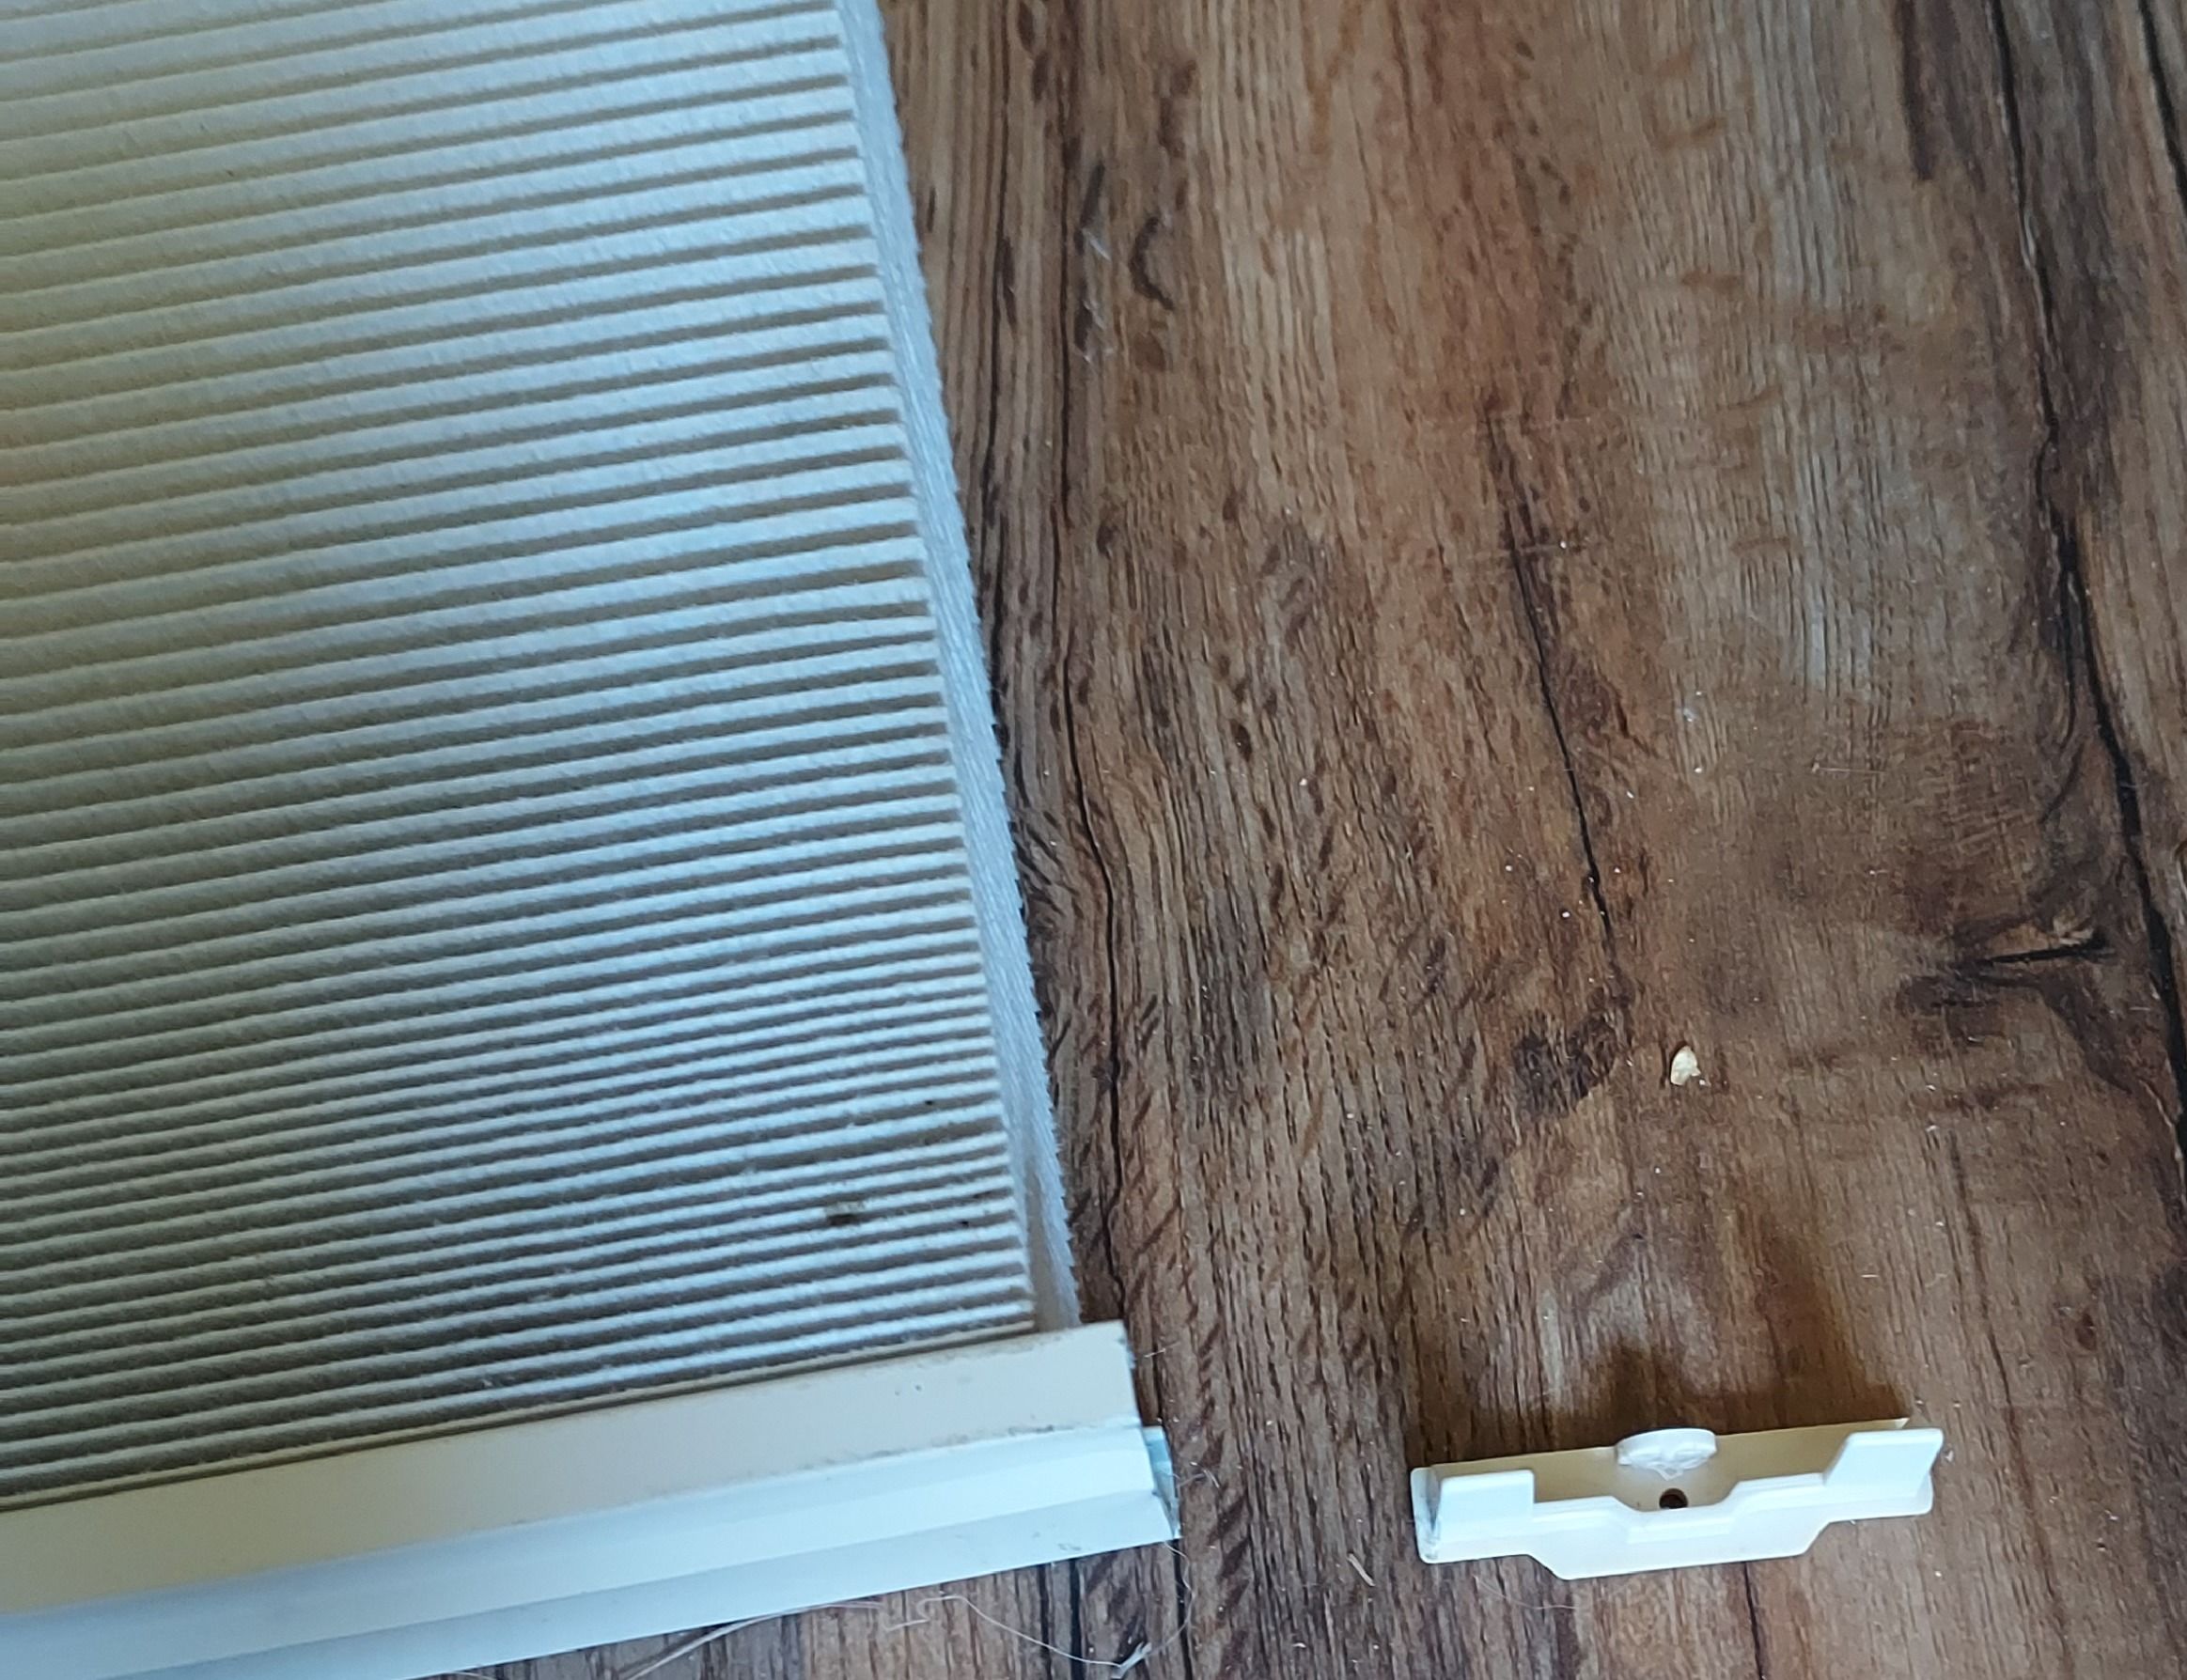
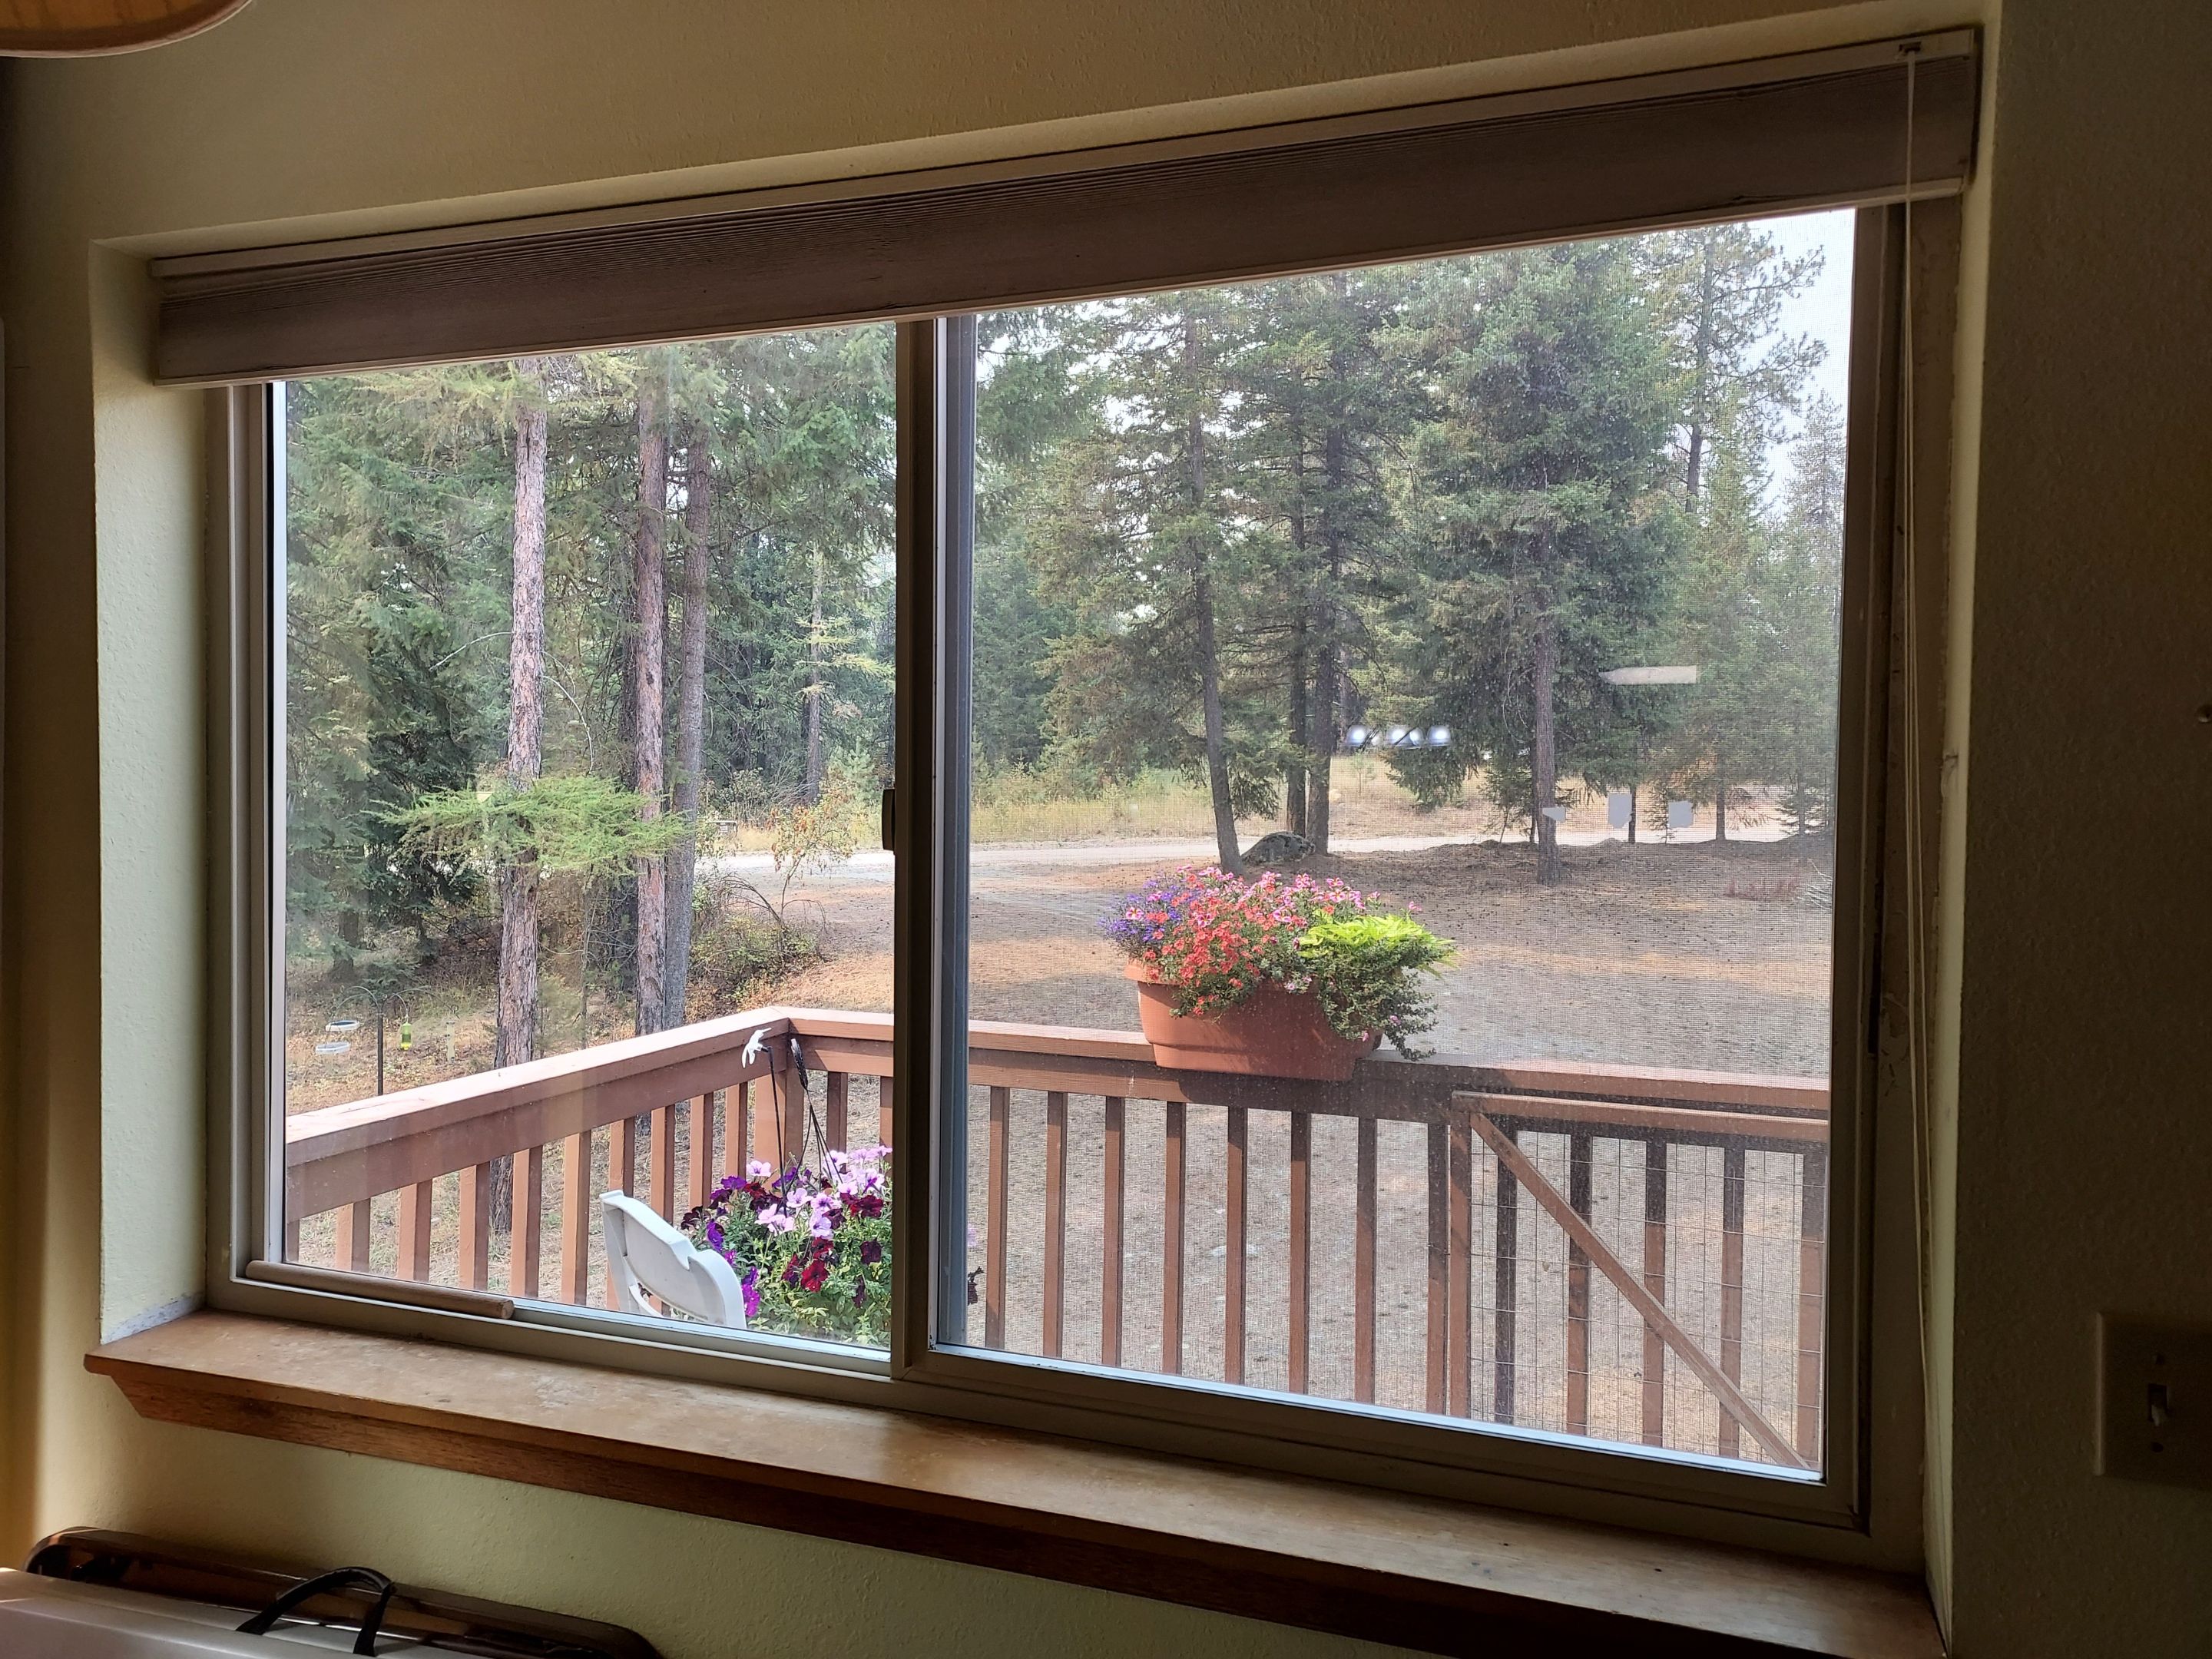
With the shade gone from the window, there was bound to be some splashes of sunshine in the next photo.
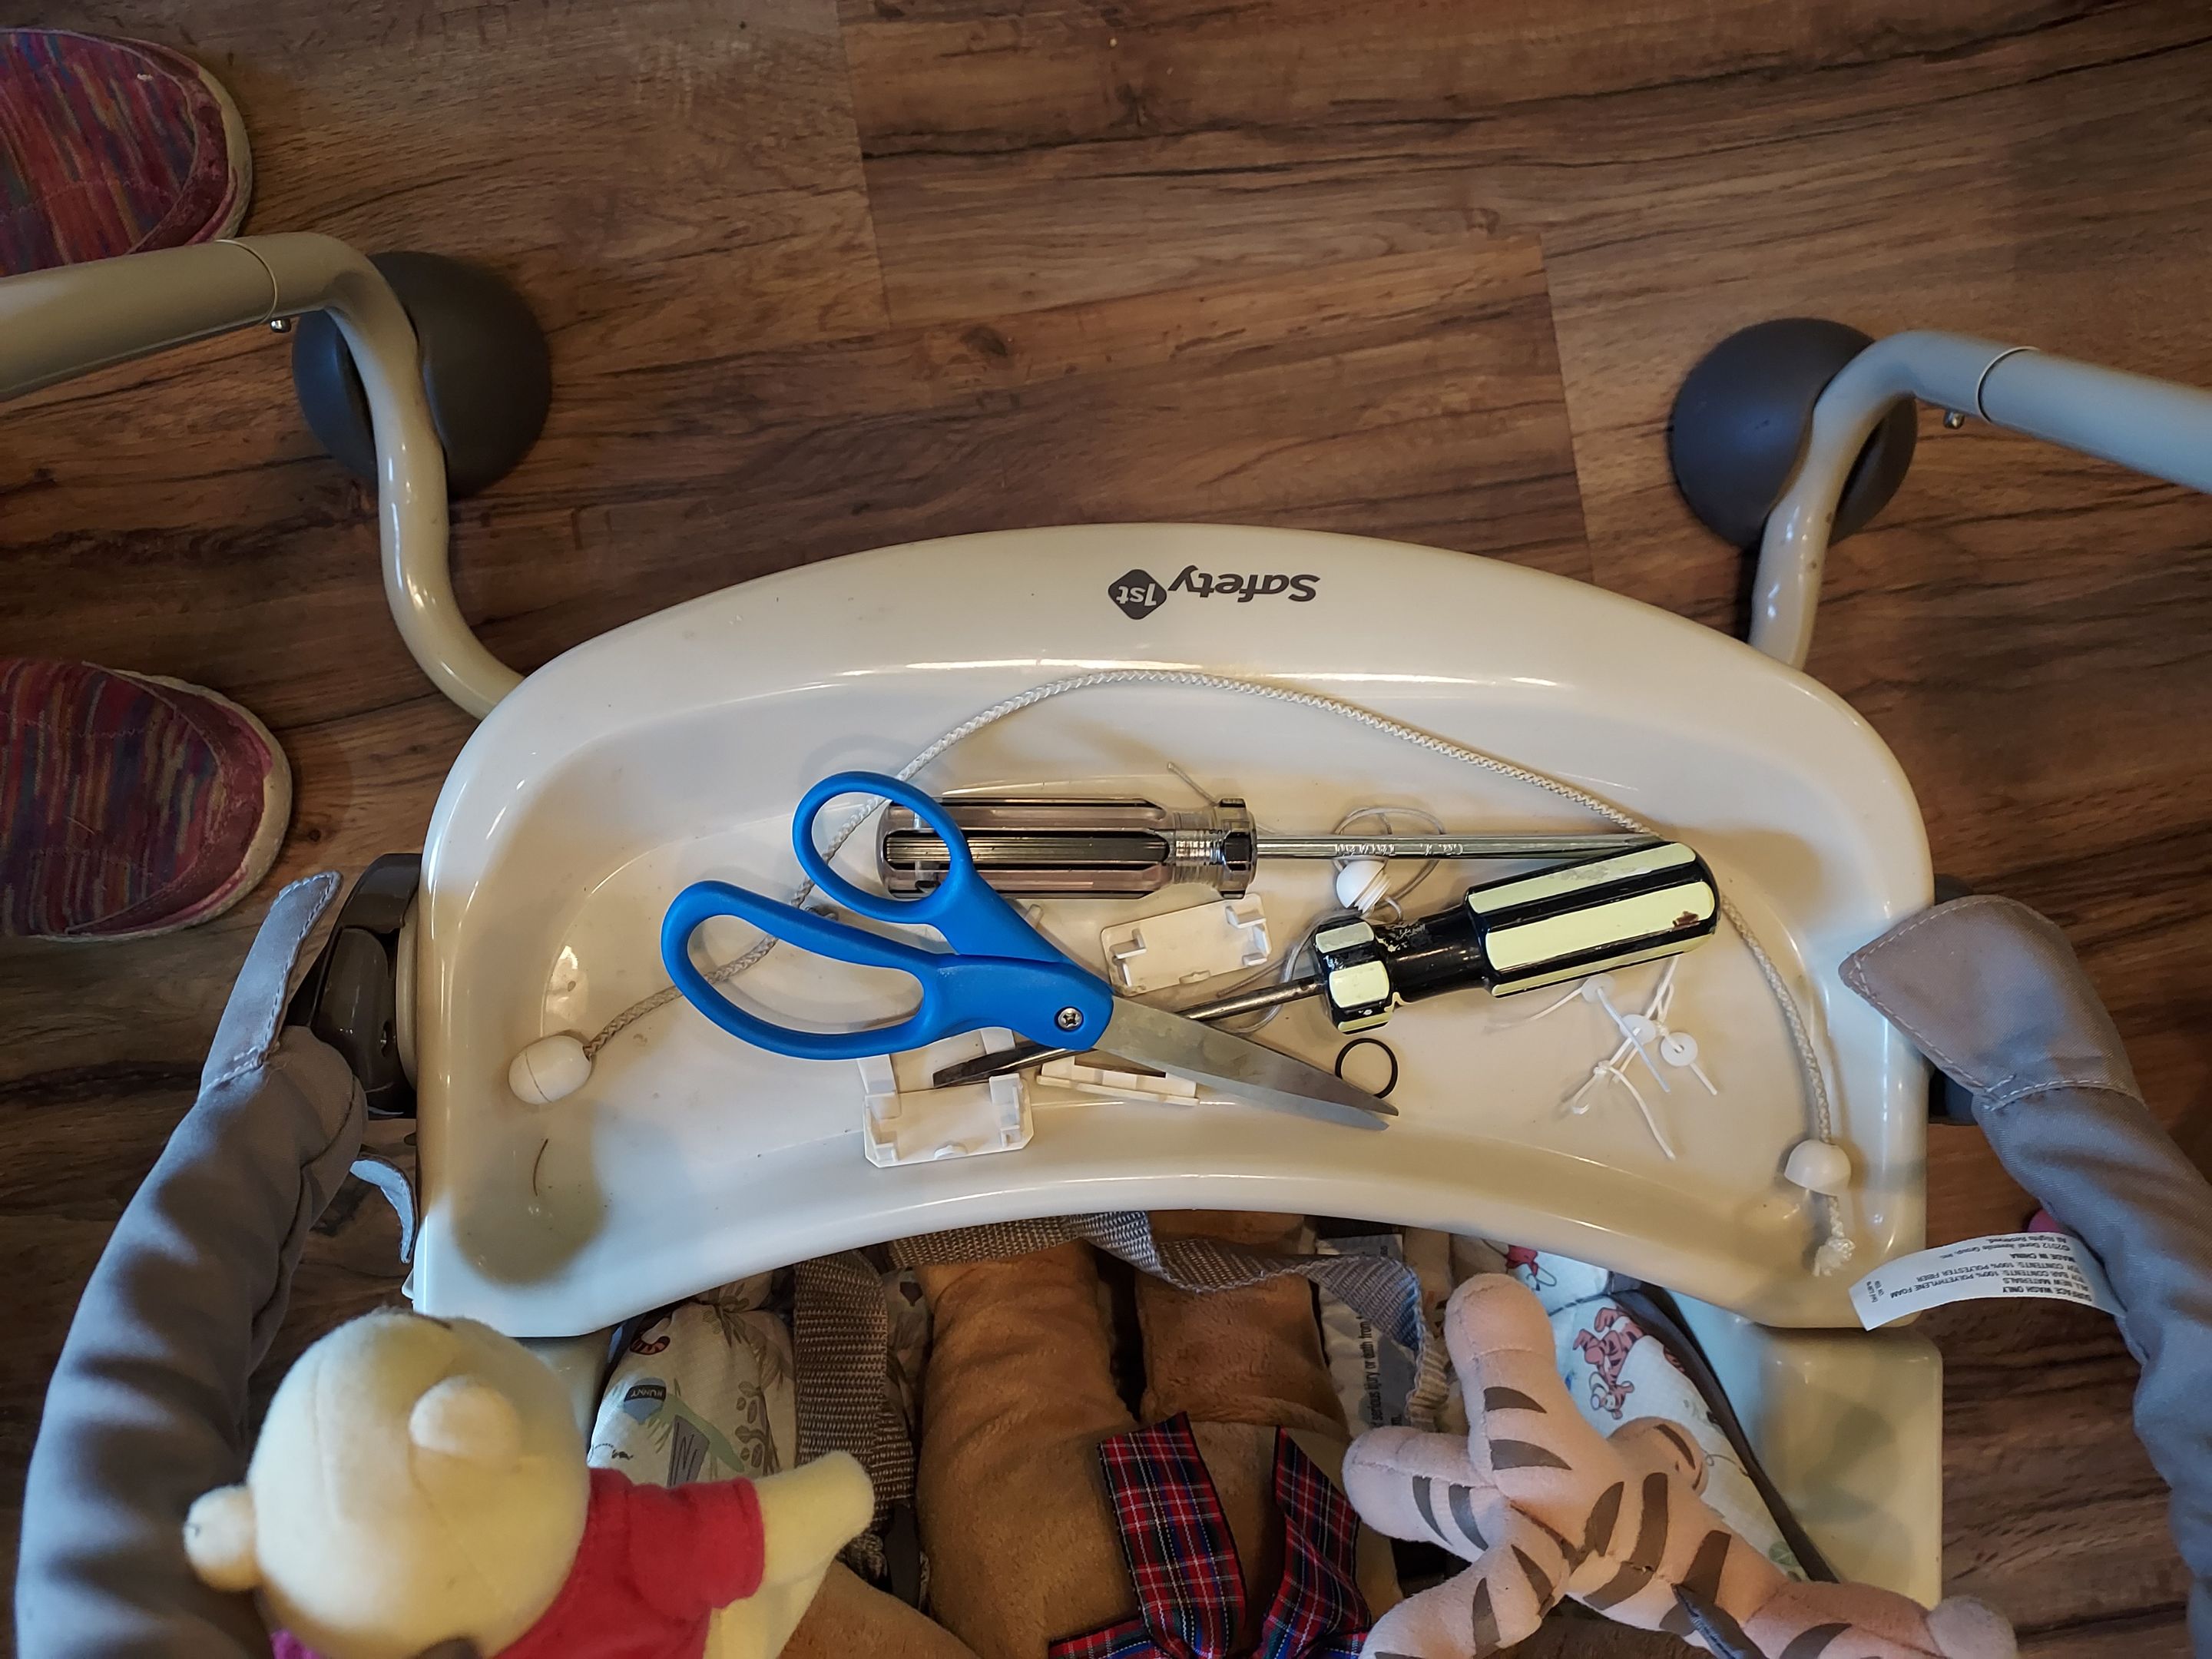
I've been meaning to sell or give away this baby swing, since my grandchildren have outgrown it. Since it was still sitting there, I used the tray to hold all the little bits and pieces I would need later.
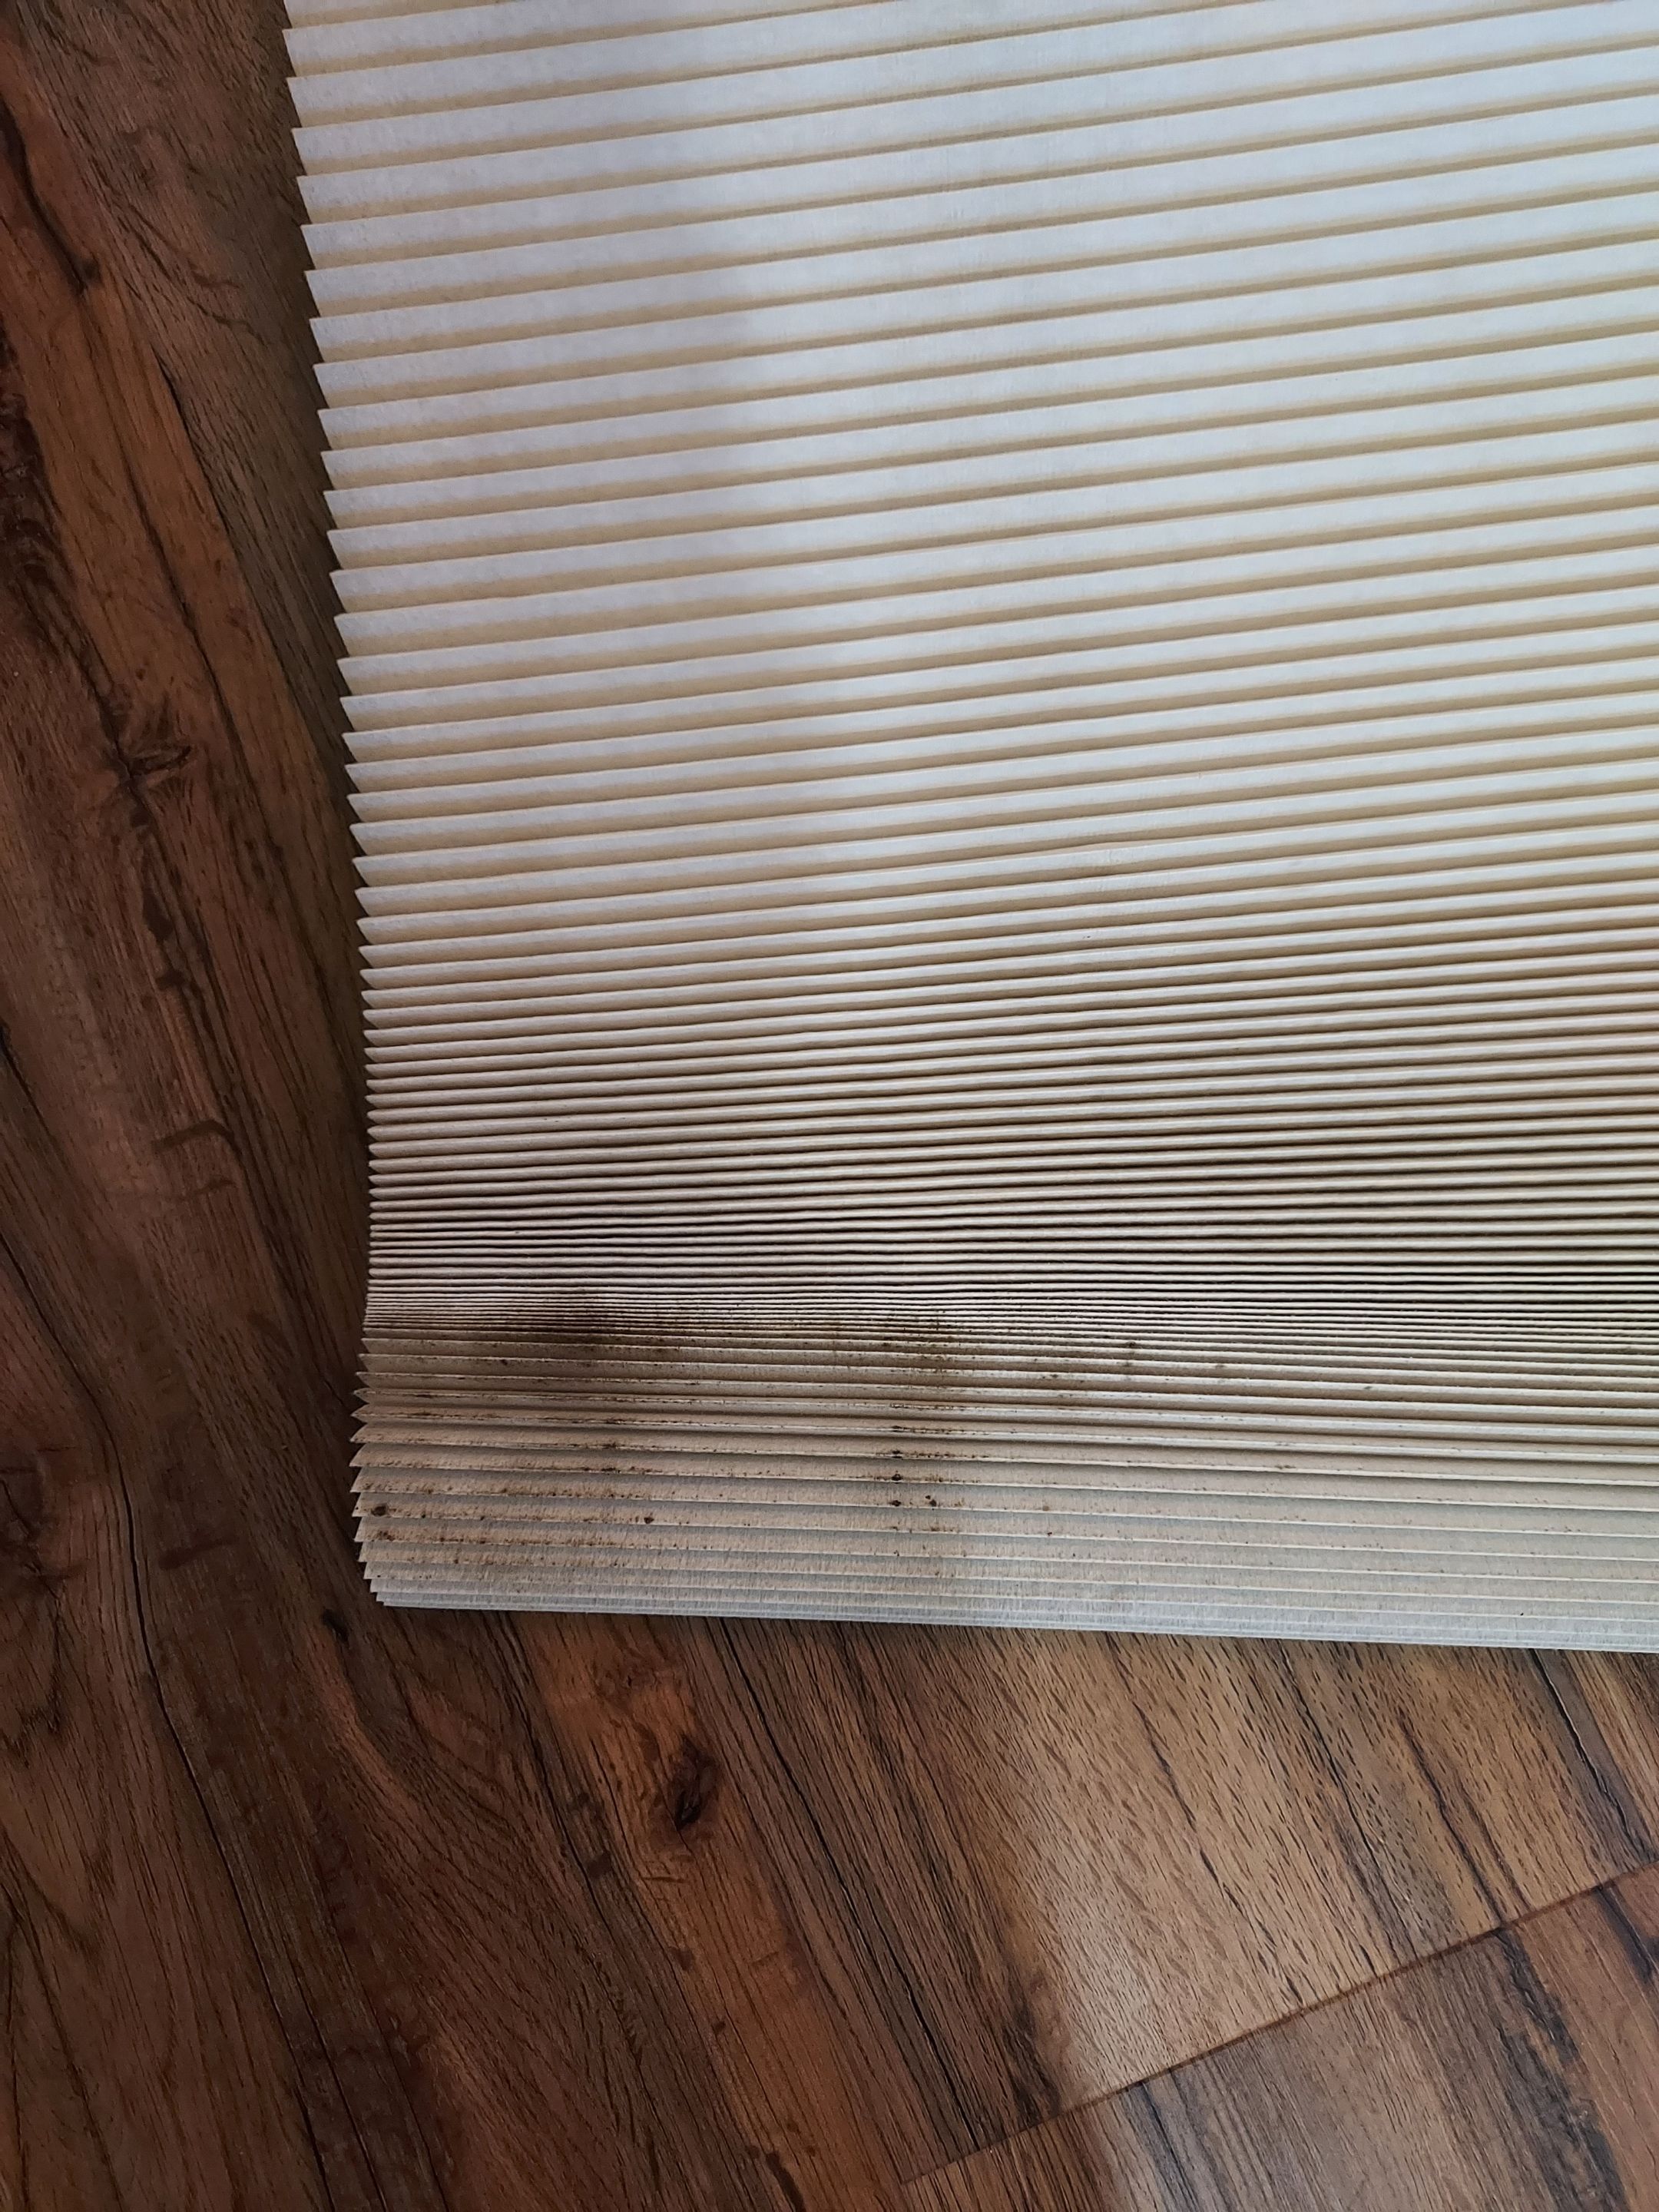
A mold stain on the outside of the shade was an unpleasant surprise. Since it was on the side facing the window, I had never seen it. I treated it with some mold cleaning spray and left it spread out to dry. I already know from past experience that the dry cleaners won't touch it due to its age, so I just have to do the best I can with cleaning it myself.
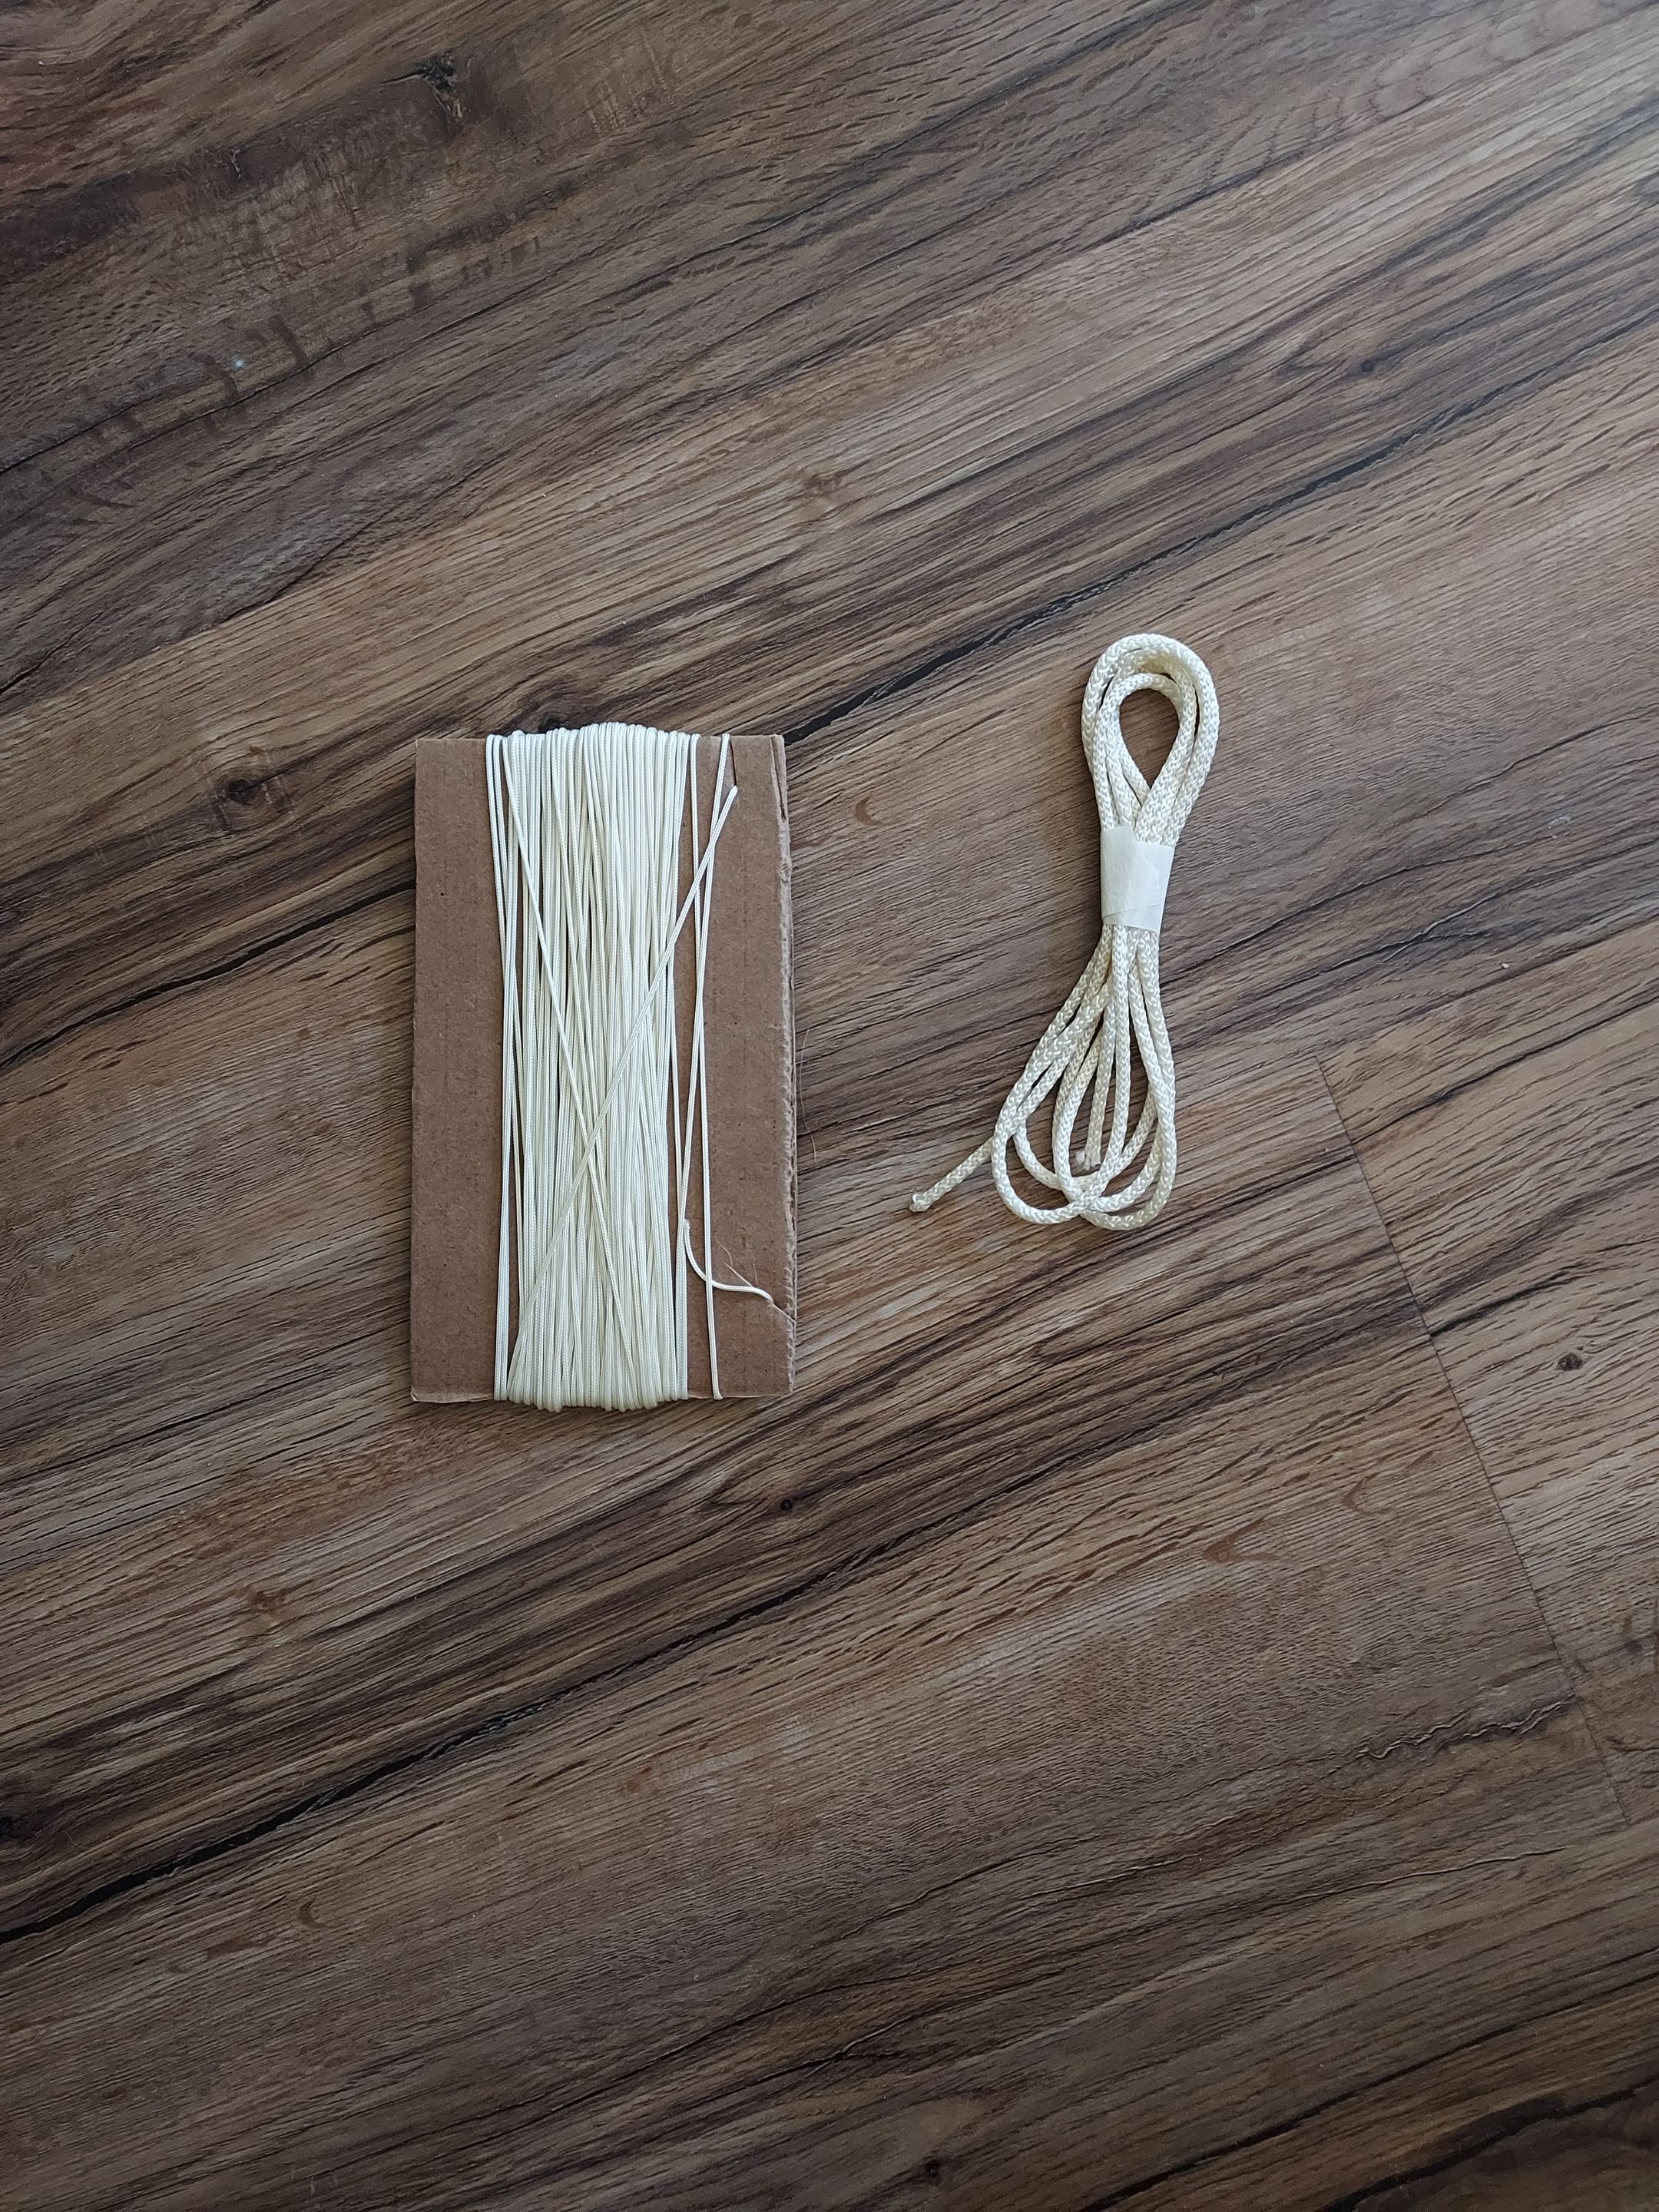
I had some string left from my long-ago Roman shade project, but realized it might not be the correct diameter. I contacted the manufacturer, and they kindly sent me plenty of replacement string, free of charge. The project was on hold while I waited for that to arrive.
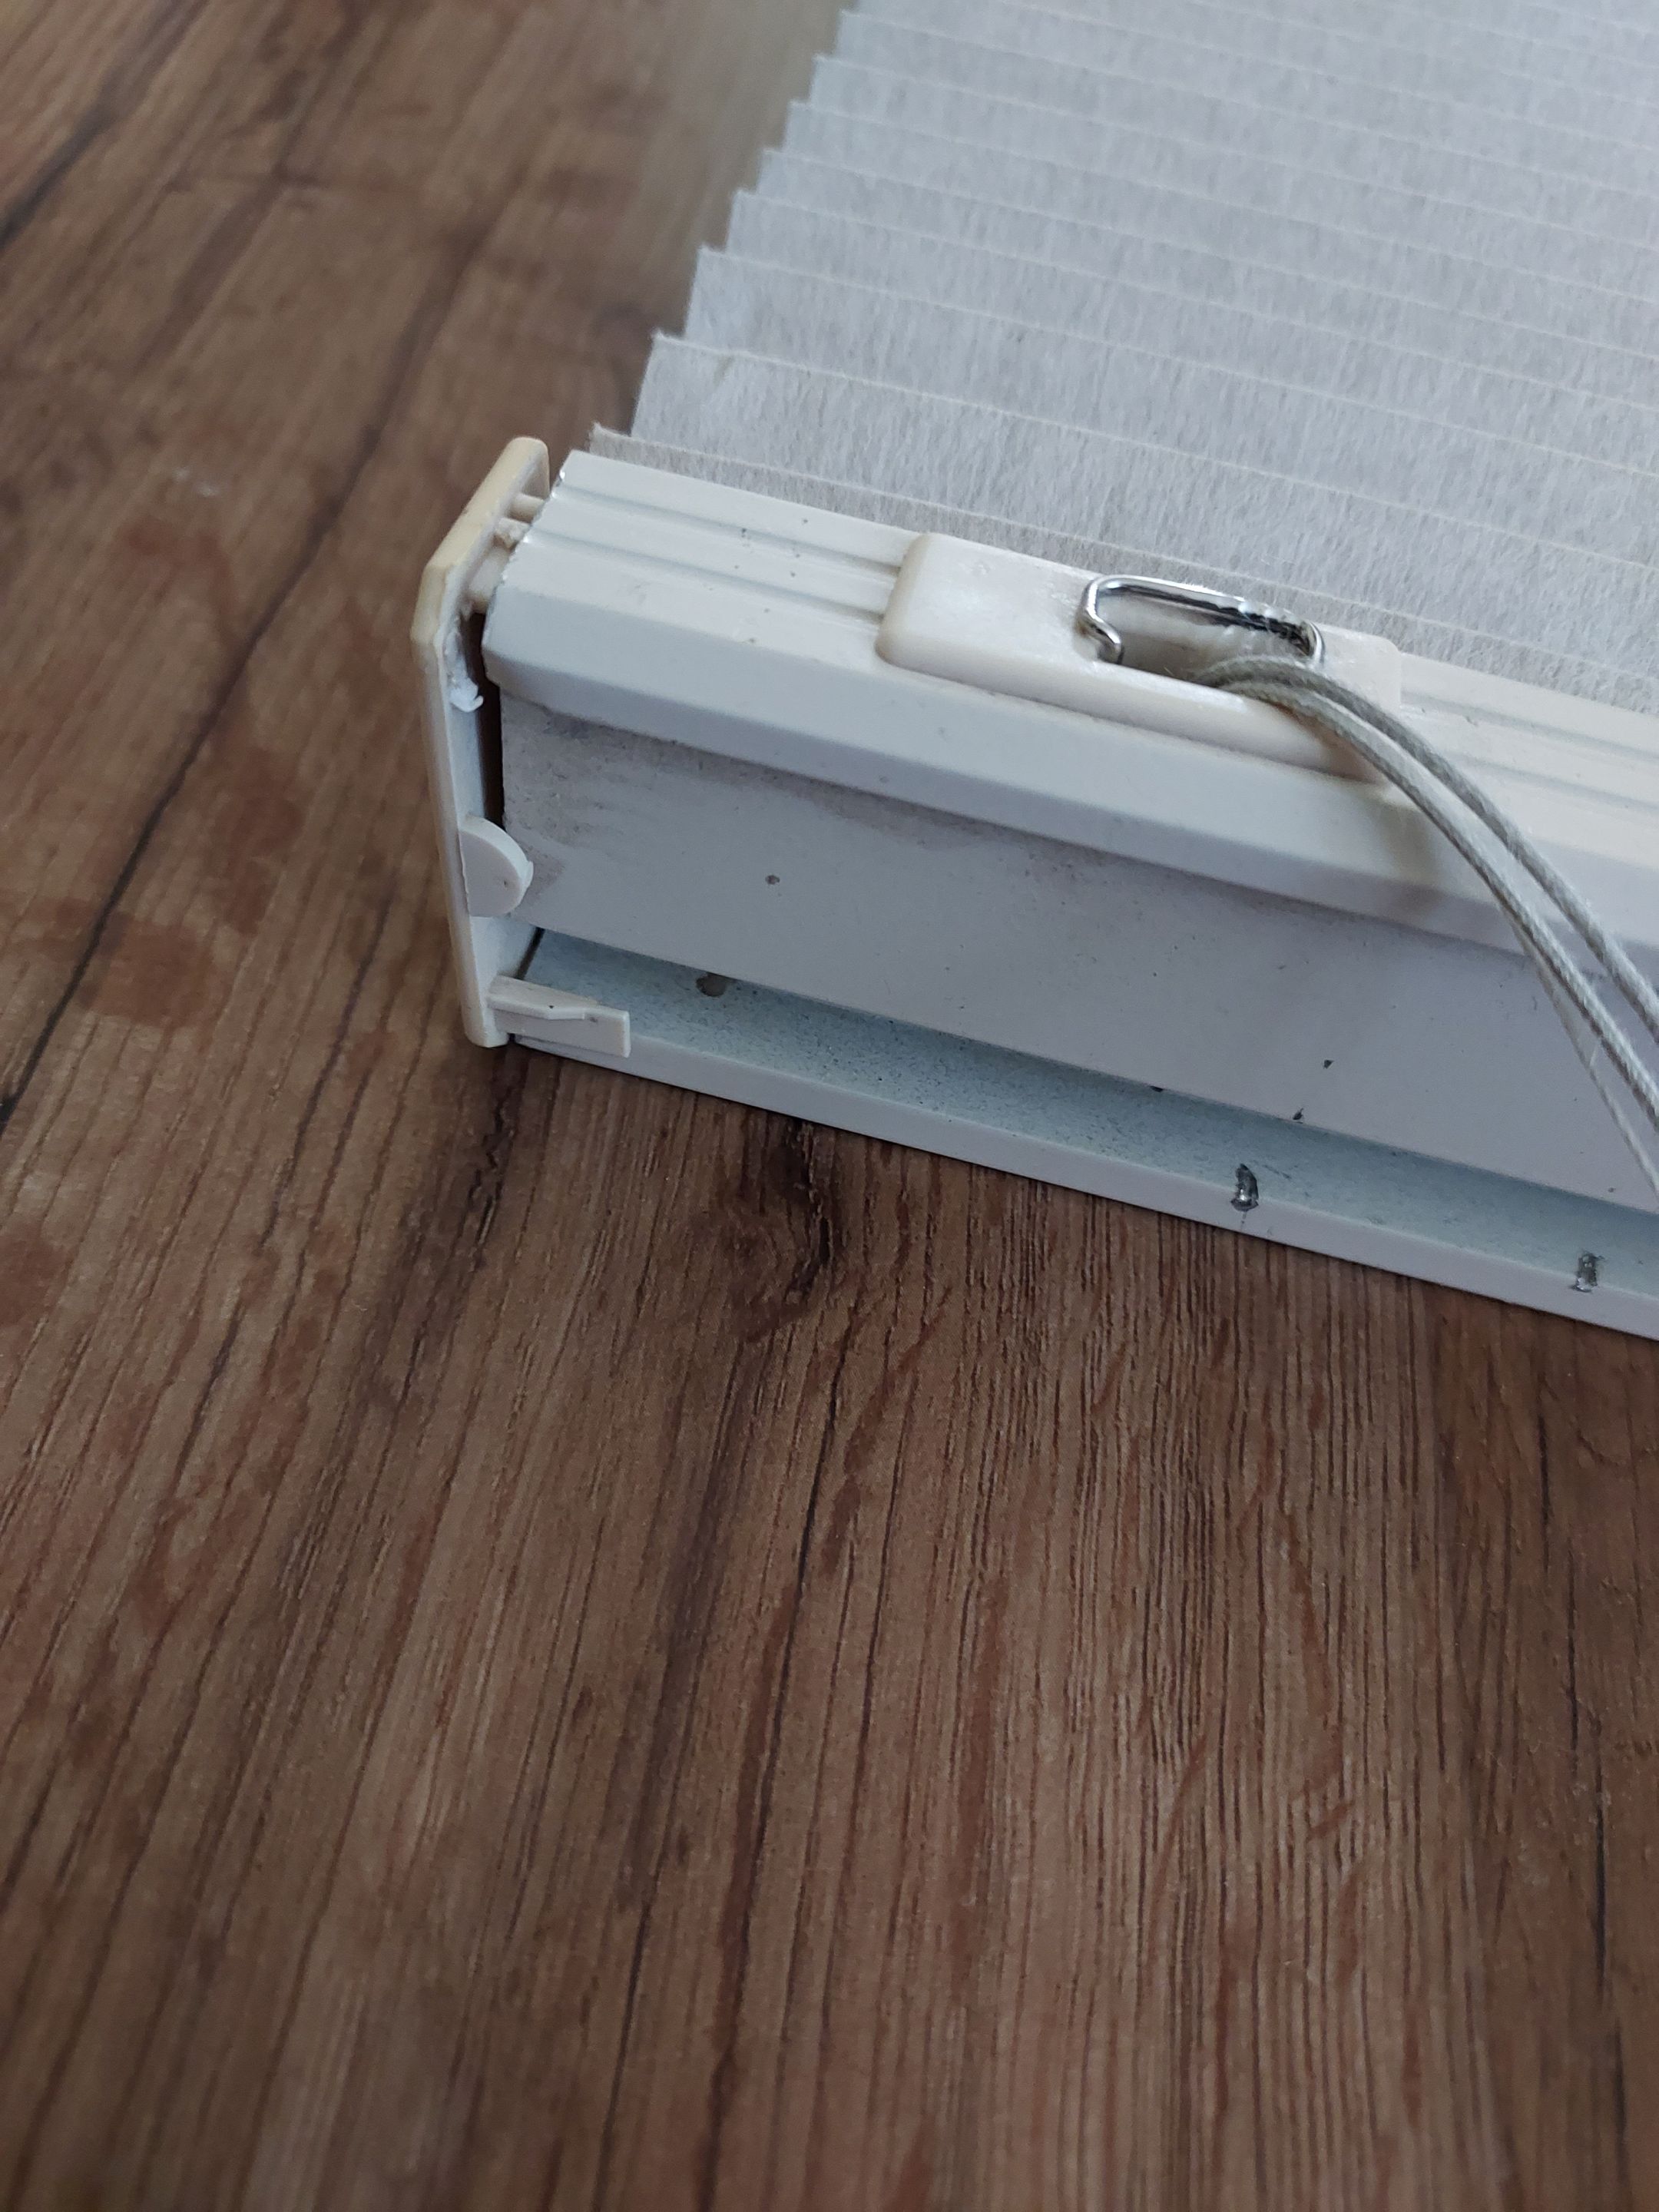
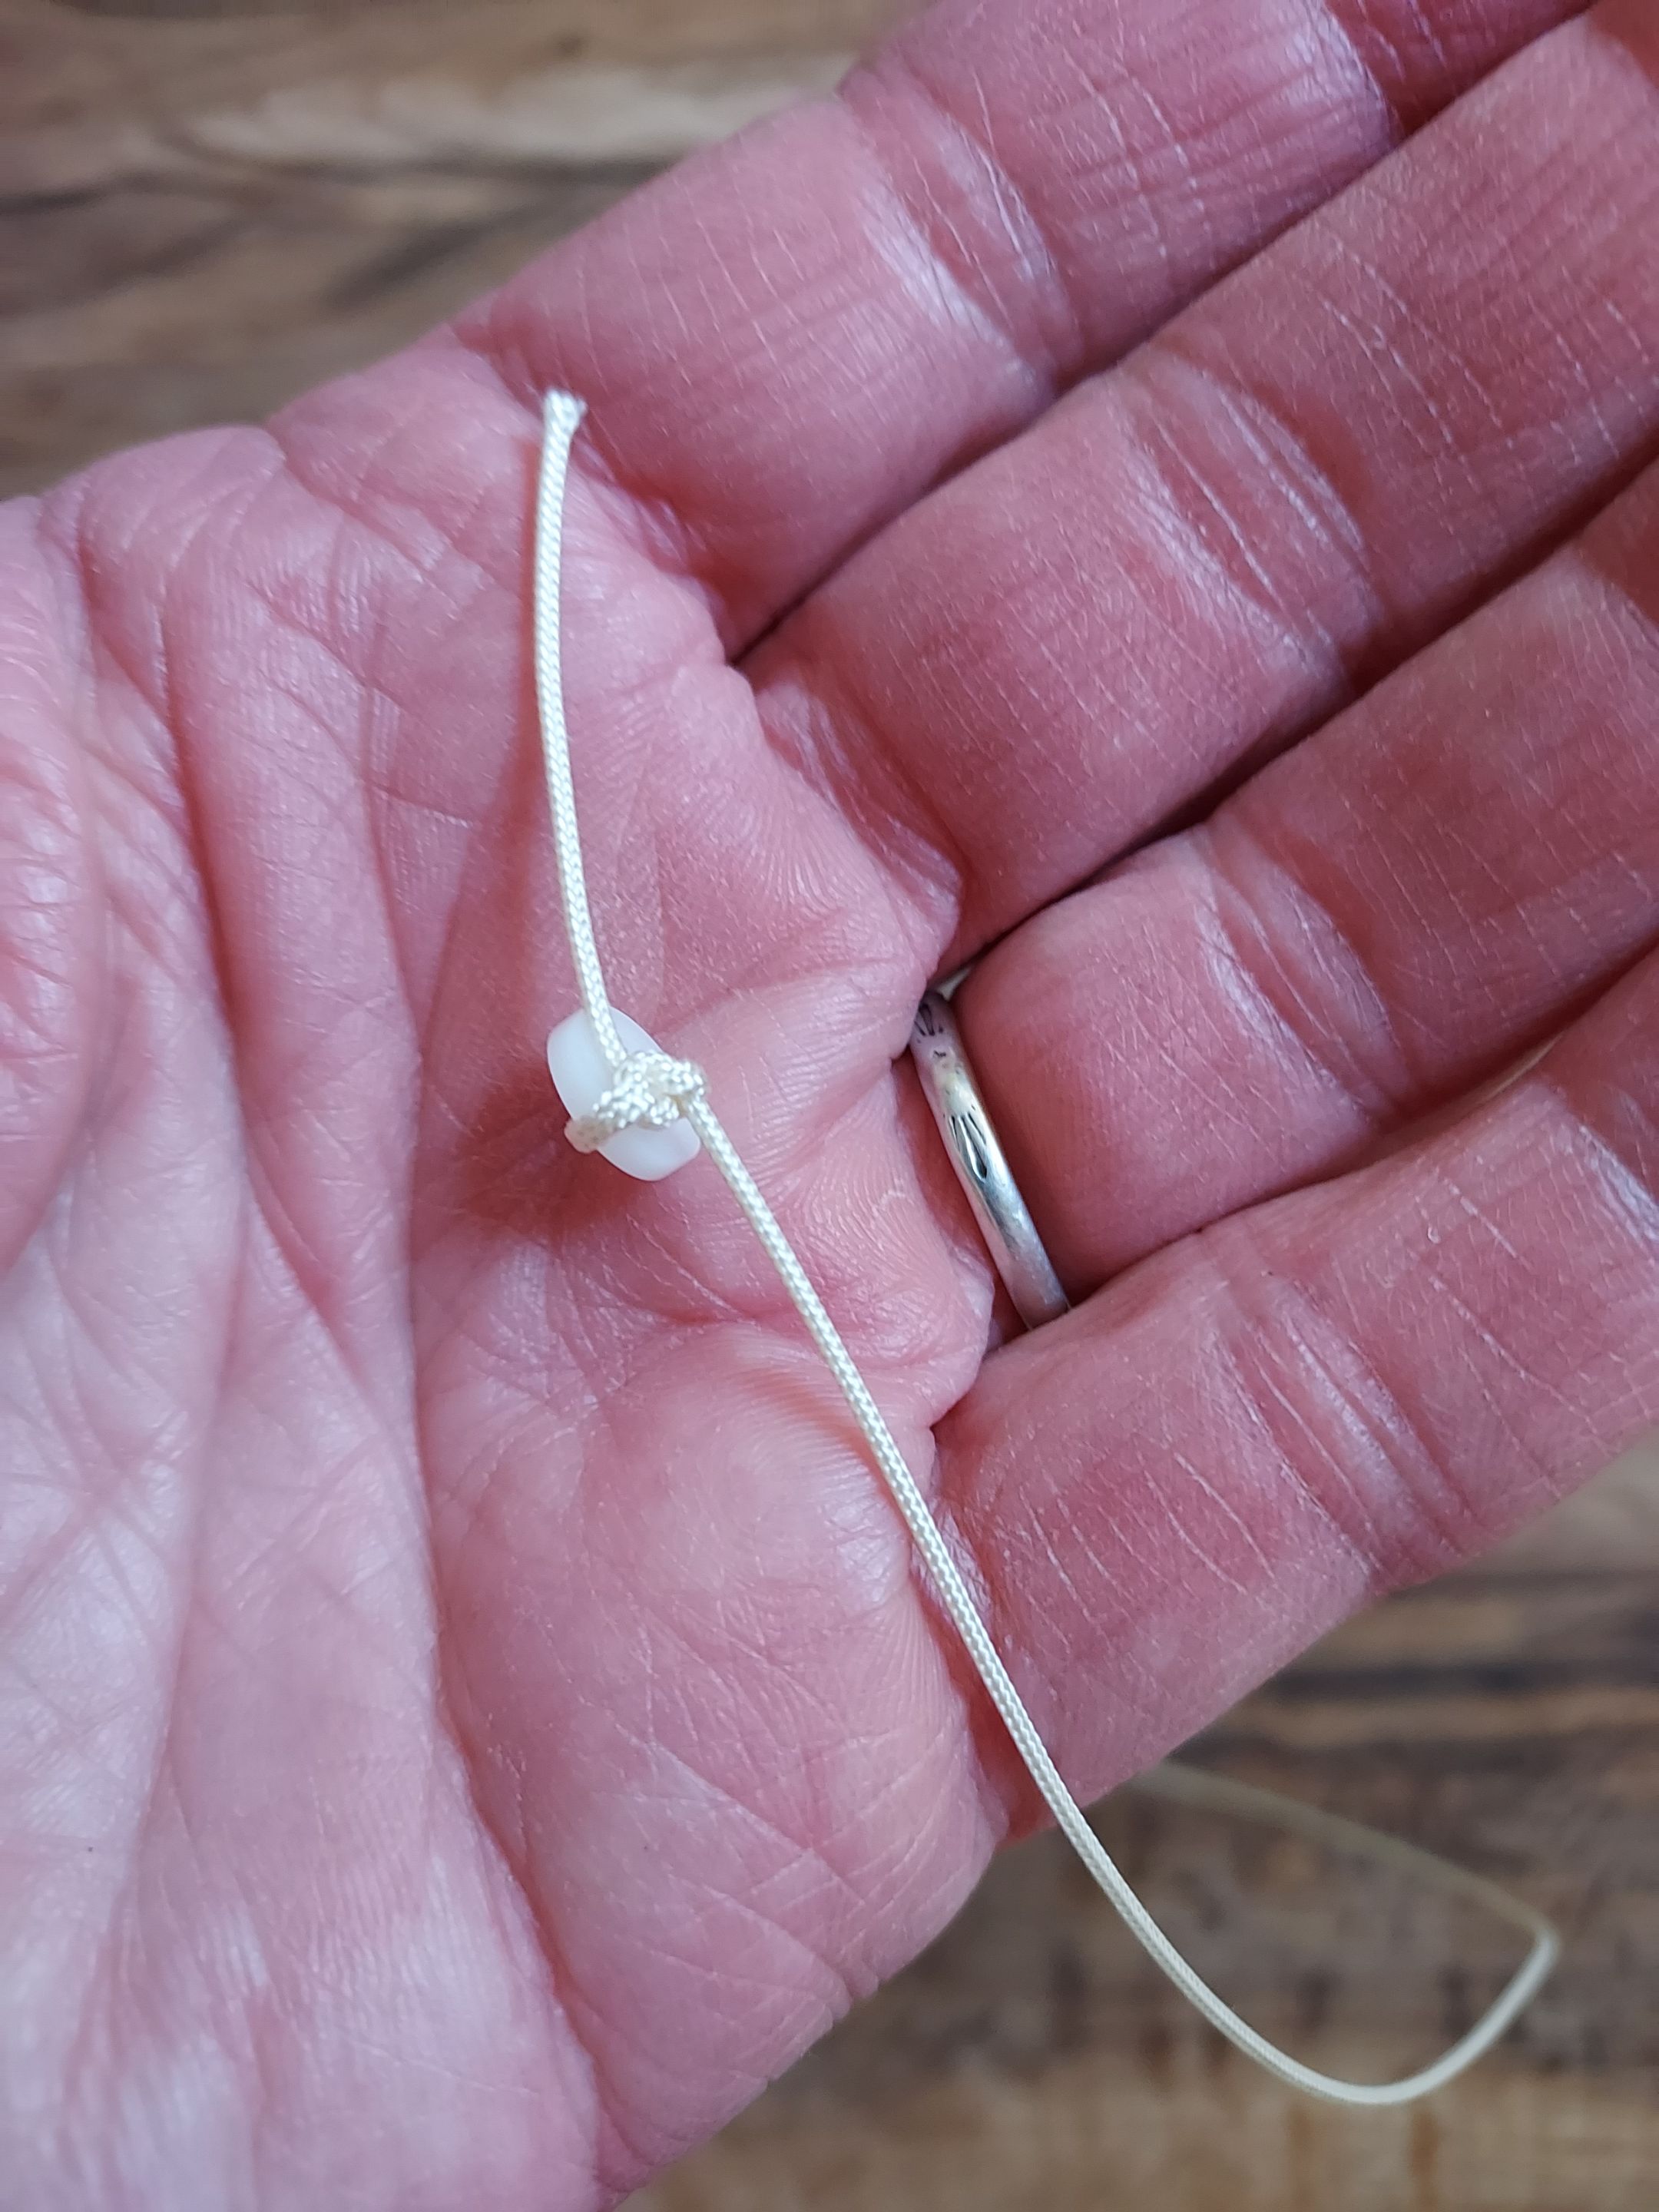
On July 1 I tackled the project again, with the above string on hand. Little plastic guides were on the bottom of the shade where the string came out. I tied the new string to the guide, and then ran the other end through the eye of a crochet needle, since that's what I had on hand.
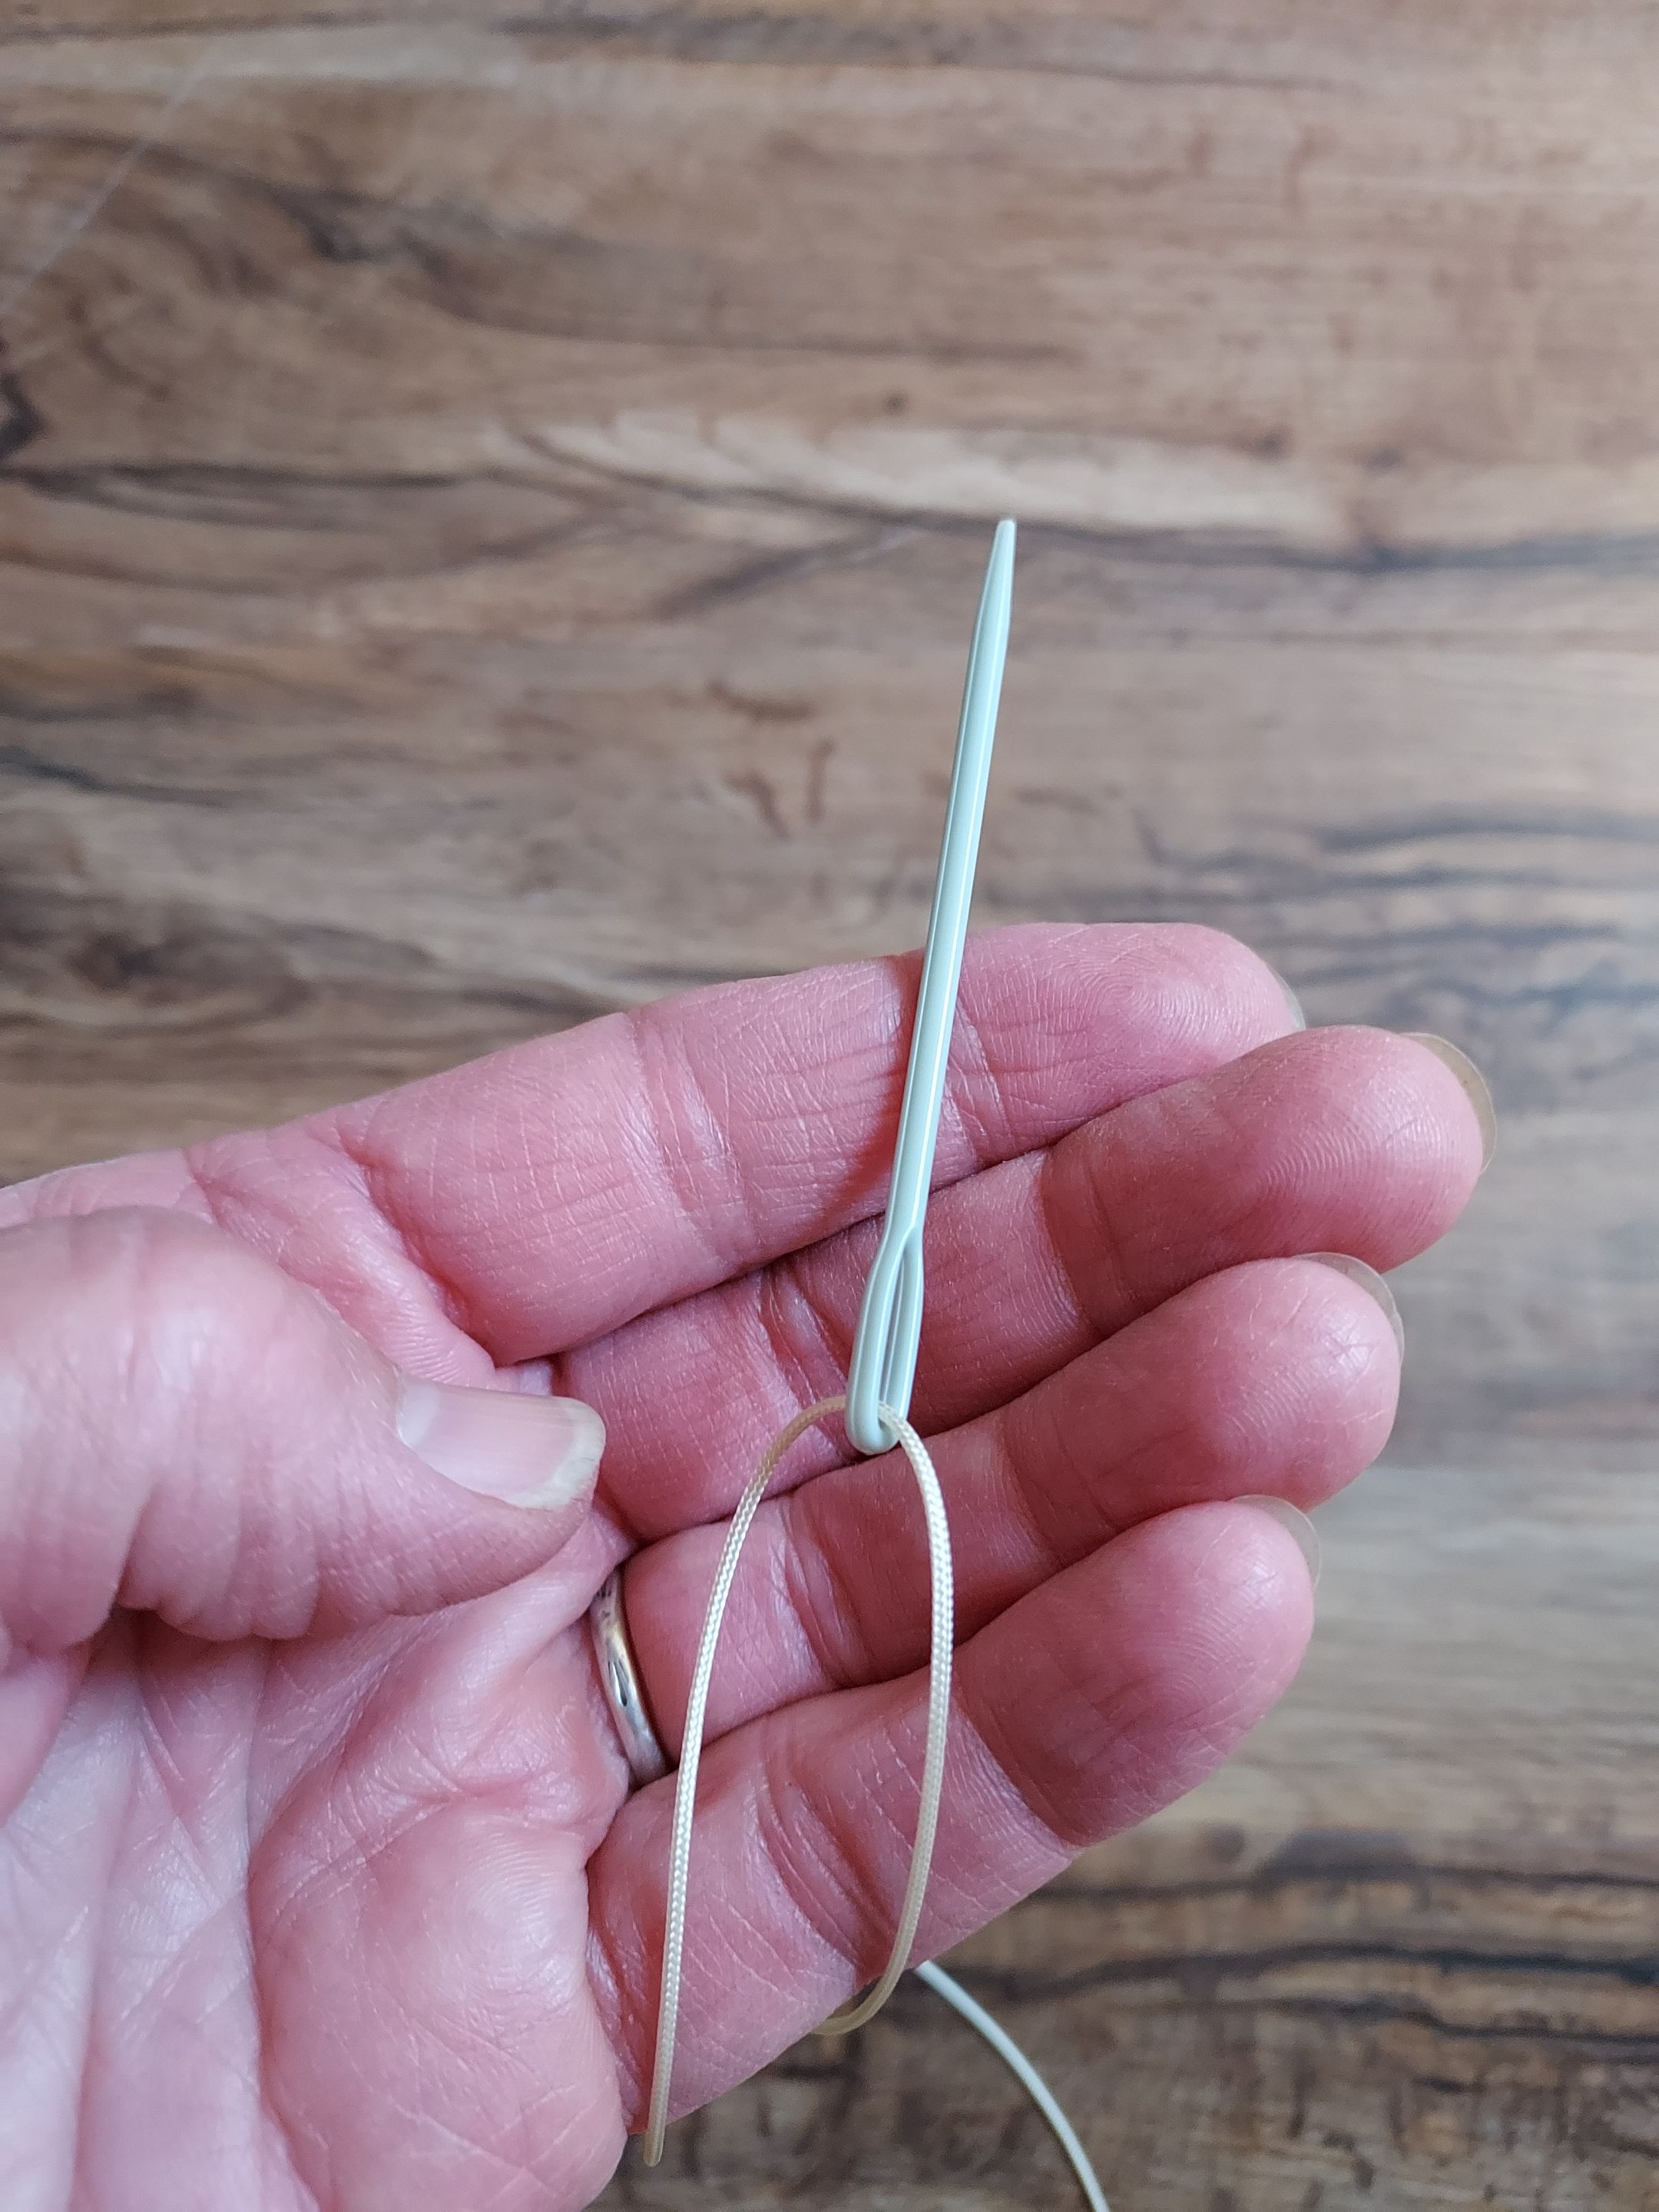
The plastic needle was adequate to guide the thread through the first two sets of holes, although it was a little tricky.
Then the trouble began: I could not get that needle to go through the third set of holes. I bent one needle quite badly while trying. My husband took a look at it and suggested I try a drill bit. That wouldn't go through, either. So then he got the entire drill out and went to work on opening up that path. Again, we figured we had nothing to lose, so why not? It took a few tries and some aggressive drilling, but he had success! That was the set of holes that had the broken string, and a section of the string had bunched up inside of it. He had to work that tangle out of the blind, and then I was able to thread the new string through just as easily as the first two strings.
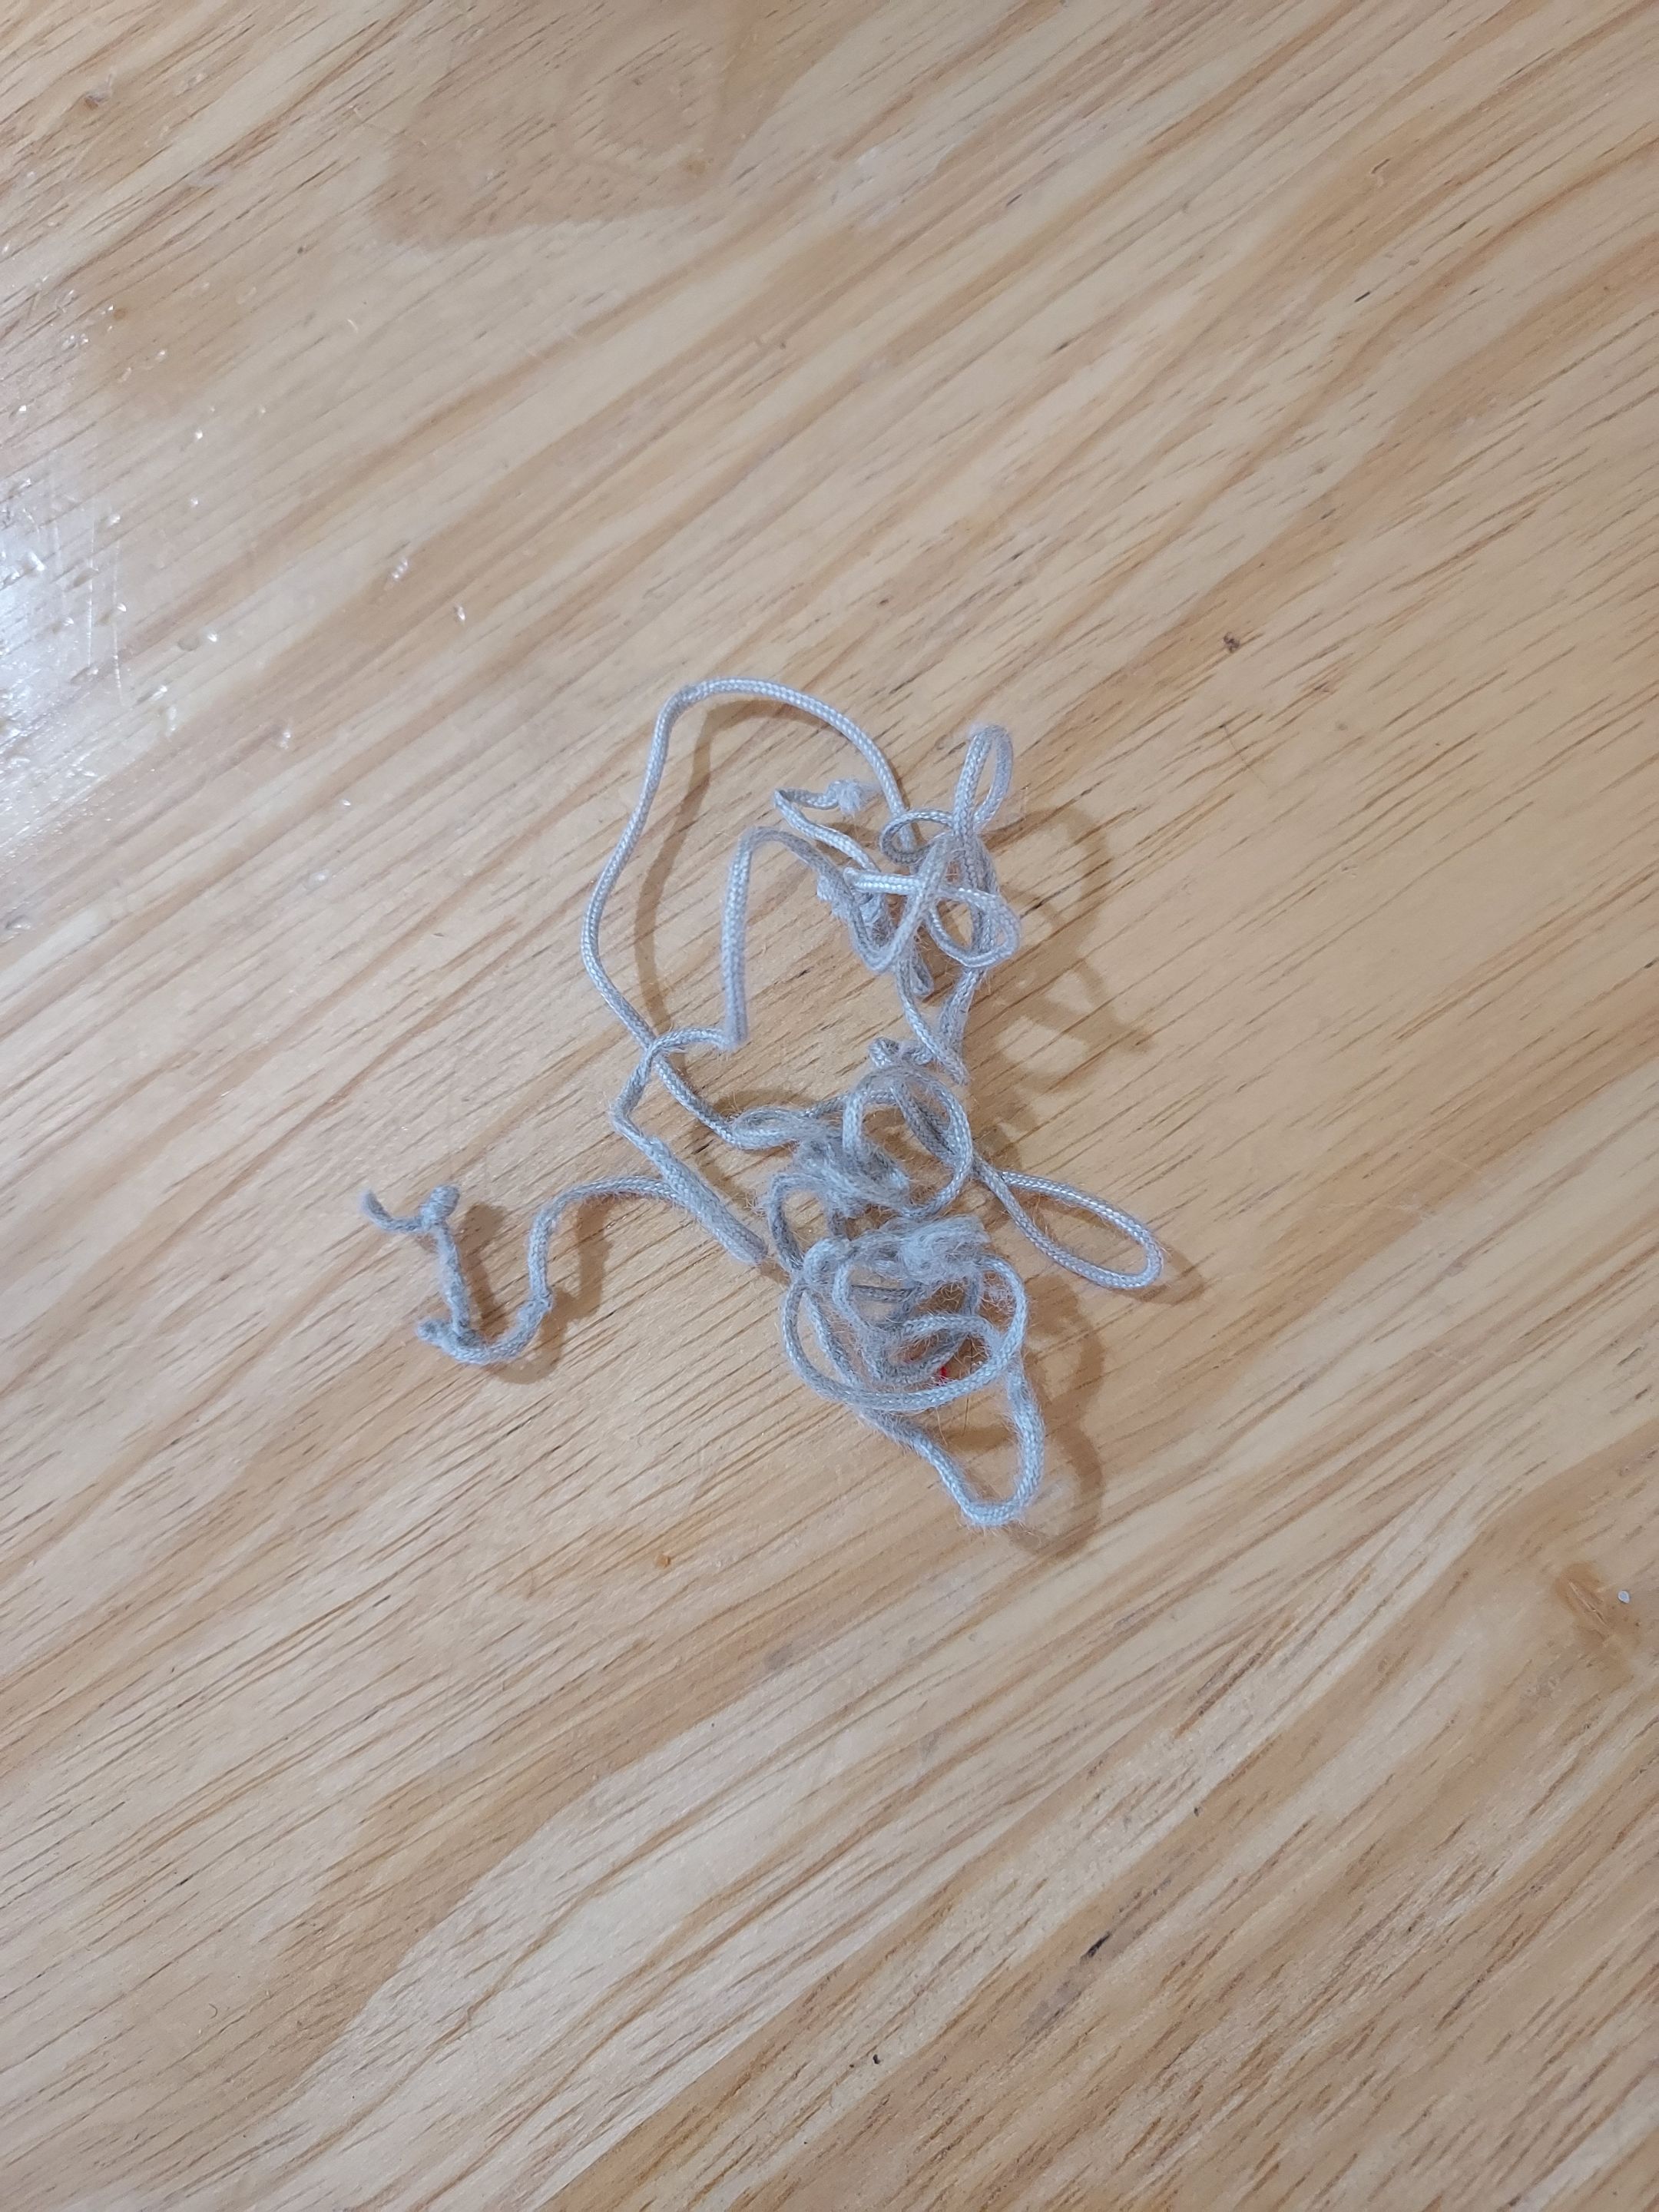
The glob of tangled up string my husband fished out with his drill.
Then I ran into another glitch: I needed a wire restring tool. I ordered one from Amazon because the postage was free, but it was much too large and not really intended for this sort of a project. So I sent it back and ordered the right tool from FixMyBlinds.com. I despise paying $6.59 shipping fees for a $1.59 item, so I ordered a few other small parts, just in case I might need them.
By this time it was mid-July, and my garden was taking up a great deal of my time, energy and wits. So the blind project was stashed under the sofa until yesterday, when I finally had the magical combination of time, energy, and wits with which to tackle that project once again.
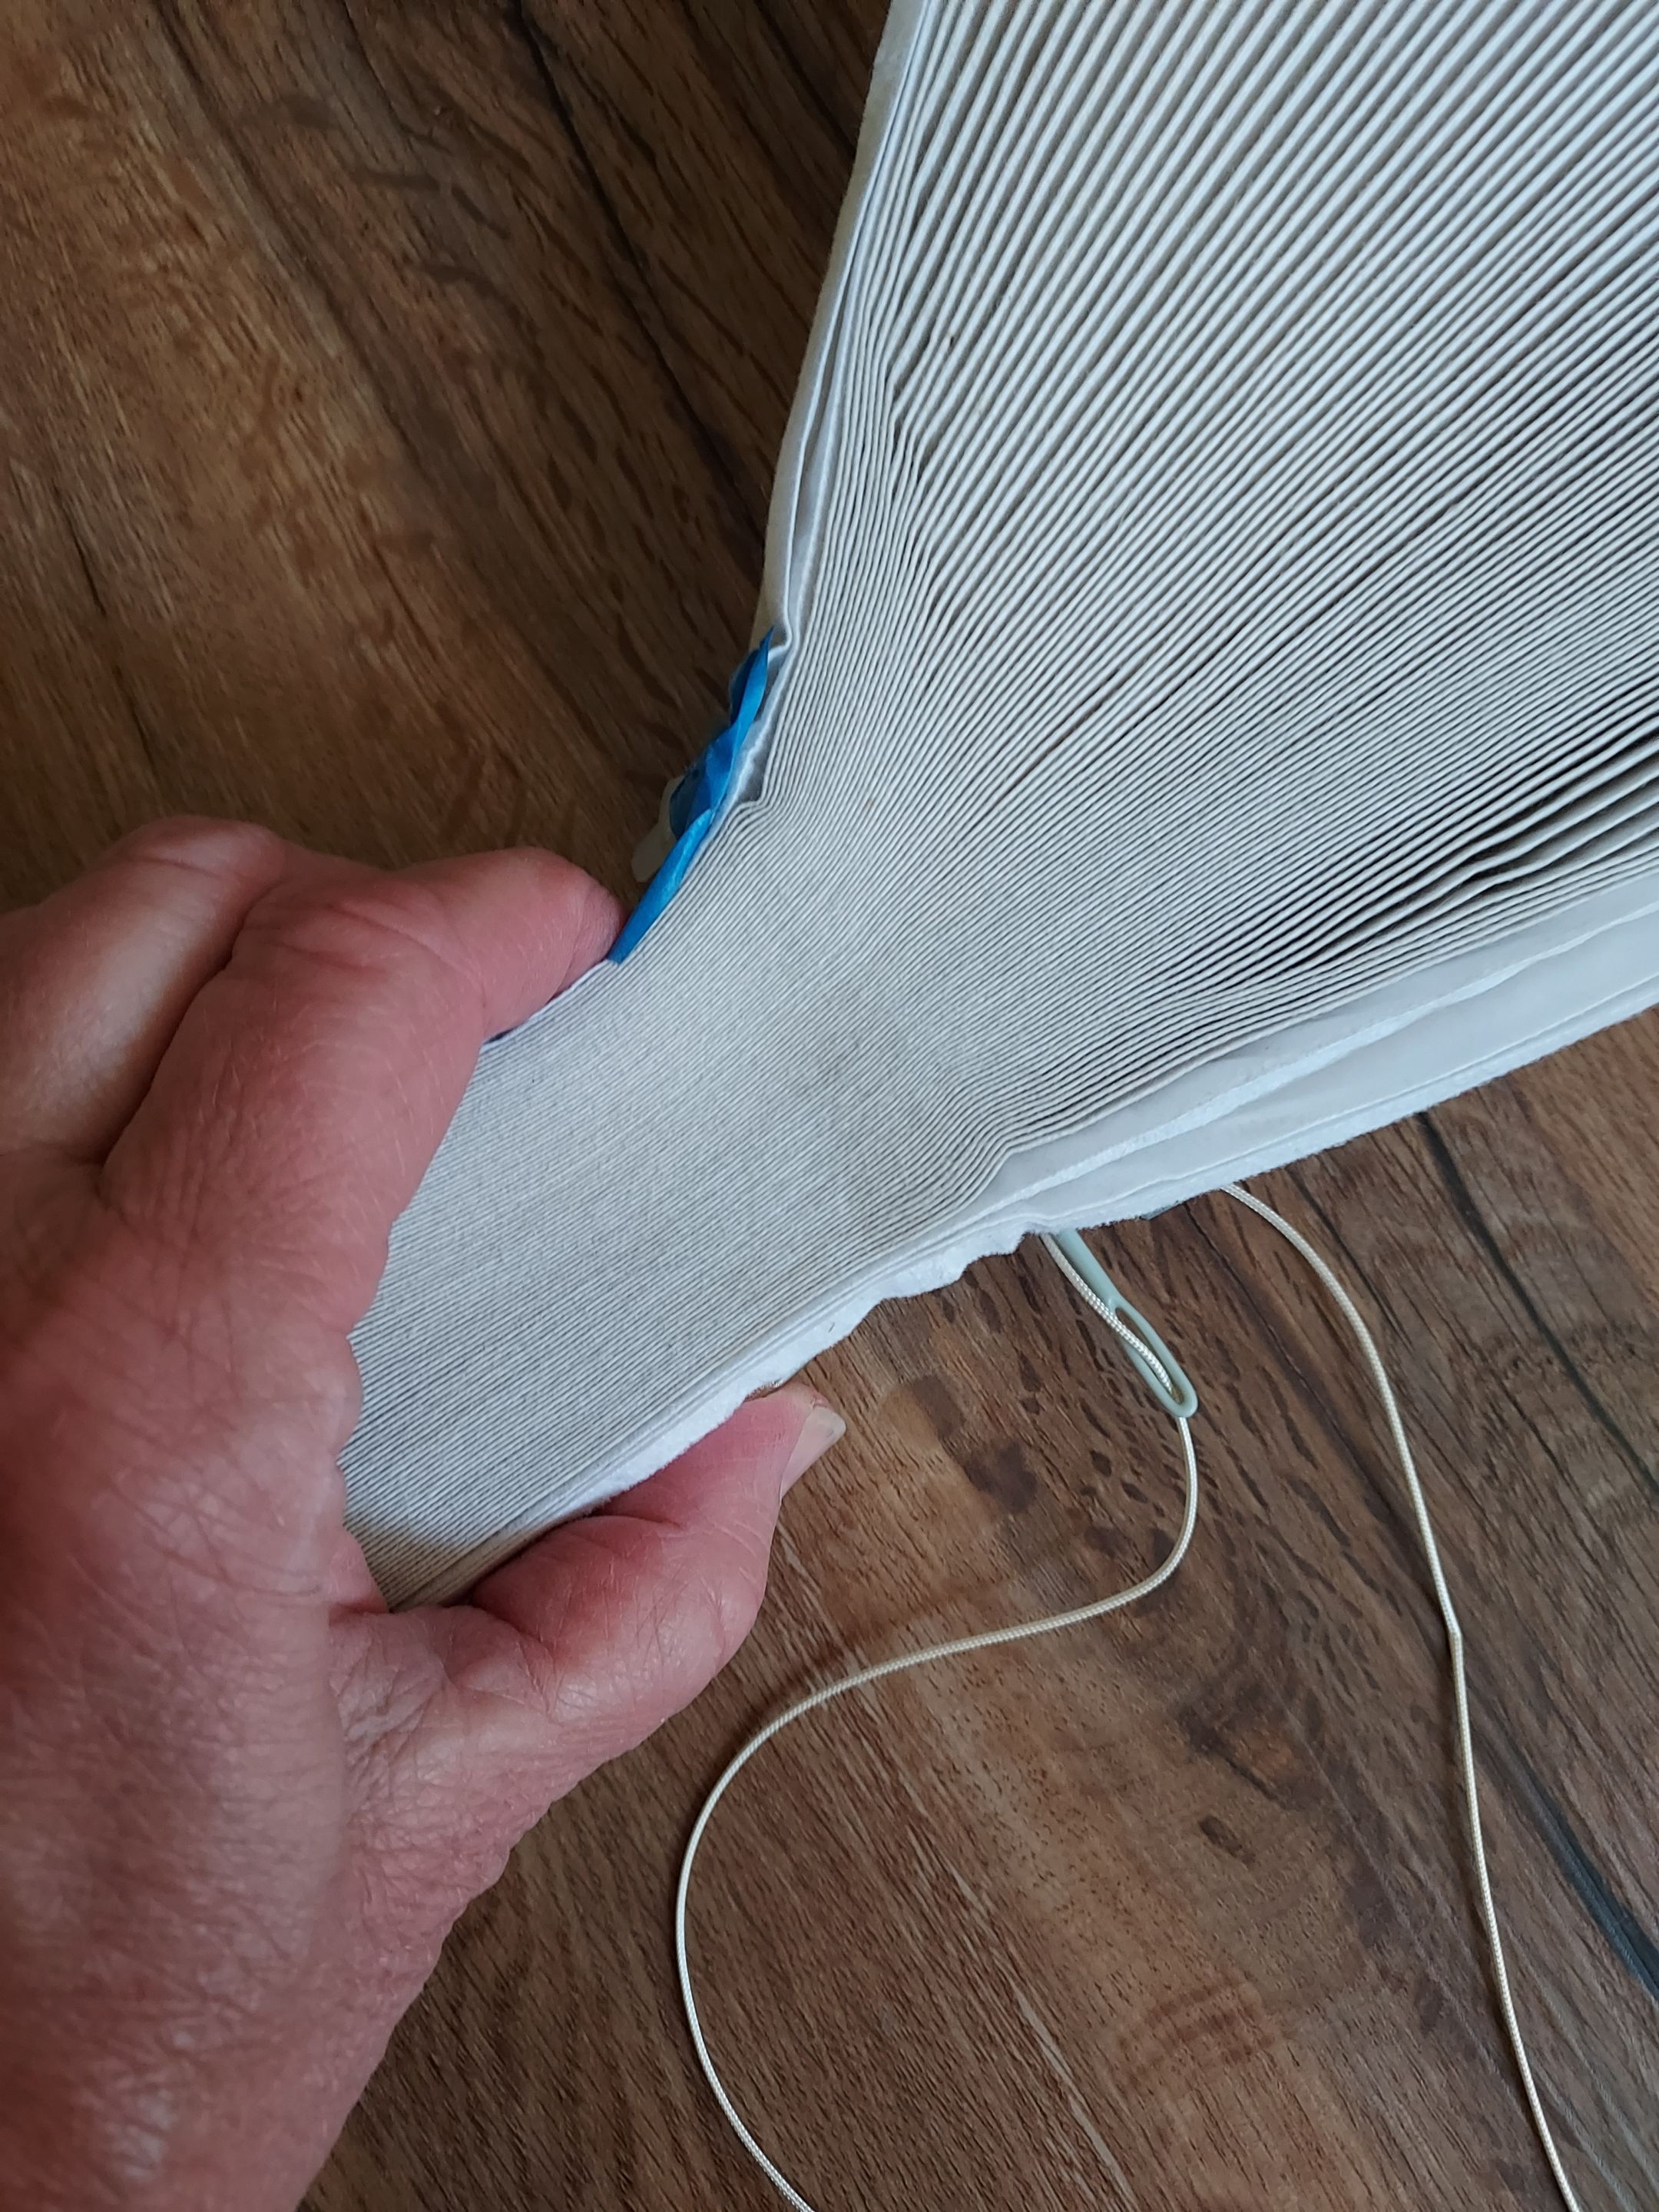
Of course, there were a few more glitches. It was difficult to hold that long shade still while I tried to run the top and bottom rails back in place. And I was working down on the floor, which made it awkward. I had to get my husband to come and steady one end while I worked at it. Then it got stuck when I reached the first plastic string guide.
All my friends and family know I don't have a "mechanical mind." It probably would have occurred to some people to put this in place with the pointy part against the shade and the flat part where the rail would run across it. I had not taken a photo of that when I disassembled it in June; I only remembered the guides were held in place with a bit of blue masking tape. Furthermore, the plastic guides were not shown in the video, so I proceeded to put them on backwards. Once I figured out why the rail was getting hung up, it was easy enough to back the rail off, untie the string on the three cords, turn the guide over, tie the string on again, and then slide the rail back on. (With hubby's help, again.)
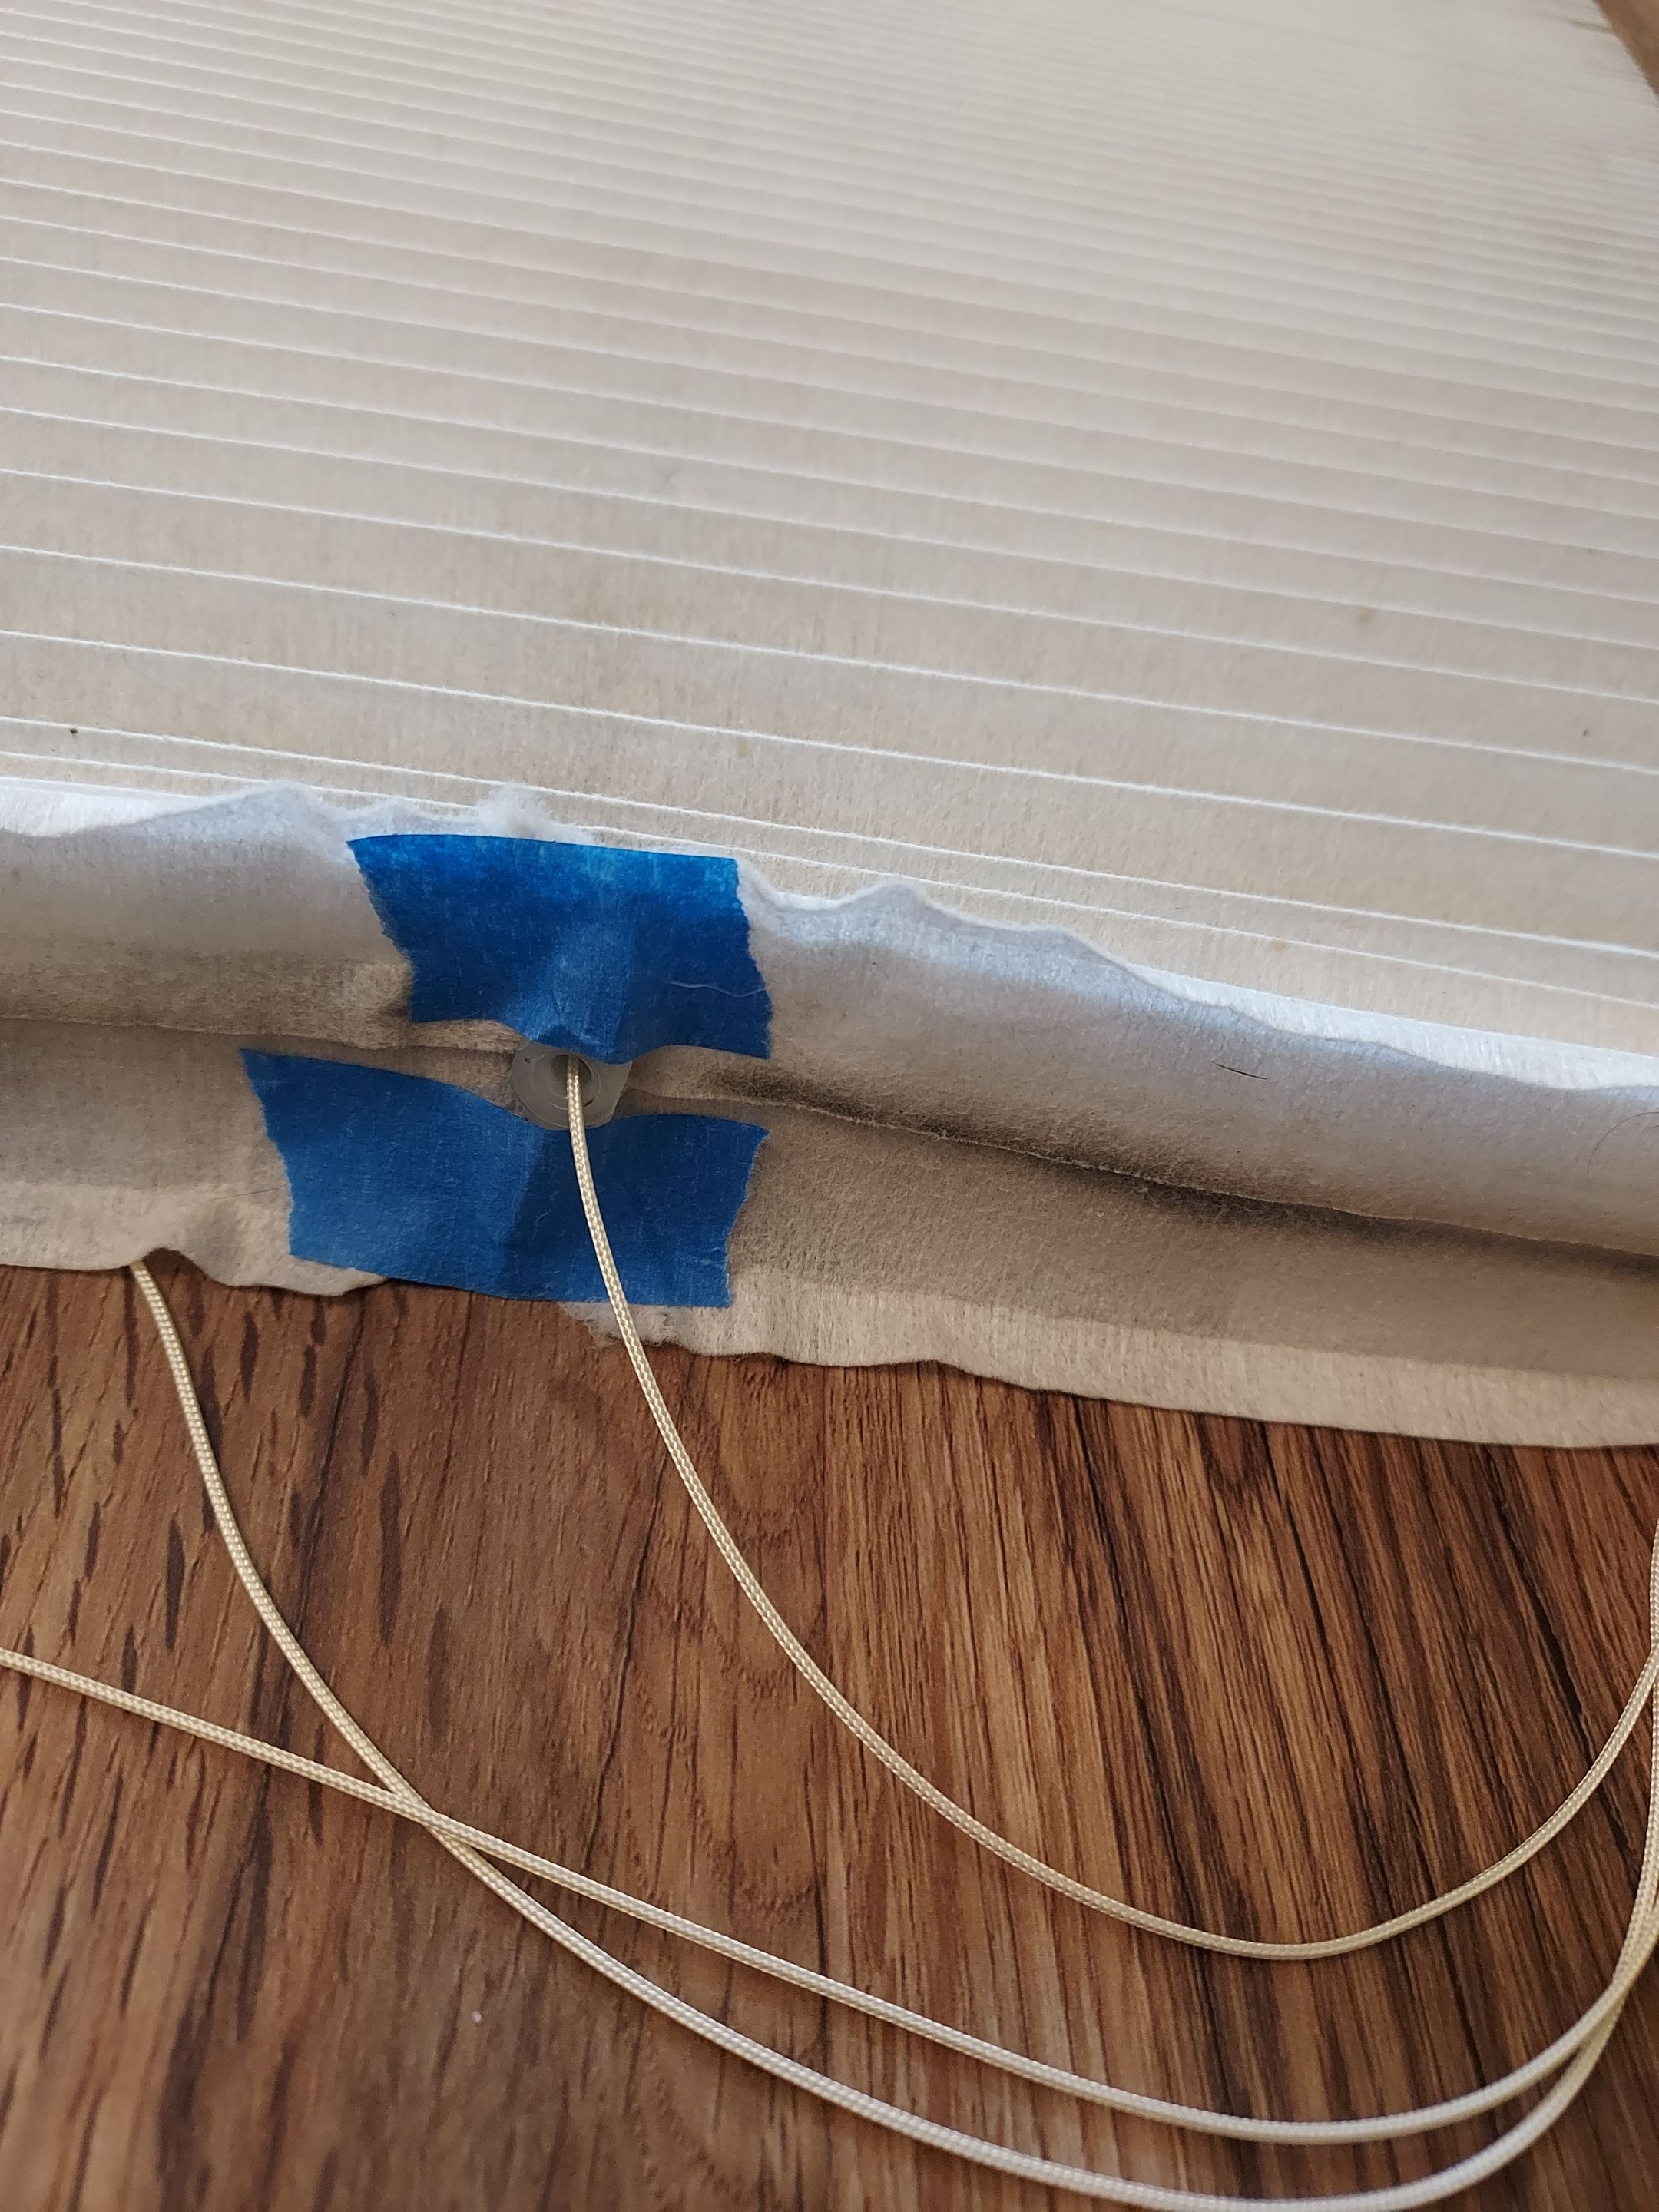
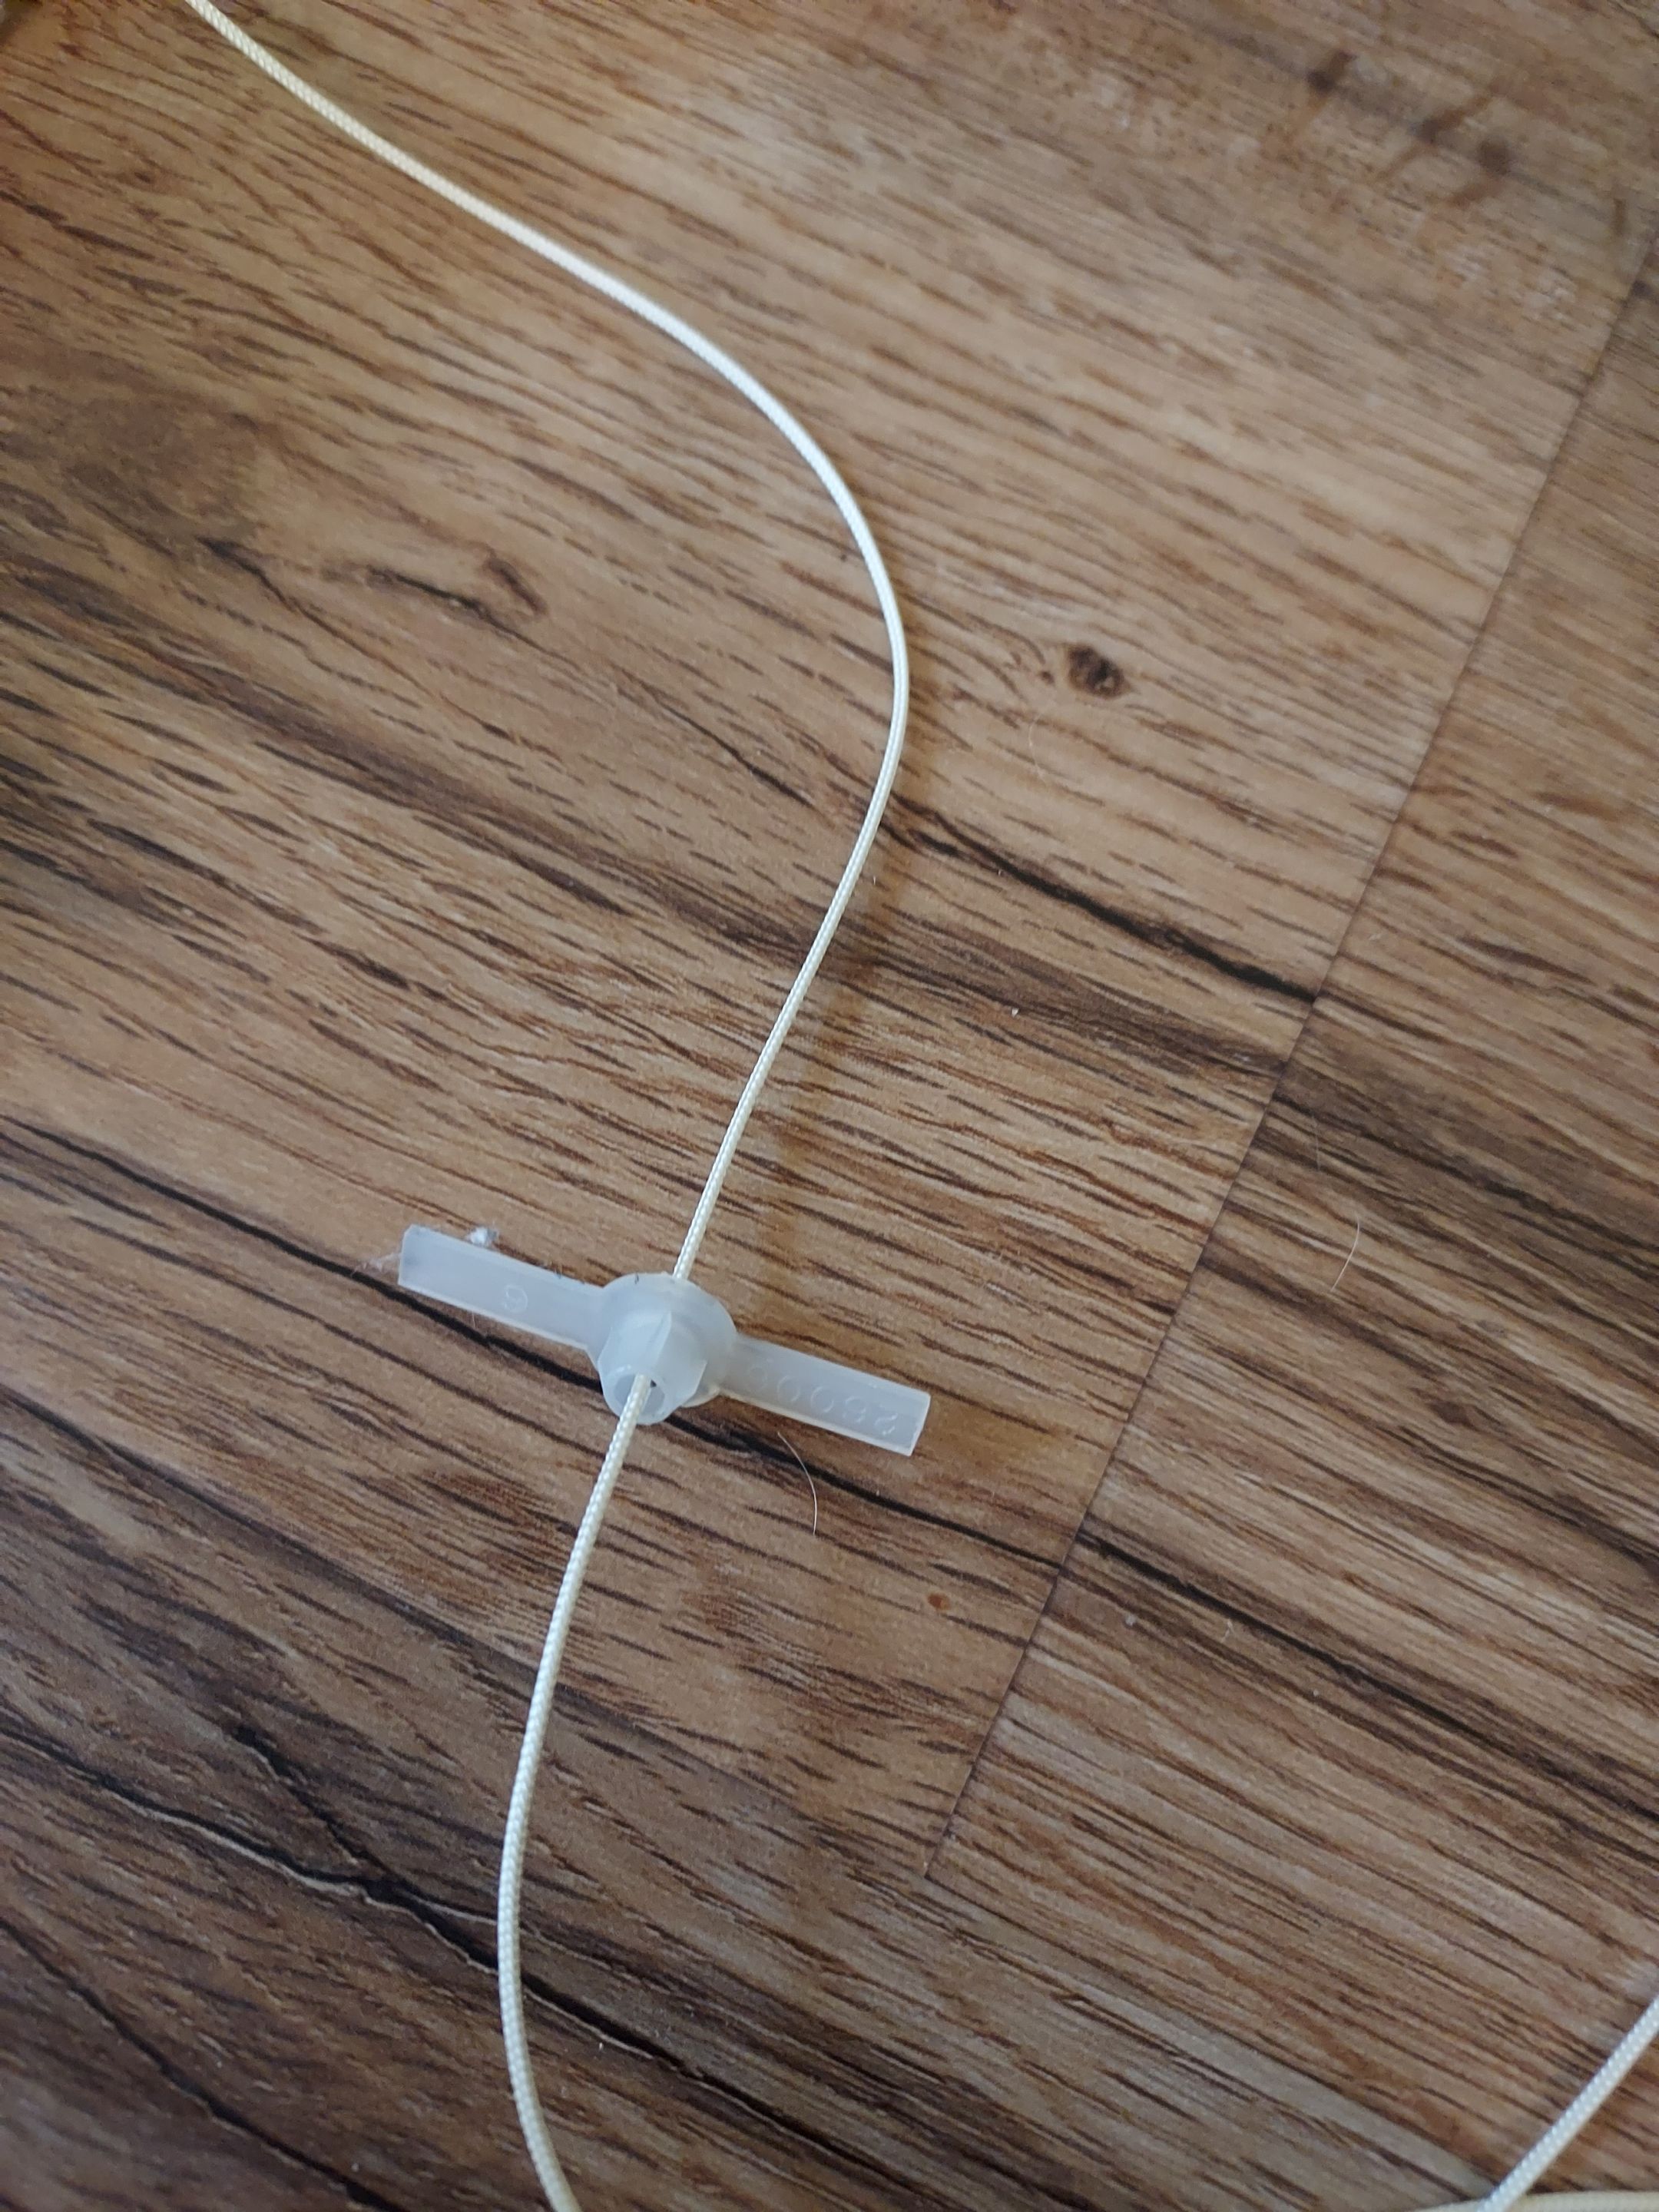
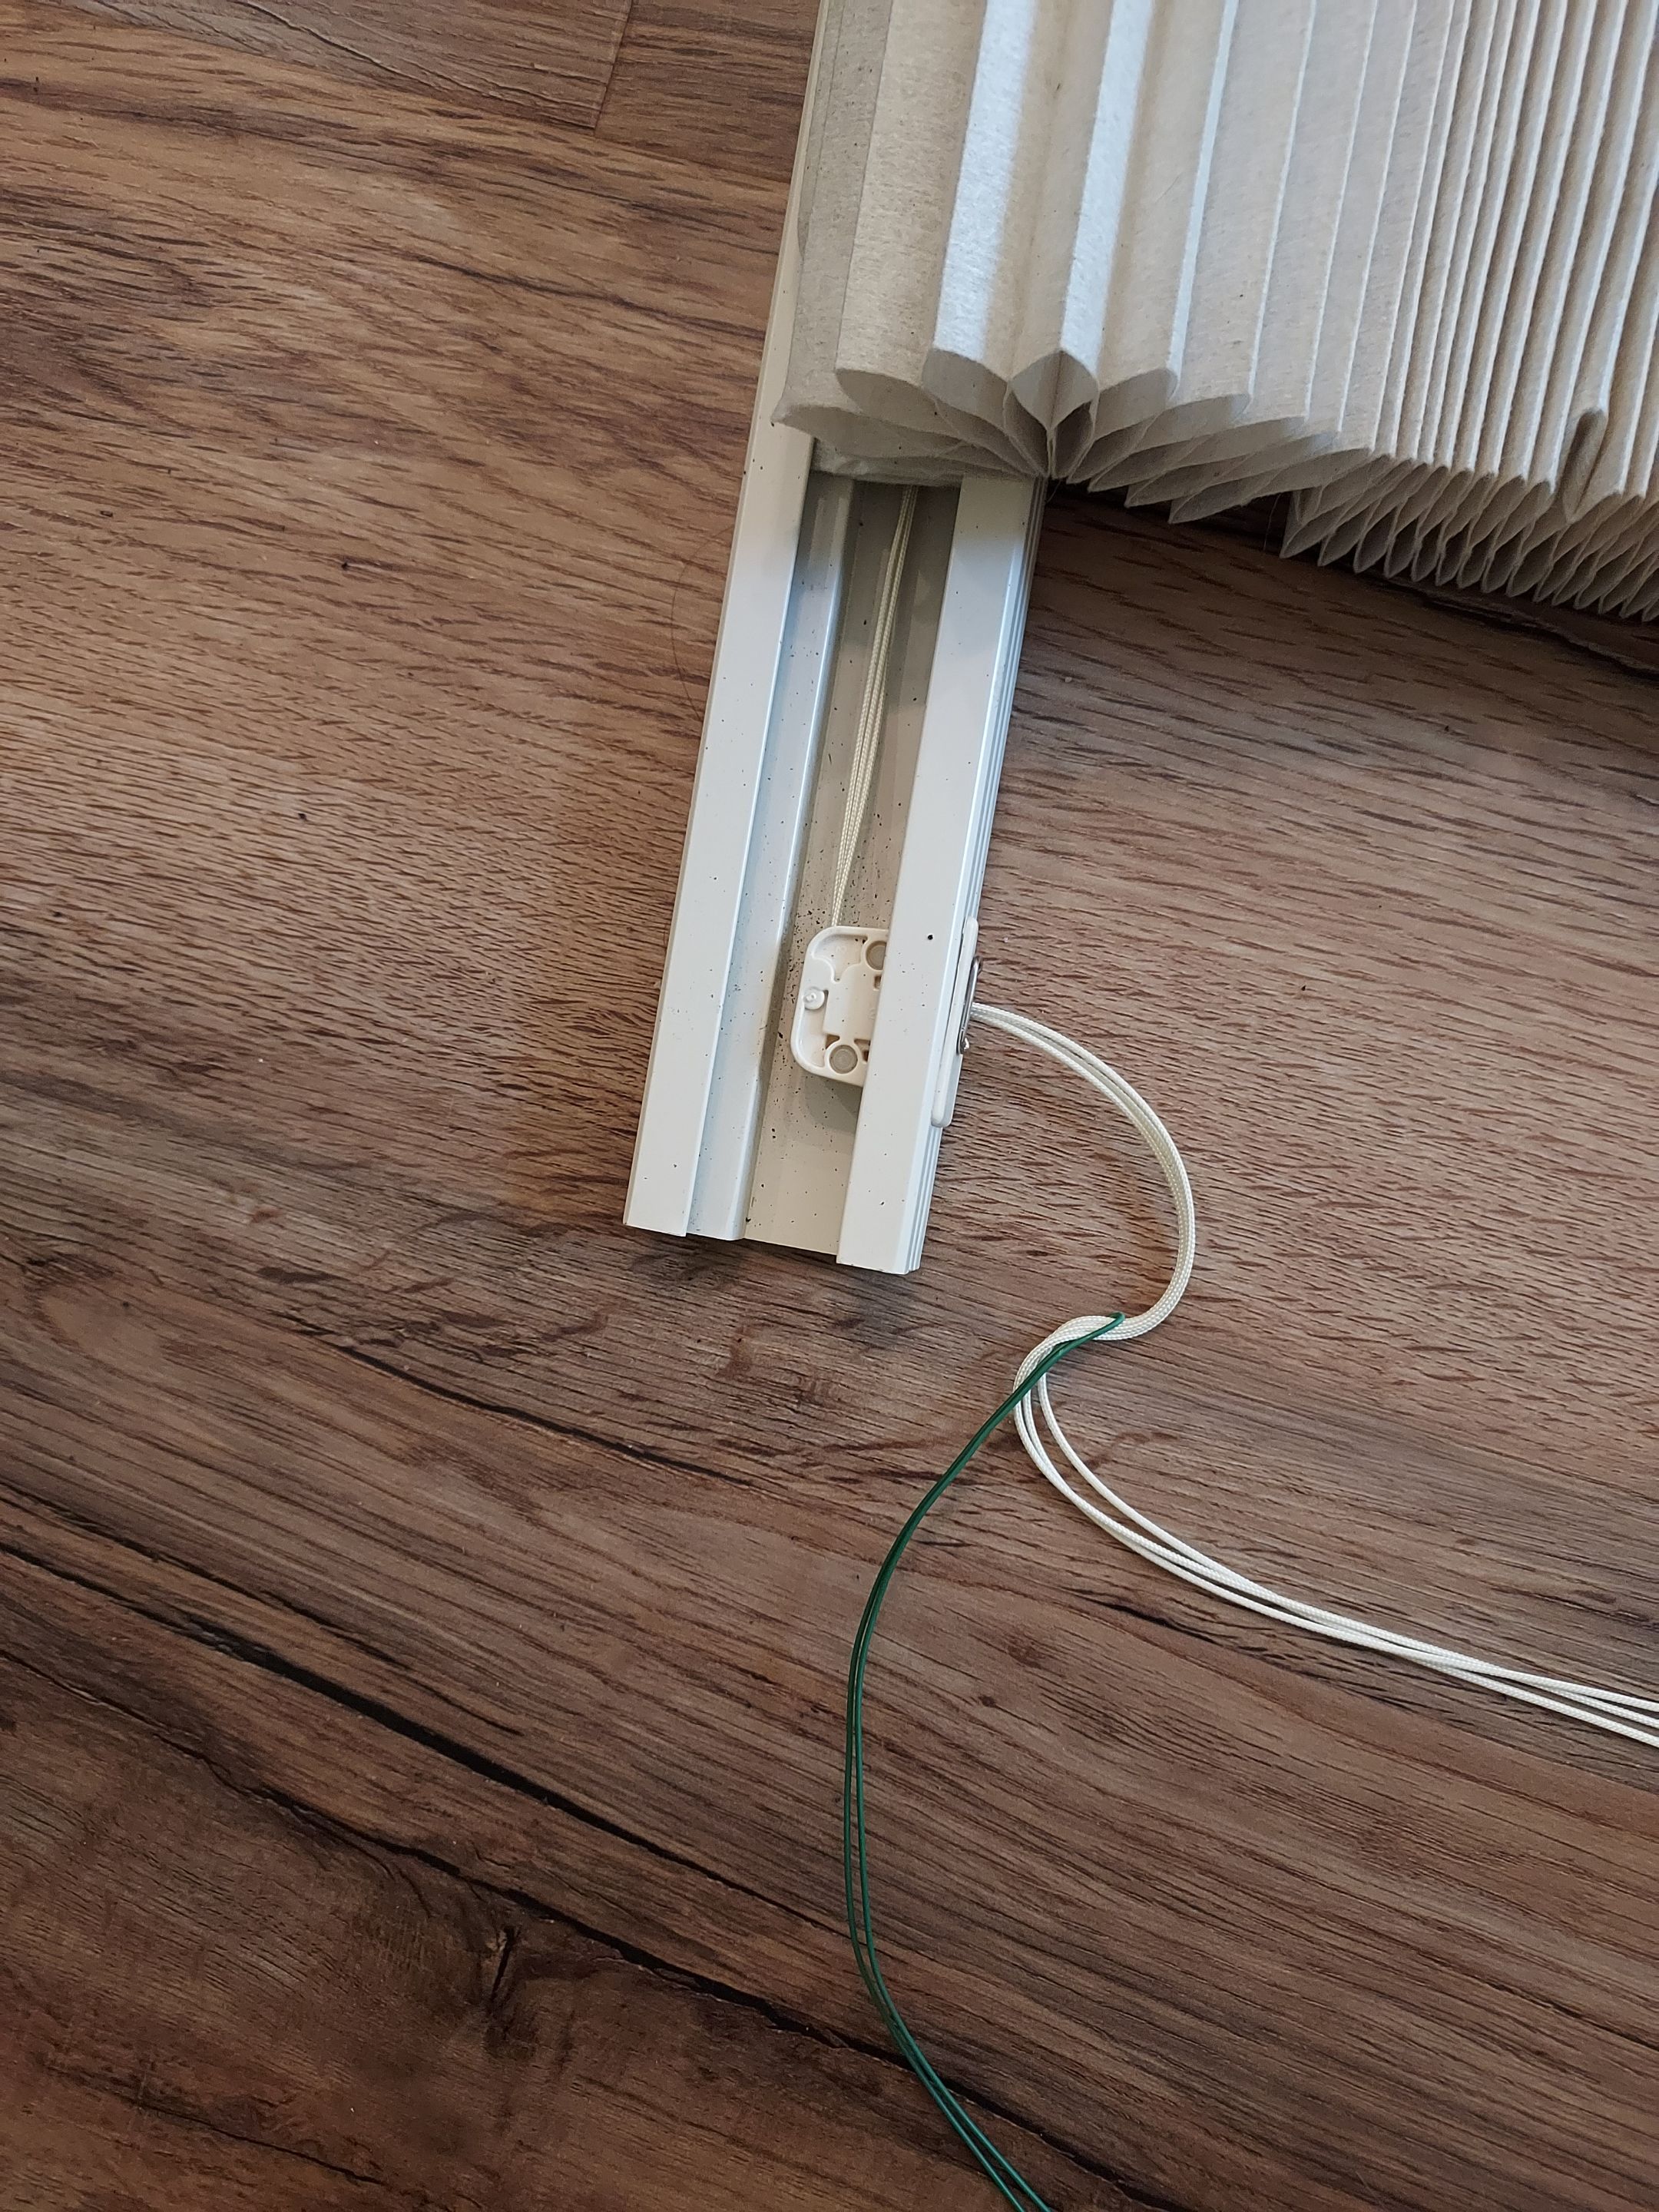
The wire restring tool was needed to run the thread through the cord lock. My blind wasn't oriented quite like the one in the video, so I guessed a little on how to do that, and it worked. The restring tool is the little piece of green wire in the photo below. Now that I know what it looks like, I suspect my son or husband would have had something on hand with which to make one, but I didn't know what it should look like.
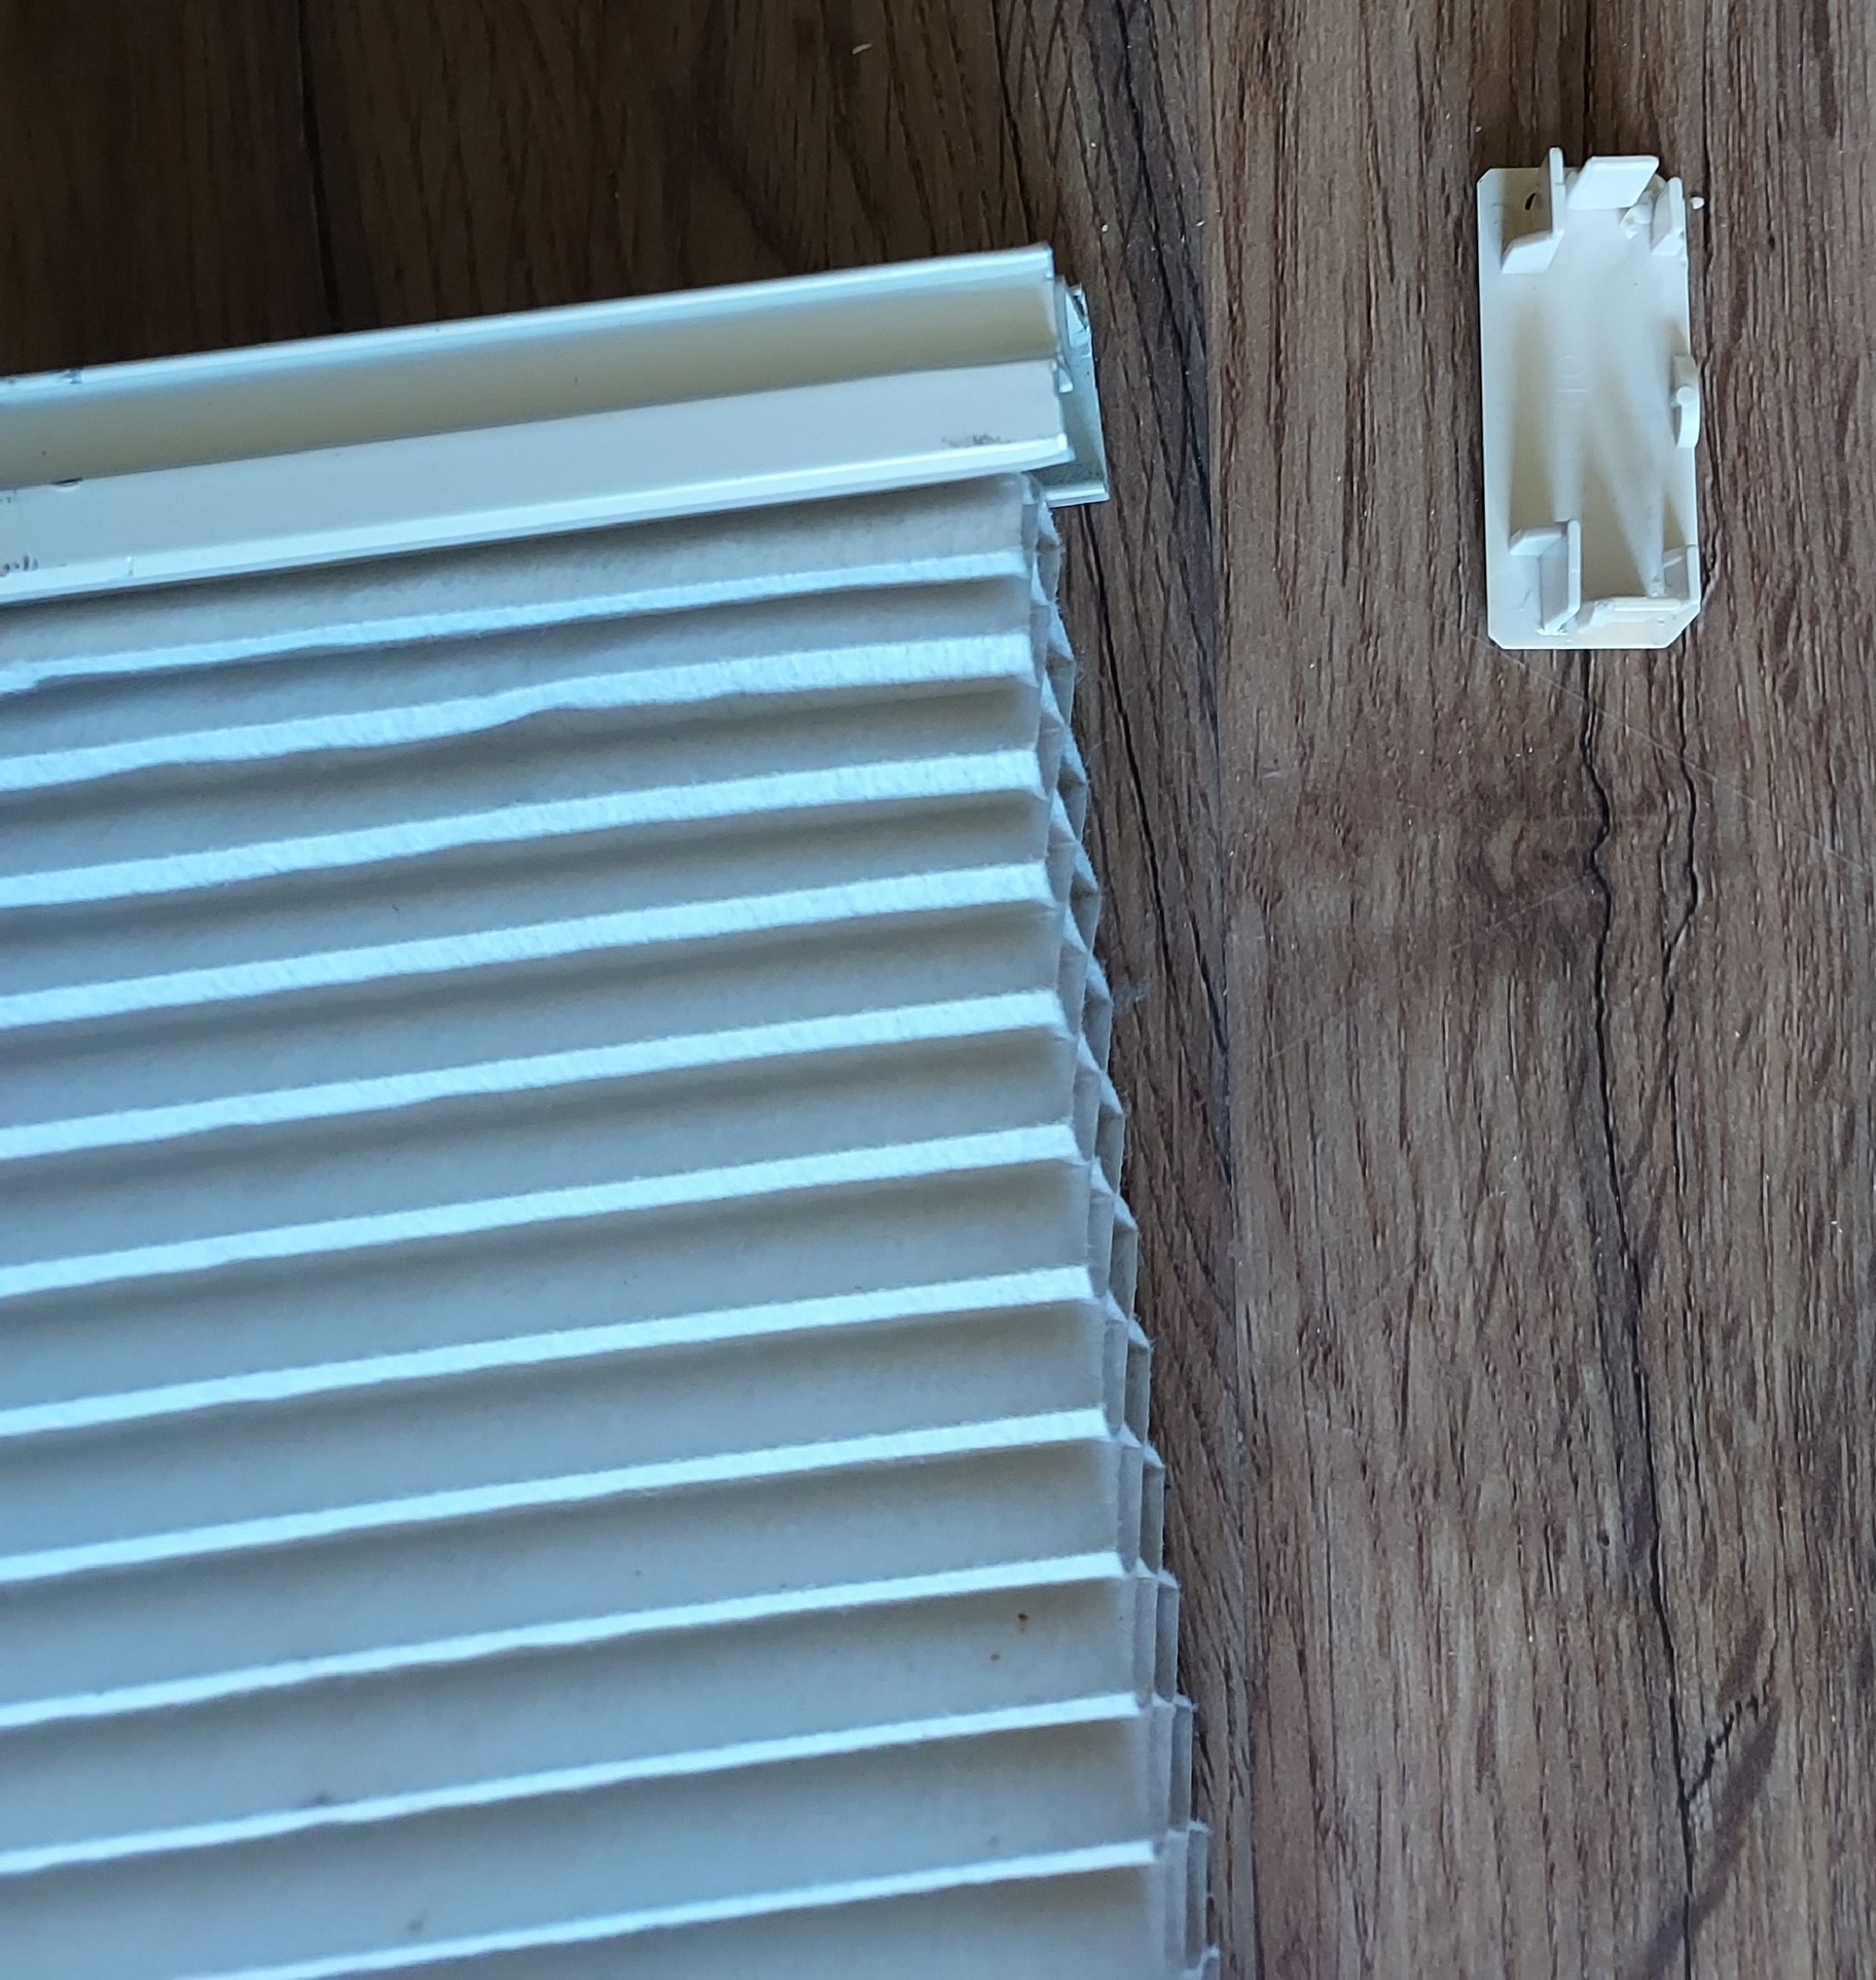
Here's how the window looked for three months with the shade missing:
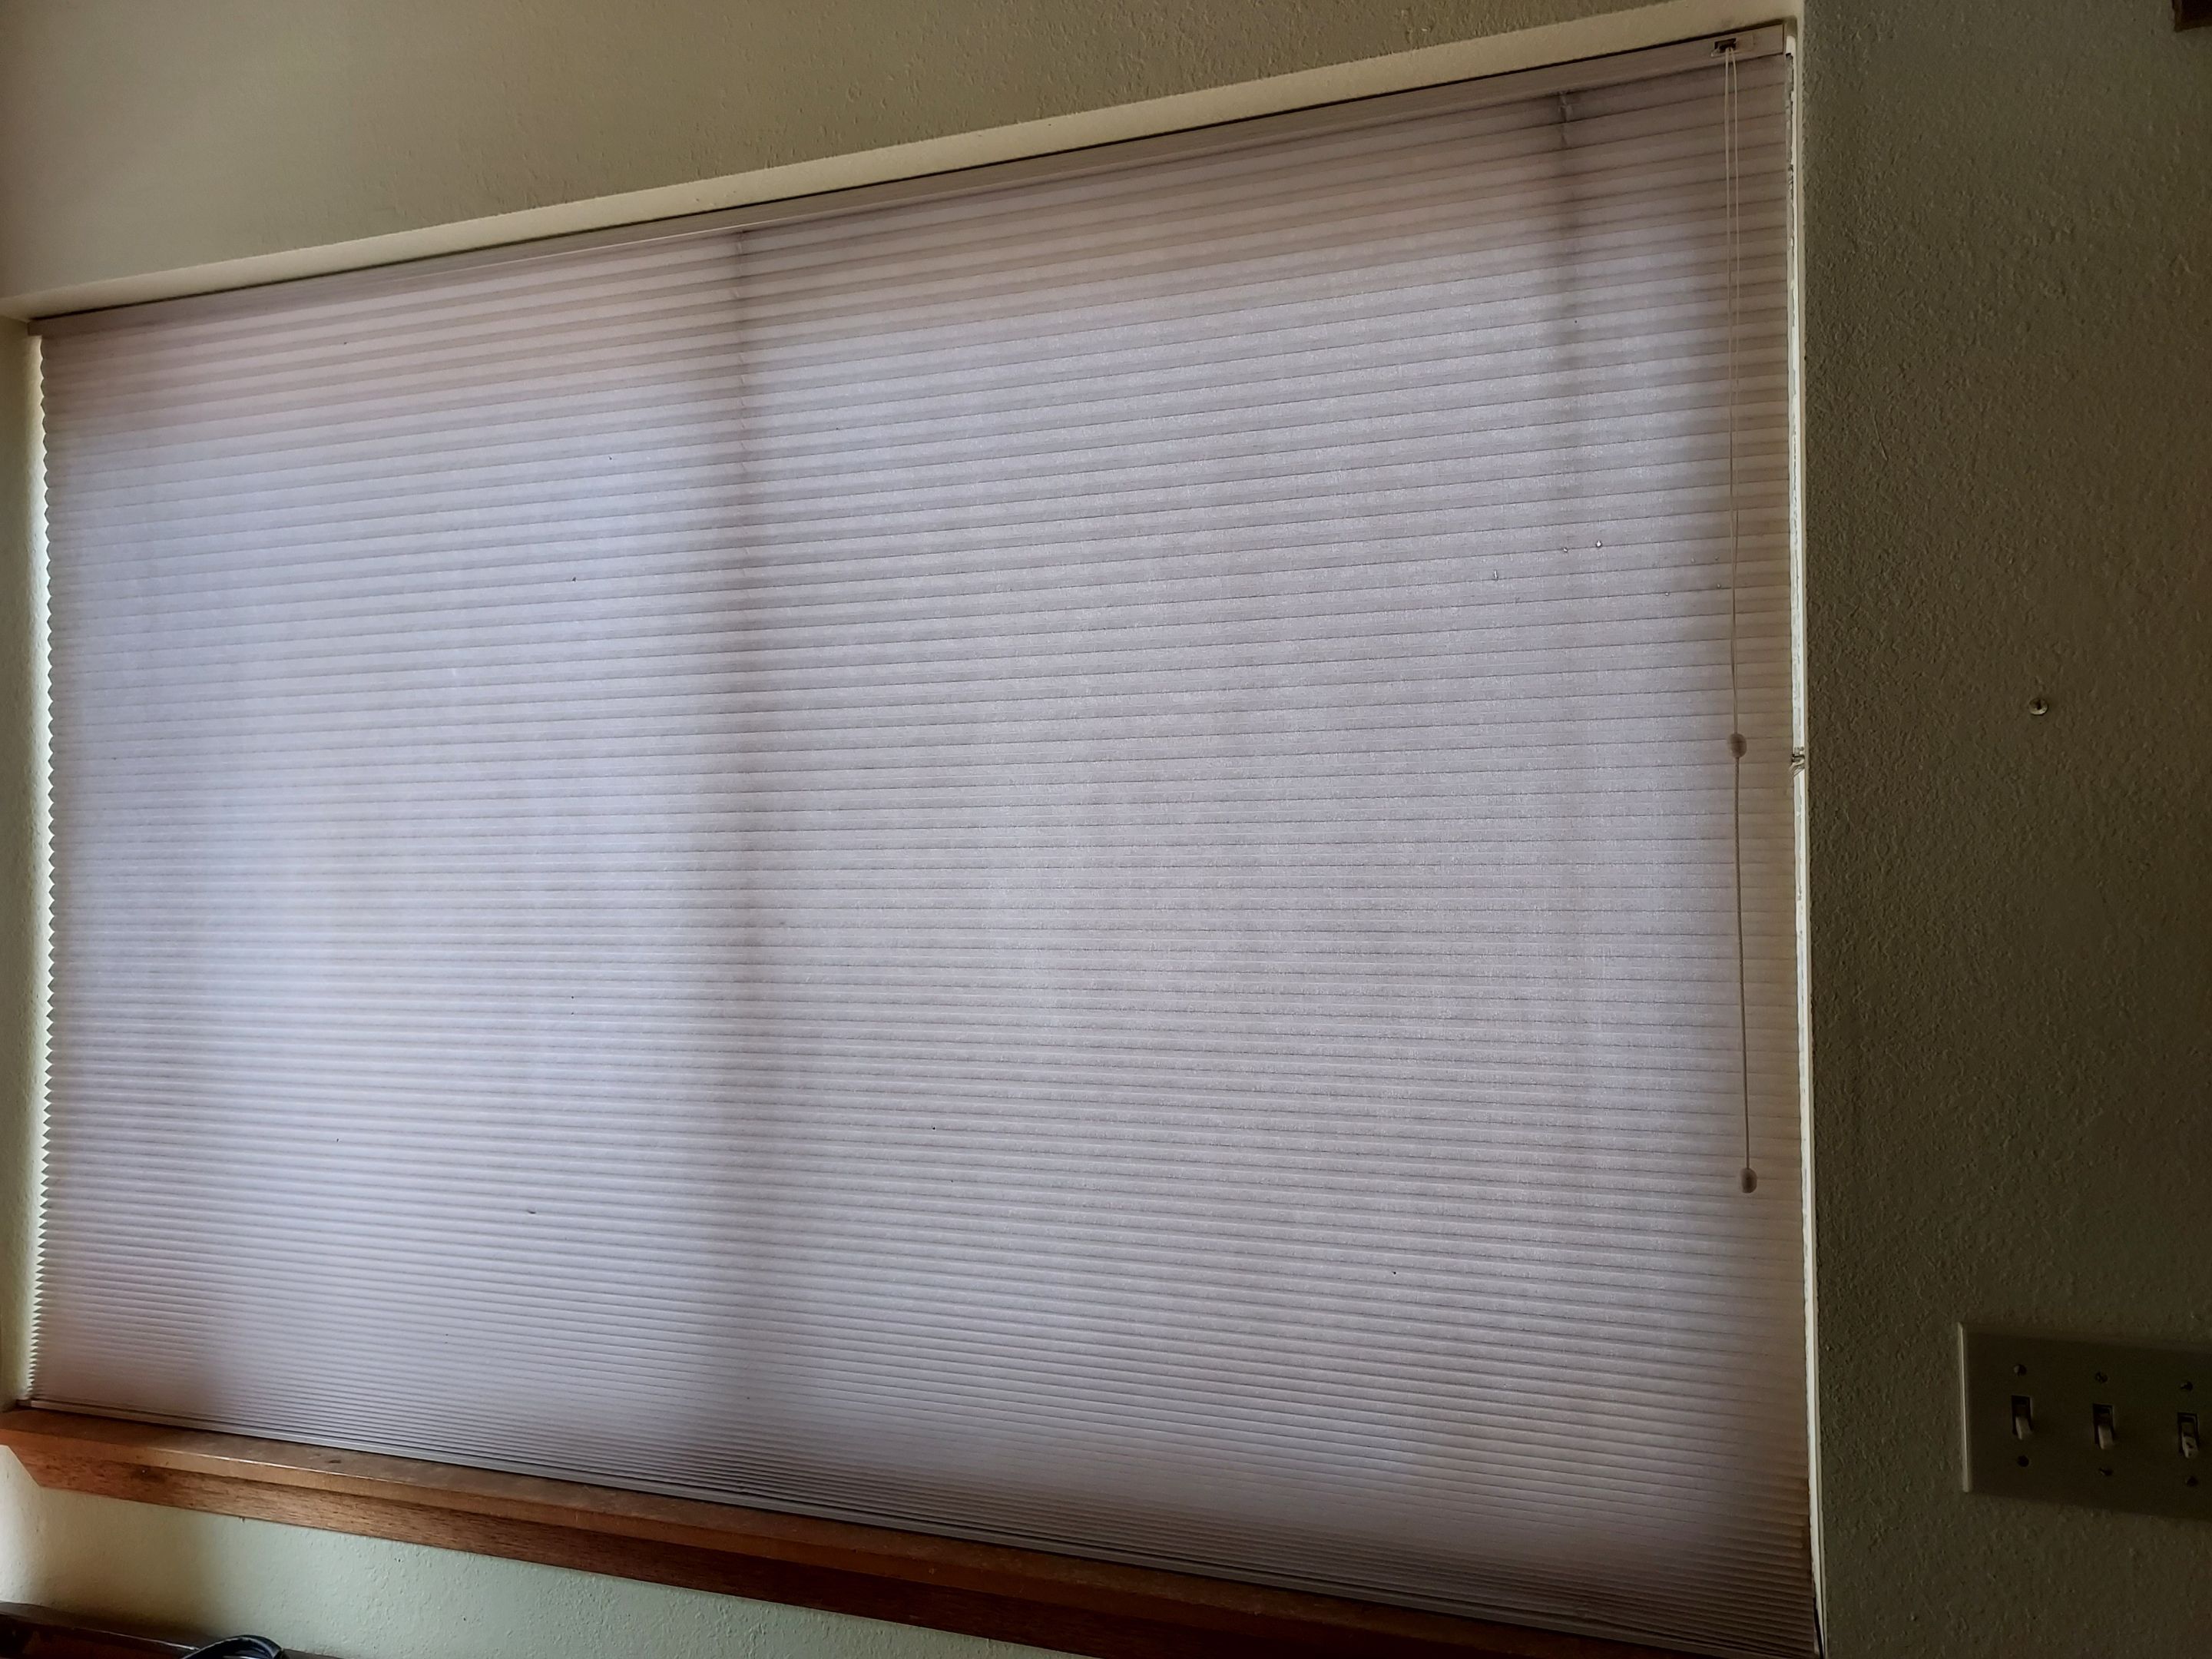
And here it is with the shade in place once more. And it works! We can raise and lower the shade just fine. I am extremely proud of myself for figuring out how to do this job.
I still need to address that mold stain. I started with an application of CitriSafe mold treatment spray. I intend to follow up with some Norwex Mold and Mildew Stain Remover, now that the shade is hanging up again and the stain is therefore more accessible.
I don't plan to go into business doing this, but it's one more thing I know I can do if I have to. YouTube videos are a wonderful invention; I couldn't have done it without that help.
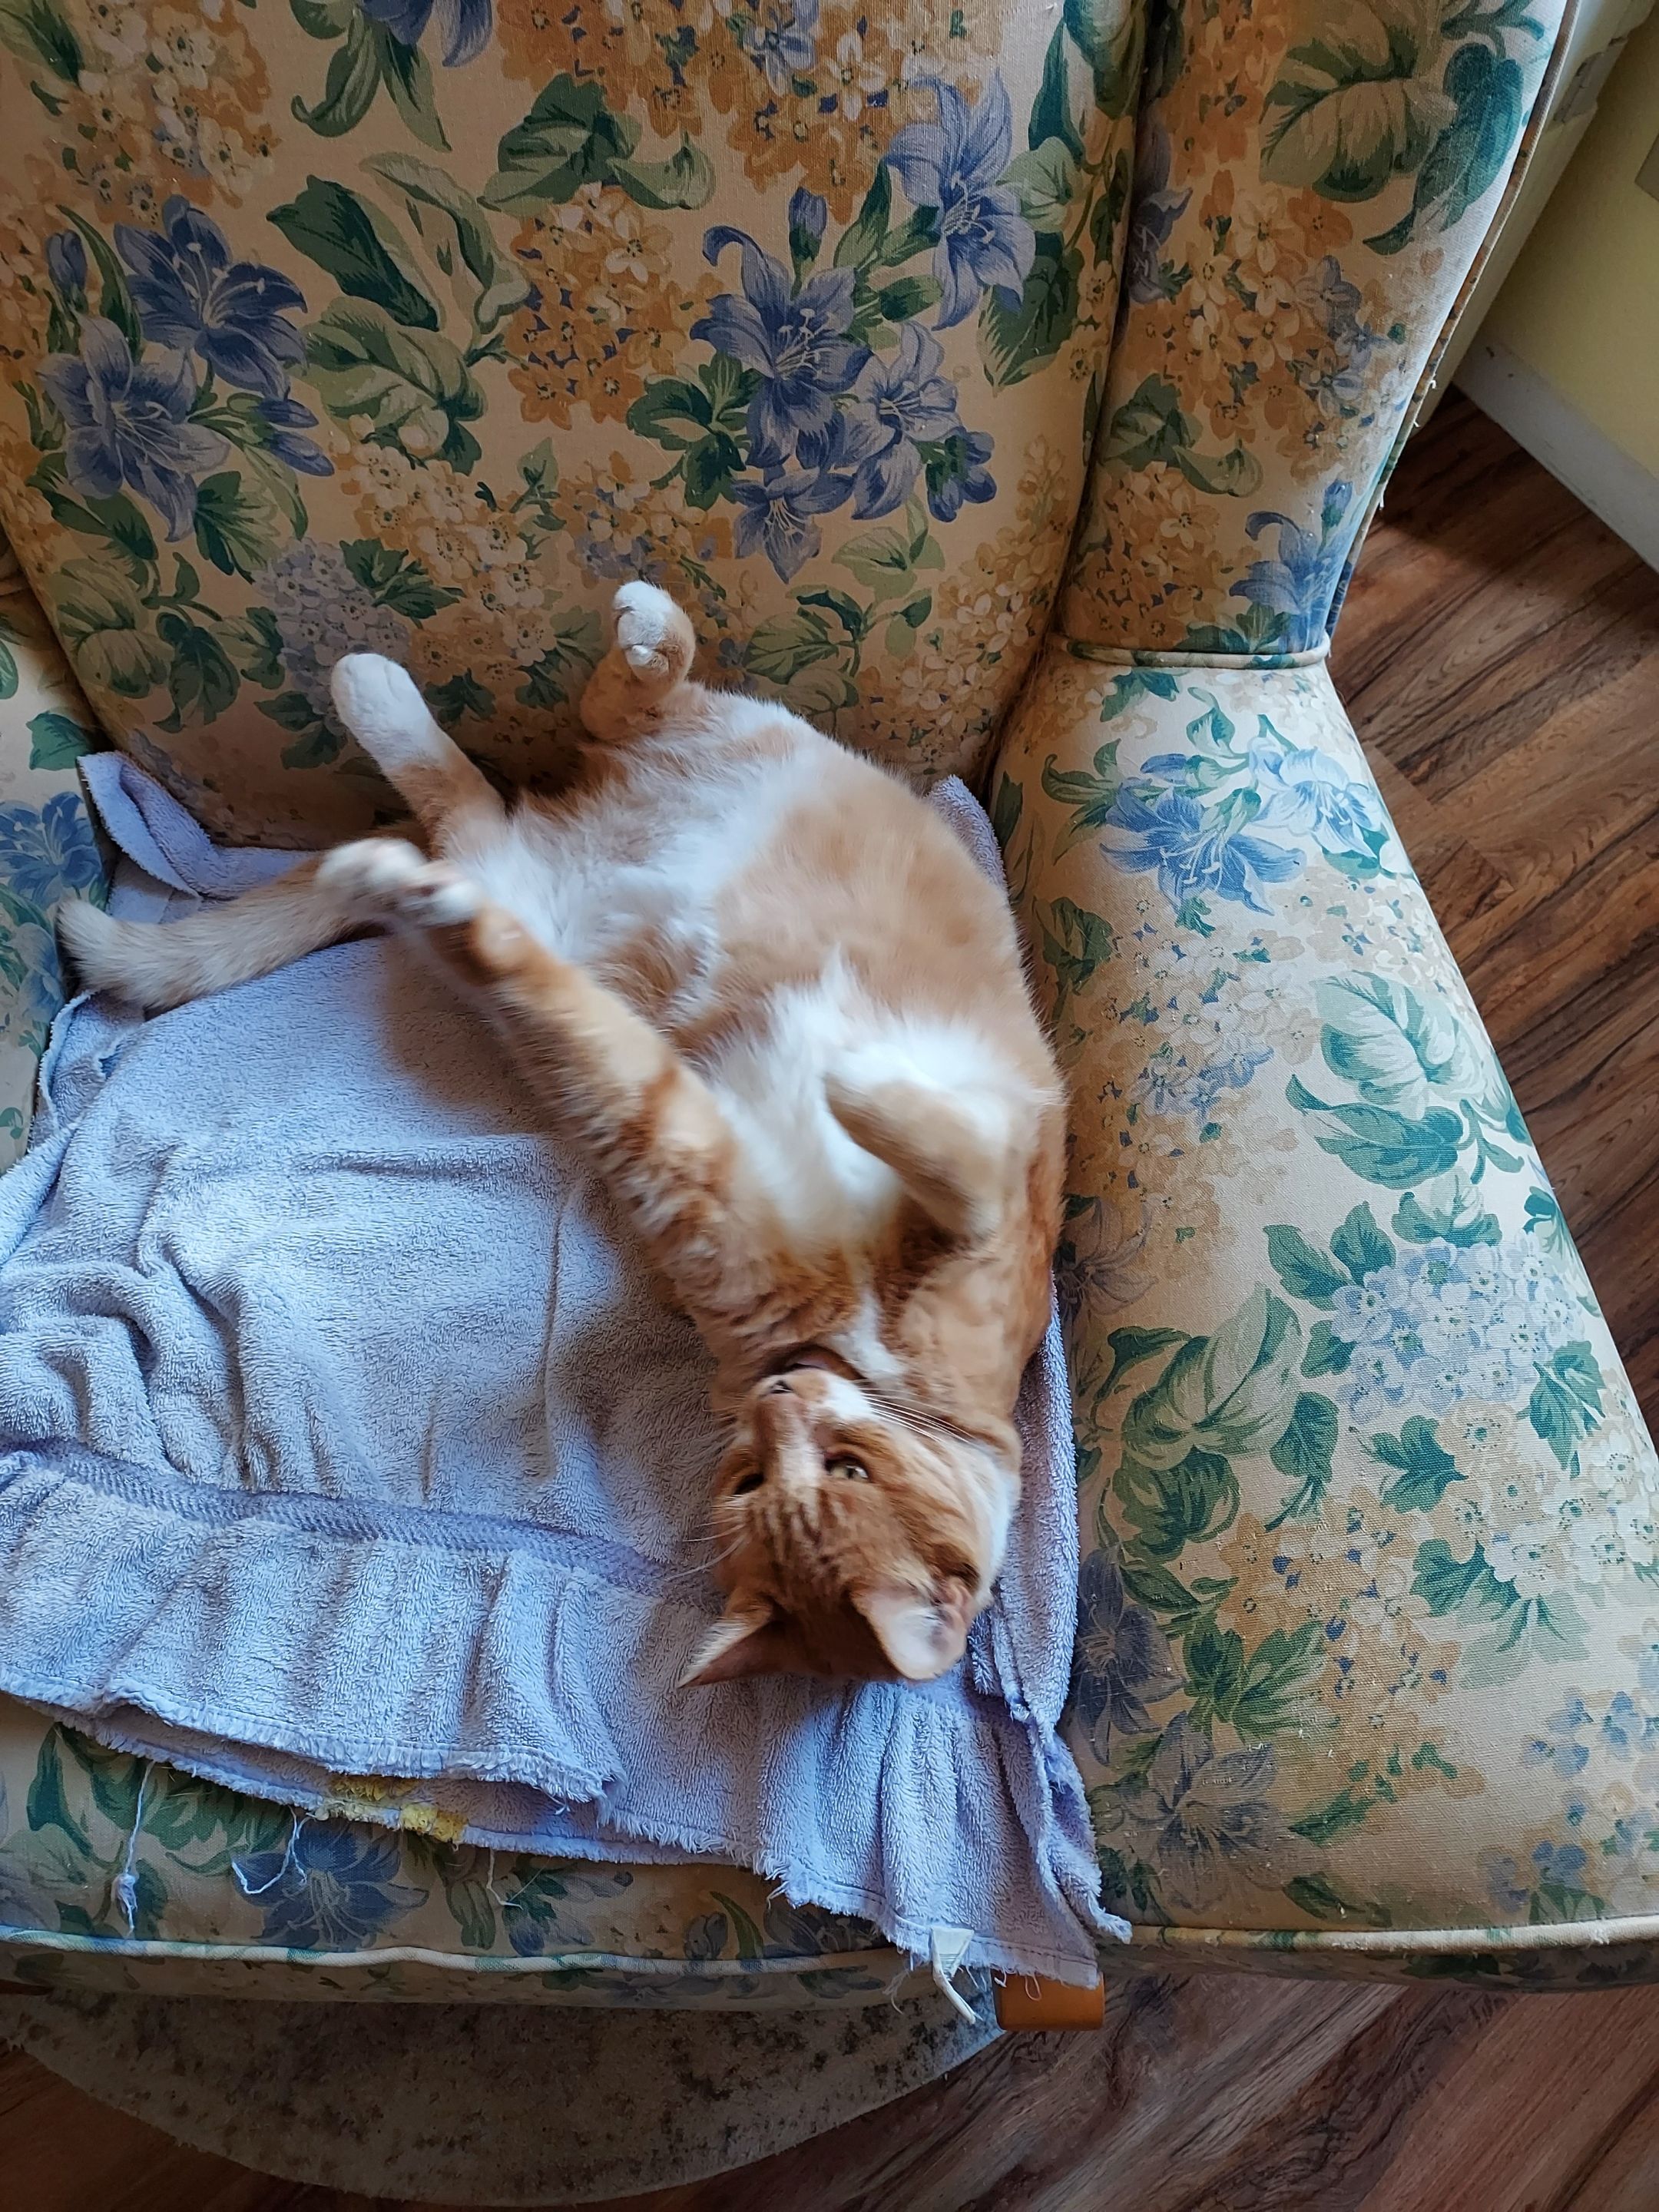
I am quite certain I could have done the project without this kind of help, but what's a project without feline supervision?
All photos taken on my Android phone.