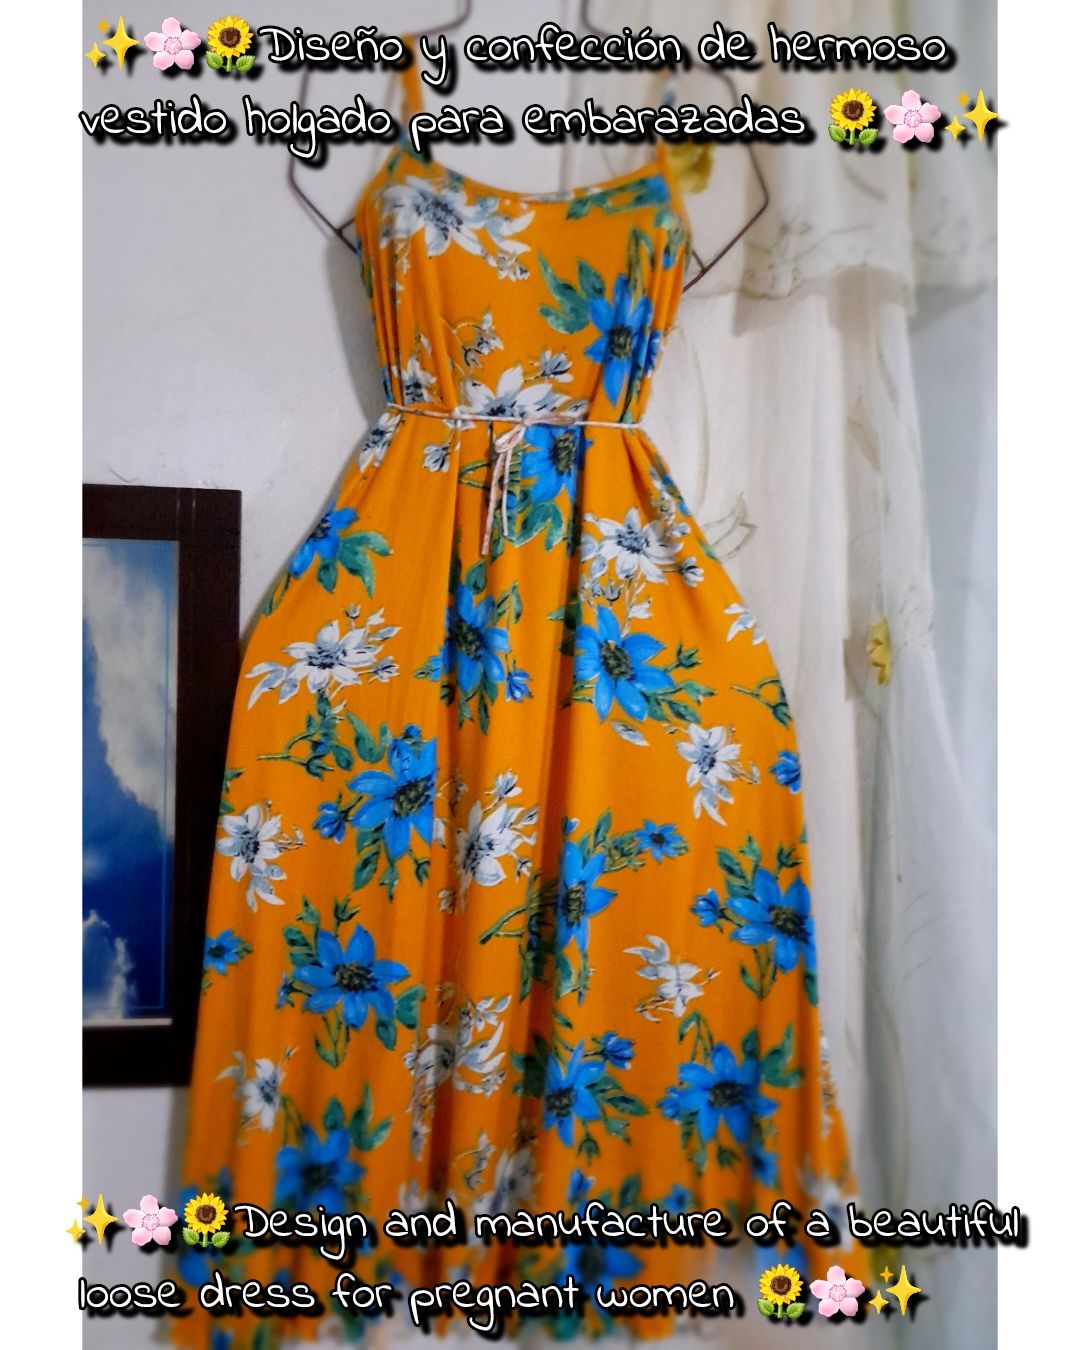

Hola hola mi gente preciosa de Hive ❤️ saludos para todos en #Diy 😊 que agradable encontrarme nuevamente con ustedes cada noche compartiendo un momento grato lleno de mucho conocimiento y cosas creativas. Hoy quiero compartir con ustedes mi proyecto de costura más reciente 🤗 se trata de un hermoso vestido para embarazadas el cual es muy suave y holgado ideal para comodidad de todas las embarazadas 🌻 me gustaría que me acompañen en todos y cada uno de los pasos a seguir por eso los invito a ponerse cómodos y continuar leyendo 😉.

• 🧵Máquina de coser • ✂️Tijera •🧵 Hilo de coser • ✂️Tela • 👗Prenda de medida

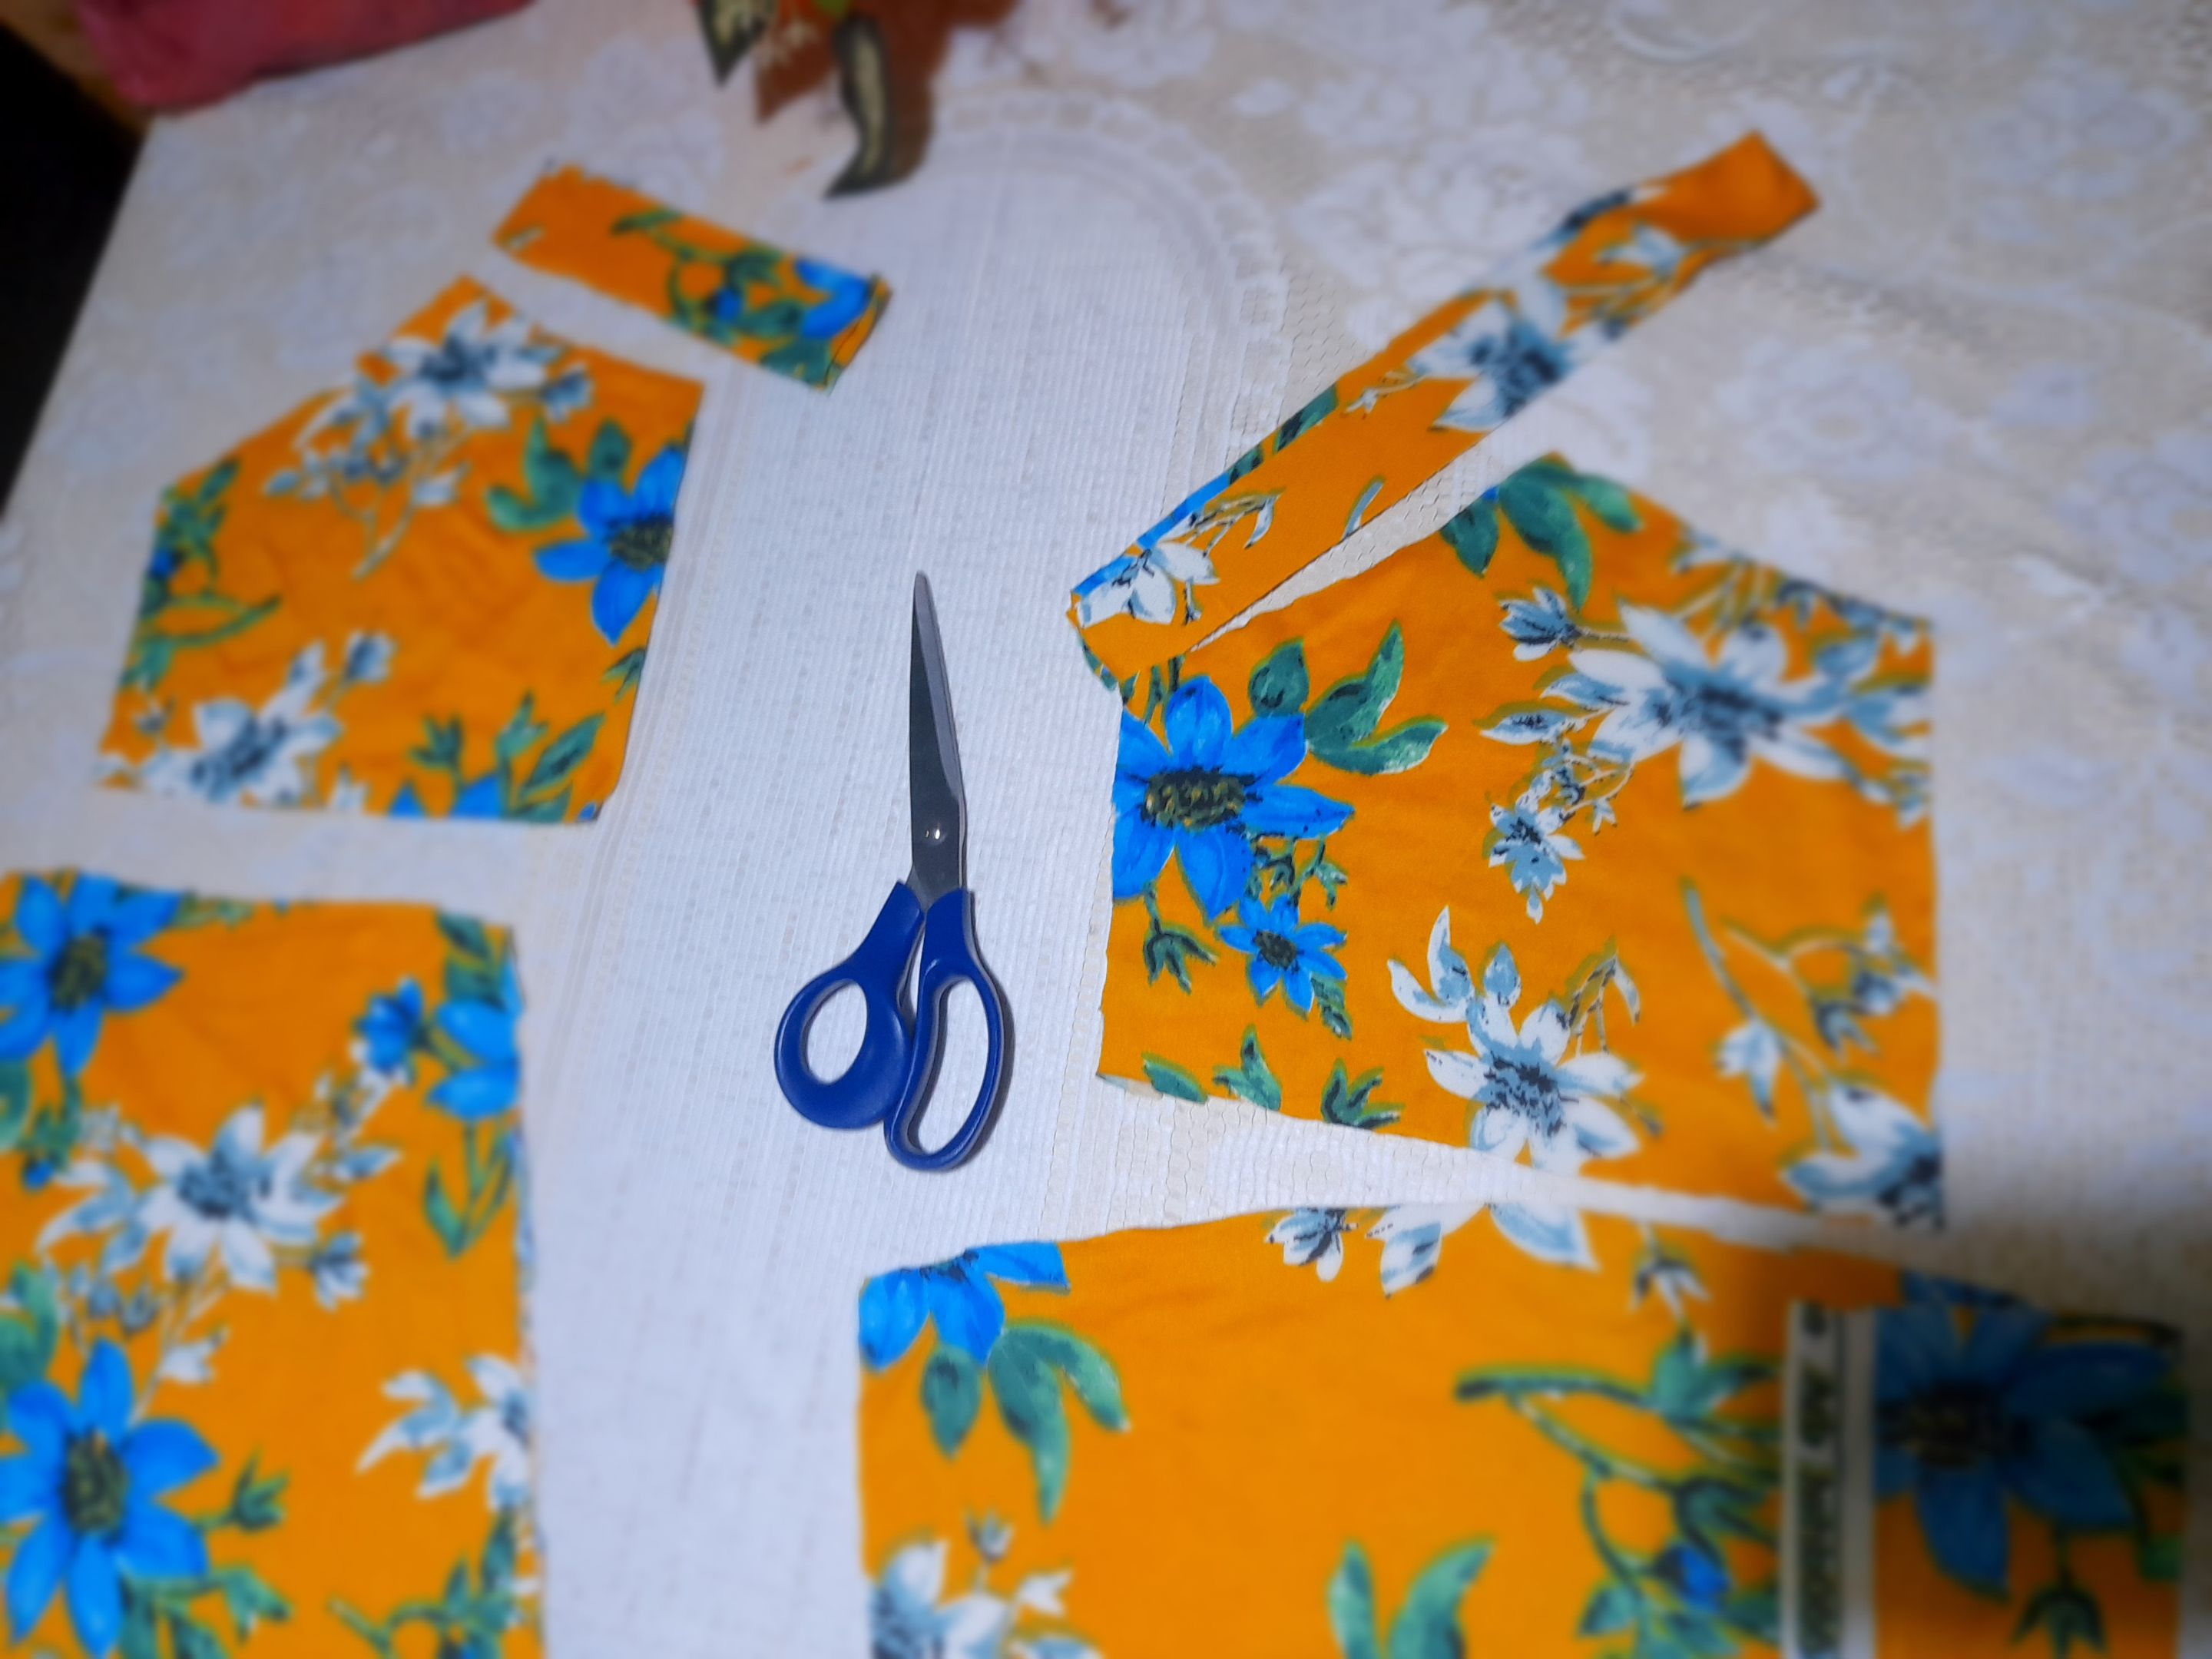
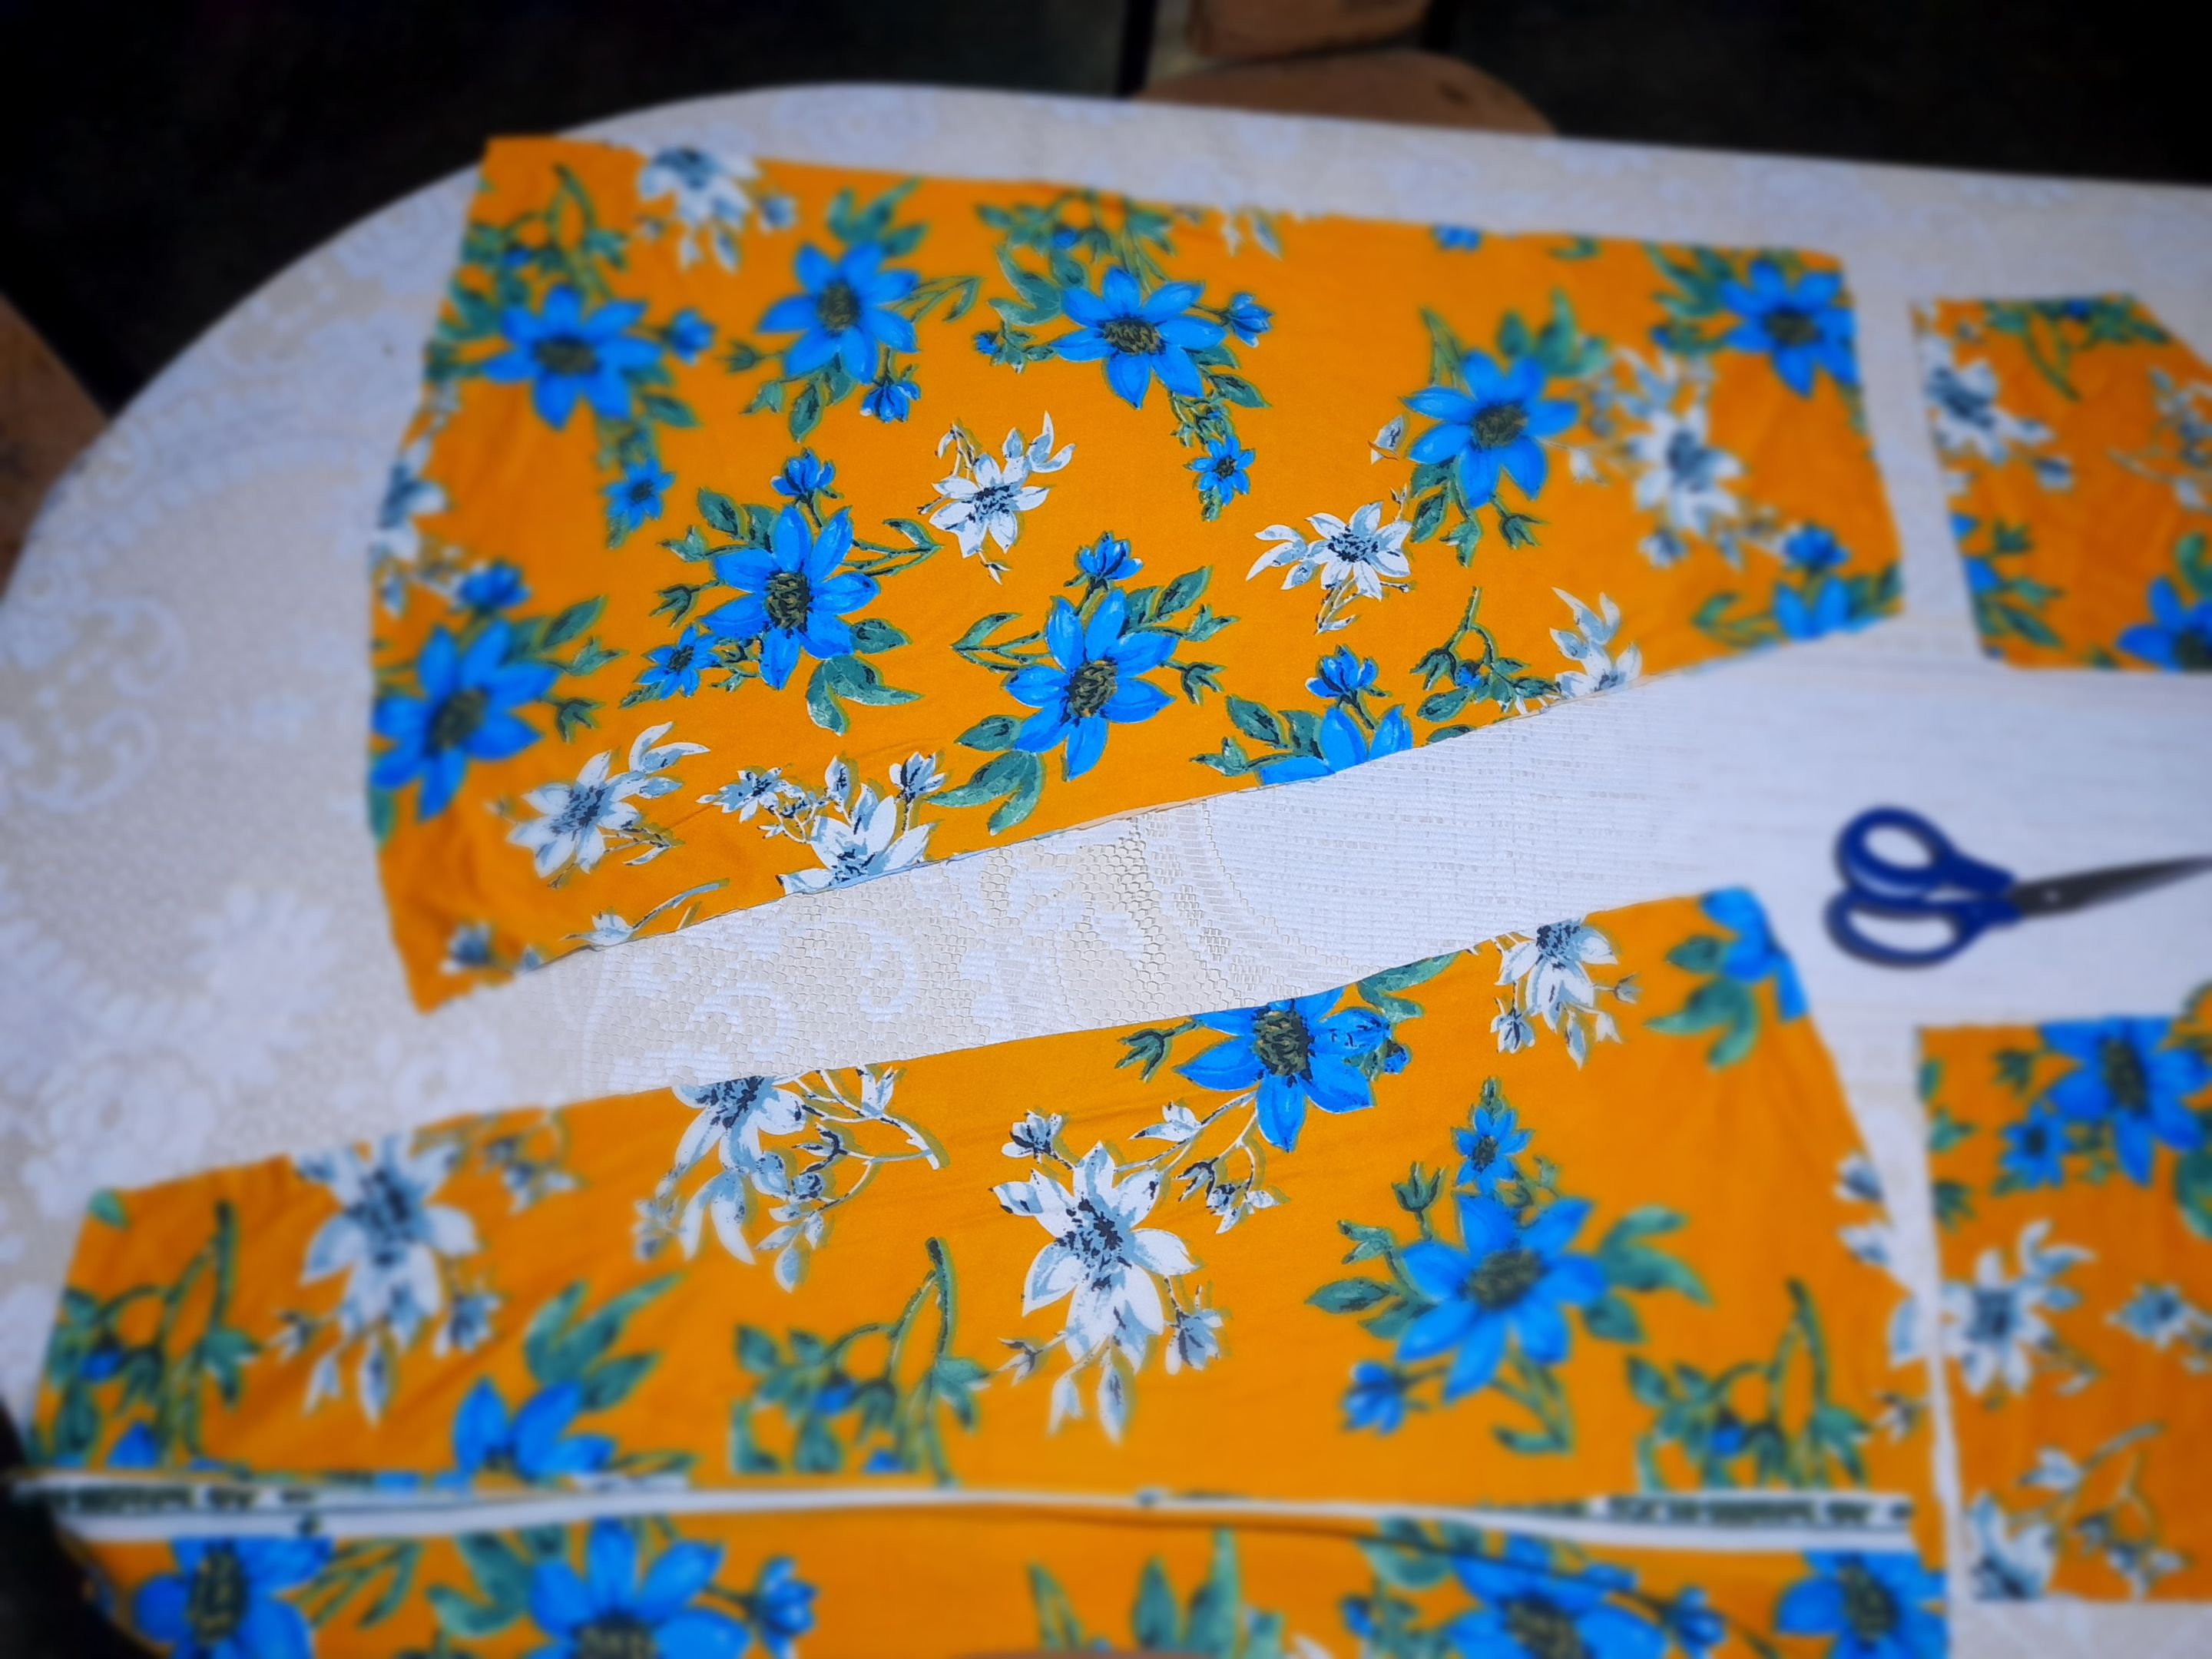
•✨️🌻Como primer paso y usando una prenda de medida como método de referencia voy a cortar todas las piezas de mi vestido siendo estas una pieza trasera superior, delantera superior, una pieza delantera inferior o falda, una pieza trasera dividida en dos para mayor amplitud de la falda, dos orillas superiores y dos tiros.
 |
 |
 |
|---|---|---|
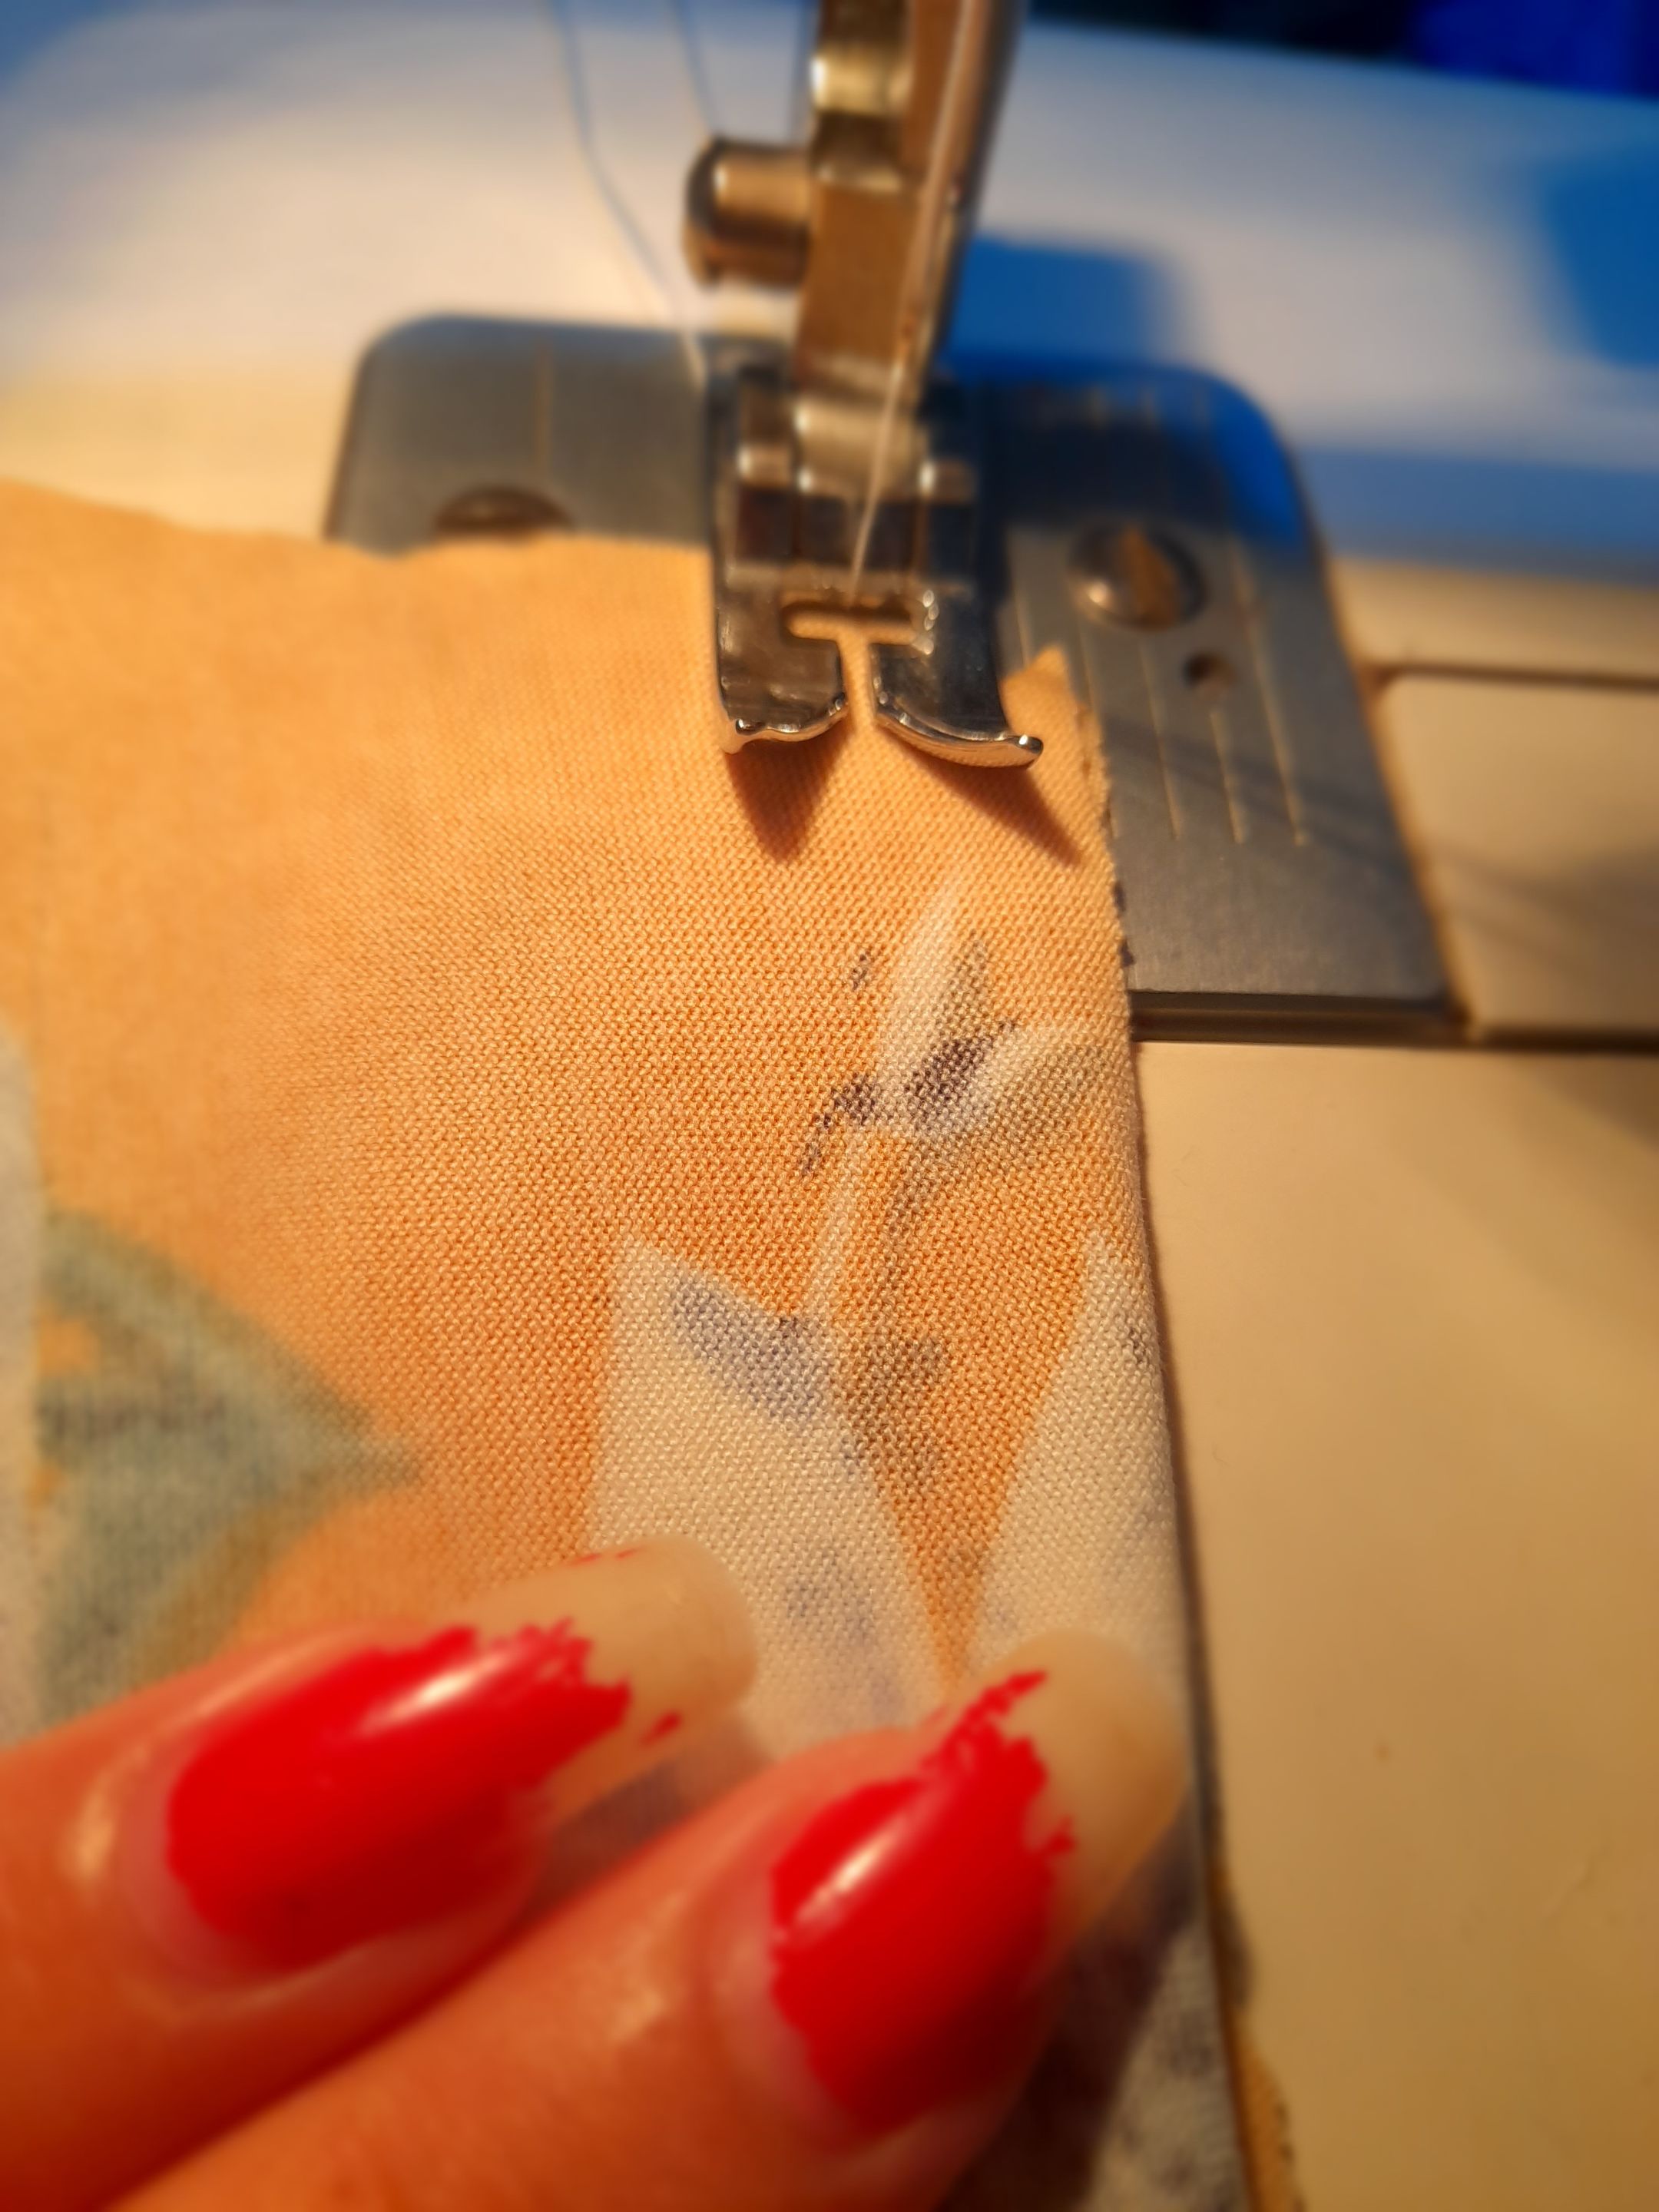
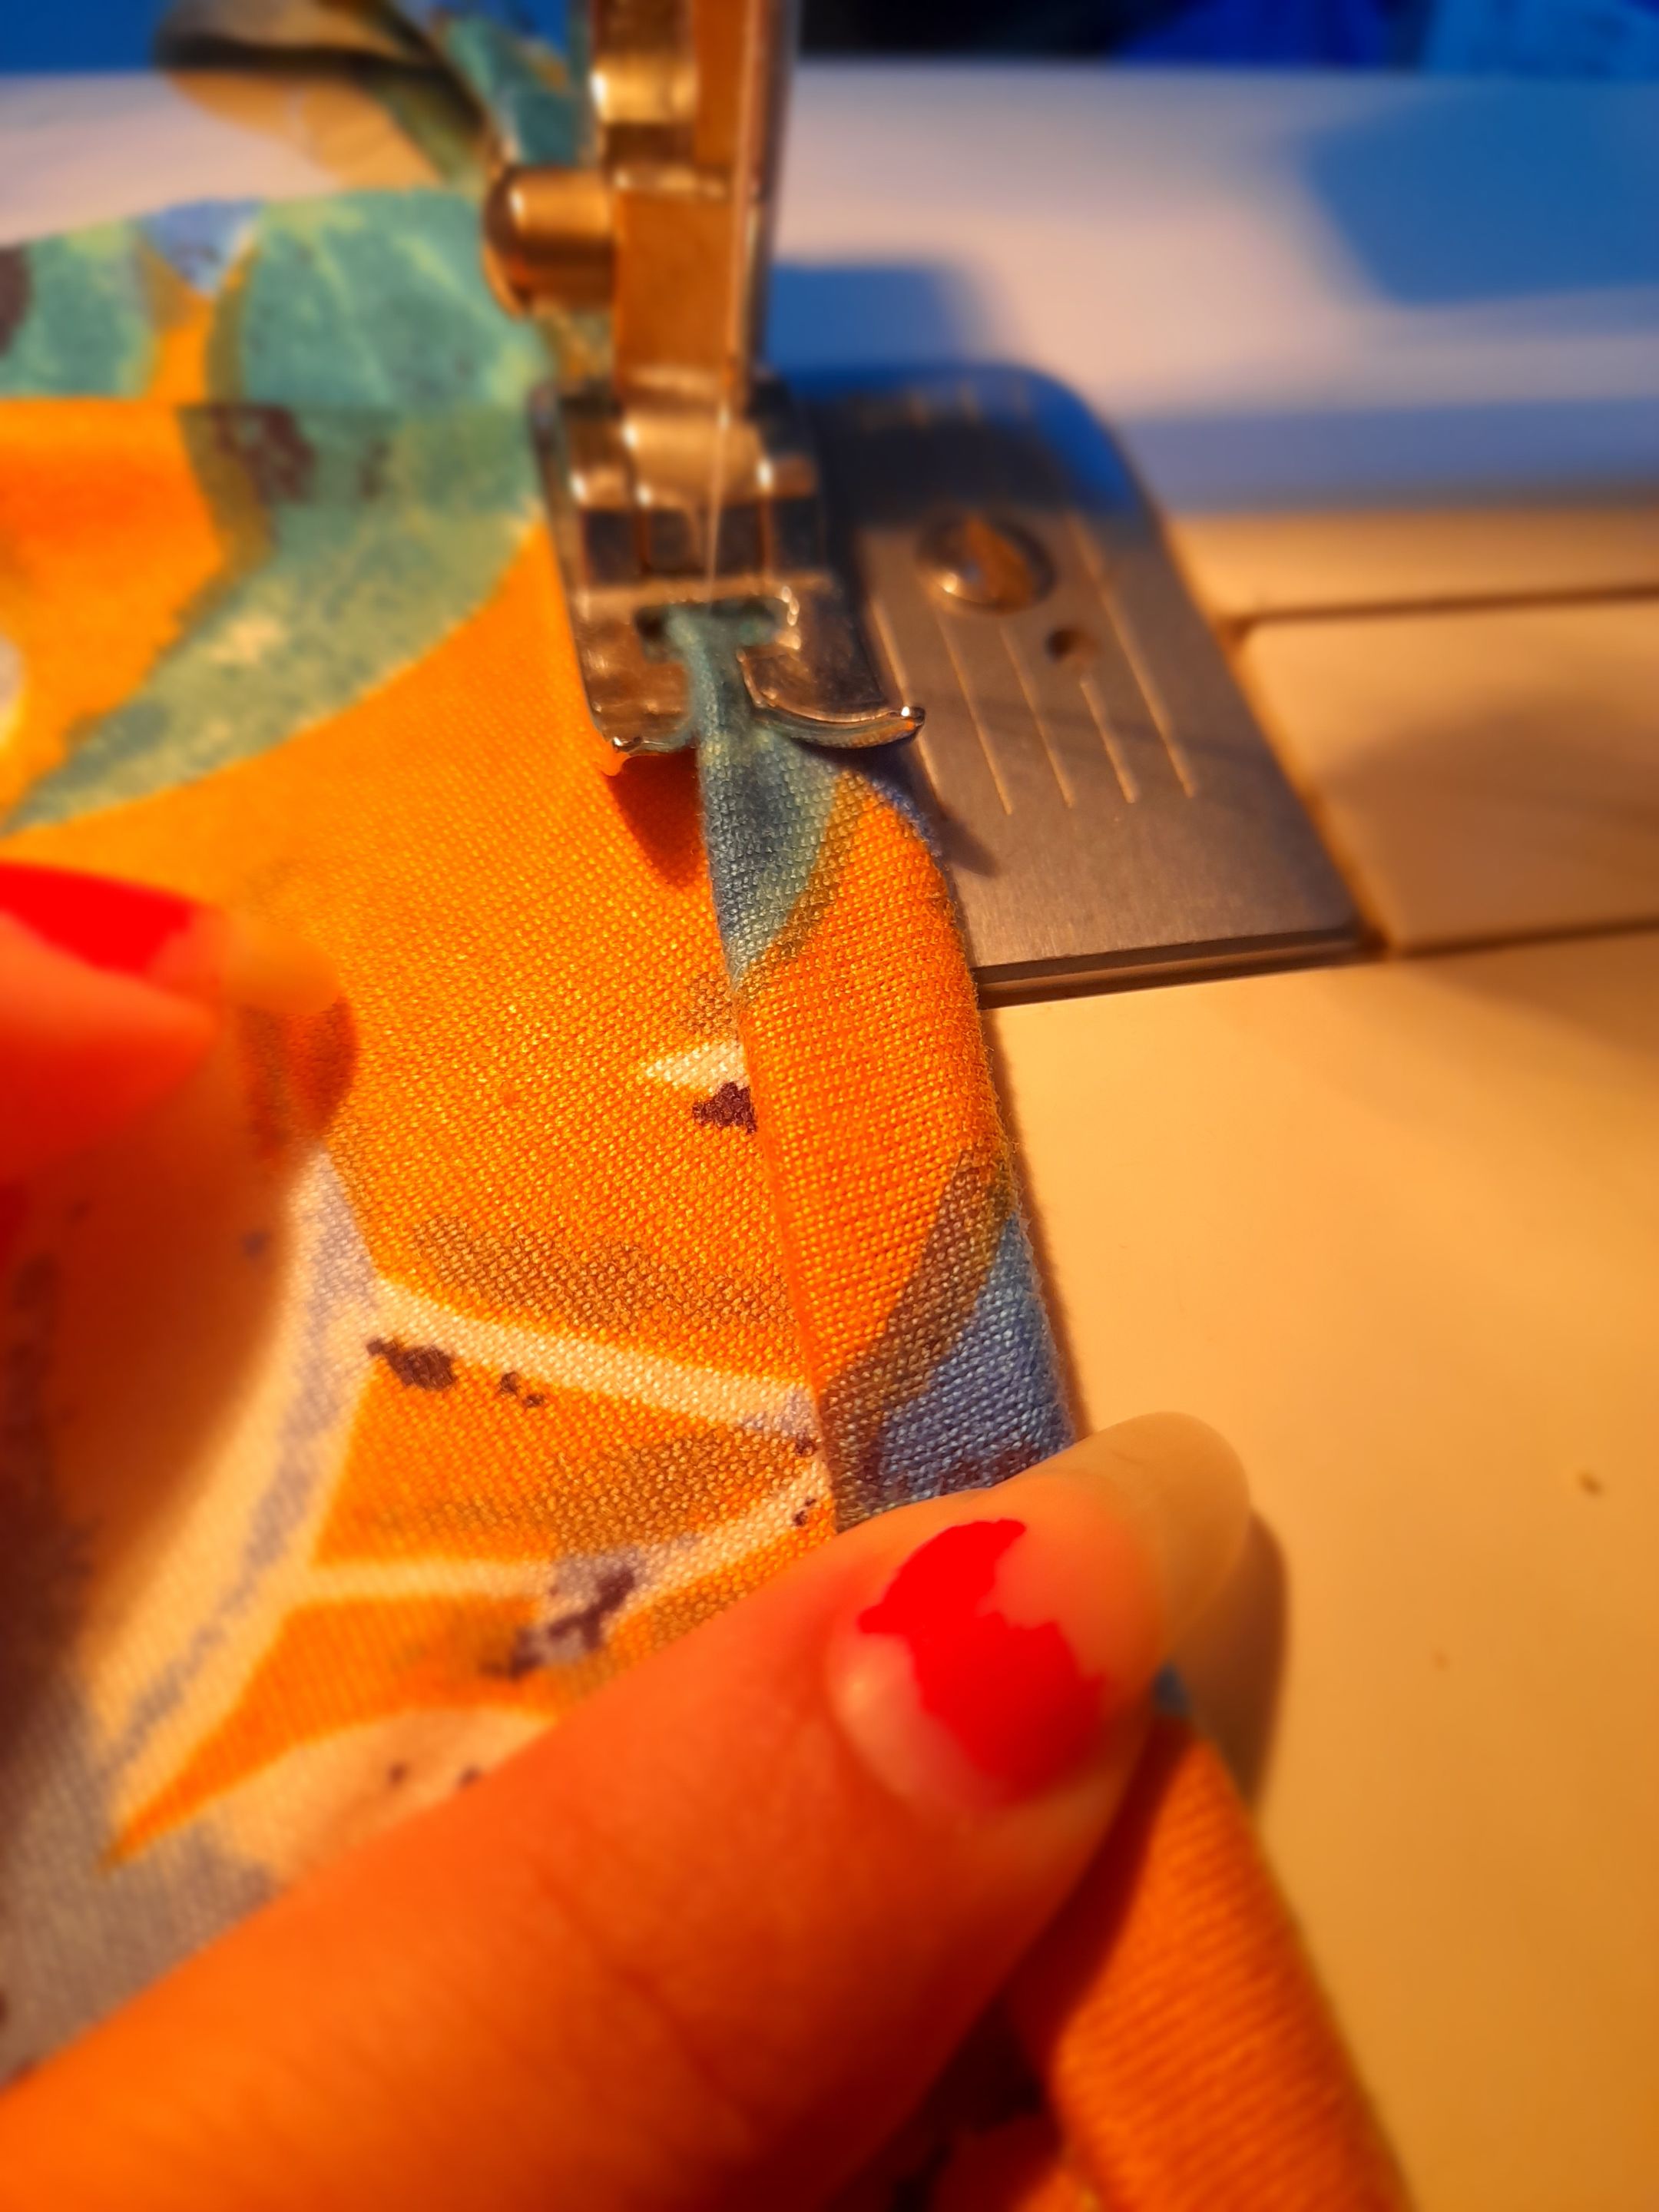
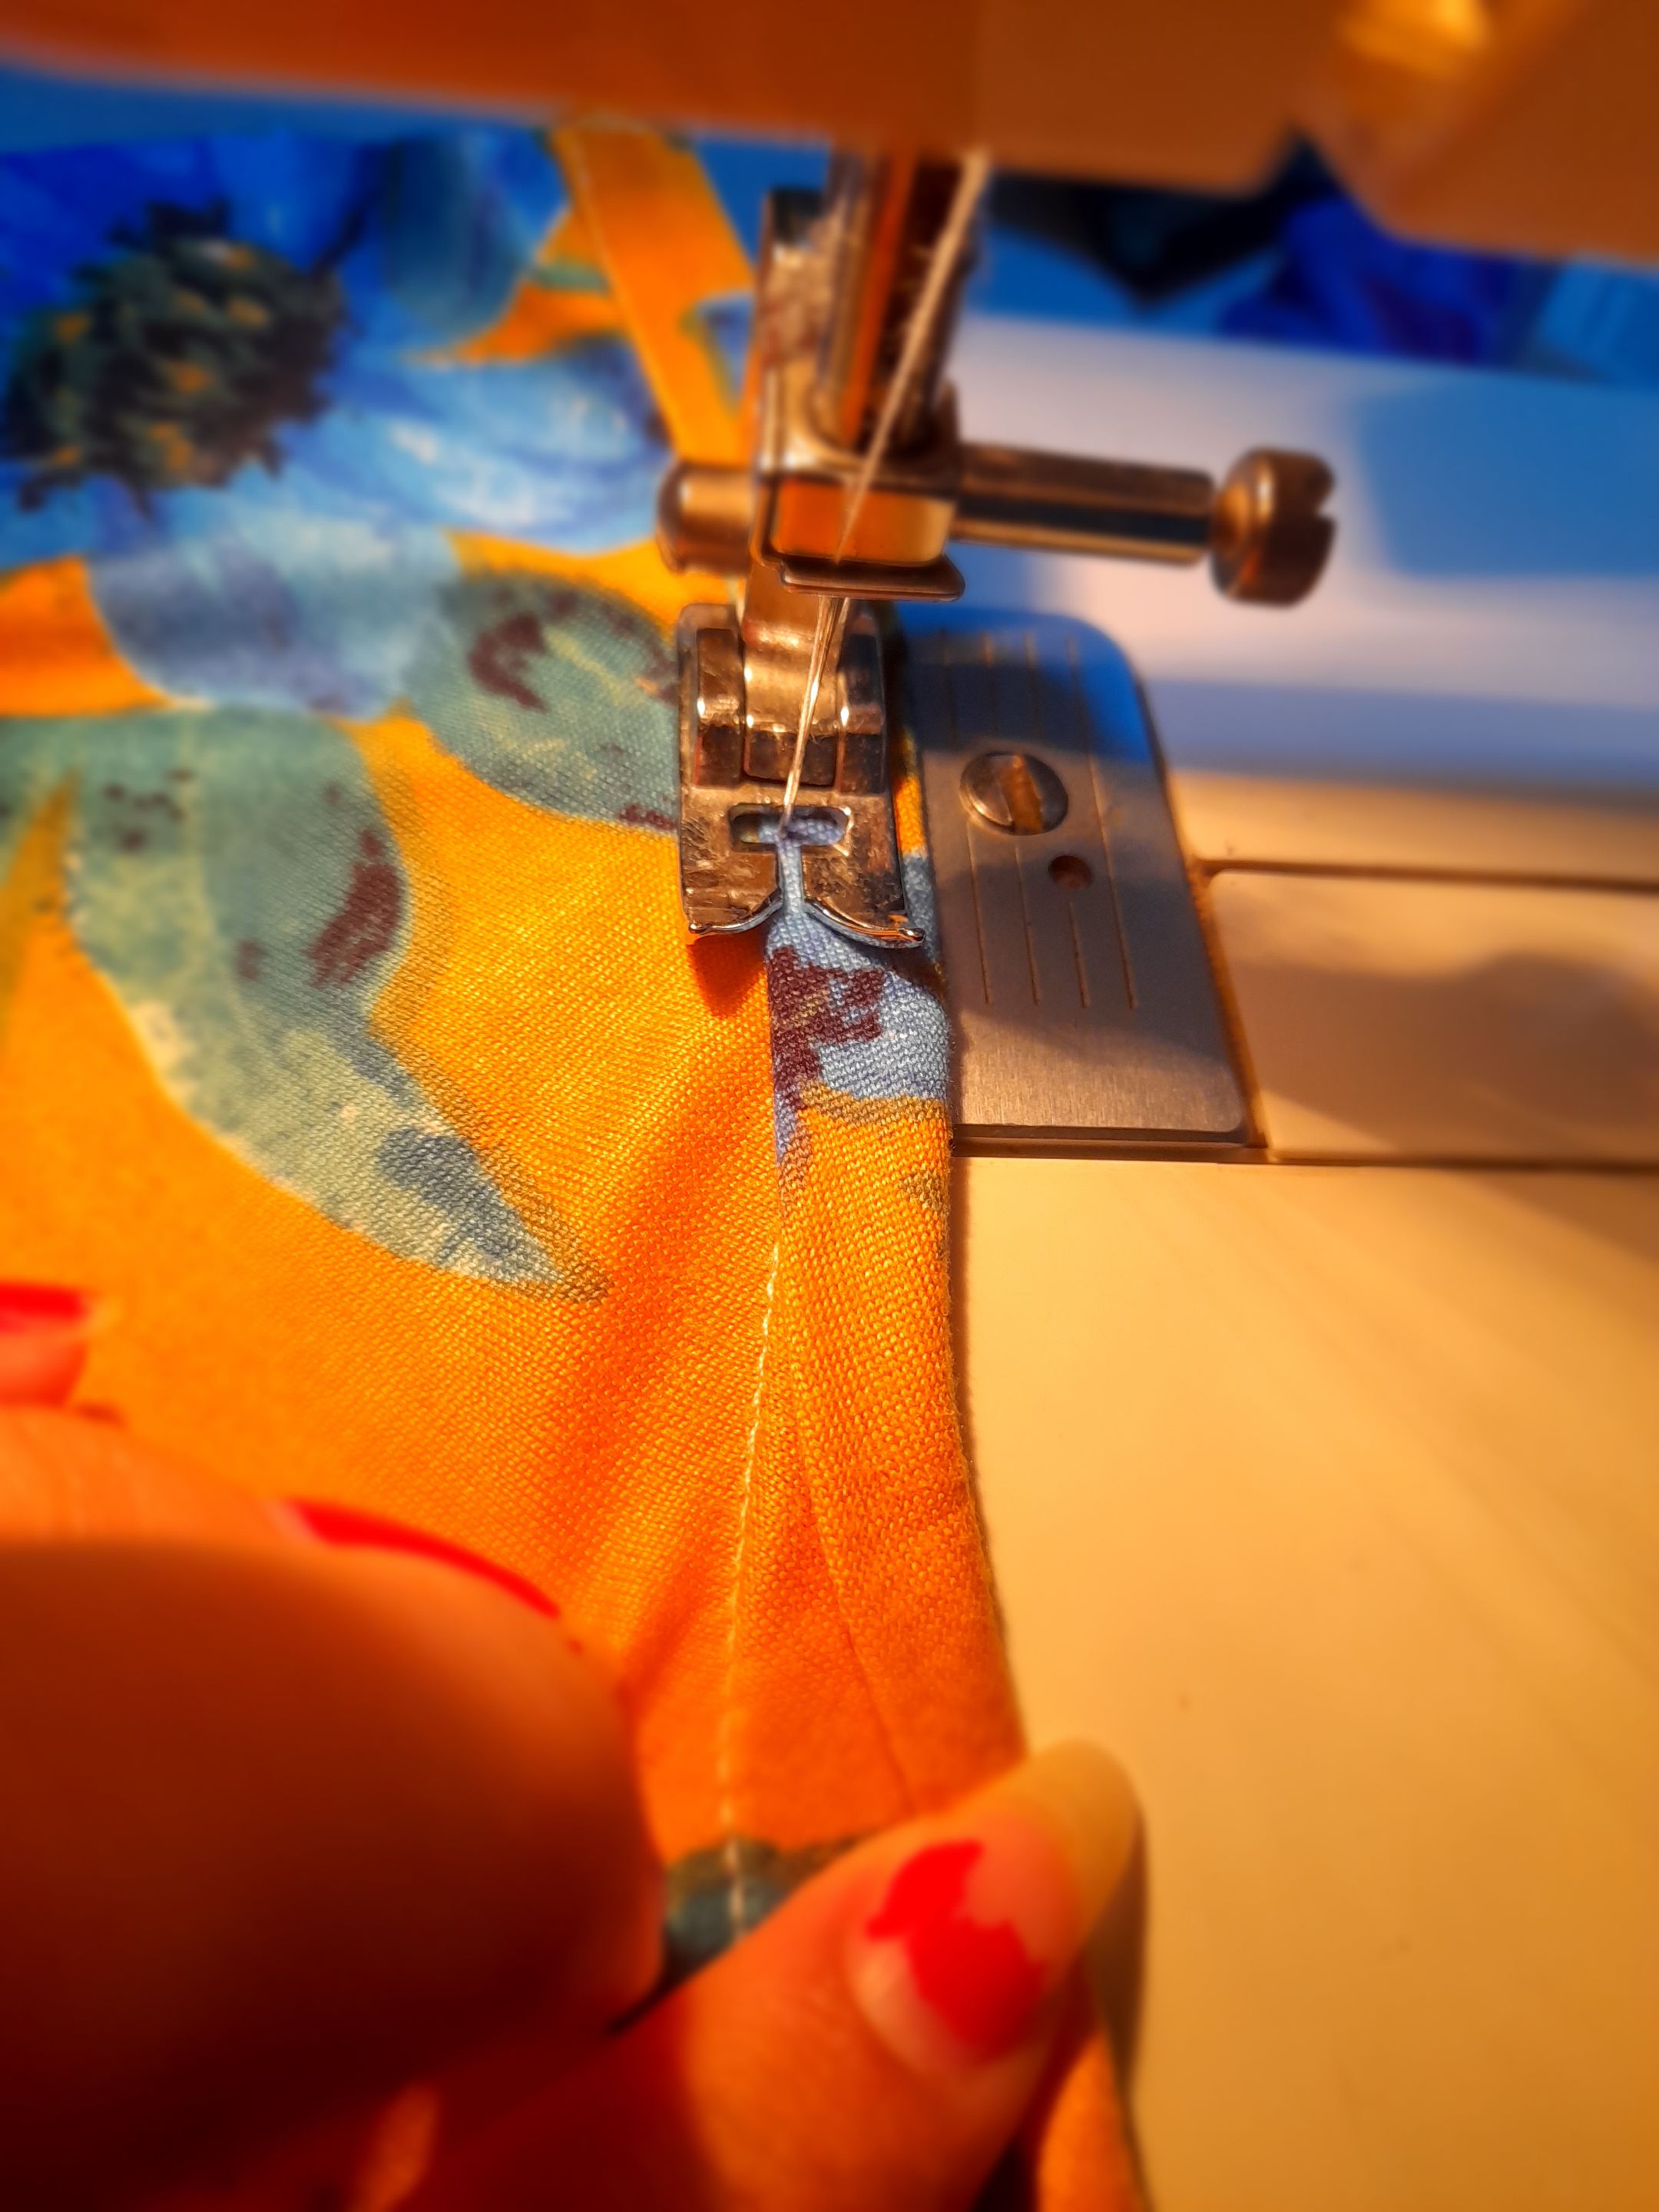
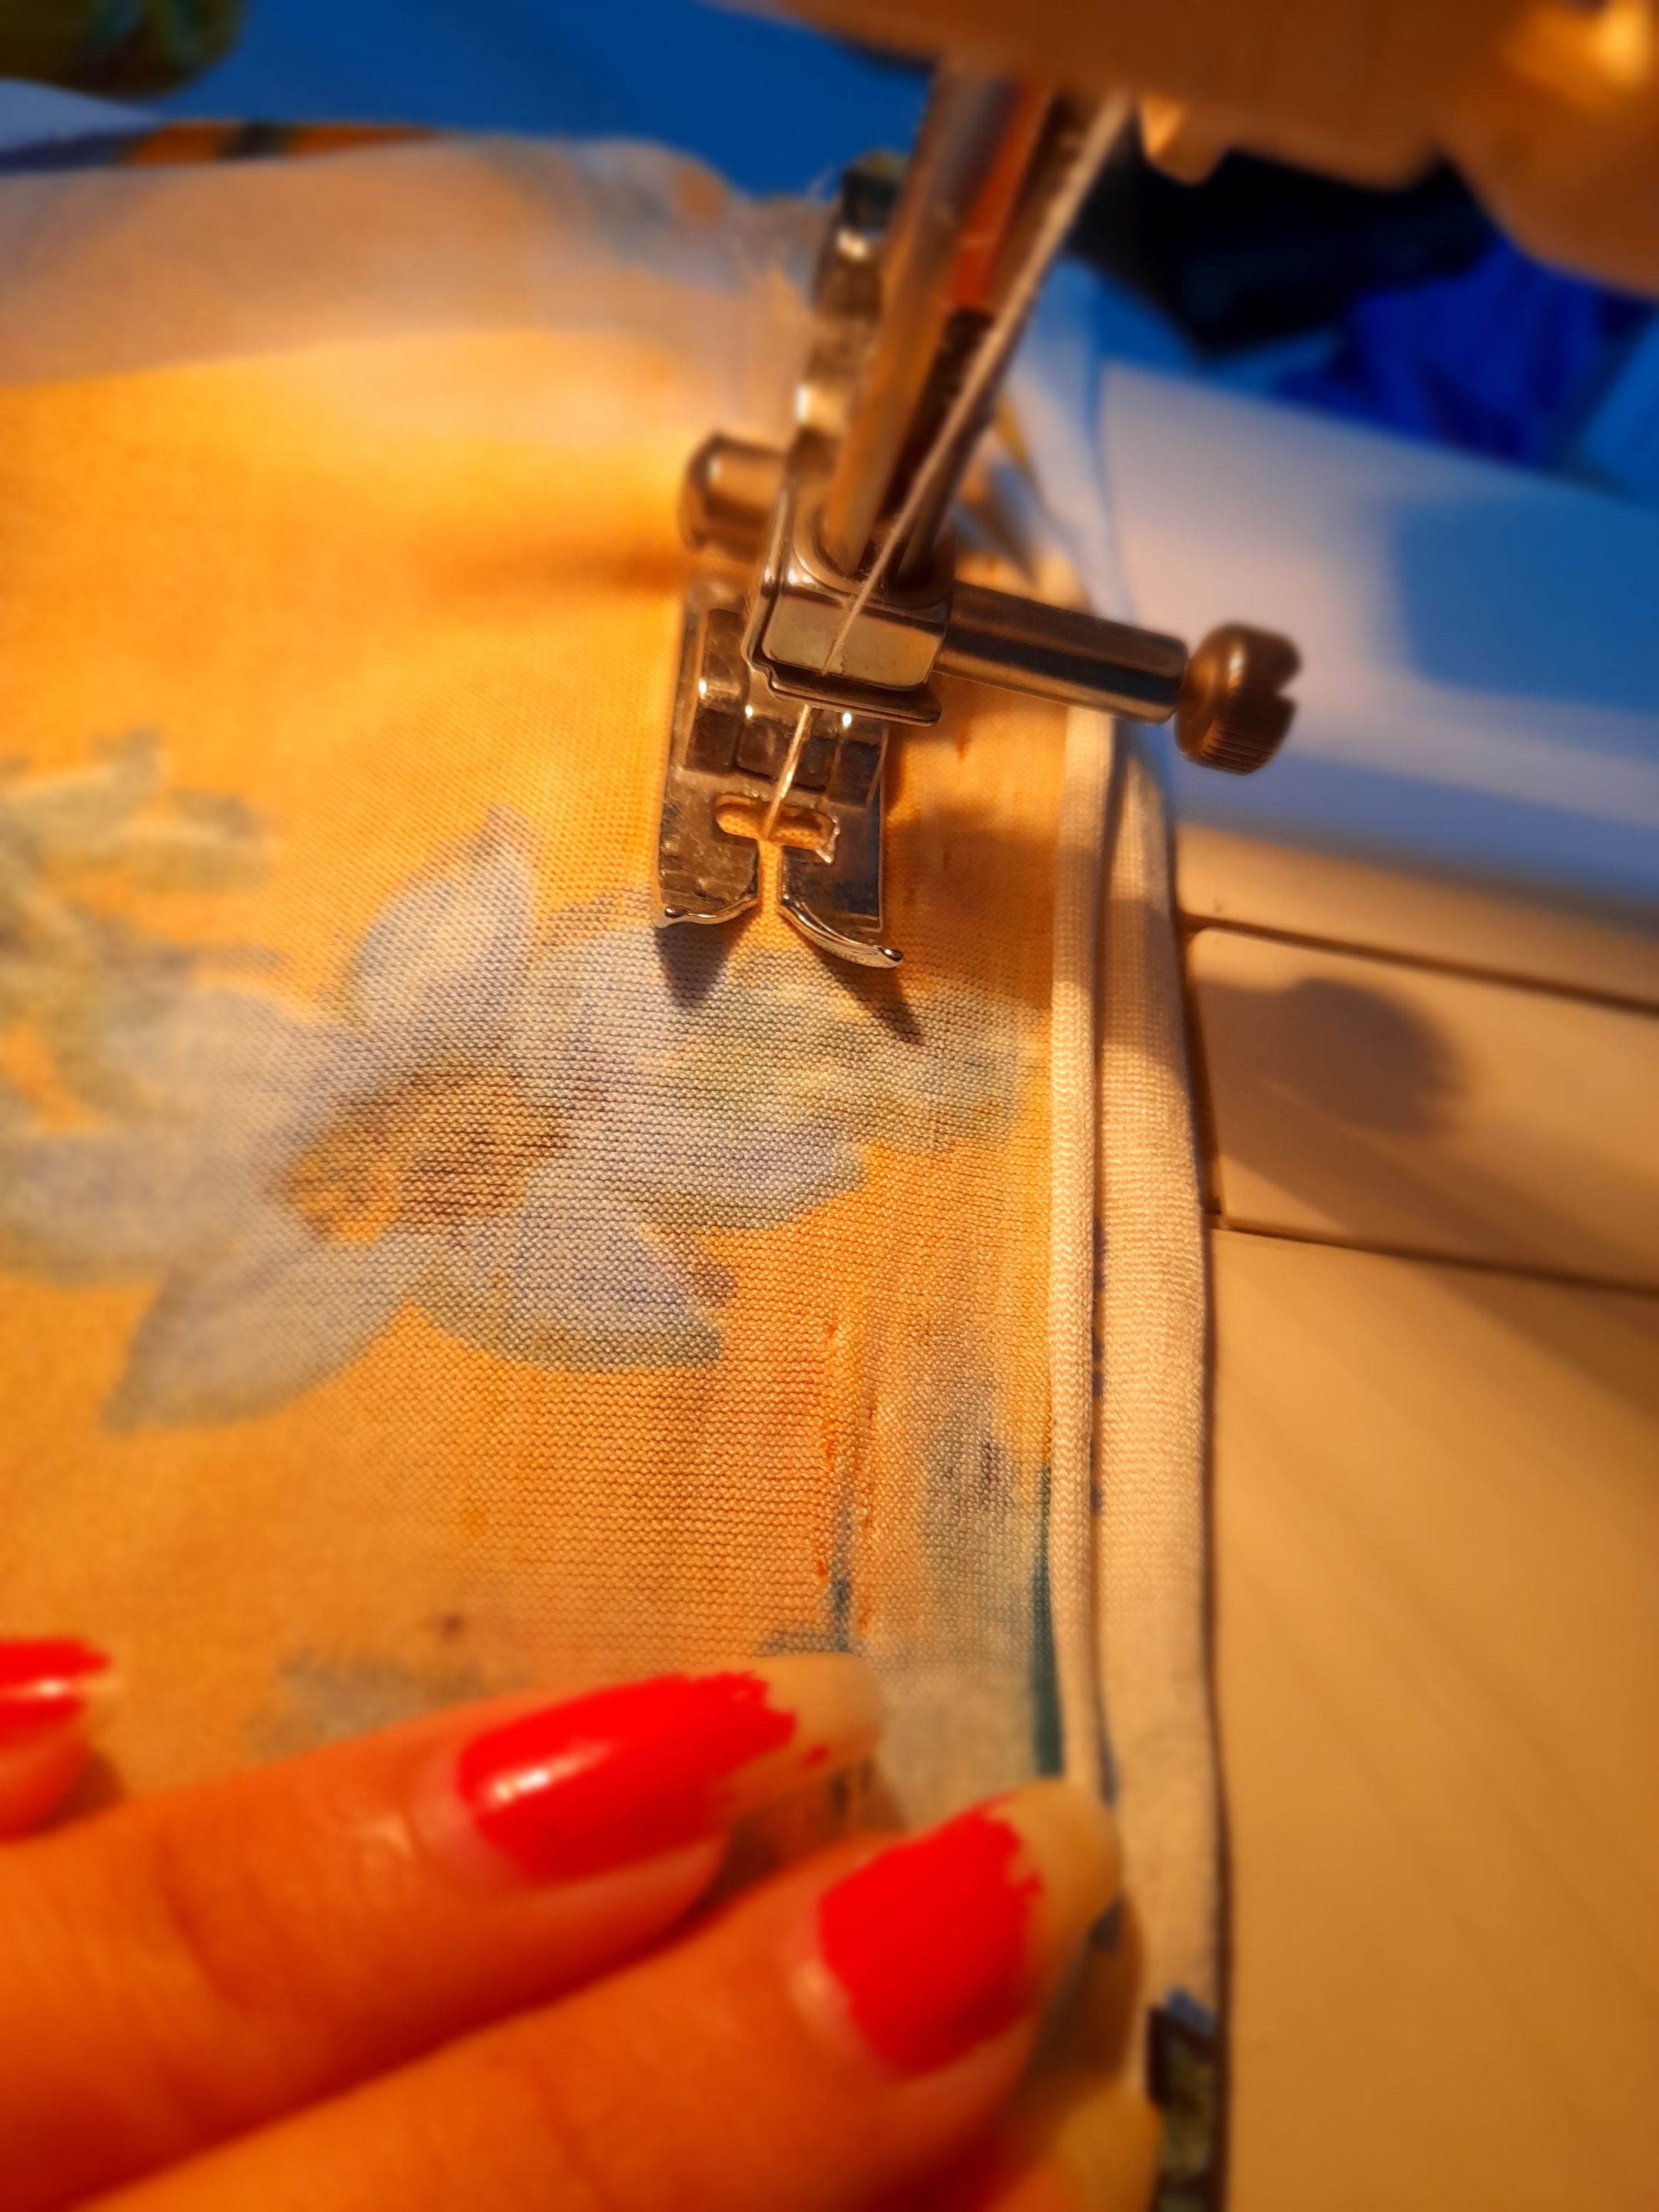
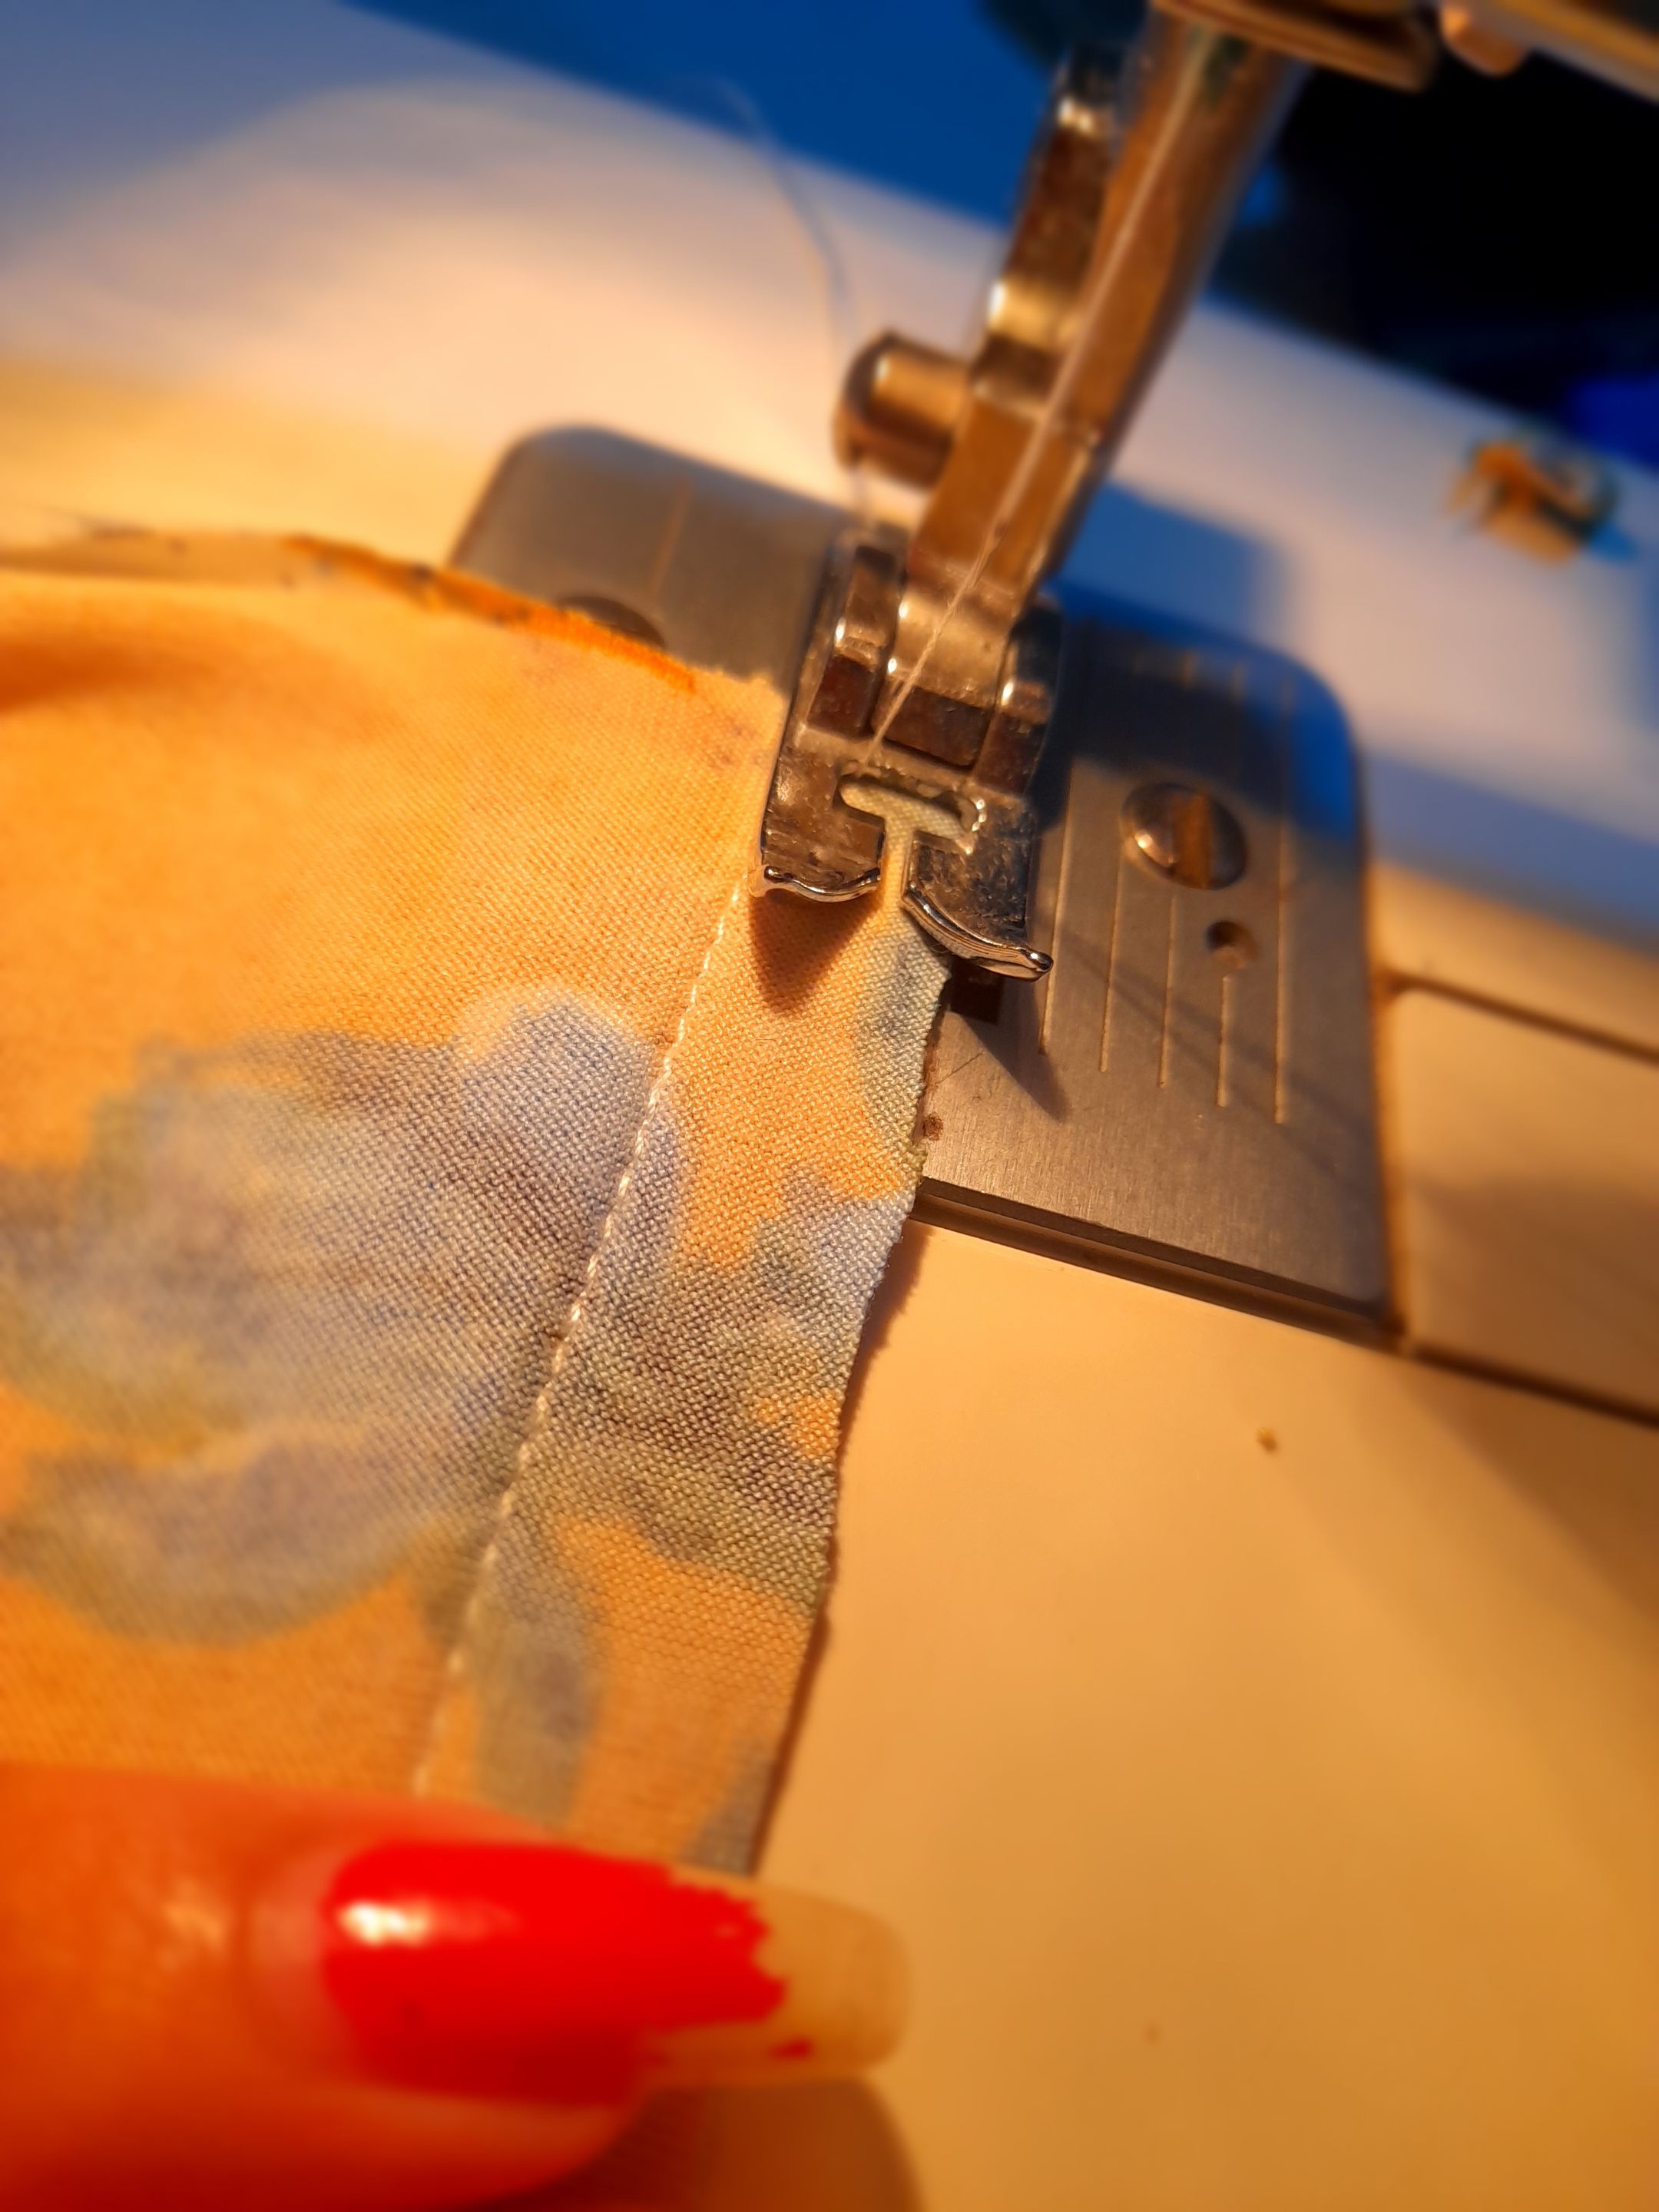
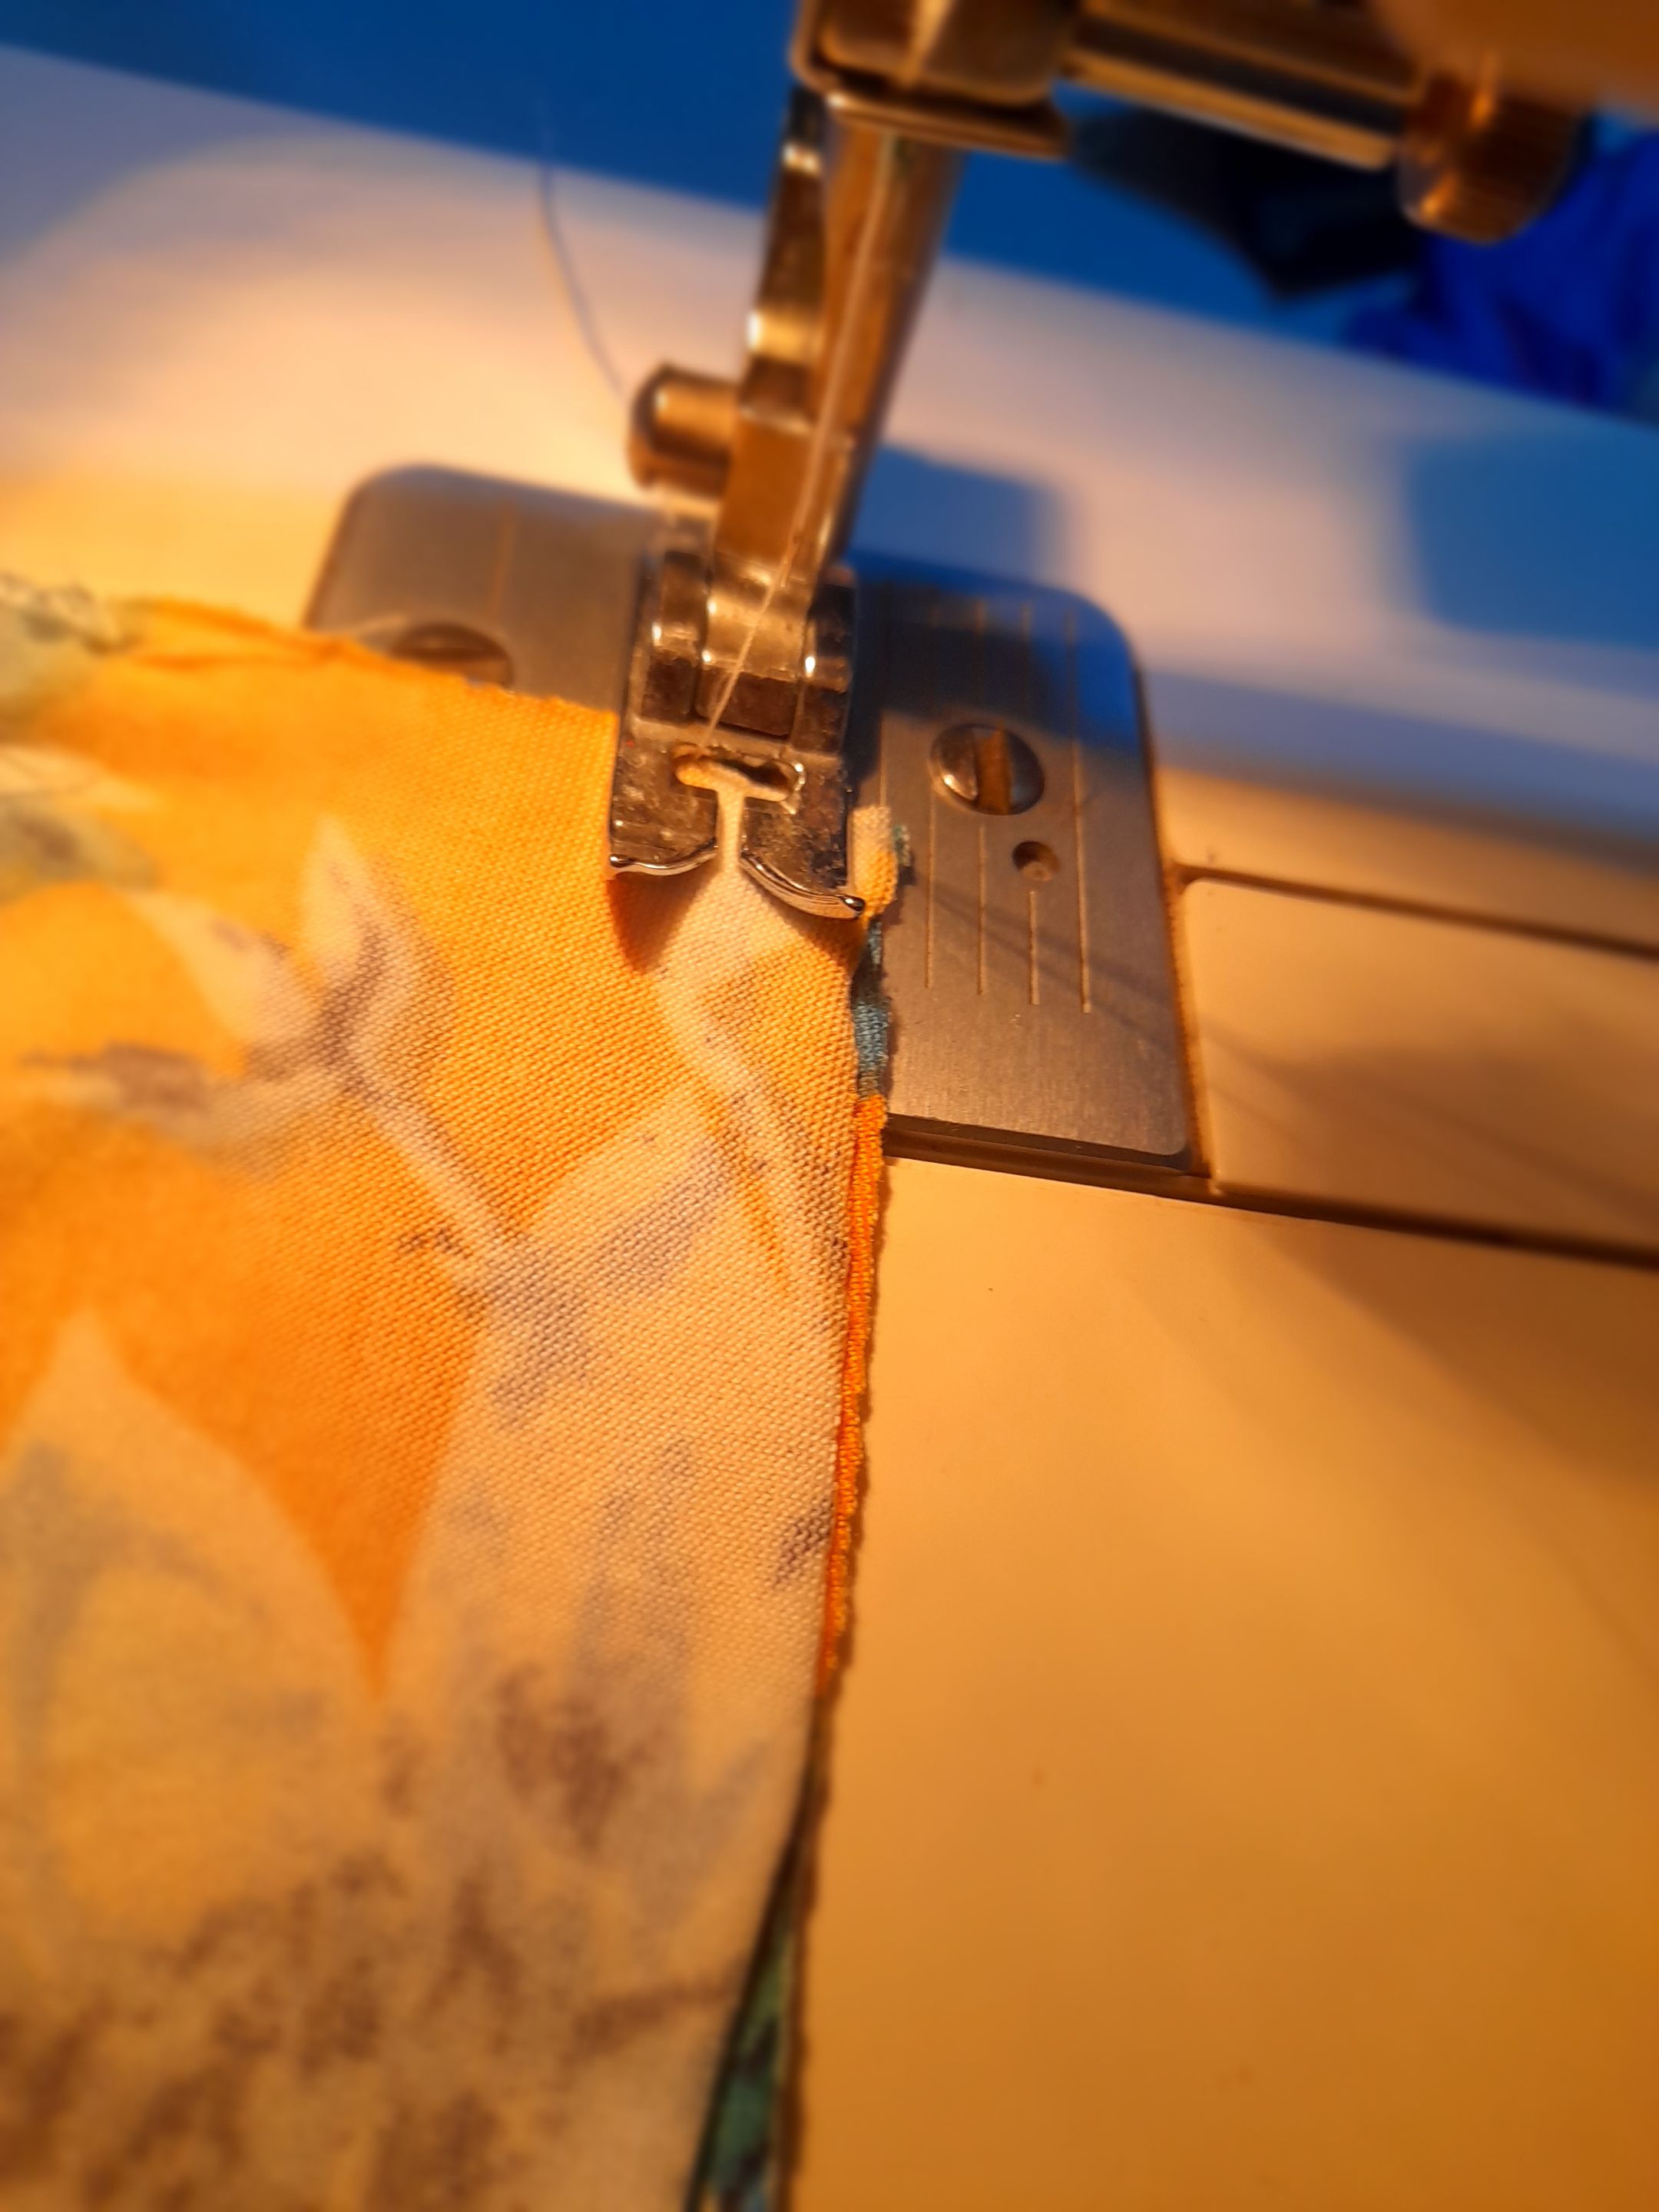
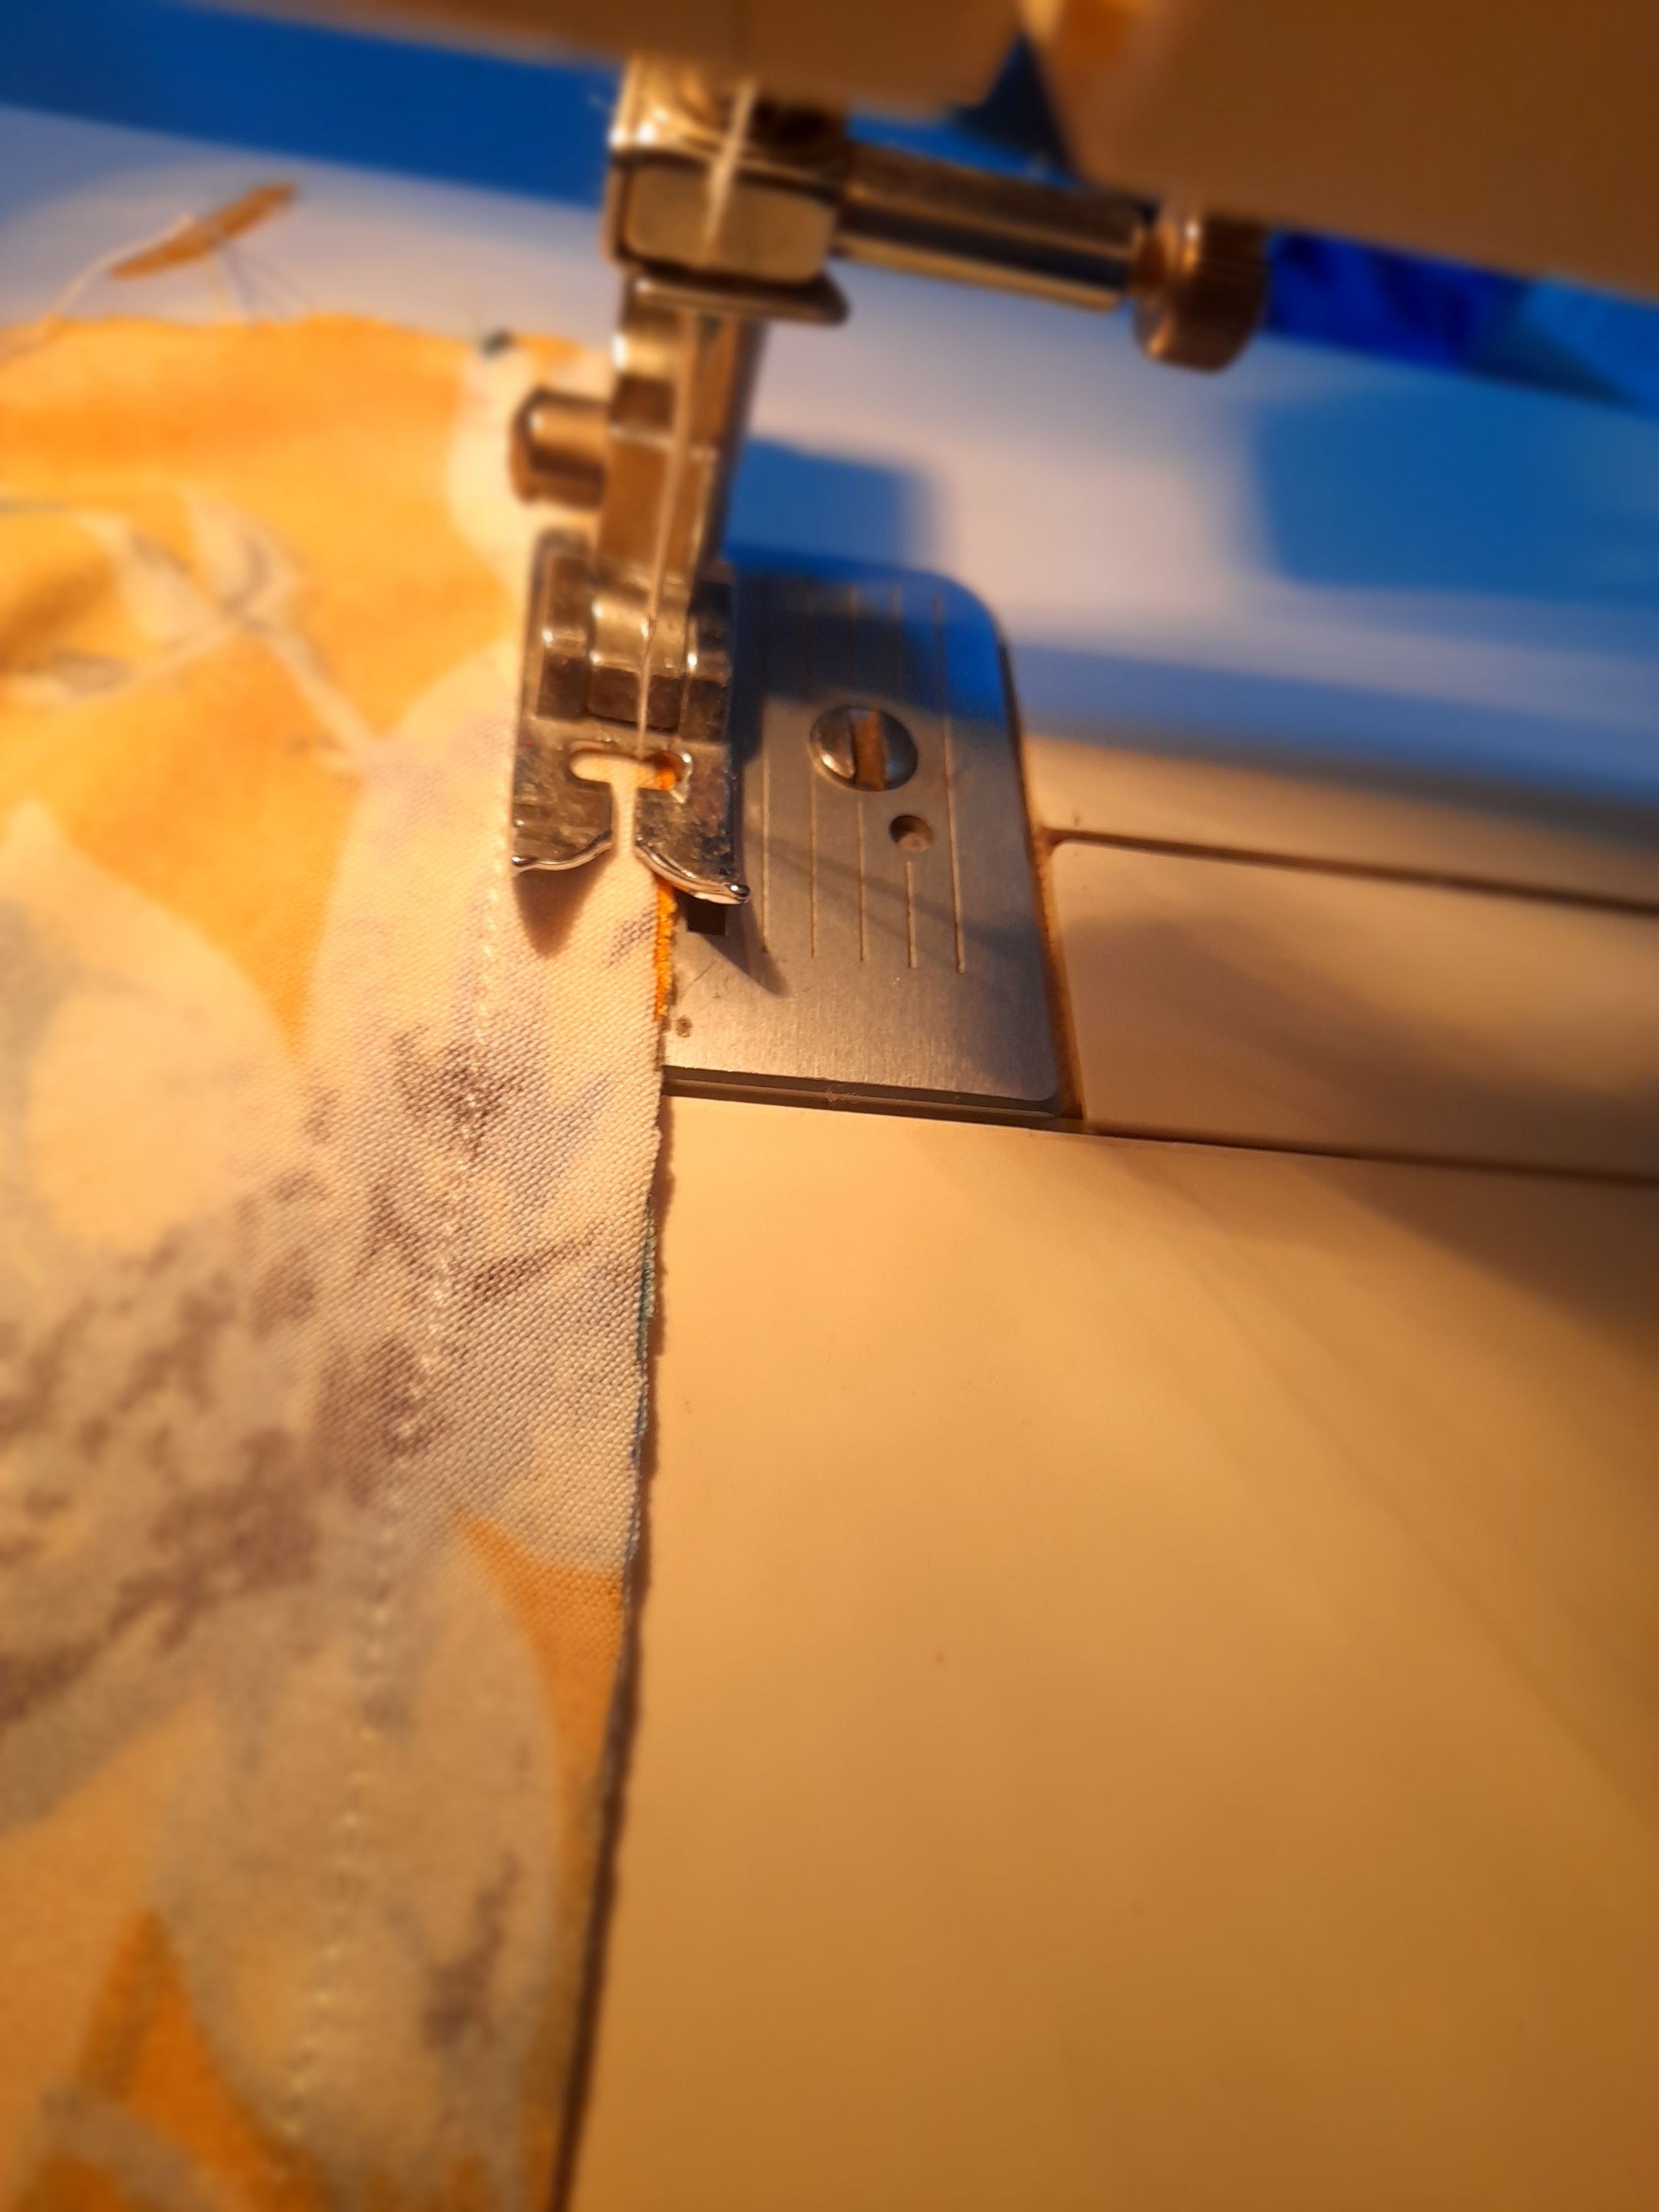
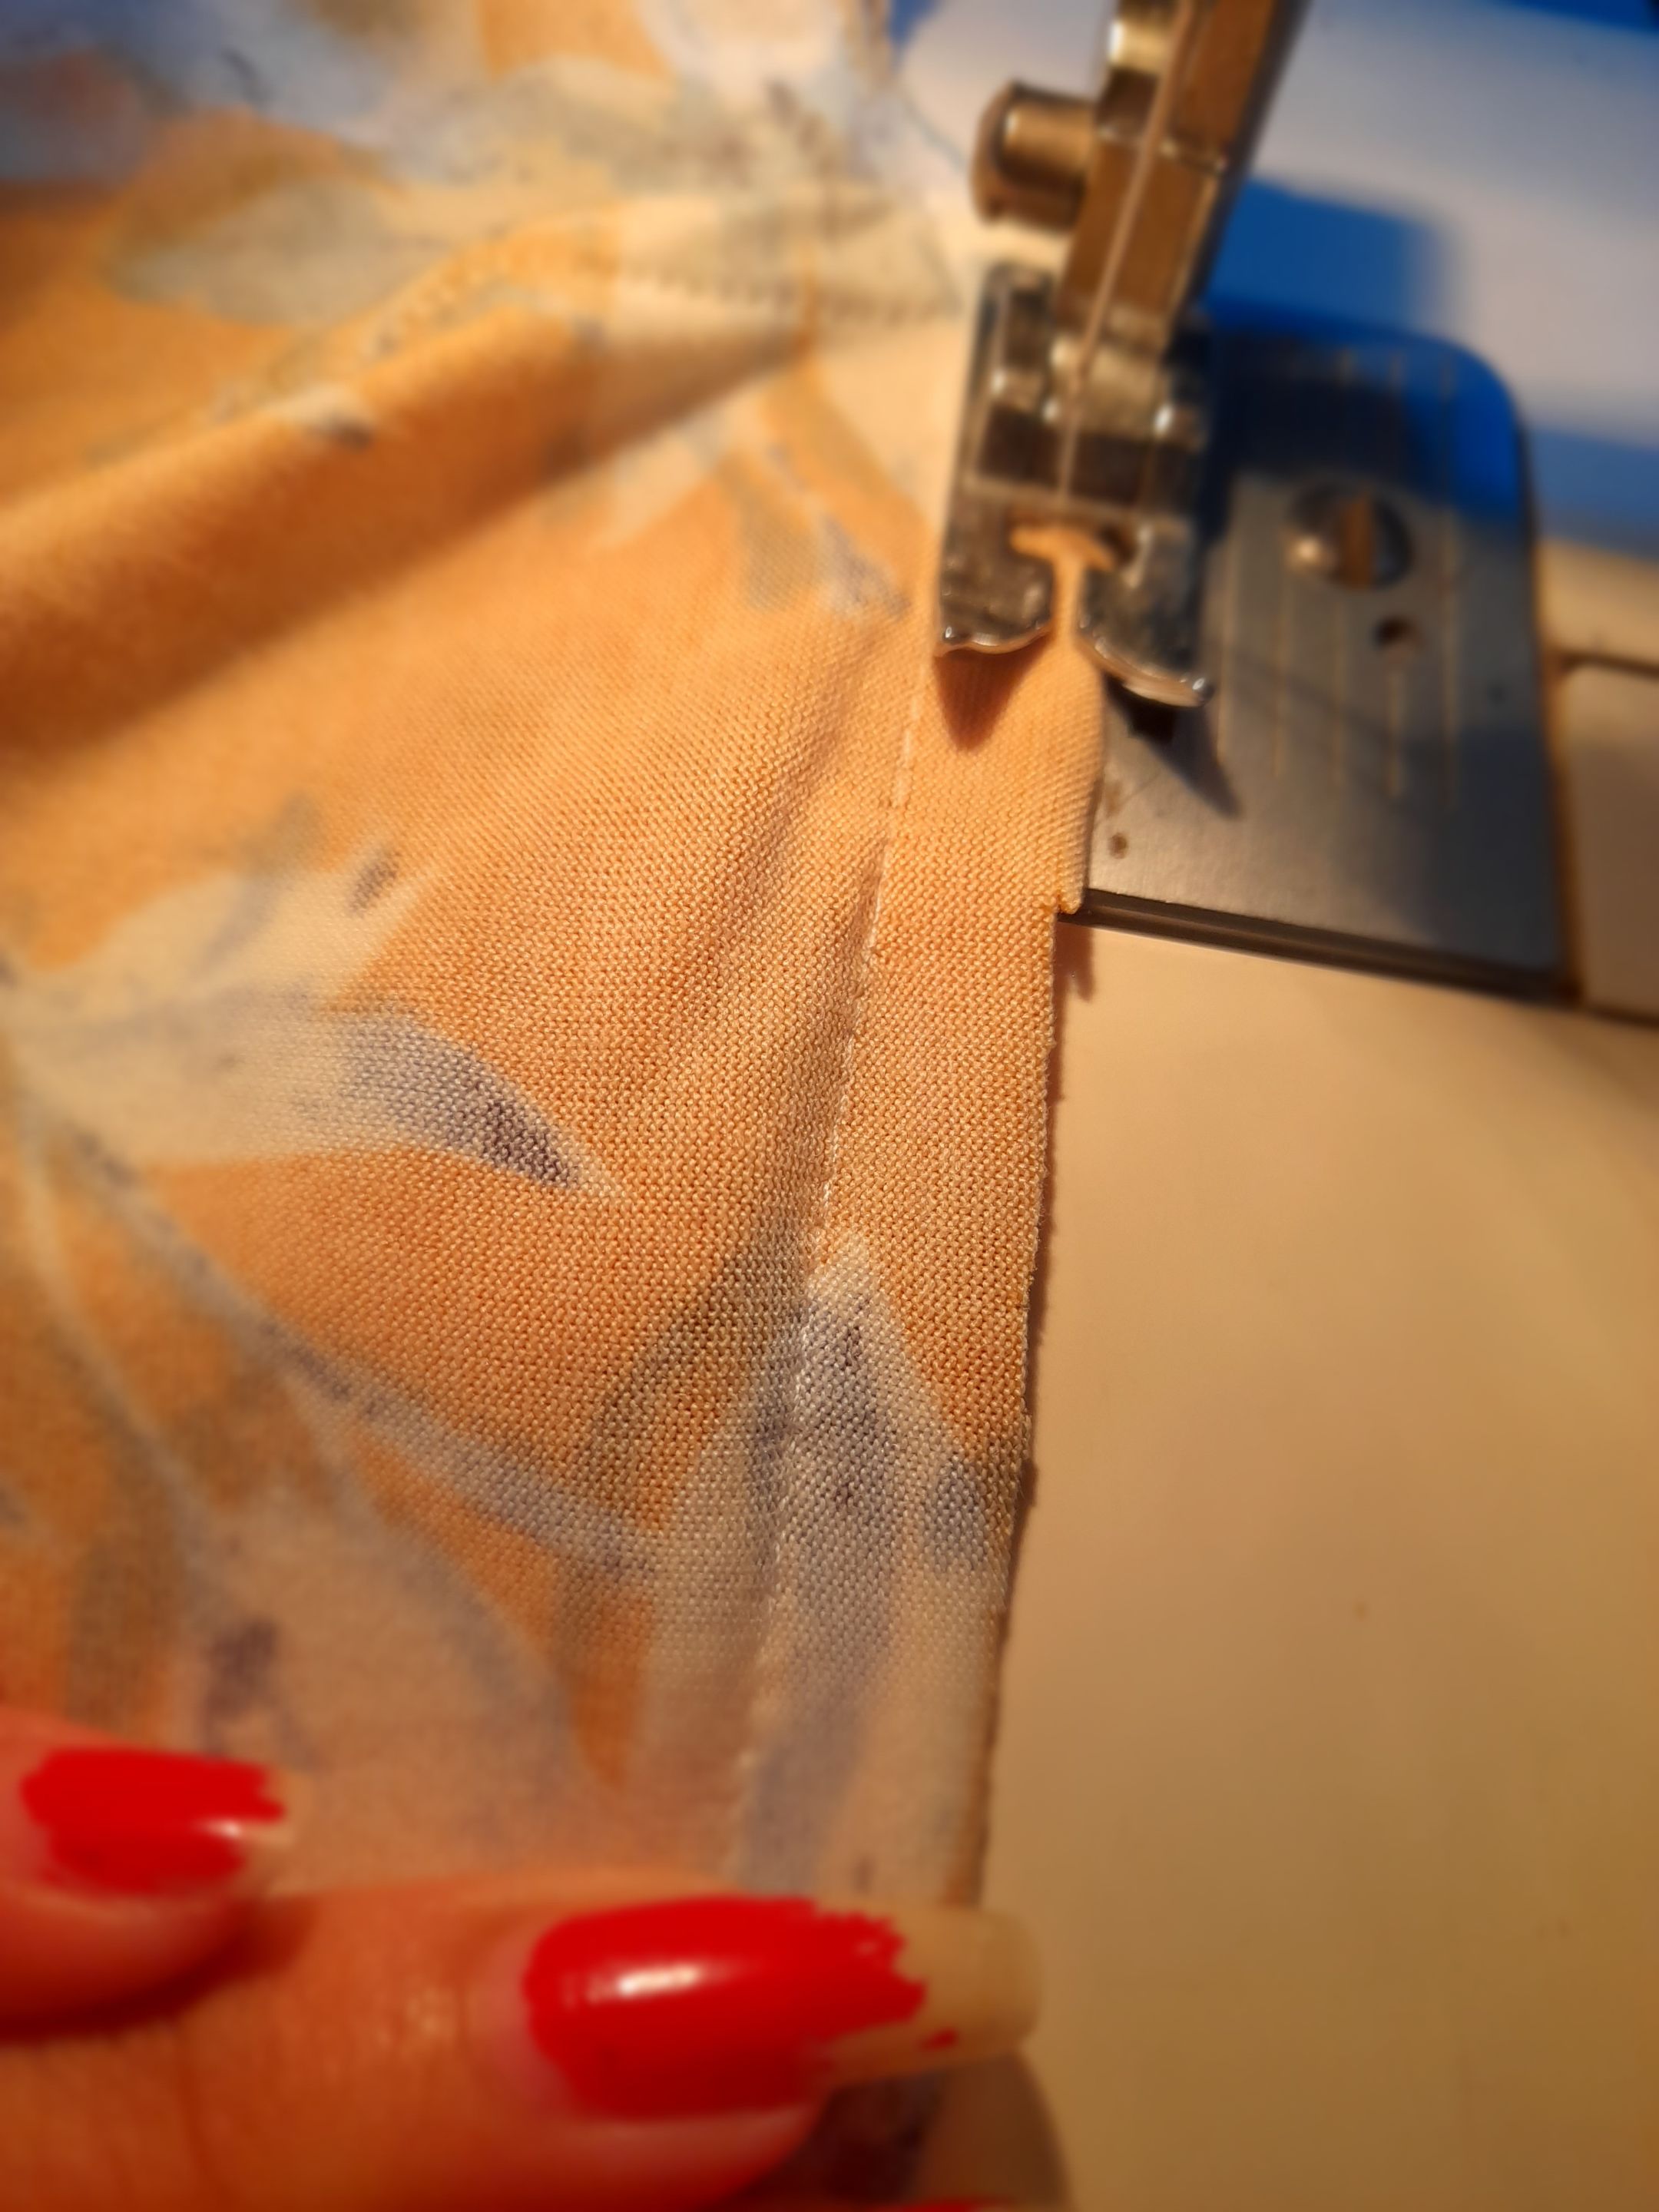
•✨️🌻Continúo cosiendo las orillas superiores colocandolas en el lado reverso de la tela y cosiendo con costura recta para luego voltear y coser con costura recta nuevamente pero doblando hacia el frente luego voy a coser los tiros colocandolos en el lado reverso y luego voy a doblar y coser con costura recta otra vez.
 |
 |
 |
 |
|---|---|---|---|
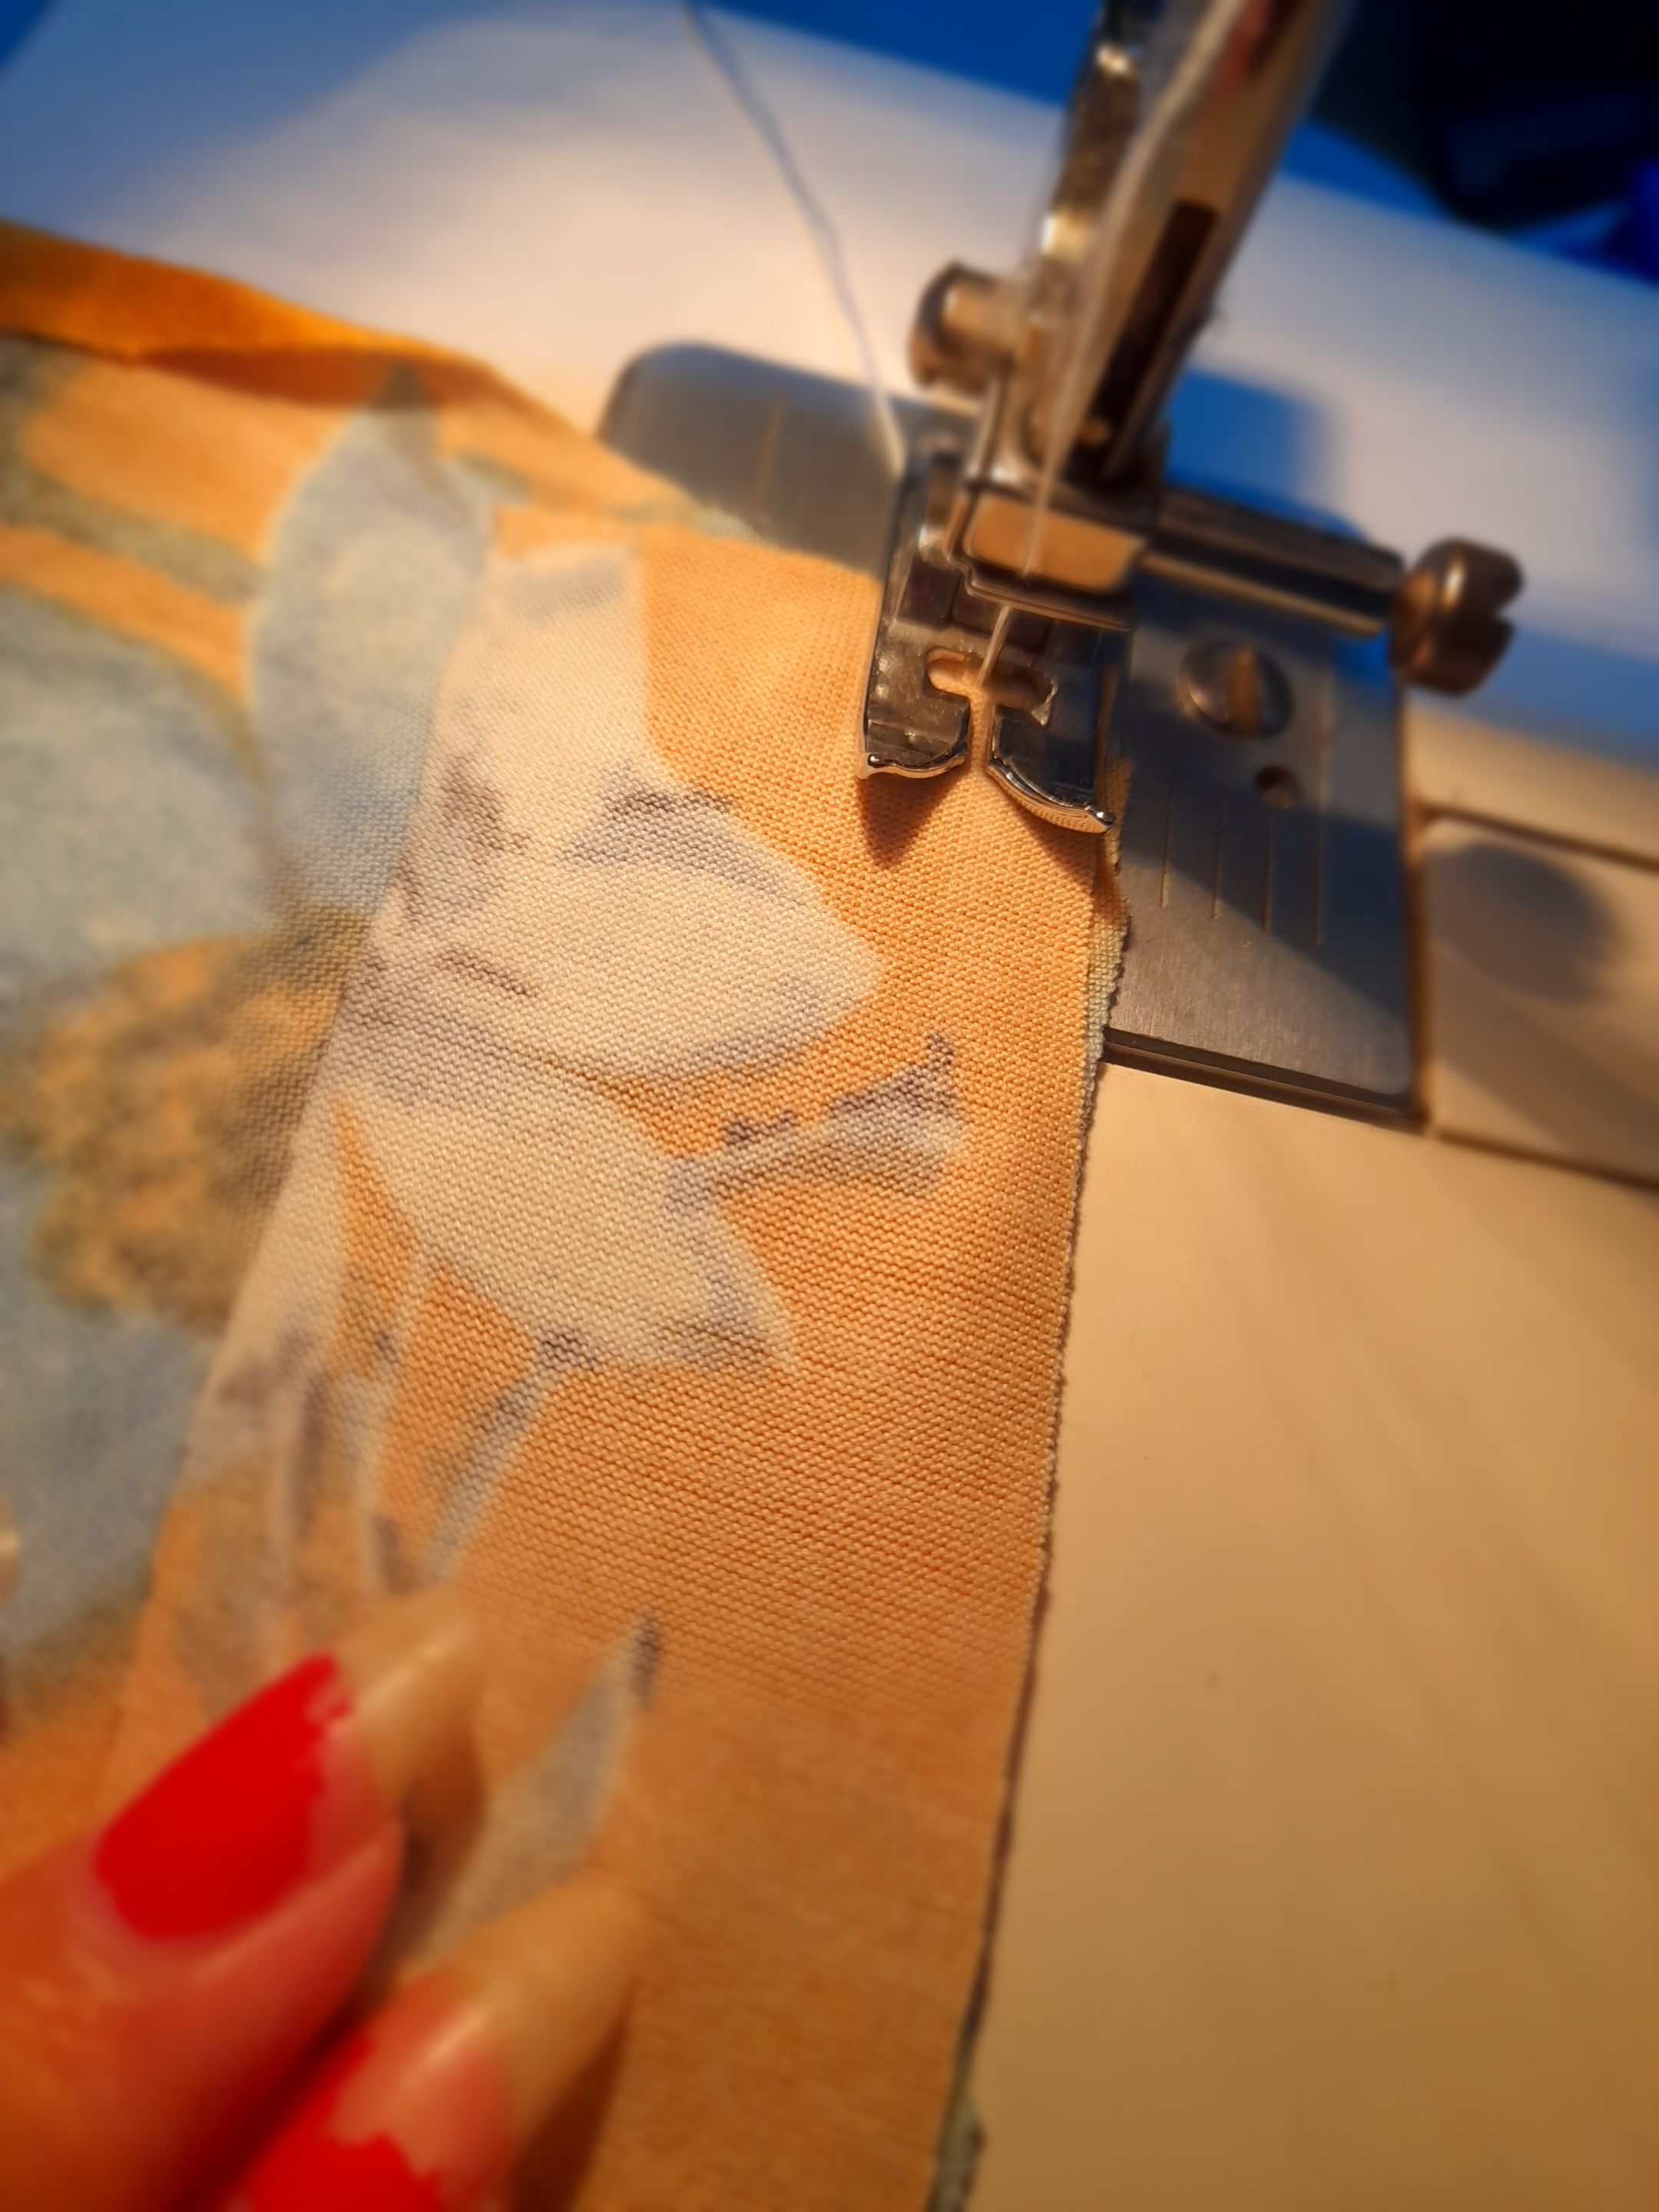
•✨️🌻Voy a coser los extremos de la parte superior hasta la mitad con una costura recta para luego hacer unas pinzas en la parte frontal con el fin de brindar forma al busto luego haré zigzag hasta la mitad y me voy con la parte trasera uniendo ambas piezas traseras con costura recta dos veces.
 |
 |
 |
 |
|---|---|---|---|
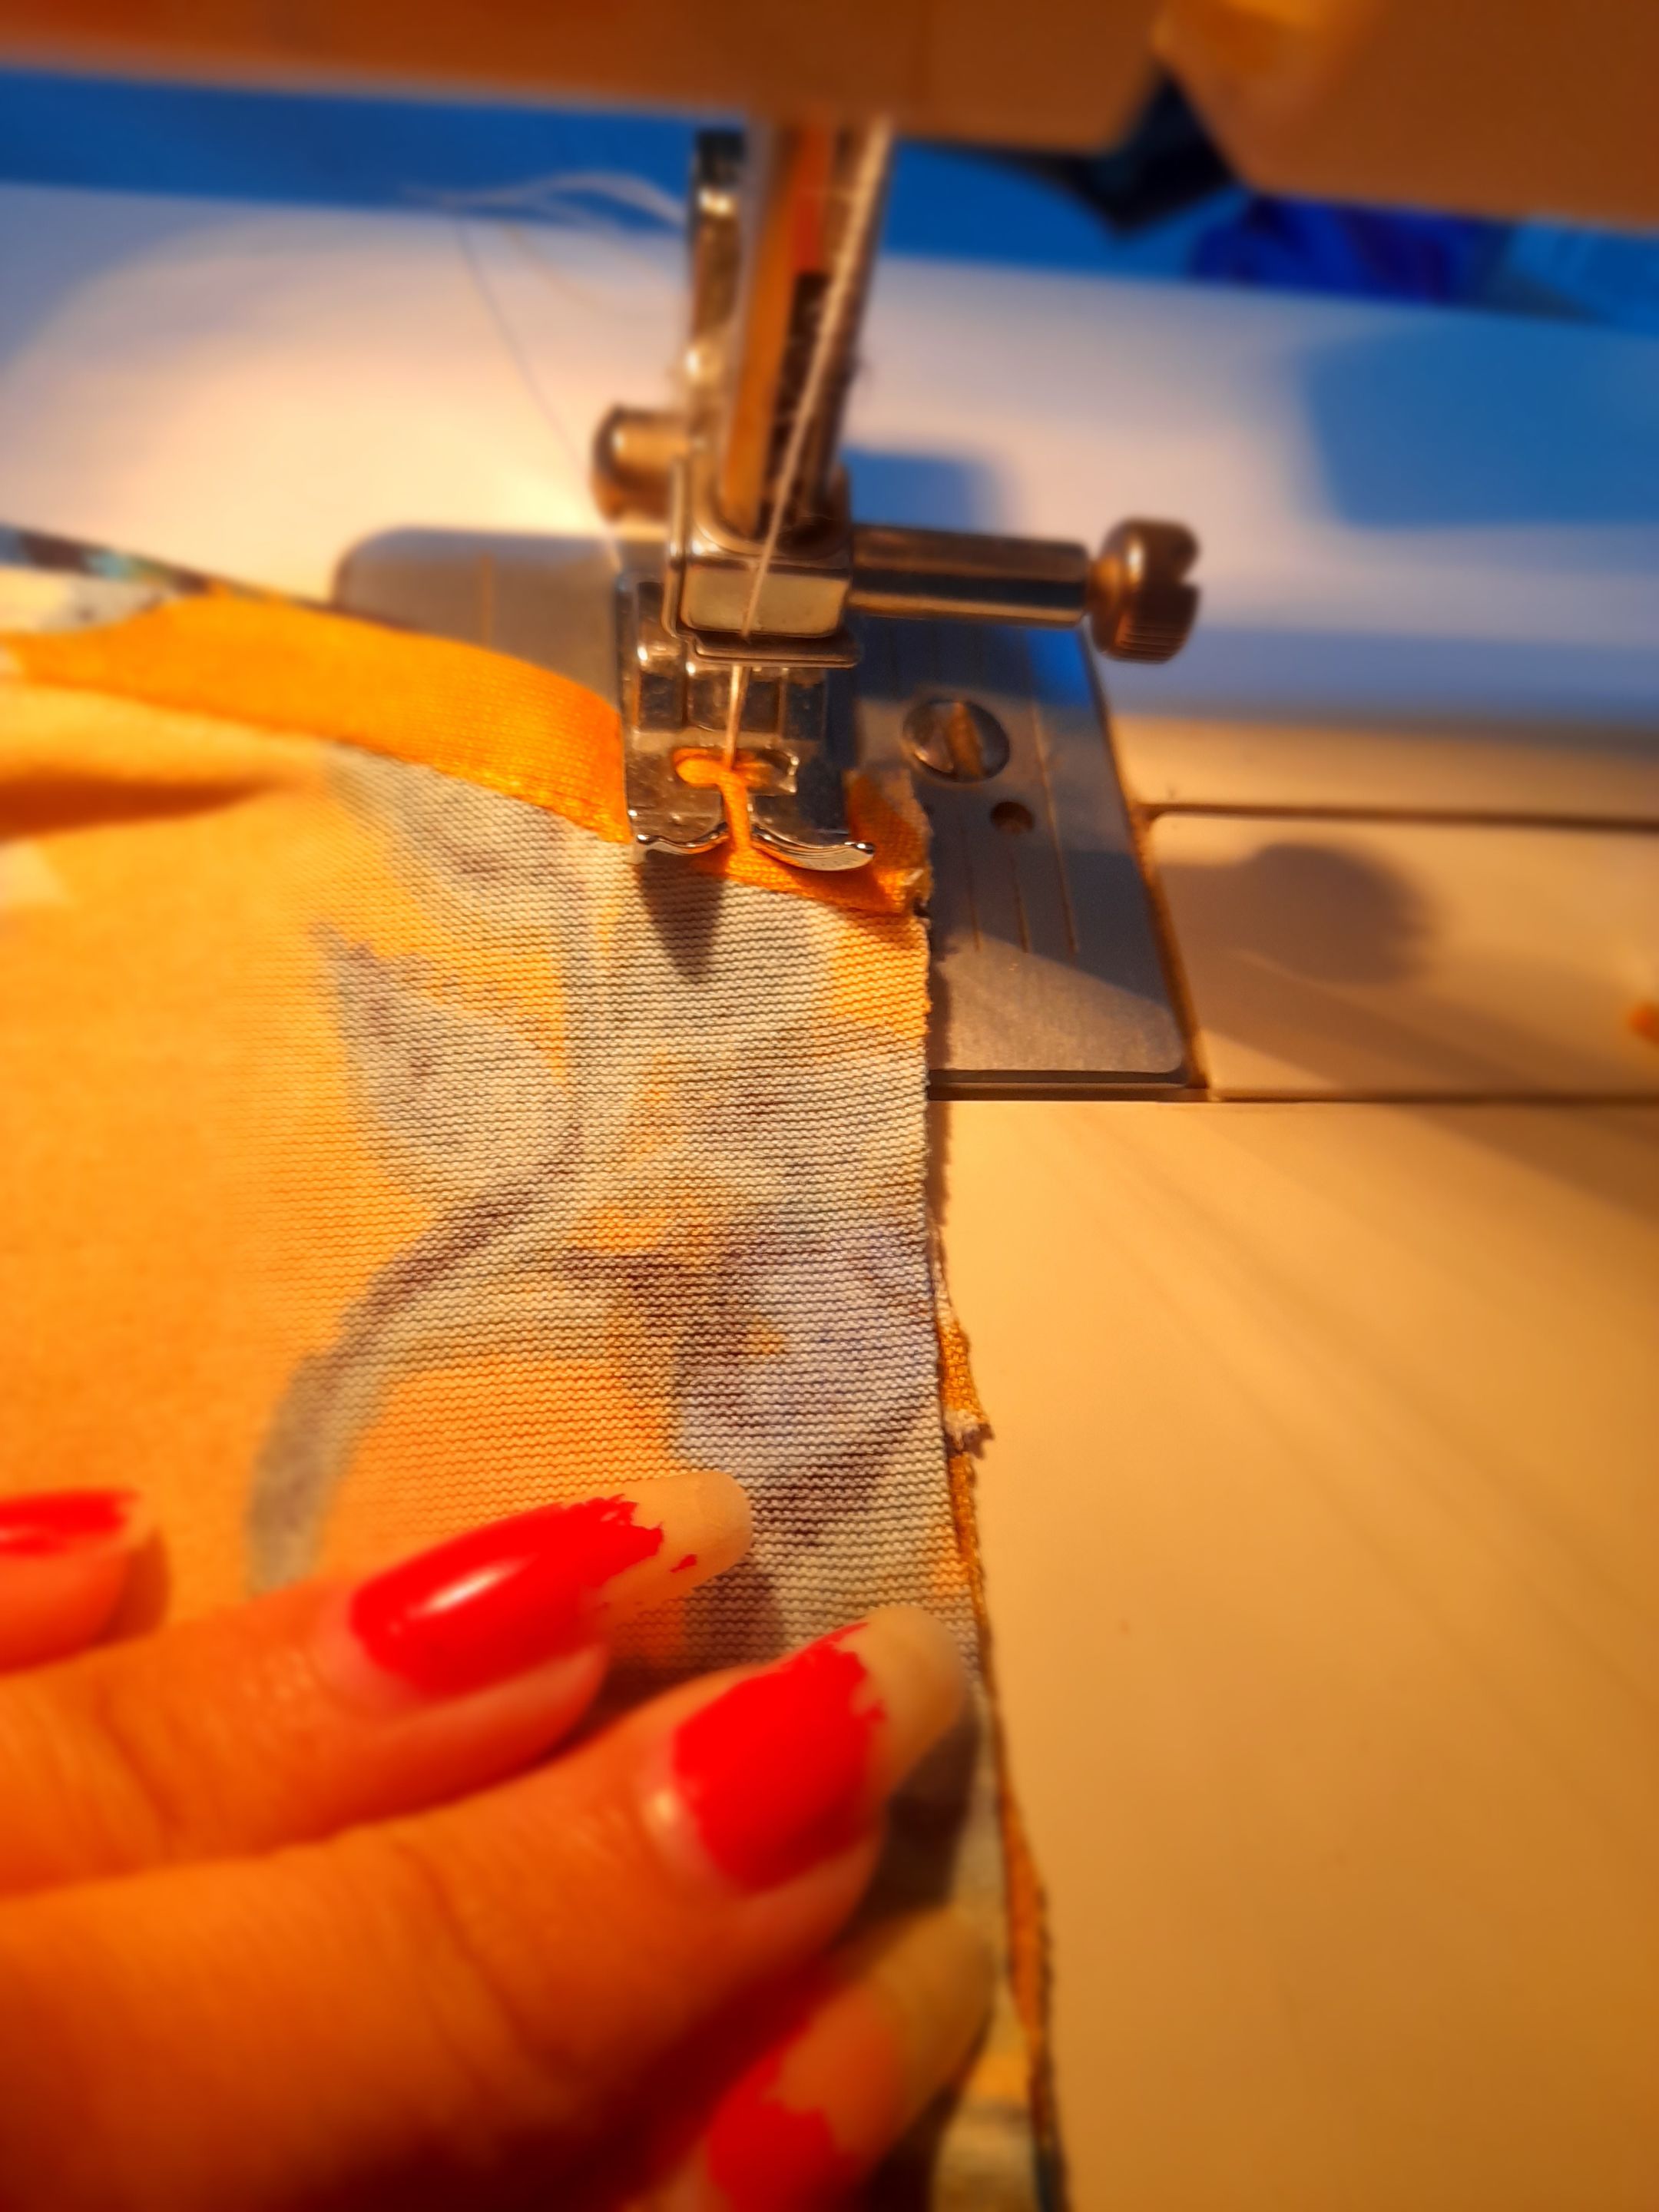
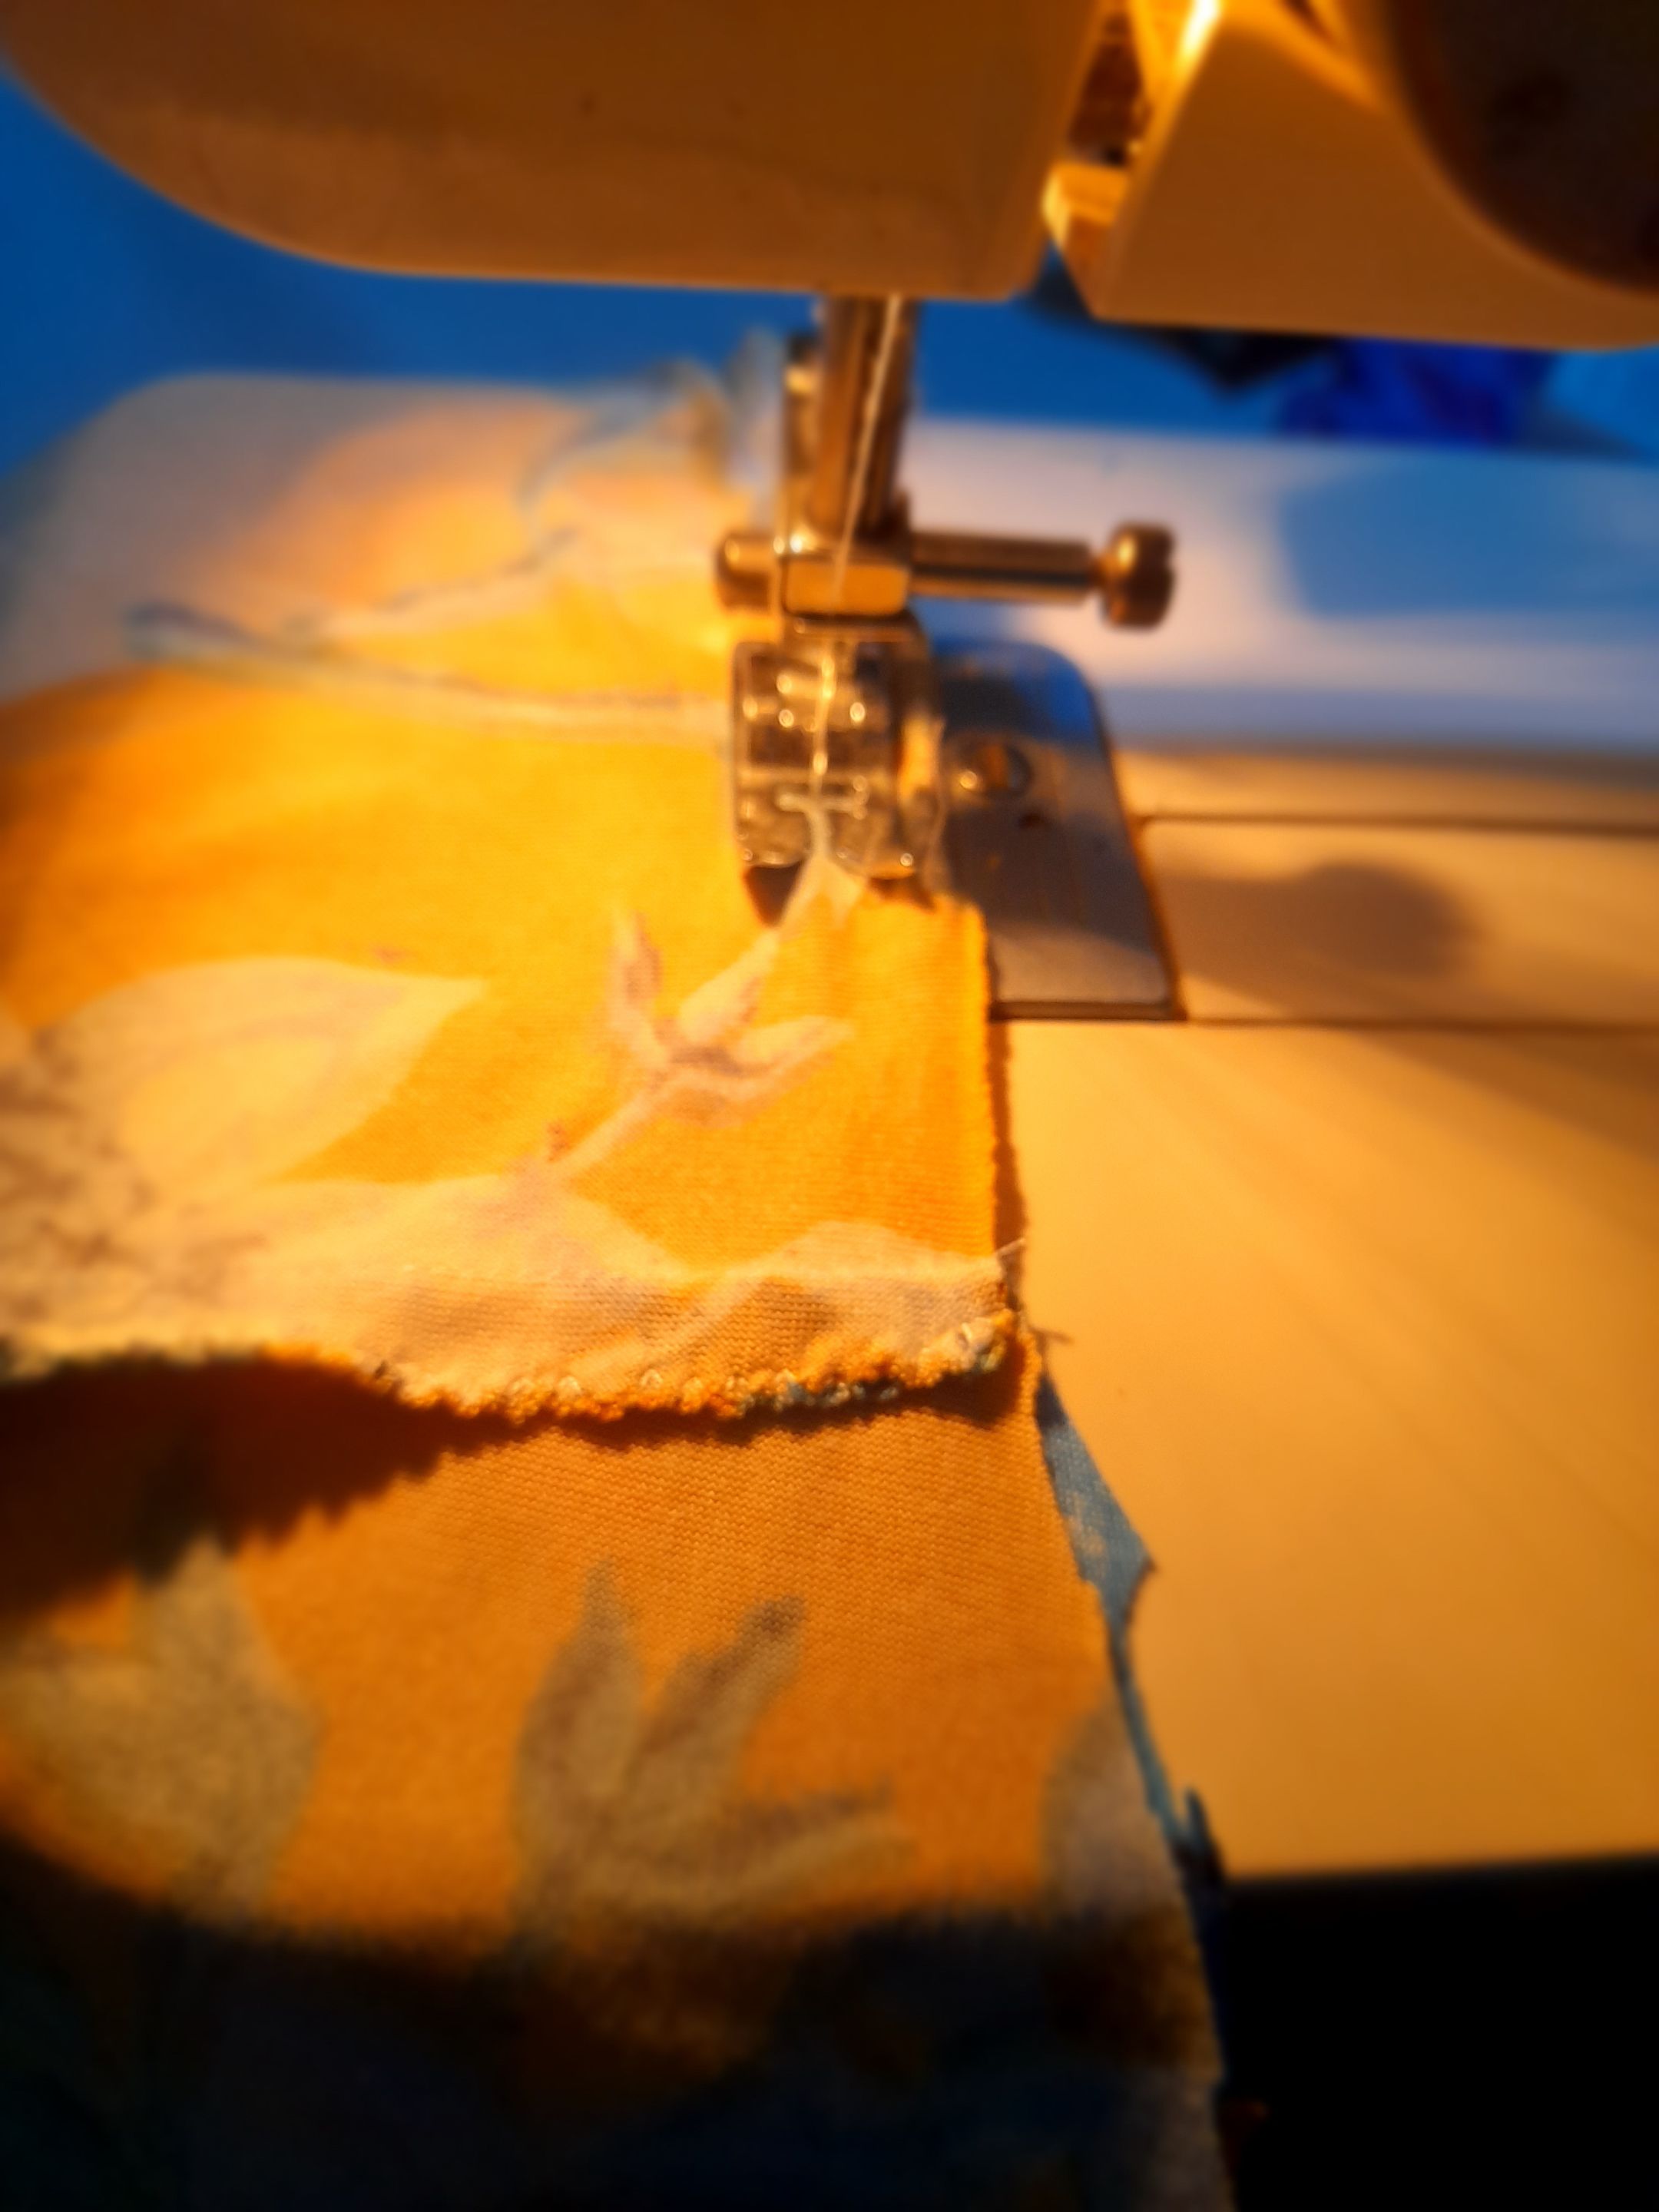
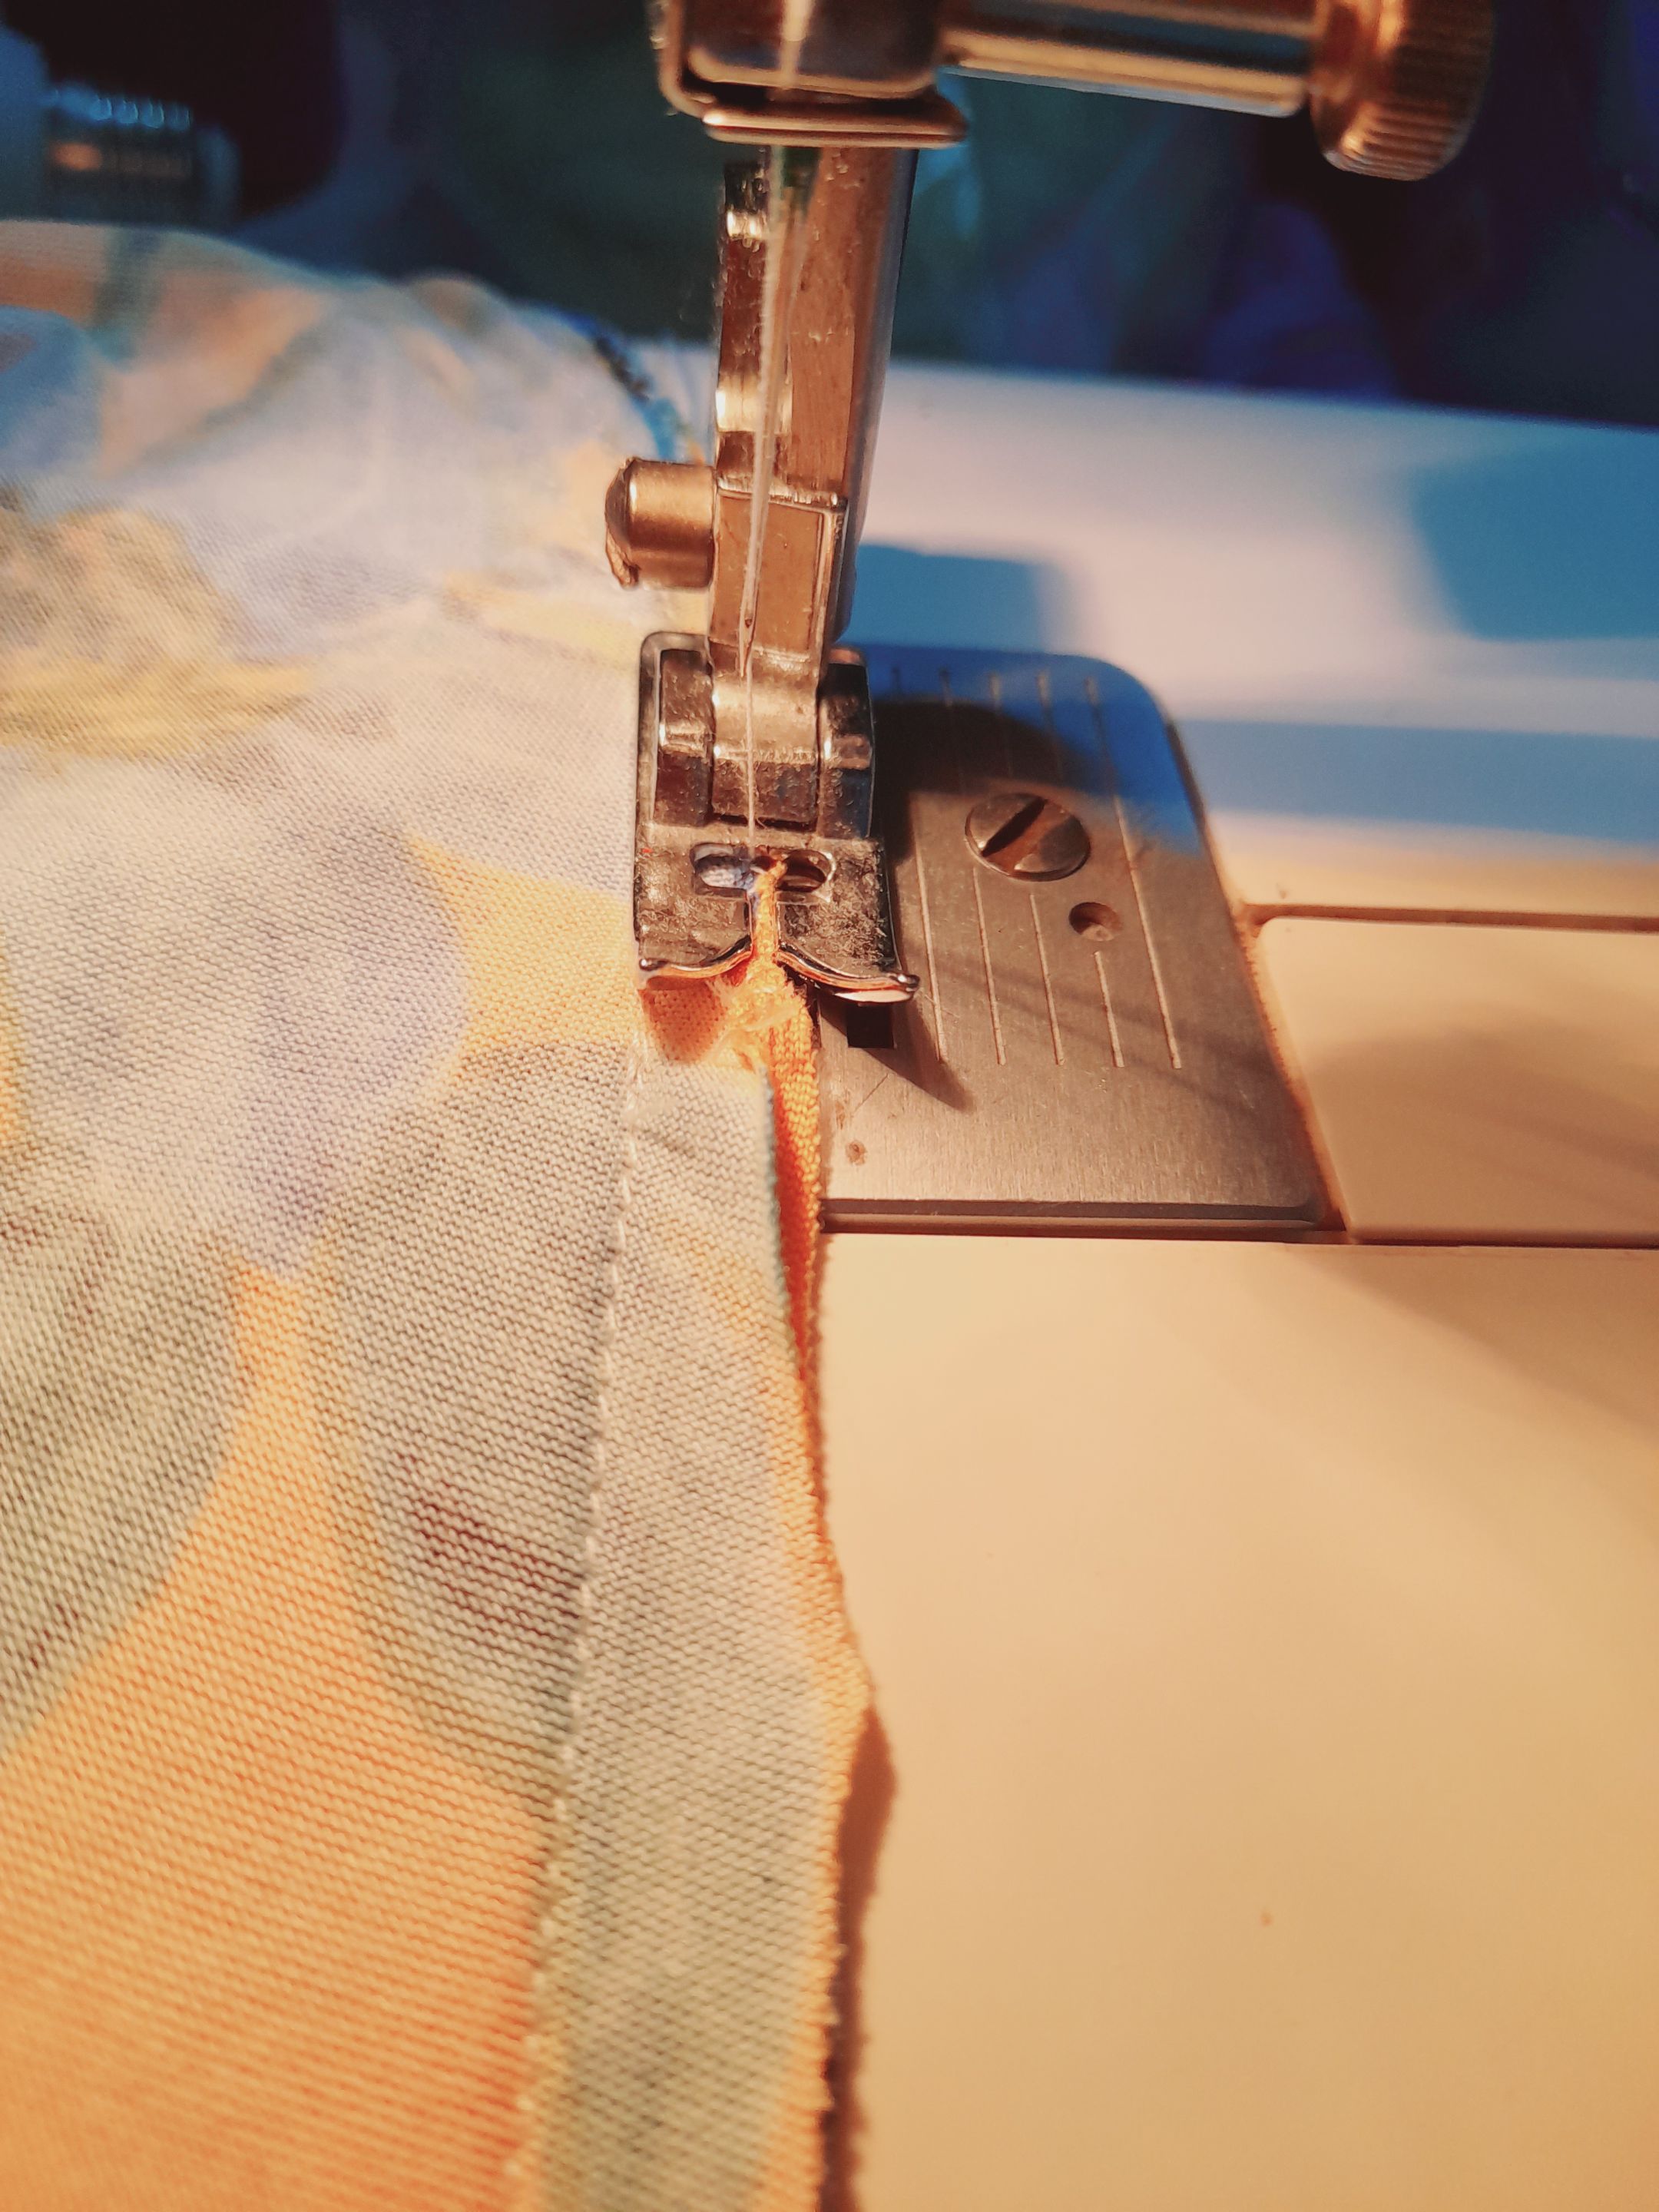
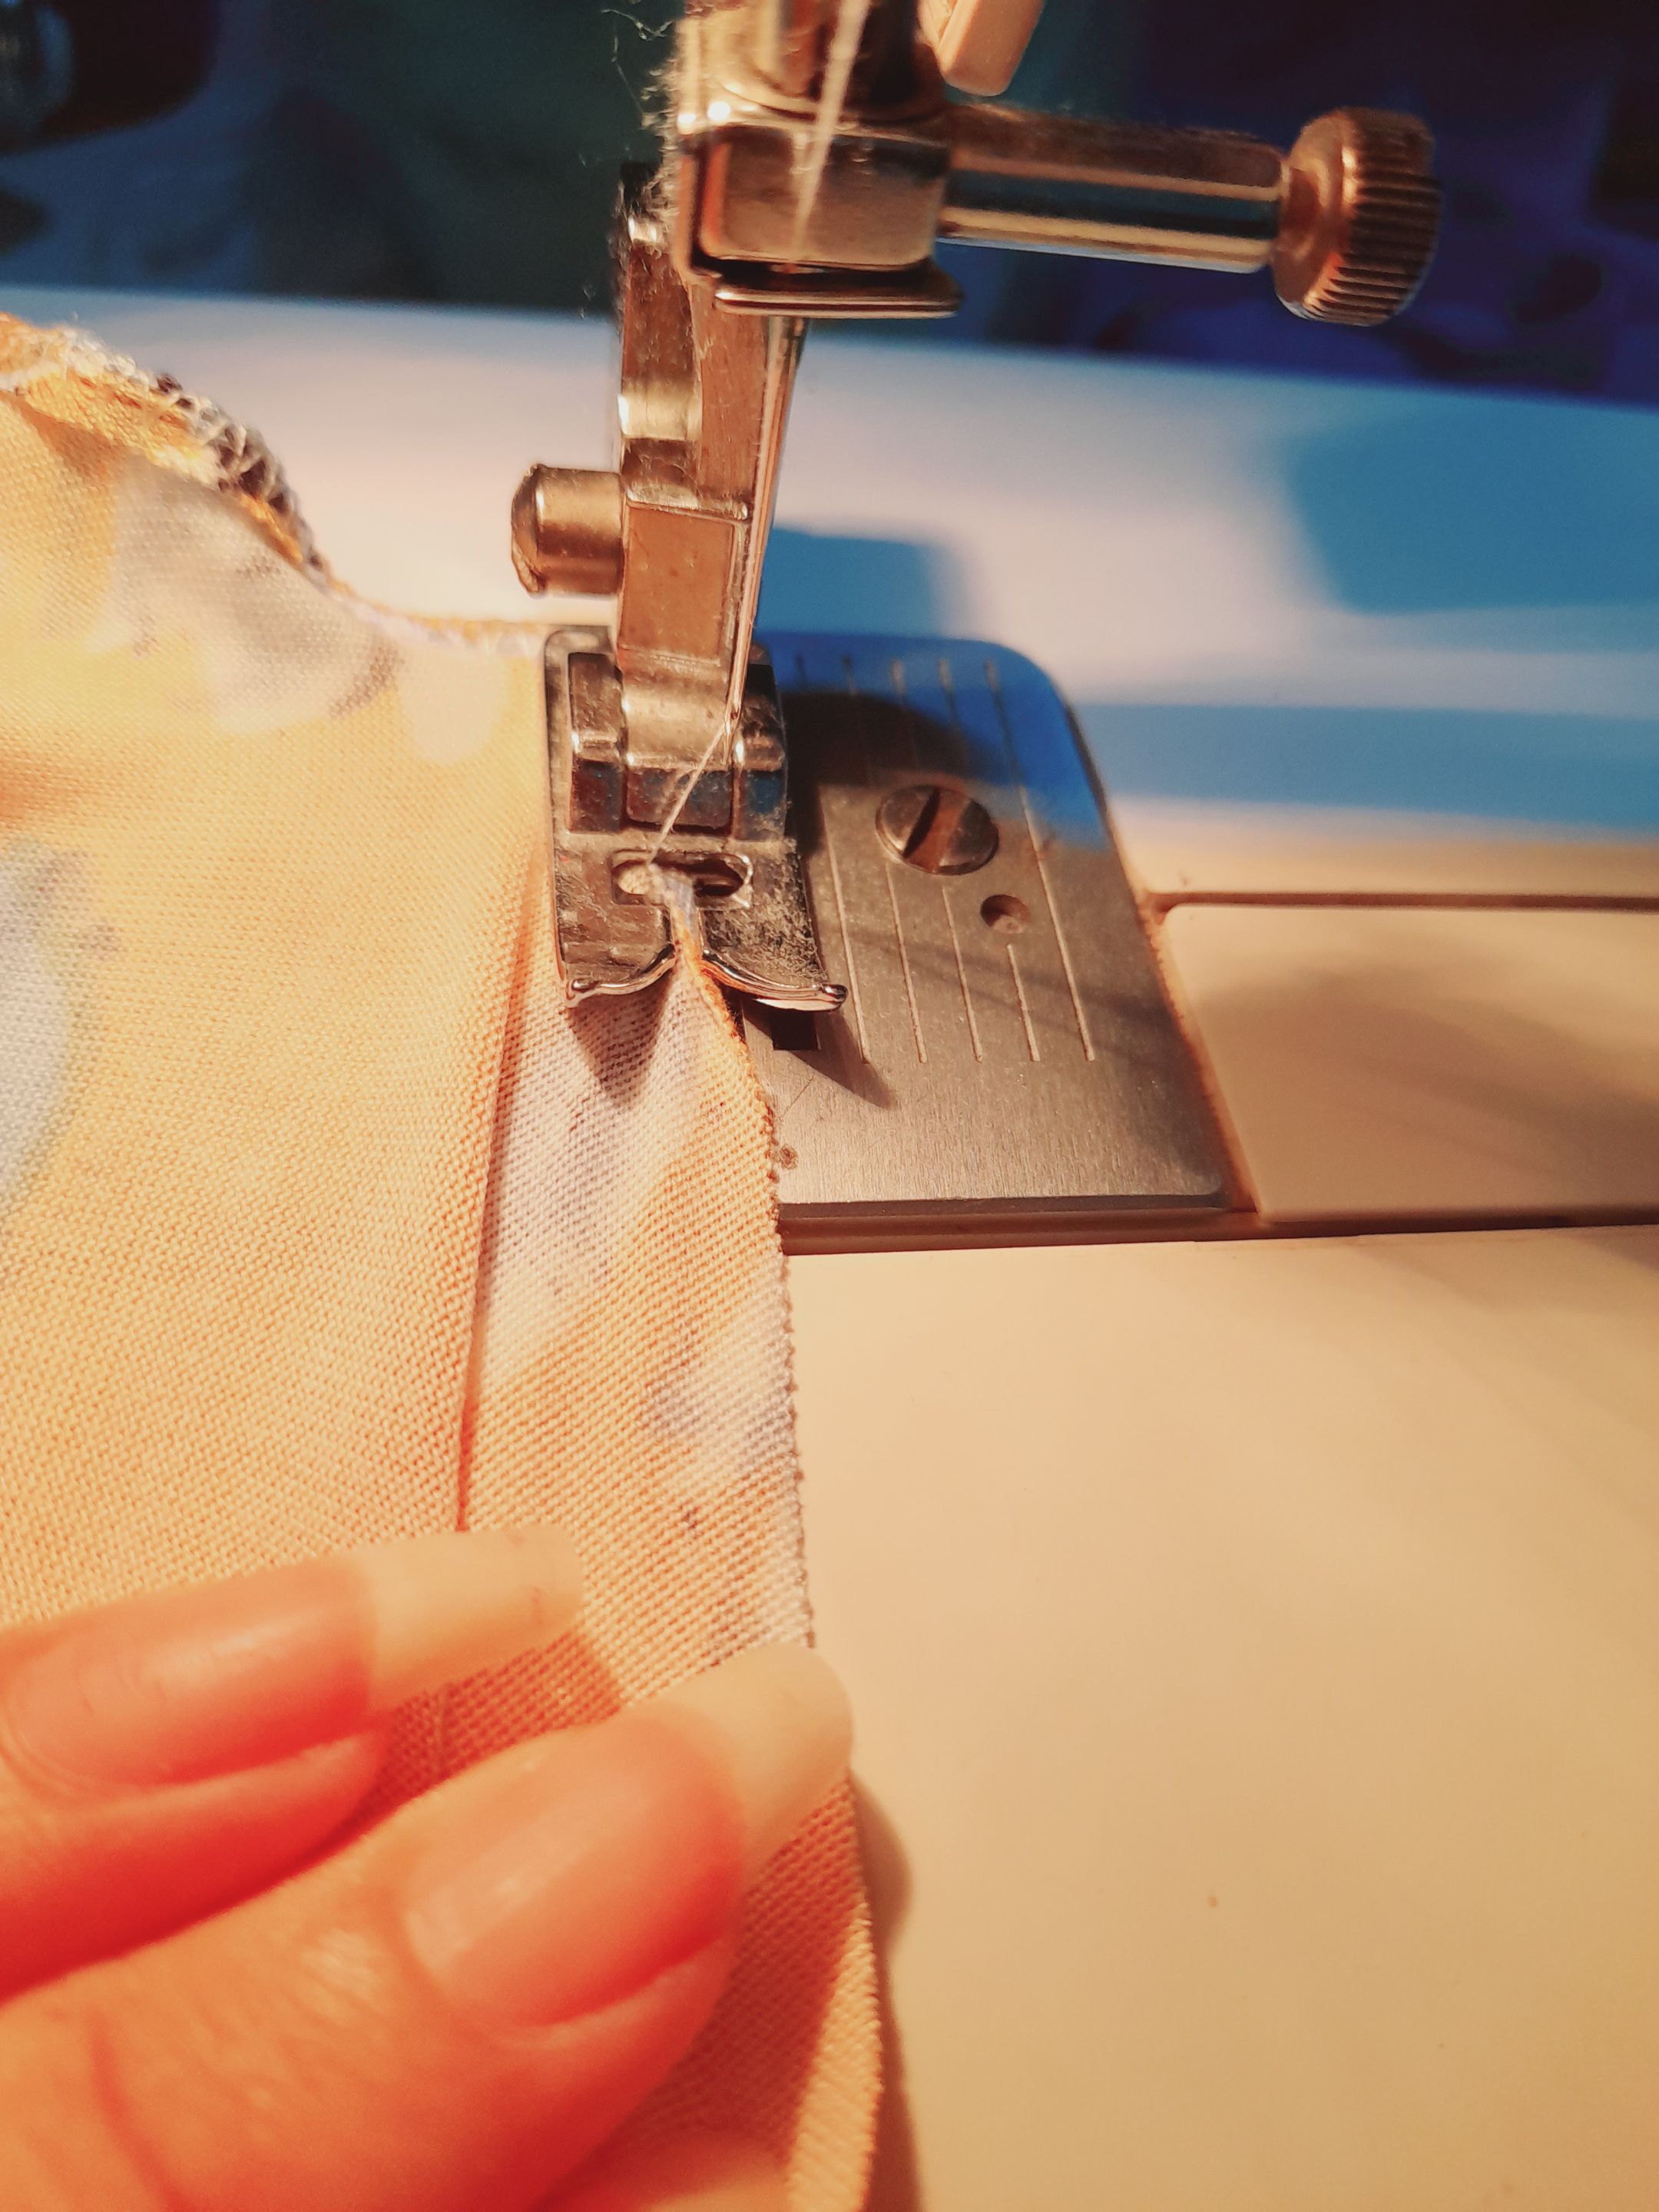
•✨️🌻Continúo cosiendo la parte superior delantera junto con la parte frontal superior usando una costura recta y zigzag para asegurar esto lo haré también con la parte trasera, luego voy a coser con costura recta ambos extremos del vestido y aseguraré con costura de zigzag para culminar cosiendo el ruedo doblando la tela y cosiendo con costura de zigzag y tensión en 1 para crear una orilla ondeada o rizada.
 |
 |
 |
|---|---|---|
 |
 |
 |
|---|---|---|

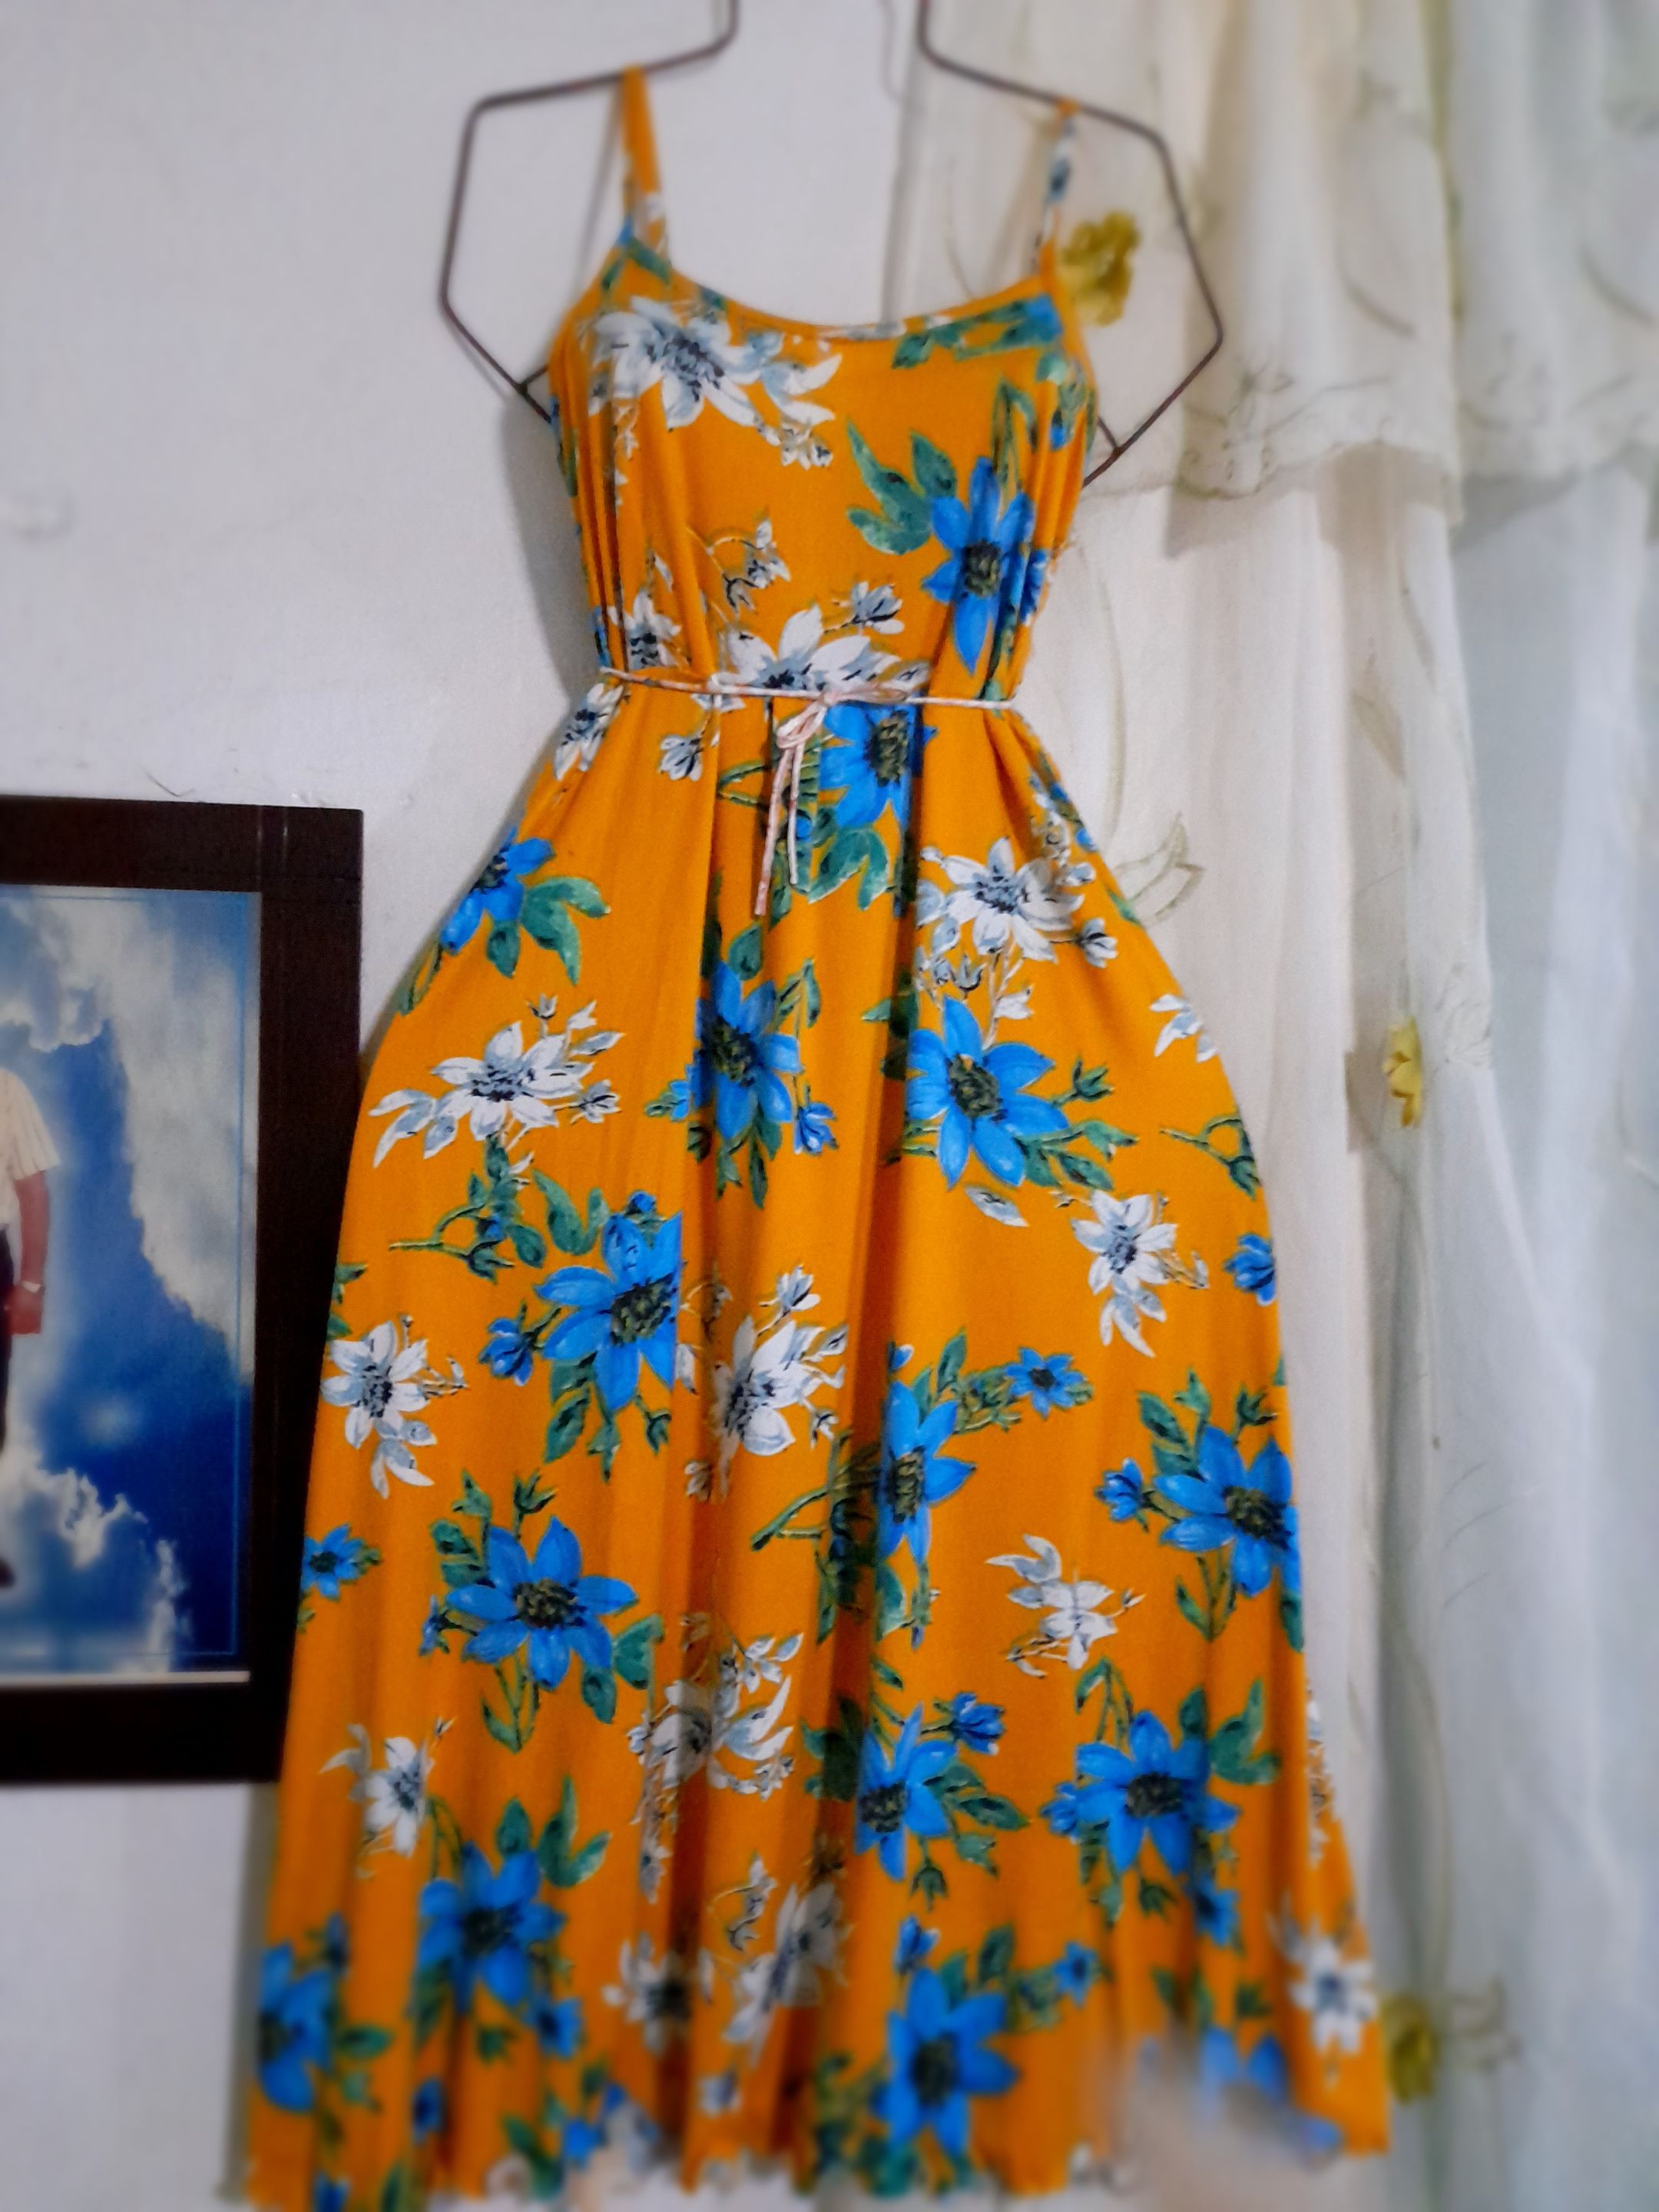
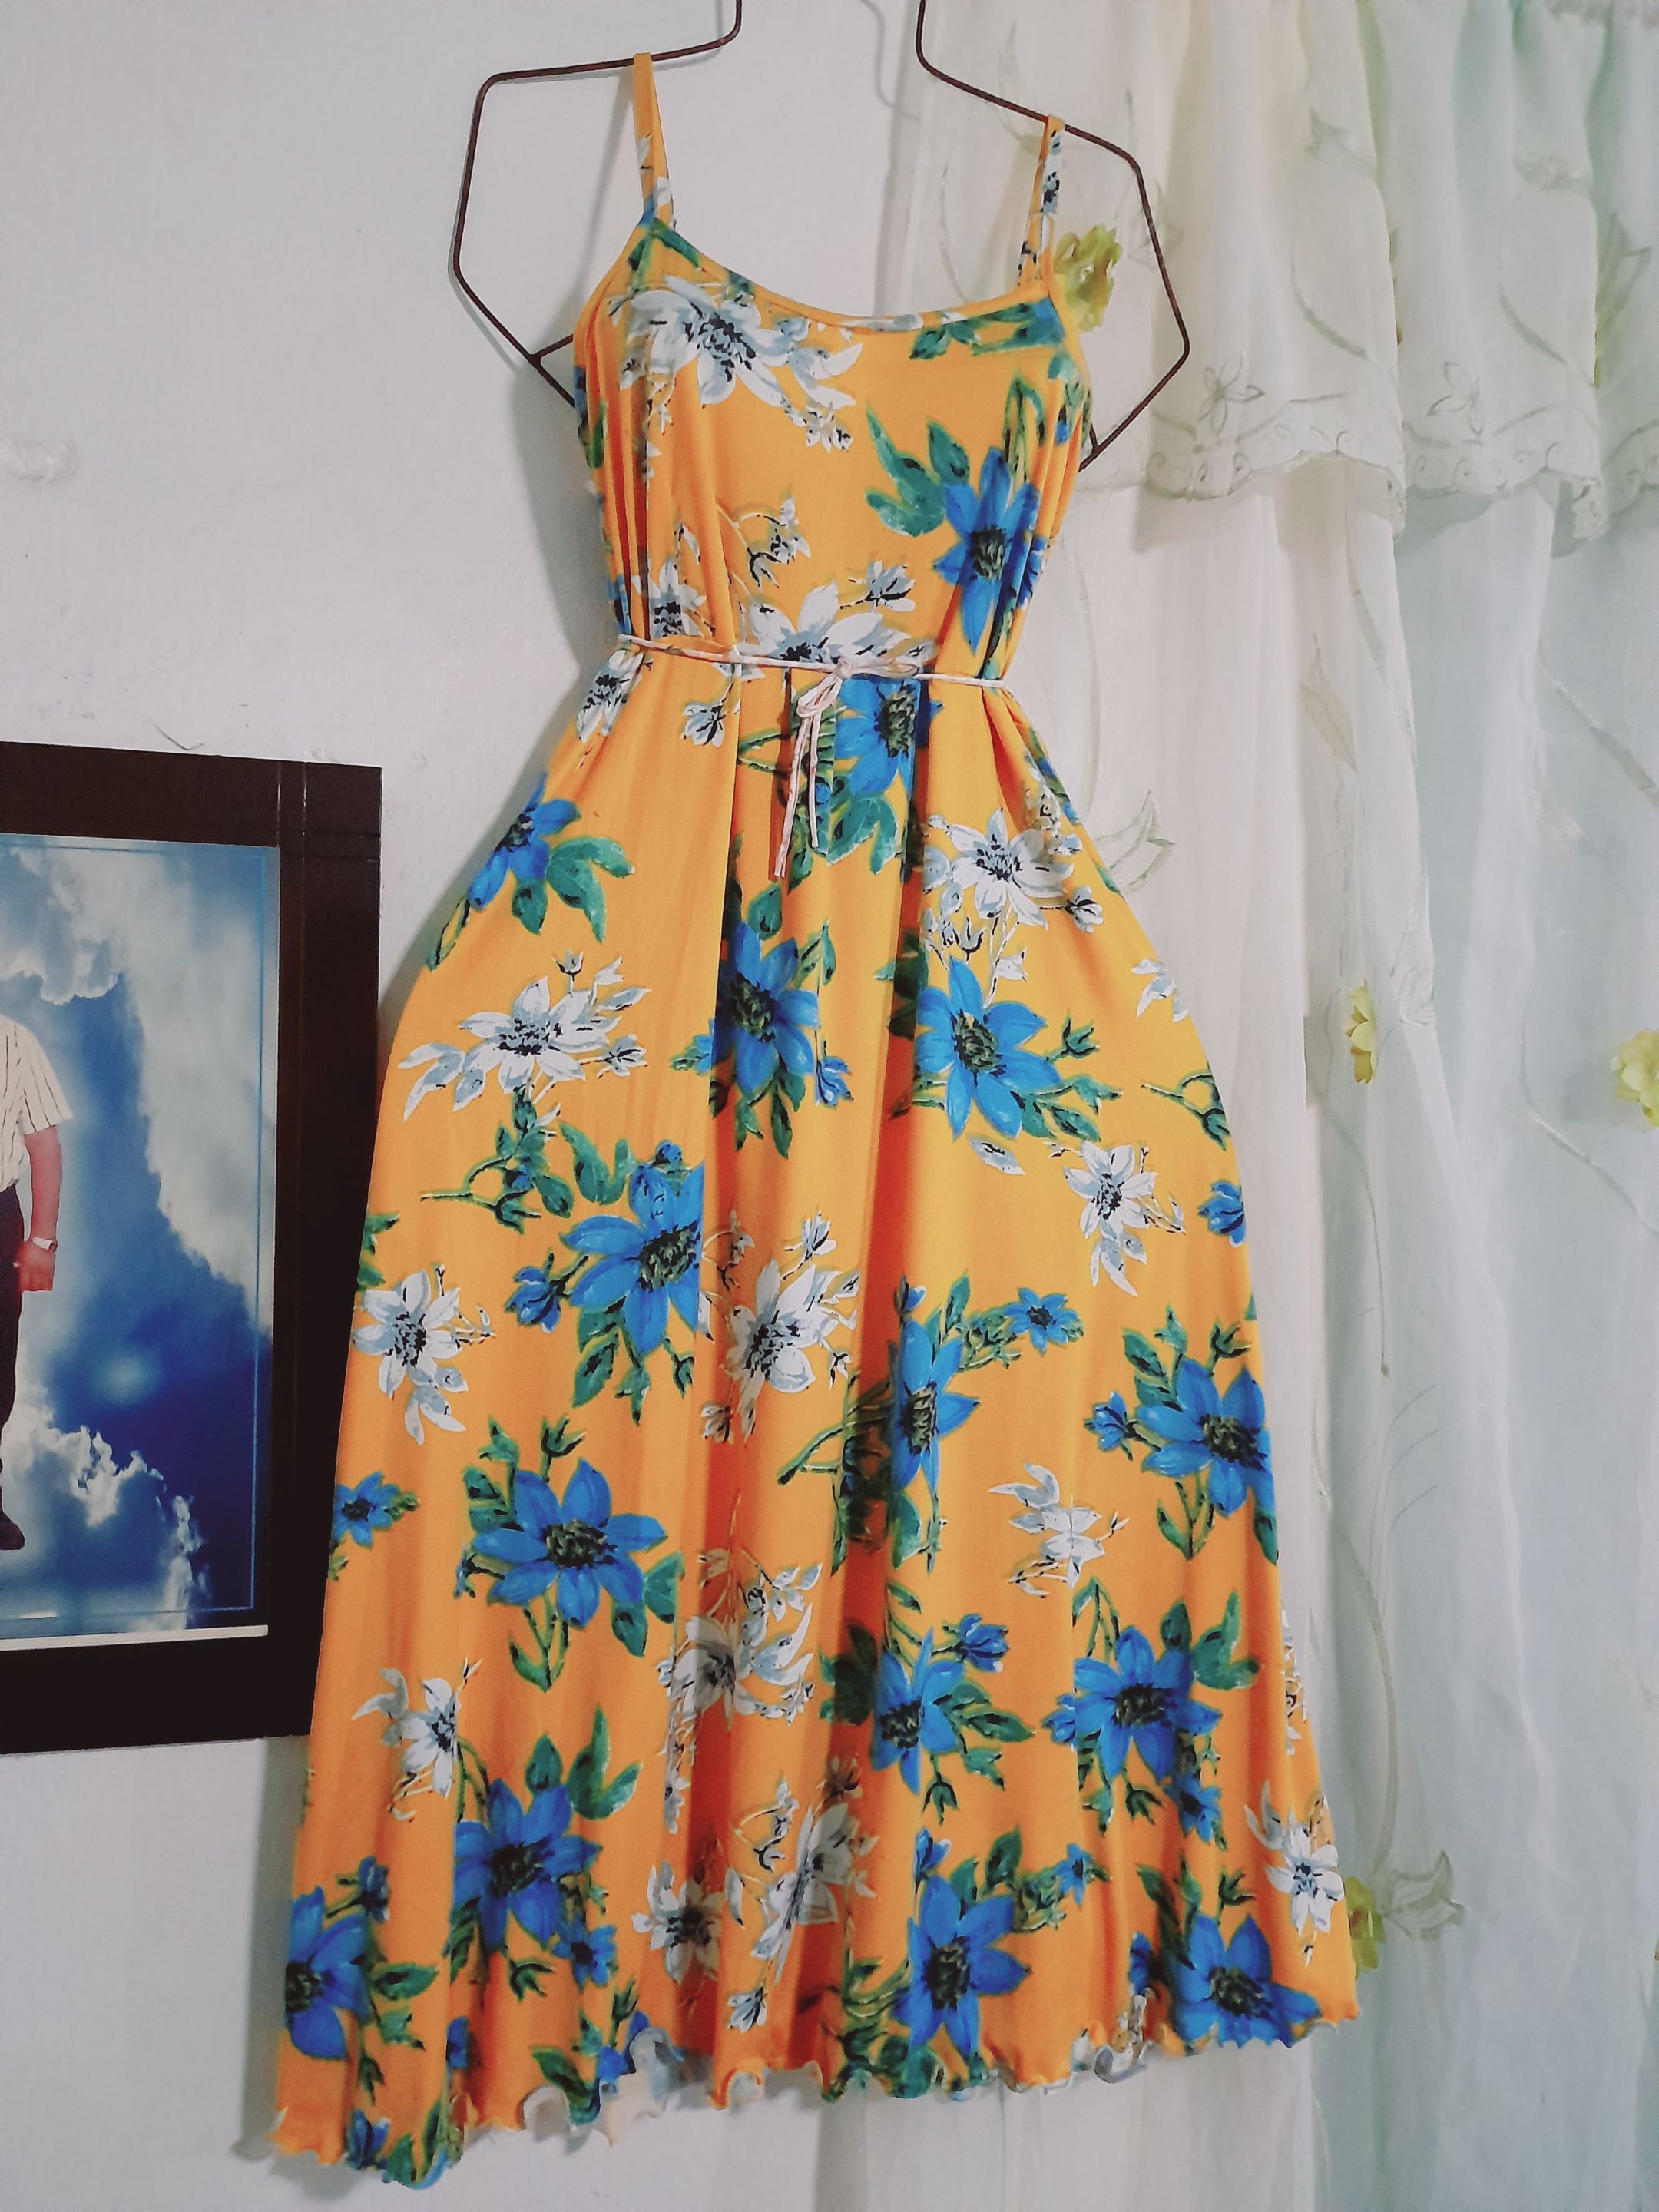
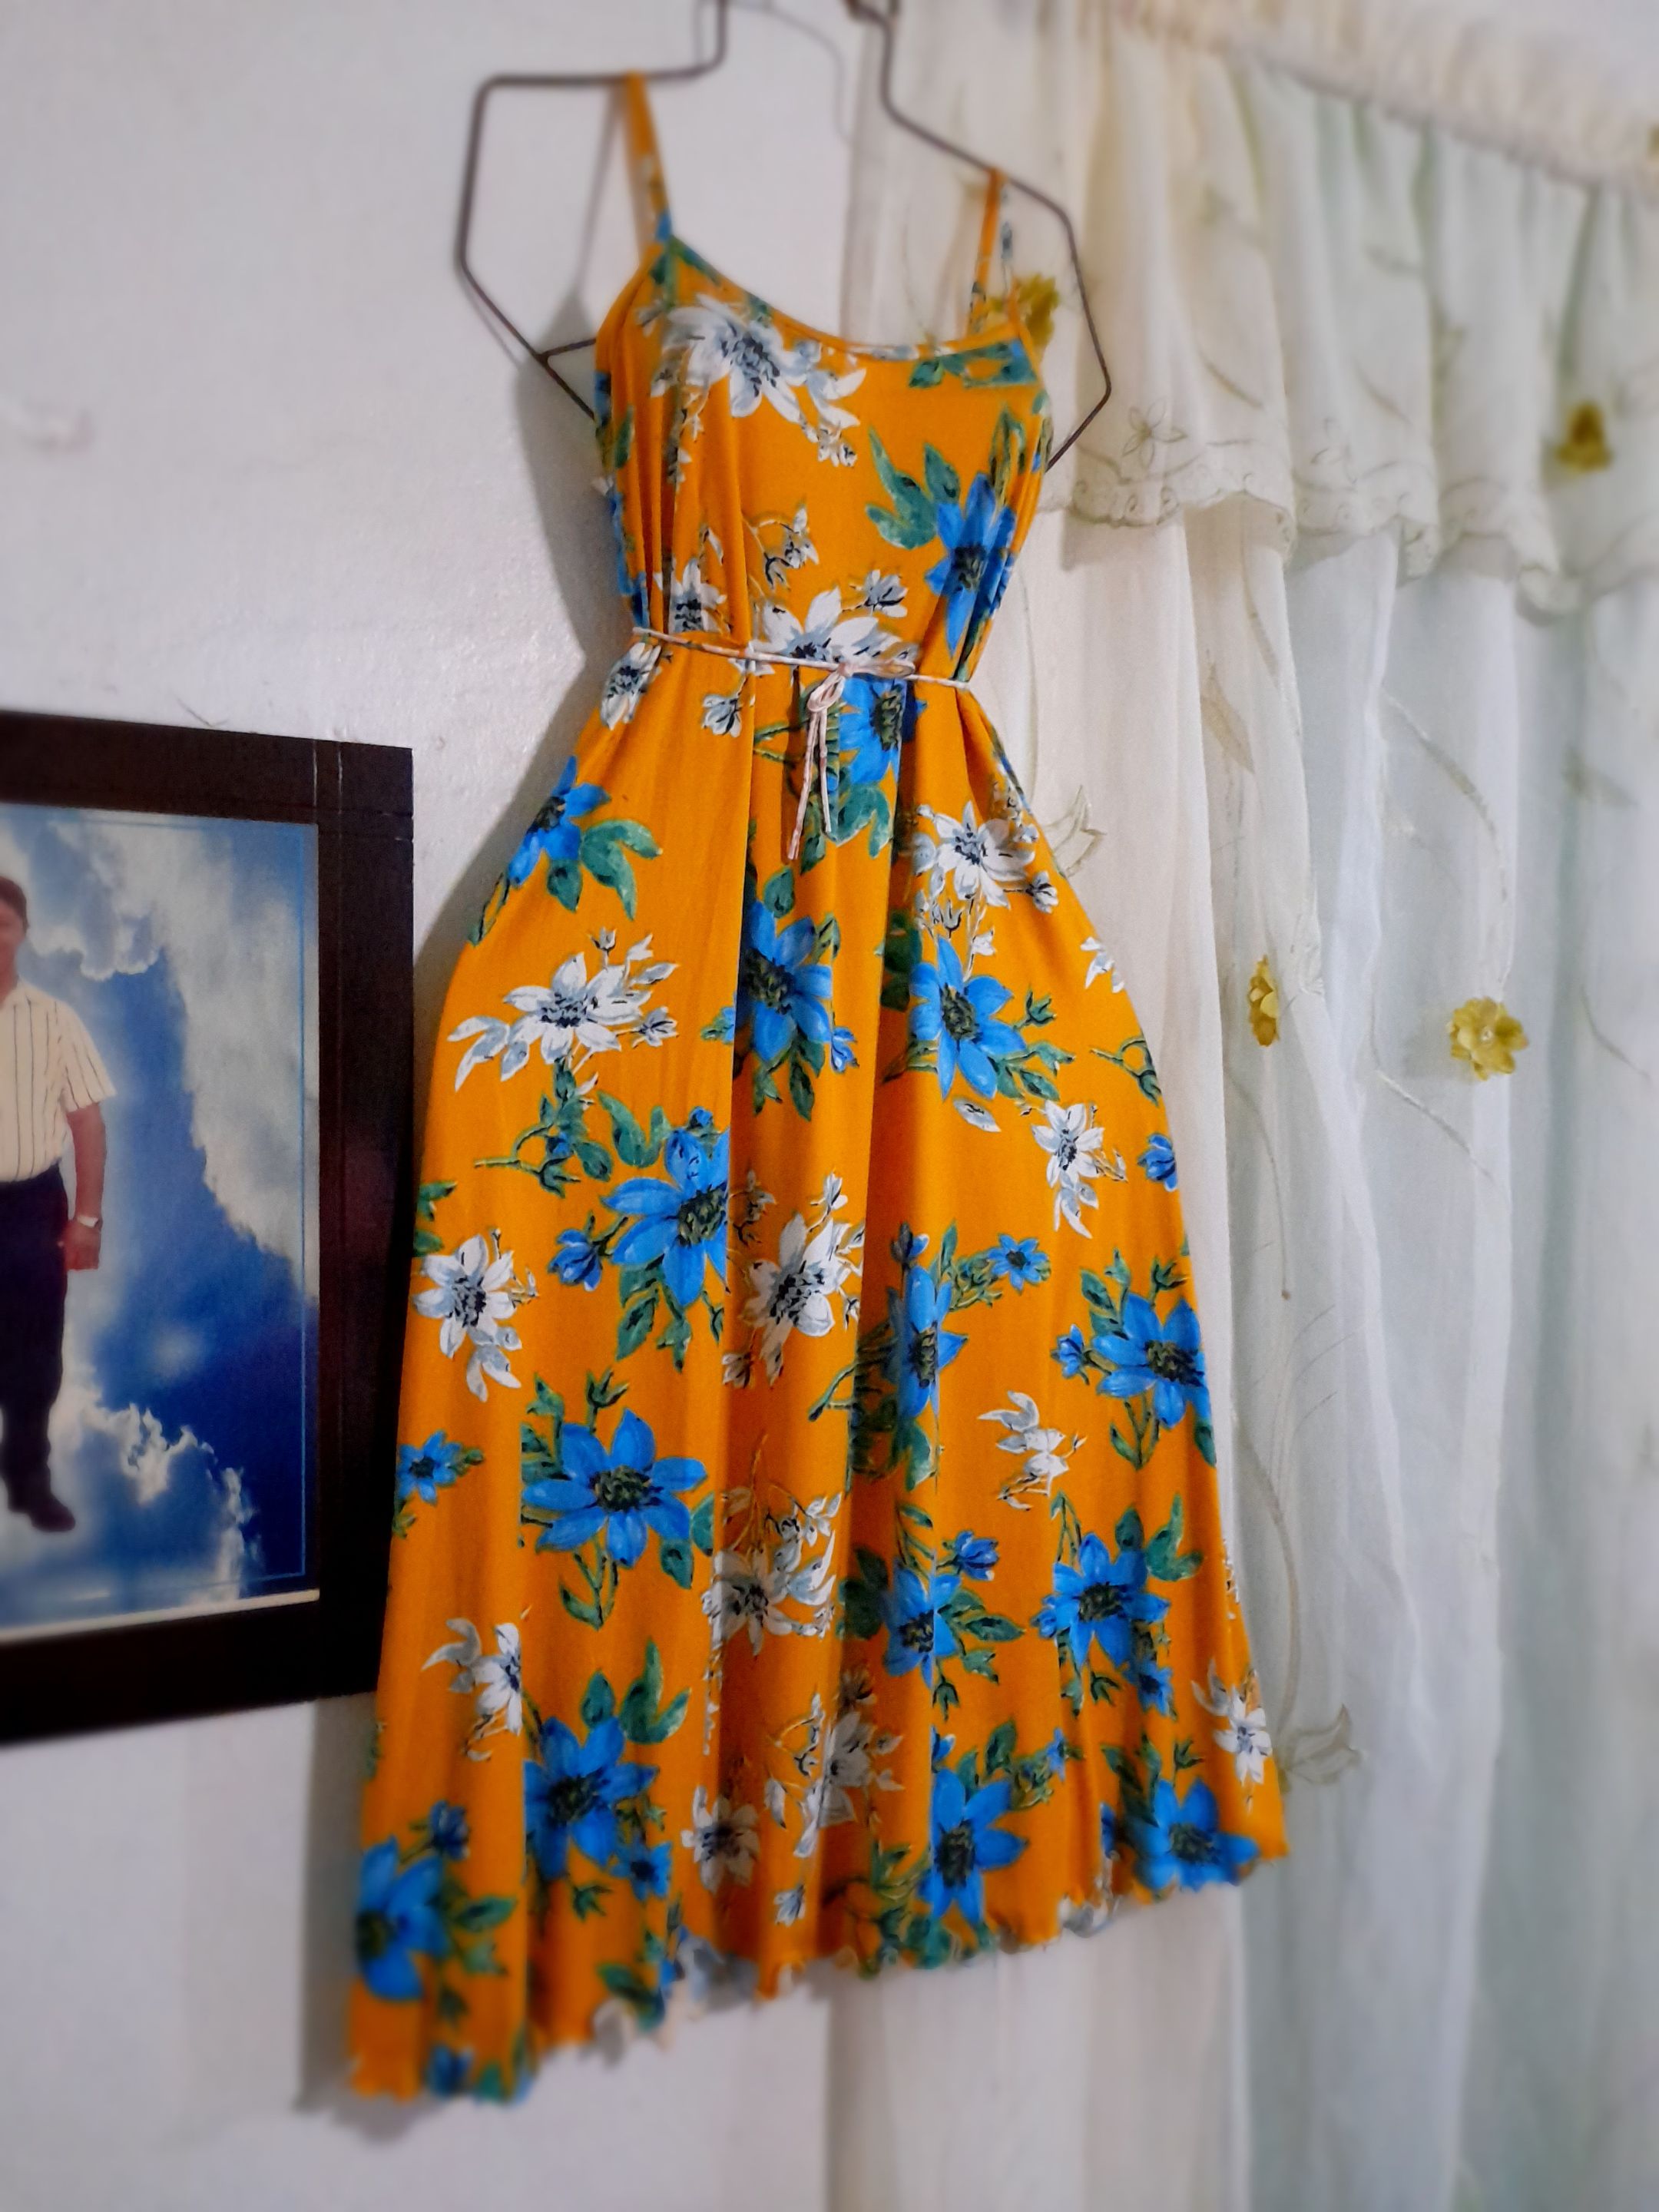
El color amarillo es totalmente radiante realzando sin duda alguna cualquier tono de piel y la belleza femenina 💖 usar ropa amarilla en esta bonita etapa del embarazo te haré sentir deslumbrante 🌻🤗 me alegra mucho haber estado acá compartiendo este pequeño post tutorial donde todos aprendemos muchas cosas nuevas cada día ❤️ espero de todo corazón les haya gustado mi post 💕 Saludos y linda noche para todos amigos de hive ✨️.


Hello hello my lovely Hive people ❤️ greetings to everyone at #Diy 😊 How nice to meet you again every night sharing a pleasant moment full of knowledge and creative things. Today I want to share with you my most recent sewing project 🤗 it is a beautiful maternity dress which is very soft and loose, ideal for the comfort of all pregnant women 🌻 I would like you to accompany me in each and every one of the steps to follow, so I invite you to get comfortable and continue reading 😉.

• 🧵Sewing machine • ✂️Scissors • 🧵Sewing thread • ✂️Fabric • 👗Measurement garment

•✨️🌻As a first step, and using a garment measurement as a reference method, I'm going to cut all the pieces of my dress: a top back piece, a top front piece, a bottom front piece (or skirt), a back piece divided in two for a fuller skirt, two top hems, and two inseams.
|
|
|
|---|---|---|
•✨️🌻I'll continue sewing the top edges, placing them on the wrong side of the fabric and sewing with a straight seam. Then, I'll turn them over and sew with a straight seam again, but folding them to the front. Then, I'll sew the inseams, placing them on the wrong side. Then, I'll fold them over and sew with a straight seam again.
|||||
|-|-|-|-|
•✨️🌻I'll sew the ends of the top piece halfway with a straight seam. Then, I'll make darts in the front to shape the bust. Then, I'll zigzag halfway and sew the back piece together, joining both back pieces with a straight seam twice.
|||||
|-|-|-|-|
•✨️🌻I continue sewing the upper front part together with the upper front part using a straight and zigzag stitch. To secure this, I will also do the same with the back part. Then, I will sew both ends of the dress with a straight stitch and secure with a zigzag stitch. To finish, I will sew the hem by folding the fabric and sewing with a zigzag stitch and tension on 1 to create a wavy or curled edge.
|
|
|
|---|---|---|
|
|
|
|---|---|---|

The color yellow is totally radiant, enhancing without a doubt any skin tone and feminine beauty 💖 Wearing yellow clothing at this beautiful stage of pregnancy will make you feel dazzling 🌻🤗 I am very happy to have been here sharing this little tutorial post where we all learn many new things every day ❤️ I hope with all my heart you liked my post 💕 Greetings and have a nice evening to all my friends at hive ✨️.
20250629_220720.jpg (https://files.peakd.com/file/peakd-hive/selenediva/23wqpa2rCXugFij1fSnPQGPzaMx9g3bPVcE6wFn5UtwCif7mjvHYAWMDVML5GP1czkmg7.jpg)
Dark Blue Elegant 3d Illustration Geometric Learn Trading LinkedIn Banner_20250330_125158_0000.png (https://files.peakd.com/file/peakd-hive/selenediva/EogLpCBq42Ros62UDdV6Umi2UPR2EZpvGzCKTebL3UiFWy7omcUYmWKZaDWAeE2sbMd.png)
✅️Todas las fotografías son de mi autoría capturadas con mi Samsung Galaxy A12 y editadas en GridArt. El texto y resumen es totalmente de mi autoría. Texto traducido en el traductor Google.✅️
✅️All the photographs are my own, captured with my Samsung Galaxy A12 and edited in GridArt. The text and summary is entirely my own. Translated text in Google translator.✅️
PhotoCollage_1683262357019.jpg (https://files.peakd.com/file/peakd-hive/selenediva/EoEp1ySX92VkpjiQz19xpkhbrqp3jsmcqBJF8RJQpETRrb4mnSWyWAQsSmAph5tK5yd.jpg)