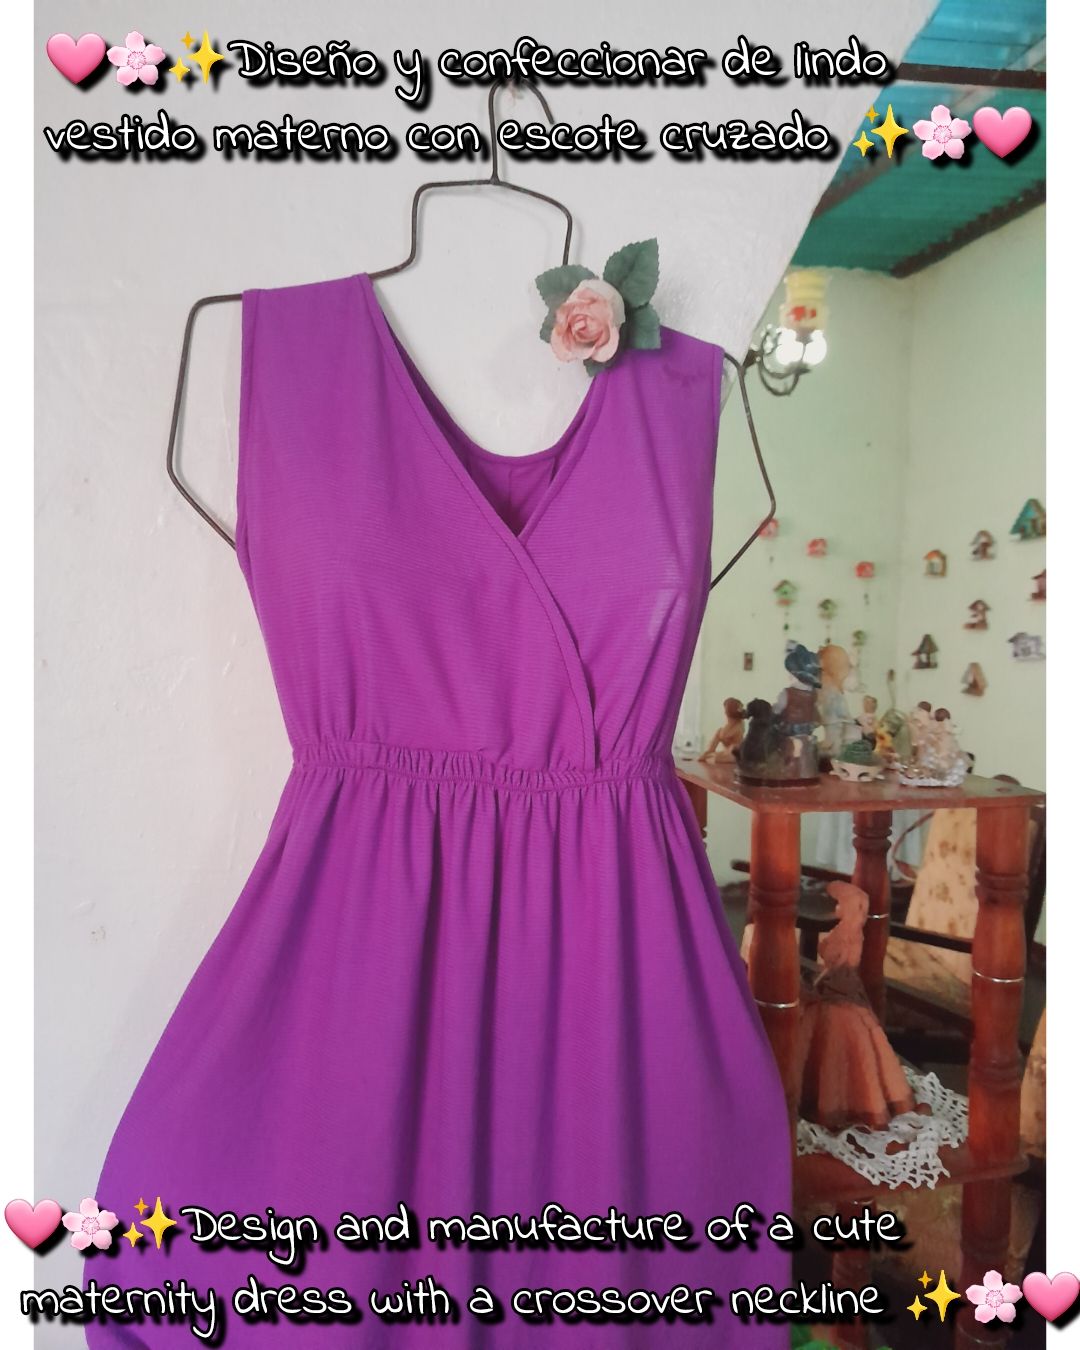
Hola muy buenas noches para todos queridos amigos de Hive ❤️ espero de todo corazón que todos se encuentren muy bien 🤗 es un placer saludarlos y compartir con ustedes esta noche de hoy con todos los artistas que hacen vida en esta prestigiosa y creativa comunidad de #Diy hoy quiero compartir con ustedes mi diseño de moda y posterior confección de un bello vestido materno con detalle de escote cruzado me encantaría que me acompañen en todos y cada uno de los pasos a seguir para que ustedes también confeccionen el suyo. Los invito a ponerse cómodos y acompáñarme 😘.
• 🧵Máquina de coser • ✂️Tijera •🧵 Hilo de coser • ✂️Tela • 👗Prenda de medida •🧵Elástica
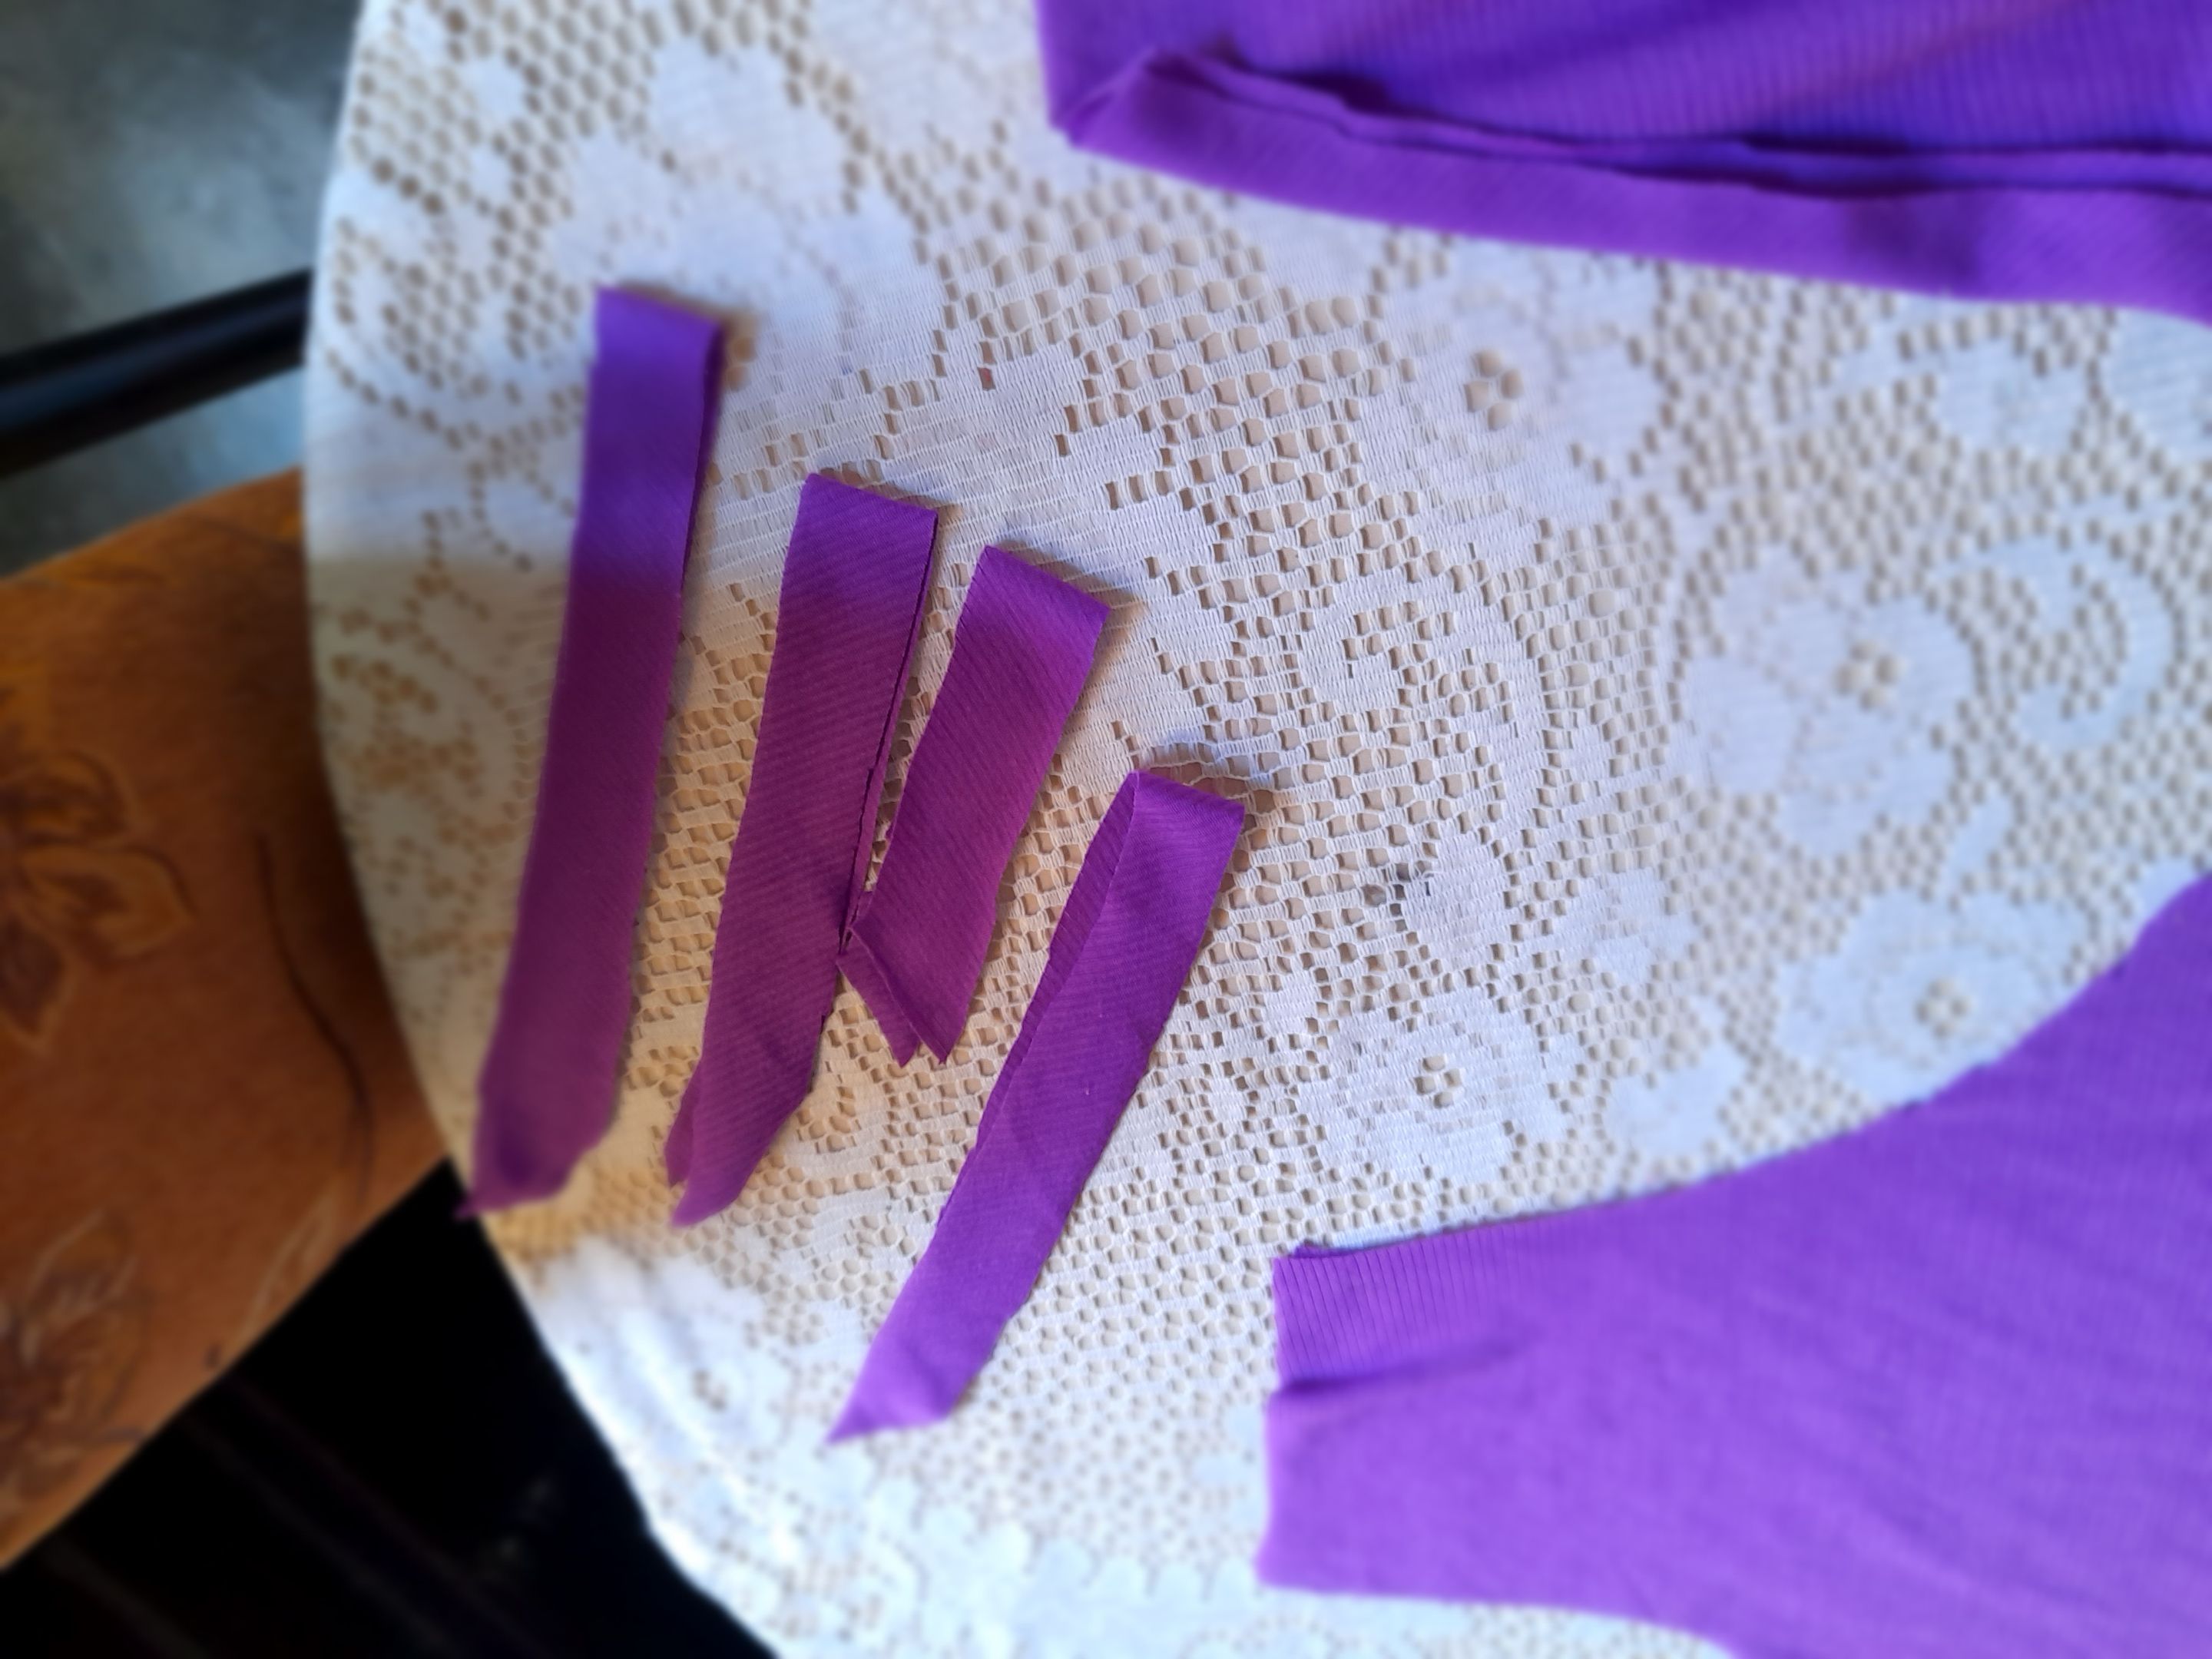
•✨️💜Voy a iniciar cortando todas las piezas de mi vestido siendo estas dos piezas traseras dividida en dos, una falda amplia frontal y un escote comprendido entre dos piezas, una orilla superior trasera y dos orillas para las mangas.
 |
 |
|---|---|
 |
 |
|---|---|
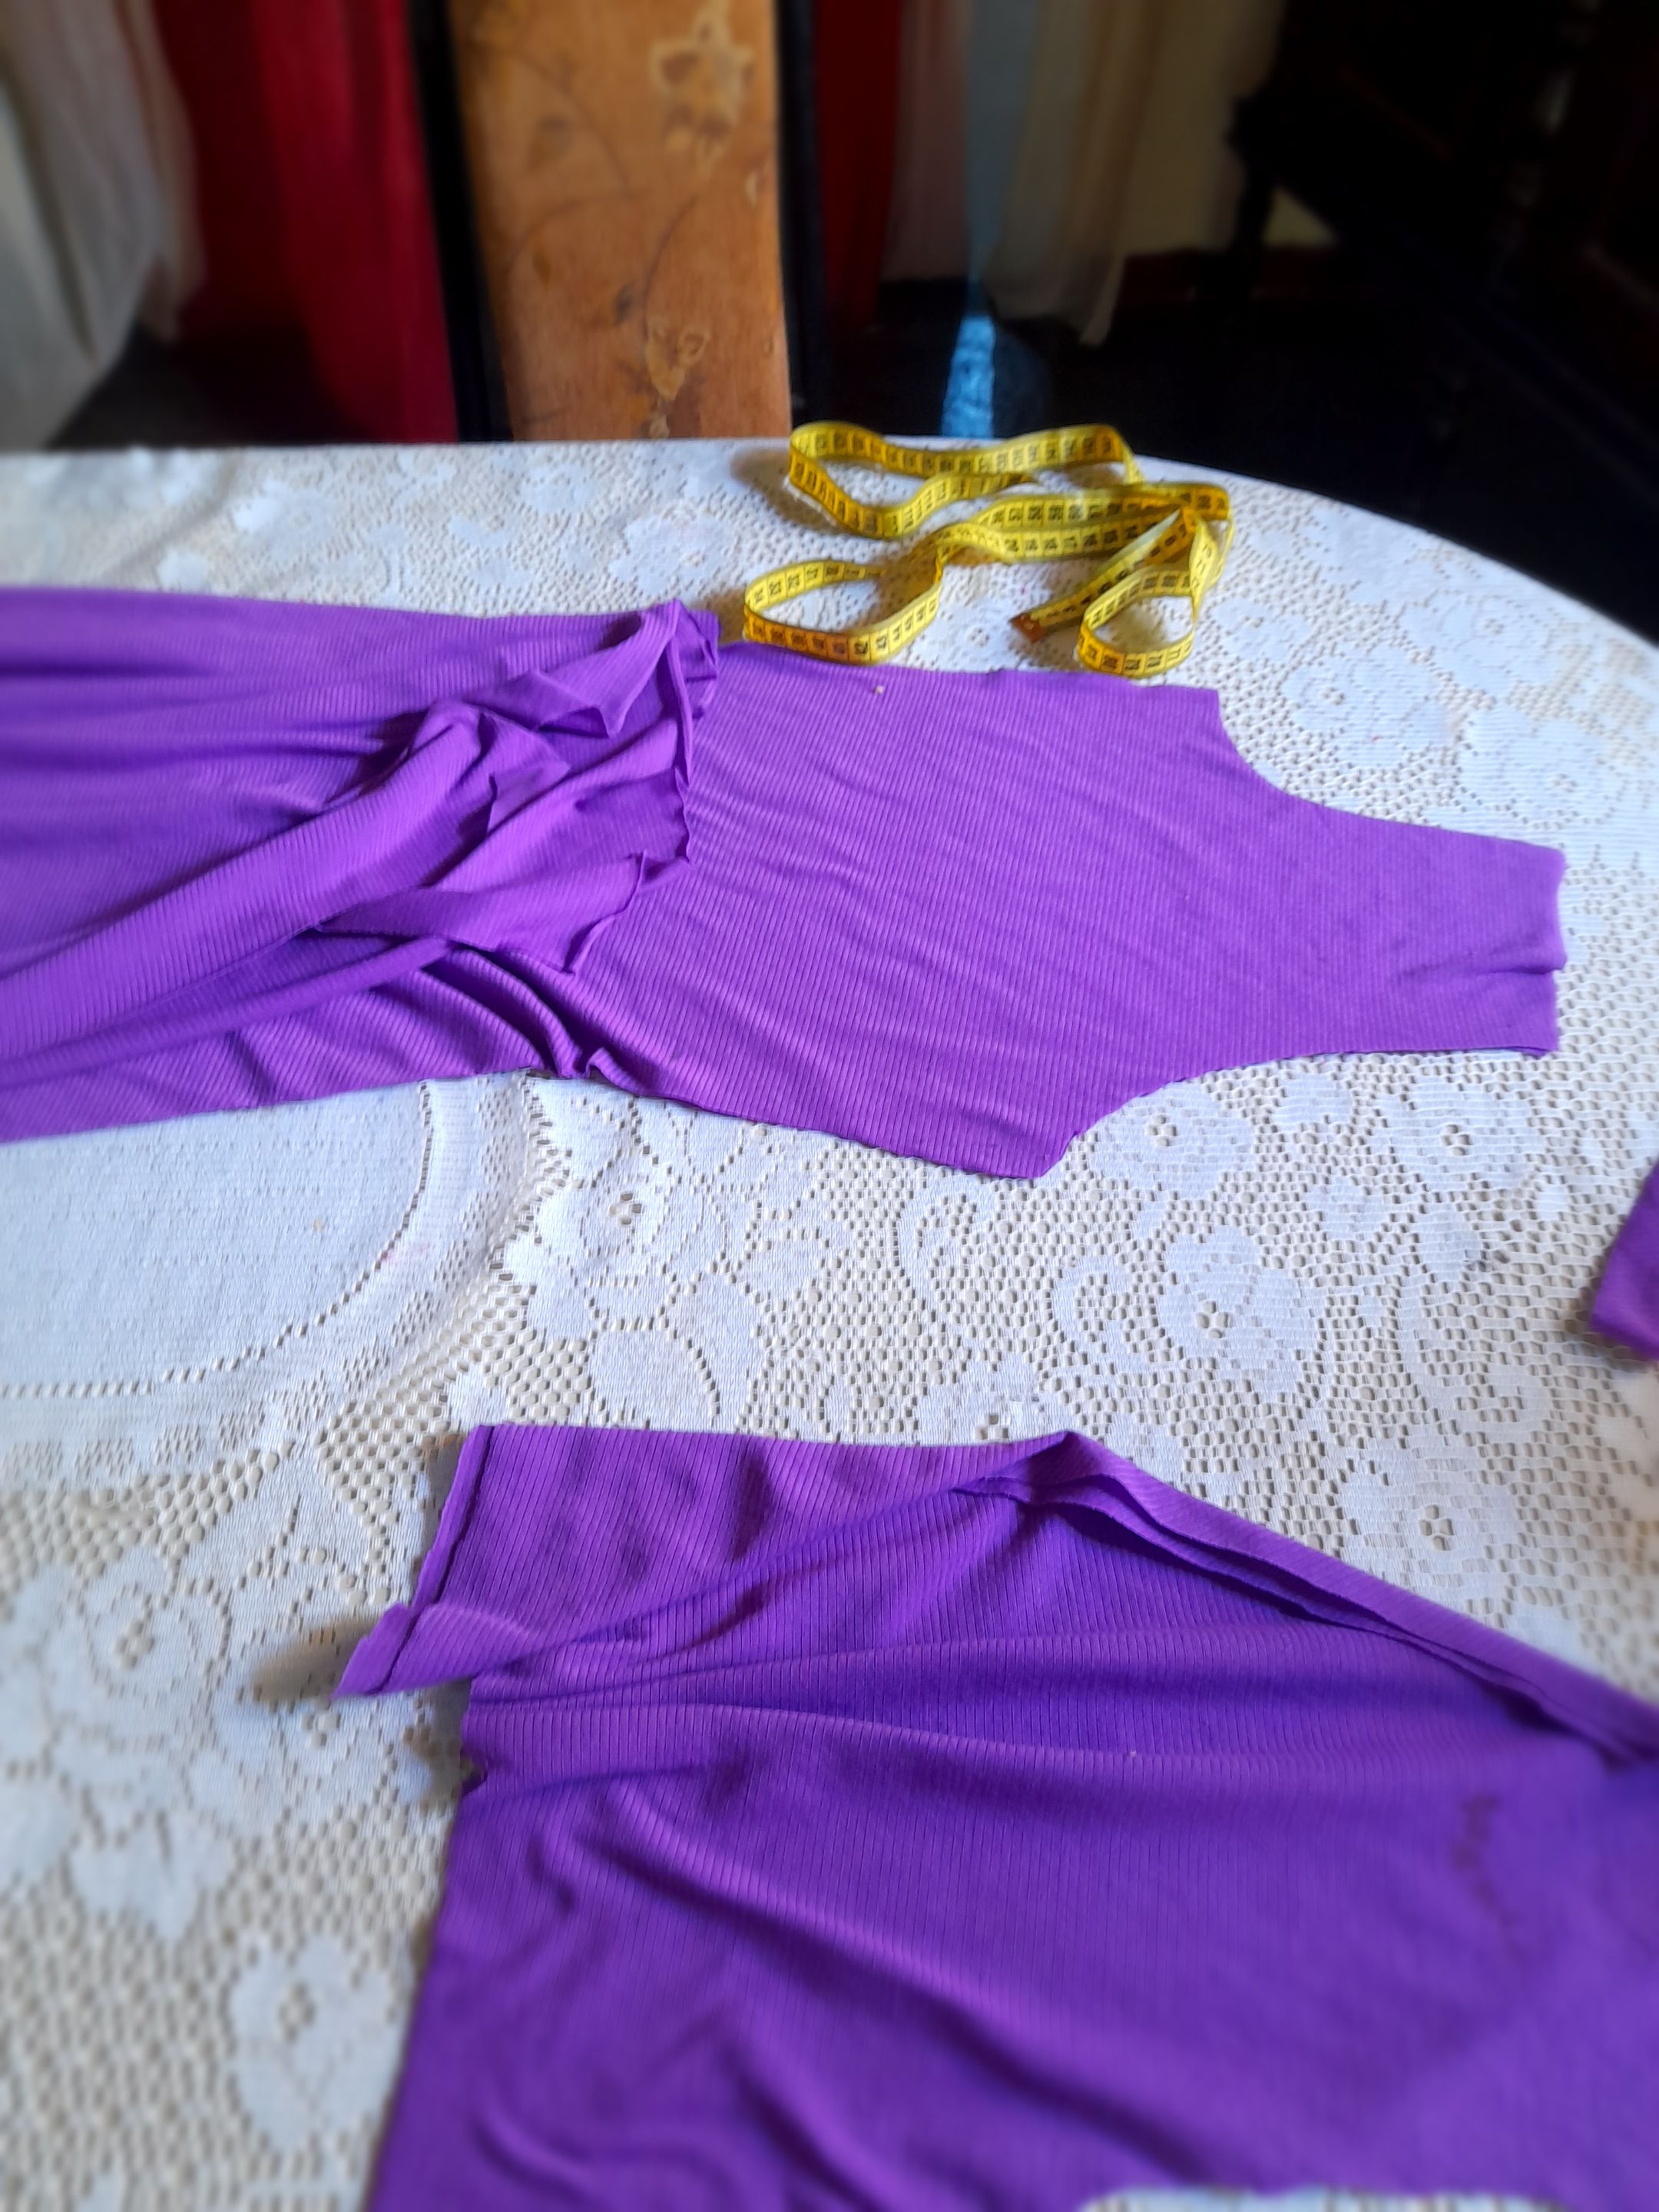
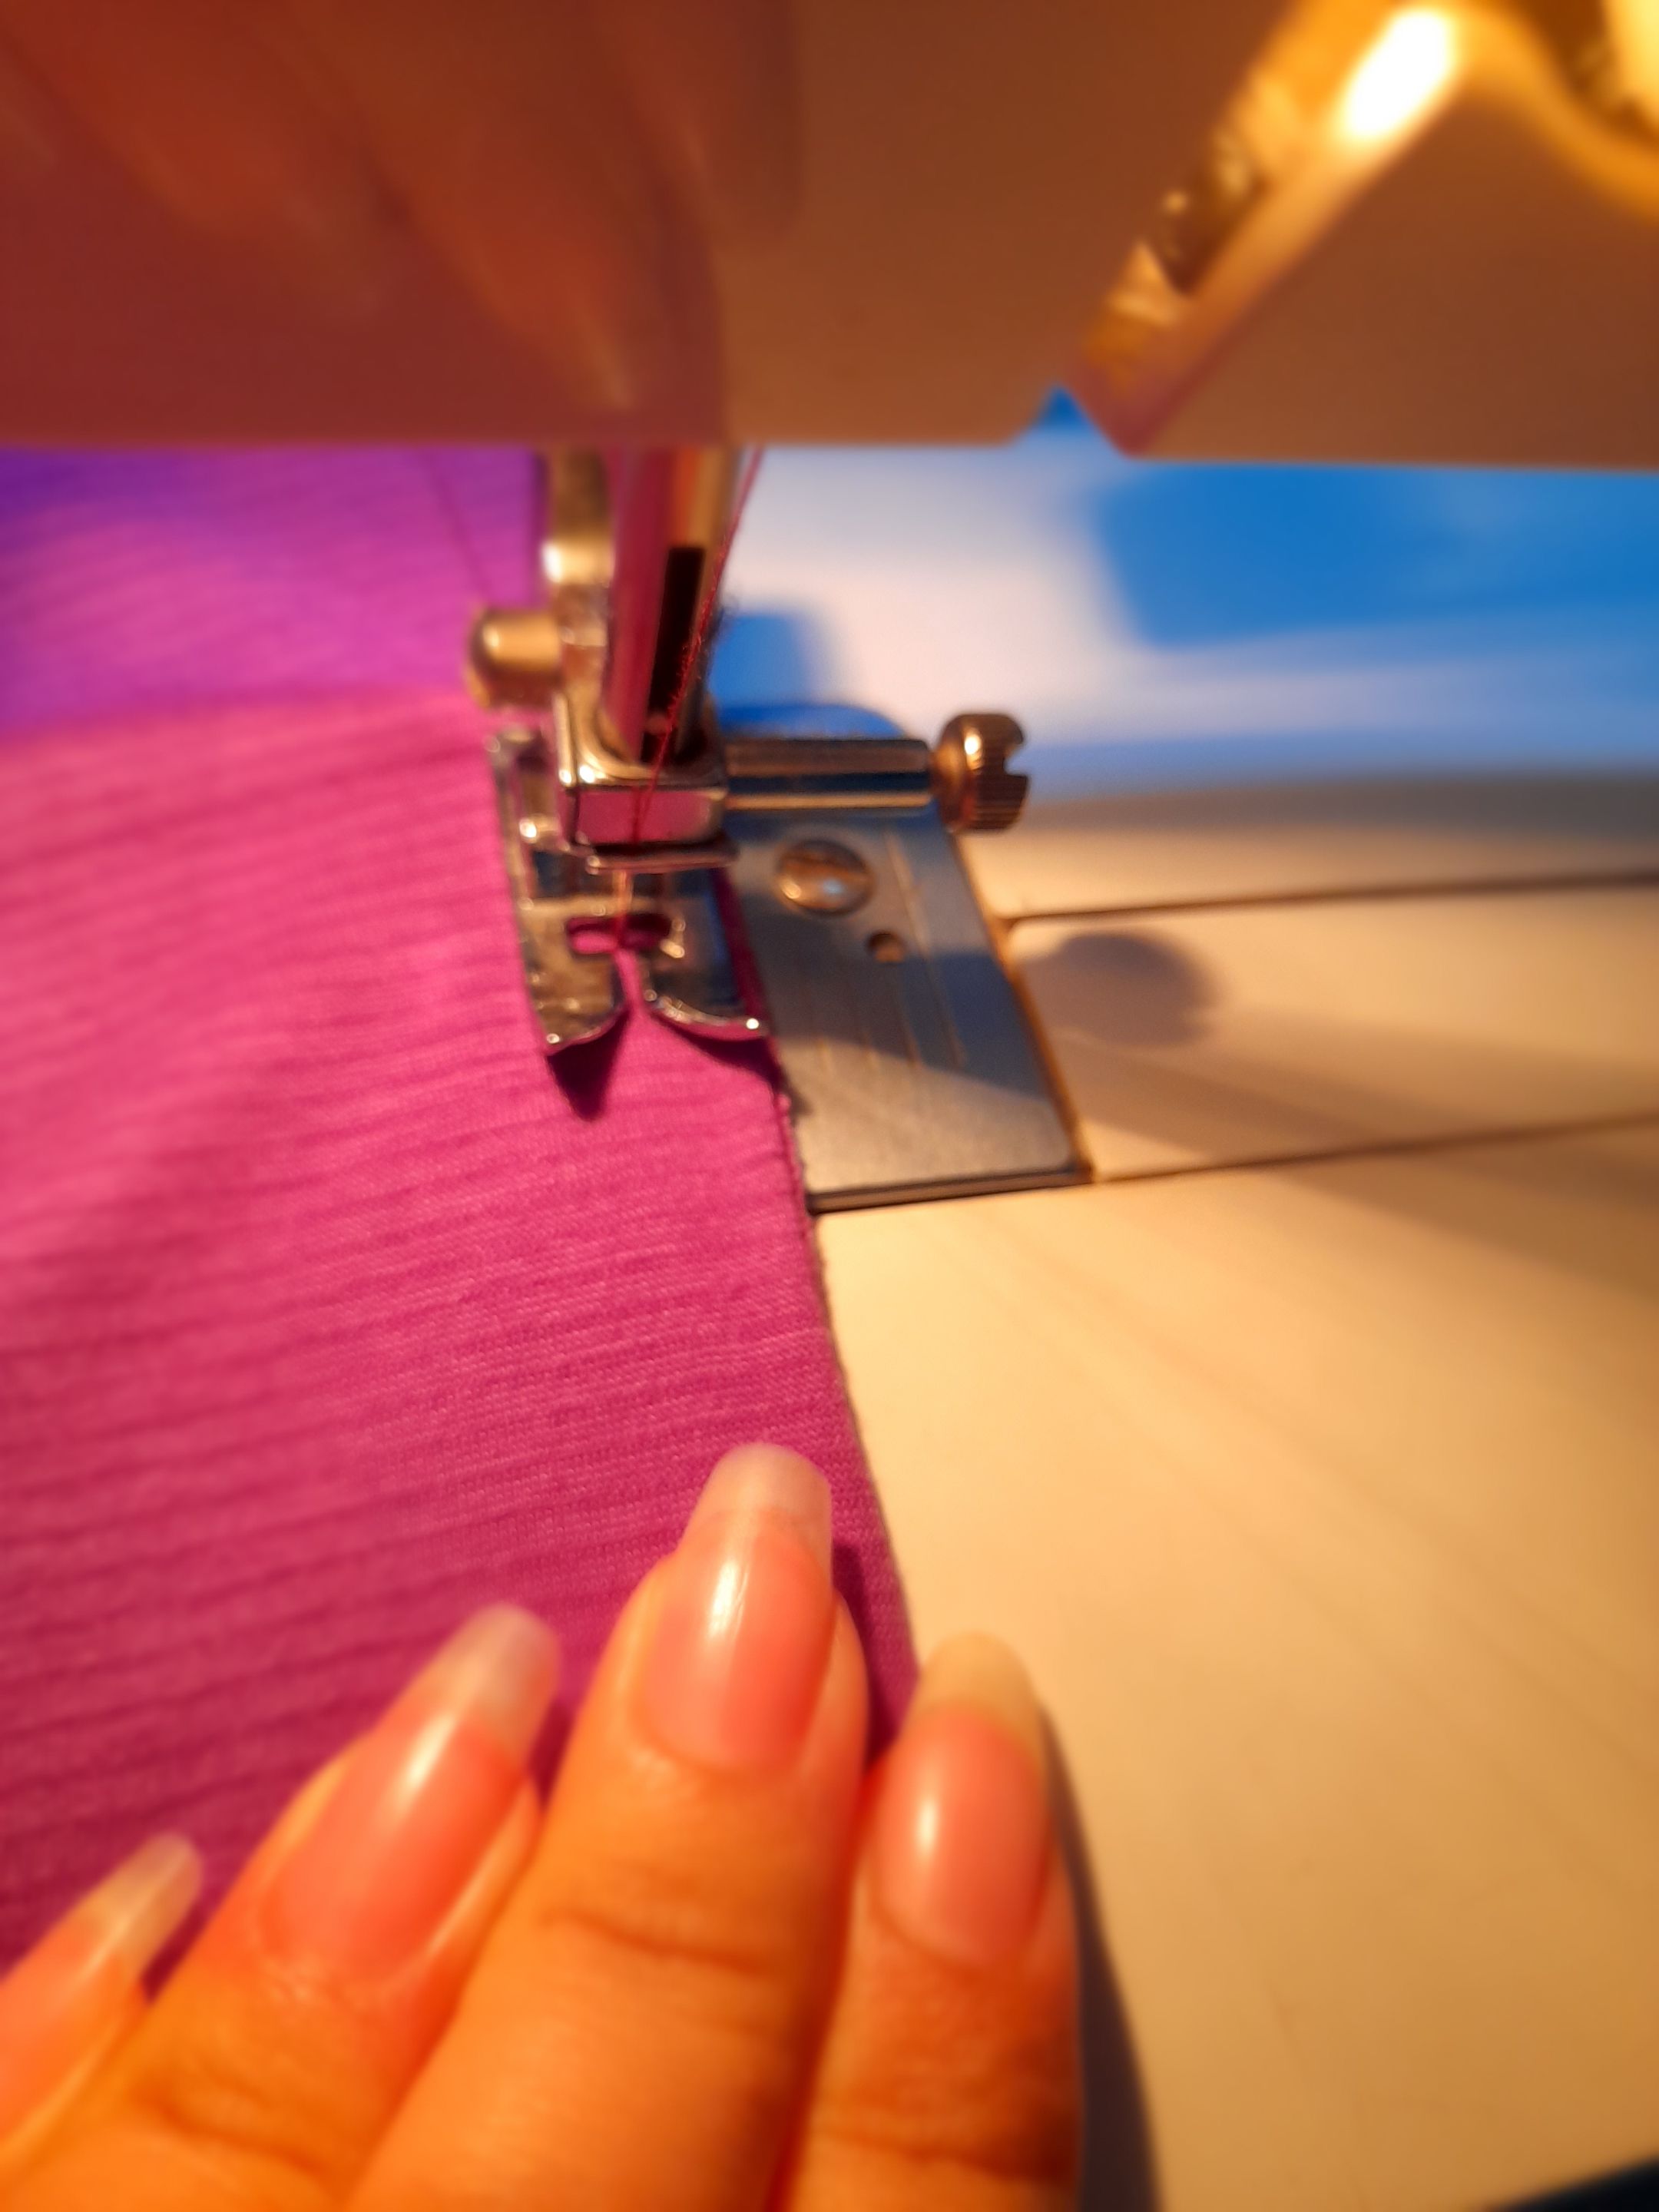
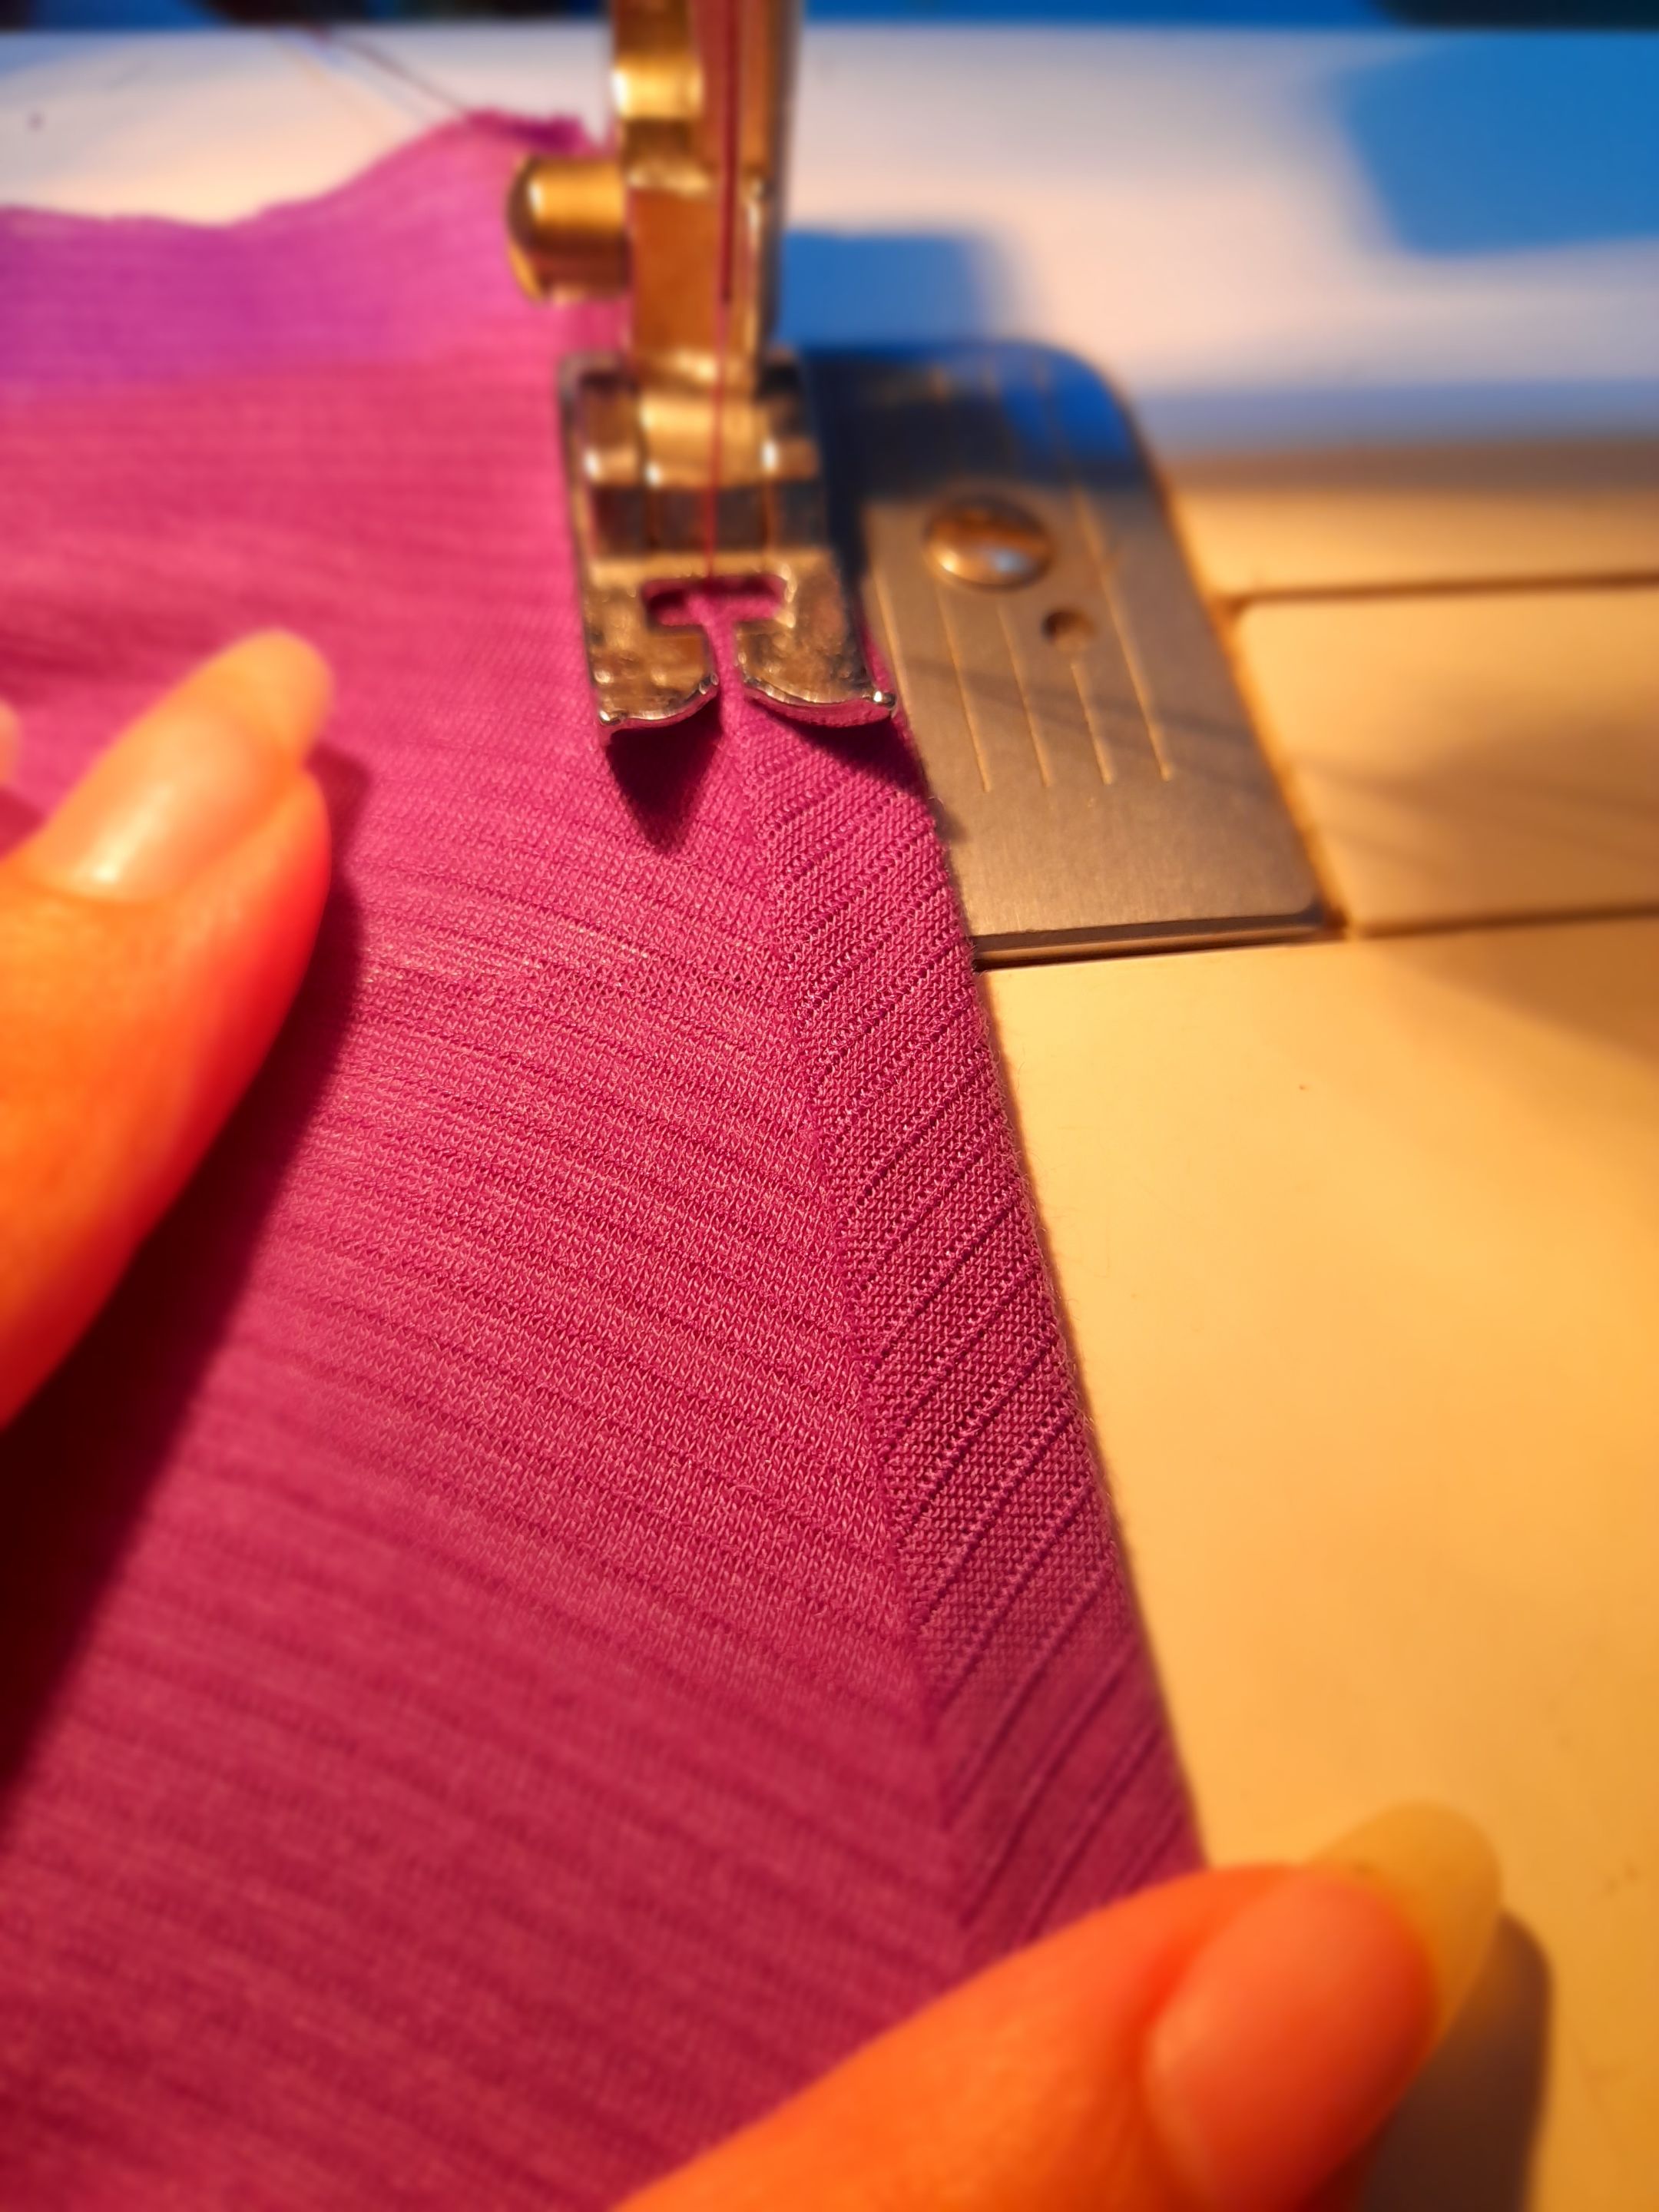
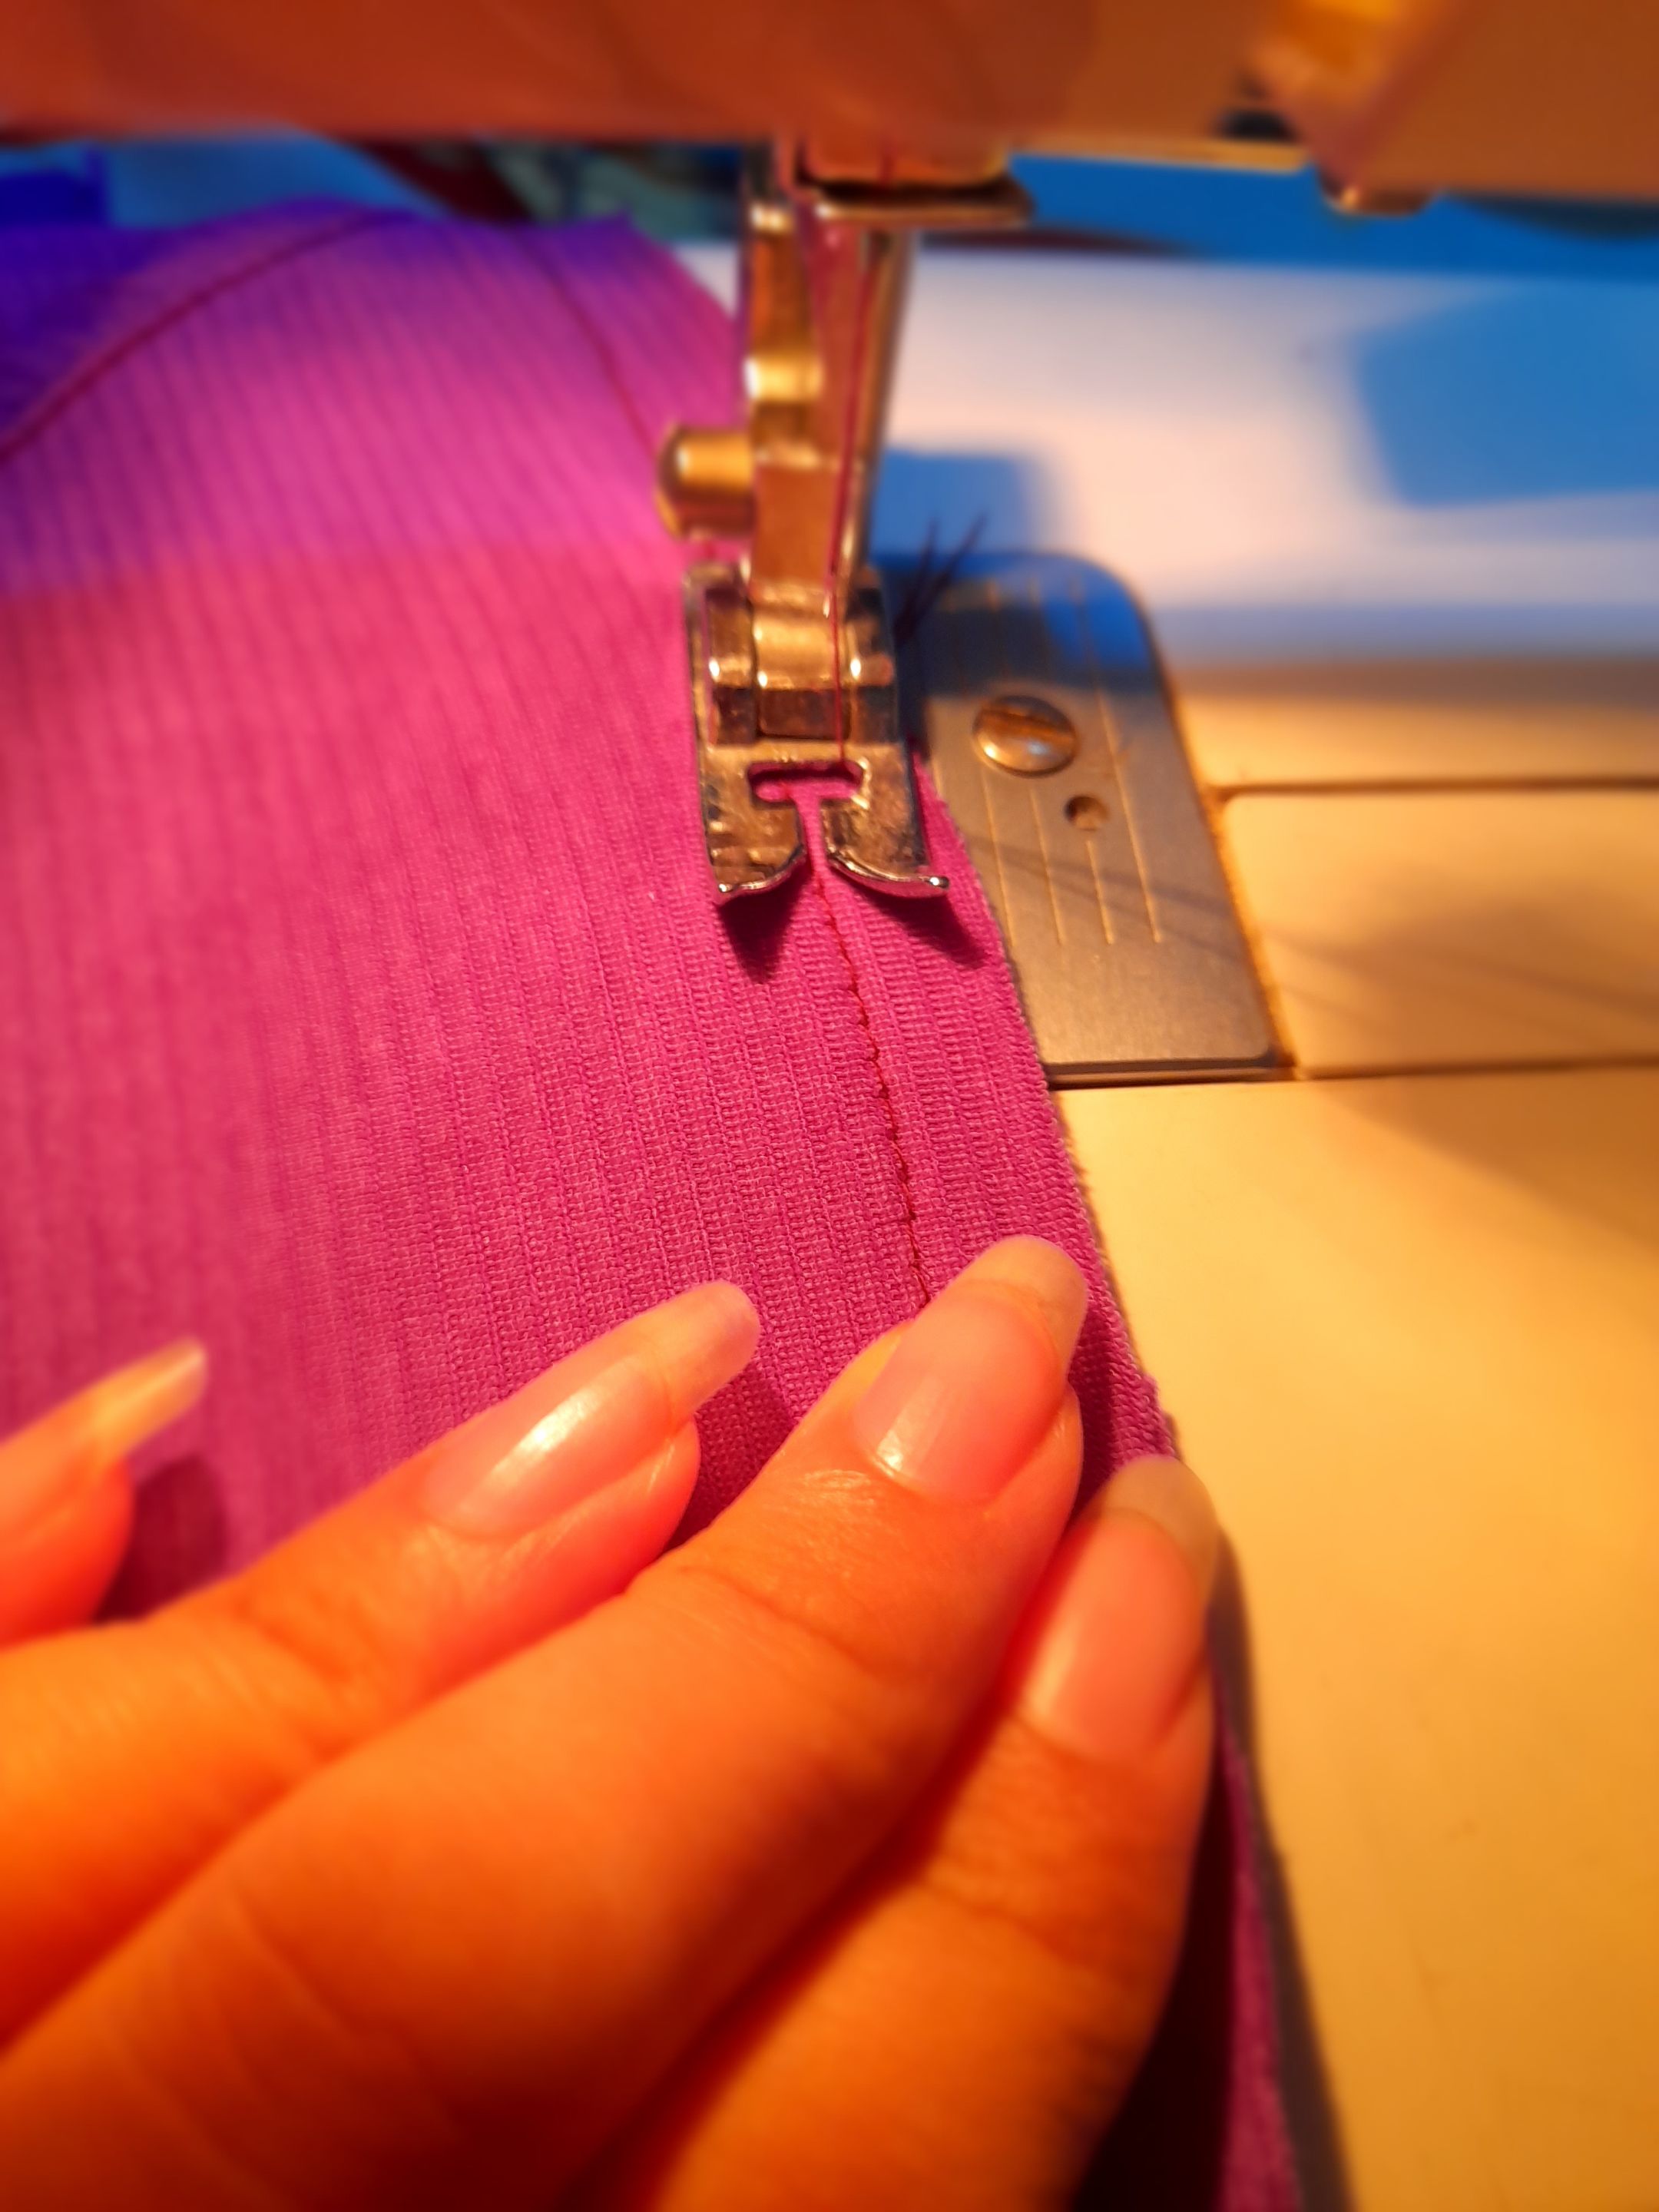
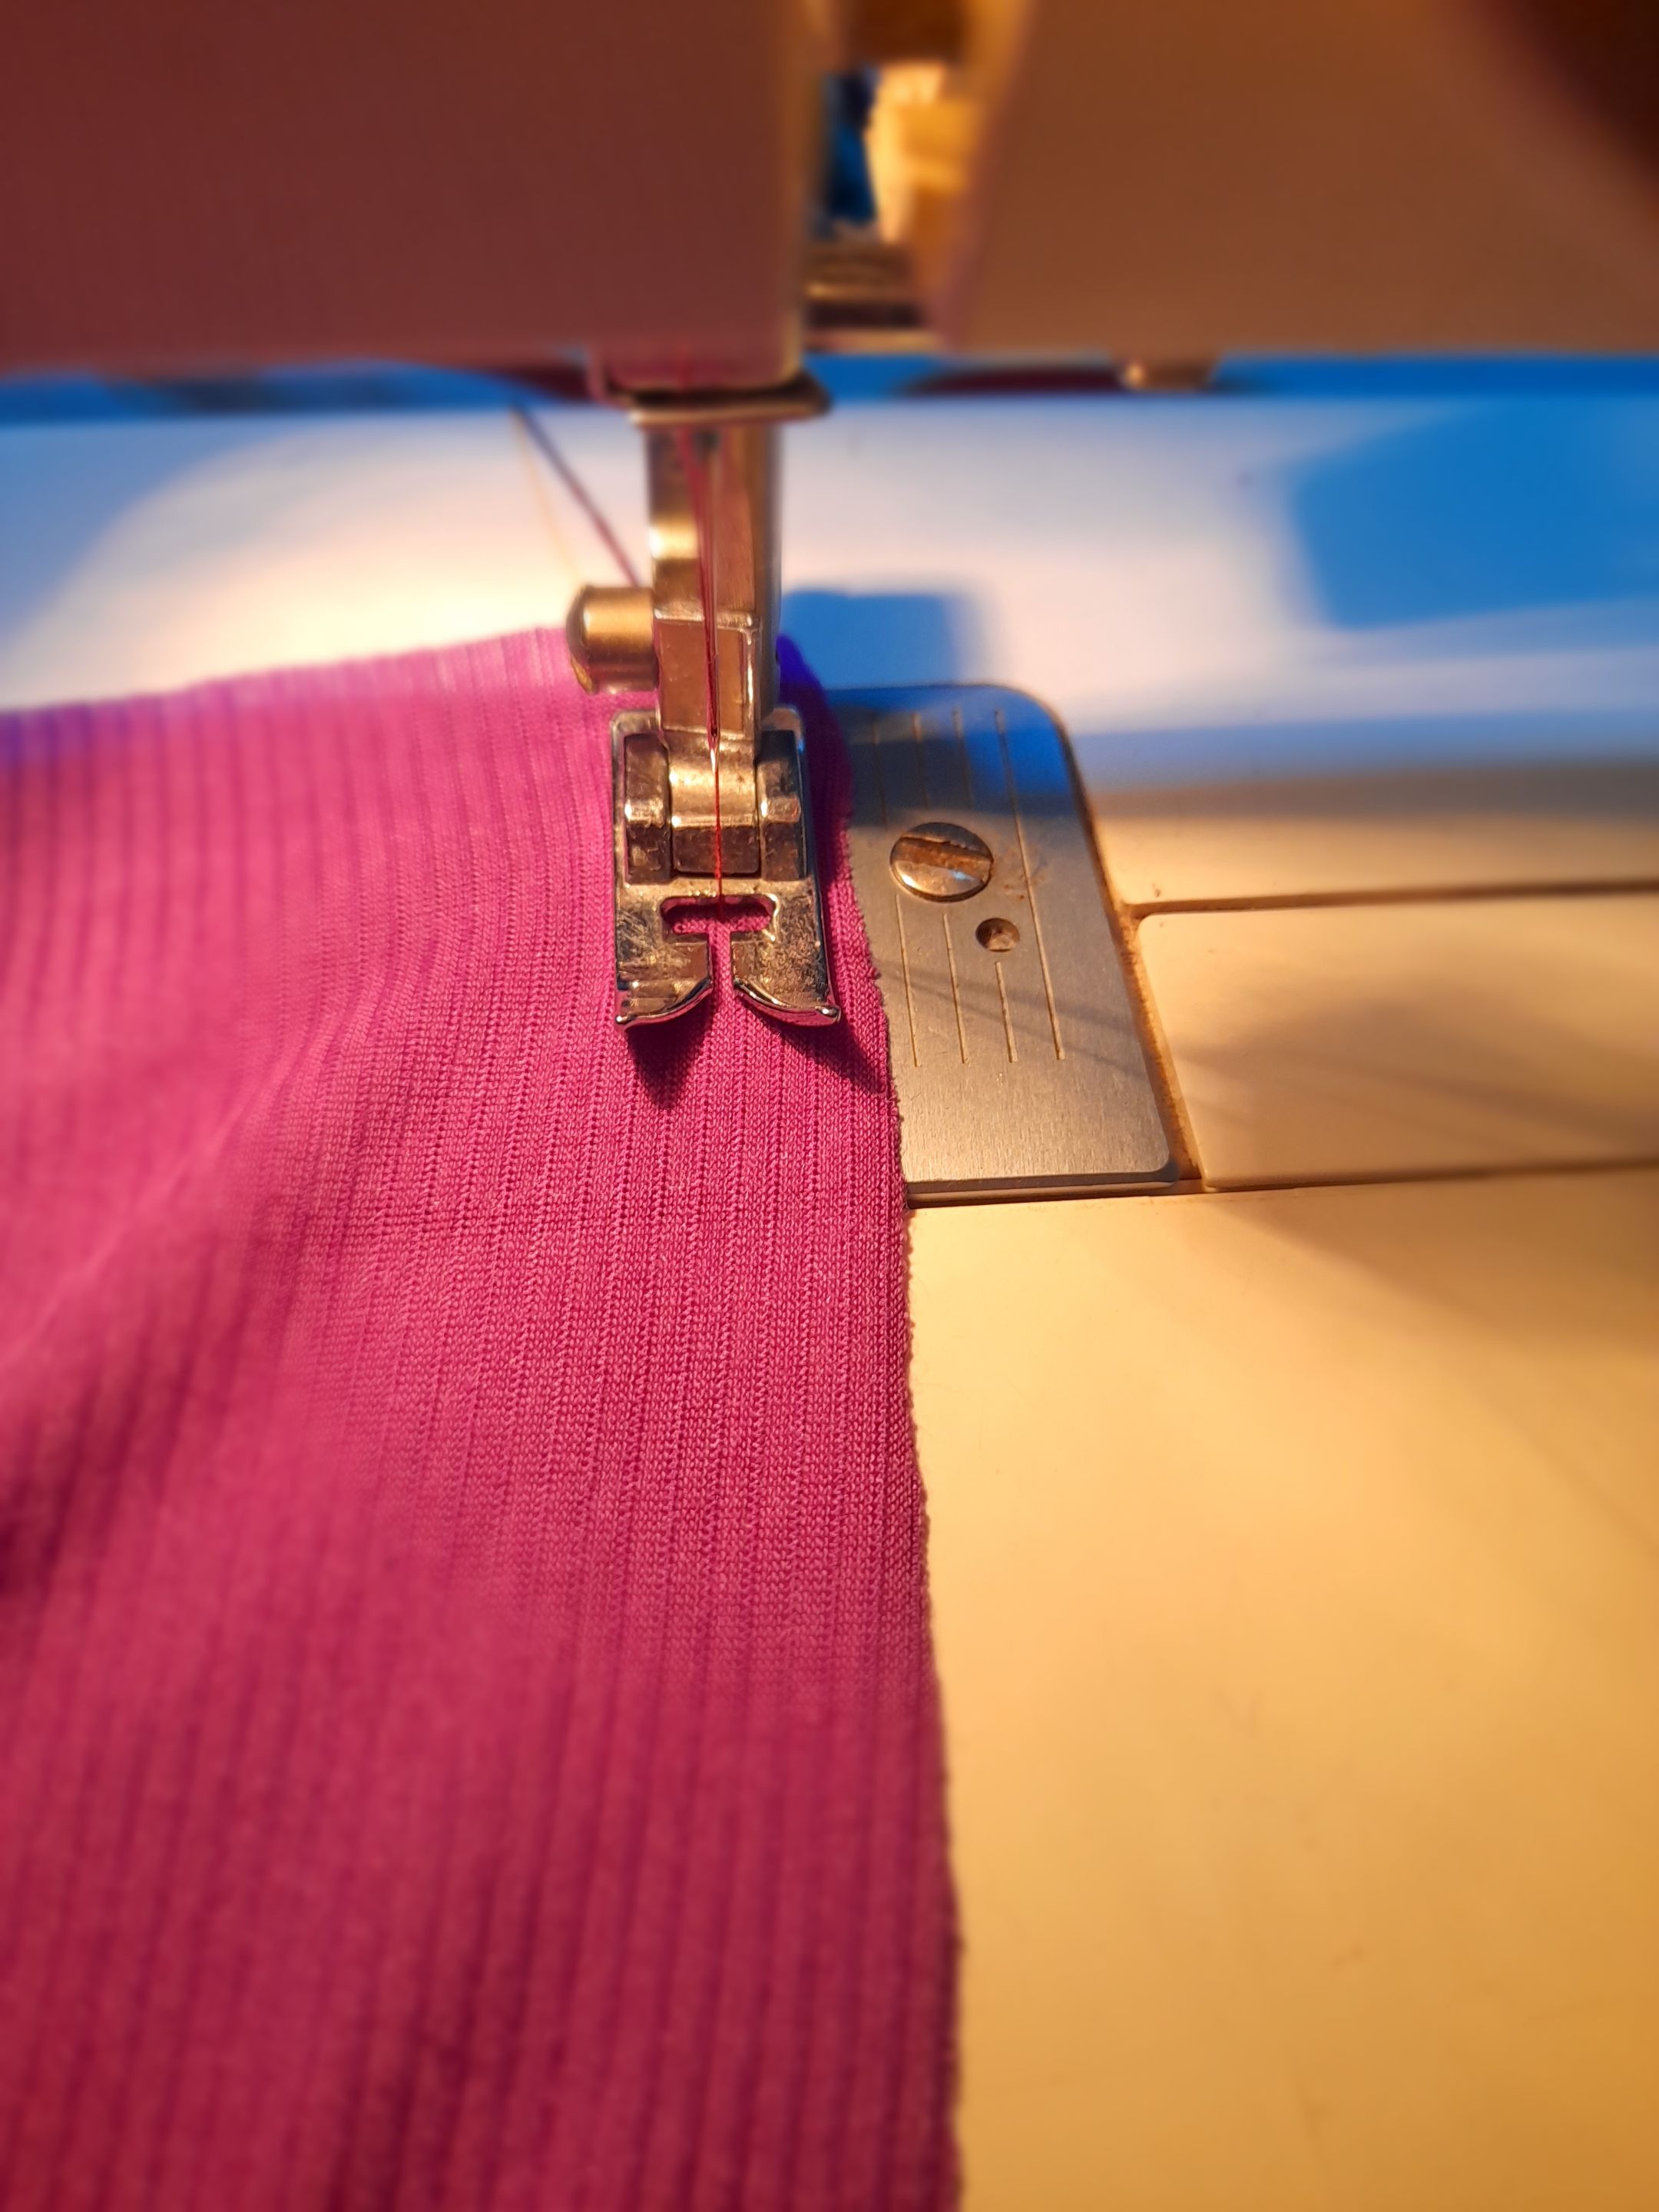
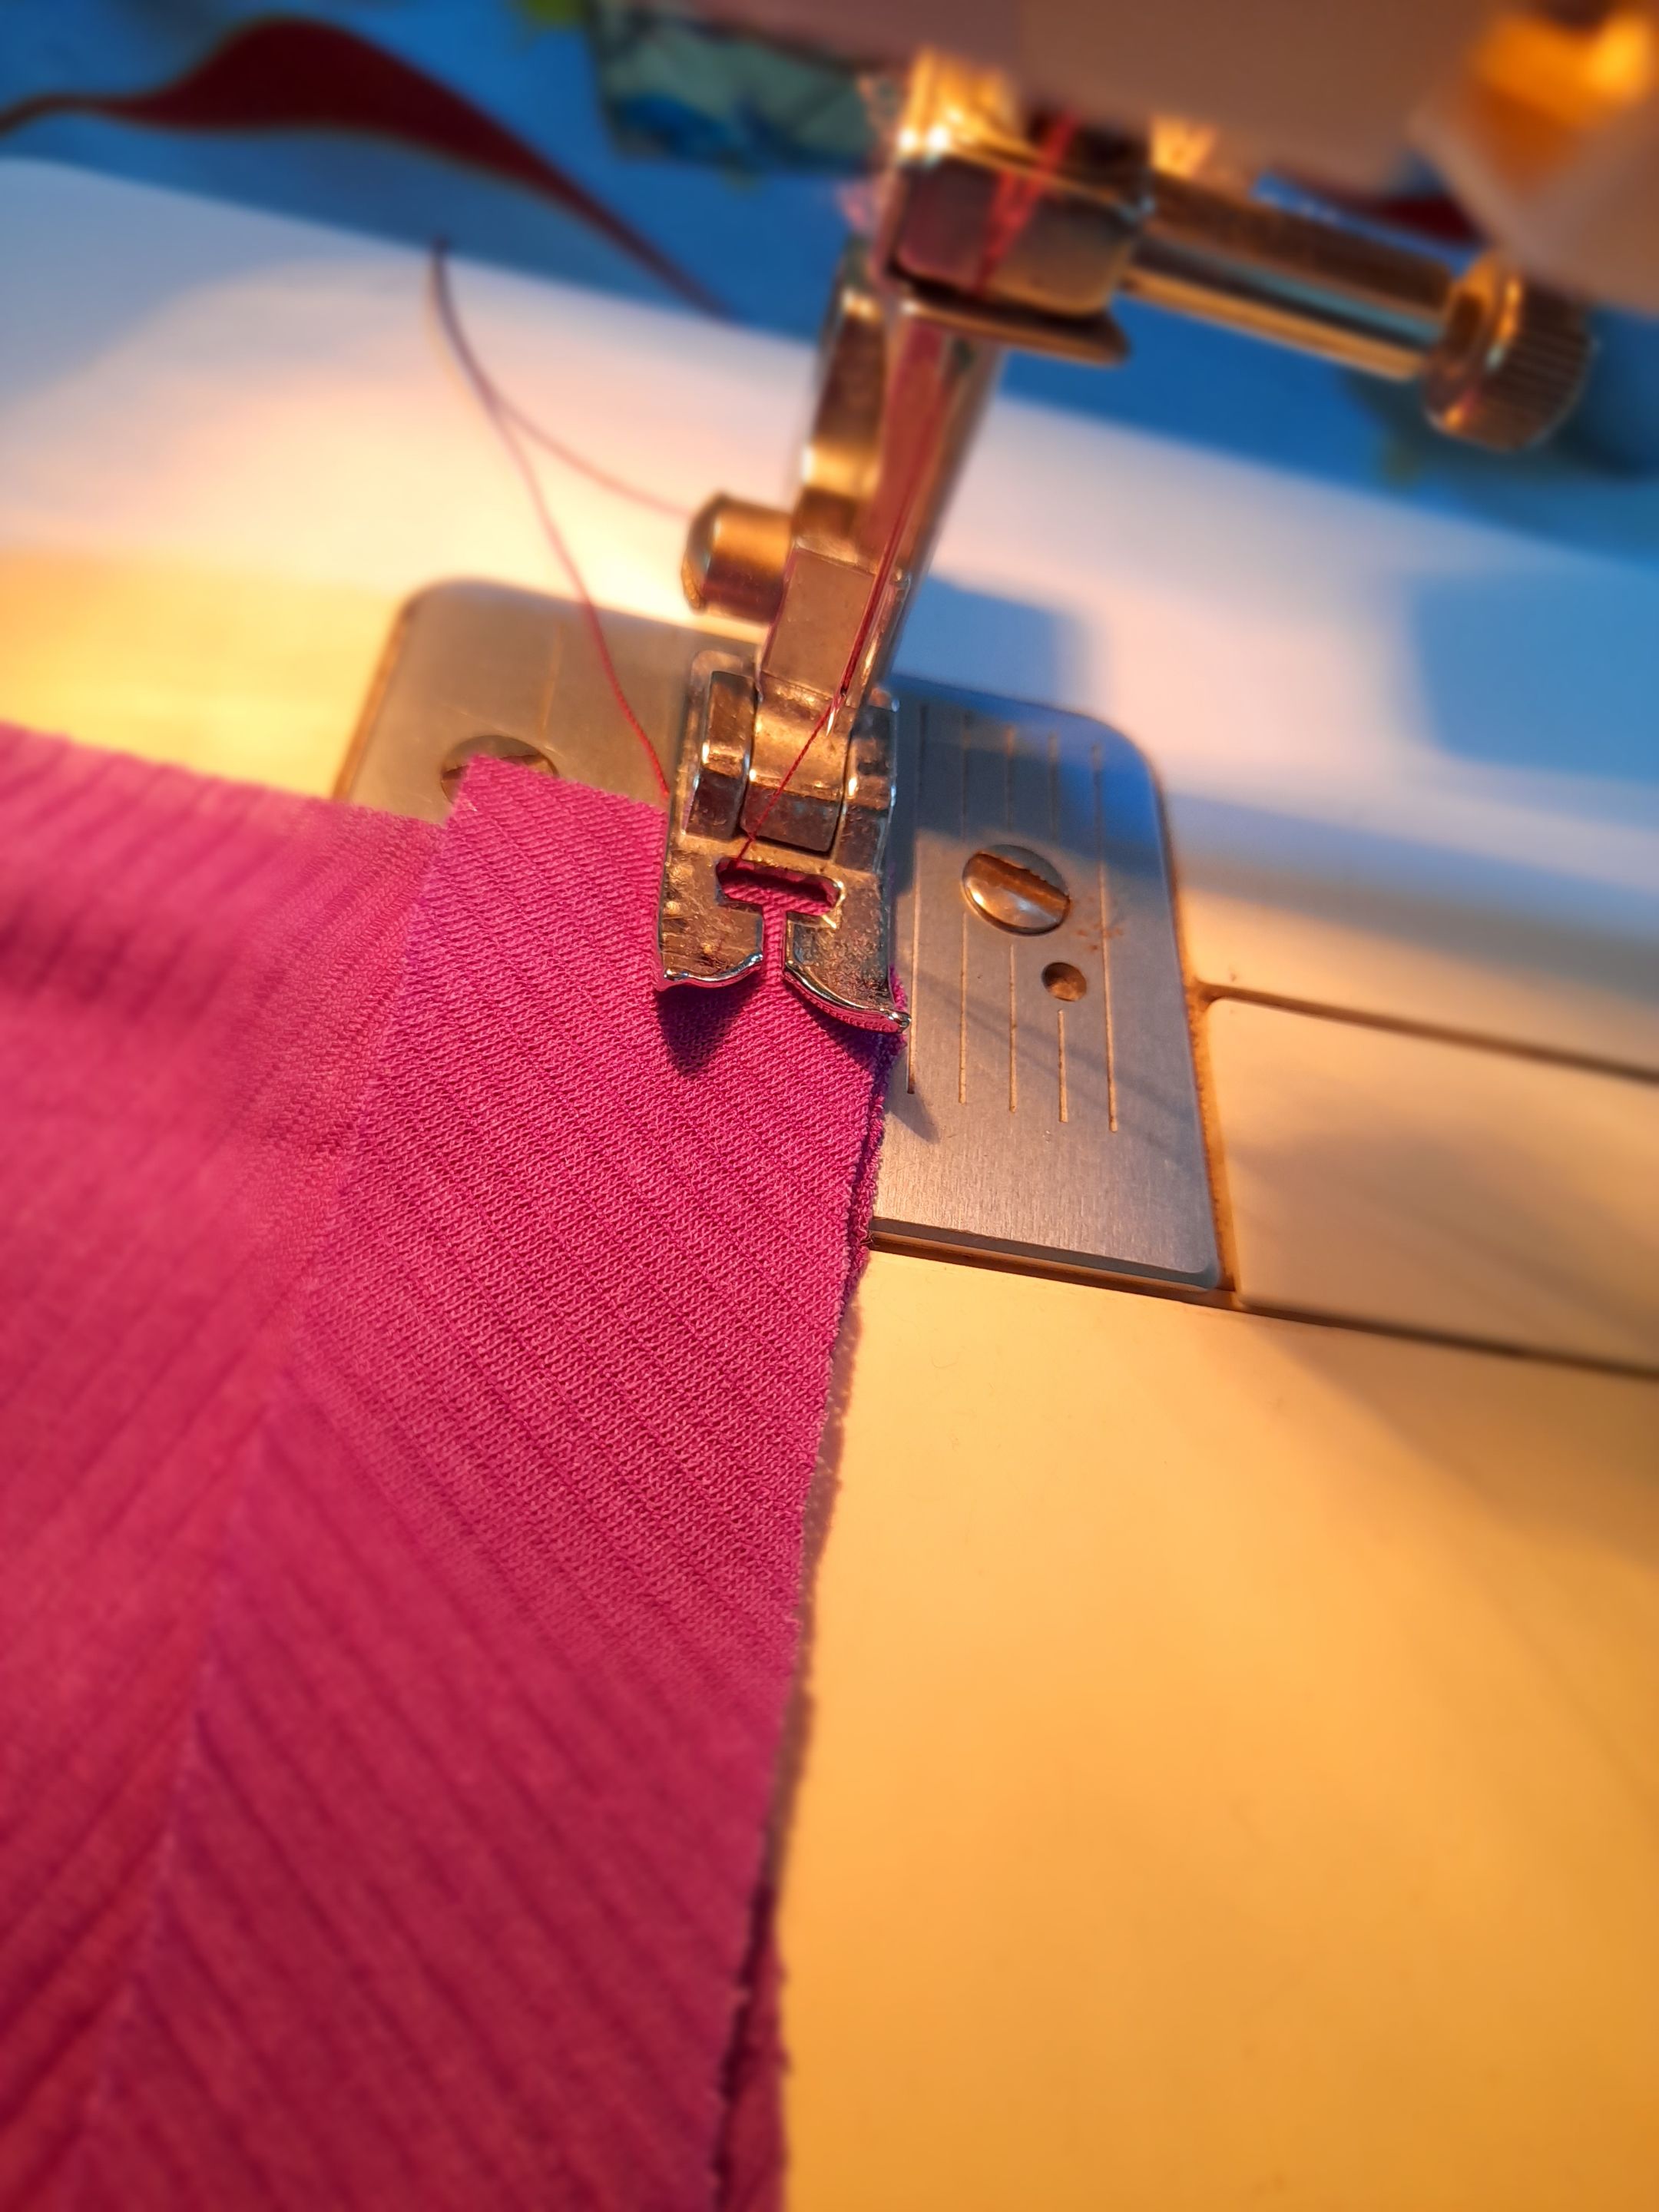
•✨️💜Continúo cosiendo las dos piezas traseras con costura recta dos veces, luego voy a coser la orilla superior trasera con costura recta para luego voltear y coser con costura recta nuevamente. Continúo cosiendo la orilla del escote cruzado doblando la tela y cosiendo con costura recta para luego coser ambas partes en los hombros con costura recta y zigzag para asegurar.
 |
 |
 |
|---|---|---|
 |
 |
|---|---|
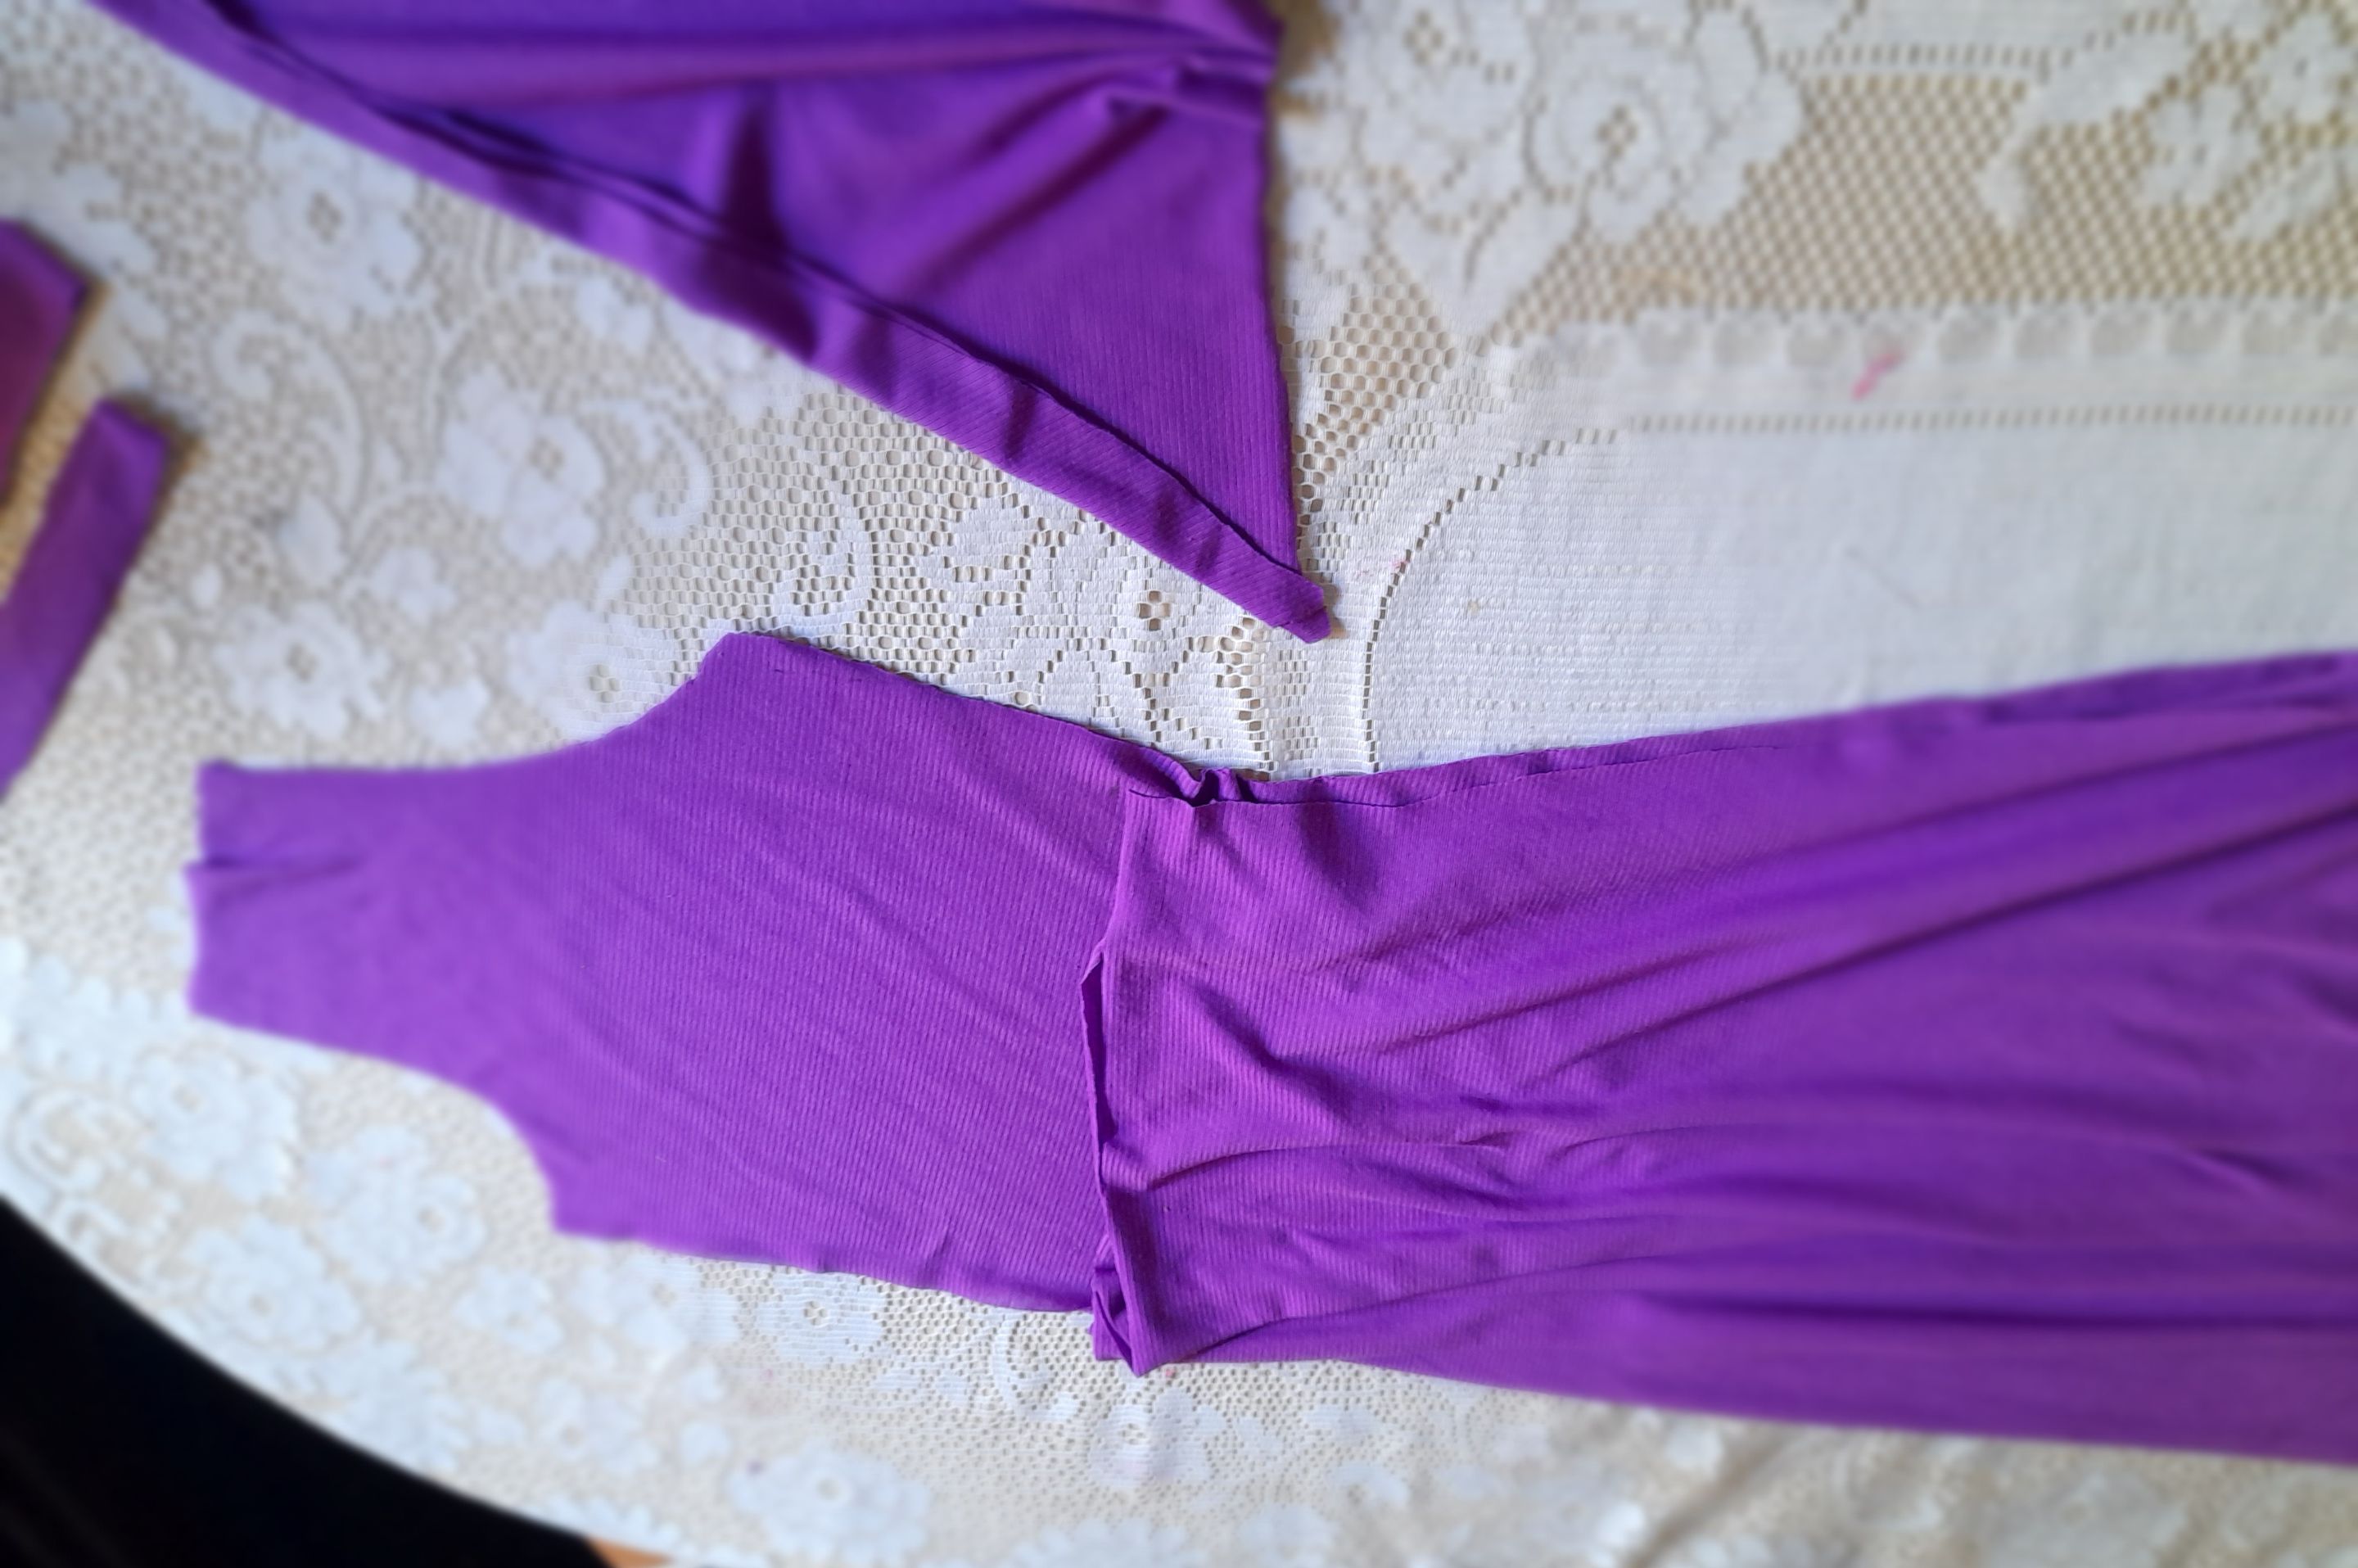
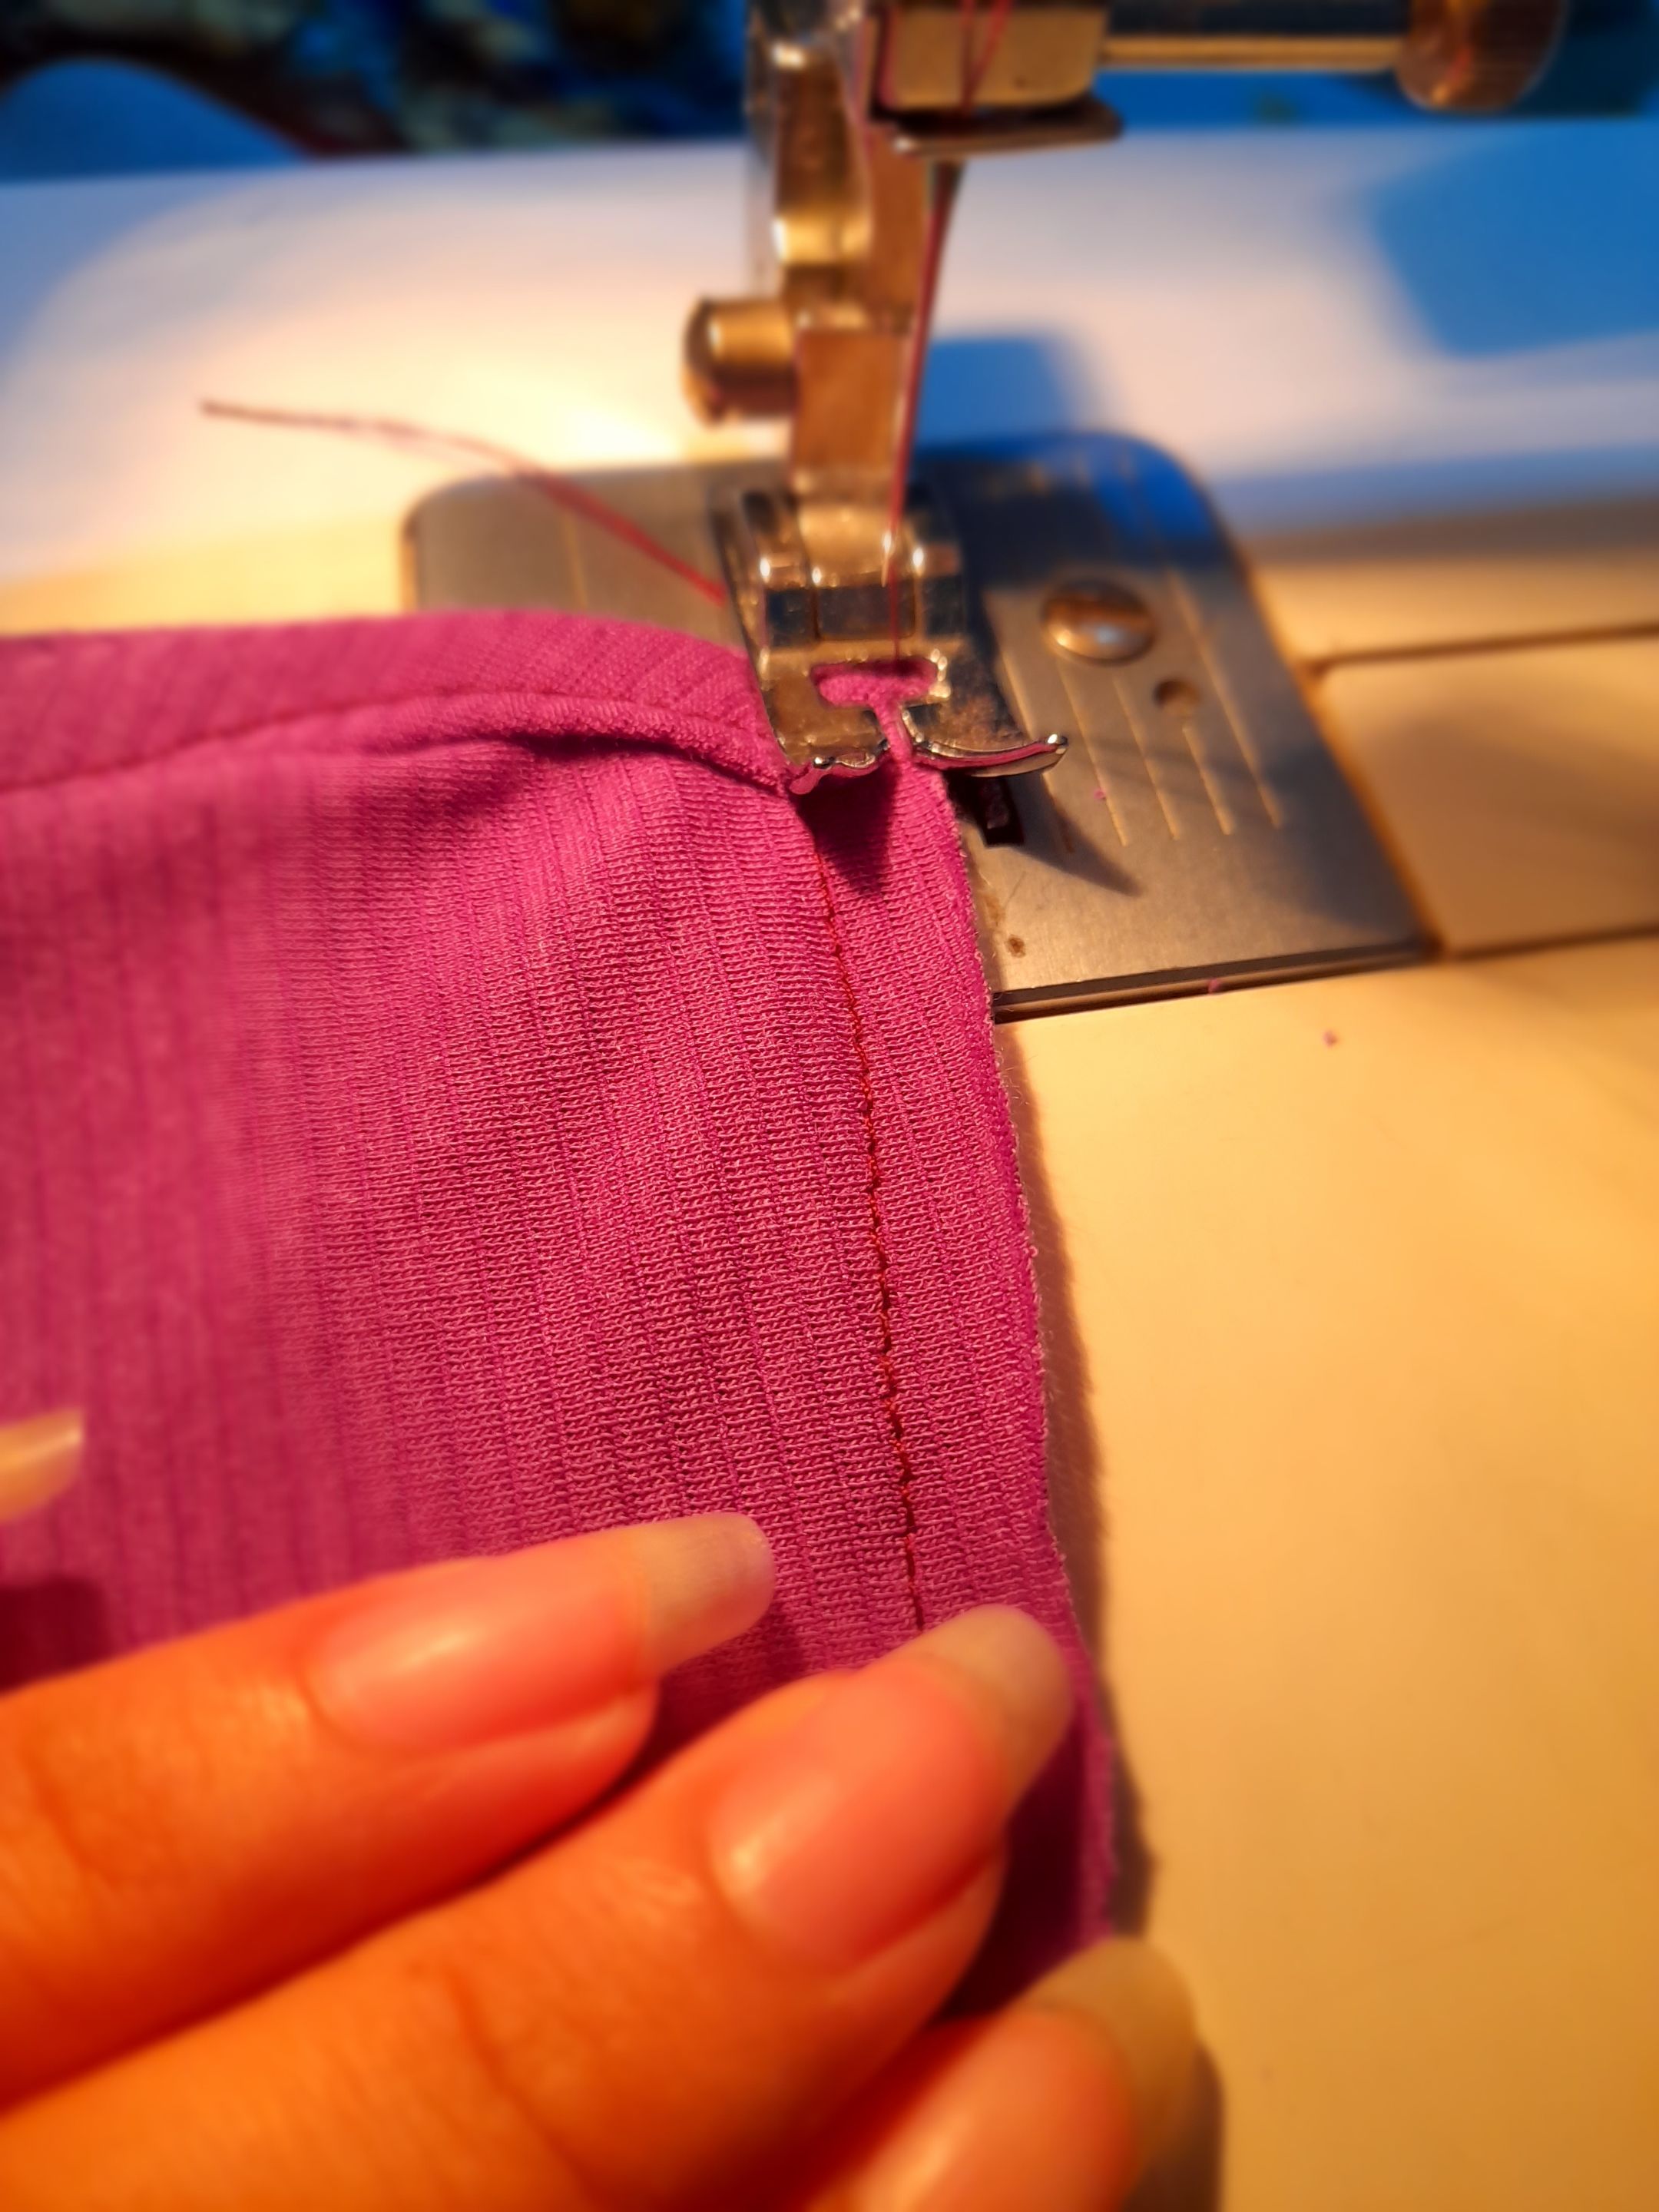
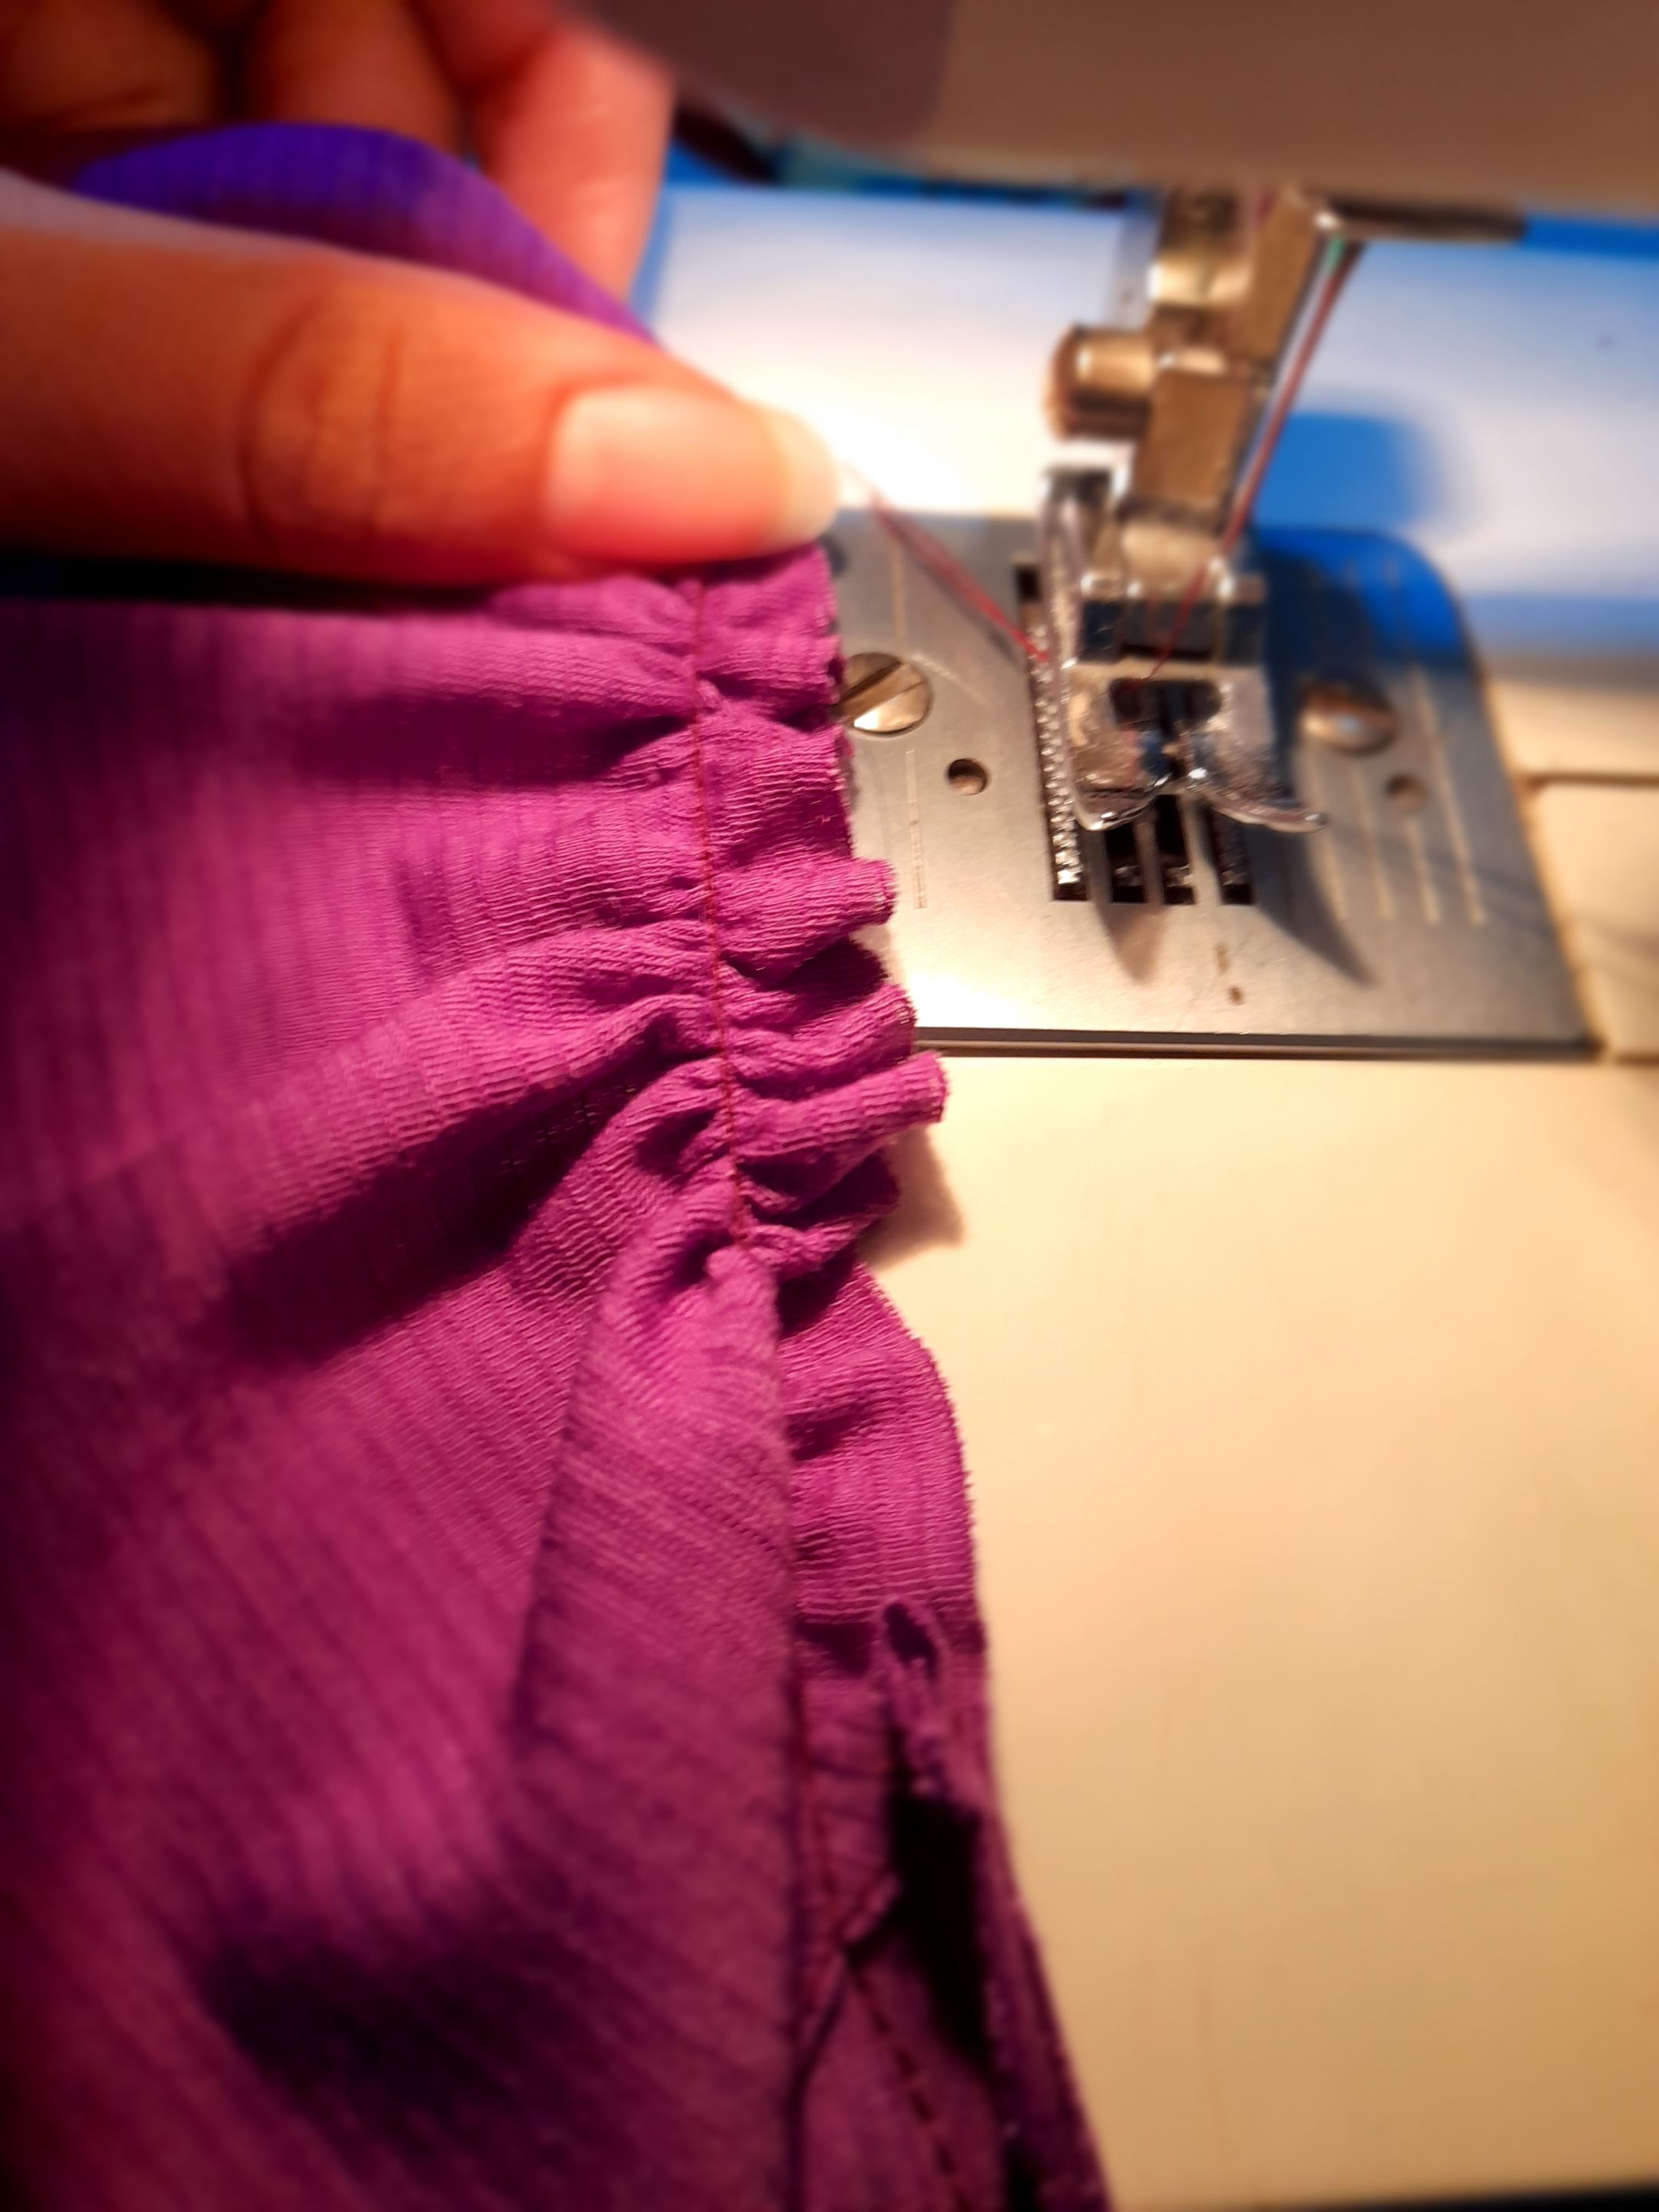
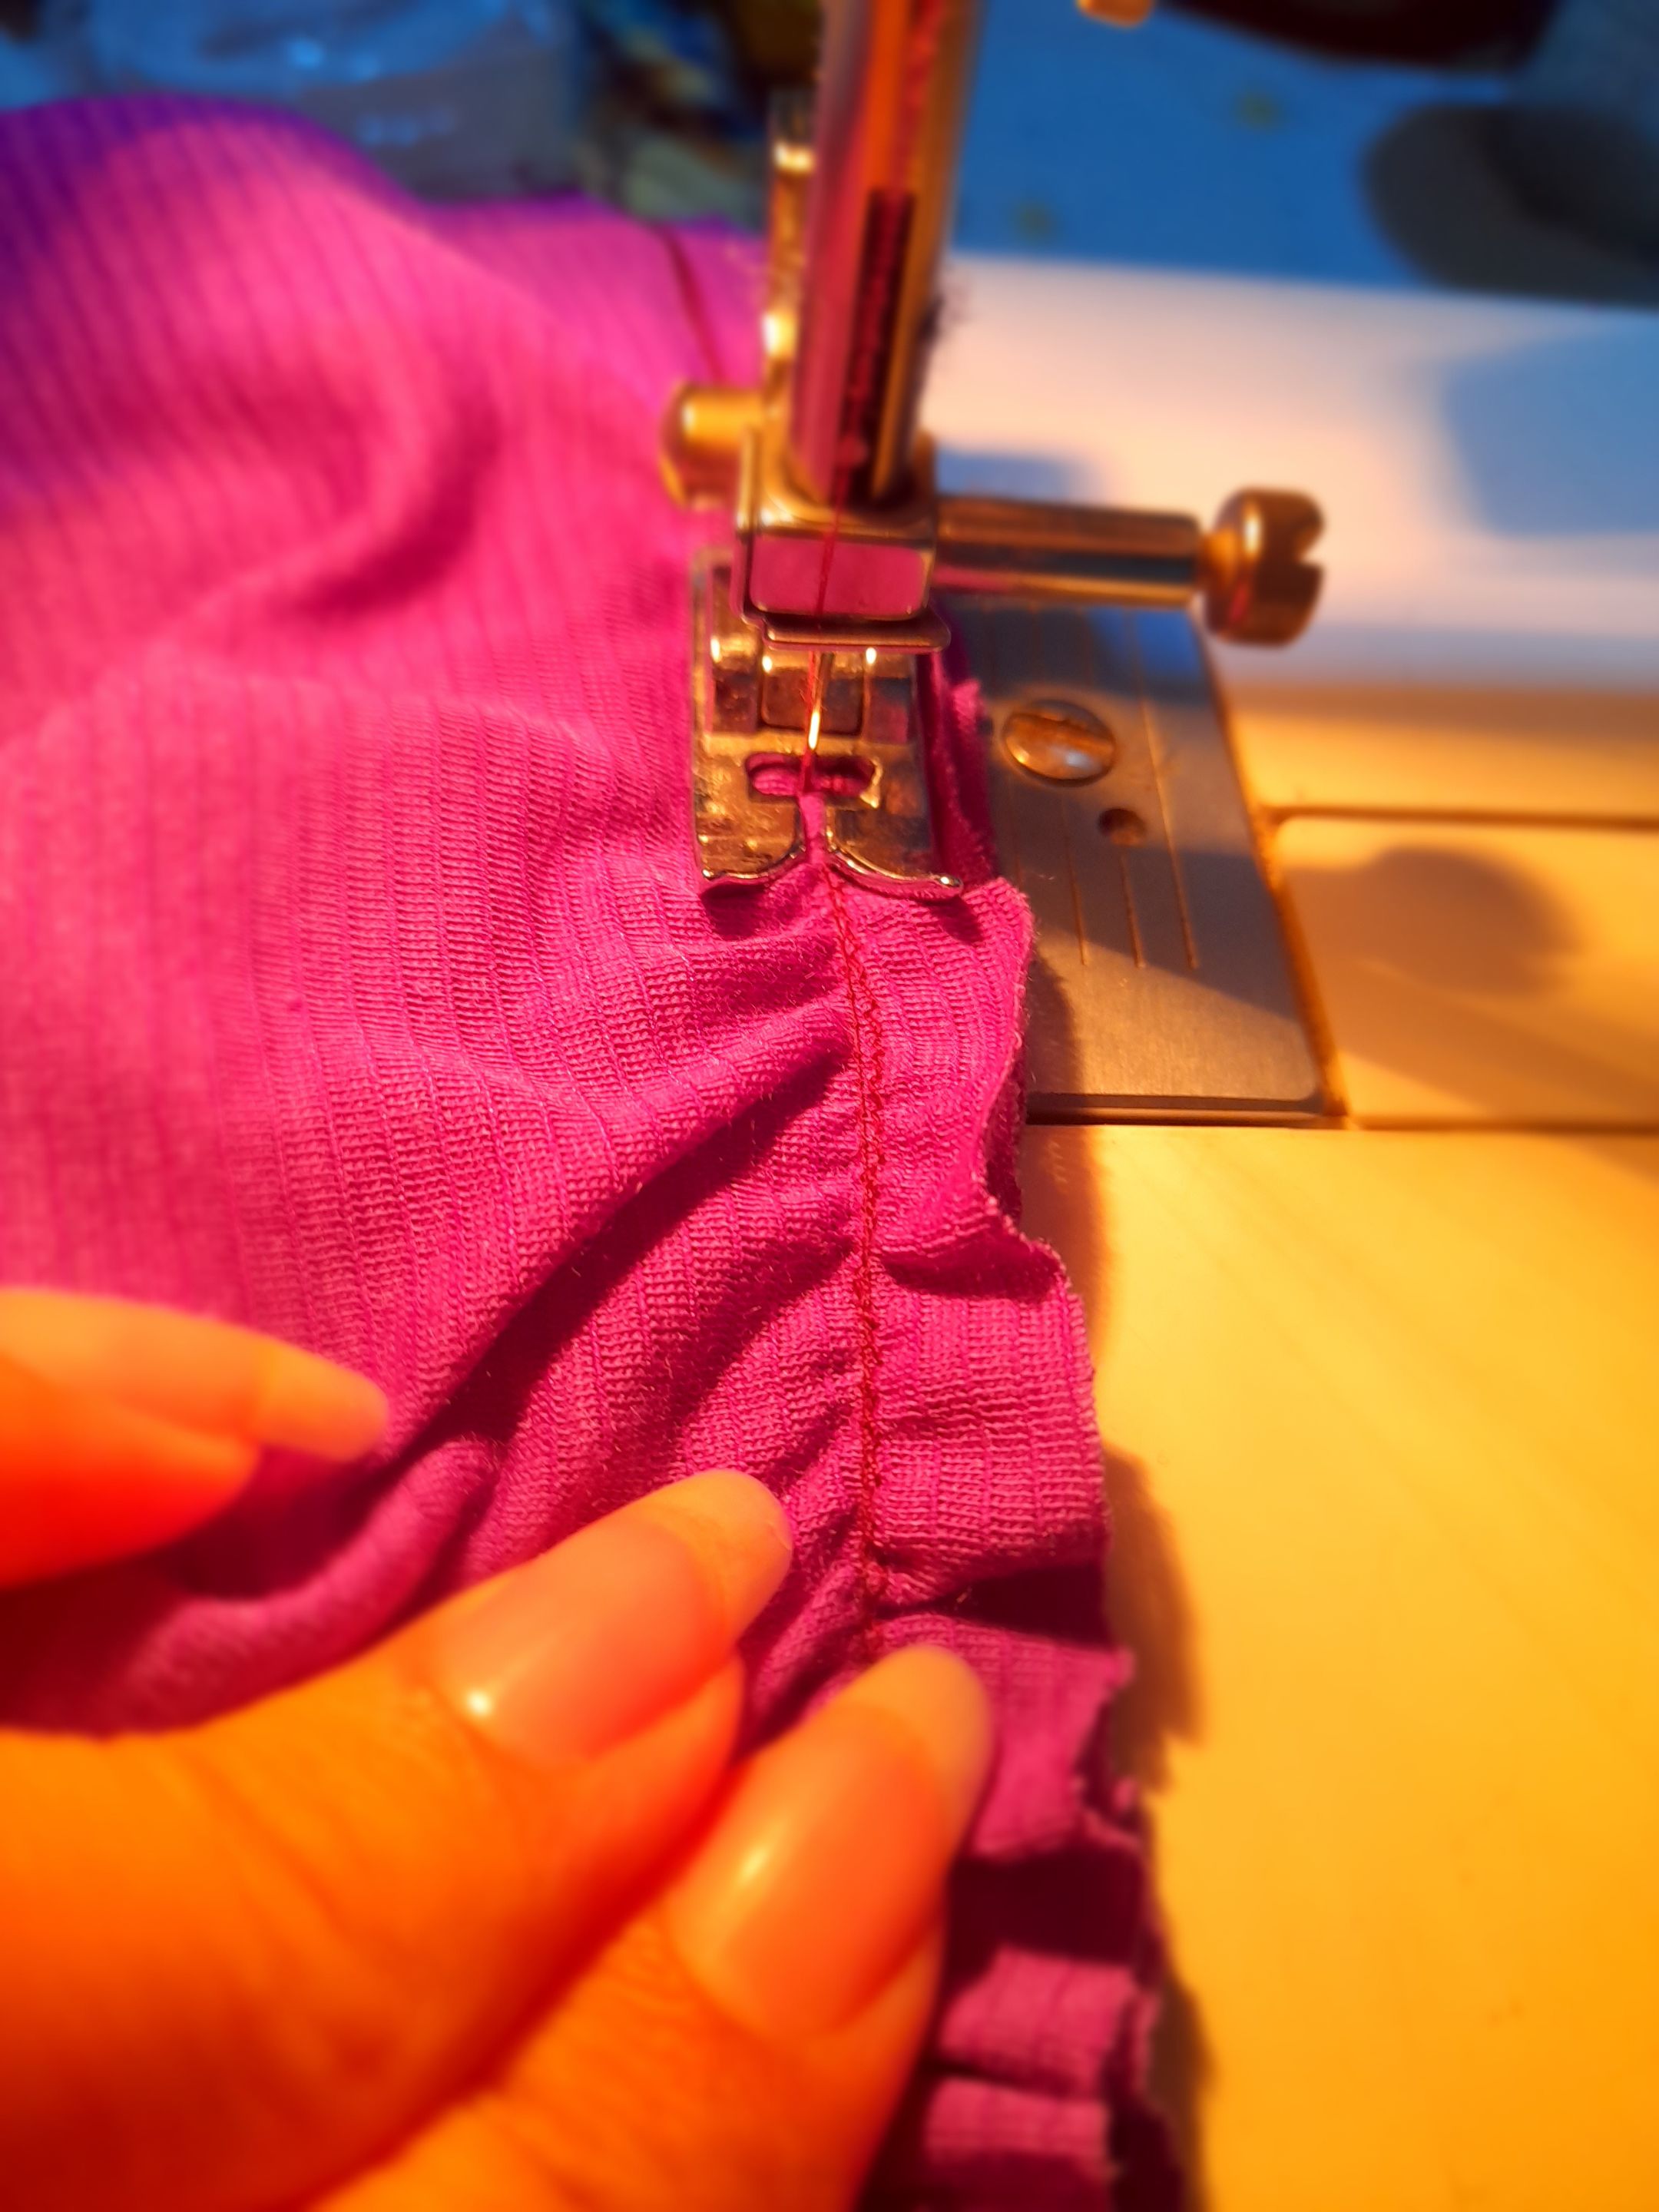
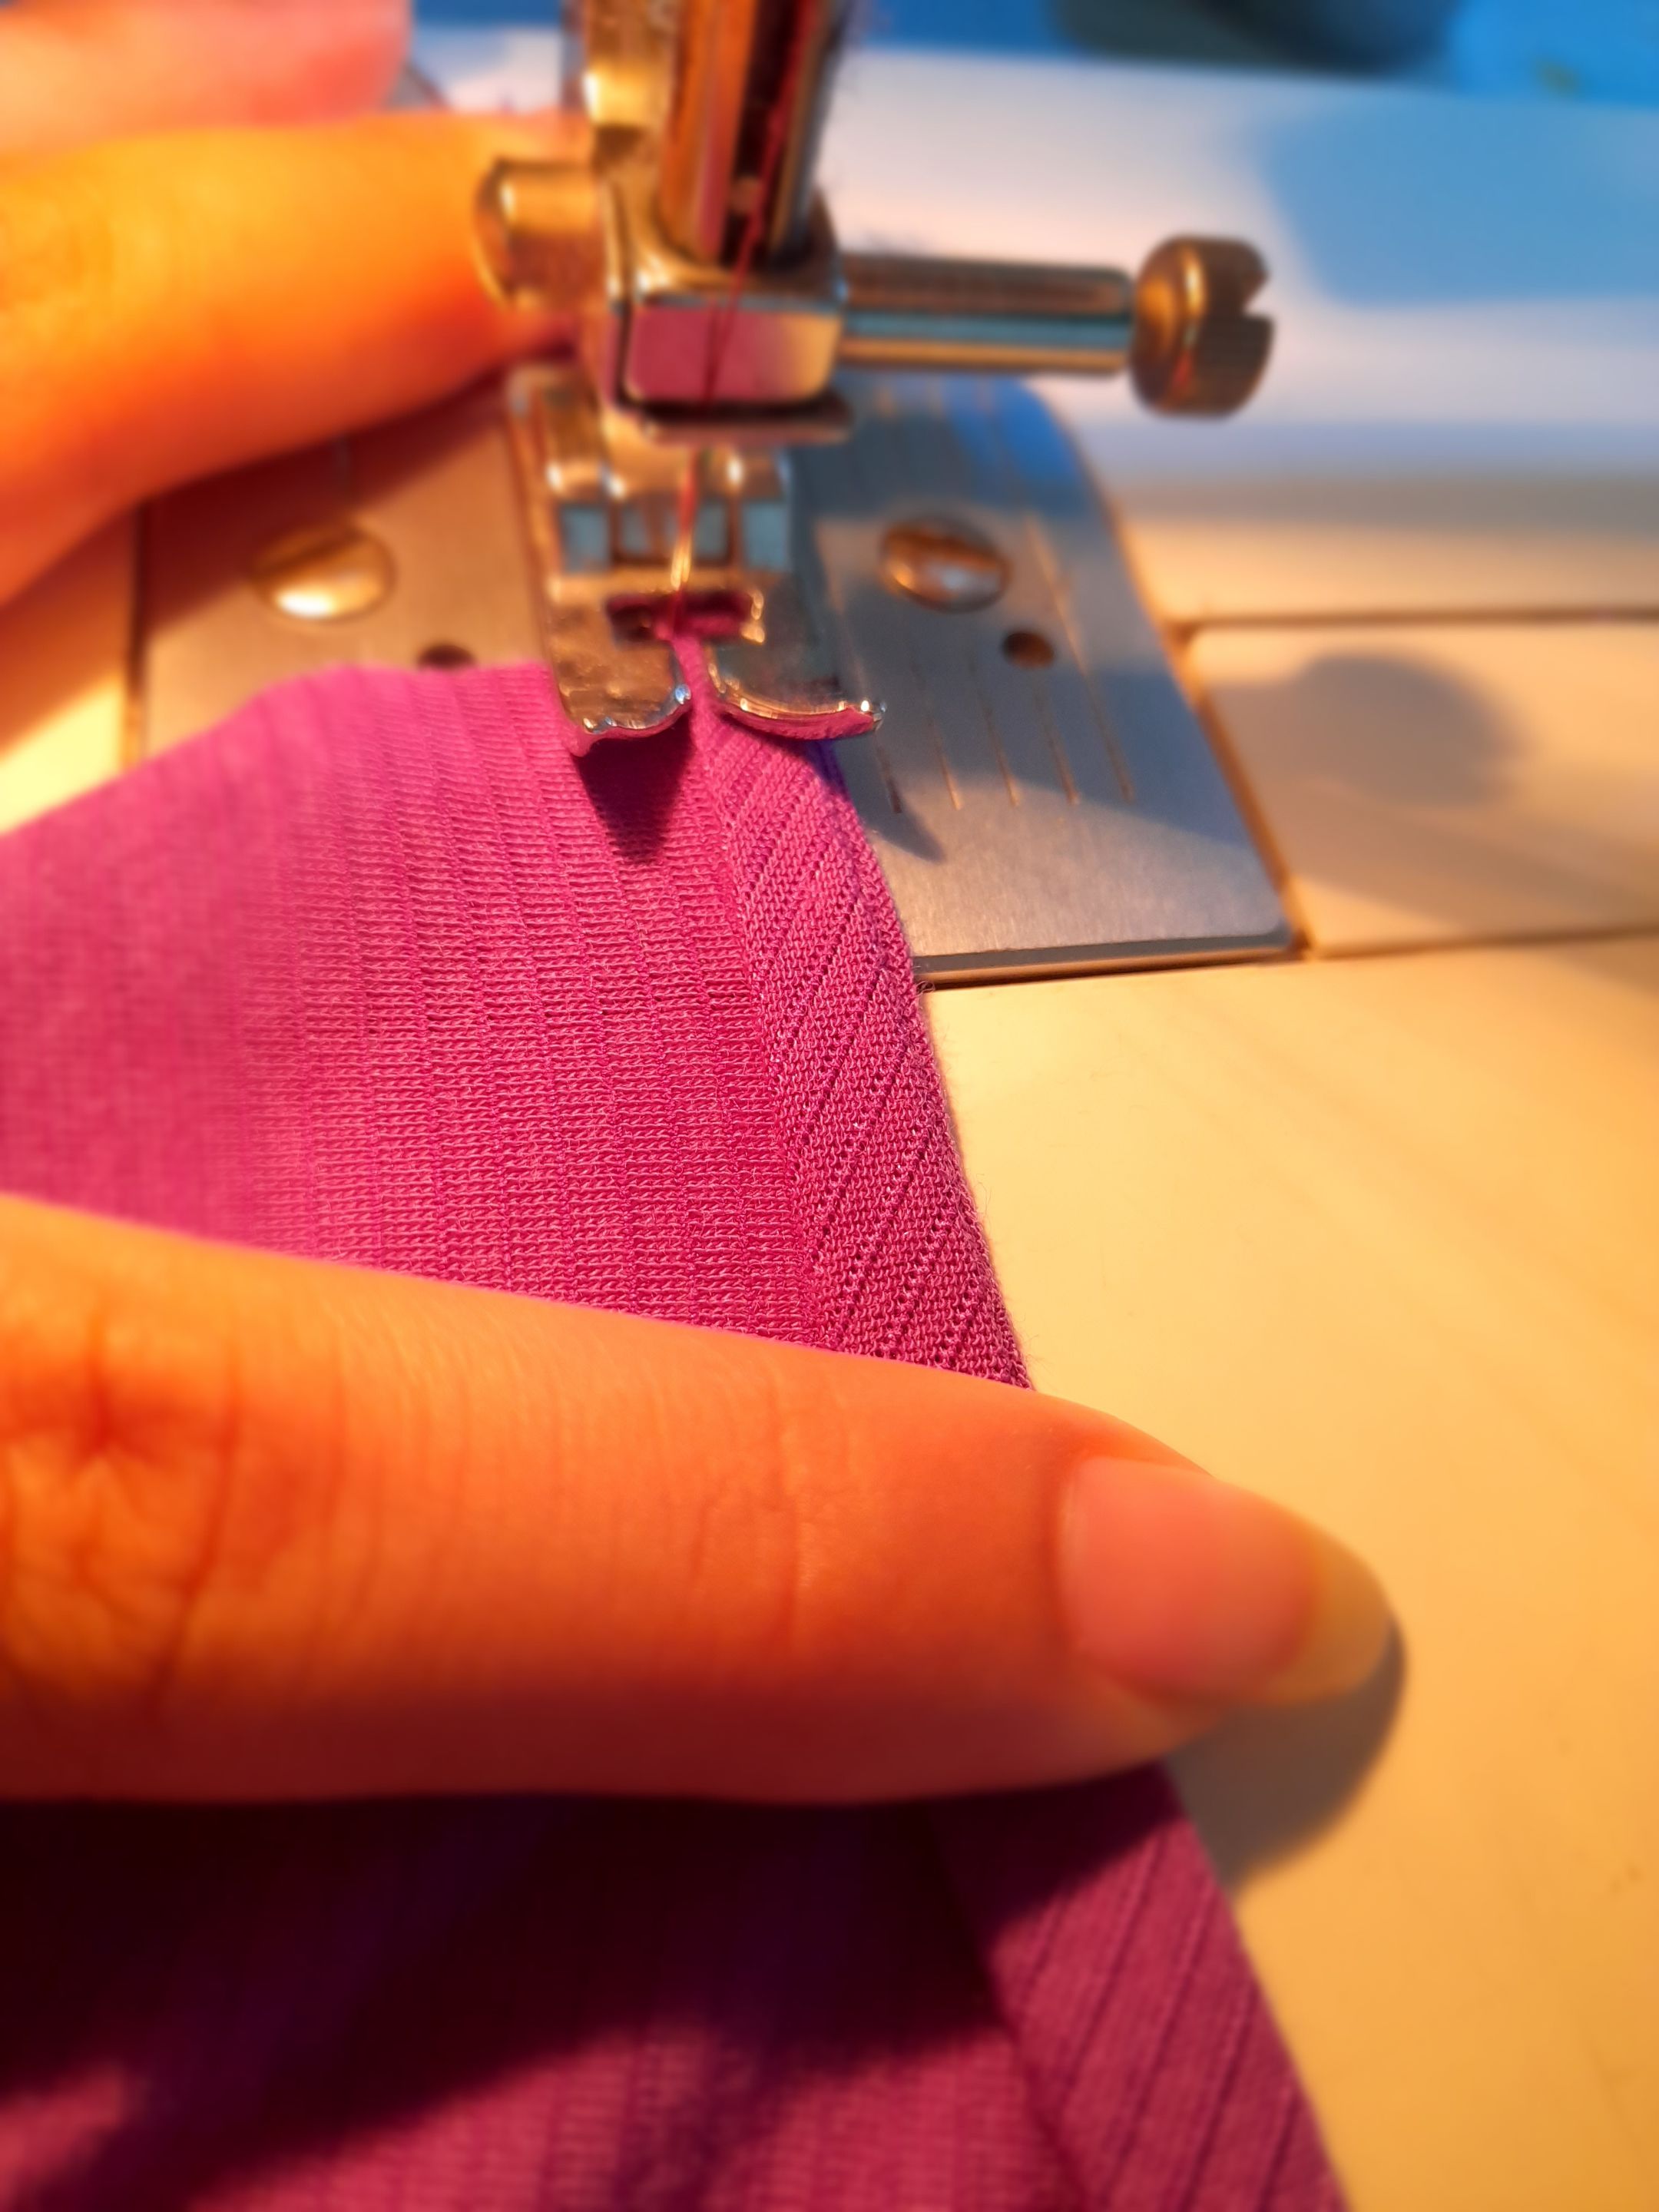
•✨️💜Voy a coser la parte del escote con costura recta larga para luego ajustar uno de los hilos y crear pliegues luego voy a coser la falda frontal en la parte superior con costura recta larga para crear pliegues también luego voy a coser ambas piezas con costura recta y zigzag para asegurar.
 |
 |
 |
|---|---|---|
 |
 |
|---|---|
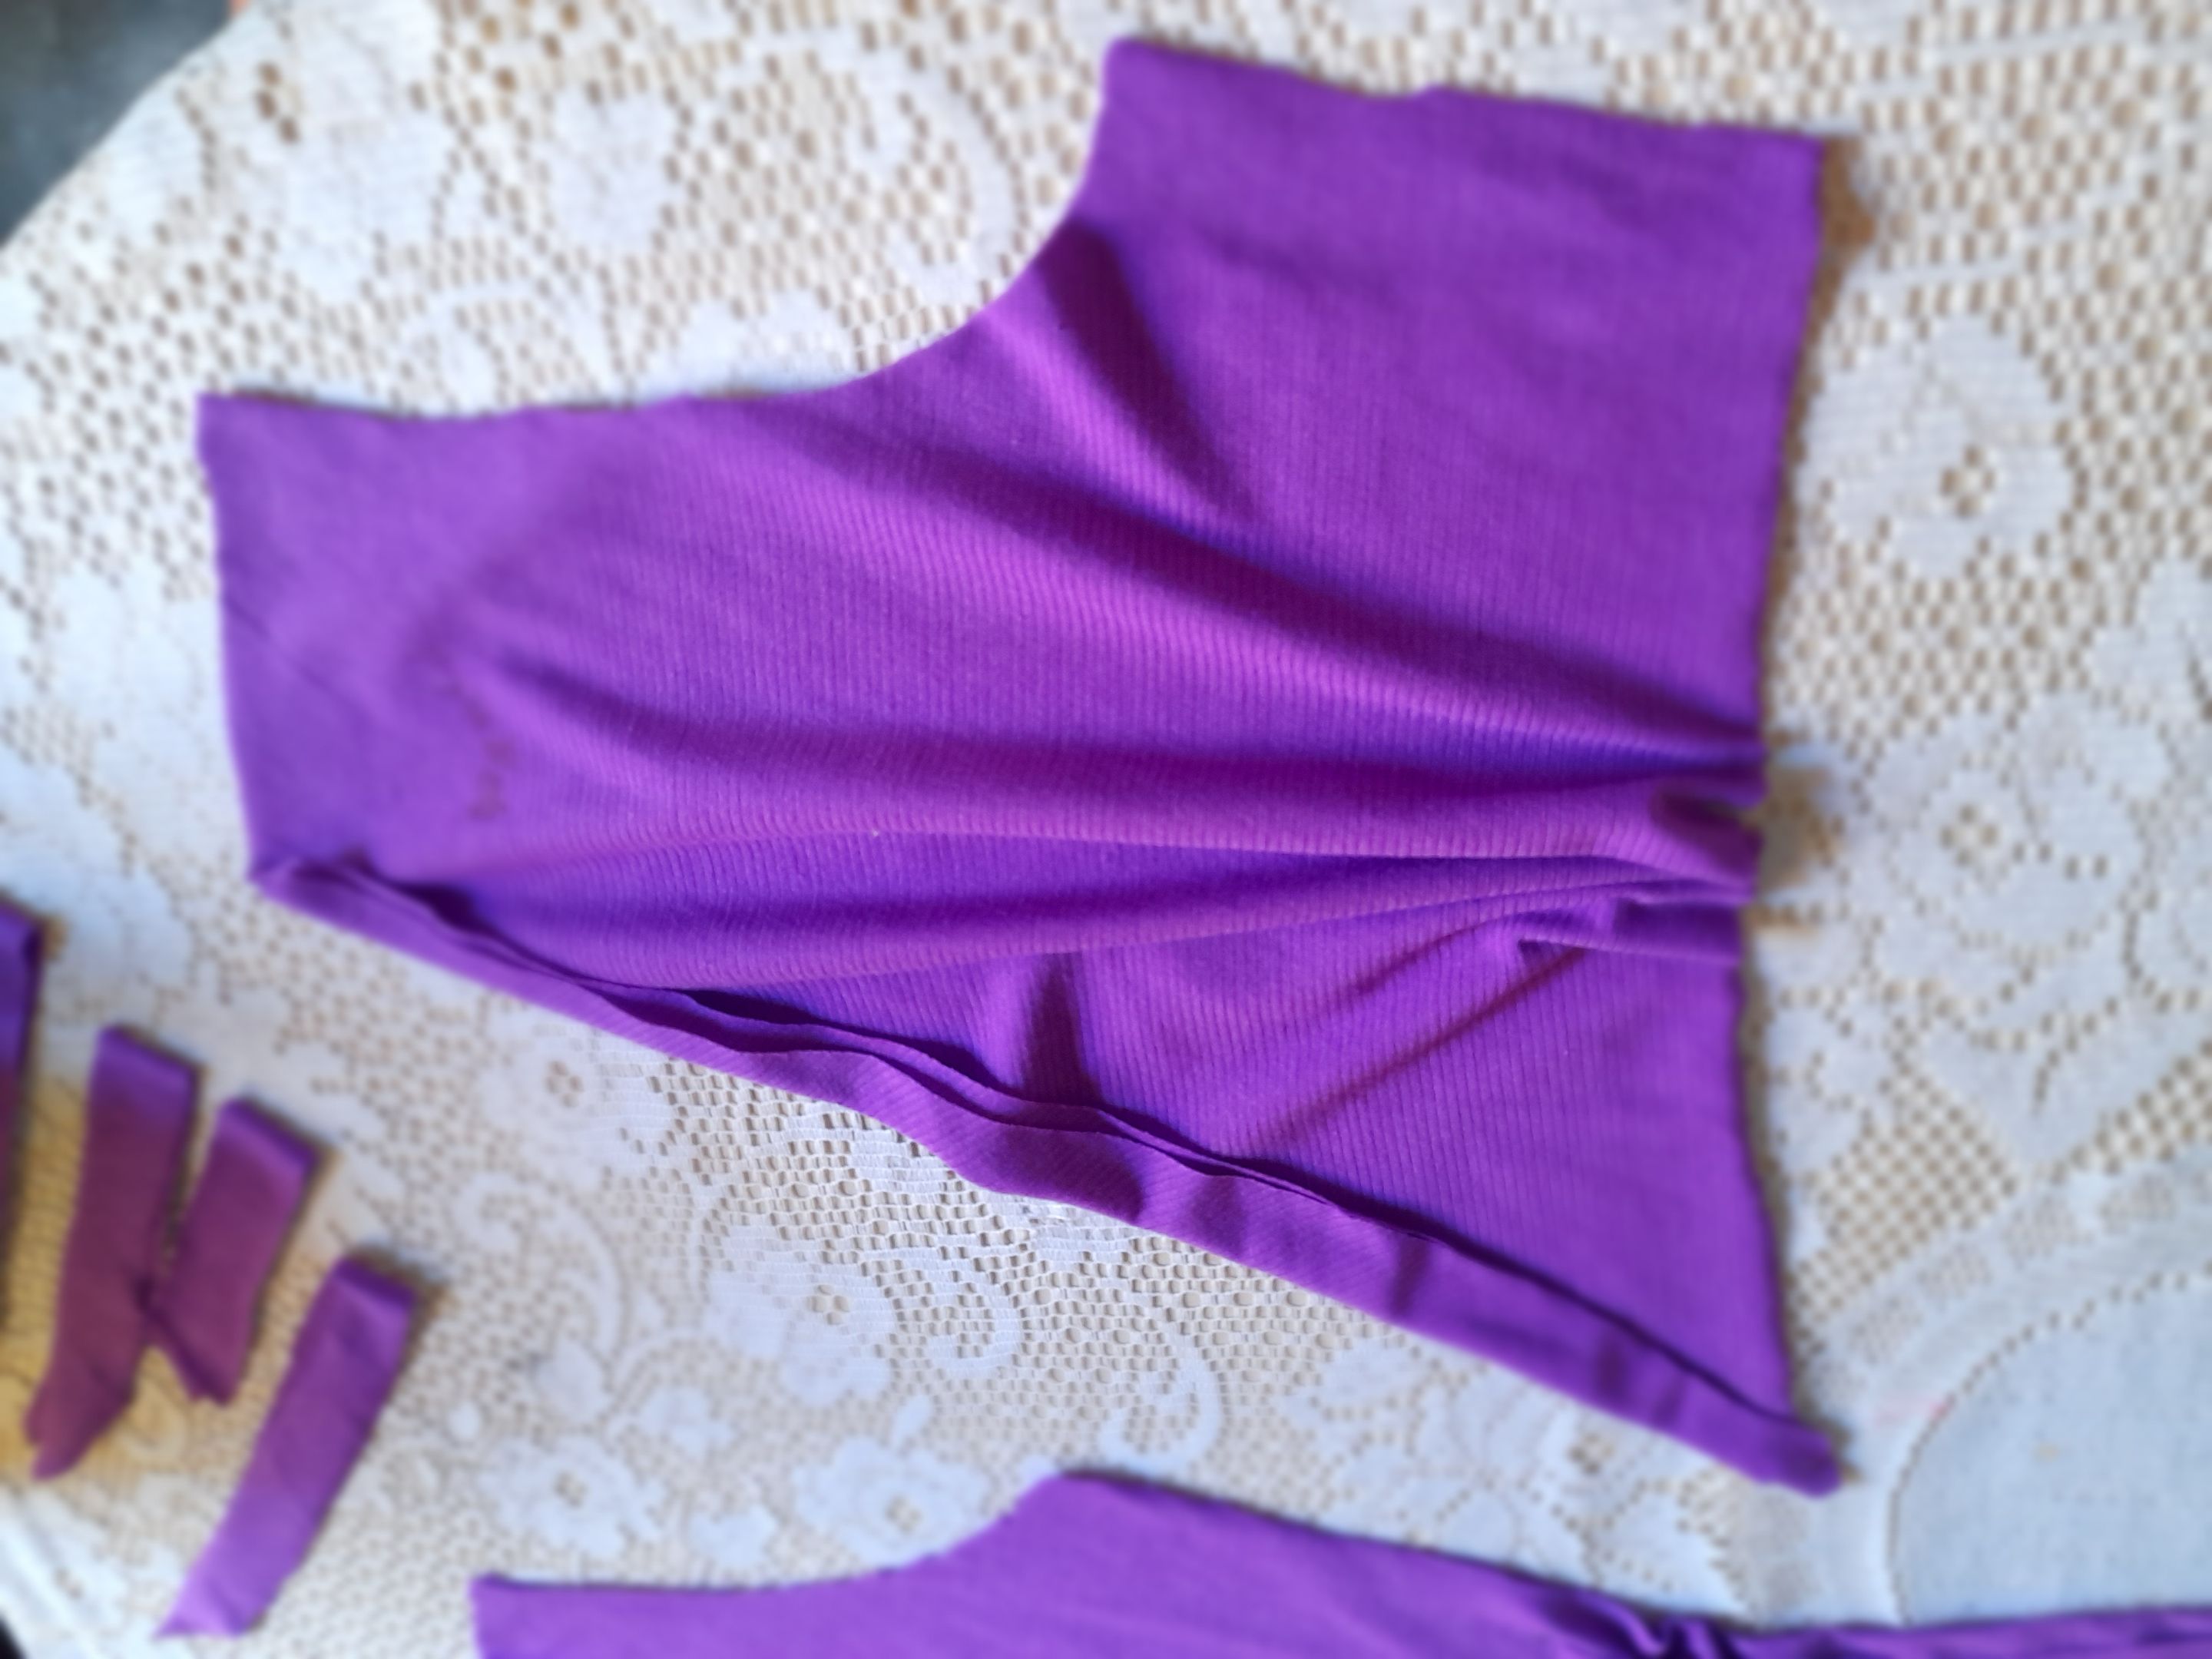
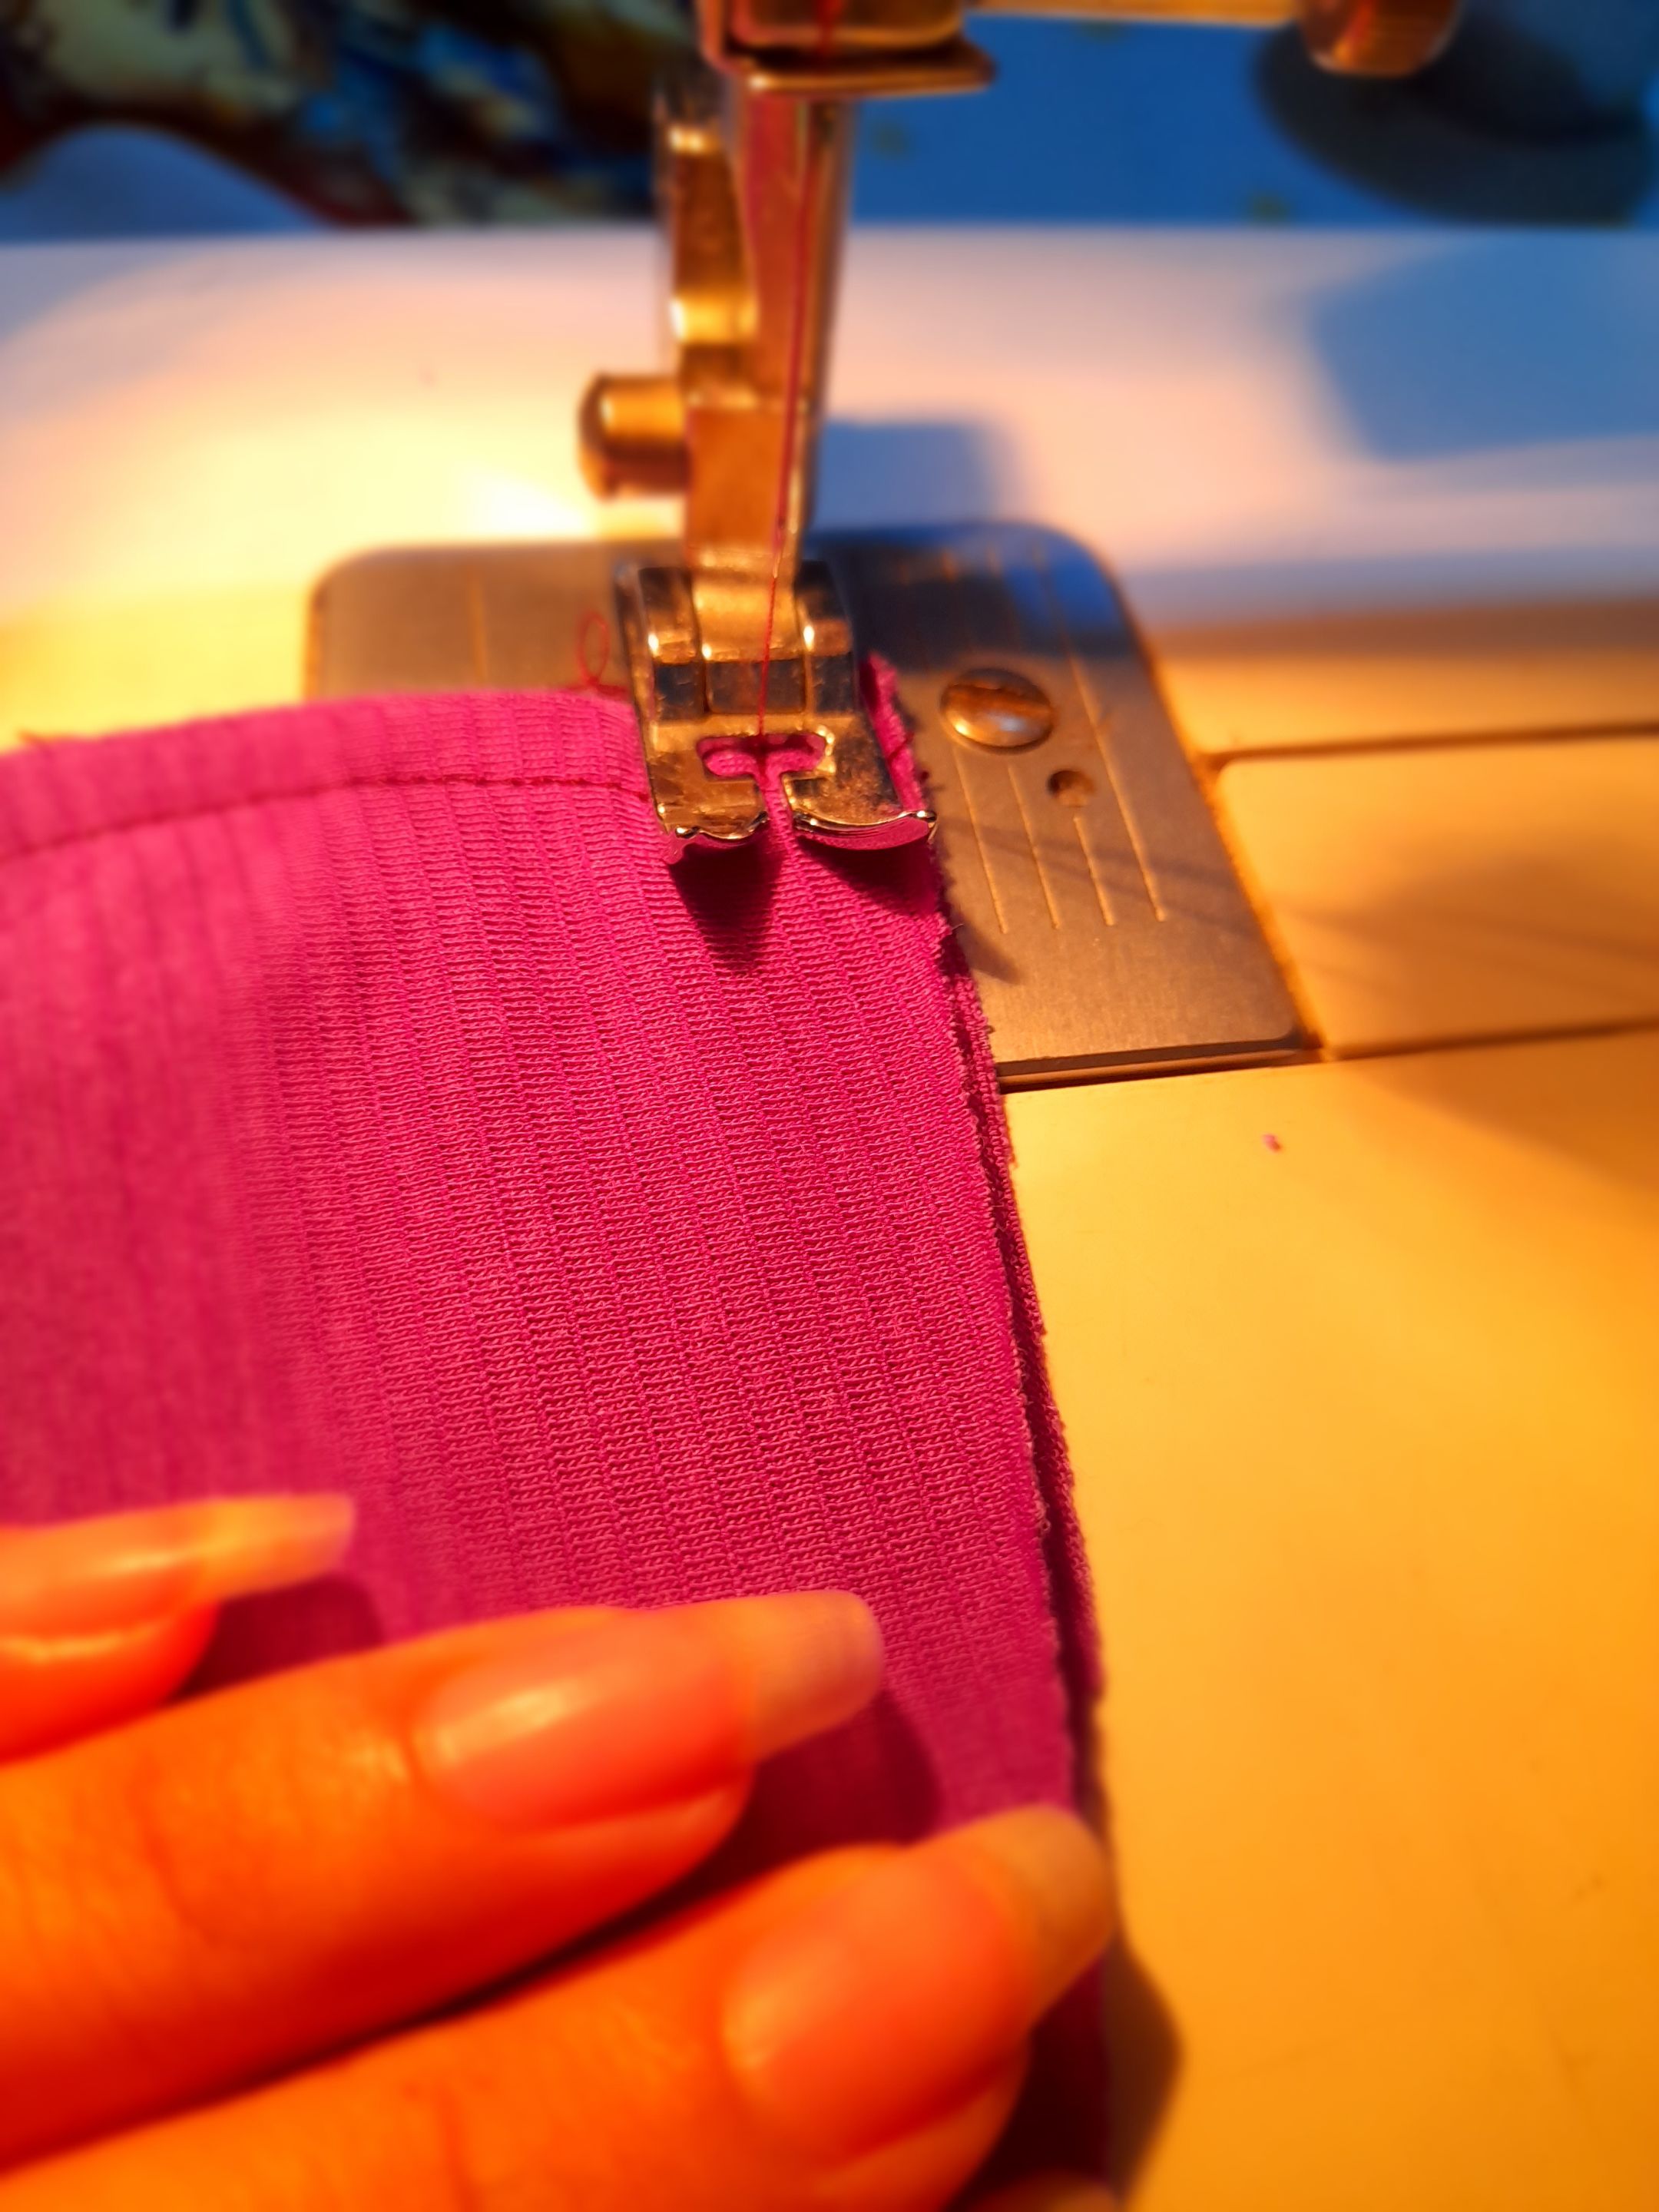
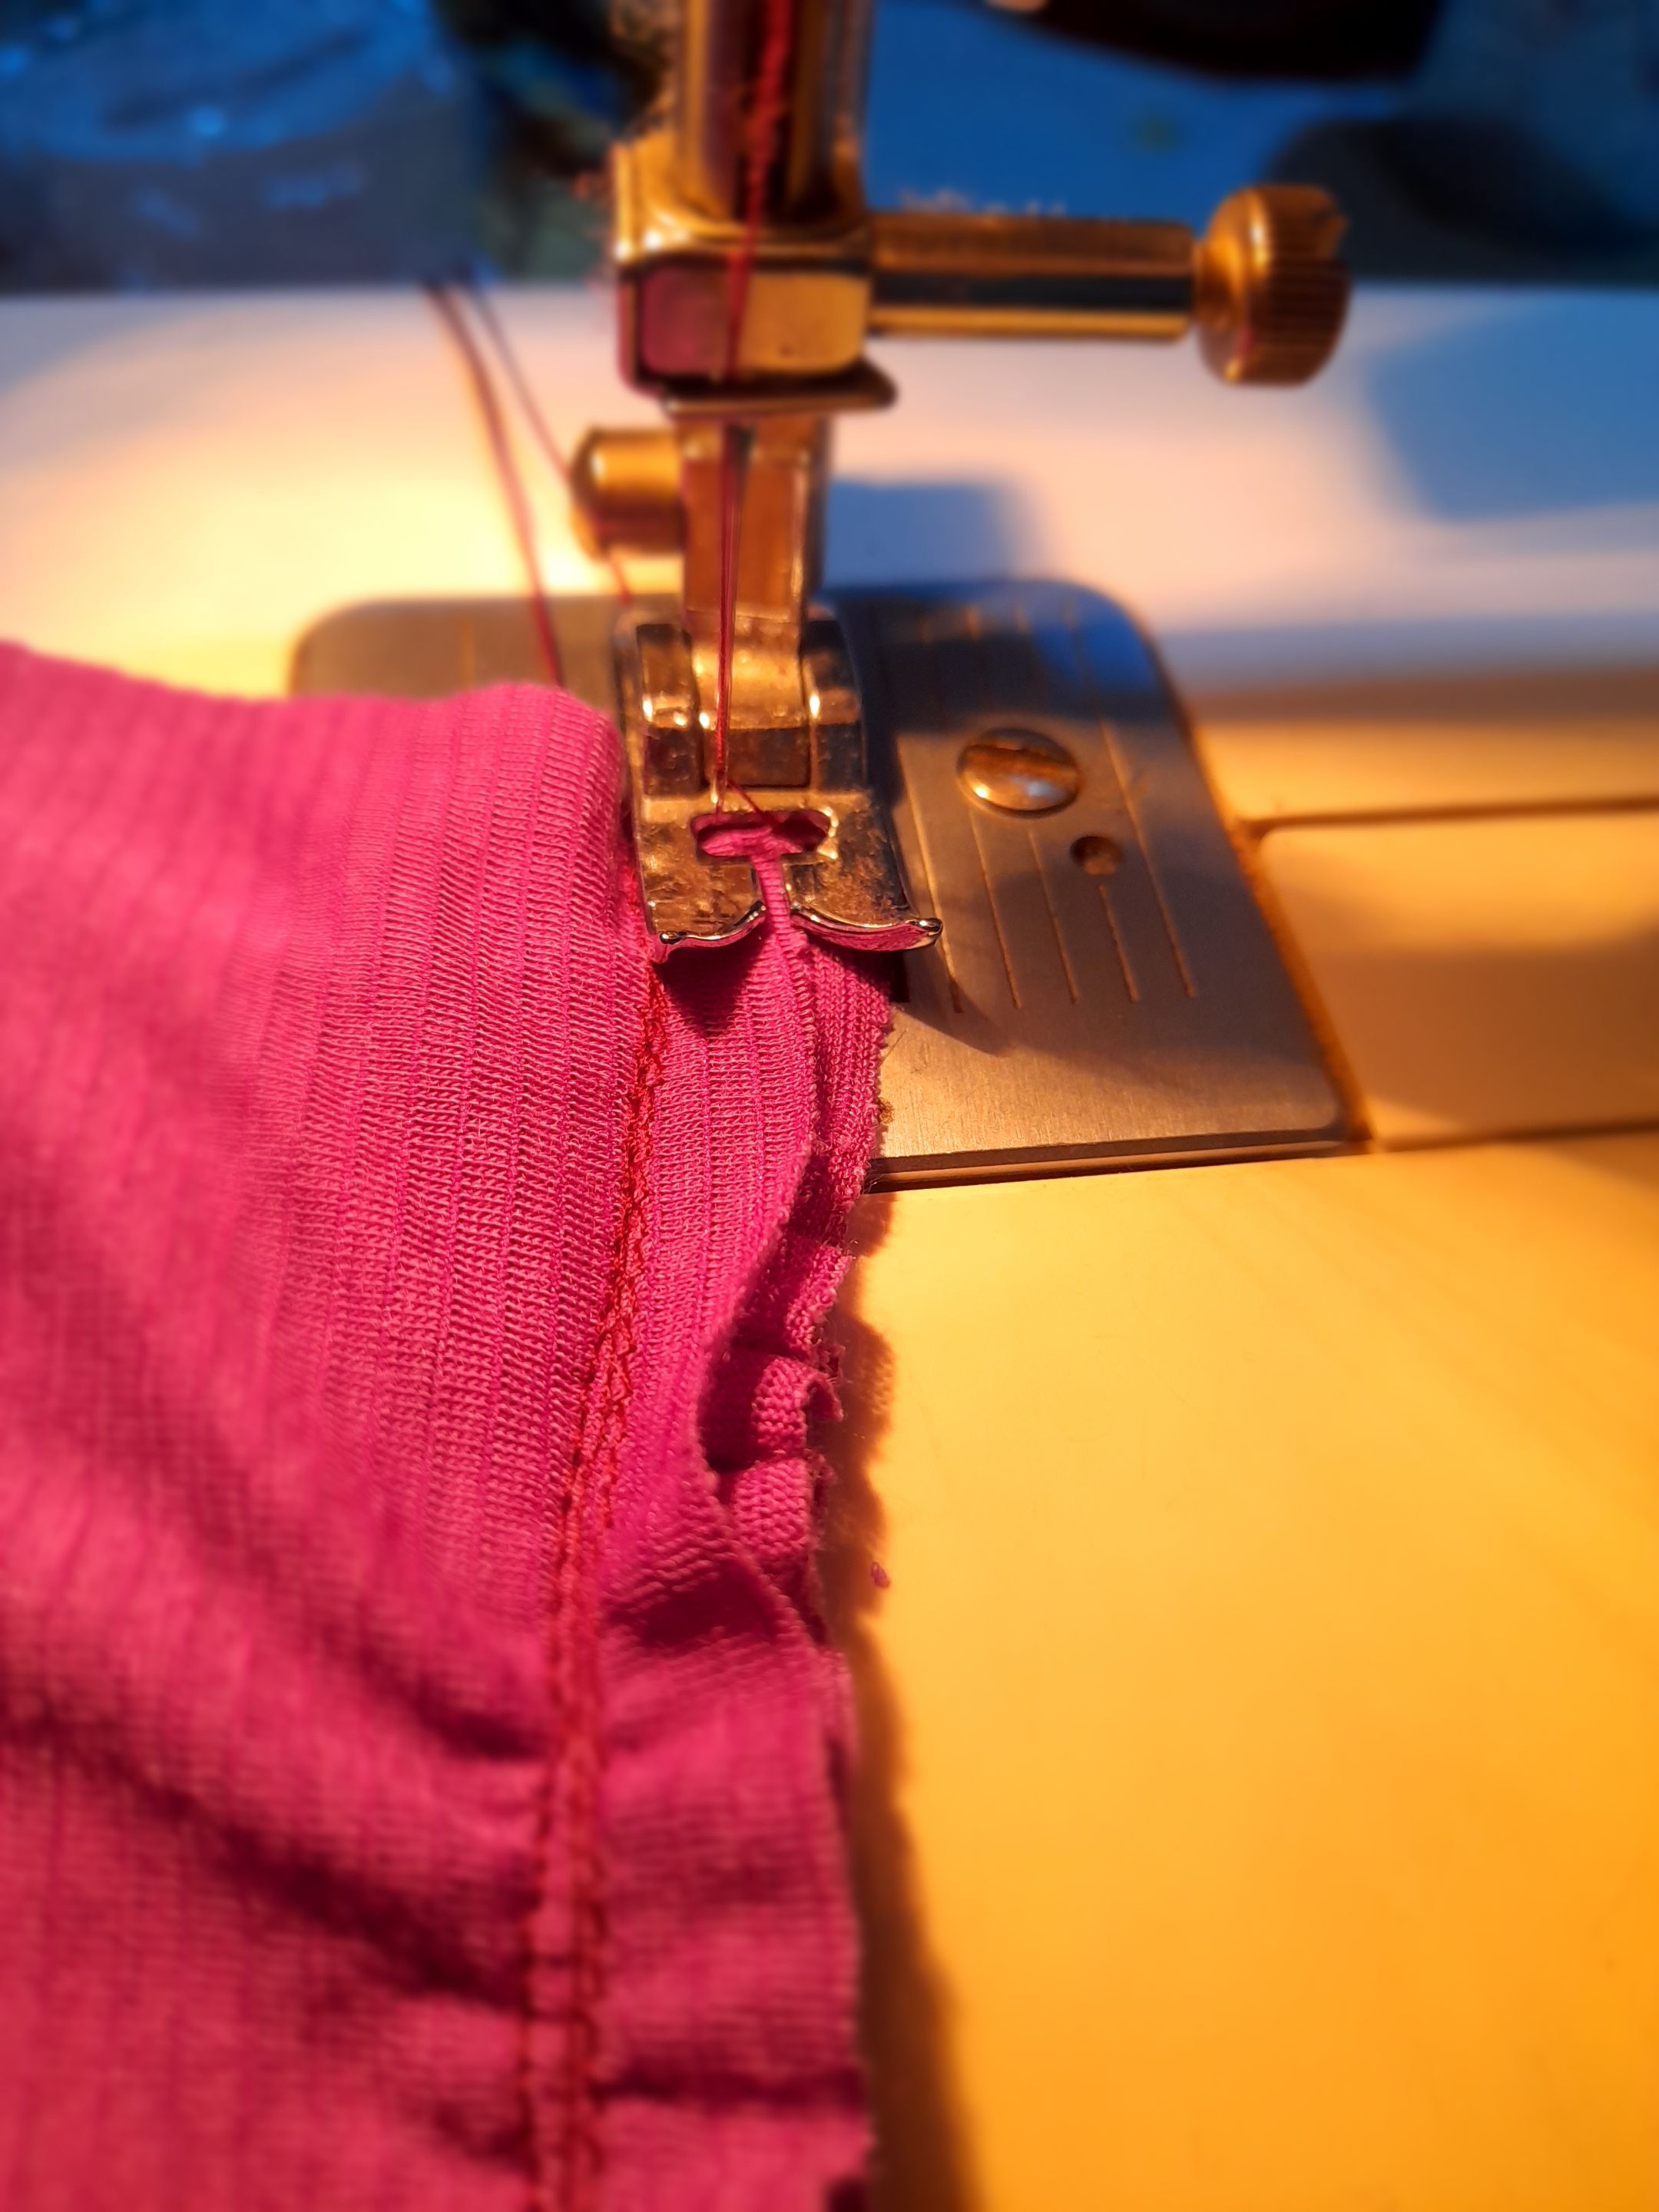
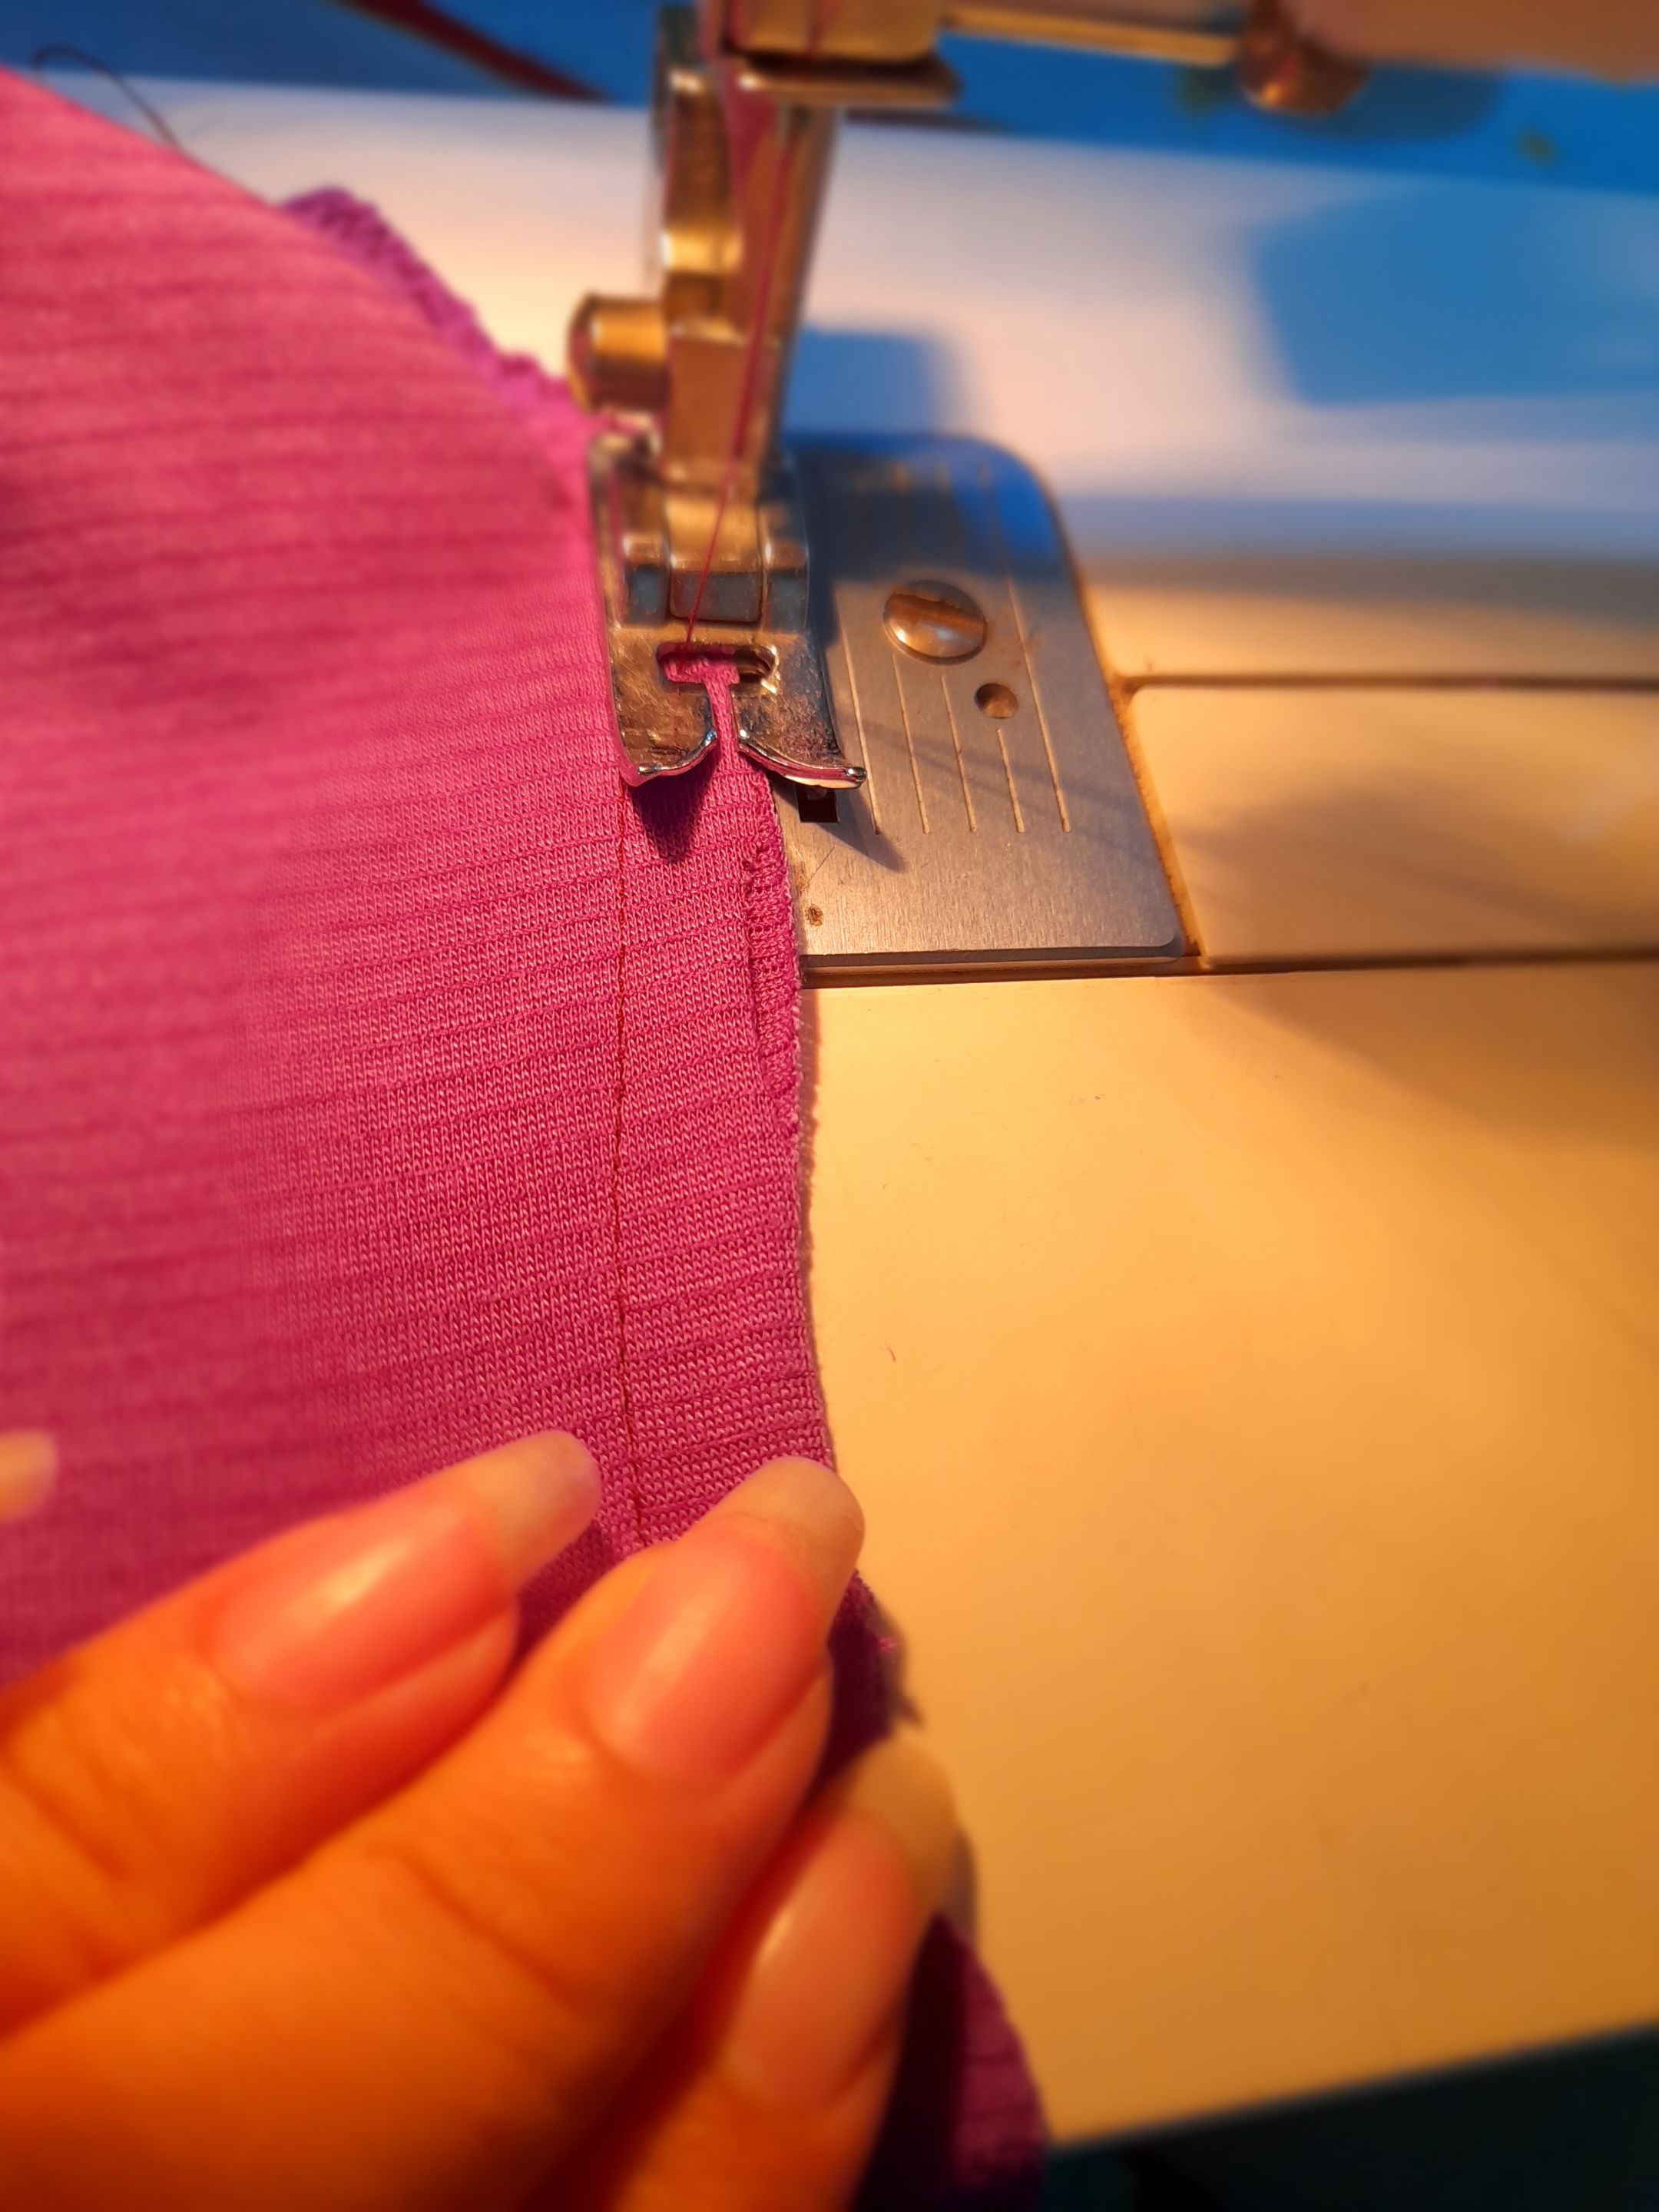
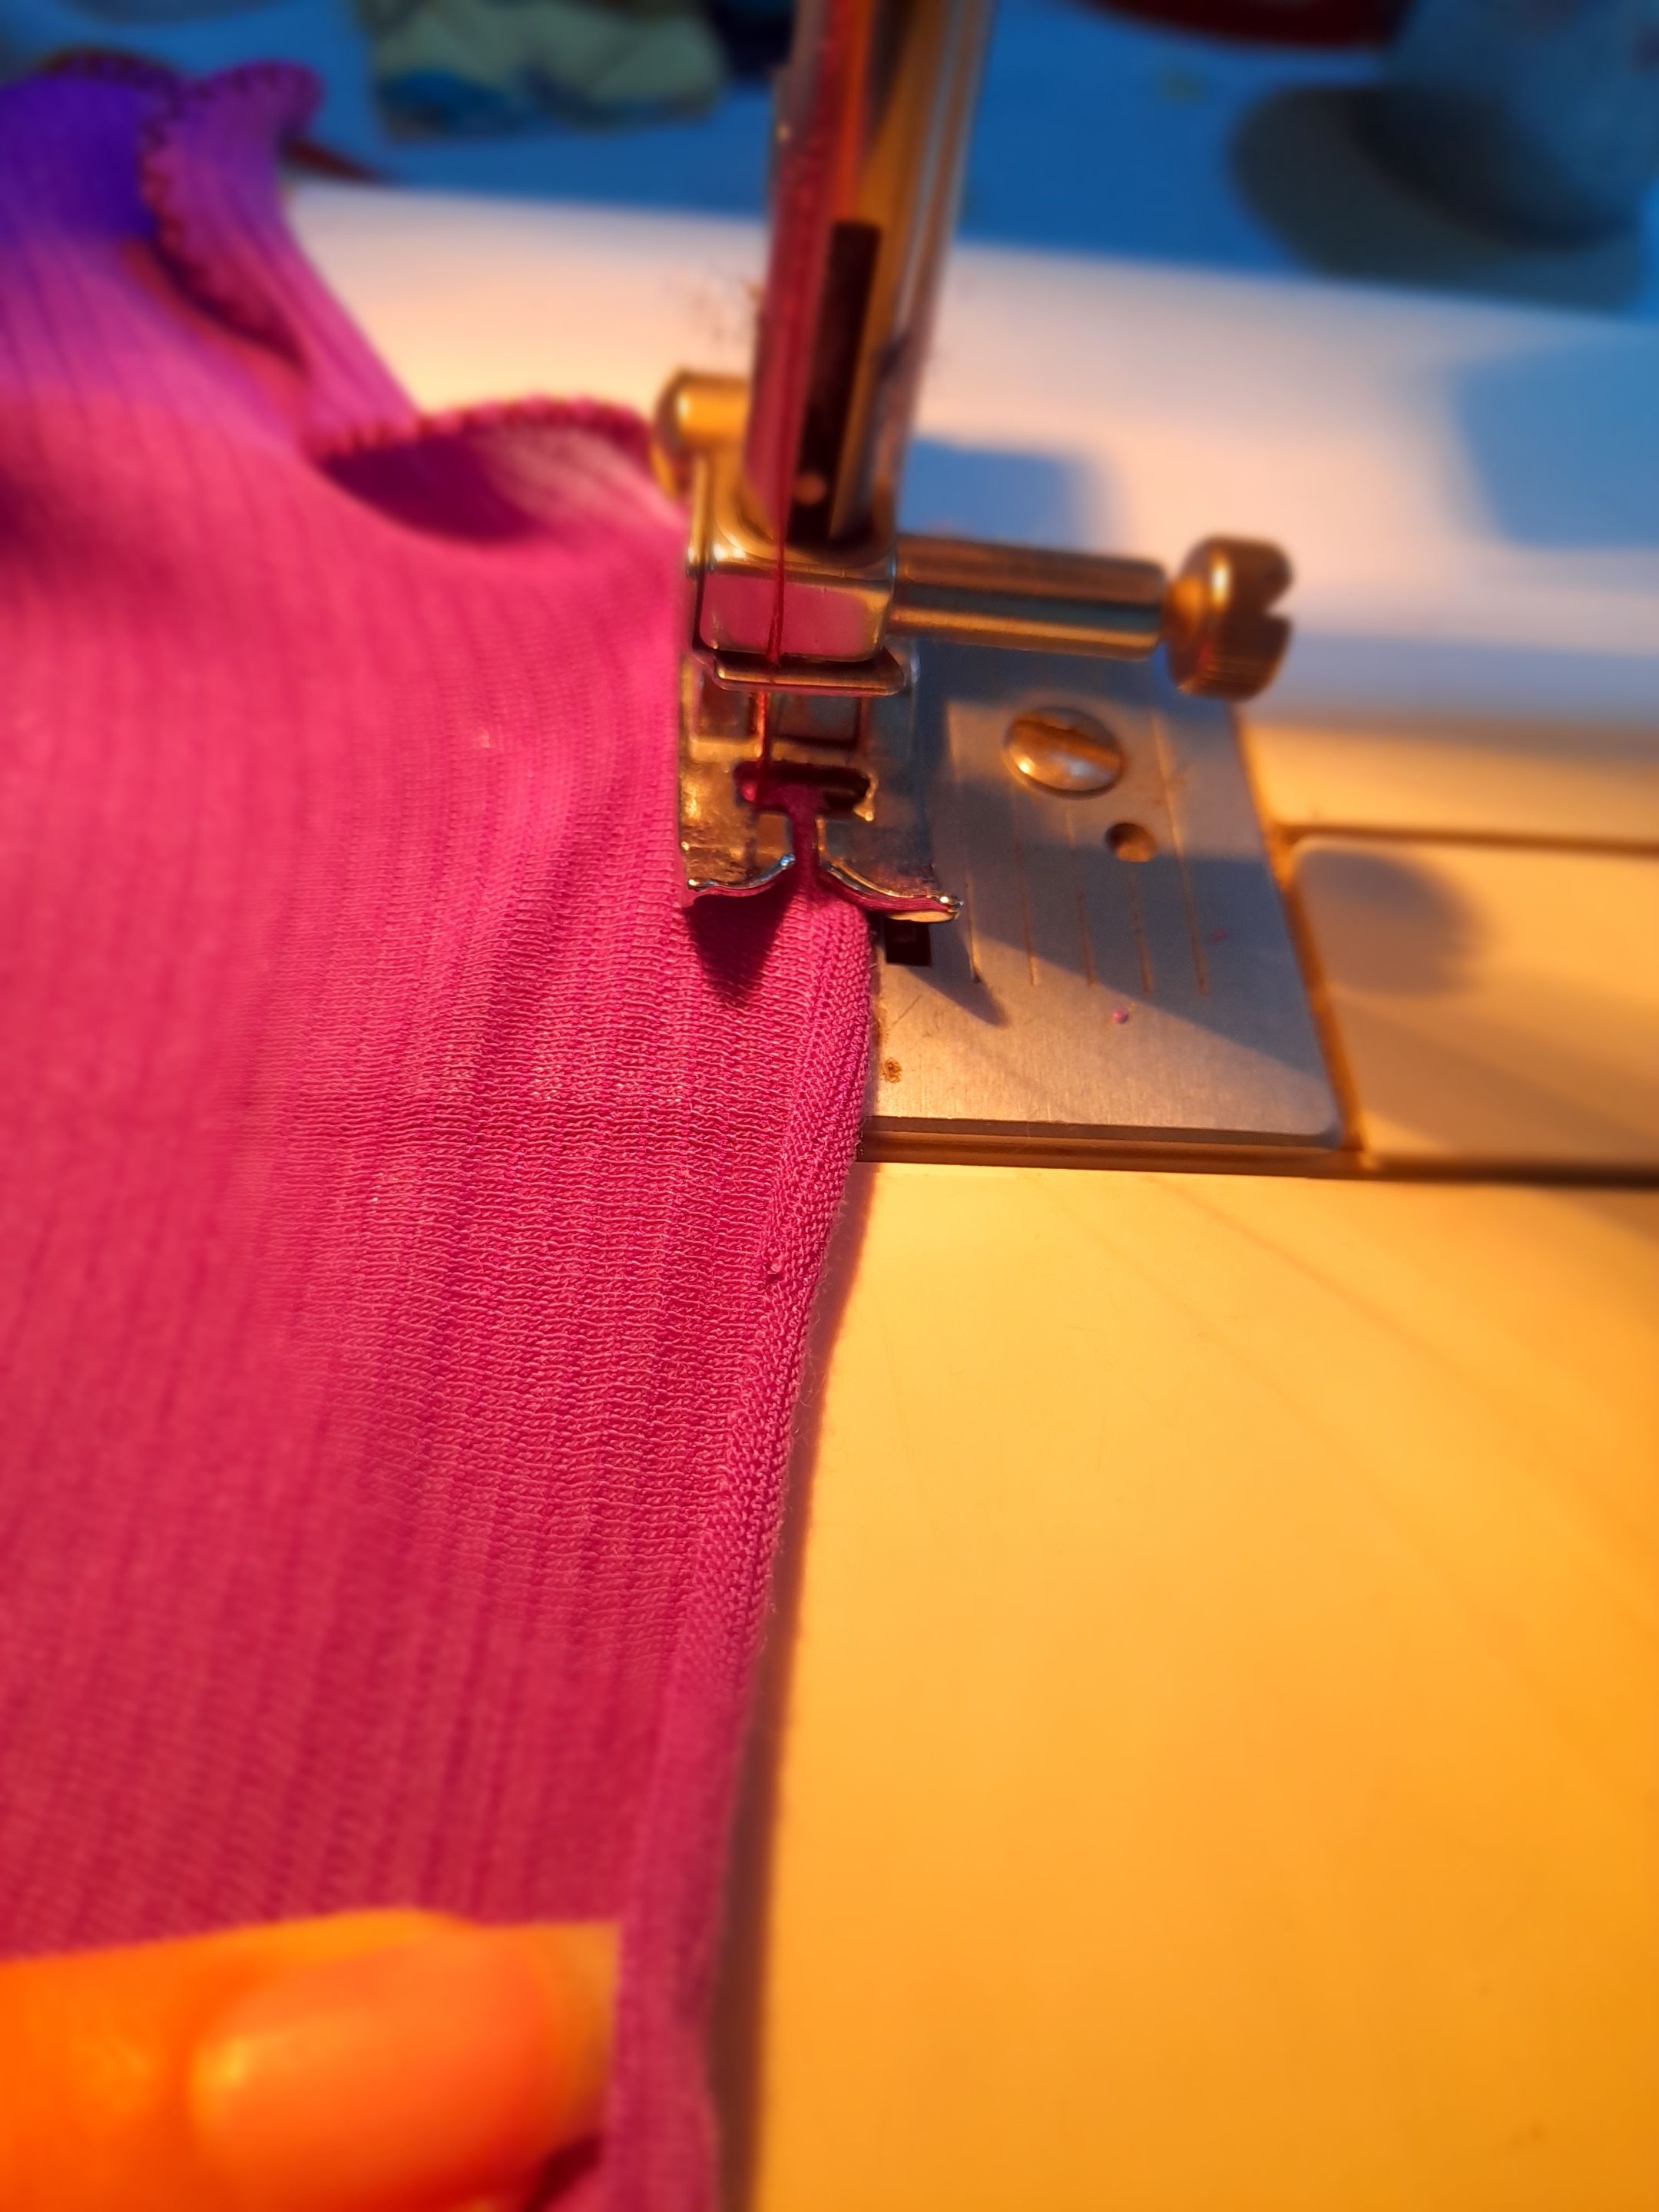
•✨️💜Luego voy a coser la orilla de la abertura de los brazos con costura recta y luego voy doblar y coser con costura recta nuevamente para luego coser los extremos del vestido con costura recta y zigzag para asegurar luego voy a coser el ruedo doblando la orilla y cosiendo con costura de zigzag y tensión en 1 para formar pliegues.
 |
 |
|---|---|
 |
 |
|---|---|
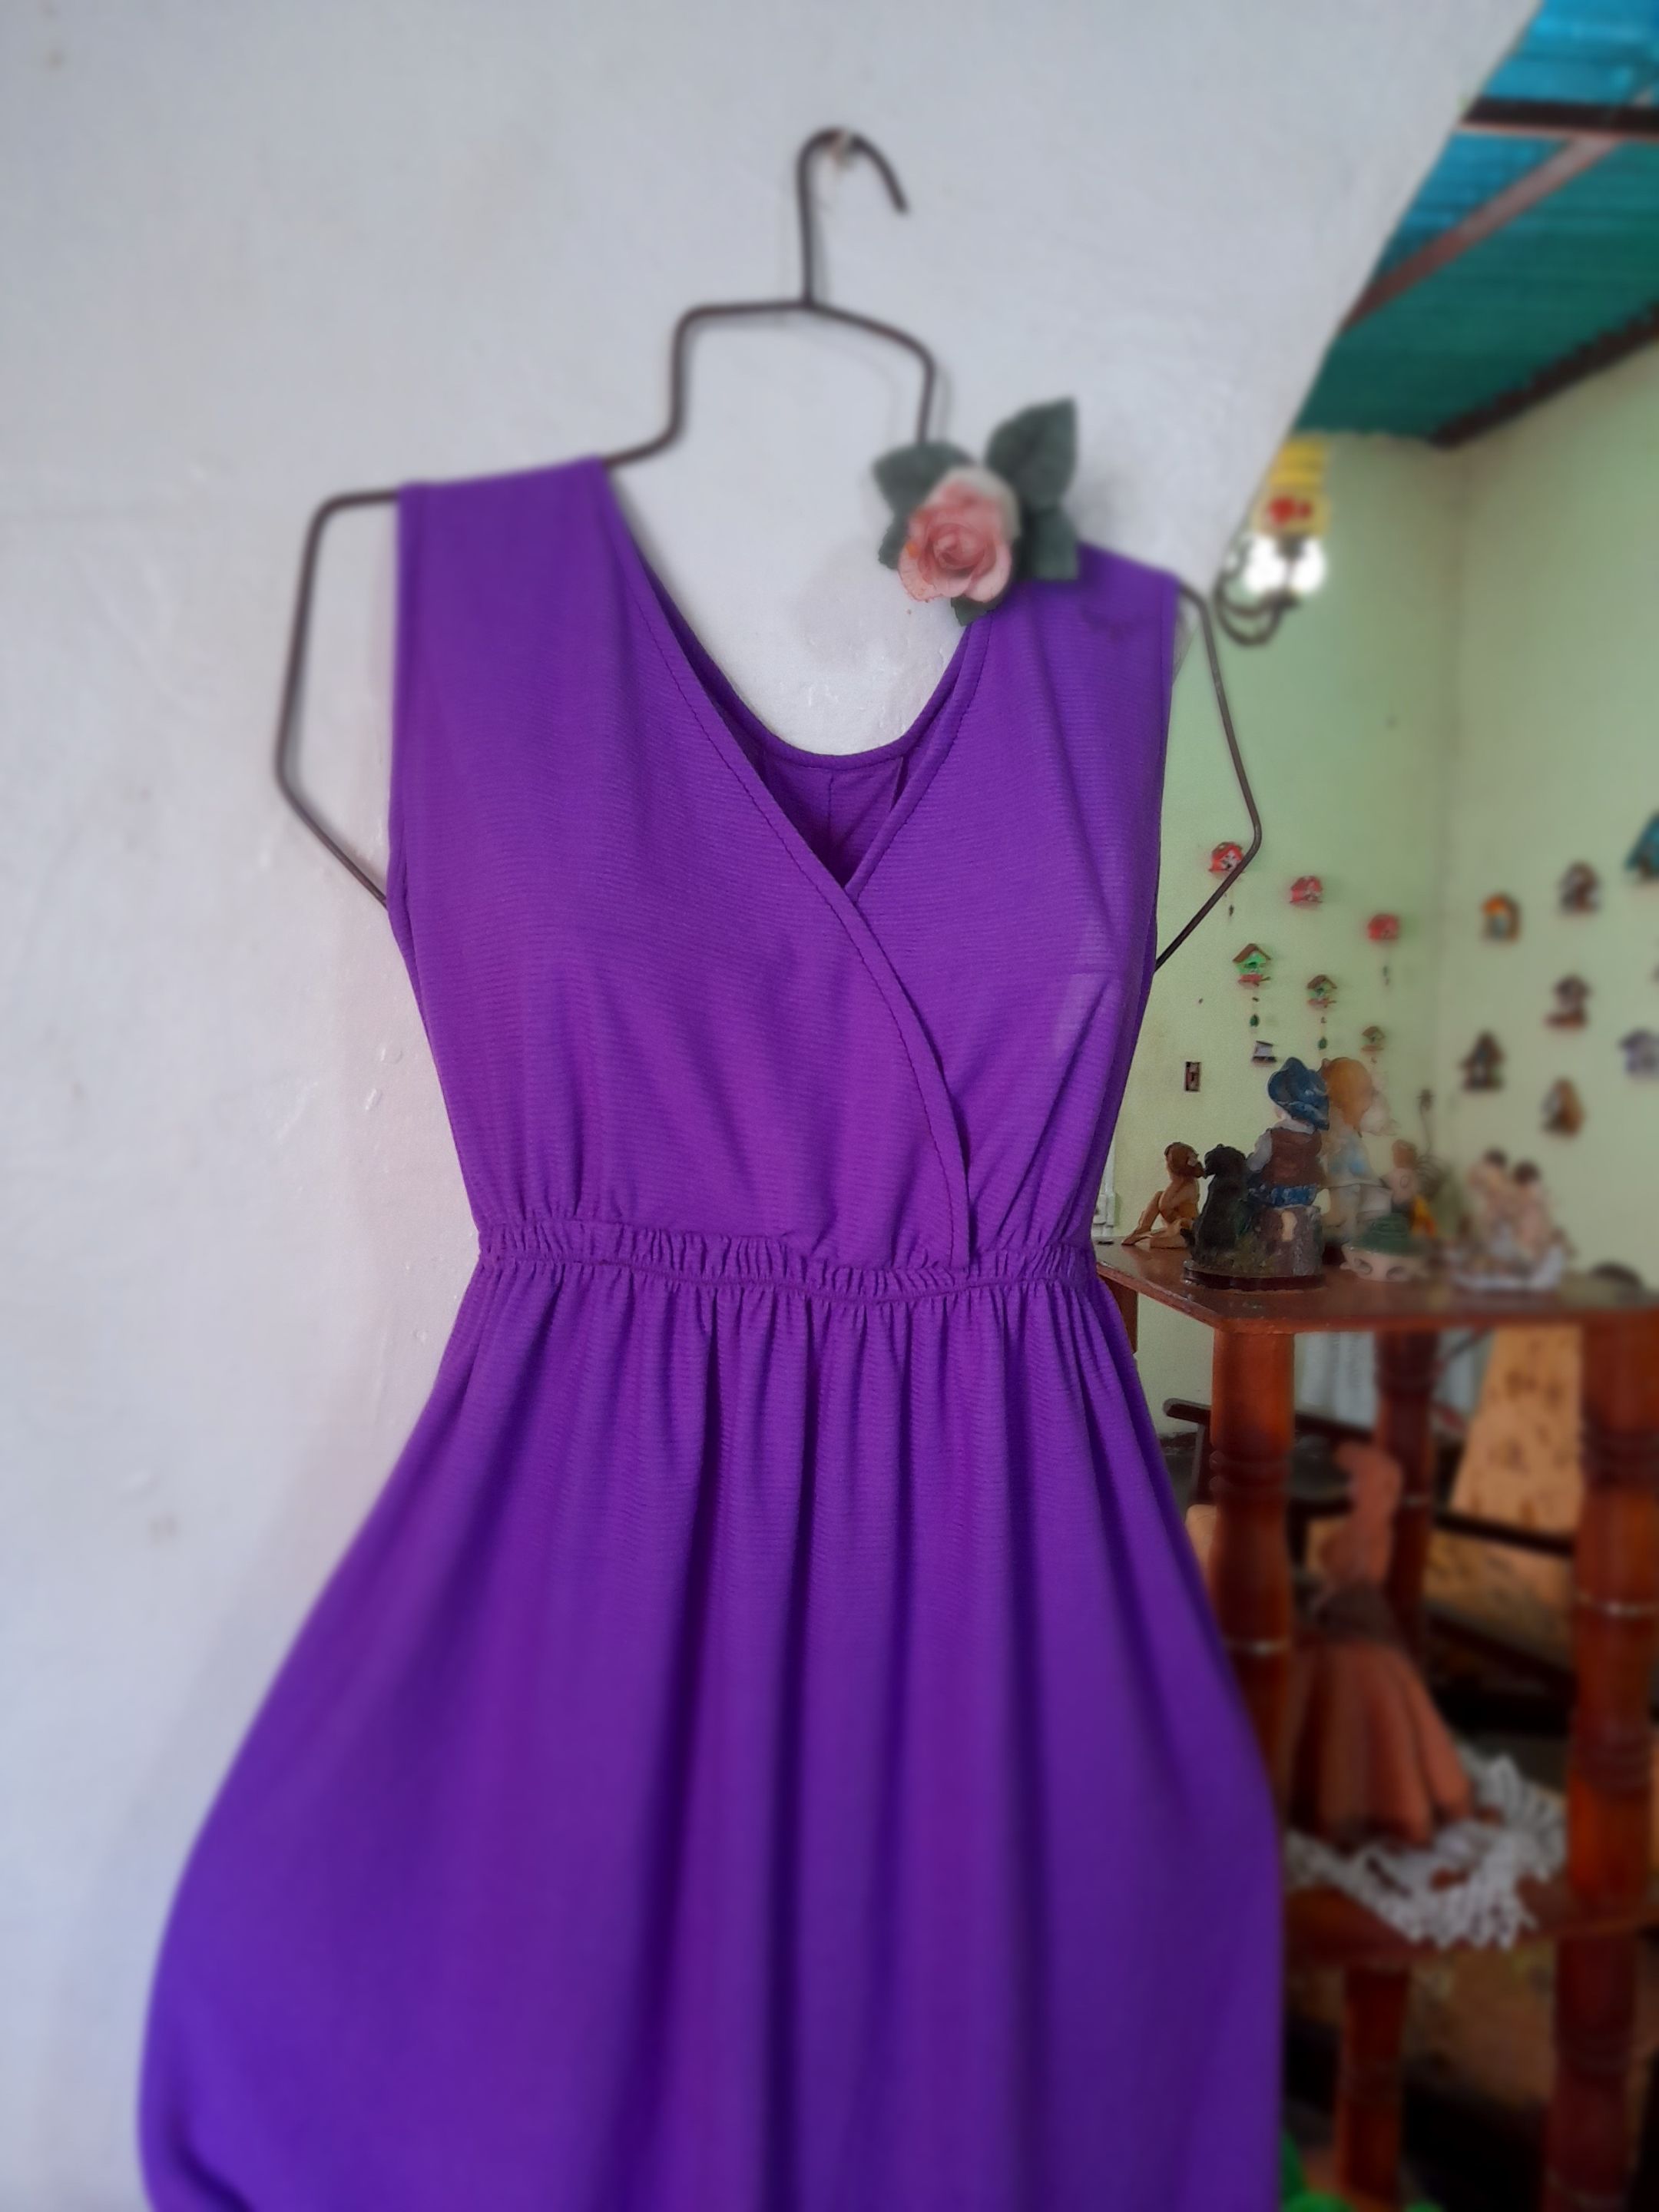
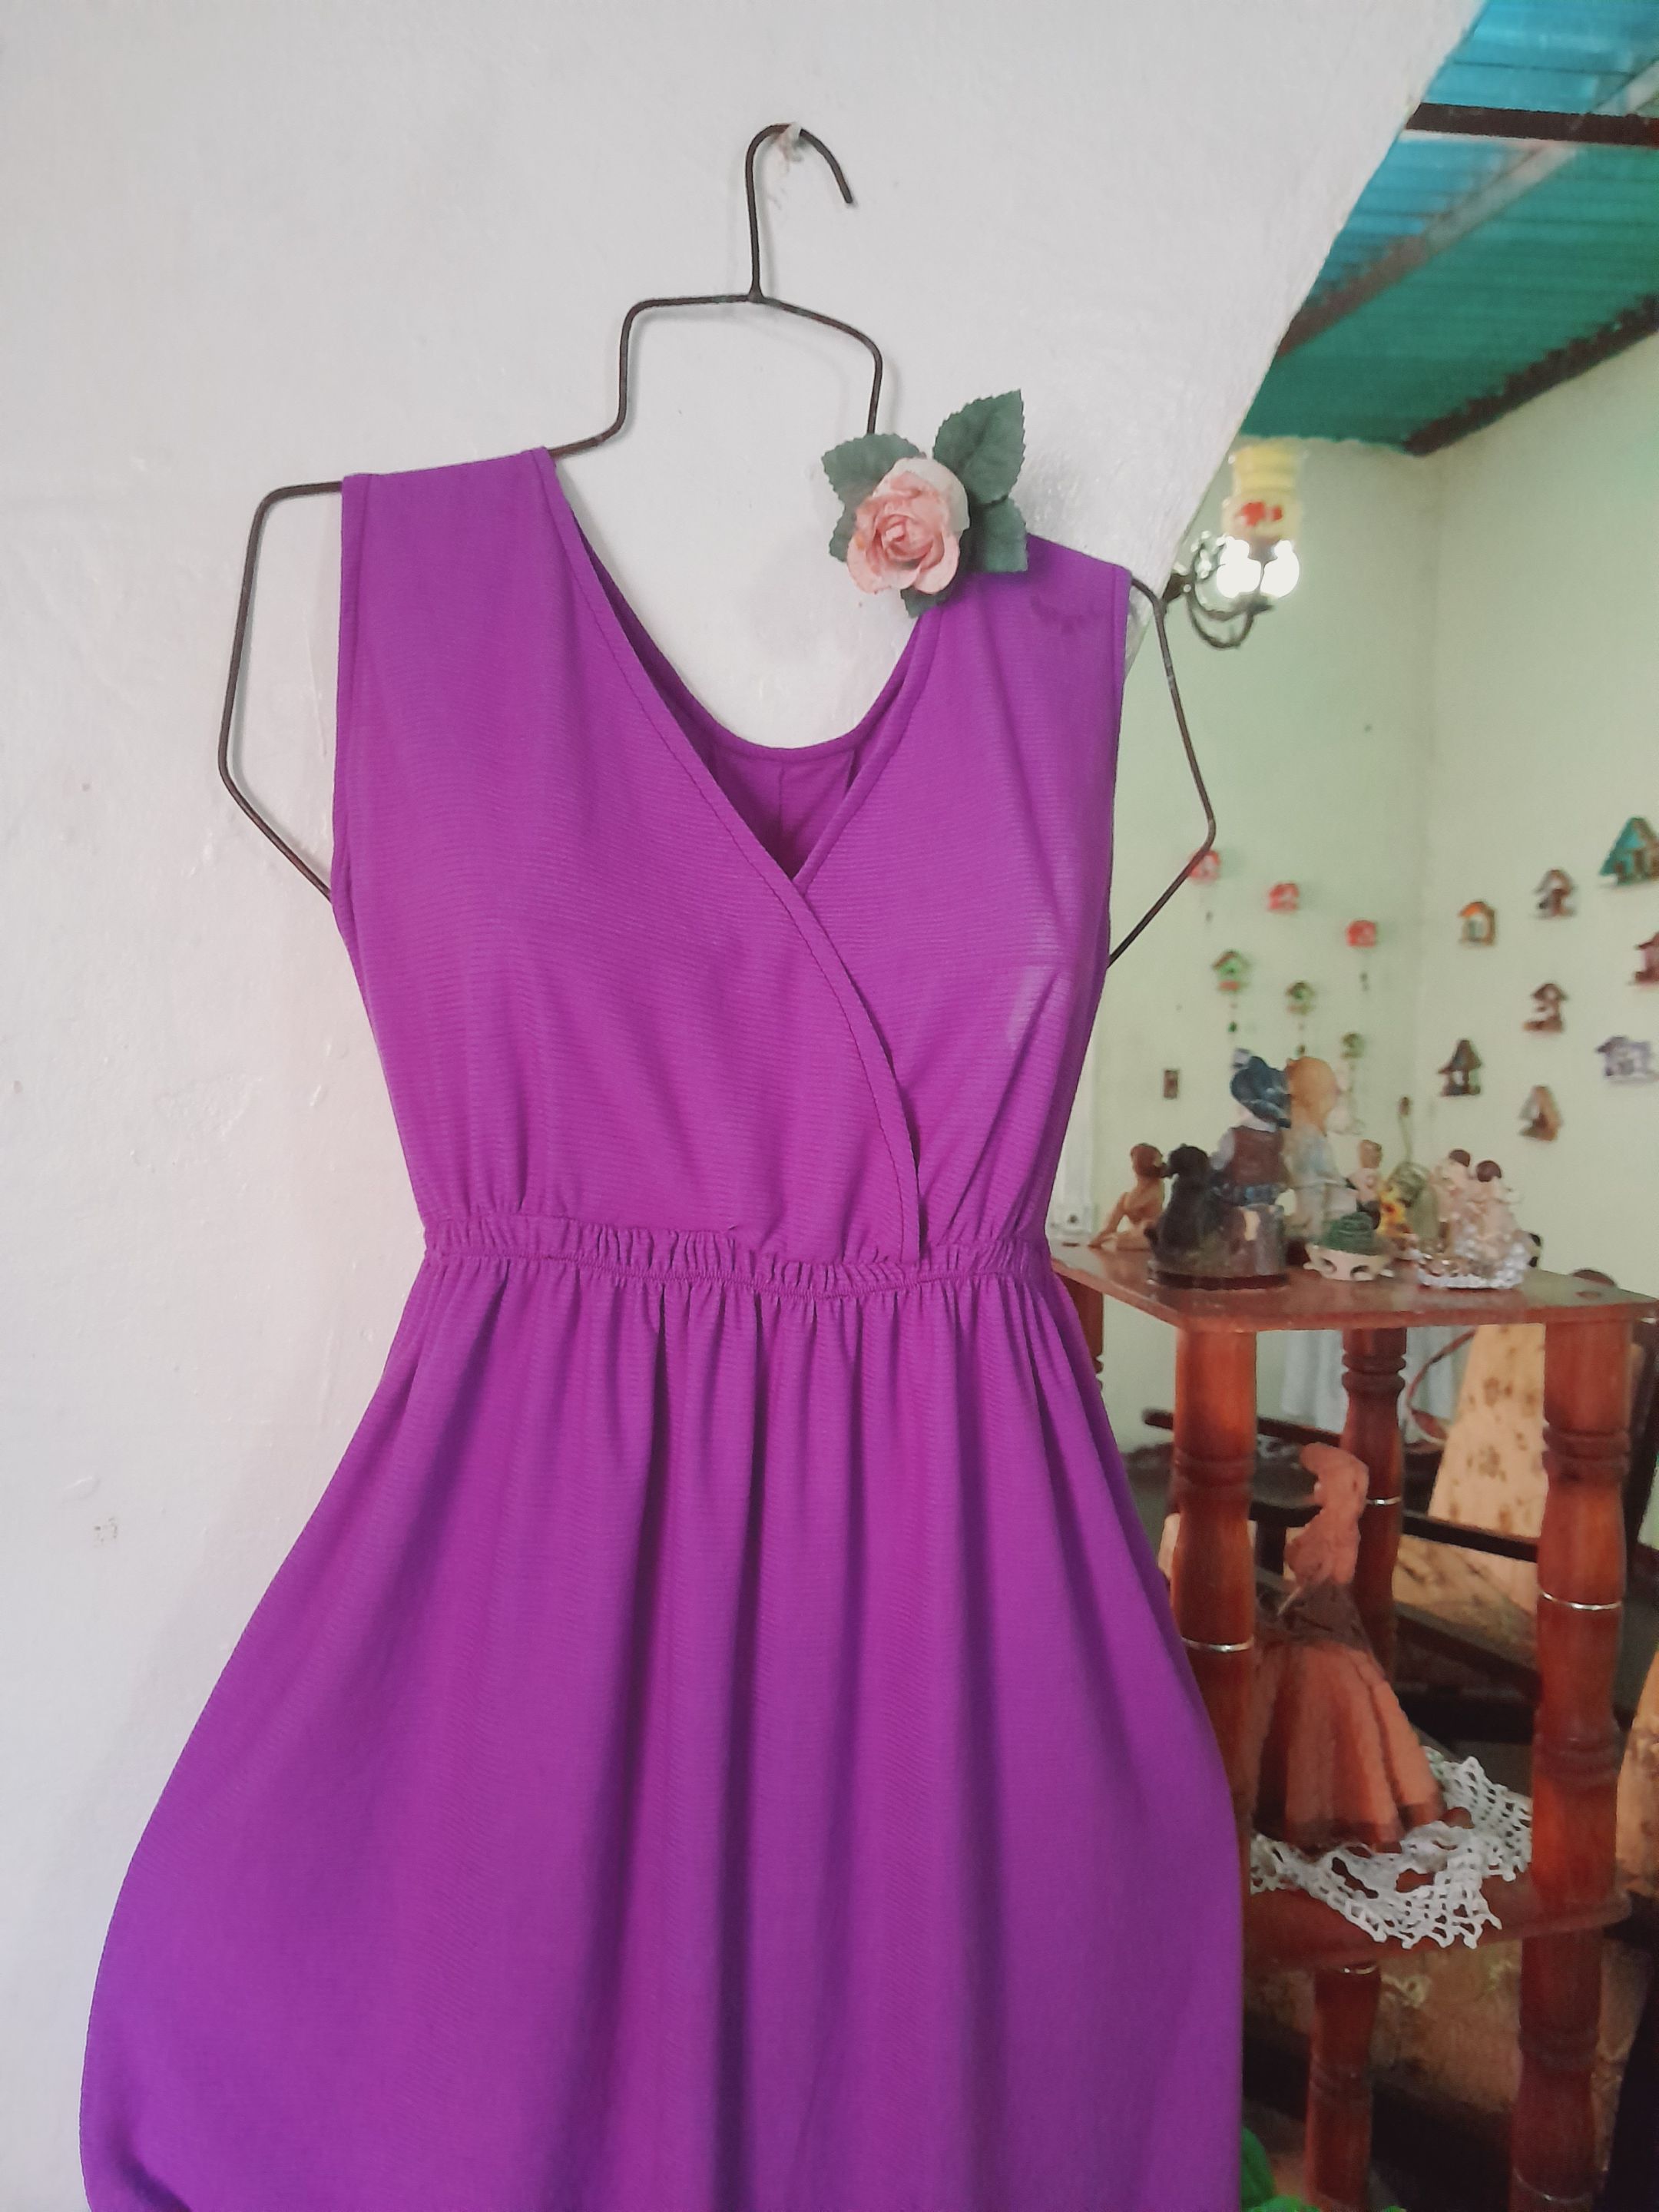
Aquí vemos el increíble resultado de este hermoso vestido para lucir lo radiante y hermoso del embarazo ❤️ esta etapa más bonita de cualquier mujer 😍. Muchas gracias por haber tomado un minuto para leer mi post queridos amigos 🤗 espero les guste mi post y mi pequeño aporte para esta creativa comunidad ❤️ saludos a todos y que tengan una feliz noche 🤗
Hello, good evening to all my dear friends of Hive ❤️ I sincerely hope that you are all doing well 🤗 It is a pleasure to greet you and share with you tonight with all the artists who make life in this prestigious and creative #Diy community. Today I want to share with you my fashion design and subsequent making of a beautiful maternity dress with a crossover neckline detail. I would love for you to accompany me in each and every one of the steps to follow so that you can also make yours. I invite you to get comfortable and join me 😘.
• 🧵Sewing machine • ✂️Scissors • 🧵Sewing thread • ✂️Fabric • 👗Measurement garment •🧵Elastic
•✨️💜I'm going to start by cutting all the pieces of my dress. These are the two back pieces divided into two: a full front skirt and a neckline between two pieces, a top back hem, and two sleeve hems.
|||
|-|-|
|
|
|---|---|
•✨️💜I'm going to continue sewing the two back pieces with a straight seam twice, then I'm going to sew the top back hem with a straight seam, then turn it over and sew with a straight seam again. I'm going to continue sewing the edge of the crossover neckline by folding the fabric and sewing with a straight seam, then sew both pieces at the shoulders with a straight seam and a zigzag to secure.
|
|
|
|---|---|---|
|
|
|---|---|
•✨️💜I'm going to sew the neckline with a long straight seam, then adjust one of the threads and create pleats. Then I'm going to sew the front skirt to the top with a long straight seam to create pleats. Then I'm going to sew both pieces with a straight seam and a zigzag to secure.
|
|
|
|---|---|---|
|
|
|---|---|
•✨️💜Then I'm going to sew the edge of the arm opening with a straight seam and then I'm going to fold and sew with a straight seam again and then sew the ends of the dress with a straight seam and zigzag to secure. Then I'm going to sew the hem by folding the edge and sewing with a zigzag seam and tension on 1 to form pleats.
|
|
|---|---|
|
|
|---|---|
Here we see the incredible result of this beautiful dress to show off the radiance and beauty of pregnancy ❤️ this most beautiful stage of any woman's life 😍. Thank you so much for taking a minute to read my post, dear friends 🤗 I hope you like my post and my small contribution to this creative community ❤️ Greetings to everyone and have a nice evening 🤗
20250530_165936.jpg (https://files.peakd.com/file/peakd-hive/selenediva/241tdRL6saTzPi369HV7h8smkchEWwhzSZgUXuUGMV5HDprjPFmpt5k36EzYtBfGtHyyS.jpg)
Dark Blue Elegant 3d Illustration Geometric Learn Trading LinkedIn Banner_20250330_125158_0000.png (https://files.peakd.com/file/peakd-hive/selenediva/EogLpCBq42Ros62UDdV6Umi2UPR2EZpvGzCKTebL3UiFWy7omcUYmWKZaDWAeE2sbMd.png)
✅️Todas las fotografías son de mi autoría capturadas con mi Samsung Galaxy A12 y editadas en GridArt. El texto y resumen es totalmente de mi autoría. Texto traducido en el traductor Google.✅️
✅️All the photographs are my own, captured with my Samsung Galaxy A12 and edited in GridArt. The text and summary is entirely my own. Translated text in Google translator.✅️
PhotoCollage_1683262357019.jpg (https://files.peakd.com/file/peakd-hive/selenediva/EoEp1ySX92VkpjiQz19xpkhbrqp3jsmcqBJF8RJQpETRrb4mnSWyWAQsSmAph5tK5yd.jpg)