Hola amigos, estoy muy feliz por la bienvenida que me dieron en mi presentación. Me sentí muy bien al leer sus mensajes y estoy agradecida por todos sus consejos. He estado leyendo las guías que me recomendaron y han sido una gran ayuda para mí.
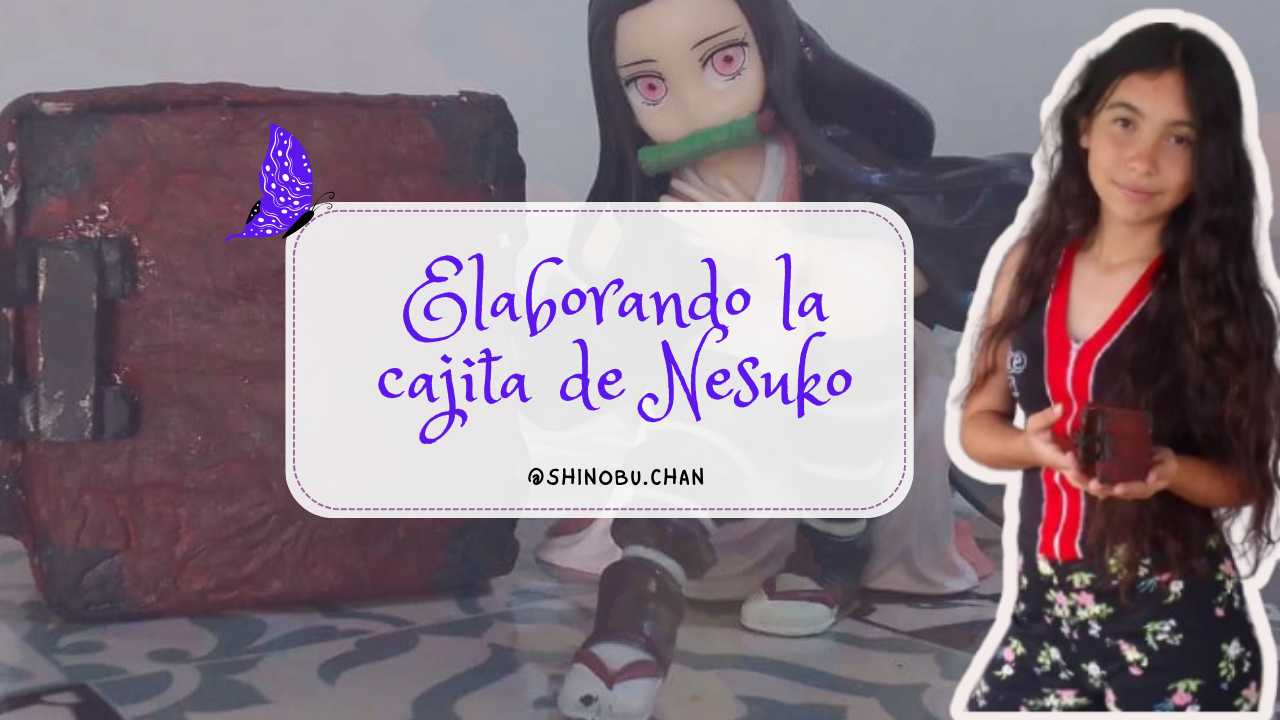
Hoy les estaré contando cómo hacer la hermosa cajita de Nezuko, ella es uno de mis personajes femeninos favoritos, y pensé que hacer la caja de Nezuko Kamado sería genial, ya que me gusta coleccionar todo lo relacionado con ella, pero no todo lo puedo comprar y esta cajita es muy fácil de realizar. Esta caja es muy popular, porque tiene un significado muy importante en la serie "Kimetsu no Yaiba", mi anime favorito. Para que tengan una idea, ahora les dejaré un video de Youtube sobre un fragmento de la serie donde se ve muy bien la cajita.
https://www.youtube.com/watch?v=82Pbr7PCItU
Materiales.
Estos son los materiales que vamos a necesitar.
| https://files.peakd.com/file/peakd-hive/shinobu.chan/EoCj4so2QXMhMcEVi726kpjCpudu7ypw6TeYE5DkLE3MKXLoFC1sp9cqtJoqFYjr5eT.jpeg |
|---|
✓ Una caja pequeña ✓ Pintura negra, roja y marrón ✓ Pincel ✓ Exacto ✓ Hojas de papel higiénico ✓ Un elástico negro ✓ Goma y silicón ✓ 9 palitos de helado.
Paso 1
Buscaremos una caja que no esté en uso, del tamaño que deseen, le van a cortar los sobrantes los cuales los guardamos, para después más adelante usarlos, y forramos con tirro, luego medimos los palitos de helado de forma que quede igual de largo y cortamos con el exacto, y luego limar todos sus lados.
| https://files.peakd.com/file/peakd-hive/shinobu.chan/23uFXnLZMT32asVp8iYLoBkCXiJG5zbXFZYPNy5mFE3B6tWQcgvKU1fHJNvFKJTNtAus8.jpeg | https://files.peakd.com/file/peakd-hive/shinobu.chan/Eoc8wCwafCgD6c3pSmaSo68PzHDVsaHrXsvn9KZxHEHTRSGJzuMXirCL9bL1J5Gqzhb.jpeg |
|---|---|
Paso 2
En este paso colocamos en un recipiente la misma cantidad de agua y goma, mezclamos muy bien, luego le colocamos la mezcla a la caja y después encima de la pega colocaremos las hojas de papel higiénico, haremos este procedimiento varias veces y cuando ya terminemos dejamos secar durante una noche entera. Ya pasada la noche, pintaremos la caja con un color marrón y un poco por los lados para que parezca unas sombras.
| https://files.peakd.com/file/peakd-hive/shinobu.chan/EonmYnRDxfrGUHJEbV6DzbaqgXUatiKKKymECQhwvUx8SWVQA6MNsLvy6RsyGyKVXSL.jpeg | https://files.peakd.com/file/peakd-hive/shinobu.chan/23wCDwHfkYaKDYyH4zWRNWd4kGPed89qevyR5n6rJsKS9BYxi6nB75Lrvd3x5K62sdzjA.jpeg |
|---|---|
| https://files.peakd.com/file/peakd-hive/shinobu.chan/EoiXZEBRmKDUU8aBMUeC422uWAz39PjrYdtBa2vhQGhA4Wa3AJTNovQXEDZabY7NE2X.jpeg | https://files.peakd.com/file/peakd-hive/shinobu.chan/EogPkf7G7S5VRijQEsvEmhuczCRVa7bGqNYkqLVf7pv9kHciEvFm1ErYc6d5uNMgpru.jpeg |
|---|---|
Paso 3
Luego usaremos los cartones que habíamos guardado, y haremos cuatro cuadrados, yo los hice con una medida de medio cm, también cuatro rectángulos, los cuales tienen una medida de 2 milímetros de ancho y 6 milímetros de largo, y por último otro pequeño cartón que también lo medí 2 milímetros de ancho y de largo fueron 2,5 cm, pagaremos todos los cuadrados juntos, después pegamos dos rectángulos juntos y aparte los otros dos lo pegamos de igual forma juntos, y pintaremos de negro.
| https://files.peakd.com/file/peakd-hive/shinobu.chan/EonnvibXeBEao2sDQF36vHoUGHghJDwS1aET8zLy84ELNQDr2VAcsFvxubniS4XSX4Q.jpeg | https://files.peakd.com/file/peakd-hive/shinobu.chan/23xepBoHhsQH2dQpgPtKCwjg2Sib6c865URDFvoRQNkwzsPtipVnuqETAm6go1G4fCkwx.jpeg |
|---|---|
Paso 4
Para terminar, usaremos los elásticos negros, dos de ellos tienen que medir lo mismo y uno más pequeño que será para la manilla, pegamos debajo con el otro cartón más largo, que después con el elástico más pequeño lo pagaremos debajo de los rectángulos, y ahora solo faltaría pegar el cuadrado en la dirección de la manilla de la caja, y listo hemos terminado.
| https://files.peakd.com/file/peakd-hive/shinobu.chan/EoGzqd6oThKt77XSpVyLBKqLEdbU2h2E6HGBJ635TqDnqw47D7xaDVGWNuU8pGq7UEQ.jpeg | https://files.peakd.com/file/peakd-hive/shinobu.chan/23tSUJEaRqnqTP68QL2xPe4HmevoAetDDG1XKtM7vjDbRJWst8pmQXL4fvCVgFSfJ1AJB.jpeg |
|---|---|
Tal vez los dos últimos pasos sean un poco enredados, pero espero que las imágenes les sirvan de mucha ayuda. Bueno amigos, me despido, será hasta una nueva oportunidad
| https://files.peakd.com/file/peakd-hive/shinobu.chan/23wqbcSySqtxbZ7P6a4WDjz2XQC3qDR73YkrY5pdAauH1fP2LEzH3GmnRA3TwUCFKBrHn.jpeg |
|---|
Espero encontrarte de nuevo, en otra publicación, gracias por estar aquí. Abrazos.
Imágenes propias, edición en Canva con plantillas de uso gratuito
ENGLISH
Hello friends, I am very happy for the welcome you gave me in my introduction. I felt great reading your messages and I am grateful for all your advice. I have been reading the guides you recommended and they have been a great help to me.
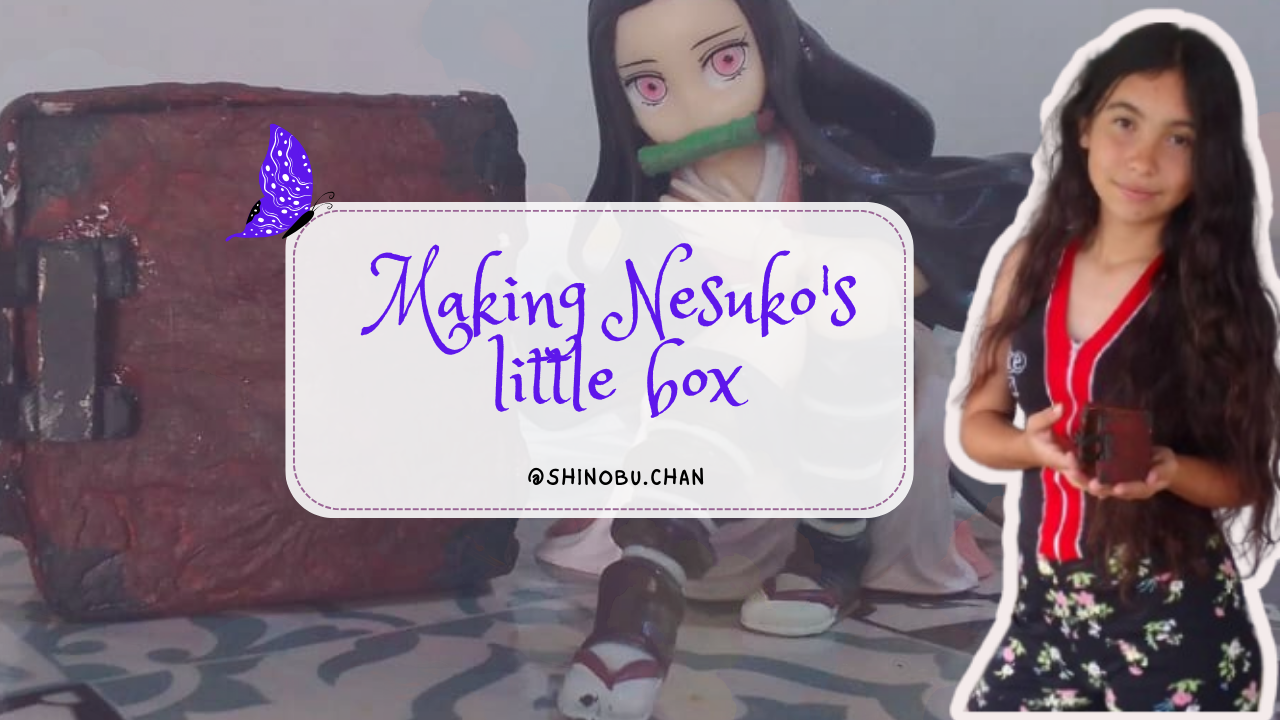
Today I'm going to tell you how to make Nezuko's beautiful little box. She's one of my favorite female characters, and I thought it would be great to make Nezuko Kamado's box, since I like to collect everything related to her, but I can't buy everything, and this little box is very easy to make. This box is very popular because it has a very important meaning in the series “Kimetsu no Yaiba,” my favorite anime. To give you an idea, here's a YouTube video of a clip from the series where you can see the box very clearly.
https://www.youtube.com/watch?v=82Pbr7PCItU
Materials.
These are the materials we will need.
| https://files.peakd.com/file/peakd-hive/shinobu.chan/EoCj4so2QXMhMcEVi726kpjCpudu7ypw6TeYE5DkLE3MKXLoFC1sp9cqtJoqFYjr5eT.jpeg |
|---|
✓ A small box ✓ Black, red, and brown paint ✓ Paintbrush ✓ Craft knife ✓ Sheets of toilet paper ✓ A black rubber band ✓ Glue and silicone ✓ 9 popsicle sticks.
Step 1
Find a box that is not in use, of the size you want. Cut off the excess, which you will save to use later, and cover with tape. Then measure the ice cream sticks so that they are all the same length and cut them with the craft knife. File down all the edges.
| https://files.peakd.com/file/peakd-hive/shinobu.chan/23uFXnLZMT32asVp8iYLoBkCXiJG5zbXFZYPNy5mFE3B6tWQcgvKU1fHJNvFKJTNtAus8.jpeg | https://files.peakd.com/file/peakd-hive/shinobu.chan/Eoc8wCwafCgD6c3pSmaSo68PzHDVsaHrXsvn9KZxHEHTRSGJzuMXirCL9bL1J5Gqzhb.jpeg |
|---|---|
Step 2
In this step, we place equal amounts of water and glue in a container, mix well, then pour the mixture into the box. Next, we place the sheets of toilet paper on top of the glue. We repeat this process several times and, when we are done, we leave it to dry overnight. The next day, paint the box brown, including a little on the sides to create shadows.
| https://files.peakd.com/file/peakd-hive/shinobu.chan/EonmYnRDxfrGUHJEbV6DzbaqgXUatiKKKymECQhwvUx8SWVQA6MNsLvy6RsyGyKVXSL.jpeg | https://files.peakd.com/file/peakd-hive/shinobu.chan/23wCDwHfkYaKDYyH4zWRNWd4kGPed89qevyR5n6rJsKS9BYxi6nB75Lrvd3x5K62sdzjA.jpeg |
|---|---|
| https://files.peakd.com/file/peakd-hive/shinobu.chan/EoiXZEBRmKDUU8aBMUeC422uWAz39PjrYdtBa2vhQGhA4Wa3AJTNovQXEDZabY7NE2X.jpeg | https://files.peakd.com/file/peakd-hive/shinobu.chan/EogPkf7G7S5VRijQEsvEmhuczCRVa7bGqNYkqLVf7pv9kHciEvFm1ErYc6d5uNMgpru.jpeg |
|---|---|
Step 3
Next, we will use the cardboard we saved and make four squares. I made them half a centimeter wide. We will also make four rectangles, which are 2 millimeters wide and 6 millimeters long. Finally, we will make another small piece of cardboard that is also 2 millimeters wide and 2.5 centimeters long. We will glue all the squares together, then glue two rectangles together and glue the other two together in the same way, and paint them black.
| https://files.peakd.com/file/peakd-hive/shinobu.chan/EonnvibXeBEao2sDQF36vHoUGHghJDwS1aET8zLy84ELNQDr2VAcsFvxubniS4XSX4Q.jpeg | https://files.peakd.com/file/peakd-hive/shinobu.chan/23xepBoHhsQH2dQpgPtKCwjg2Sib6c865URDFvoRQNkwzsPtipVnuqETAm6go1G4fCkwx.jpeg |
|---|---|
Step 4
To finish, we will use the black elastic bands. Two of them must be the same size, and one smaller one will be for the handle. We glue them underneath with the other longer piece of cardboard, which we will then secure with the smaller elastic band underneath the rectangles. Now all that remains is to glue the square in the direction of the box handle, and we're done.
| https://files.peakd.com/file/peakd-hive/shinobu.chan/EoGzqd6oThKt77XSpVyLBKqLEdbU2h2E6HGBJ635TqDnqw47D7xaDVGWNuU8pGq7UEQ.jpeg | https://files.peakd.com/file/peakd-hive/shinobu.chan/23tSUJEaRqnqTP68QL2xPe4HmevoAetDDG1XKtM7vjDbRJWst8pmQXL4fvCVgFSfJ1AJB.jpeg |
|---|---|
Perhaps the last two steps are a little complicated, but I hope the images will be very helpful. Well, friends, I bid you farewell until next time.
| https://files.peakd.com/file/peakd-hive/shinobu.chan/23wqbcSySqtxbZ7P6a4WDjz2XQC3qDR73YkrY5pdAauH1fP2LEzH3GmnRA3TwUCFKBrHn.jpeg |
|---|

I hope to see you again in another post. Thank you for being here. Hugs.
Own images, edited in Canva with free templates.
To translate into English, I used Deepl Translator.