This here is my entry for the weekly Splinterlands Art contest which can be found RIGHT OVER HERE, CLICK HERE, THIS LINK WILL TAKE YOU TO THE PLACE
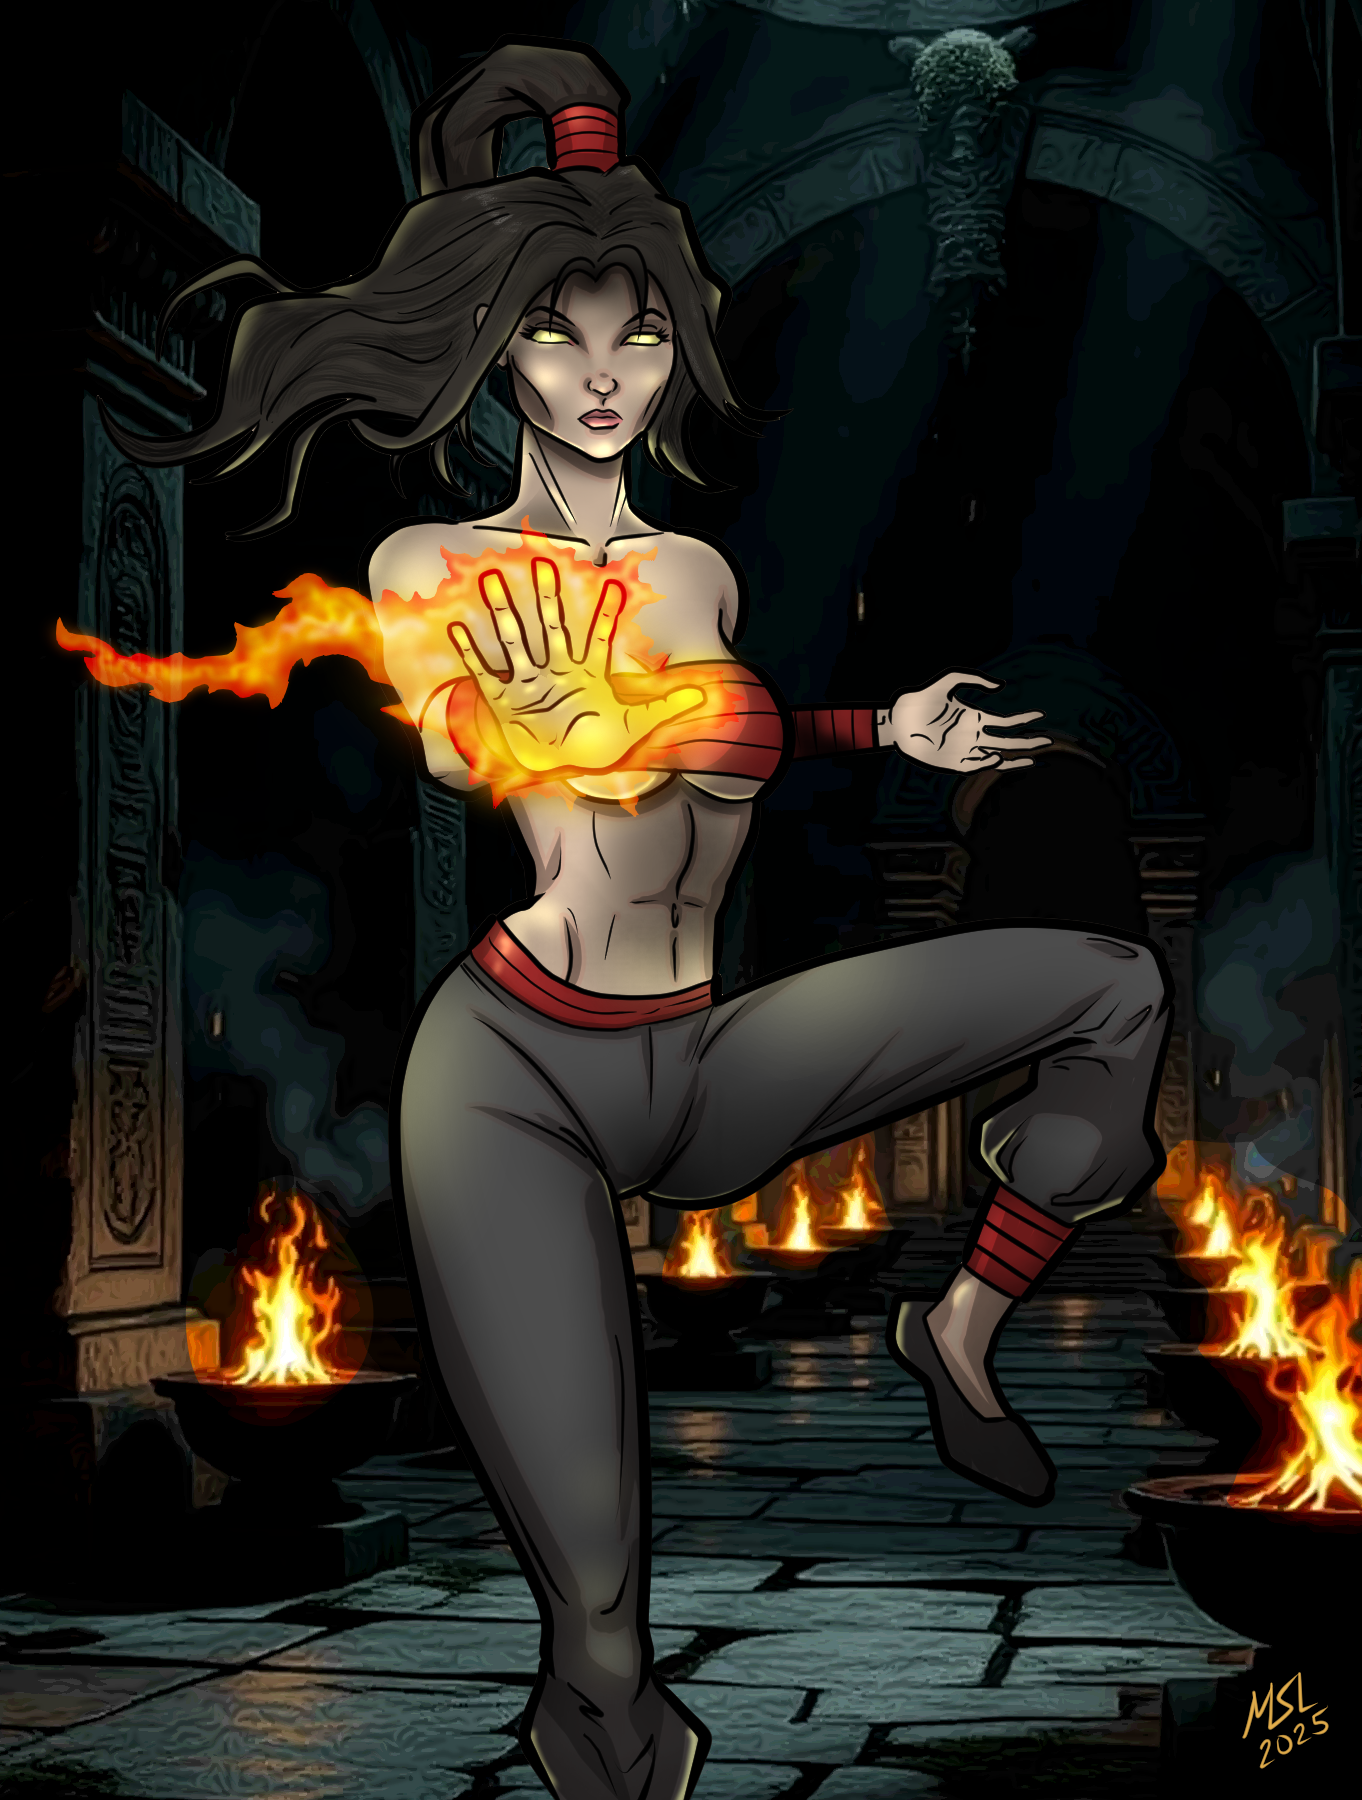
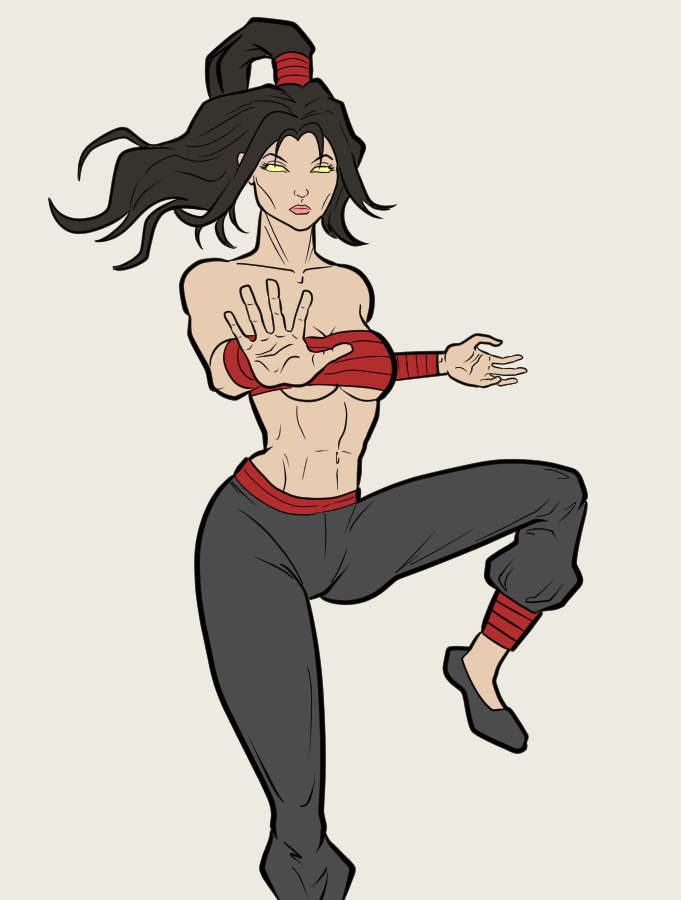
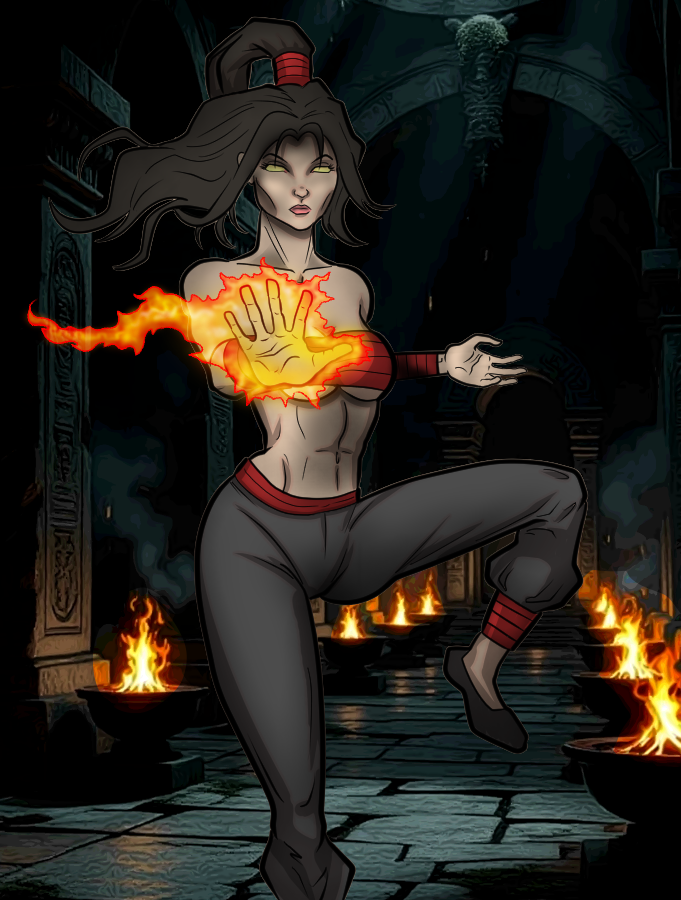
Compare to the original card art:

My Drawing Process in Clip Studio Paint:
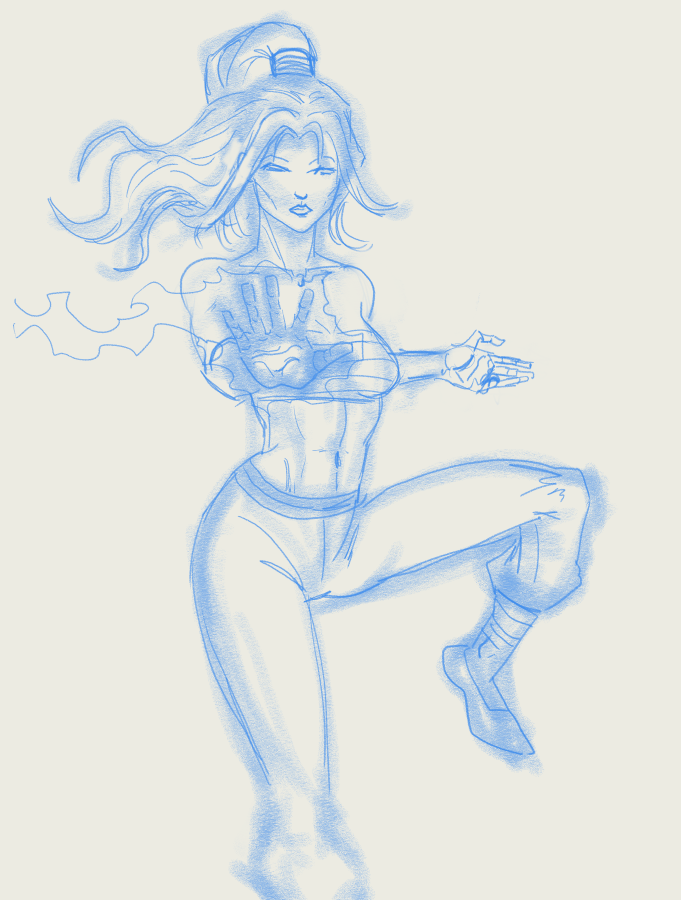
Step 1: Rough draft. I use a fat pastel brush to block out the character's position, then refine the shapes and details a bit with a fat, but not as fat, mechanical pencil brush.
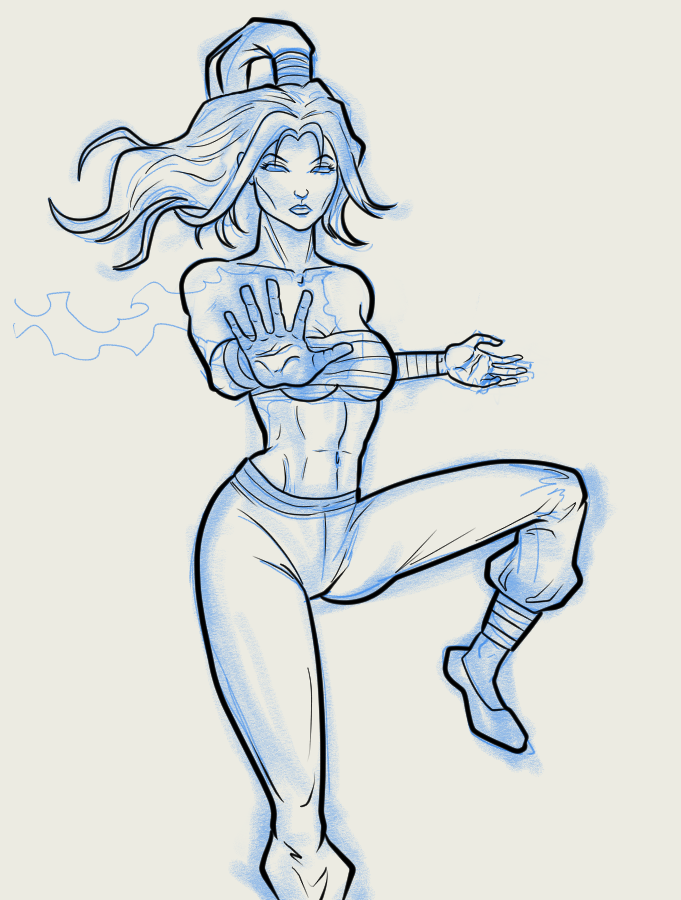
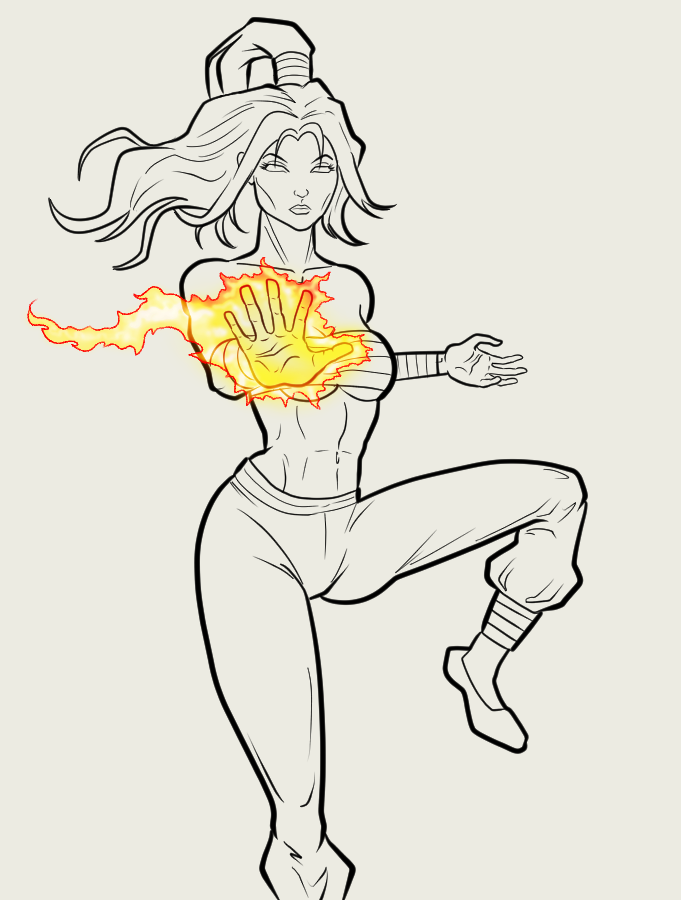
Step 2: Line art. I outline the figure with a 15px G Pen brush. All the interior linework is done with a finer brush, anywhere from 4 px to 8 px.
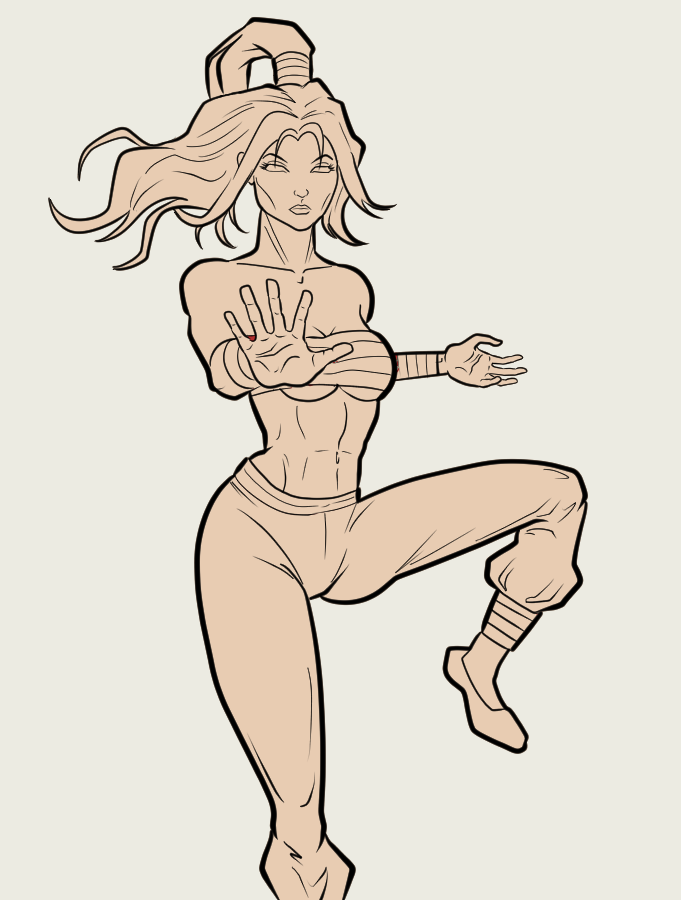
Step 3: Flat layer. First hide the rough layer. I've found the best way to fill in an entire silhouette for a character is to use the magic wand tool to select everything outside the figure. Then inverse the selection and use the paint bucket to fill in every drop of space. This makes a single flat layer that extends all the way into the thick pen outline. Picked a color that would make a good skin tone and used that.
4: Step 4: Colors. On a new layer, color in everything that is not her skin. I mostly just use the paint bucket fill tool and sometimes find missing corners and just fill them in with the G-pen.
5: Make some fire. Probably didn't actually draw this part next, but I think it's easier to show you this step now. I used a thin Real G-Pen brush to make the outline of the fire. You can see it now, but I think I actually got rid of the outline layer for the final version. Filled in the fire layer with bright orange, then just used the soft airbrush tool to make the interior of the fire aura more yellow and then transparent in the center.
6: Shadows. I make two separate shadow layers. This first one is a big chunk of gradient shadow. I've started using the Shading tool in CSP. On the flat layer, I set the auto-shading tool to "ball light" and placed the source directly in her palm. I went back on the same layer with an airbrush to darken some areas.
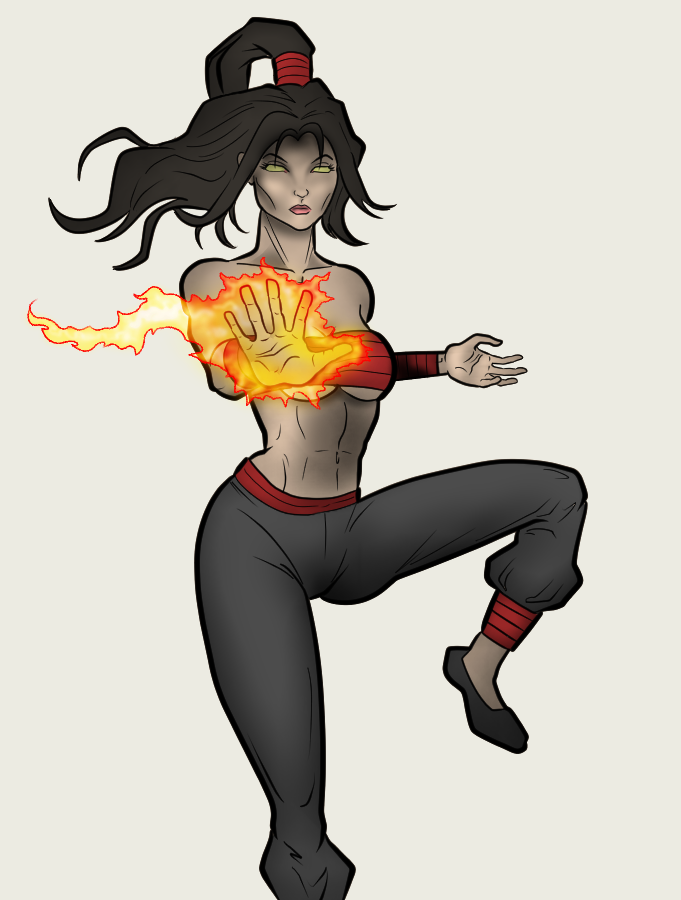
7: Cell shading. Make a new multiply layer and just use a fat G-pen brush to carve out defined shadows. I also usually in the layer settings create an outline of everything in the layer of a slight pink tone. Since this is a multiply layer, pink just turns the skin tones slightly redder. This is my easy way to create a "terminator" between the cast shadows and the unshaded area. If you zoom in close you can probably see it.
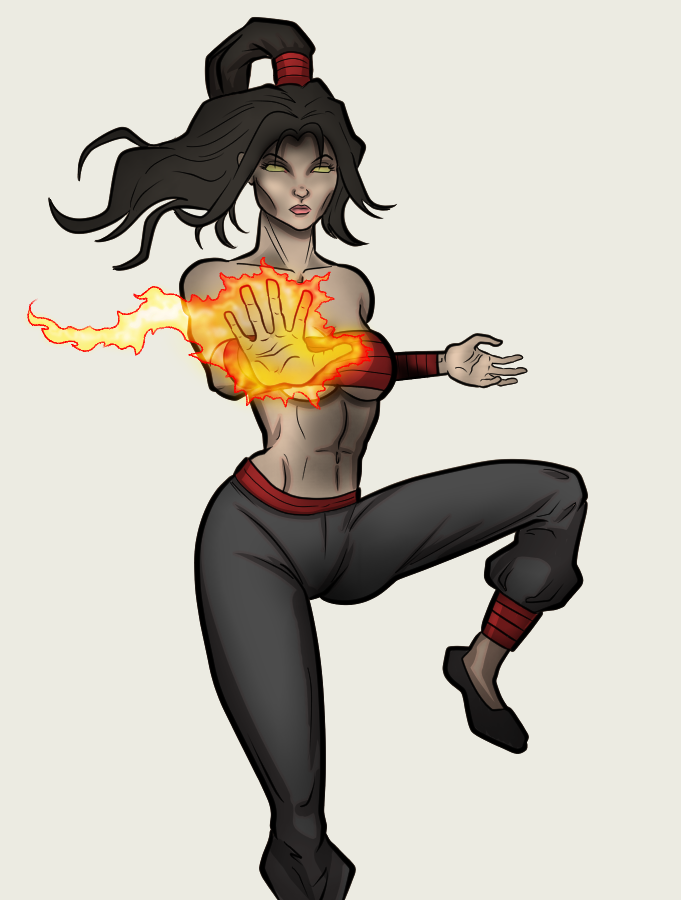
8: Background. I use generative I art for my backgrounds. I just asked for a temple interior, but also, I really wanted rows of iron braziers with embers in them. Obviously, those are not embers, but AI is not really great about following all the instructions you give them.
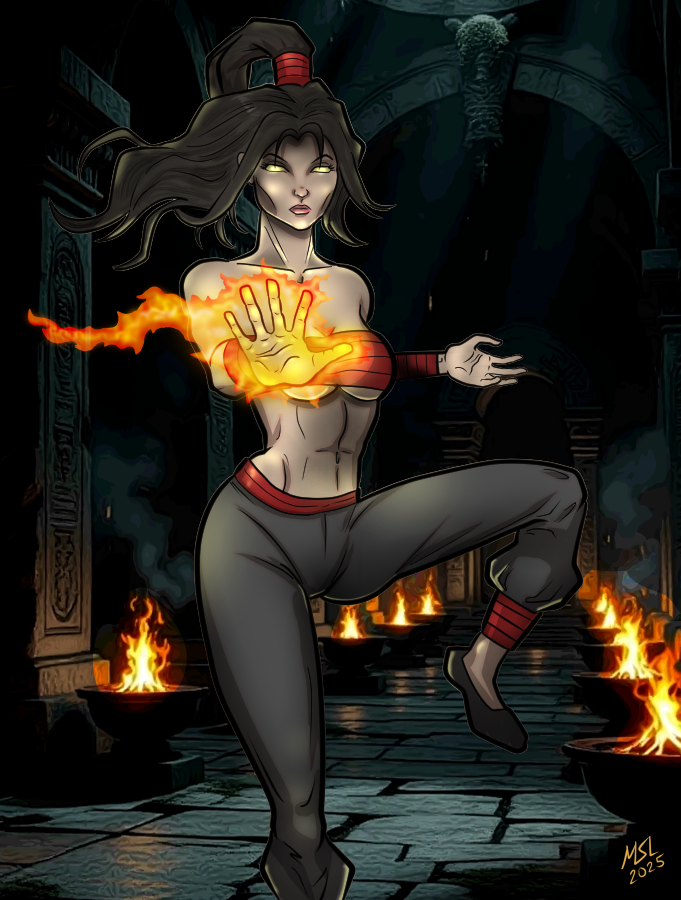
9: Details. I created a clipped "glow" layer to add some reflective light and glow in the eyes. Also, I apparently had a hair layer for shadows and texture in the hair, I just turned that back on. Also hid the red line around the fire. And last thin, used a fiery color for my initials at the bottom right of the page.
10: Animate the Fire Caller so she can do some cool fire bending moves. If you watch the video above through to the end, there is a short animation surprise sequence added on to the end. I've been playing around with this feature in Grok Imagination and have been impressed with the results. Go watch it!
Step 11: Fame and Fortune!
That is all.
Matt S. Law is a homeless, full-time nomadic pet-sitter. You may know him from such hits as Kickman LLC, Java Jaguar, and The Real Superheroines of Hive Valley. All three appear here on the HIVE block chain in my blog. You should totally follow me.
▶️ 3Speak