This here is my entry for the weekly Splinterlands Art contest which can be found RIGHT OVER HERE, CLICK HERE, THIS LINK WILL TAKE YOU TO THE PLACE

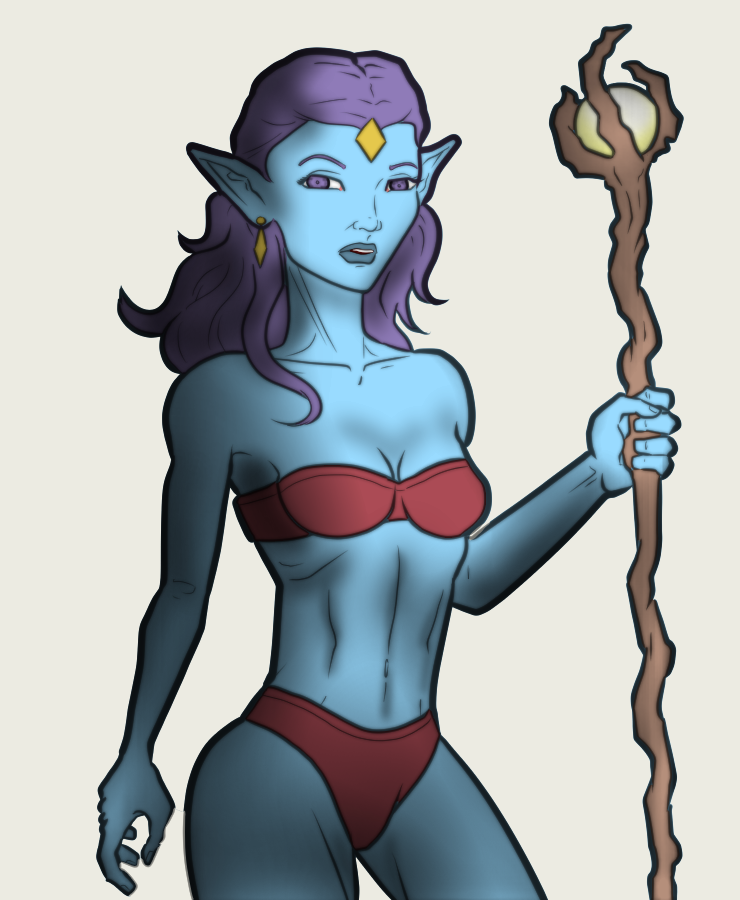
Nymph artworks are always appreciated. Compare mine to the original card art:

I kept a similar skin and hair coloring but went with simpler, minimalist clothing.
My Drawing Process in Clip Studio Paint:
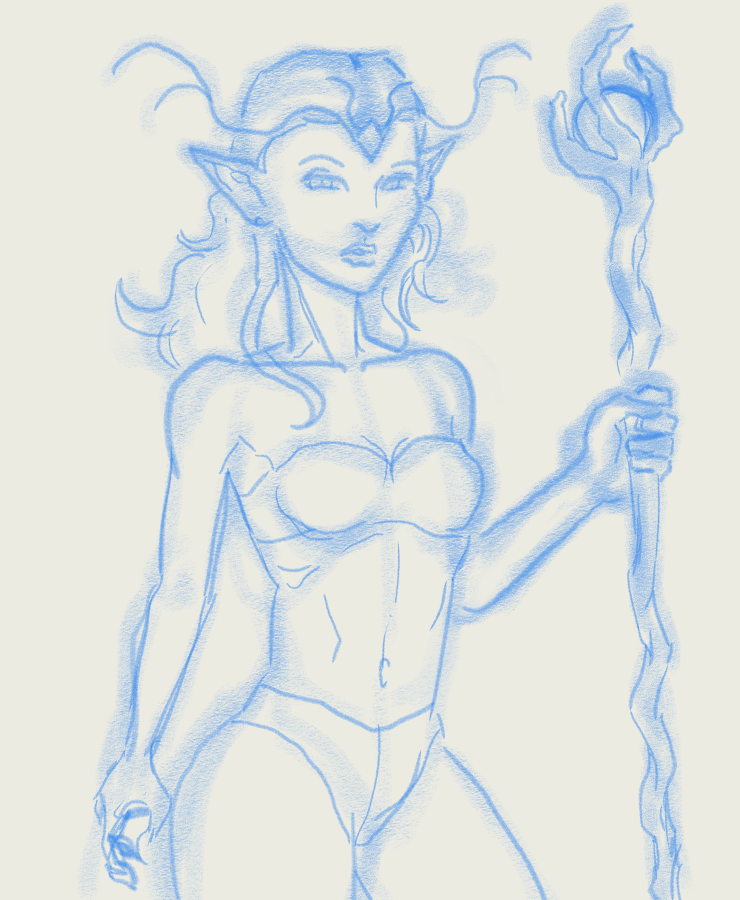
Step 1: Rough Draft
I start on a 3000×4000 px canvas at 300 DPI. Using CSP’s Oil Paint Flat Brush set to a fat 50–70 px size with high opacity, I scribble in chunky pastel-like strokes of muted cyan and lavender. The goal: capture gesture and proportion fast. Her dynamic pose—weight on one leg, staff raised triumphantly—emerges in bold, overlapping smears. Once the energy feels right, I drop to a Mechanical Pencil (Design Pencil) at 0.3 mm with pressure sensitivity. On a new layer, I refine anatomy: pointed ears, hourglass curves, the gem on her forehead. Smudging with the Blur tool softens pastel edges, and I erase aggressively until the sketch sings.
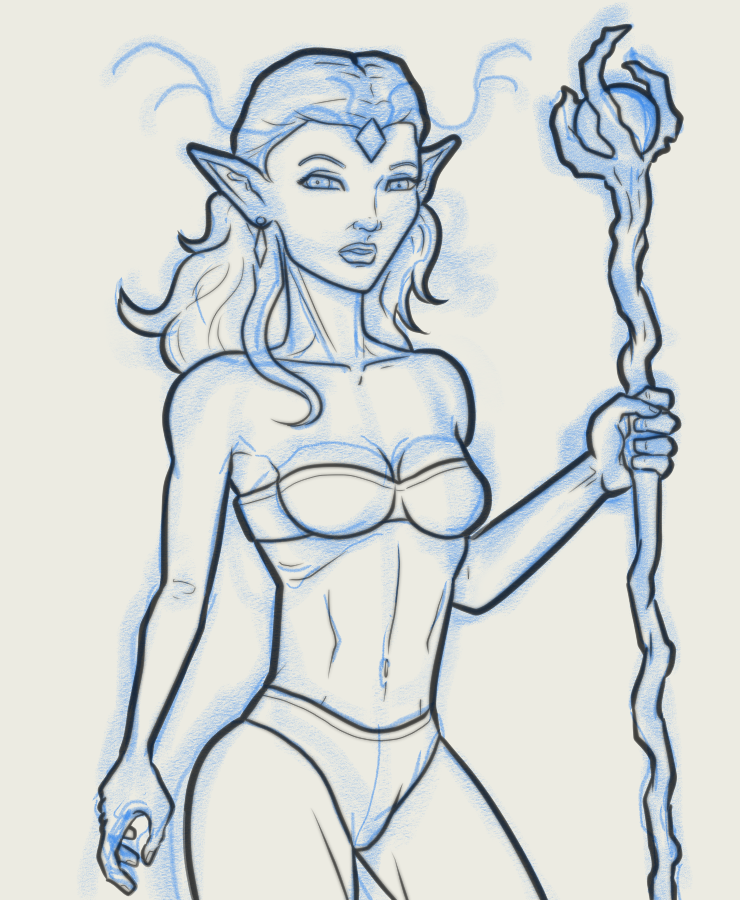
Step 2: Line Art
New layer, G-Pen dialed to 25 px for the silhouette. I trace the refined sketch with confident, tapered strokes—thick at curves, thin at joints. CSP’s stabilizer (set to 15) smooths my hand. For interior details, I switch to a custom 8–12 px textured pen (slightly grainy for organic feel). I vary line weight: heavier on bikini edges, lighter on hair strands and staff runes. The third-eye gem gets a crisp diamond outline. I use Vector Layers for the outline so I can tweak curves later with the Object Tool without quality loss.
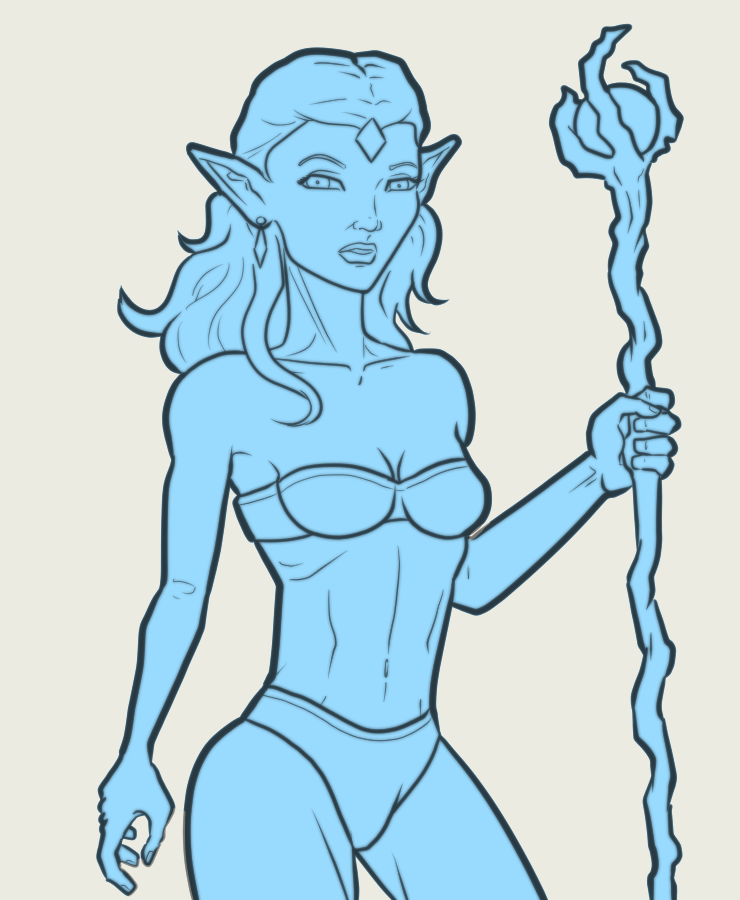
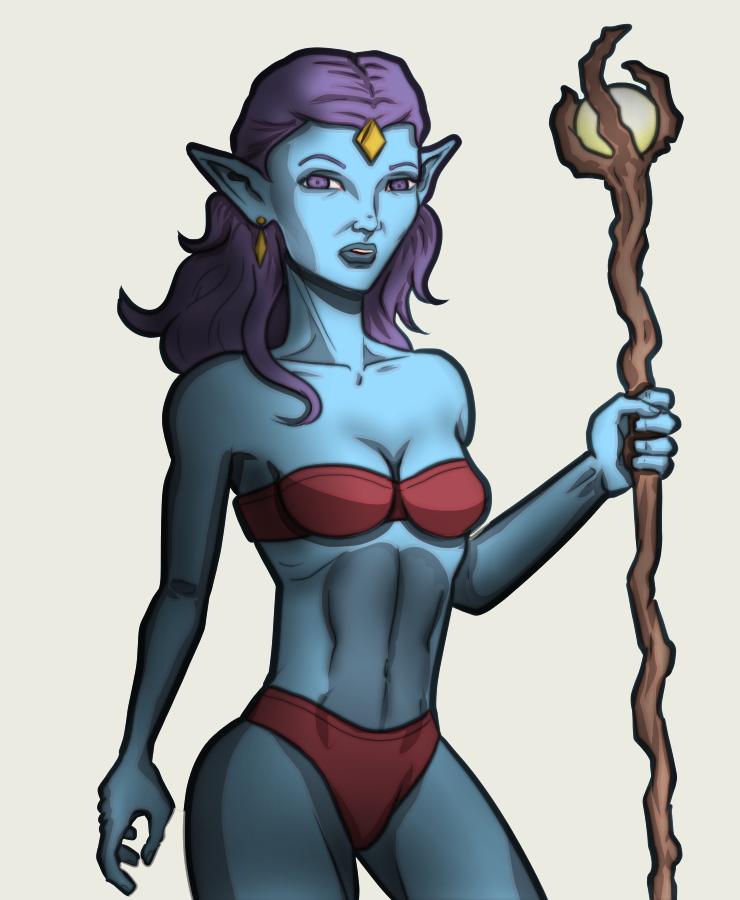
Step 3: Flat Color for the Entire Figure
Below the line art, I create a Clipping Group. With the Fill Tool (Refer Other Layers enabled), I bucket-fill base colors: #4A90E2 for skin, #9B59B6 for hair, #E74C3C for the bikini. The staff gets #8D6E63 with a #FFF59D orb. I paint stray gaps manually with a hard round brush. This flat stage is crucial—clean separation ensures later layers behave.
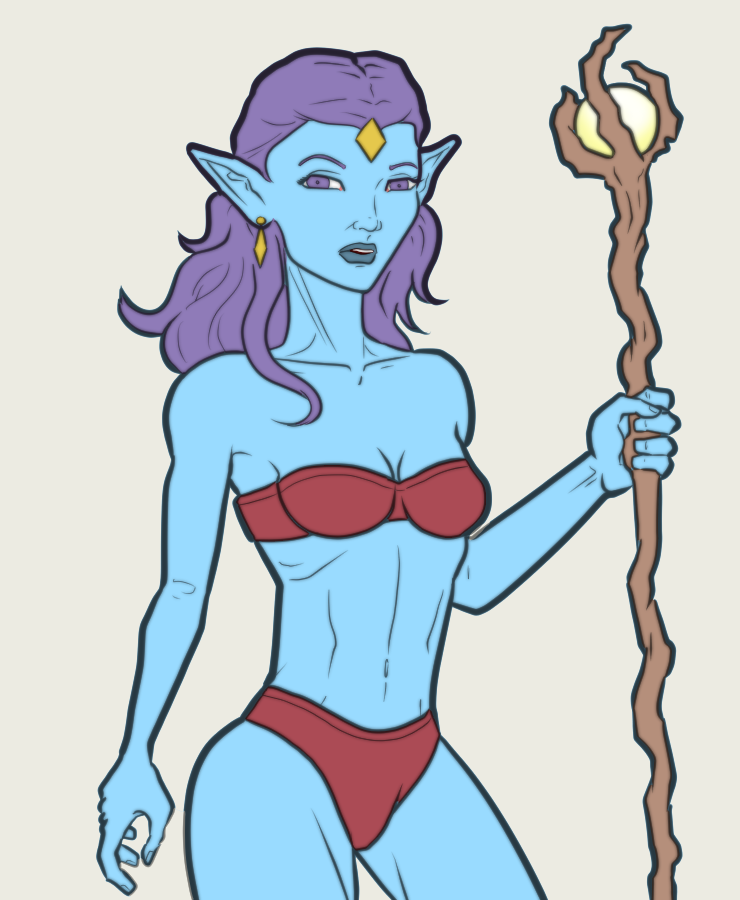
Step 4: Color Variation
On a Multiply layer clipped to flats, I airbrush subtle gradients: cooler blues in recessed skin, warmer purples in hair tips. I add a Colorize layer for the gem’s golden sheen. Bikini fabric gets a Screen layer with faint red highlights for satin texture. CSP’s Tone Curve adjustment helps unify the palette, boosting contrast between red and blue.
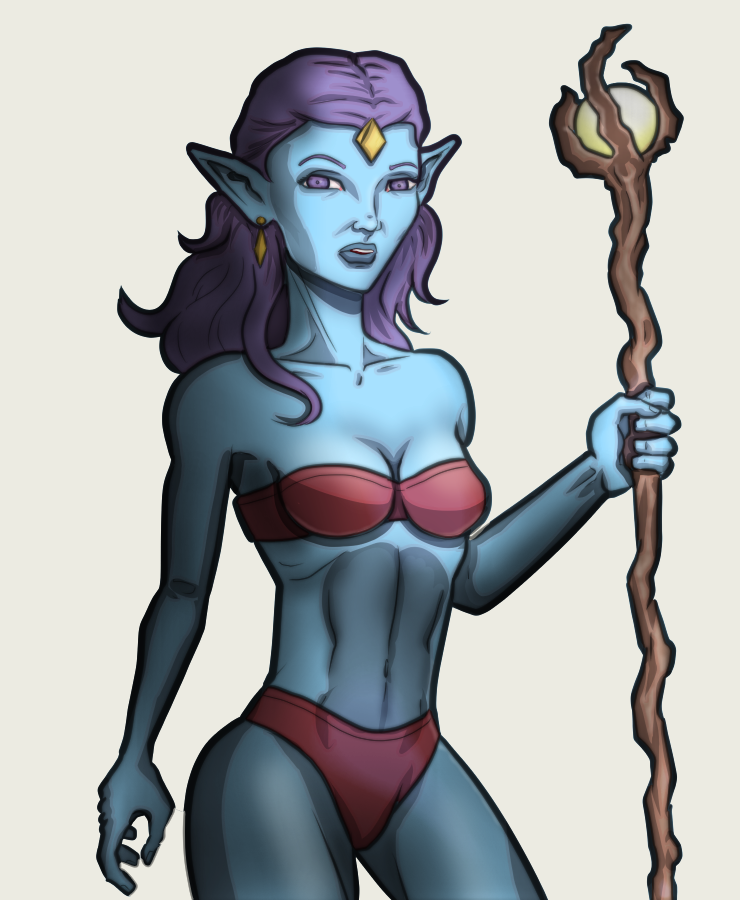
Step 5: Shading – Large Areas with Airbrush
New Multiply layer. Using CSP’s Soft Airbrush (200–300 px, 20% opacity), I paint broad shadows: under breasts, along the far arm, beneath hair. Light source = staff orb, so shadows fall opposite. I sample darker skin tones and push cool grays into crevices. Flow and density controls keep edges soft—this is volume, not detail.
Step 6: Cell Shading
Switch to a Hard Round Brush on a new Multiply layer. I block sharp mid-tones and deep shadows with flat color (#2C3E50). CSP’s Lock Transparent Pixels on the flat layer lets me paint directly without overflow. I add rim light on a Screen layer with pale yellow where the staff glow hits her edges.
Step 7: Highlights – Soft Glow Layer
Add Glow layer (Screen mode). Using a Soft Airbrush (150 px, 15% opacity), I paint white-yellow highlights on cheekbones, collarbone, and staff orb. A Gaussian Blur (10 px) softens them. For the orb, I add a radial gradient and a Glow Dodge layer with starburst brushes from CSP’s asset library.
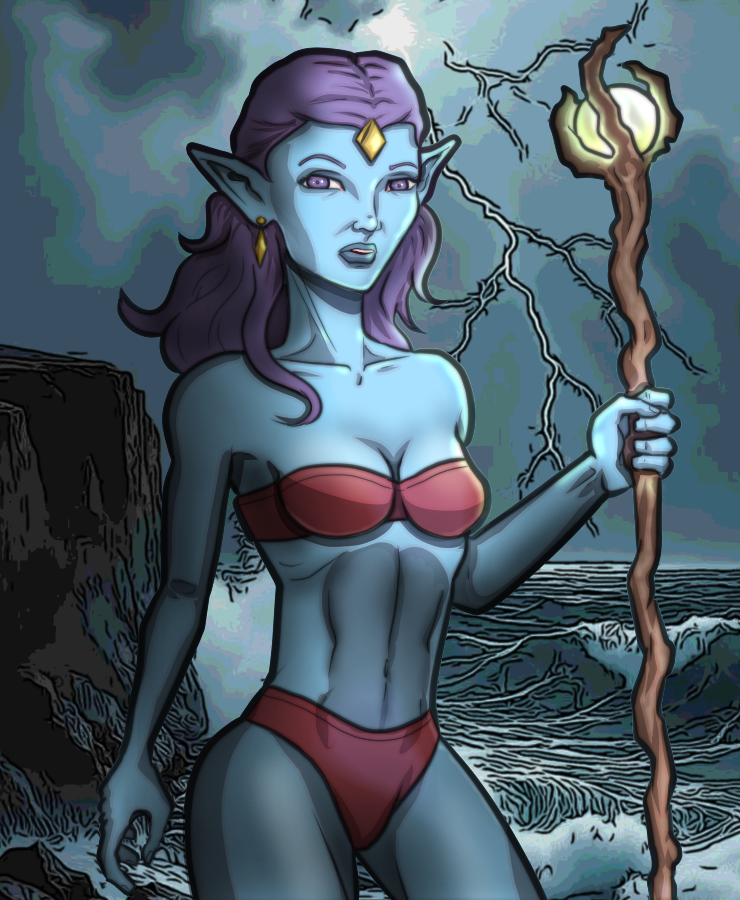
Step 8: Background – AI-Generated + Adjusted
I generate a stormy sky using Grok Imagine (prompt: “dark fantasy storm, twisted dead trees, lightning, moody teal palette”). Import the PNG into CSP. On a new layer beneath the figure, I trace key elements with a Chalk Brush to mimic my line style. I desaturate the AI image slightly, then use Tone Curve to match my foreground contrast. Lightning gets a Glow layer with white streaks.

Step 9: Final Glow Layer
One last Screen layer for magical touches: faint aura around the staff tip, subtle sparkles on the gem. I use CSP’s Decoration Brushes (sparkle set) at low opacity, then blur selectively.
Step 10: Signature

Step 11: Animate with Grok Imagine Export as PNG sequence (figure + background separate). Using Grok Imagine’s animation module. Watch the video to the end to see her unleash some nymph storm magic.
▶️ 3Speak