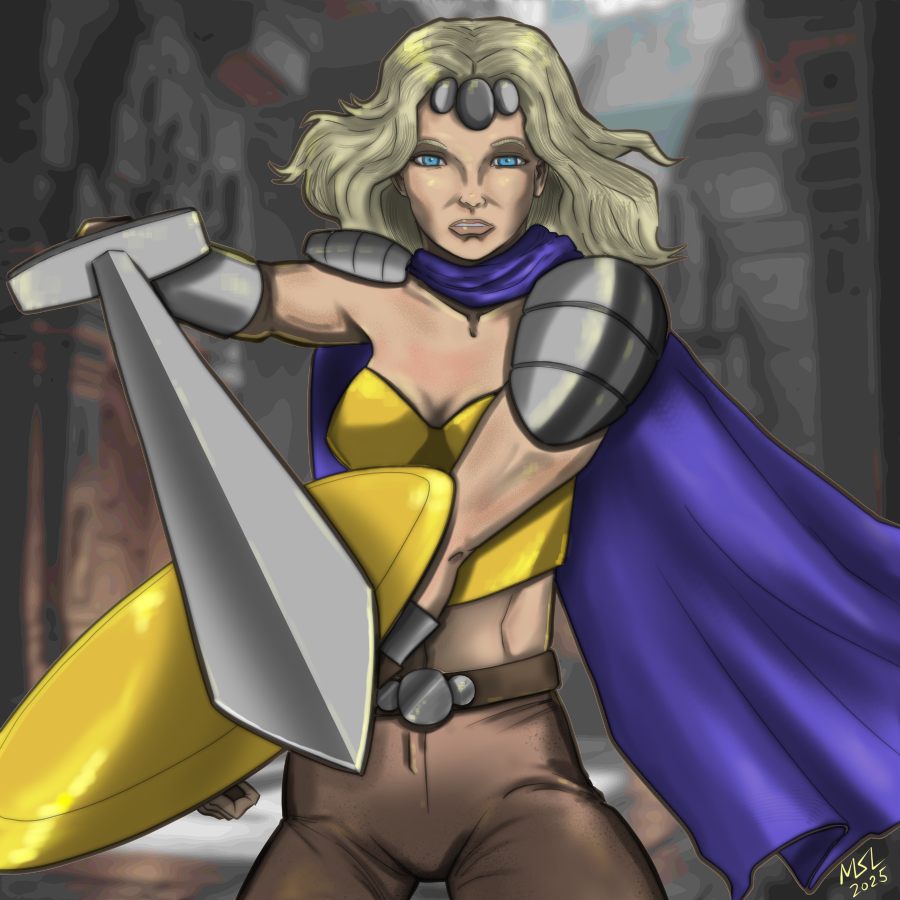
Here is my entry for the weekly Splinterlands Art contest found HERE
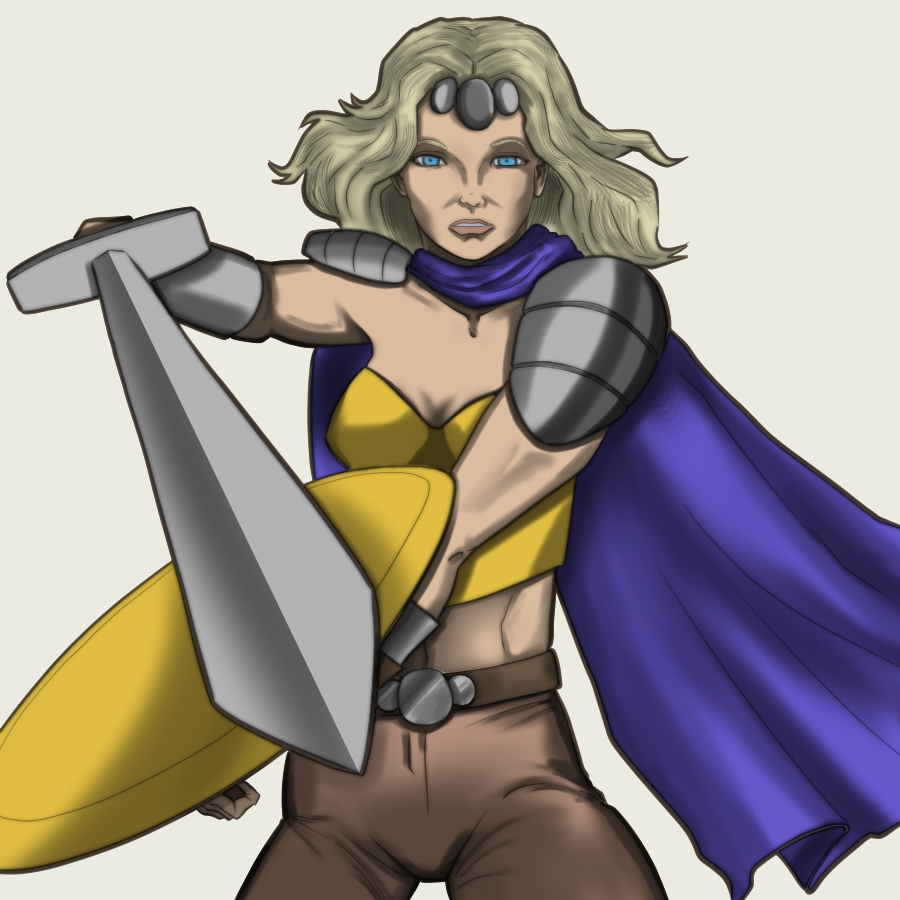
Defender of Truth
From the Splinterlands Wiki:
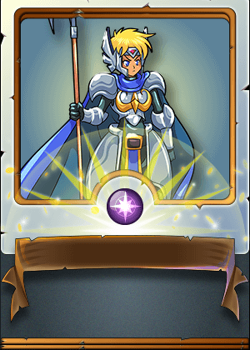
The Defender of Truth is a powerful wizard of Khymeria, as well as an important political figure for the Order of the Silver Shield. When the Khymian warriors march to war, the Defender of Truth is their General. He inspires his troops with the divine protection of the Silver Shield.
And here is her original card art:
Drawn using Clip Studio Paint Pro on a Microsoft Surface Pro 7+. Here is the time lapse video:
https://rumble.com/v6xr7ky-defender-of-the-truth.html?mref=18dagn&mc=d3obe
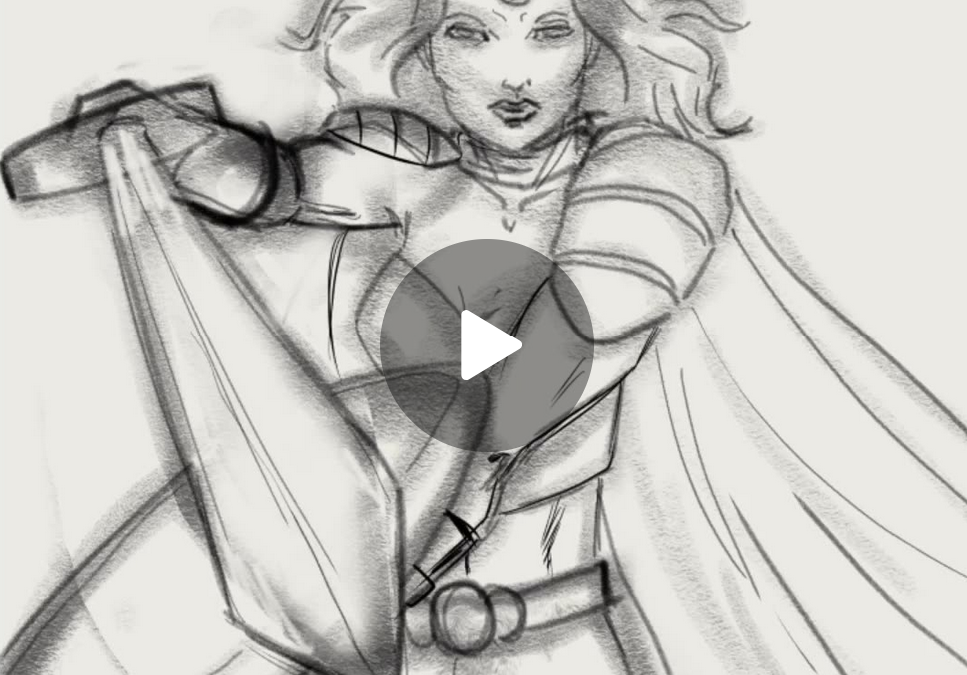
Note: you need to click the hyperlink to watch the video, not the image.
And this is how this drawring came to be:
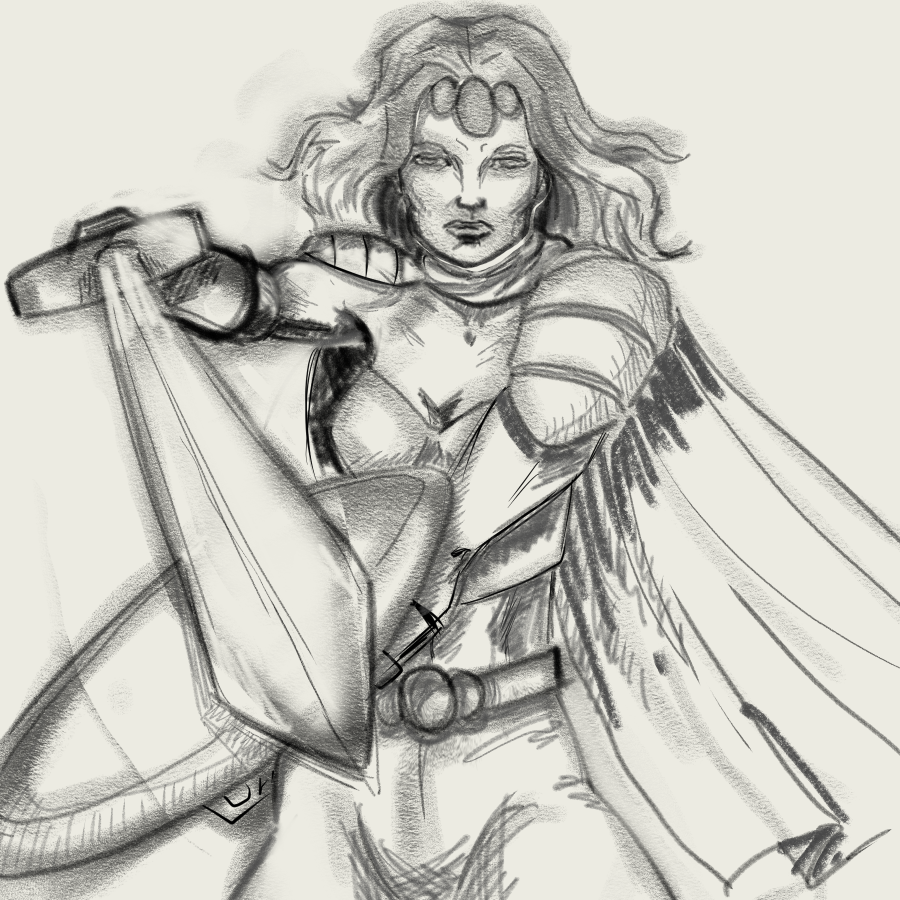
Step the First: Rough draft. I might have been a little too ambitious with the perspective on her dramatic pose. Blocked out the figure first with a pastel brush, then refined the details with a mechanical pencil brush.
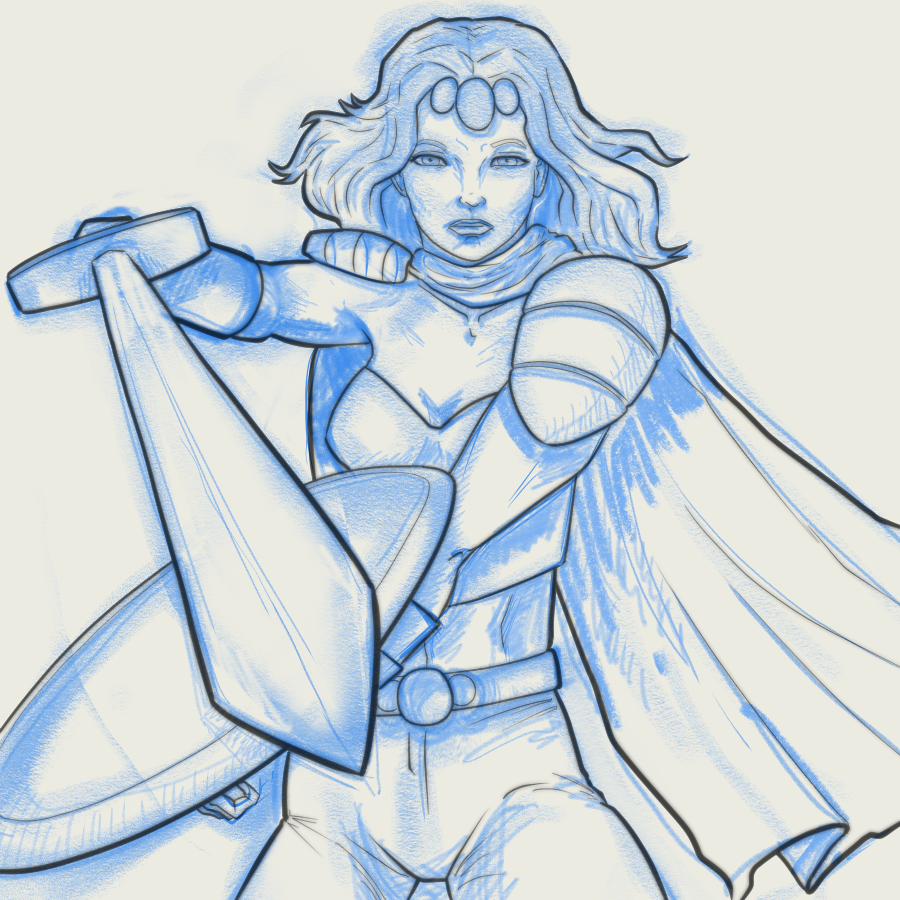
The Second Step in this Process: Lineart. Convert the rough layer to blue tone and go over the outline with the G-Pen brush. I used the more "comic art" style, with a wider 15-px brush for the lines that make up the silhouette, then narrower brush strokes for the interior. Here's how that turned out.
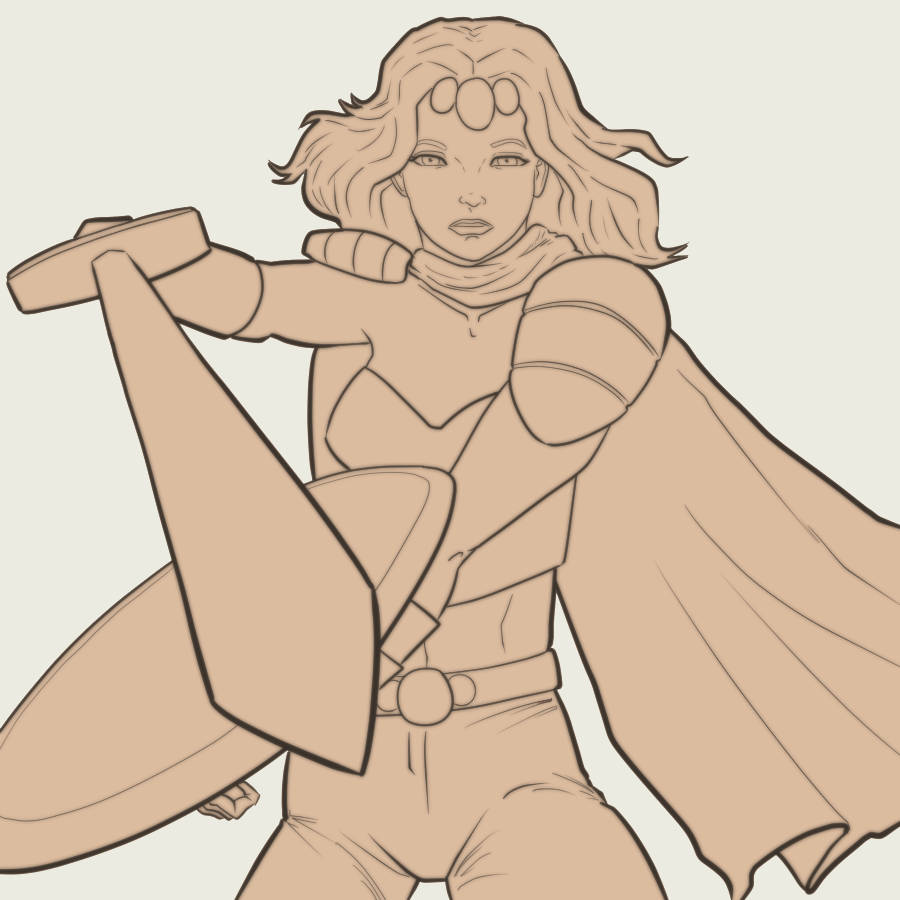
Step Three of Many: Flat layer. I made one flat skin-tone color layer that fills the entire figure. I used to magic wand tool to select every part of the drawing that is NOT part of the character. Then inverse the selection and fill everything with the paint bucket tool. Doing this the opposite way (magic-wanding by selecting the interior) leads to more gaps in the tiny nooks and crannies. My flat layer fills up the entire interior up to and including the area under the line art.
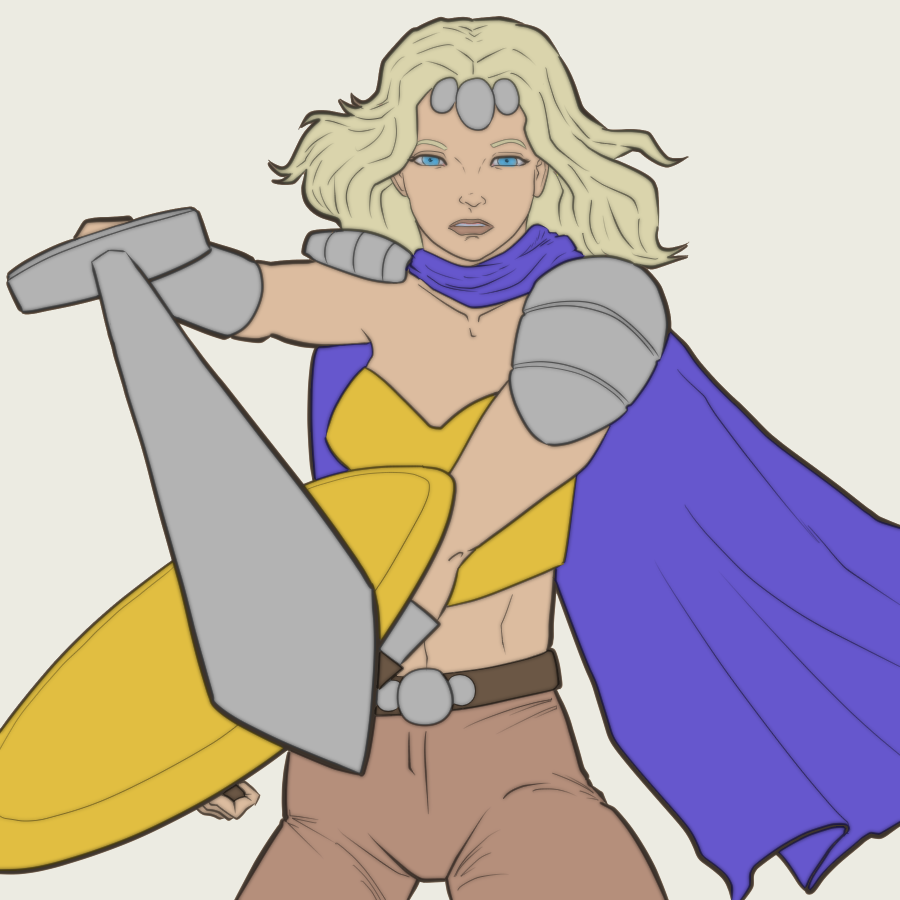
Four. Just... four. Multi-color layer. I used the paint bucket tool to fill in the rest of her colors. Most digital artists create a separate layer for each color, but I don't like having a lot of layers. So all these fills are thrown into a single layer above the base flat layer.
The Step called Five: Shading. Again, I am not good at this step, and I tried a new method. Usually, I use a bunch of airbrush strokes for the shading and this tends to be a sloppy, imprecise method. So, instead I decided I would use no airbrushes on this drawing and instead just used a "Shading brush" that someone uploaded into the Clip Studio Paint free tools. Really, it seems no different than a round watercolor brush. Since I have all those colors on one layer, I kept repeating this process: Go to color layer, select the area I want to make shadows, go to the new clipped, multiply layer called "shading" above the color layer. Throw down a shadow with as few brush strokes as possible with a gray tone that is darked for deeper shadows or lighter for larger more diffused shadows.
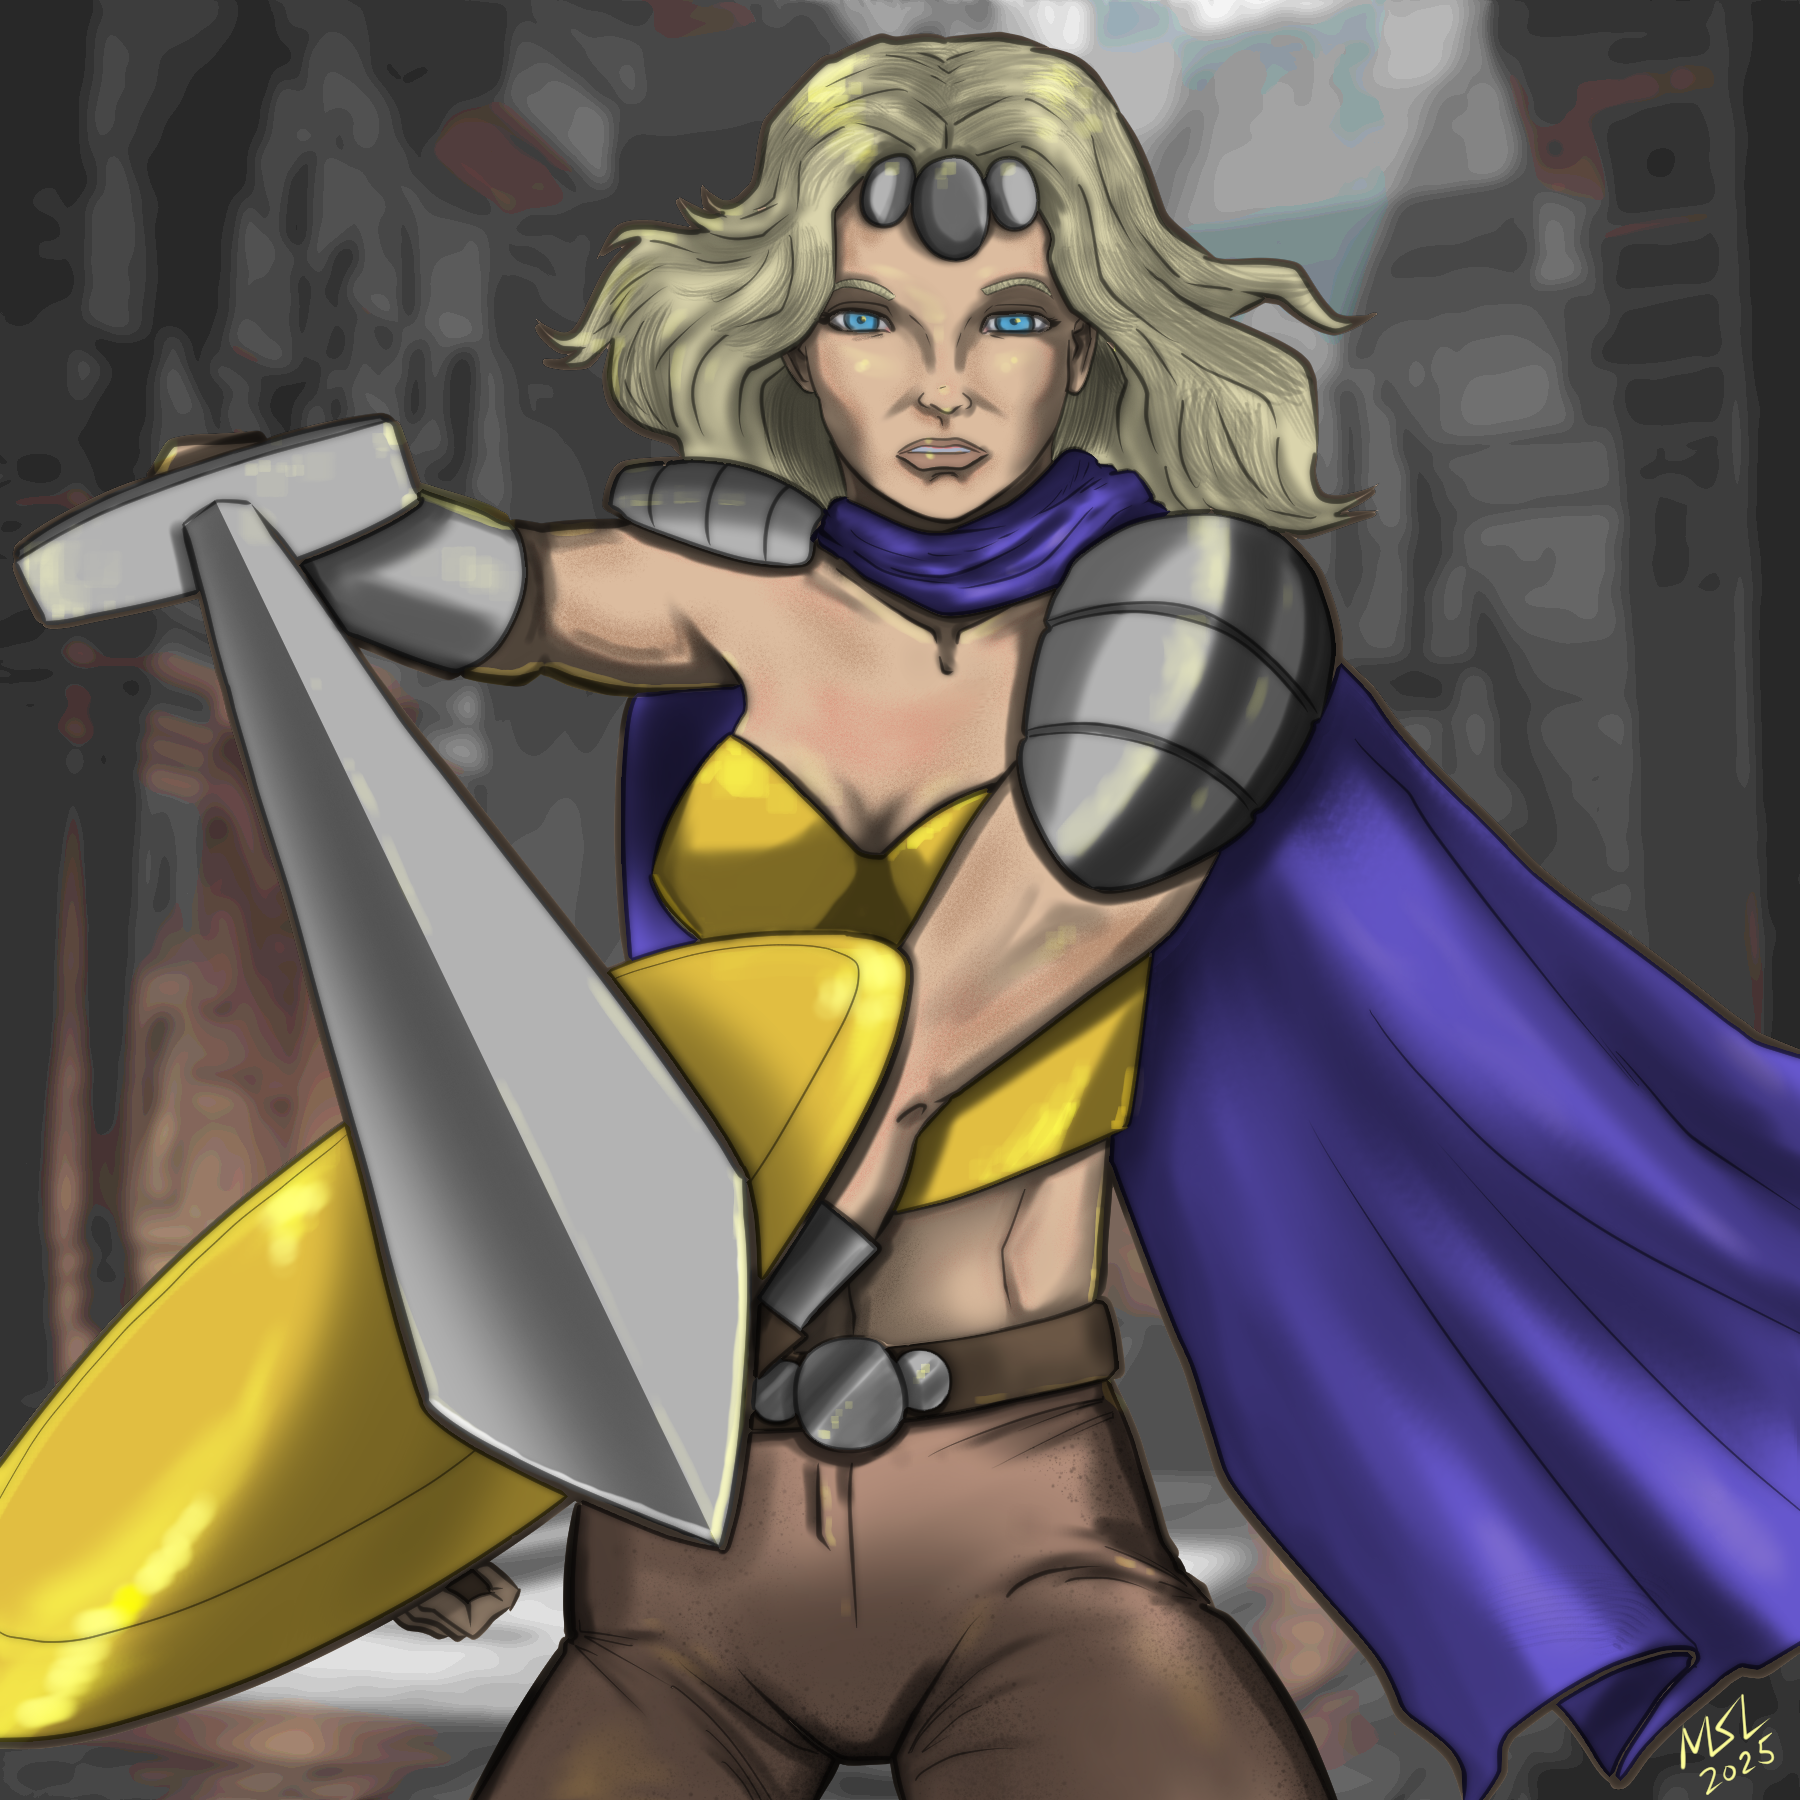
On This Step named Six: Highlights. Create a new clipped, Overlay layer over the shading layer. I used just one color for all the highlights, a bright yellow, because, sunlight. Again, normally I would use an airbrush for highlights, but I'm trying something new. Instead I just used a Cube brush. The idea was I could just dab in sunlight on some areas using an obviously square brush so that the brush strokes are obvious. More impressionistic. And obviously not AI generated because you can see the brushstrokes. I went back in some places with a smudge brush, but maybe I should have left those like they were. It was like, pixel sunlight hitting her.
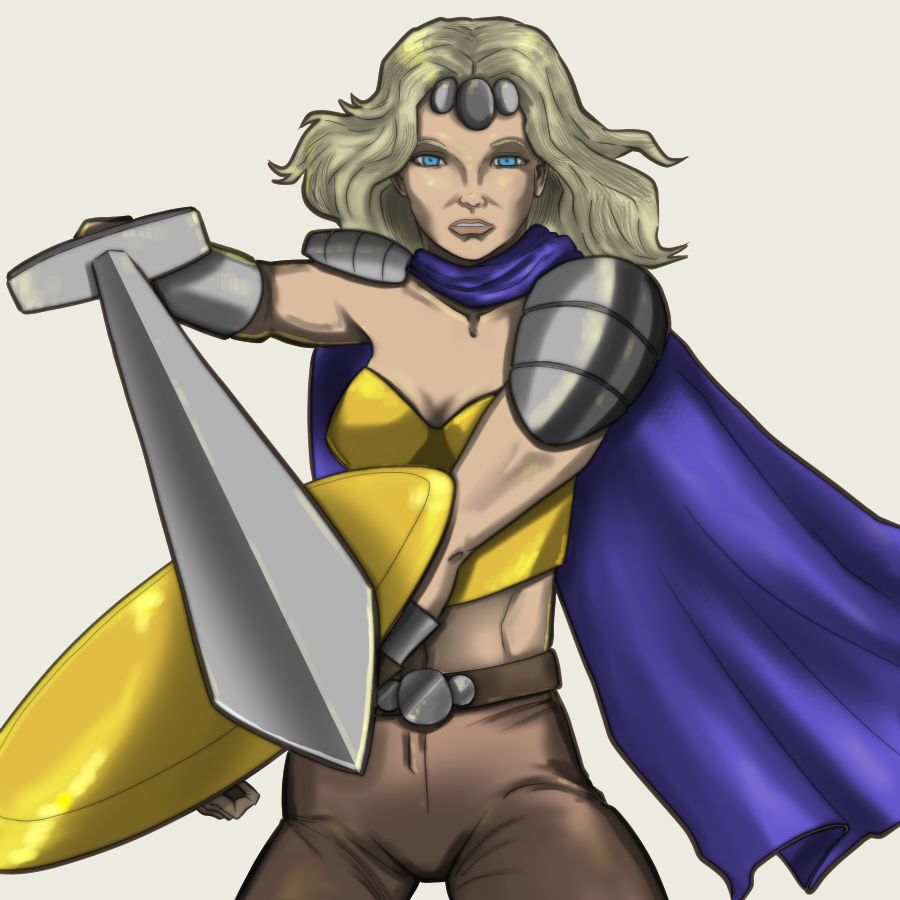
Seven is the New Step: Textures. Again, still experimenting. I made a texture layer between the shading and overlay layer and used an "Organic Texture" brush. Mostly just painted some pink spots mostly near the shadow areas to make the skin look less plastic, more imperfect. Also, adds some pink to her complexion so it looks like she may actually have blood under her skin. Also just sprayed some spots onto her pant legs to try to make them look more porous. Didn't do anything to the metal parts. Those are supposed to look smooth. I'll let you decide if this step makes her look more real or just more messy.

The Eighth and Final Step: Background and signature I guess that was two steps. I used AI to generate a background image, then just zoomed in on one section, blurred it, reduced the luminosity and saturation, then ran it through an artistic filter. Just trying to mute the image so it is less distracting. Hey, it's just background. Then put my initials in the bottom right corner. So, I would call this image a hybrid of comic-book style line work with (my attempt at) more realistic paint-style rendering. Again, not really my strength.