I have many work benches out in the workshop, but inside my home I wanted an area I can work in. Something close by where I can do smaller and less dirty tasks. I found some Workpro benches that would suit my needs. I got myself two of them, one of them is L-shaped and the other can be raised or lowered. So should make for a versatile workspace.
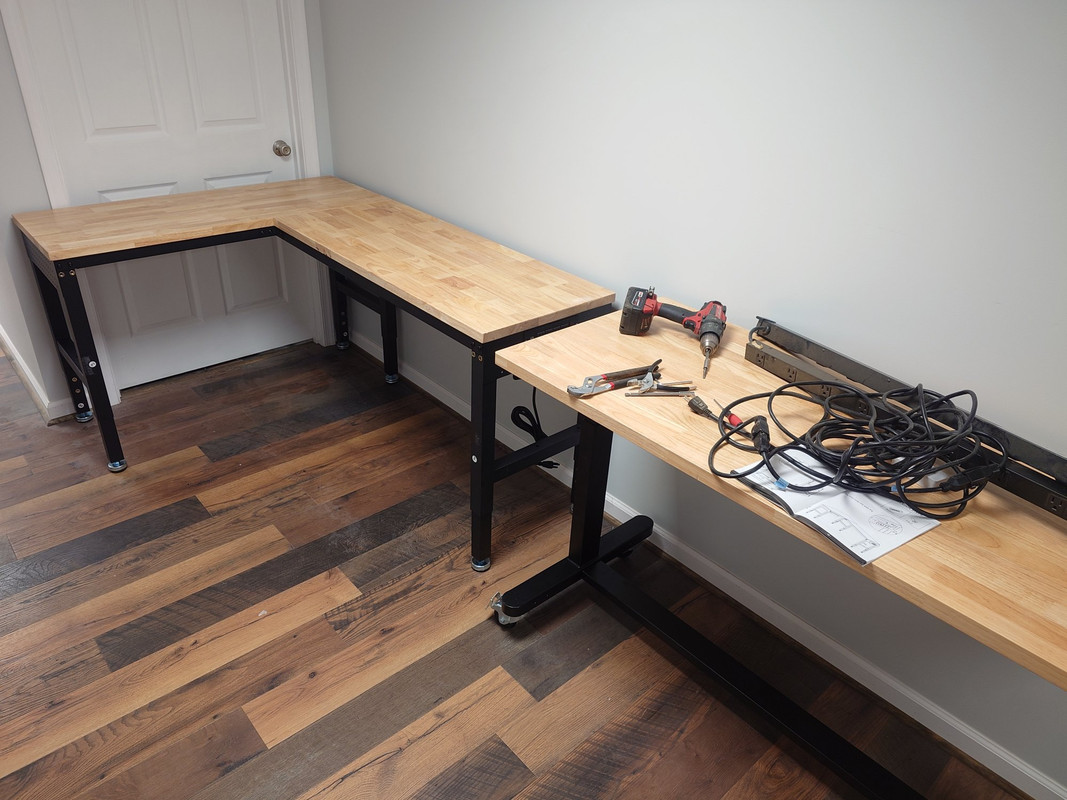
I have this corner and a door that is blocked off on the other side, so its not much use. So I measured this area and found the biggest workbench I could find. I considered putting a office desk here, but instead went with a more heavy duty option.
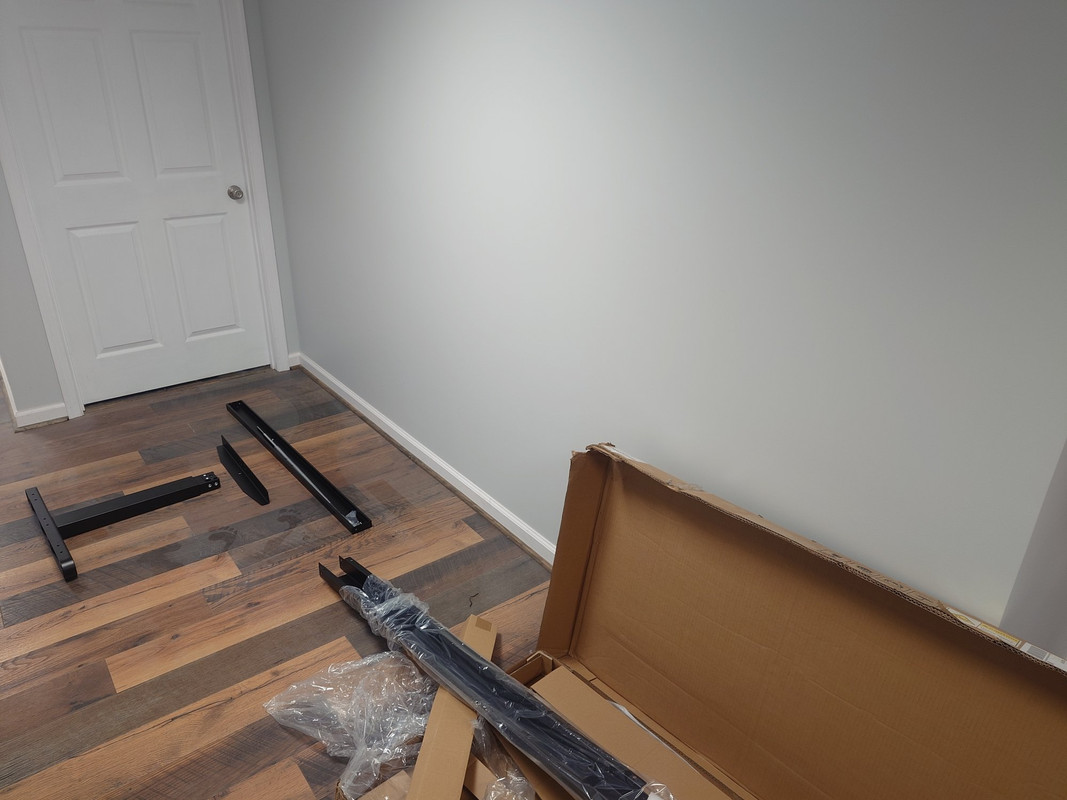
Getting ready to put them together was mostly taking everything out of the boxes, getting the plastic off and setting them together.
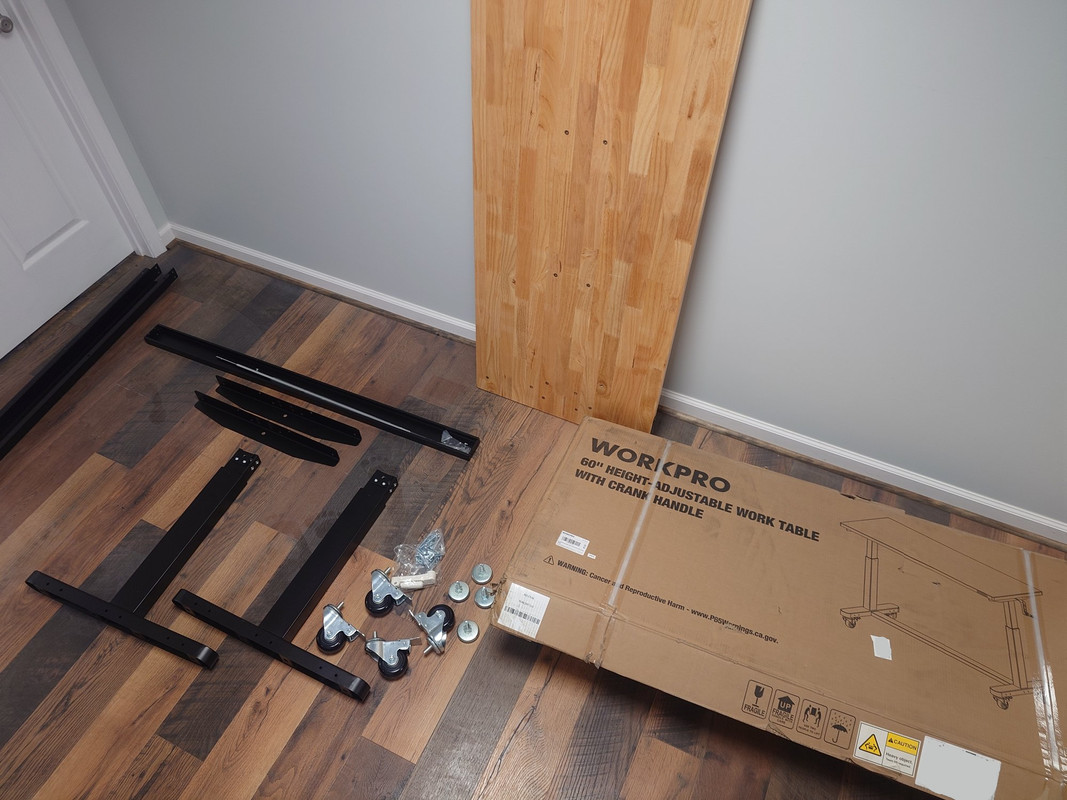
Eventually I had everything out of the box, makes it easier to visualize how it will all go together.
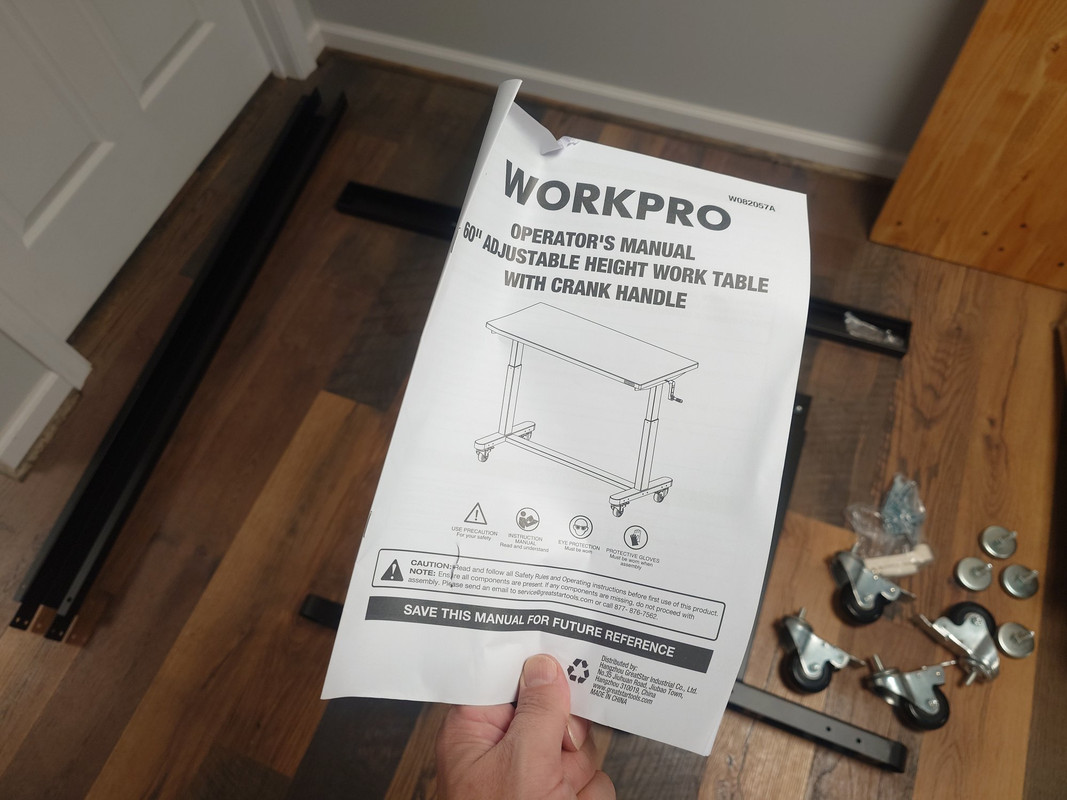
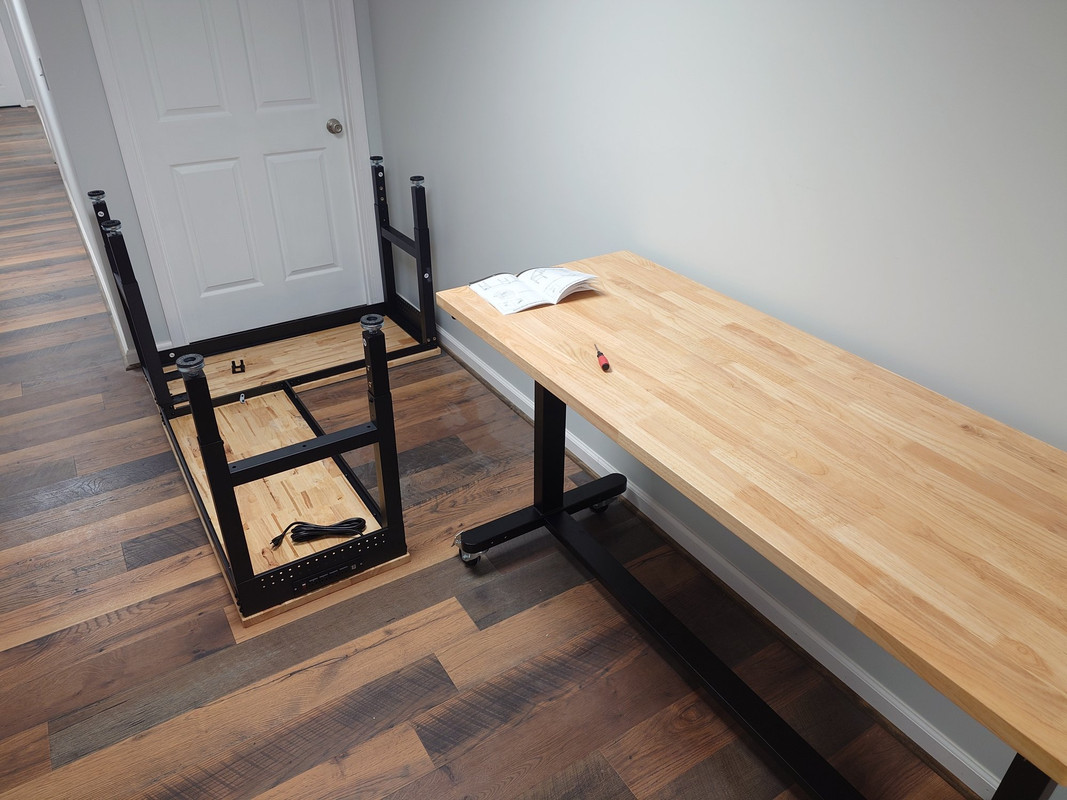
Time to get the manual out, and start looking at how it goes together.
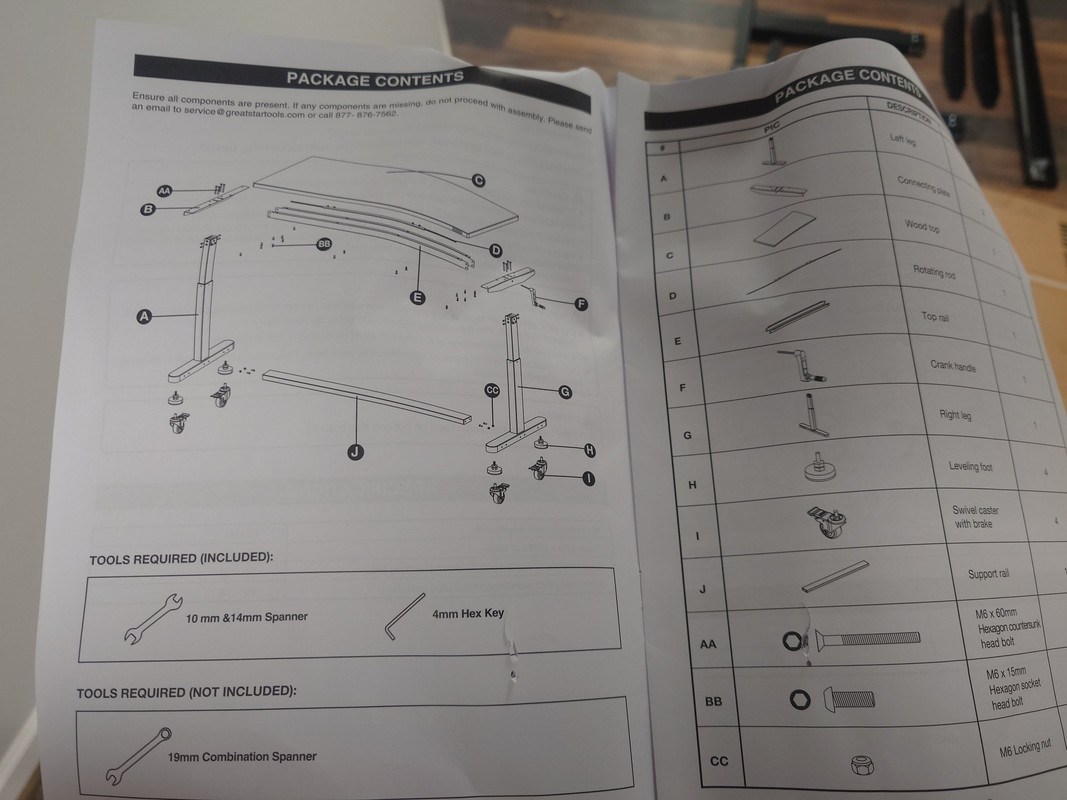
Its pretty straight forward.
The hardest part is making sure you put the legs on the right way, as the gears inside will turn the wrong way if you do not put the legs on the right way. Making the table not raise or lower. So there are A and B lettering you must pay attention to.
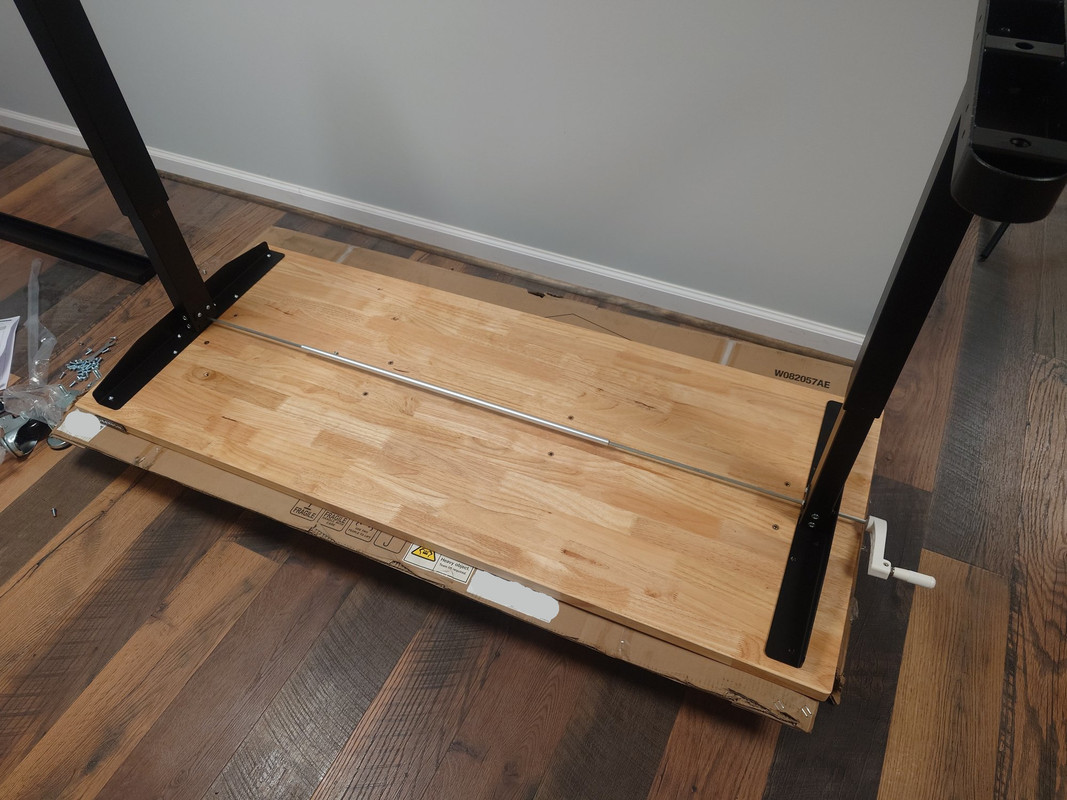
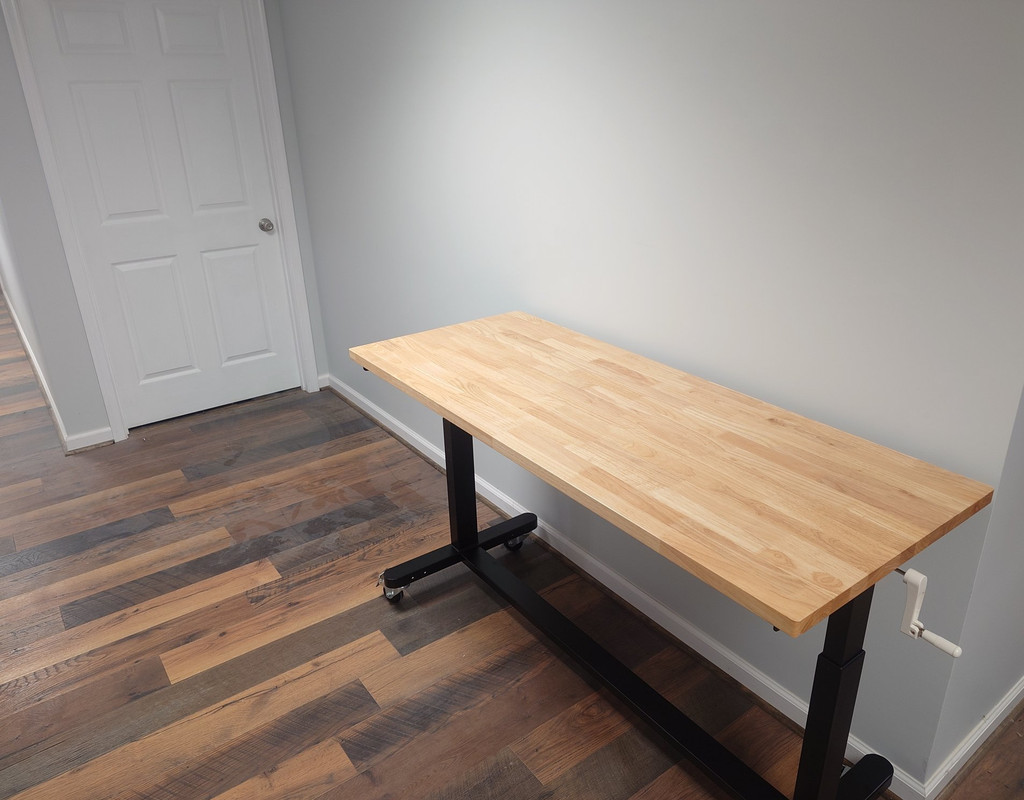
Got it together and tested it out before proceeding. I was successful the first time in putting the legs on the right way.. thats nice.
The second hardest thing is assembling this table using the provided tools. There were four lock nuts that had to be tightened. Felt like these took about half the time of the whole build.. lol
With one table assembled, we now have a place to put the parts to the next table... yay, no more picking parts off the ground. lol
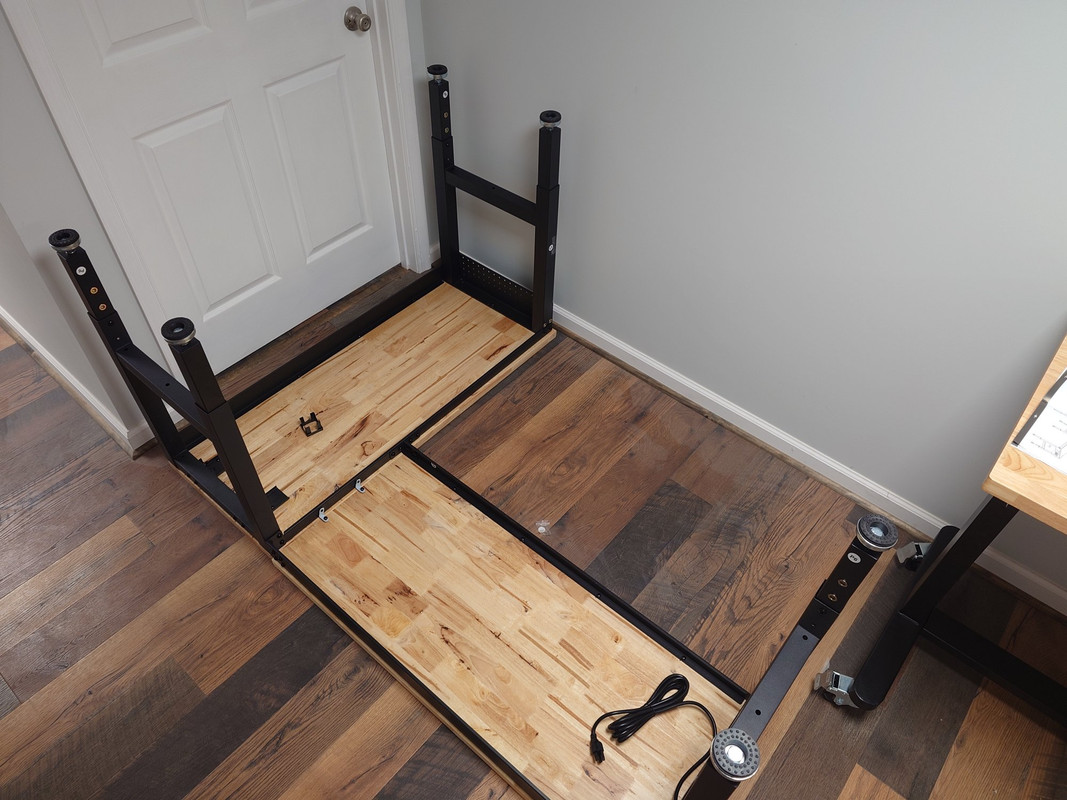
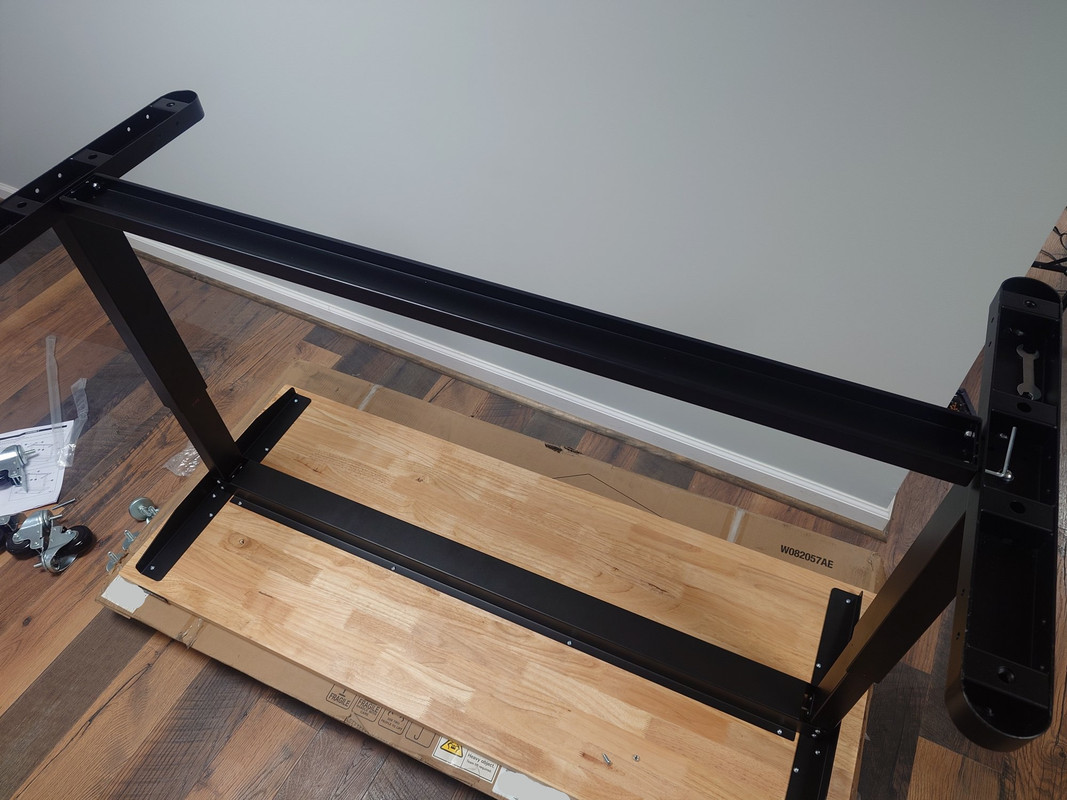
The next table is two attached to each other, making it a L-shape.
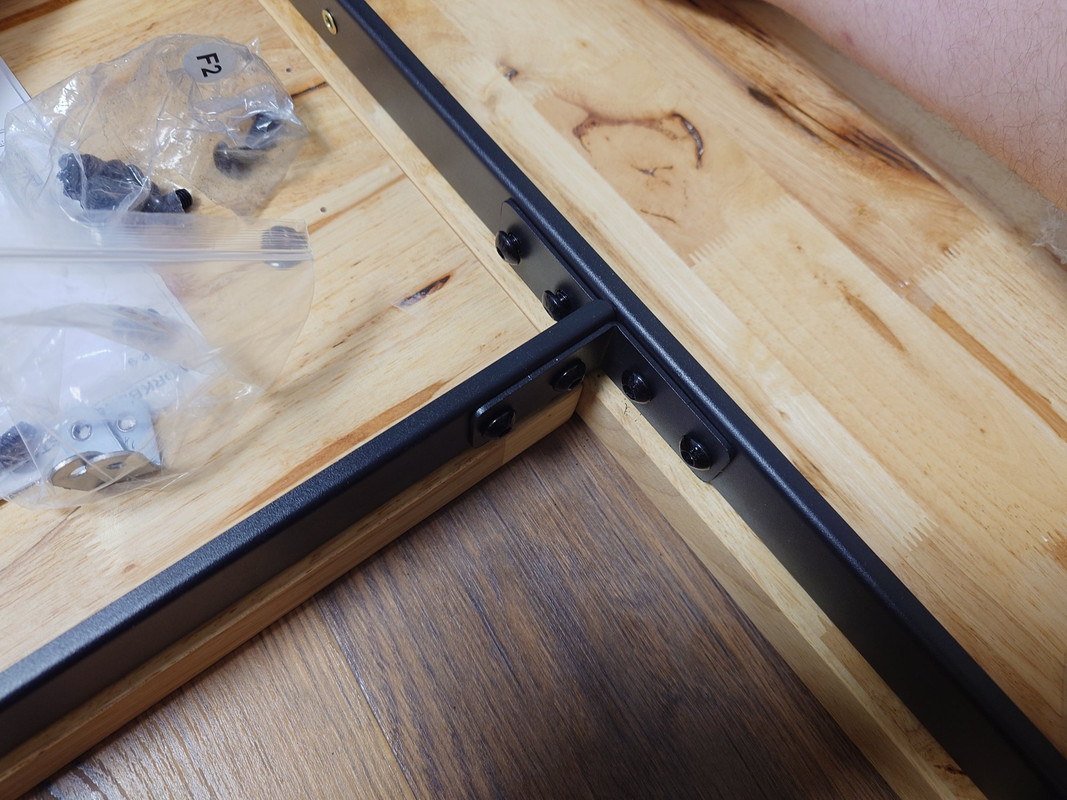
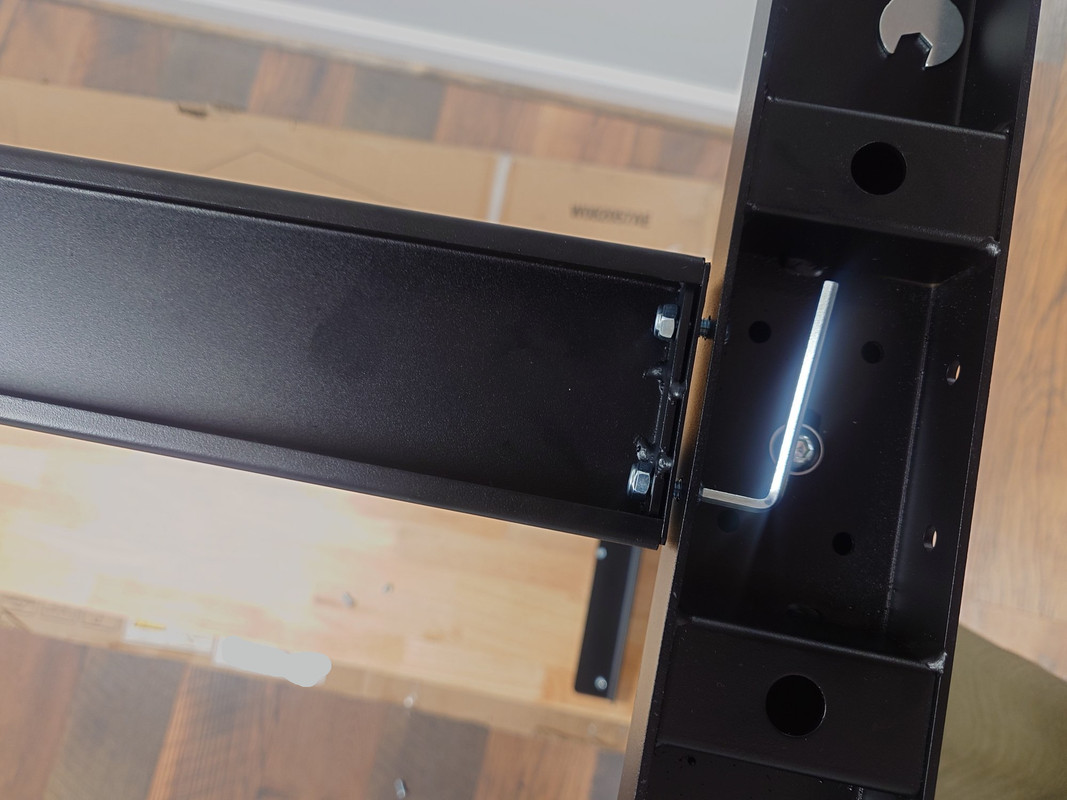
It is all assembled using metal brackets and screws.
During the assembly, its hard to put it together upside down and still imagine it the right way when flipped back over.
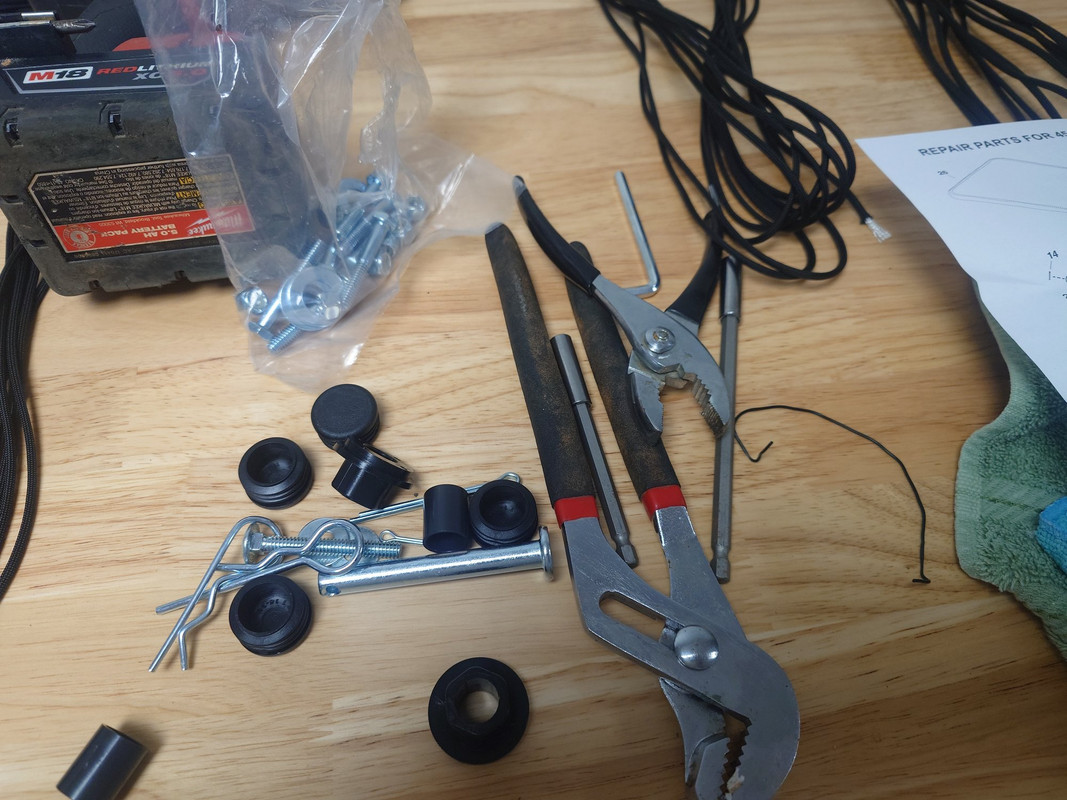
The tools used to put all this together was minimal, a socket wrench would have gone a long way.
Once built, I flipped the table and quickly put some unfinished projects on it.
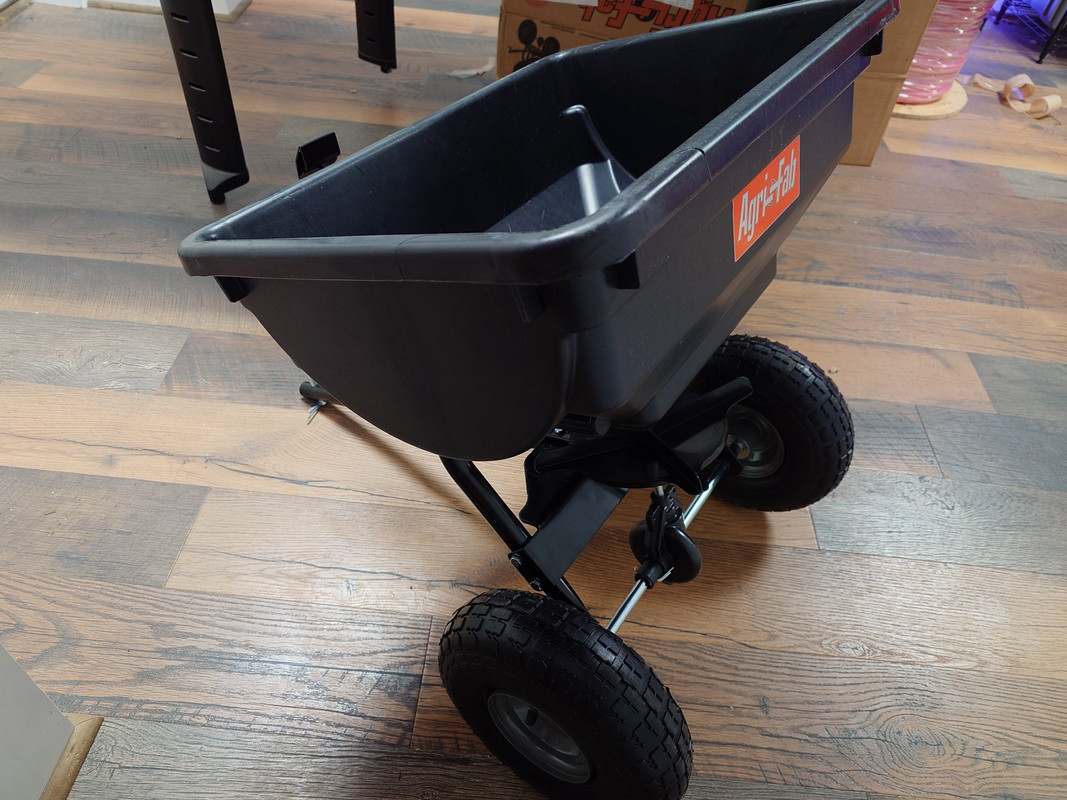
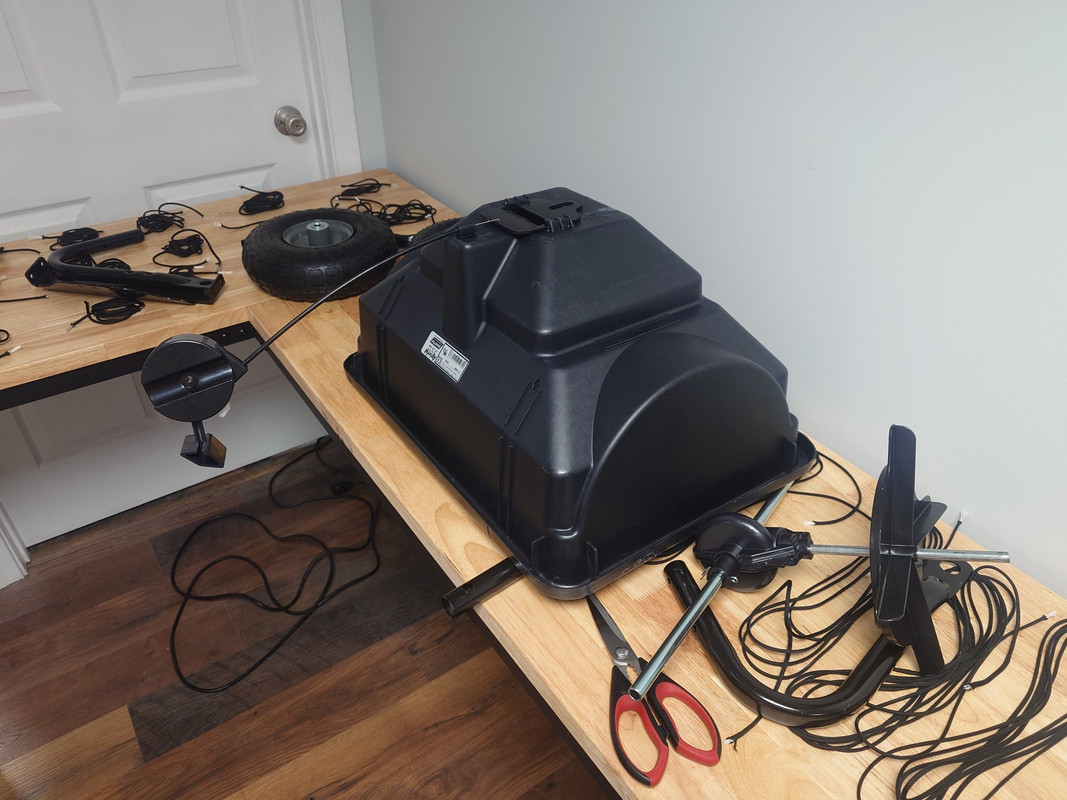
I wrapped up on building my fertilizer spreader for my garlic fields.
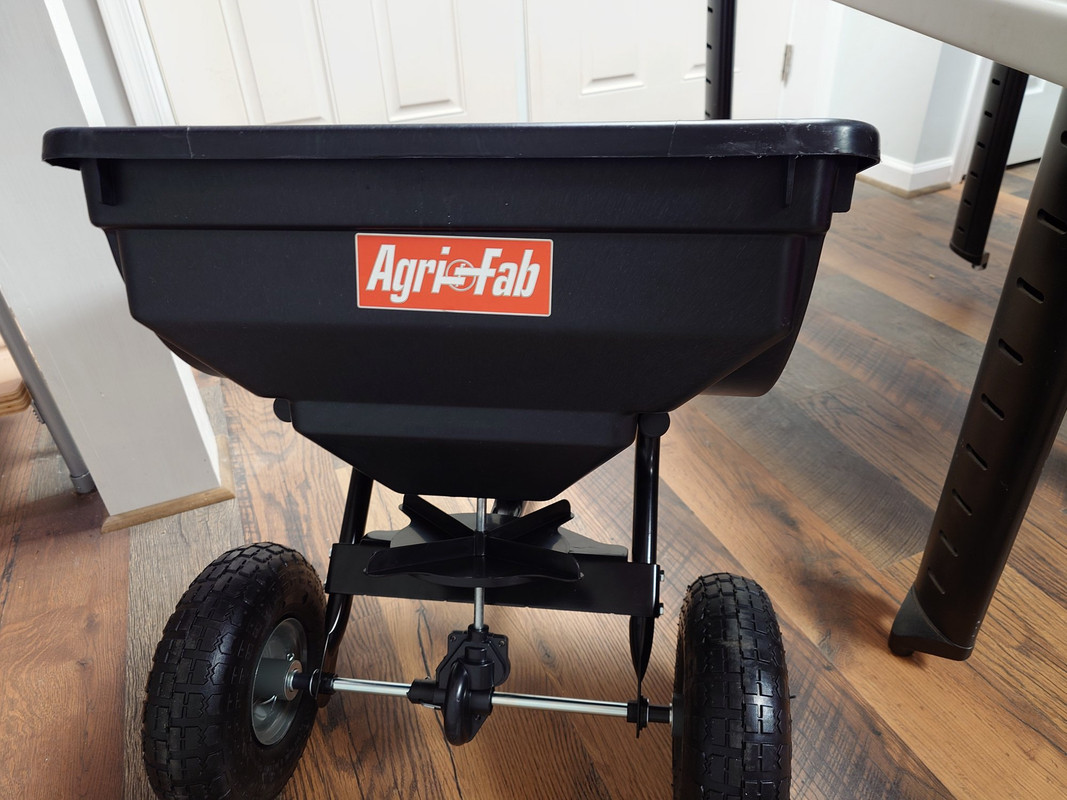
This thing holds up to 85 pounds of fertilizer at a time, once the weather dries up I will give it a try. Should fling the granuals and then I will till it all in.
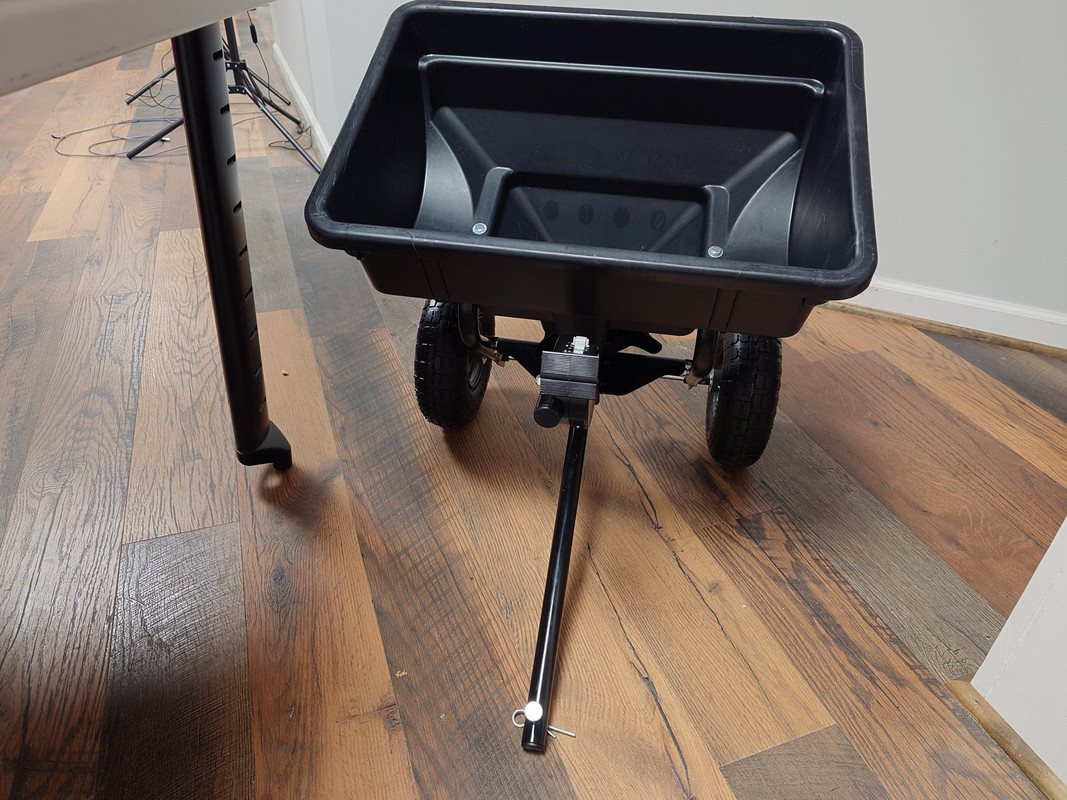
It attaches to the back of my riding mower, and you reach behind you to open or close the gate that allows the fertilizer to fall out.

Got all my bags of fertilizers ready to go, the amounts used were suggested by a soil health test I completed months back.

Got all kinds of good stuff the for field.
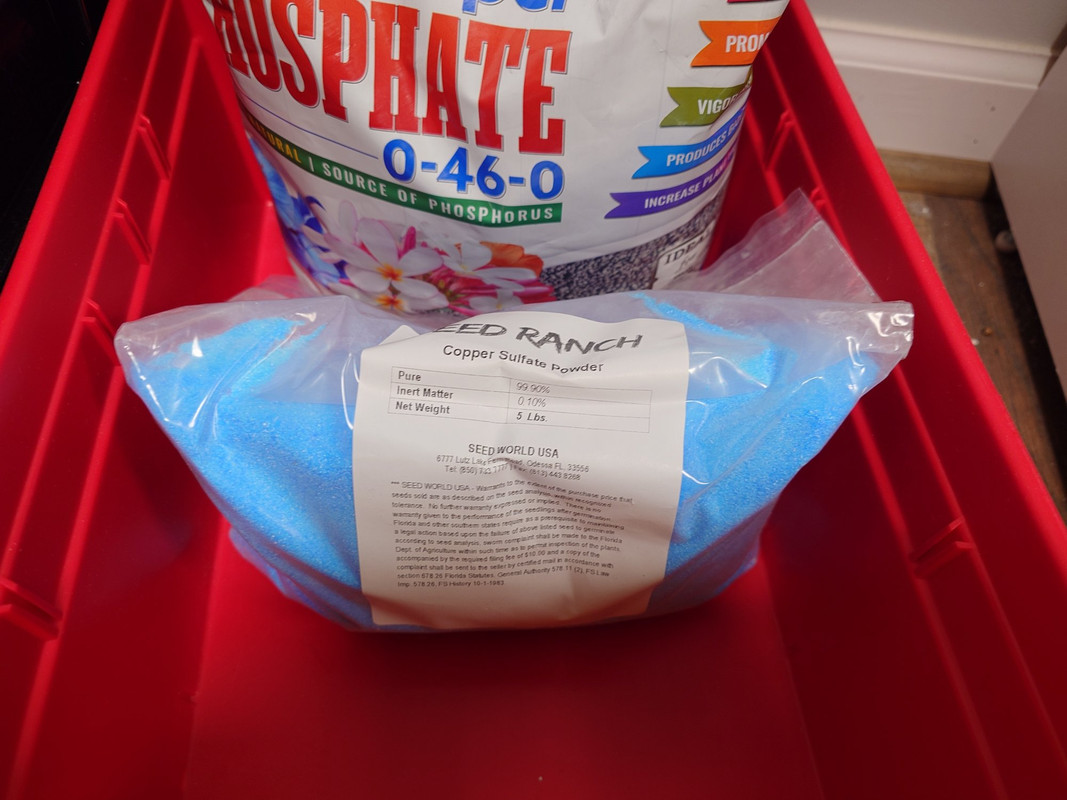
That copper powder looks so cool.. lol
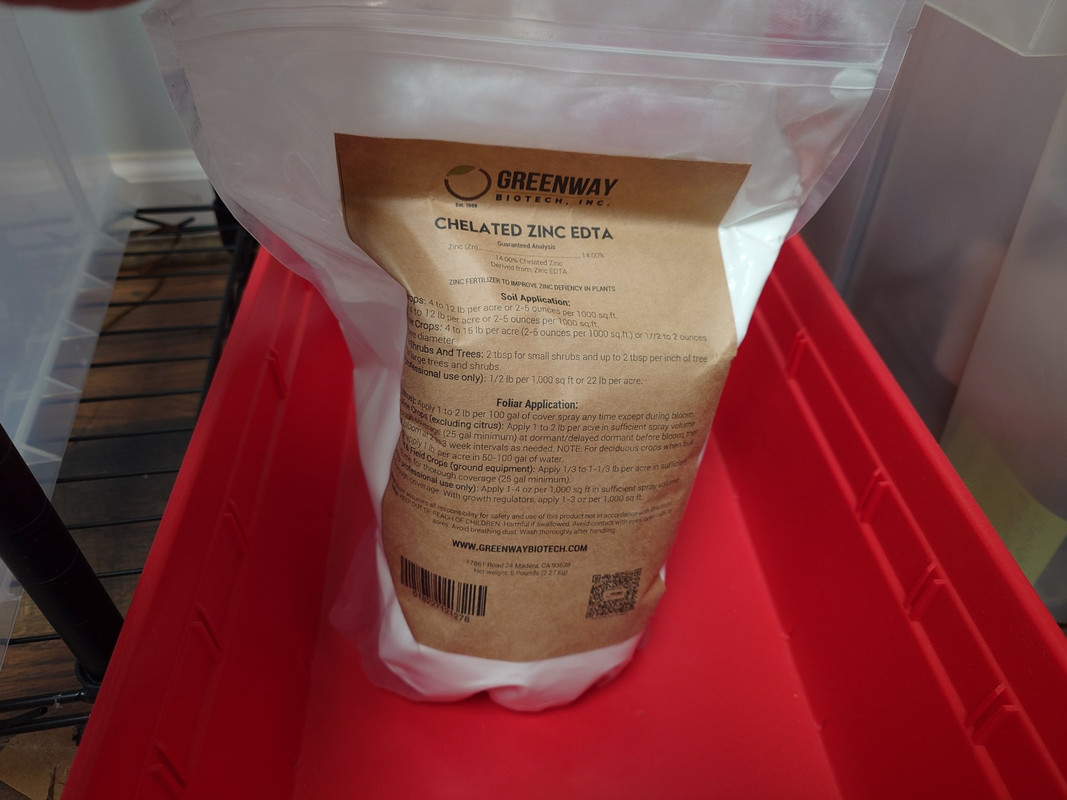
Some of the powdered stuff I hope will still work inside of the fertilizer spreader. I will probably need to mix all of these together and spread them out in batches.
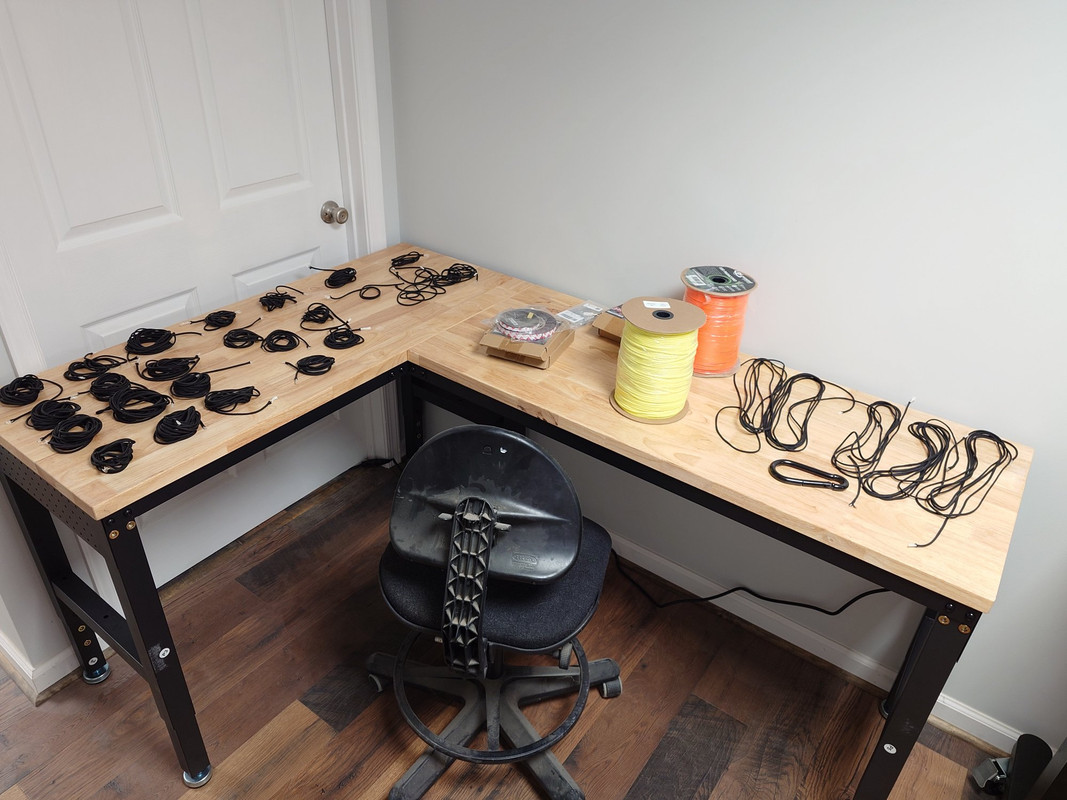
Now I have my paracord project to work on, I had a 1000' spool fall apart on me. Giving me endless tangled up paracord.
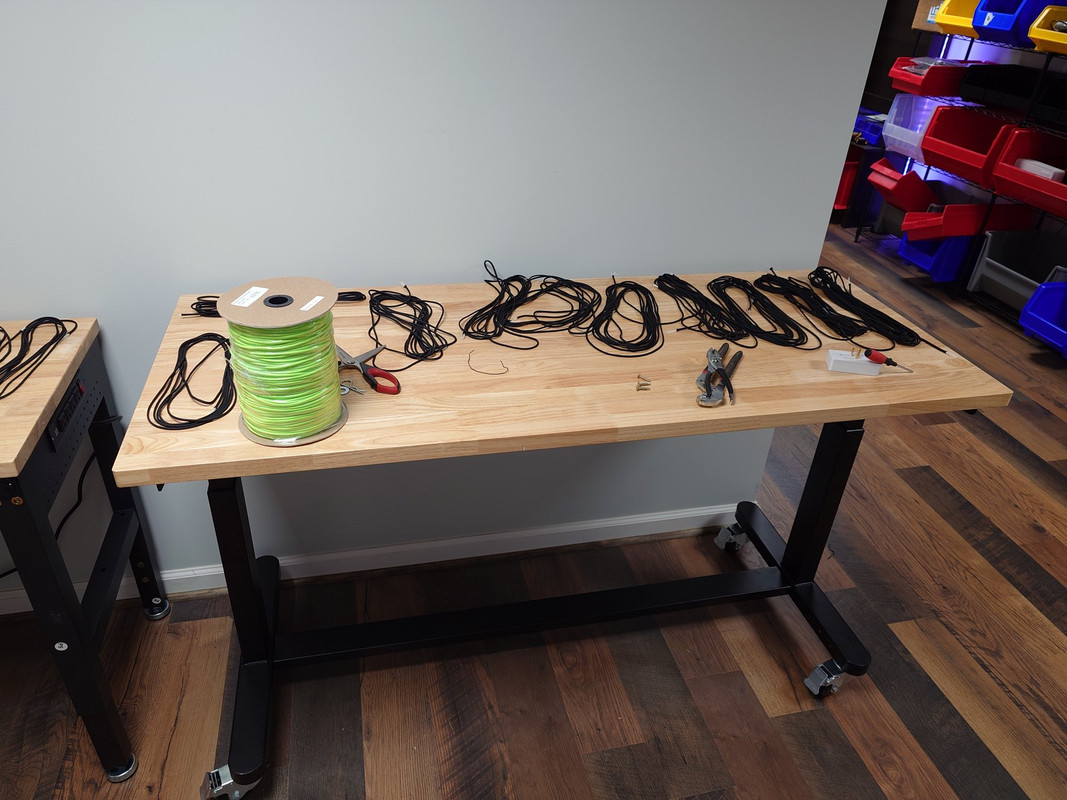
I cut out pieces the best I could and gathered them, my plan is to take some snap hooks and d rings making different length general use cords. Not sure yet but that is the plan with all these pieces of paracord cut up. Having a work bench to do this all on will be nice, looking forward to the many projects in the near future I will work on from these benches.