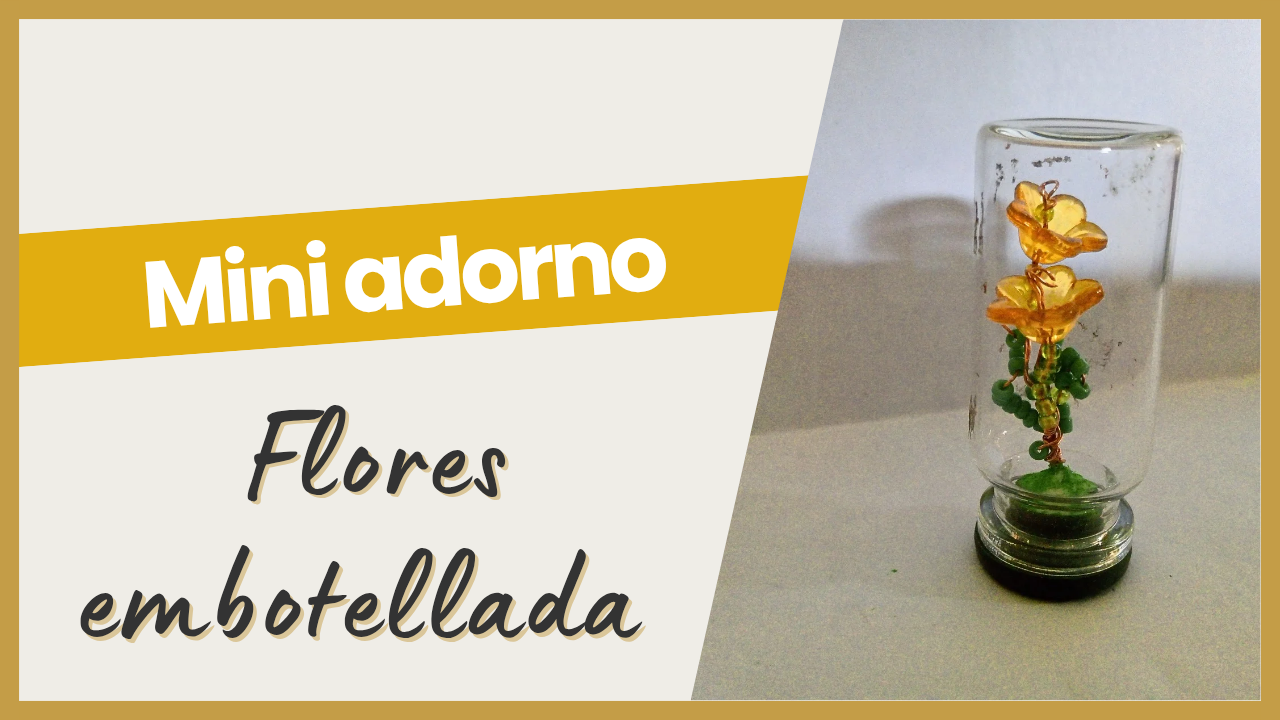

Hola, hola amigos de DIYHub:Espero que estén teniendo un grandioso día. Hoy les quiero compartir una pequeña manualidad que hice: un adorno de escritorio. Se trata de un adorno de flores dentro de una botellita. Me animé a hacerlo porque este tipo de accesorios y decoraciones me gustan, y si son en versión mini, ¡mejor!A mí me encanta este tipo de decoración; si fuera por mí, tendría muchos adornos minis. Bueno, para esta decoración utilicé algunos materiales que ya tenía. Principalmente, se necesita una pequeña botellita de vidrio, y el resto lo dejamos a nuestra imaginación.
Hello, hello DIYHub friends! I hope you're having a great day. Today I want to share a little craft I made: a desktop decoration. It's a flower decoration inside a small bottle. I decided to make it because I like these types of accessories and decorations, and if they're mini, even better! I love this type of decoration; if it were up to me, I'd have a lot of mini decorations. Well, for this decoration, I used some materials I already had. Basically, you need a small glass bottle, and the rest is up to your imagination.


(Materiales a usar:)(Materials to use:)
- Alambre de cobre
- Pinzas
- Cuentas en forma de flores
- Mostacillas verdes
- Un pedacito de esponja
- Una botellita de vidrio
- Tijeras
- Pega blanca
- Virutas de color verde
- Copper wire
- Tweezers
- Flower-shaped beads
- Green seed beads
- A small piece of sponge
- A small glass bottle
- Scissors
- White glue
- Green shavings
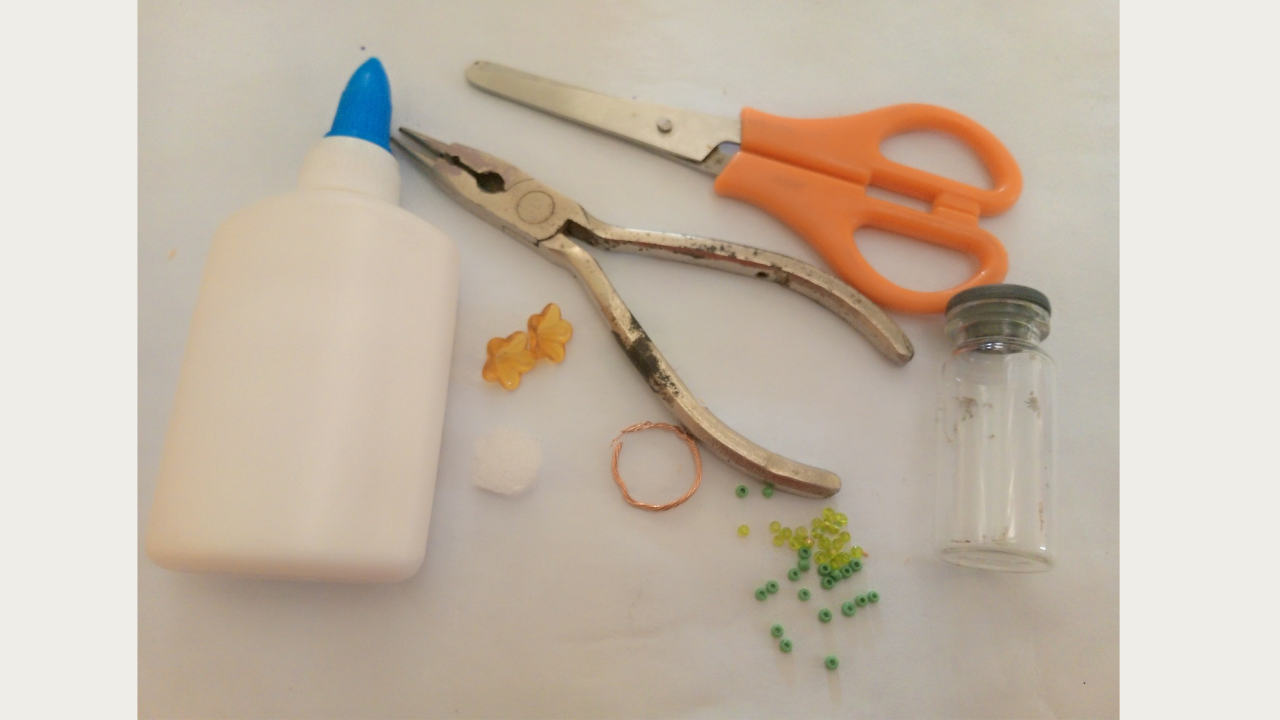
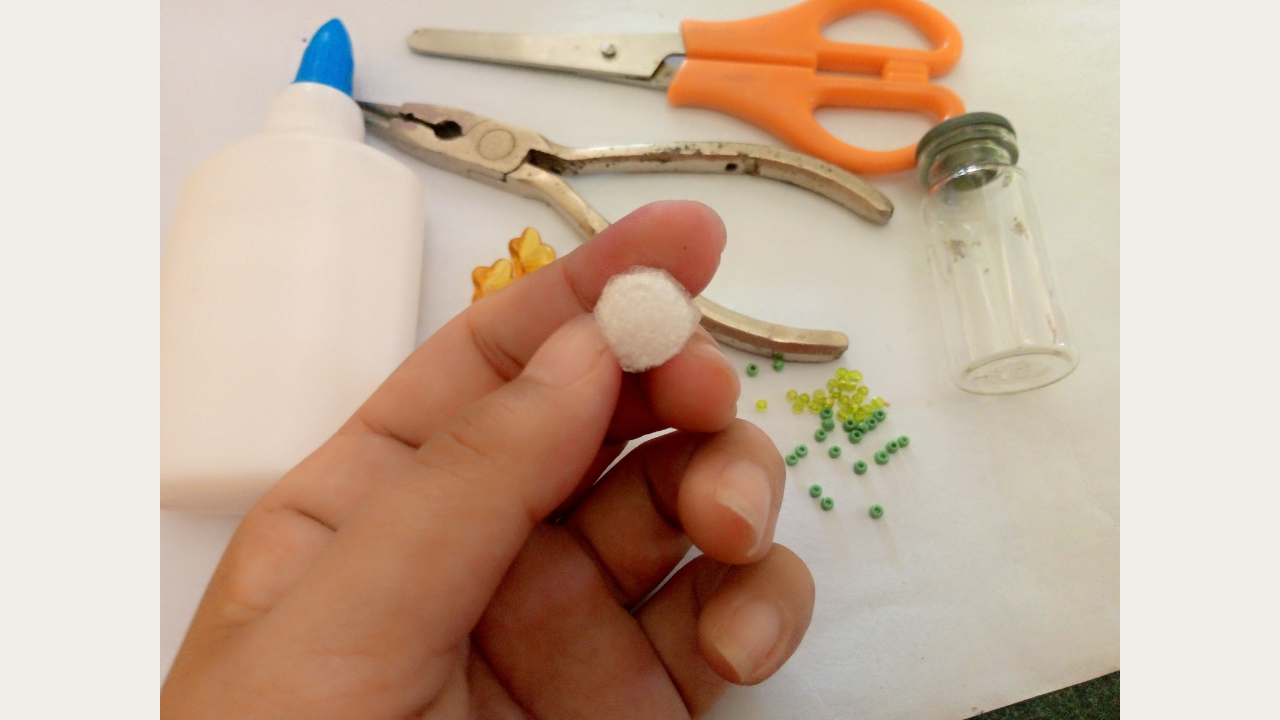
Como pueden ver, estos son los materiales que voy a utilizar; son materiales reciclados. Las cuentas en forma de flores eran de una pulsera que se había dañado. El alambre de cobre se puede conseguir en los cables de algún electrodoméstico. Yo conseguí un pedazo de cobre de un cargador de teléfono dañado.En cuanto al pedazo de esponja, tengo un trozo del relleno de un bolso, pero también se puede utilizar la esponja de fregar platos. La botellita de vidrio la obtuve de un medicamento; lo que hice fue lavar bien el envase para poder reutilizarlo.Ahora que ya saben qué materiales utilicé y cómo los conseguí, ¡vamos a los pasos a seguir y manos a la obra!
As you can see, these are the materials I'm going to use; they're recycled materials. The flower-shaped beads were from a damaged bracelet. The copper wire can be found in the cords of some household appliances. I got a piece of copper from a damaged phone charger. As for the piece of sponge, I have some stuffing from a purse, but you can also use a dish sponge. I got the little glass bottle from a medicine cabinet; what I did was wash the container well so I could reuse it. Now that you know what materials I used and how I got them, let's go over the steps and get to work!
(Procedimiento:)(Procedure:)
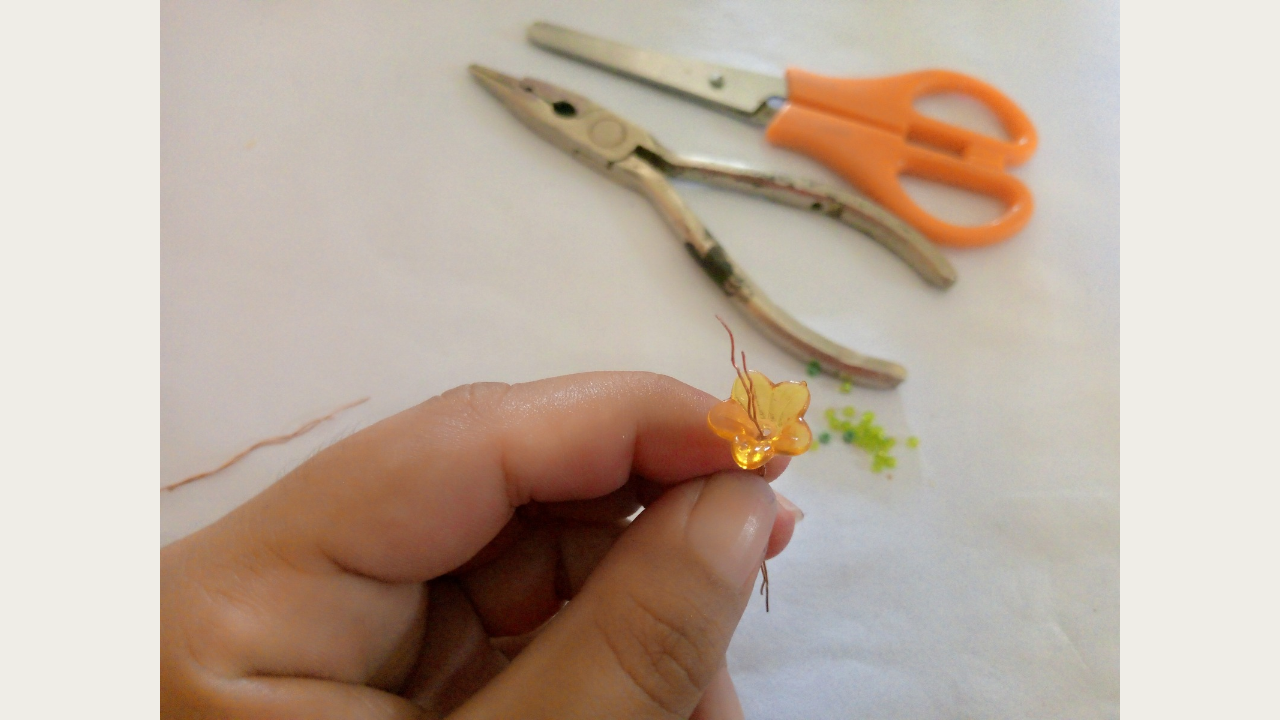
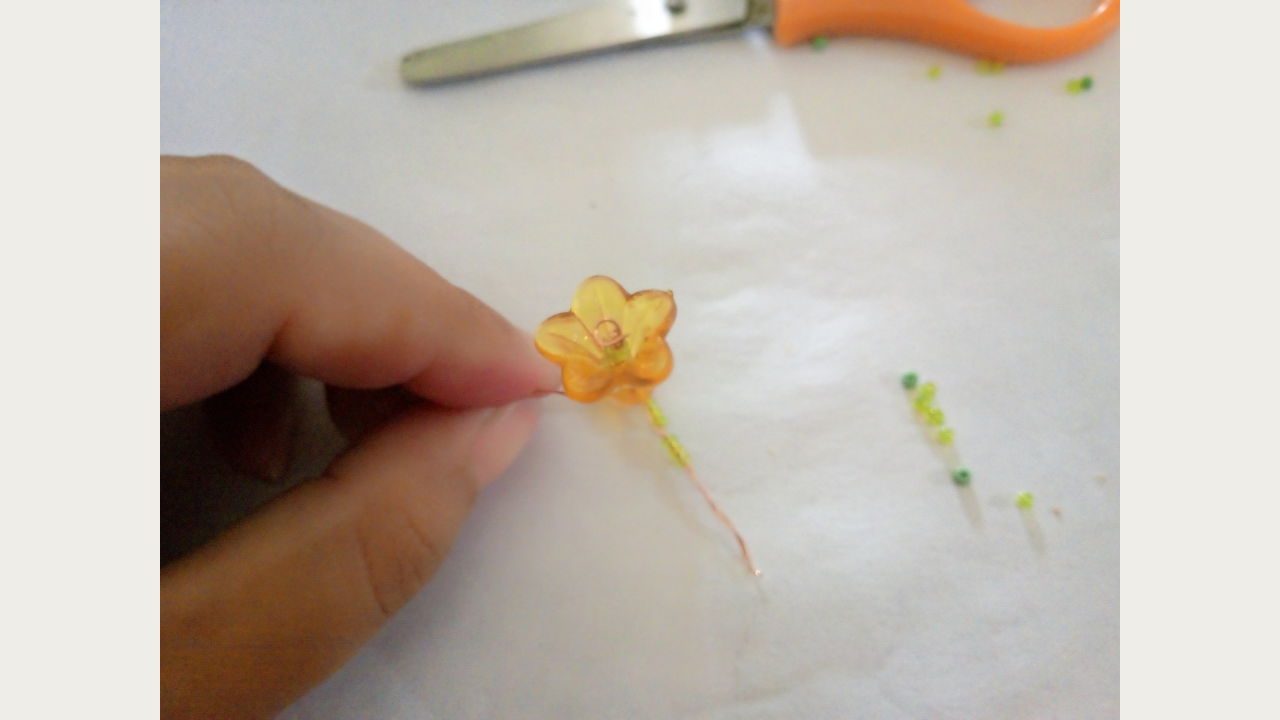
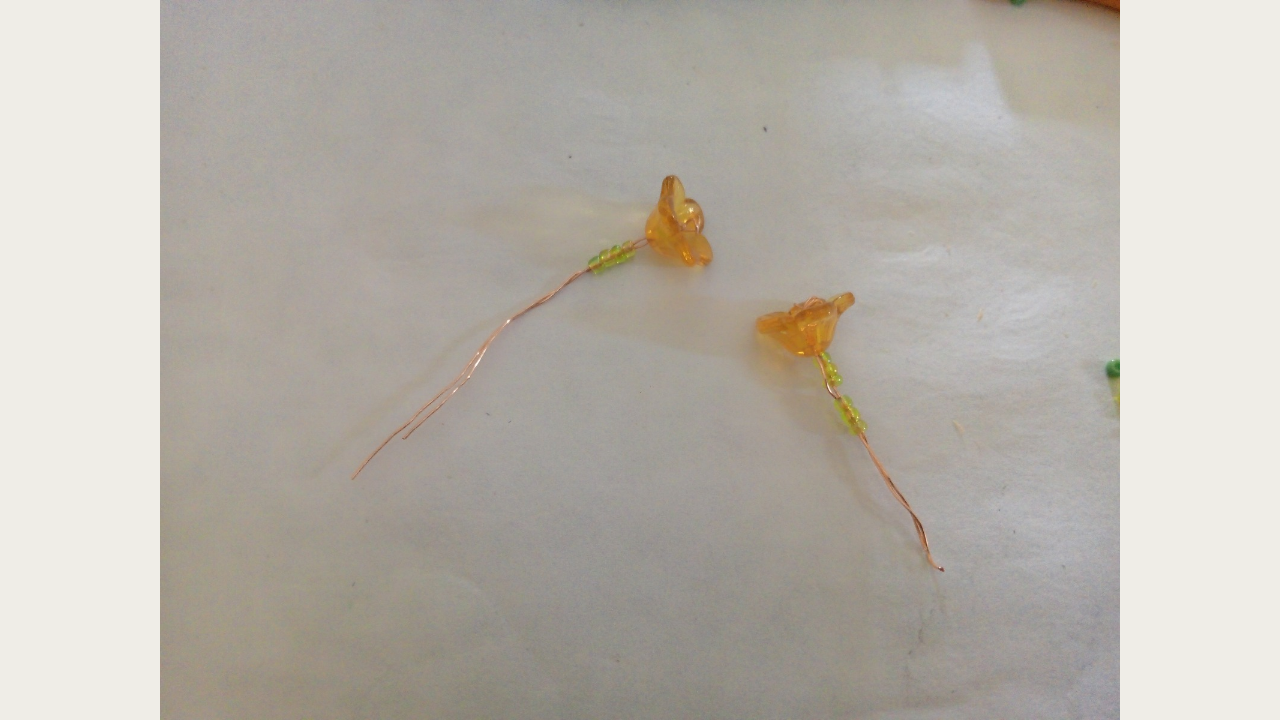
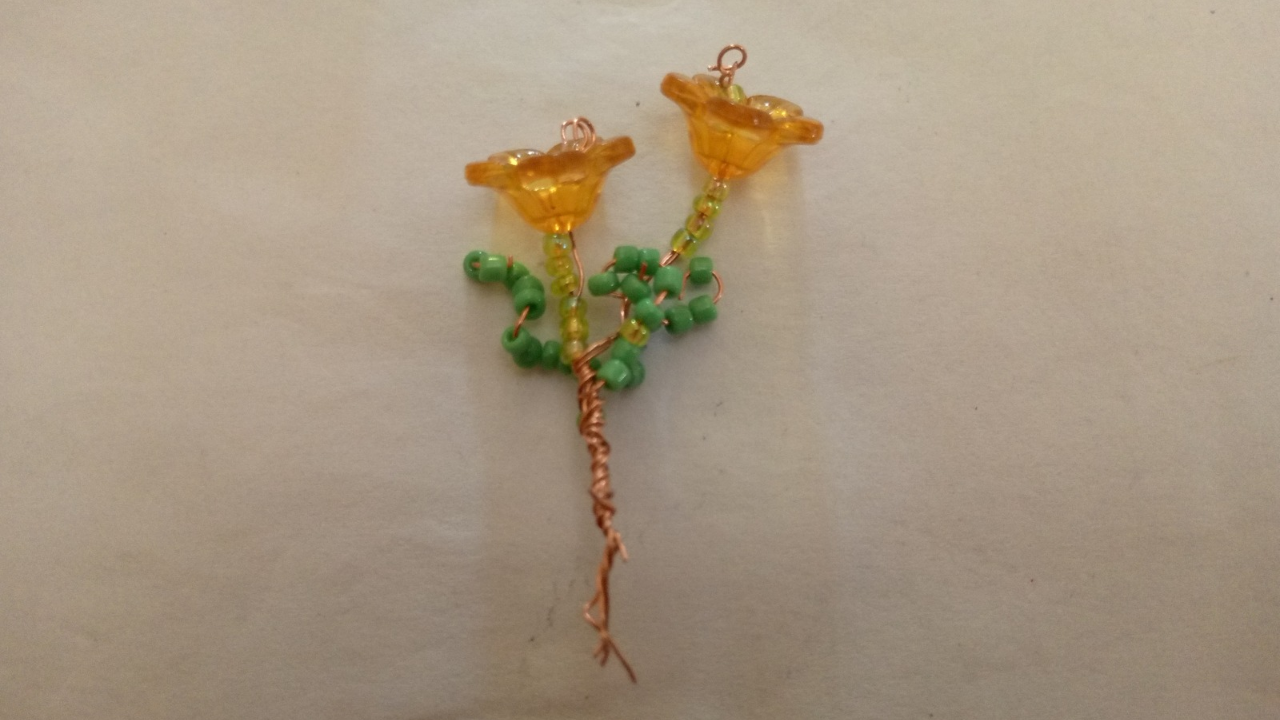
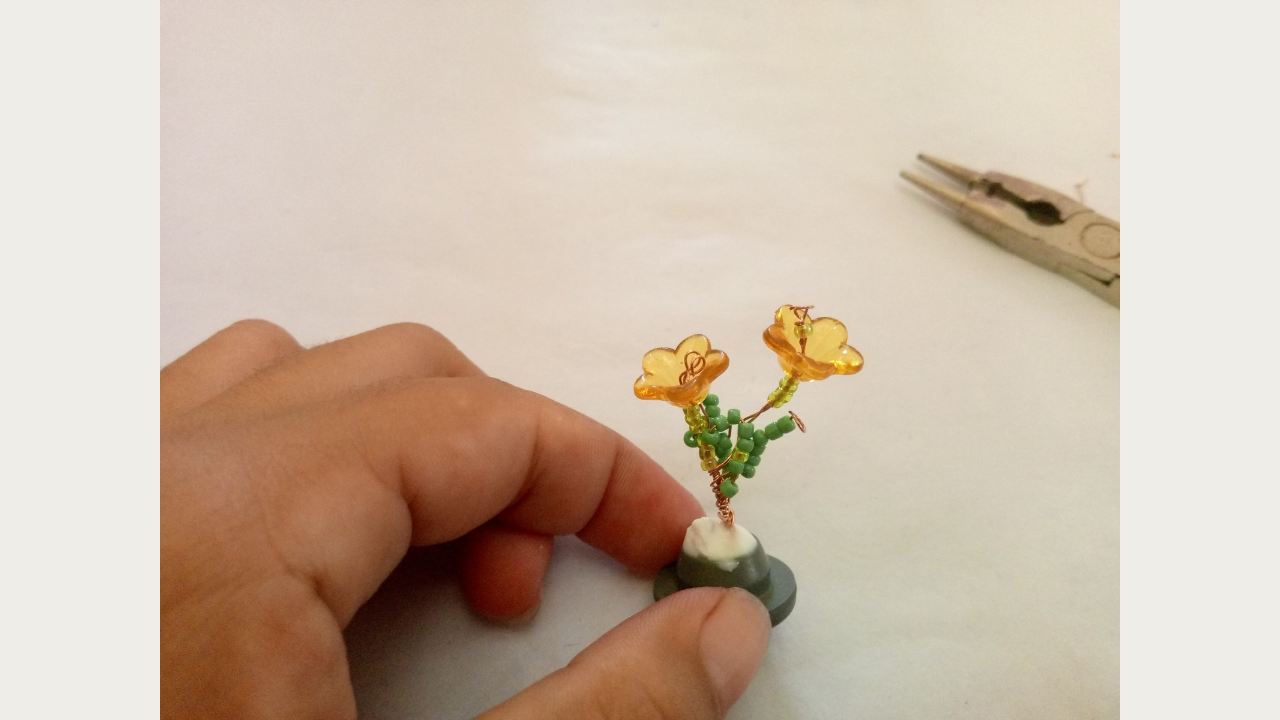
Primero voy a armar las flores. Colocaré la cuenta de flor, que es de color amarillo, y aseguraré el alambre del lado de arriba. Esto lo hice con la ayuda de las pinzas.Del otro lado, le coloqué unas cuantas mostacillas verdes. Con la otra flor hice lo mismo. Luego, junté las dos flores dándole vuelta al alambre para que queden juntas como un racimo.Aparte, en otro pedacito de alambre, solo coloqué mostacillas verdes para hacer las hojas. También uní estas hojas junto con las flores, dándole vueltas al alambre.
-
Paso nro 1
First, I'm going to assemble the flowers. I'll place the flower bead, which is yellow, and secure the wire on the top side. I did this with the help of pliers. On the other side, I placed a few green beads. I did the same with the other flower. Then, I joined the two flowers by twisting the wire so they remained together like a bunch. Separately, on another piece of wire, I placed only green beads to make the leaves. I also joined these leaves together with the flowers, twisting the wire.
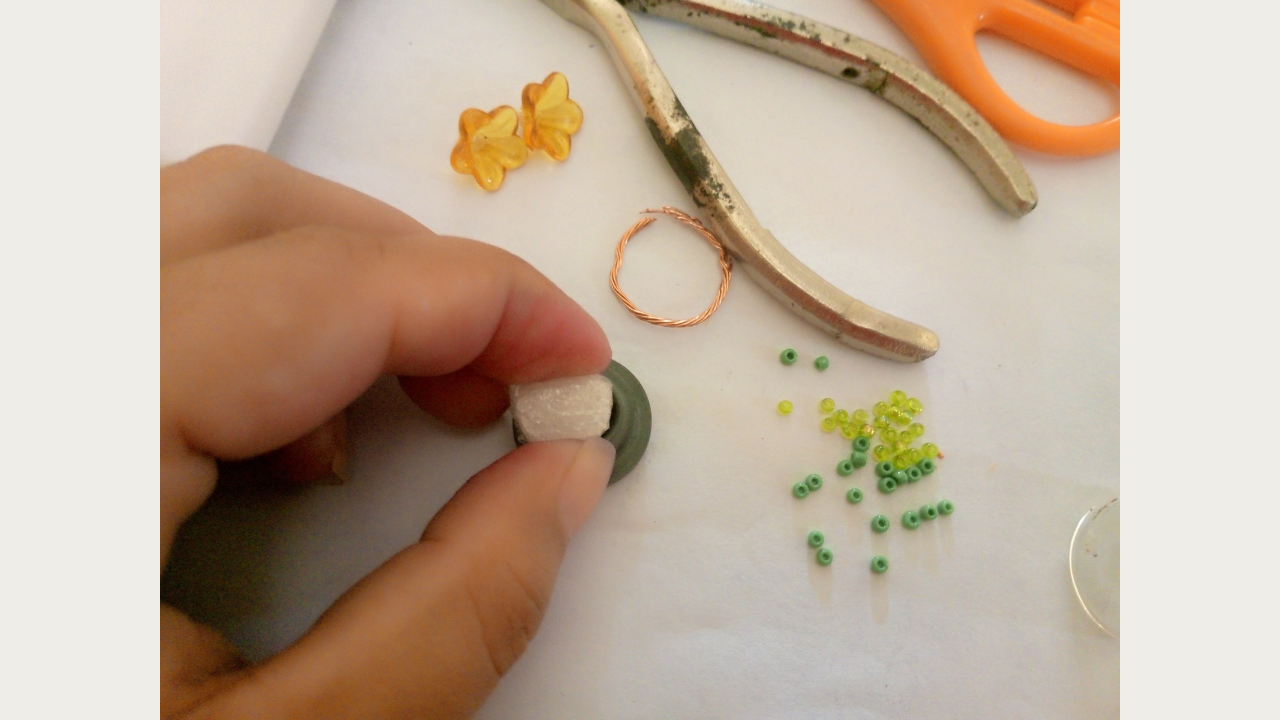
Ahora, en la tapita de la botellita, le voy a colocar un pedacito de esponja para que, al colocar las flores, queden estables. Aseguré la esponja con pega blanca y dejé que se secara bien, ya que la esponja es como plástico y tarda un poco en secar.
-
Paso nro 2
Now, I'm going to place a small piece of sponge on the bottle cap so that when I place the flowers in, they stay in place. I secured the sponge with white glue and let it dry well, since sponge is like plastic and takes a while to dry.
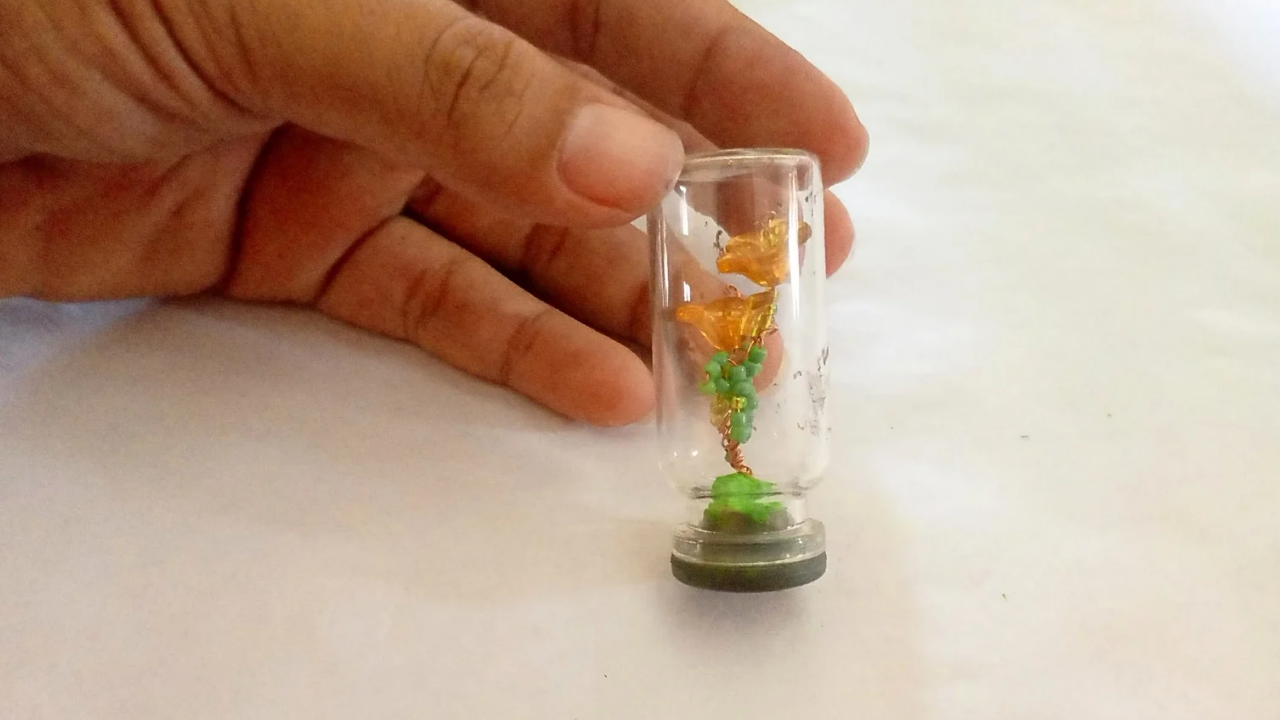
Cuando vi que se secó bien, le voy a colocar un poco más de pega, porque ahora voy a añadir la viruta de color verde, que es como un polvito. Me gustó esta parte porque se ve como césped y queda muy bien. También dejé que se secara bien para luego terminar de colocar la botellita, tratando de hacerlo con cuidado, ya que las flores se podía dañar.
-
Paso nro 3
Once it's dry, I'm going to add a little more glue because now I'm going to add the green shavings, which are like a powder. I liked this part because it looks like grass and looks really nice. I also let it dry thoroughly before finishing placing the bottle, trying to do it carefully, as the flowers could get damaged.
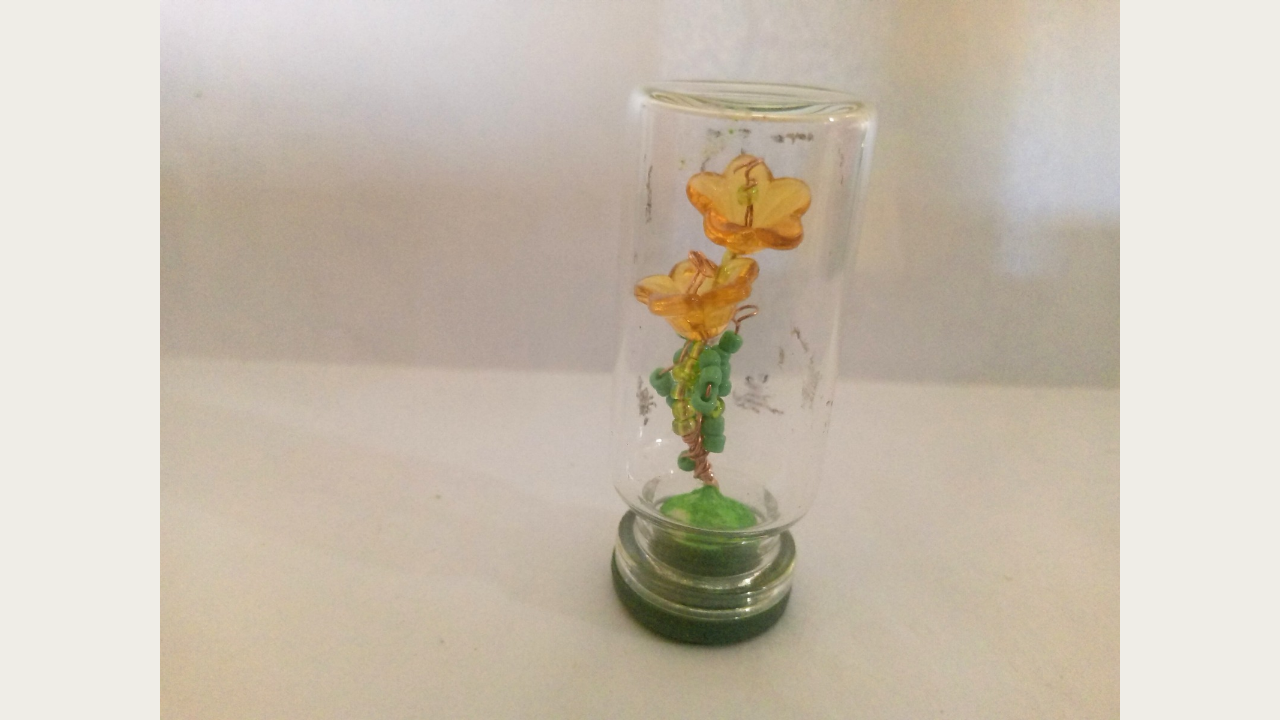
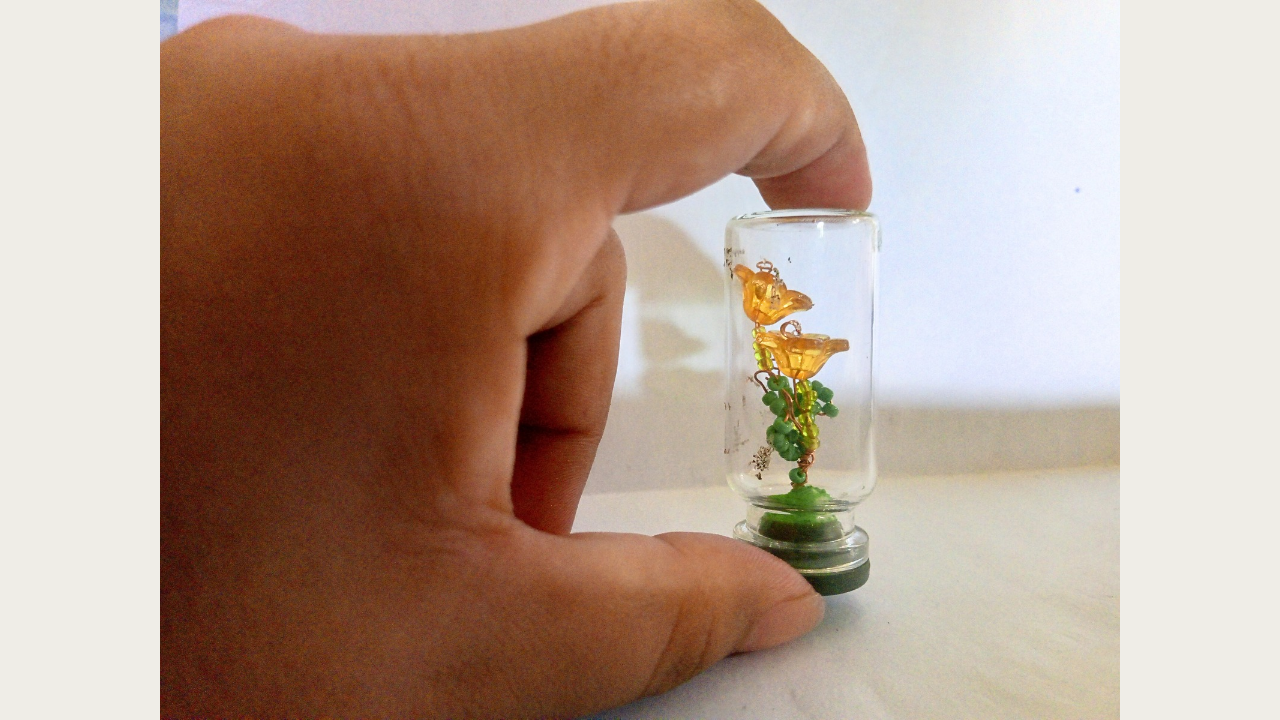
(Resultado final:)(Bottom line:)
Espero que les haya gustado esta manualidad y que se animen a crear su propio adorno de flores reciclado. Recuerden que lo más importante es dejar volar su imaginación y disfrutar del proceso. ¡Gracias por acompañarme en este proyecto! ¡Hasta la próxima!
I hope you enjoyed this craft and that you'll be inspired to create your own recycled flower ornament. Remember, the most important thing is to let your imagination run wild and enjoy the process. Thanks for joining me on this project! See you next time!


Las fotos de este blog son de mi propiedad|Las imágenes son editadas en canva|Fotografías tomadas en mi celular infinix Smart 7|El contenido está traducido en el traductor de Firefox.
The photos on this blog are my property | The images are edited in Canva | Photos taken on my Infinix Smart 7 cell phone | The content is translated in Firefox Translate.