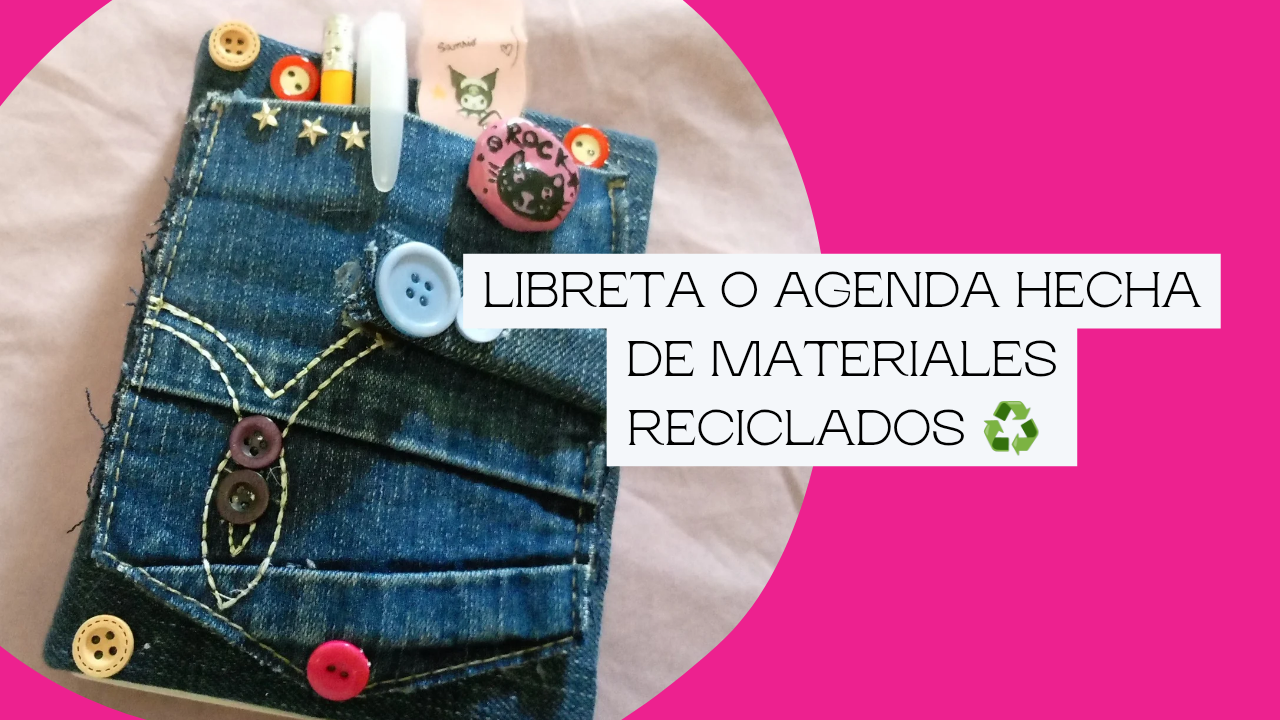
Hello, hello DIYHub friends, how are you? I'm glad to be back here to bring you a great idea for recycling and creating a very nice craft. I don't know if you remember that a while back I made a sticker notebook. Well, this time it'll be a planner-style notebook, but I'm going to make it out of cardboard and denim. I'm also using a few things to decorate the notebook so it's not so simple. I'm going to follow an idea I saw on Pinterest, which, by the way, has many beautiful crafts with recycled materials. There I found several options for making and decorating this notebook, and I saw one with buttons, and I'm going to use that. I'm also going to add some other things I have. I hope this idea will be useful for making and personalizing your things with creativity.

(Materiales a usar:)(Materials to use:)
- Tela de jeans reciclado
- Carton
- Cinta adhesiva
- Tijeras
- Lápiz
- Botones
- Silicón caliente
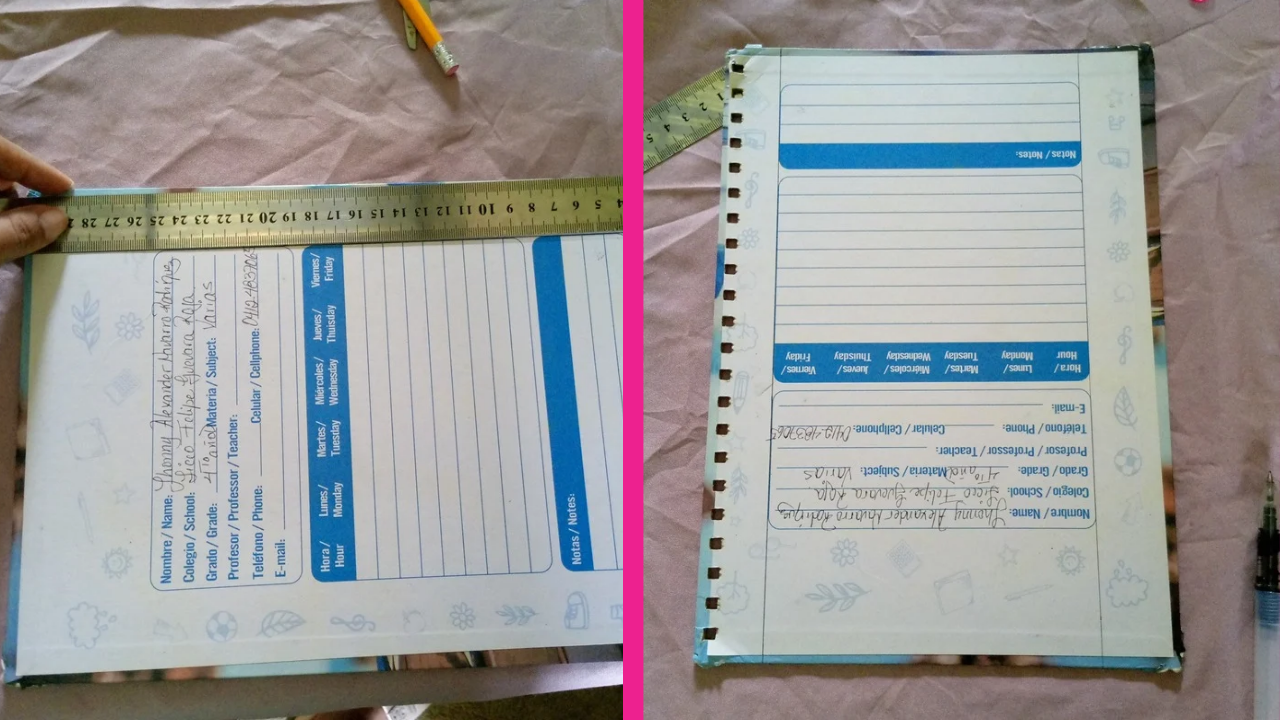
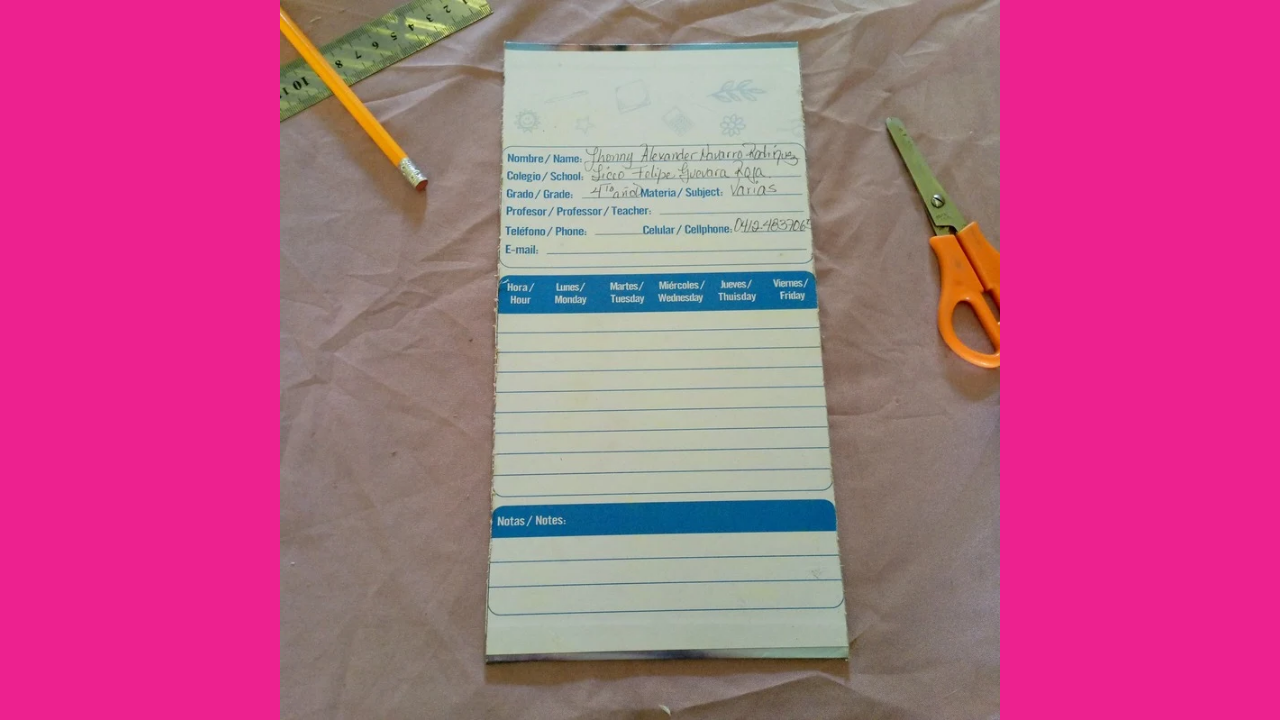
- Hojas para la agenda
- Botones,broches o cuentas (Solo para decorar)
- Una regla
- Recycled denim
- Cardboard
- Adhesive tape
- Scissors
- Pencil
- Buttons
- Hot glue
- Planner paper
- Buttons, snaps, or beads (for decoration only)
- A rule
(Procedimiento:)(Procedure:)
-
Paso nro 1
Paso nro 1
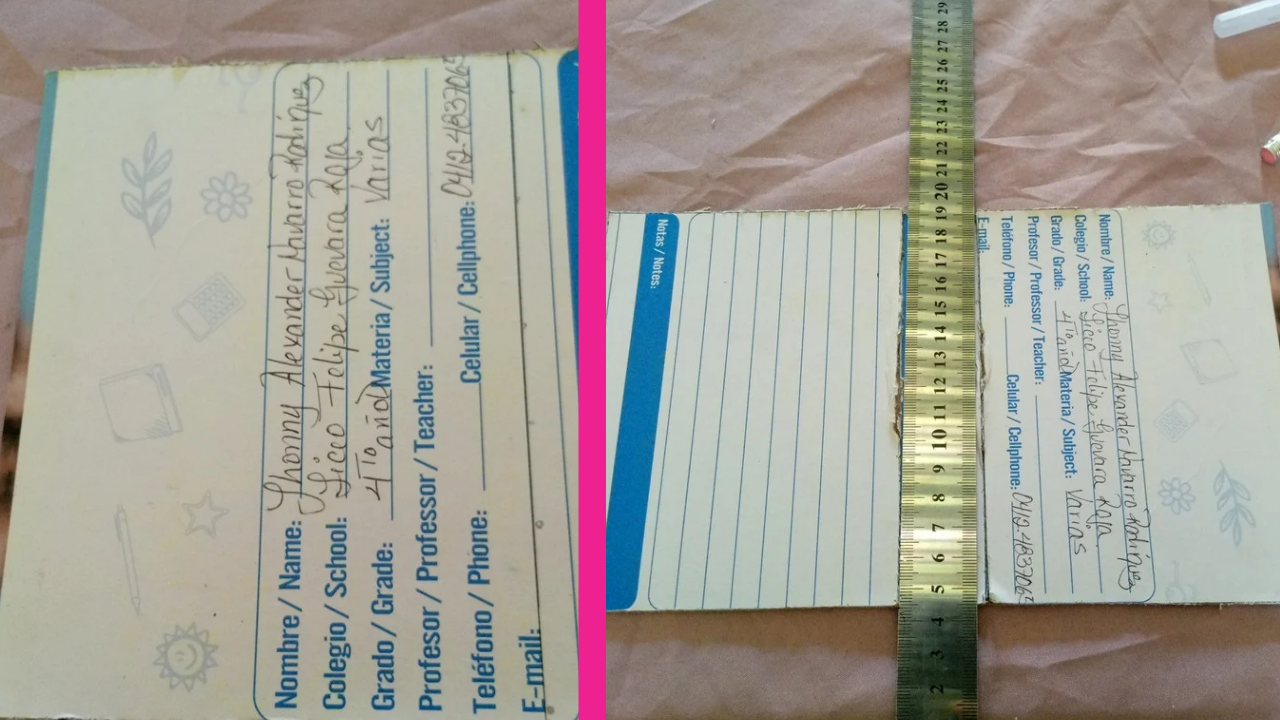
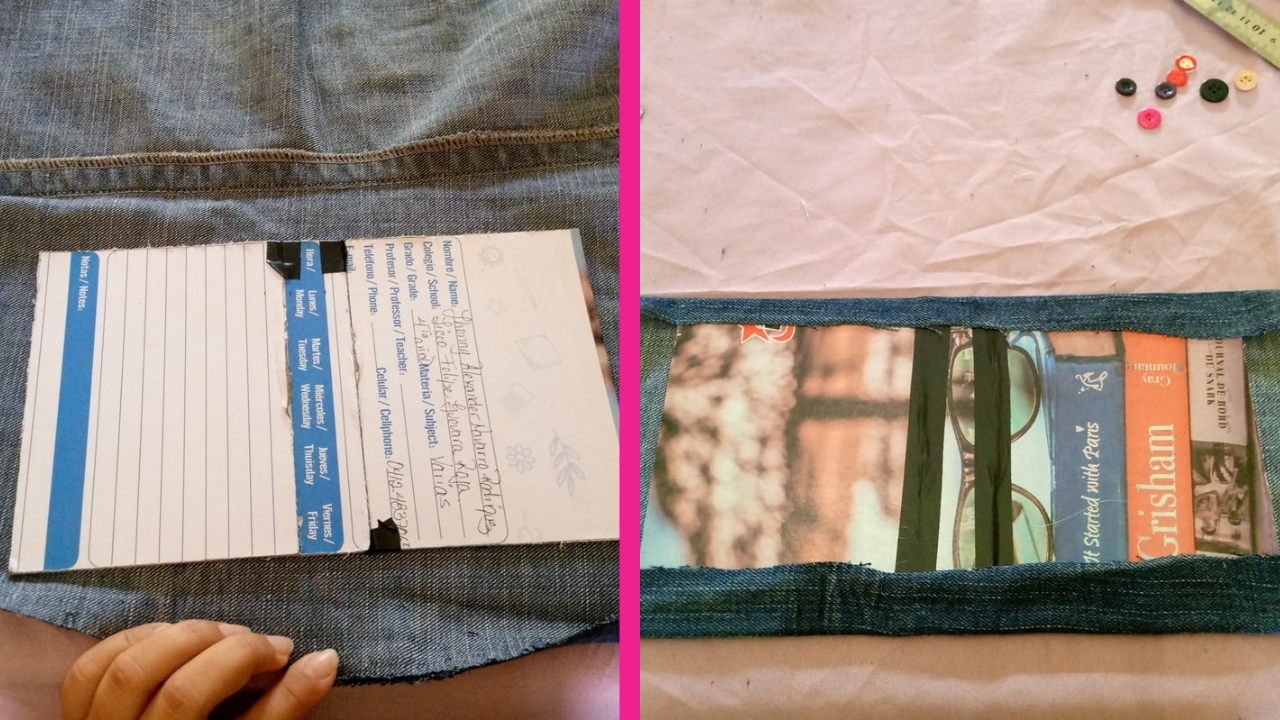
To start, I'm going to cut the cardboard to the size I want it to be. I'm using cardboard from a notebook cover. I measured it with a ruler, and once I have the measurement I want, I'm going to cut it out, leaving just a rectangle. Now I'm going to cut in the middle, but first I marked the width with the ruler, which would be the same width as the ruler. Now I cut just a little and put adhesive in the middle. I did this so the base of the notebook has a square shape and is easy to open and close.
-
Paso nro 2
Paso nro 2
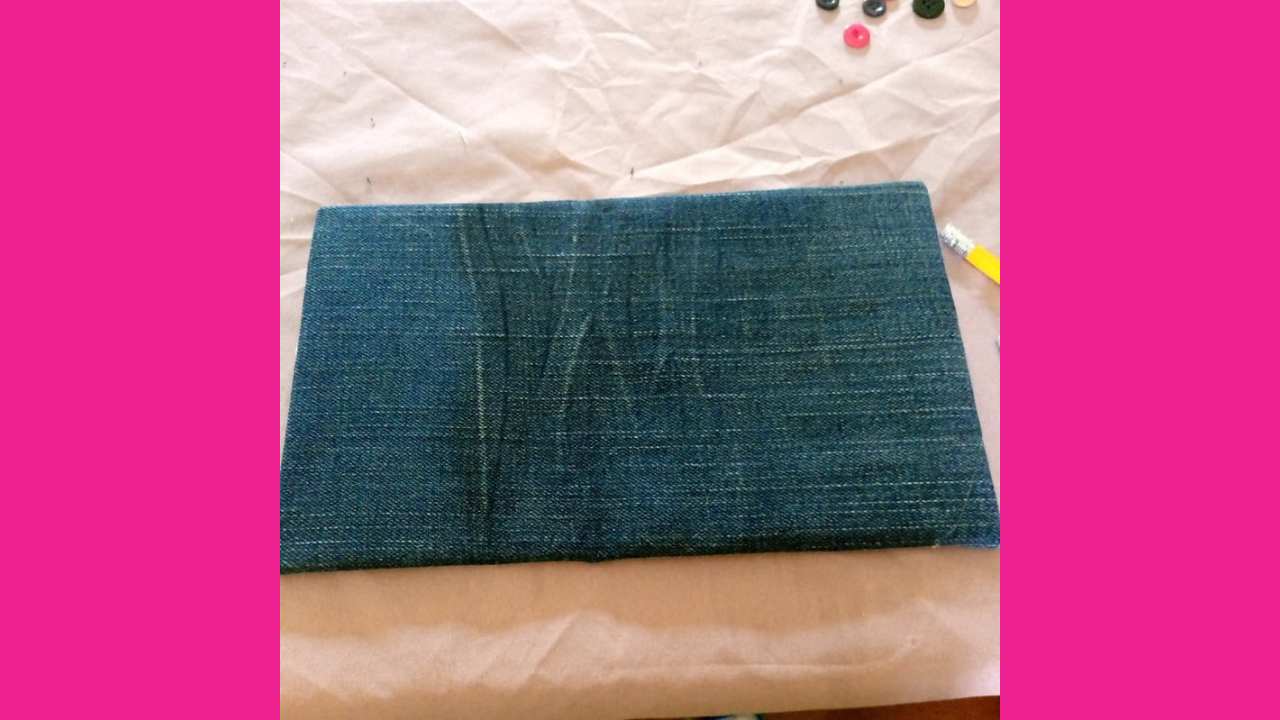
Now I'm going to cover the cardboard with the denim. I apply hot glue and glue it all the way around the edge. On the inside of the notebook, I added a fabric cover to further cover the cardboard.
-
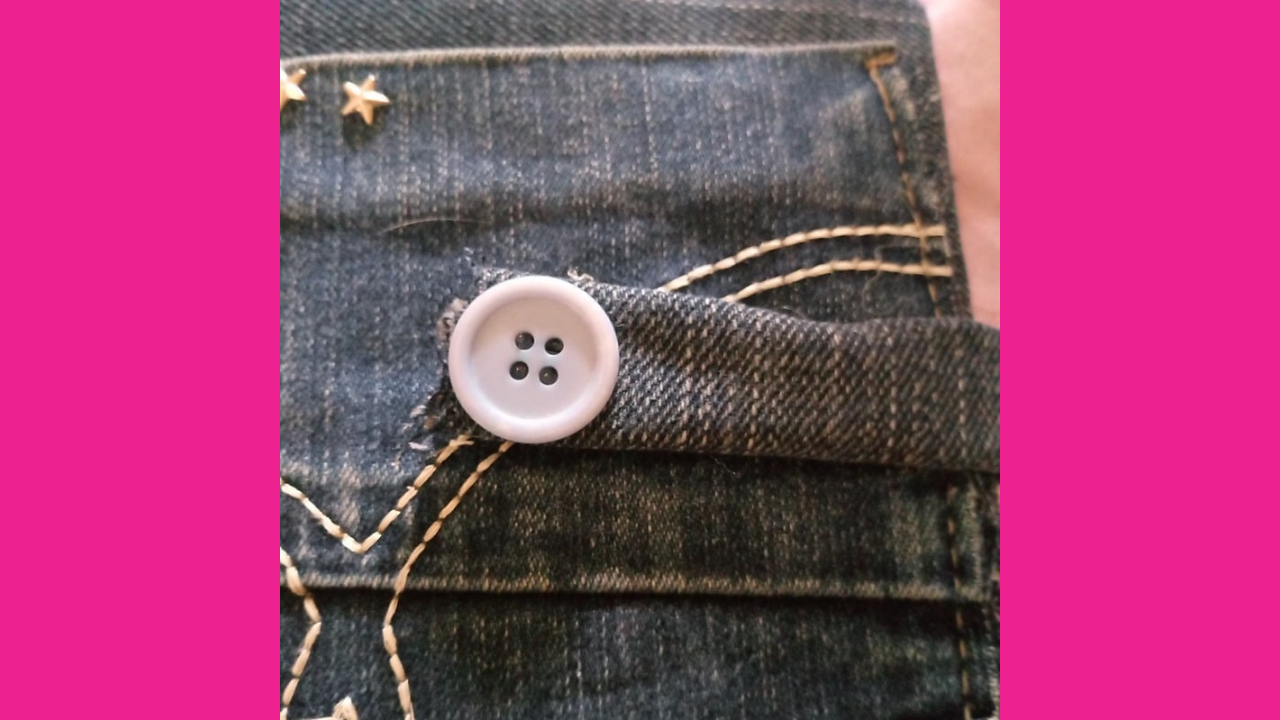
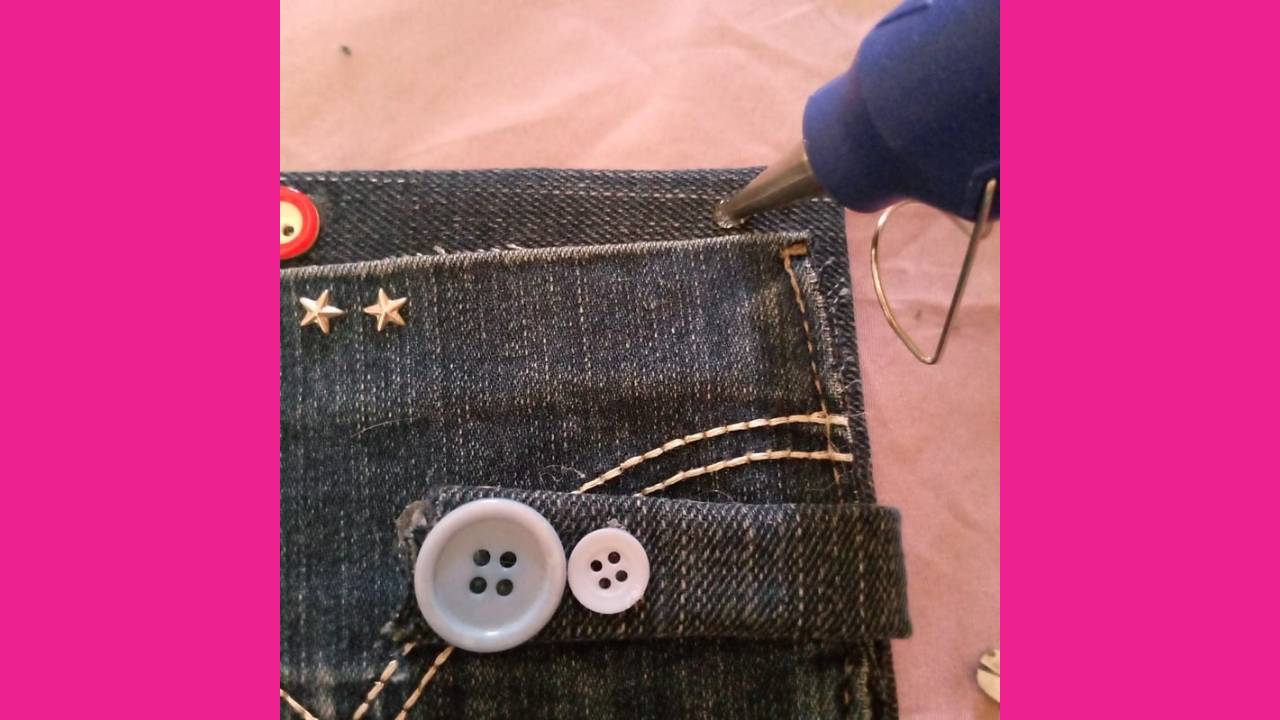
Paso nro 3
Paso nro 3
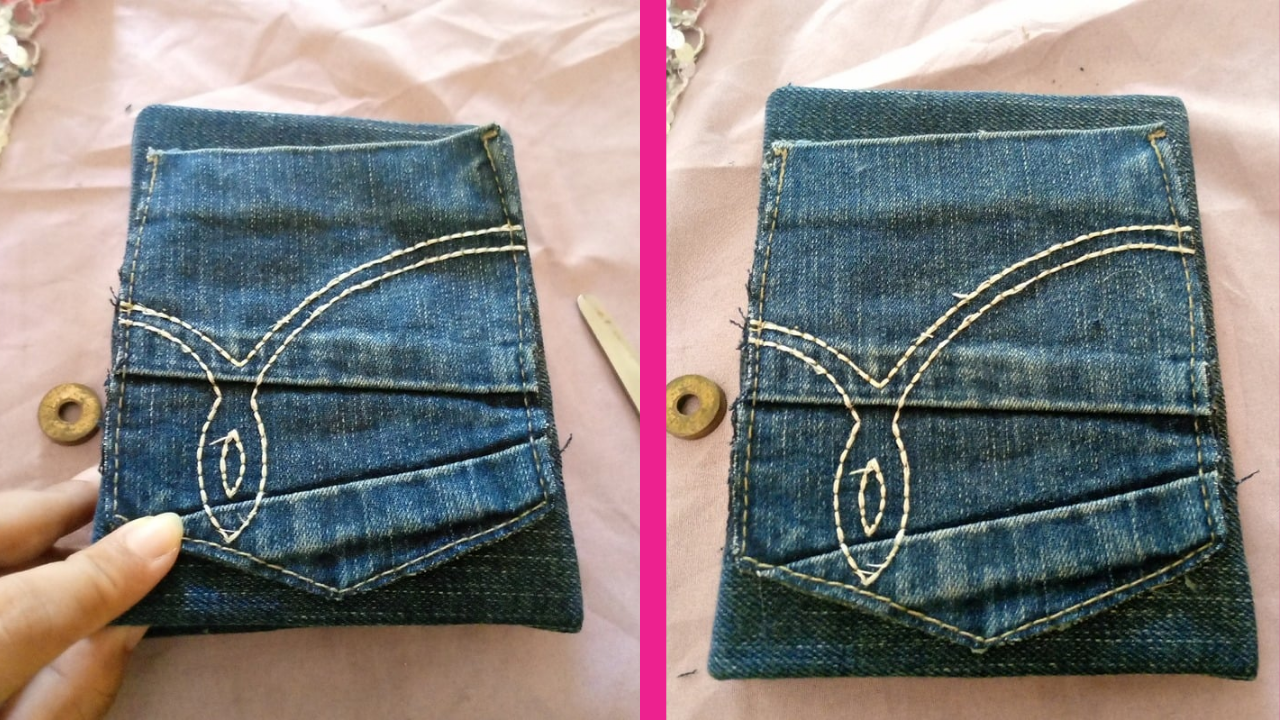
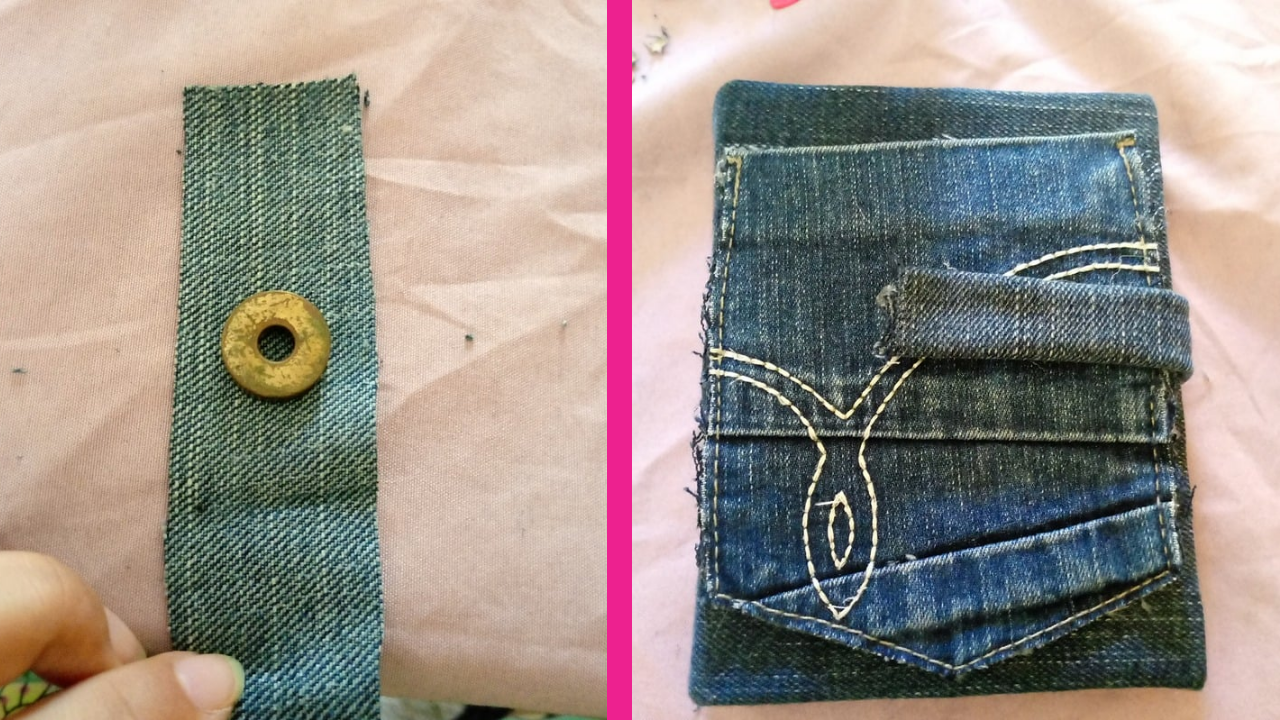
Now that I have the base ready, I'm going to add the personality. I decided to add a pocket from my jeans, and I also had a magnetic button from a purse, and I'm going to add that, but glue it to a strip I made from the jeans. This will help keep the notebook from opening.
-
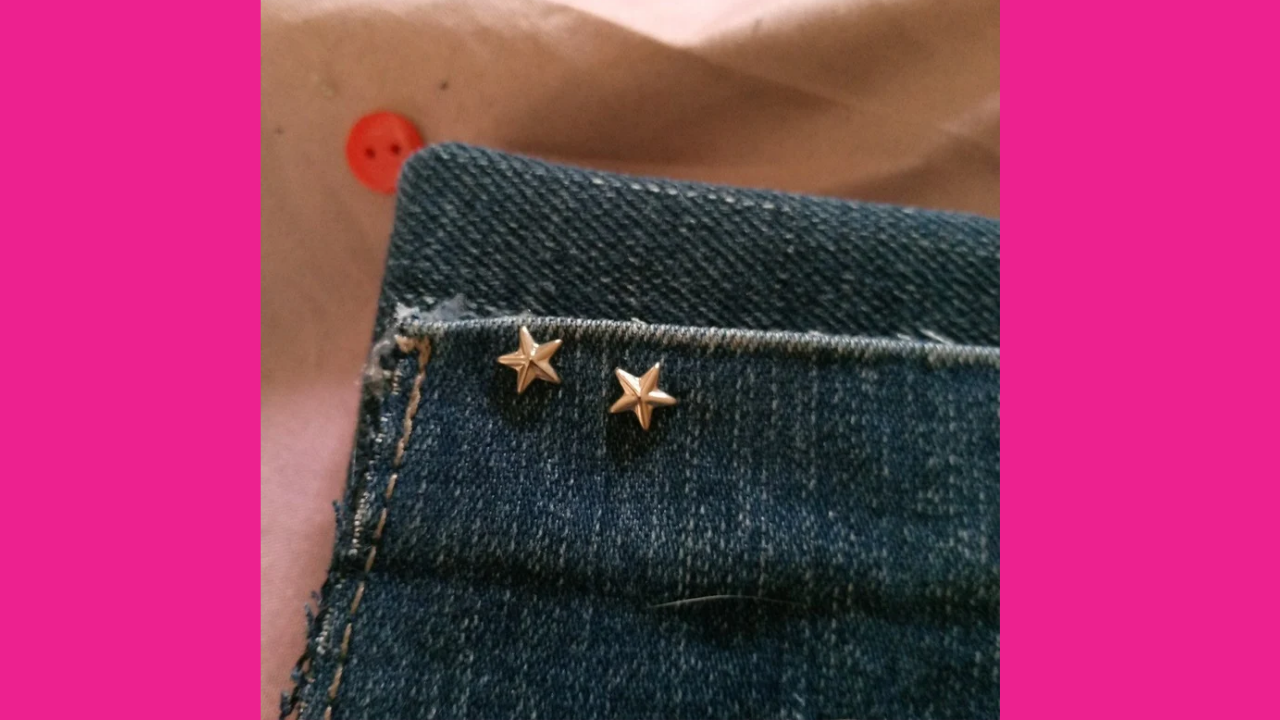
Paso nro 4
Paso nro 4
Then I started adding some star clips, colorful buttons, and a badge I had, which I also made. I just used a soda can cap, a hanger from the cans, and a pin. This way, we can make our own badges. By the way, I also made one recently and shared the tutorial here.
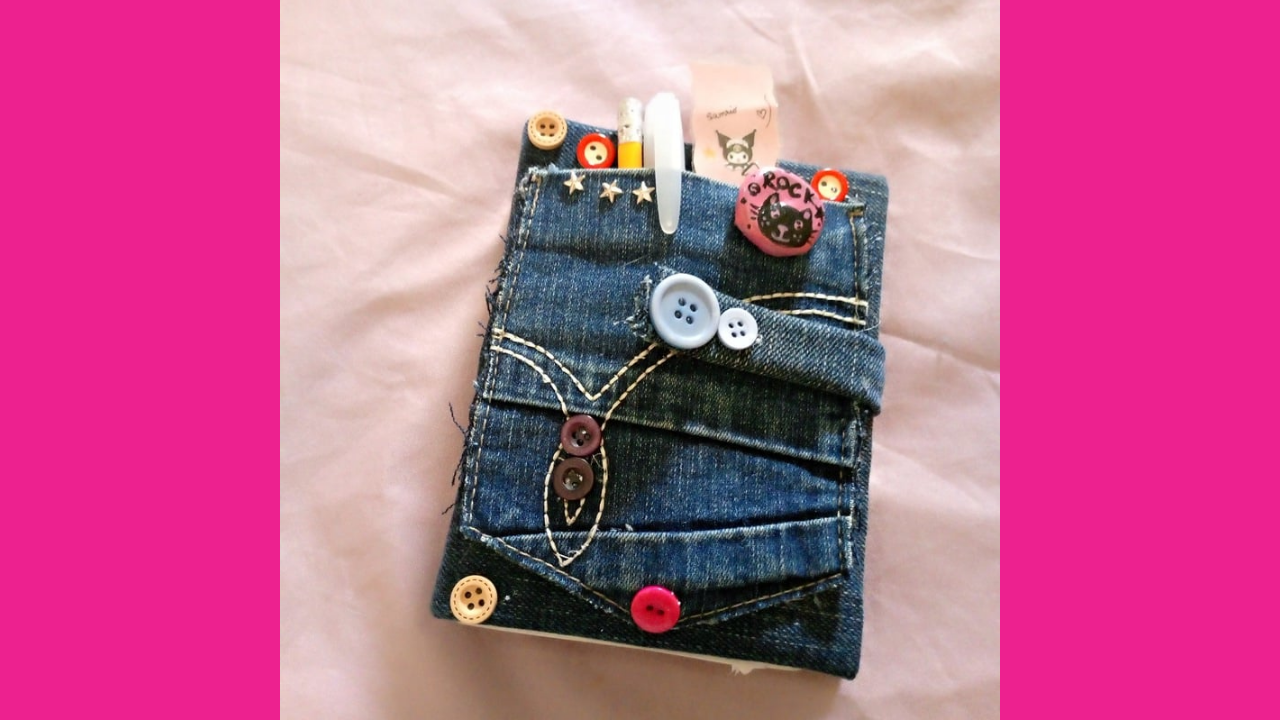
(Resultado final:)(Bottom line:)
And so my notebook, or rather, my planner made from recycled materials, was ready. It turned out better than I imagined, and I think I'll be using it a lot, as it reflects my personal style. I hope this idea has inspired you to create your own crafts and give a second life to the materials you have at home. Remember, with a little creativity, anything is possible! Thank you for joining me on this project. See you another time to continue creating together!


Las fotos de este blog son de mi propiedad|Las imágenes son editadas en canva|Fotografías tomadas en mi celular infinix Smart 7|El contenido está traducido en el traductor de Firefox.
Las fotos de este blog son de mi propiedad|Las imágenes son editadas en canva|Fotografías tomadas en mi celular infinix Smart 7|El contenido está traducido en el traductor de Firefox.