

Hello, dear friends of Hive Food! Welcome once again to my blog. I'm glad to have you here, and I hope you feel comfortable while I guide you through this simple but delicious dulce de leche rice pudding recipe. This recipe is special because it uses the same ingredients as traditional rice pudding, but with a twist that gives it a unique flavor. Don't miss the details of this delicious recipe that you're sure to love!
Let's all hands in the kitchen.
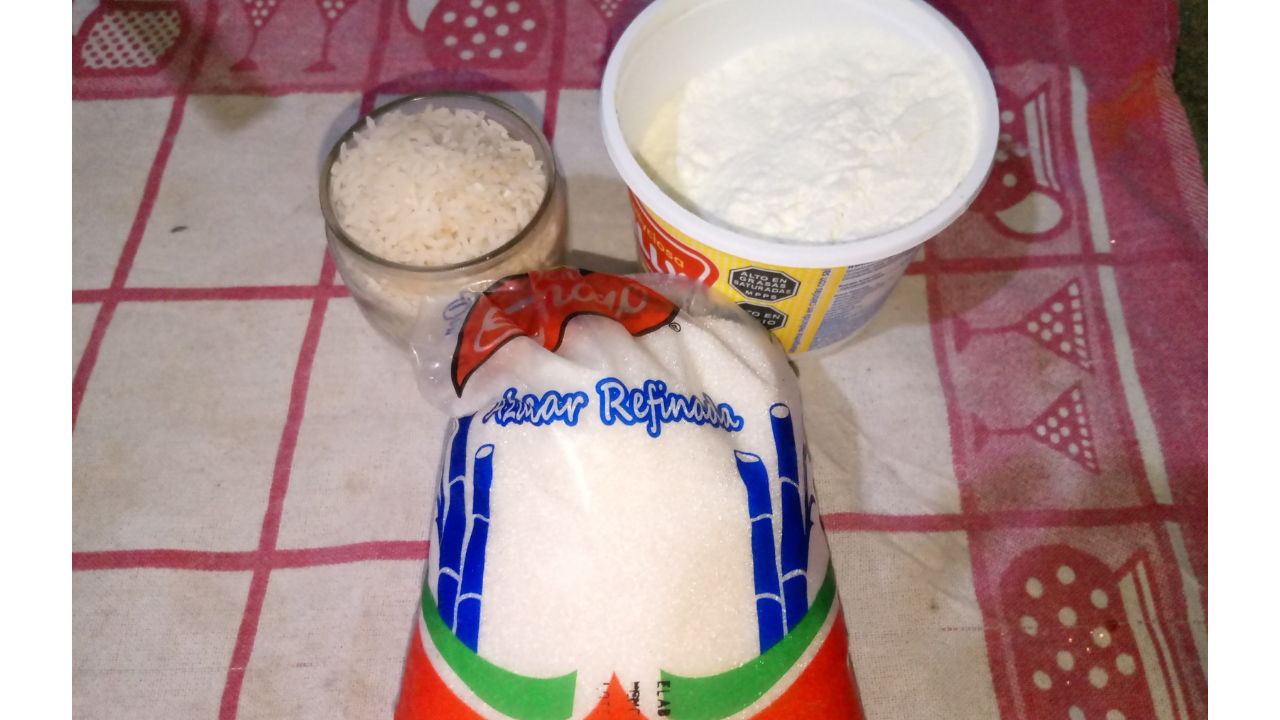
(Ingredientes :)(Ingredients:)
- 3 tazas de leche: Puedes usar leche entera para un sabor más cremoso, o una opción baja en grasa si prefieres algo más ligero.
- 1 ½ tazas de azúcar: Puedes ajustar la cantidad de azúcar según tu preferencia; si te gusta más dulce, siéntete libre de añadir un poco más.
- Agua (cantidad necesaria): Para cocinar el arroz antes de agregar la leche.
- 1 taza de arroz
- 3 cups milk: You can use whole milk for a creamier flavor, or a low-fat option if you prefer something lighter.
- 1 1/2 cups sugar: You can adjust the amount of sugar to your preference; if you like it sweeter, feel free to add a little more.
- Water (as needed): To cook the rice before adding the milk.
- 1 cup rice
(Procedimiento:)(Procedure:)
-
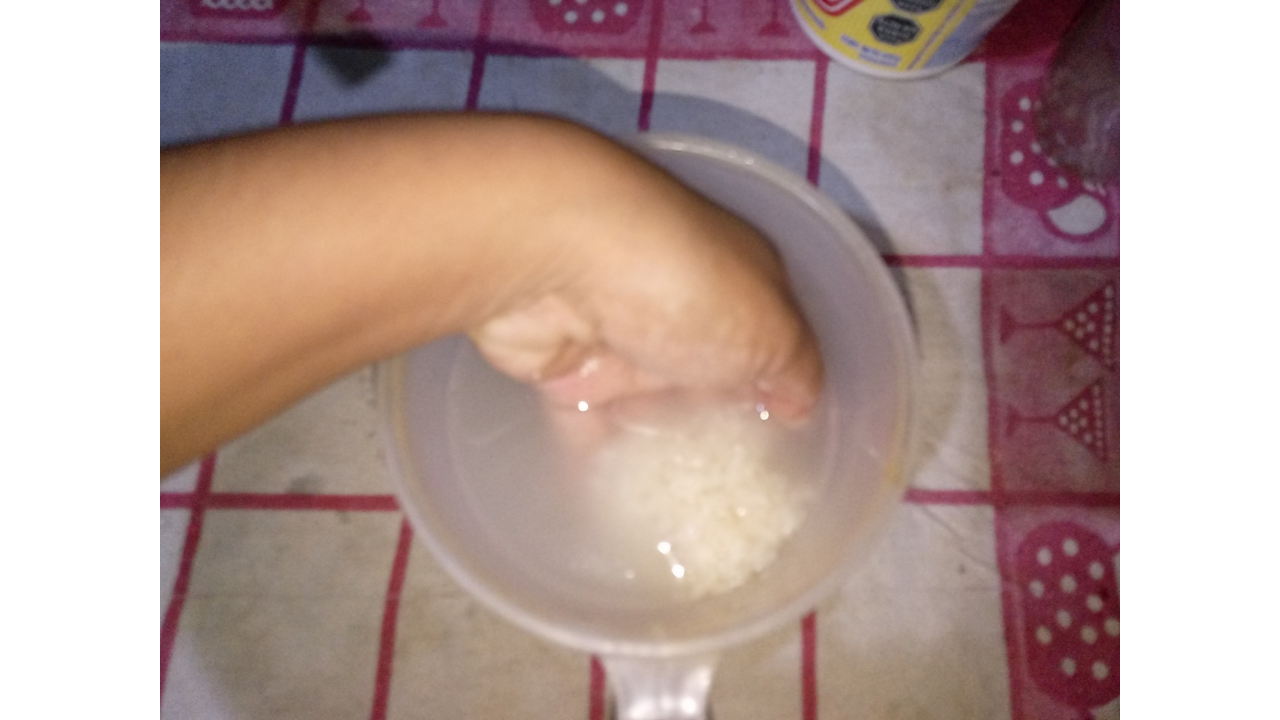
Paso nro 1
Paso nro 1
We begin with a fundamental step: washing the rice. This process is important to remove any impurities and excess starch from the rice. I learned about this step from a recipe I first saw, and since then, I've decided to include it in my preparations. I think it's an excellent way to ensure the rice is cleaner and has a better flavor. After washing it, I let it drain in a colander to remove all the water.
-
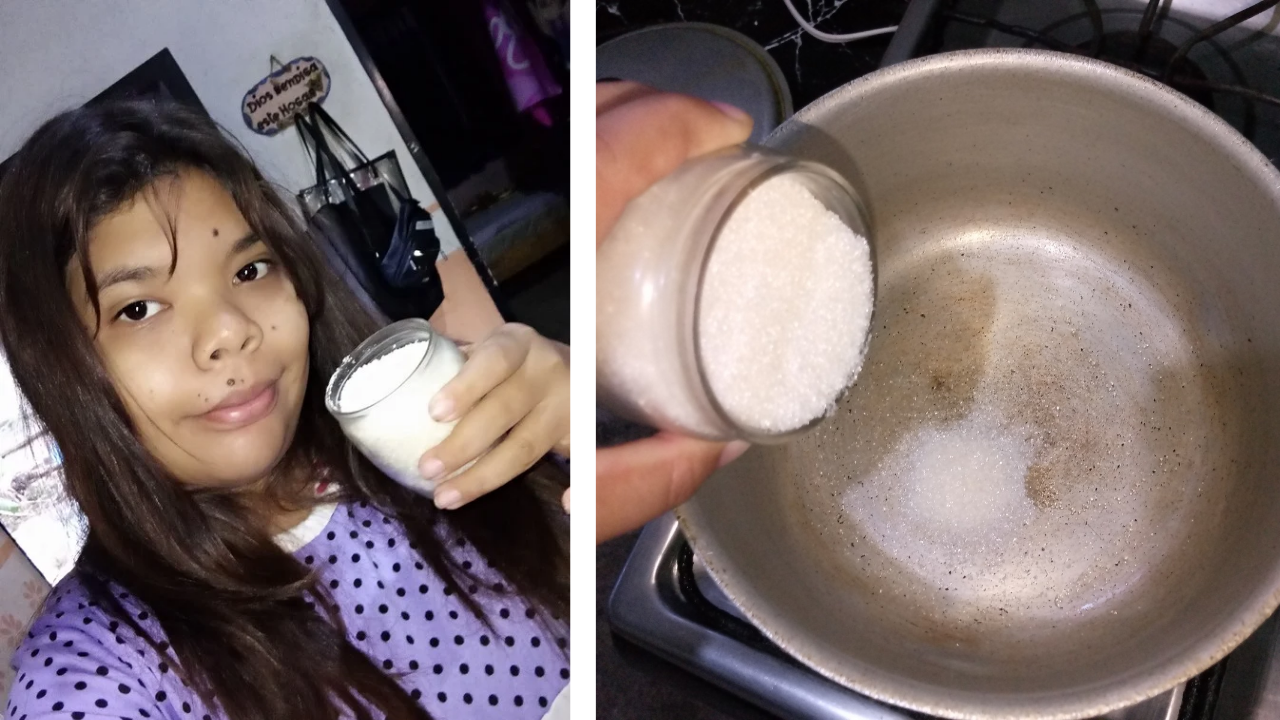
Paso nro 2
Paso nro 2
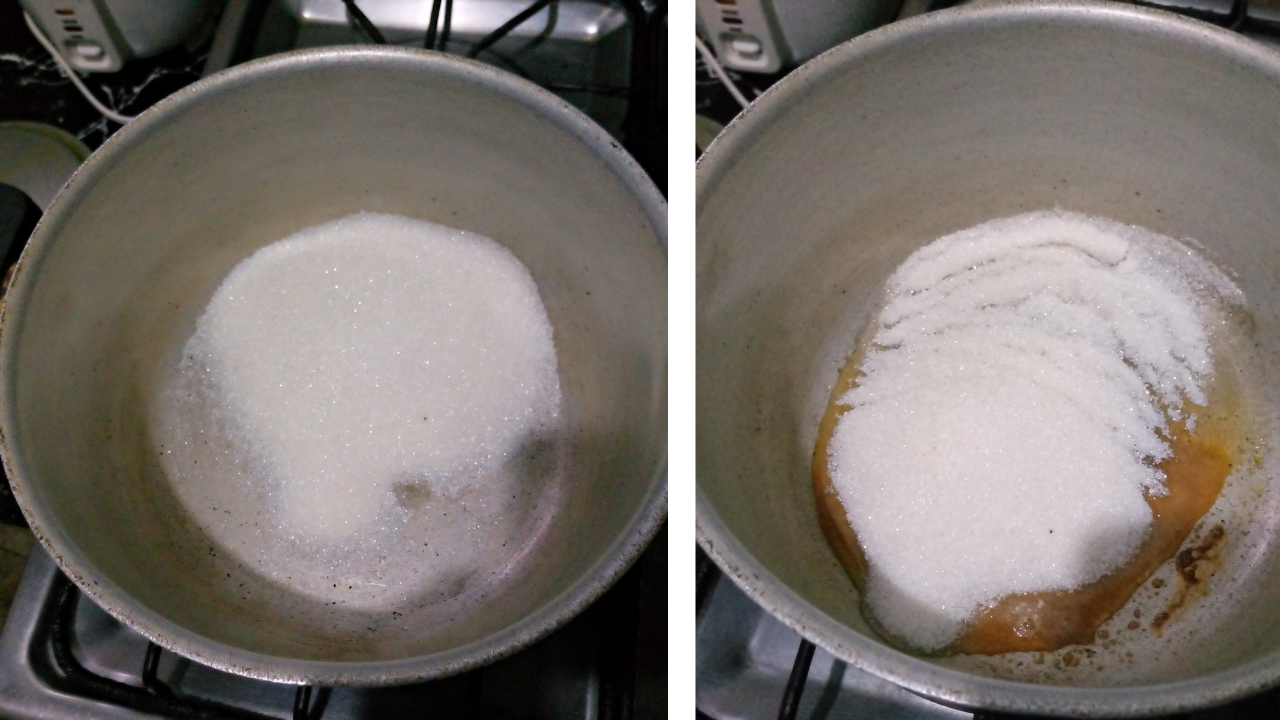
While the rice is draining, it's time to prepare the caramel. In a small saucepan, I'll use 1 cup of sugar (the same amount I used to measure the rice). I place the saucepan over medium heat and let the sugar melt slowly. This step is crucial, as the caramel will give the rice pudding that beautiful brown color characteristic of dulce de leche. It's very important to be careful during this process, as the caramel can burn quickly. Once the caramel has a golden color and a delicious aroma, it's time to add the rice.
-
Paso nro 3
Paso nro 3
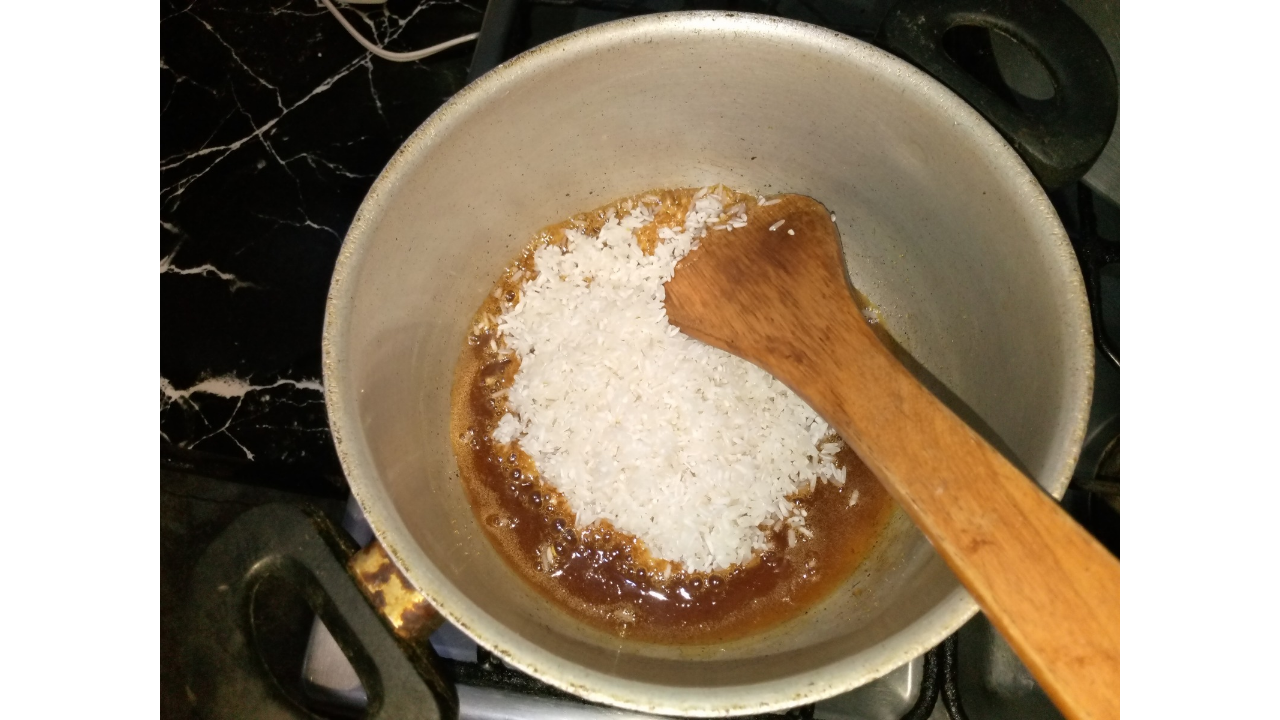
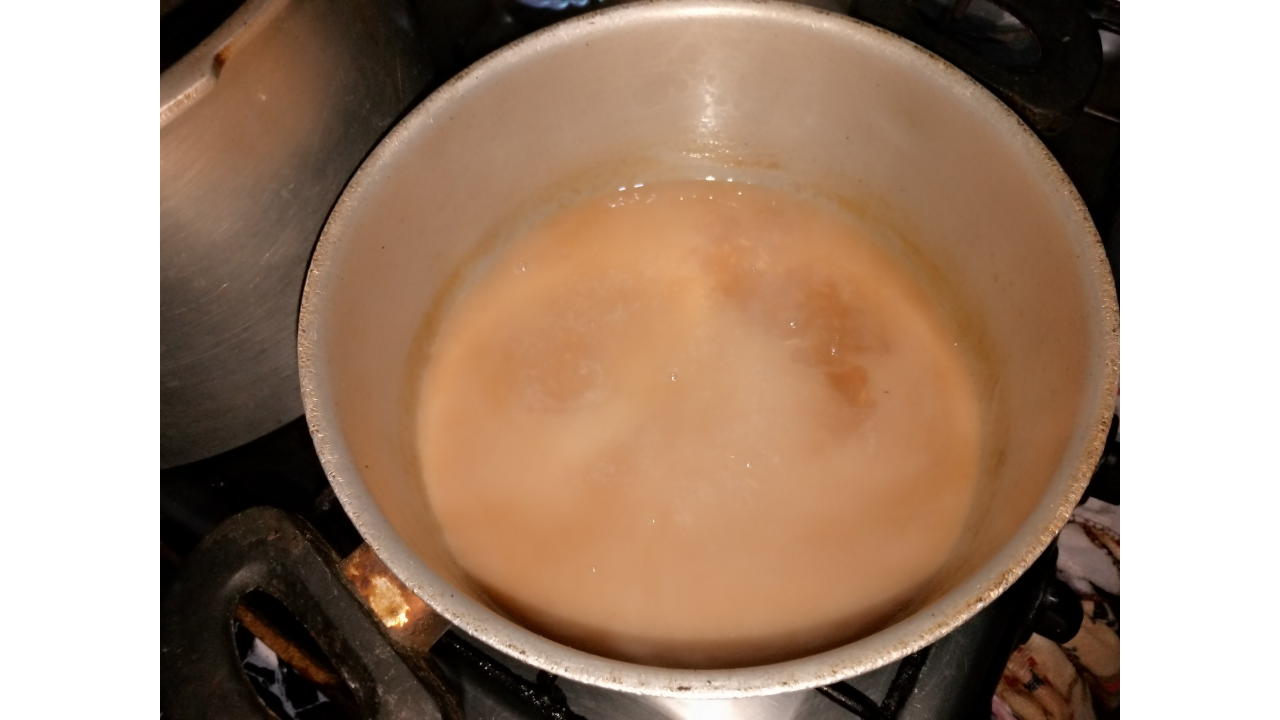
Carefully, I add the rice to the caramel and gently stir it with a wooden paddle. The wooden paddle is ideal for this type of preparation, as it doesn't scratch the pot and allows for smooth mixing. After mixing well, I let the rice cook with 2 cups of water. My goal is for the rice to be as tender as possible, so I cook it over medium heat until the water is almost completely absorbed.
-
Paso nro 4
Paso nro 4
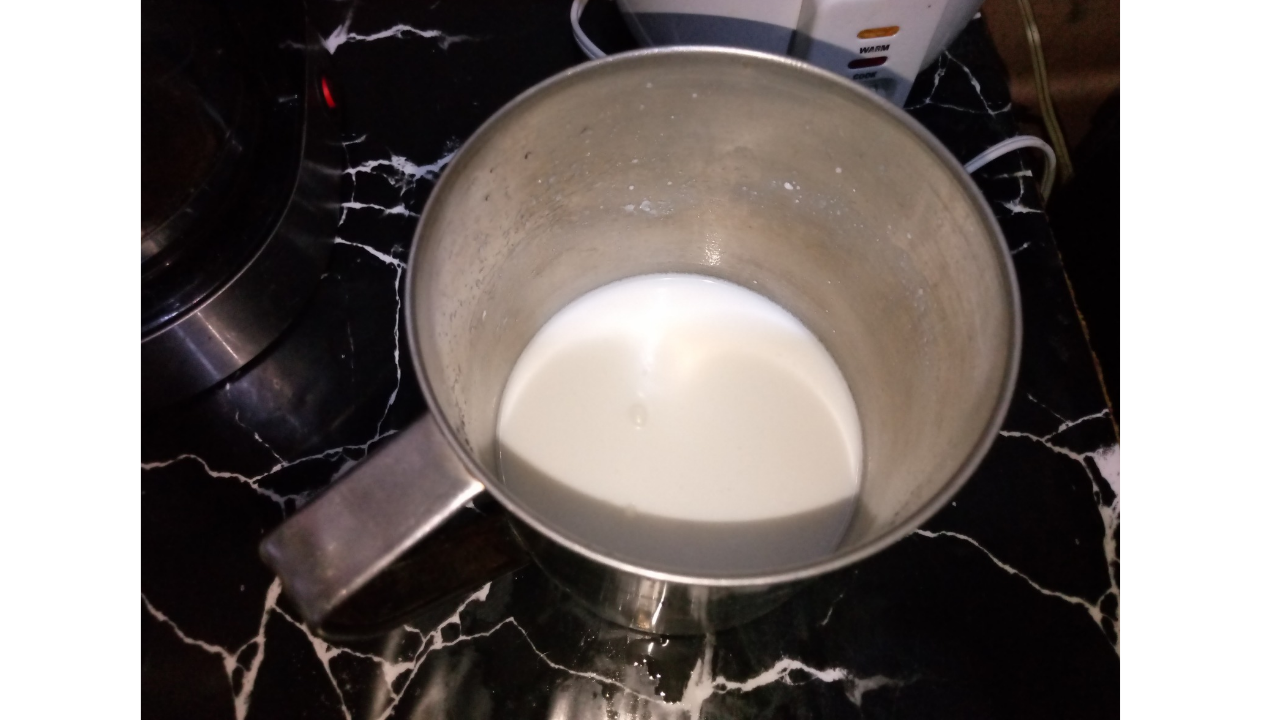
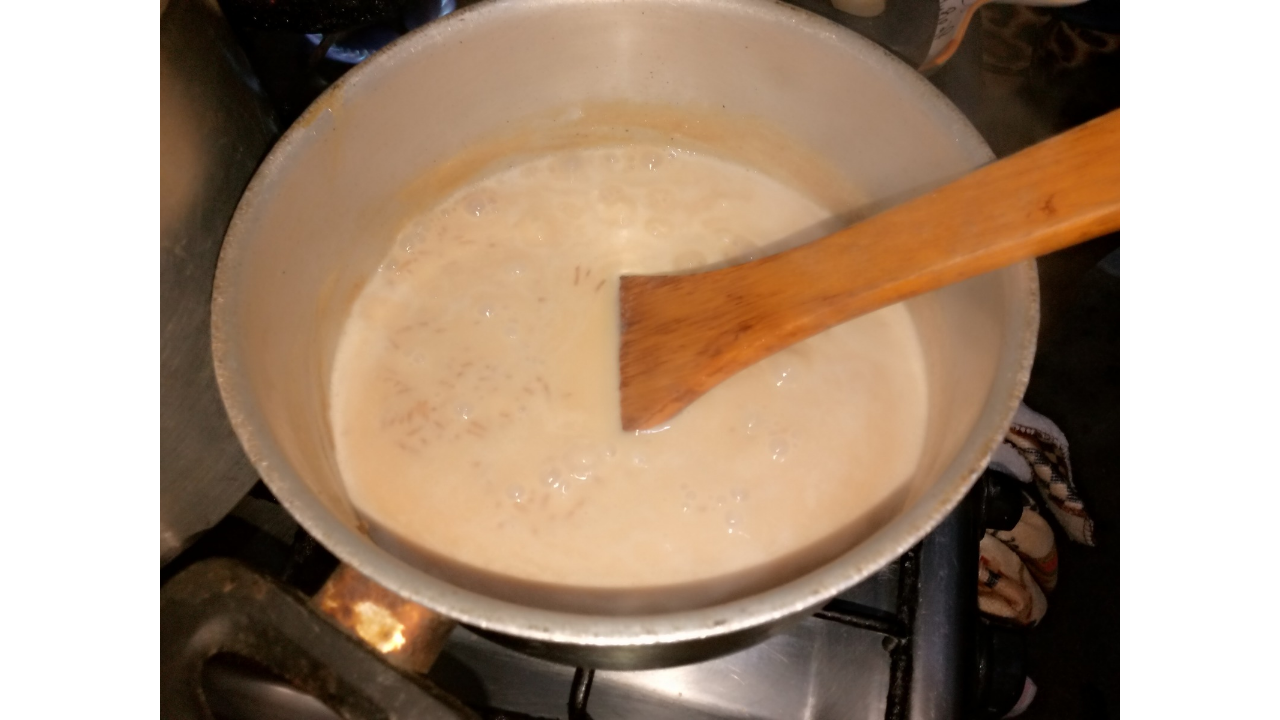
While the rice is cooking, it's time to prepare the milk. In another pot, I place the 3 cups of milk and begin heating it over medium heat. Once the rice is soft and has absorbed most of the water, I begin adding the milk little by little. I also add the rest of the sugar. It's important to stir the mixture constantly to prevent it from burning, something I definitely want to avoid. Although the process may seem a bit tedious, I keep it on low heat to ensure it doesn't stick to the bottom of the pot.
-
Paso nro 5
Paso nro 5
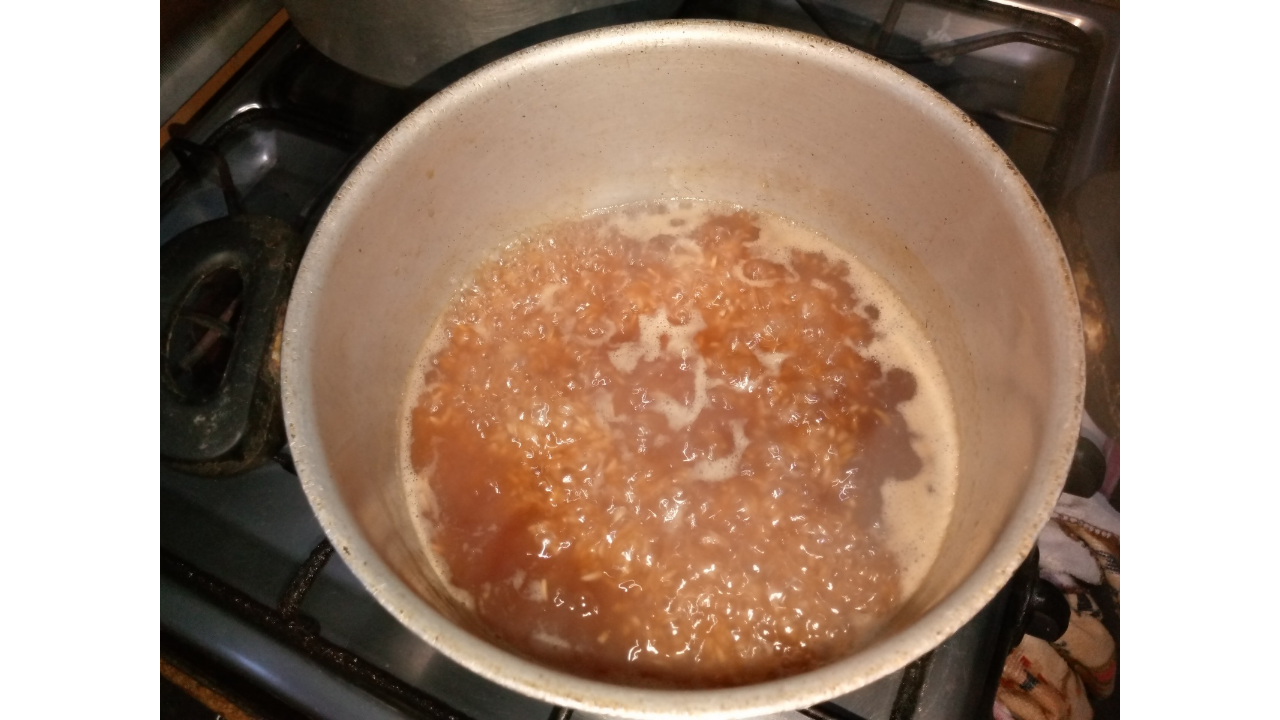
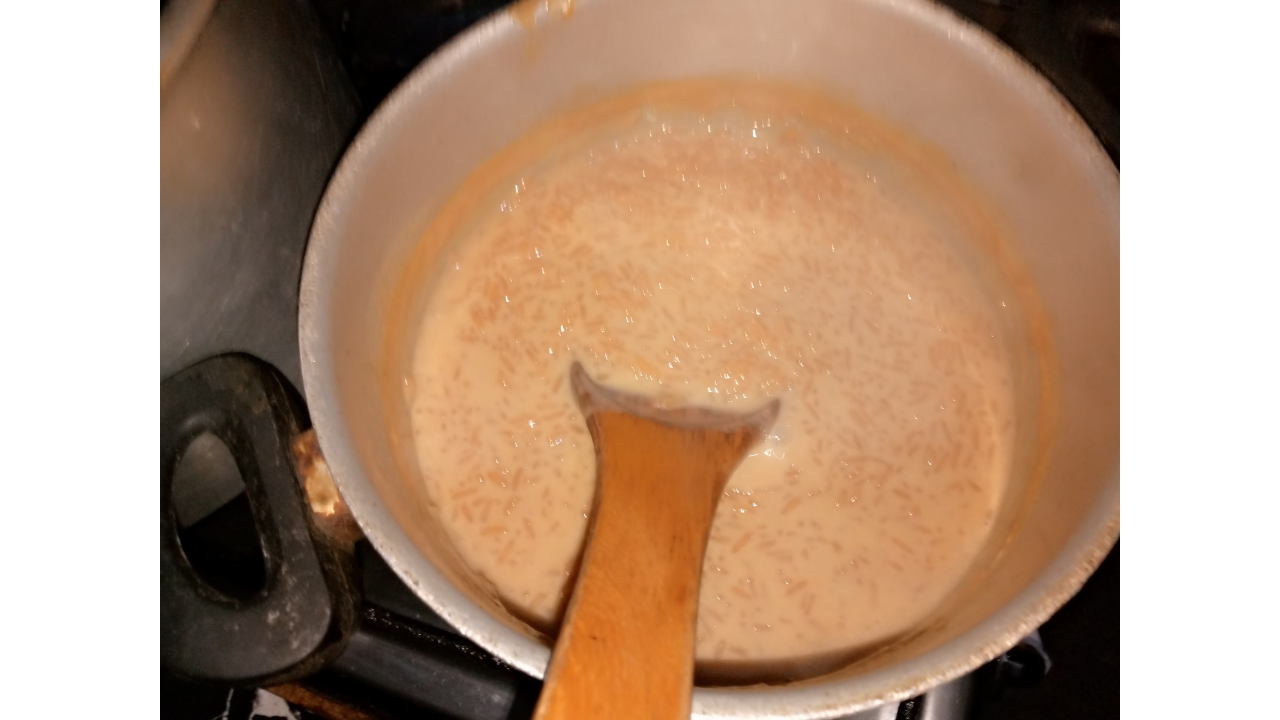
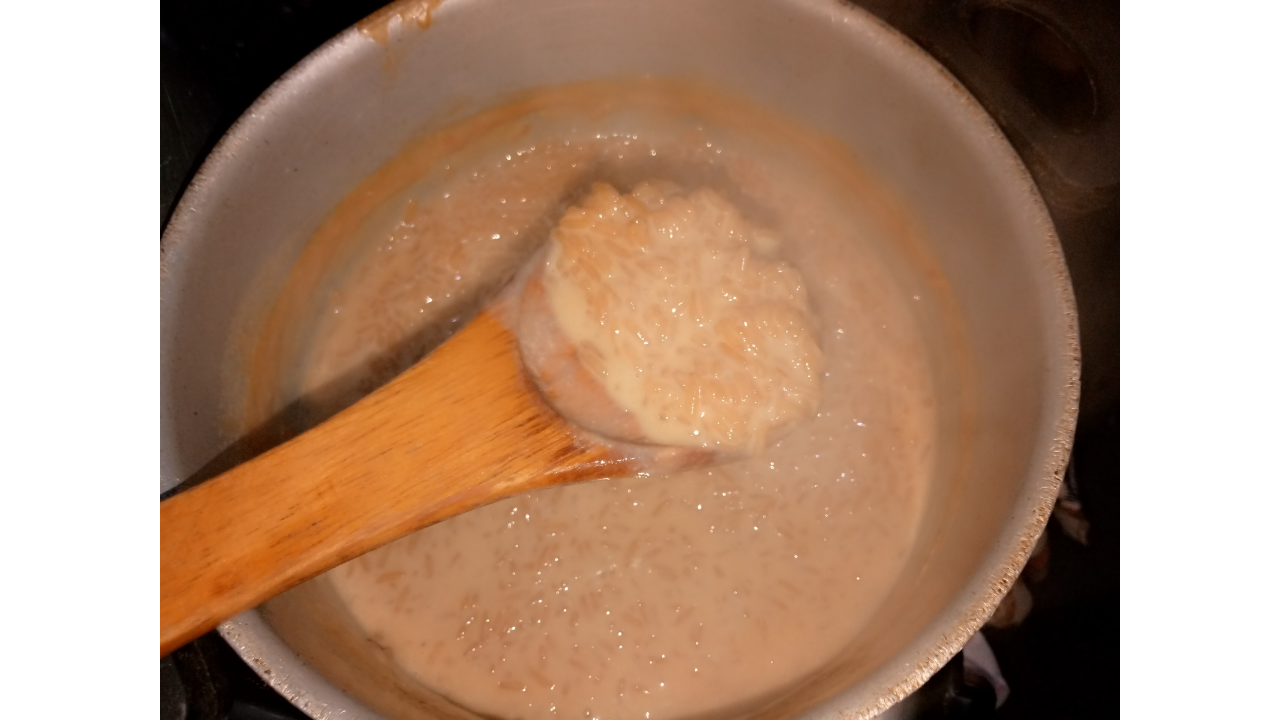
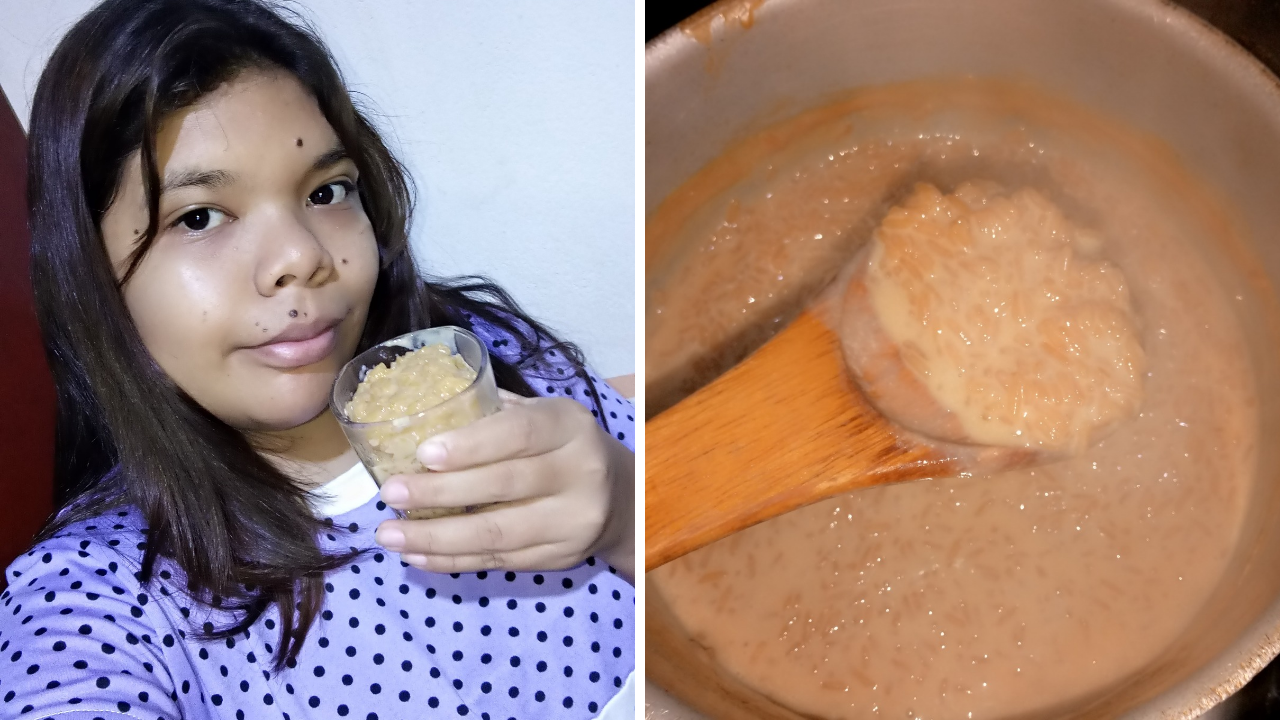
I let the mixture cook over low heat, stirring frequently, until the rice is very tender and the mixture begins to thicken. This process may take a while, but it's worth it. Patience is key here, as the end result will be a creamy, flavorful rice pudding.

-
Paso nro 6
Paso nro 6
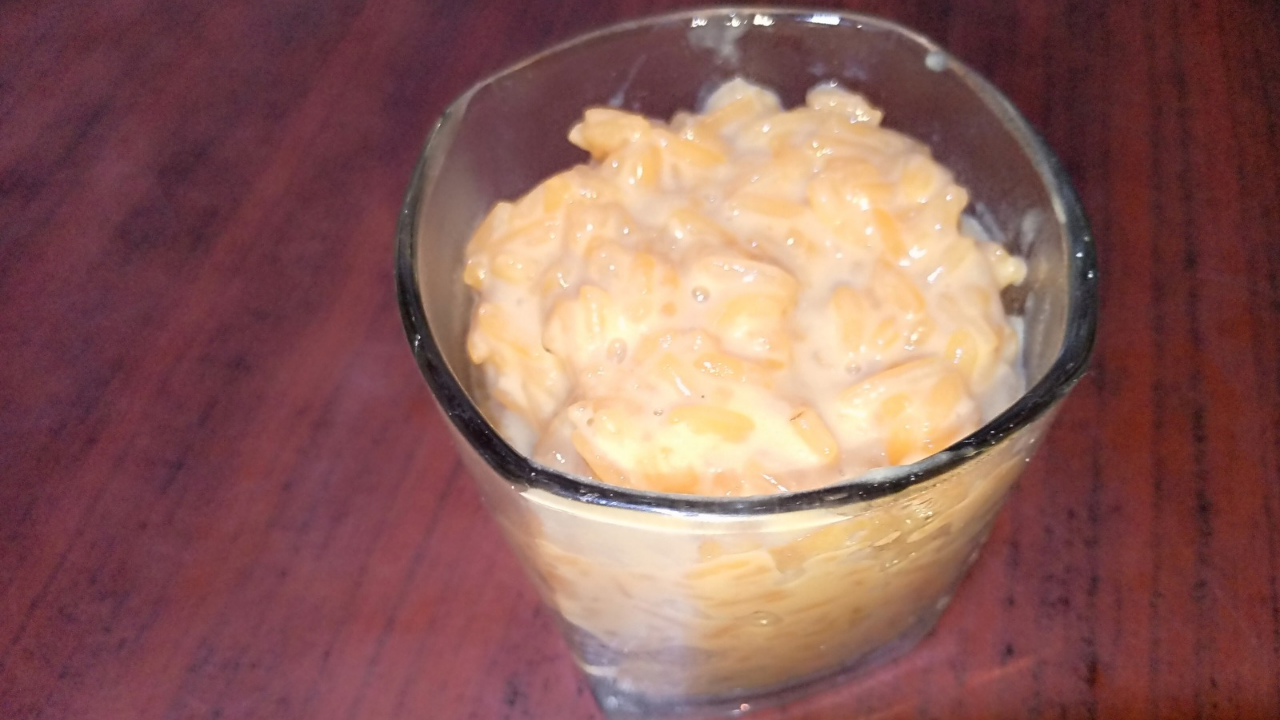
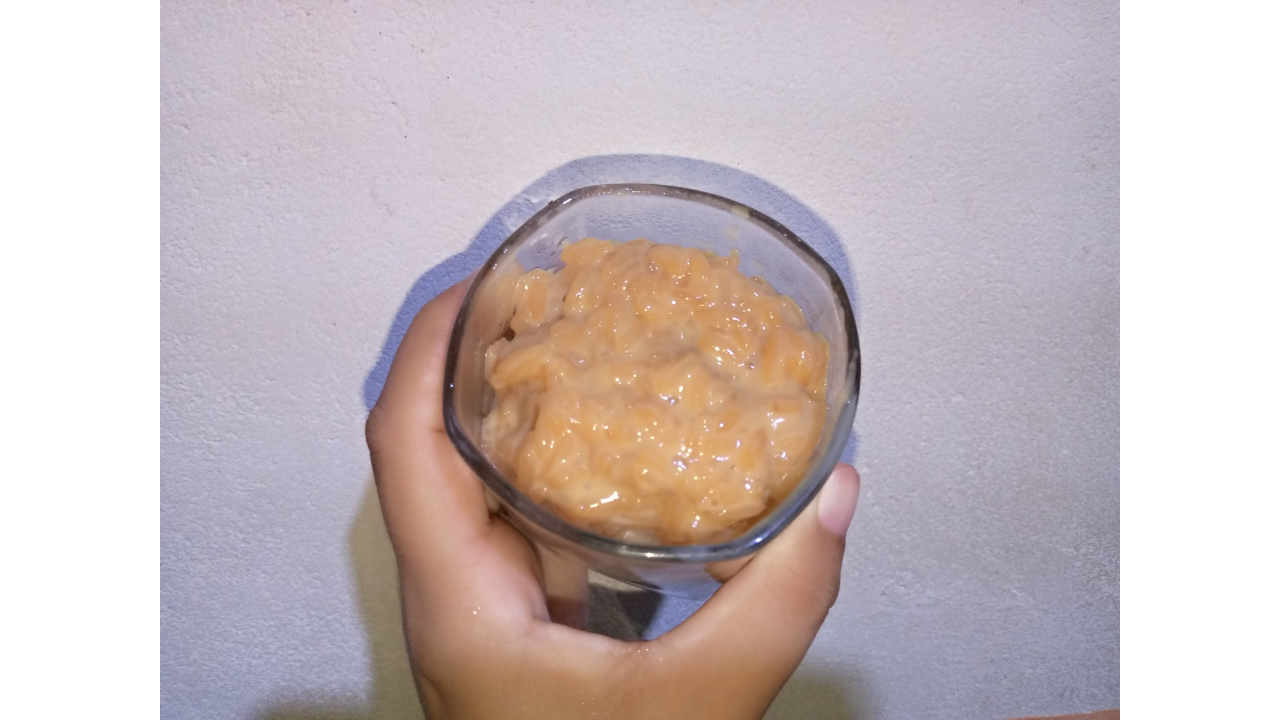
Finally, when the rice pudding is ready and has reached the desired consistency, I let it cool slightly. Then, I serve it in a pretty glass I have, which highlights its beautiful color. For an extra touch, you can garnish with a little ground cinnamon or even a splash of condensed milk on top.
(Resultado final:)(Bottom line:)
Finally, I'm delighted to share this recipe with you, and I hope you try it at home. Don't forget to let me know how it turned out and if you made any changes. I'm eager to hear your experiences! Enjoy your meal and see you next time!

Las fotos de este blog son de mi propiedad|Las imágenes son editadas en canva|Fotografías tomadas en mi celular infinix Smart 7|El contenido está traducido en el traductor de Firefox.
Las fotos de este blog son de mi propiedad|Las imágenes son editadas en canva|Fotografías tomadas en mi celular infinix Smart 7|El contenido está traducido en el traductor de Firefox.