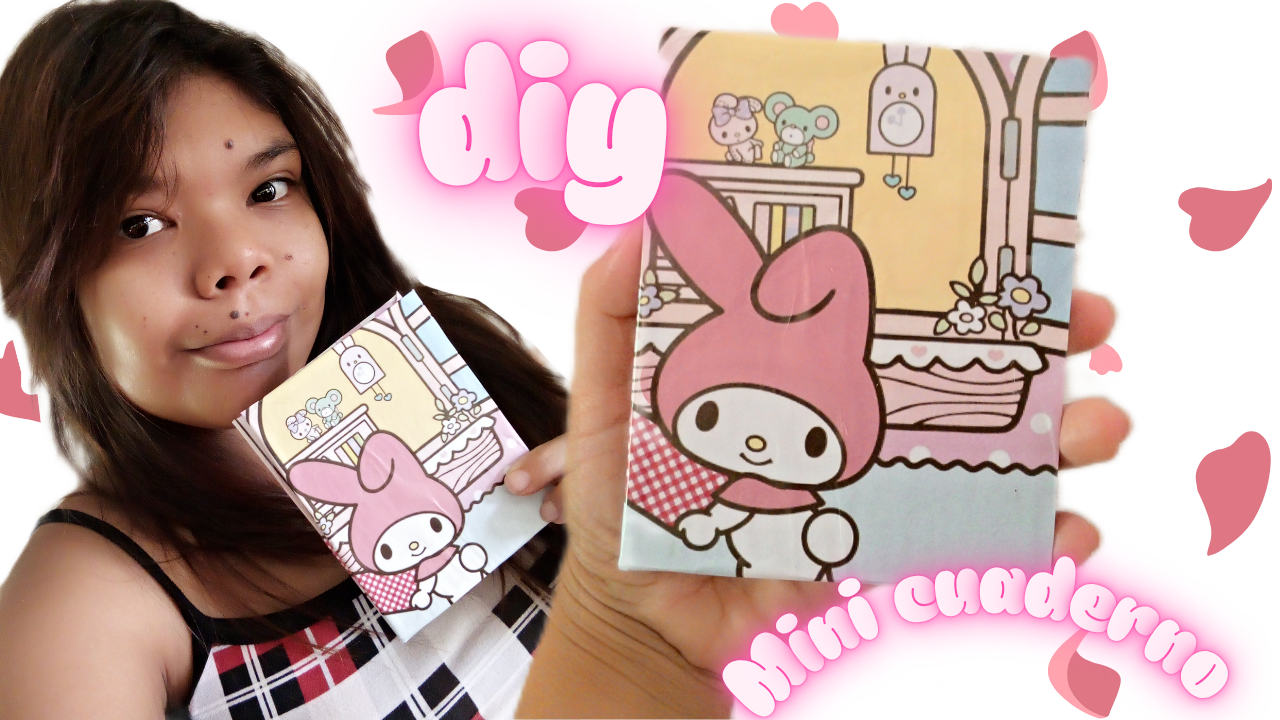
Elaboración de un mini cuaderno.//Making a mini notebook.(Esp-Eng)

@stefany0720 · 2025-08-06 21:14 · DIYHub

1000165037.png

Hola, hola amigos de DIYHub. Espero que estén pasando un grandioso día. En esta oportunidad, los invito a que me acompañen en esta nueva elaboración de un mini cuaderno. Siéntanse bienvenidos a este blog y prepárense para seguir el paso a paso de este lindo mini cuaderno.

Hello, hello DIYHub friends. I hope you're having a wonderful day. This time, I invite you to join me in this latest mini notebook creation. Feel welcome to this blog and get ready to follow the step-by-step instructions for this cute little notebook.

Un poco de contexto: últimamente, este tipo de manualidades me ha gustado mucho. El poder seguir aprendiendo a hacer manualidades hechas con tus manos, cosas tales como tu propio cuaderno o simplemente cualquier otra cosa, lo hace ver muy divertido y también se vuelve una nueva experiencia en el aprendizaje.Hace unos días, ya había hecho un cuaderno y aprendí una manera distinta de elaboración. Ahora, este mini cuaderno es similar en la forma de hacerse, pero tiene ciertas diferencias. La primera diferencia es que es mini, y esta vez quise hacer uno así por la facilidad de poder llevar un mini cuaderno si tenemos un bolso pequeño. Entonces, este mini cuaderno puede llevarse con mayor facilidad y así estaremos listos para anotar algo importante.Si eres una persona a la que le gusta este tipo de manualidades, de seguro este tutorial te gustará. Espero que les sirva de ayuda.

A little background: I've been really into these kinds of crafts lately. Being able to continue learning how to make crafts with your own hands, things like your own notebook or just anything else, makes it seem like a lot of fun and also becomes a new learning experience. A few days ago, I made a notebook and learned a different way to make it. Now, this mini notebook is similar in how it's made, but it has some differences. The first difference is that it's mini, and this time I wanted to make one like that because it's easier to carry a mini notebook if we have a small bag. So, this mini notebook can be carried more easily, and we'll be ready to write down something important. If you're someone who likes these kinds of crafts, you'll surely like this tutorial. I hope it helps.
1000165038.png

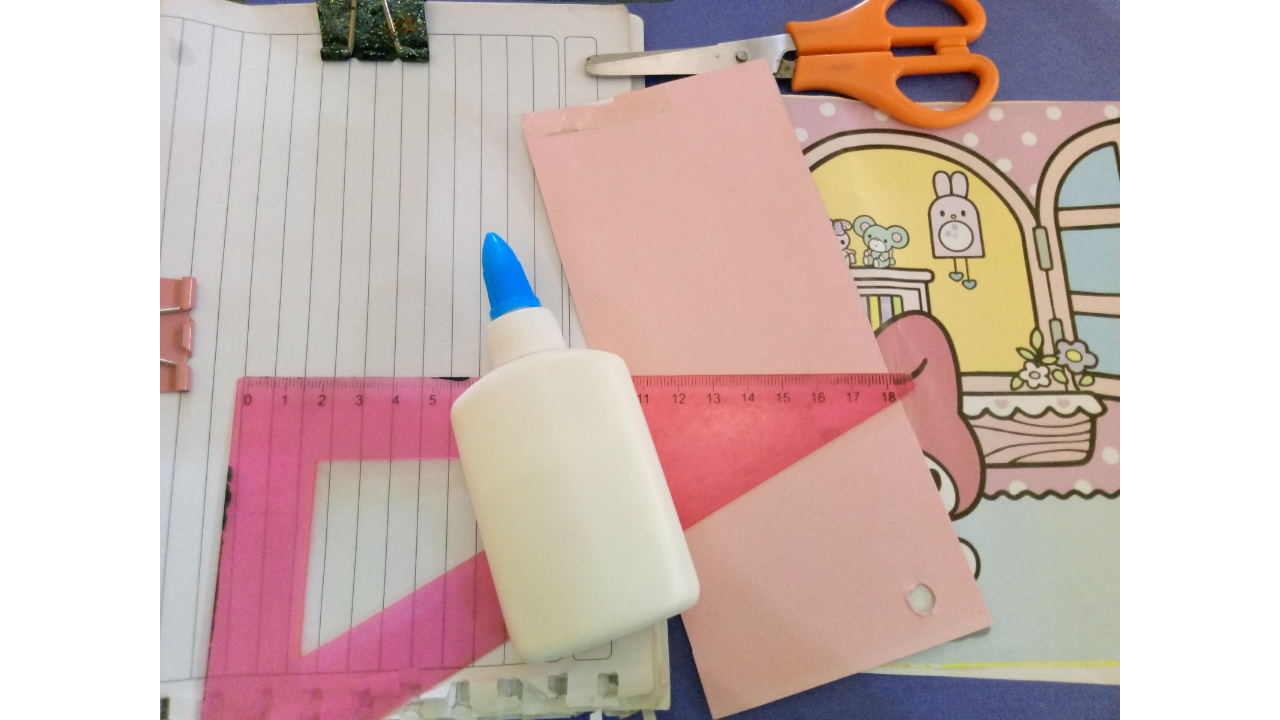
(Materiales a usar:)(Materials to use:)

  • Cartón
  • Tijeras
  • Papel de decoración
  • Cartulina rosada y amarilla
  • Pega blanca
  • Regla
  • Clip
  • Hojas
  • Cardboard
  • Scissors
  • Decorative paper
  • Pink and yellow cardstock
  • White glue
  • Ruler
  • Paperclip
  • Sheets

(Procedimiento:)(Procedure:)

1000165041.png

  • Paso nro 1

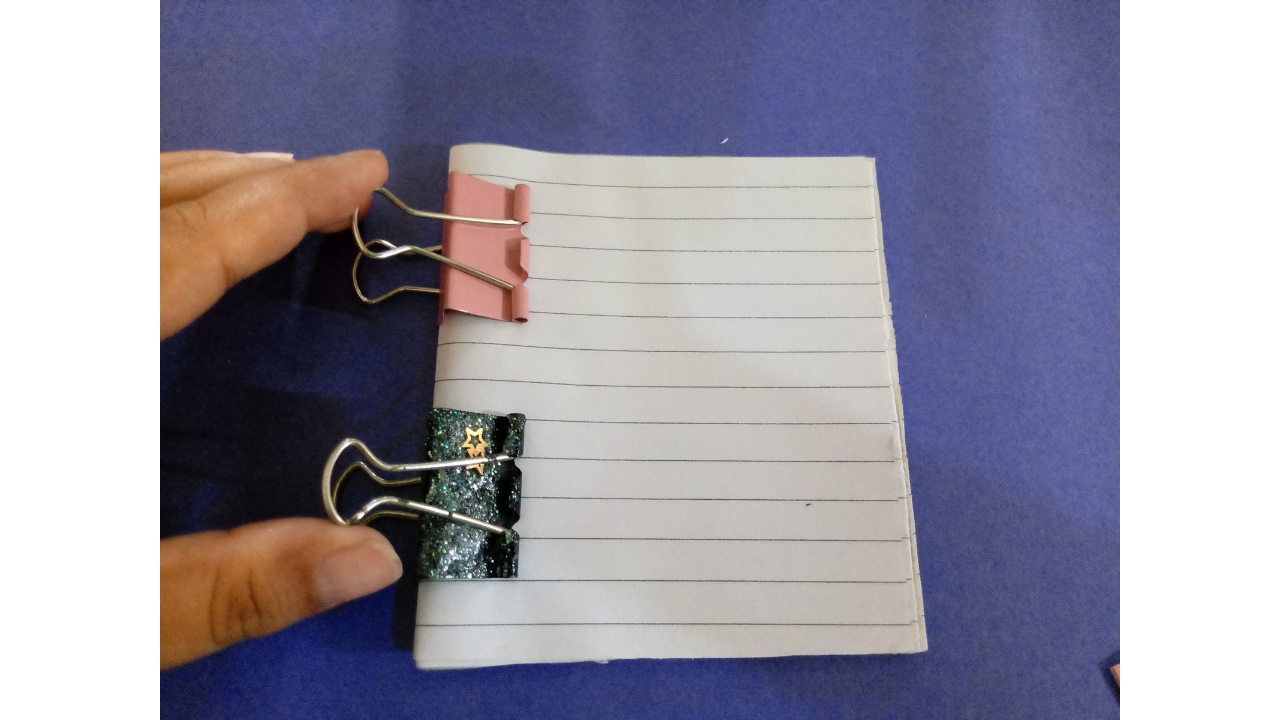
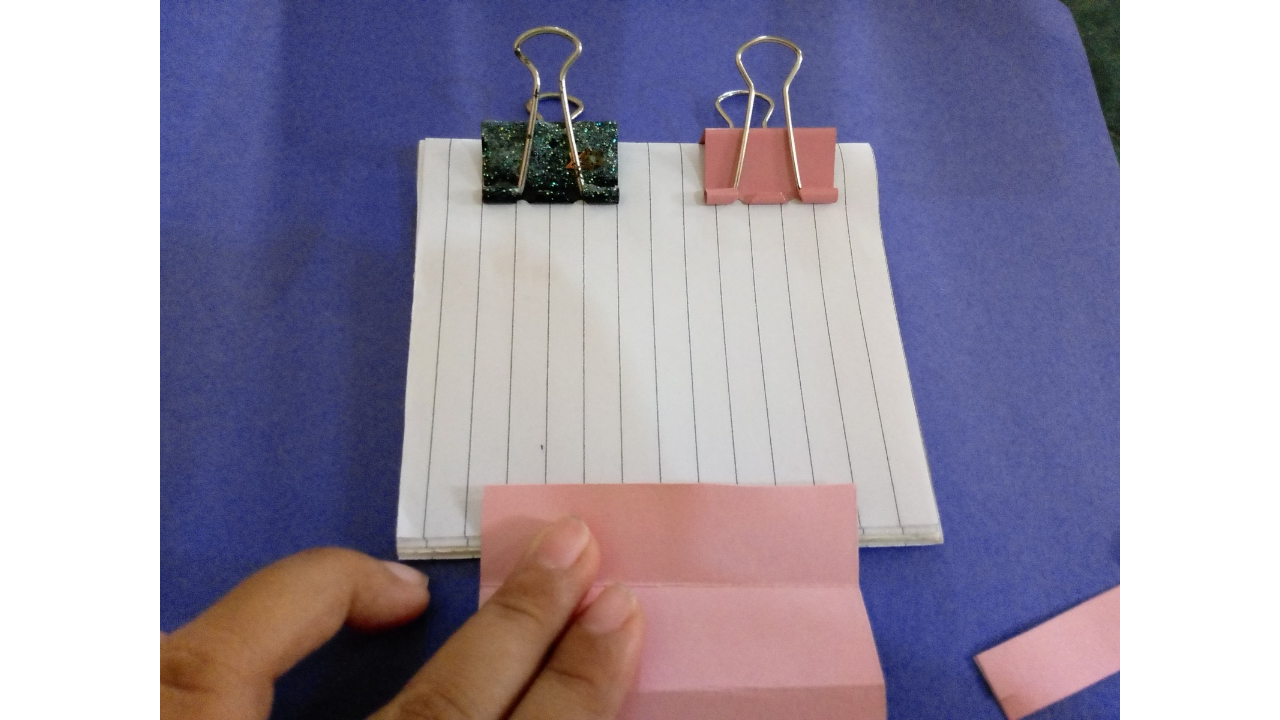
Para comenzar, voy a medir y picar el papel que llevará el mini cuaderno. Yo utilicé papel de un cuaderno que tenía ya en uso y le quedaron algunas hojas. Entonces, para la medida de la hoja, solo voy a cortar a la mitad las hojas y, de esa manera, me quedan dos partes que doblo a la mitad. Corté las orillas siguiendo la línea de la hoja.Cuando estaba haciendo esto, me ayudé de dos clips porque las hojas se movían al cortarlas y, por lo tanto, salían descuadradas.
  • Paso nro 1

    To start, I'm going to measure and cut the paper for the mini notebook. I used paper from a notebook I already had in use and had some pages left. So, to measure the paper, I'm just going to cut the pages in half, leaving two sections that I fold in half. I cut the edges along the edge of the paper. When I was doing this, I used two paper clips because the pages moved when I cut them, making them uneven.
1000165039.png

1000165040.png

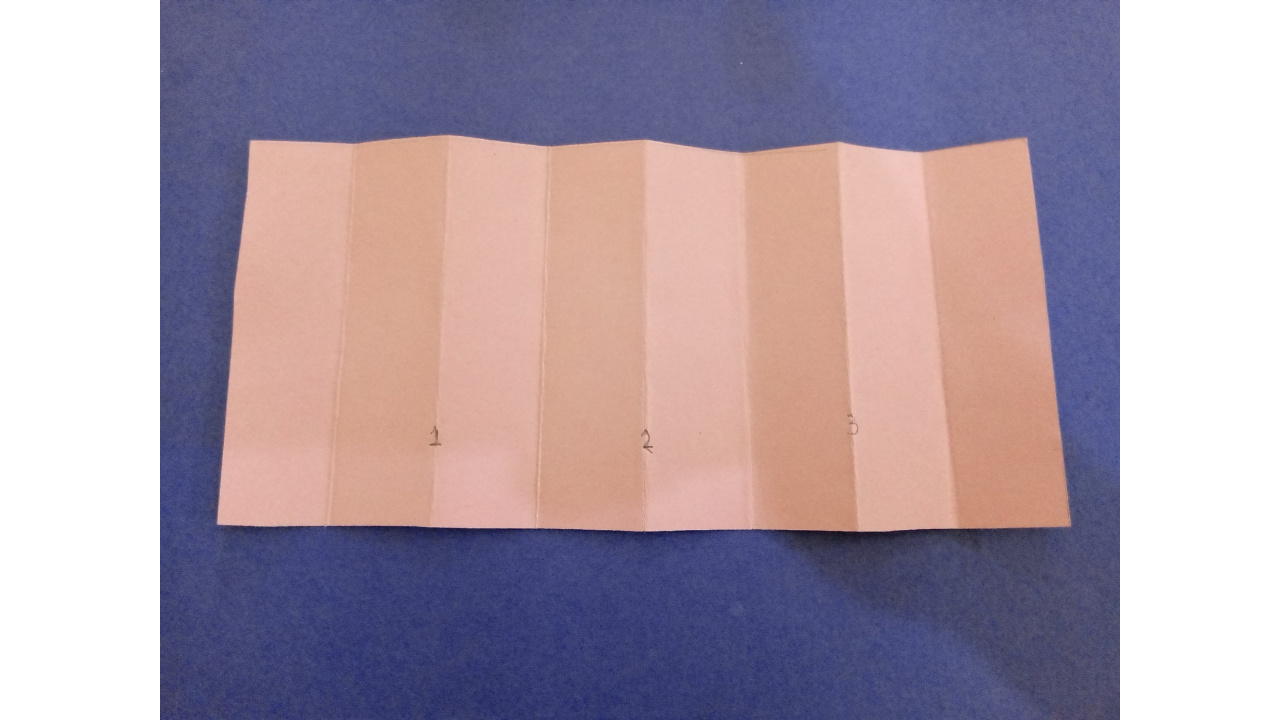
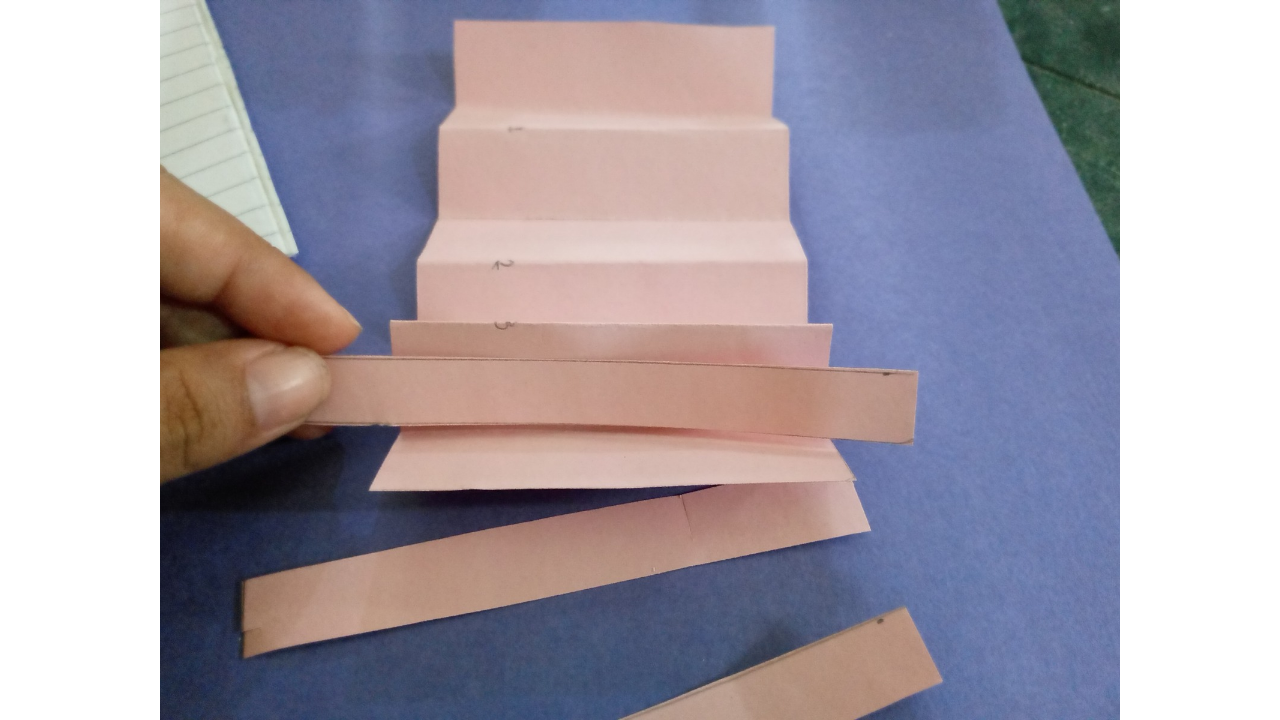
  • Paso nro 2

Luego, hice con un pedazo de cartulina rosada el acordeón, pero esta vez solo tiene tres dobleces, ya que mi idea ahora es colocar más hojas en cada línea. Este cuaderno tendrá tres líneas, pero en cada una voy a colocar cinco hojas. También corté tres tiras de la misma cartulina. Estas tres tiras tienen que ser un poco más largas que el ancho del acordeón.
  • Paso nro 2

    Next, I made the accordion out of a piece of pink cardstock, but this time it only has three folds, as my plan is to fit more sheets of paper on each row. This notebook will have three rows, but I'll fit five sheets of paper on each one. I also cut three strips of the same cardstock. These three strips need to be slightly longer than the width of the accordion.
1000165042.png

1000165043.png

  • Paso nro 3

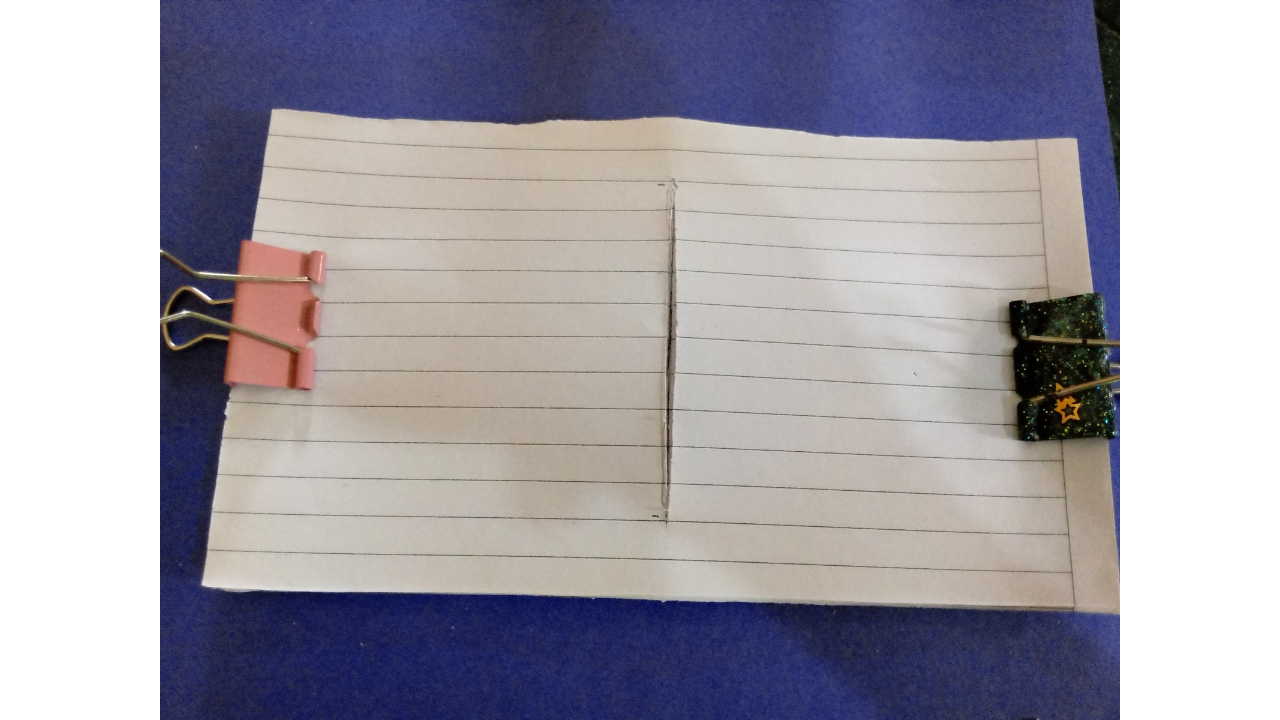
Luego, pasé a hacer una línea que va en el medio de las hojas. Tomé la medida del ancho del acordeón para esto, y con cuidado fui cortando y evitando dañar la hoja.
  • Paso nro 3

    Next, I moved on to making a line that runs down the middle of the sheets. I measured the width of the accordion for this, and carefully cut it, avoiding damaging the sheet.
1000165045.png

1000165046.png

  • Paso nro 4

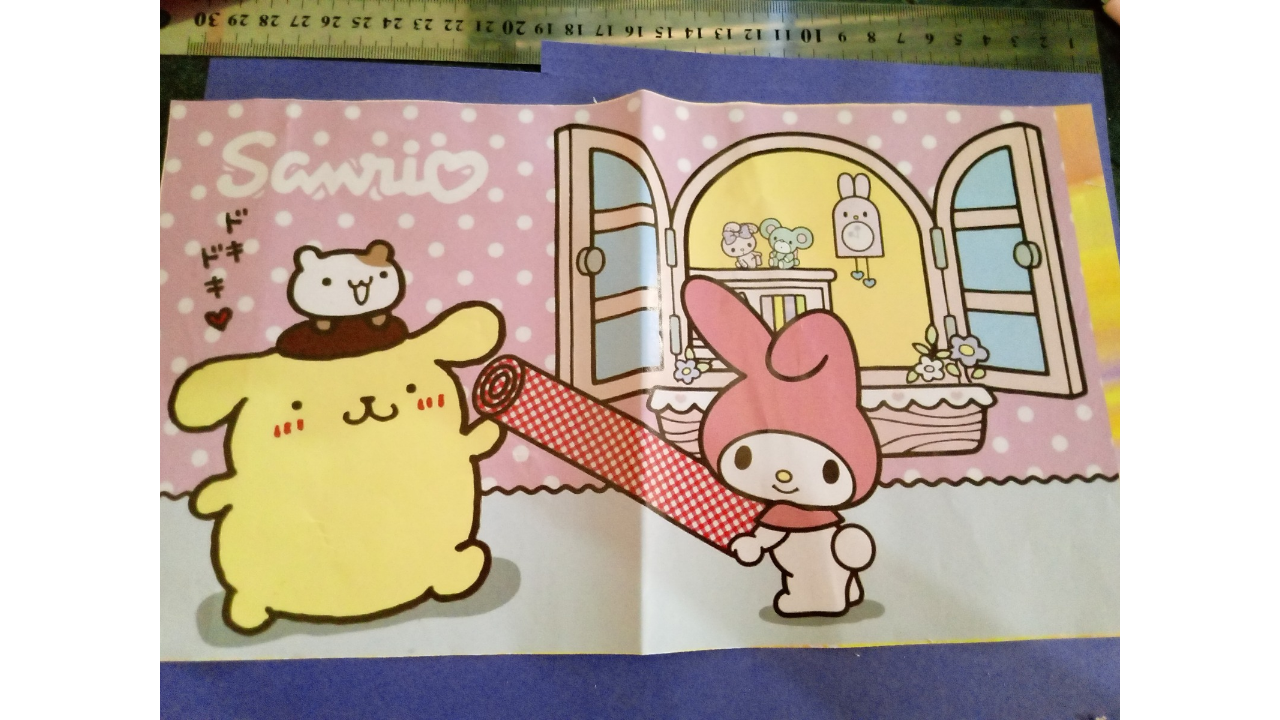
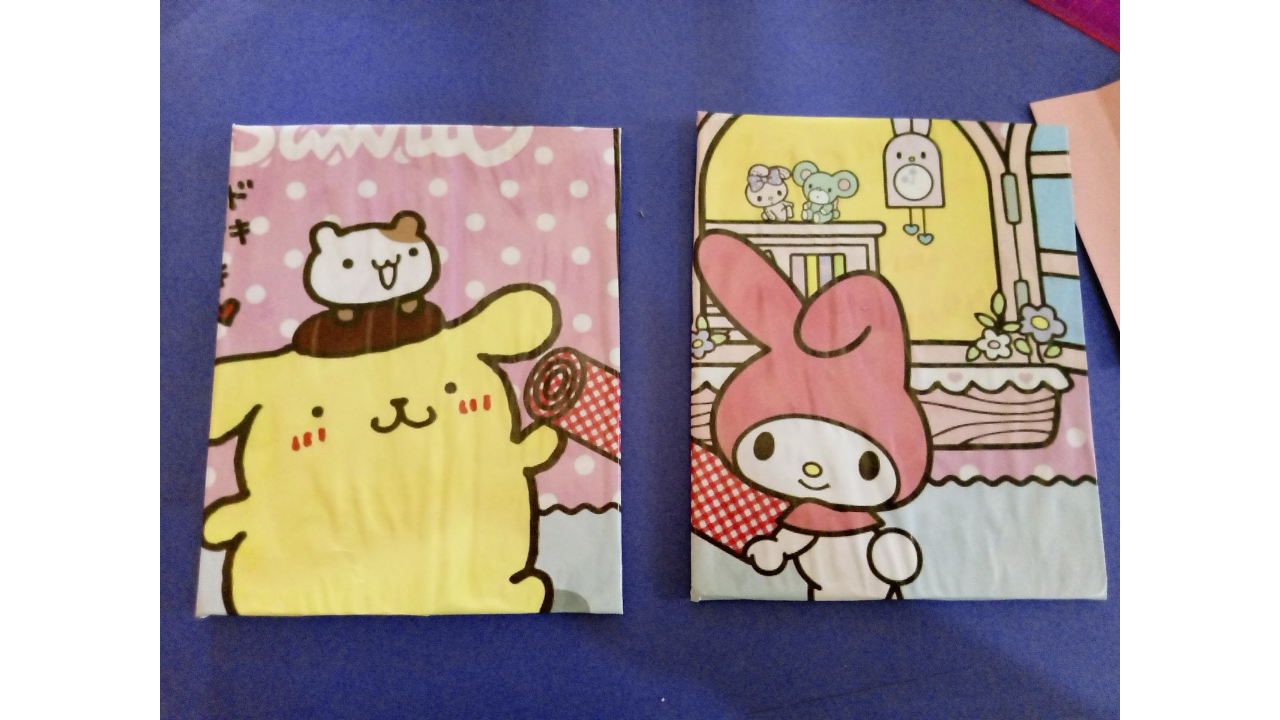
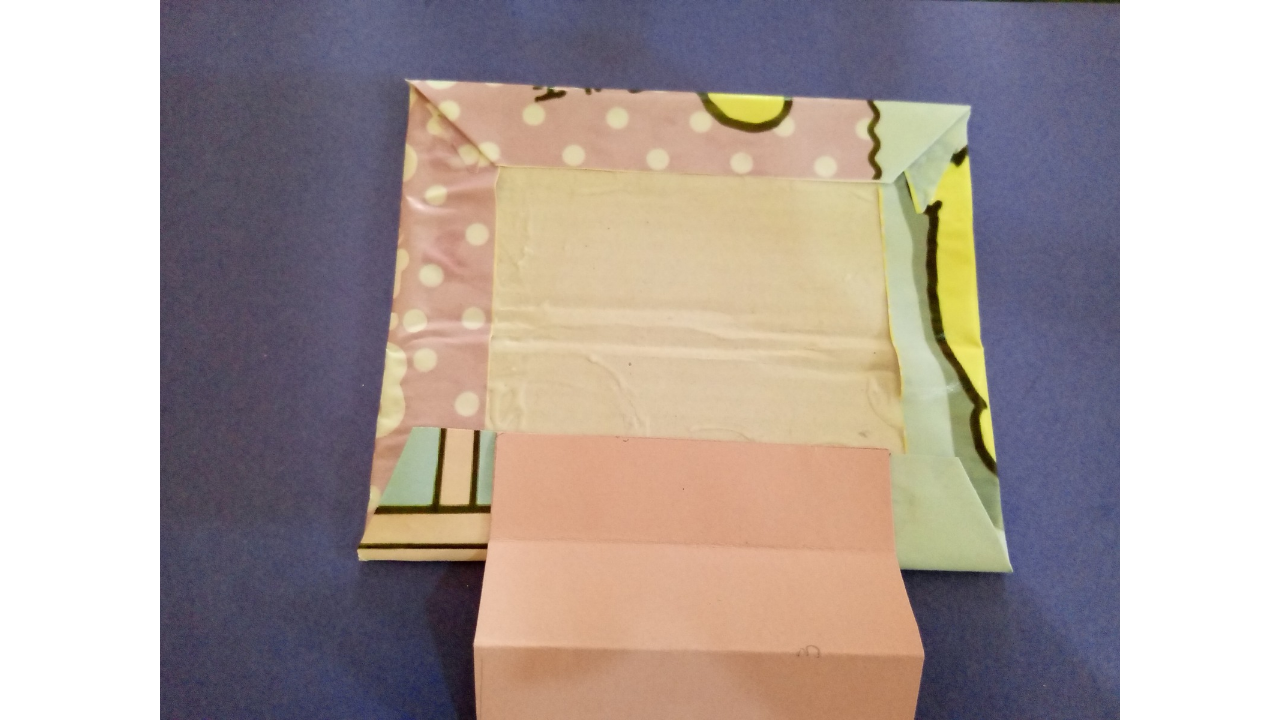
Ahora, con el papel para decorar, que por cierto es de ranrío, tomé una de las partes del papel que vi más bonita. También corté el cartón del mismo tamaño que las hojas, pero que no sea del tamaño justo; yo dejé un poquito más grande que las hojas. Luego, corté el cartón a la mitad y pasé a forrar el cartón con el papel de decoración. Después, lo dejé secar bien.
  • Paso nro 4

    Now, with the decorative paper, which by the way is from Ranrío, I took one of the sections of paper that looked prettier. I also cut the cardboard to the same size as the leaves, but not exactly the right size; I left it a little bigger than the leaves. Then, I cut the cardboard in half and covered it with the decorative paper. Afterwards, I let it dry well.
1000165047.png

1000165048.png

1000165049.png

1000165053.png

1000165052.png

  • Paso nro 5

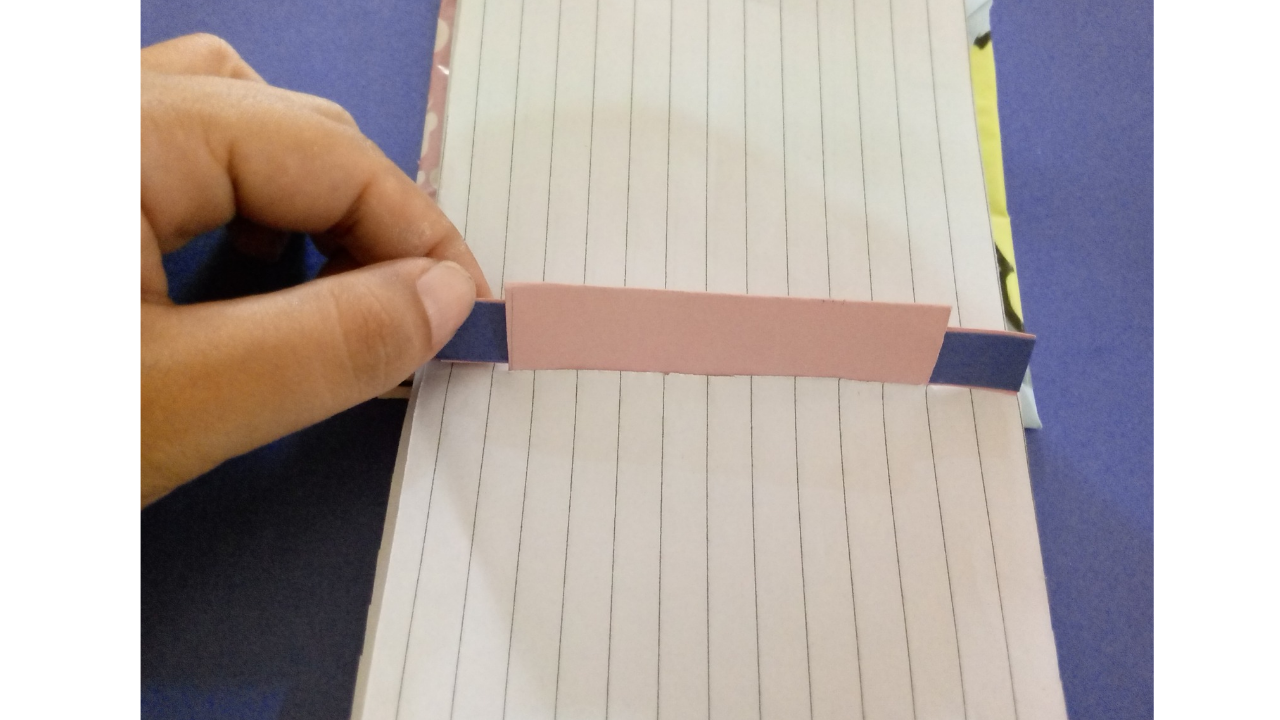
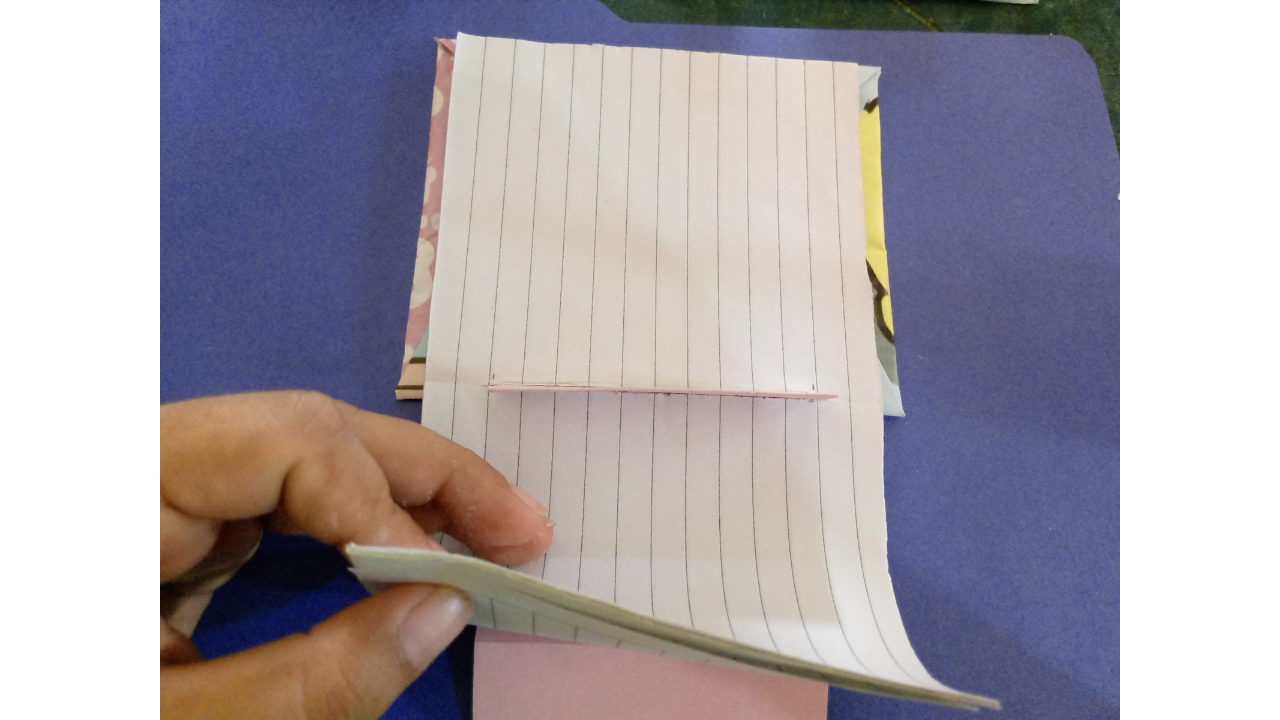
Después de que dejé secar bien las tapas del cuaderno, pasé a armarlo. Comencé pegando uno de los extremos del acordeón en la tapa de atrás, y también le coloqué una tapa de cartulina amarilla para que no se vea el acordeón y el cartón que se veía de la tapa.Ahora sí, pasé a colocar las hojas en cada línea del acordeón, y para asegurar las hojas y que no se suelten, le coloqué las tiras en el medio de las líneas del acordeón. Por último, le coloqué la tapa principal del cuaderno al otro extremo del acordeón y también le puse cartulina amarilla, quedando así listo el mini cuaderno.
  • Paso nro 5

    After I let the notebook covers dry thoroughly, I moved on to assembling it. I started by gluing one end of the accordion to the back cover, and I also added a yellow cardstock cover to hide the accordion and the cardboard that was visible from the cover. Now, I moved on to placing the pages on each line of the accordion, and to secure the pages so they wouldn't come loose, I placed strips in the middle of the accordion lines. Finally, I placed the main cover of the notebook on the other end of the accordion and also added yellow cardstock, and the mini notebook was complete.

(Resultado final:)(Bottom line:)

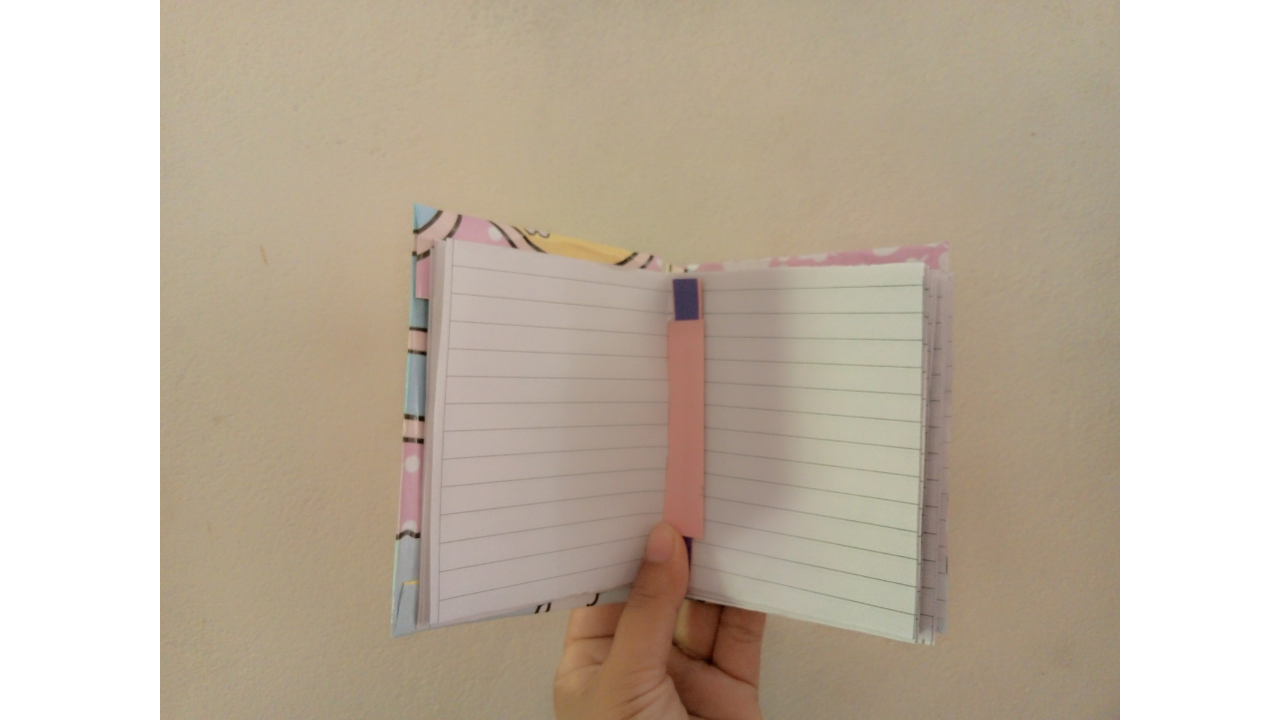
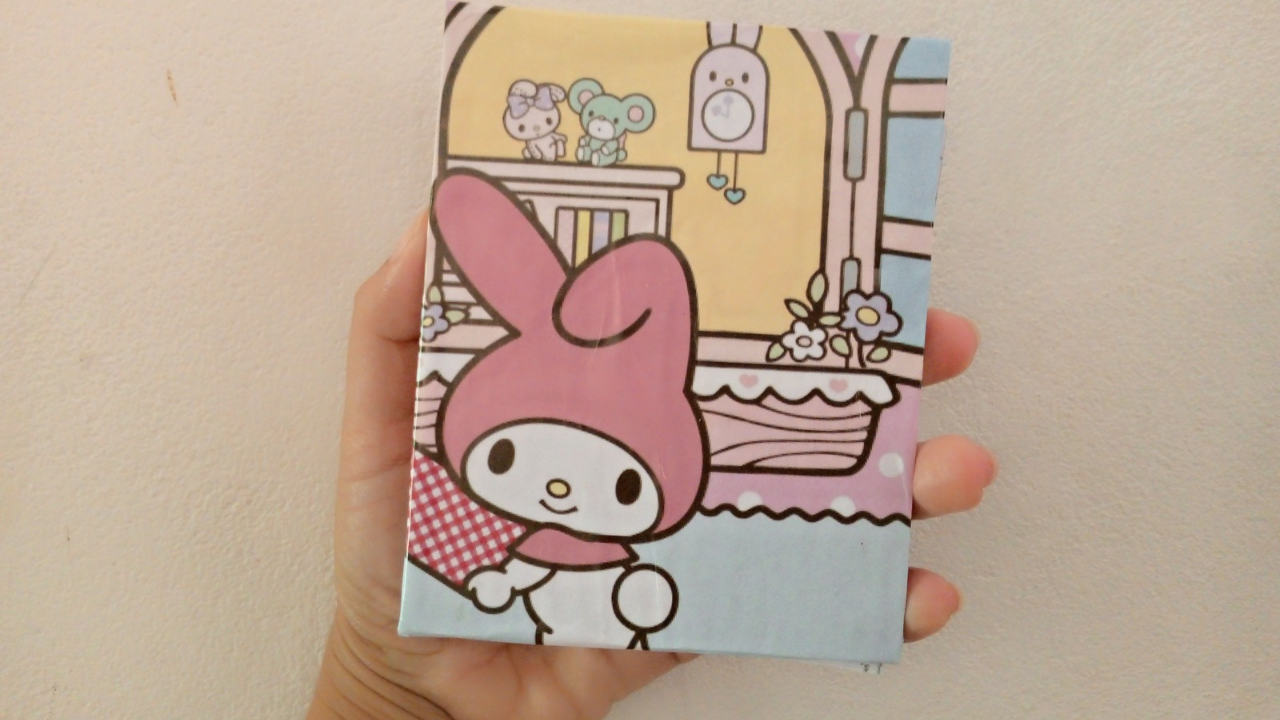
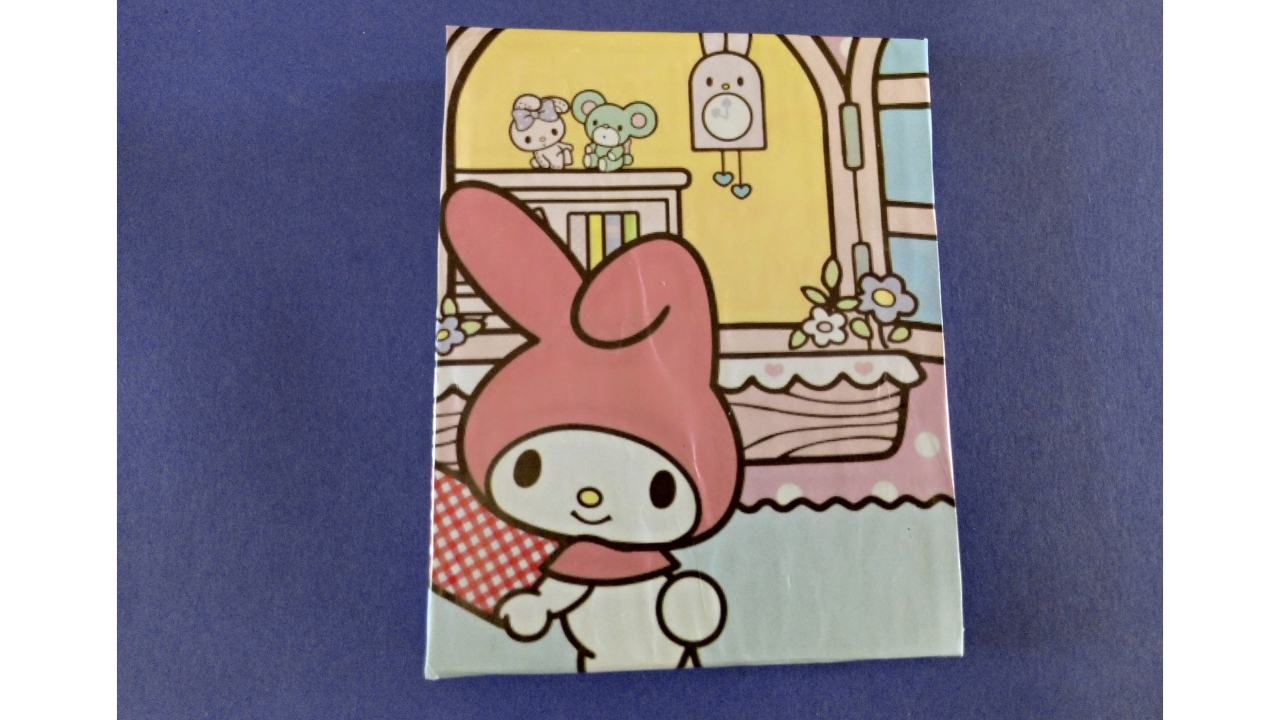
El mini cuaderno que hice es una hermosa combinación de funcionalidad y creatividad. Con su diseño colorido, es perfecto para llevar en cualquier bolso. Las hojas están bien aseguradas, lo que permite escribir de manera cómoda y práctica. Además, la tapa decorativa le da un toque alegre y personalizado.Espero que este tutorial te haya inspirado a crear tu propio mini cuaderno. La manualidad no solo es una forma de expresión artística, sino también una excelente manera de aprender y disfrutar del proceso creativo. ¡Gracias por acompañarme en esta aventura de manualidades!

The mini notebook I made is a beautiful combination of functionality and creativity. With its colorful design, it's perfect for carrying in any bag. The pages are securely fastened, allowing for comfortable and practical writing. Plus, the decorative cover gives it a cheerful and personalized touch. I hope this tutorial has inspired you to create your own mini notebook. Crafting is not only a form of artistic expression, but also a great way to learn and enjoy the creative process. Thank you for joining me on this crafting adventure!
1000165052.png

1000165051.png

1000132302.png

Las fotos de este blog son de mi propiedad|Las imágenes son editadas en canva|Fotografías tomadas en mi celular infinix Smart 7|El contenido está traducido en el traductor de Firefox.

Las fotos de este blog son de mi propiedad|Las imágenes son editadas en canva|Fotografías tomadas en mi celular infinix Smart 7|El contenido está traducido en el traductor de Firefox.

#hive-189641 #spanish #diyhub #diy #creative #handmade #originalcontent #crafts
Payout: 0.000 HBD
Votes: 167
More interactions (upvote, reblog, reply) coming soon.