


*
Hola bienvenid@s a un nuevo Blog.
*
*
Hello, welcome to a new blog.
*
Good evening to all of you dear friends of diyhub, I'm here again to show you how I made a creative desktop decoration, a mini easel with its canvas. This decoration is ideal for those who like art or crafts, since it will serve as a personal touch to your space and can also be used as a gift or even for a business venture since its mini appearance makes it look striking. So I invite you to join us in the step-by-step process. Let's all get to work.
I chose to make a mini easel with its canvas since I have always wanted this type of decoration that demonstrates my personality and style, something I have always wanted is a wooden easel with the original canvas and watercolors too but that is something expensive to acquire, however I do not lose hope of having my own easel and that type of art materials, but for now I can have one in a mini version, and made by my hands and with the creativity that is led hand in hand with imagination.

(Materiales:)||(Materials:)
- Paletas de madera
- Silicón en barra
- Tijeras
- Una regla
- Lápiz
- Pega blanca
- Papel crepes blanco
- Wooden palette knives
- Glue stick
- Scissors
- A ruler
- Pencil
- White glue
- White crepe paper
(Procedimiento:)||(Procedure:)


-
Paso nro 1
Para comenzar voy a hacer el lienzo con papel crepes,agua y la pega blanca. Tome un recipiente que sirva para hacer una mezcla,pique el papel luego le agregué un poco de agua no mucha solo la suficiente para mojar el papel y luego le agregué la pega blanca, después fui mezclando hasta que se vuelva como una masa,luego puse la masa sobre un plástico yo utilice una bolsa de plástico para extender la masa de papel sobre ese plástico,ya después deje que se secará bien. Es preferible hacer este paso anticipadamente porque lleva su tiempo para que se seque bien.
Paso nro 1
To start, I'm going to make the canvas with crepe paper, water, and white glue. I took a container suitable for mixing, chopped up the paper, then added a little water—not much, just enough to wet the paper—and then added the white glue. Then, I mixed until it became dough-like. Then, I placed the dough on a piece of plastic. I used a plastic bag to spread the paper dough onto the plastic, and then let it dry thoroughly. It's best to do this step in advance because it takes time to dry thoroughly.


-
Paso nro 2
Ahora voy a hacer el caballete,yo voy a utilizar paletas de madera que tenía,son de color negro,voy a utilizar 5 paletas completas y una que será picada un poco más de la mitad, primero coloque dos paletas haciendo como una v ,y con el pedazo que pique lo pegue en el entre las dos paletas para que así queden unidas,por cierto estoy pegando con silicón en barra. Luego en la parte un poco baja le voy a colocar dos paletas que serviran de base,en la parte de atrás va otra paleta que será para sostener la parte de atrás.
Paso nro 2
Now I'm going to make the easel, I'm going to use wooden pallets that I had, they are black, I'm going to use 5 full pallets and one that will be chopped a little more than half, first I placed two pallets making a v, and with the piece that I chopped I glued it between the two pallets so that they stay together, by the way I'm gluing with silicone stick. Then on the slightly lower part I'm going to place two pallets that will serve as a base, in the back there will be another pallet that will hold the back part.

-
Paso nro 3
Luego me puse hacer un marco que me servirá para colocar el lienzo,voy a utilizar 4 paletas de madera,les corte la parte de los lados que será más o menos de 2 cm de ancho ya que el lienzo no sería muy grande entonces el marco lo quería que quedara a la medida.
Paso nro 3
Then I started making a frame that I would use to hang the canvas. I was going to use 4 wooden pallets. I cut off the sides, which would be approximately 2 cm wide, since the canvas wouldn't be very big, so I wanted the frame to fit the bill.


-
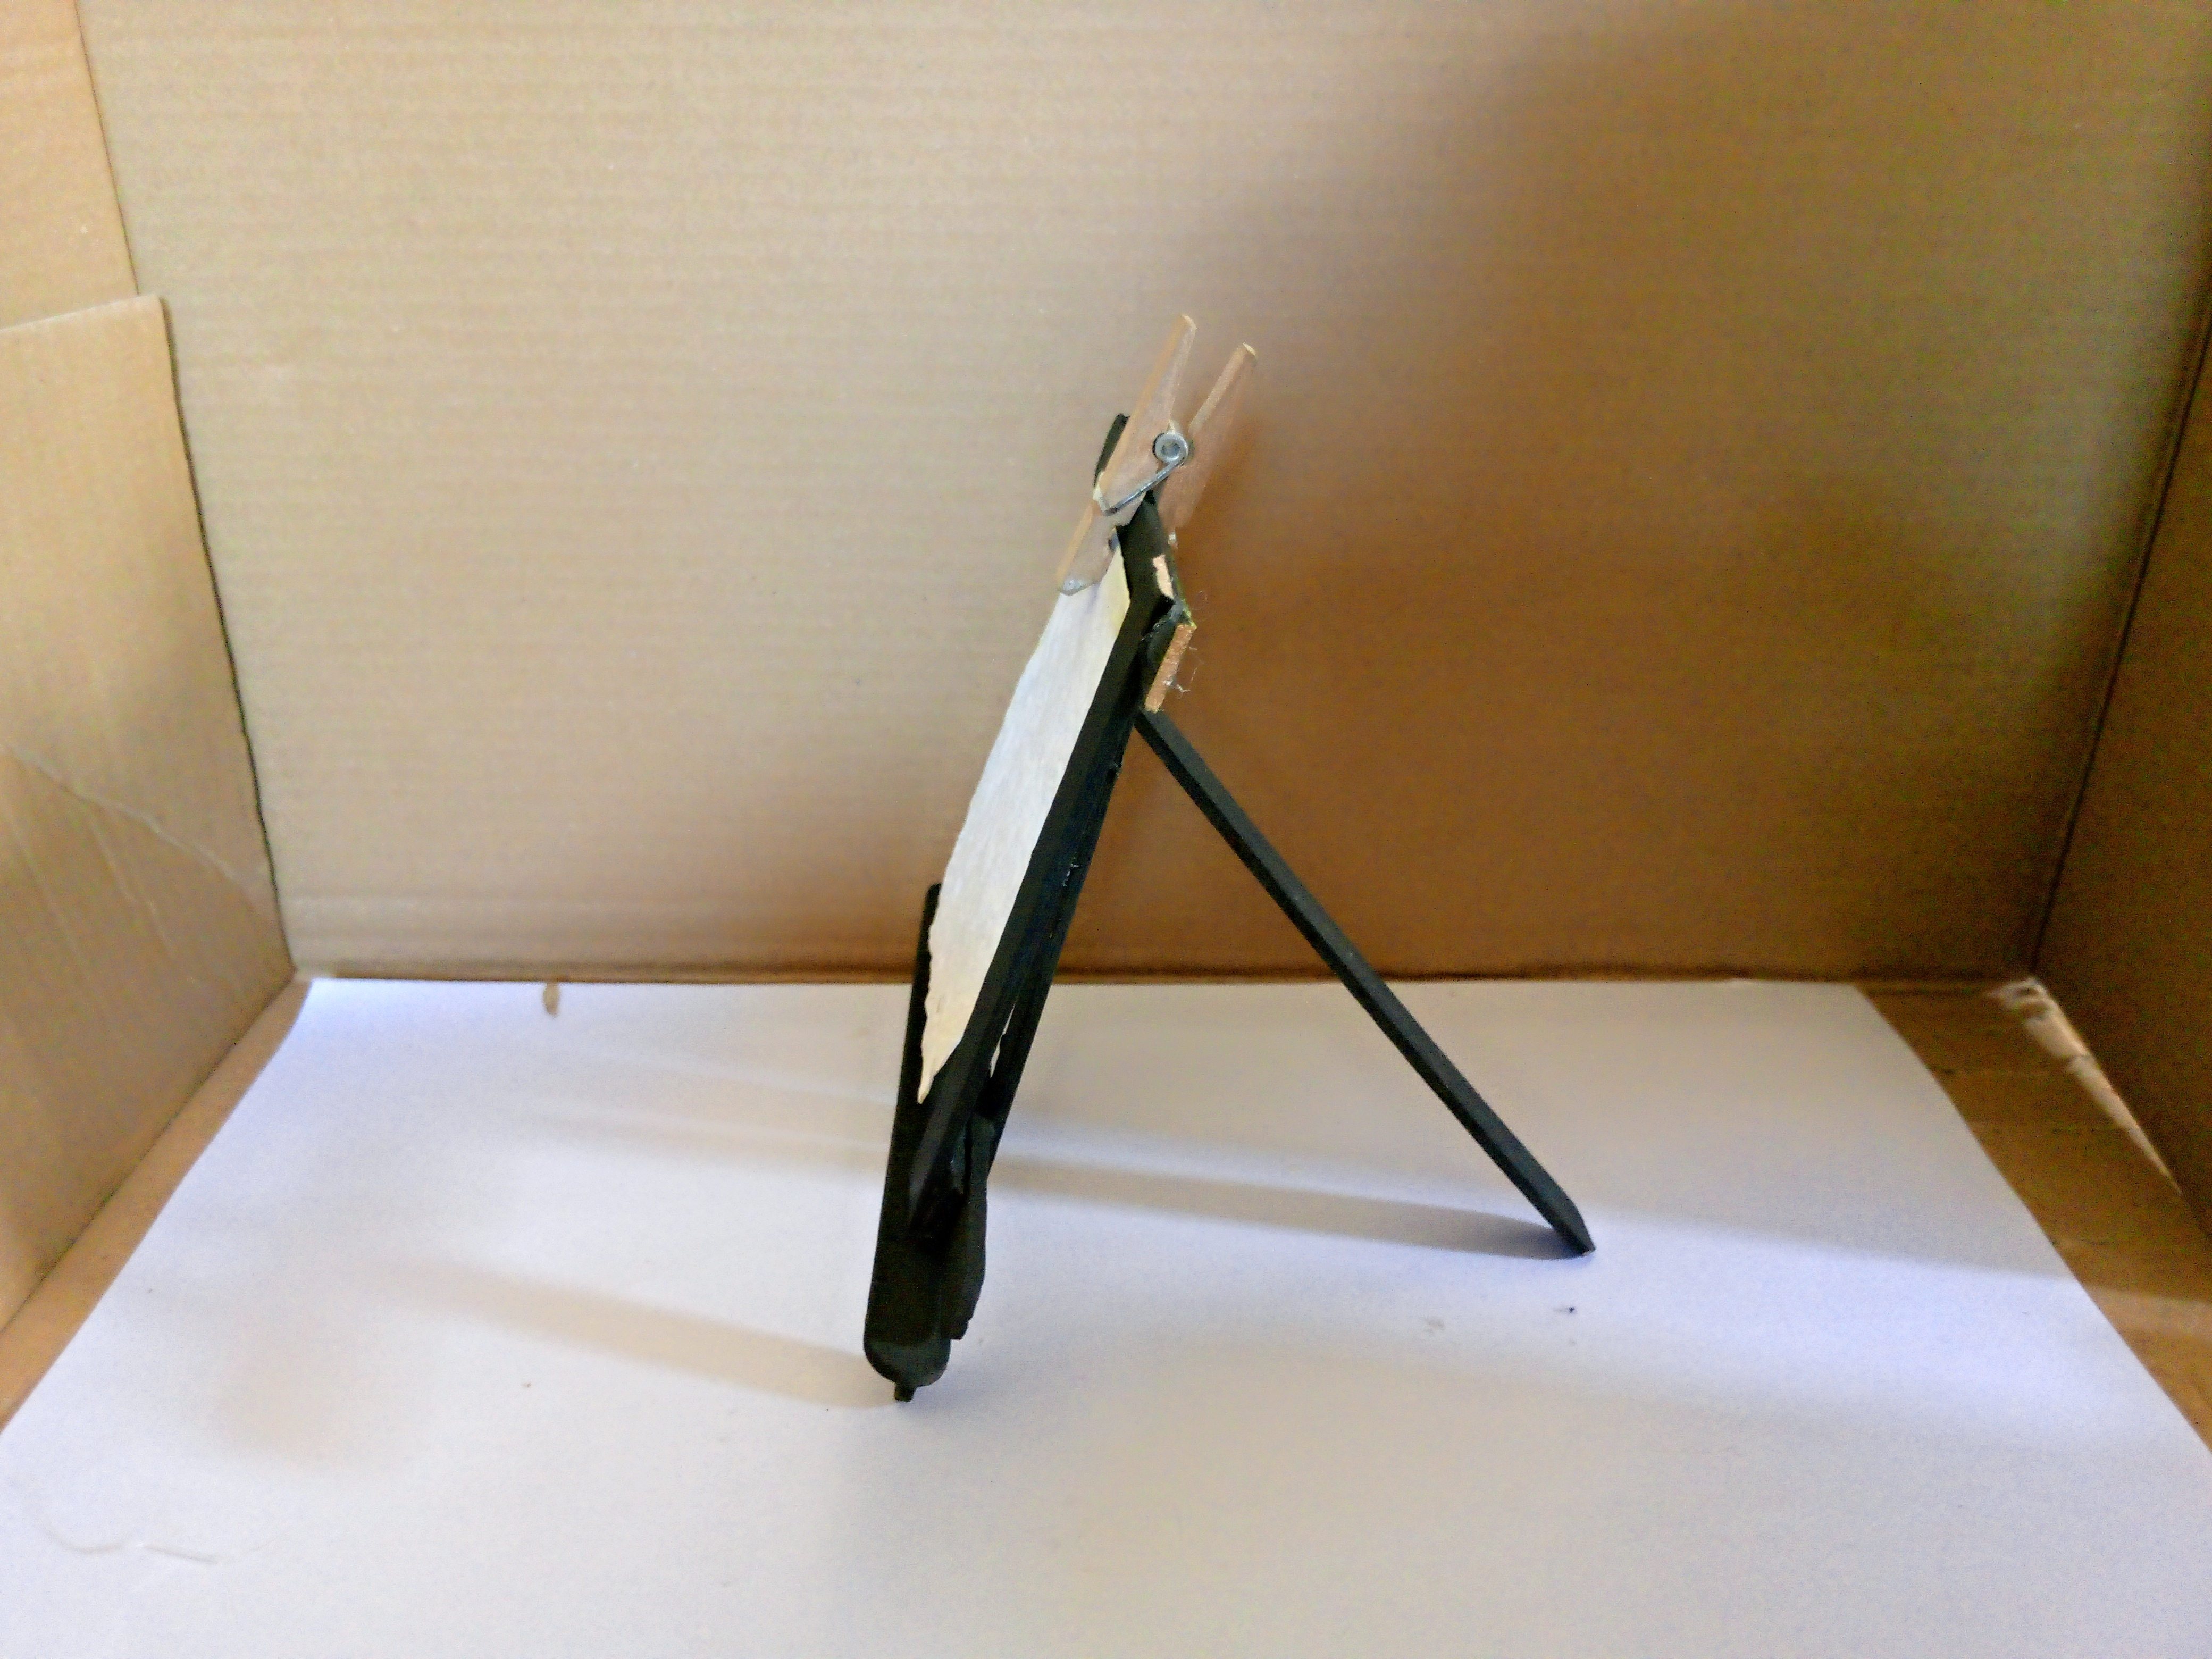
Paso nro 4
Después de esperar casi todo un día ya el papel estaba seco ahora lo voy a probar con el marco para ver el como lo iba a cortar,ya después llegó el momento de colocarlo,por cierto tuve que utilizar un ganchito de madera que tenía , también sirve un clip,mi idea era pegarlo directamente pero no alcanzo el lienzo así que tocó improvisar,pero así quedó listo.
Paso nro 4
After waiting almost a whole day the paper was now dry, now I'm going to test it with the frame to see how I was going to cut it, then it was time to hang it, by the way I had to use a wooden hook that I had, a clip also works, my idea was to stick it directly but I couldn't reach the canvas so I had to improvise, but this is how it was done.
(Resultado final:)||(Bottom line:)
Once this beautiful craft is finished, I hope this idea is useful to you. I look forward to hearing your comments and opinions. Thank you for joining me on this occasion. I'll see you again soon for a next craft idea.


Las fotos de este blog son de mi propiedad|Las imágenes son editadas en canva|Fotografías tomadas en mi celular infinix Smart 7|El contenido está traducido en el traductor de Firefox.
The photos on this blog are my property | The images are edited in Canva | Photos taken on my Infinix Smart 7 cell phone | The content is translated in Firefox Translate.