ENGLISH CONTENT
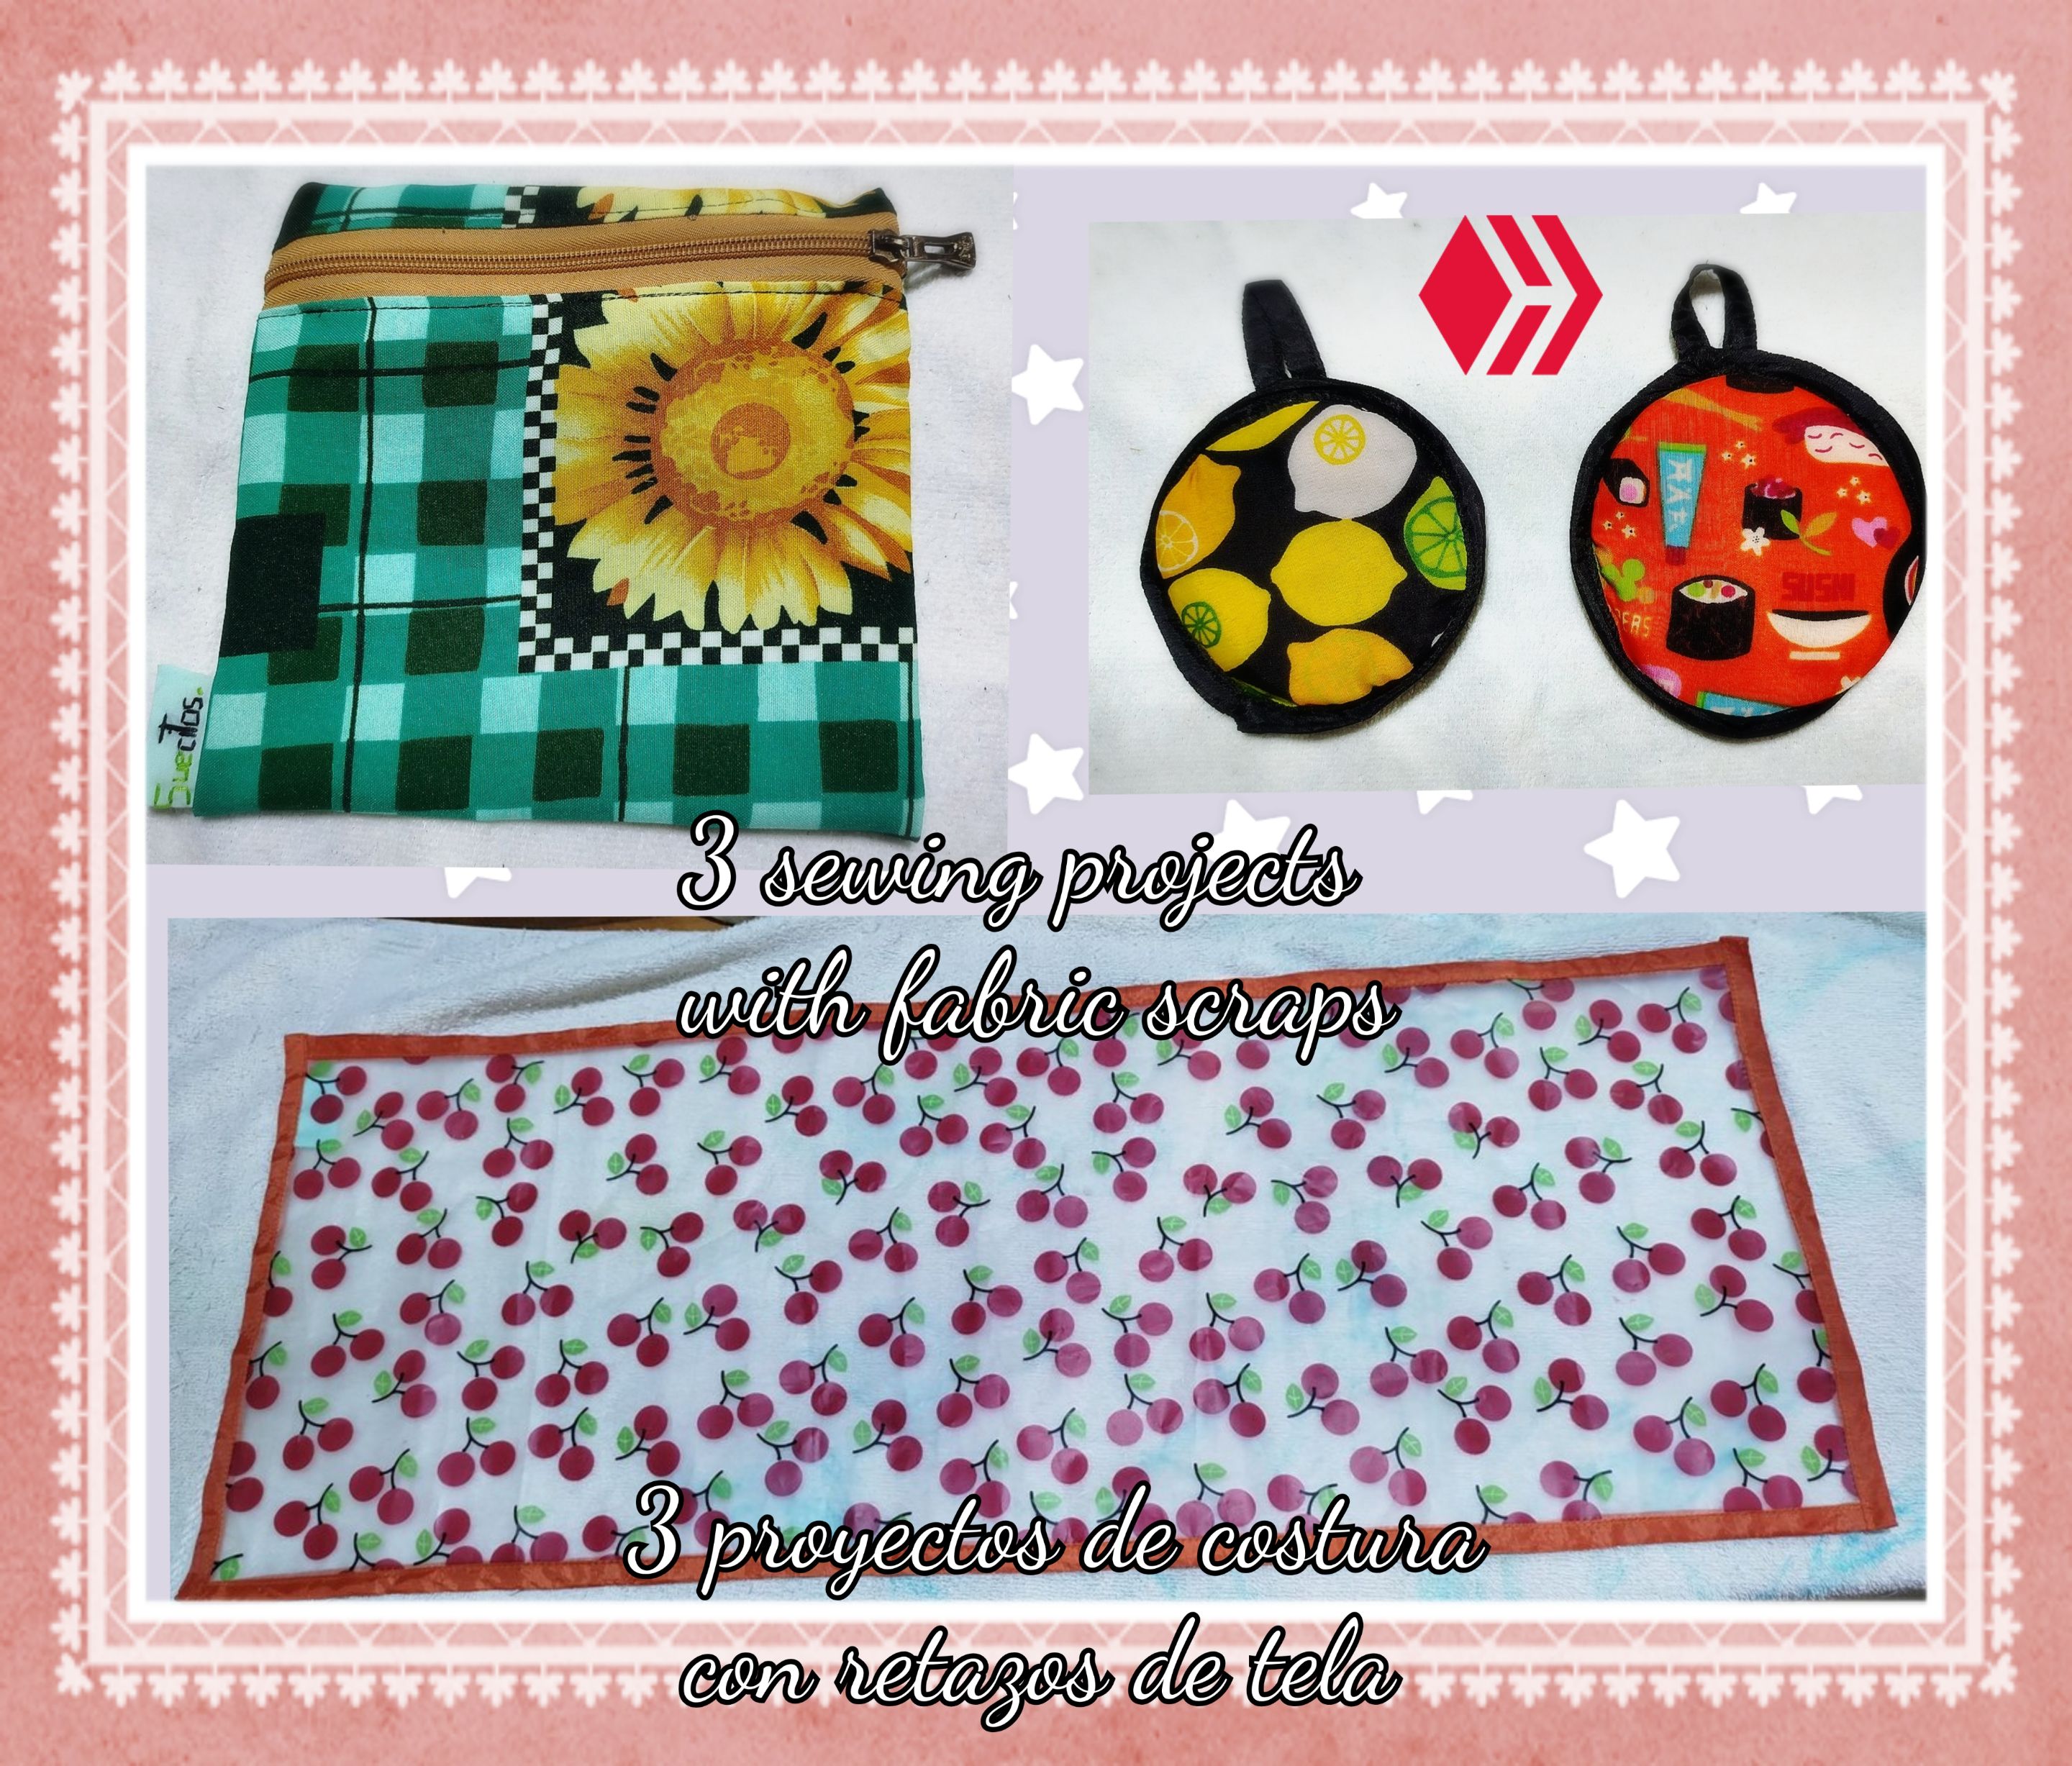
Hello to all the members of this community and sewing lovers! Today I'm not here to show you an elaborate project, but rather a few ideas you can try if you're like me and have scraps of fabric you don't know how to use. These ideas are also perfect if you're short on time and want to sew something that doesn't complicate your life.

🧵🍲✨ POT GRIPPER 🧵🍲✨
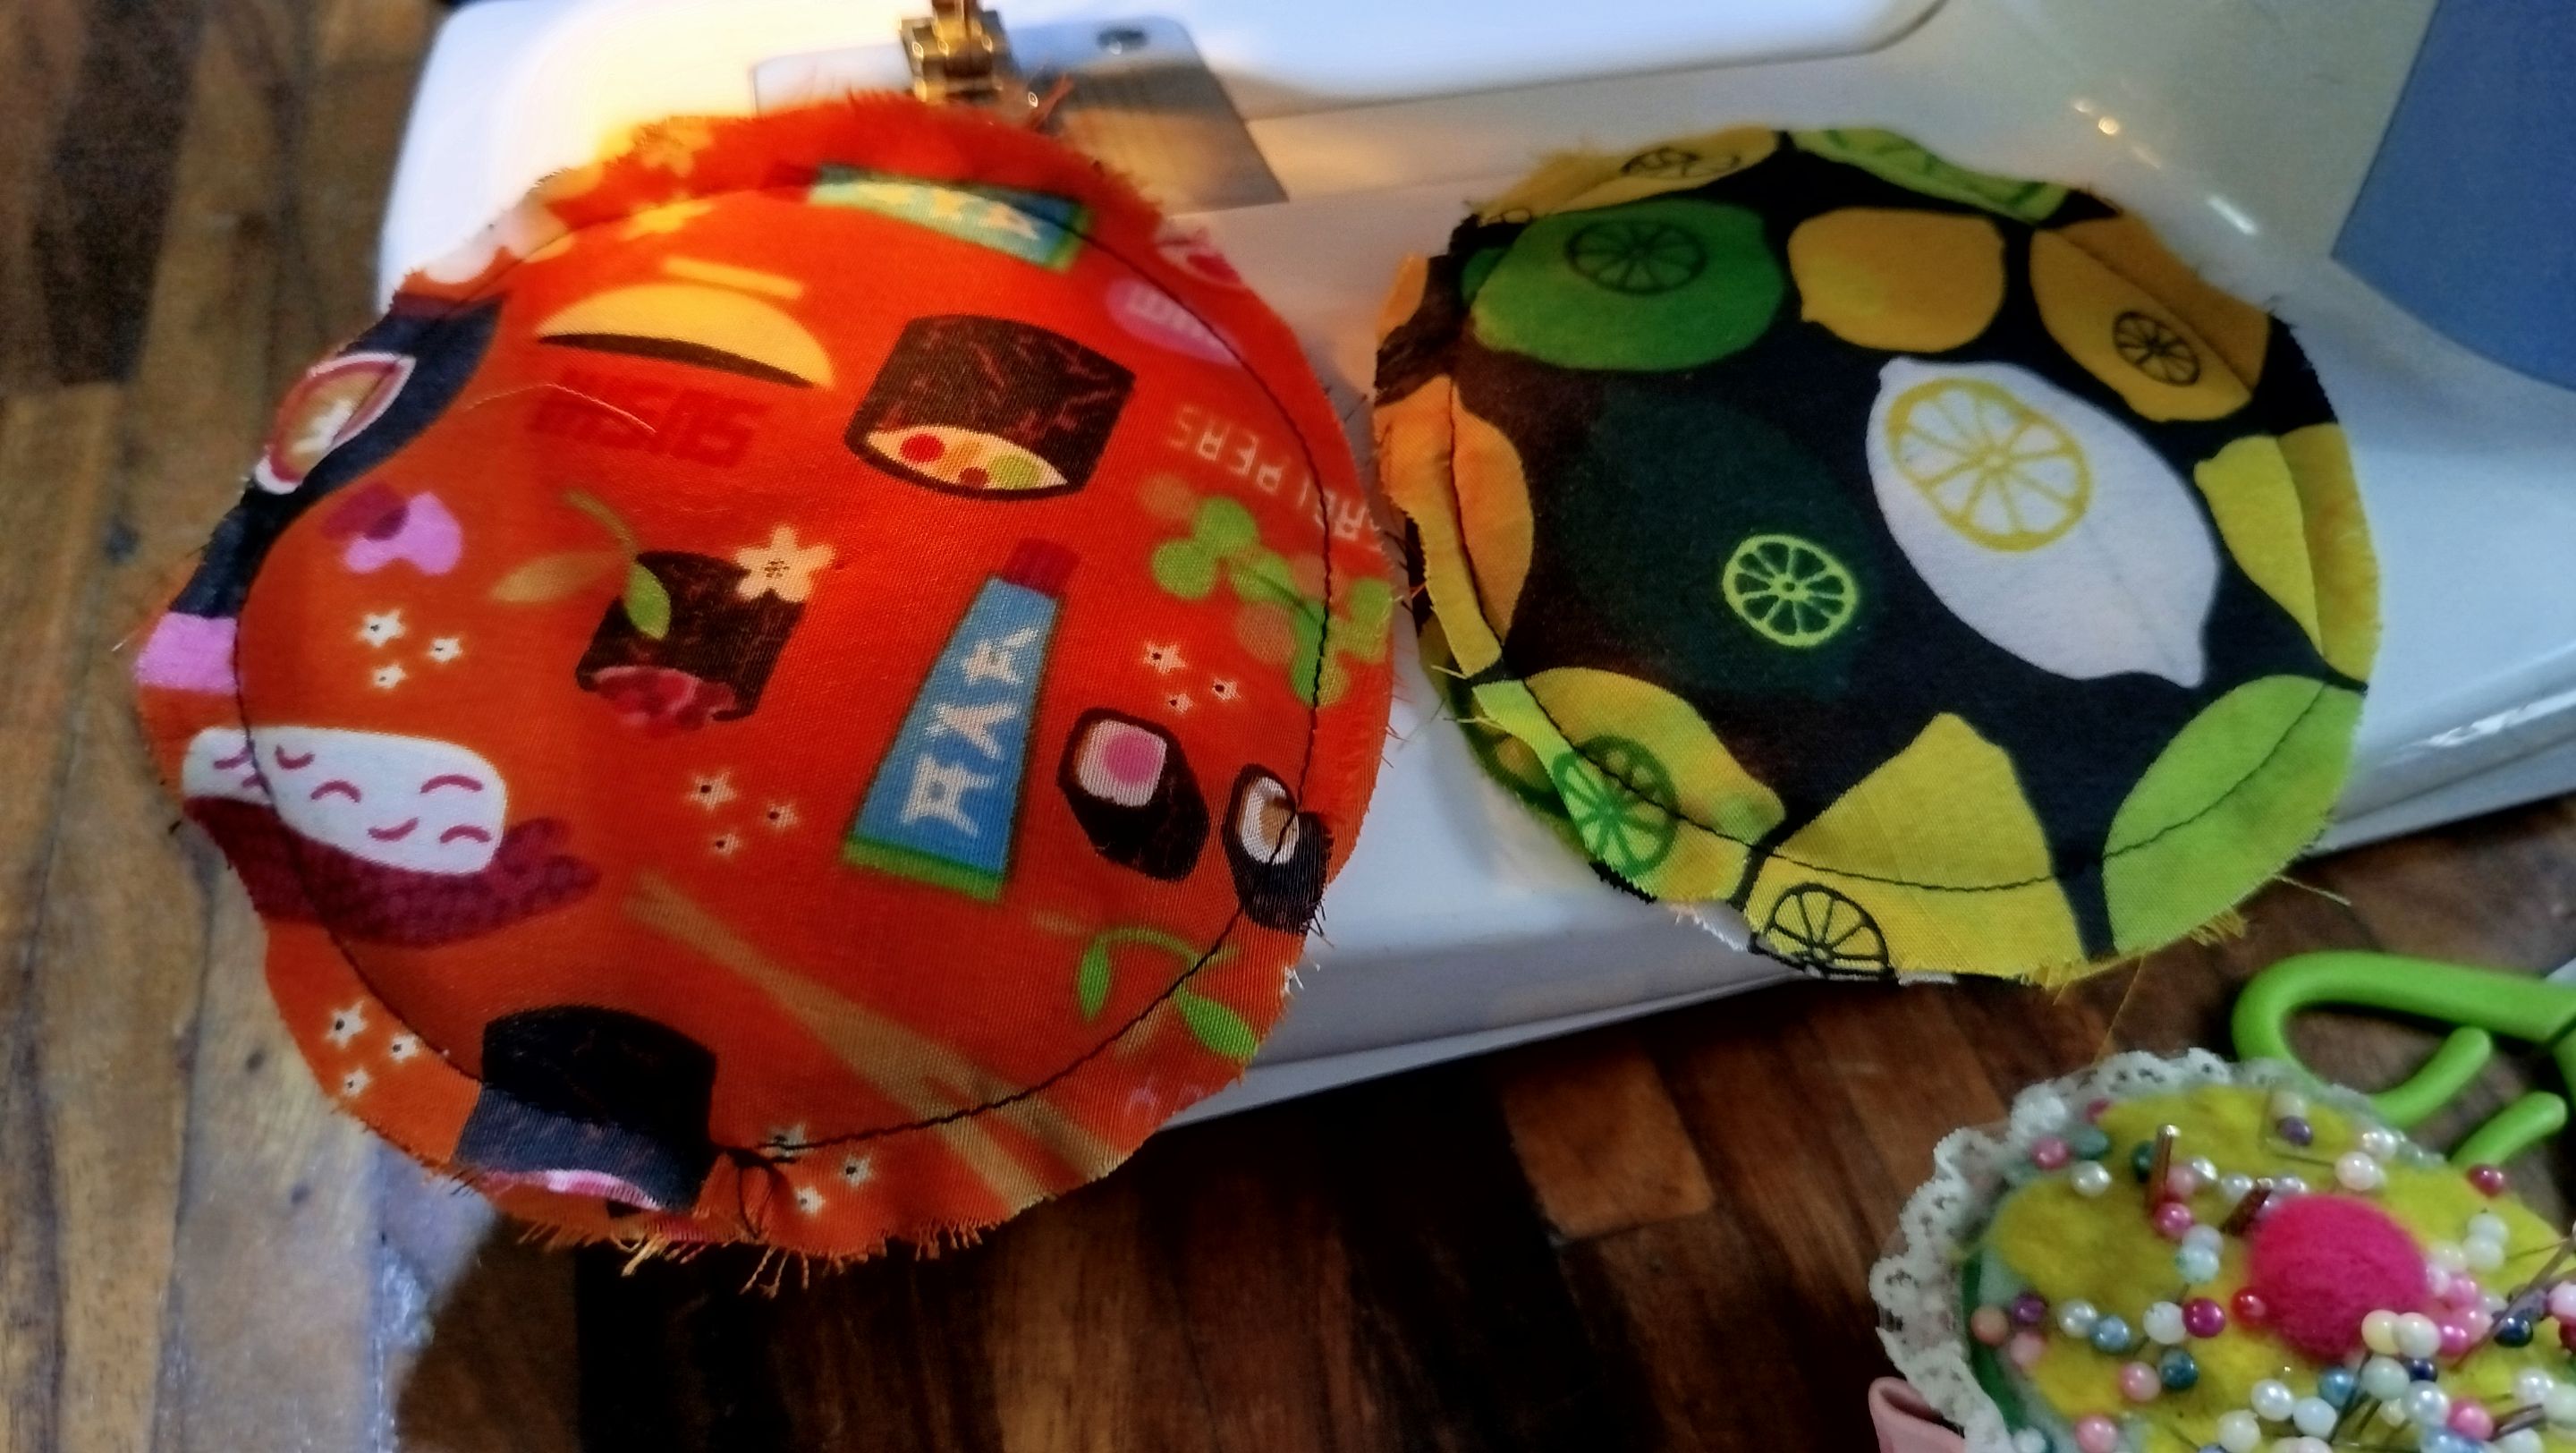
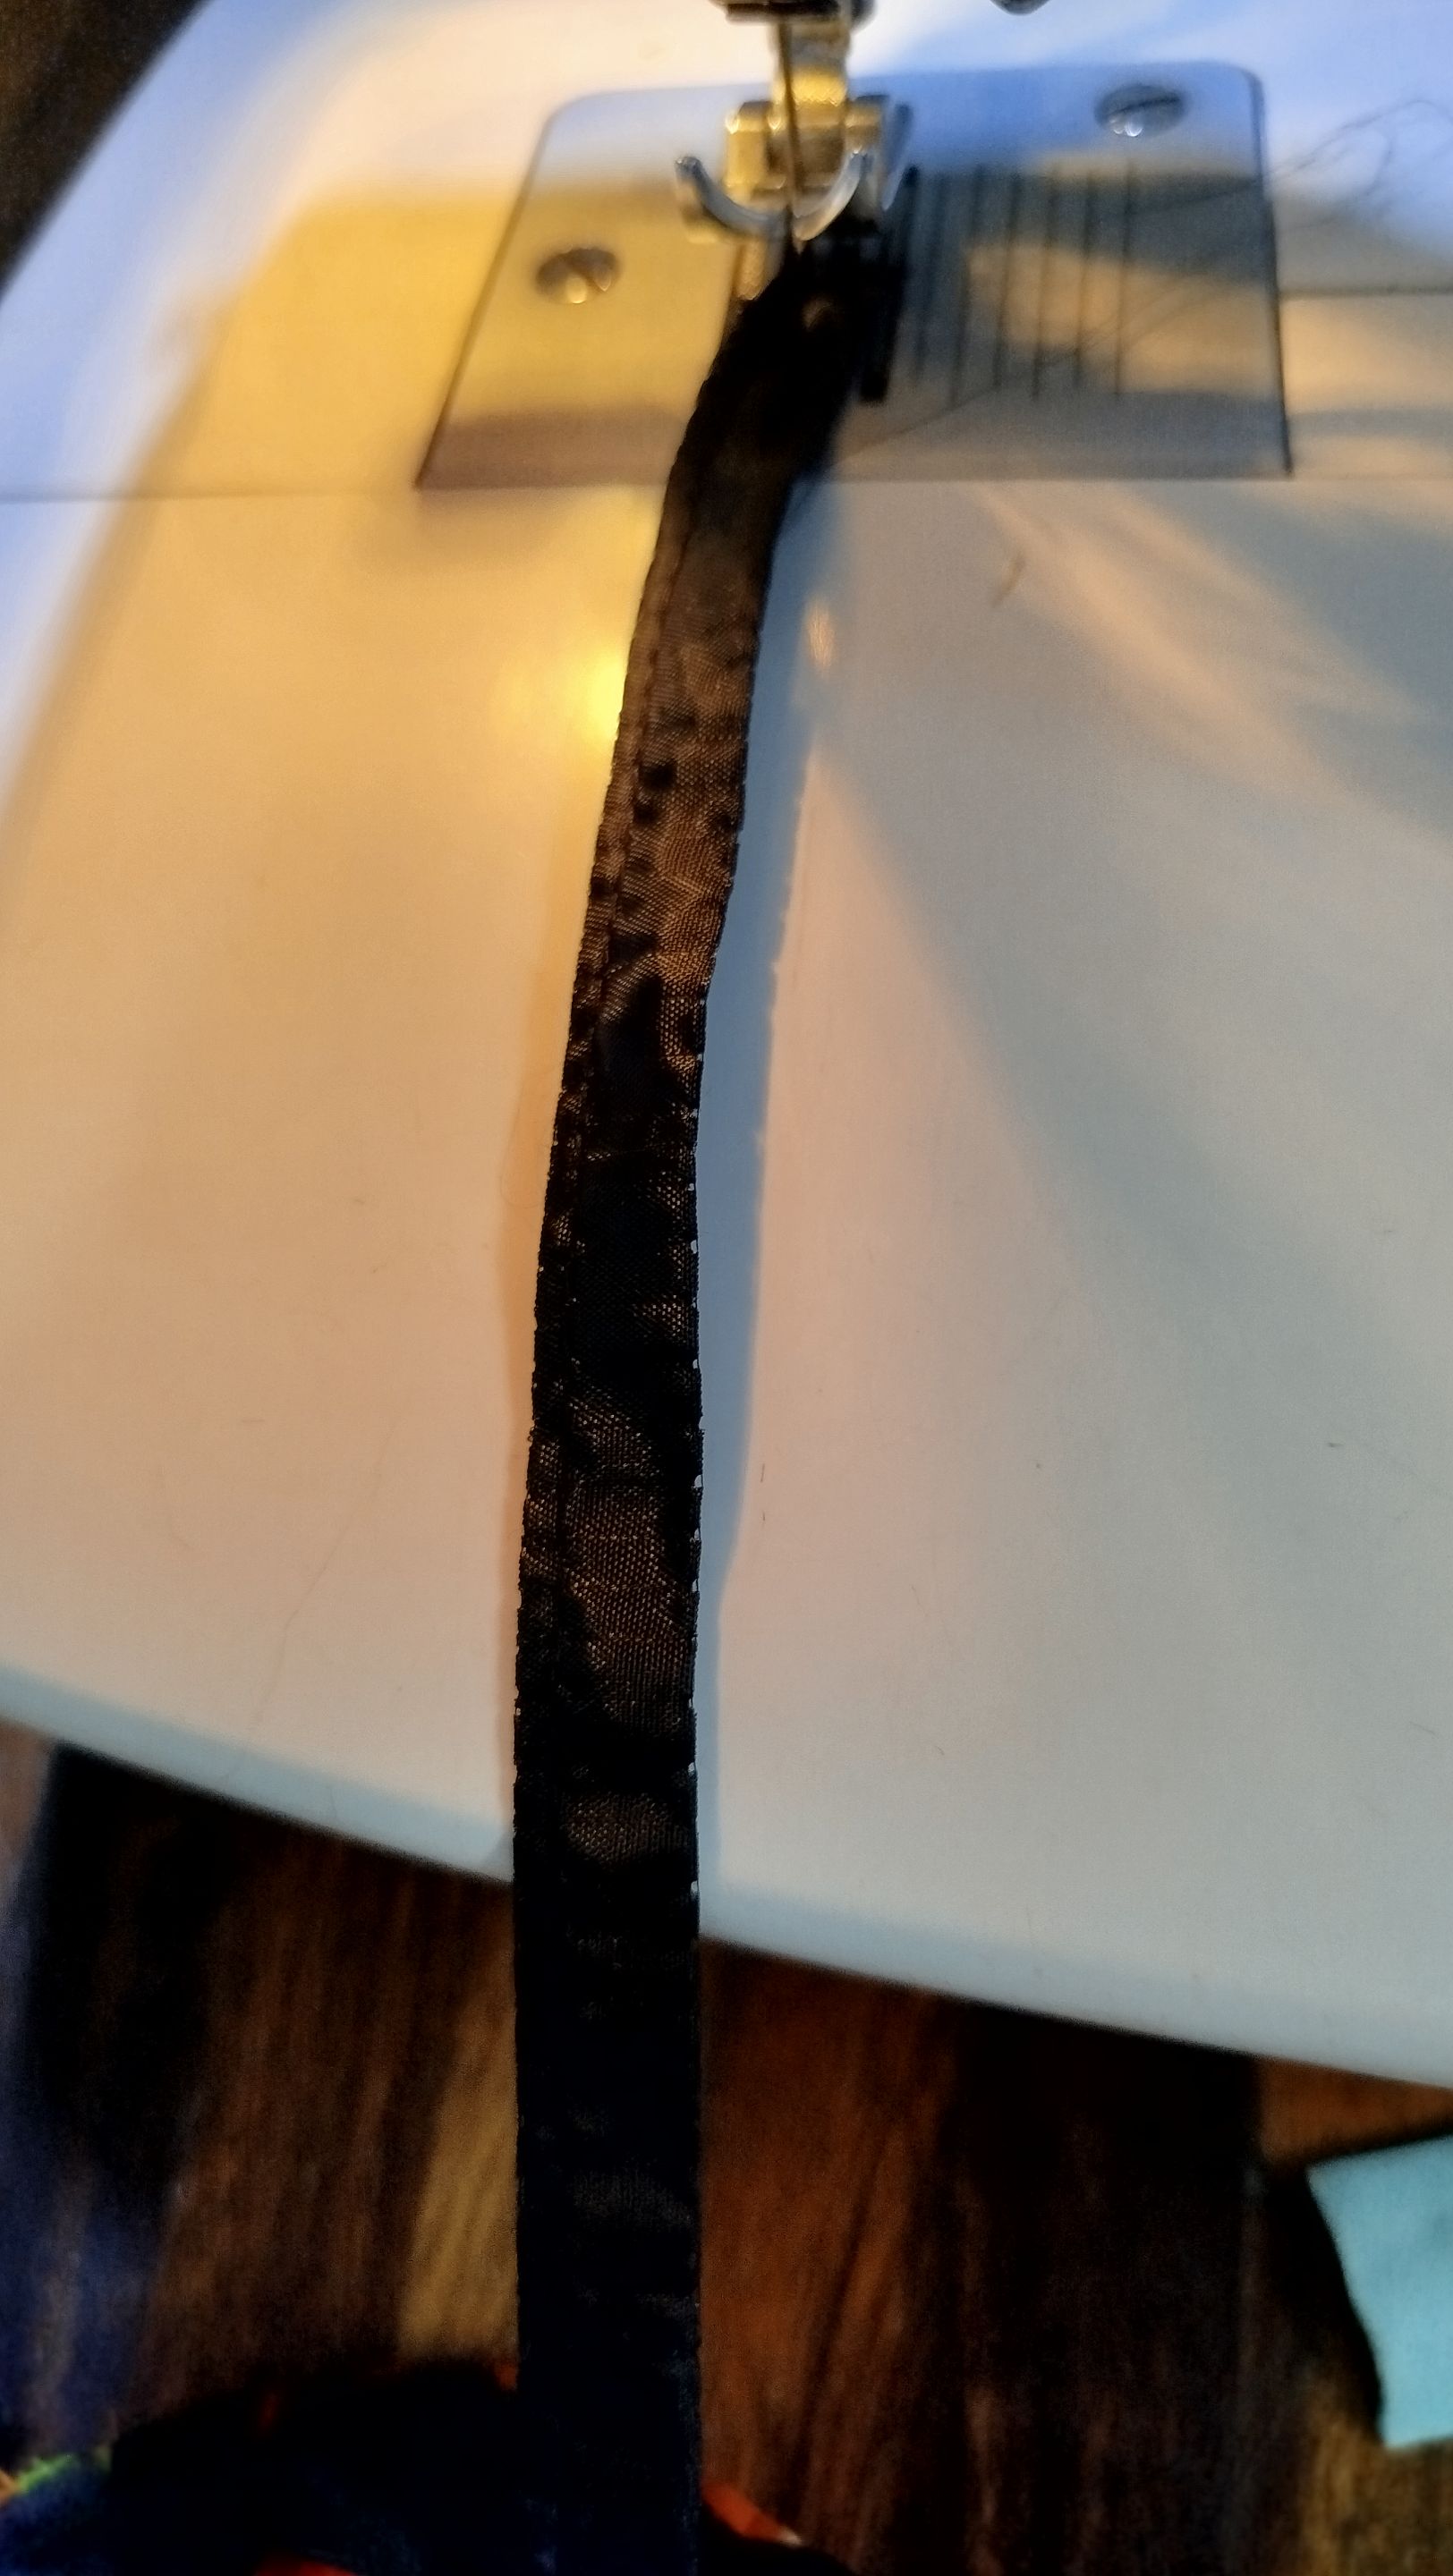
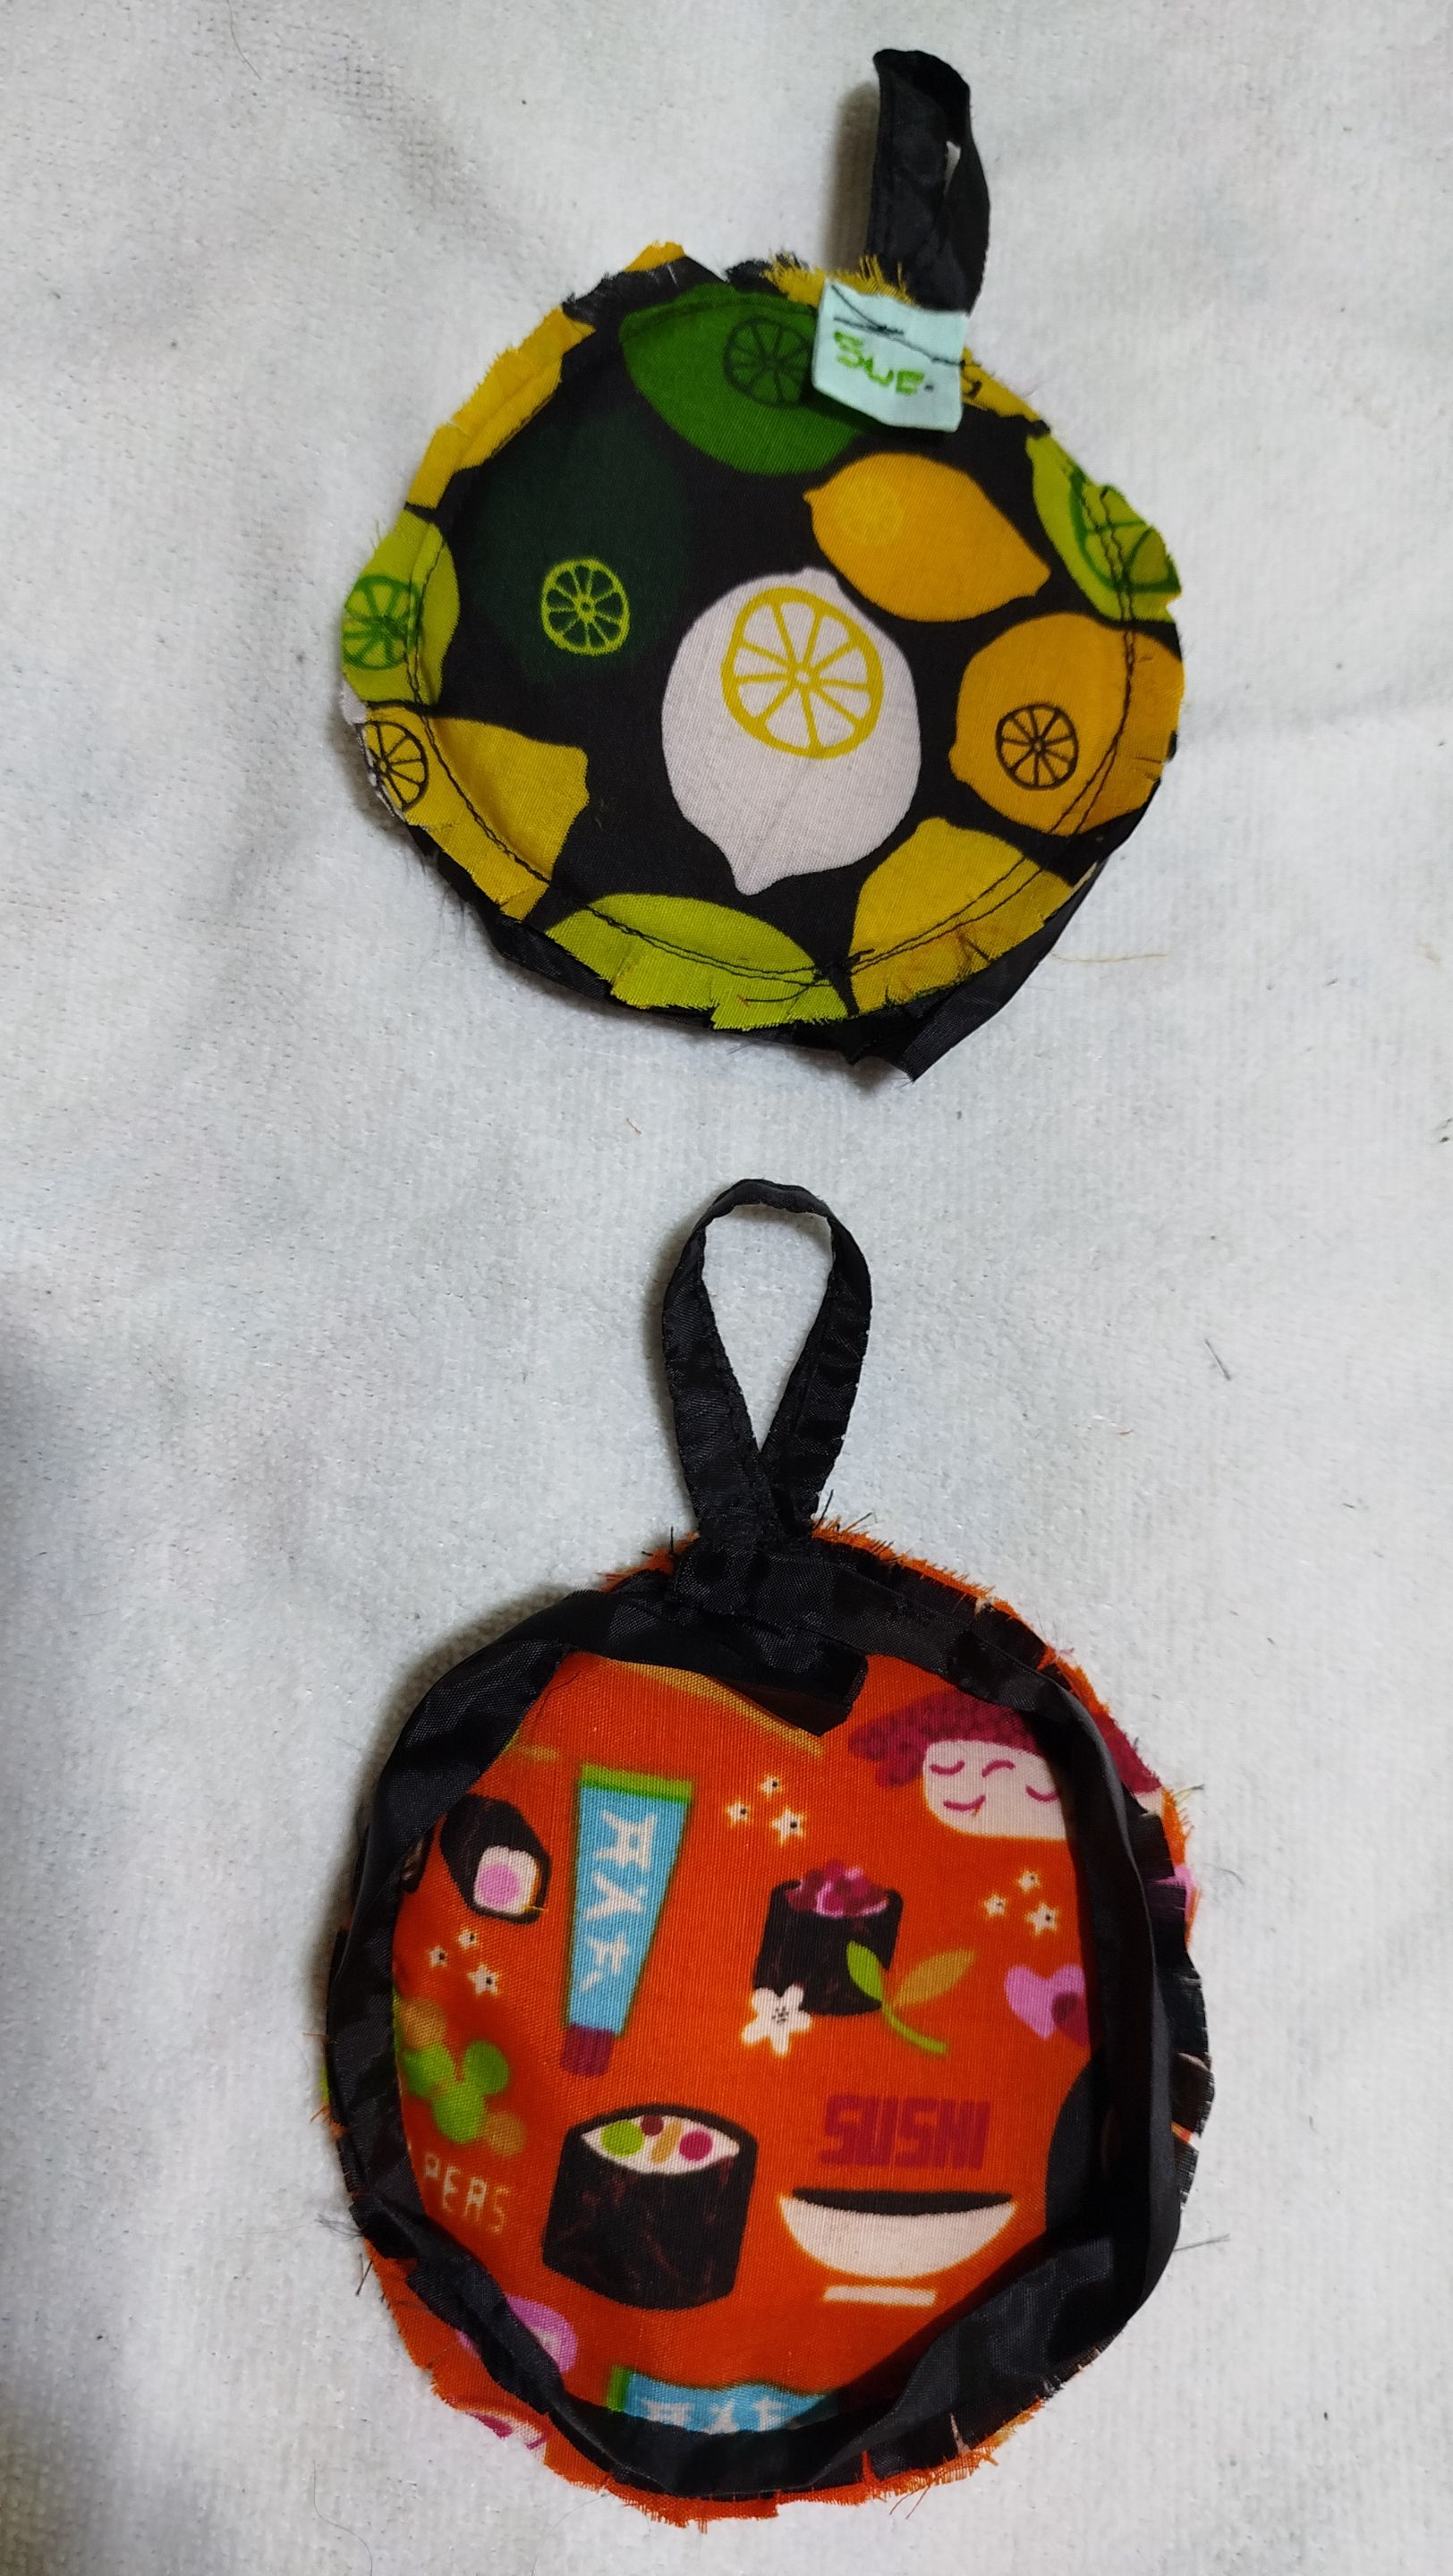
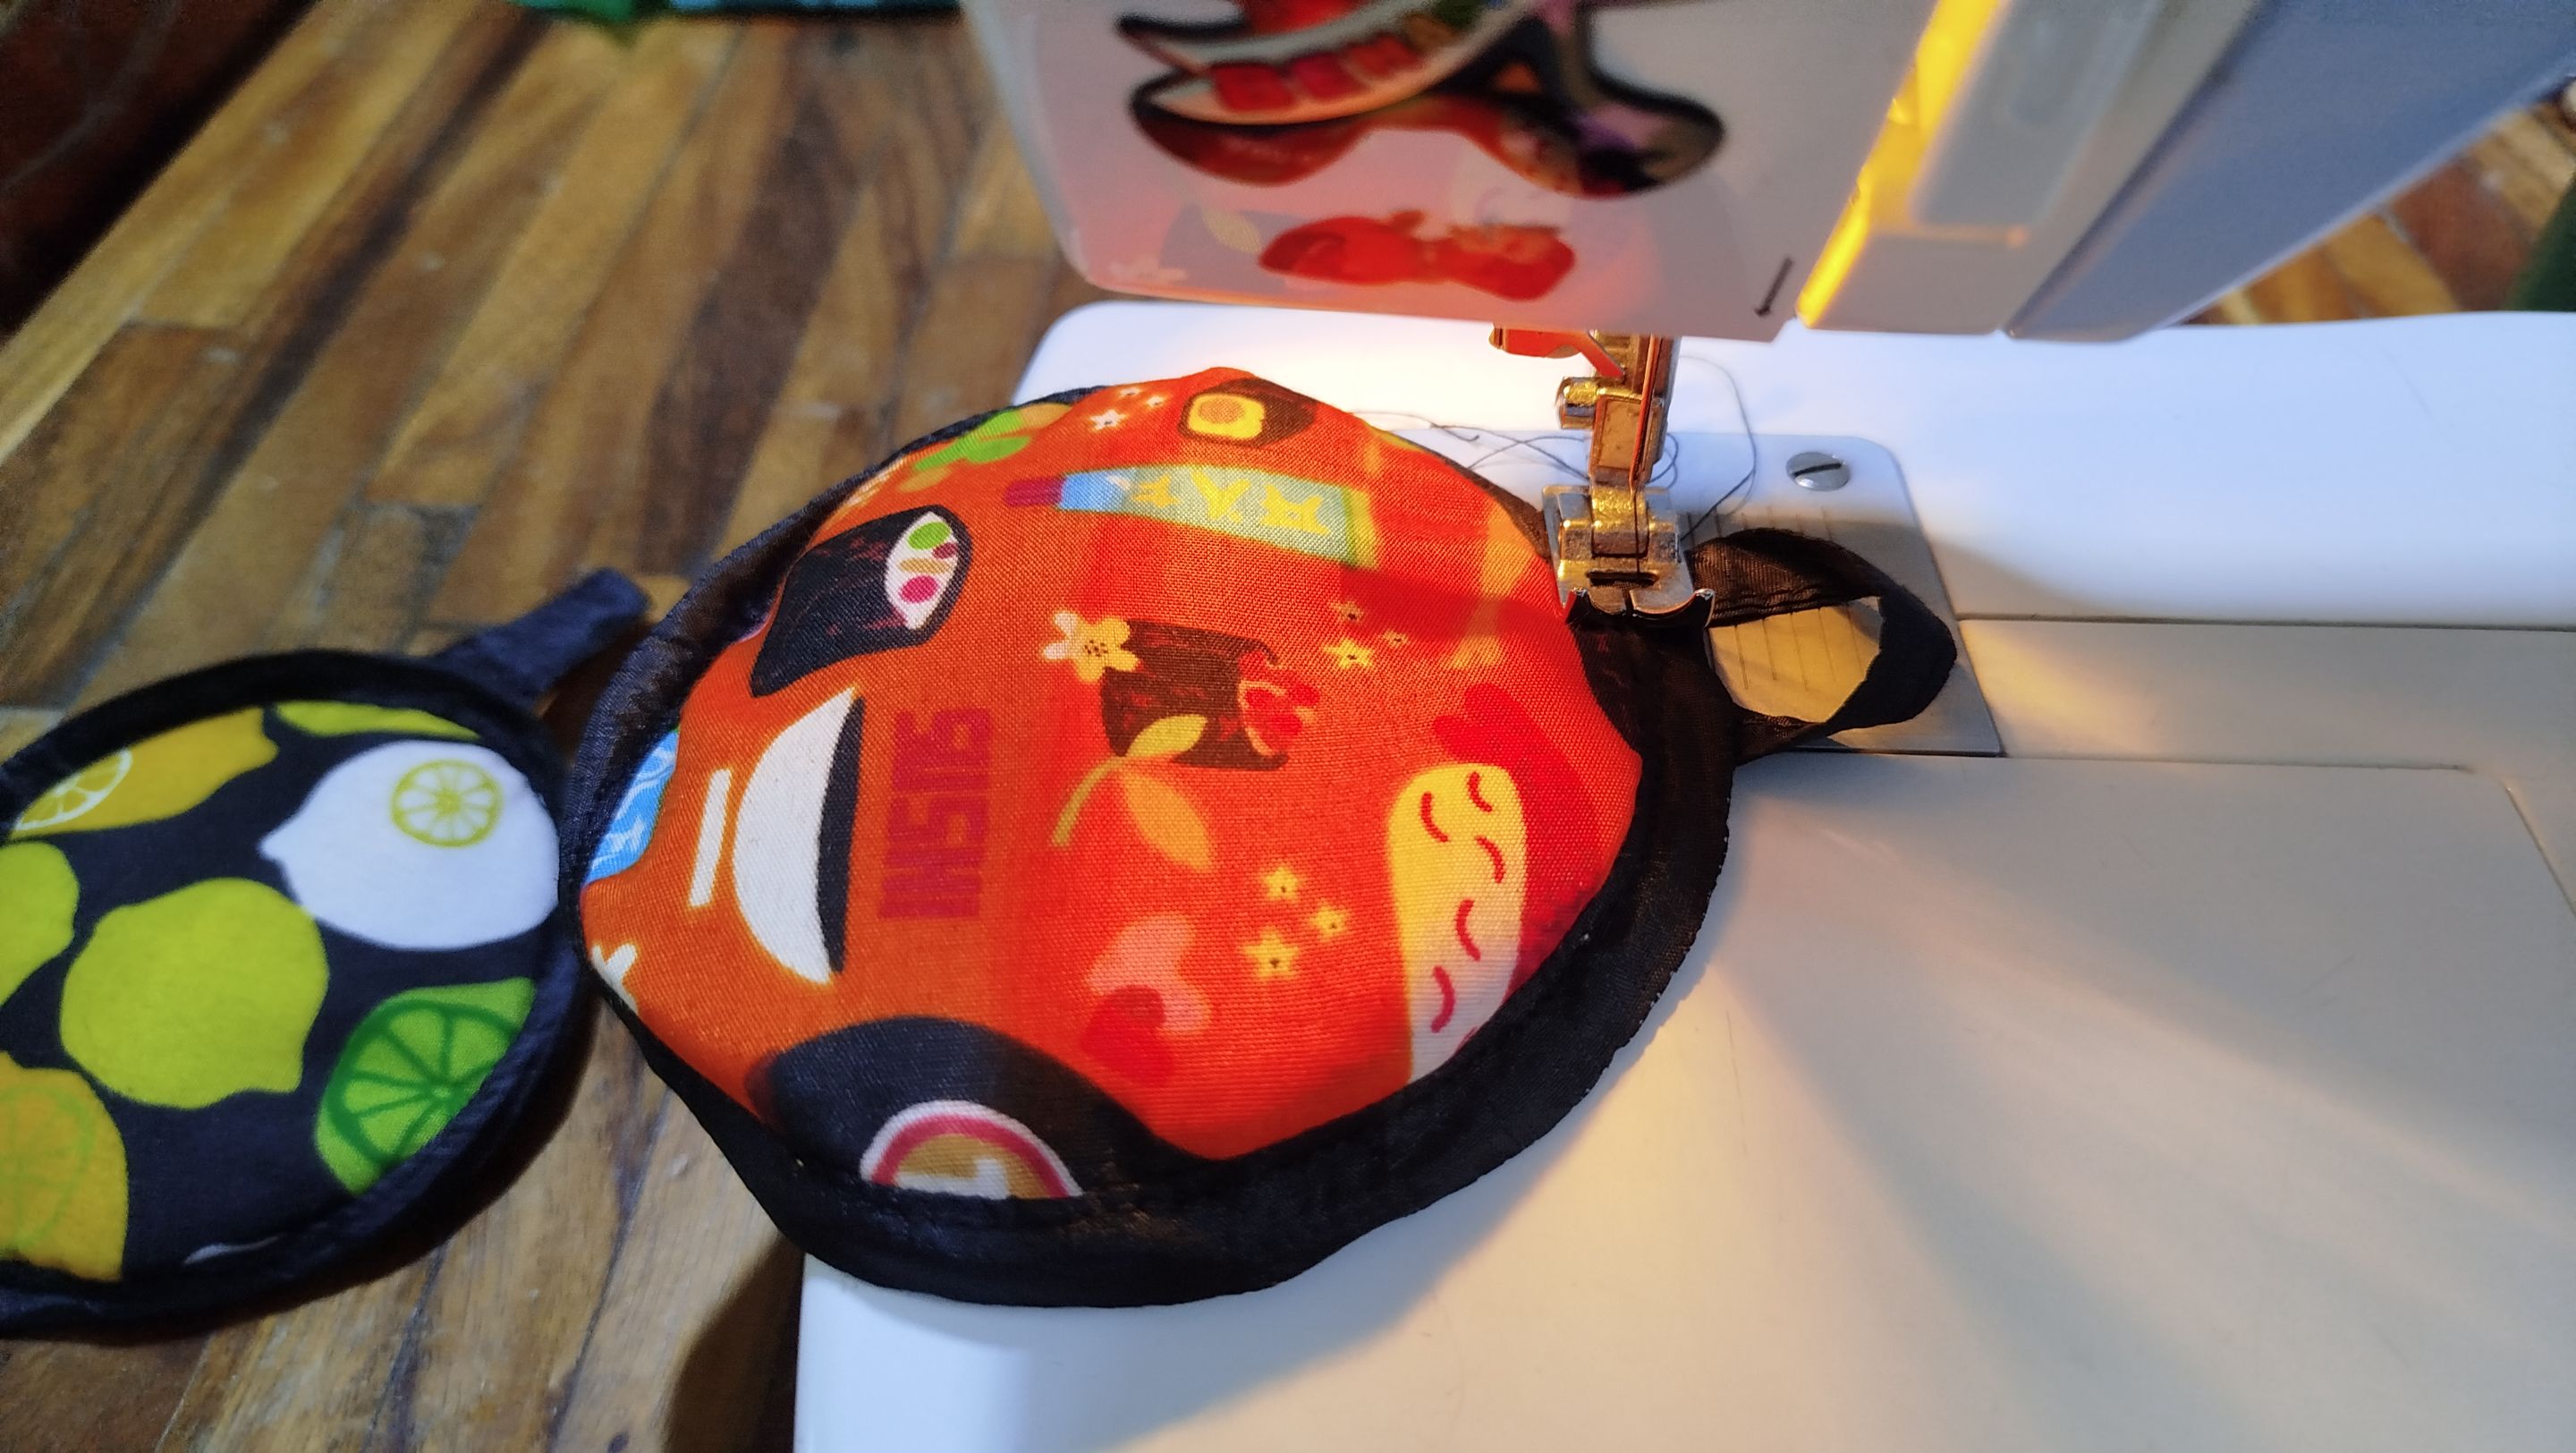
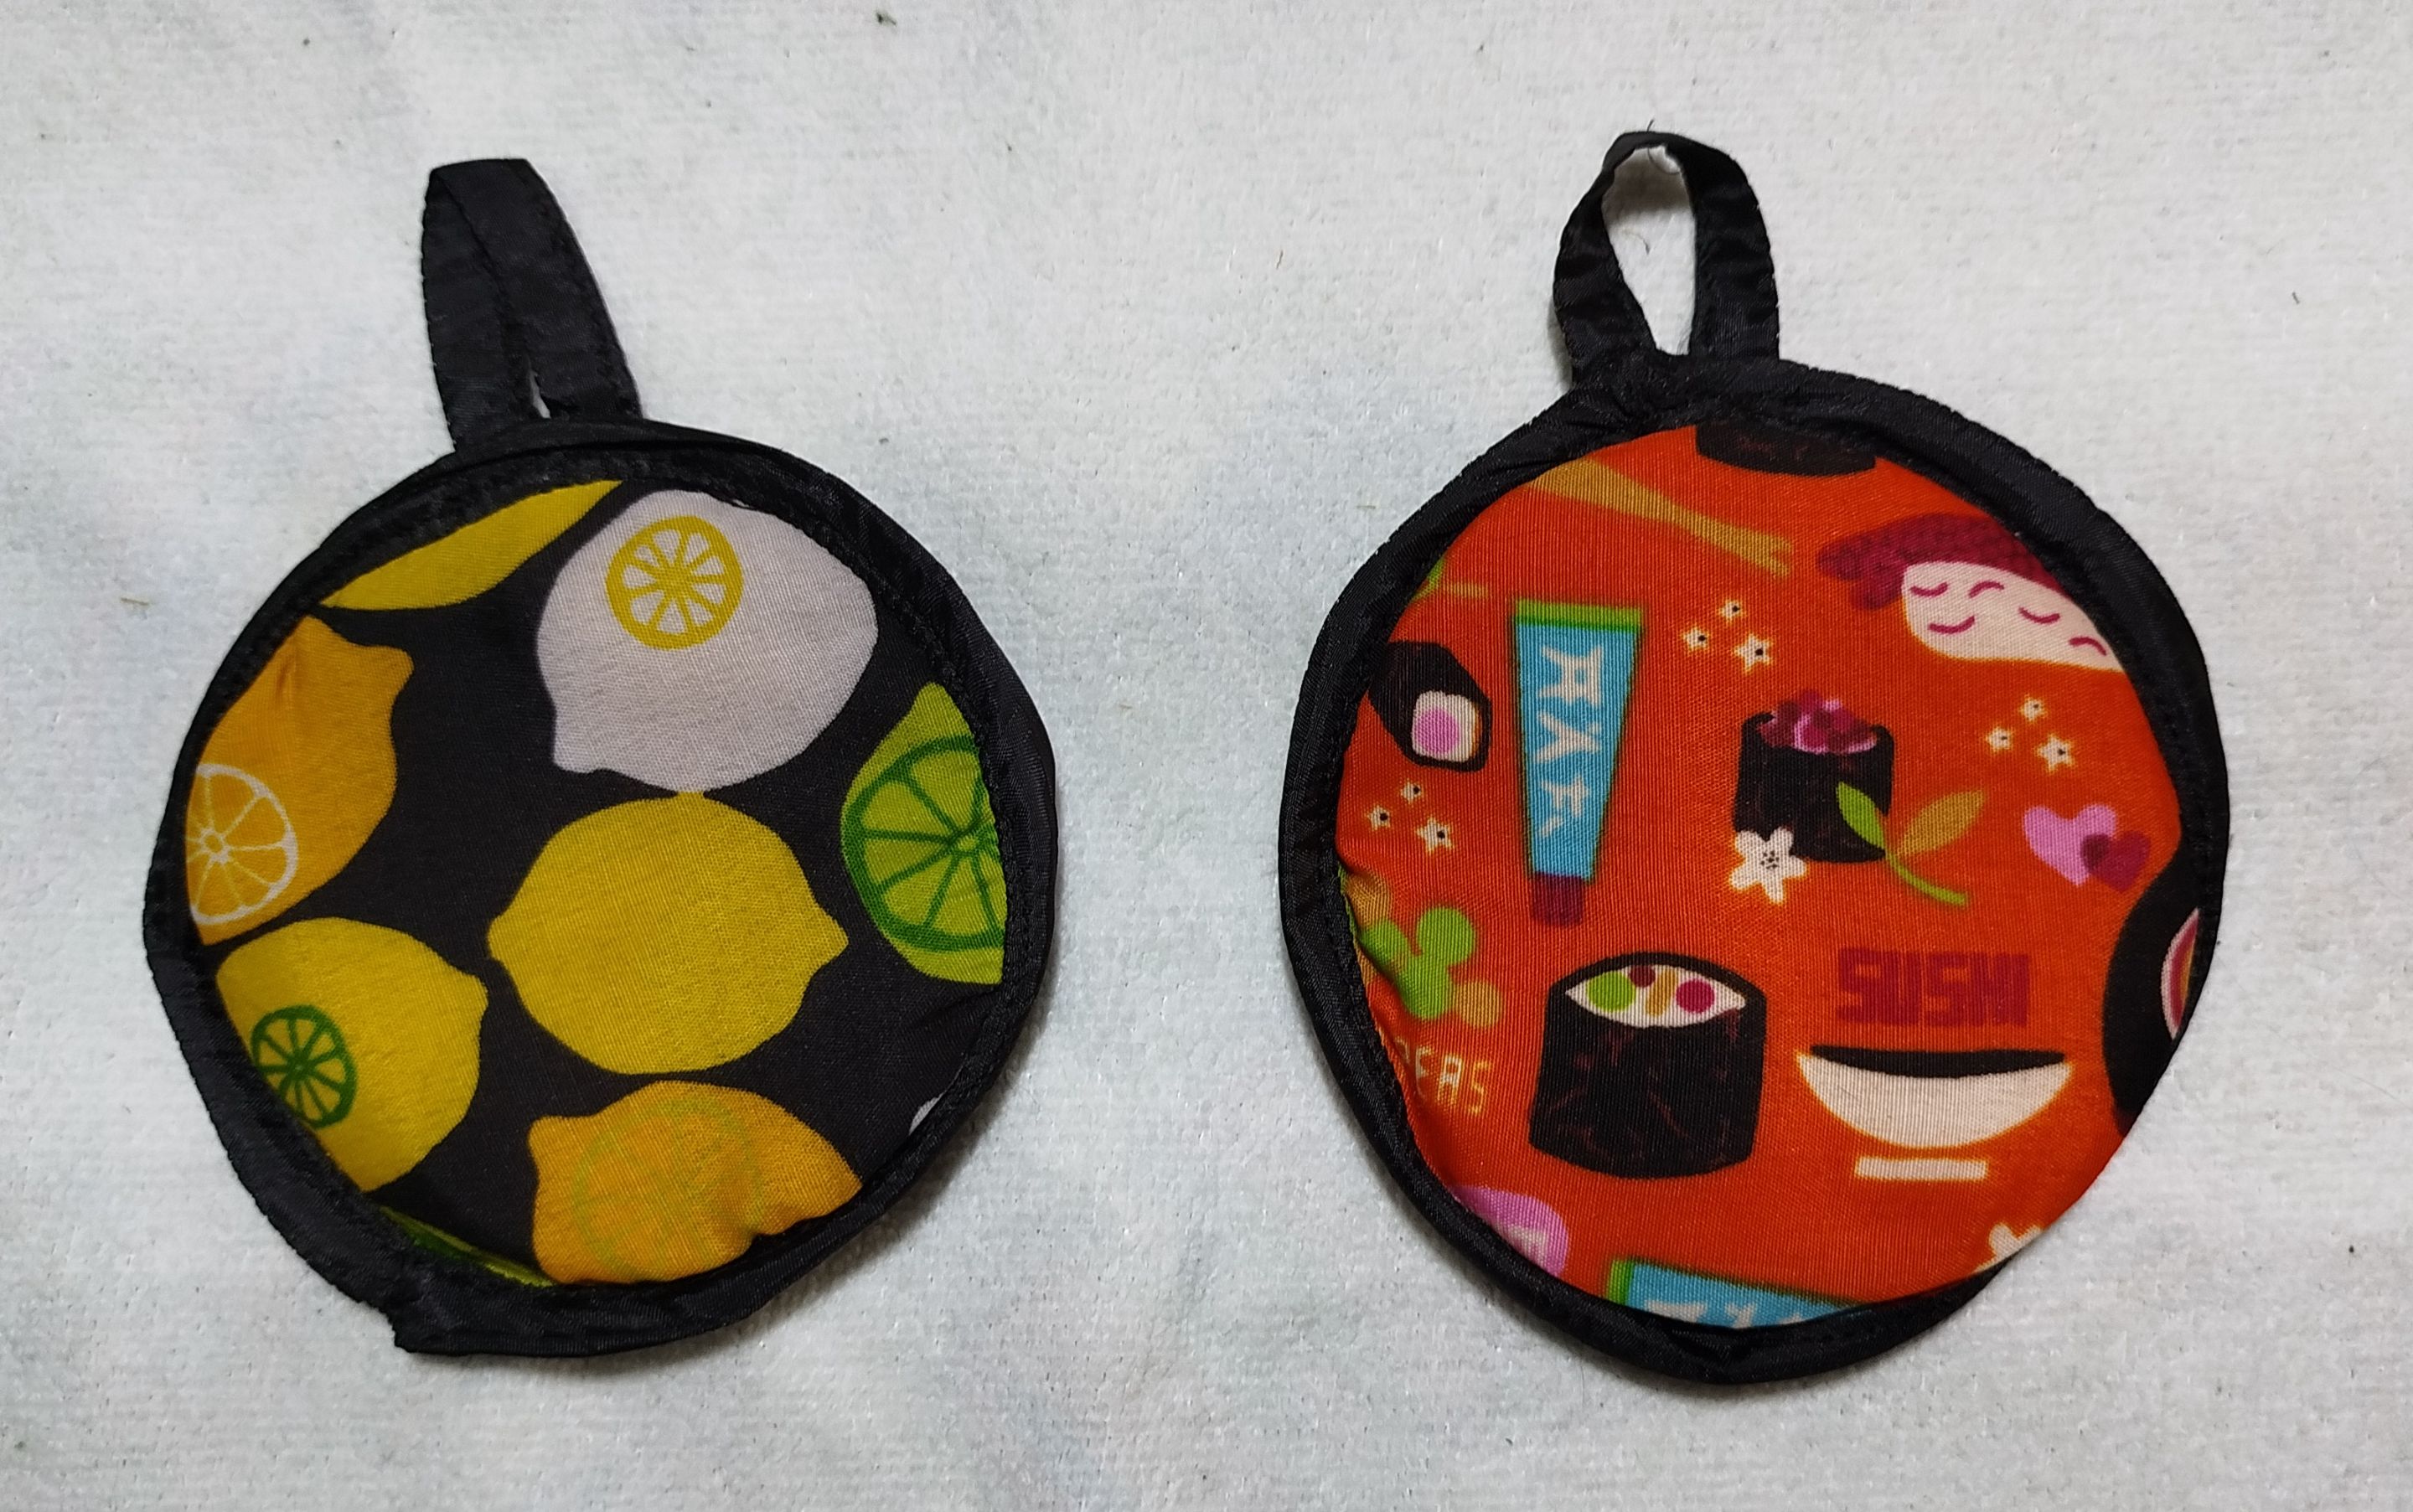
Have you ever had a pot that's lost its grip or handle and you just don't want to get rid of it? Well, it has happened in my house haha, and instead, we usually use kitchen towels, except that because they're so long, they sometimes get burned by the stovetop flame haha. But, to have something nicer to grip hot pots or pans, there are pot grippers. To do this, all you need are a few pieces of fabric, a piece of scrim, and some stuffing. The size depends on how you want it.
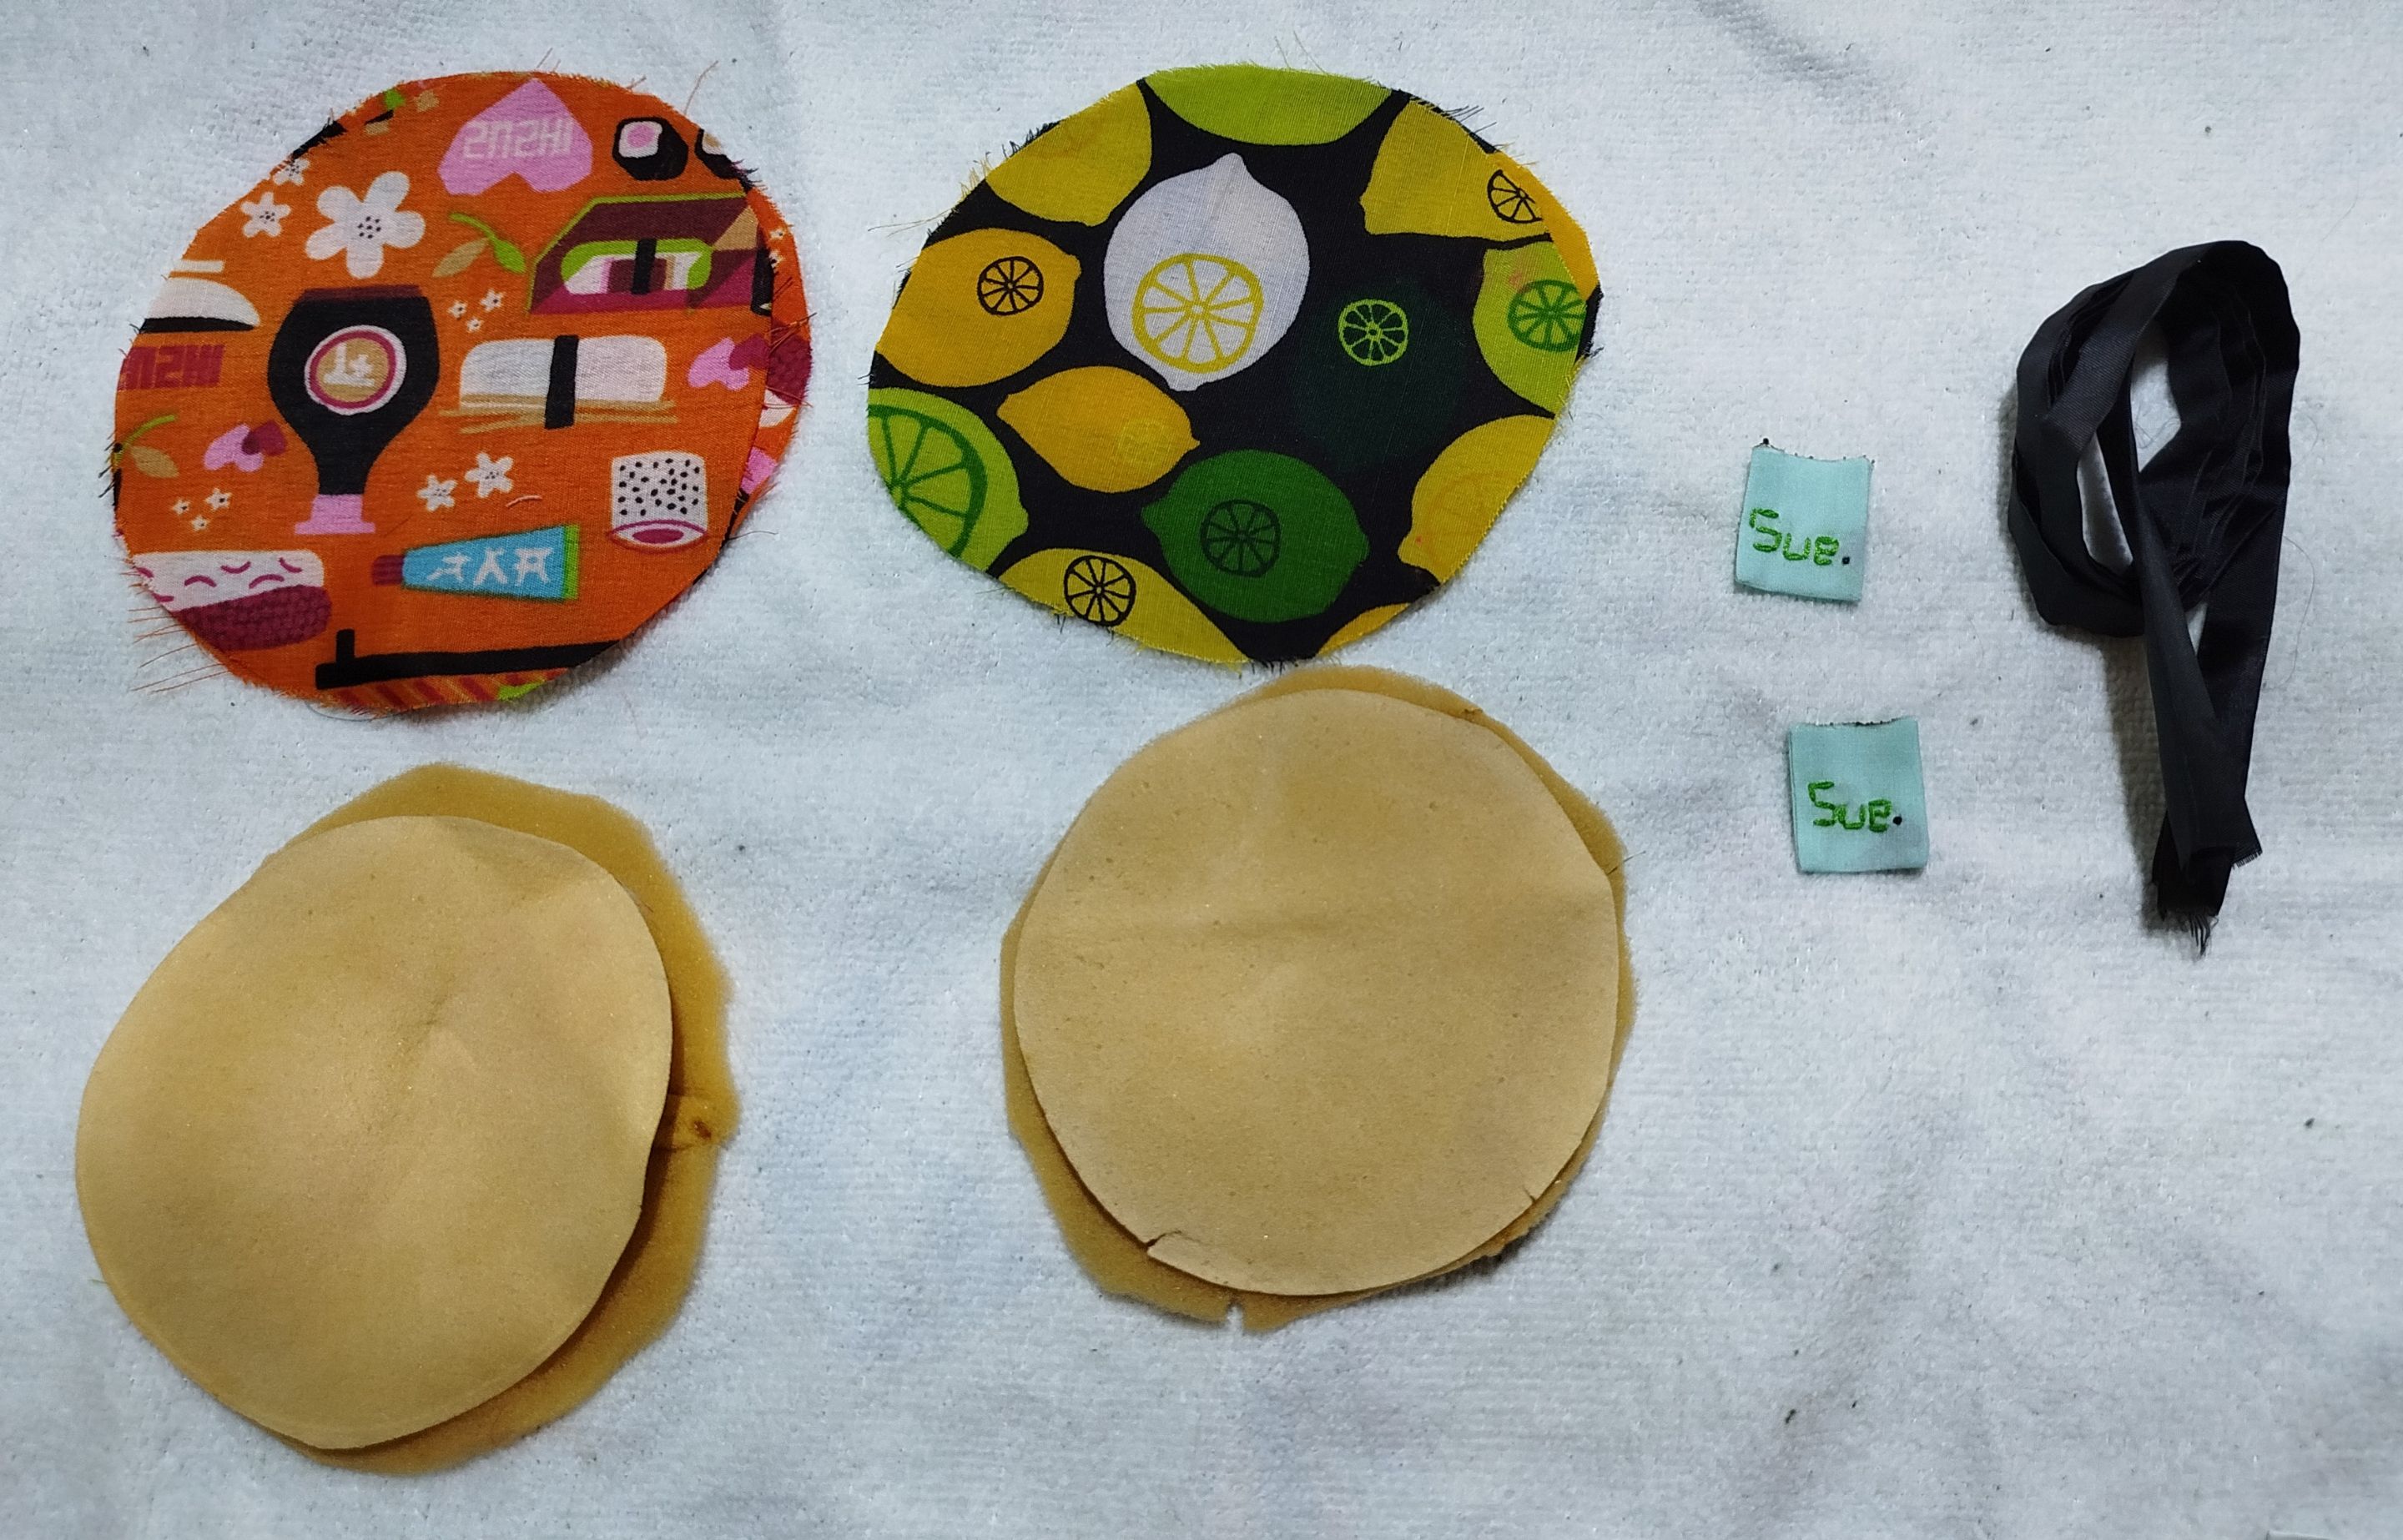
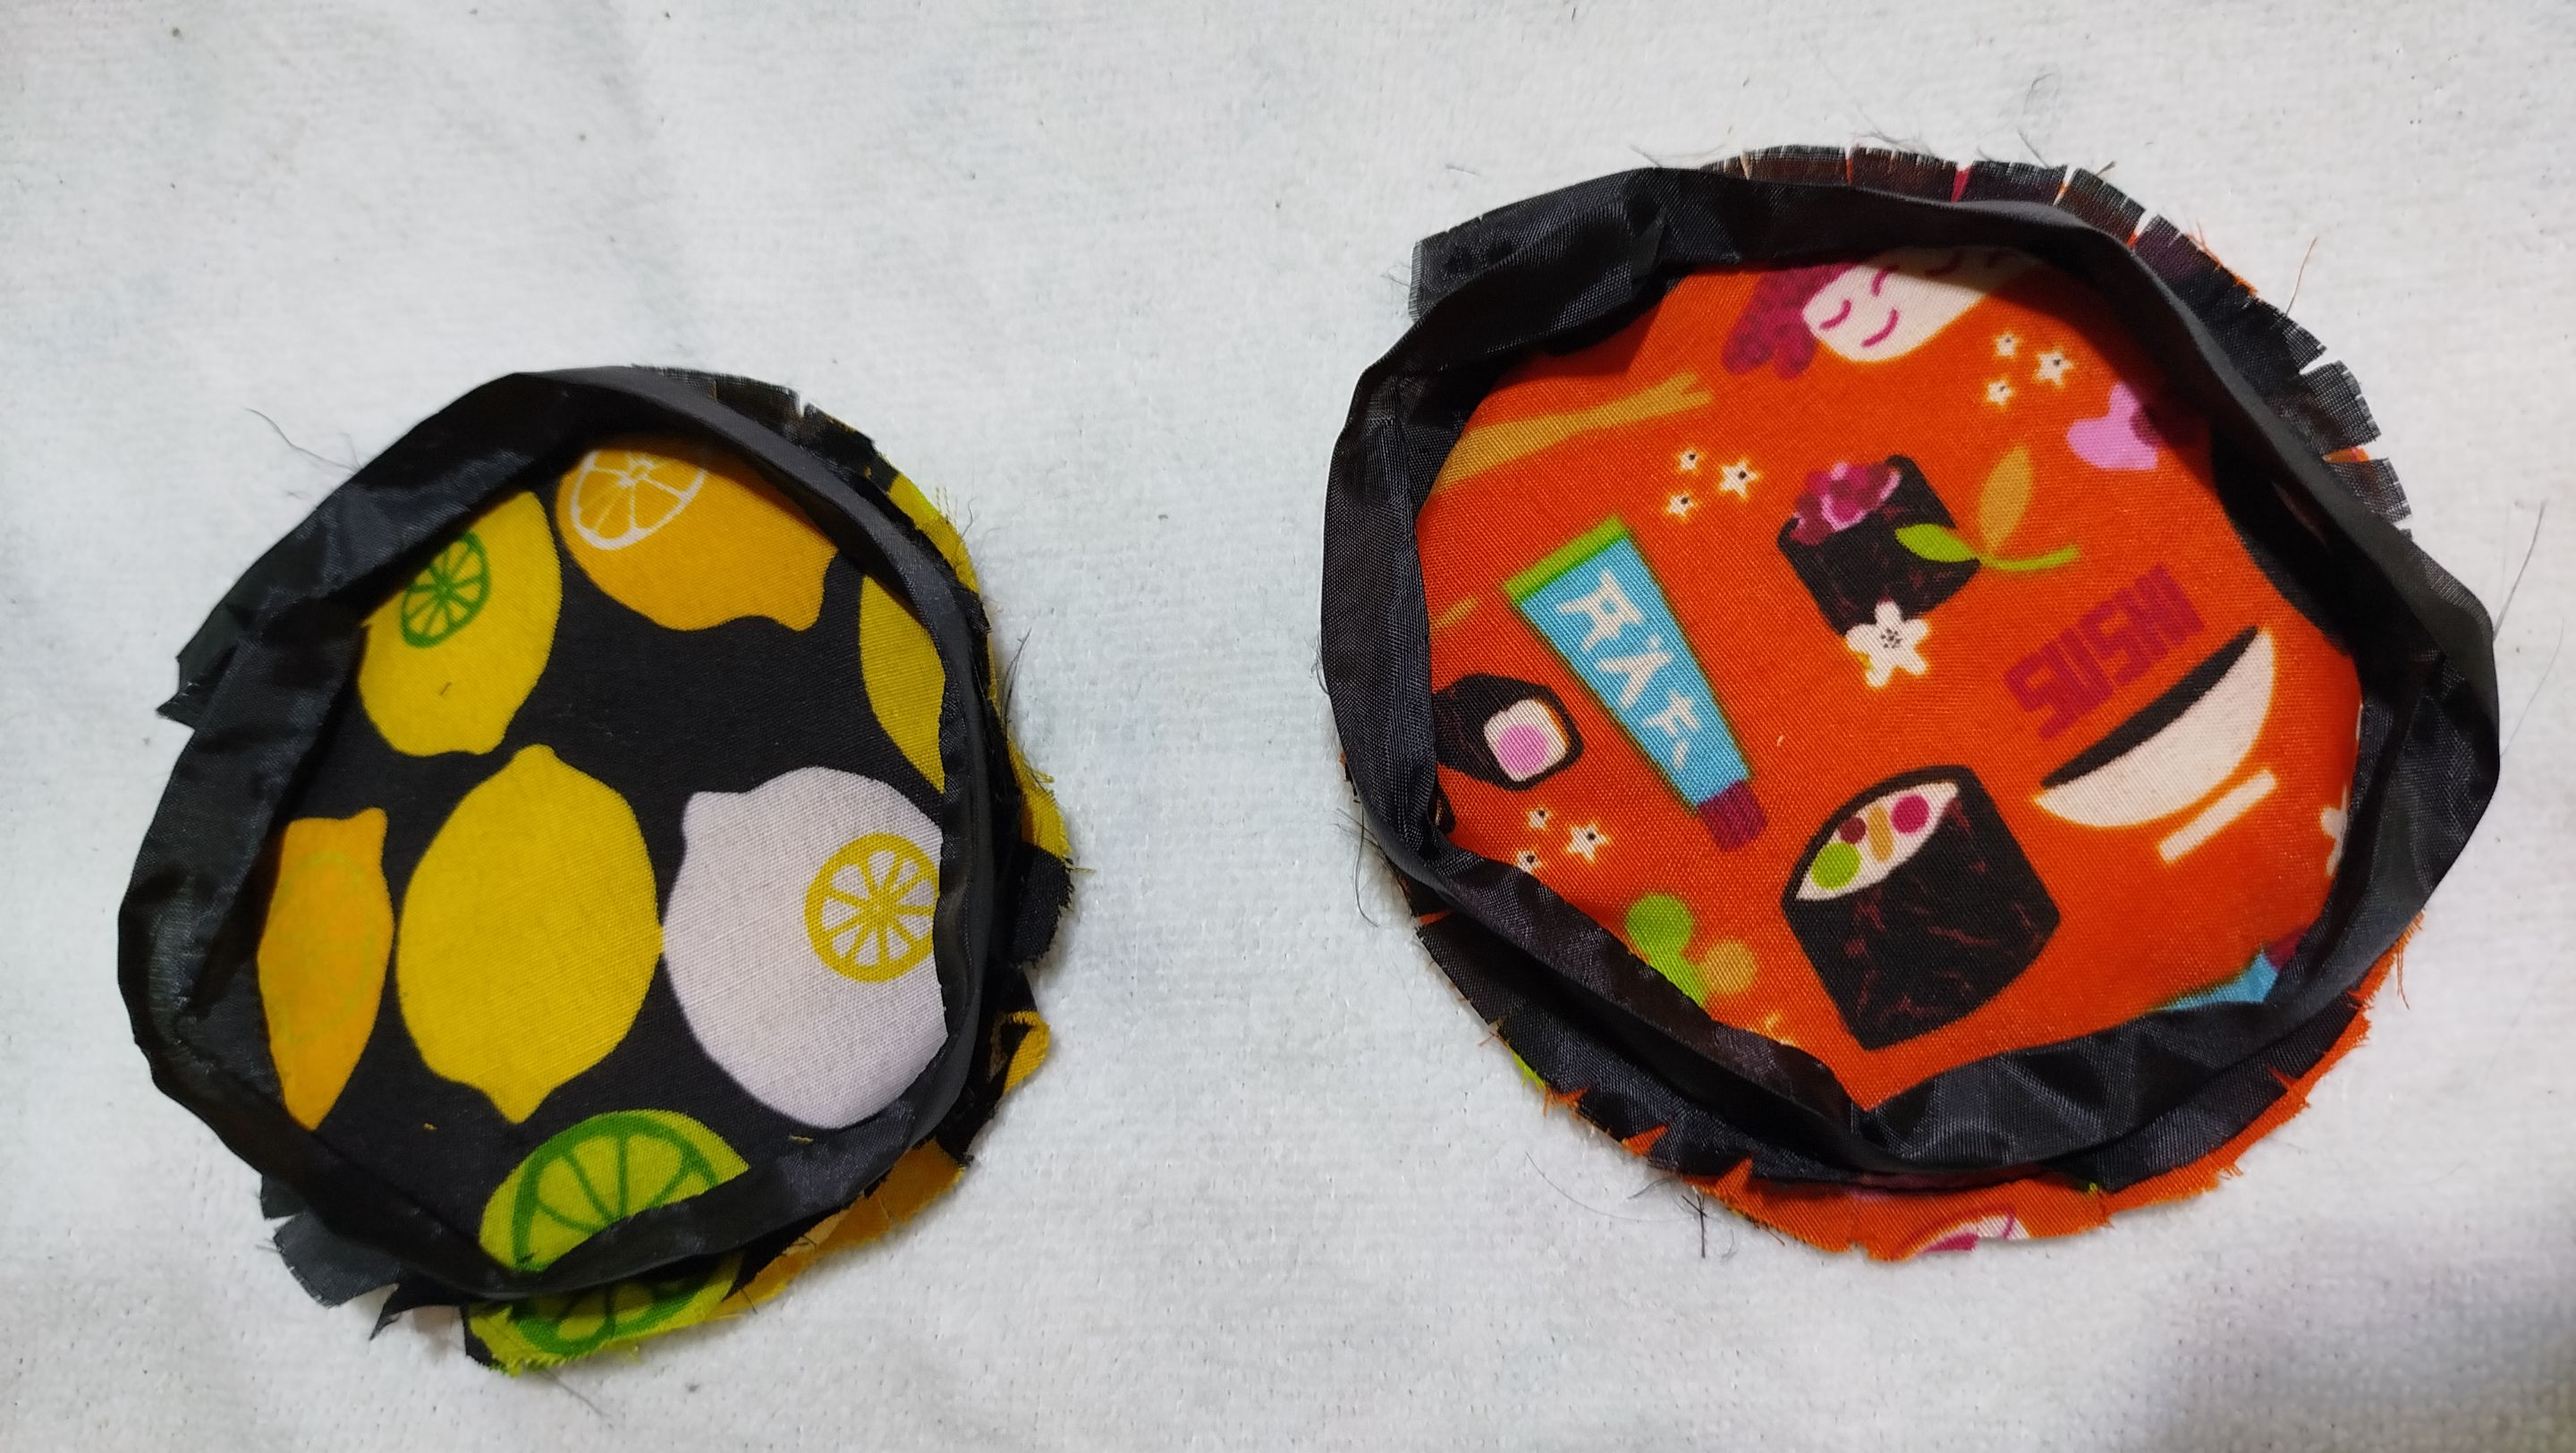
The making process is very simple. First, we secure the filling in the middle of the fabric pieces and then we add a bias binding to the edges. I also like to add a small piece of bias binding so they can be hung on a kitchen wall and thus be visible.
 |
 |
 |
|---|---|---|
 |
 |
|---|---|
The first ones I made were round, as a gift for my grandmother. She liked them so much that she asked me to make more, so for a change, I made the others square.

🧵👝✨ ORGANIZING BAG 🧵👝✨
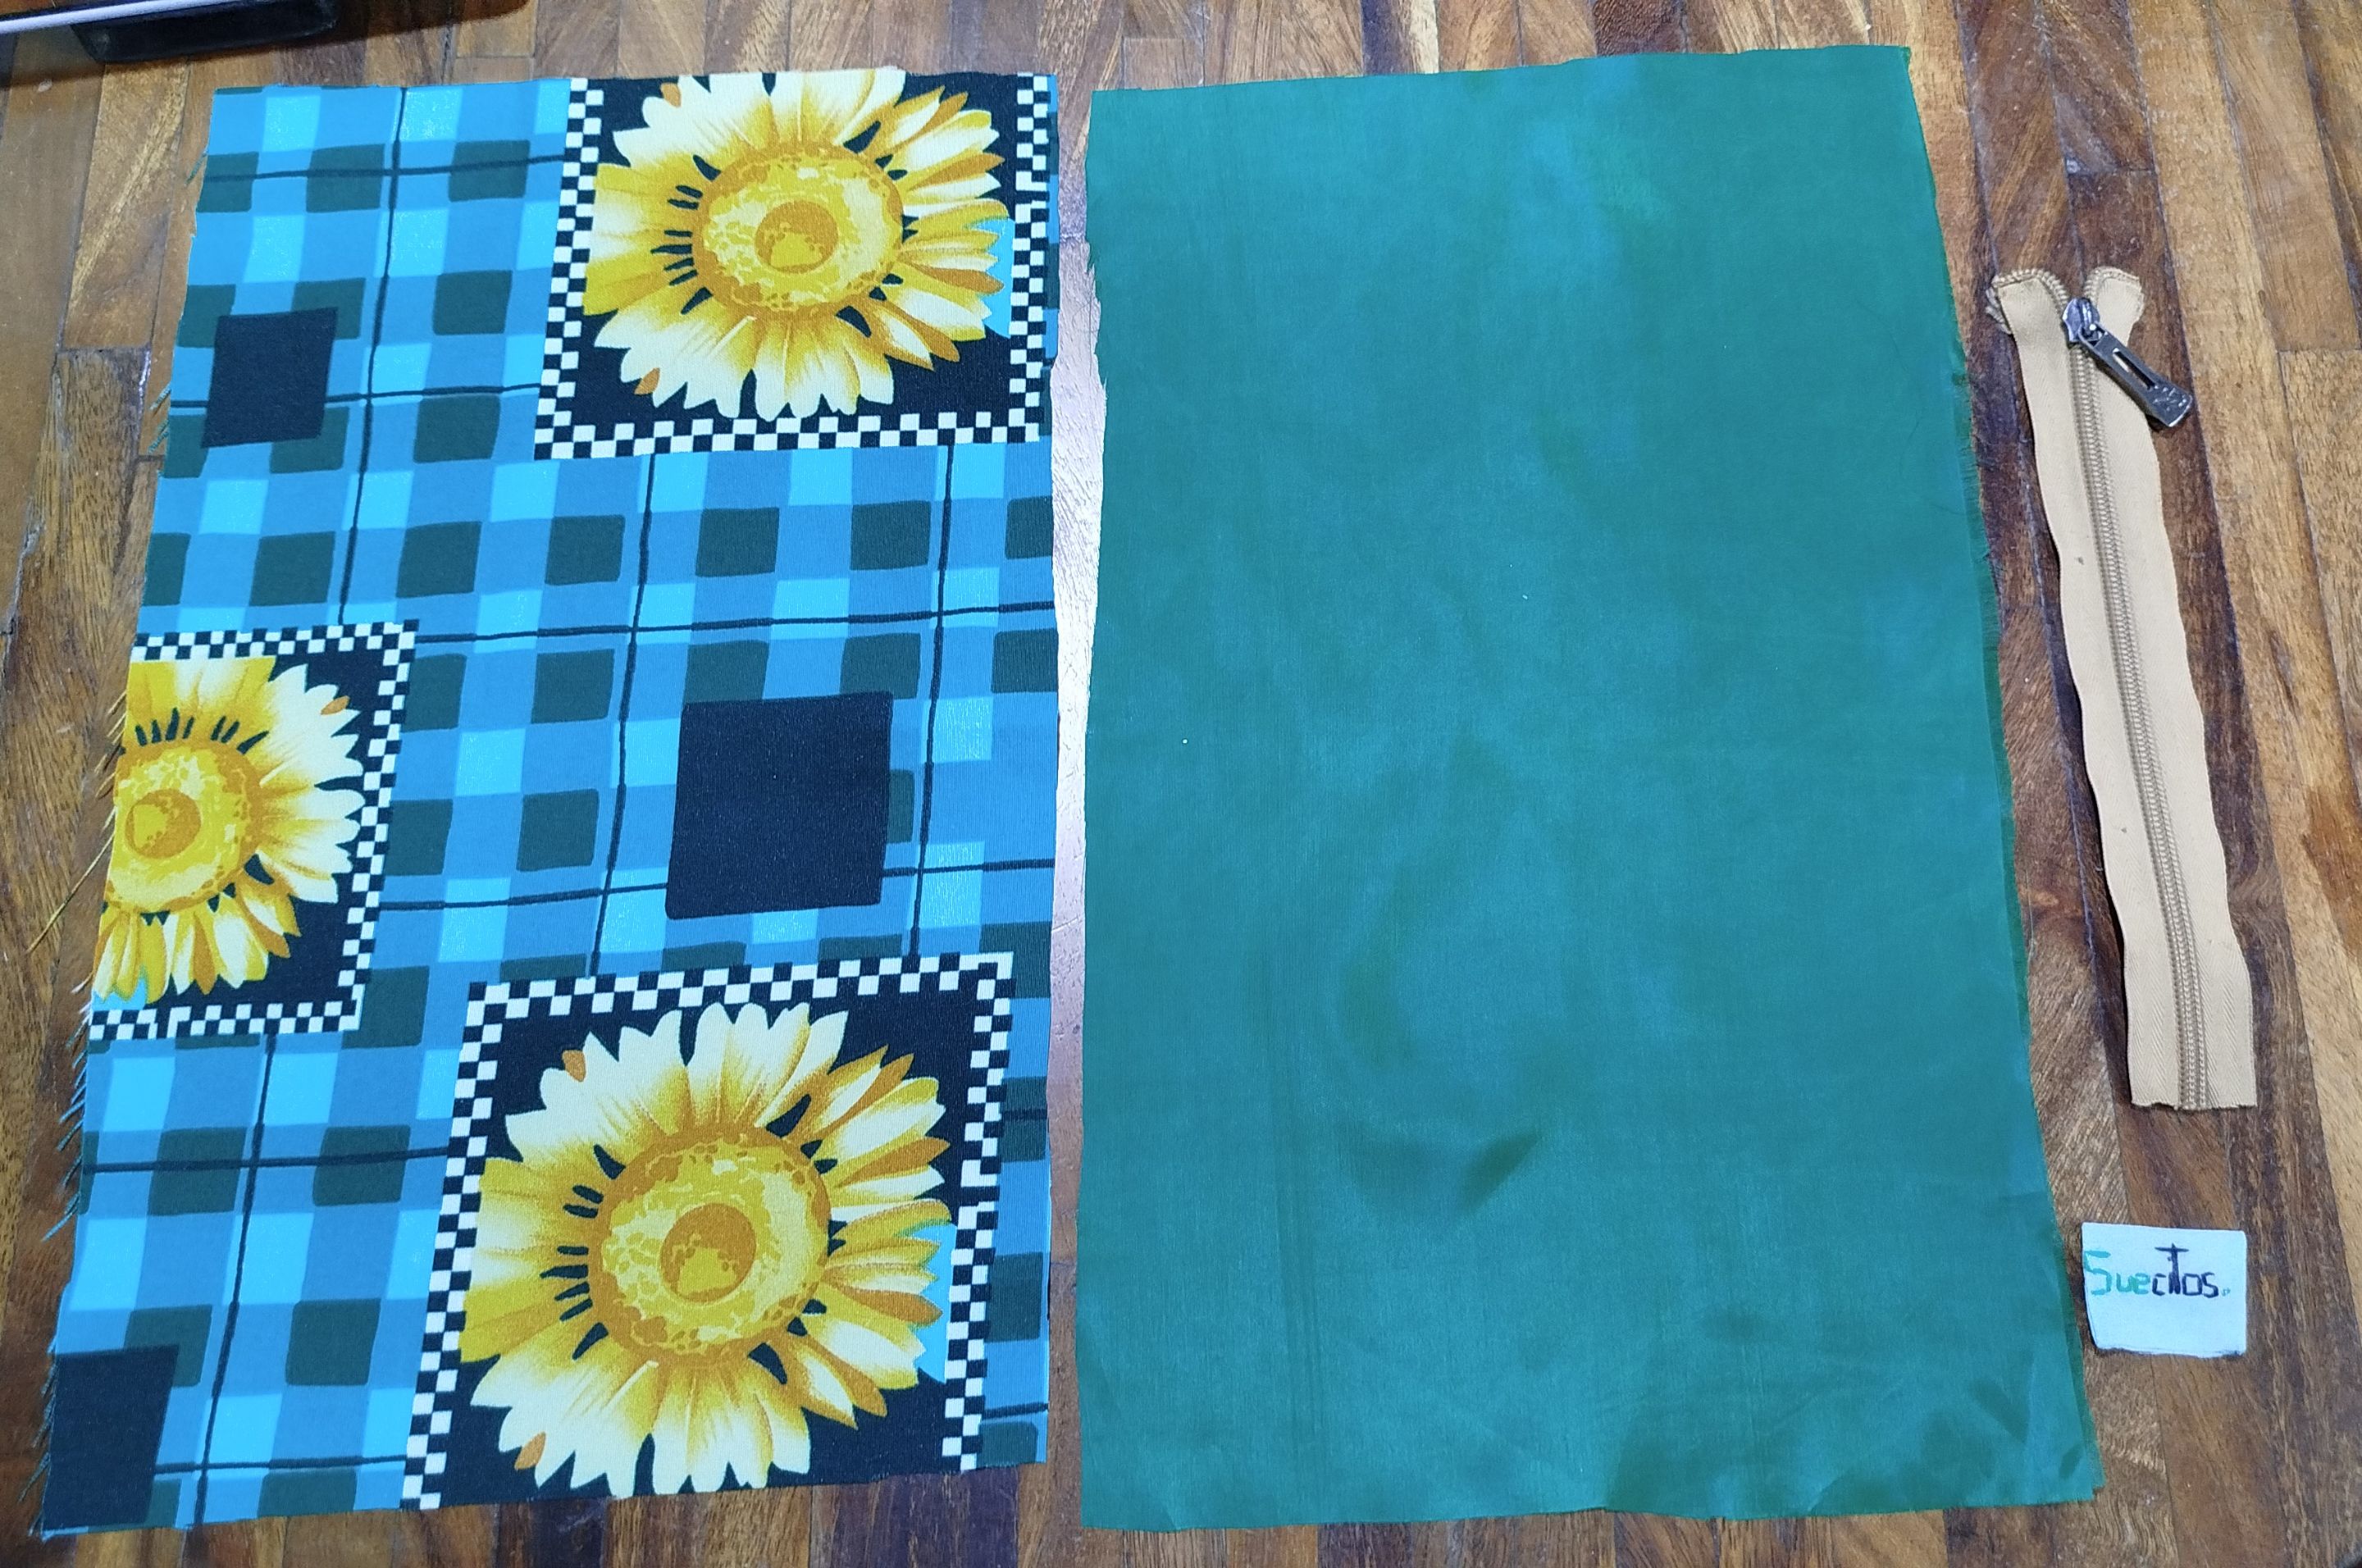
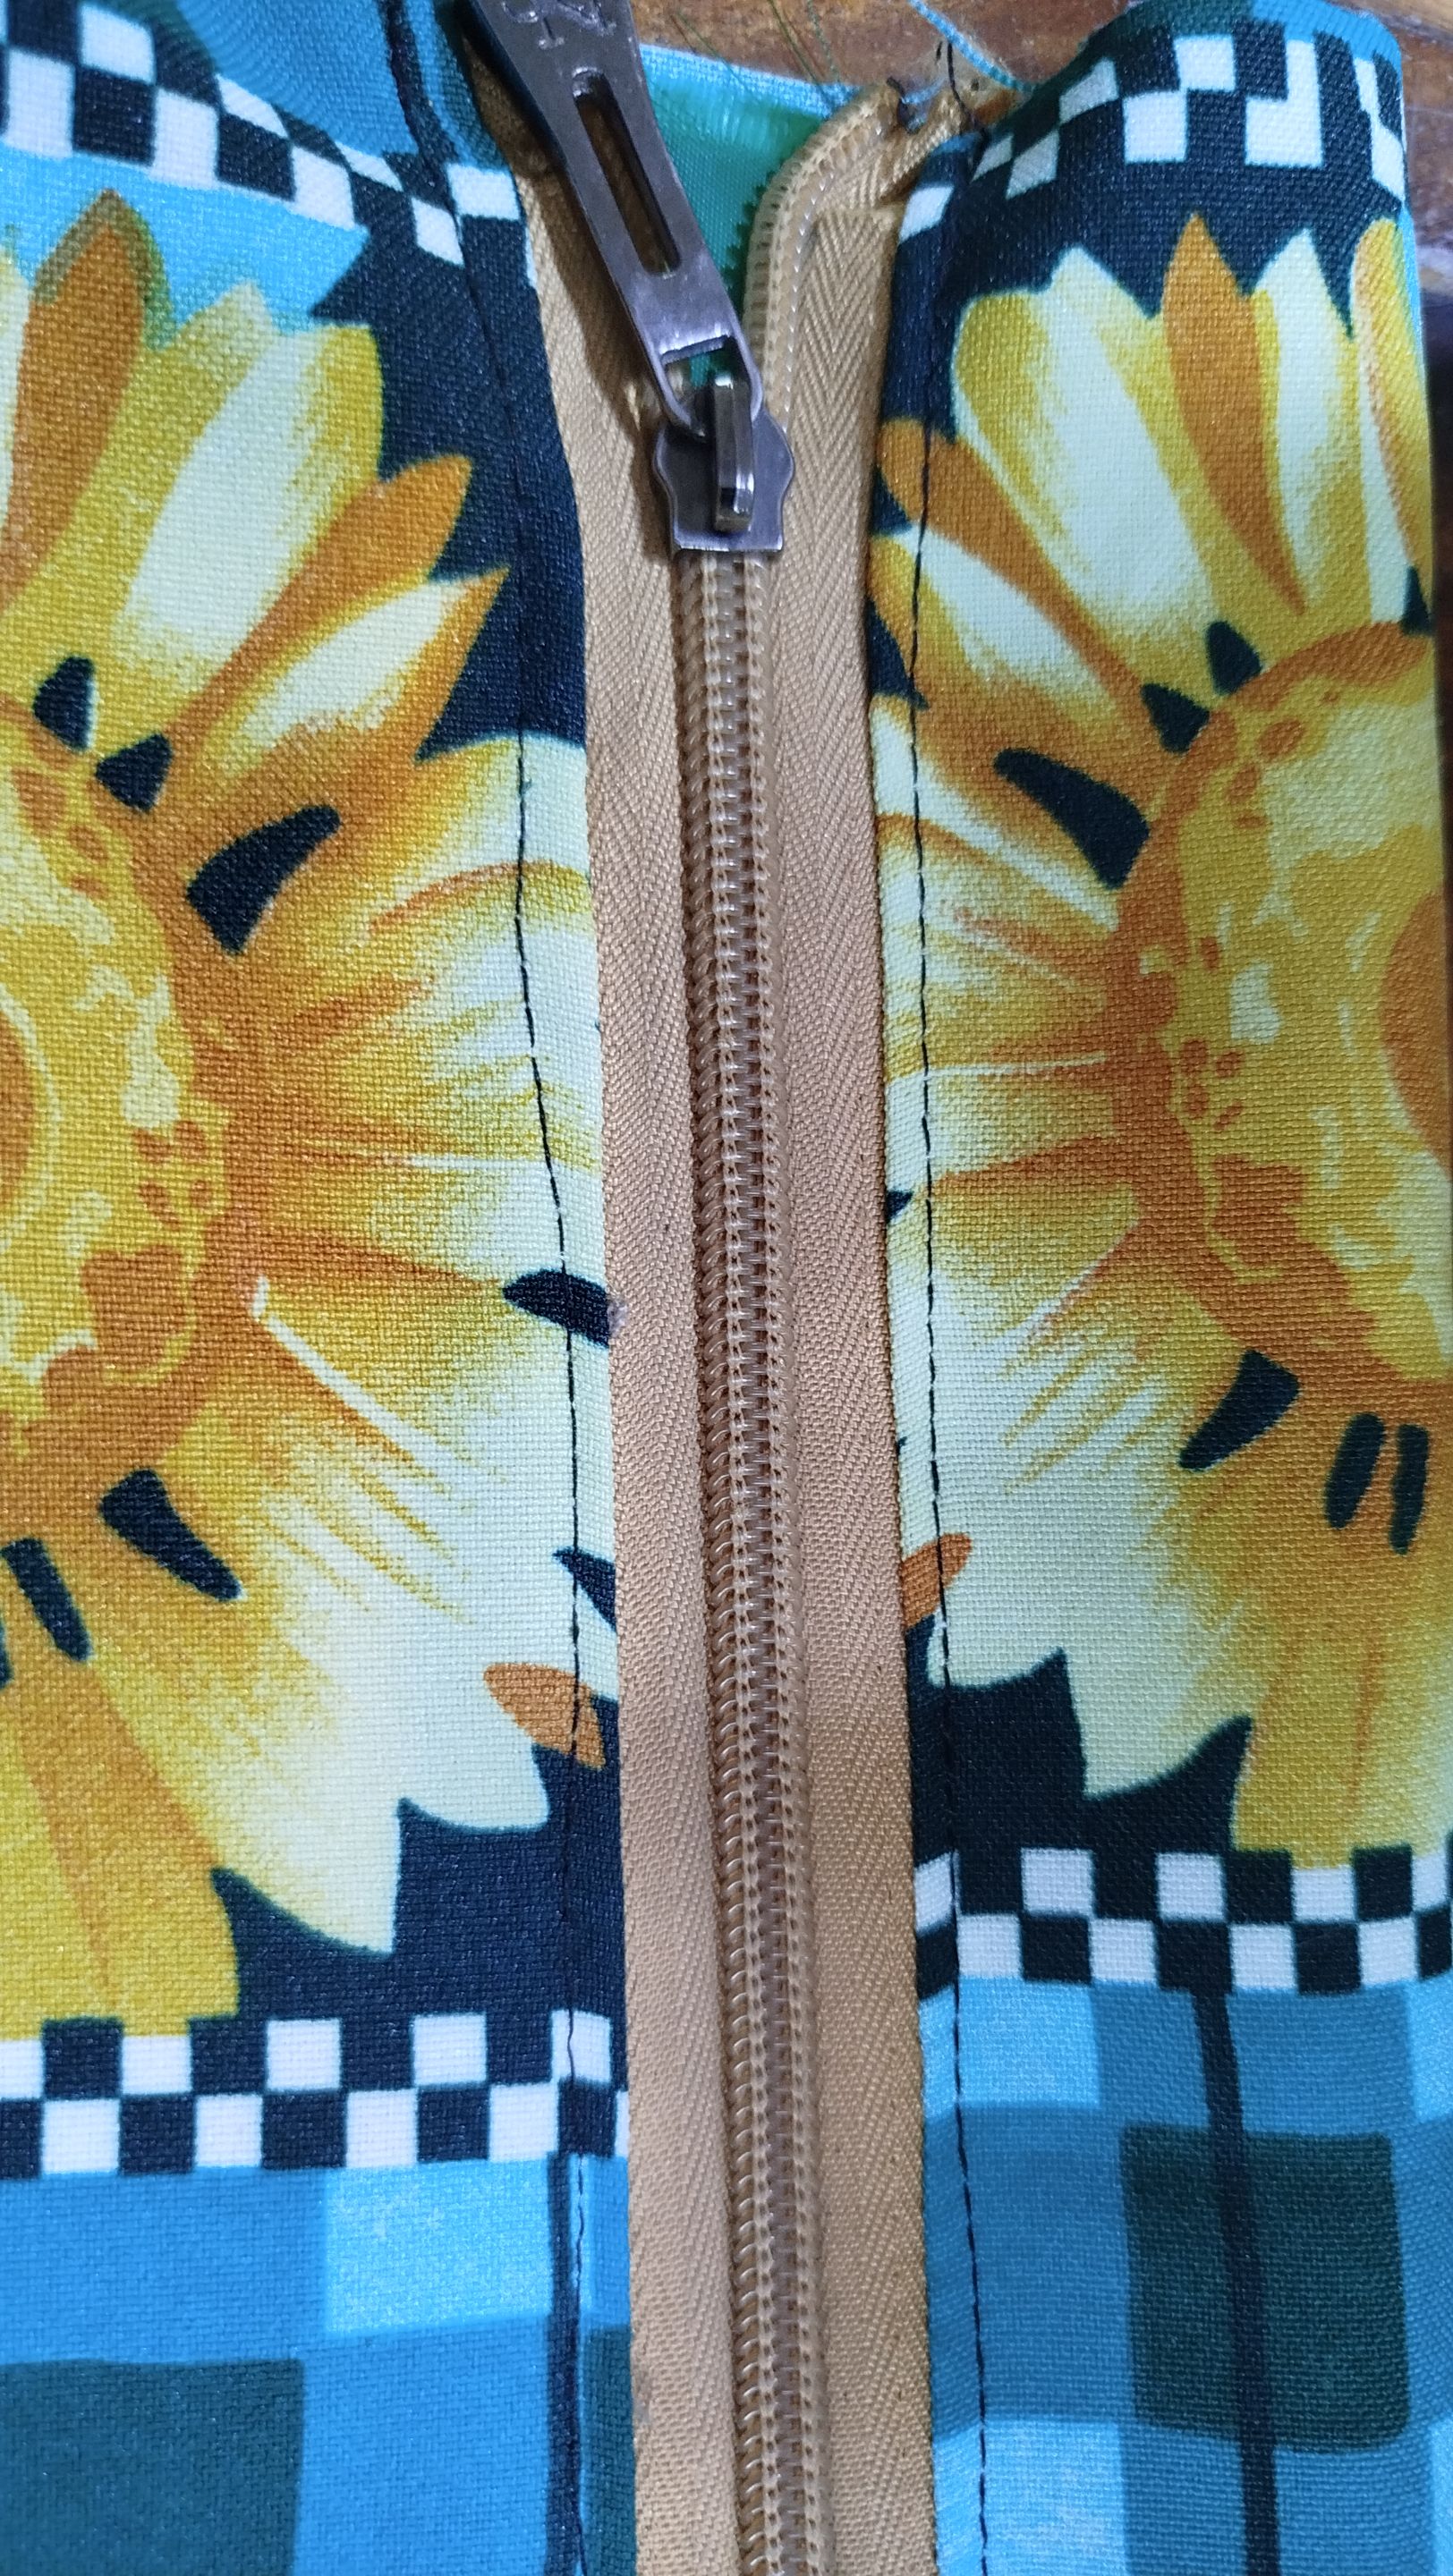
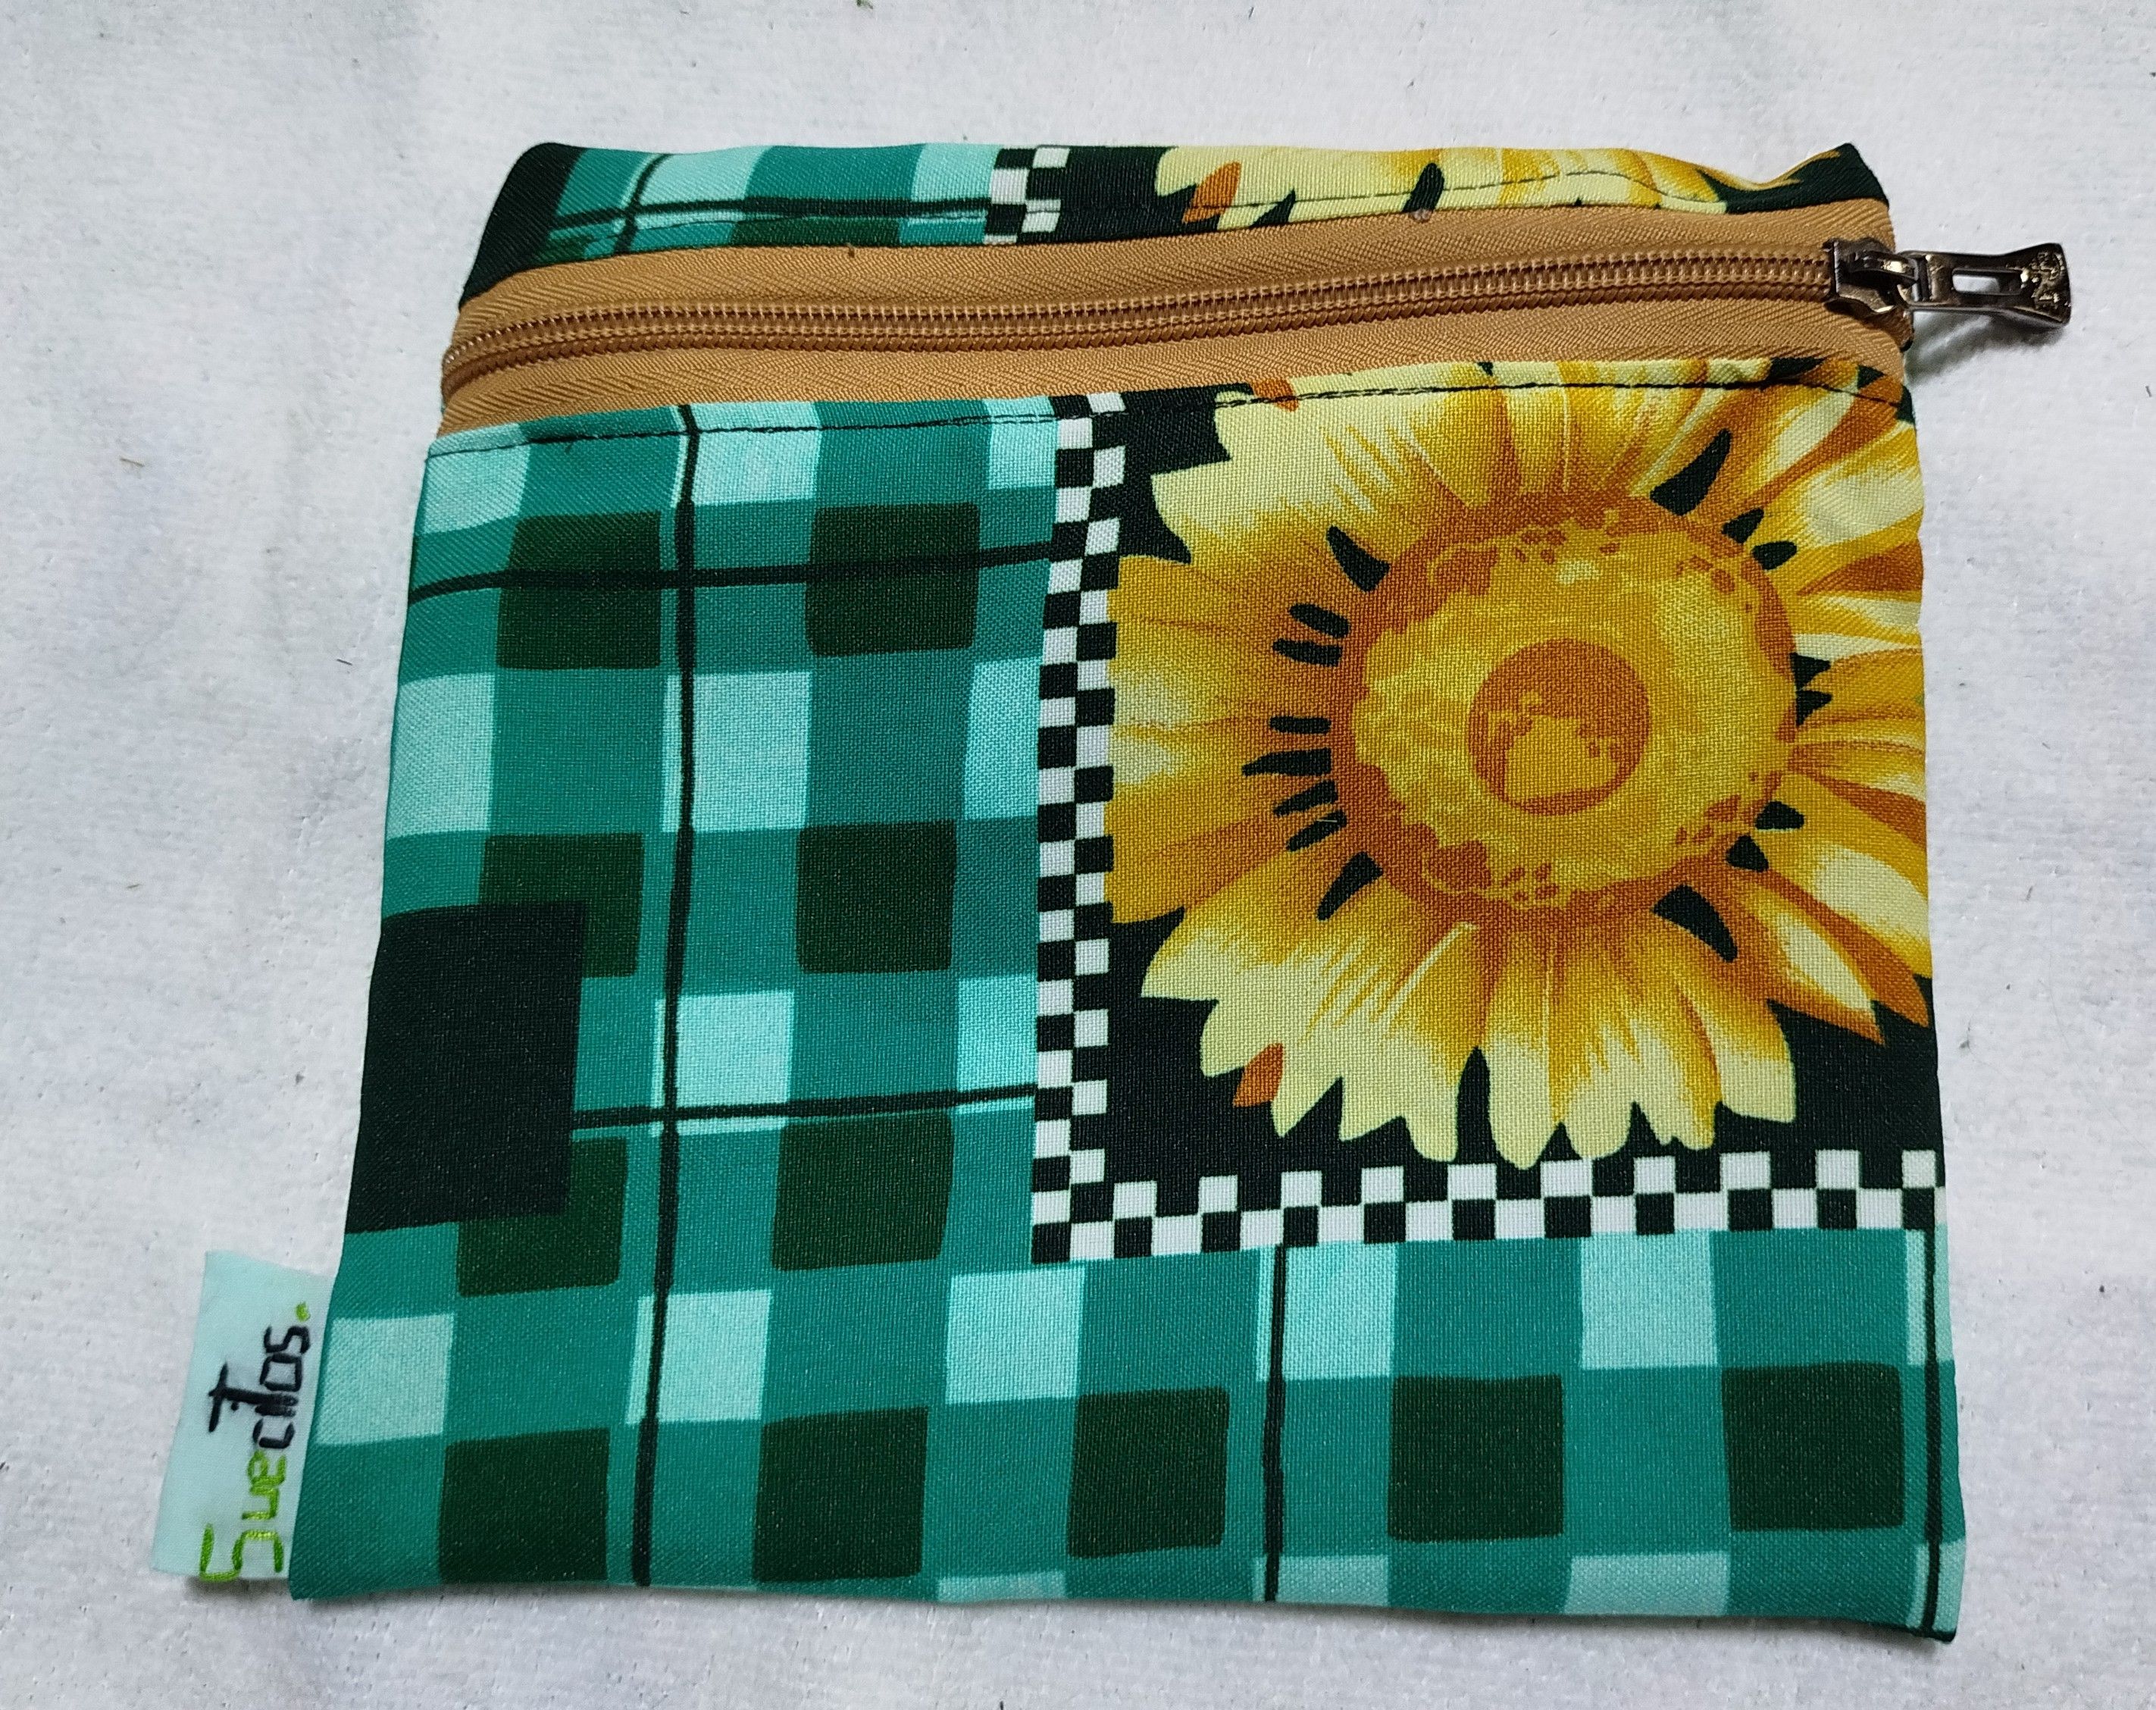
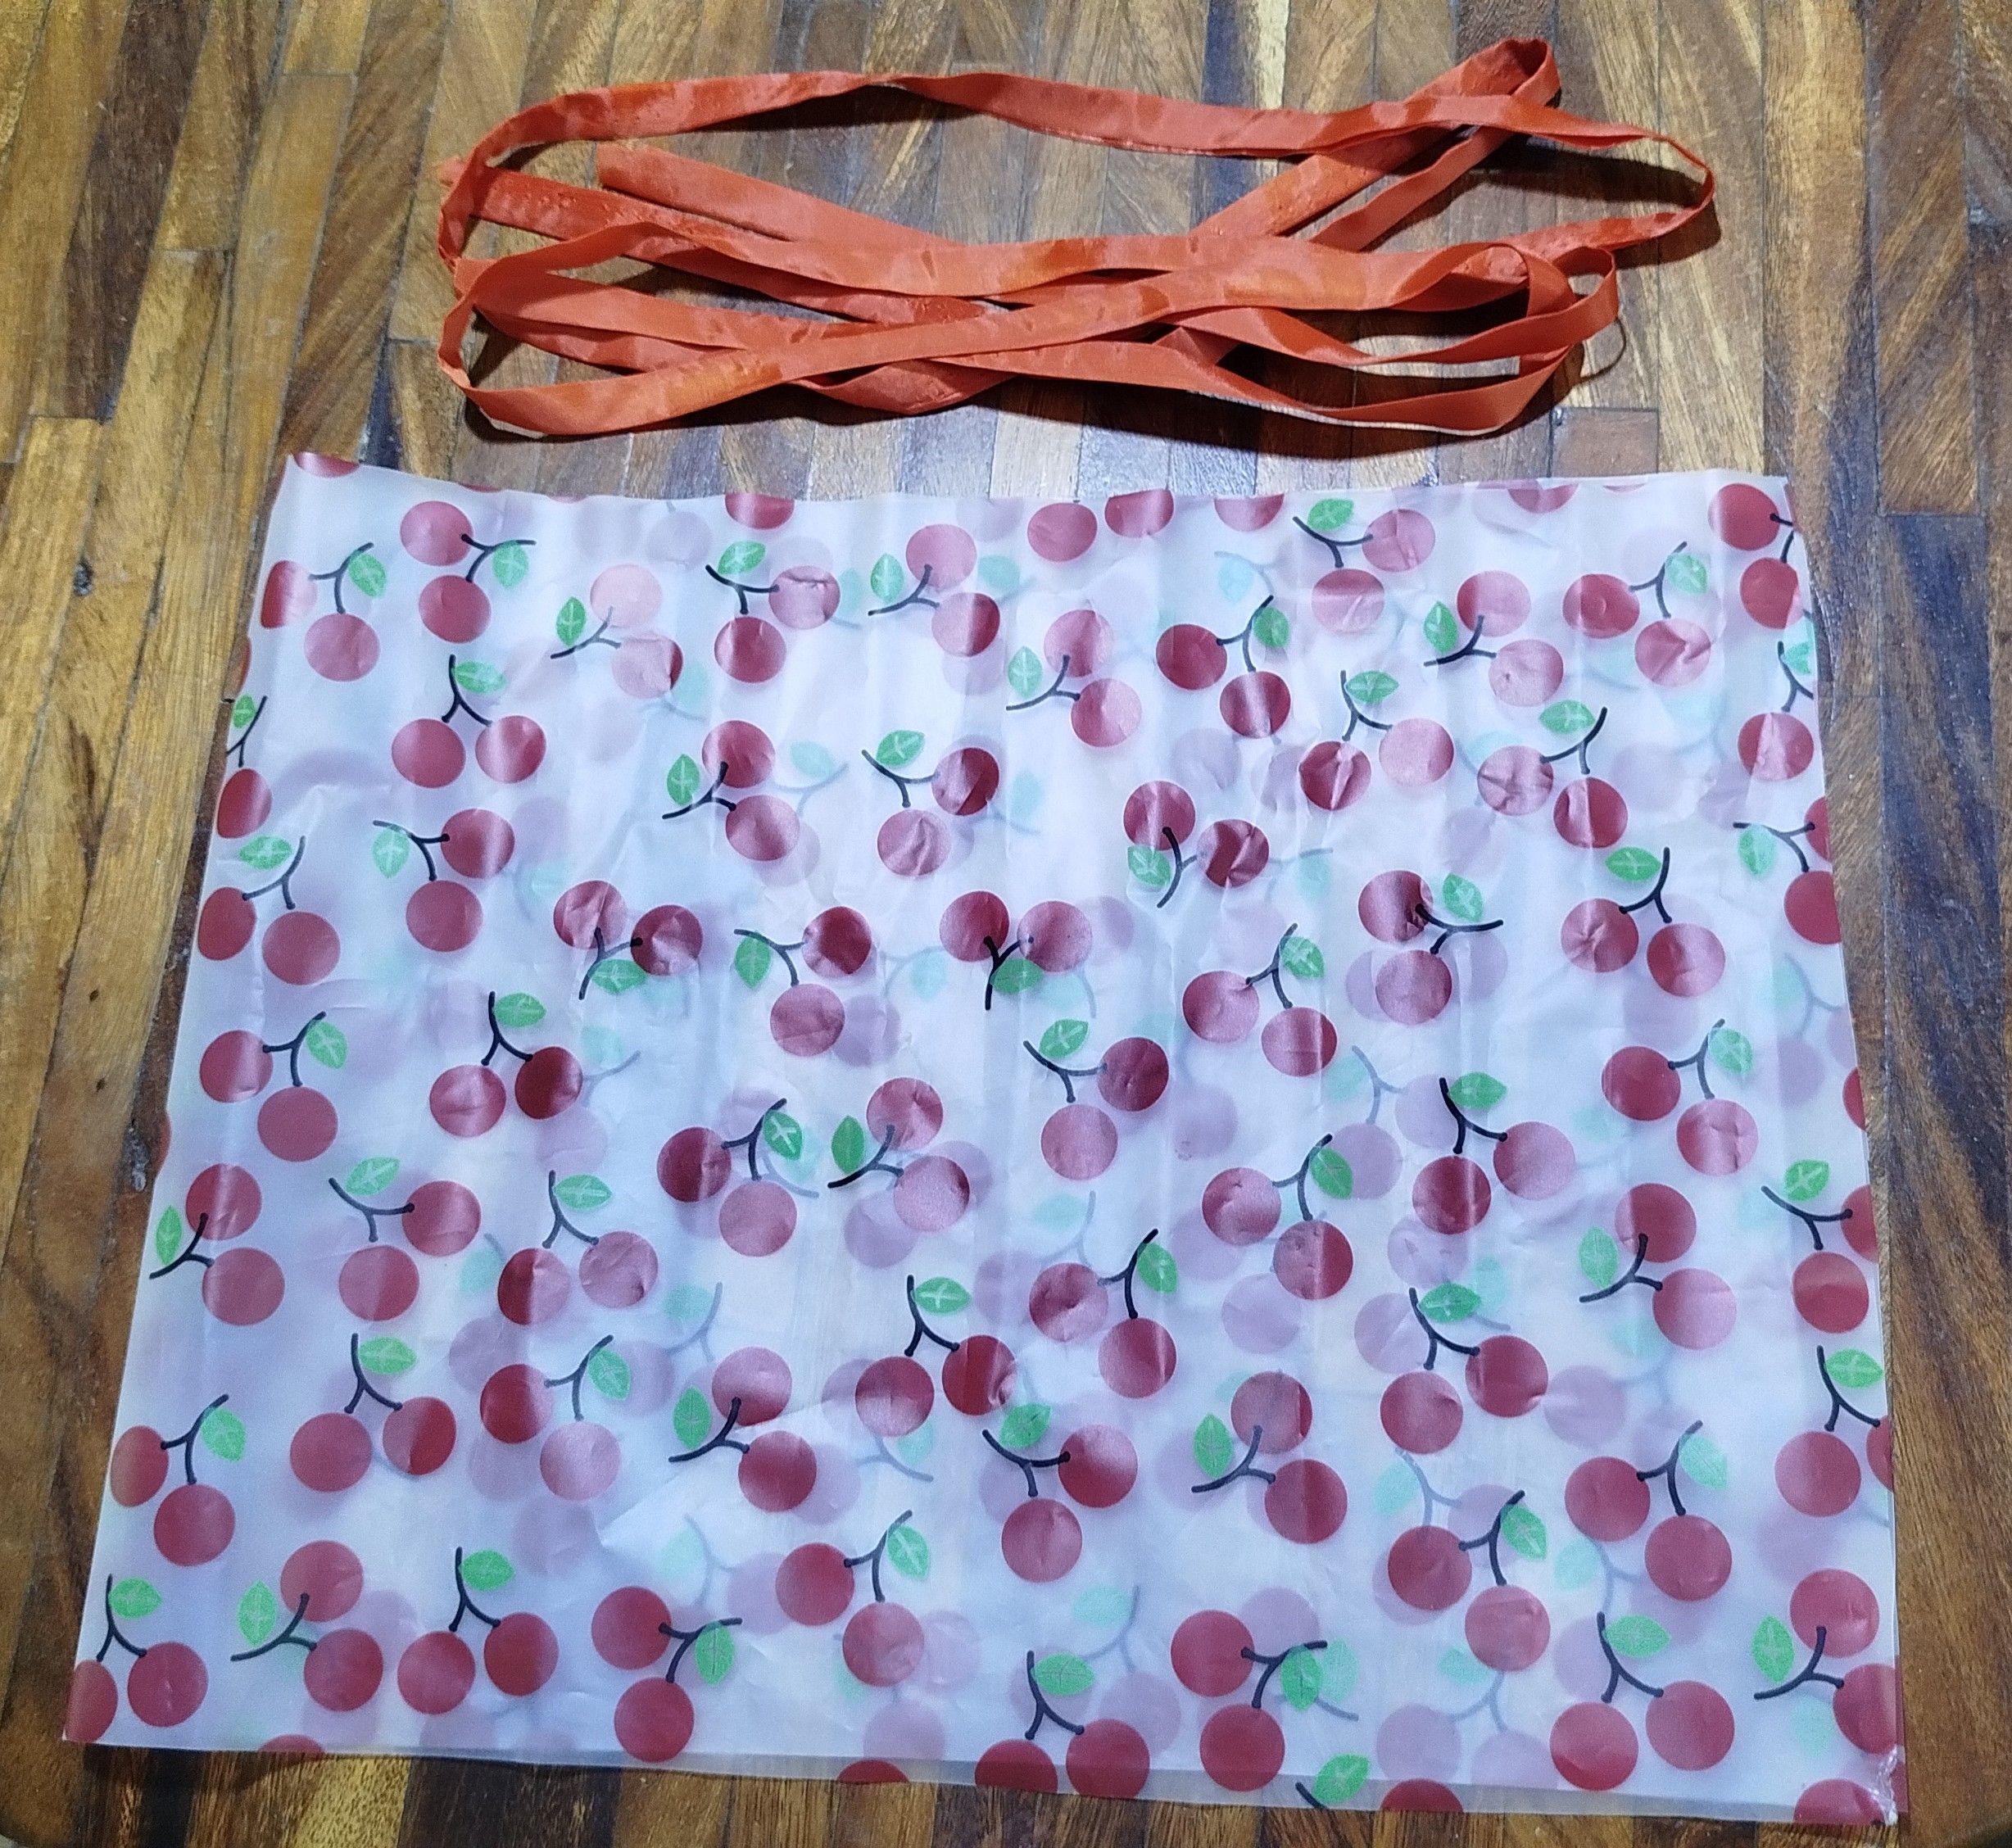
Another gift I gave my grandmother, and which I didn't expect her to like as much as the pot holders, was an organizing bag. I thought it would be ideal for her to store things when she needed to go out and keep them from getting mixed up with the rest of her items in her purse or for keeping in her drawer. She told me it was ideal for her pills (she takes several). All you need is a piece of fabric, a lining, and a closure. The measurements are up to you.
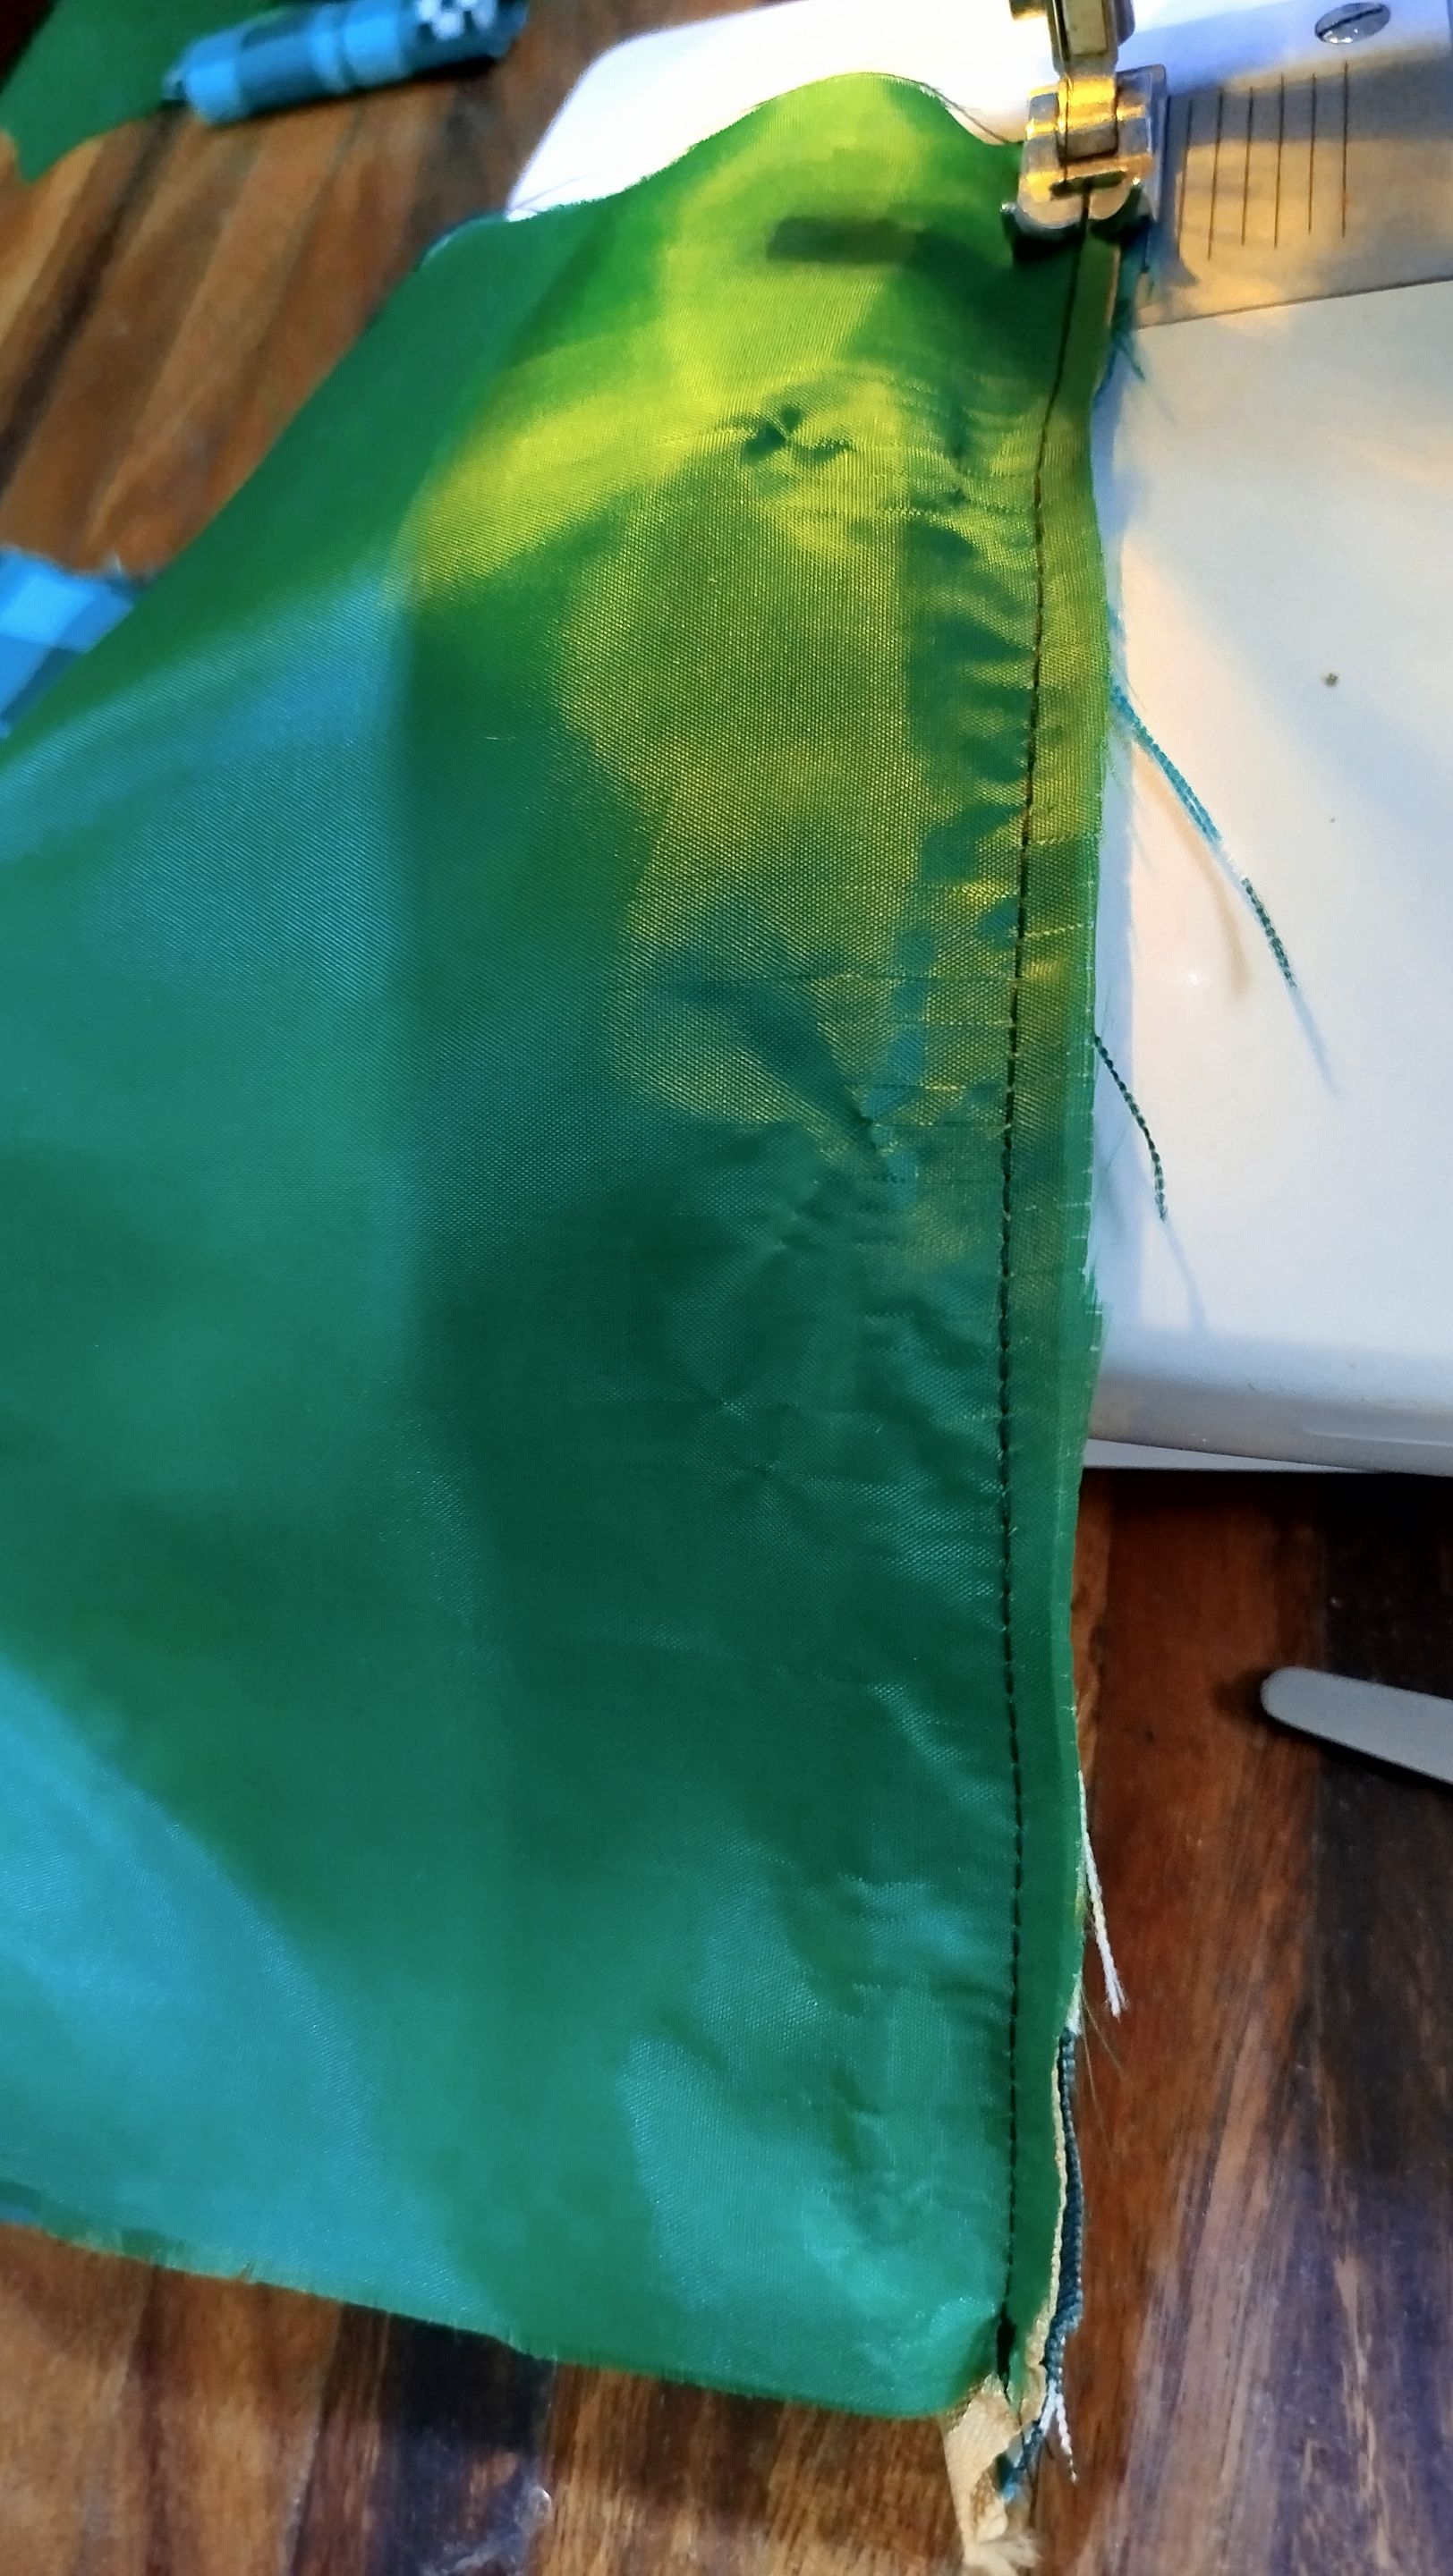
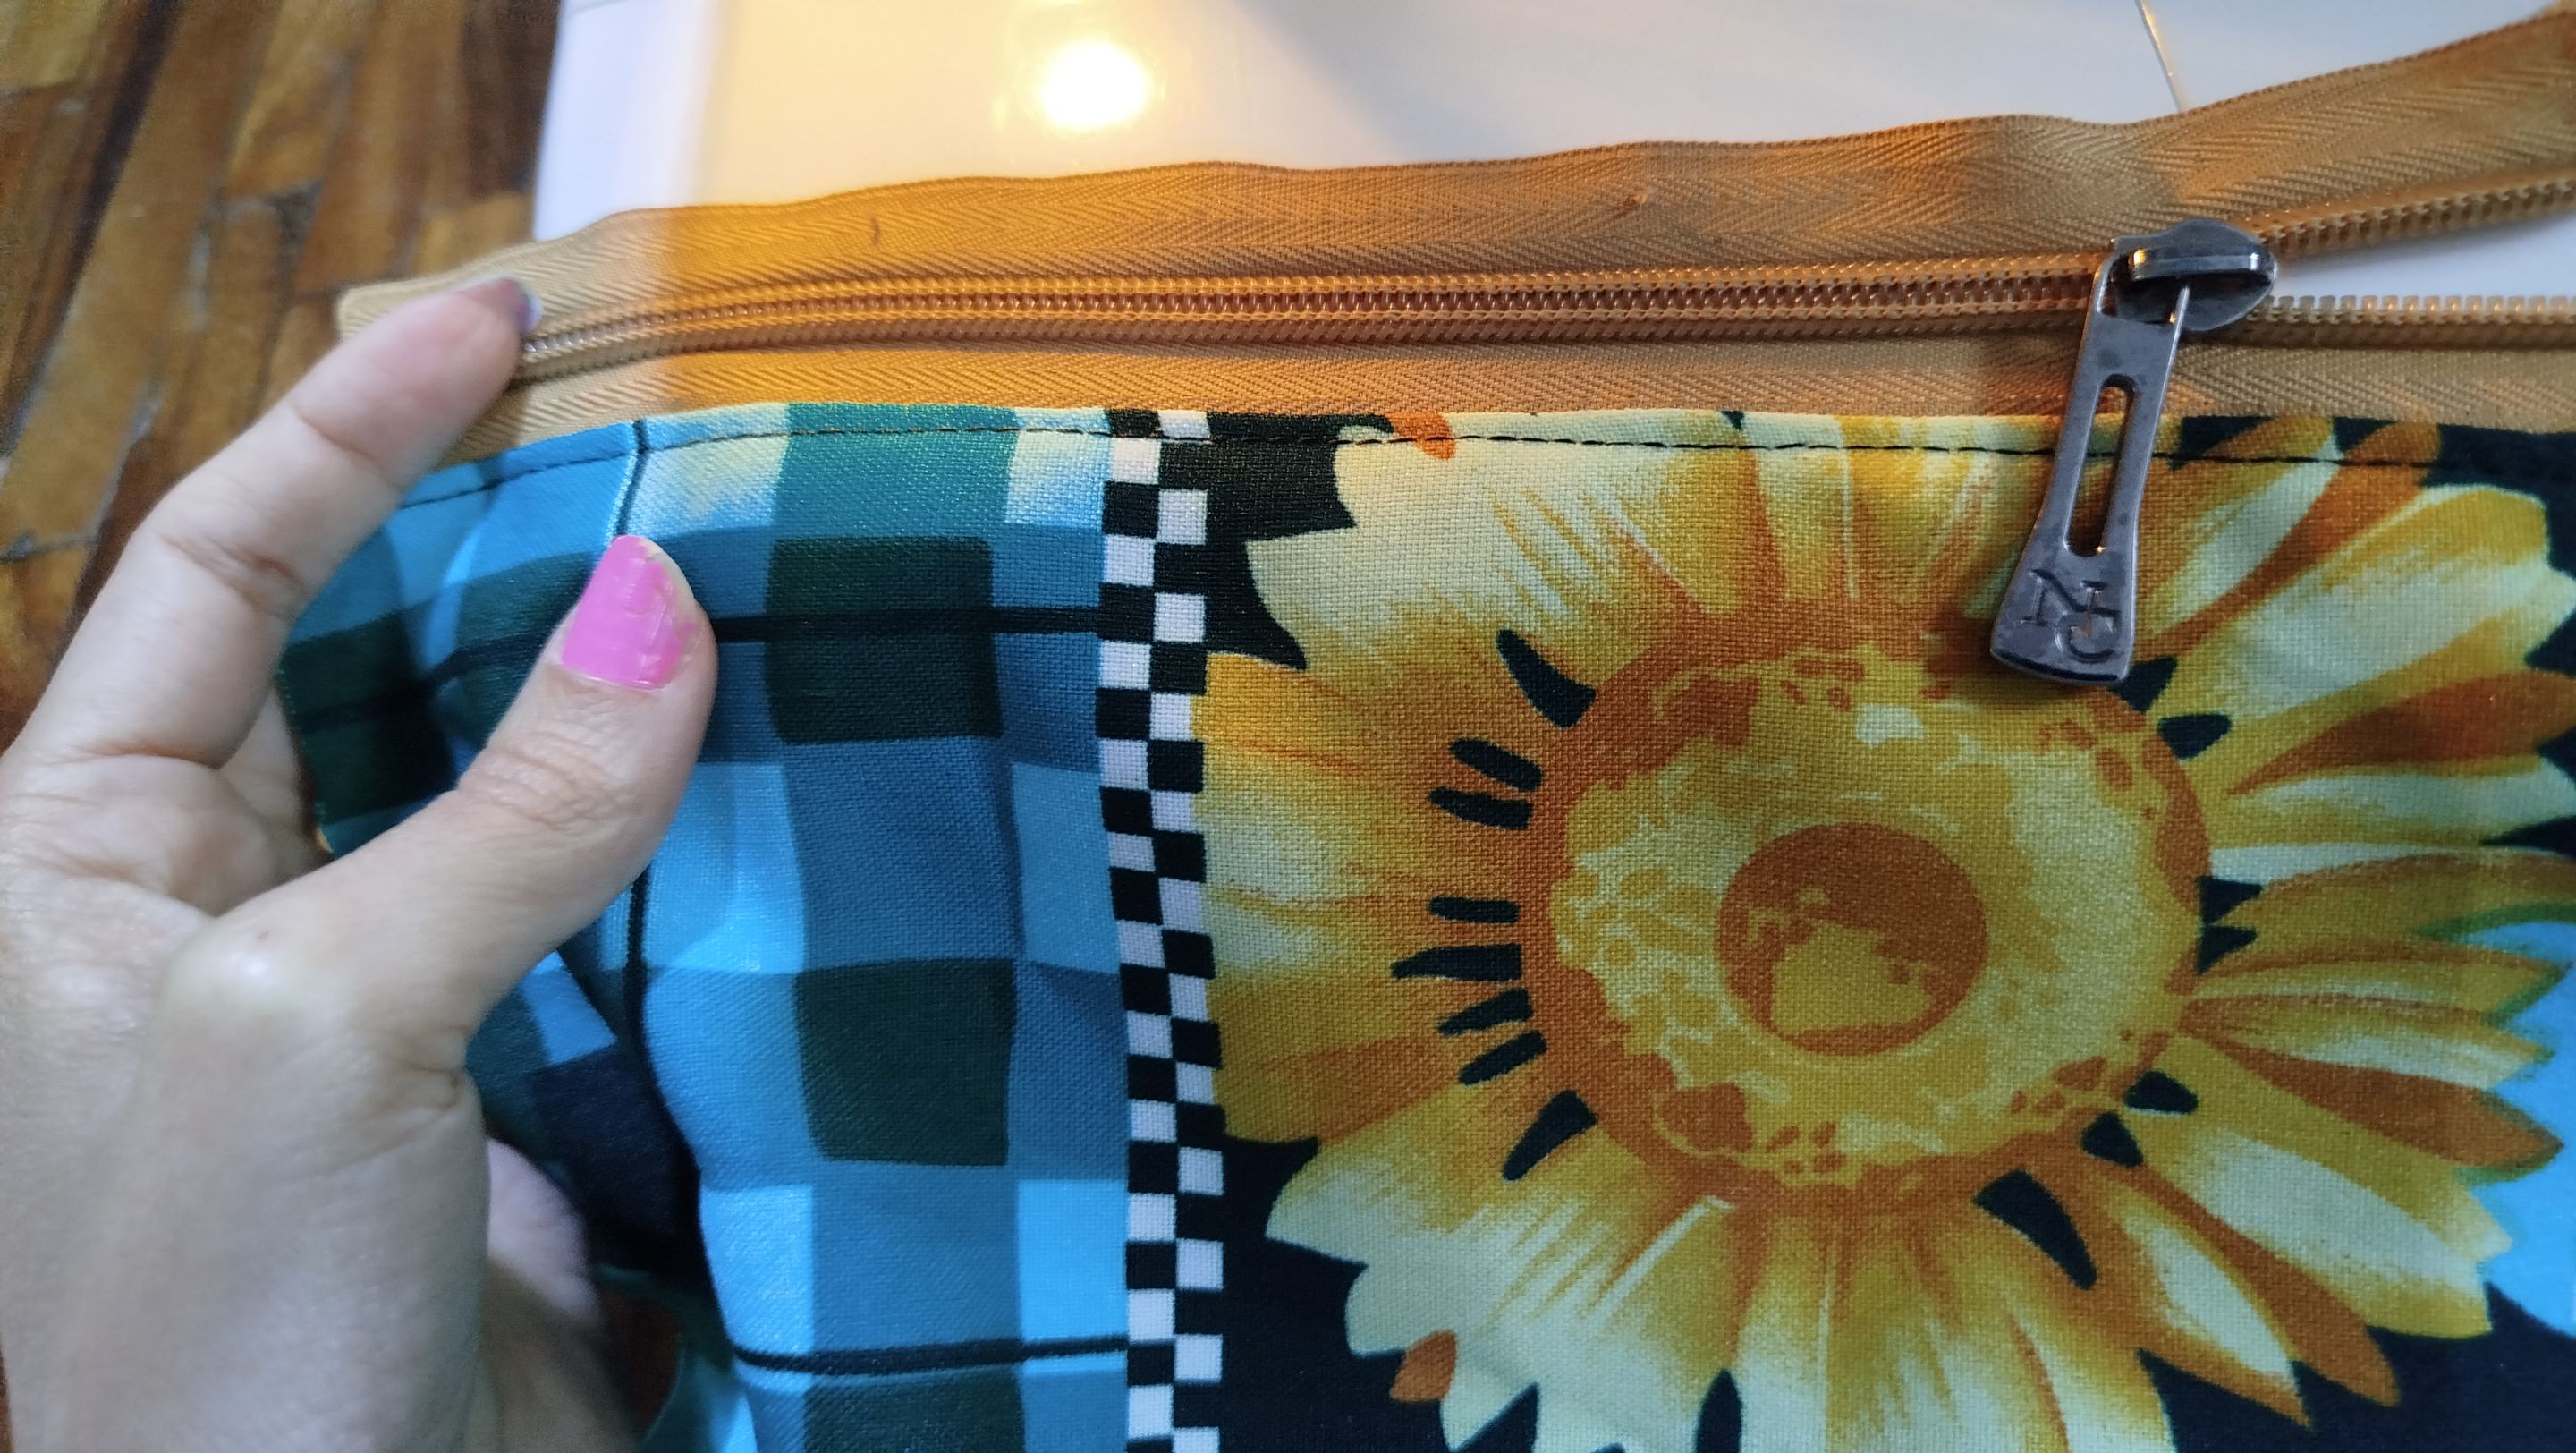
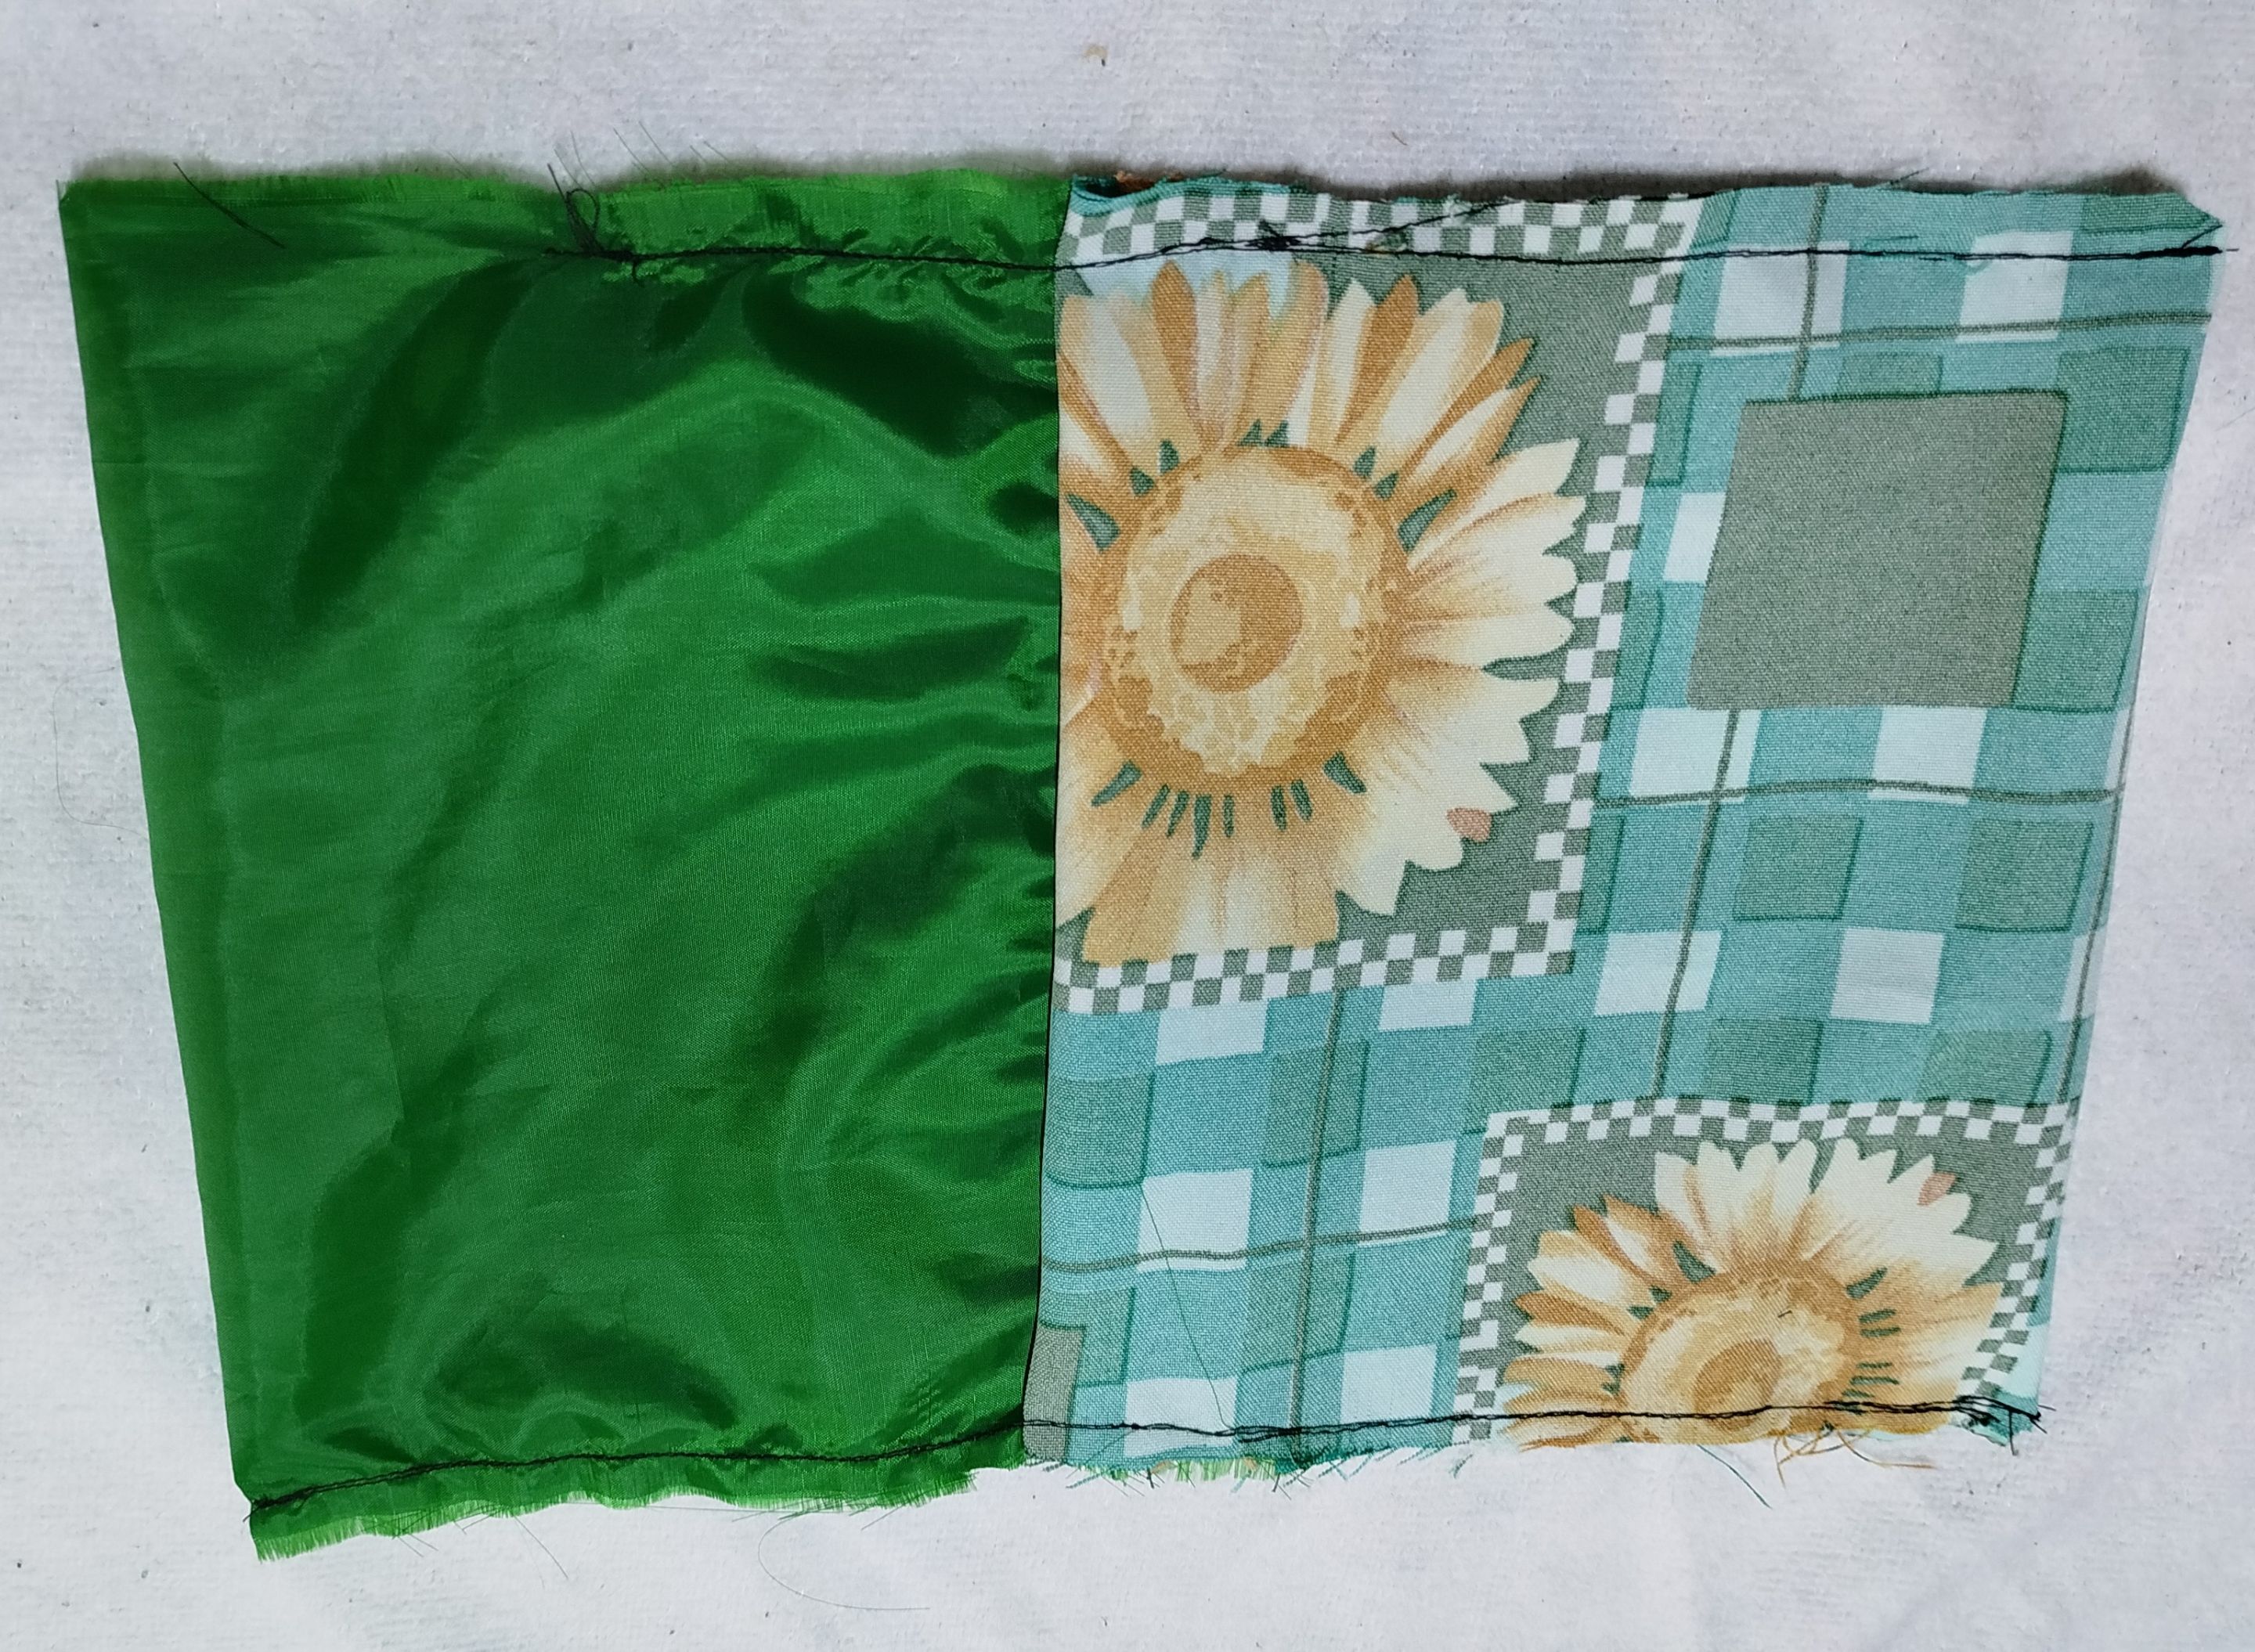
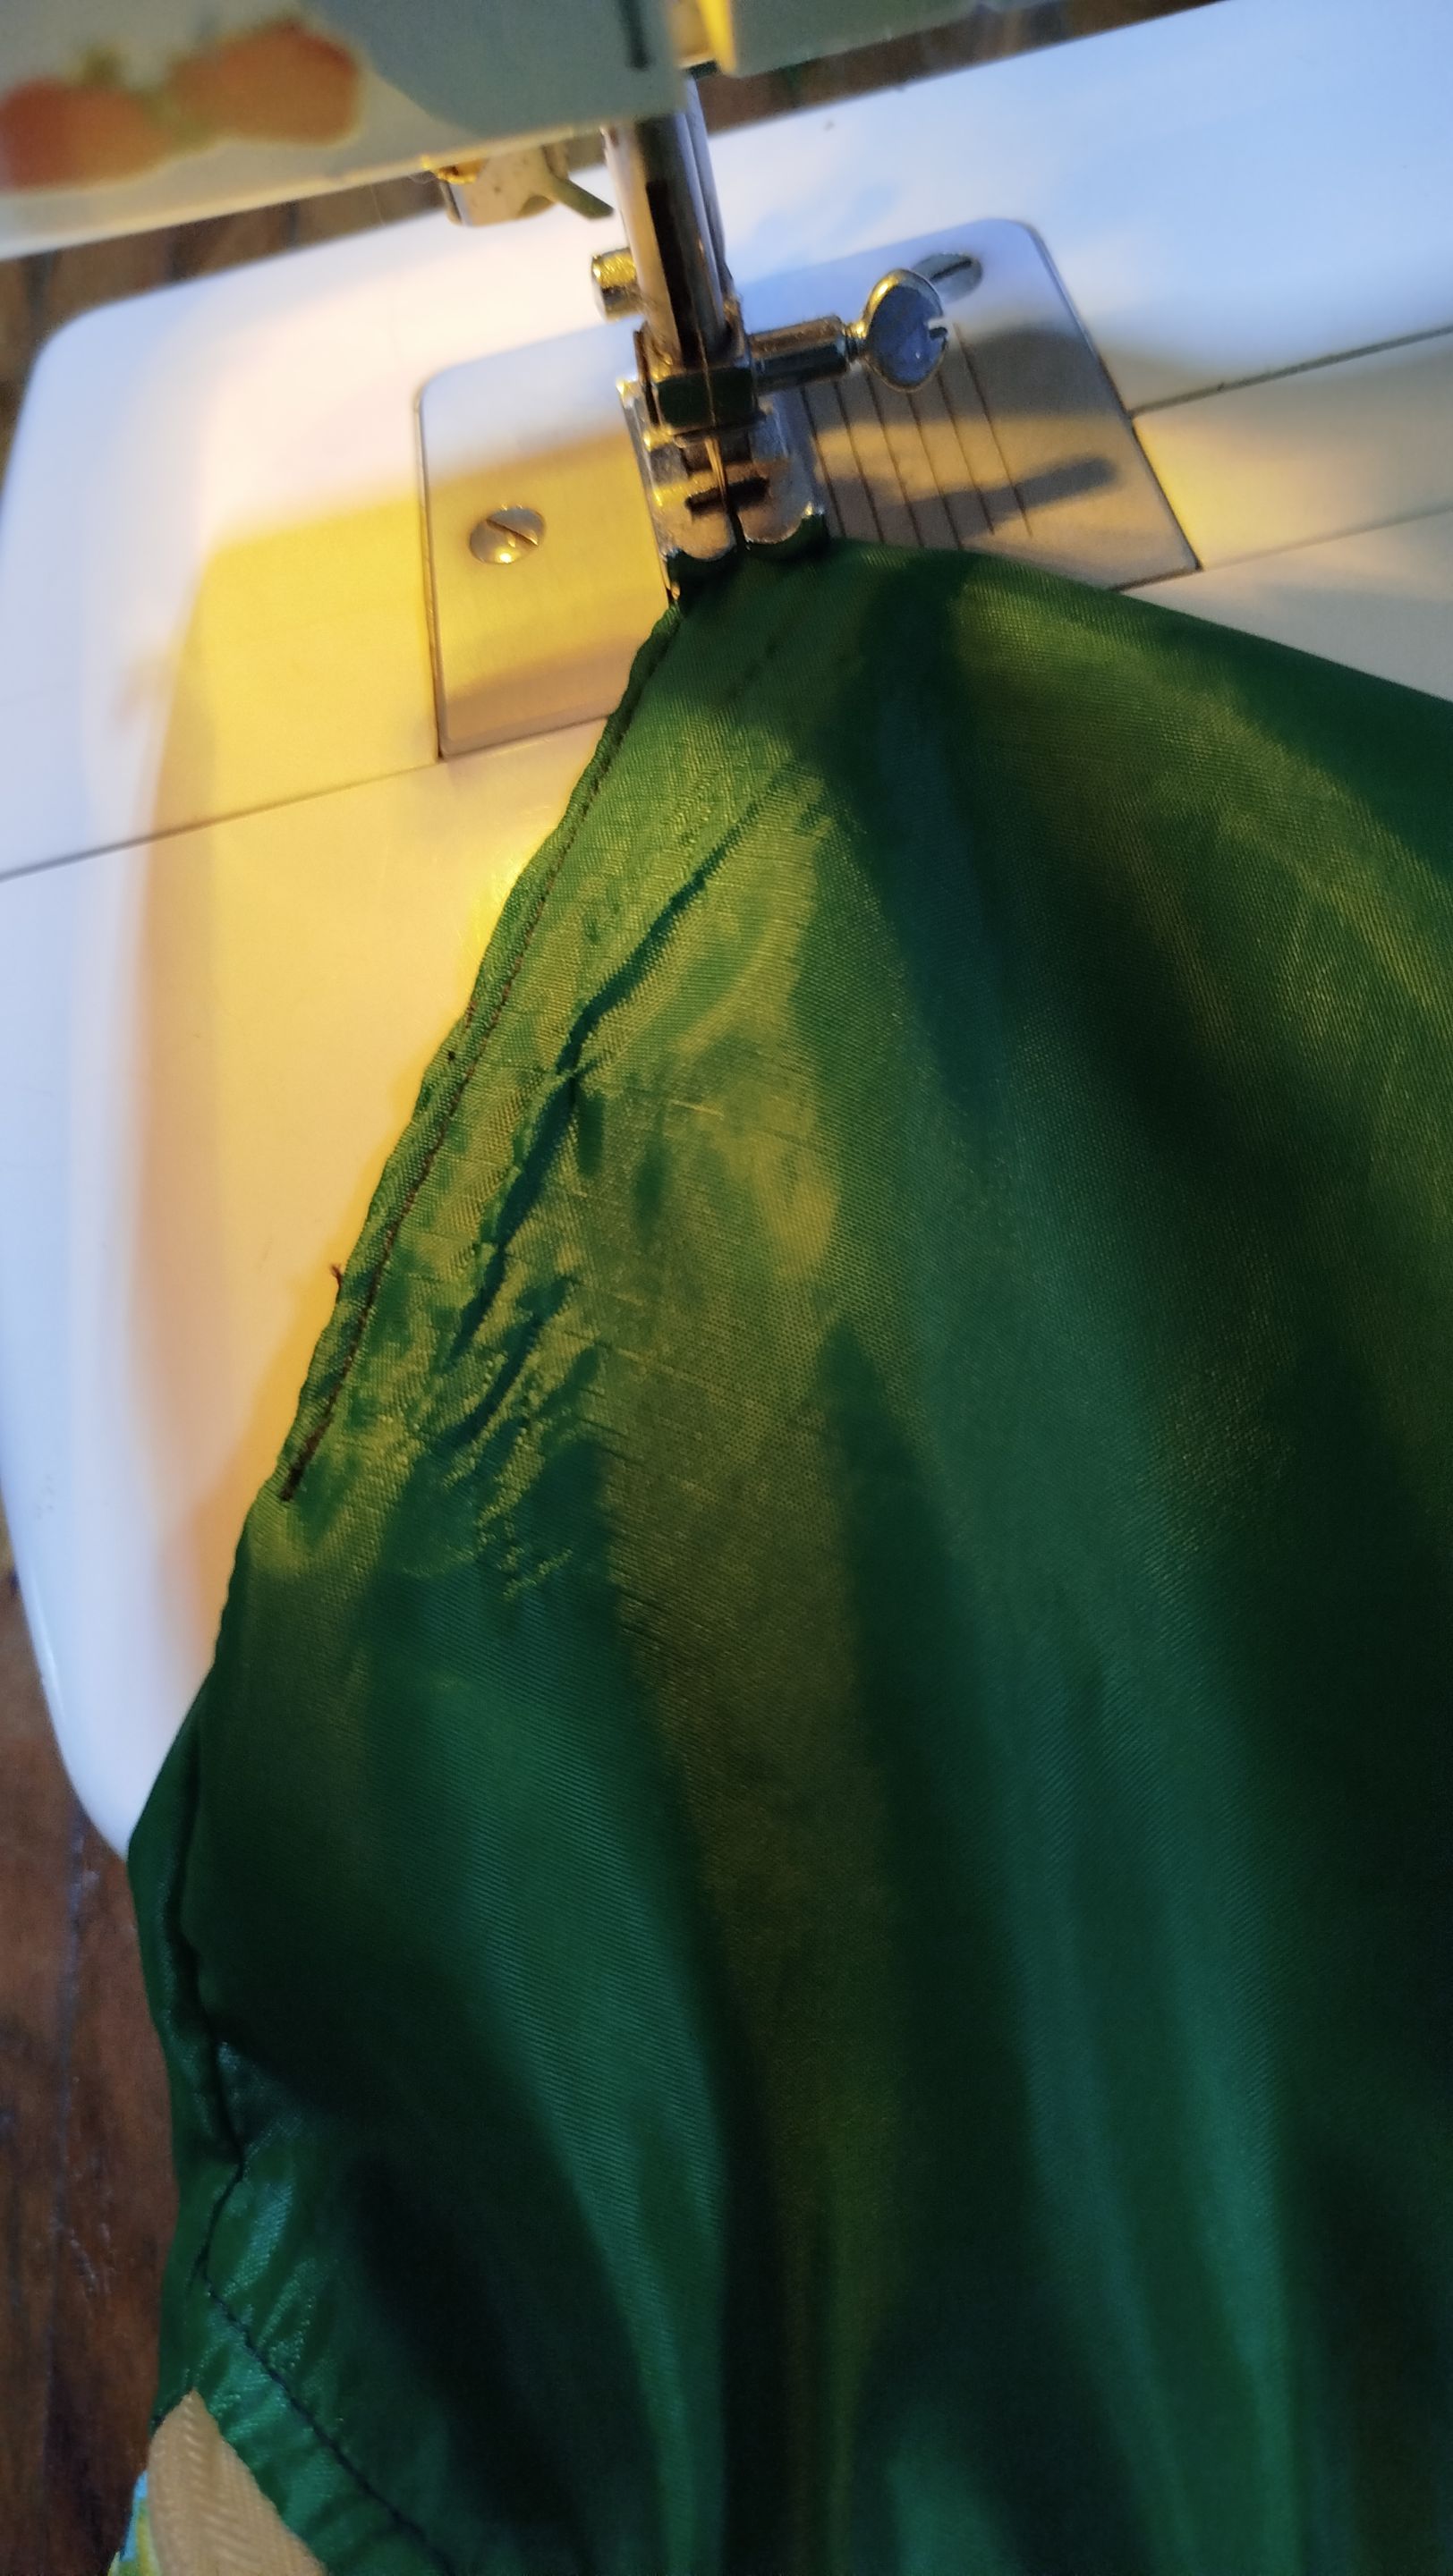
The first thing I do is sew the lining to the fabric. If you don't have one, that's fine if it's a personal bag, but preferably the fabric is somewhat thick. Once this step is done, I sew the closure to both ends and, using a seam, press the fabric down.
 |
 |
 |
|---|---|---|
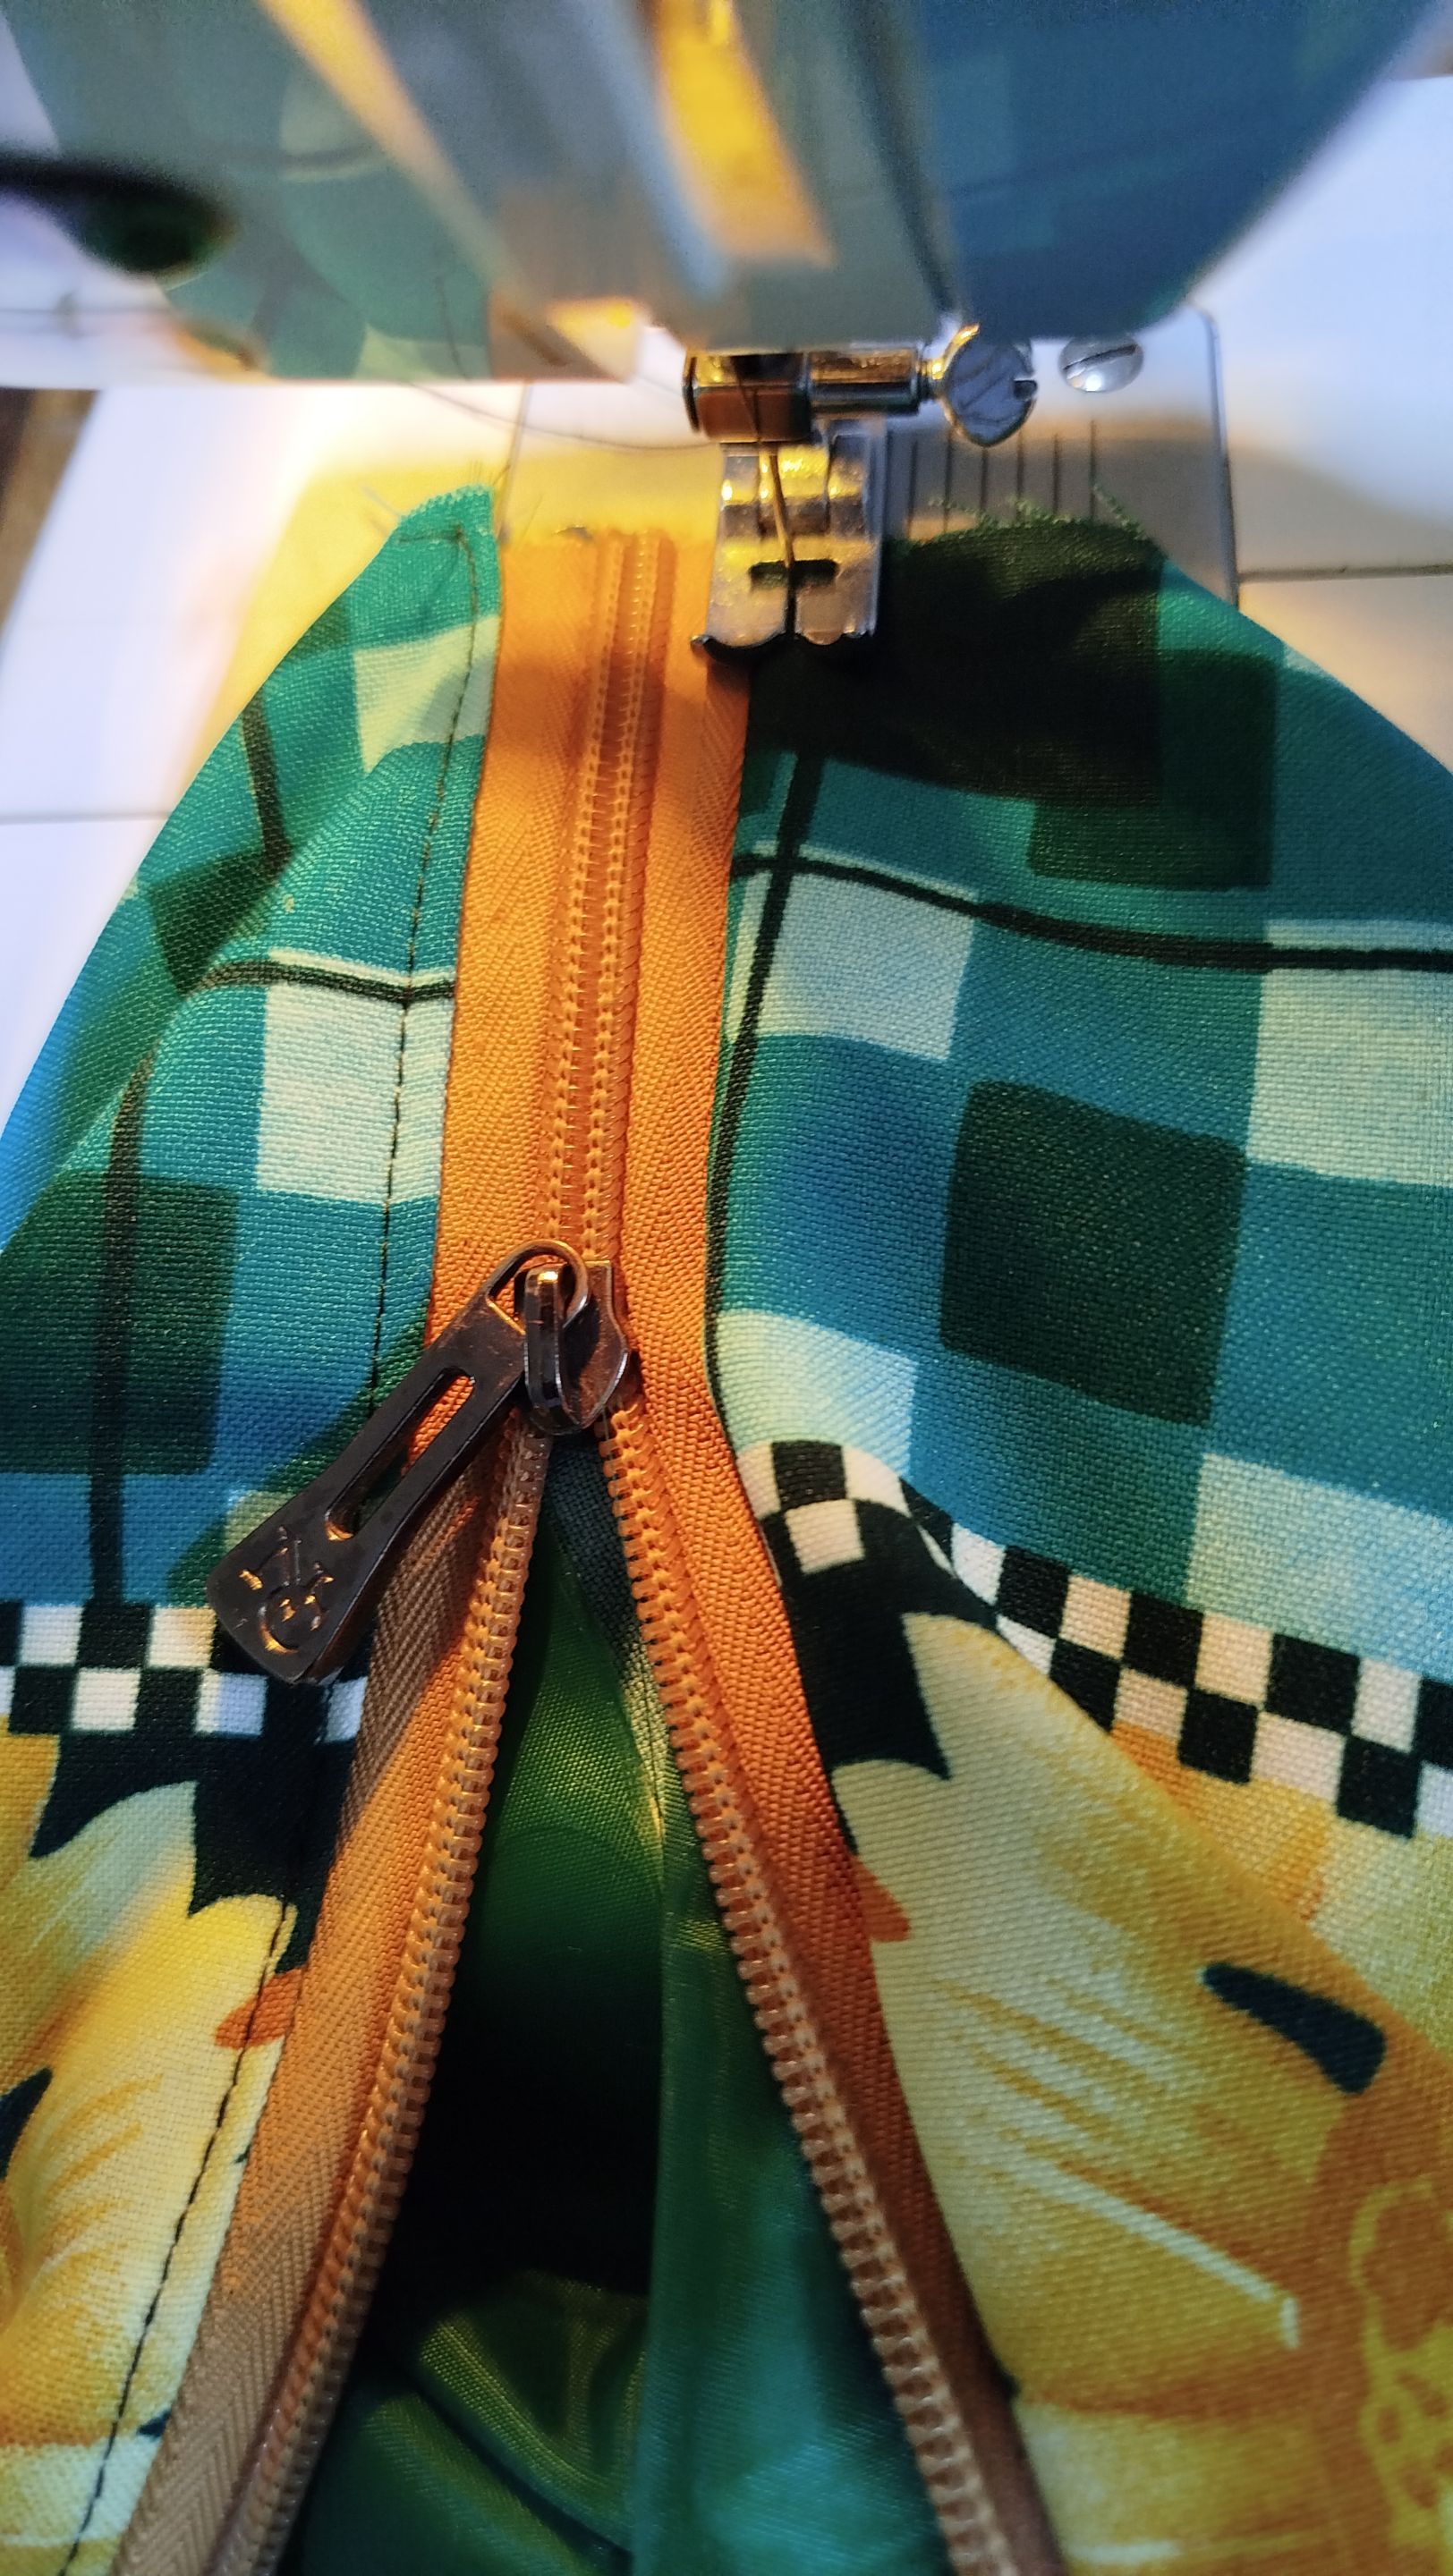
Next, you sew the right sides of the fabric together, leaving an opening to turn the piece inside out. Once you've done this, close that opening, and your bag is ready. I'm planning on making one to store my chargers, because I have three and they're always lying around, haha. I'd also like another one to store threads and other useful scraps. The options are endless!
 |
 |
 |
|---|---|---|
🧵🎨✨ PLACEMAT OR TABLE MAT 🧵🎨✨
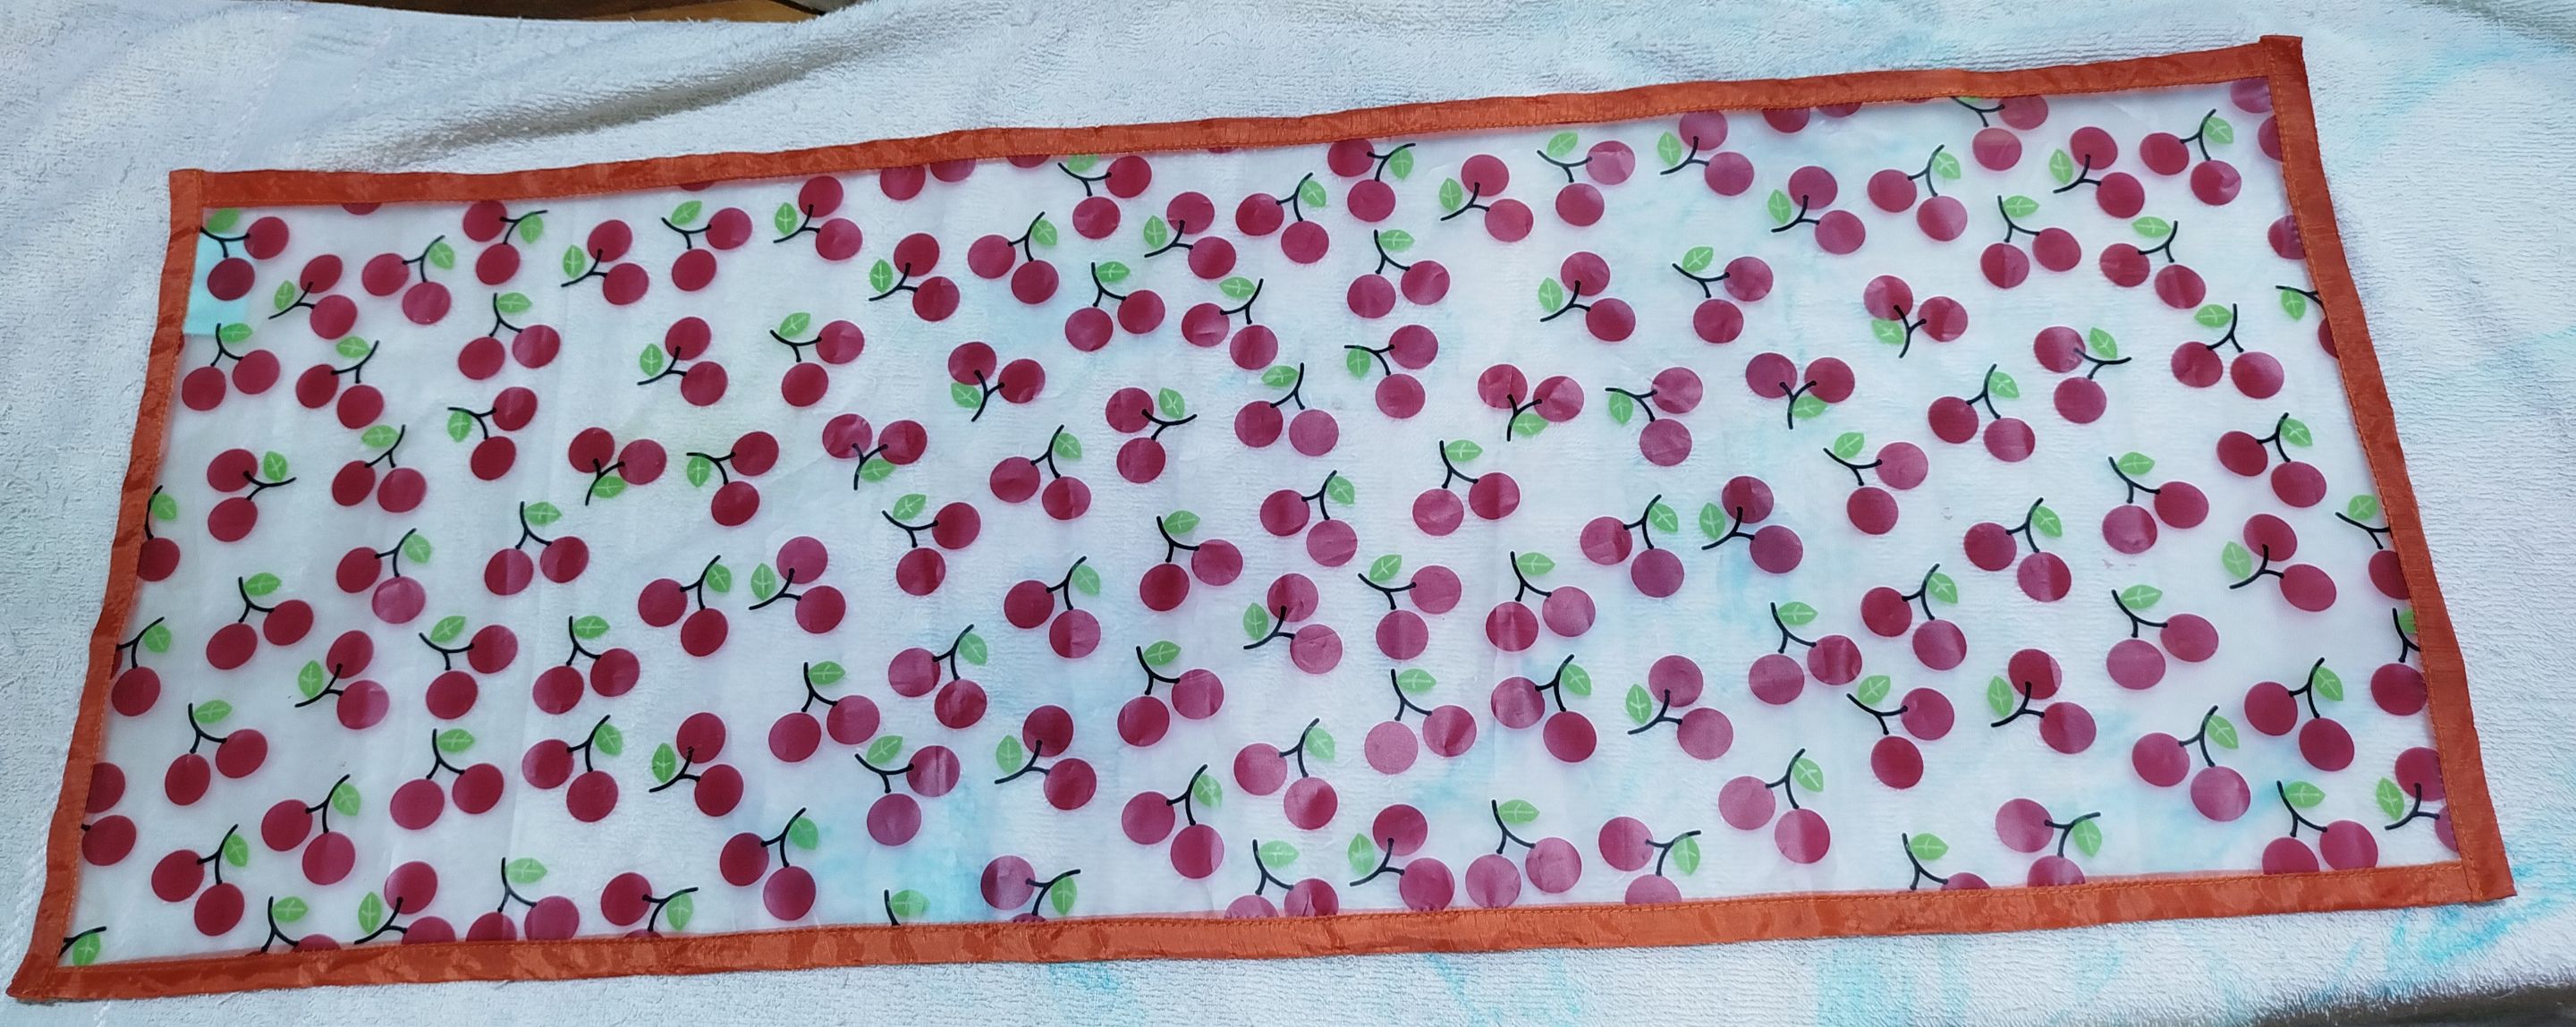
Another thing I made, but for my own use, was a placemat. I made it with projects in mind where I'll be using materials like paint or materials that require moisture, thus avoiding getting the wooden work table wet. But it can be perfectly used for other purposes if made to the size we want. You can even use it when we're going to eat. All you need is a piece of fabric and the bias. In my case, I used a piece of plastic drop cloth, perfect for preventing spills.
Just sew a bias around the entire edge and you're done. For other types of fabric, we just hem it. I also made this tablecloth because I plan on working with some clay soon, and I knew I had to find a way to avoid working directly on the wooden table. Haha. When I get around to using clay, I'll be ready ✨
As you can see, these are fairly easy things that can be useful to ourselves or even as a small gift. I wasn't going to post these projects because I thought they were too simple, but when my grandmother was so happy because she actually found my gifts useful, I thought I'd help you by giving you some ideas on what to do with scraps of fabric 😇
✨ Thank you so much for visiting my post. I hope you found it interesting ✨
💚 See you next time! 💚
CONTENIDO EN ESPAÑOL
¡Hola a todos los integrantes de esta comunidad y amantes de la costura! Hoy no vengo a mostrarles un proyecto elaborado, sino unas cuantas ideas que pueden realizar si son como yo y tienen trocitos de tela que no saben cómo aprovechar, así como son perfectas si disponen de poco tiempo y desean coser algo que no les complique la existencia.
🧵🍲✨ AGARRA OLLAS 🧵🍲✨
¿No les ha pasado que tienen alguna olla que ha perdido el agarre o el mango y no quieren deshacerse de ella? Bueno, en mi casa si ha pasado jaja y en su lugar, solemos utilizar trapos de cocina, sólo que al ser tan largos, en ocasiones se queman por la llama de la cocina jaja Pero, para tener algo más lindo para agarrar las ollas o sartenes calientes, existen los agarra olla. Para ello, bastará con unos trocitos de tela, sesgo y algo de relleno. El tamaño depende de cómo lo queramos.
El proceso de elaboración es muy sencillo. Primero fijamos el relleno en el medio de los trozos de tela y posteriormente, colocamos un sesgo para los bordes. También, me gusta colocarles un trocito de sesgo para que puedan ser guindadas en alguna pared de la cocina y así, estén a la vista.
|
|
|
|---|---|---|
|
|
|---|---|
Los primeros que hice, fueron de forma redonda, como un regalo para mi abuela. Le gustaron tanto que me pidió que le hiciera más, así que para variar, los otros se los hice de forma cuadrada.
🧵👝✨ BOLSO ORGANIZADOR 🧵👝✨
Otro regalo que le hice a mi abuela y que no esperé que le gustase tanto como los agarra ollas, fue un bolsito organizador. Pensé que sería ideal para que guardase cosas cuando necesitase salir y que no se mezclasen con el resto de objetos dentro de su cartera o para que lo guardase en su gaveta. Me dijo que era ideal para sus pastillas (Toma varias). Sólo se necesita un trozo de tela, forro y un cierre. Las medidas, son a preferencia.
Lo primero que hago, es coser el forro a la tela. Si no tienes forro, no hay problema si se trata de un bolso personal, pero de preferencia, que la tela sea algo gruesa. Una vez que este paso está hecho, coso el cierre a ambos extremos y con una costura, piso la tela.
|
|
|
|---|---|---|
Seguidamente, se enfrentan los derechos de la tela y se pasa una costura, dejando una abertura para voltear la pieza. Luego de hacerlo, se cierra esa abertura y el bolso estará listo. Tengo pensado hacerme uno para guardar mis cargadores, porque tengo tres y siempre andan por ahí jaja al igual que me gustaría otra para guardar hilos y retazos que sean útiles ¡Las opciones son inimaginables!
|
|
|
|---|---|---|
🧵🎨✨ INDIVIDUAL O TAPETE PARA MESAS 🧵🎨✨
Otra cosa que realicé, pero para mi uso, fue un tapete. Lo hice pensando en esos proyectos en los que vaya a usar materiales como pinturas o que requieran humedad, evitando así mojar la mesa de trabajo, que es de madera. Pero puede servir perfectamente para otros usos si se hace del tamaño que deseemos. Hasta se puede usar para cuando vayamos a comer. Sólo basta tener un pedazo de tela y el sesgo. En mi caso, utilicé un retazo de tela de plástico, perfecta para evitar derrames.
Bastará con coserle un sesgo en todo el borde y estará listo. En el caso de tela de otro tipo, sólo hacemos un dobladillo. Hice este mantel también porque tengo pensado trabajar con algo de arcilla dentro de poco y sabía que tenía que hallar el modo de no trabajar directamente sobre la mesa de madera jaja Cuando me anime a usar la arcilla, ya estaré preparada ✨
Como pudieron apreciar, se trata de cosas bastante fáciles que pueden sernos de utilidad a nosotros mismos o también para dar un pequeño obsequio. No iba a publicar estos proyectos porque los vi demasiado sencillos, pero cuando mi abuela se mostró tan feliz porque realmente veía útiles mis obsequios, pensé que podría ayudarles a darles algunas ideas de qué hacer con trozos de tela 😇
✨ Muchas gracias por haber visitado mi publicación. Espero que les haya parecido interesante ✨
💚 ¡Hasta una próxima oportunidad! 💚

https://linktr.ee/sue_zoe