ENGLISH CONTENT
Hello to all the members of this community and sewing lovers! Lately, I've been able to dedicate myself a little to the sewing projects I've had in mind, and one of them was making berets. I really like hats and have a couple I'd like to replicate, but when it came to berets, I didn't have one, so I thought I'd make a sample. Since my birthday was coming up, I used it as motivation to finally sit down and try sewing this type of hat.
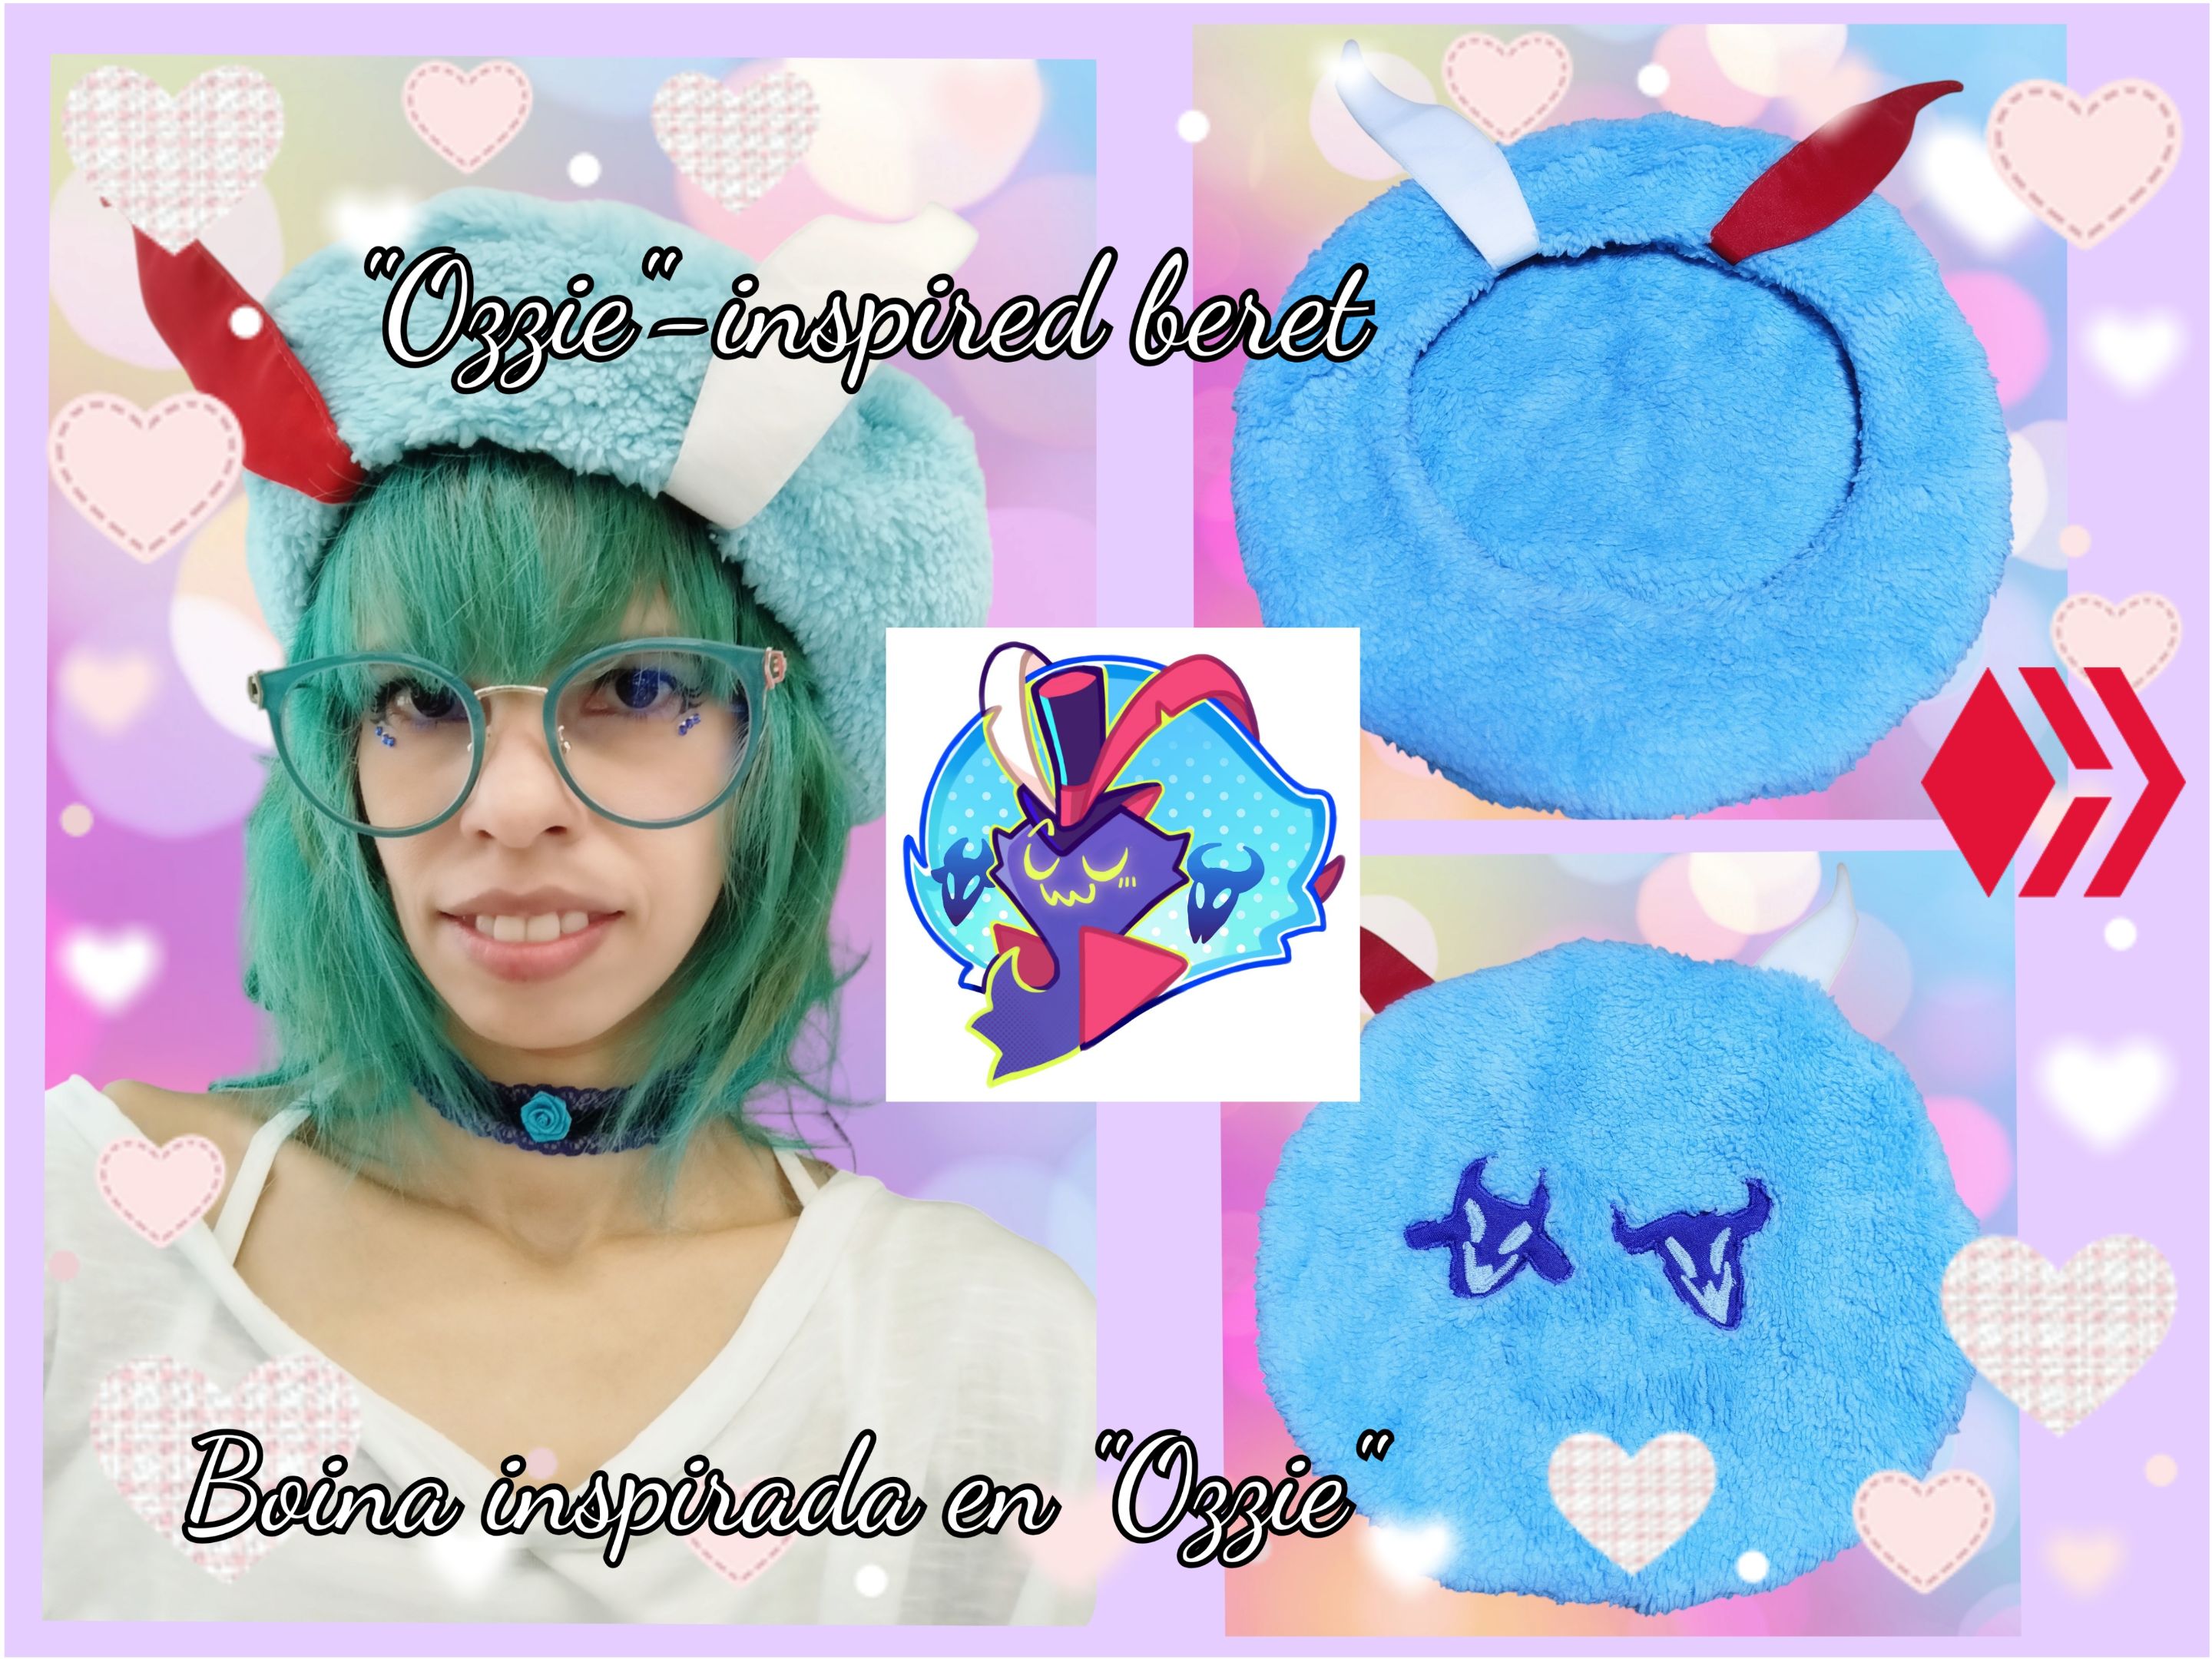
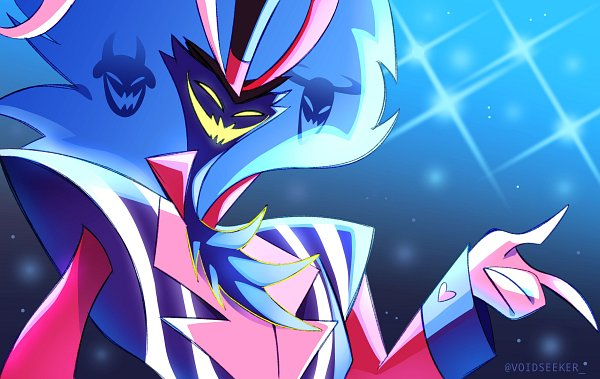
First of all, let's talk about my motivation. Aside from the fact that I really like hats, haha, the character I based my design on is my favorite from the YouTube and Amazon Prime series, "Helluva Boss." Asmodeus (aka "Ozzie") has a thick head of hair with three heads and a couple of feathers emerging from it. It's a pretty striking design, which I've grown fond of over time.
I really like the character, and since I can't get official merchandise, I have to improvise, haha, but that's okay, because they say it sparks creativity. Anyway, so I drew the design of what the beret would look like. I made that months ago, so I was pretty intrigued to see how it would look in real life, but since the other time I made a neck pillow inspired by the character and even a sleep mask, I was sure that it would at least turn out decent, since I liked how those projects turned out haha.
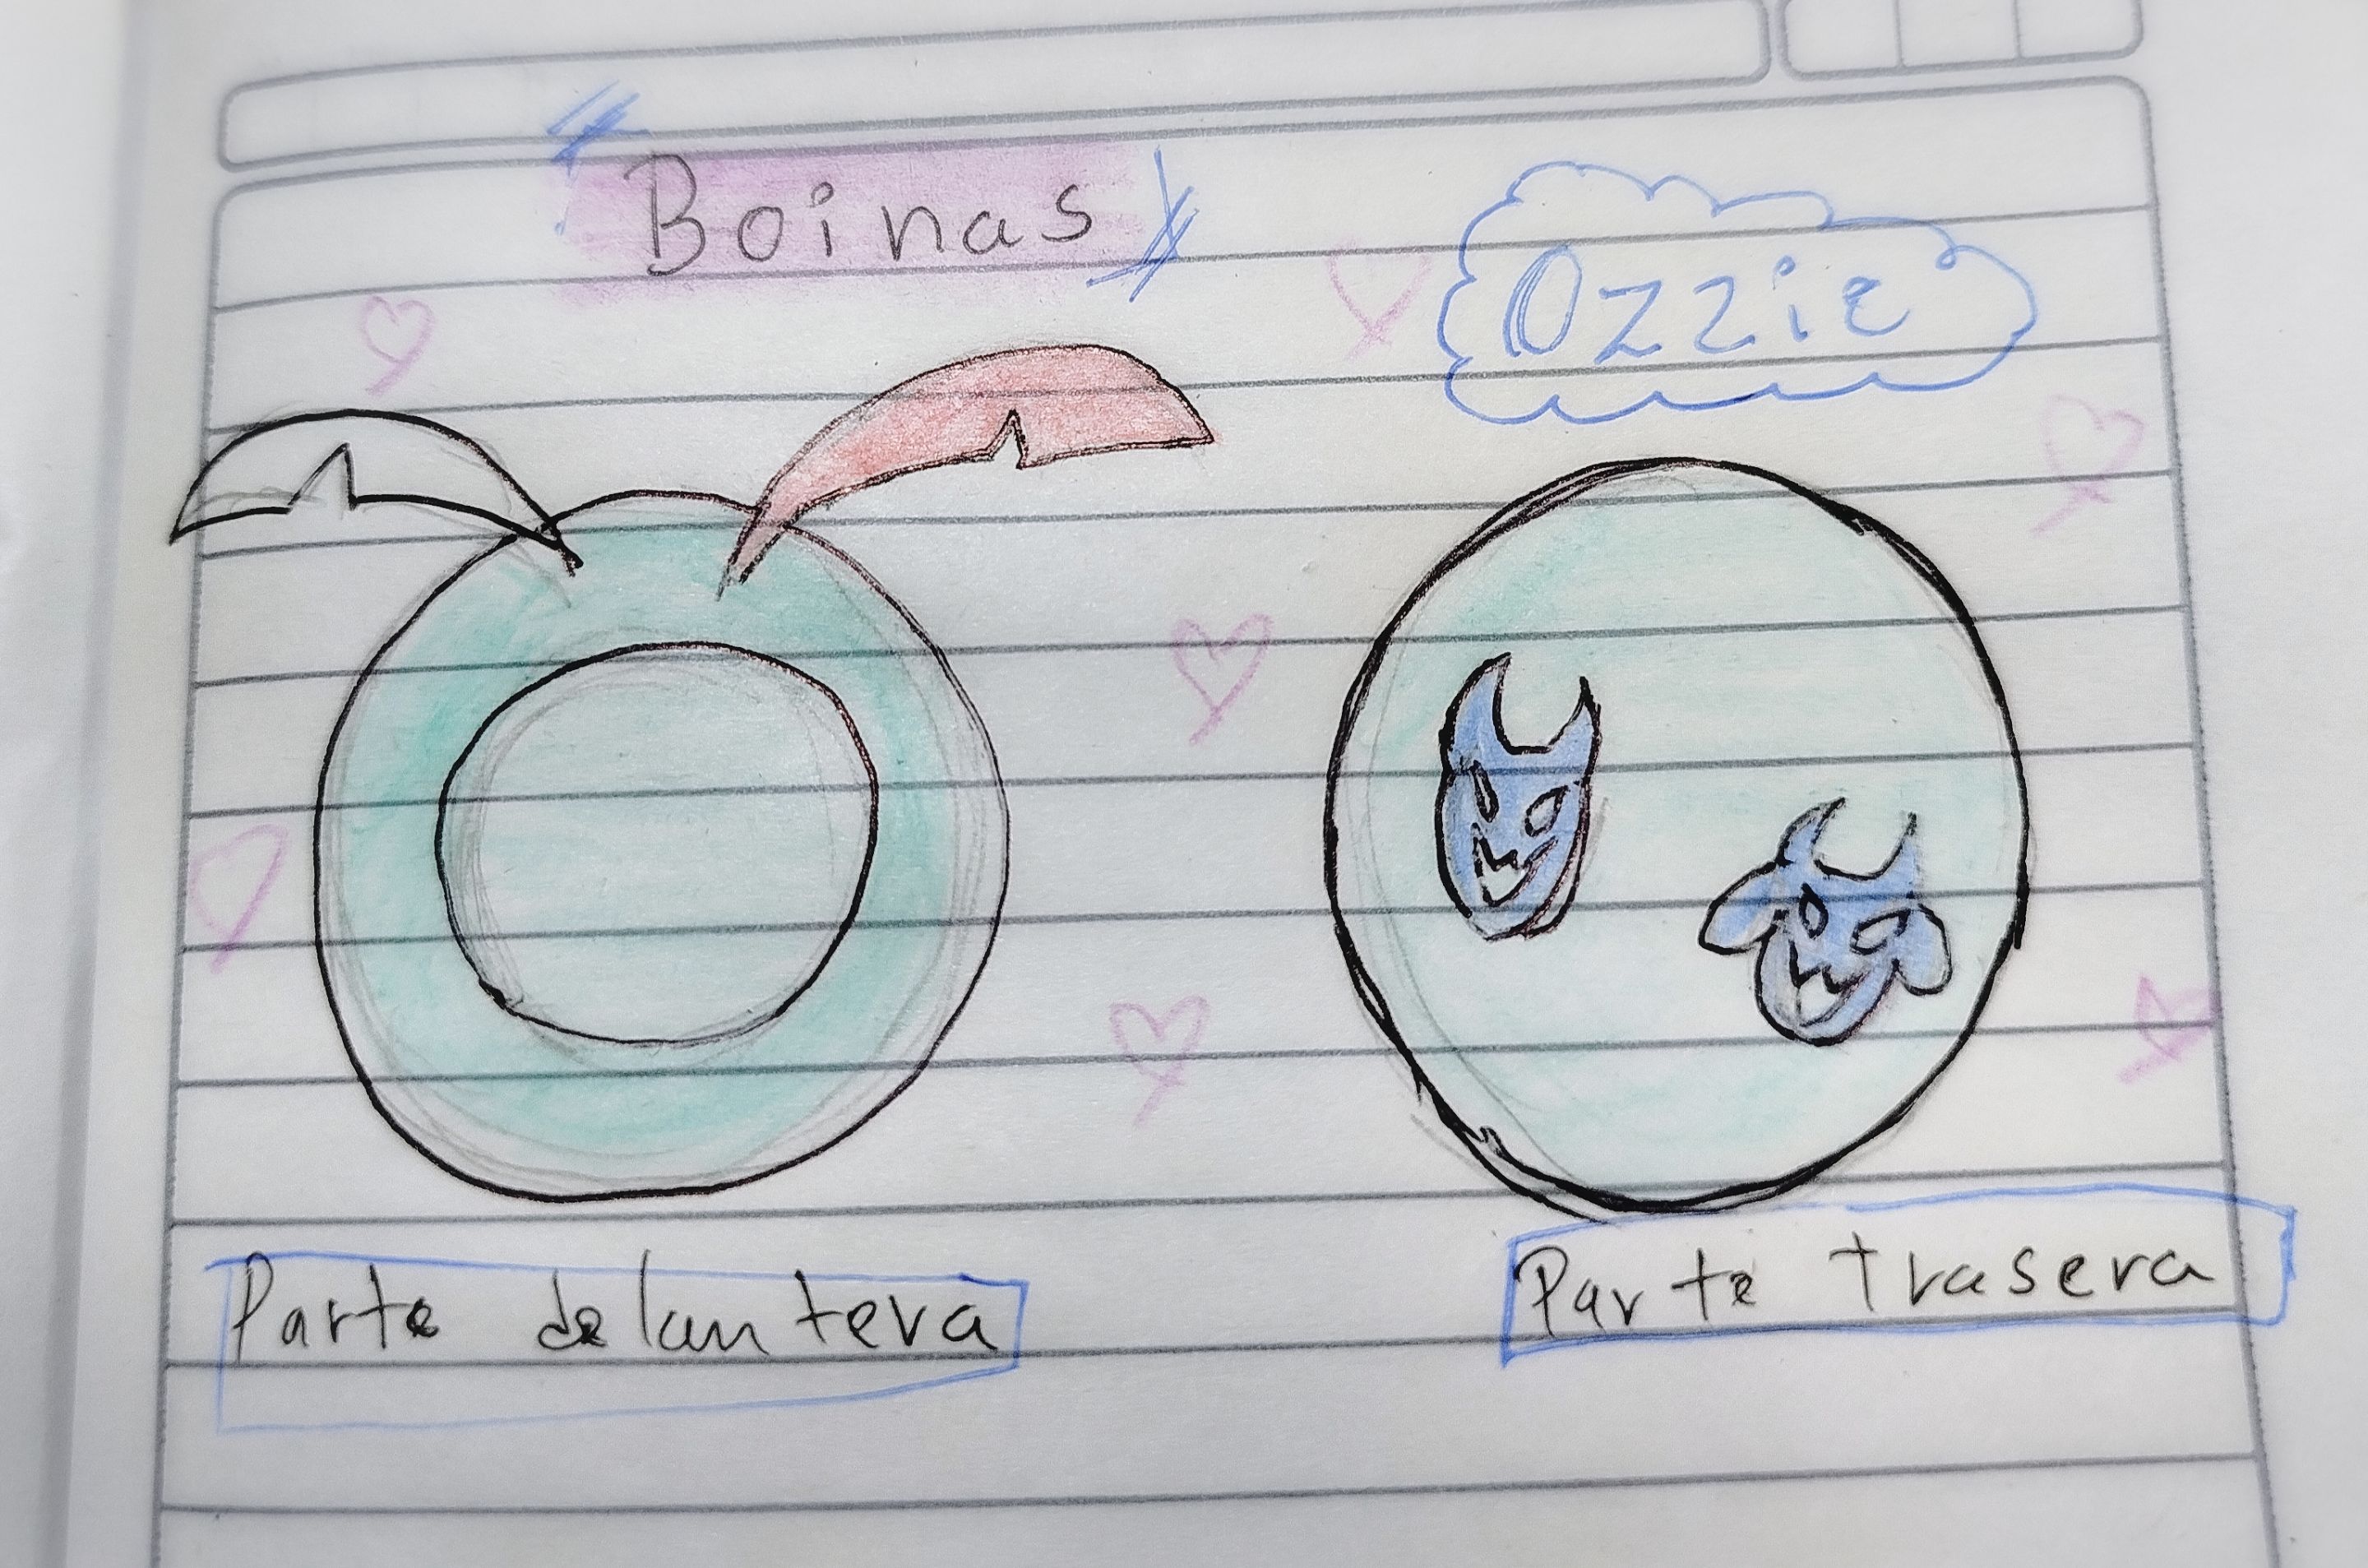
✨ The sketch I made in my notebook ✨
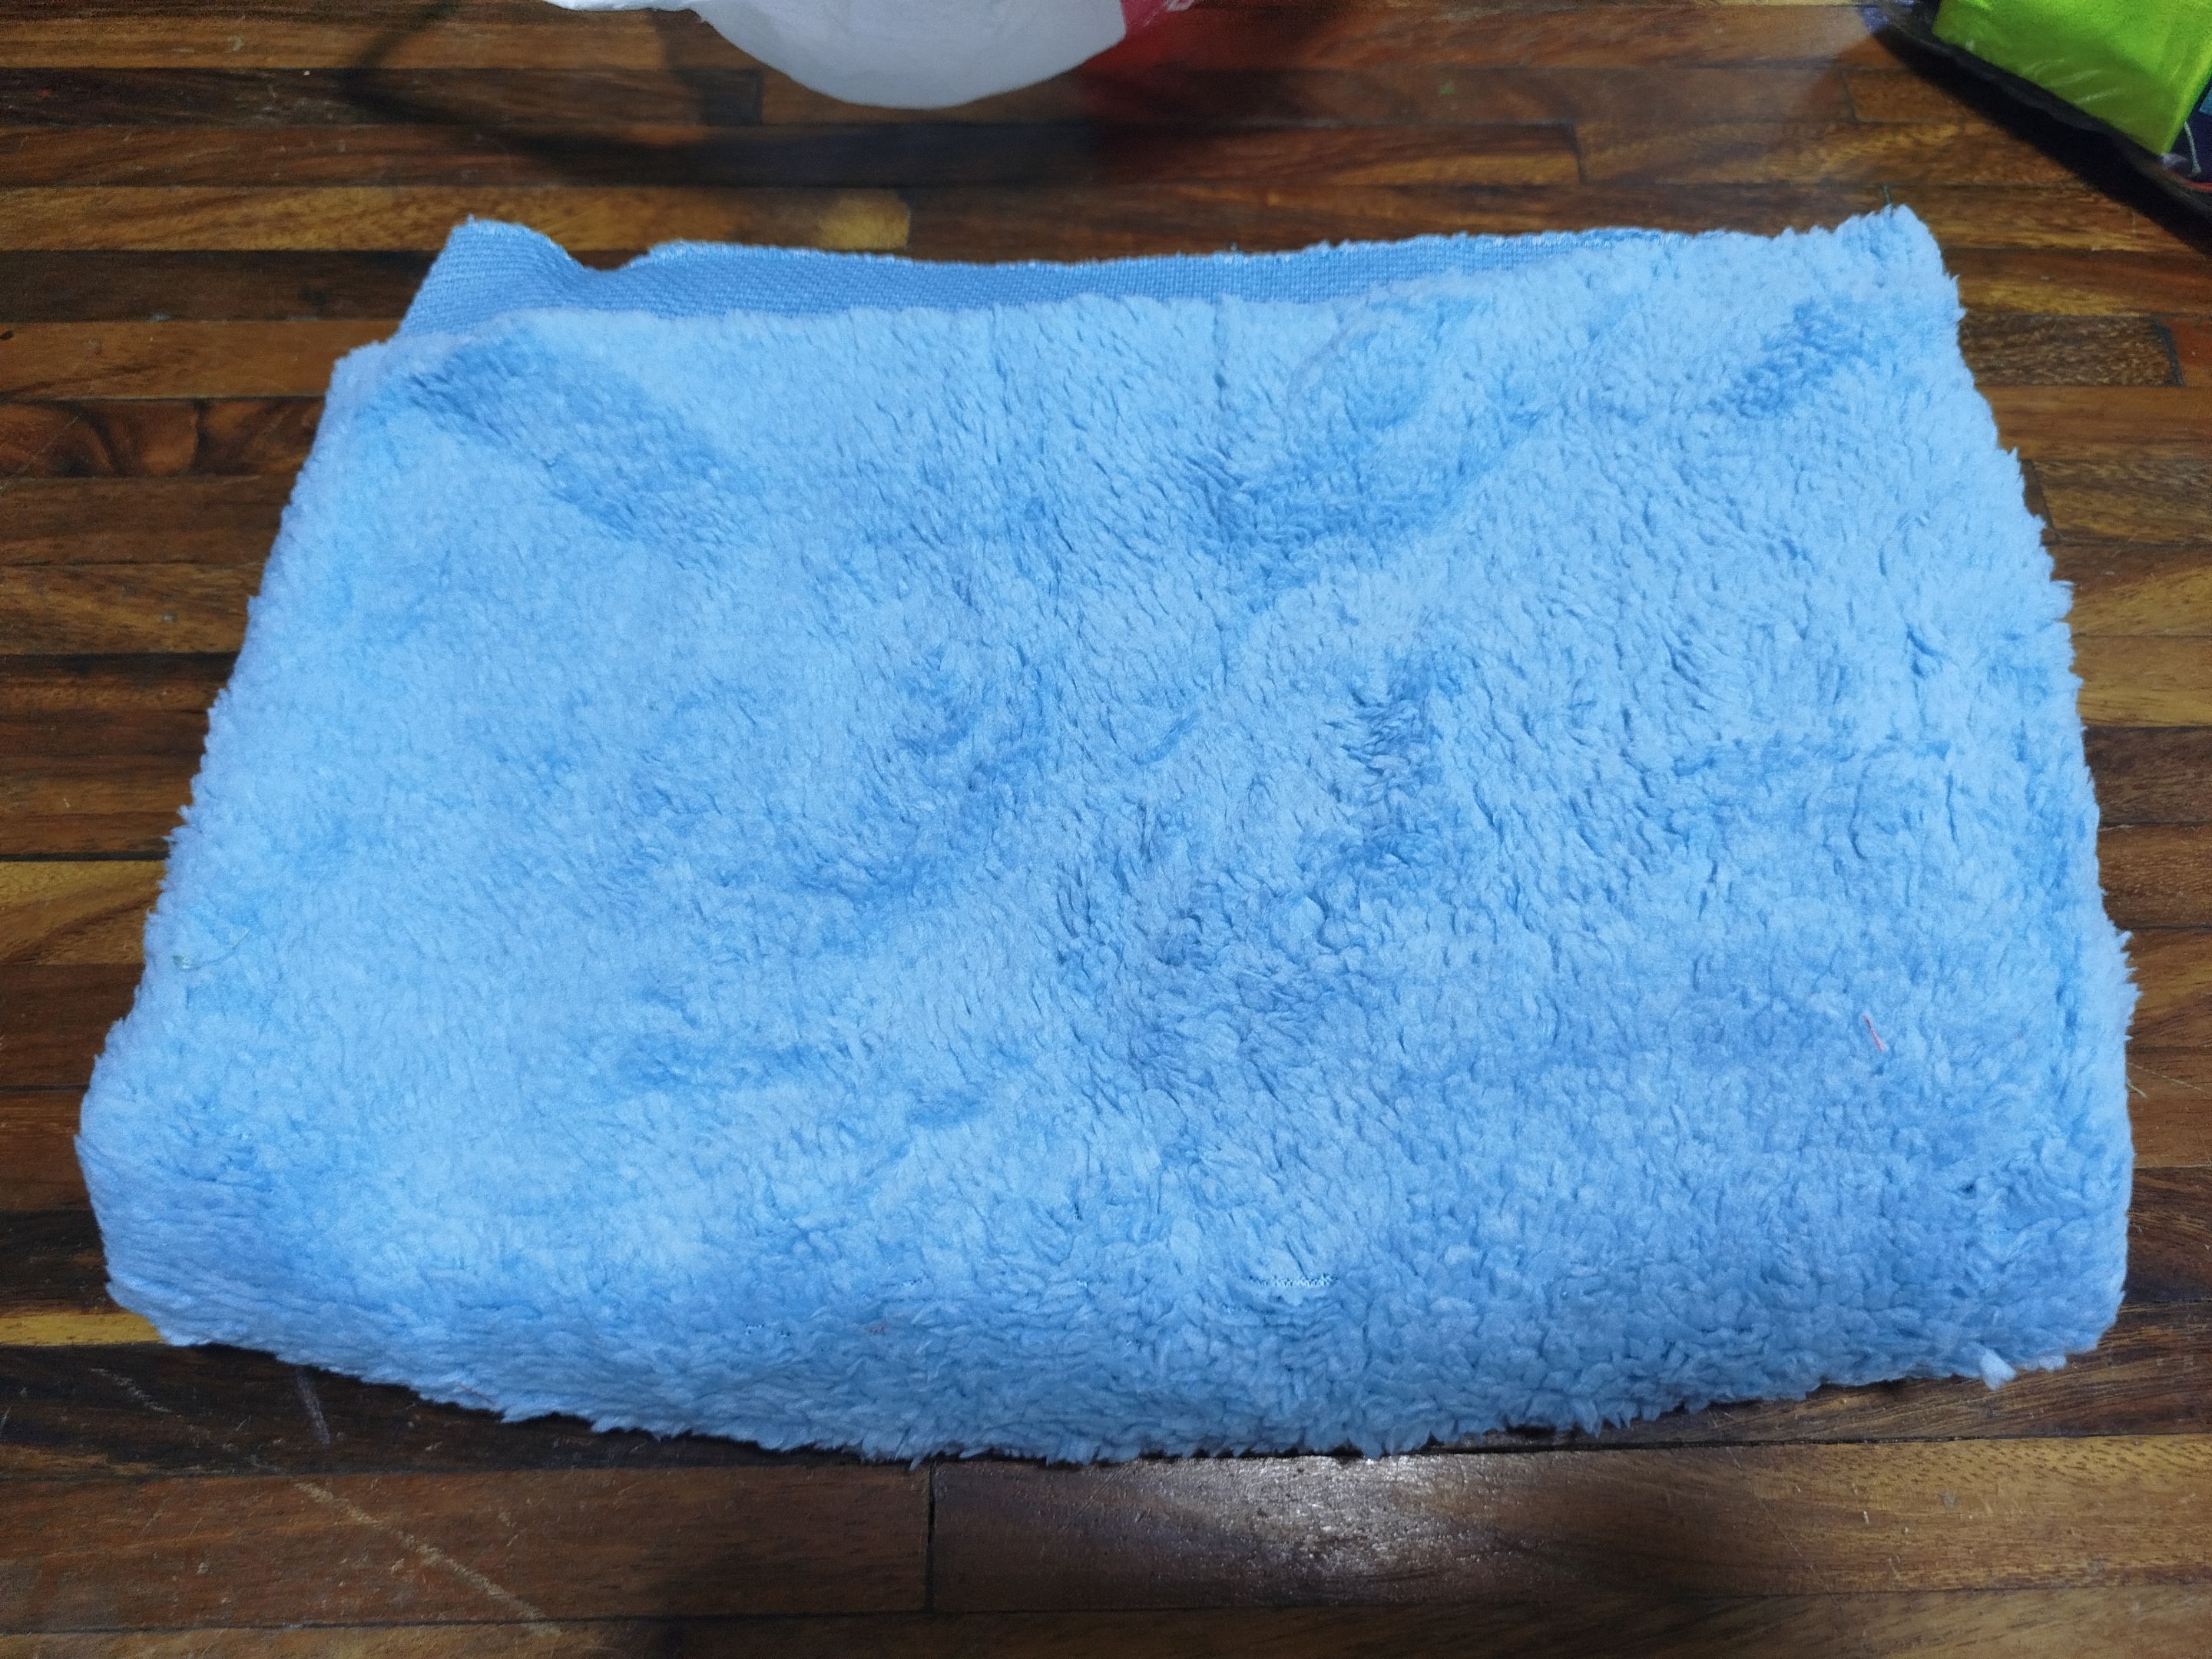
What motivated me to finally make the beret, aside from it being my birthday present, was that about a year ago, I had bought a quarter of a blue plush fabric during one of my impulse fabric purchases (sewing things, haha). My idea was to make a bag with the character on it or some other accessory, but due to a lack of materials, the fabric stayed in my bag for months. So, I thought it was a chance to use it.
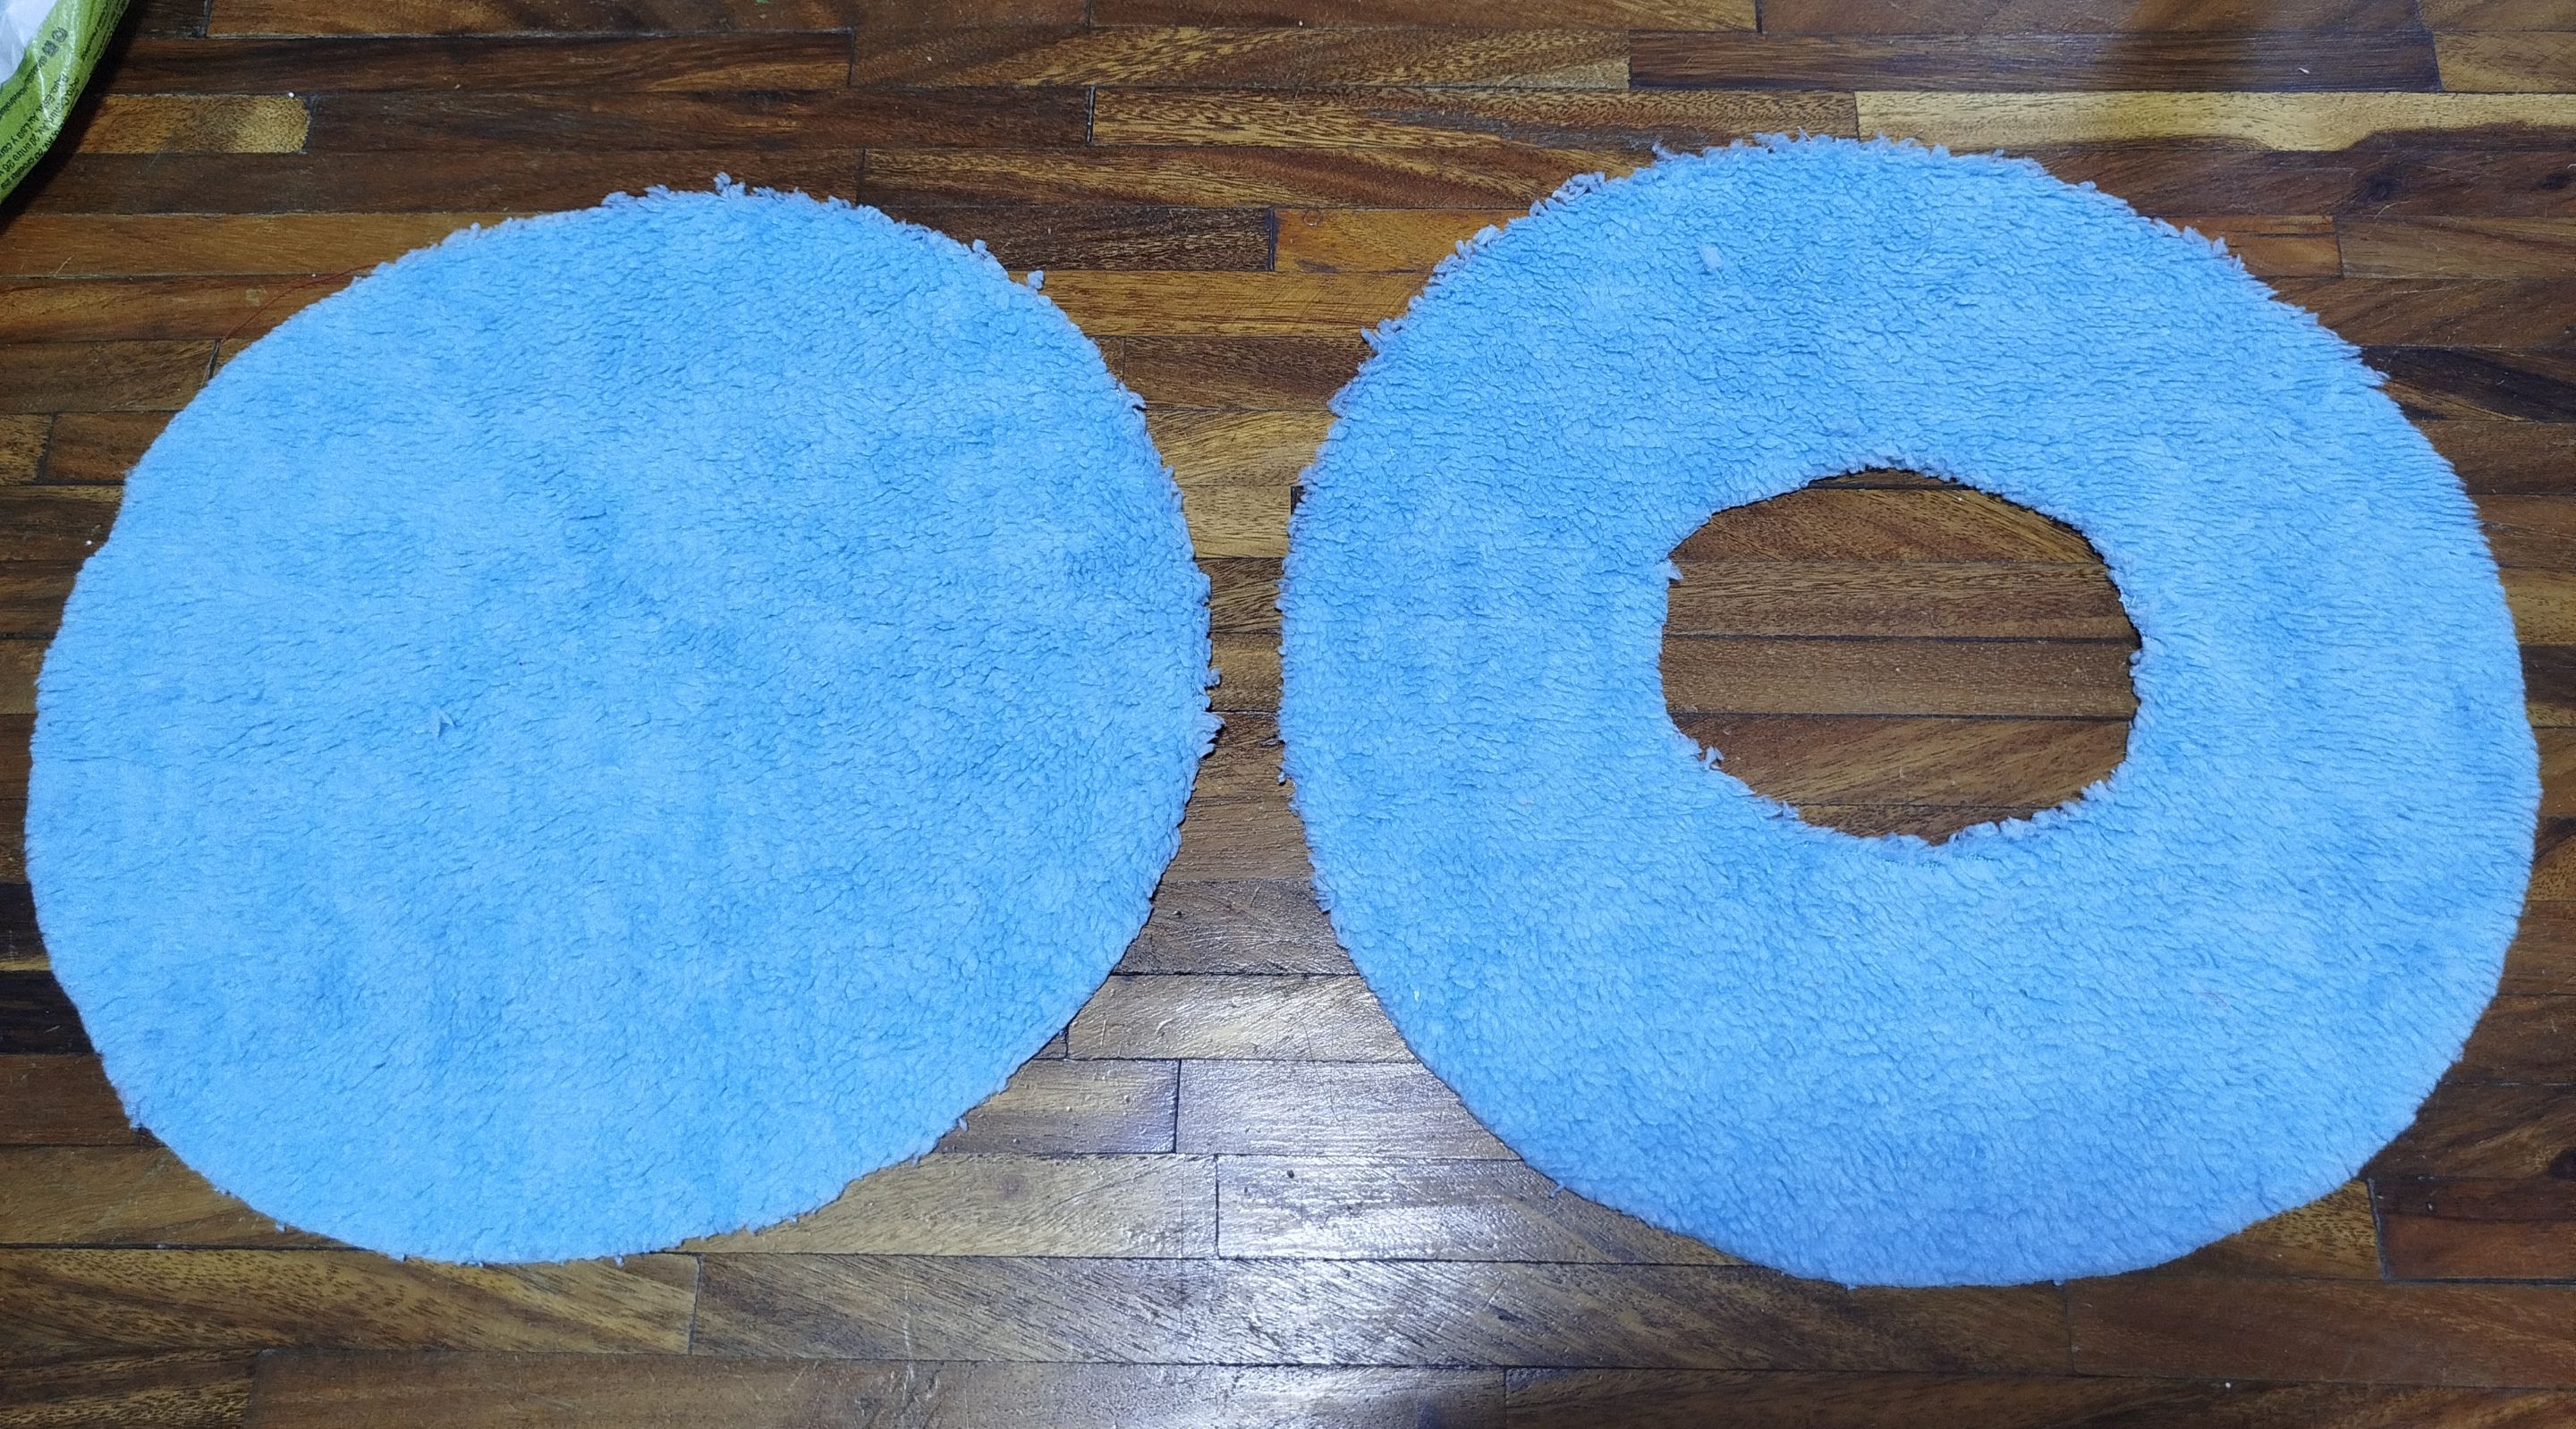
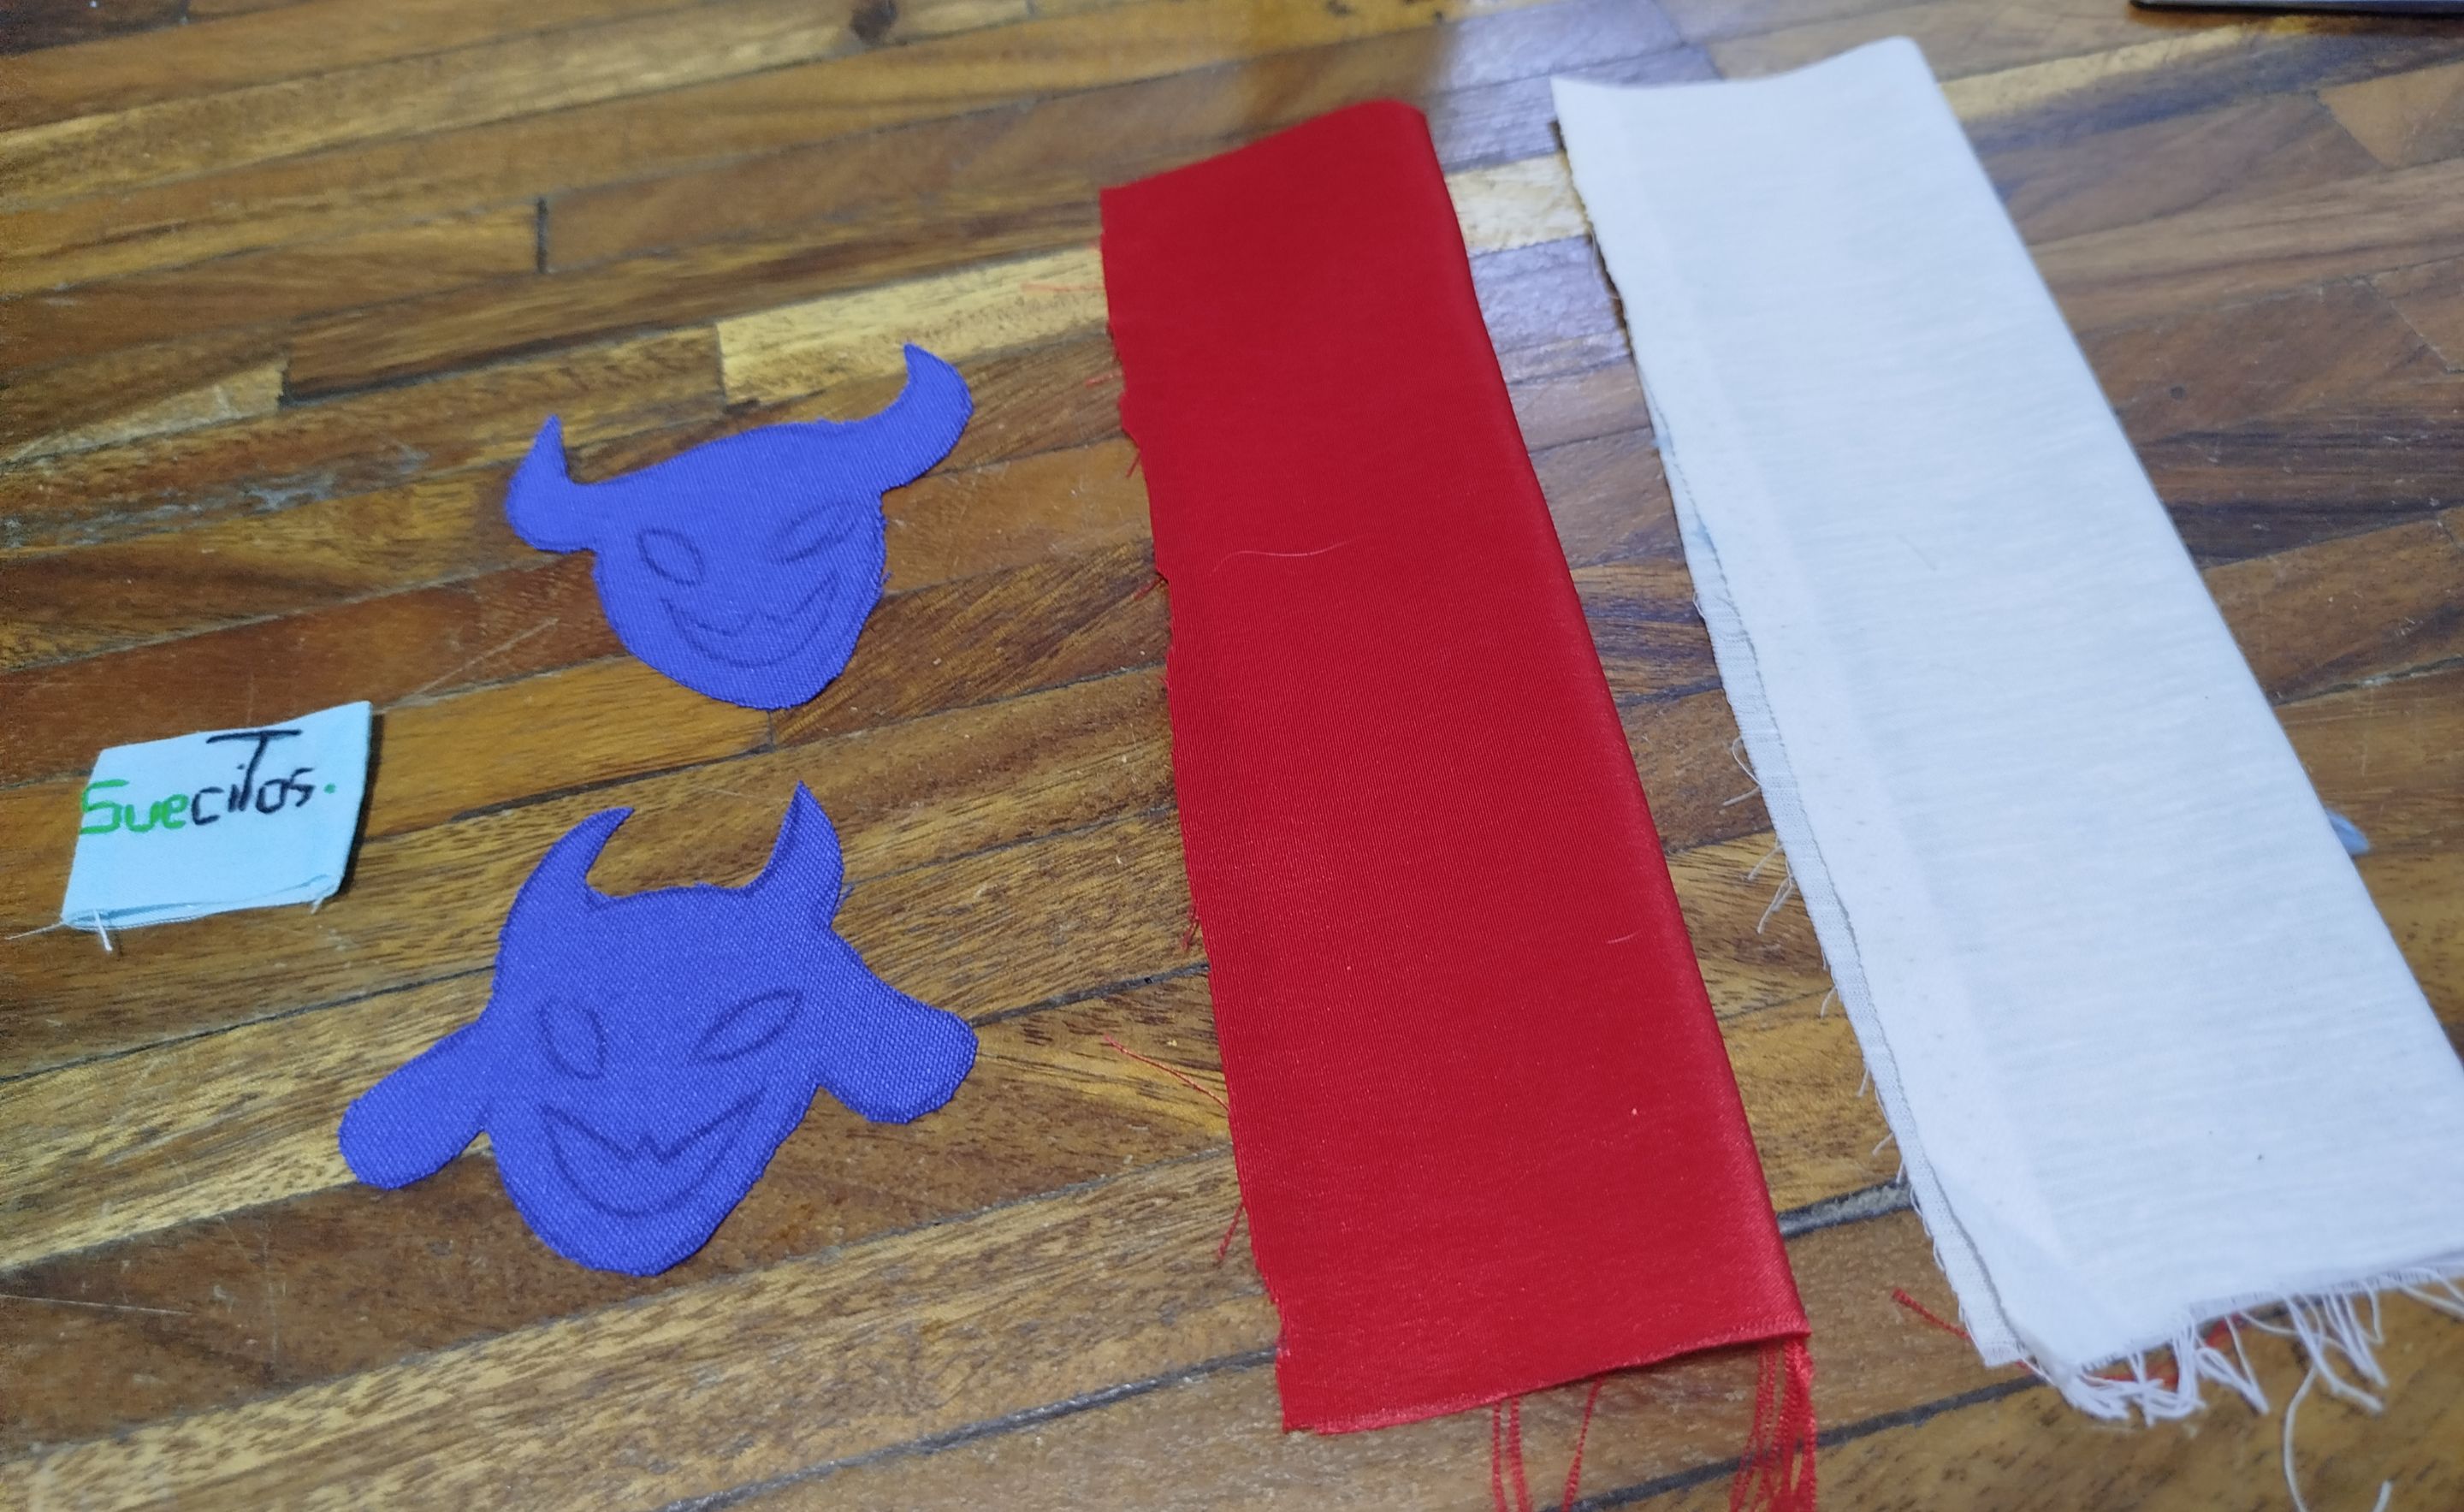
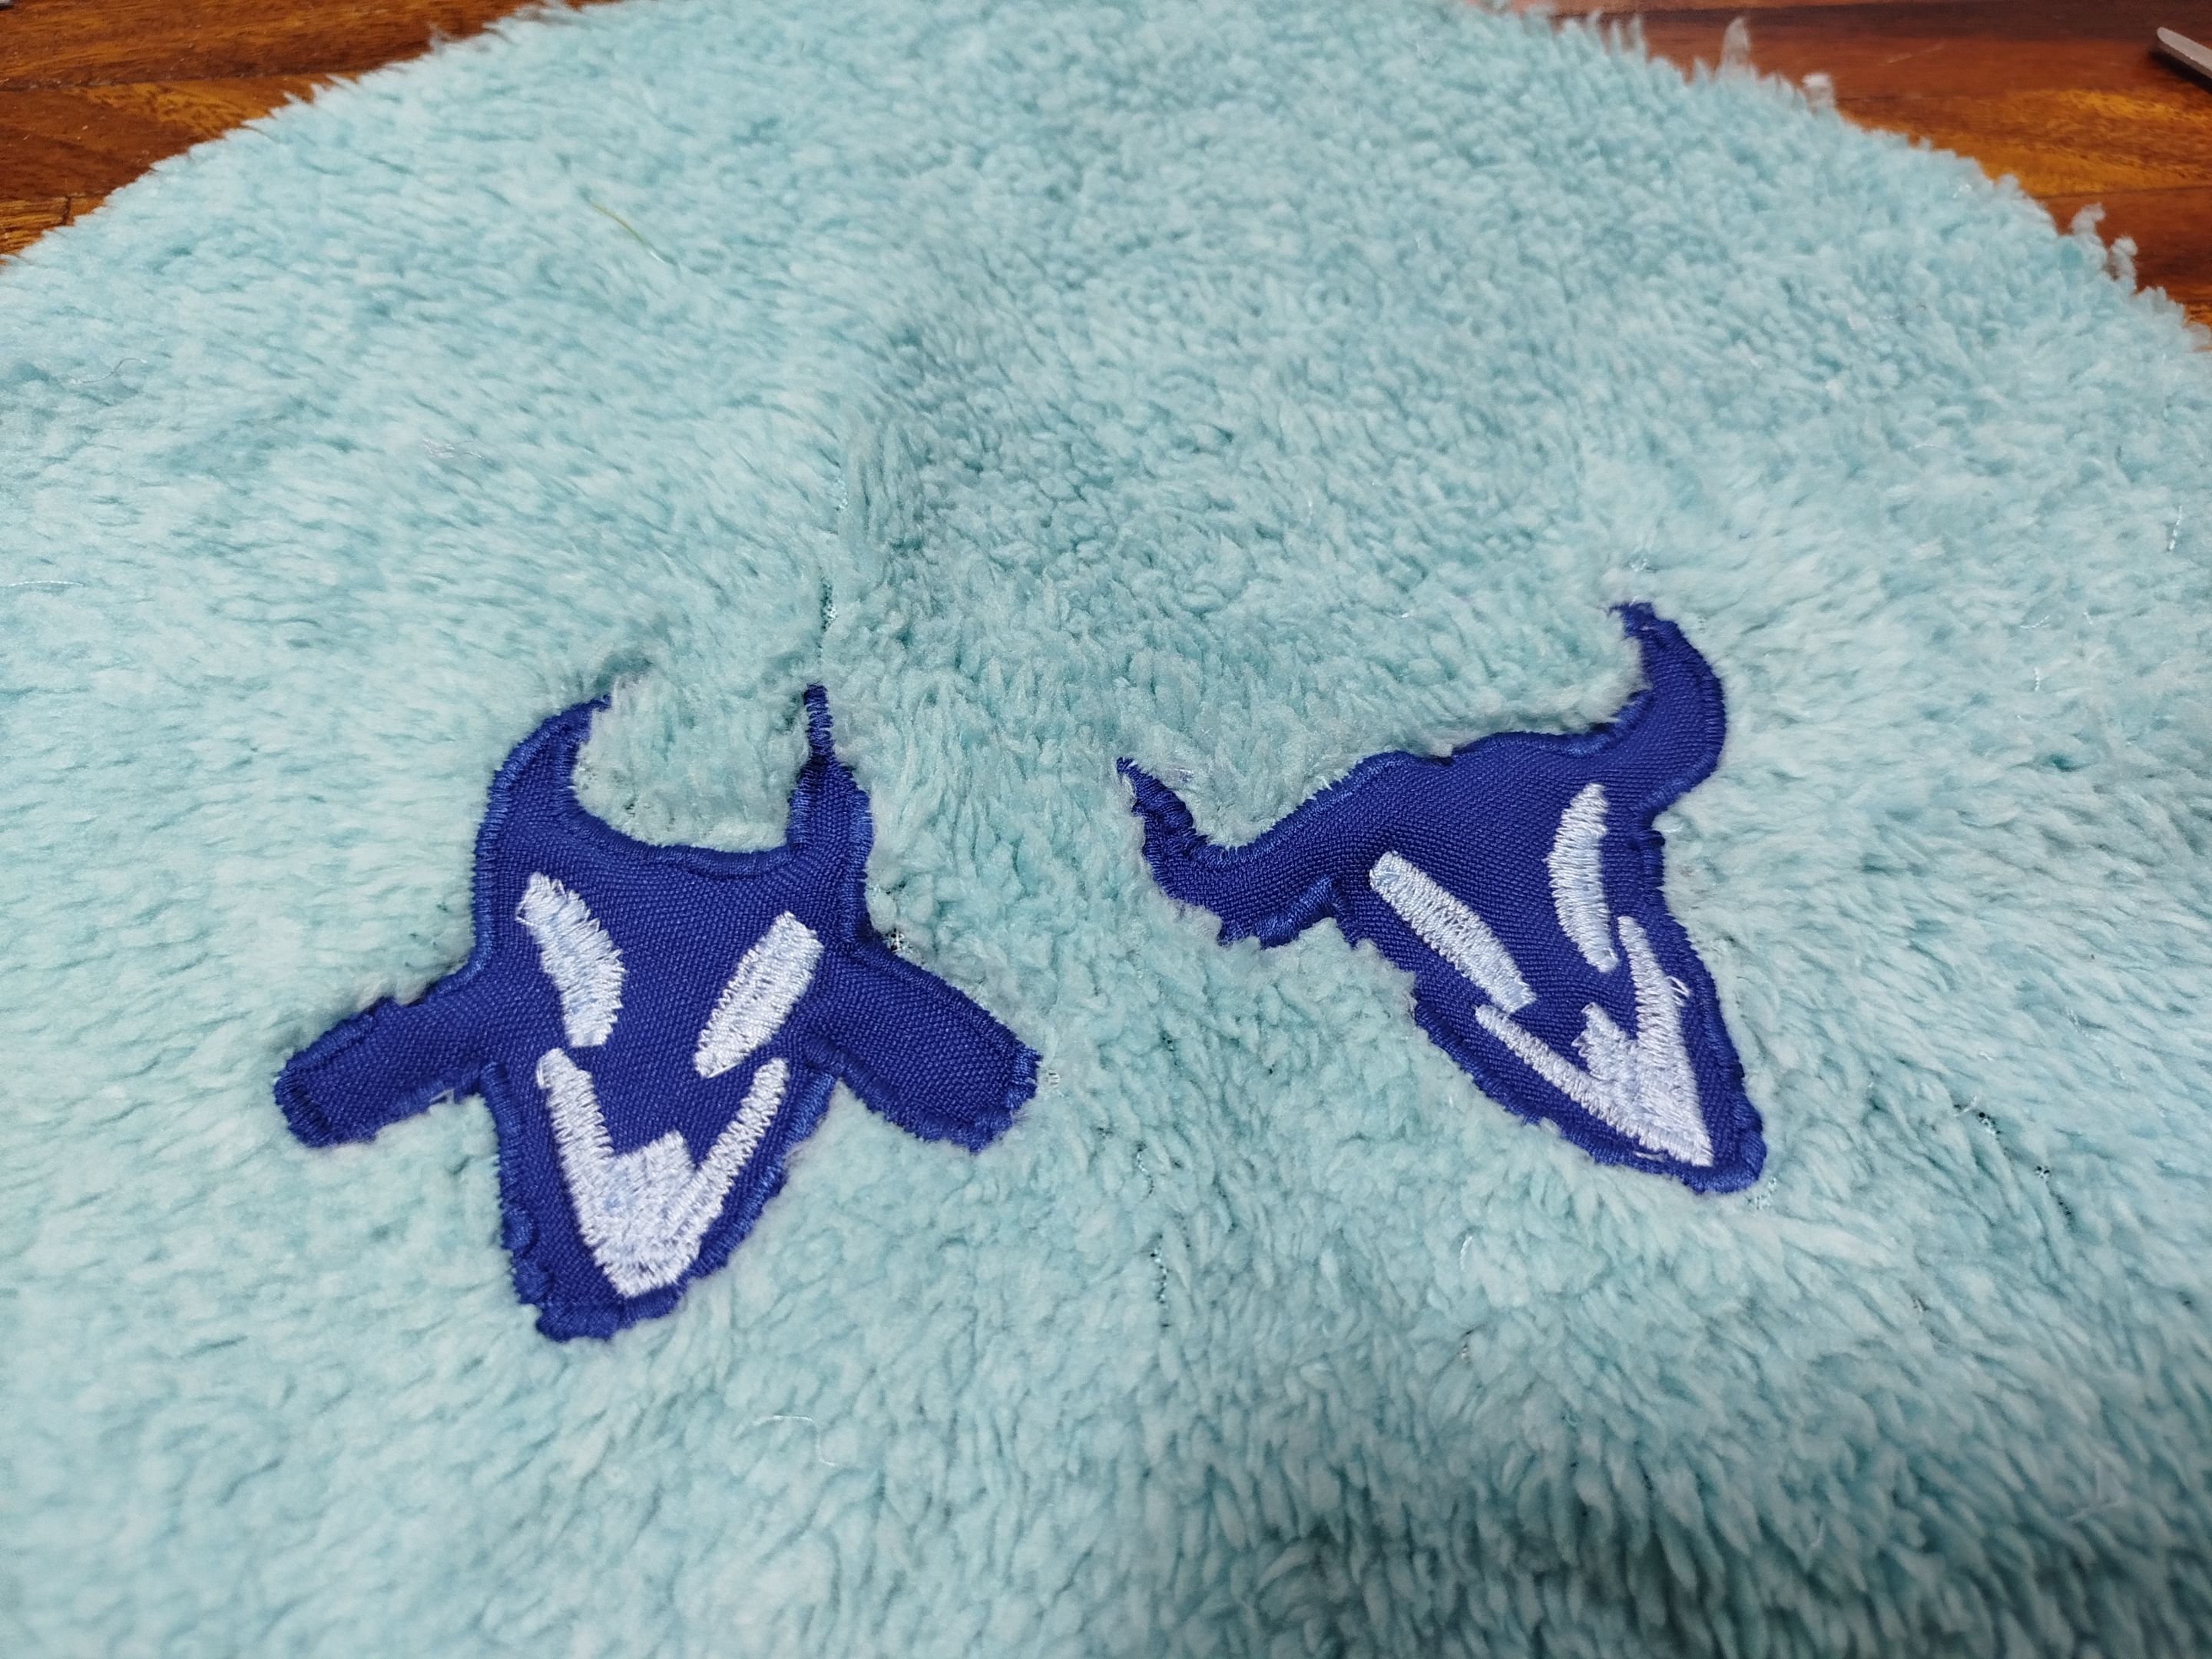
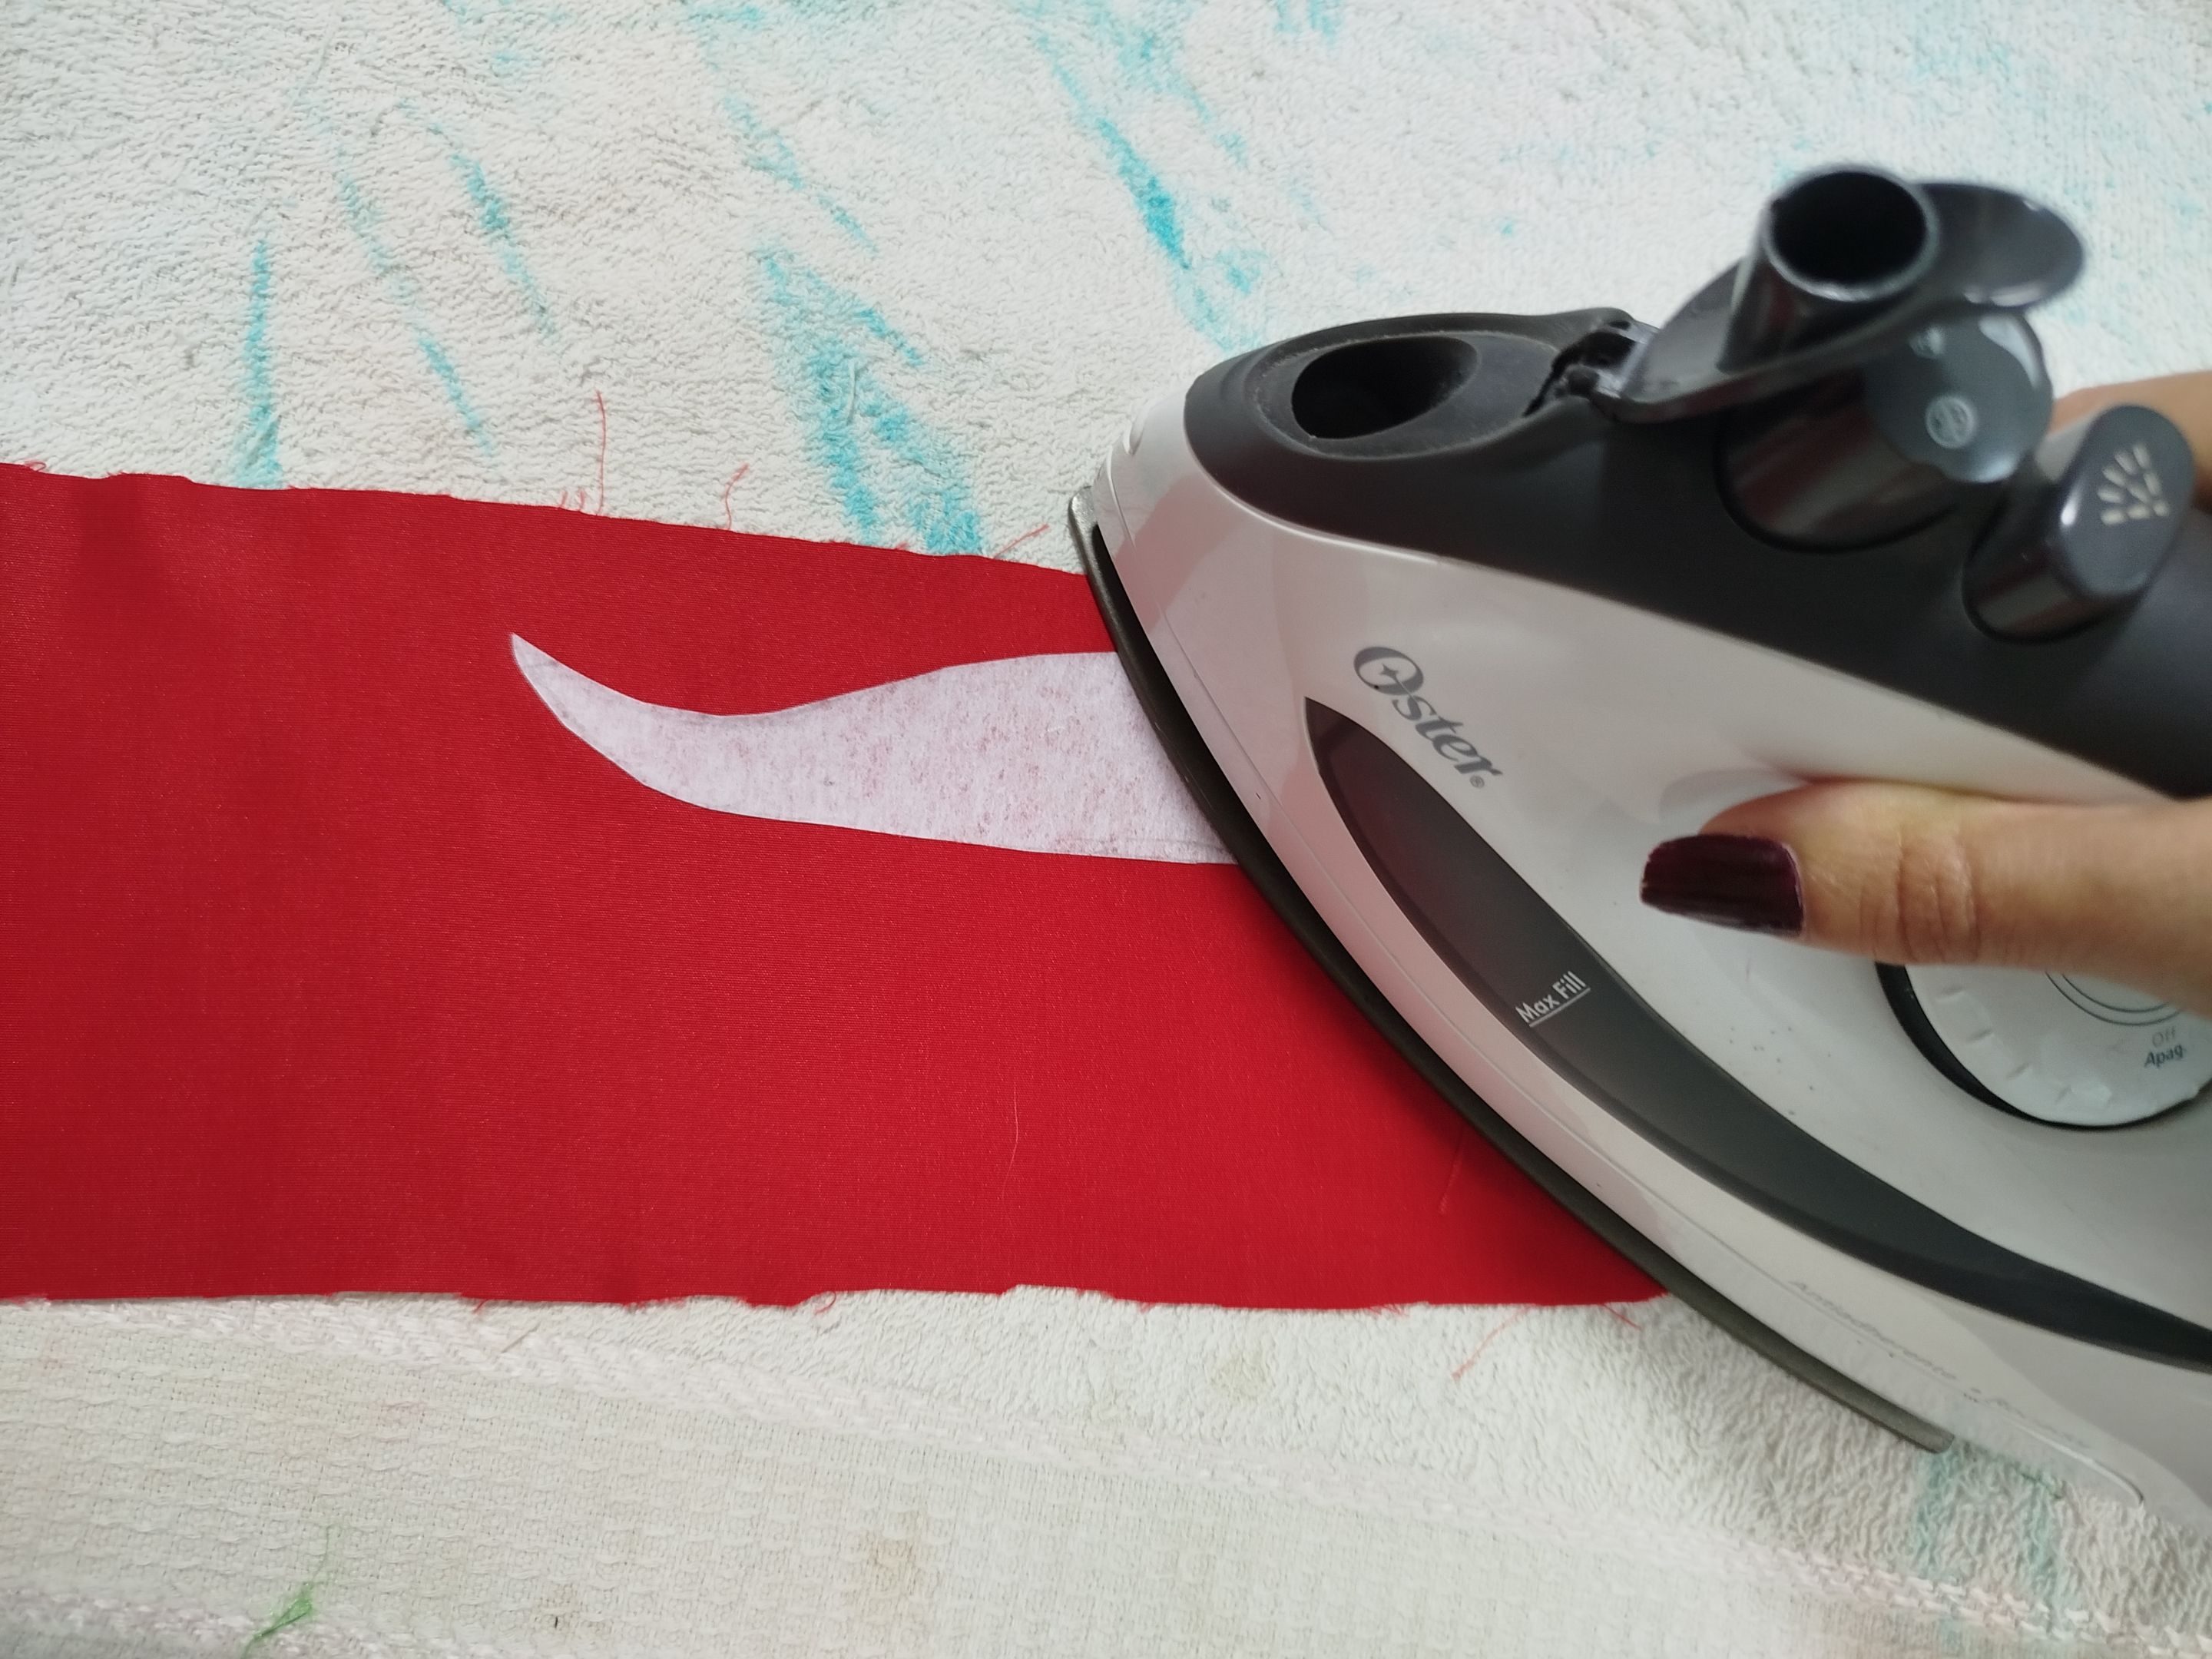
The pieces I cut were: two full circles in plush fabric; two circles with an opening in the middle in plush fabric; and separate pieces of fabric for the feathers, in stiff red and white fabrics. For the appliqués of the character's faces, I drew the silhouette on a small piece of dark blue gabardine. I also used some interfacing to give the feather piece a stiffer shape.
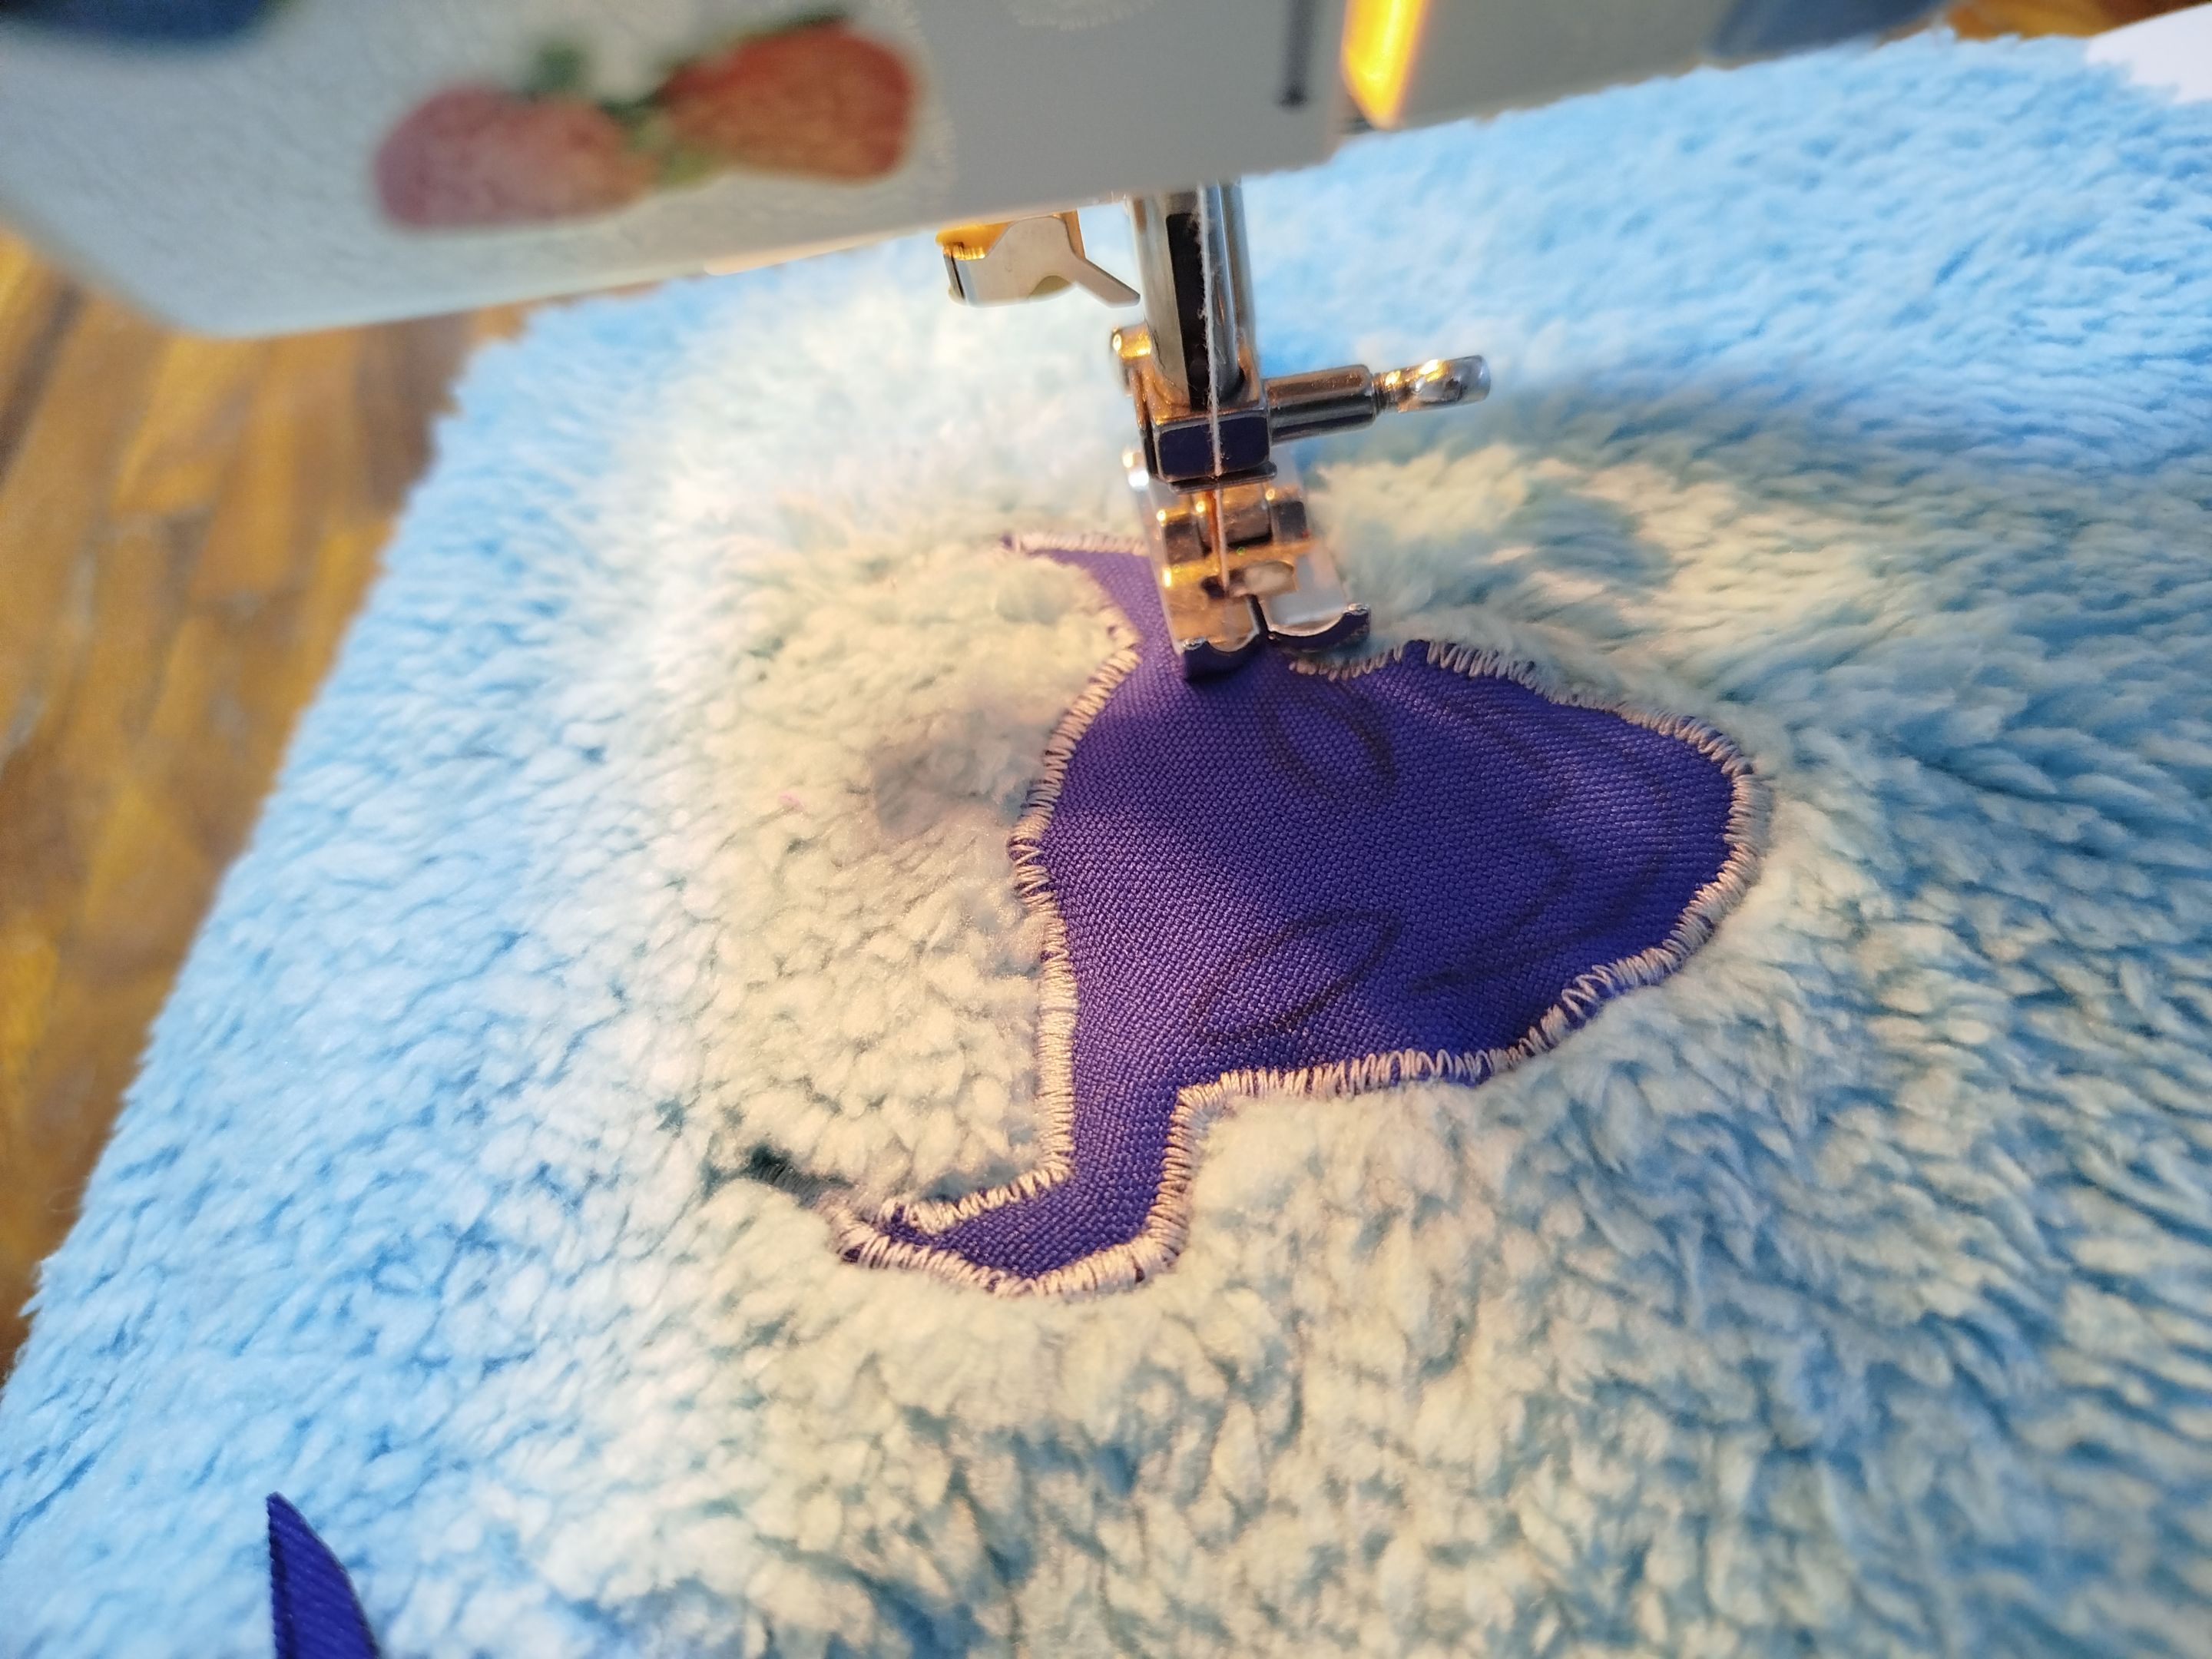
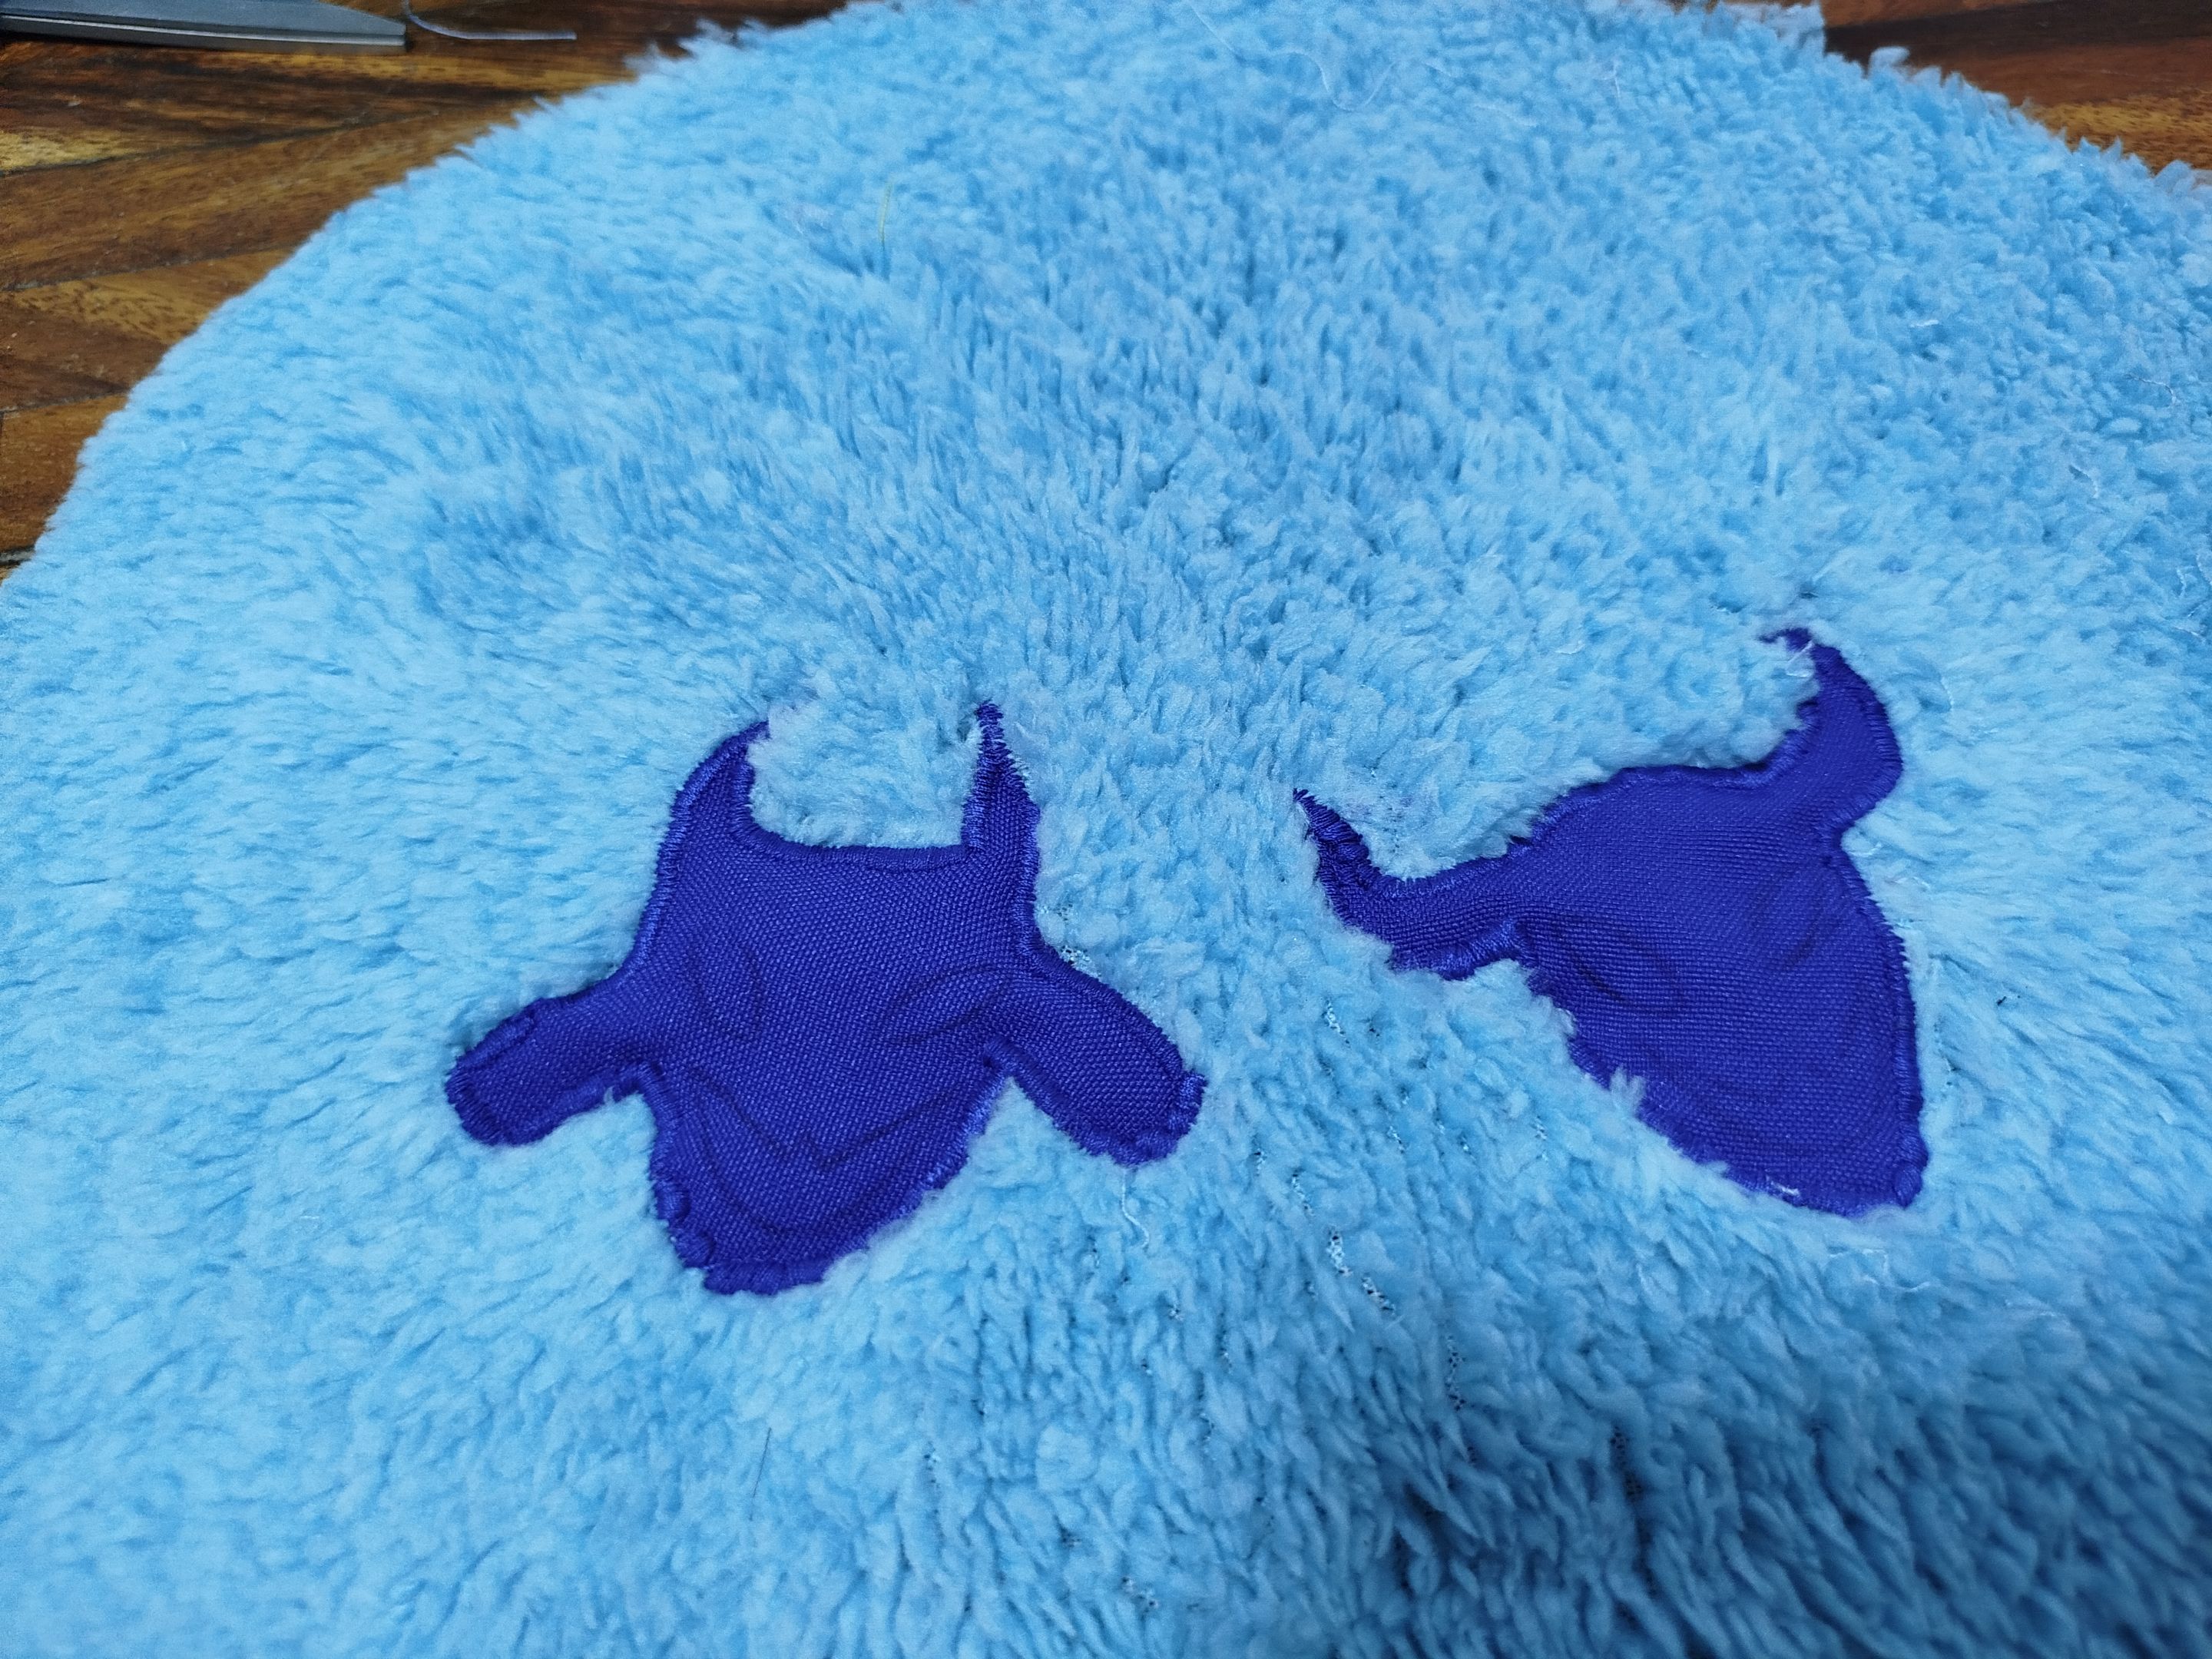
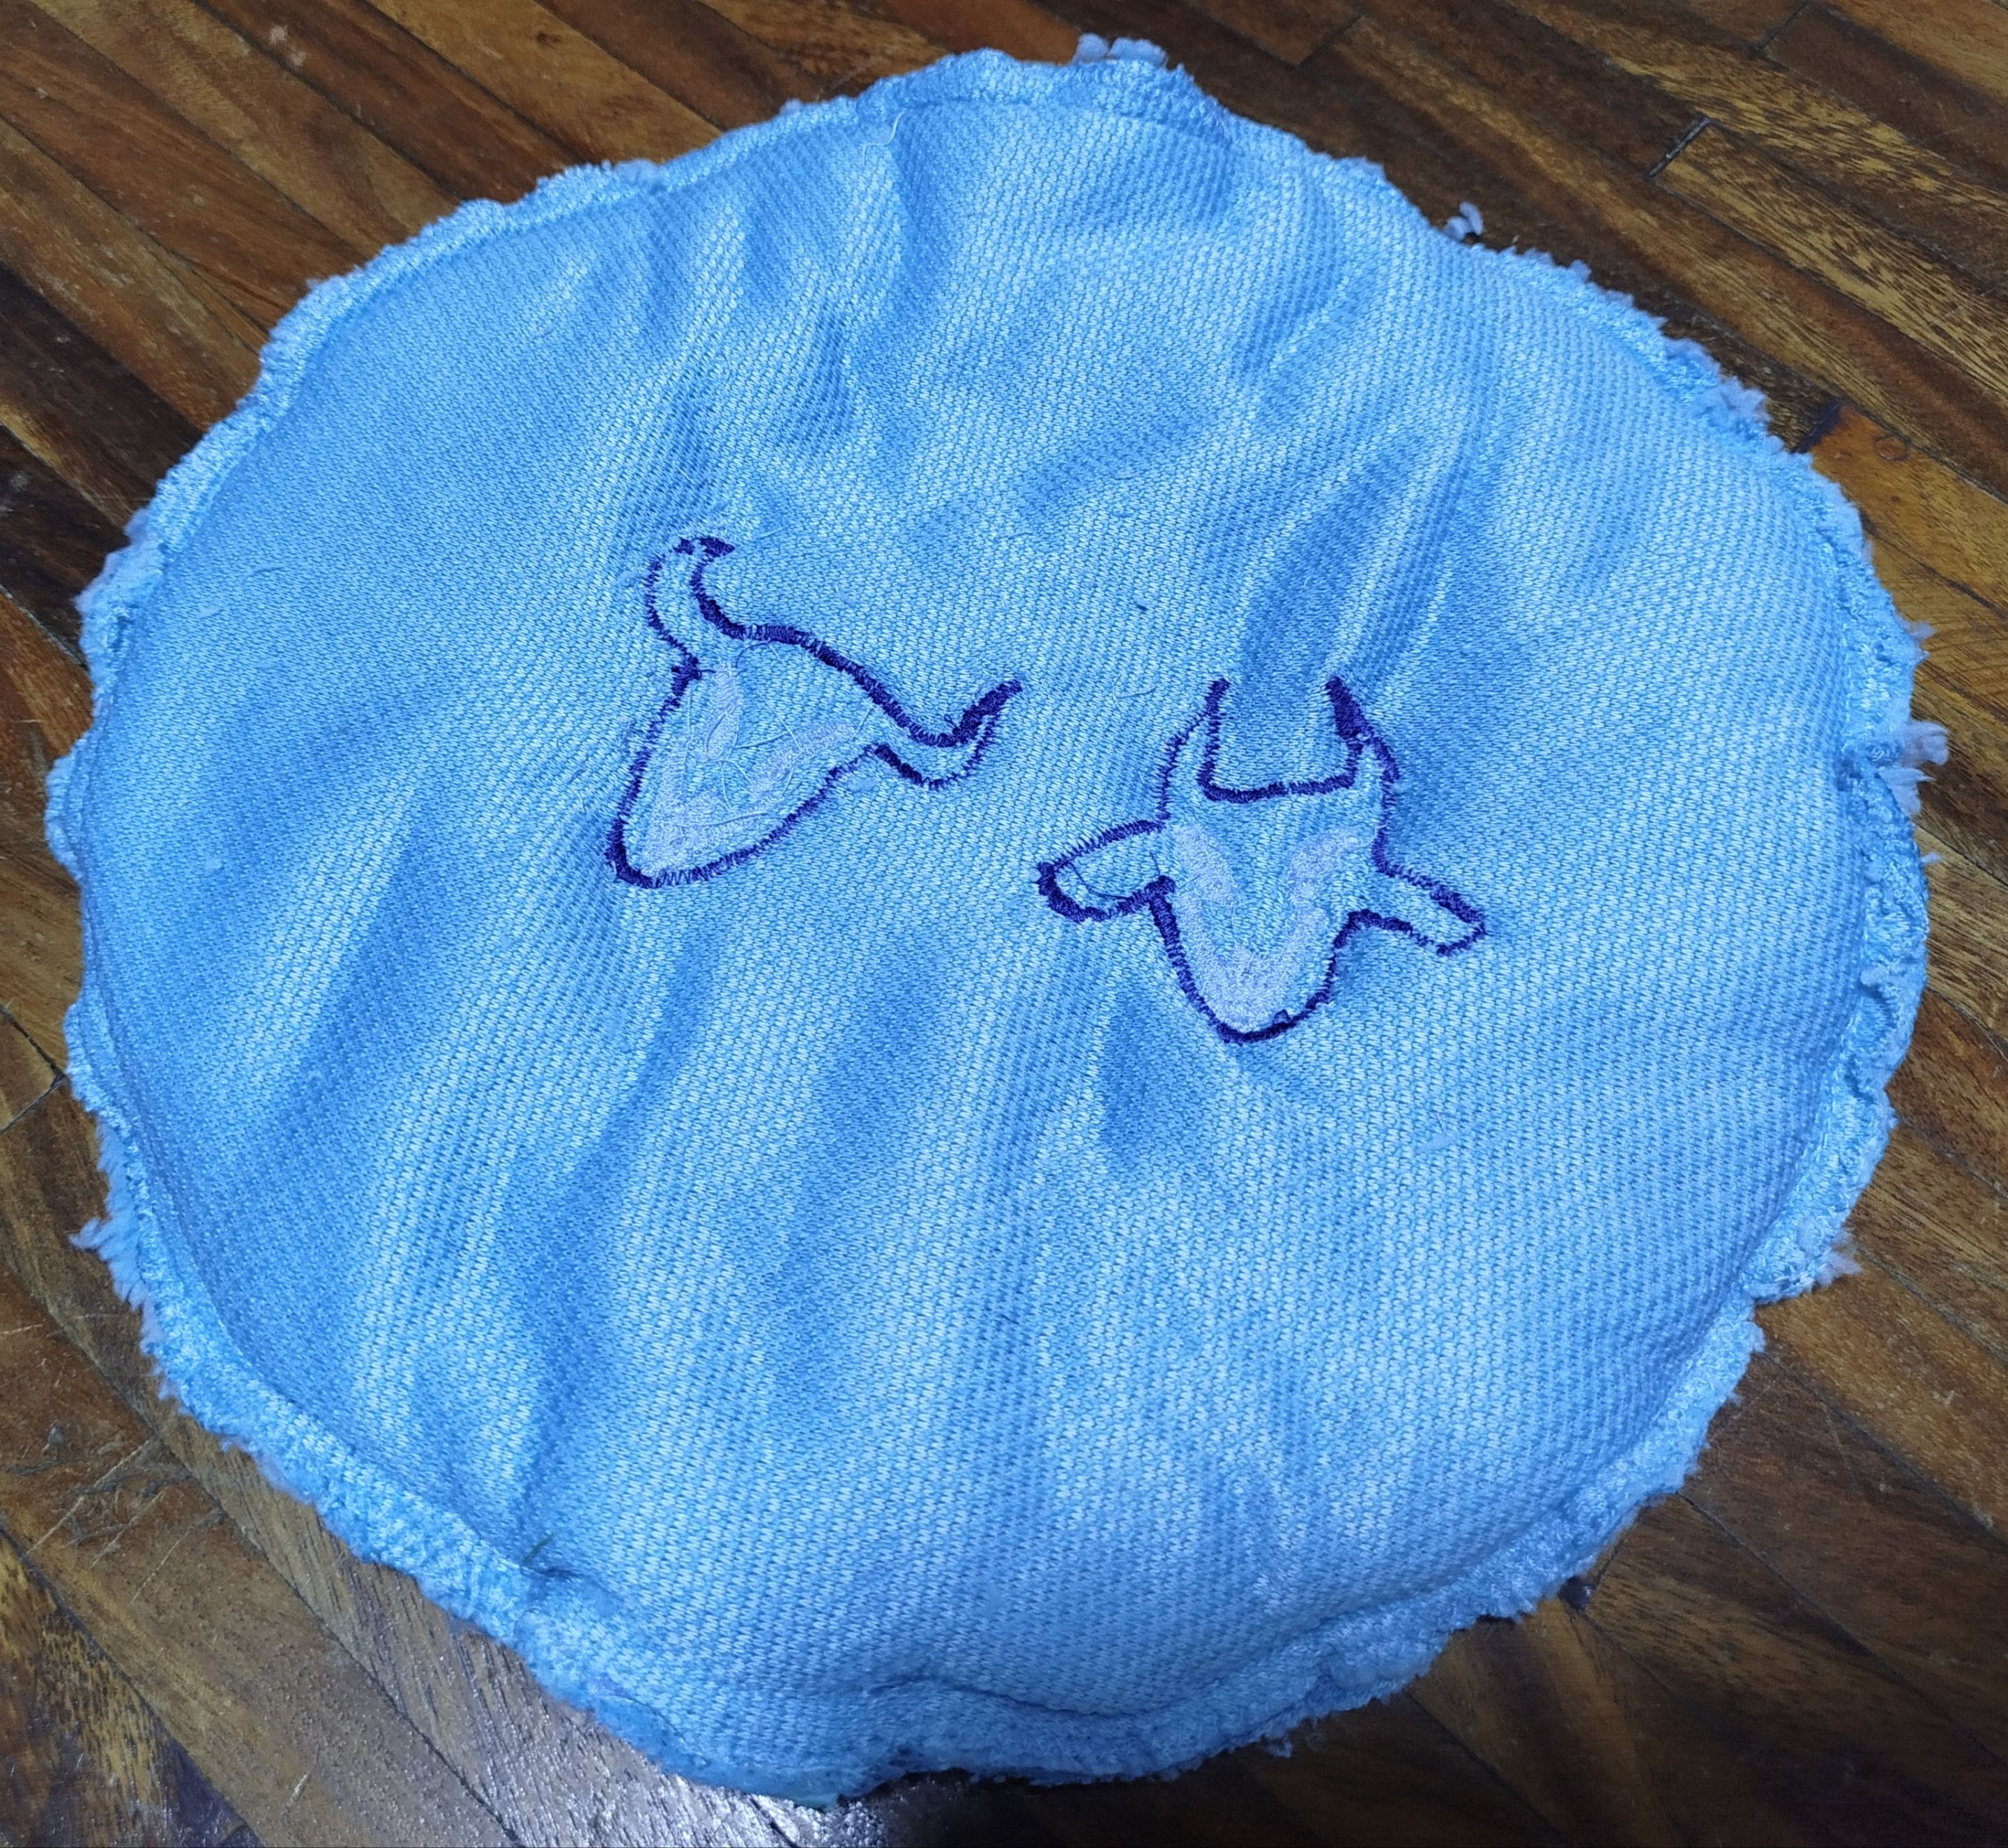
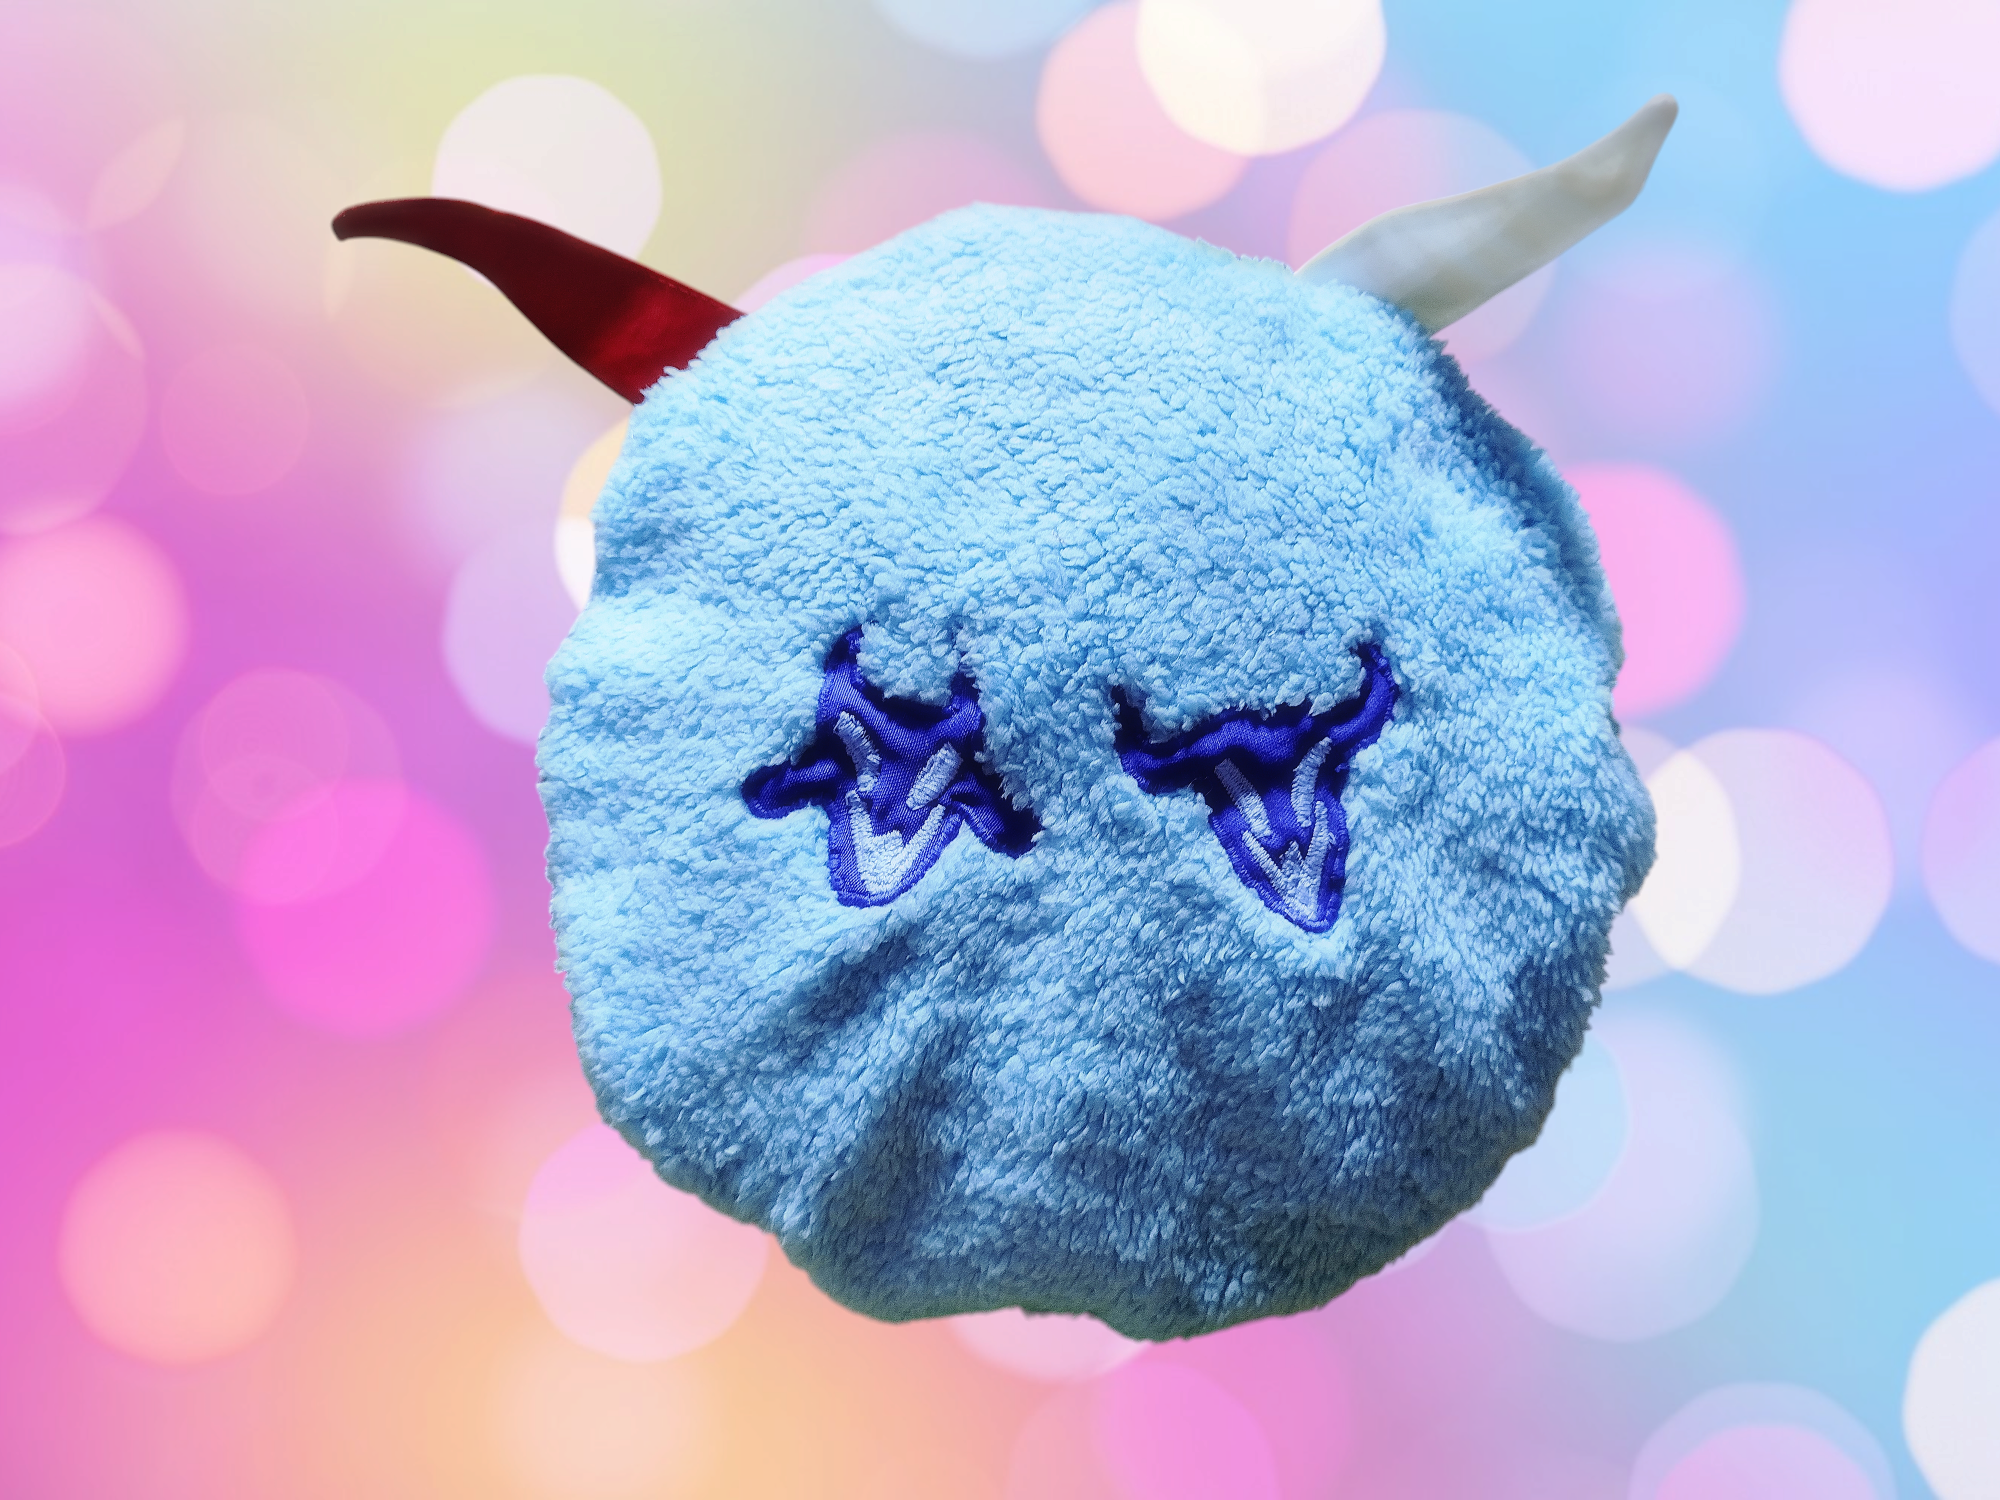
When it came to sewing, the first thing I did was attach the face shapes, using a zigzag stitch for the edges and the same to fill in the eyes and mouths. Initially, I had chosen a light color to border the shapes, but I changed my mind and changed the thread to a darker shade. That way, the faces were finished, with an embroidery-like finish.
 |
 |
 |
|---|---|---|
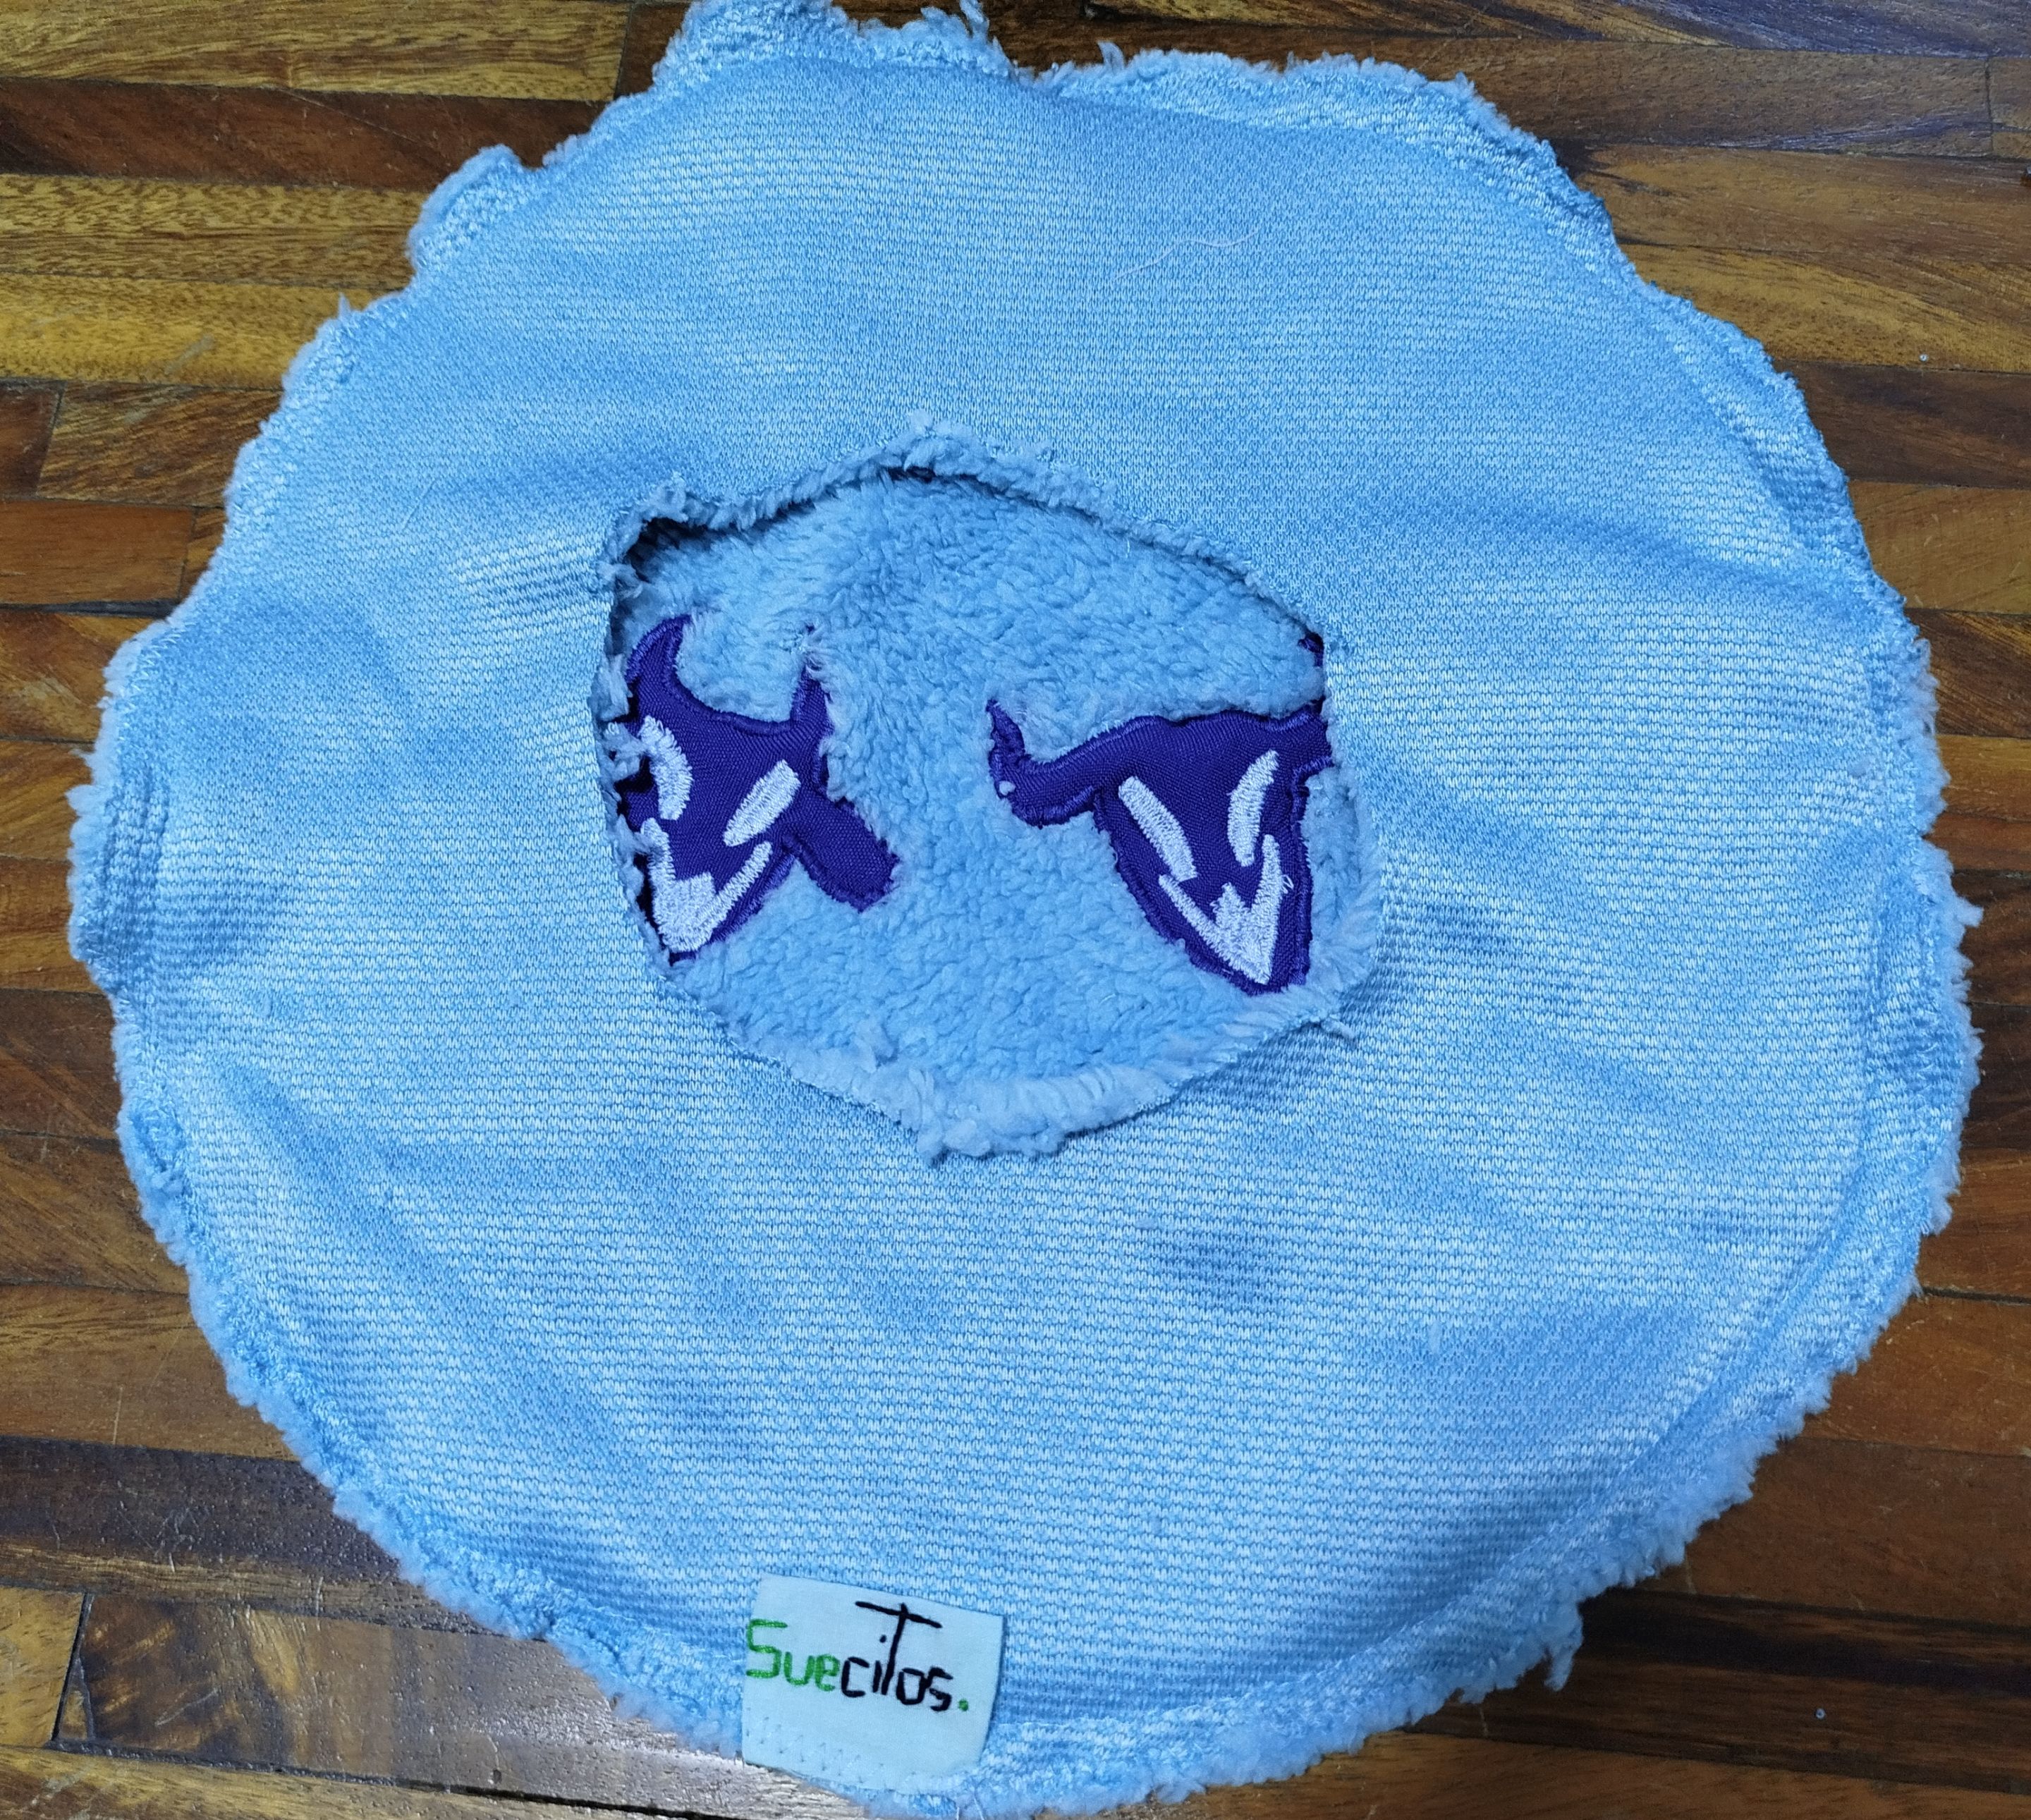
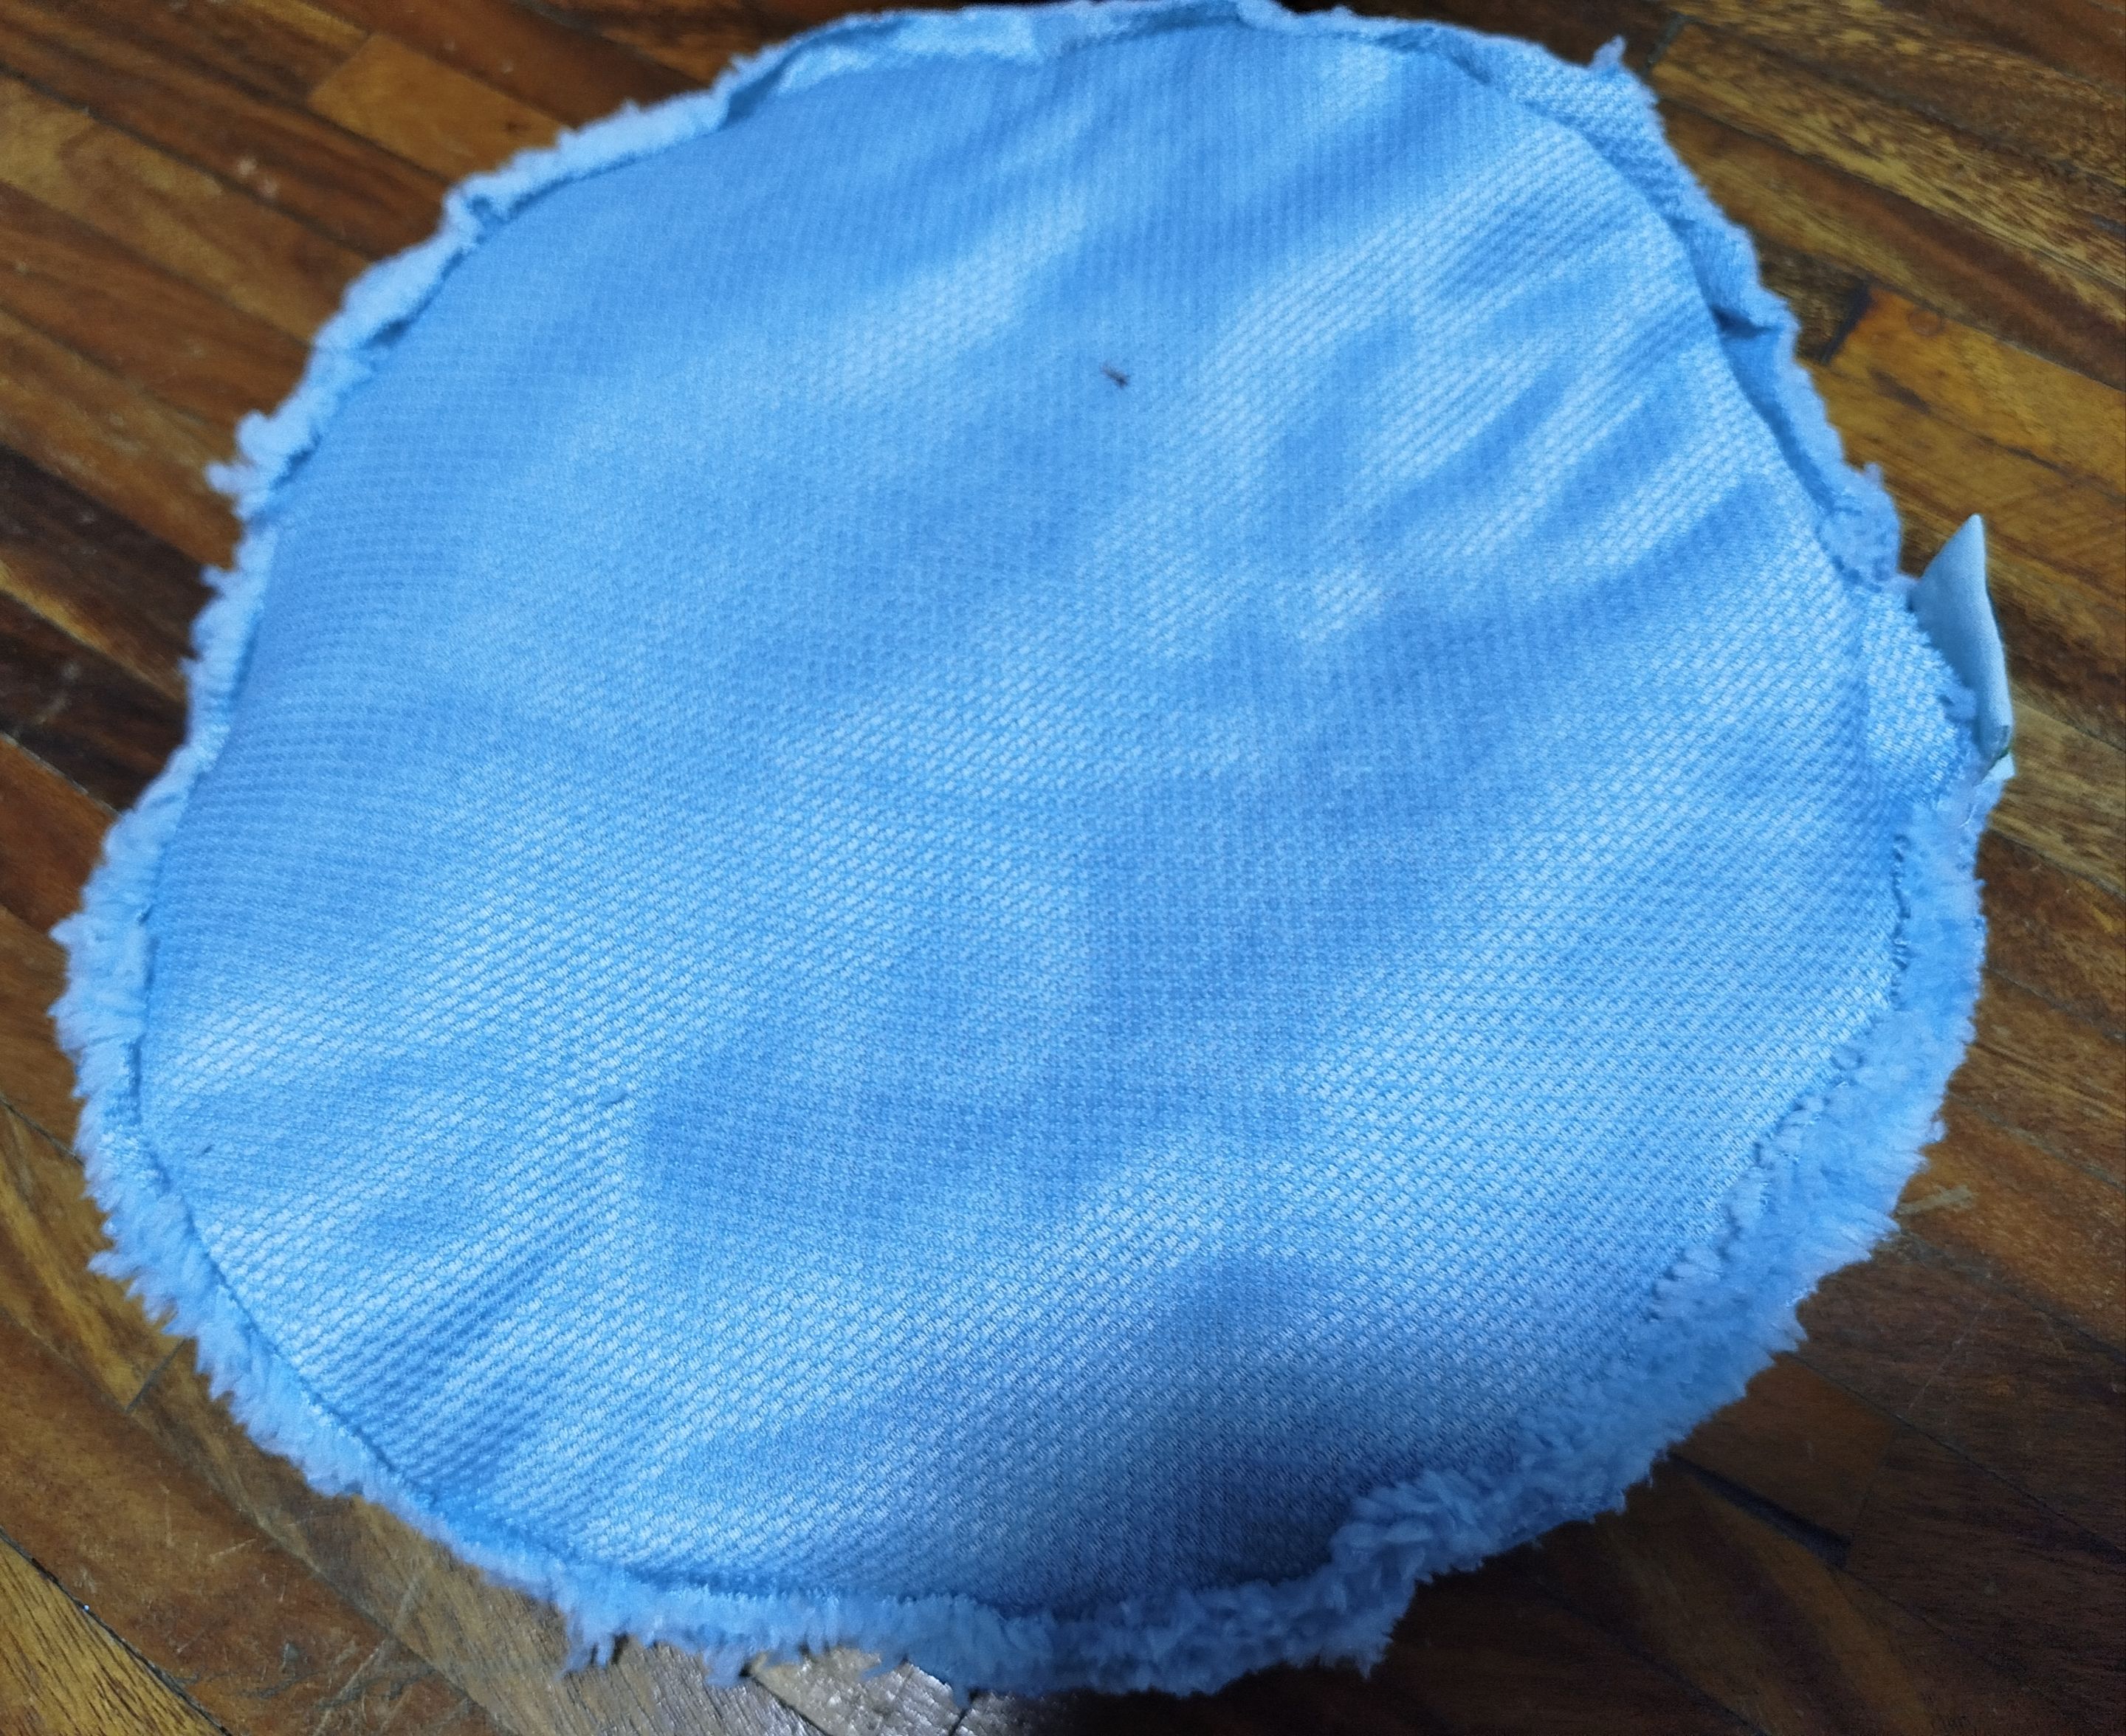
Once this was done, I sewed one of the covers to the piece where I had done the embroidery, using a lighter to burn the ends, since this type of fabric tends to shed a lot of lint.
 |
 |
|---|---|
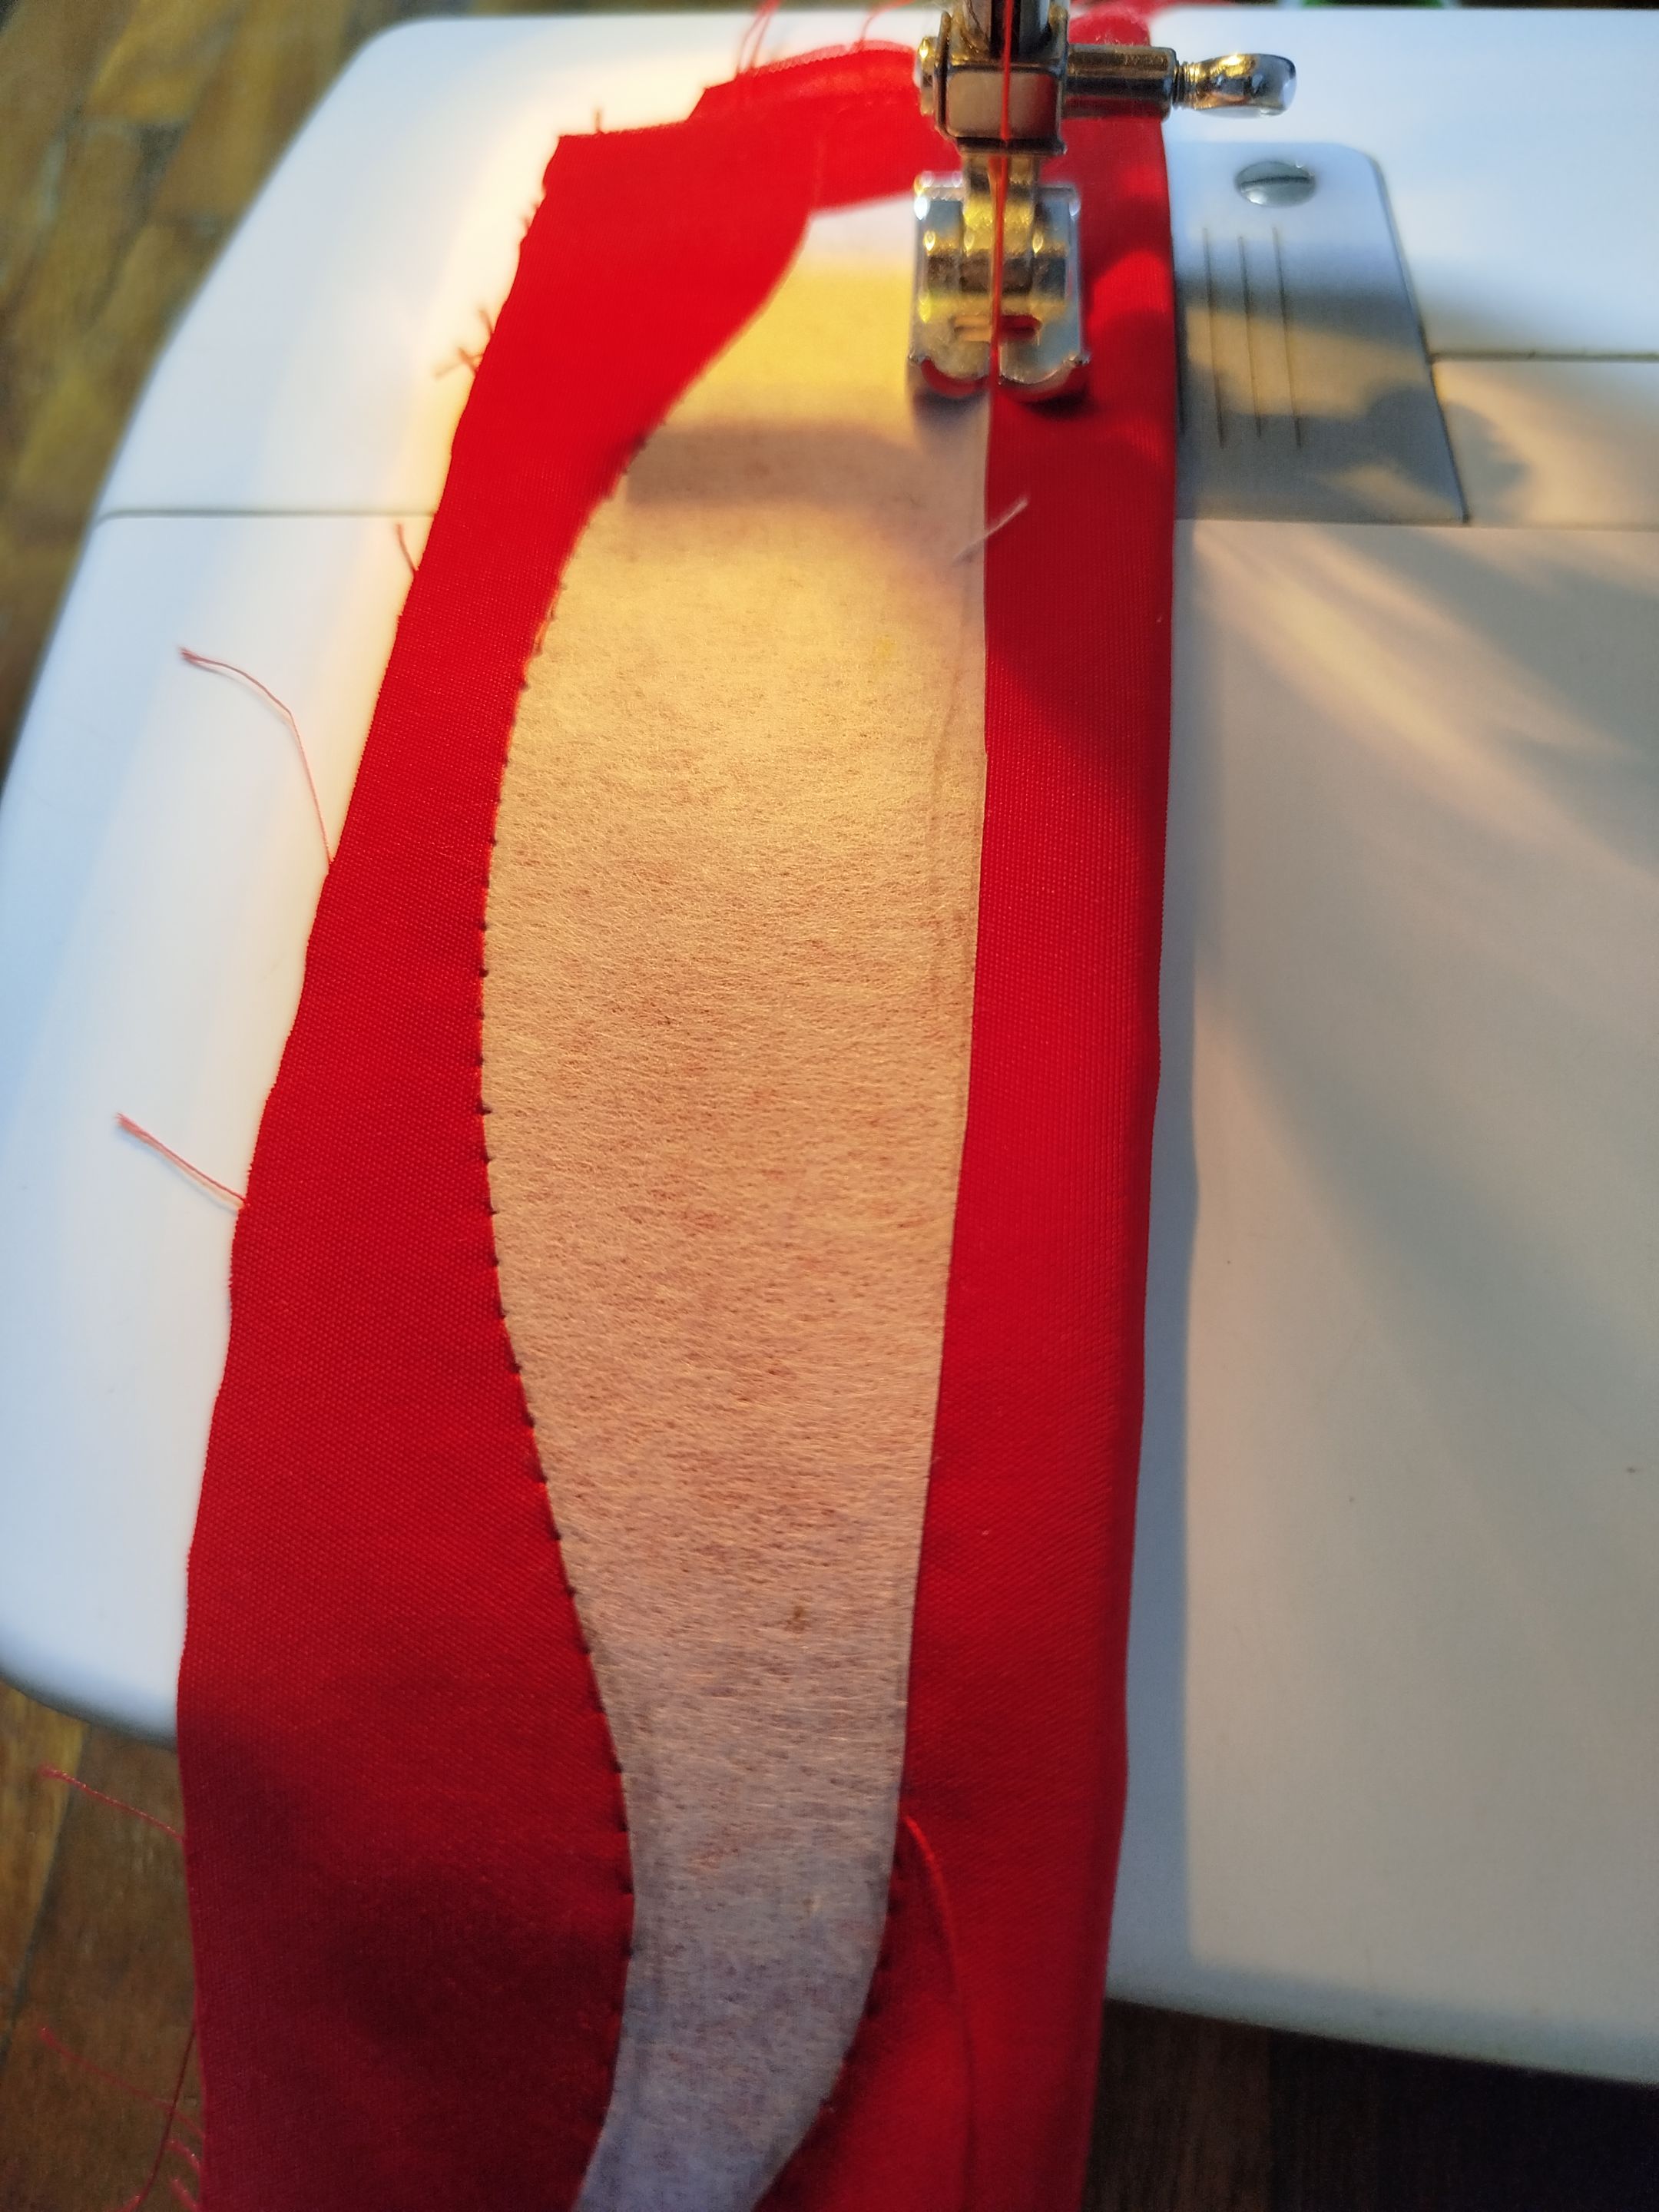
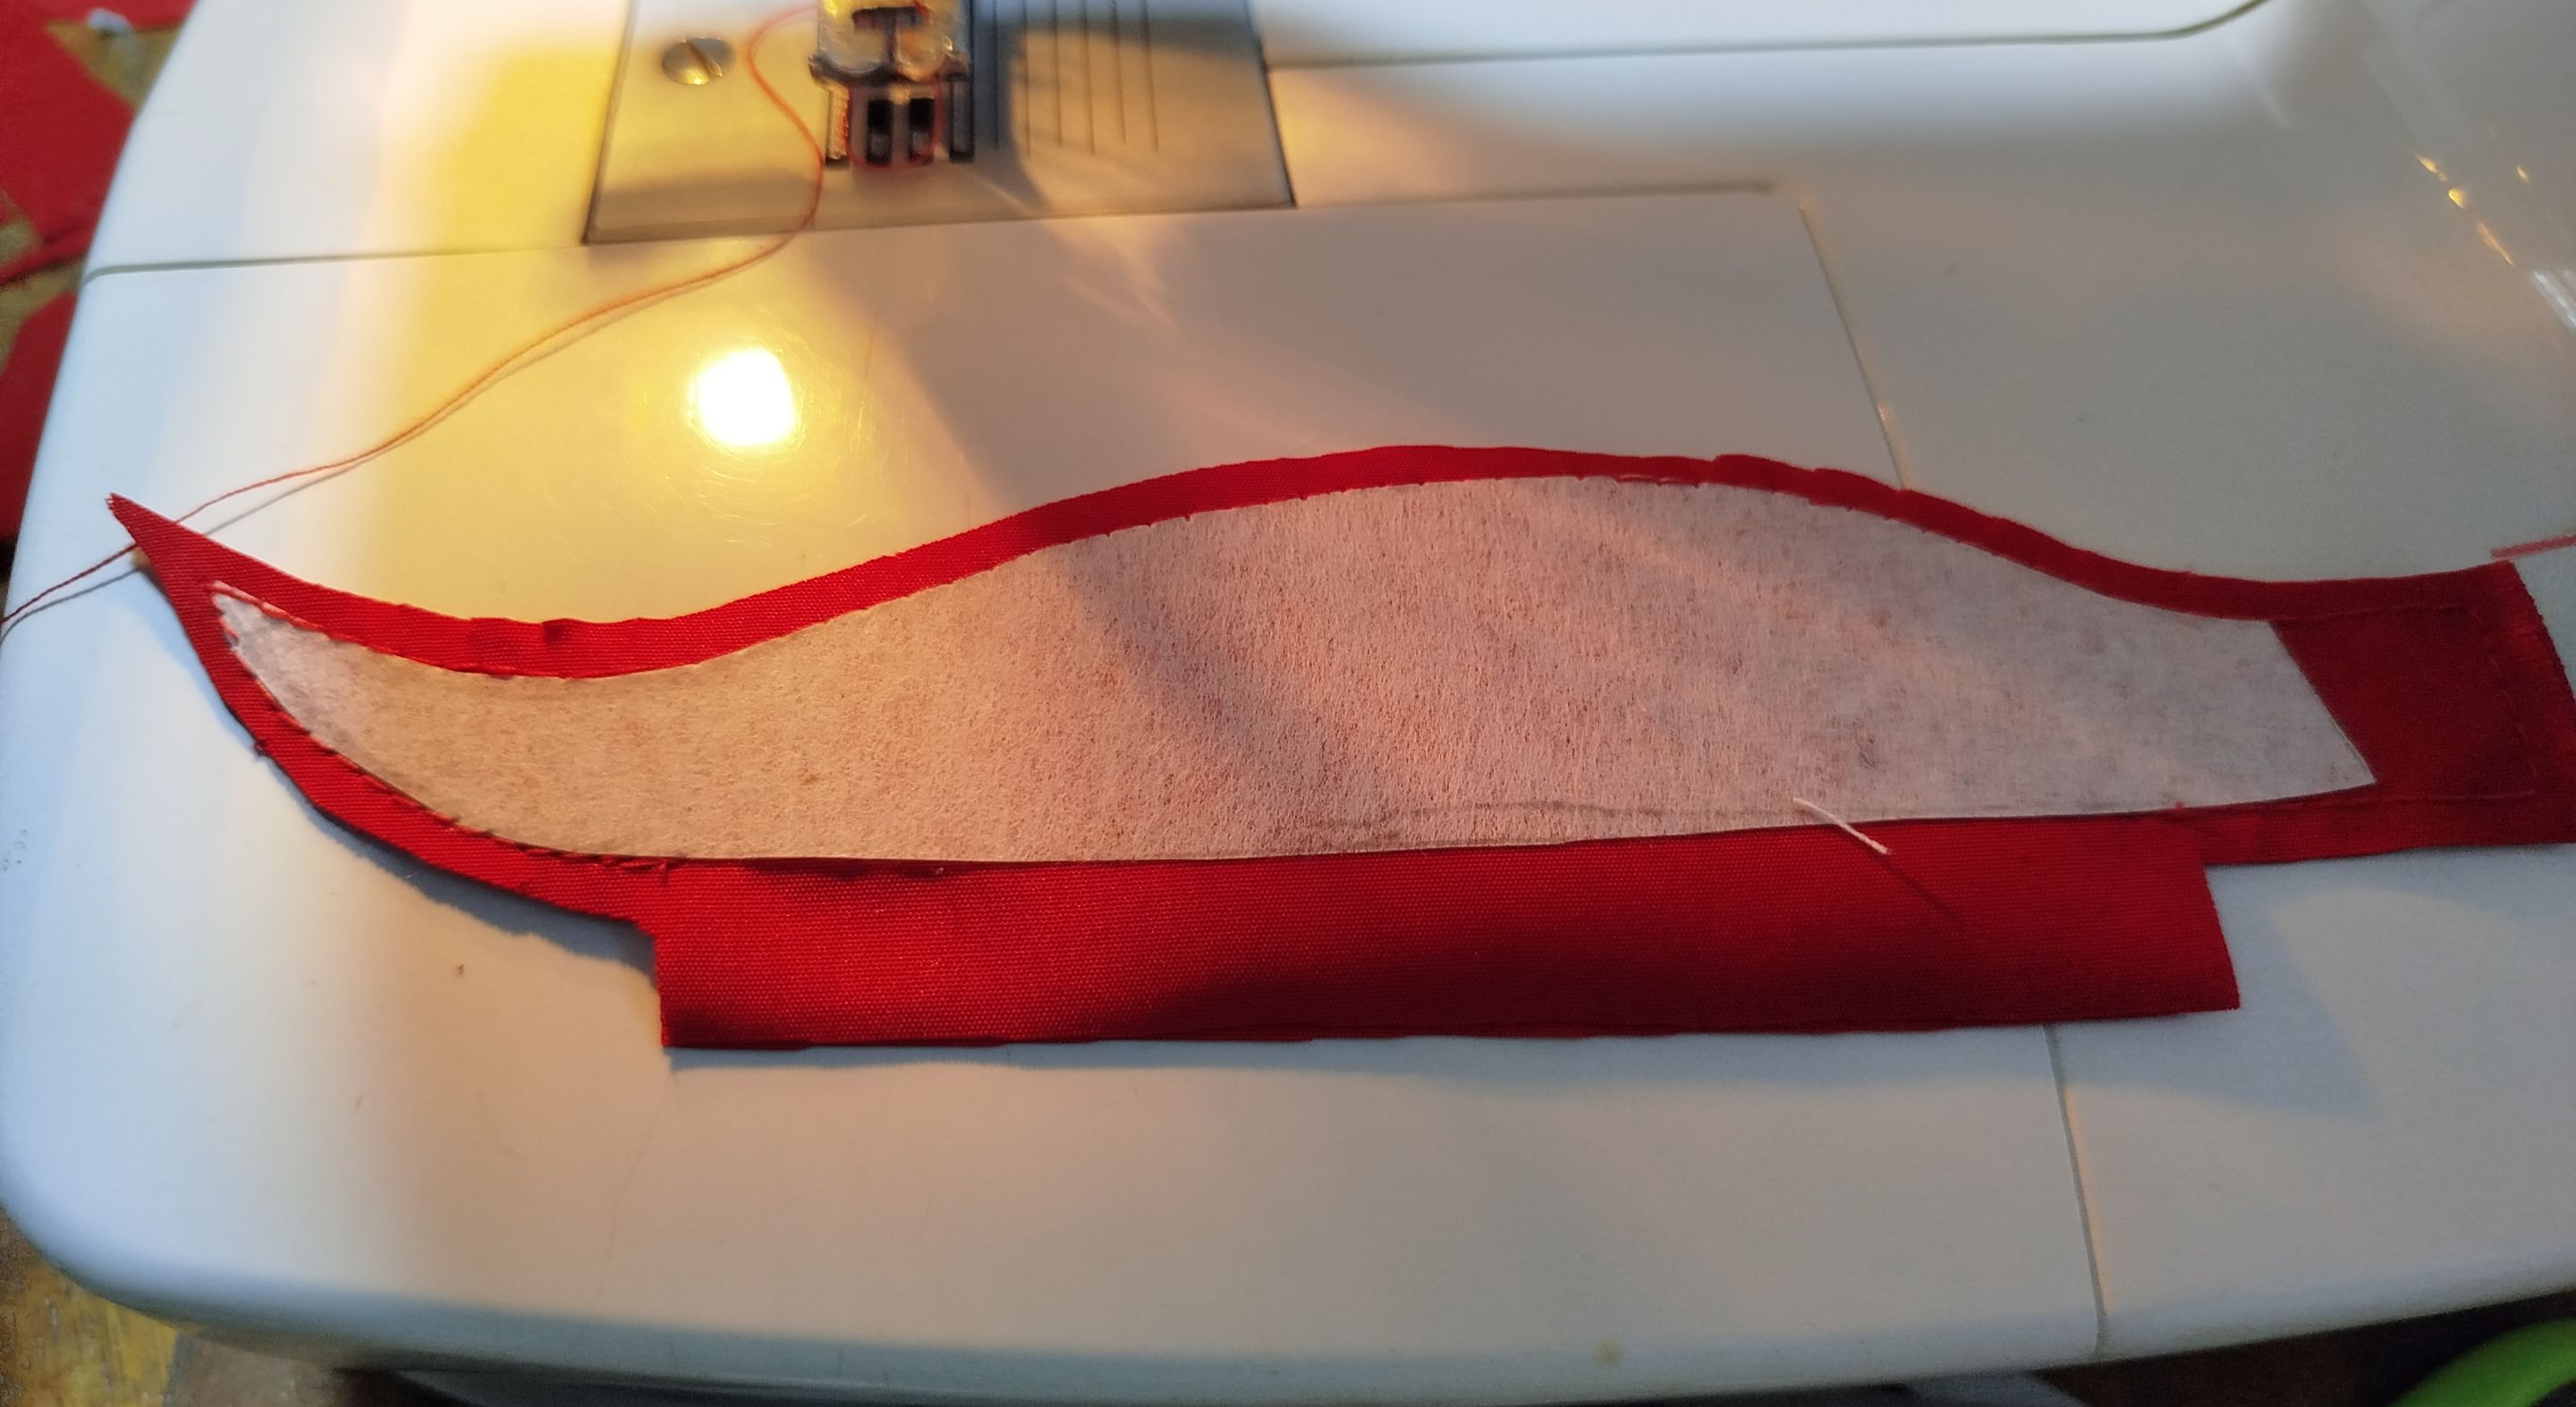
Next, I made the feathers. This part was one of the reasons I was hesitant to make the hat, as I hadn't really thought through how to do it. However, I decided to keep it simple, so as not to overwhelm myself. So I drew a silhouette similar to the feather and transferred the design to the fabrics and interfacing.
 |
 |
 |
|---|---|---|
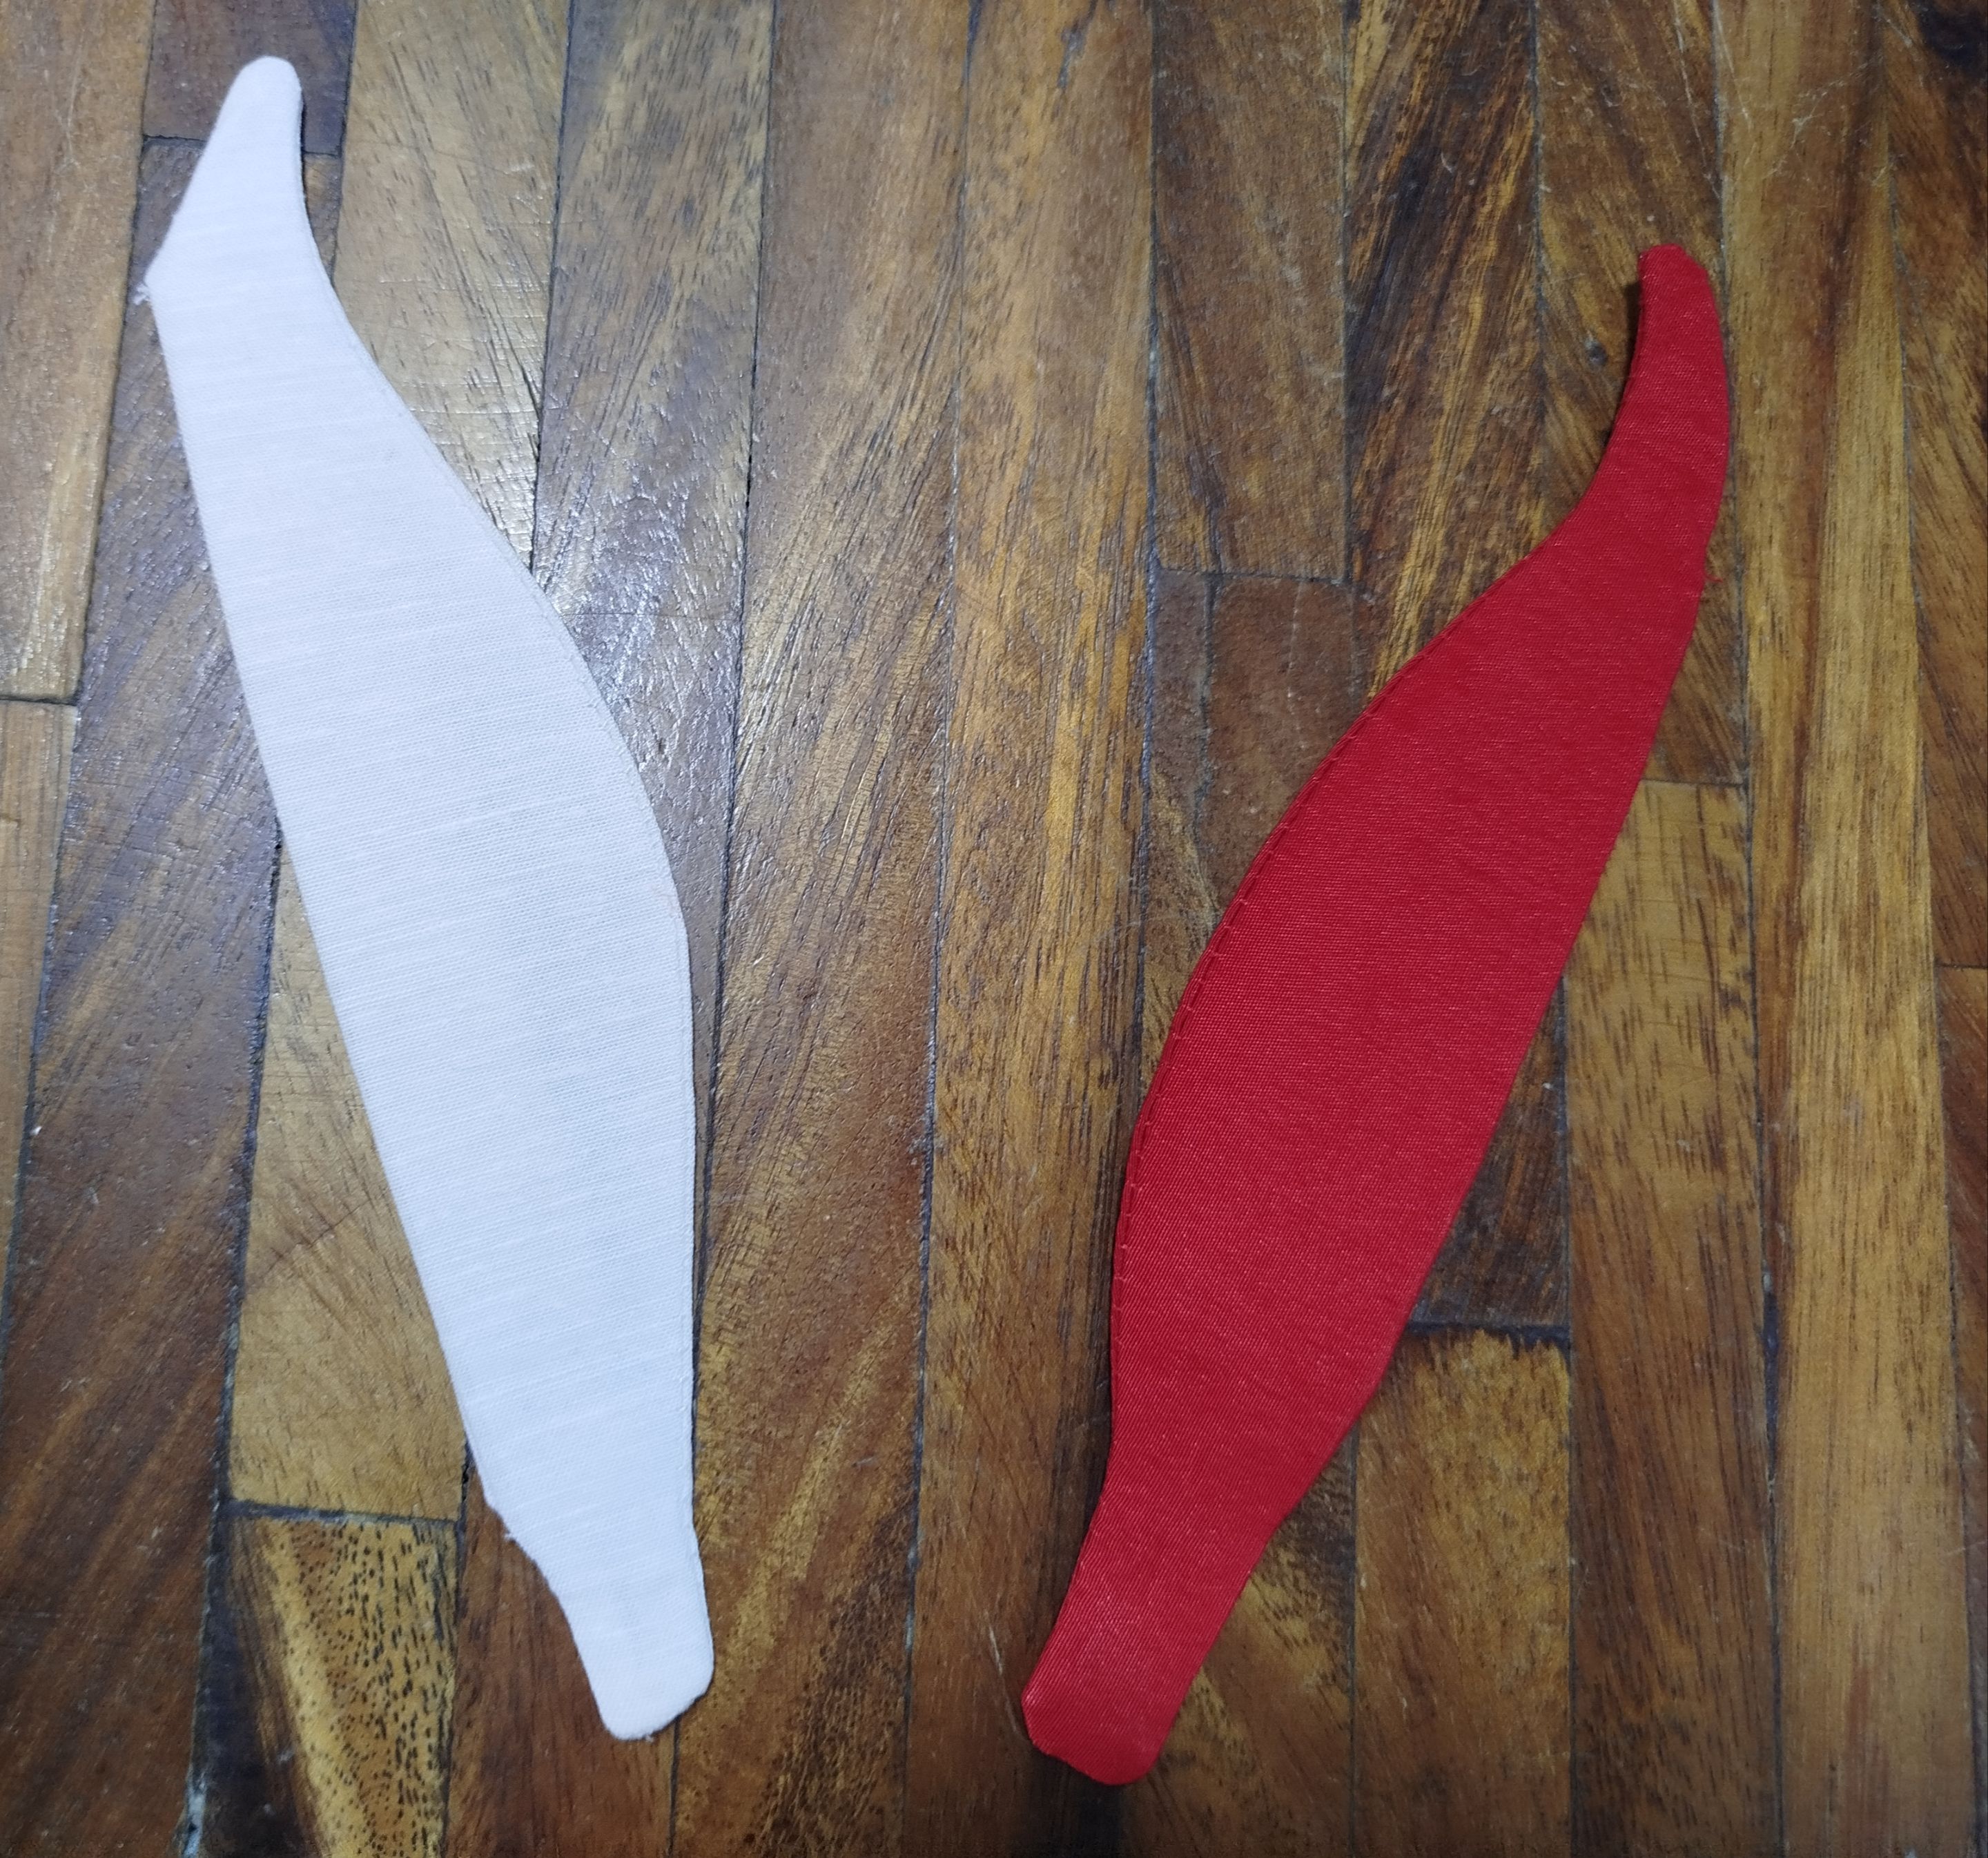
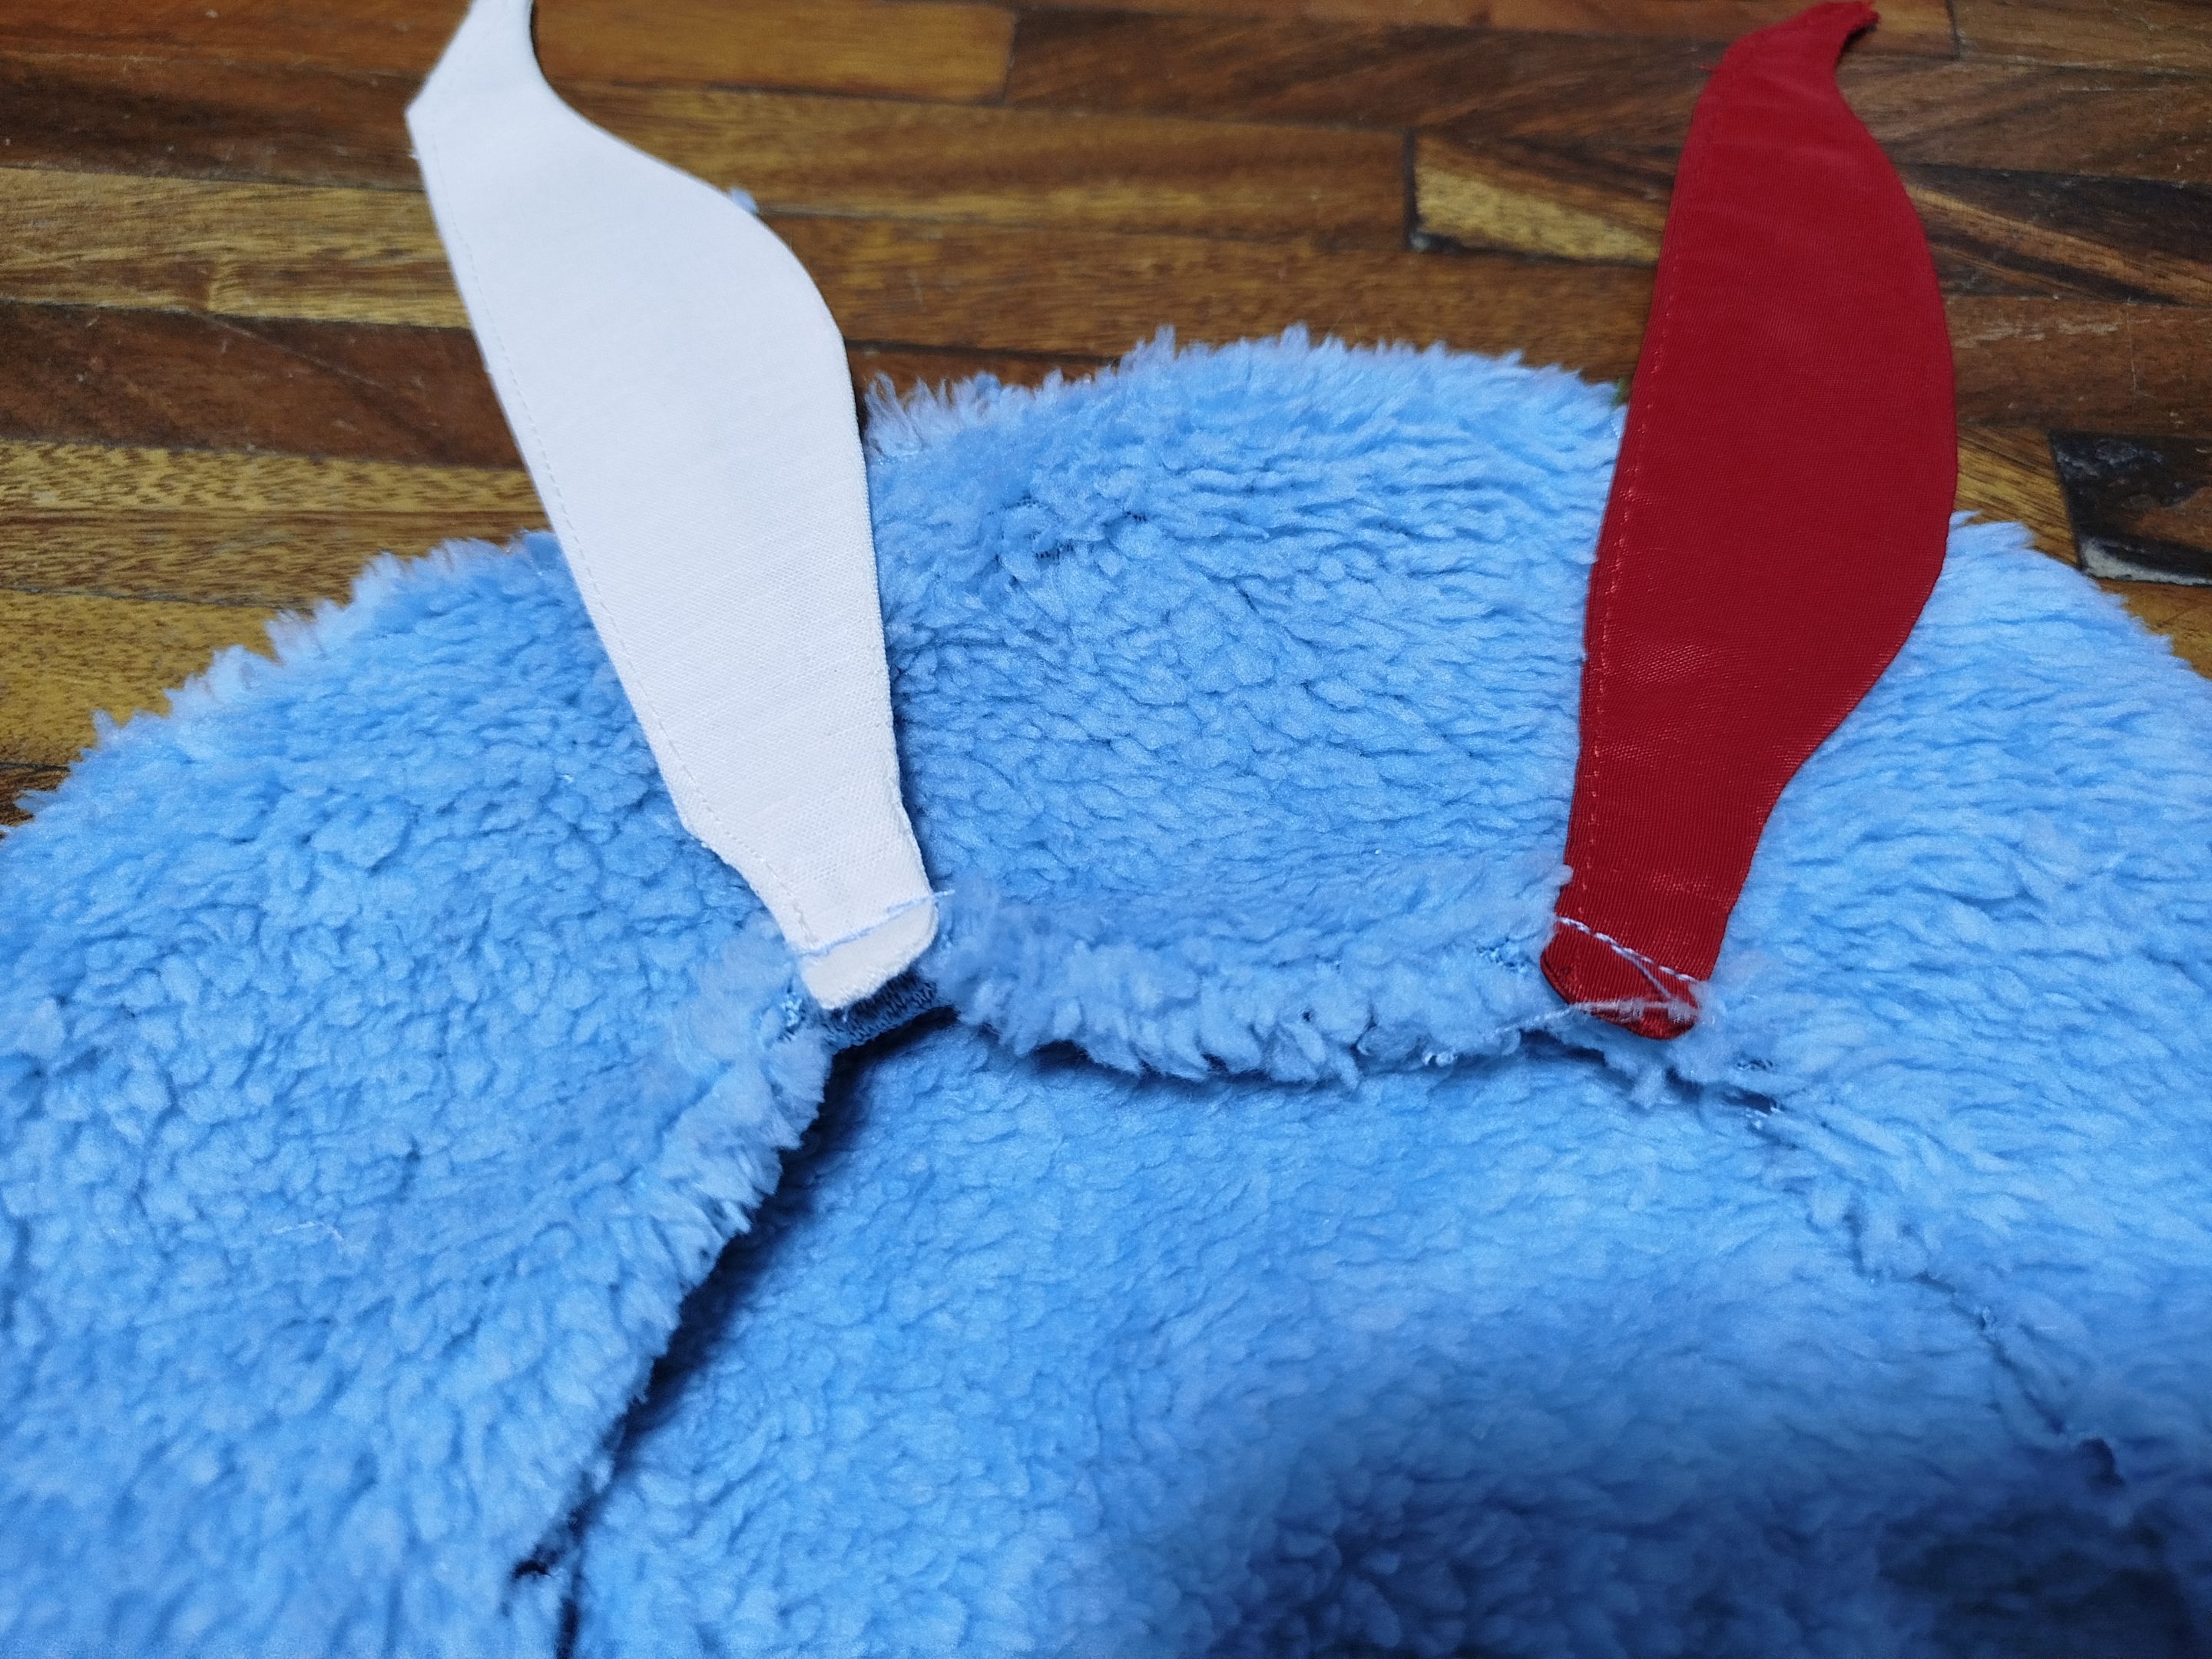
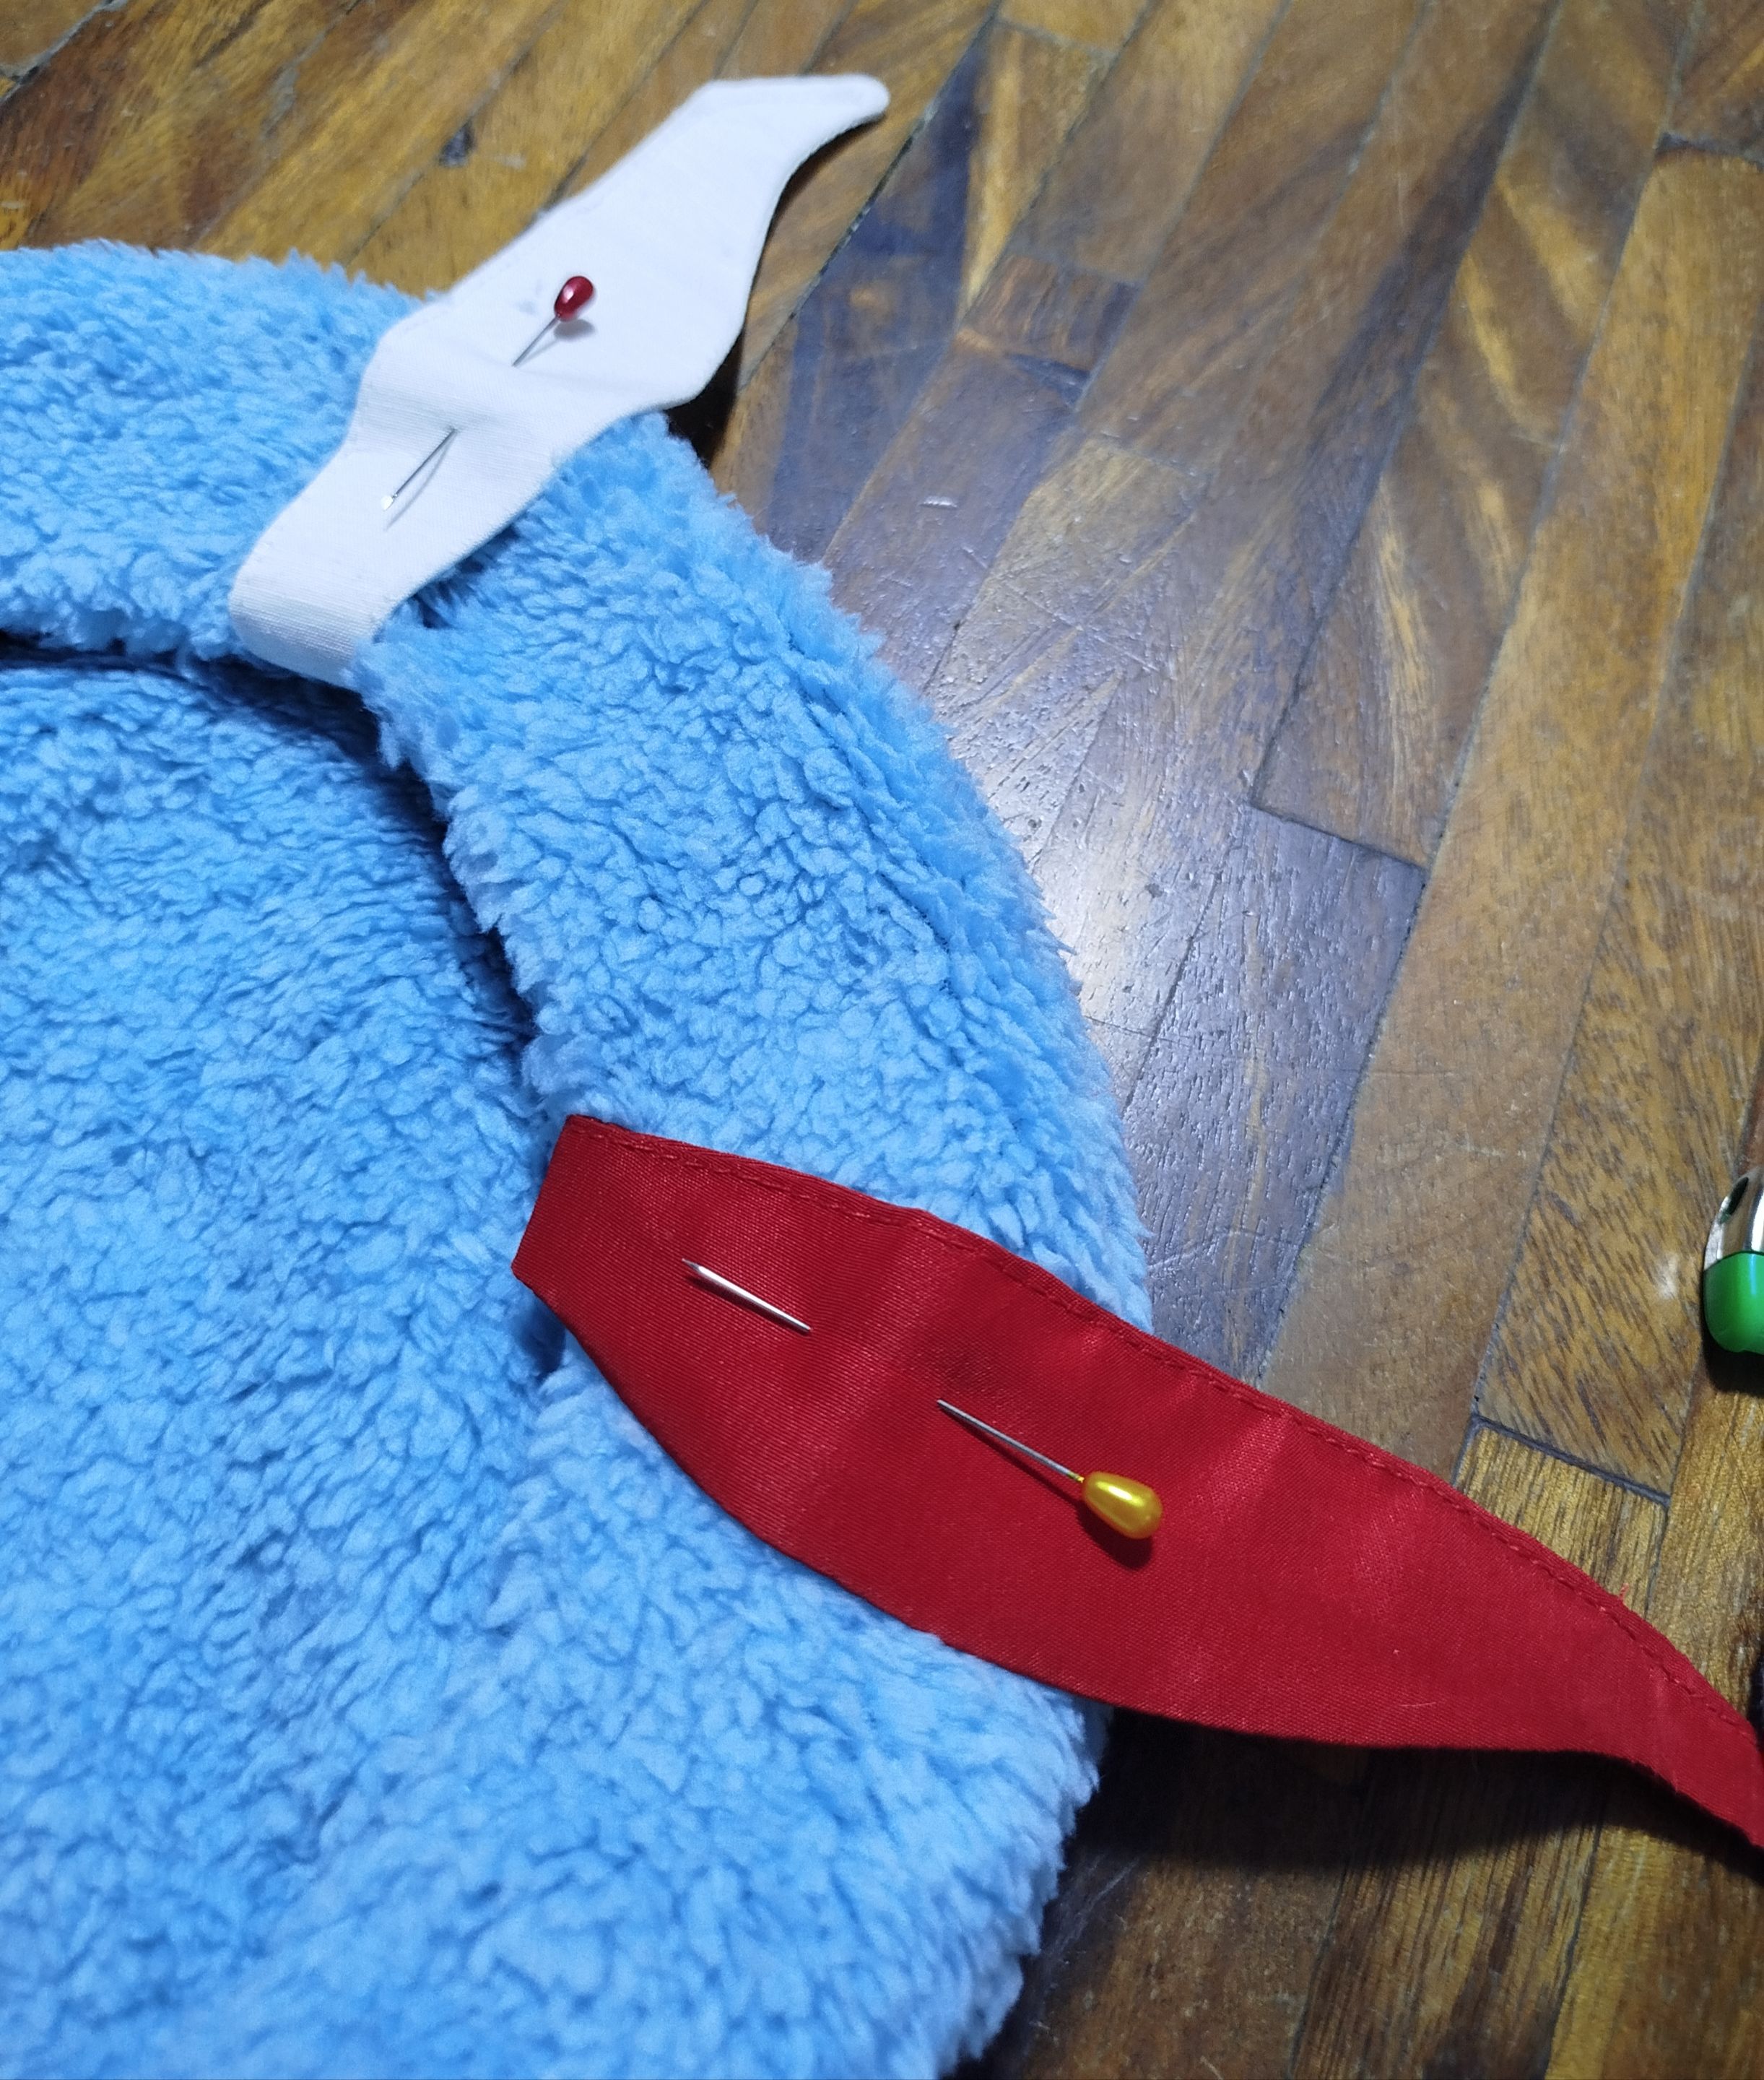
With the feathers ready, I proceeded to sew them to the edge of the hat. After that, I attached the cap to the opening, joining them with a straight seam.
 |
 |
|---|---|
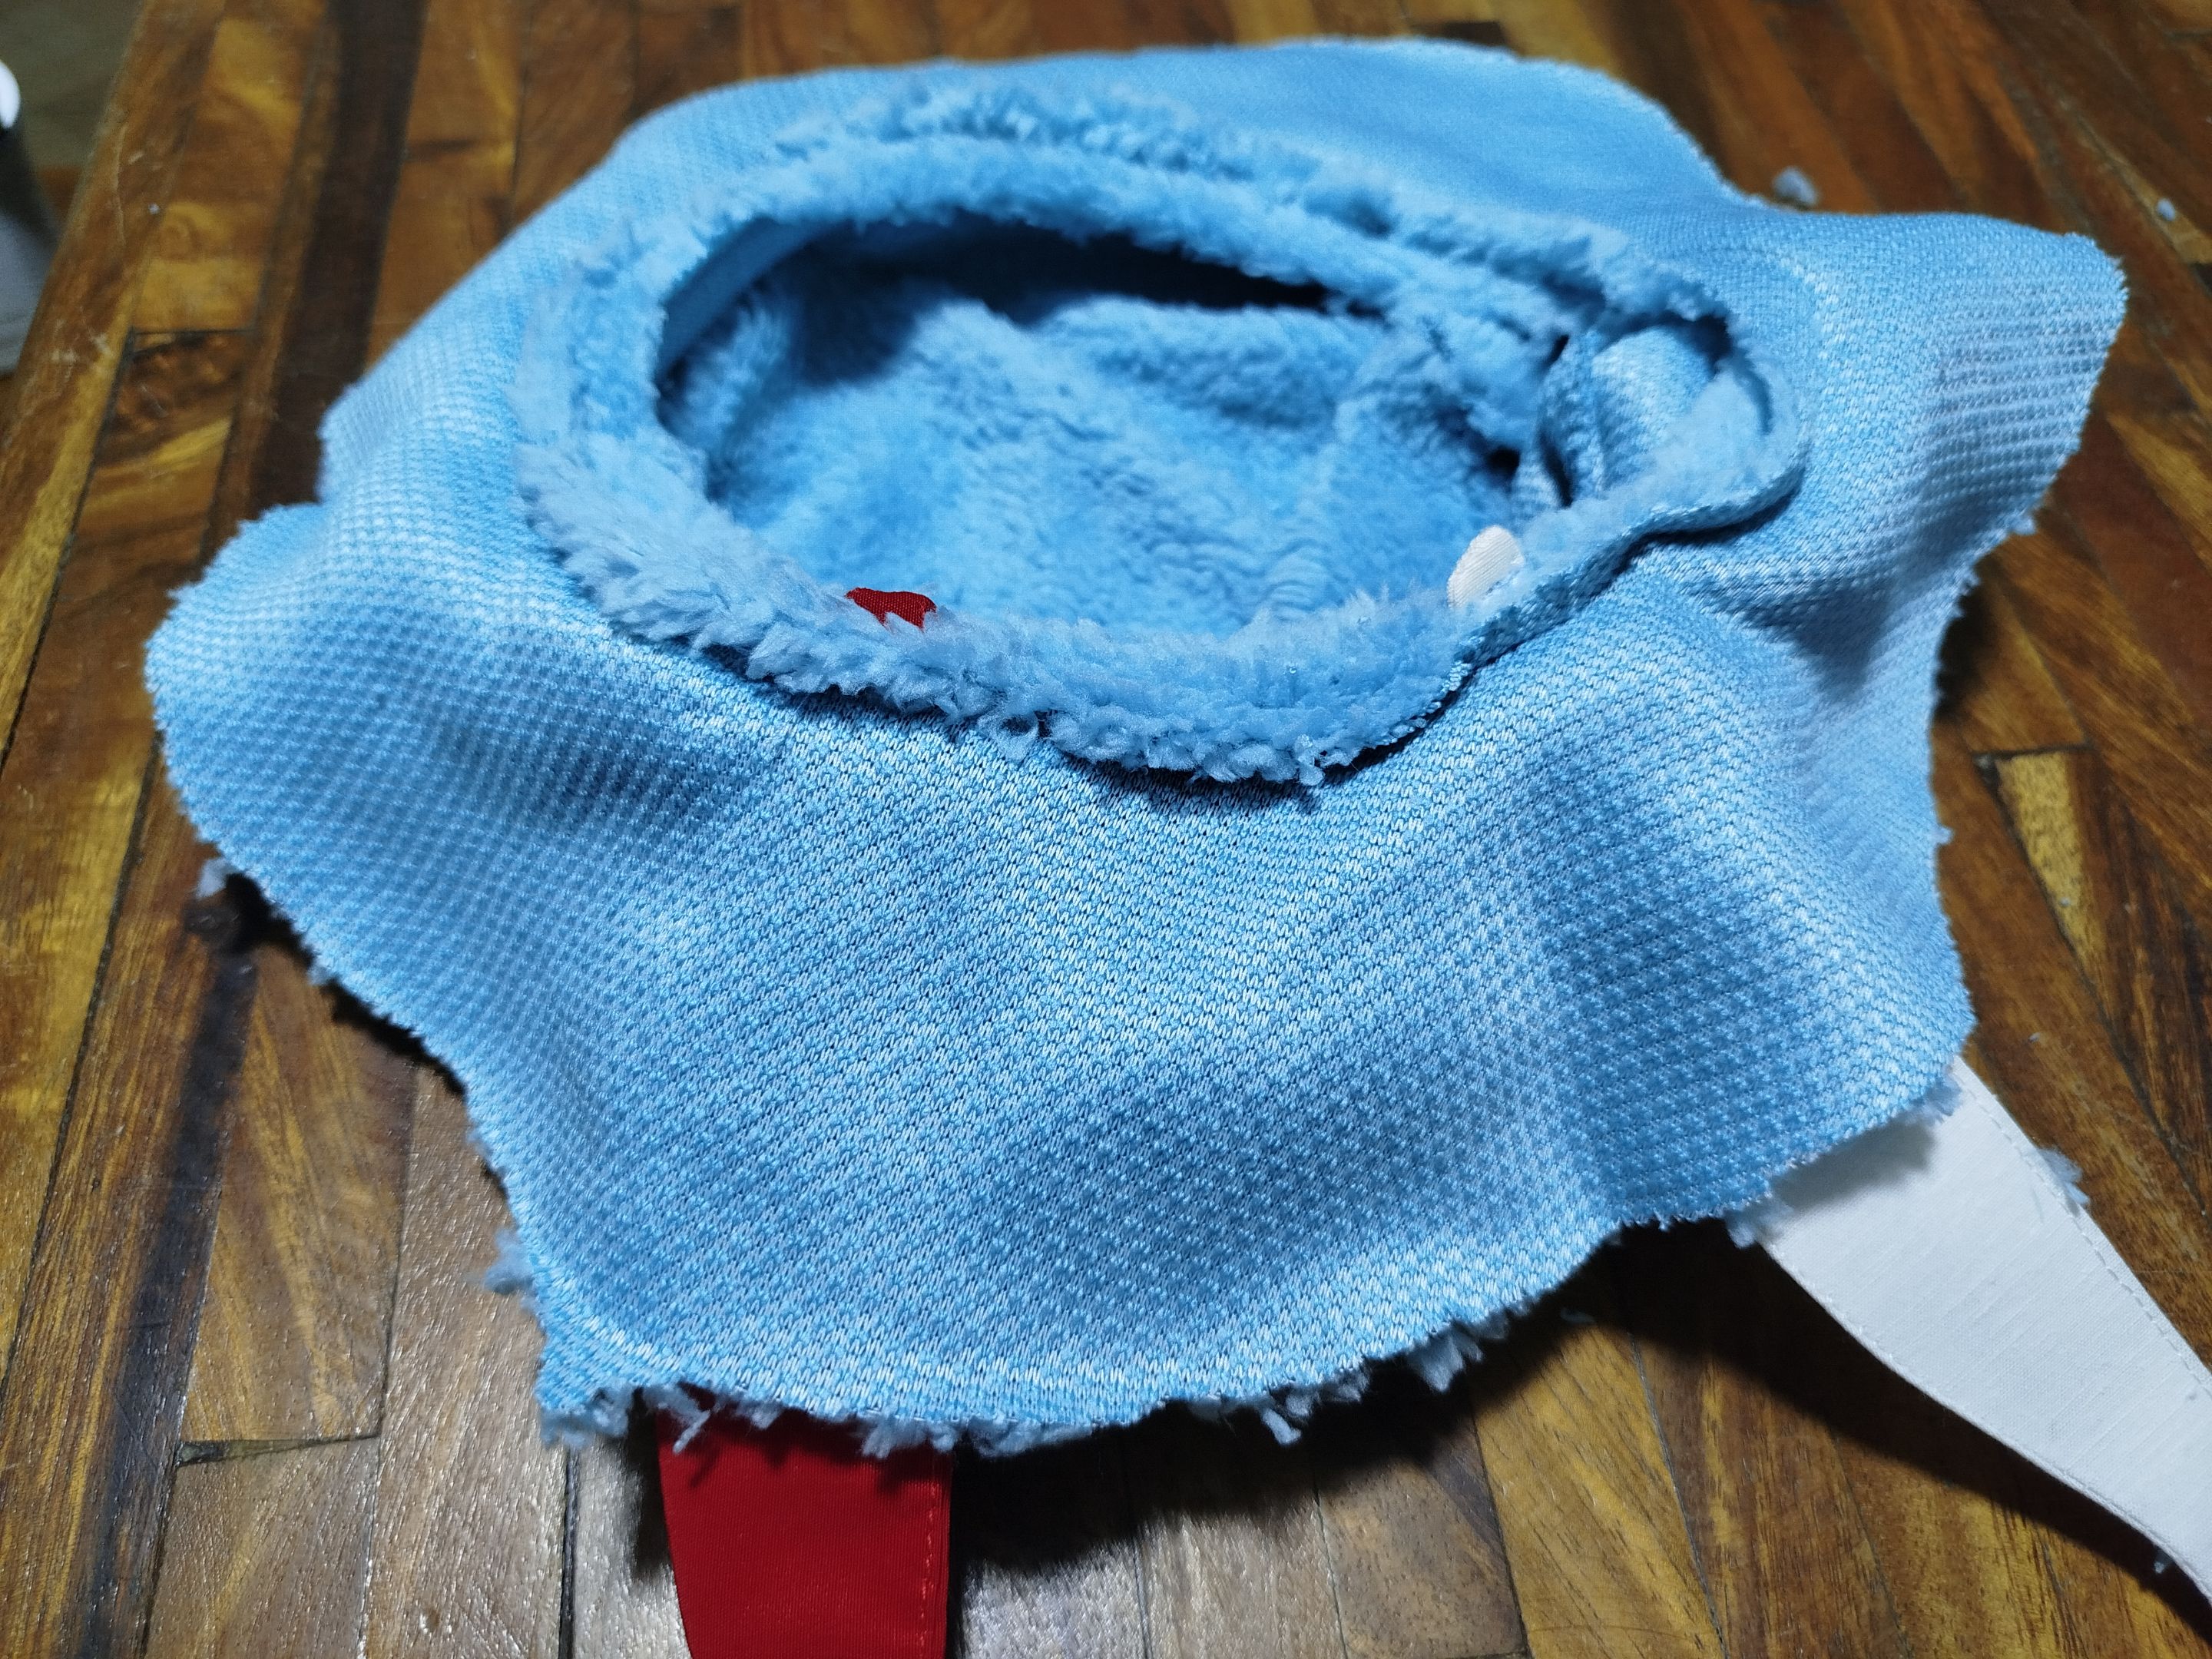
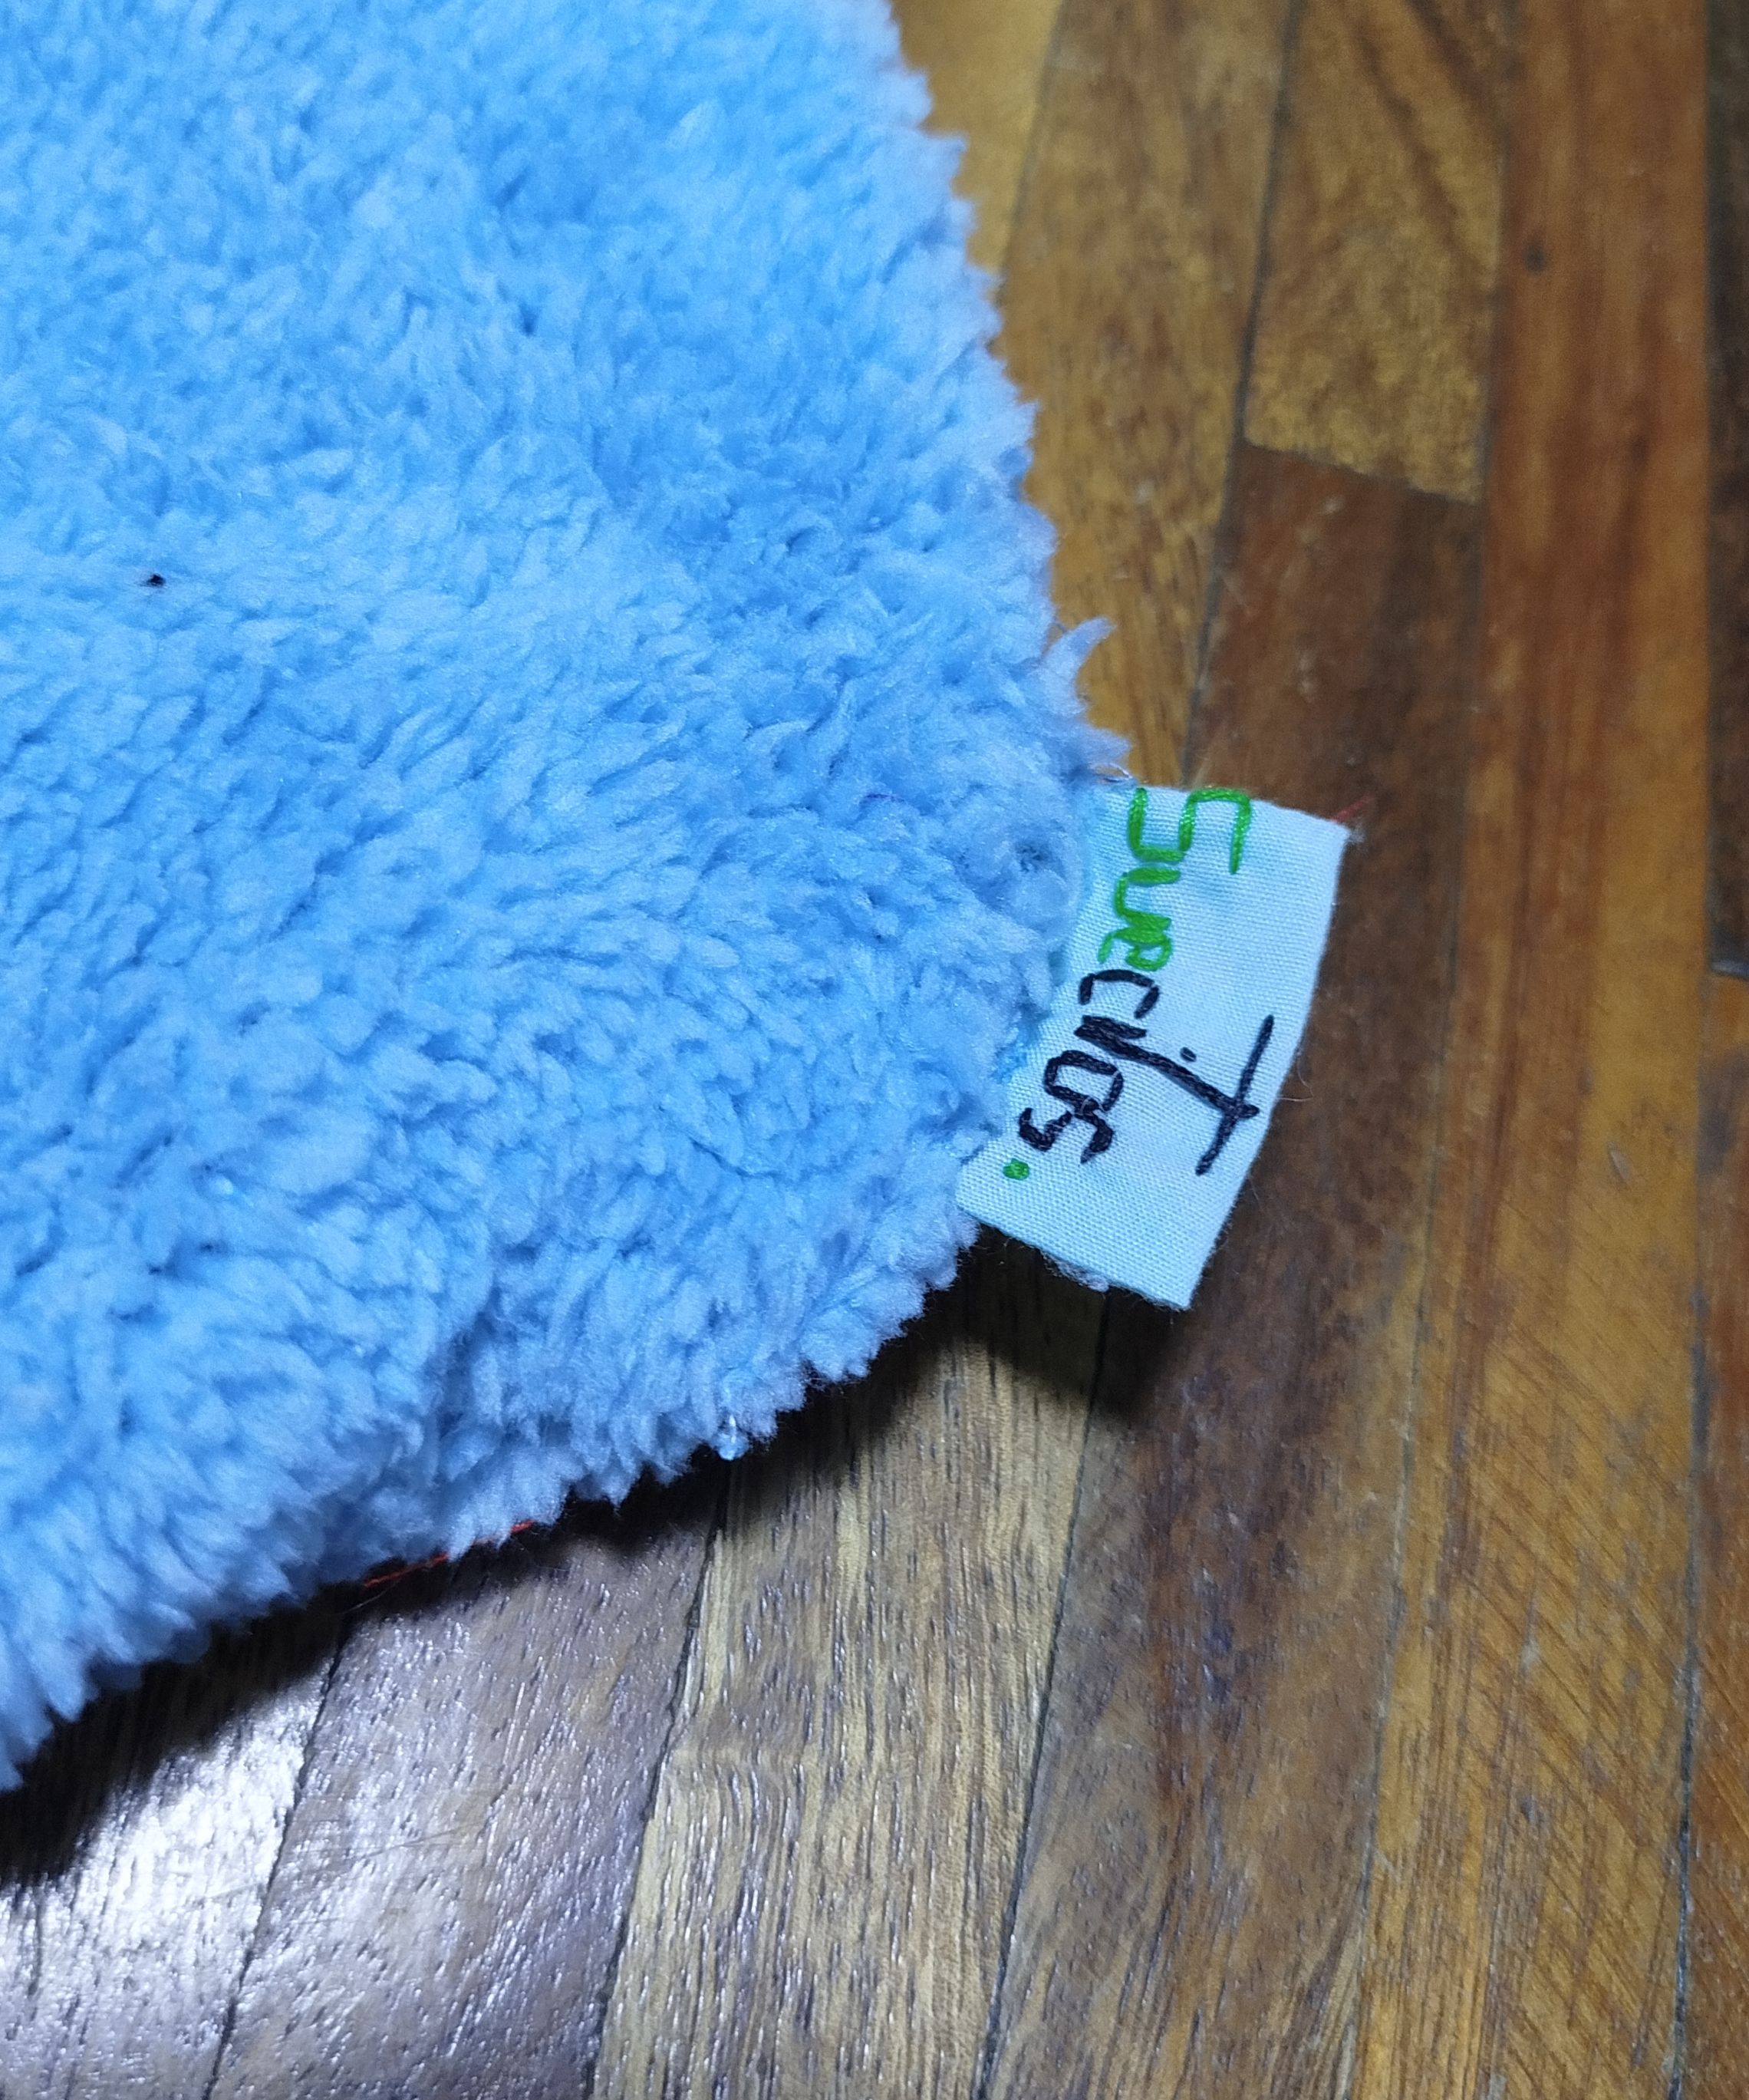
The next step was to sew the other circumference, leaving enough room to turn the beret inside out and closing the opening with a straight seam. I also added a label with my brand to the beret, and I also hand-stitched the feather pieces a few times to keep them upright.
 |
 |
|---|---|
 |
 |
|---|---|
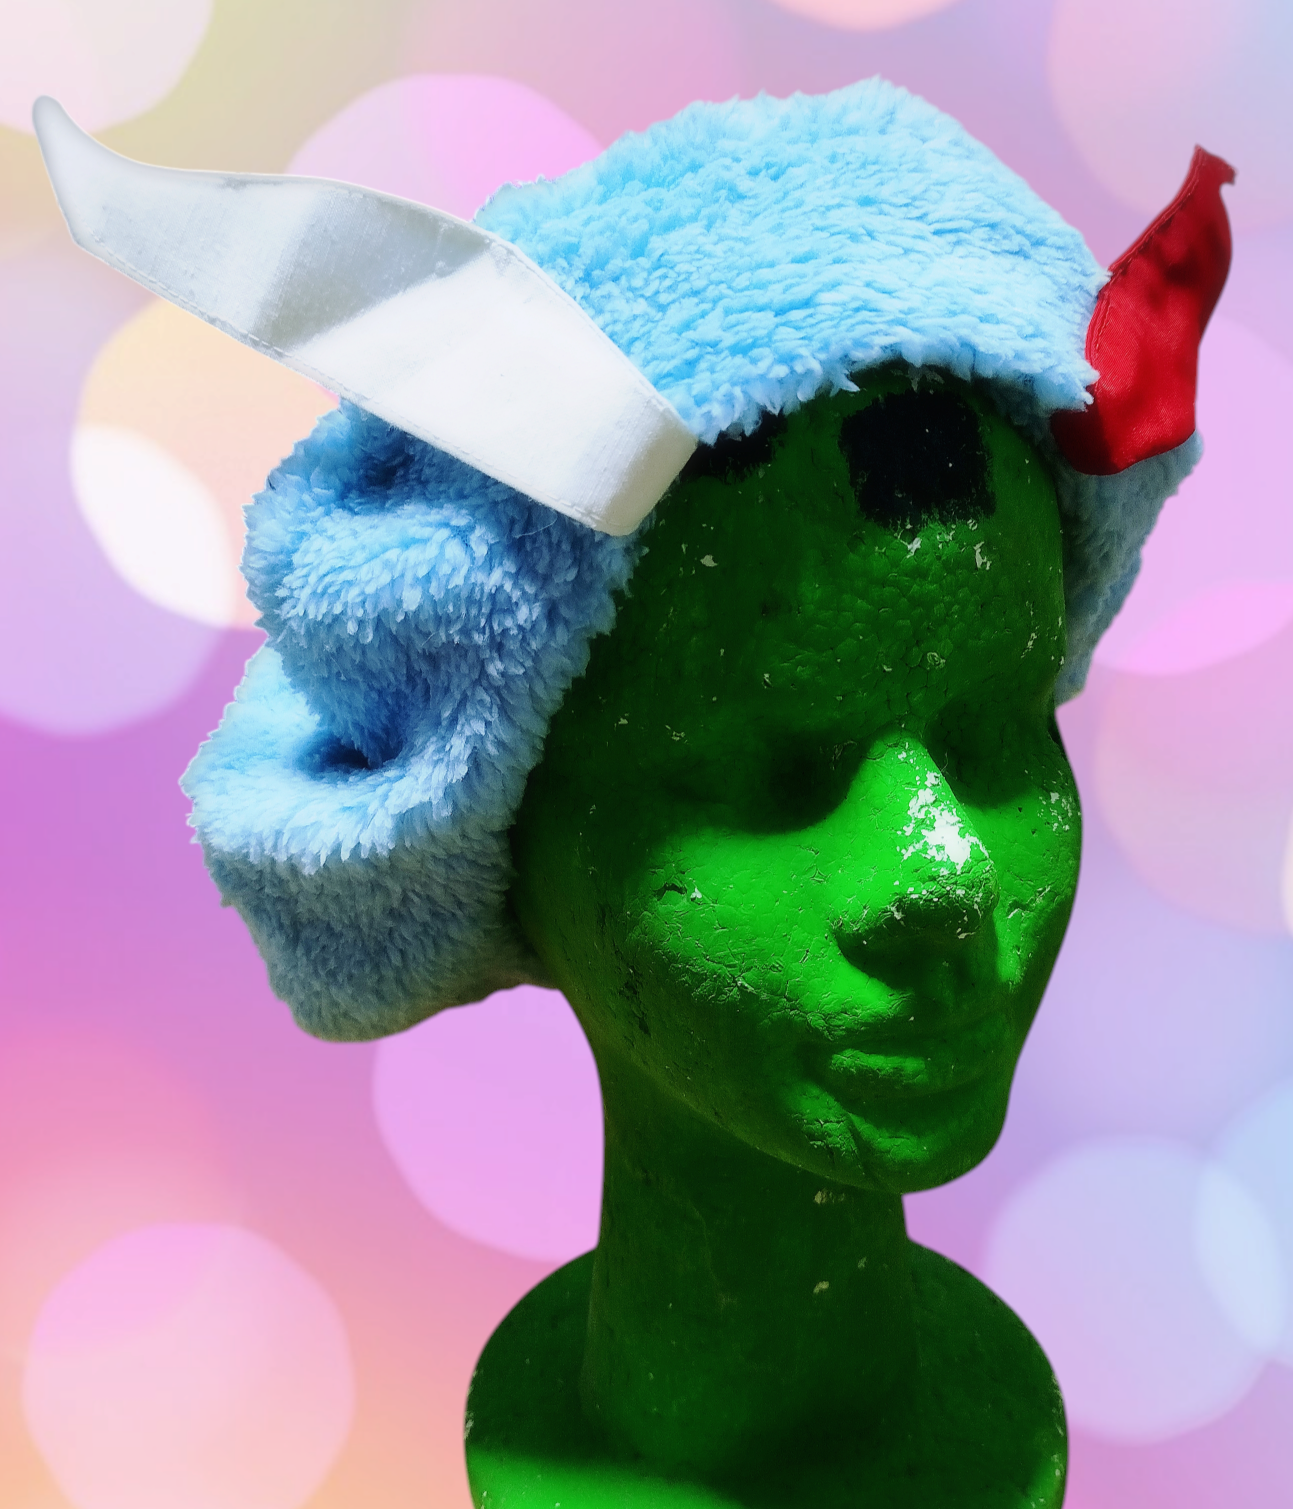
And this way, the beret inspired by my favorite character was finished ✨
 |
 |
 |
|---|---|---|
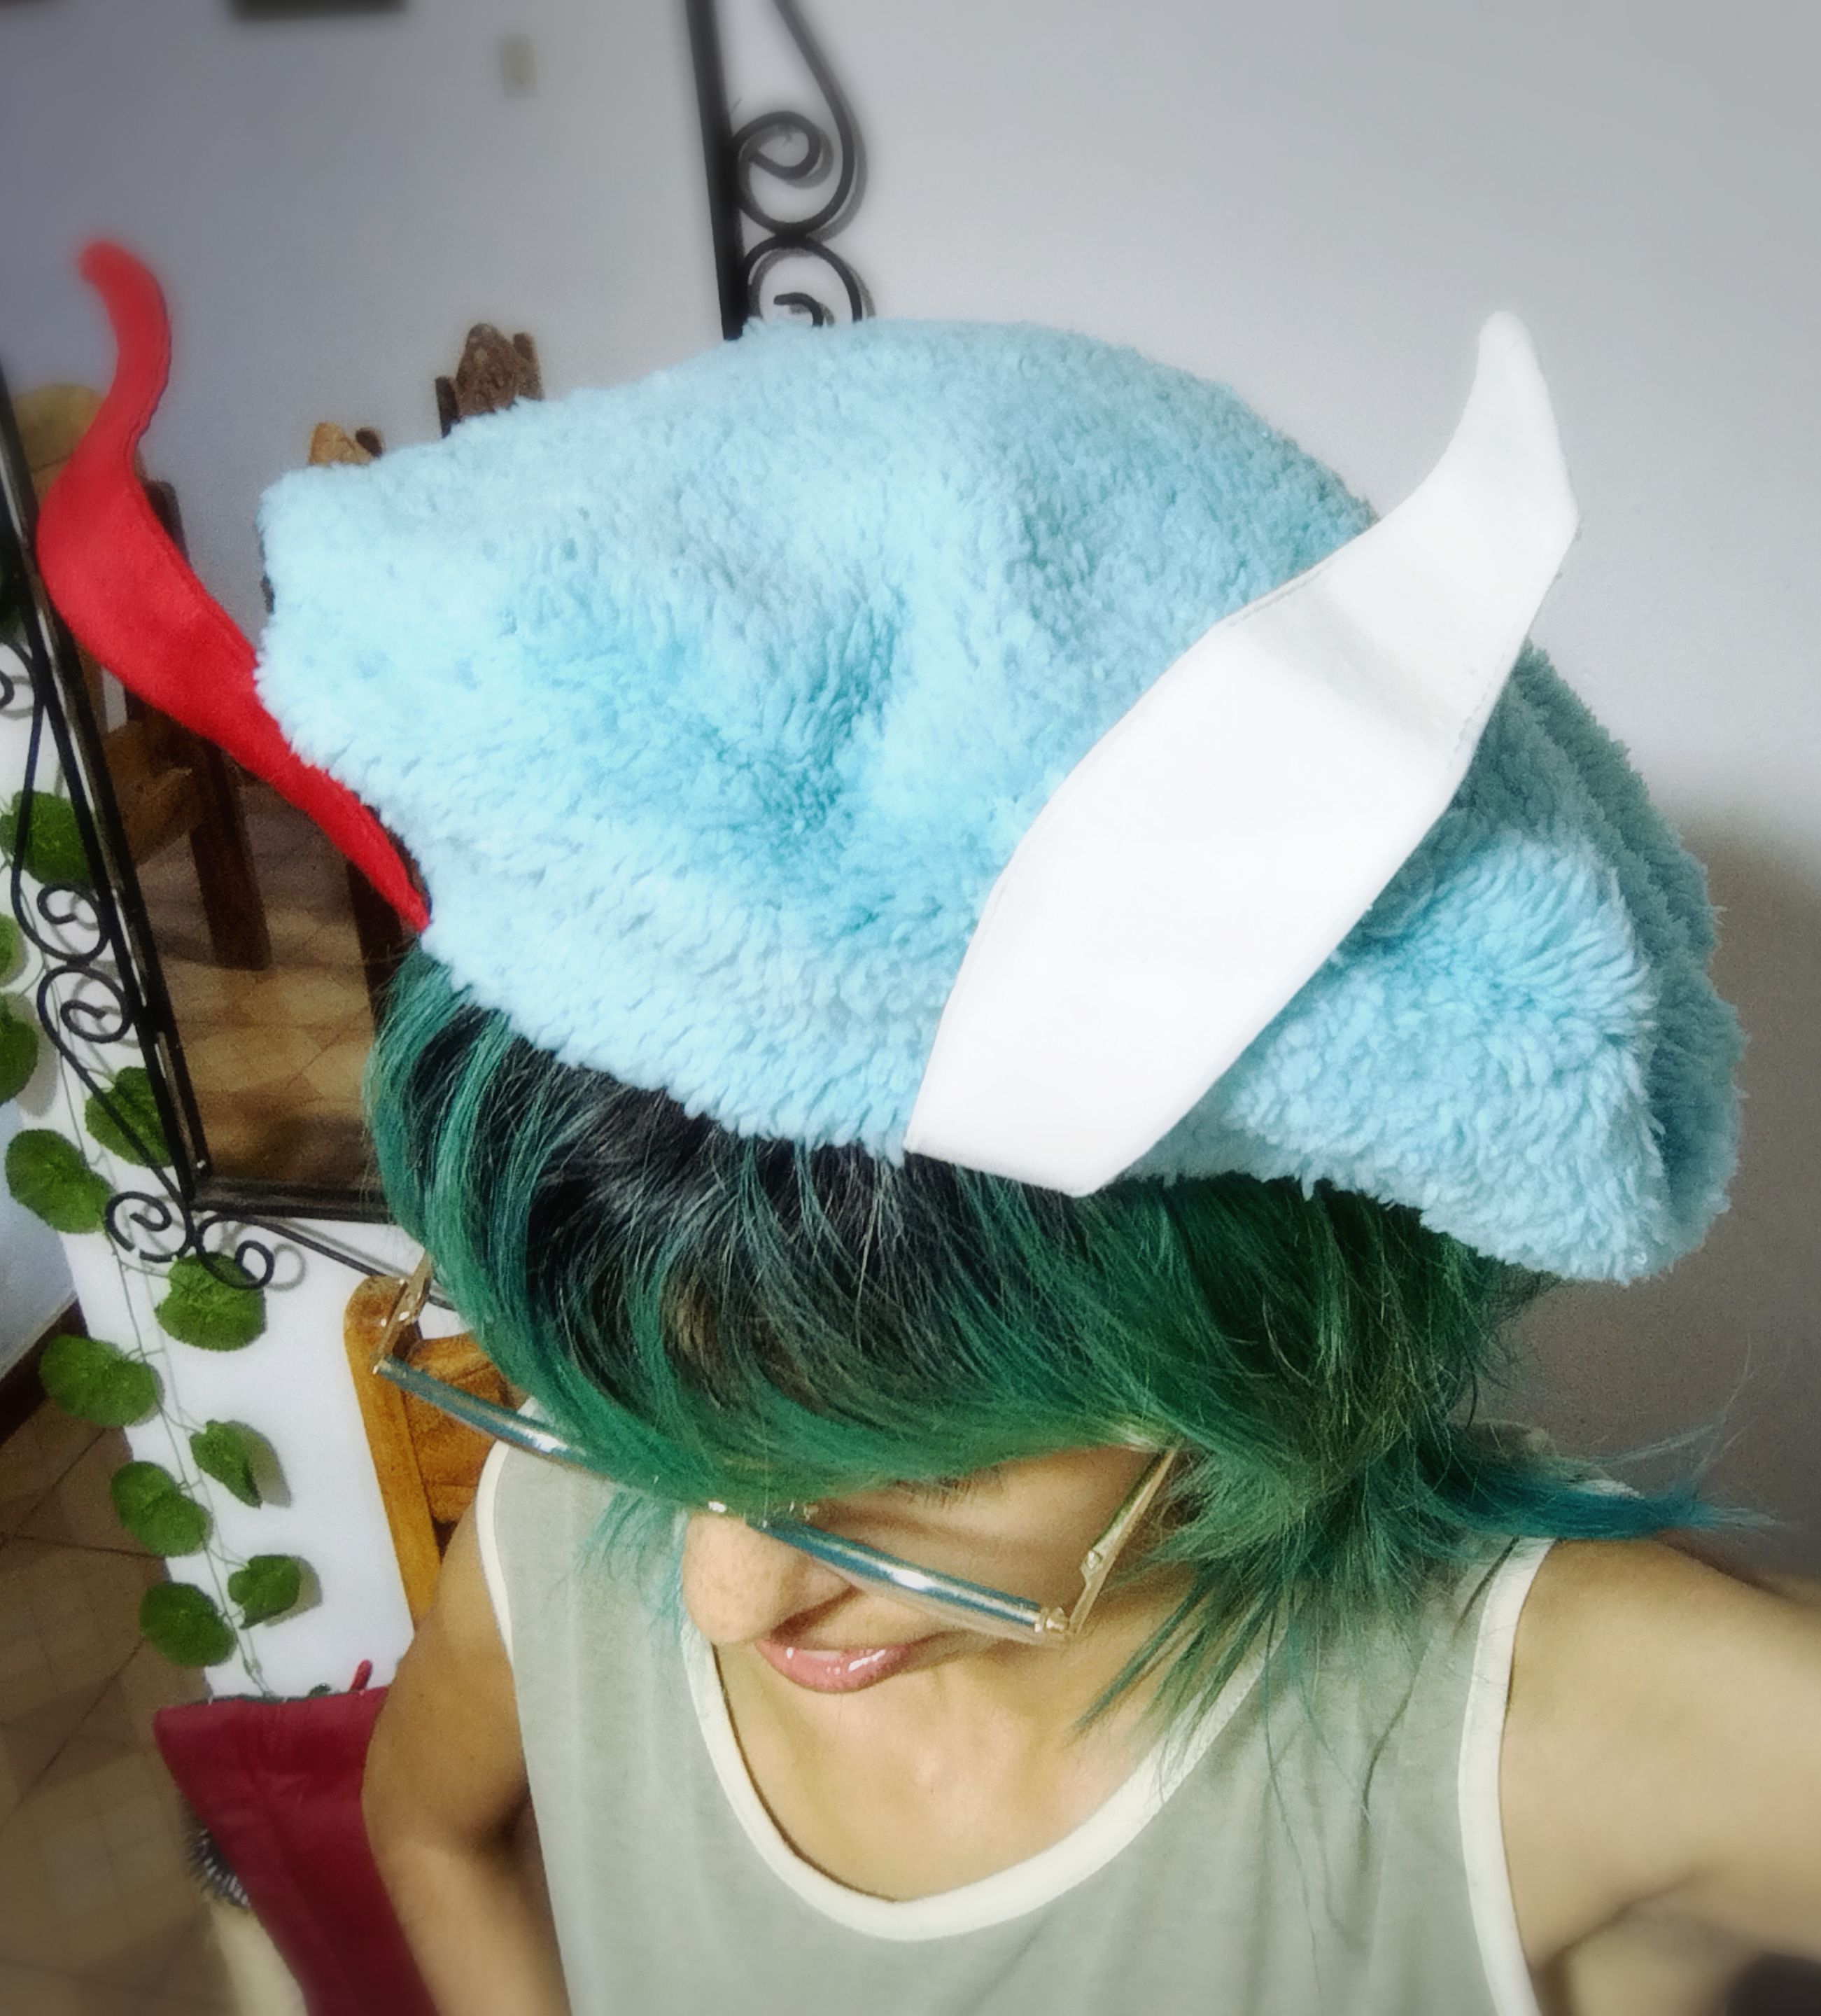
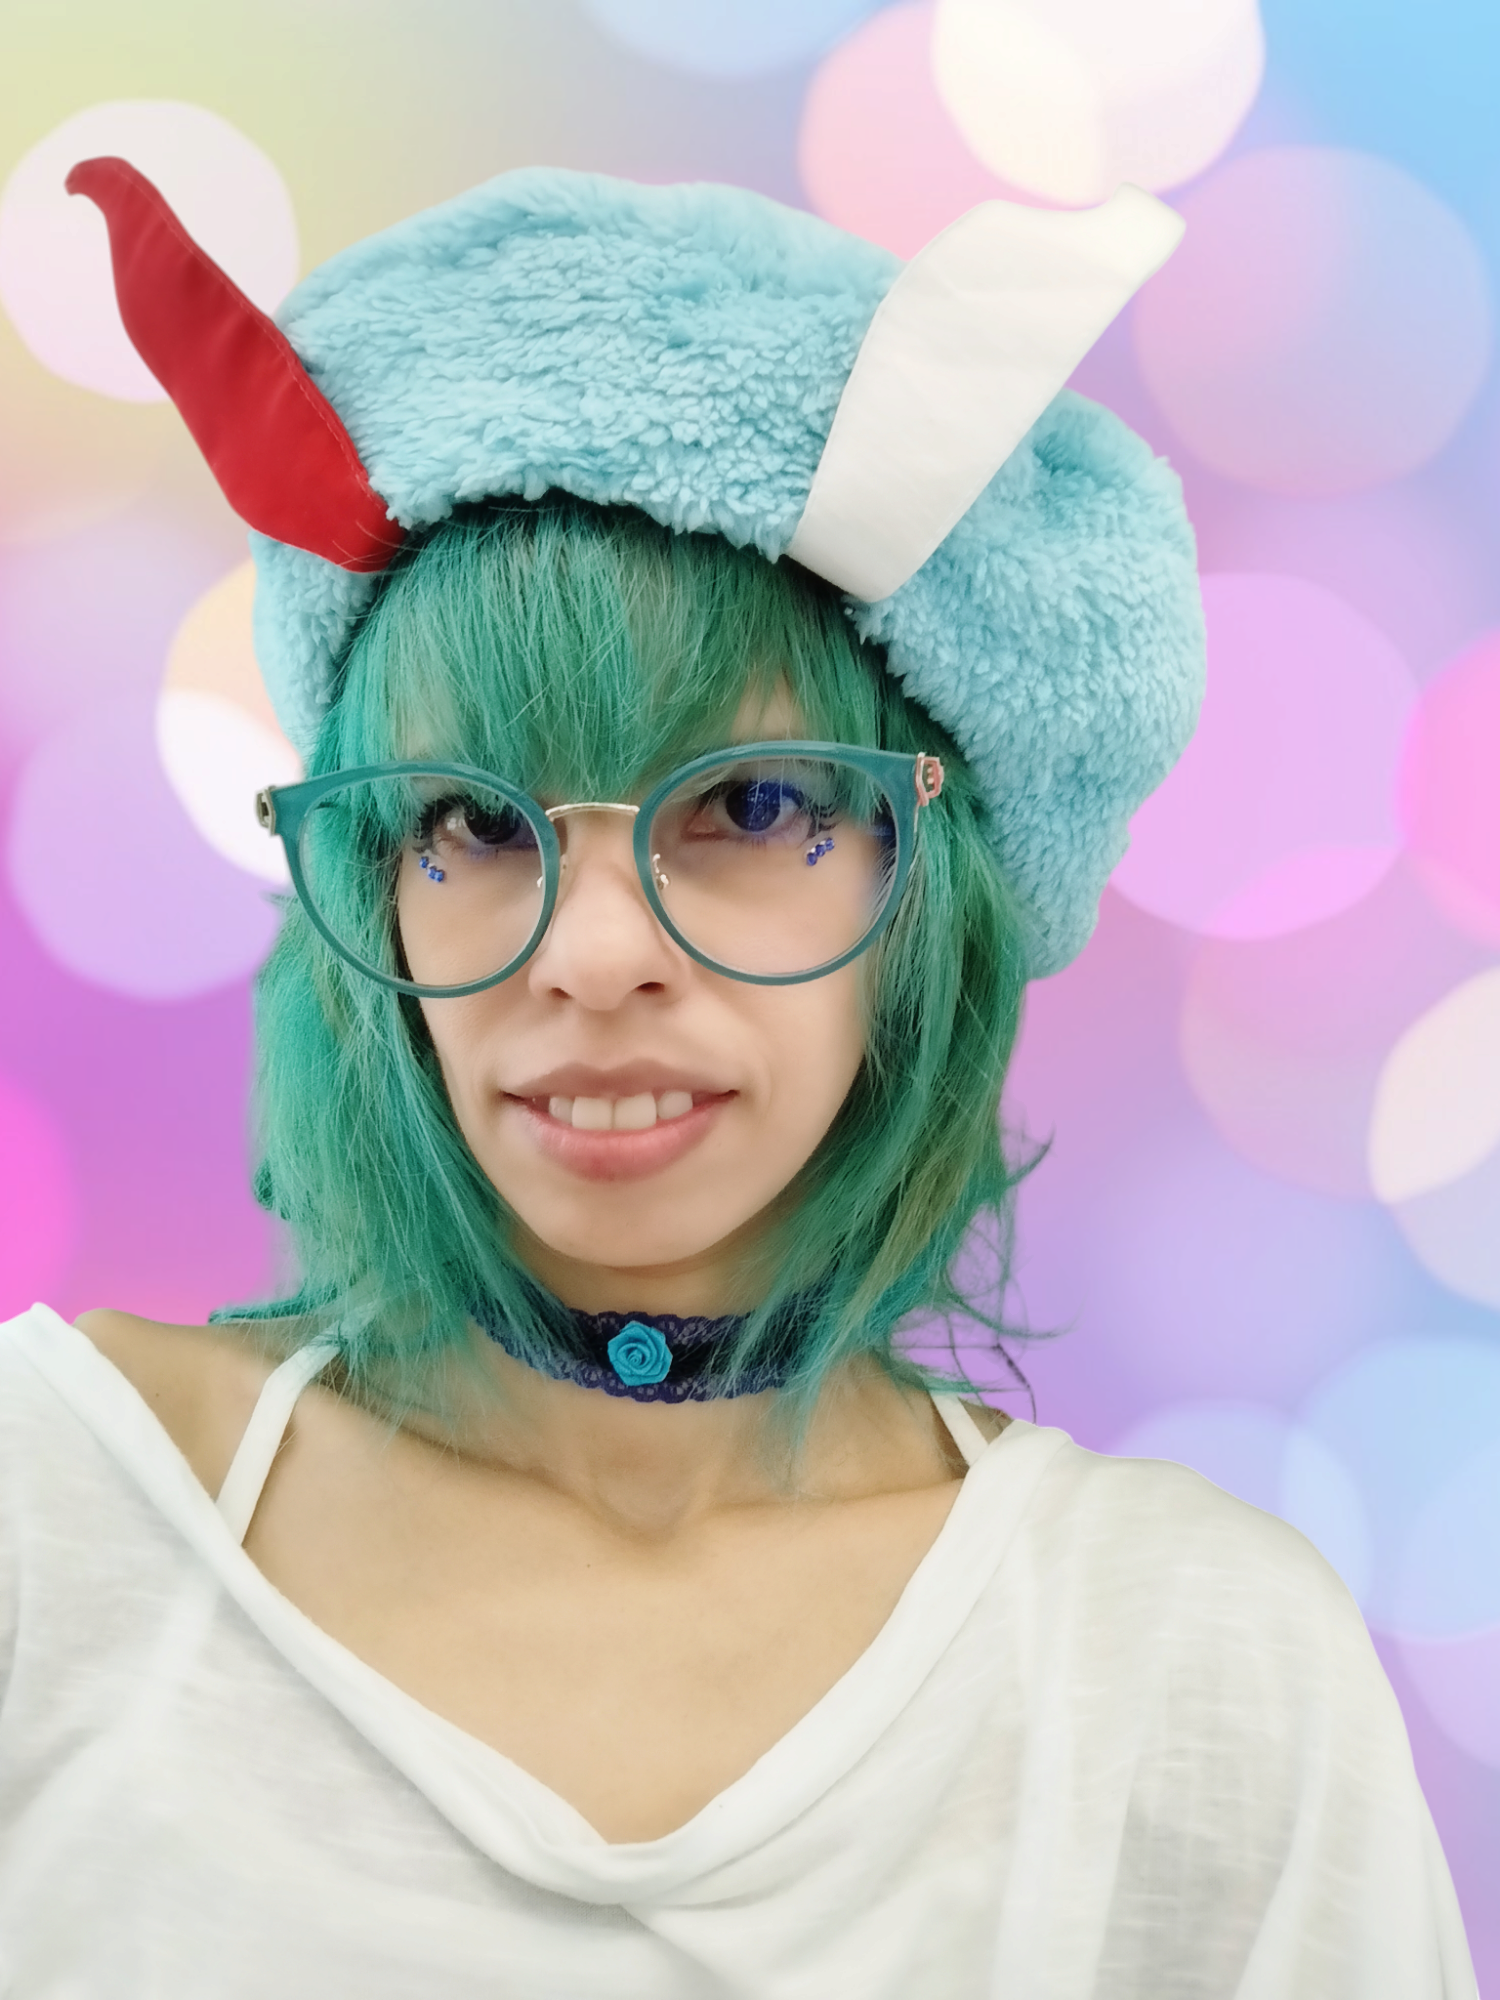
I really loved the final result, and after using it, I confirmed that the material used didn't make me feel hot, and despite the breezes, the hat stayed on my head the whole time. The only thing was that my machine felt a little uneven at the bottom after sewing this project, haha, and that's despite the fact that I felt like I was sewing without forcing it, so I got overconfident.
I imagine it was because I didn't use the right type of needle, since I used a size 16 needle because I didn't have a ball-point or round-point needle (this is my first time sewing plush fabric on a sewing machine), but I already know that next time, I'll definitely have to get this type of needle. 😅 But, after making this beret, I definitely want to make more hats like this. Time to get some material and start sewing! ✂️✨
 |
 |
|---|---|
✨ Thank you so much for checking out my post. I hope you found it interesting ✨
💚 See you next time! 💚

CONTENIDO EN ESPAÑOL
¡Hola a todos los integrantes de esta comunidad y amantes de la costura! Últimamente, he podido dedicarme un poco a los proyectos de costura que tenía en mente y entre uno de ellos, se encontraba la realización de boinas. Me gustan mucho los gorros y tengo un par de ellos que me gustaría replicar, pero en el caso de las boinas, no tenía ninguno así que pensé en hacerme uno de muestra. Como estaba cerca mi cumpleaños, lo usé como motivación para sentarme por fin a intentar coser este tipo de sombrero.
Primero que nada, hablemos acerca de mi motivación. Aparte de que me gustan mucho los gorros jaja el personaje en el cual me basé, es mi favorito de la serie de Youtube y Amazon Prime, "Helluva Boss". Asmodeus (alias "Ozzie"), tiene una abundante cabellera sobre la cual, emergen 3 cabezas y un par de plumas. Es un diseño bastante llamativo, al cual le he agarrado cariño con el tiempo.
Realmente me gusta mucho el personaje y como no puedo obtener mercancía oficial del mismo, me toca improvisar jaja pero eso está bien, porque bien dicen que eso despierta la creatividad. En fin, de es modo, dibujé el diseño de cómo sería la boina. Eso lo hice hace meses atrás, así que estaba bastante intrigada de saber cómo se vería en la vida real, pero dado que, la otra vez me hice un cojín cervical inspirado en el personaje y hasta un antifaz para dormir, estaba segura de que al menos quedaría decente, ya que esos proyectos, me gustaron cómo quedaron jaja.
✨ El boceto que hice en mi cuaderno ✨
Lo que me motivó a hacer la boina por fin, aparte de que fuese mi regalo de cumpleaños, era que hace como un año atrás, había comprado 1/4 de tela peluche de color azul, en una de mis compras impulsivas de tela (cosas de costureras jaja). Mi idea, era elaborarme un bolso sobre el personaje u algún otro accesorio, pero debido a la falta de materiales, la tela permaneció en mi bolsa por meses. De modo que, pensé que era la oportunidad de utilizarla.
Las piezas que corté, fueron: dos circunferencias completas, en tela peluche; 2 circunferencias con una abertura en el medio, en tela peluche; así como unos trozos de tela aparte para las plumas, en telas rígidas roja y blanca. Para los apliques de las caras del personaje, dibujé la silueta en un trocito de gabardina de color azul oscuro. También, utilicé algo de entretela para darle dureza a la pieza de las plumas.
A la hora de coser, lo primero que hice, fue adherir las figuras de las caras, utilizando una costura en zigzag para los bordes y lo mismo para rellenar los ojos y las bocas. Al principio, había escogido un color claro para bordear las figuras, pero cambié de opinión y cambié el hilo por una tonalidad más oscura. De esa forma, estuvieron listas las caras, con un acabado tipo bordado.
|
|
|
|---|---|---|
Una vez hecho esto, cosí una de las tapas a la pieza donde había hecho los bordados, utilizando un encendedor para quemar las puntas, ya que éste tipo de tela, suele soltar mucha pelusa.
|
|
|---|---|
Seguidamente, hice las plumas. Esta parte, fue uno de los motivos por los que no me animaba a hacer el gorro, pues no había pensado muy bien cómo hacerlo. Sin embargo, me decidí realizarlo de forma sencilla, para no darme mala vida. Así que dibujé una silueta parecida a la pluma y trasladé el dibujo a las telas y a las entretelas.
|
|
|
|---|---|---|
Teniendo listas las plumas, procedí a coser las mismas en el borde del gorro. Luego de ello, coloqué la tapa con la abertura, uniéndolas con una costura recta.
|
|
|---|---|
Lo siguiente, fue coser la otra circunferencia, dejando un espacio suficiente para voltear la boina y cerrando la abertura con una costura recta. Adicionalmente, a la boina yo le añadí una etiqueta con mi marca, así como le hice un par de puntadas a mano, en las piezas de las plumas, para que se mantuviesen en alza.
|
|
|---|---|
|
|
|---|---|
Y de ésta forma, la boina inspirada en mi personaje favorito, estuvo terminada ✨
|
|
1000271977.jpg (https://files.peakd.com/file/peakd-hive/suezoe/23z7HnDjiTwXe8worEjdWNT7YvEAaGXQkpA6vKtqZw9rkwhjEePXWFBGpUkVG21ScoT5Z.jpg) |
|---|---|---|
Realmente amé el resultado final y luego de usarla, corroboré que el material utilizado, no me generó calor y a pesar de las brisas, el gorro se mantuvo en mi cabeza en todo momento. Lo único fue que mi máquina quedó un poco desnivelada en cuanto a costura, en la parte inferior, después de coser este proyecto jaja y eso que sentí que estaba cosiendo sin forzarla y por eso me confié.
Me imagino que fue por no usar el tipo de aguja adecuado, ya que utilicé una aguja número 16, ya que no tenía una aguja punta de bola o redonda (es mi primera vez cosiendo tela peluche en máquina de coser), pero ya sé que para la próxima, si debo conseguir éste tipo de aguja 😅 Pero, luego de fabricar esta boina, sin duda quiero hacer más gorros de este tipo ¡A conseguir material y a coser se ha dicho! ✂️✨
| 1000271980.png (https://files.peakd.com/file/peakd-hive/suezoe/23xyjkL5rdf3pbQnFui9vsrwDqT1YBjokJYWtLNRX2GuTVp3kJNnEUASmGUEM6mYz9KF3.png) | 1000271982.png (https://files.peakd.com/file/peakd-hive/suezoe/23zSDhvoeSKJNbcQF2P6sZJCF8UcoB4tm1zqAx7siKPejb8SfWEgKMkUg1io6wZkb36wb.png) |
|---|---|
✨ Muchas gracias por haber visitado mi publicación. Espero que les haya parecido interesante ✨
💚 ¡Hasta una próxima oportunidad! 💚
Banner_firma.jpg (https://files.peakd.com/file/peakd-hive/suezoe/243qKSX98HnS81RSc373SCdZCWRTfTqNYaNDPUS5jHdkJGkUn7b1TXxBkwrZPgzVjB2WH.jpg)
https://linktr.ee/sue_zoe