ENGLISH CONTENT
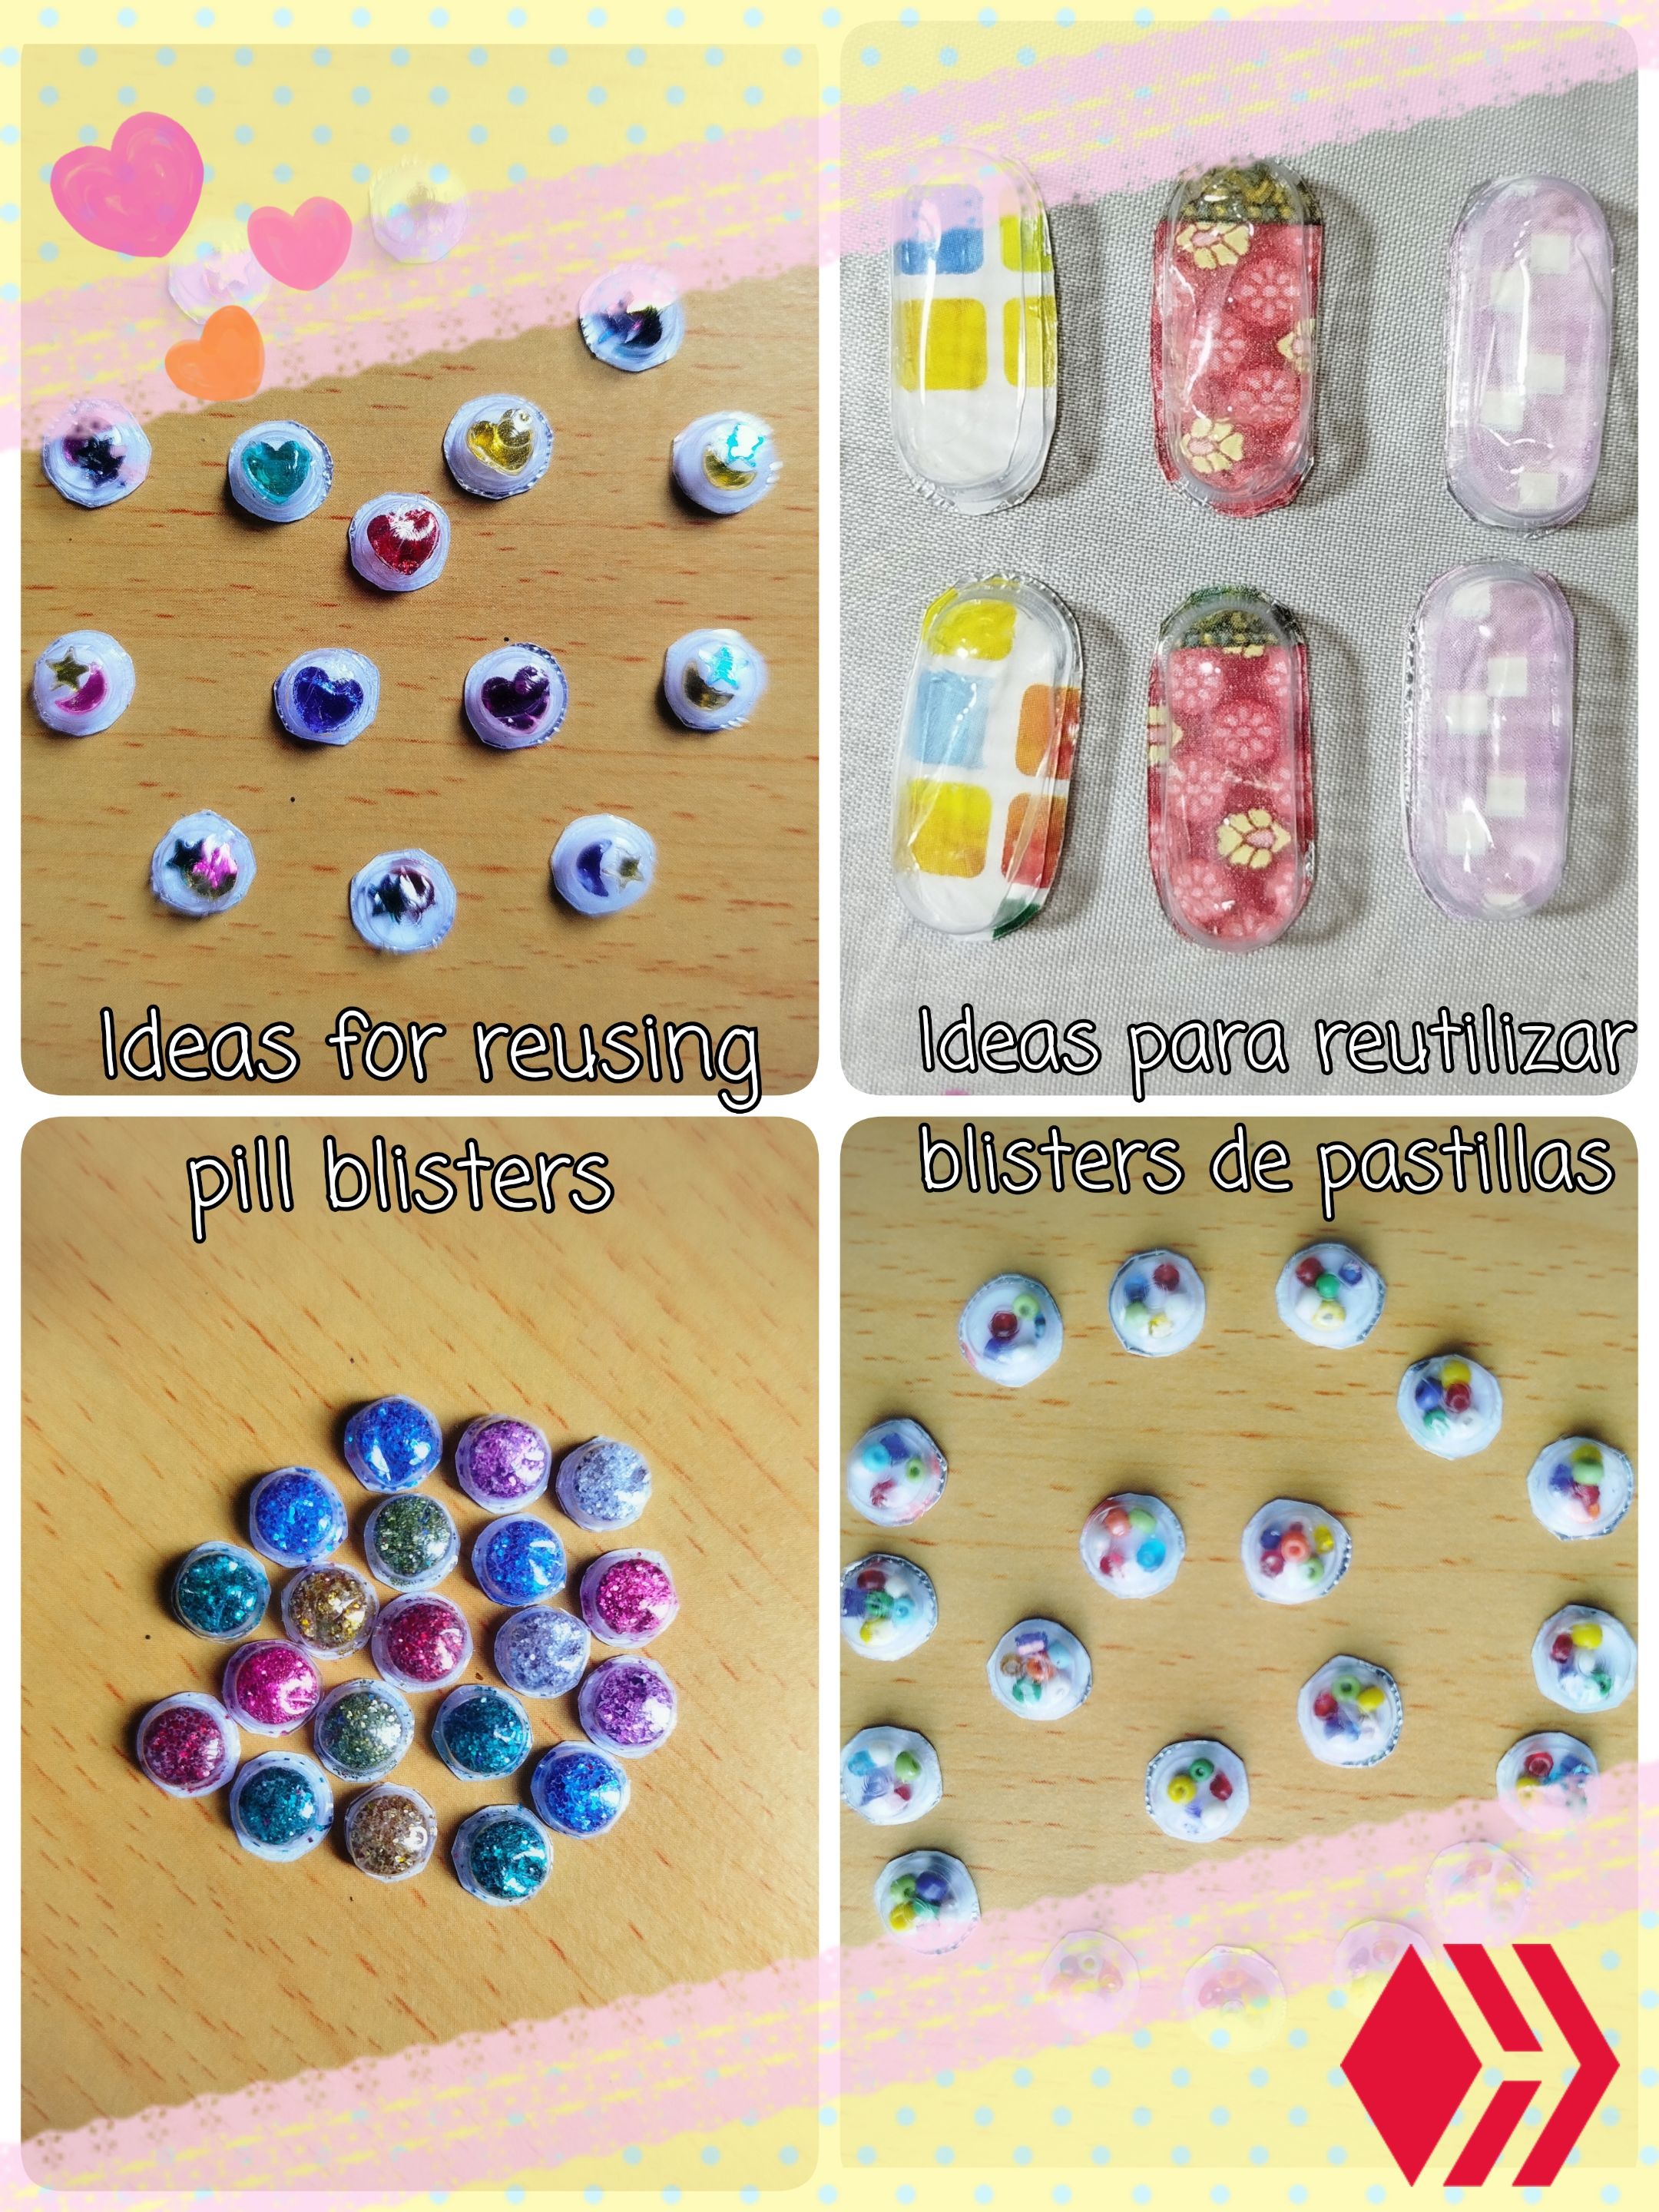
Hello to all the members of this community and craft lovers! In a previous post, I showed you how to make eyes for crafts using empty pill blisters, since it is a material that is usually thrown away, but can be used to be useful for a little longer. For this opportunity, I decided to continue using this material and see what other cute things I could create with it. They are mostly decorative, perhaps as colorful "stones" that can be added to a project that requires them.

💊🎨✨ DECORATED PAPER 💊🎨✨
This is the easiest one to make, and all you need is the blister pack, glue, and some patterned paper. I used some magazine clippings and saved scraps of patterned paper.
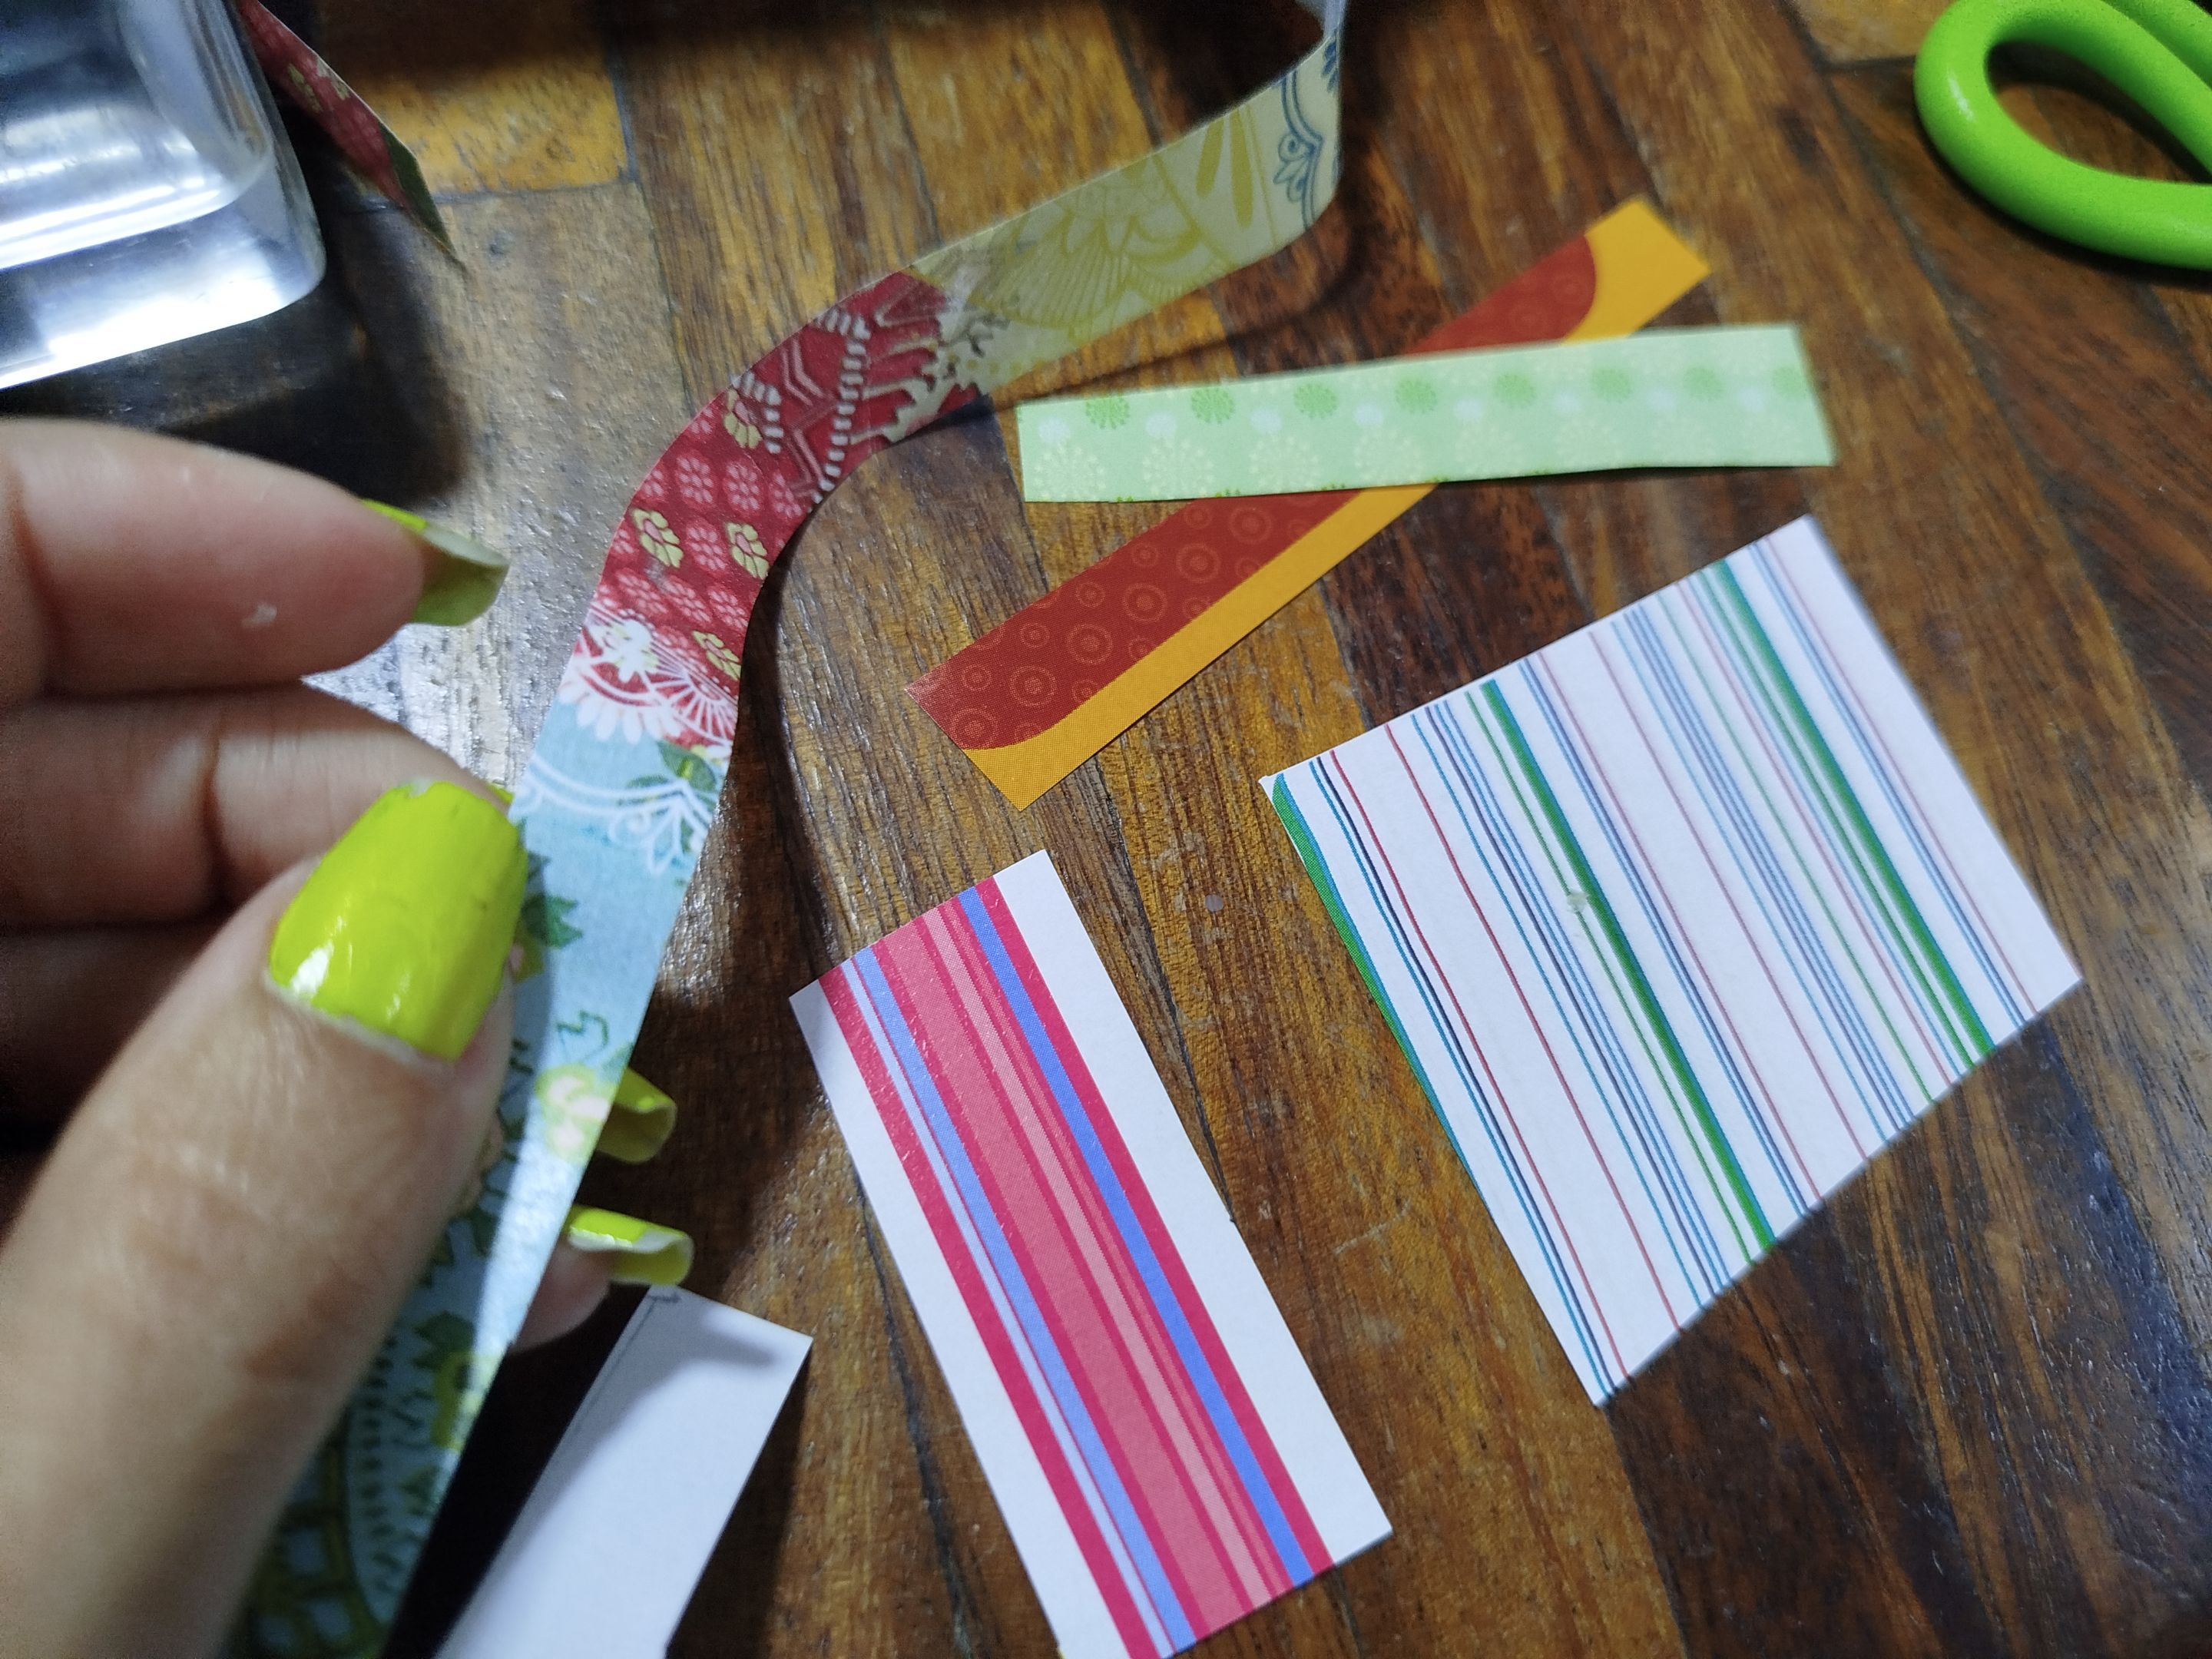
Just apply some glue to the edge of the blister pack and stick the paper on. I used cold or liquid silicone because it dries quickly, although if you don't have any, you can also use white or school glue.
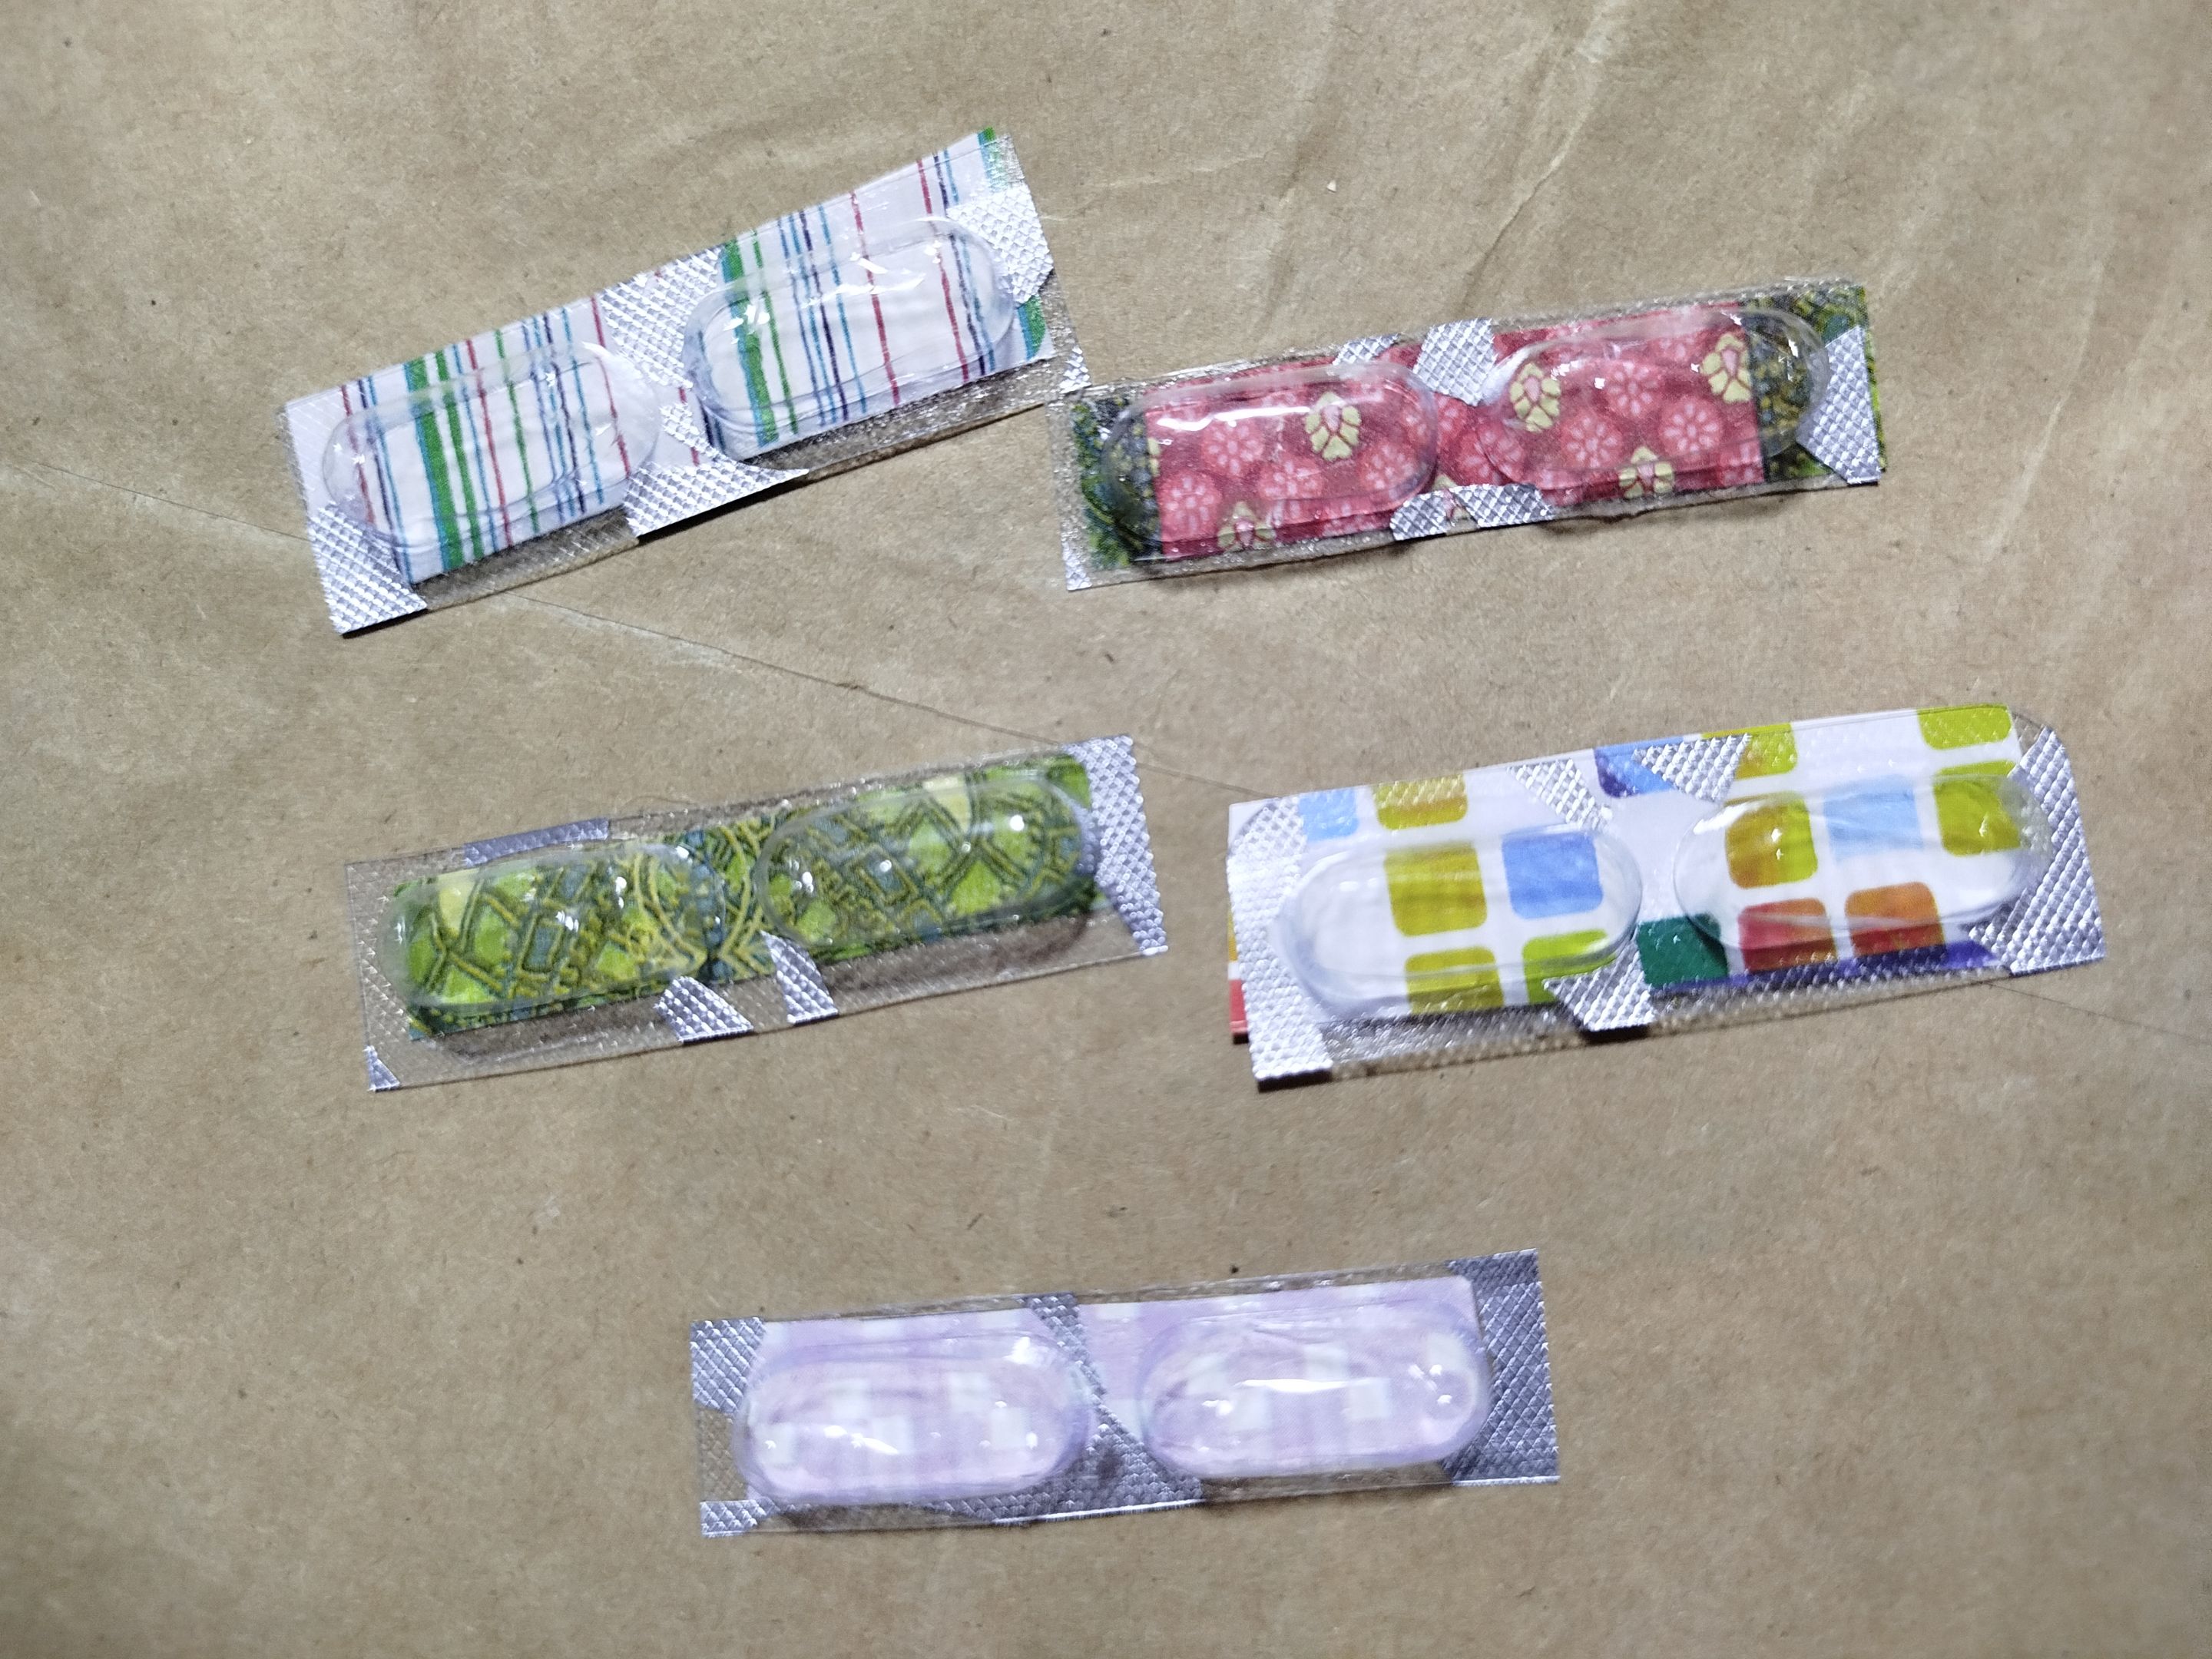
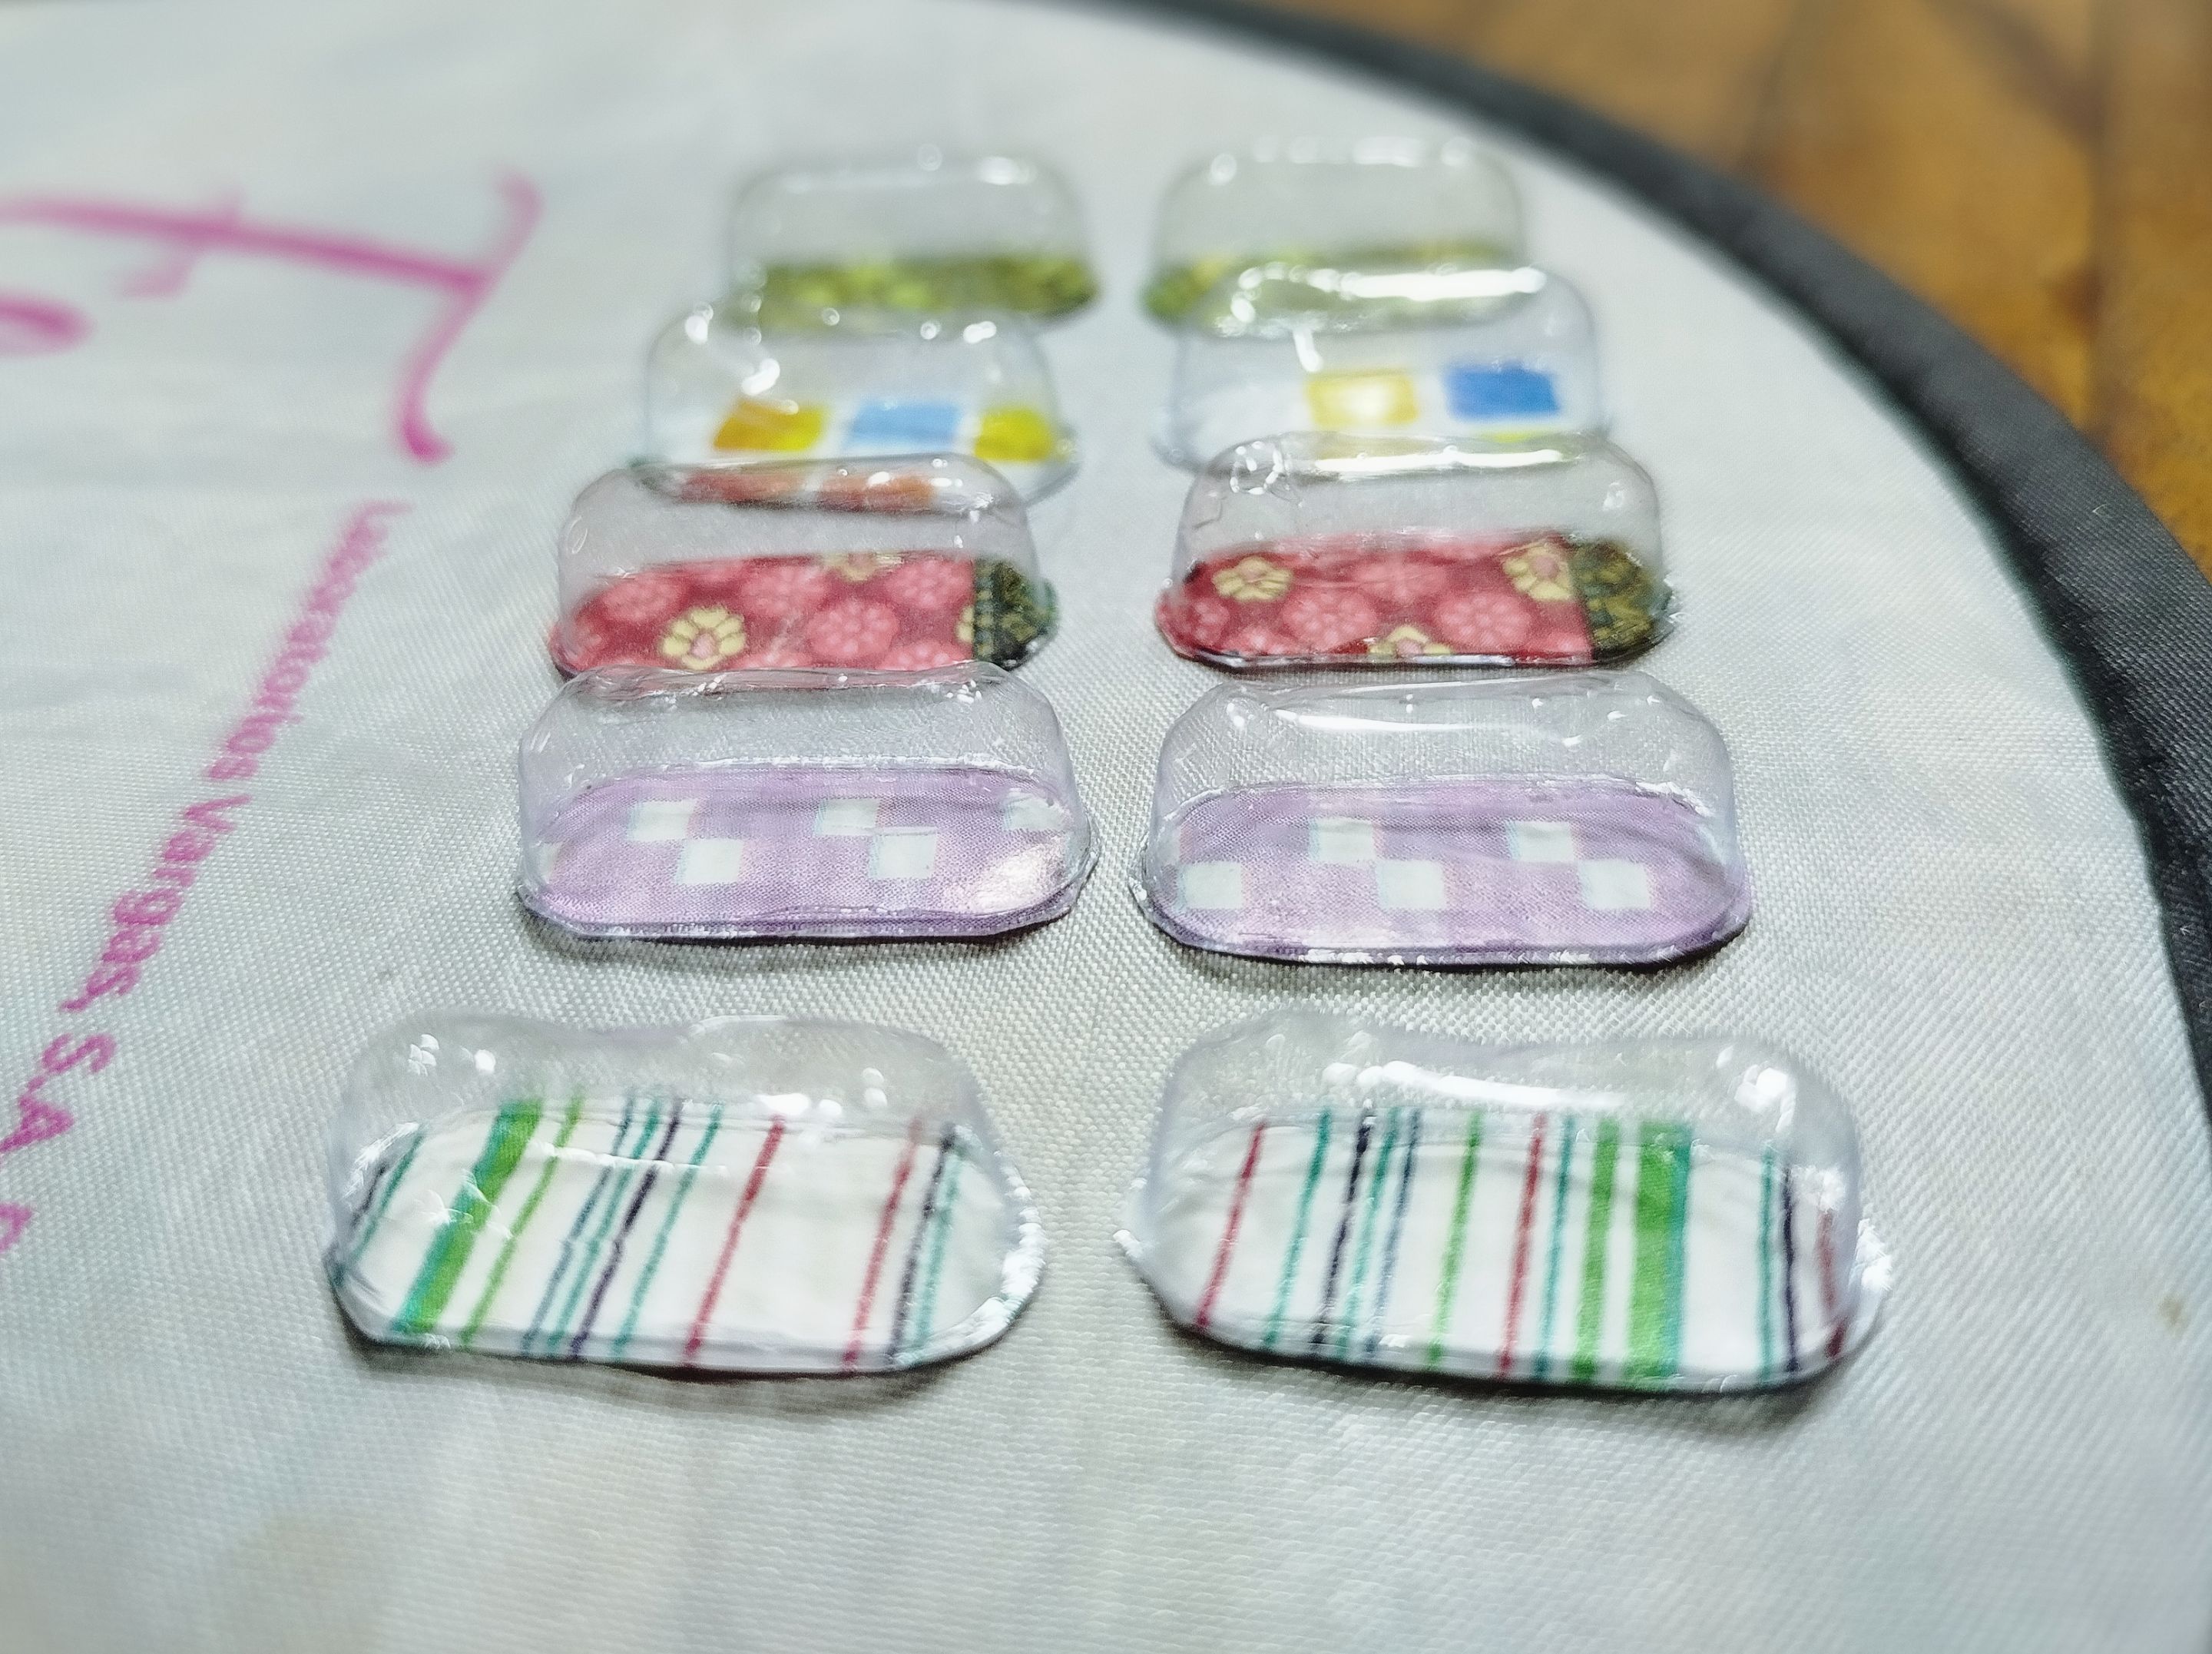
Once it's dry, we proceed to cut out each shape, and it's ready. I love how it looks, because at least in this case, the oval shape of the blister allowed me to cover a lot of the paper and plastic design, making it stand out quite a bit. In the photographs, you can't really appreciate how cute they look. I think if I loved it, a child would too, haha 🤣
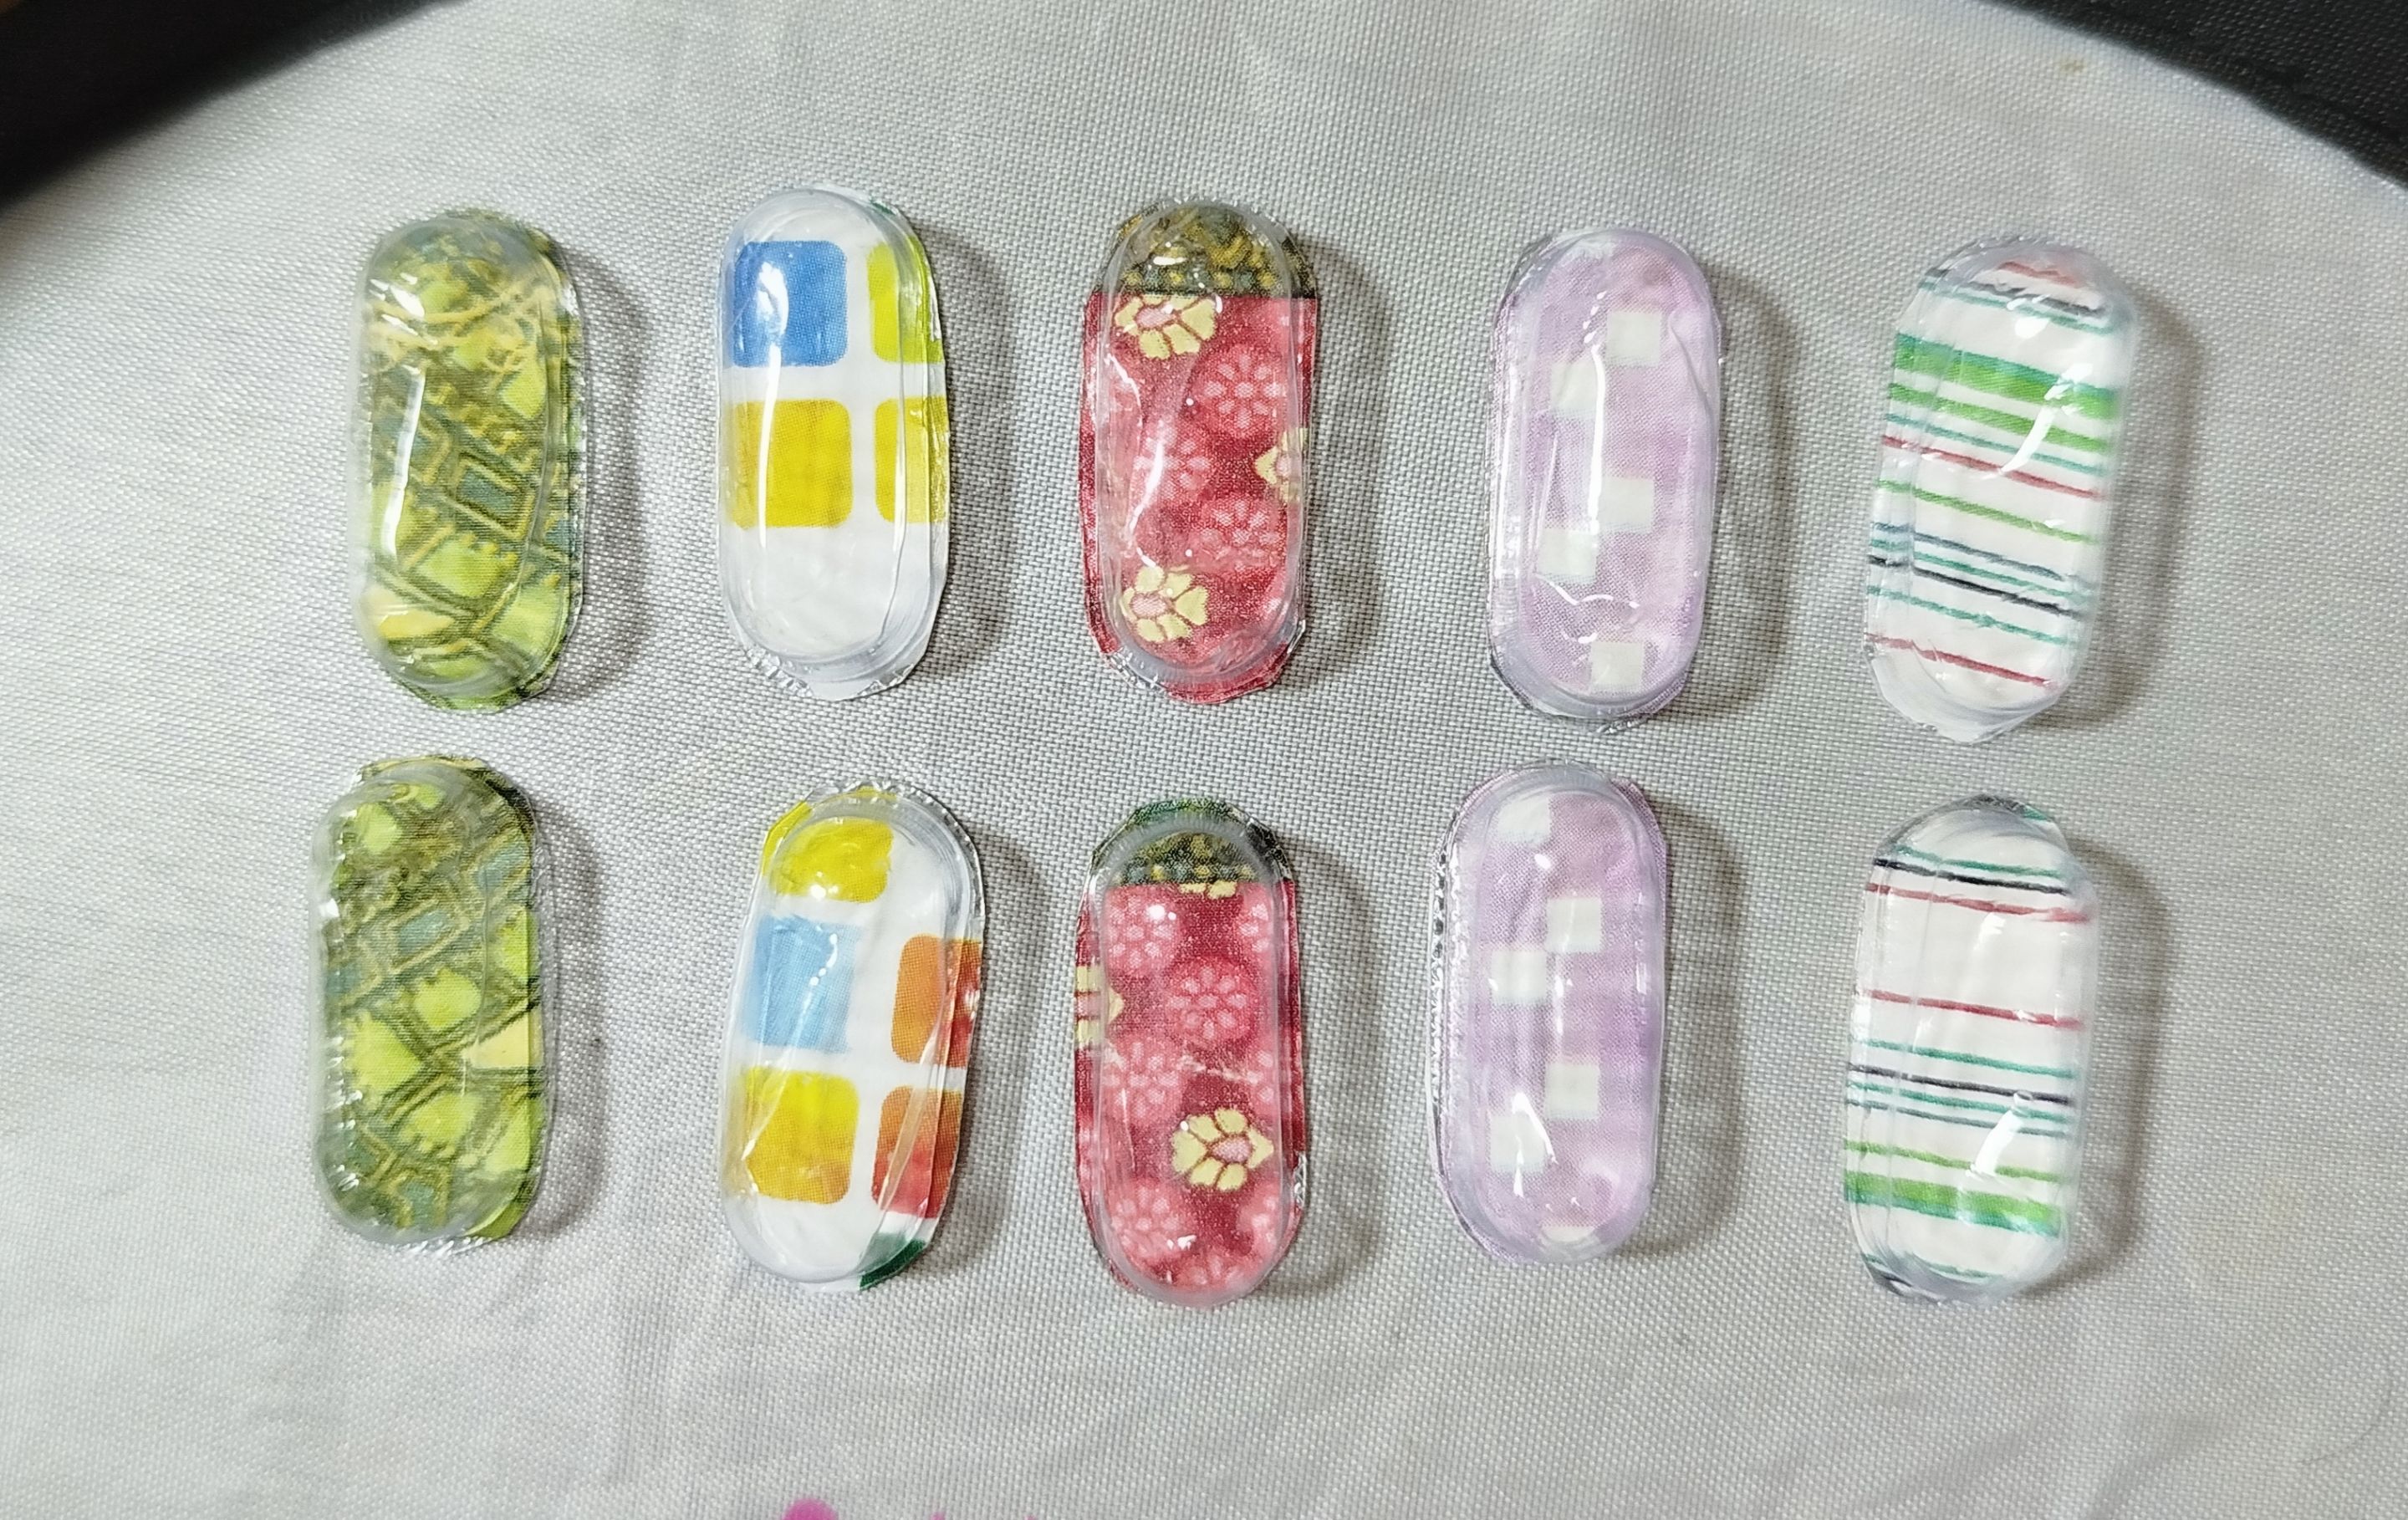
✨ They even look like acrylic nails 😆 ✨
I don't have a specific use for these "stones" yet, but I might use them as decoration in a collage project, to give it a little relief or a 3D effect. What would you use them for? I'll read you in the comments ✨
💊🎨✨ GLITTER, BEADS, AND SEQUINS 💊🎨✨
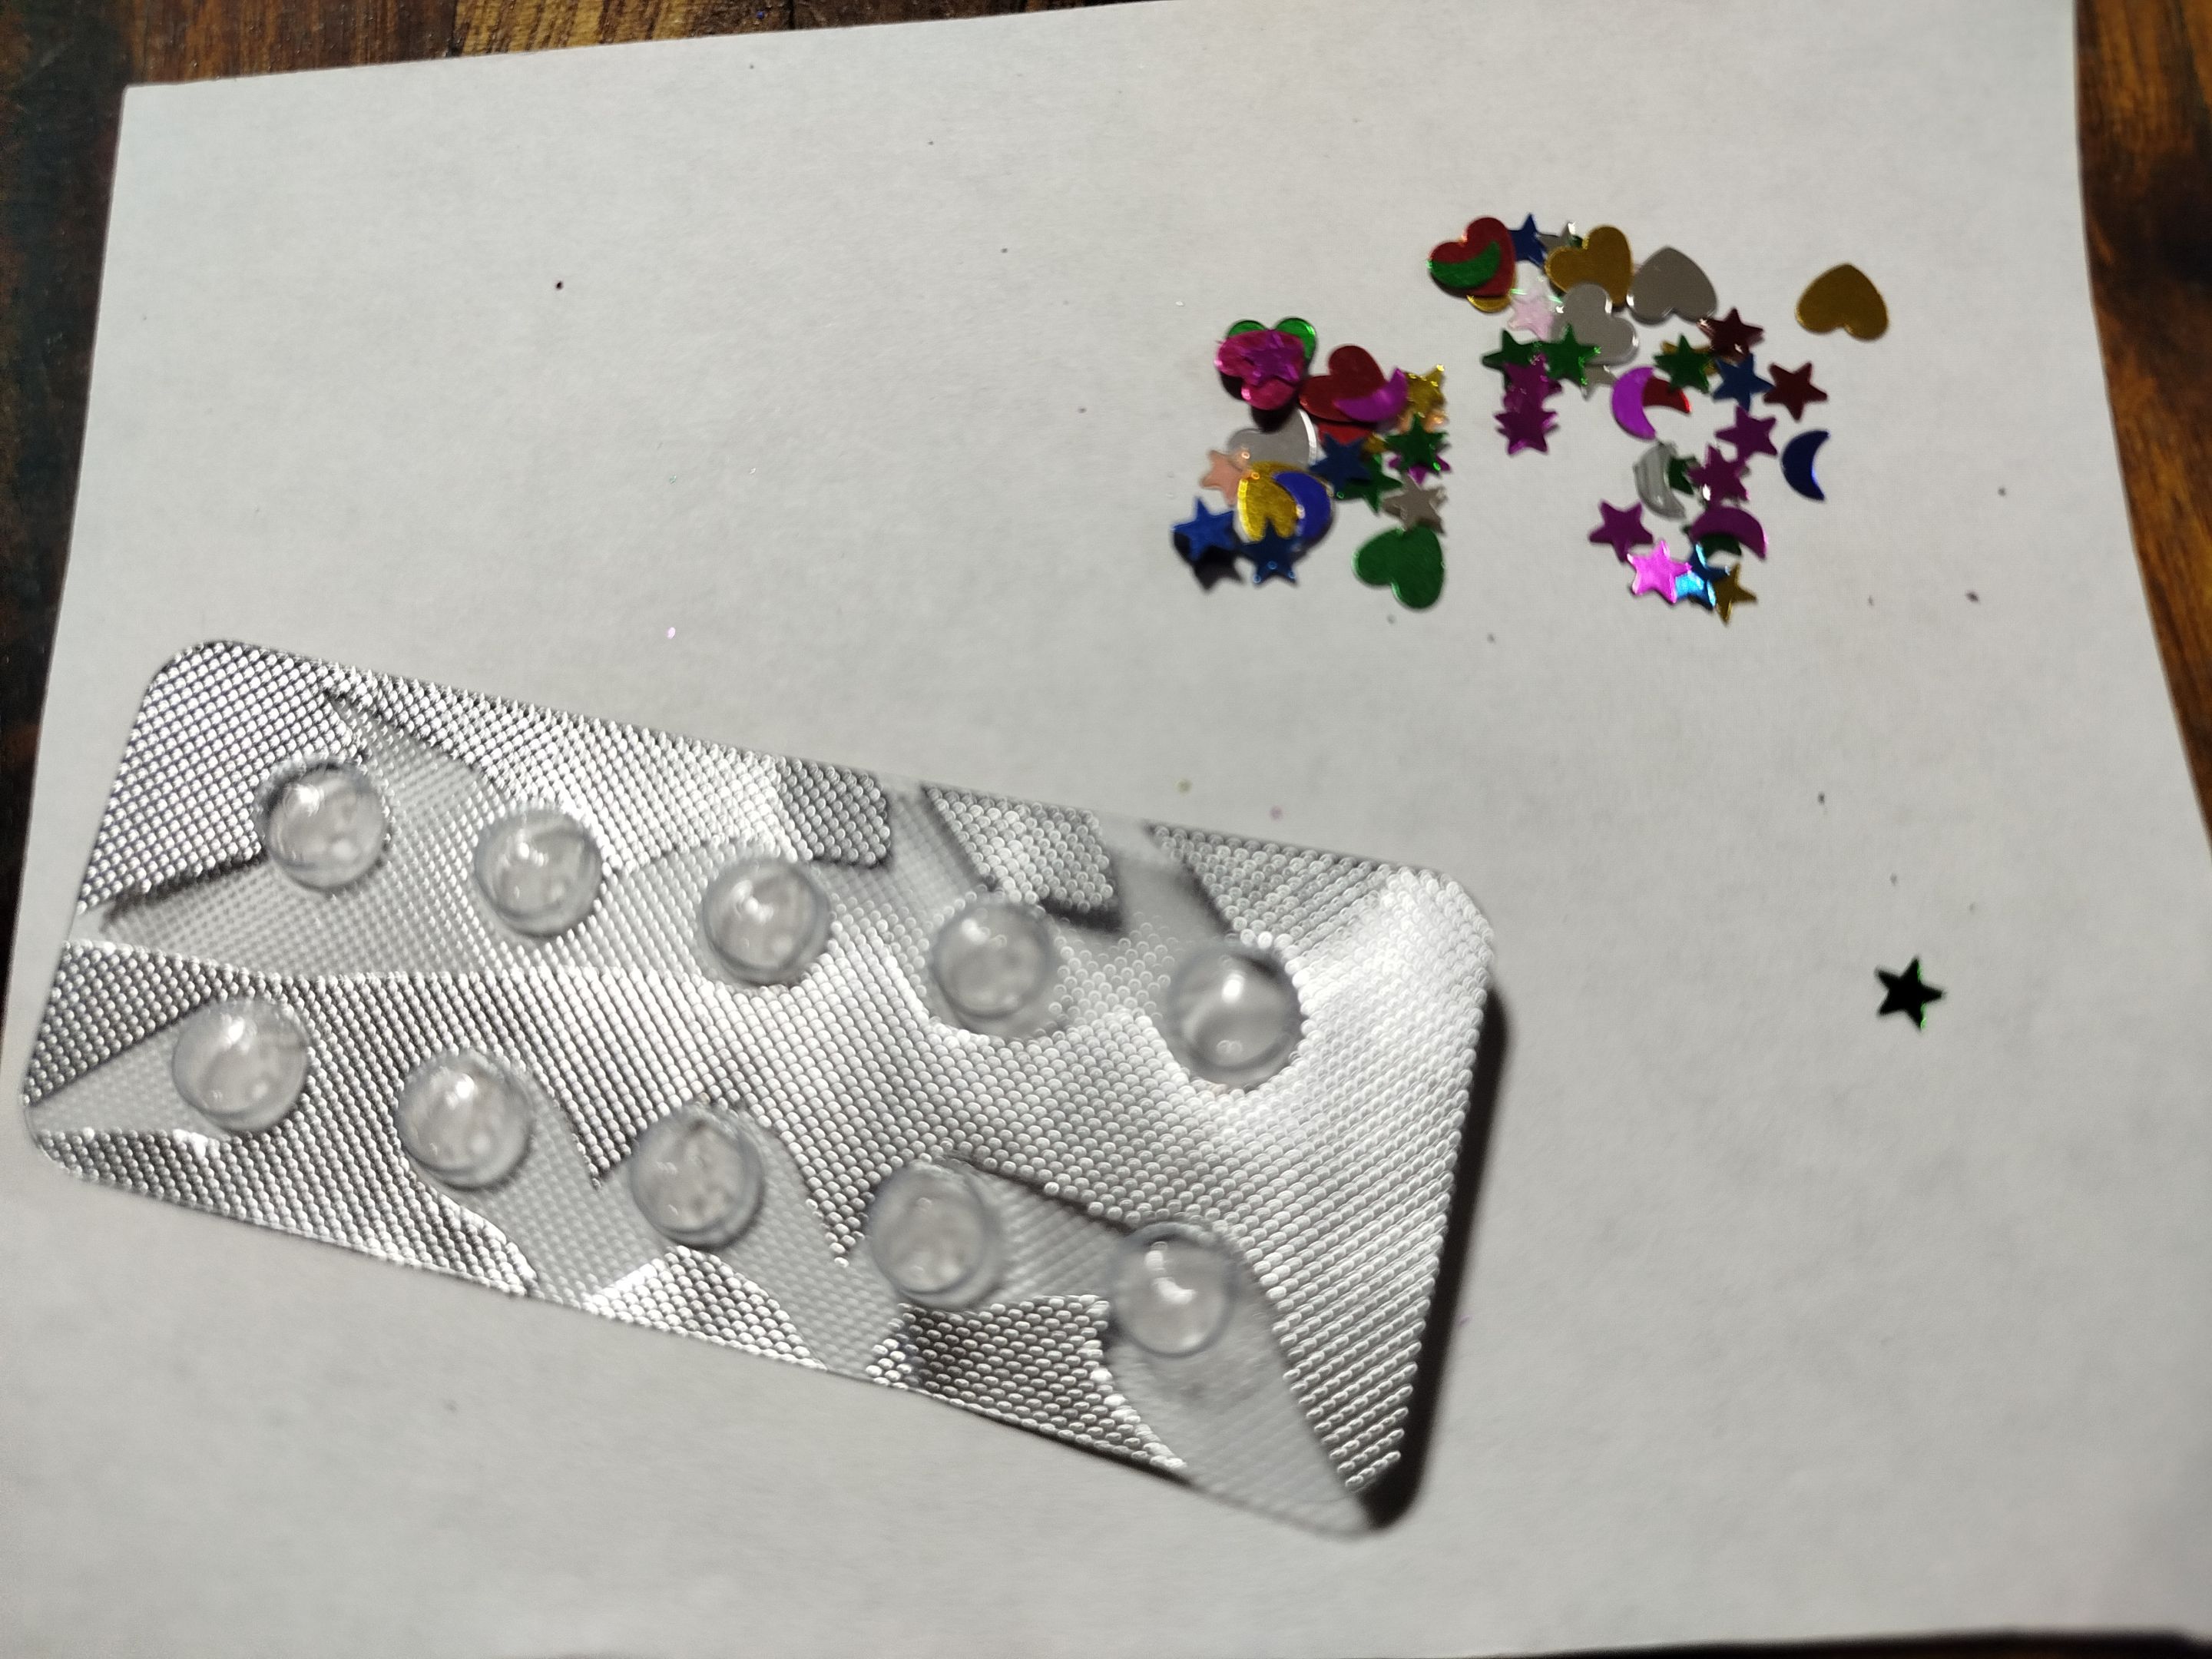
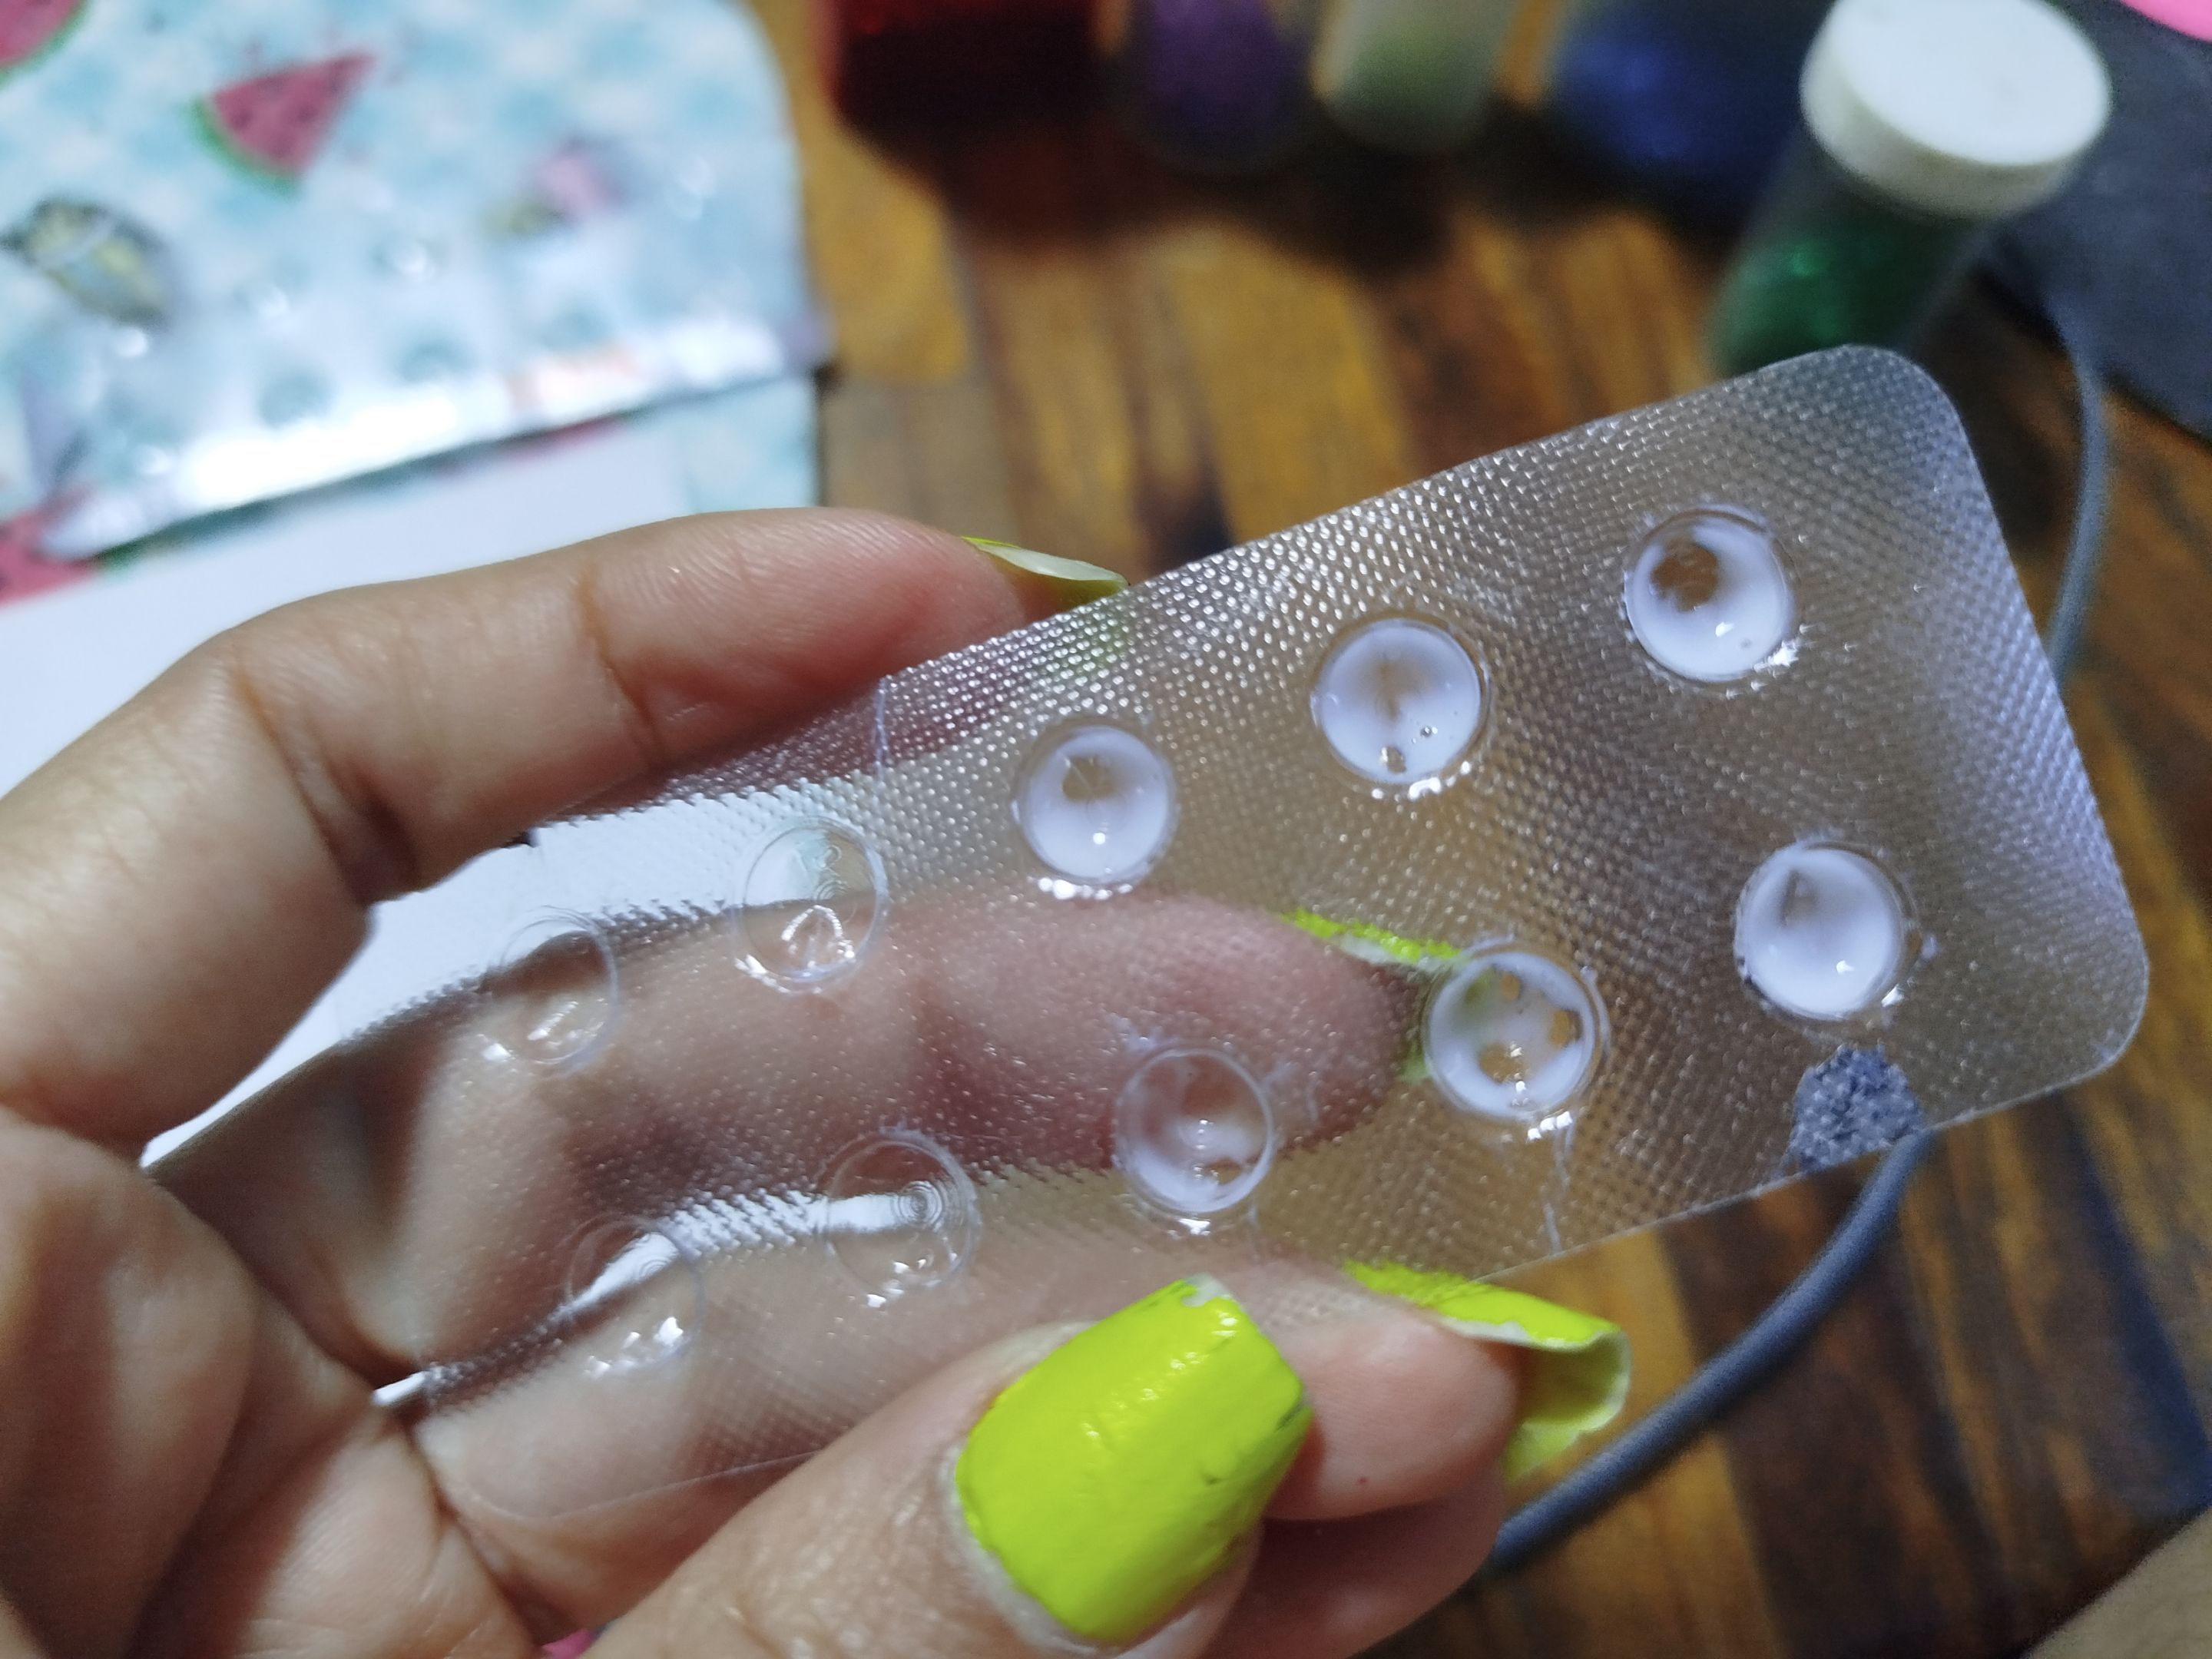
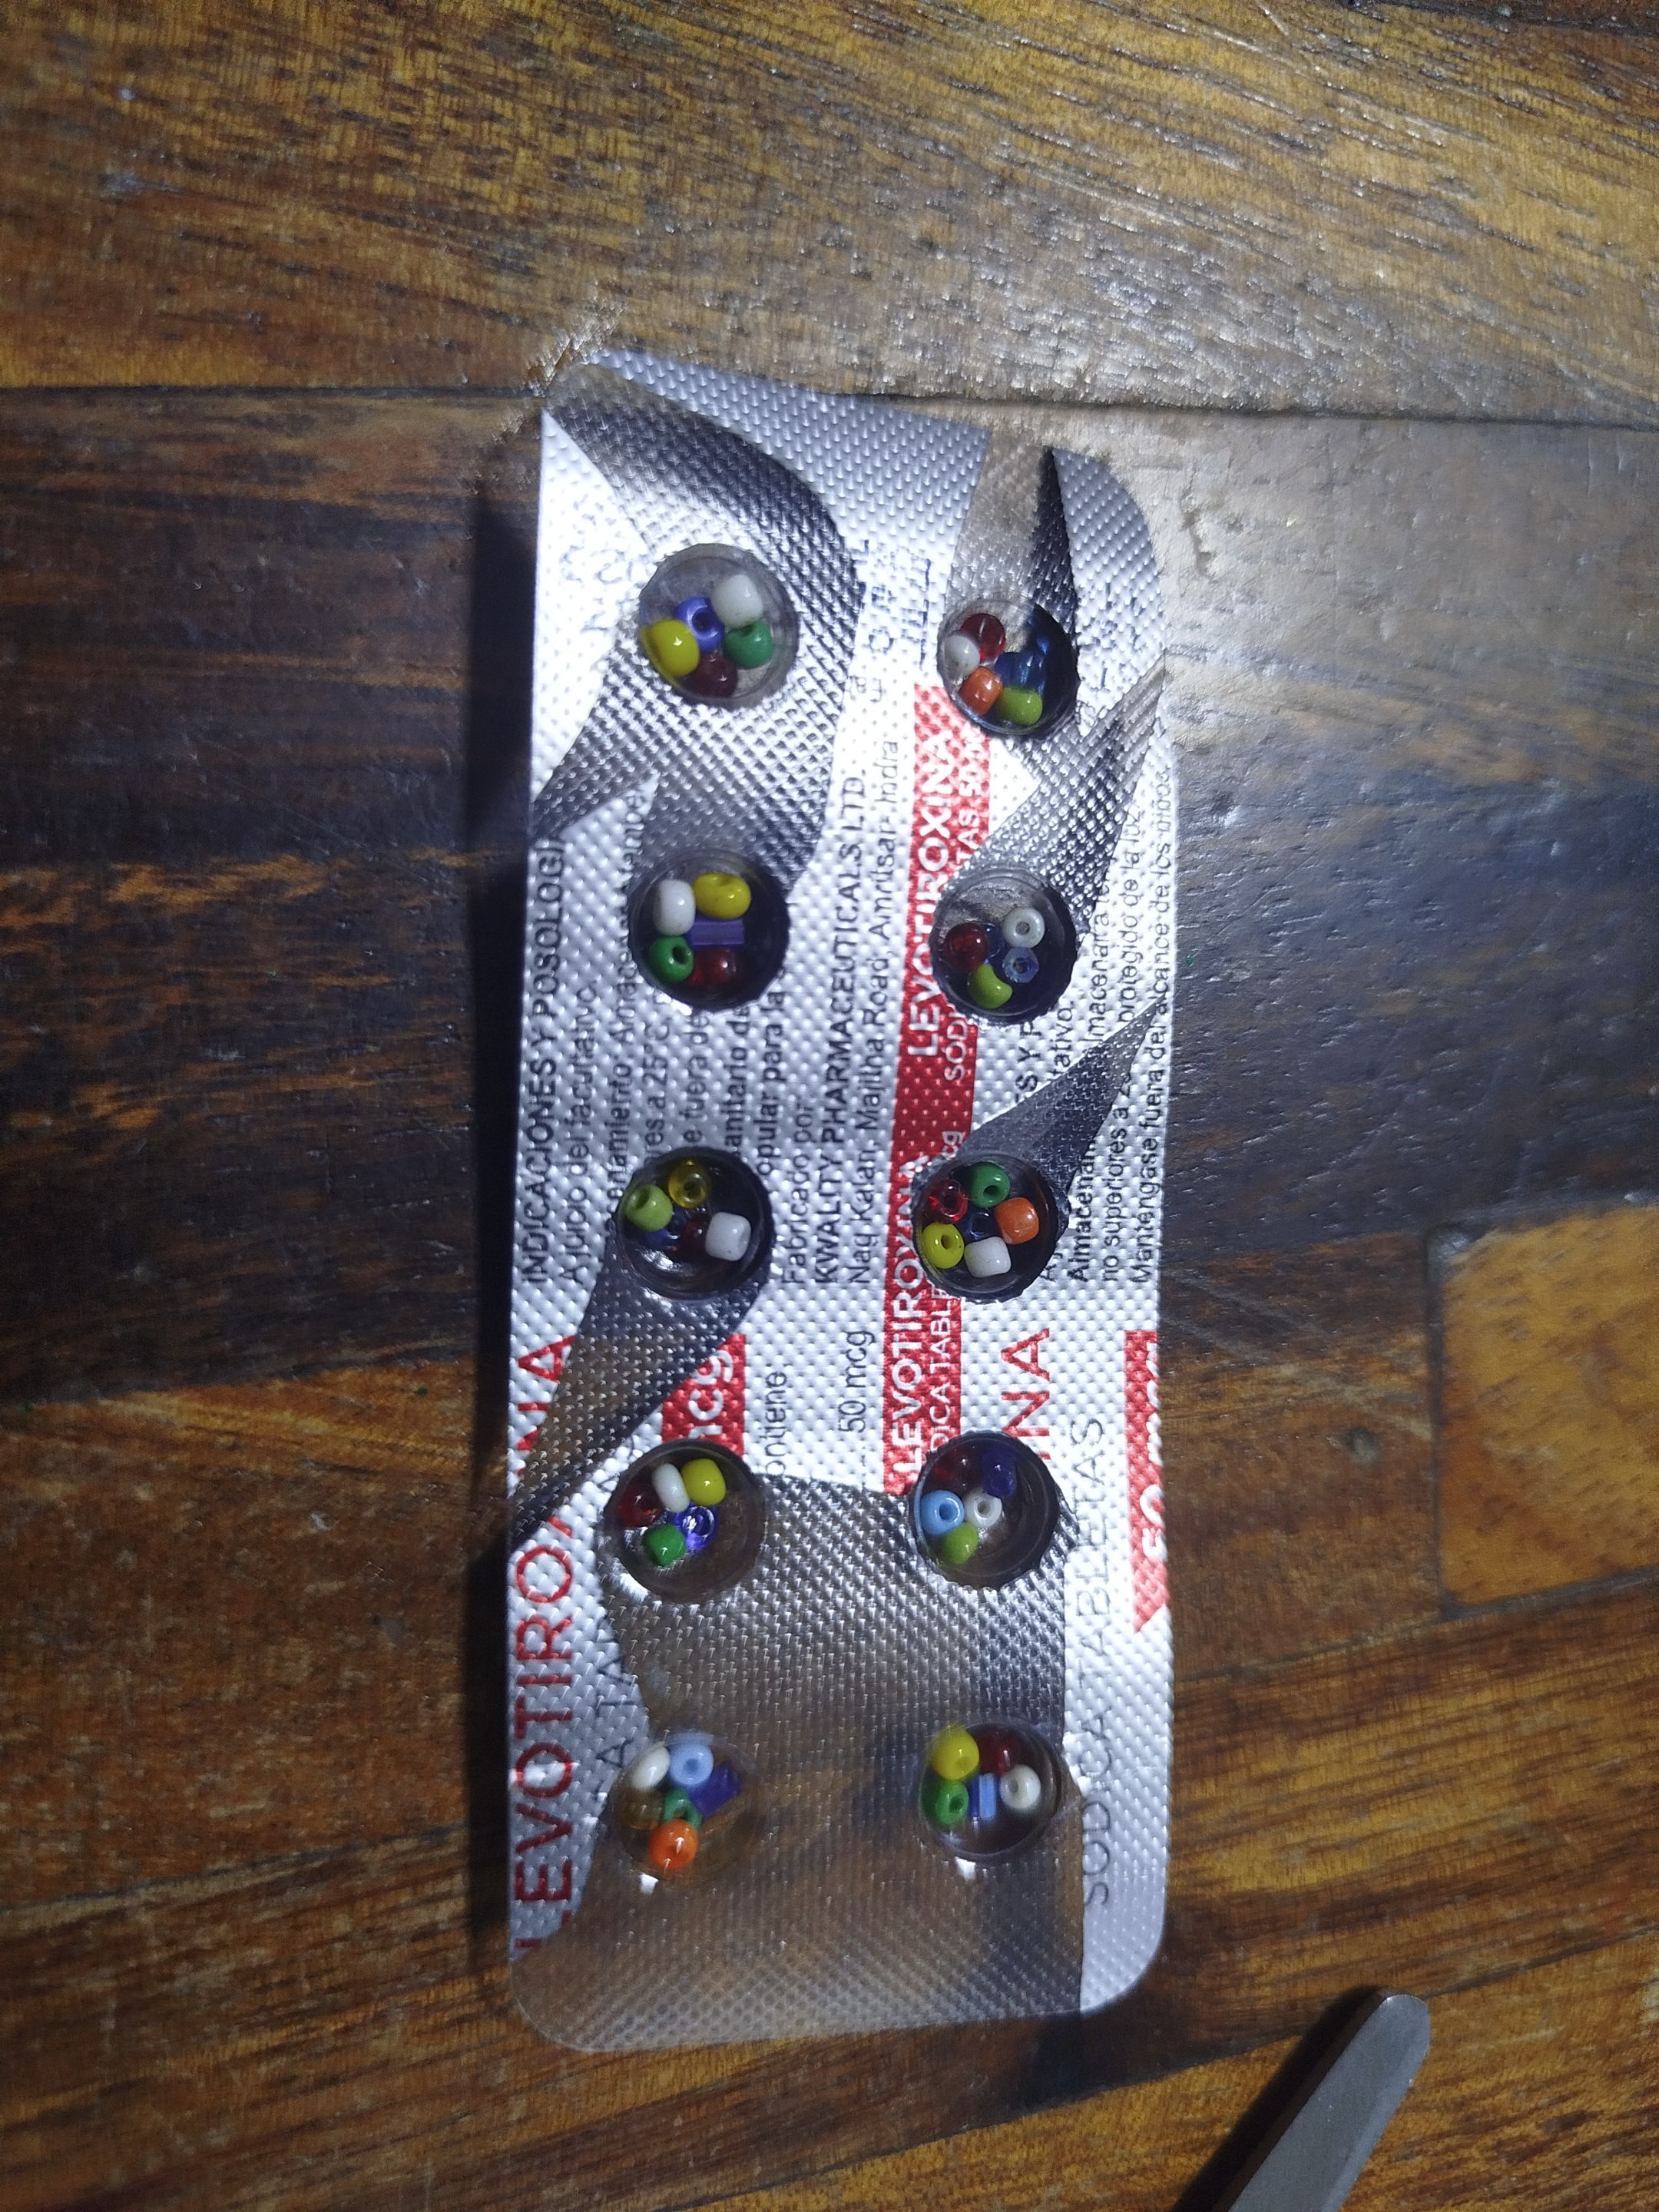
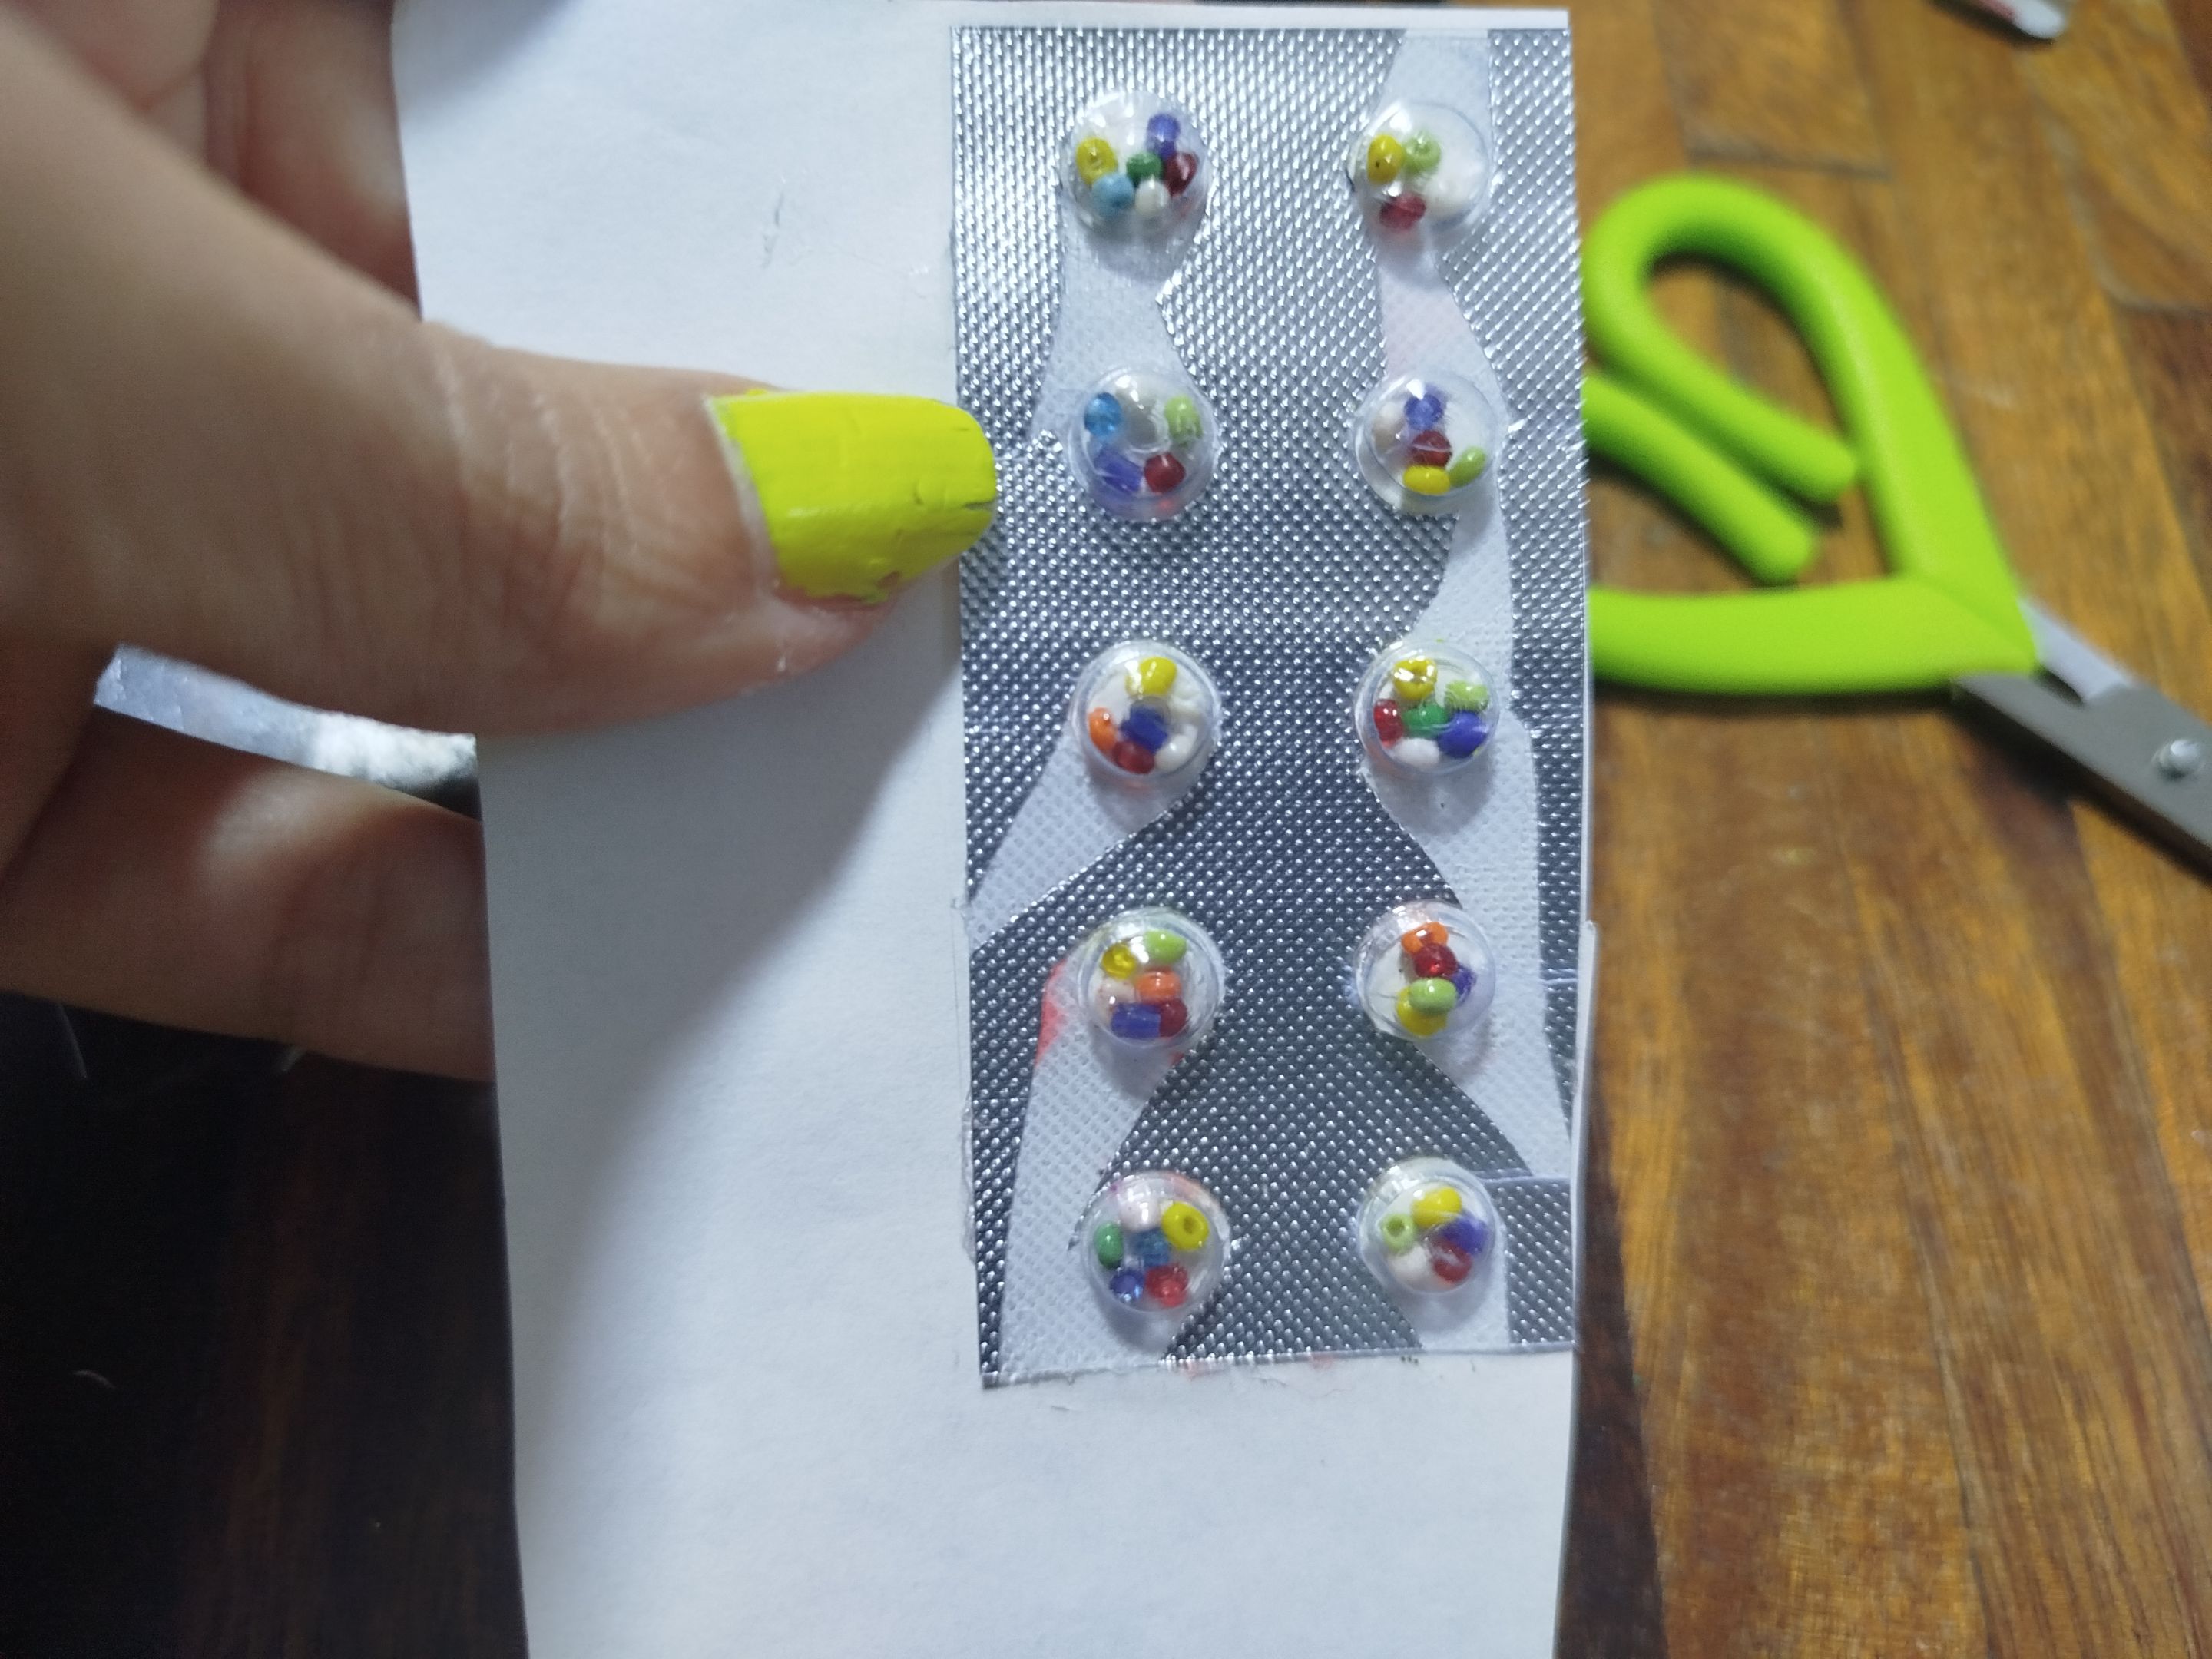
The next idea requires glue (silicone or school glue), glitter, beads, sequins, and of course, the blisters. For the latter, I used some blisters from my treatment; the pills are quite small, so the result would be nice.
 |
 |
|---|---|
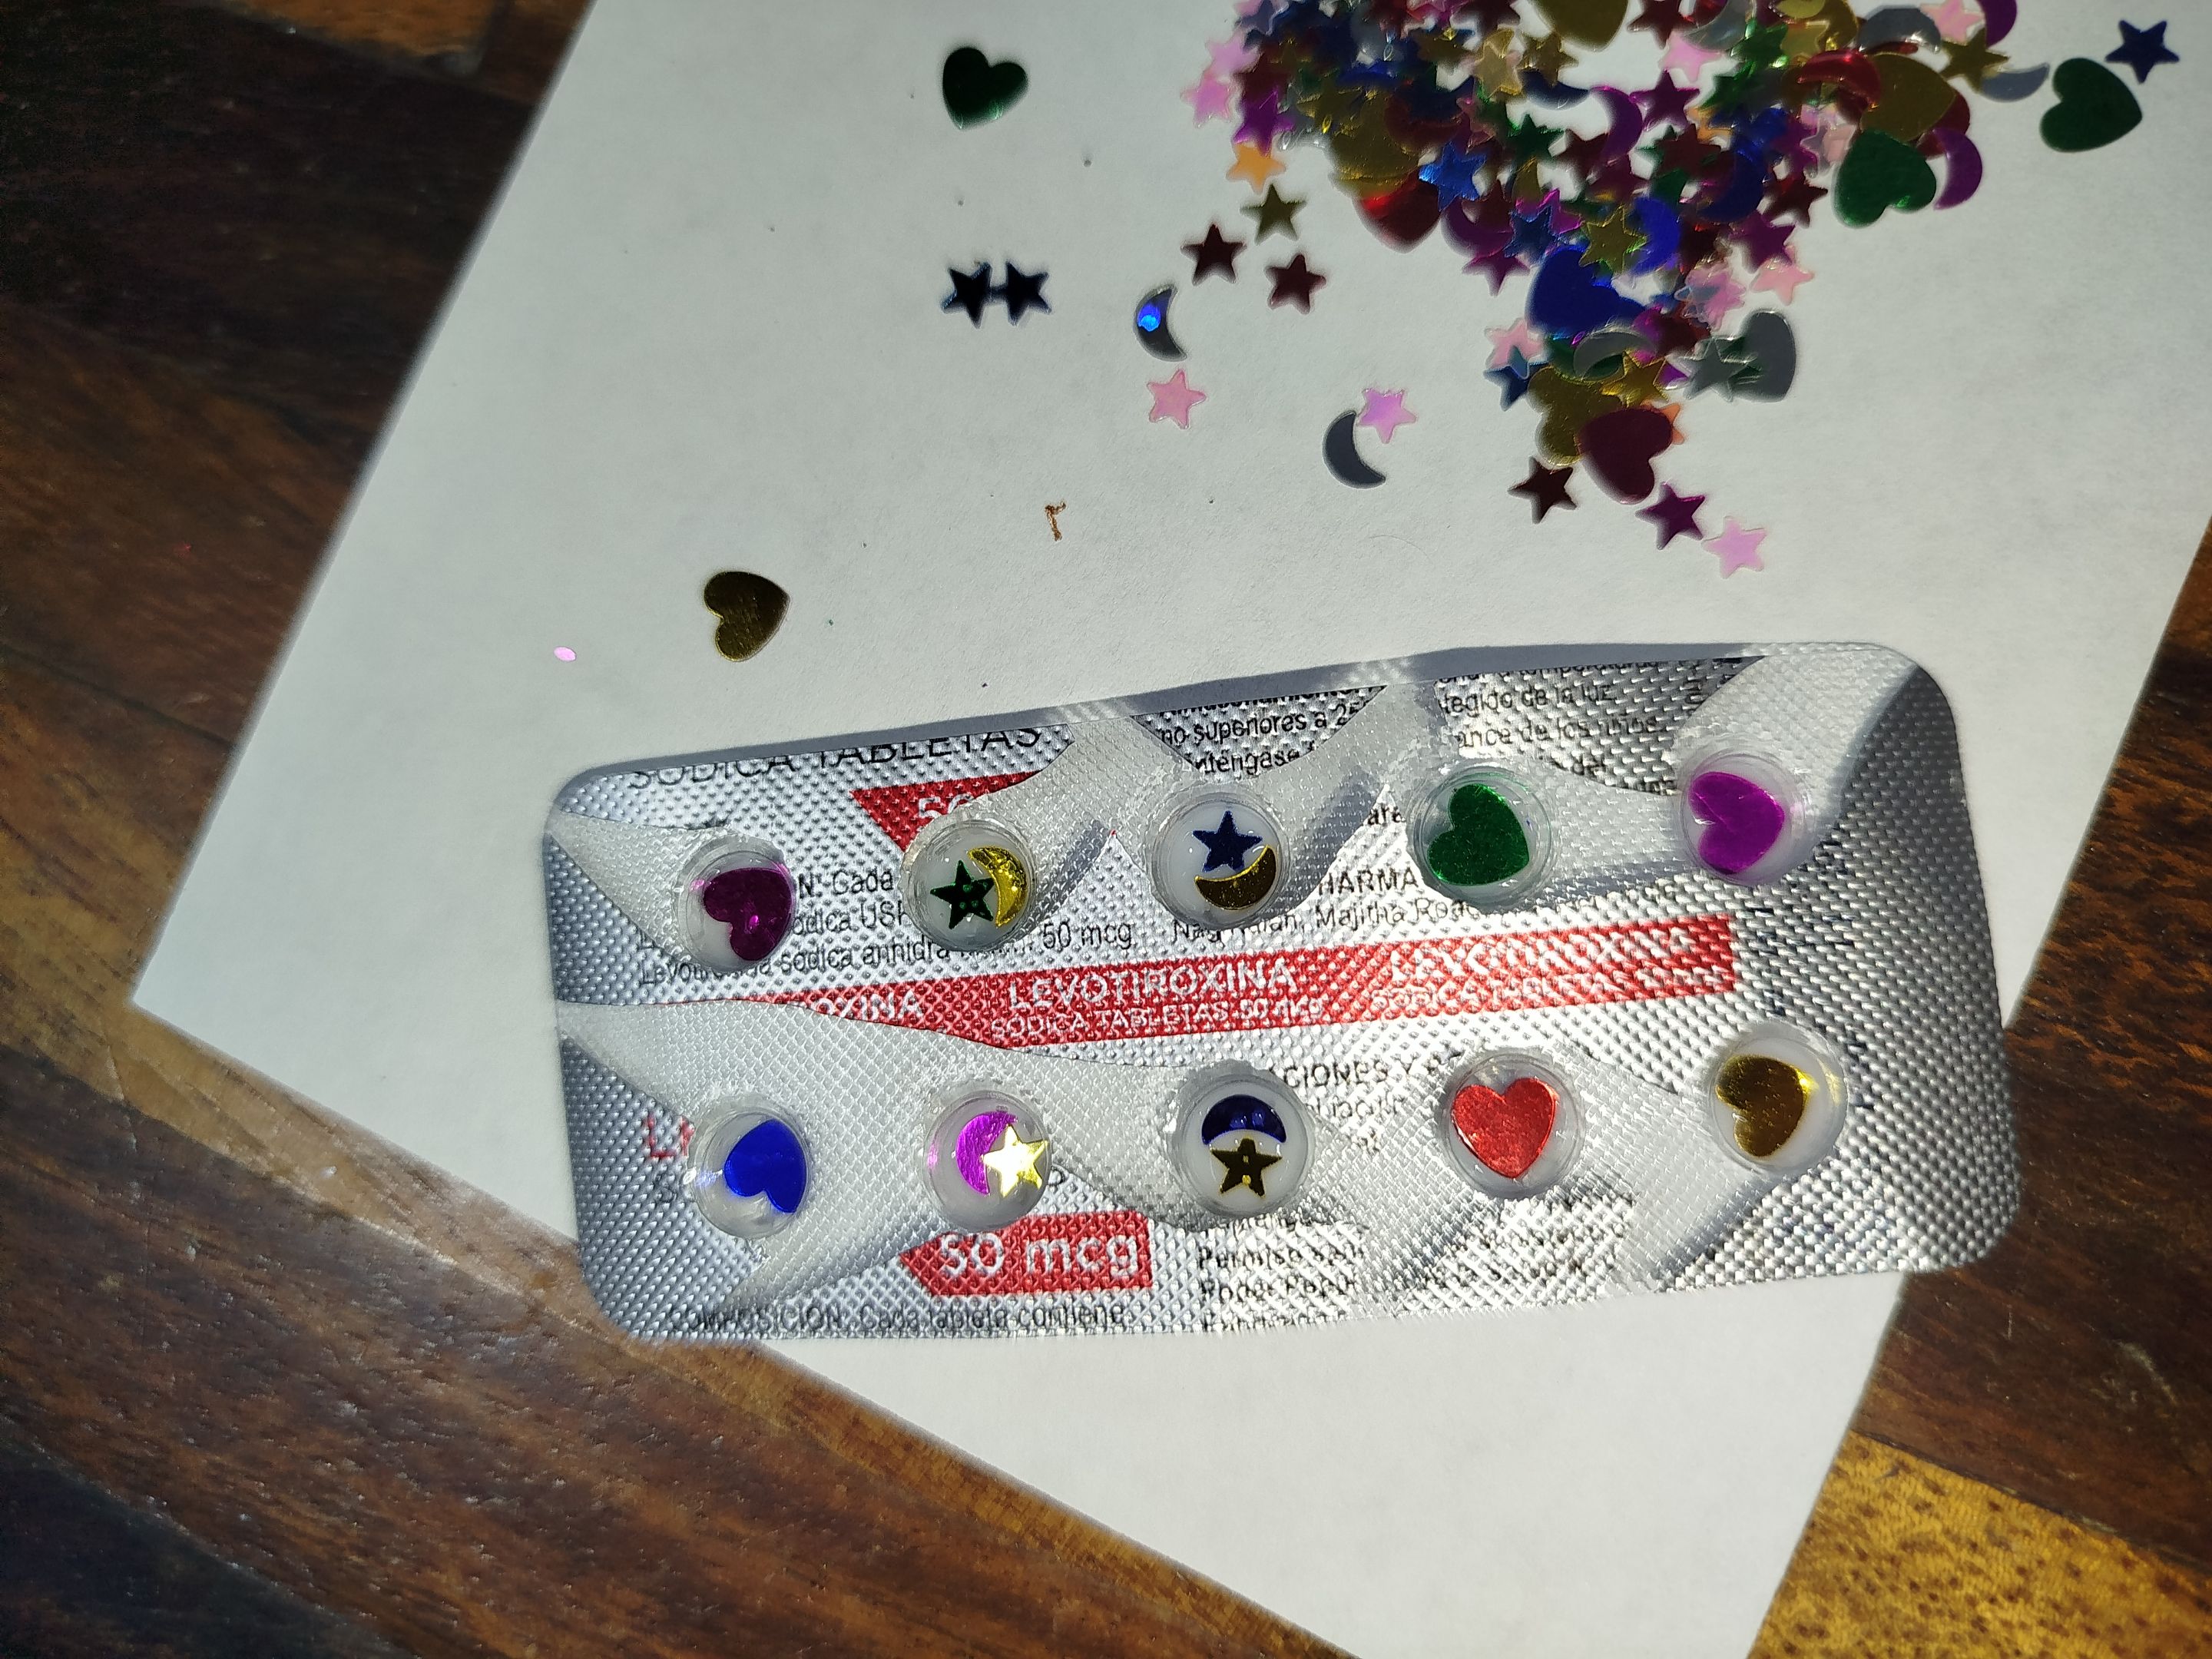
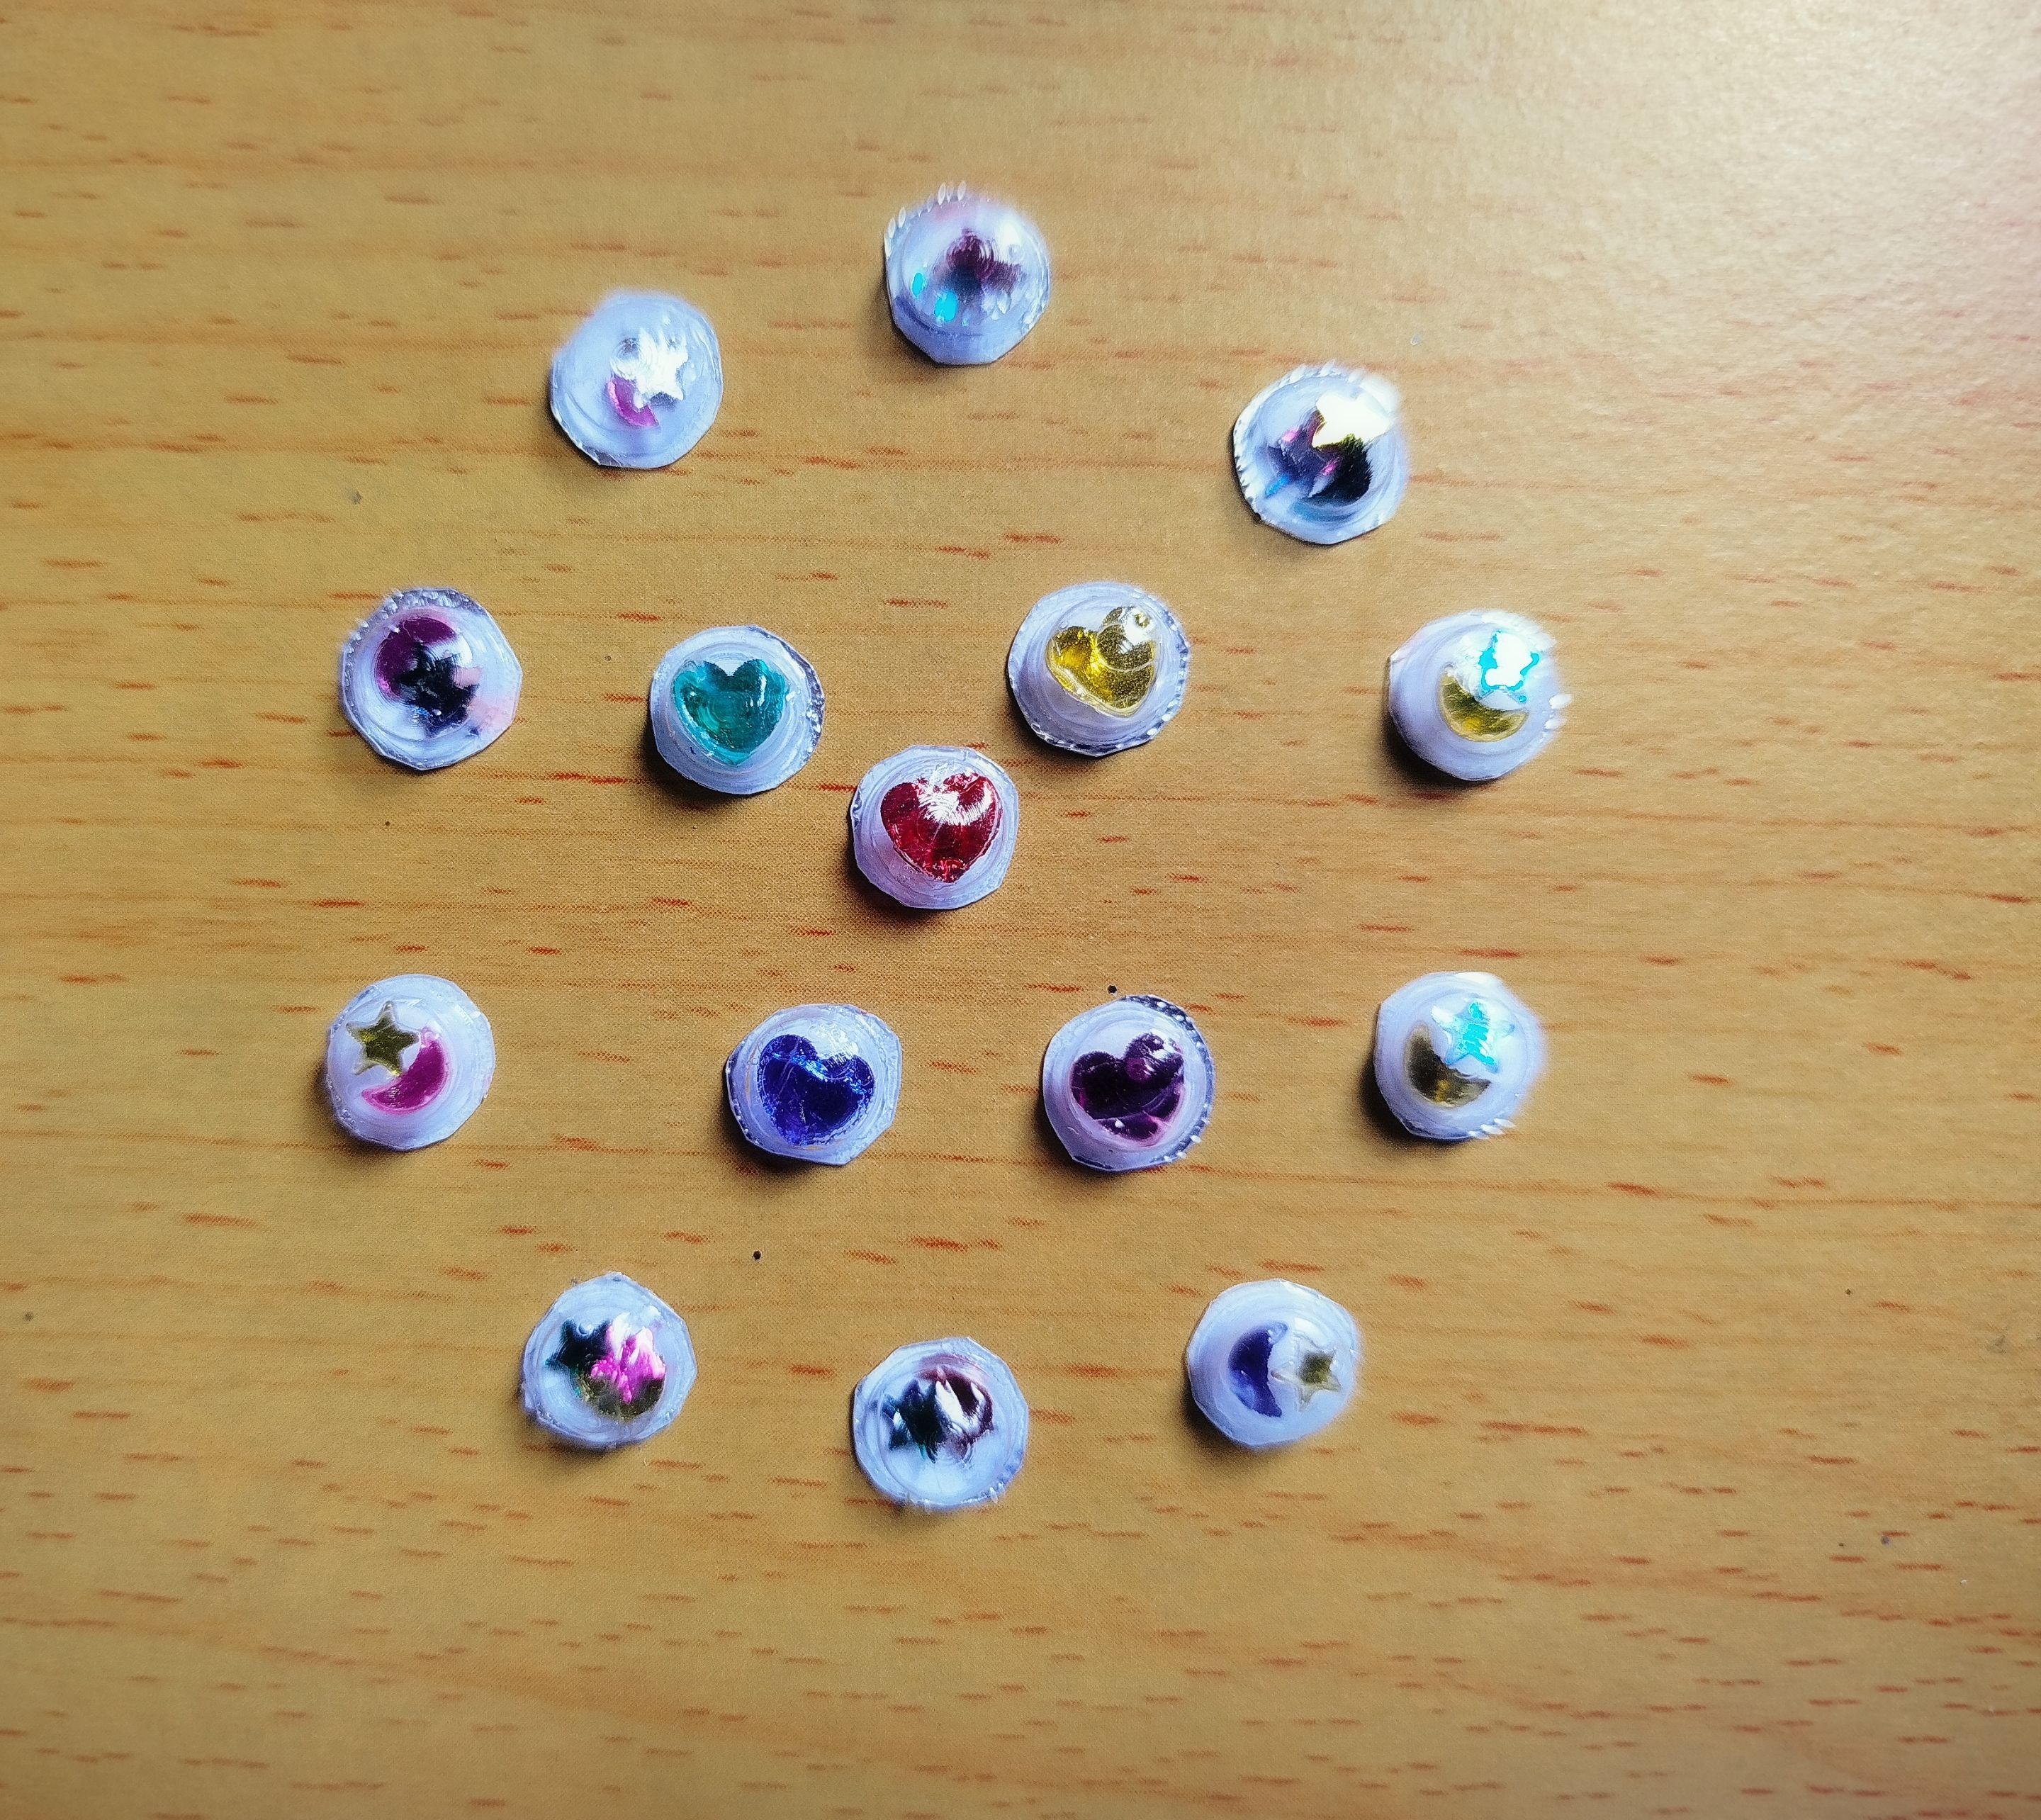
To do this, simply apply a drop of glue and then the desired material. For glitter, simply pour enough to cover the area with glue, but don't overdo it. For beads and sequins, using tweezers is very helpful. It's worth mentioning that the sequins I used are shaped like hearts, stars, and moons. I bought them many years ago at a stationery store, and they're so pretty that I always wait for the perfect moment to apply them to a creative project.
 |
 |
 |
 |
|---|---|---|---|
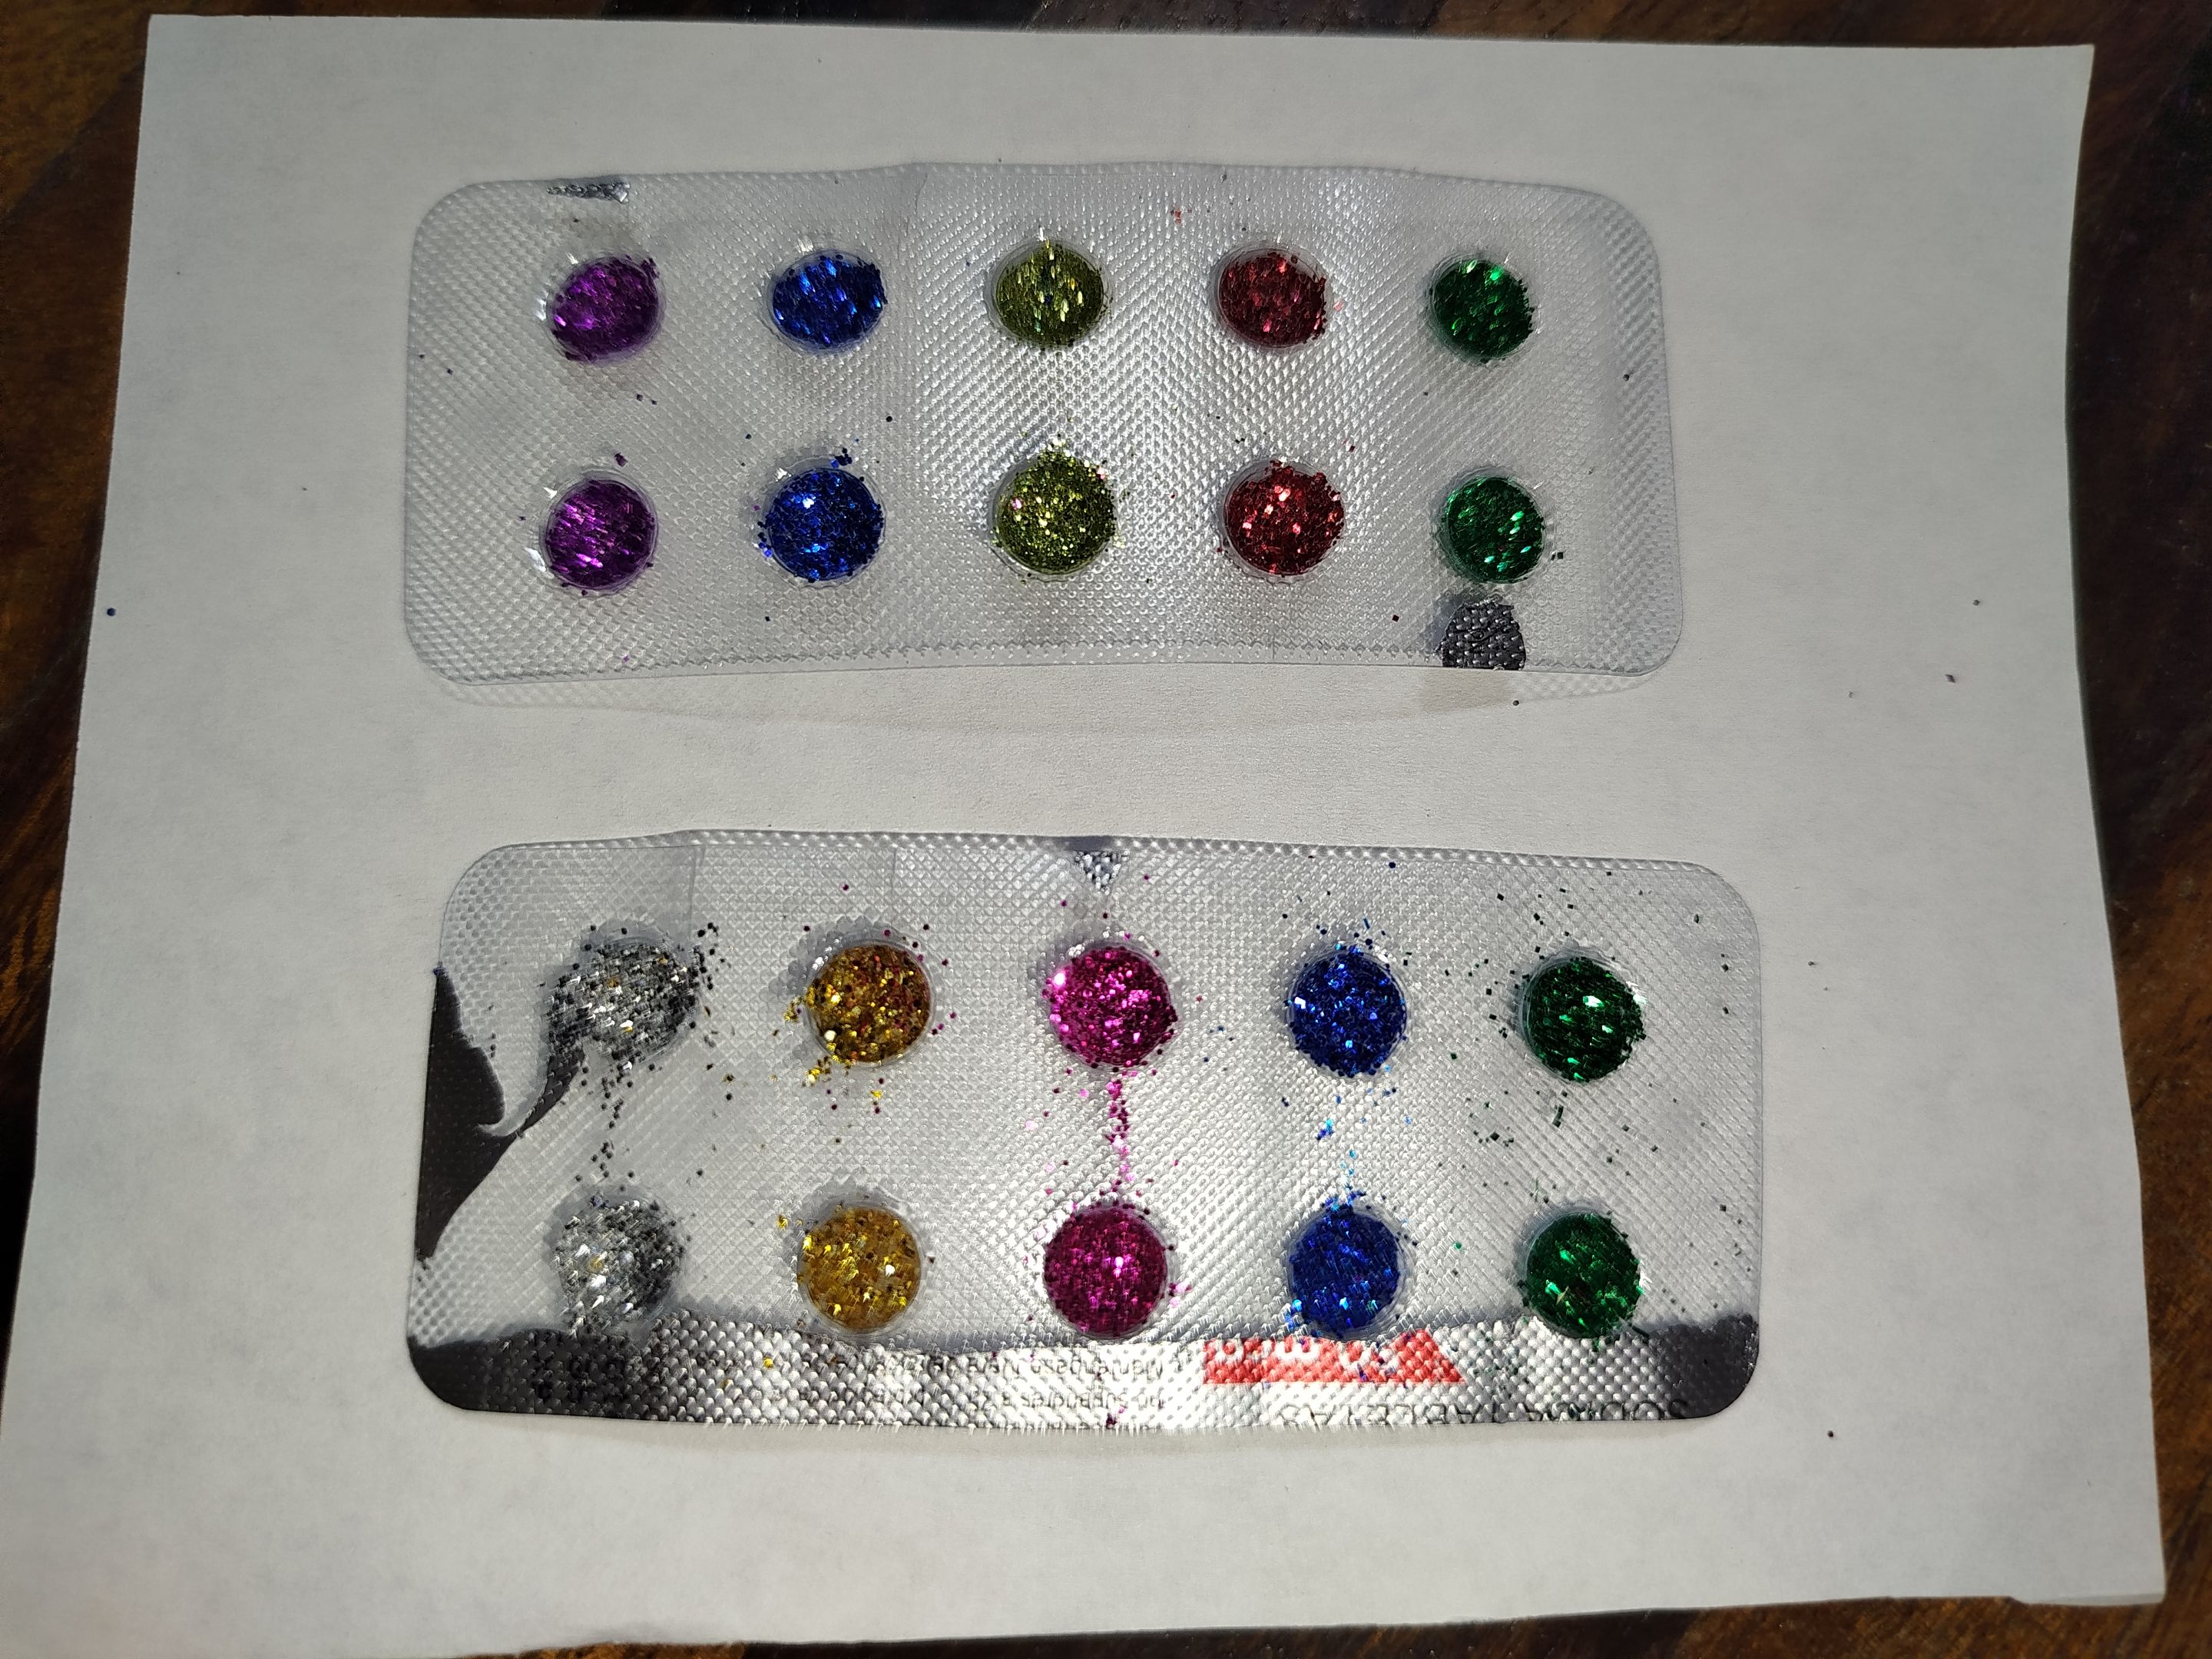
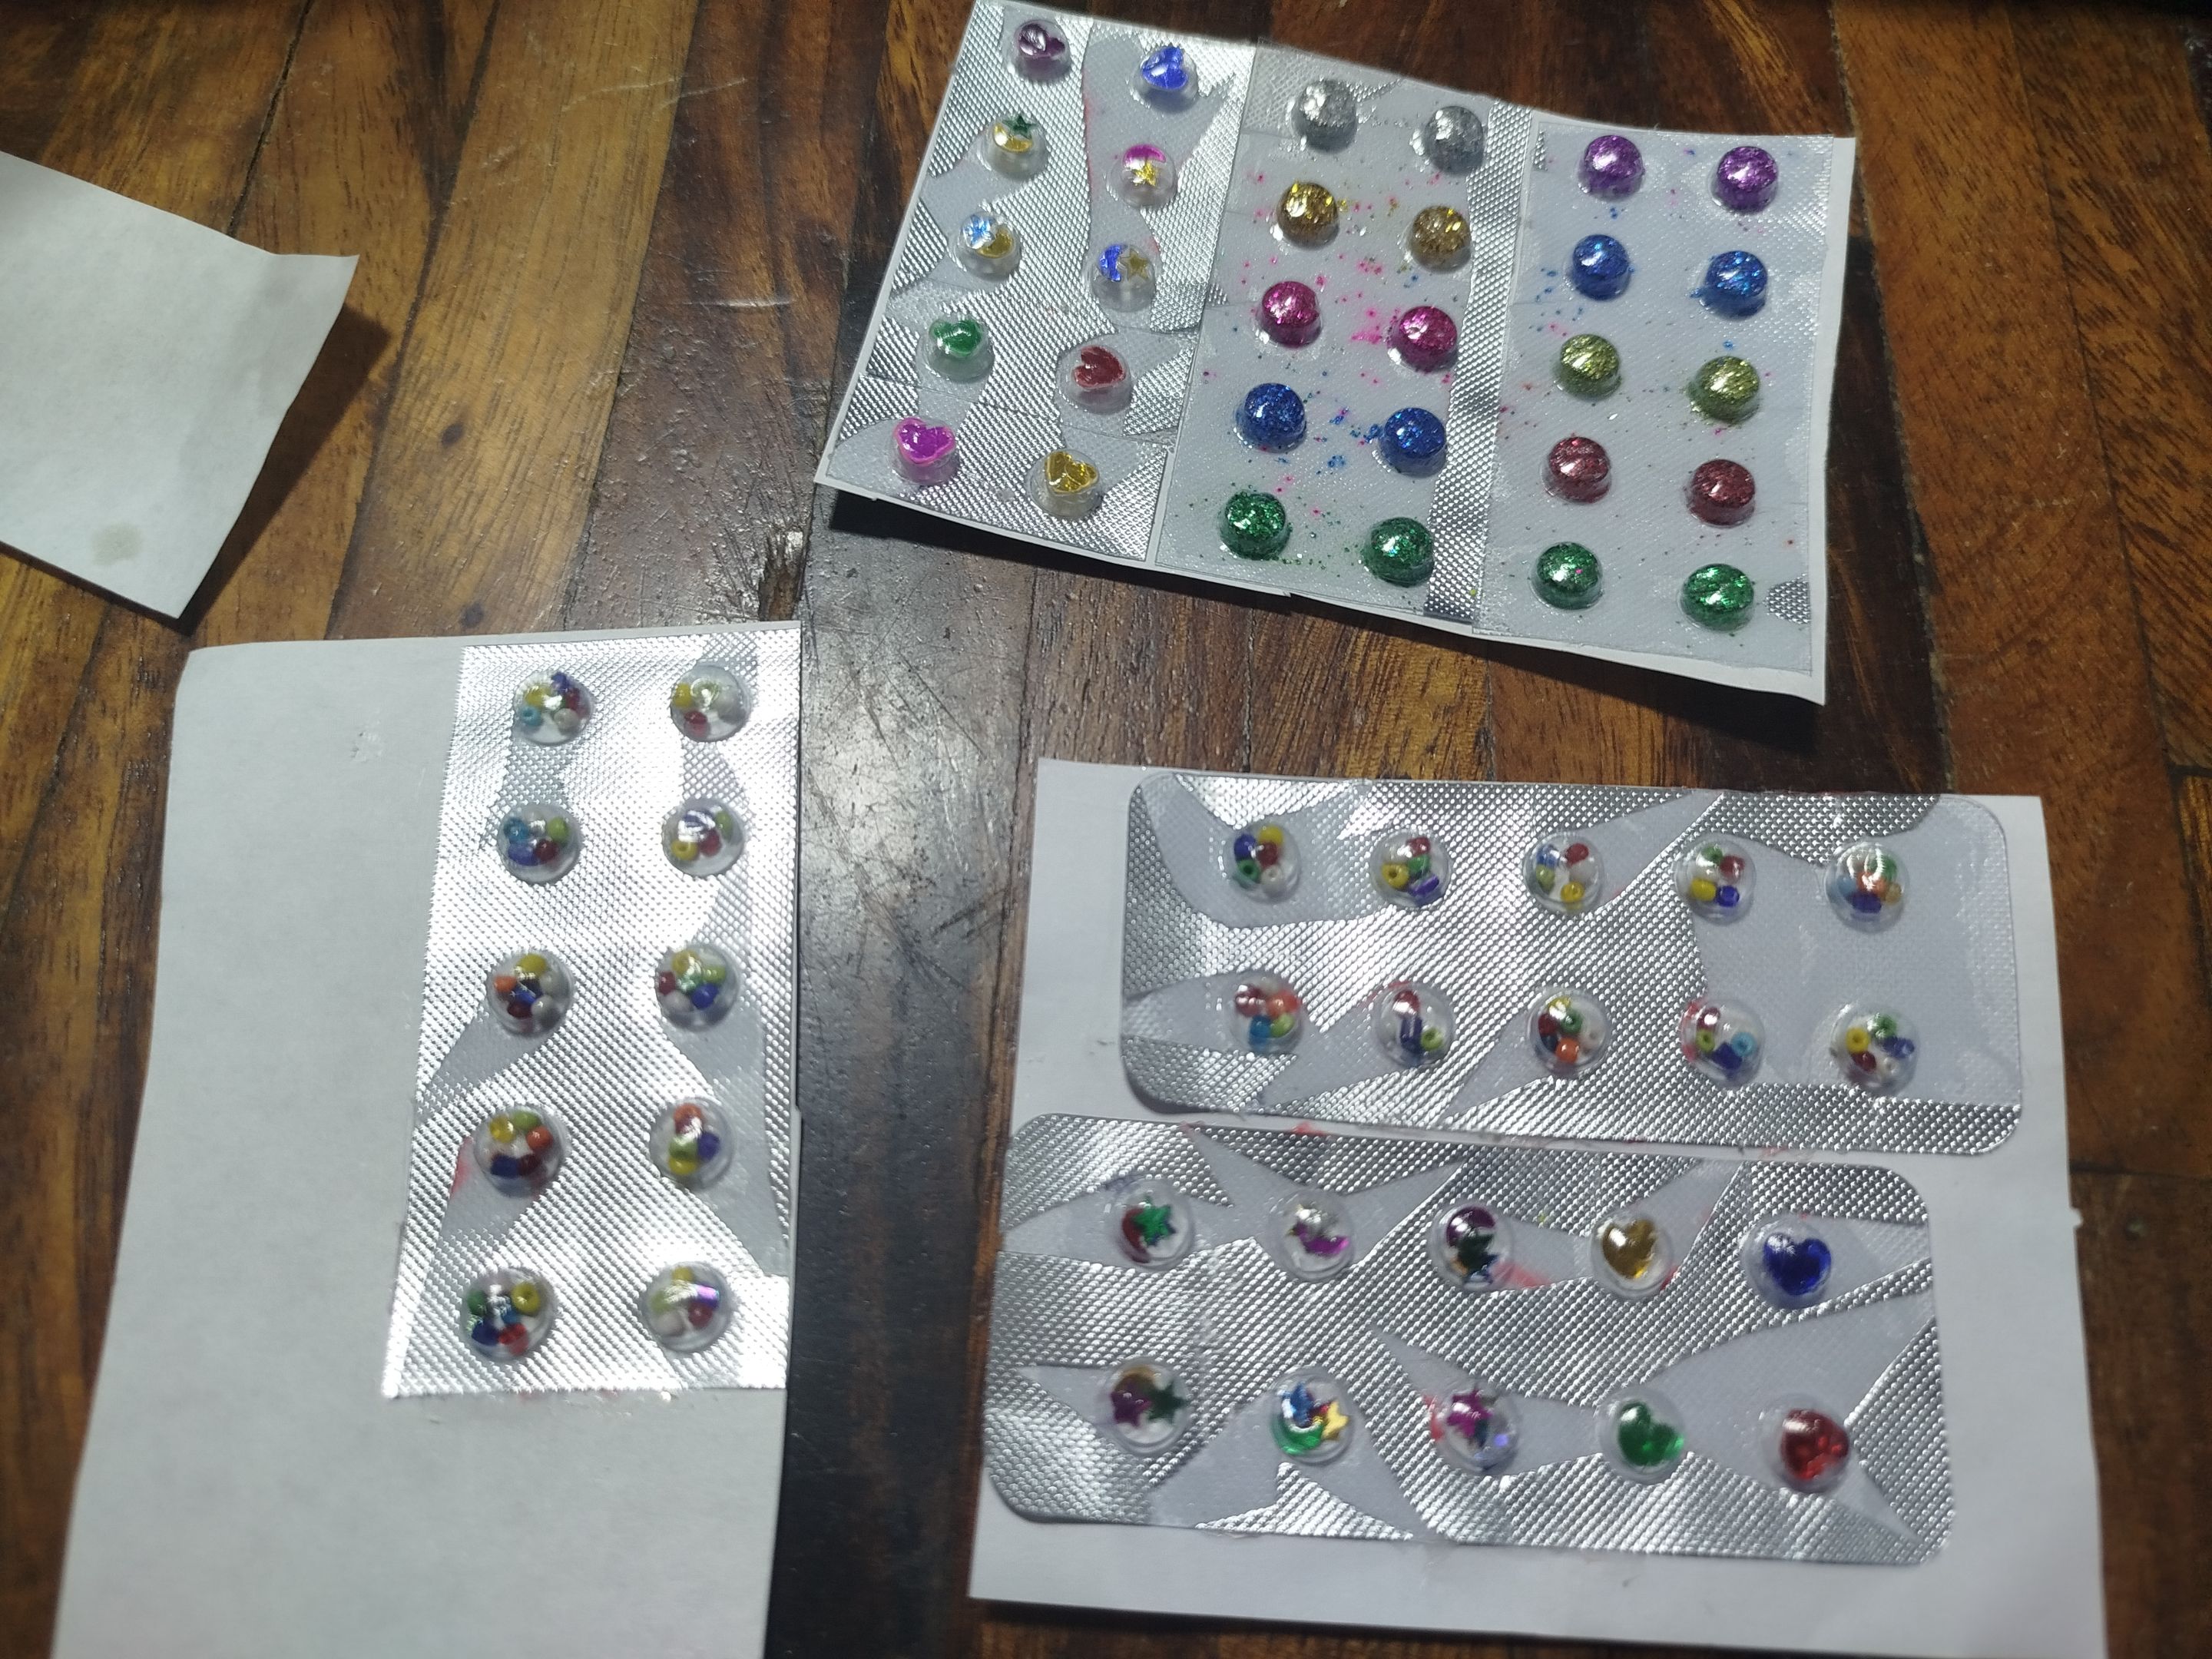
The next step was to let the glue dry a little and then glue a piece of paper or cardboard to the back. Once dry, I carefully cut out each stone along the edge. Since I made several, it was a somewhat tedious process, haha, but once I had them all cut out, I felt it was worth it.
 |
 |
 |
|---|---|---|
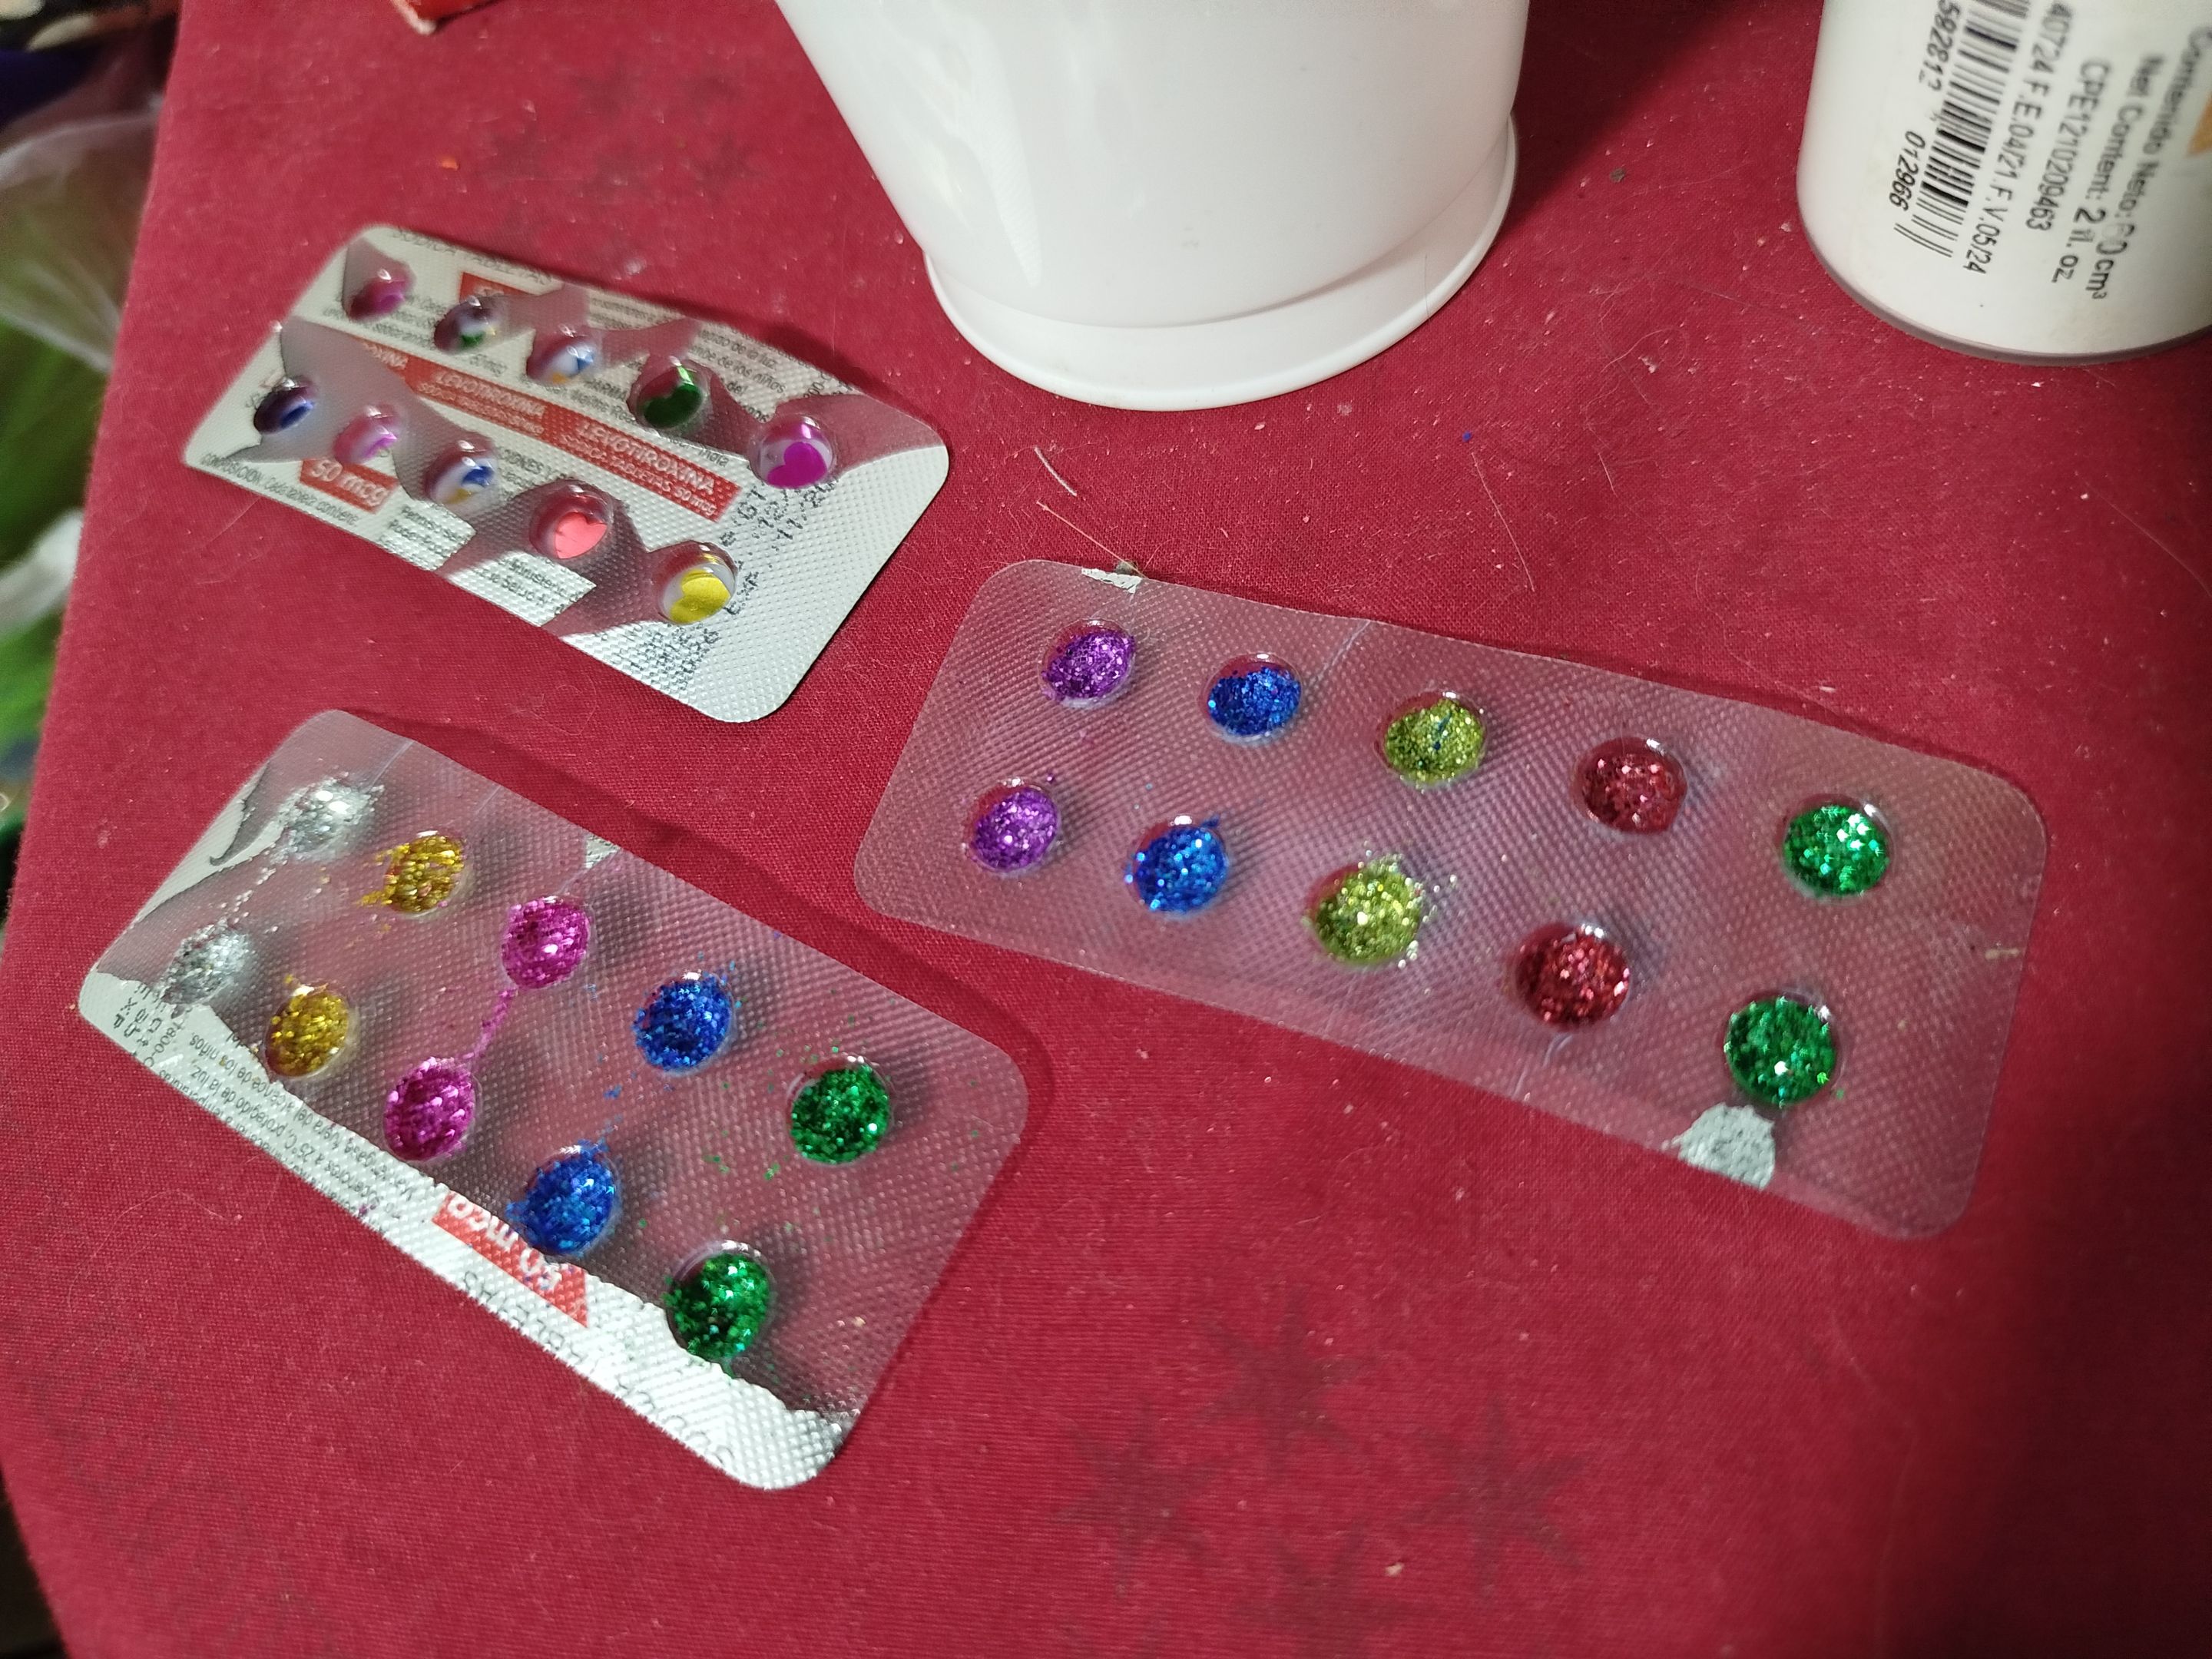
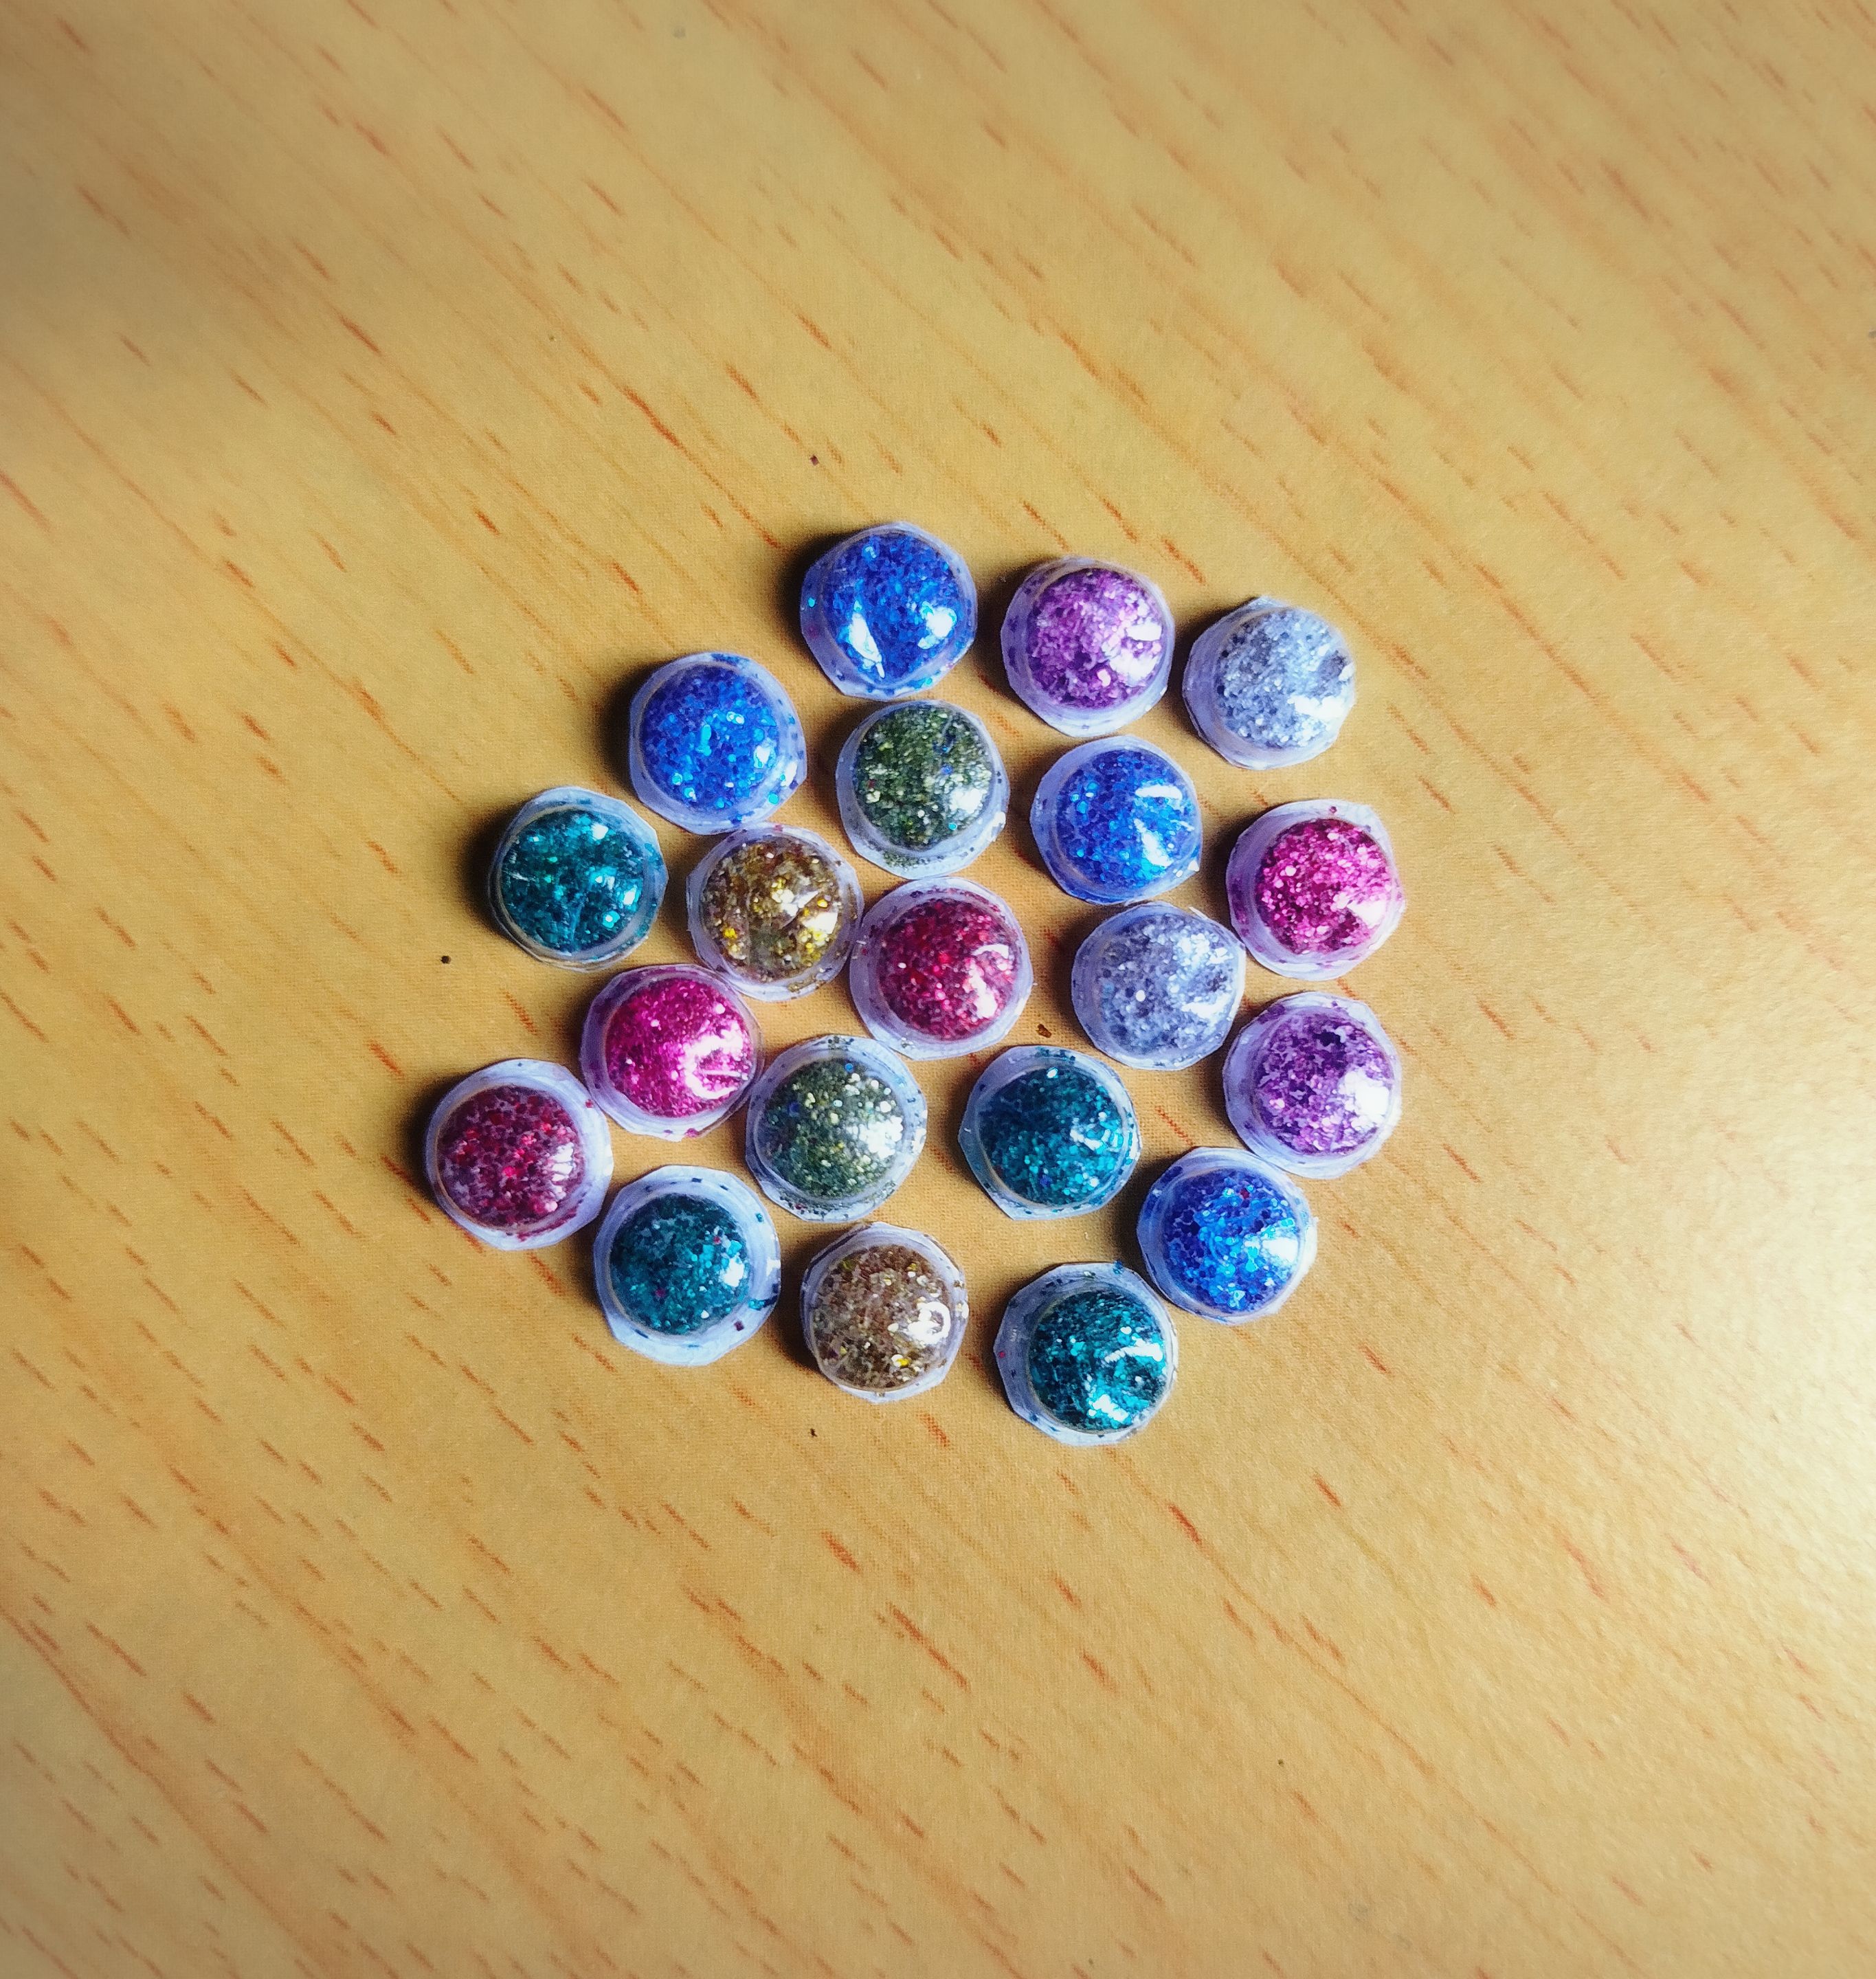
I love the result so much. I repeat, it doesn't look as pretty in the photographs, haha, especially since the pieces are so small. My camera struggled to focus, but you can more or less see the idea. I'm a fan of miniature projects. I'd love to be able to make small pieces for my dolls, and maybe these little stones could help me decorate something, I don't know. If any of you find the idea useful, I'll be satisfied ✨
✨ I have a doll that came with hair ornaments similar to these ✨

✨ My sister told me these looked like "little cereal bowls" ✨
✨ These seem to give a "faux resin" effect and I love it ✨
✨ Thank you so much for checking out my post. I hope you found it interesting ✨
💚 See you next time! 💚
CONTENIDO EN ESPAÑOL
¡Hola a todos los integrantes de esta comunidad y amantes de las manualidades! En una publicación anterior, les mostré cómo hacer ojos para manualidades utilizando blisters vacíos de pastillas, ya que es un material que suele ser desechado, pero que puede aprovecharse para que sea útil un poco más de tiempo. Para esta oportunidad, decidí seguir utilizando este material y ver qué otras cosas lindas podría crear con el mismo. Son más que nada decorativas, quizás como unas "piedras" coloridas que pueden añadirse sobre algún proyecto que lo requiera.
💊🎨✨ PAPEL DECORADO 💊🎨✨
Este es el más fácil de realizar y para hacerlo, sólo se requiere el blíster, pegamento y algunos papeles con estampados. Yo utilicé algunos recortes de revistas, así como trocitos de papel decorado que guardé.
Sólo basta con colocar algo de pegamento en el borde del blíster y pegar el papel. Yo utilicé silicón frío o líquido, porque es de secado rápido, aunque si no tienen, también pueden usar pegamento blanco o escolar.
Una vez que esté seco, procedemos a recortar para separar cada figura y estará listo. Me encanta como se ve, porque al menos en este caso, la forma ovalada del blíster, me permitió abarcar gran cantidad del diseño del papel y el plástico, hace que resalte bastante. En las fotografías no se aprecia tanto lo lindo que se ven, pienso que si yo me encanté, un niño lo haría jaja 🤣
✨ Hasta parecen uñas acrílicas 😆 ✨
Aún no les tengo un uso concreto a estas "piedras", pero puede ser que las utilice como decoración en algún proyecto de collage, para darle un poco de relieve o efecto en 3D ¿Ustedes, qué uso le darían? Los leo en los comentarios ✨
💊🎨✨ ESCARCHA, MOSTACILLAS Y LENTEJUELAS 💊🎨✨
La siguiente idea requiere de pegamento (silicón o pegamento escolar), escarcha, mostacillas, lentejuelas y por supuesto, los blisters. En el caso de estos últimos, aproveché de utilizar unos blisters de mi tratamiento, las pastillas son bastante pequeñas así que el resultado sería lindo.
|
|
|---|---|
Para ello, basta con colocar una gota de pegamento y luego, colocar el material deseado. En el caso de la escarcha, basta con verter la cantidad suficiente hasta cubrir la parte con pegamento, sin abusar. En el caso de las mostacillas y las lentejuelas, ayuda mucho el uso una pinza. Cabe mencionar que las lentejuelas que utilicé, son unas que tienen forma de corazón, estrellas y lunas; las compré hace muchos años en una papelería y son tan lindas que siempre espero el momento ideal para colocarlas en algún proyecto creativo.
|
|
|
|
|---|---|---|---|
Lo siguiente, fue dejar que se secase un poco el pegamento para luego, pegar en la parte de atrás un pedazo de papel o cartulina. Una vez seco, se procede a recortar con mucho cuidado cada piedrita por el borde. Como hice varios, fue un proceso algo tedioso jaja pero una vez que las tuve todas recortadas, sentí que valió la pena.
|
|
|
|---|---|---|
Me encanta muchísimo el resultado, reitero que en las fotografías no se aprecia tan lindo jaja y menos siendo piezas tan pequeñas, mi cámara sufrió al enfocar, pero más o menos se aprecia la idea. Soy fanática de los proyectos en miniatura, me gustaría poder elaborar piezas pequeñas para mis muñecas y puede ser que estas piedritas, me ayuden con la decoración de alguna cosa, no lo sé. Si a alguno de ustedes le sirve la idea, ya me daré por satisfecha ✨
✨ Tengo una muñeca que traía unos adornos para el cabello parecidos a estos ✨
✨ Mi hermana me dijo que estos parecían "pequeños platitos de cereal" ✨
✨ Estos parecen dar un efecto de "falsa resina" y me encanta ✨
✨ Muchas gracias por haber visitado mi publicación. Espero que les haya parecido interesante ✨
💚 ¡Hasta una próxima oportunidad! 💚
https://linktr.ee/sue_zoe