ENGLISH CONTENT
Hello to all the members of this community and sewing lovers! I love going to textile centers and buying even a yard of fabric. That's how I've ended up with yards of fabric in various designs, some that I acquired more recently, among others yards that I bought years ago and never used, as well as some yards of fabric that were given to me. Even so, I feel like I don't have enough fabric, or at least not the kind I need for some specific projects haha. So, I've decided to make some pieces with the fabrics I already have, either for sale or for my own use.
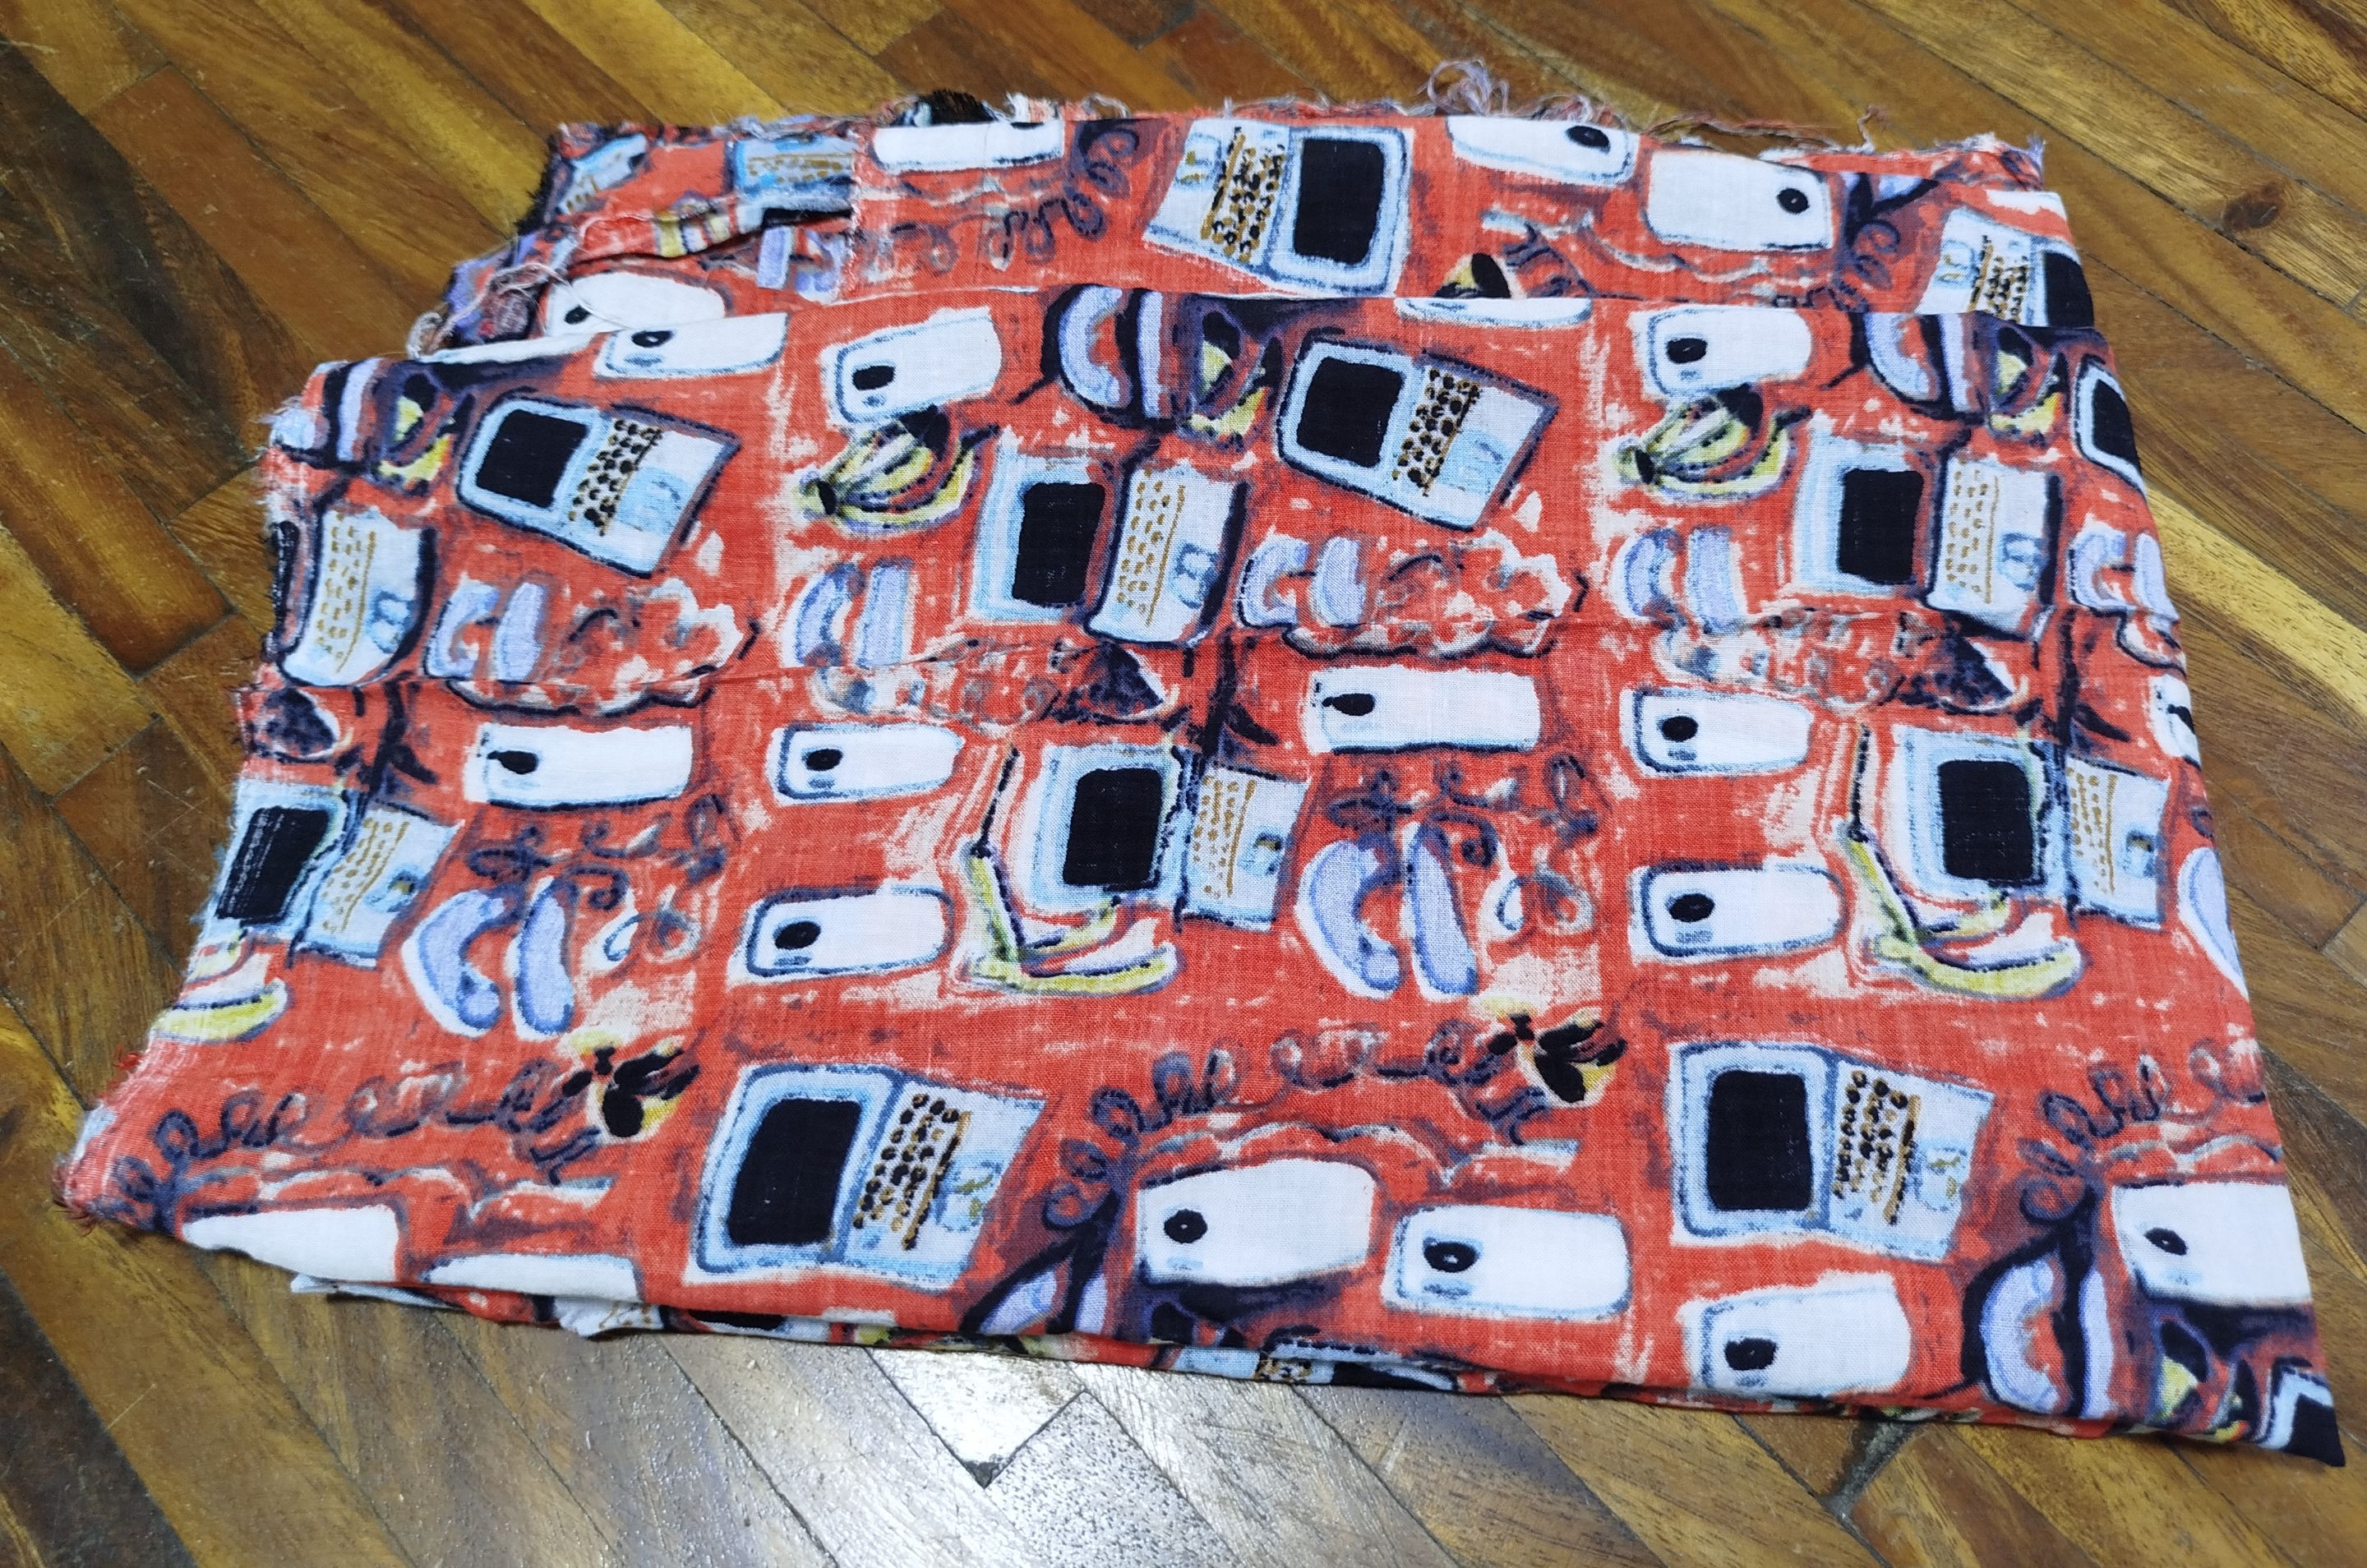
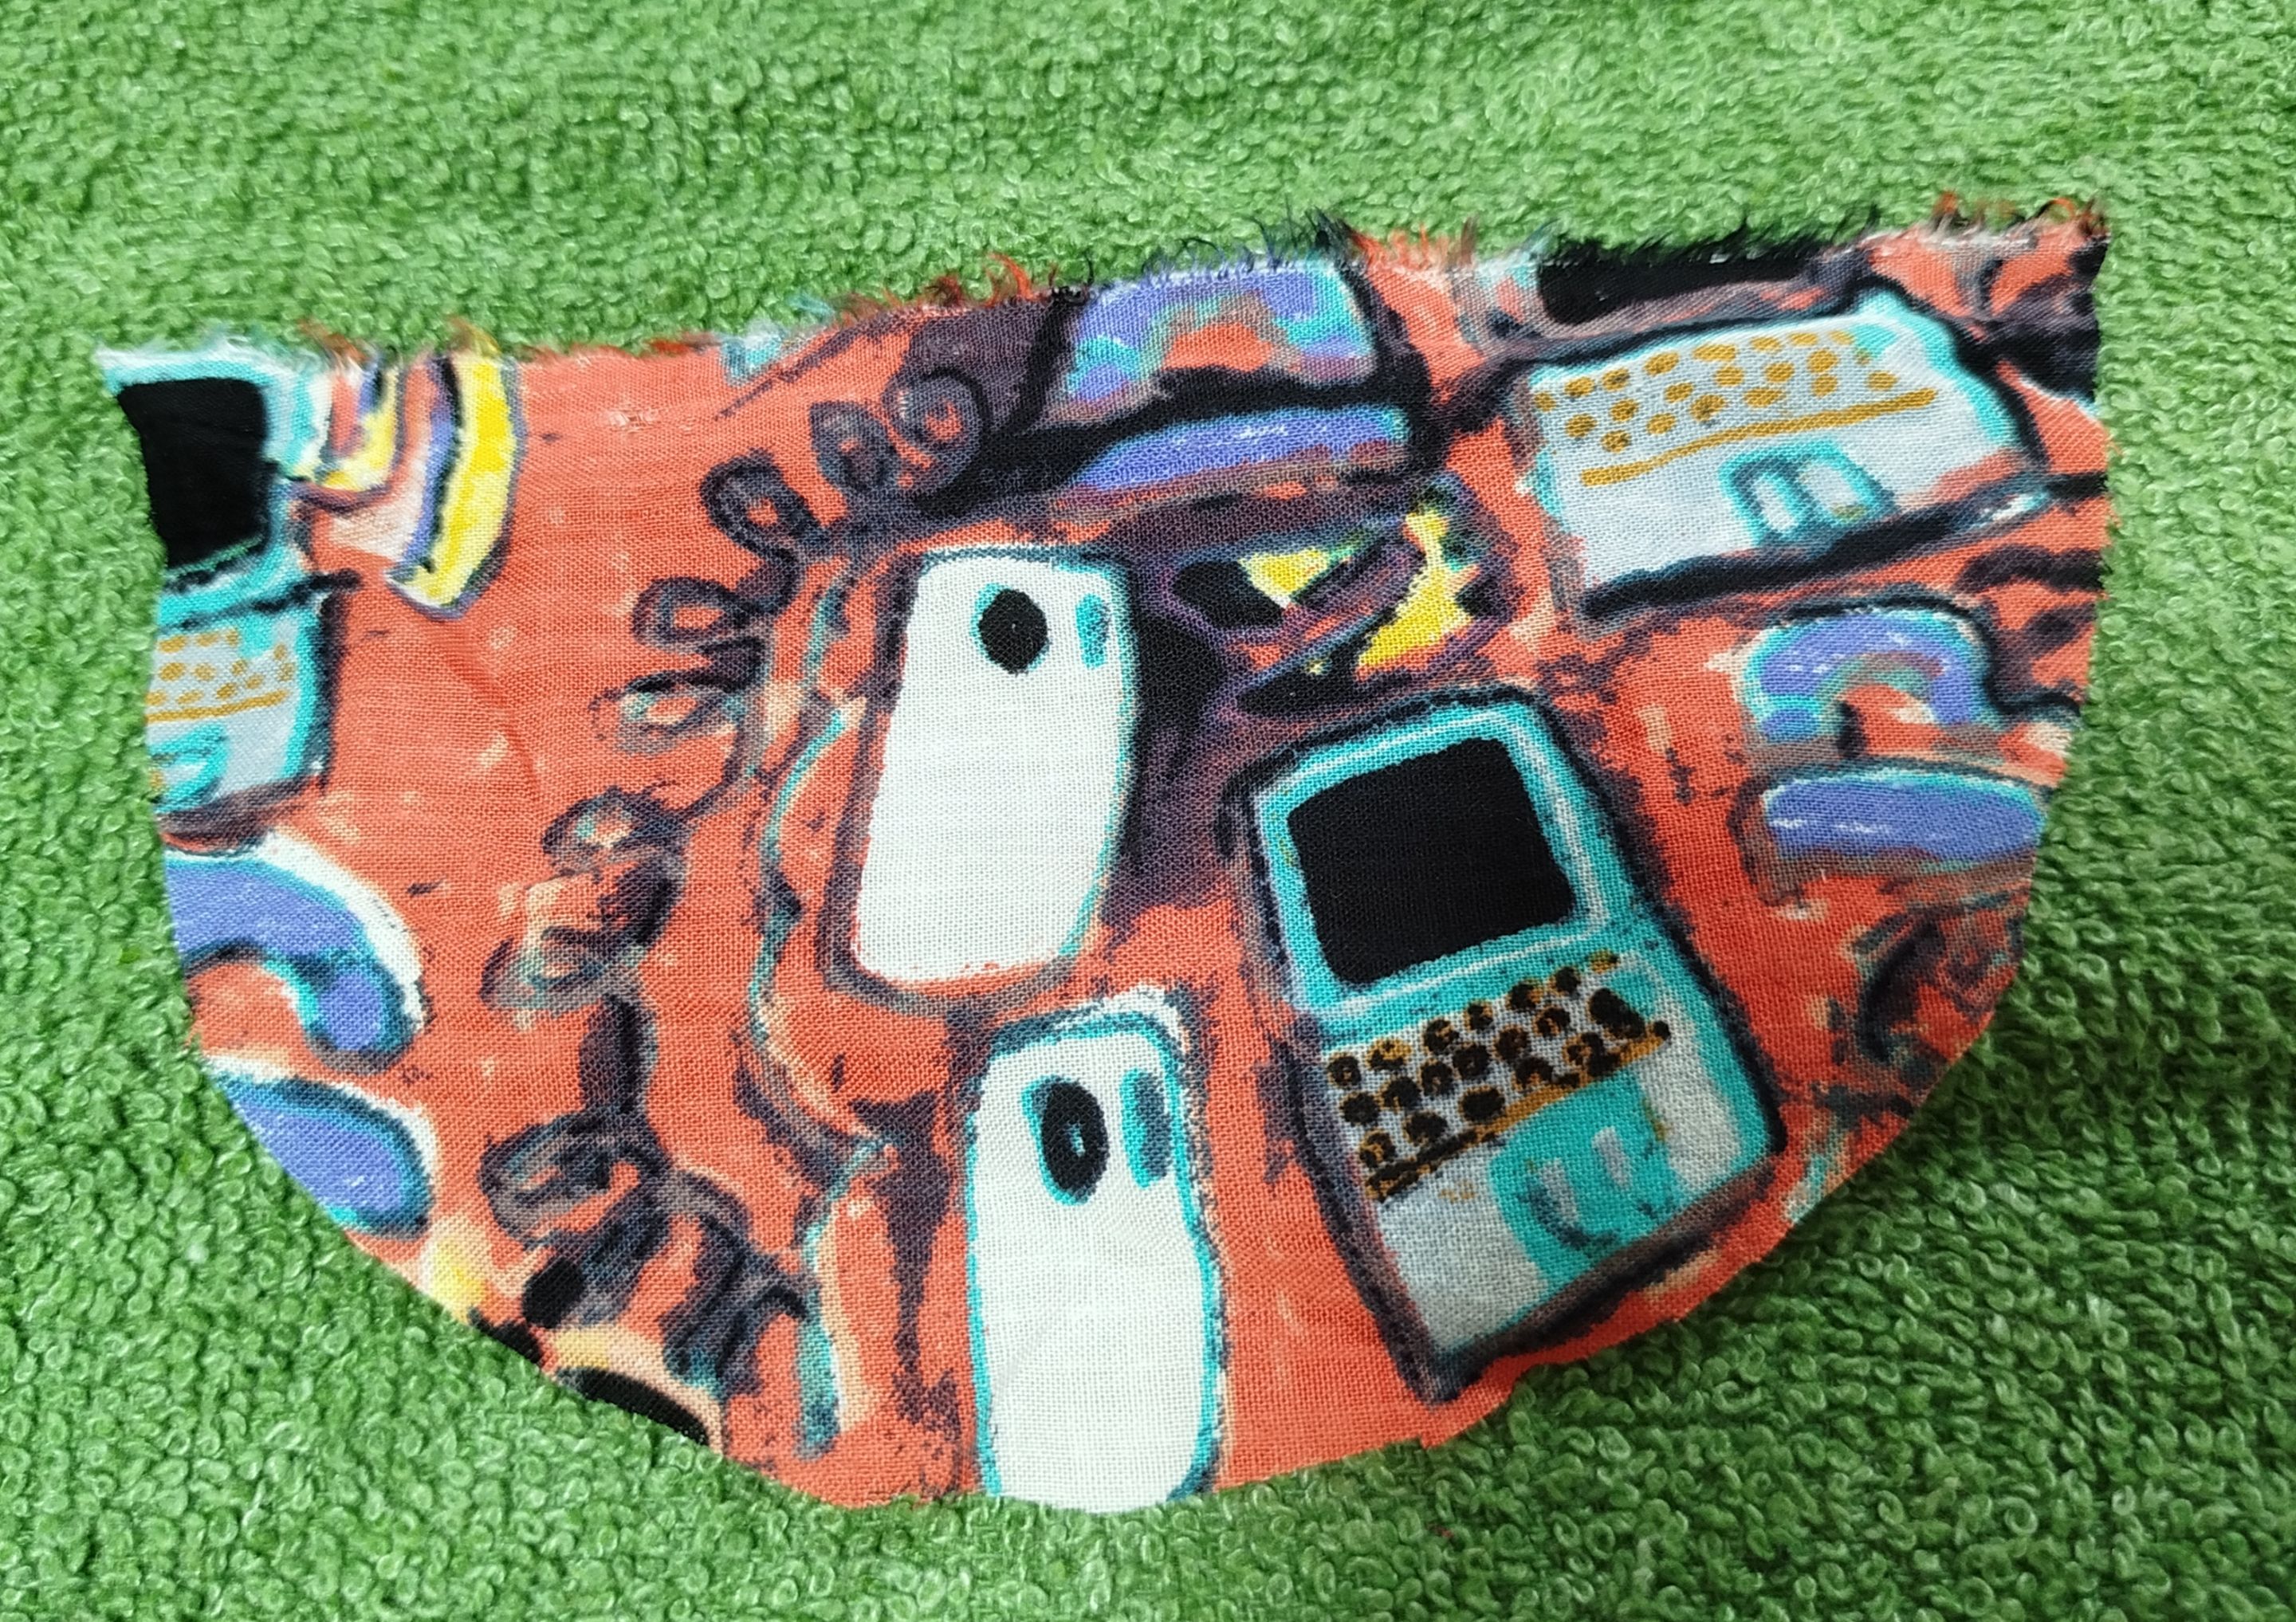
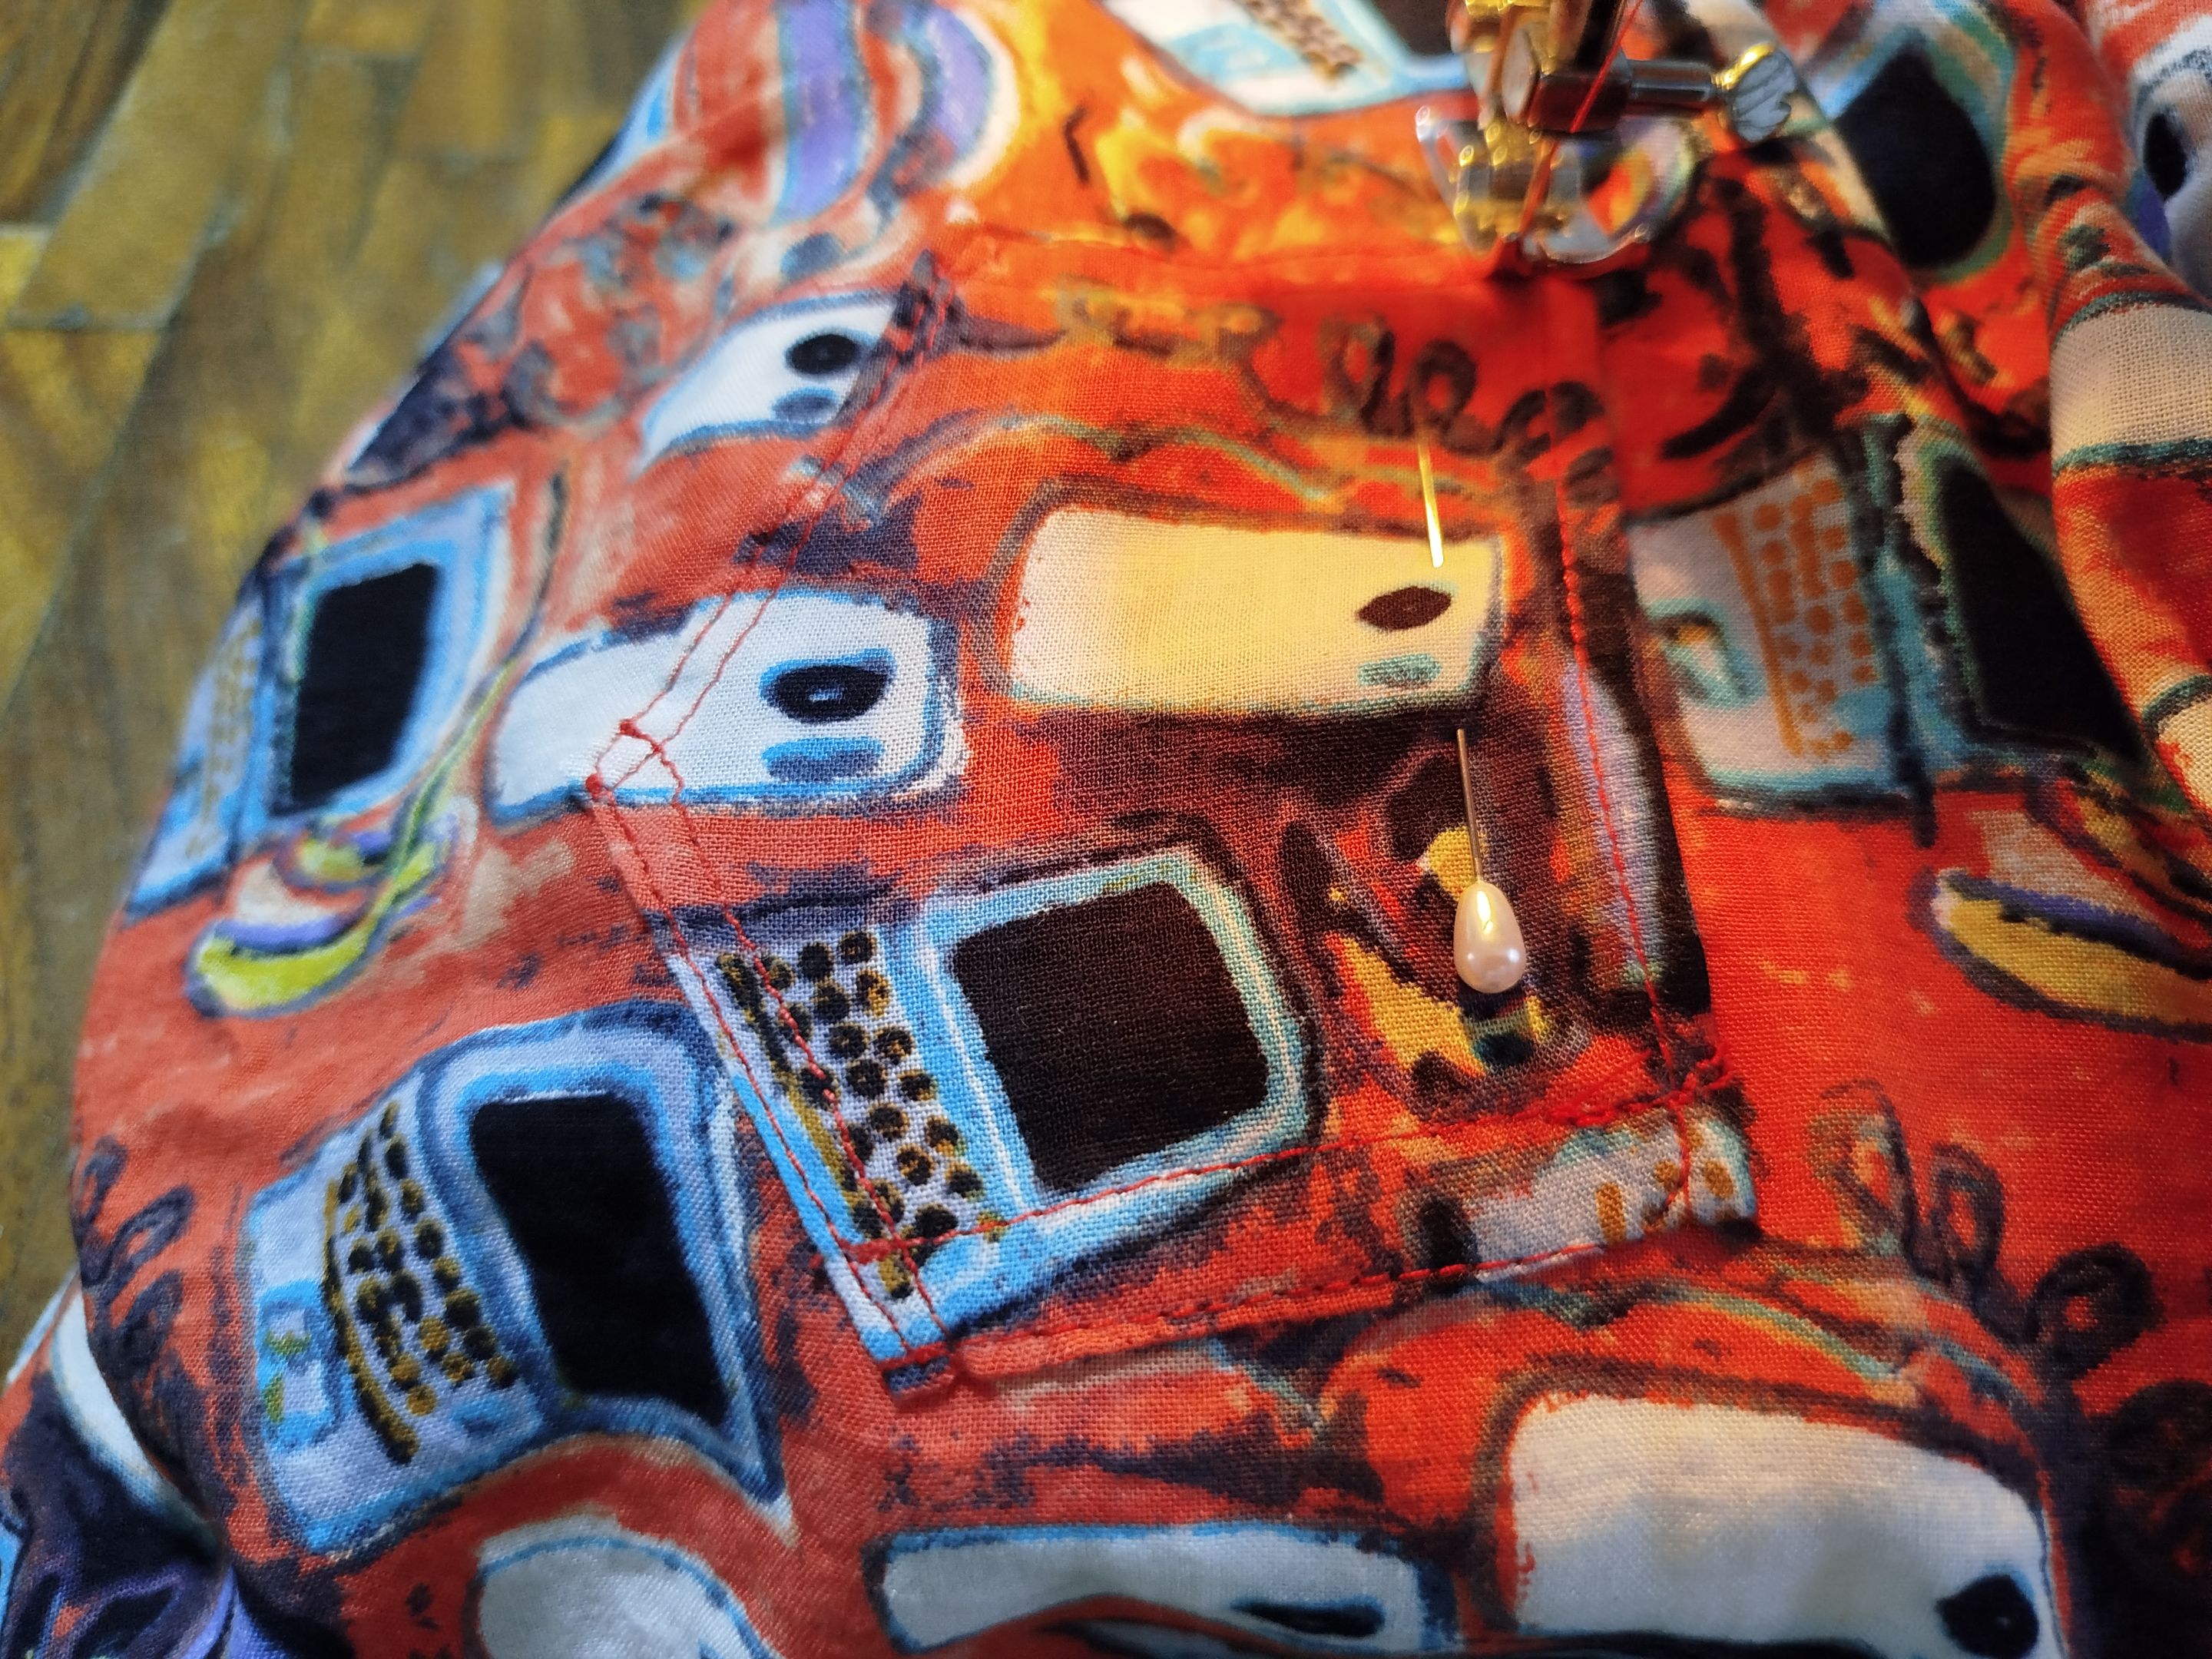
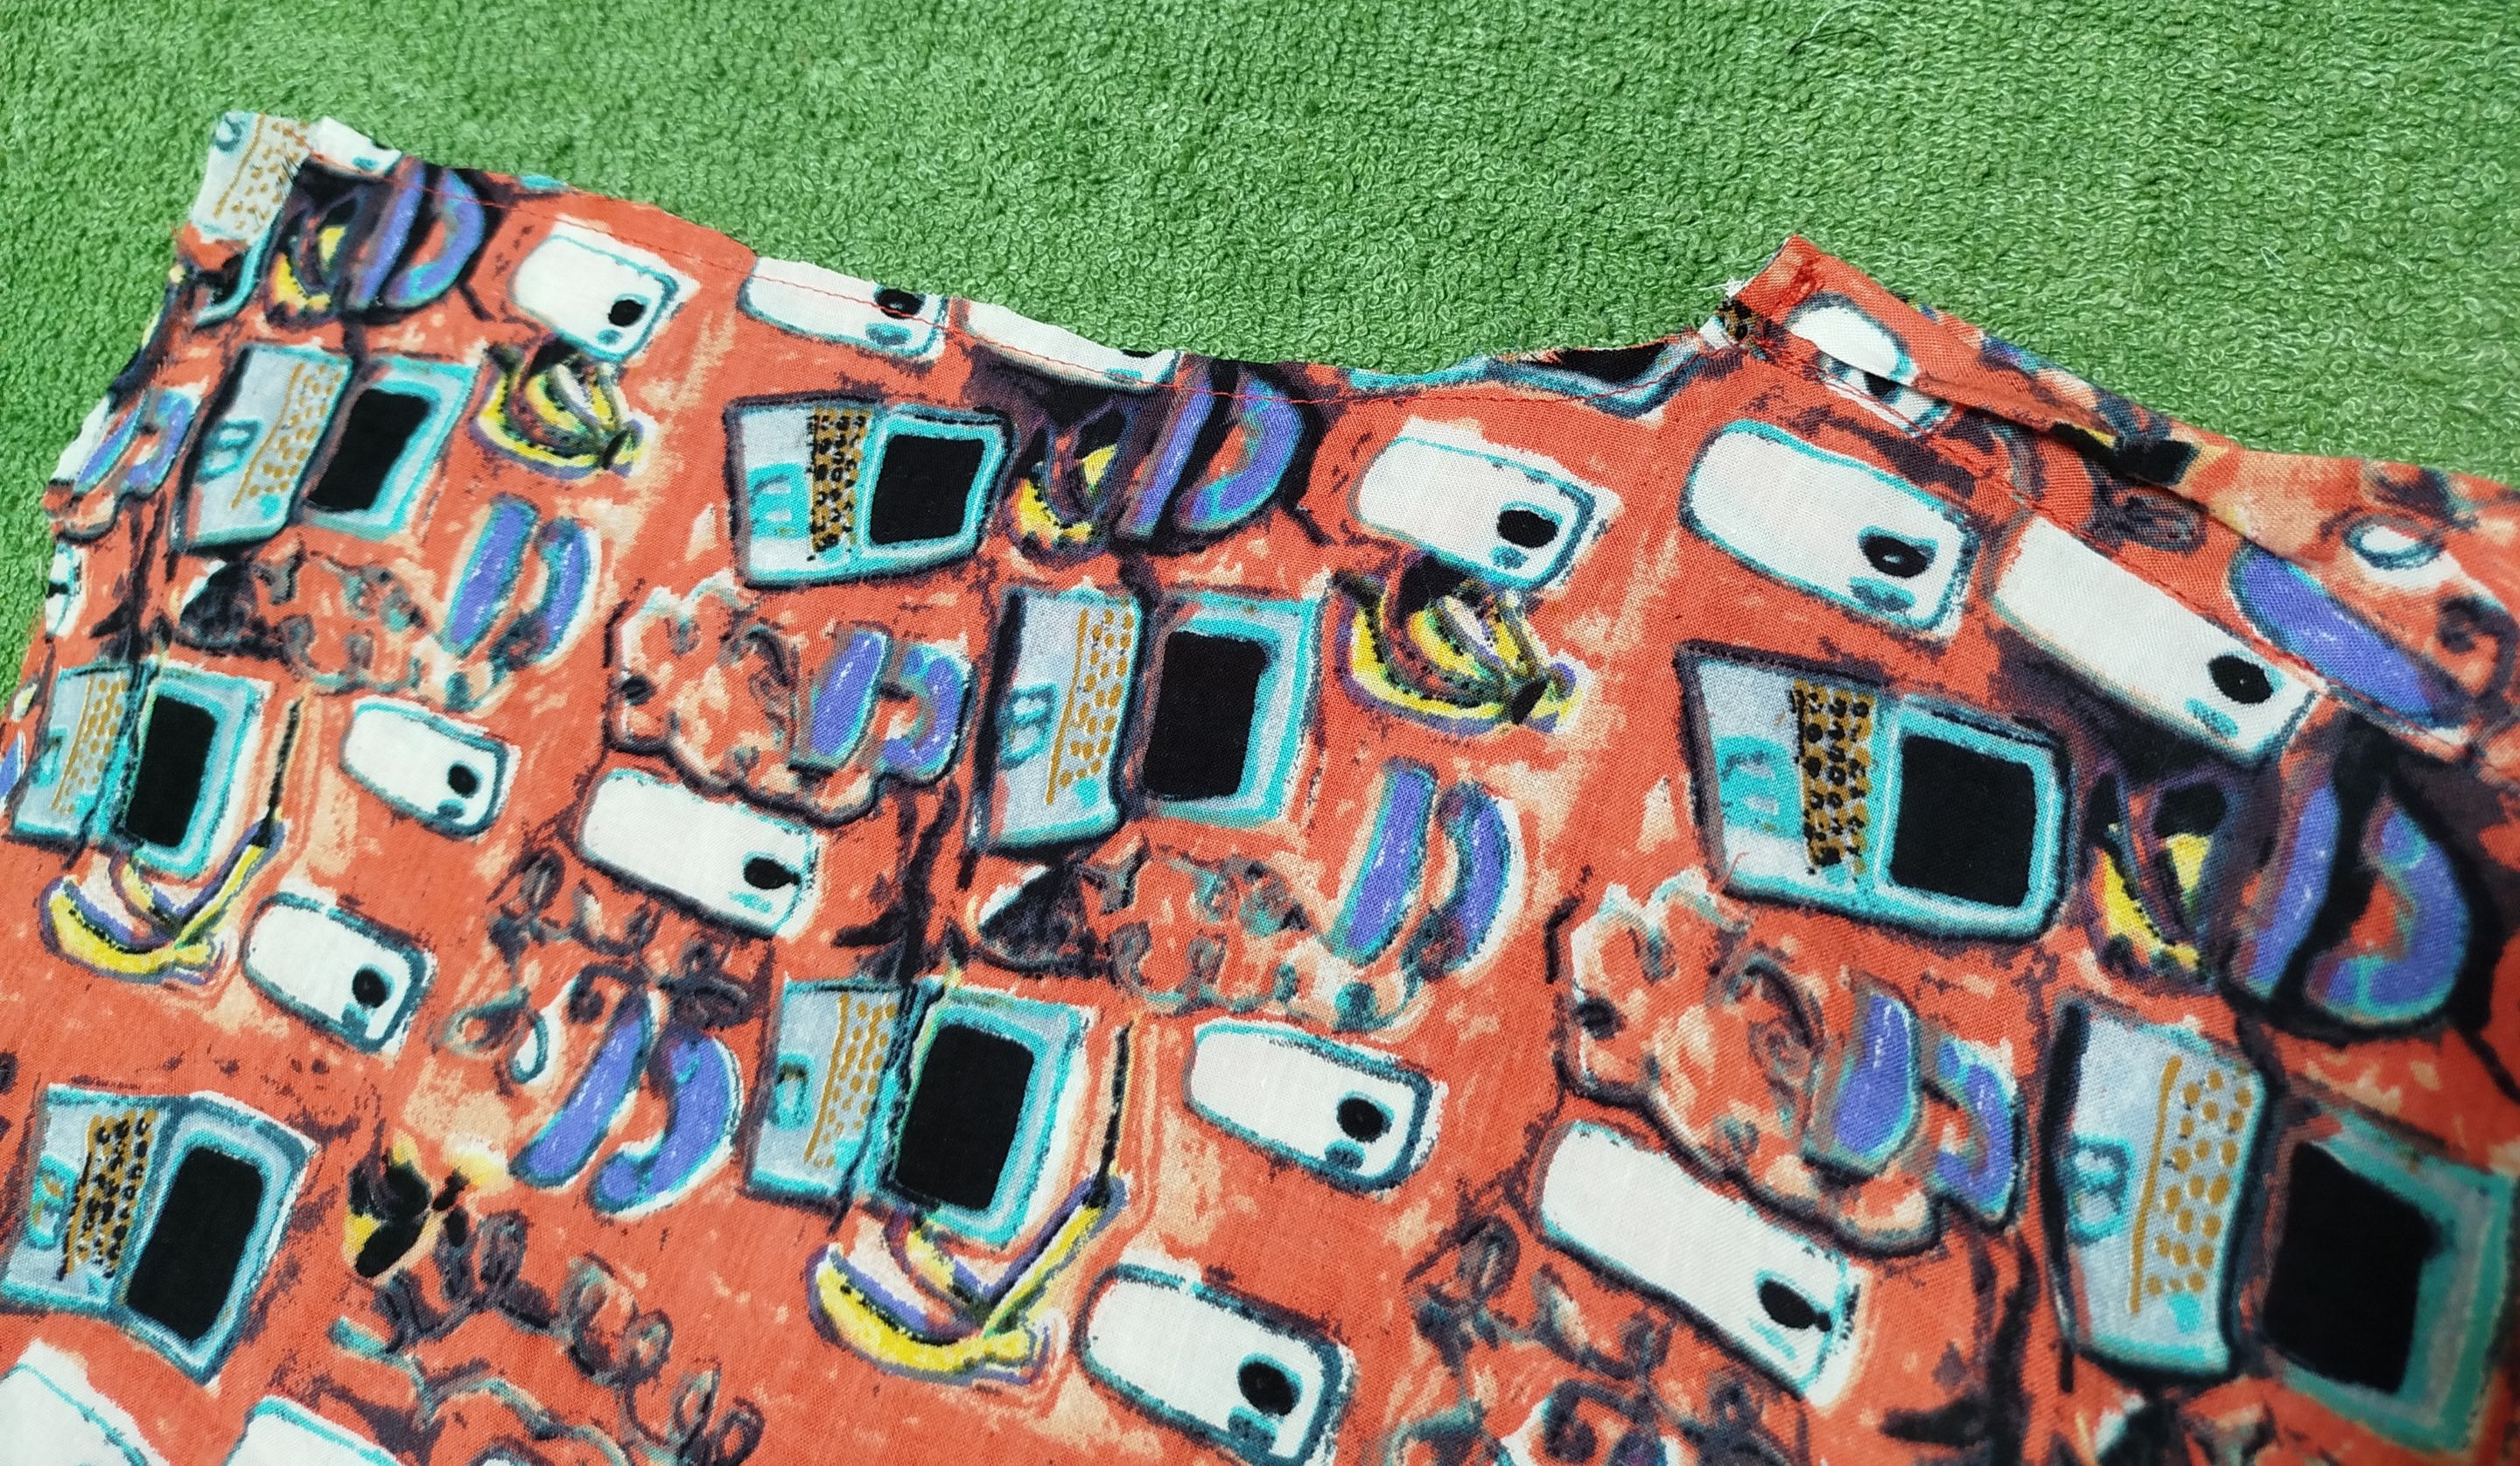
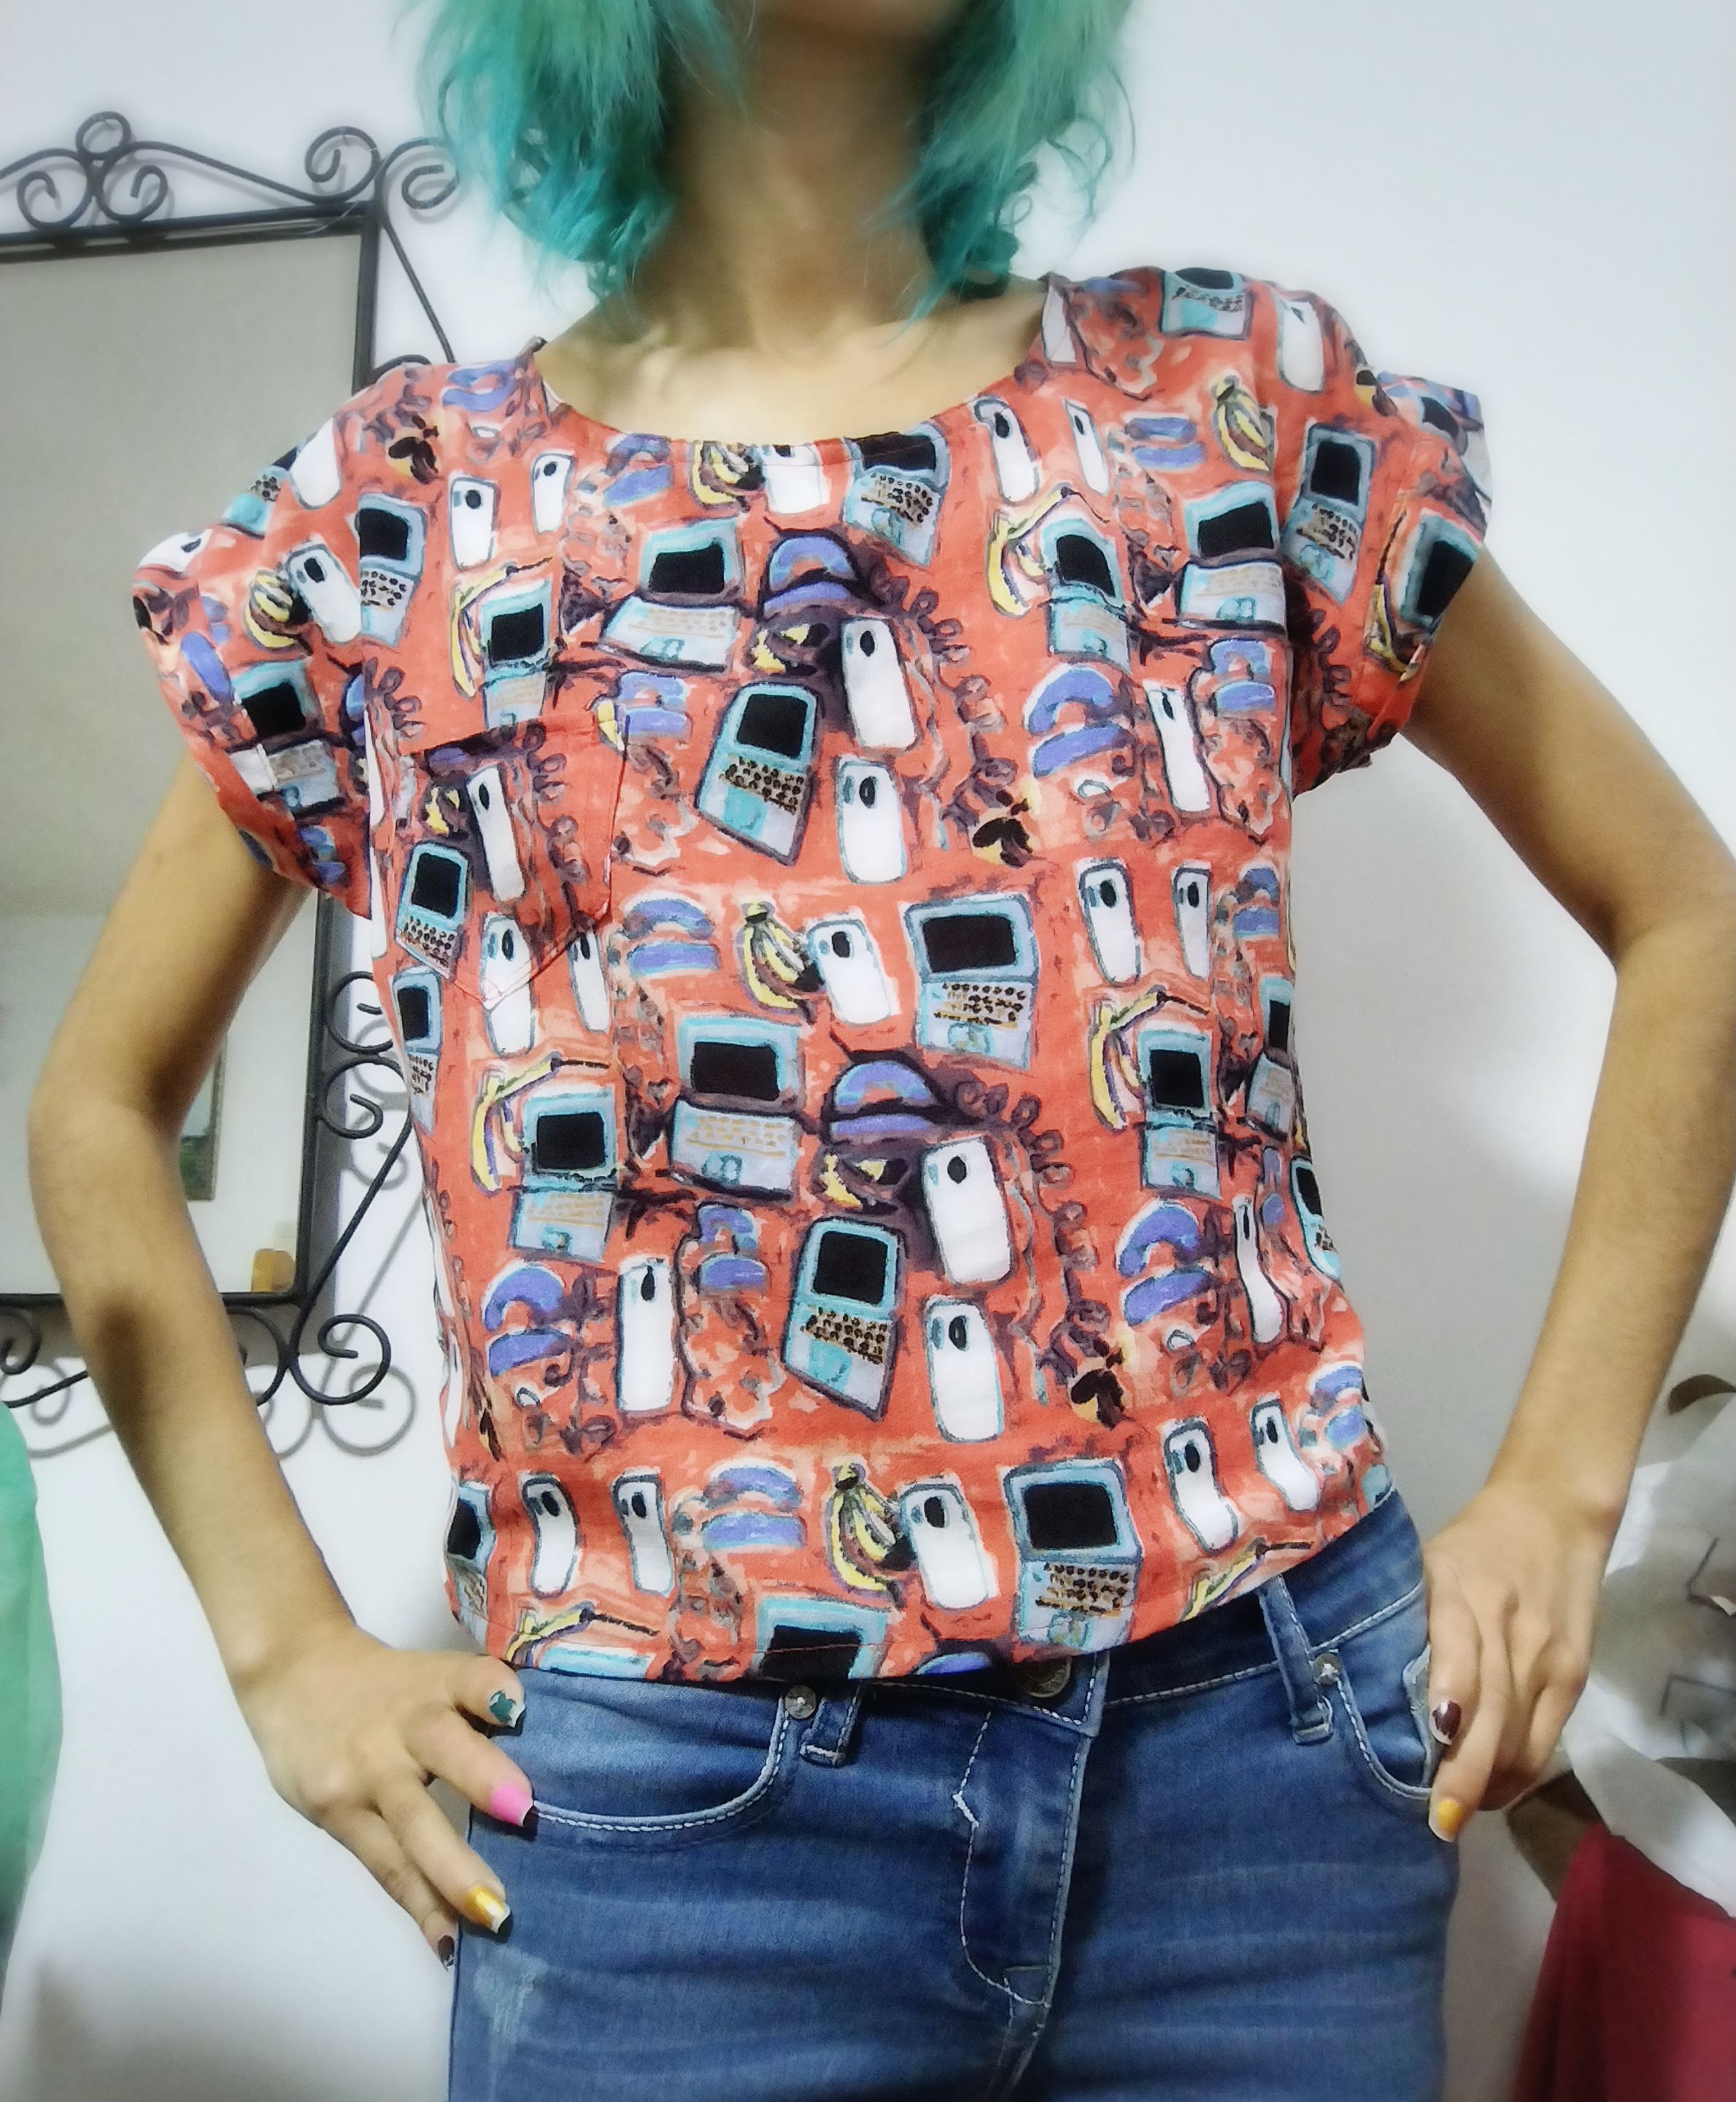
Okay, let's talk about the fabric I used to make the garment I'm talking about in today's post. The textile store where I bought it had it under the name Alg Ternura, so I don't know what other names it goes by elsewhere. It's stiff, thin, but not that transparent. In fact, I think it's less transparent than Dacron itself, which seemed ideal considering its cost of only $1 per meter. I only bought 1 meter, since I didn't have a specific idea for it. I fell in love with its print, as it seemed very retro to me; it has some telephones and computers, reminding me of those drawings on some public telephone cards.
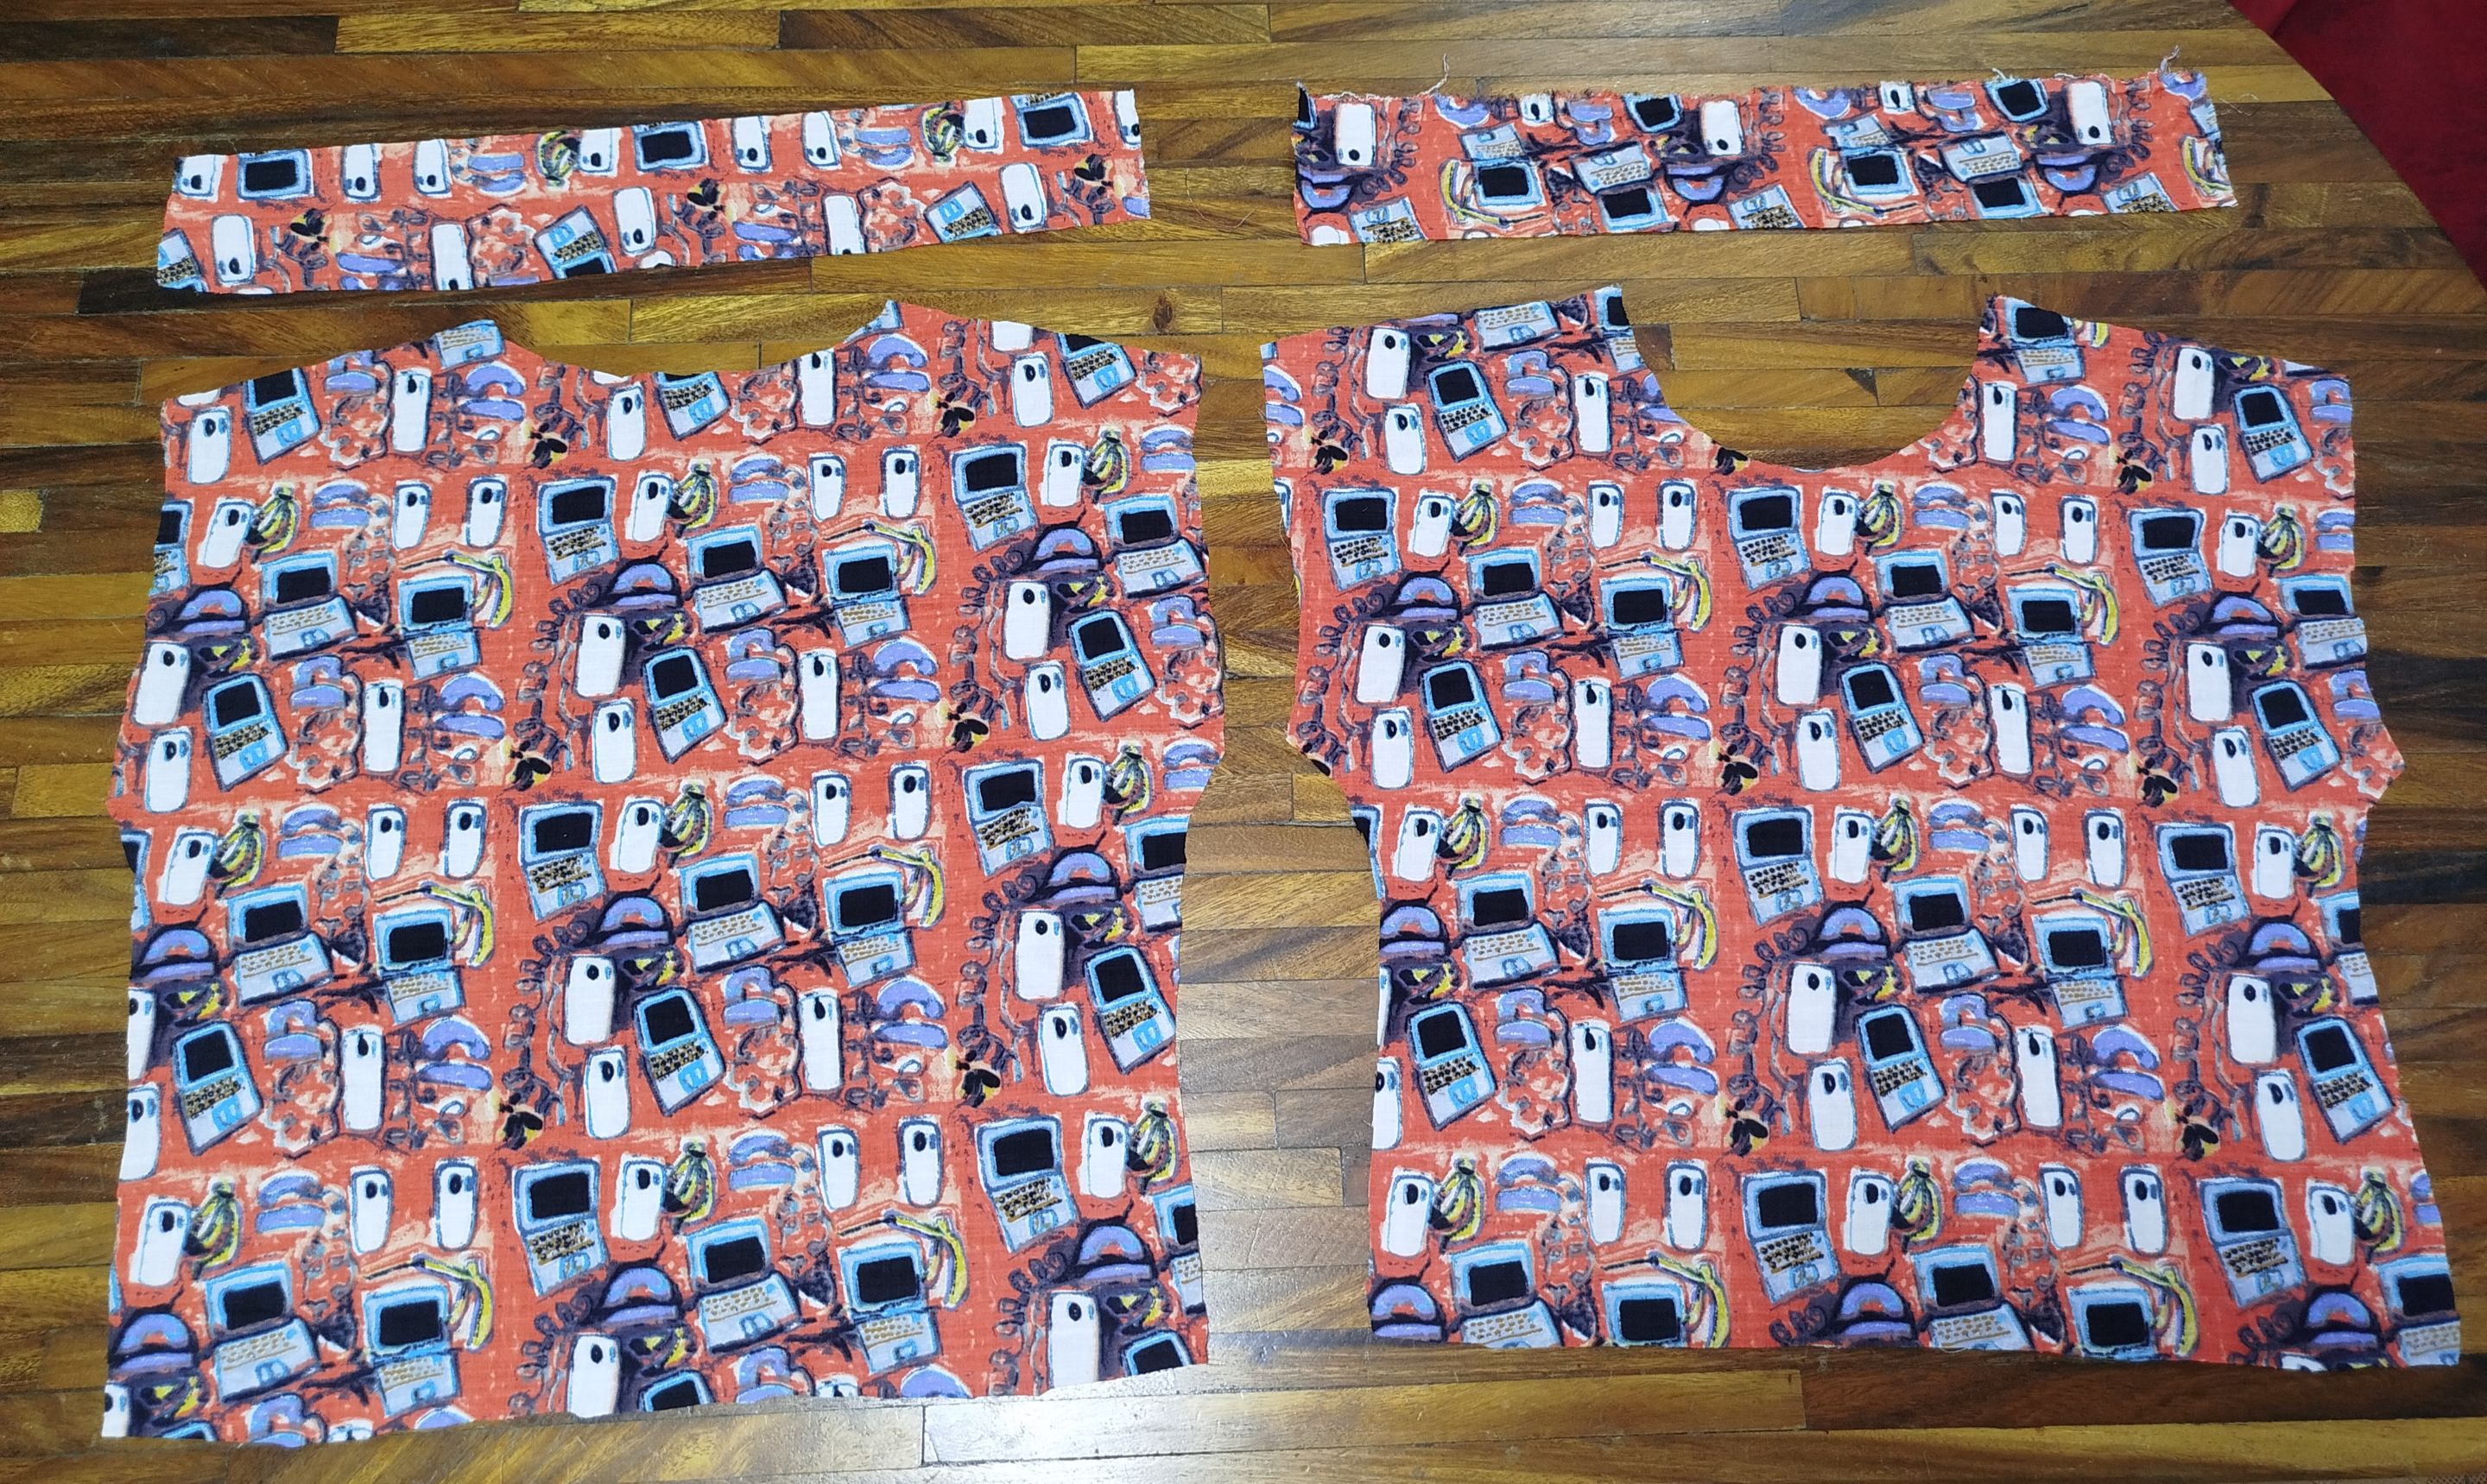
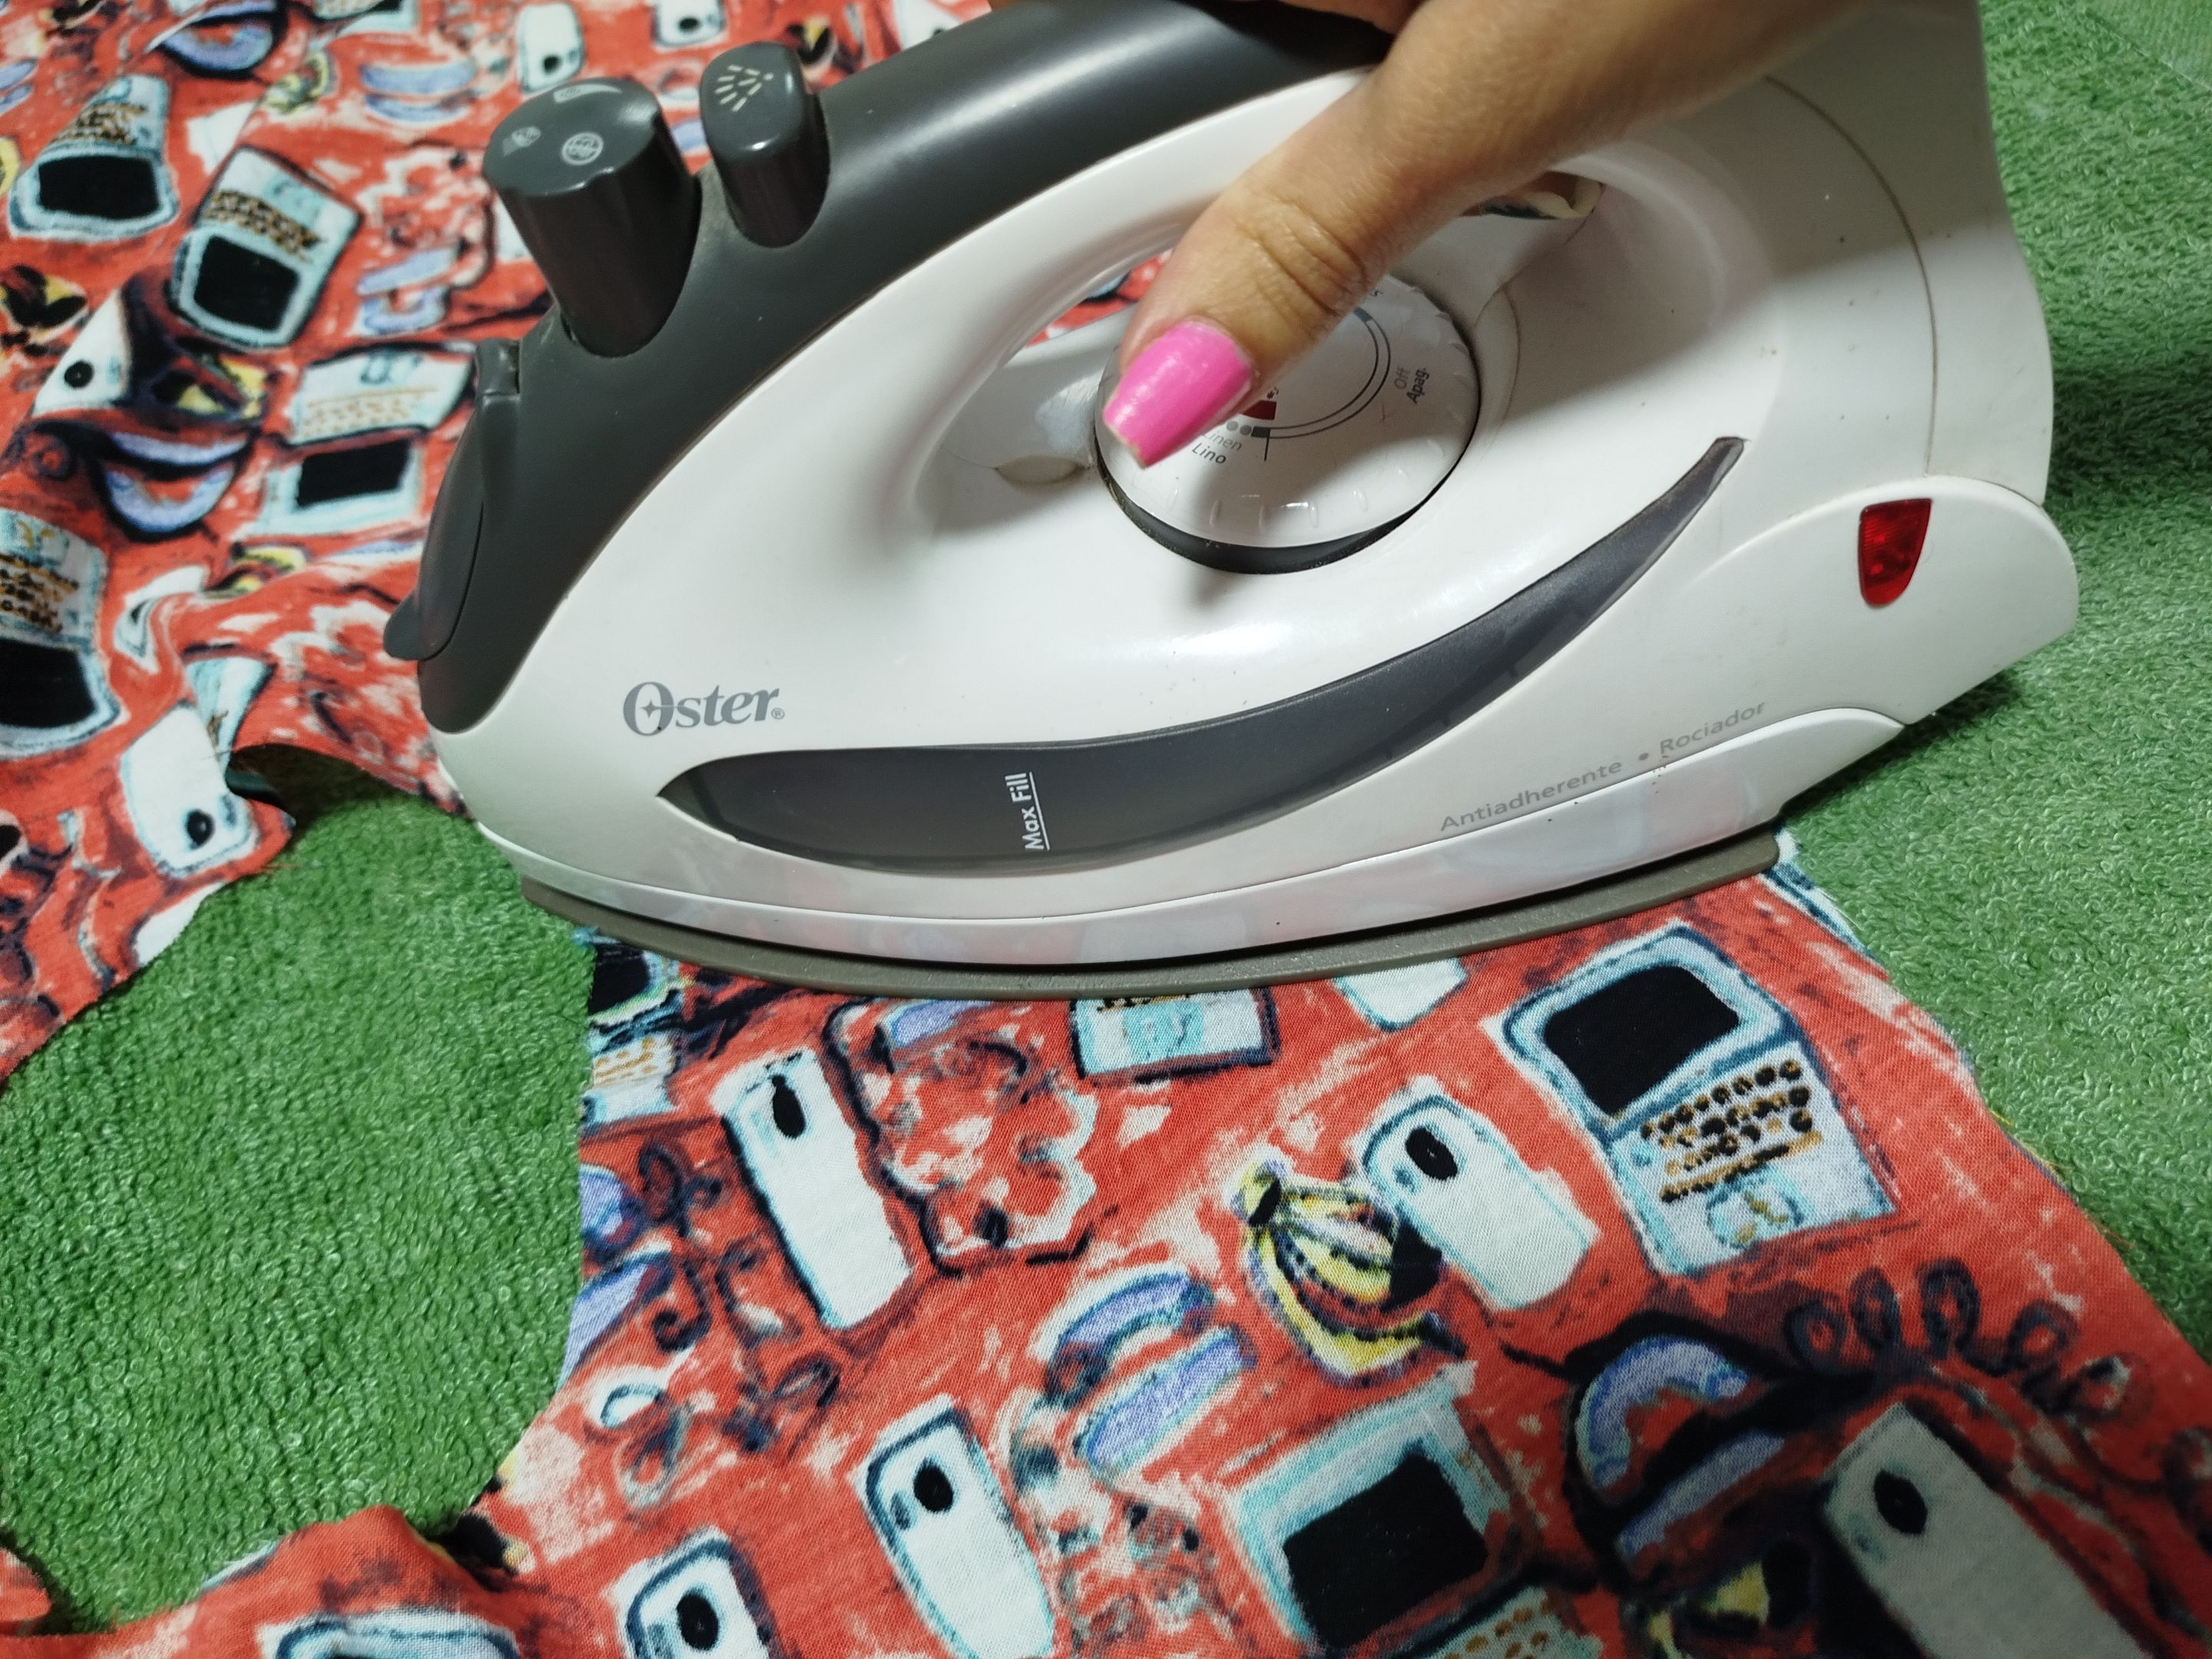
I confess I was tempted to make a tablecloth with the fabric, to leave at my boyfriend's house, more specifically, for his desk... but I discarded the idea completely and stuck with it. While I was at home, I decided to make a blouse from the fabric, using as a pattern a short-sleeved shirt my sister bought, the cut of which I liked. After washing and ironing the fabric, I cut out the pieces for the front and back of the blouse, as well as a couple of strips to make the sleeves, with their respective seam allowances.
 |
 |
|---|---|
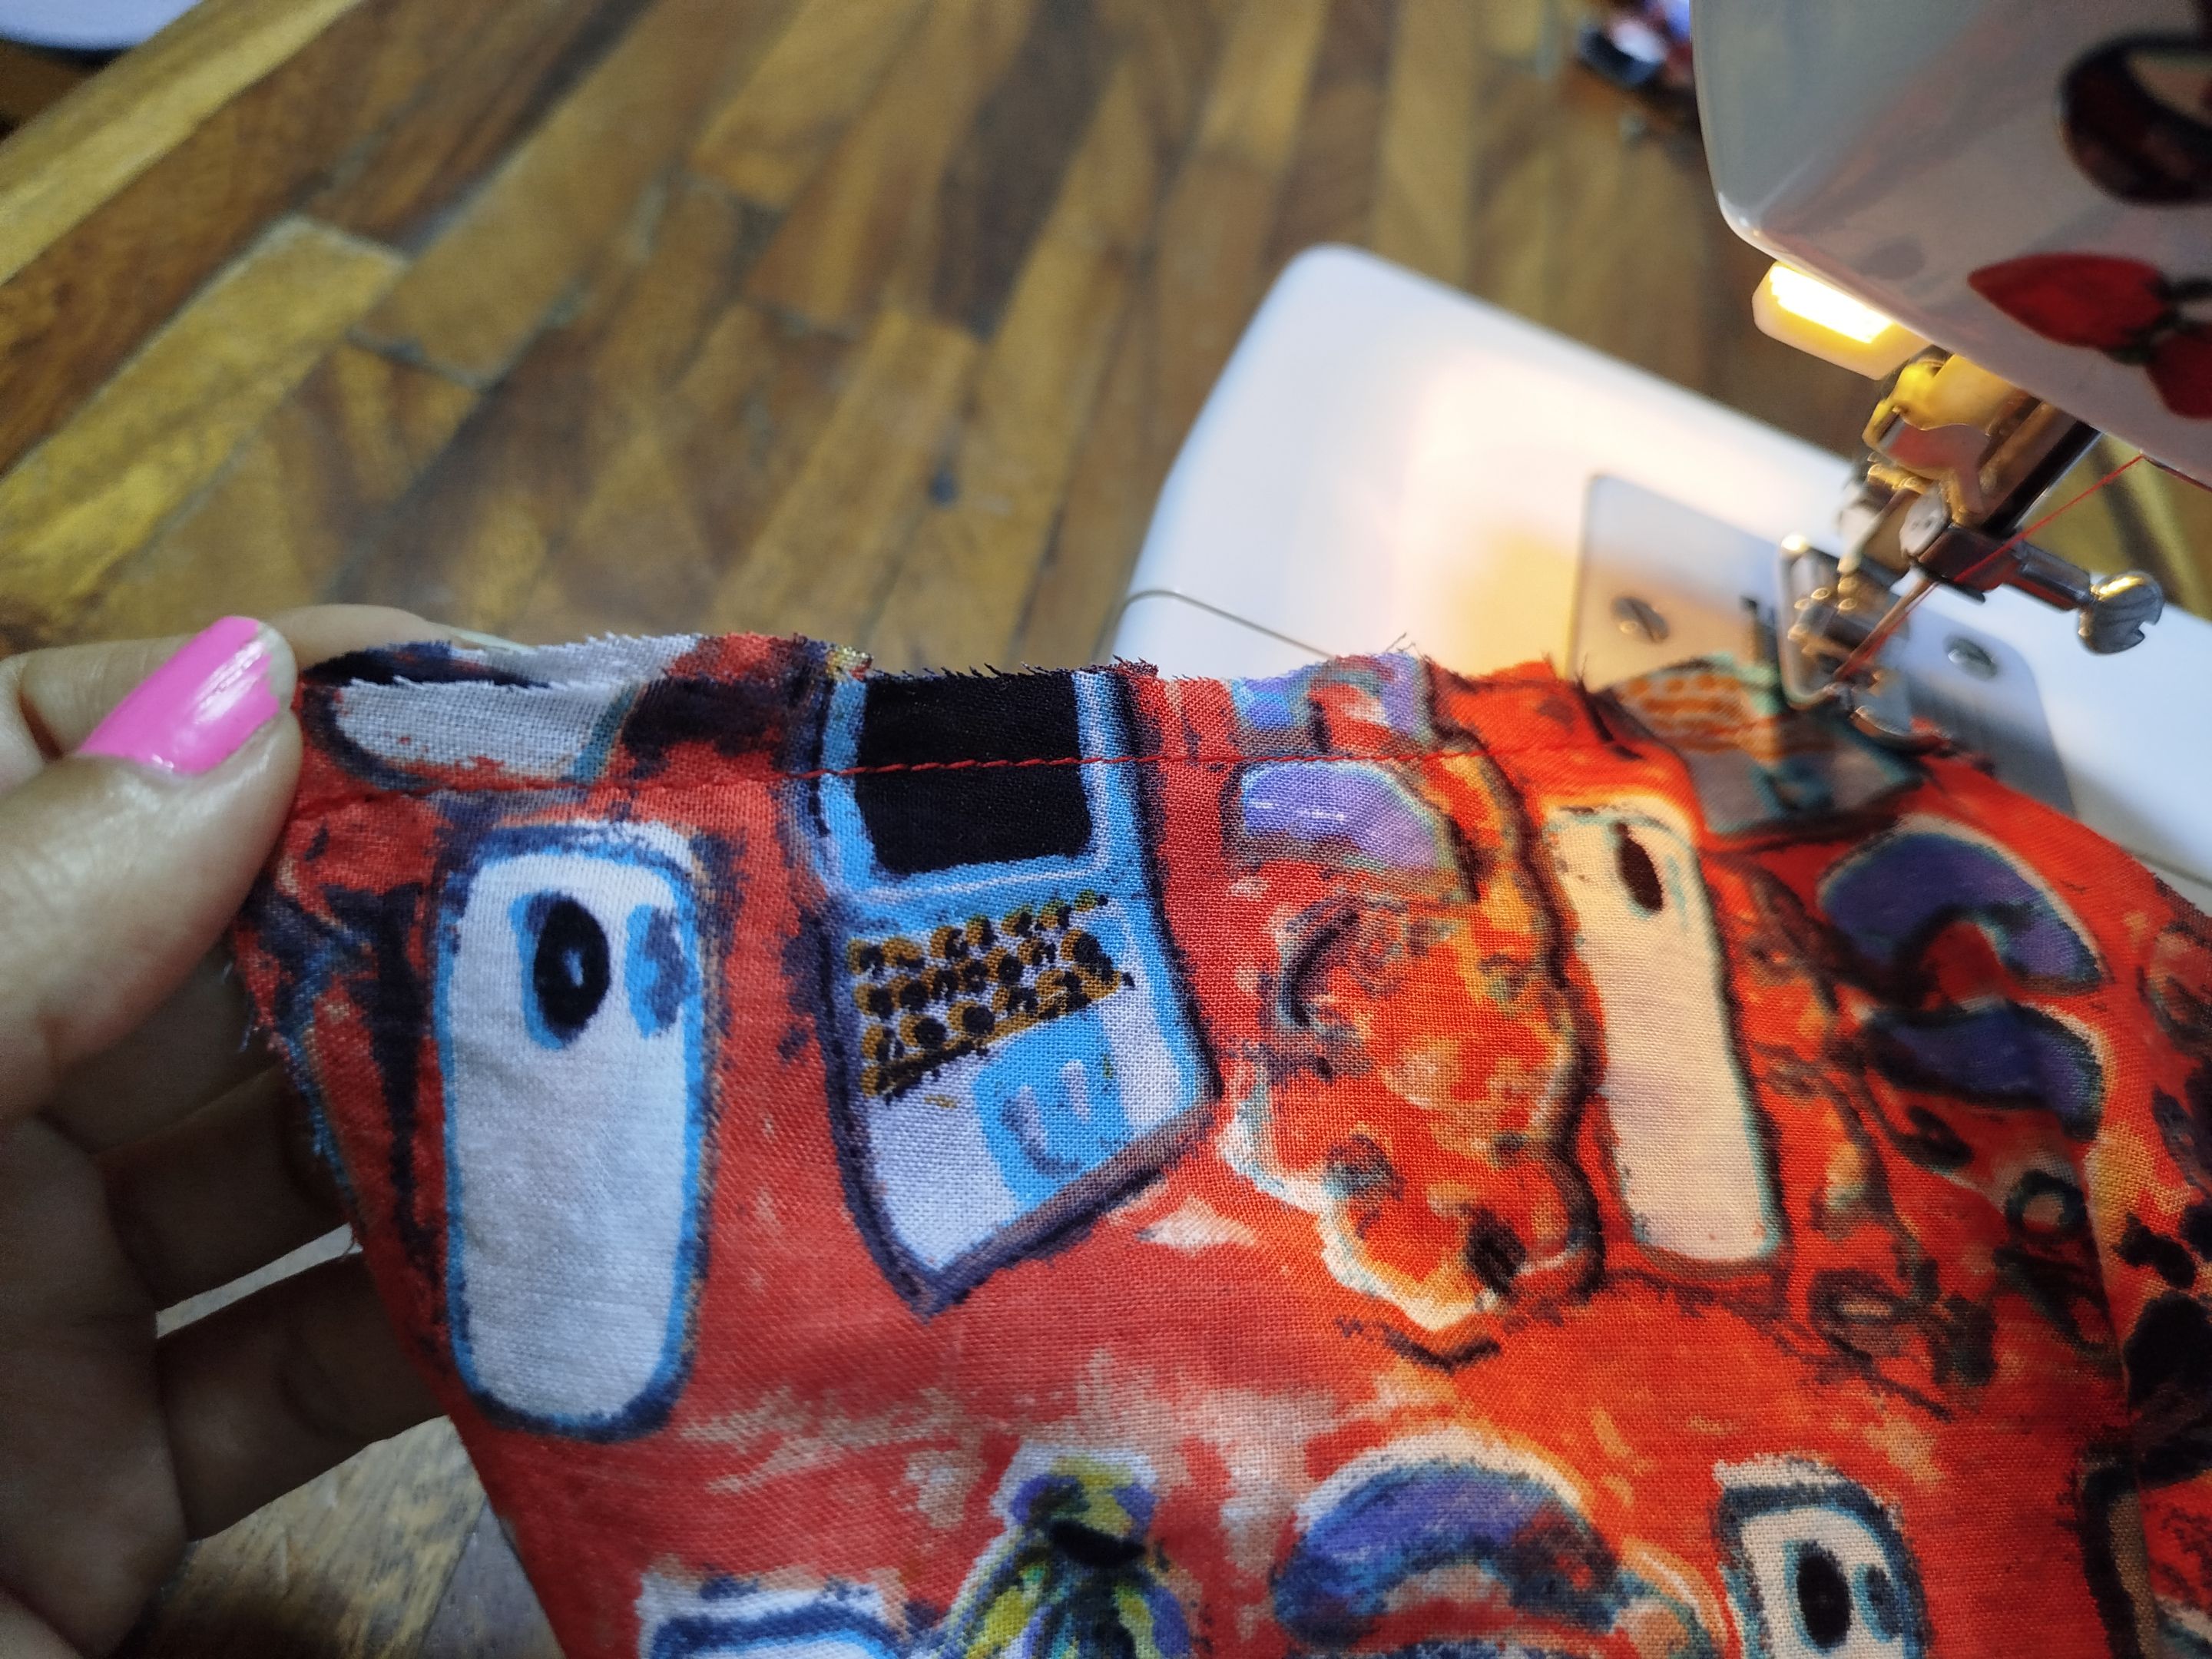
Since the fabric frays, I decided to use hidden seams instead of zigzags for the edges. To do this, I sew the pieces right side up first, then sew them wrong side up again. This way, the interior looks nicer. Of course, after each seam, I ironed. I started the blouse by joining the shoulders.
 |
 |
 |
|---|---|---|
 |
 |
 |
|---|---|---|
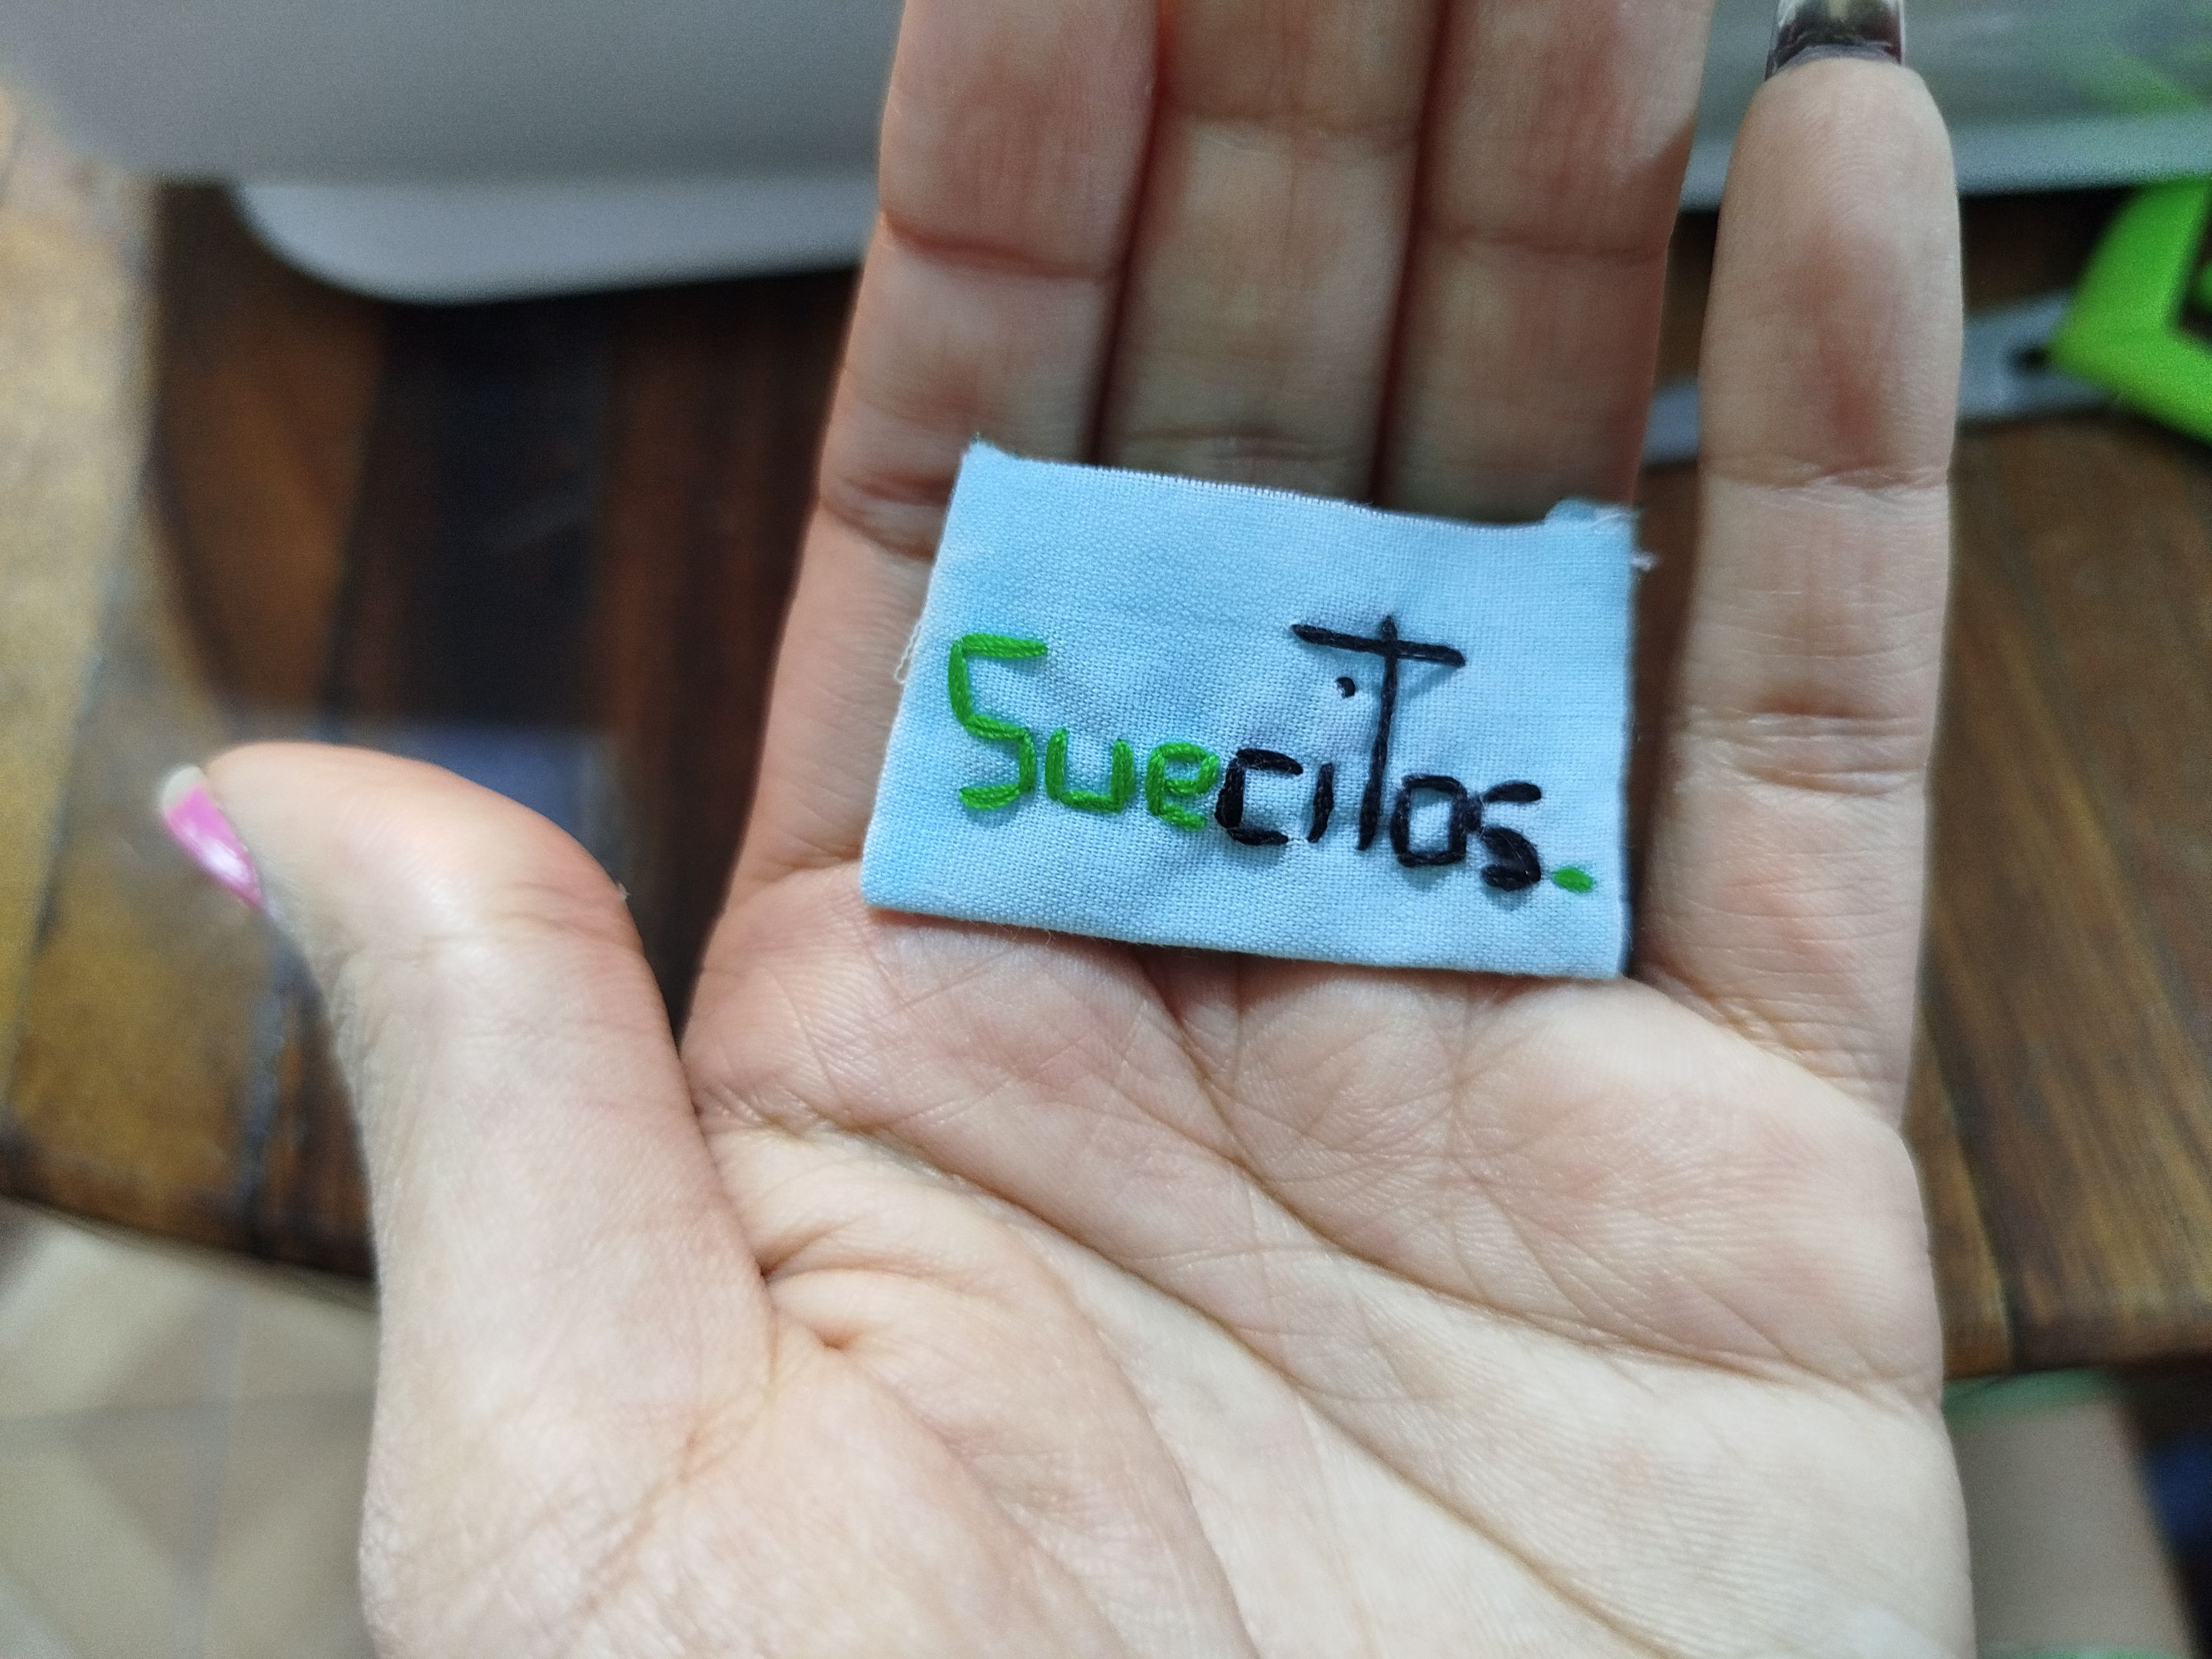
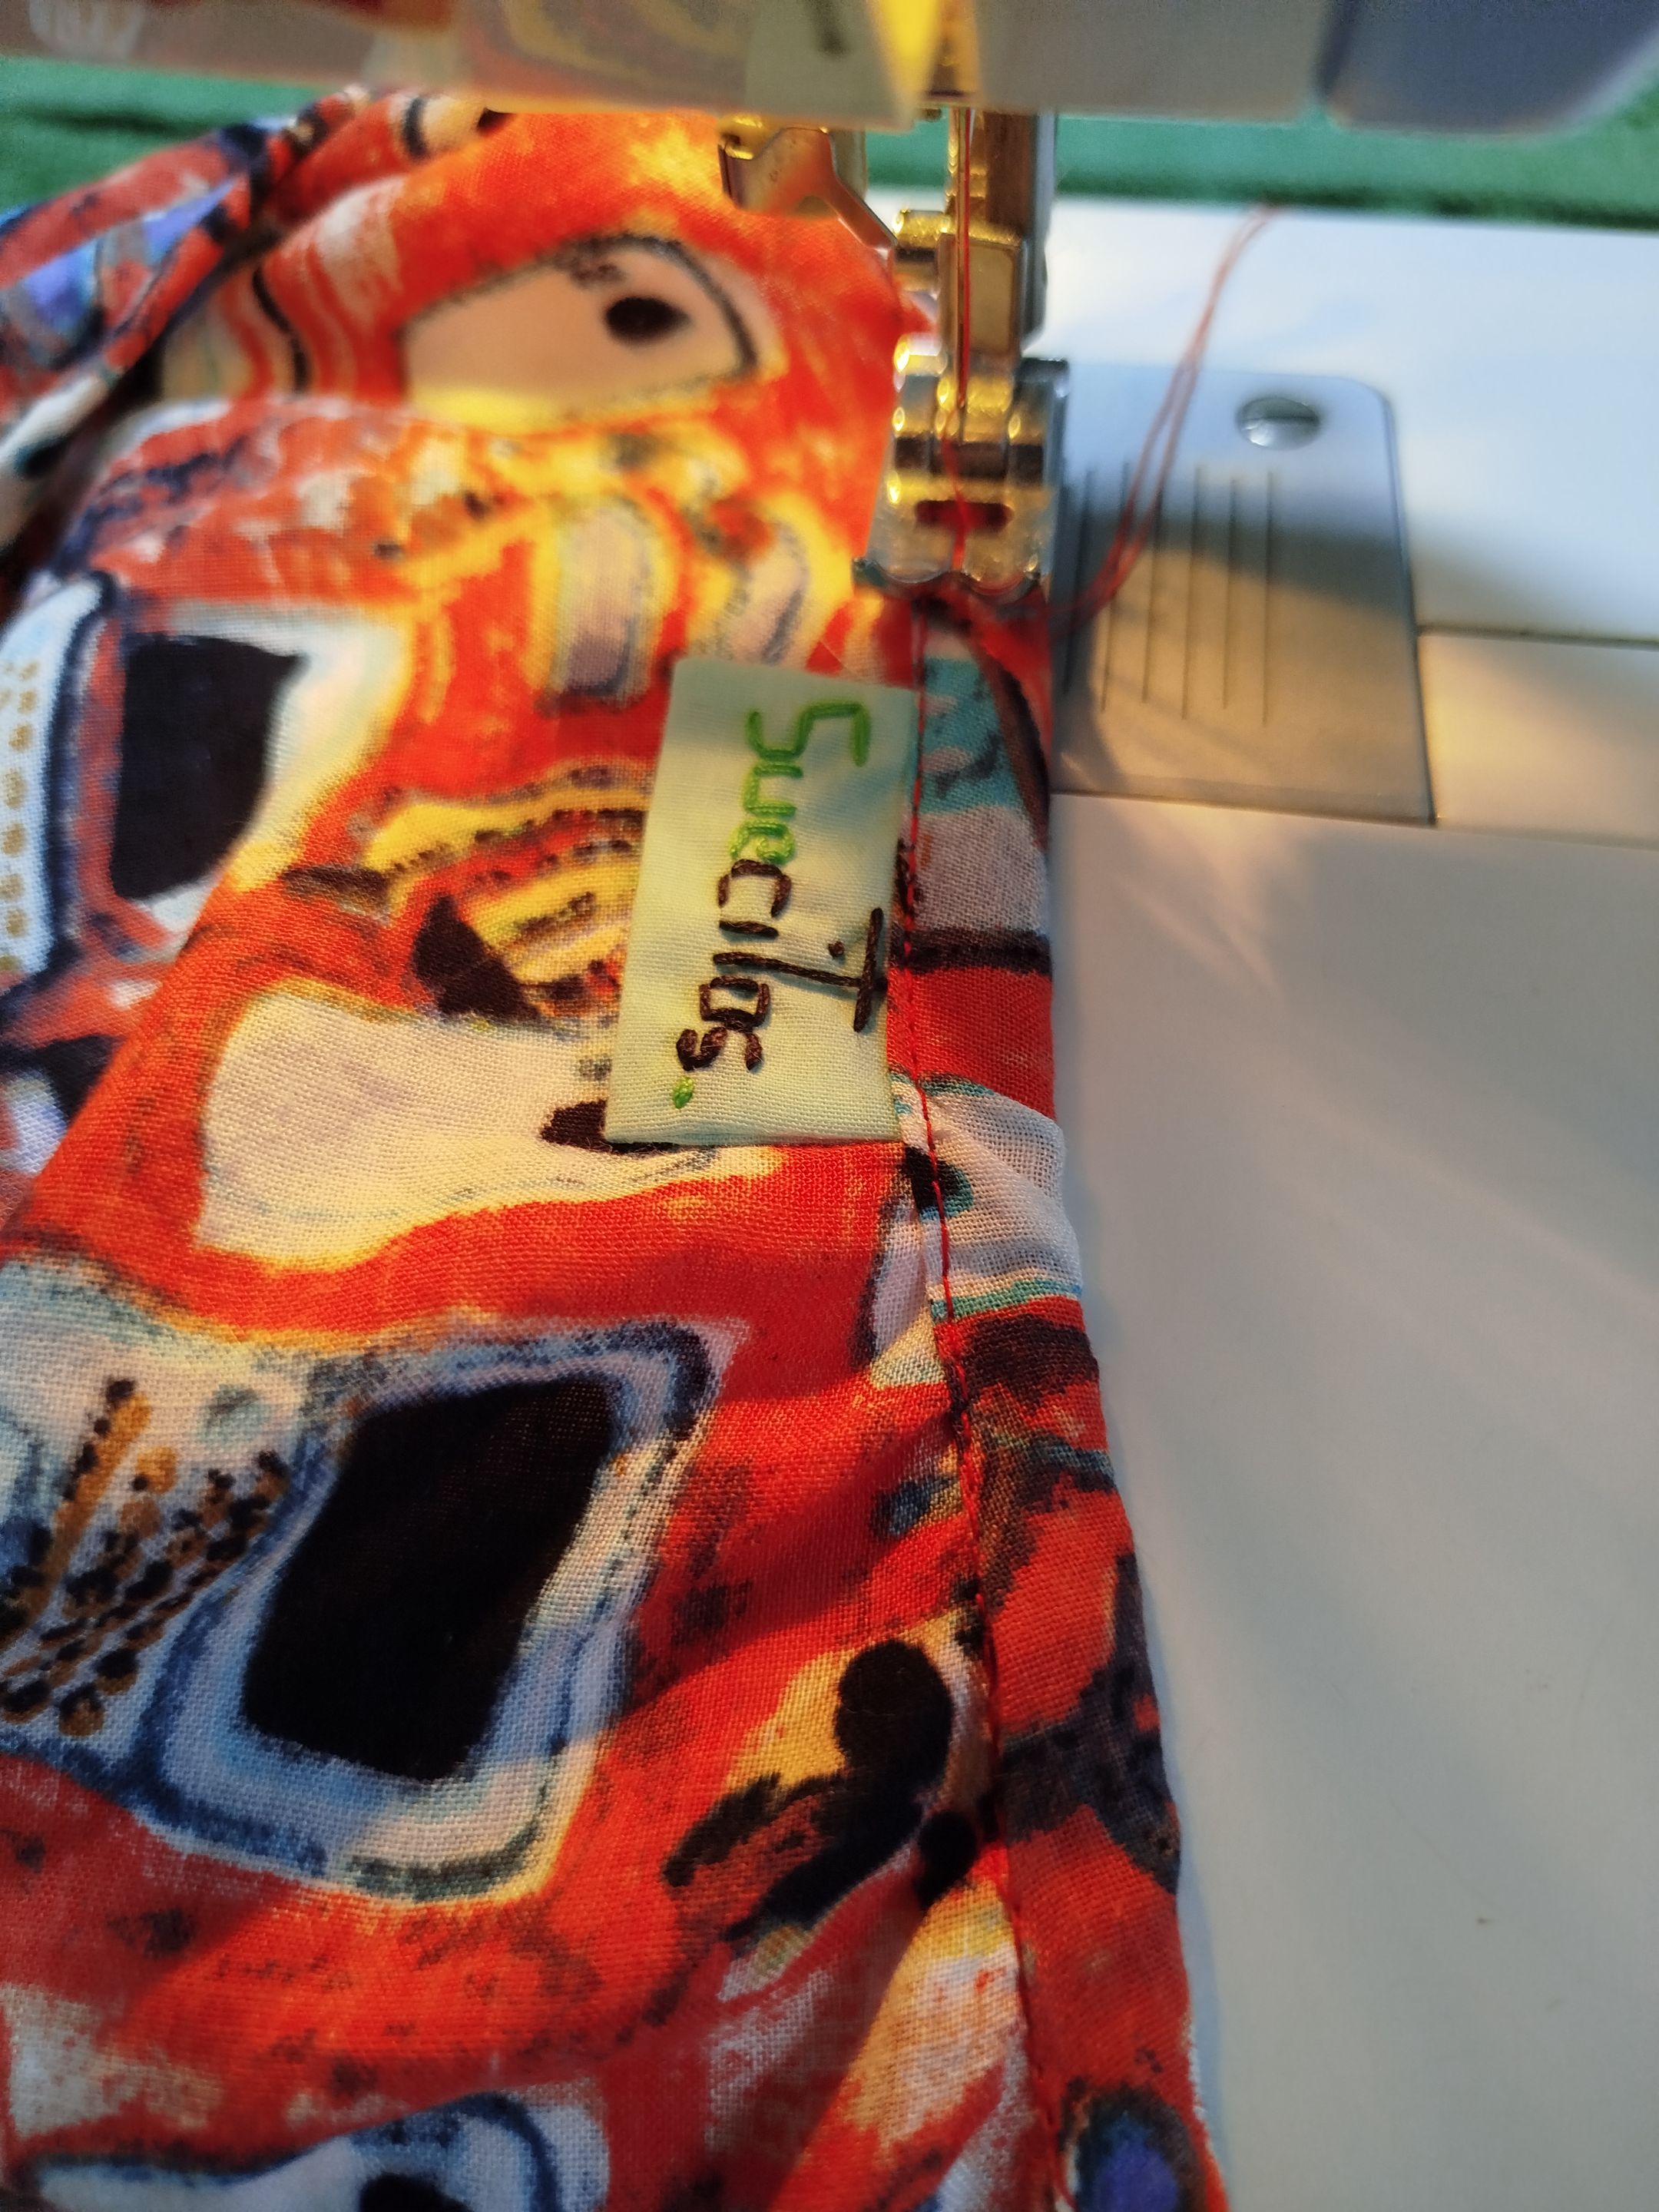
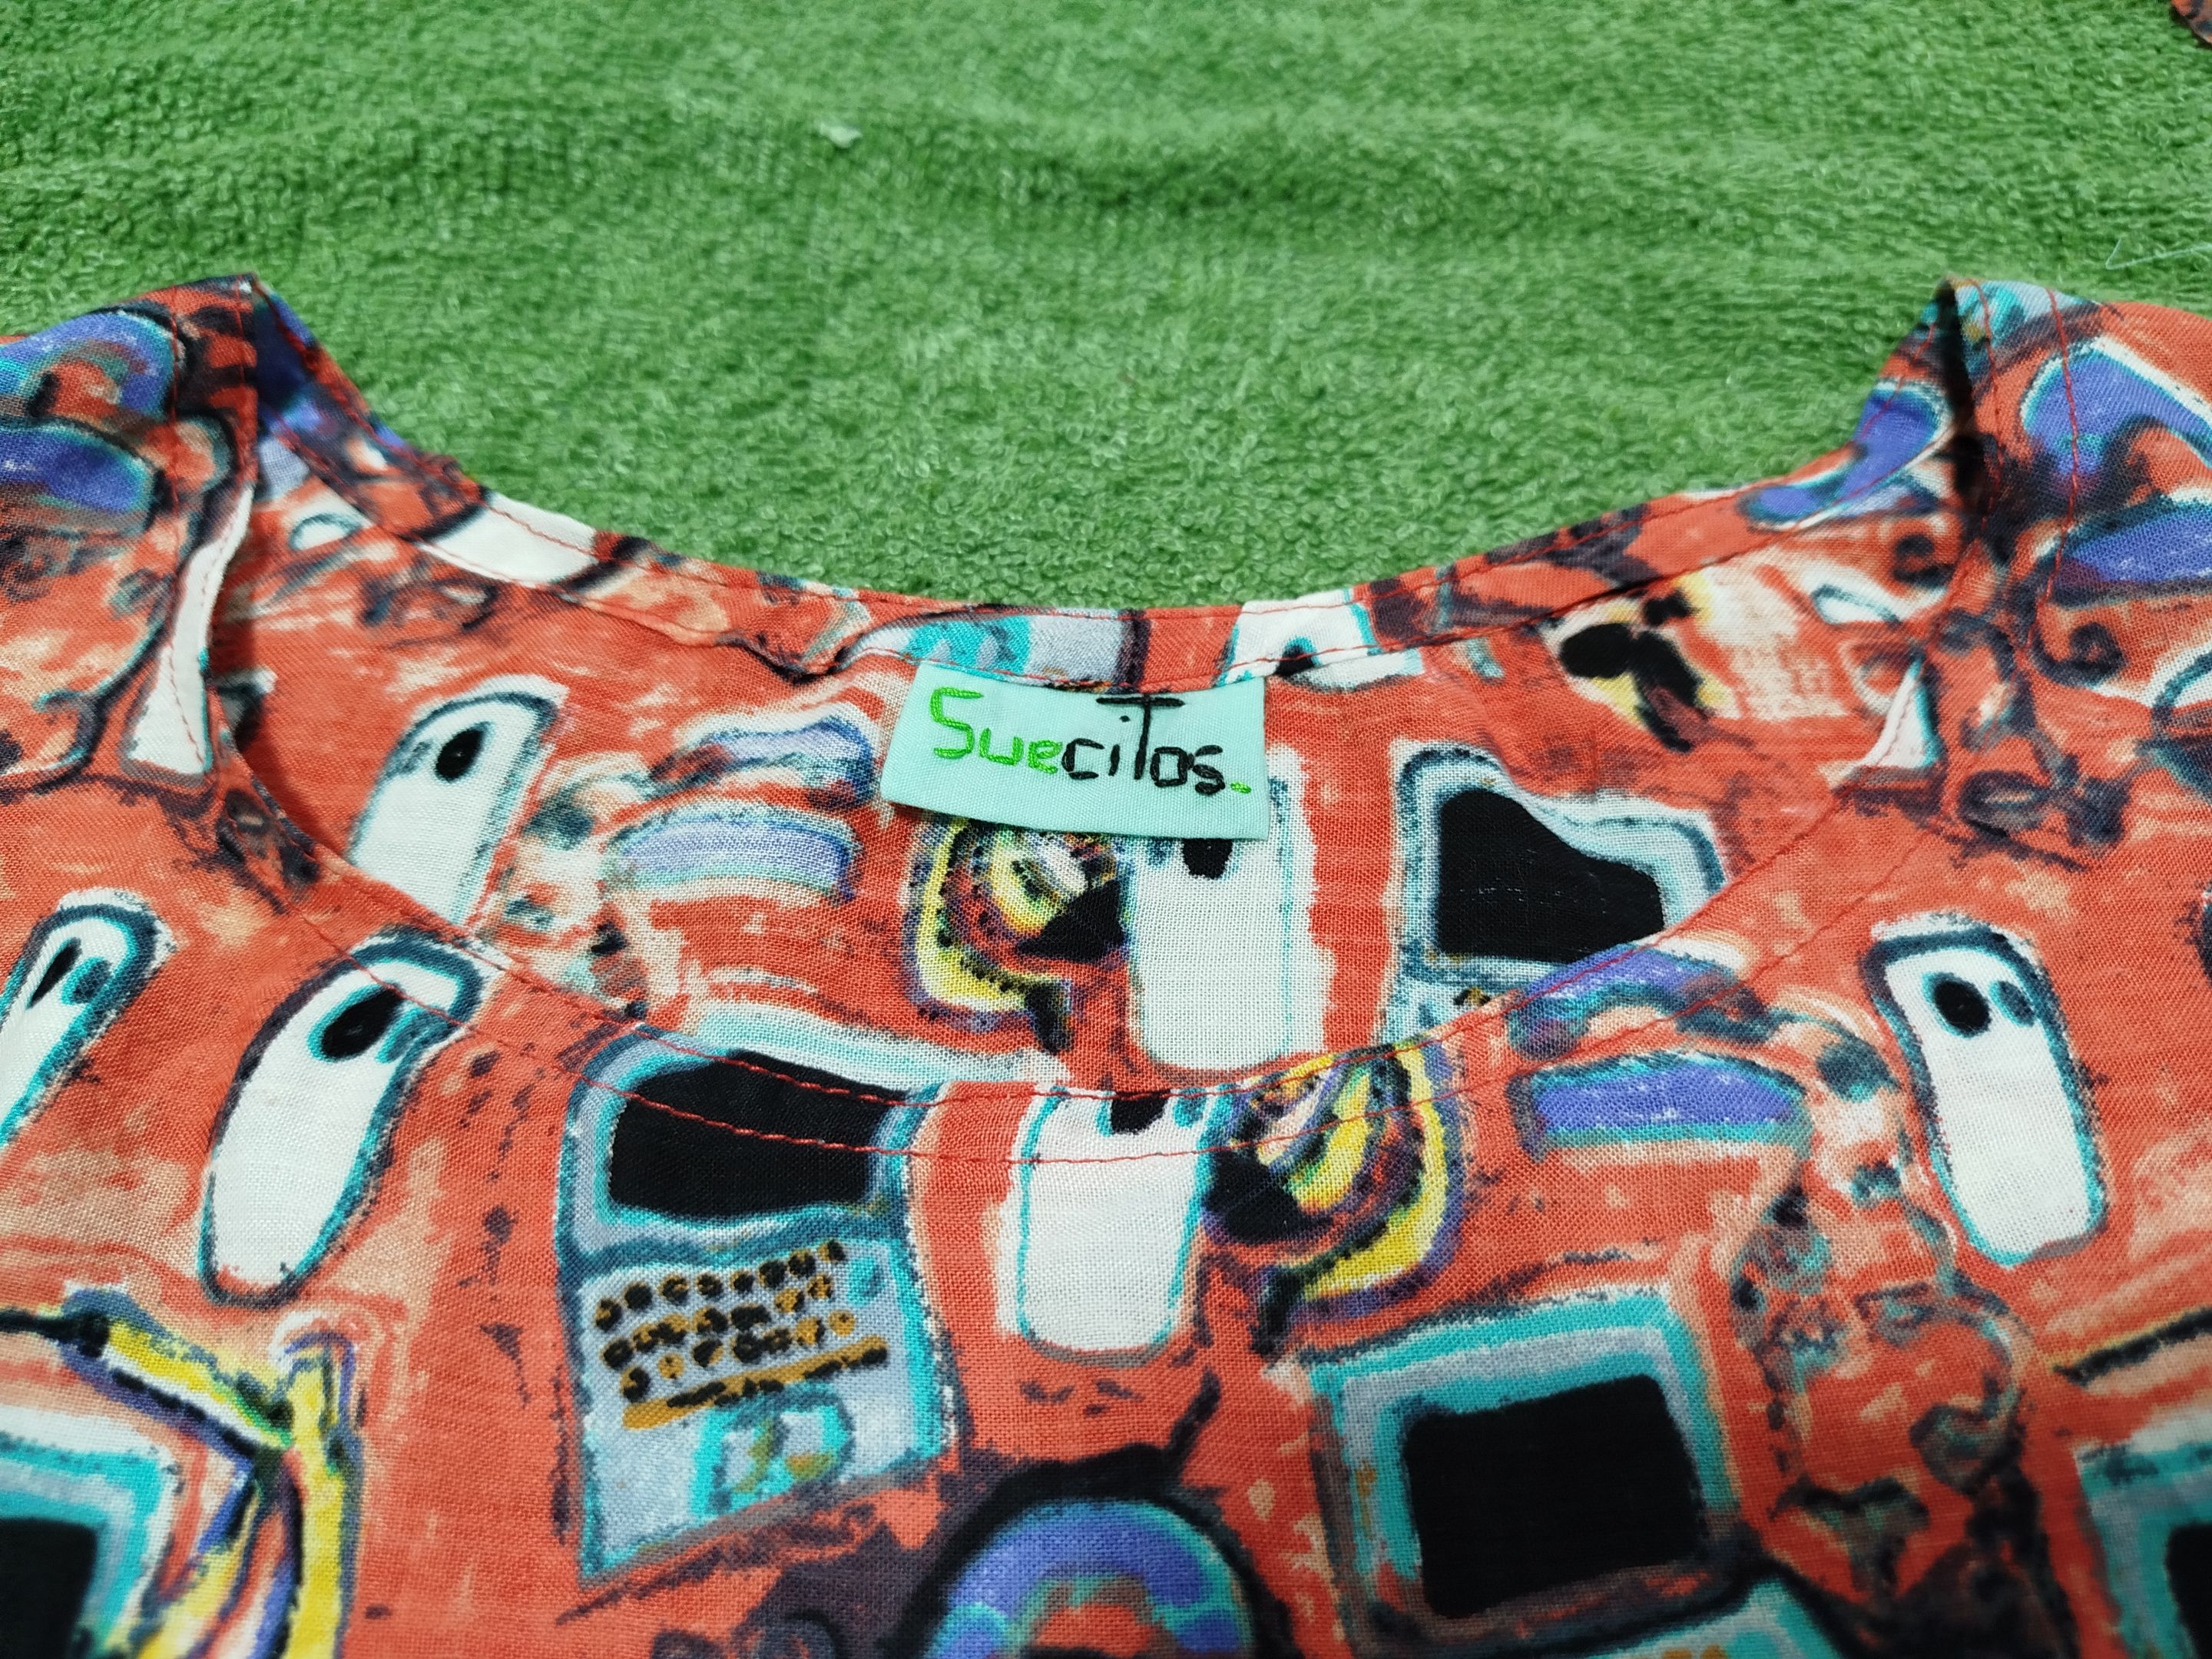
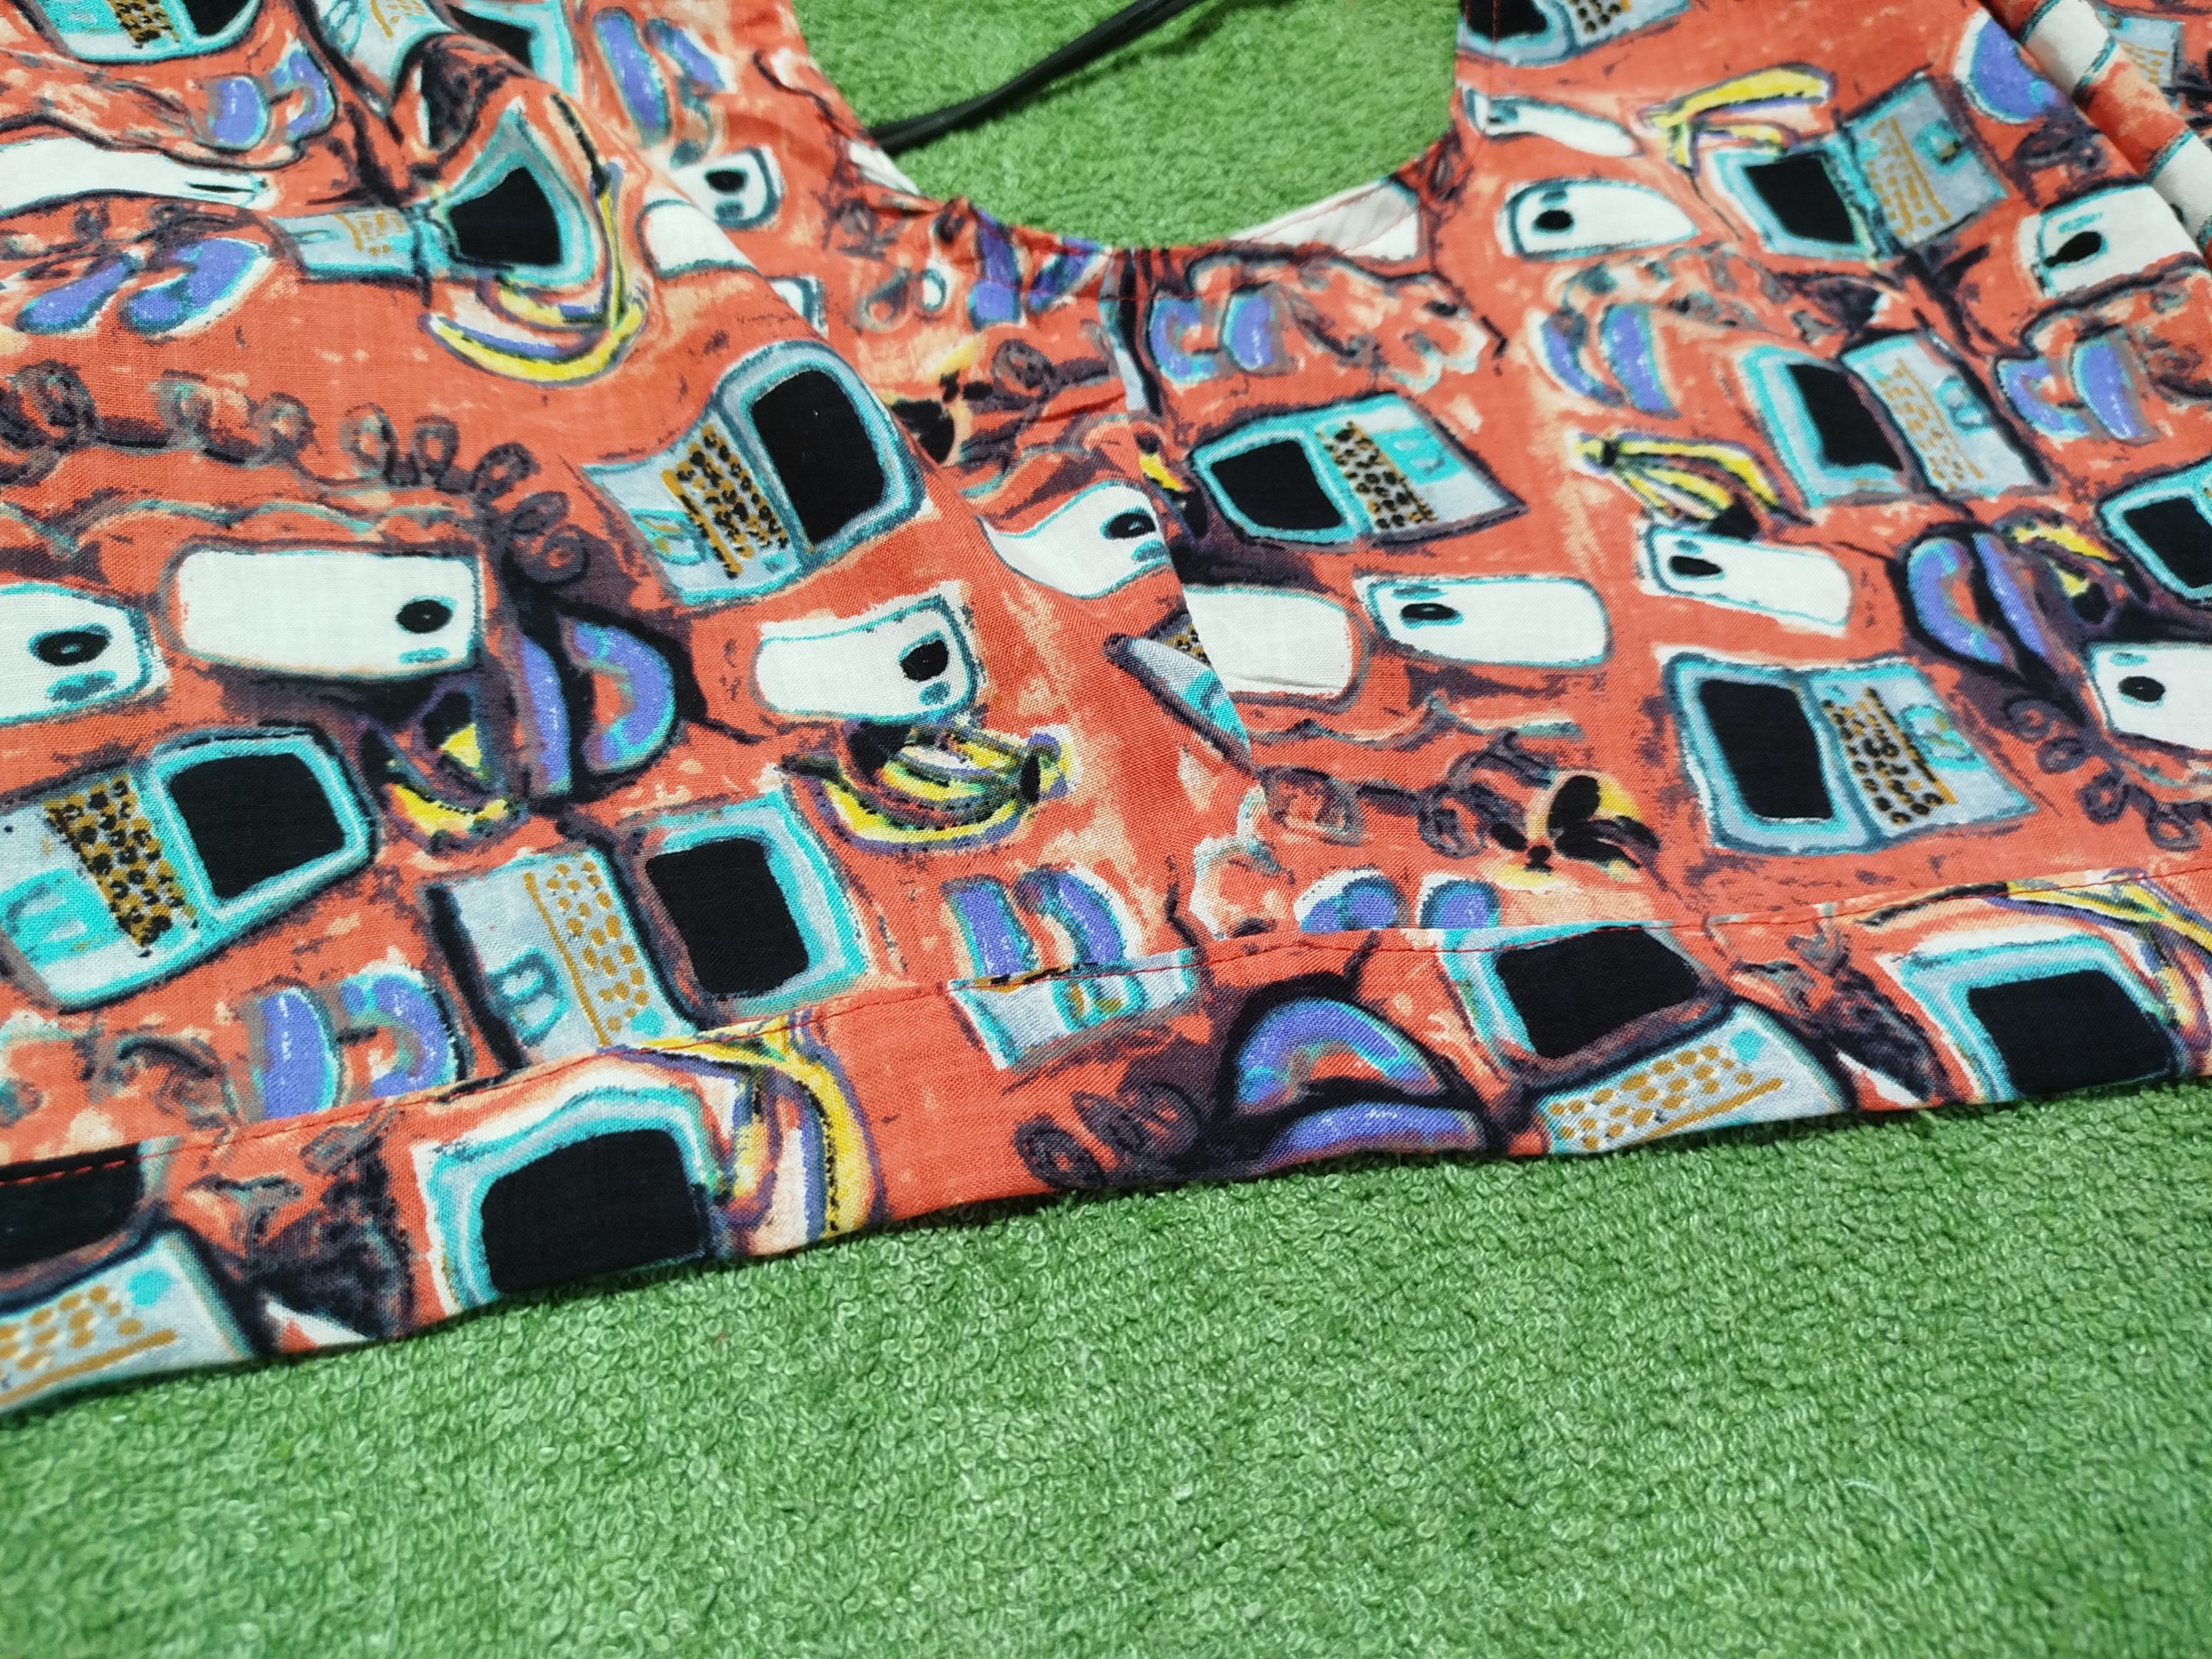
Next, I moved on to the neckline. I could have used a bias binding, but I decided to simply fold the fabric (I was feeling risky that day, haha), taking advantage of the opportunity to add a label with my brand name. Once the neckline was established, I sewed a second stitch for a collar-like effect.
 |
 |
 |
|---|---|---|
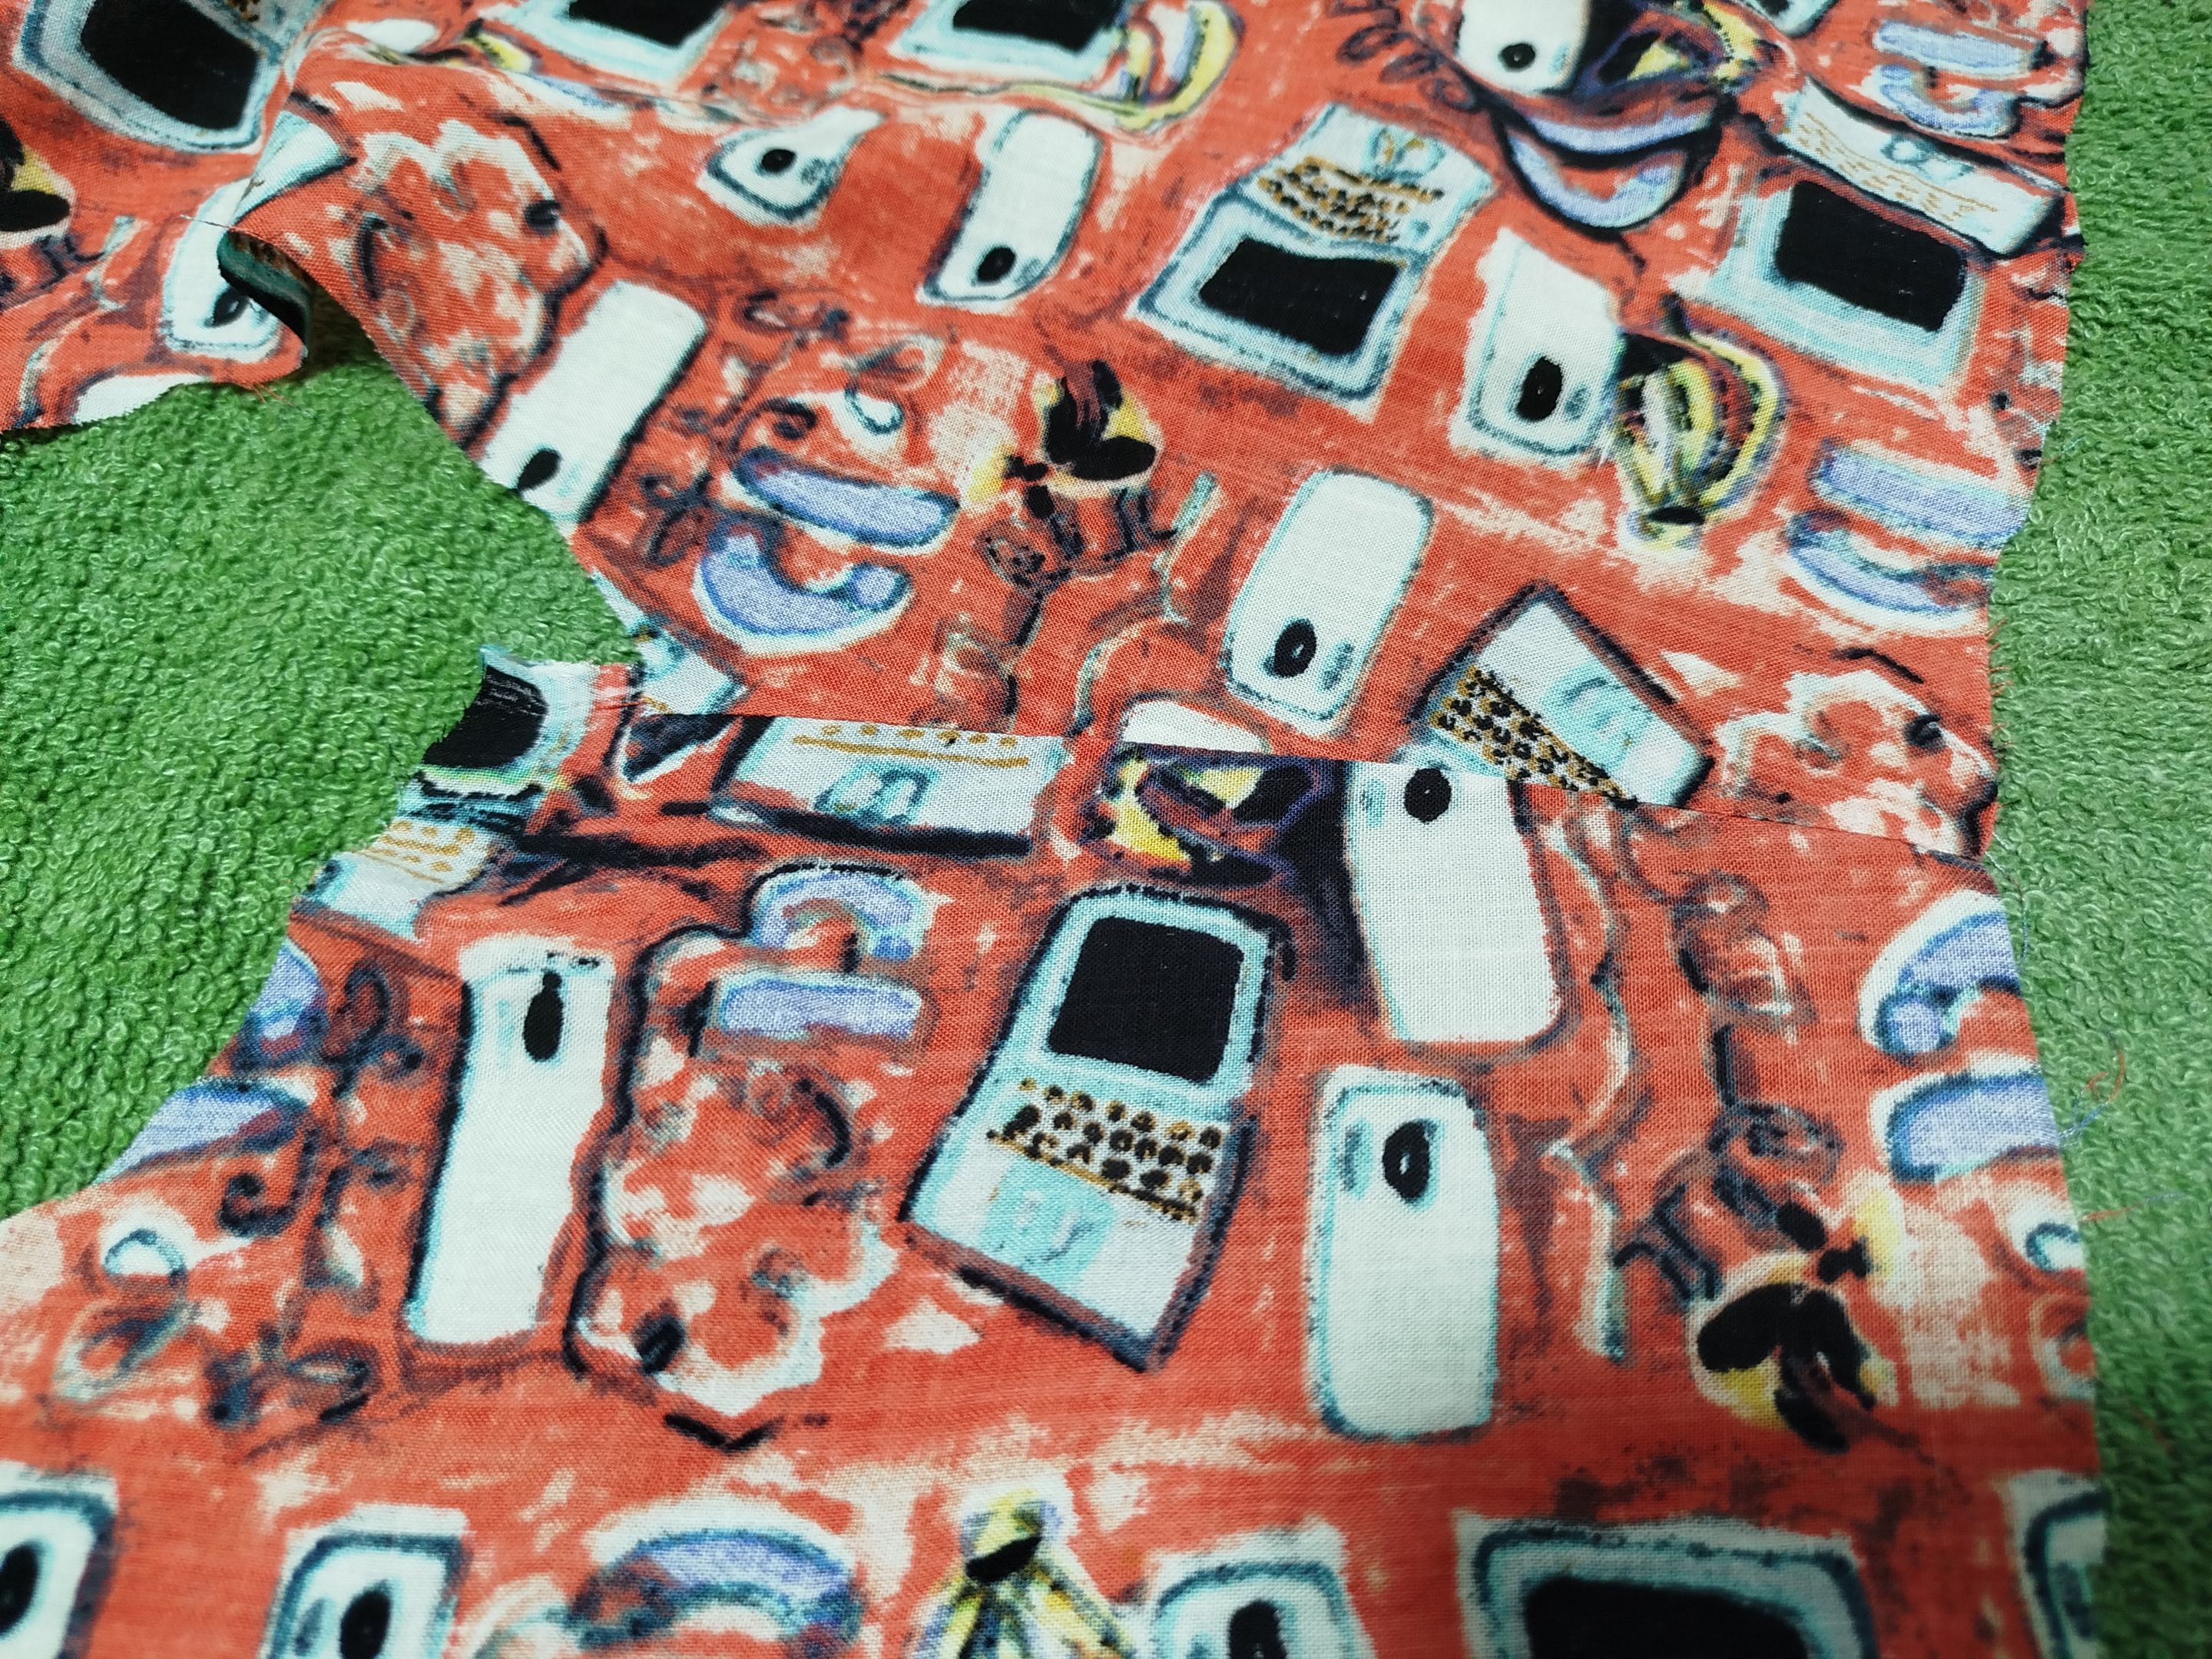
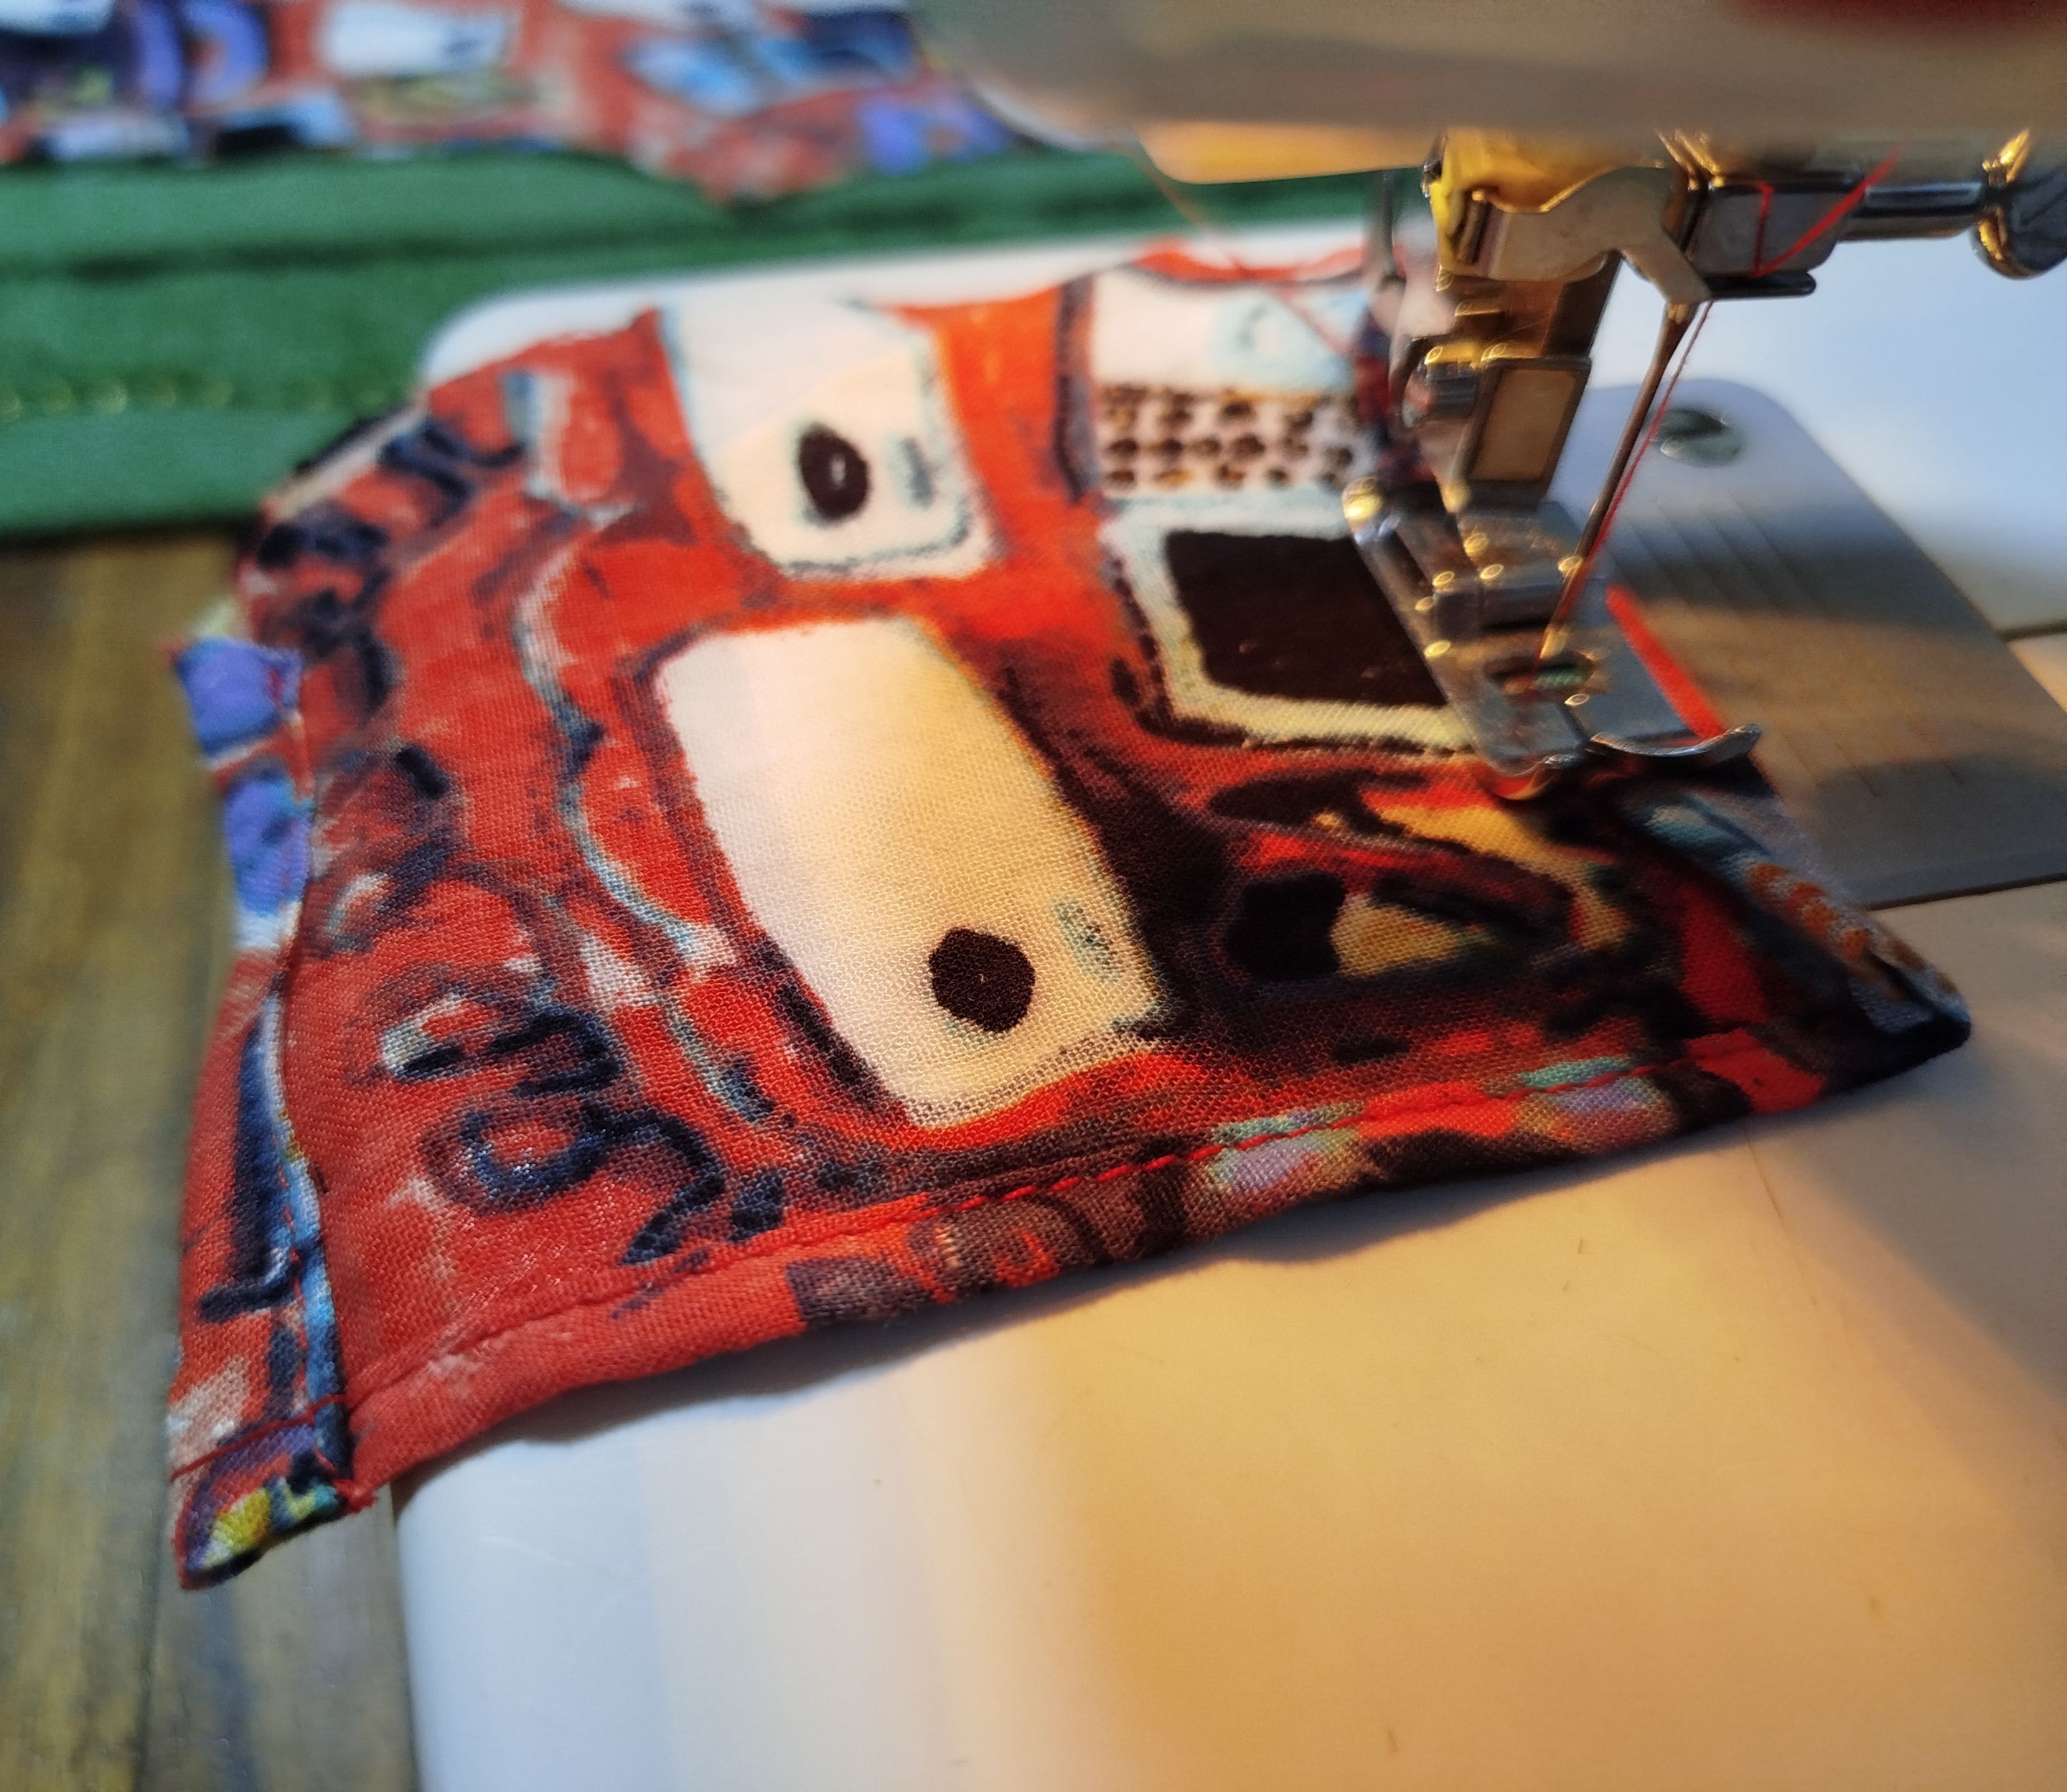
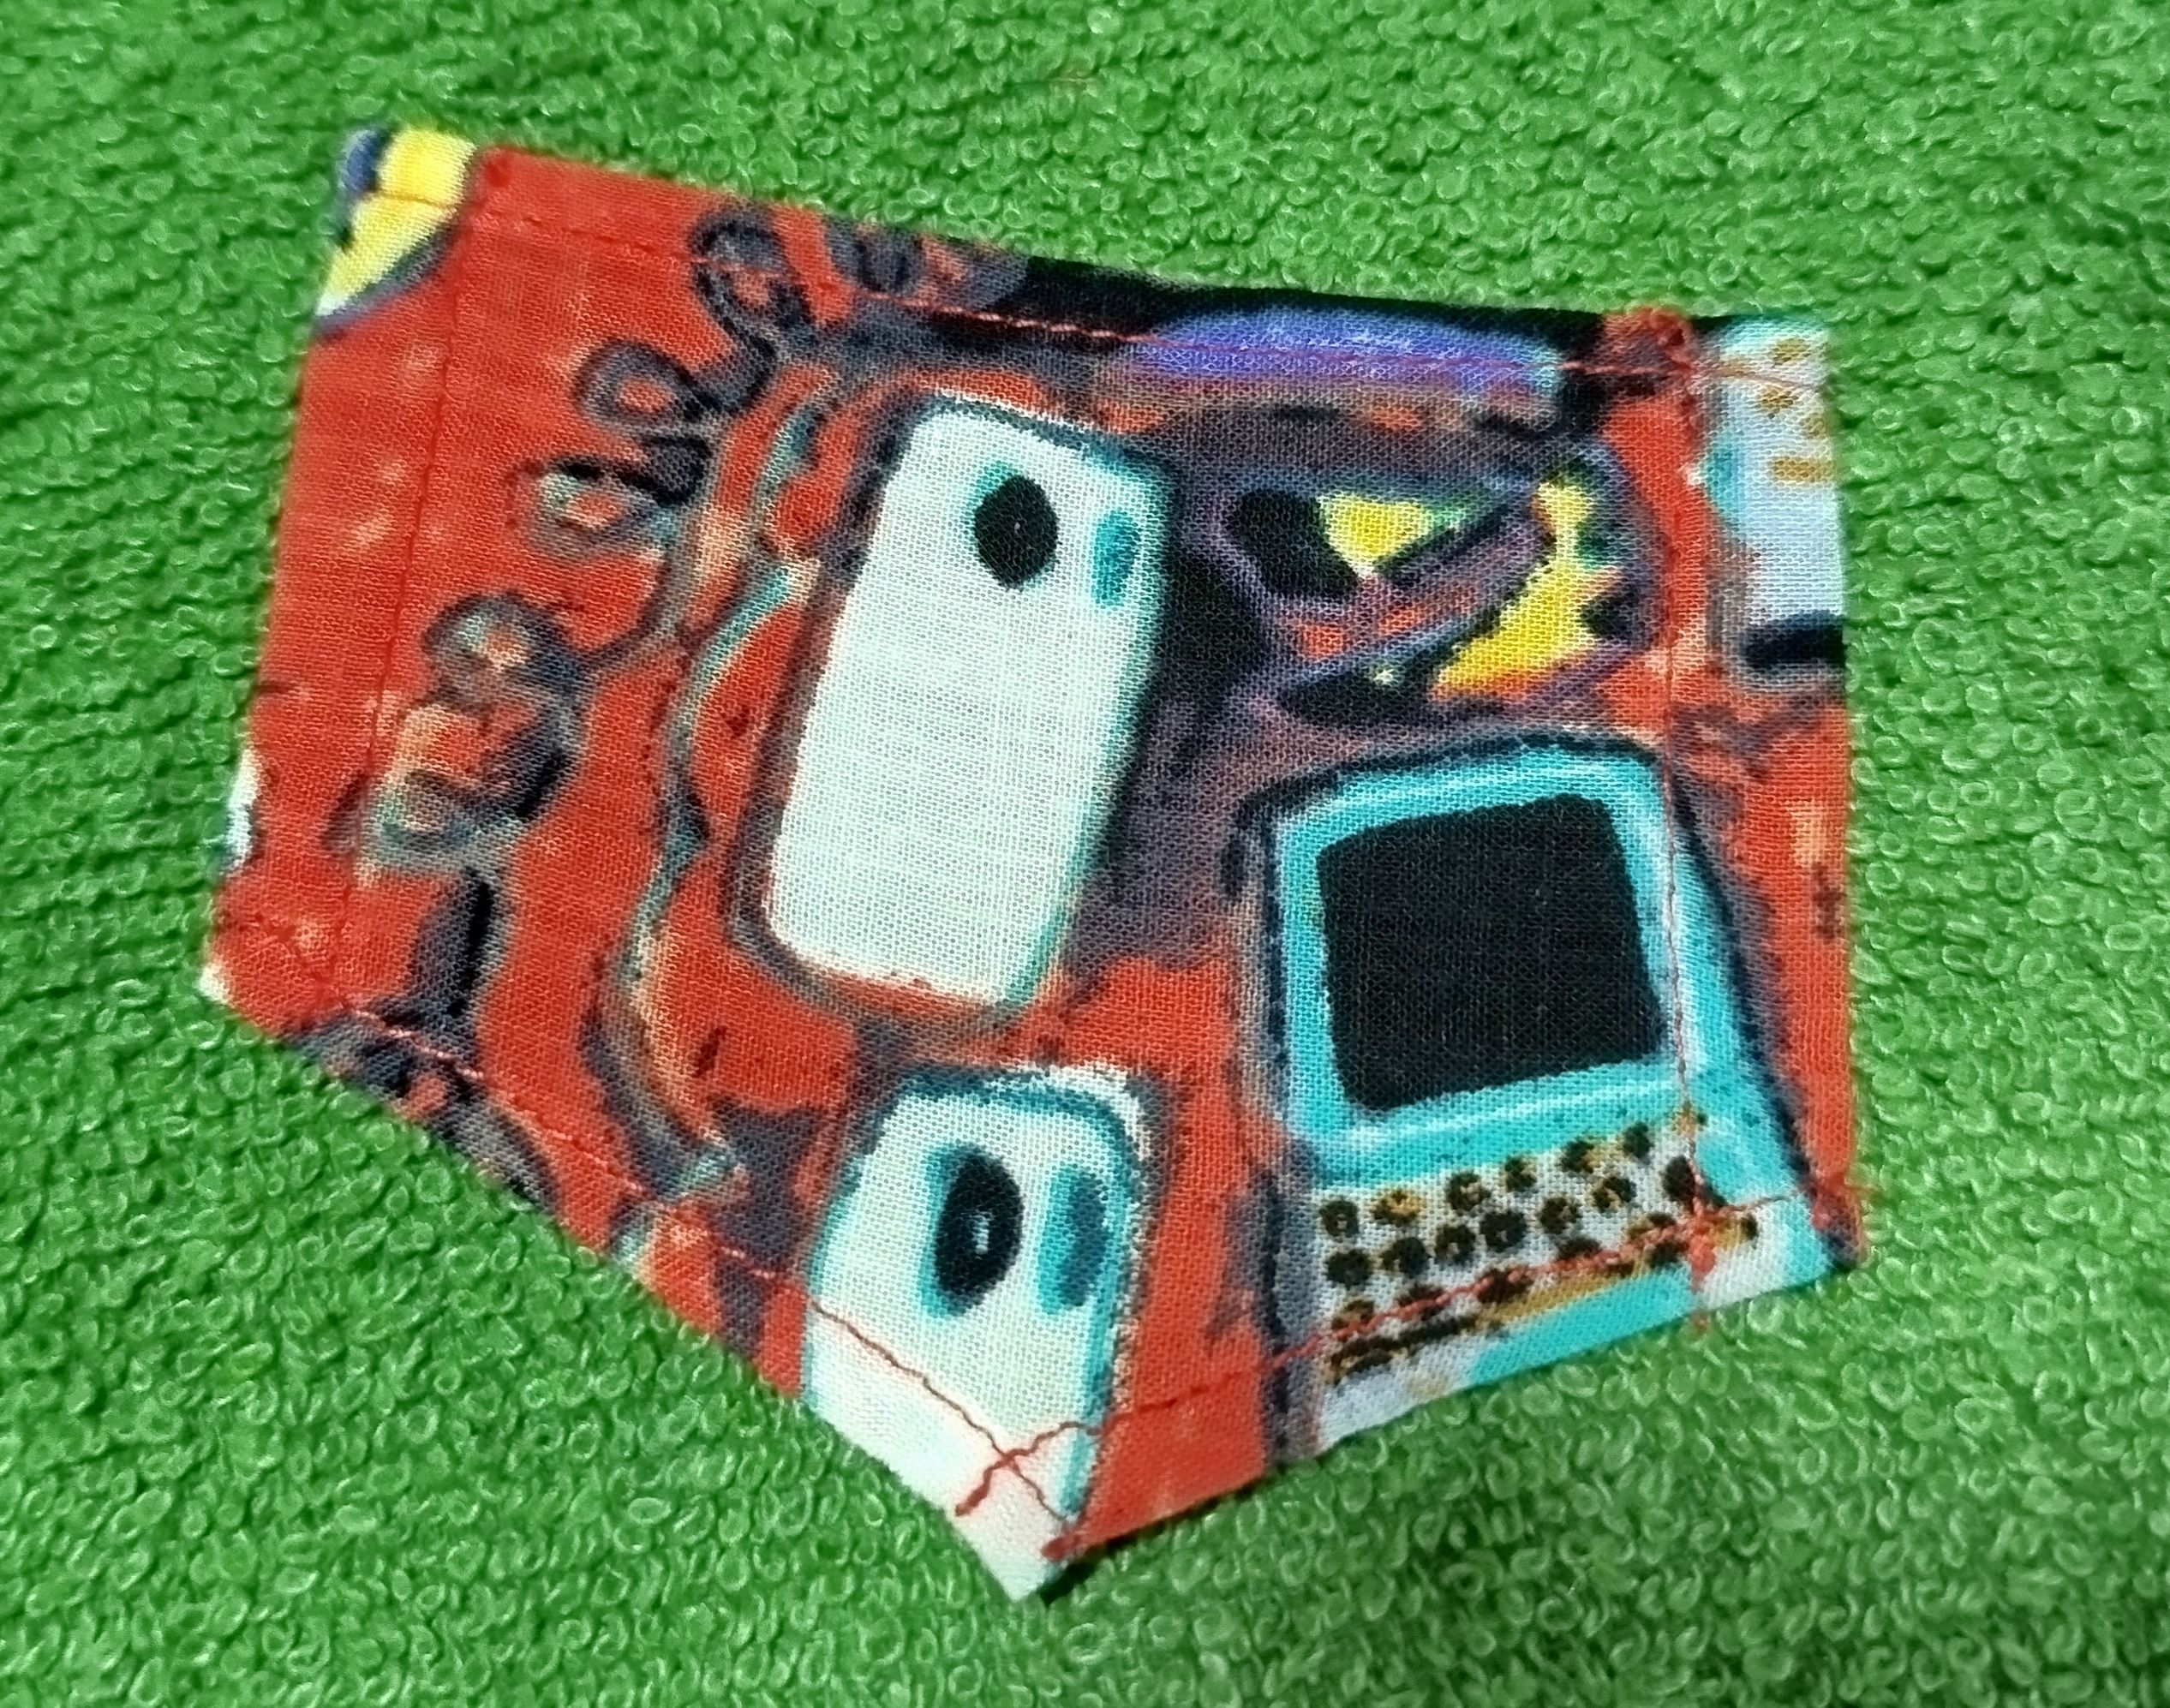
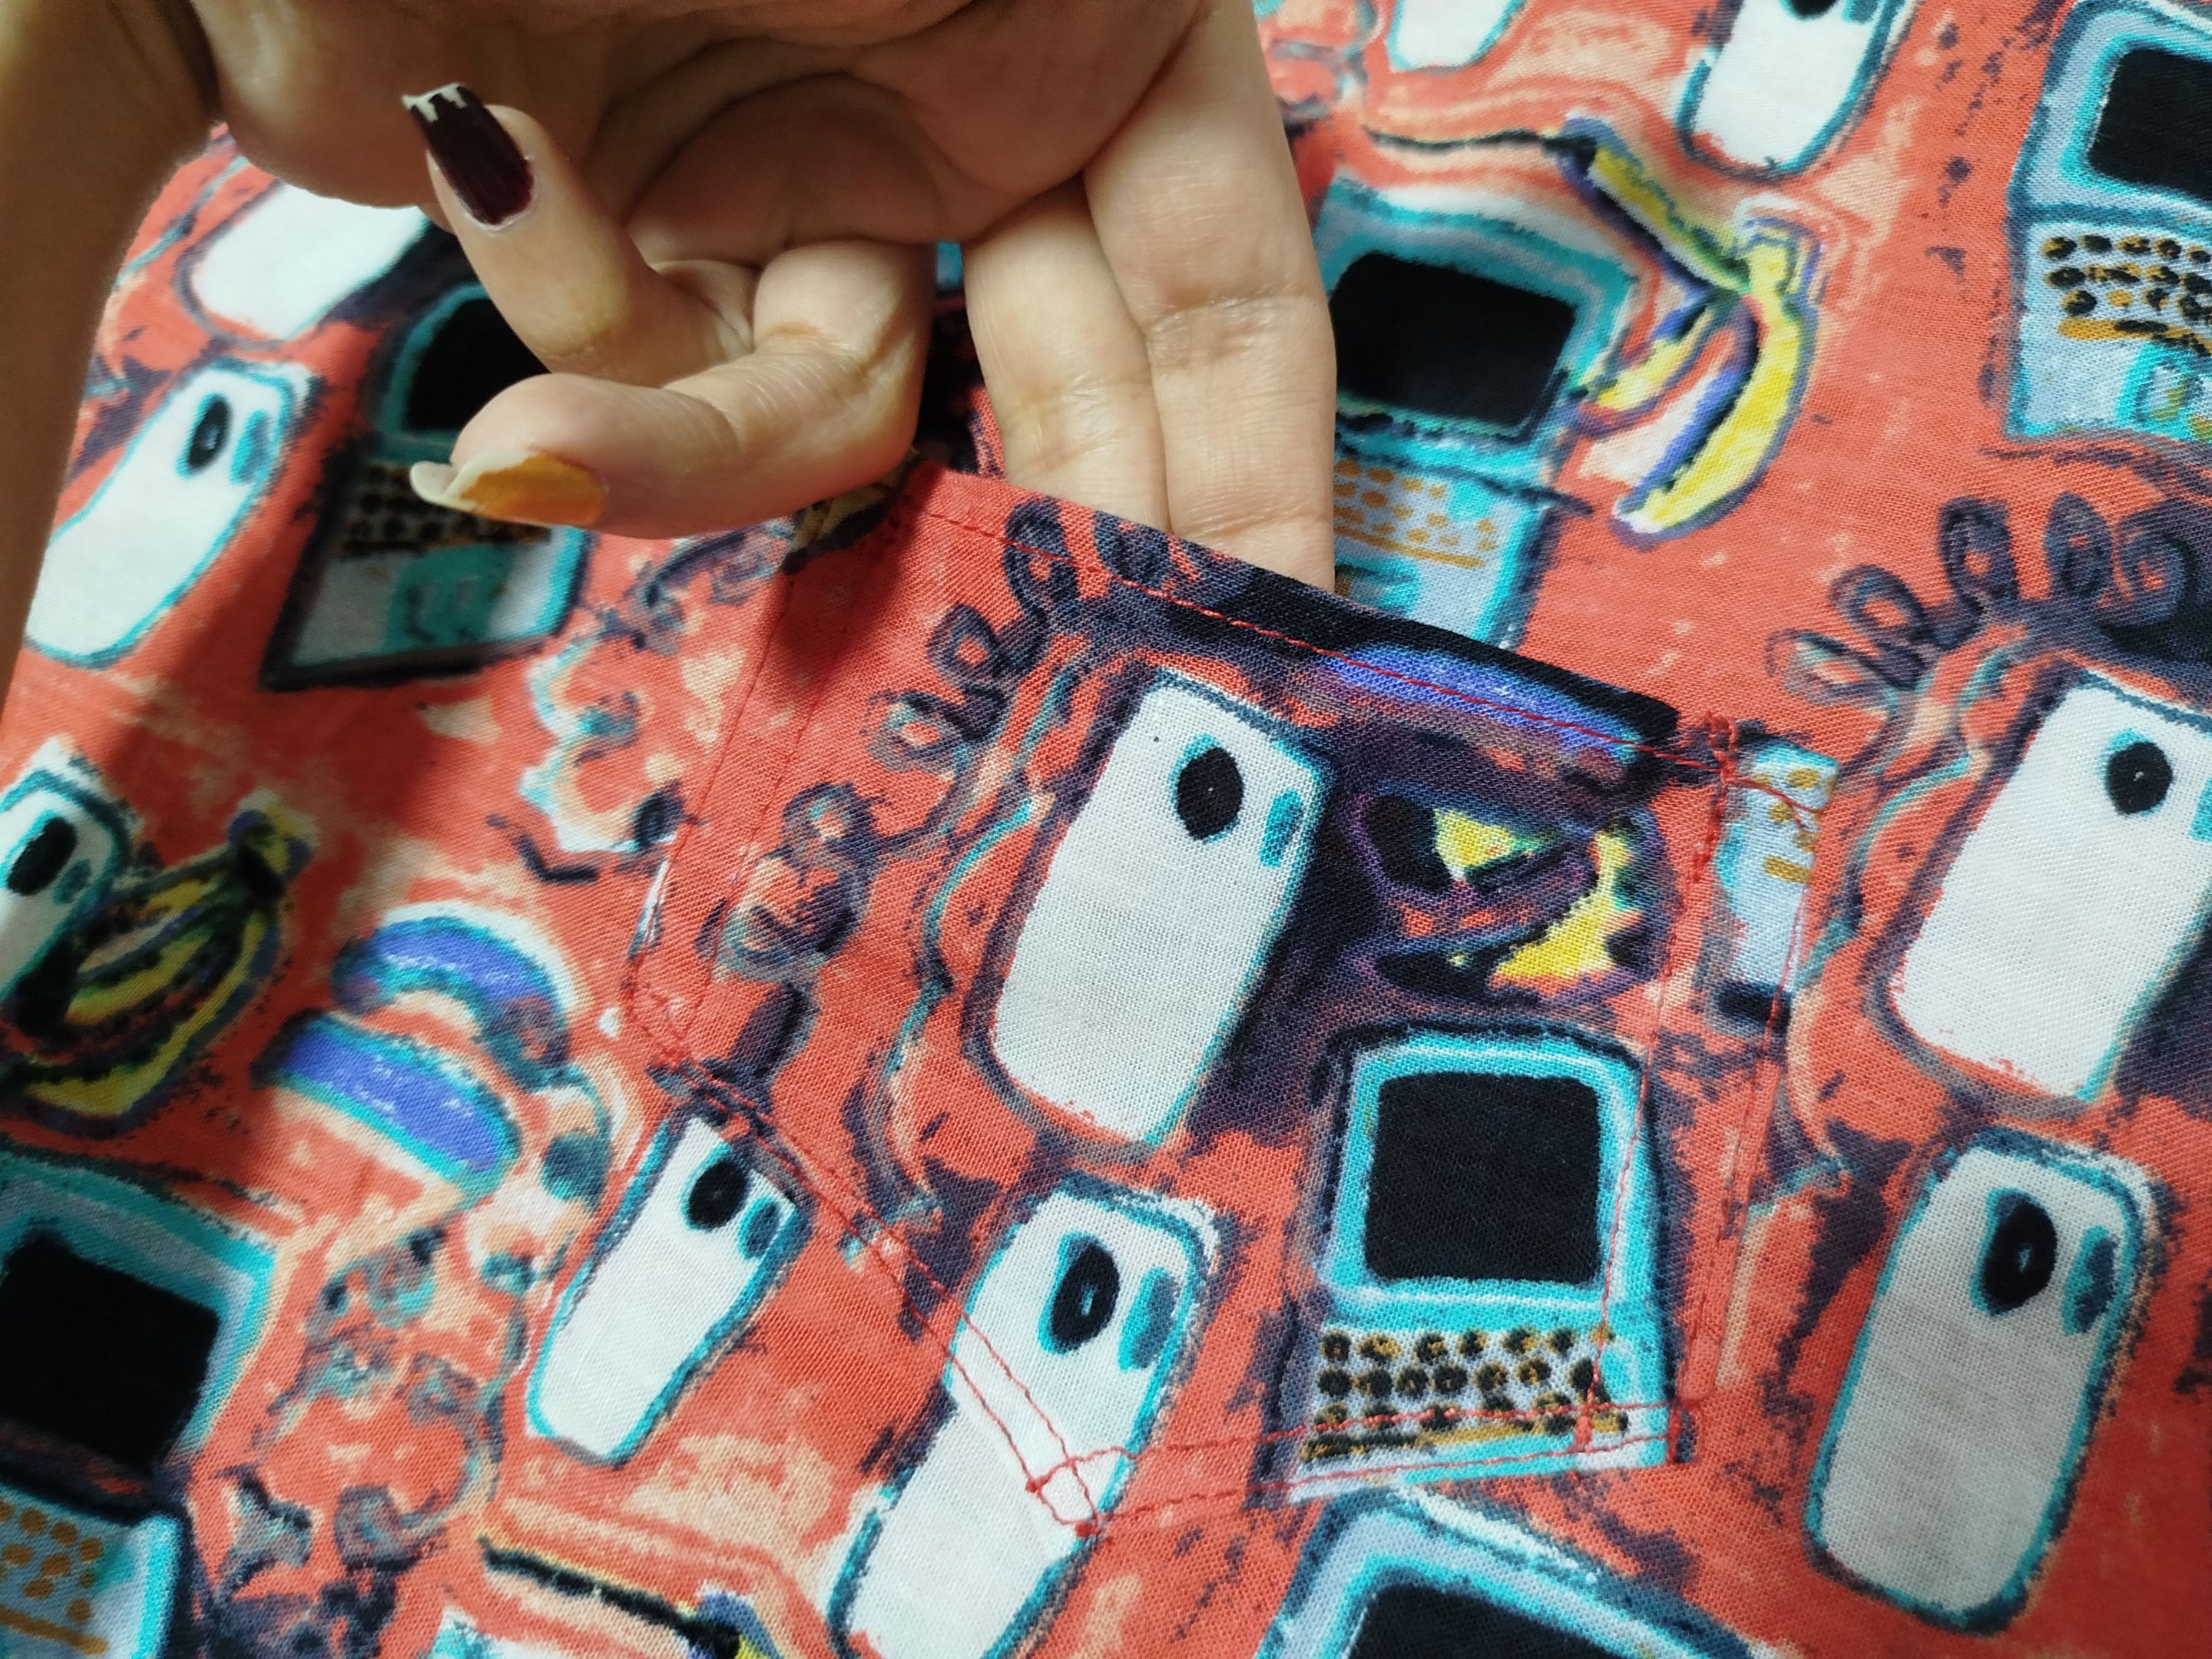
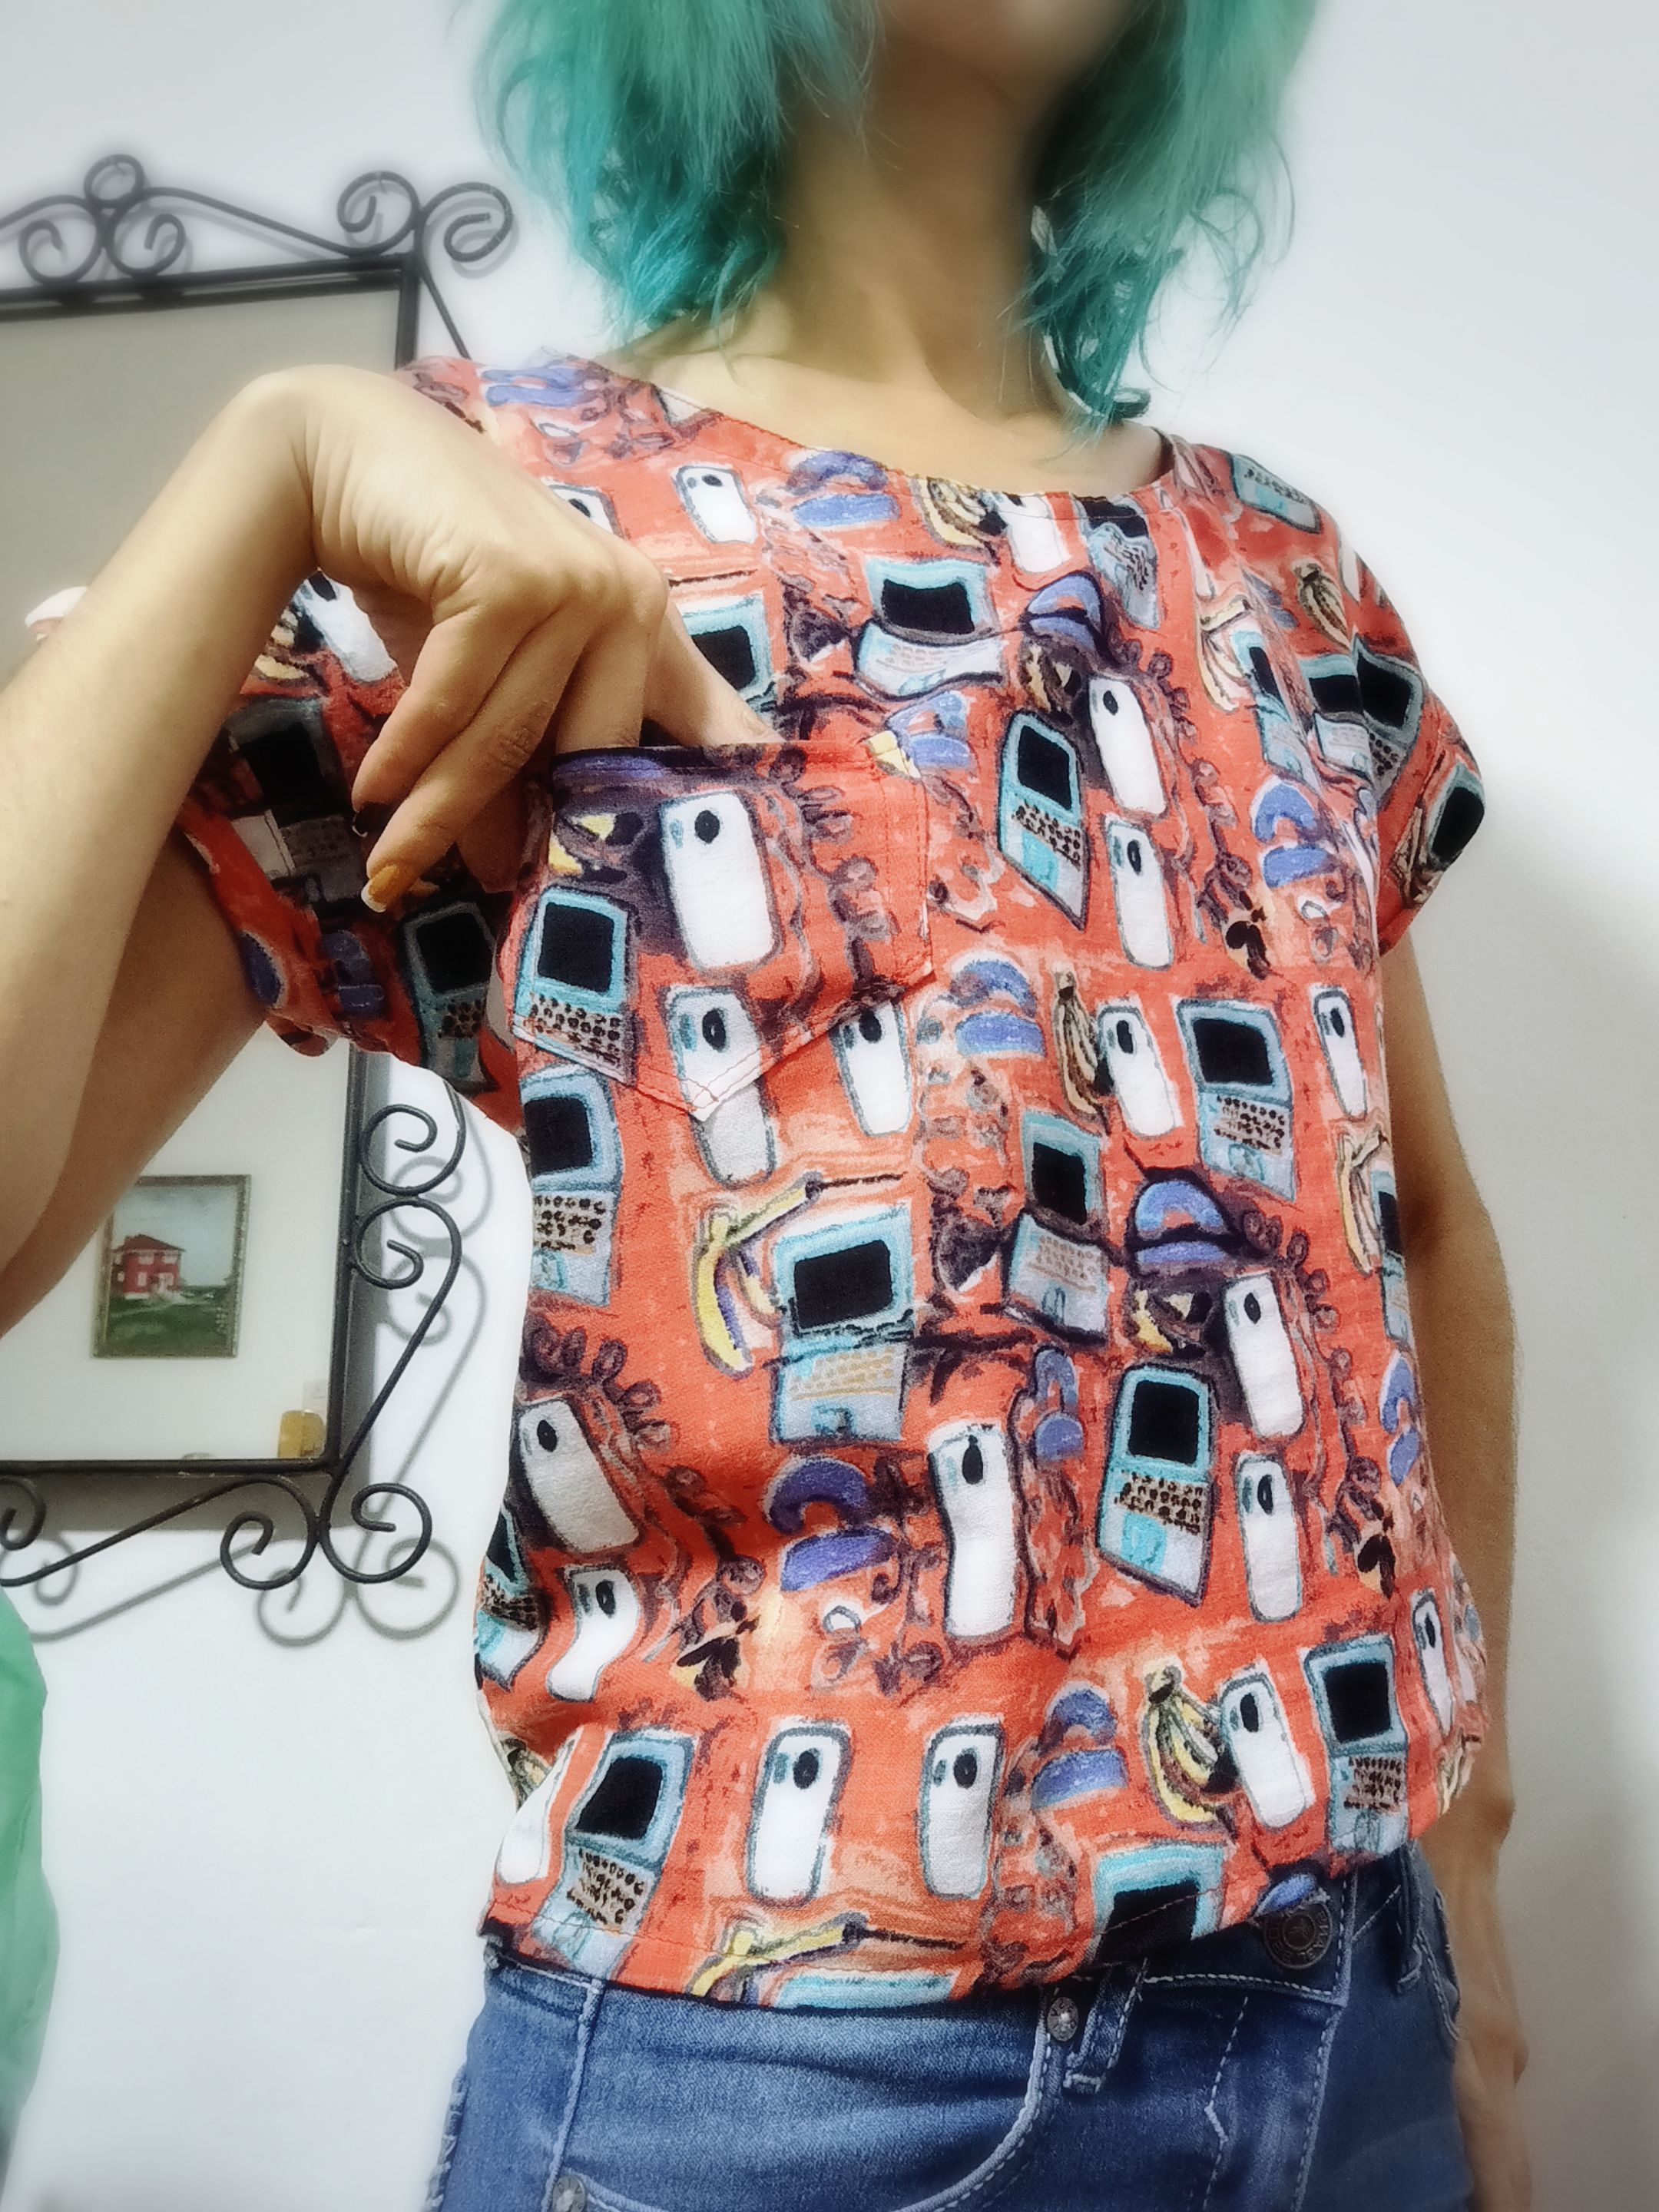
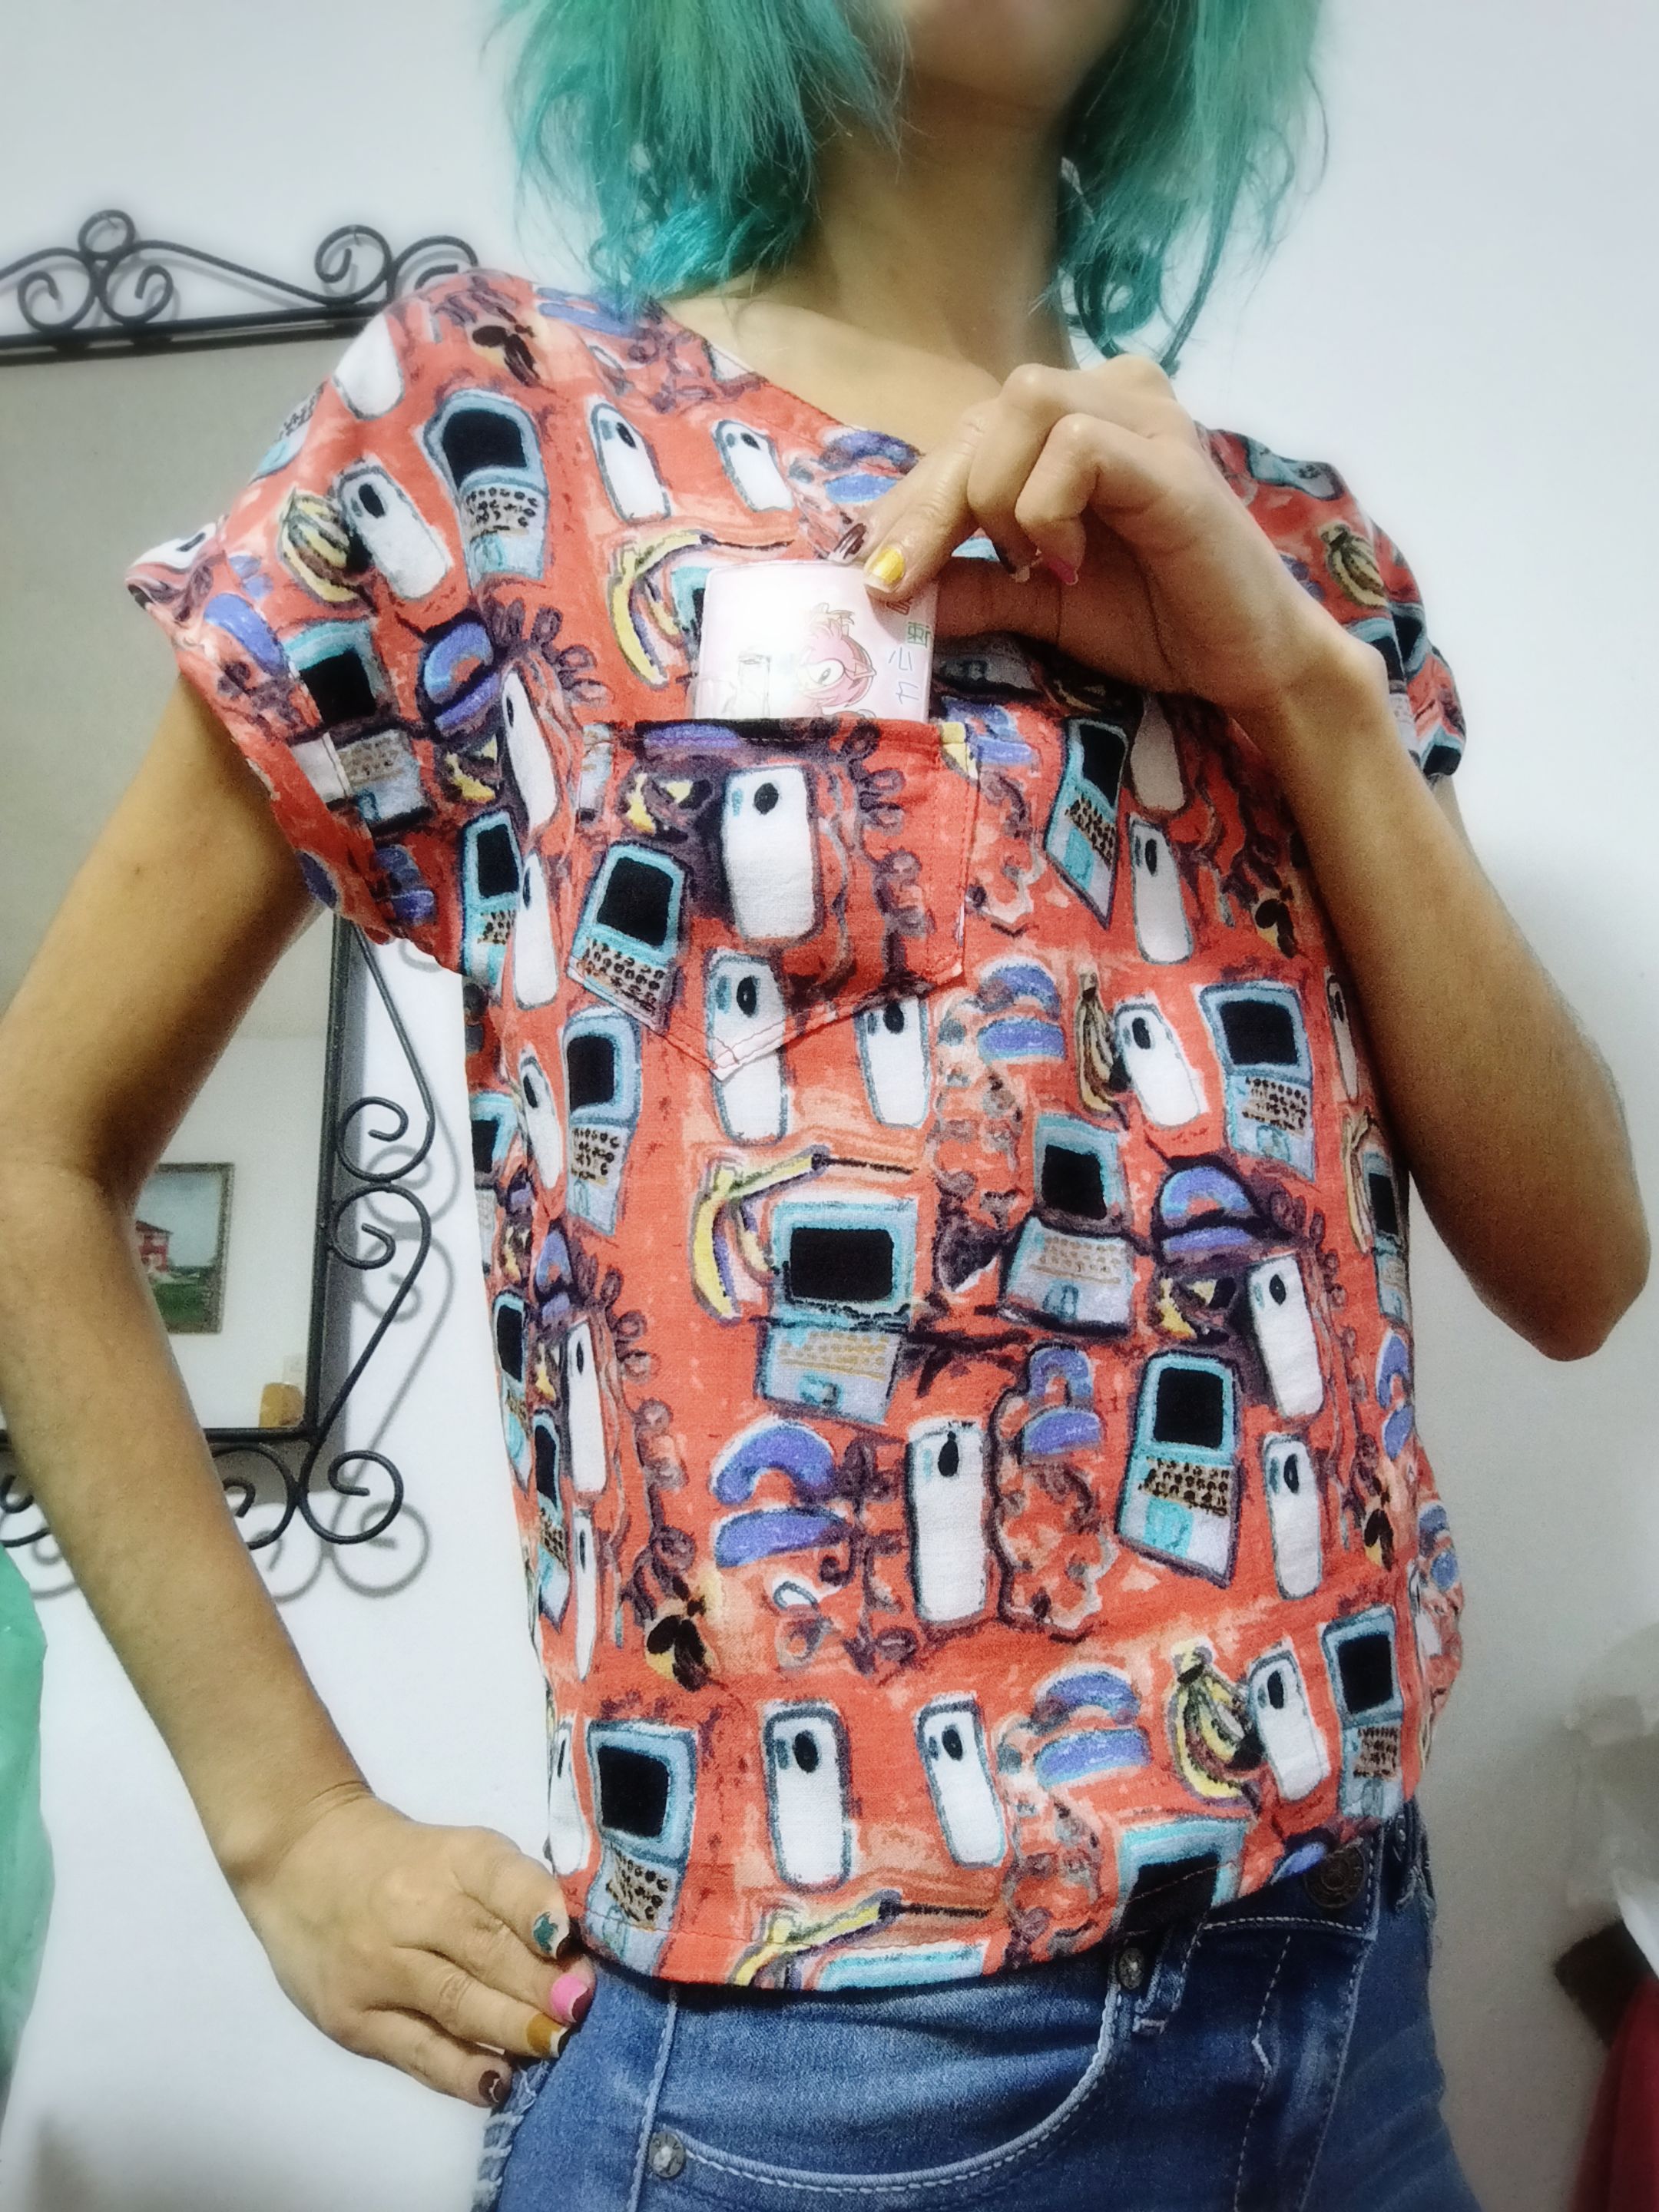
The reference blouse didn't have one, but I wanted to add a pocket to the one I was making, using the leftover fabric from when I'd cut the pieces. I have a blouse that has a small pocket, and I love it. I don't use it much, but it gives the garment a flirty touch. In this case, given the fabric print, the pocket is almost hidden from view, becoming a sort of "secret pocket," haha, but I think that's what gives it its charm.
 |
 |
 |
|---|---|---|
 |
 |
 |
|---|---|---|
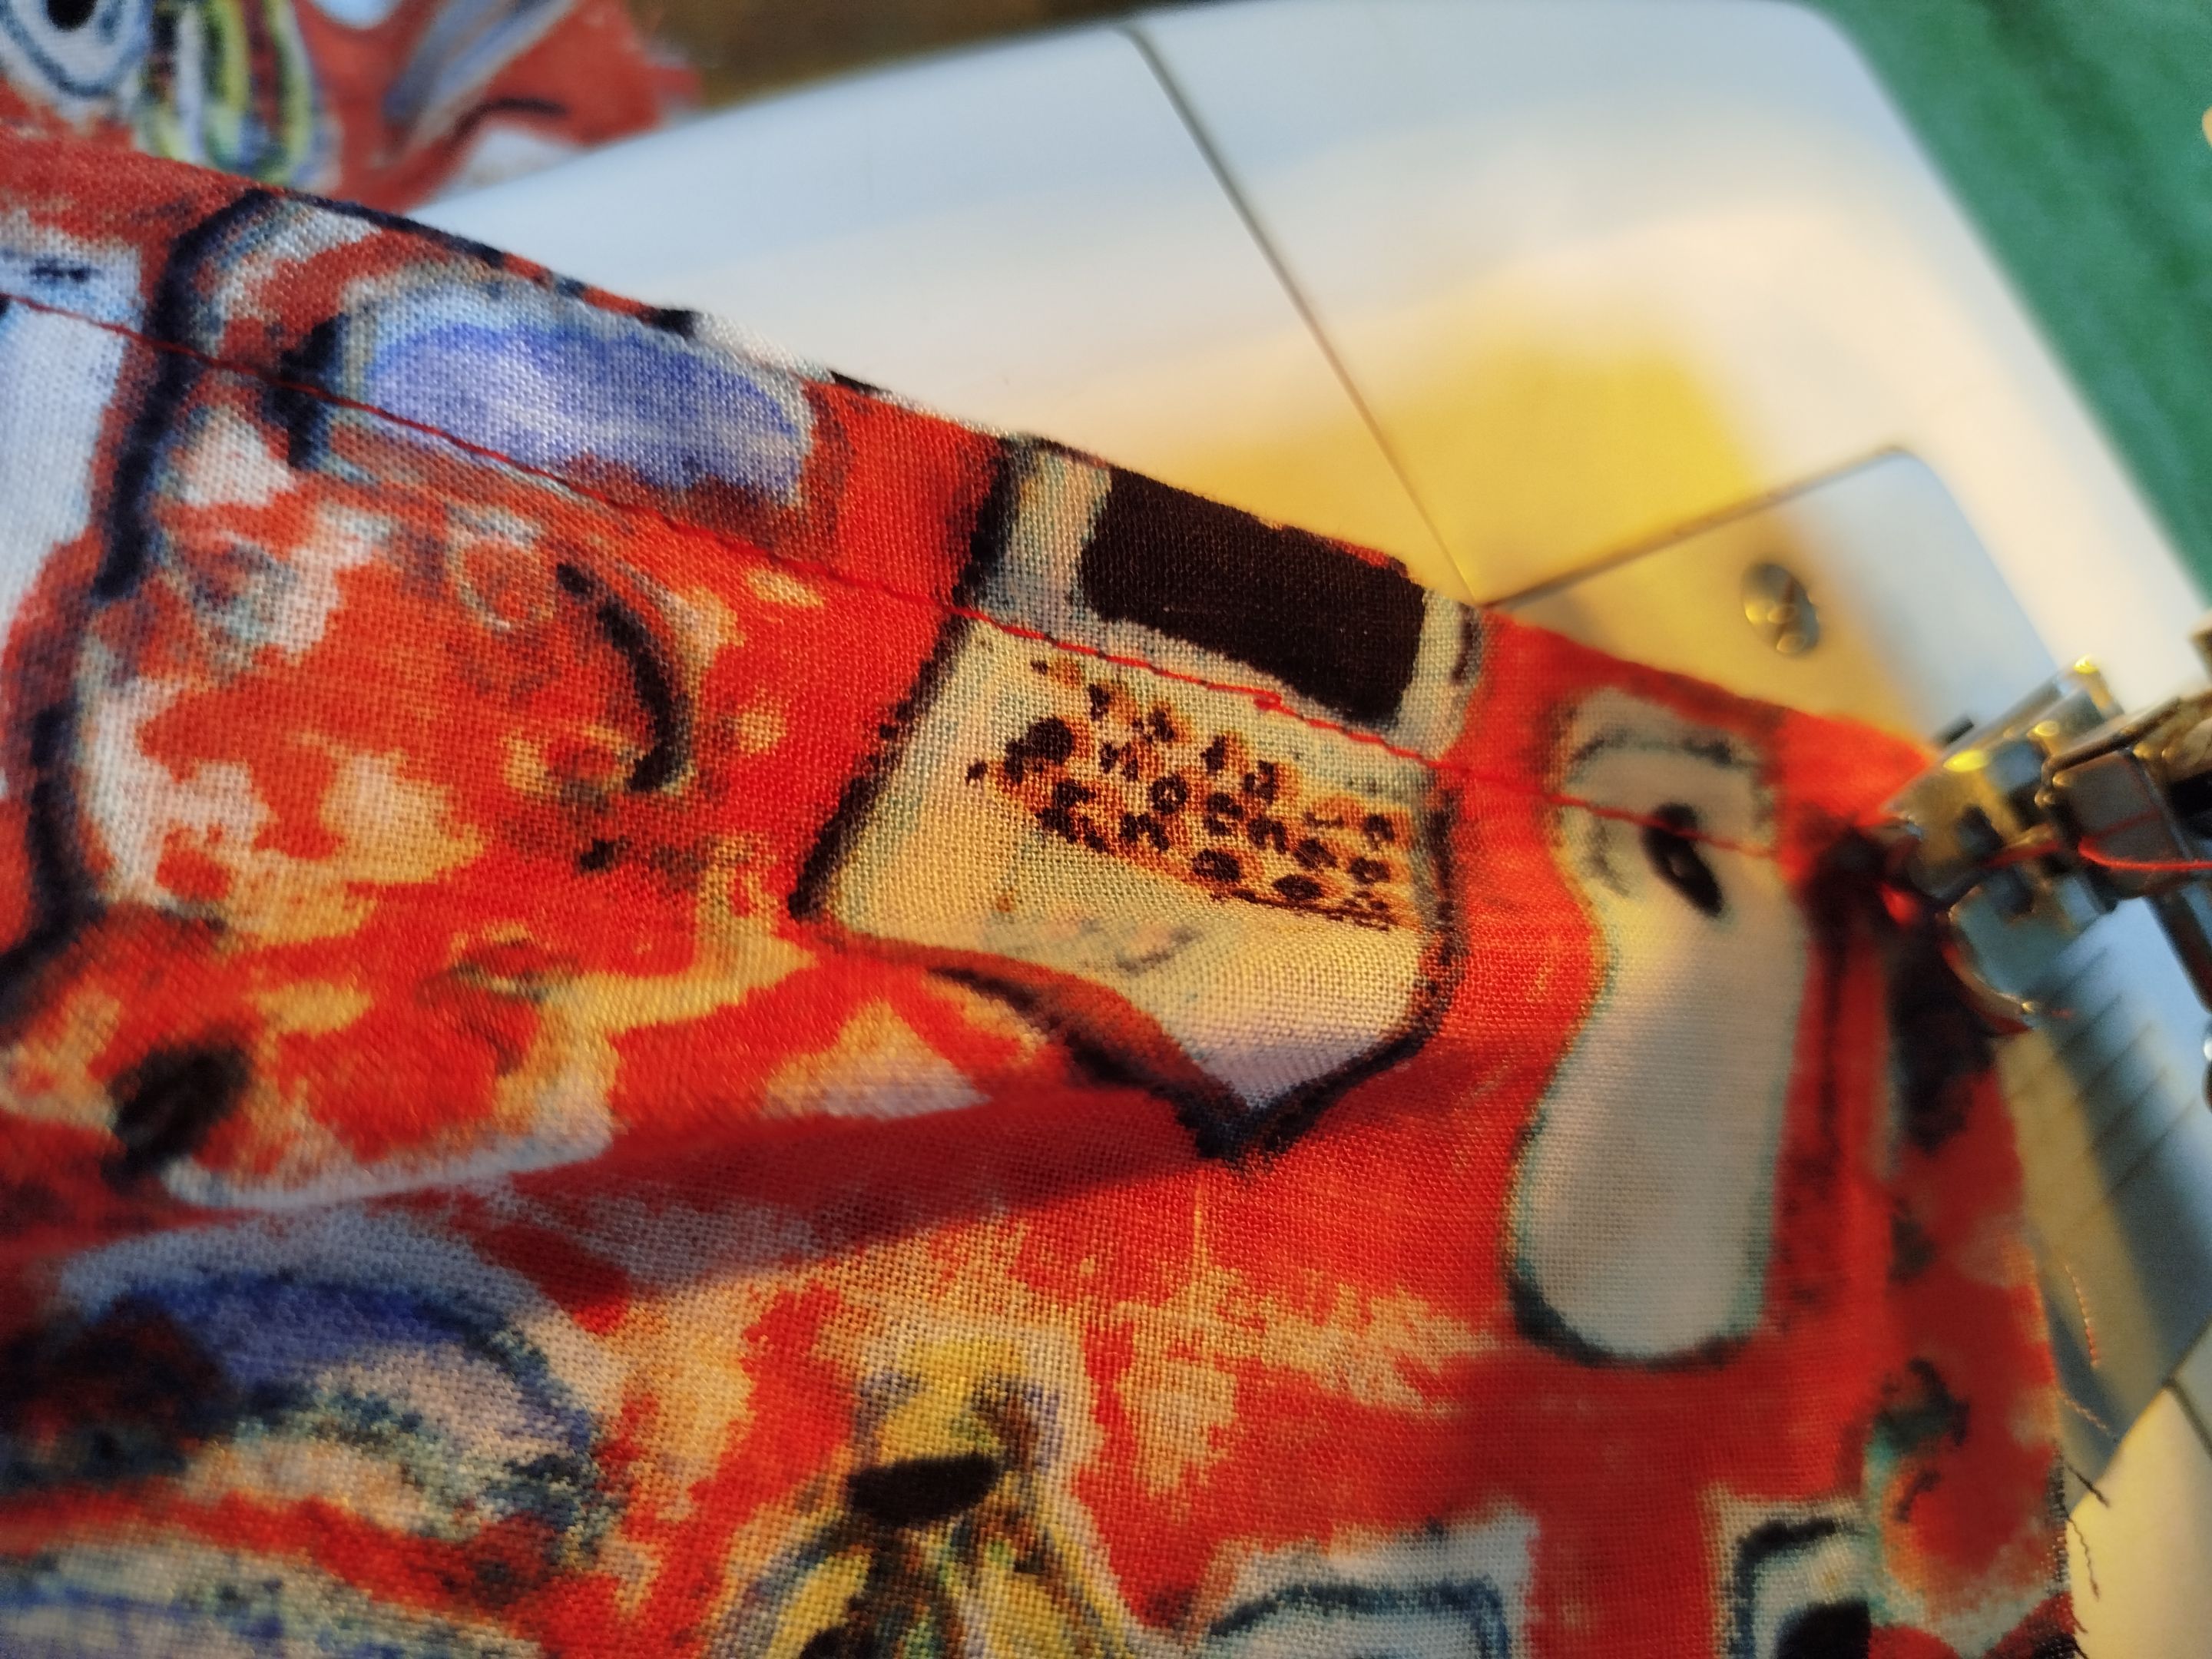
Next, it was time to sew the sleeves. These were quite simple, as they were a pair of strips of fabric, completely straight and without any curvature. I sewed them folded into what would become the blouse's armhole, making a small fold at the ends.
 |
 |
 |
|---|---|---|
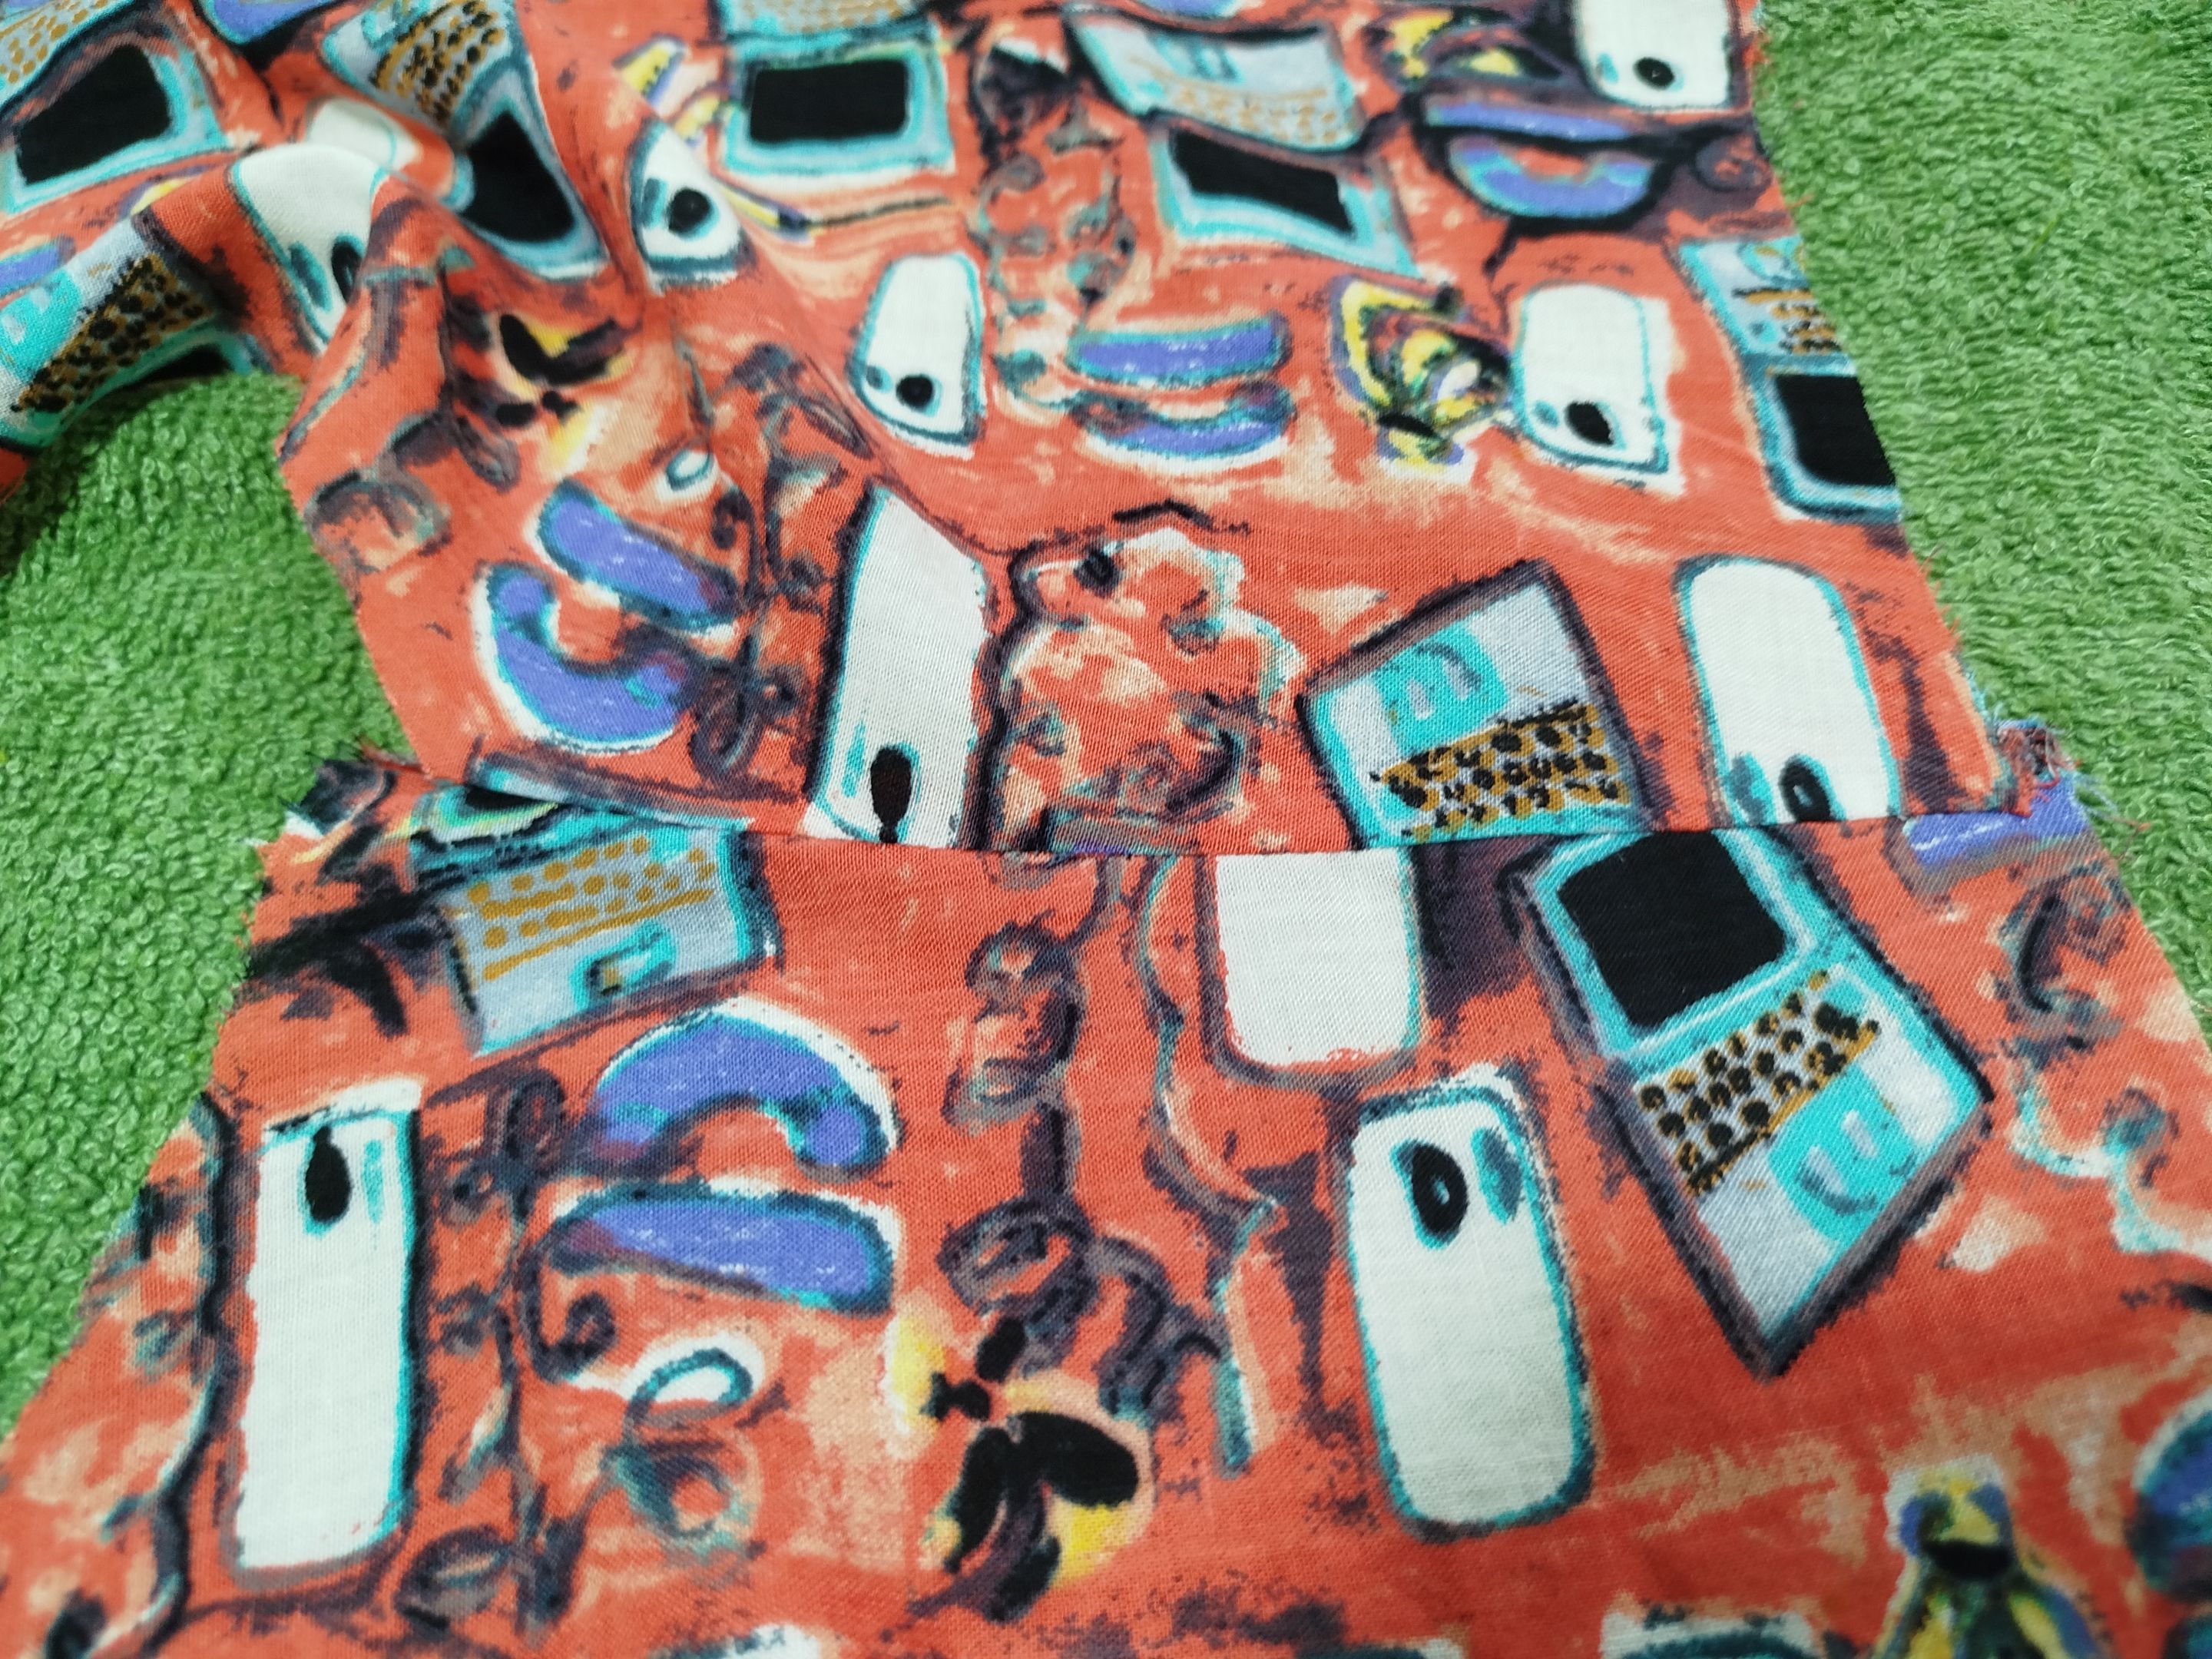
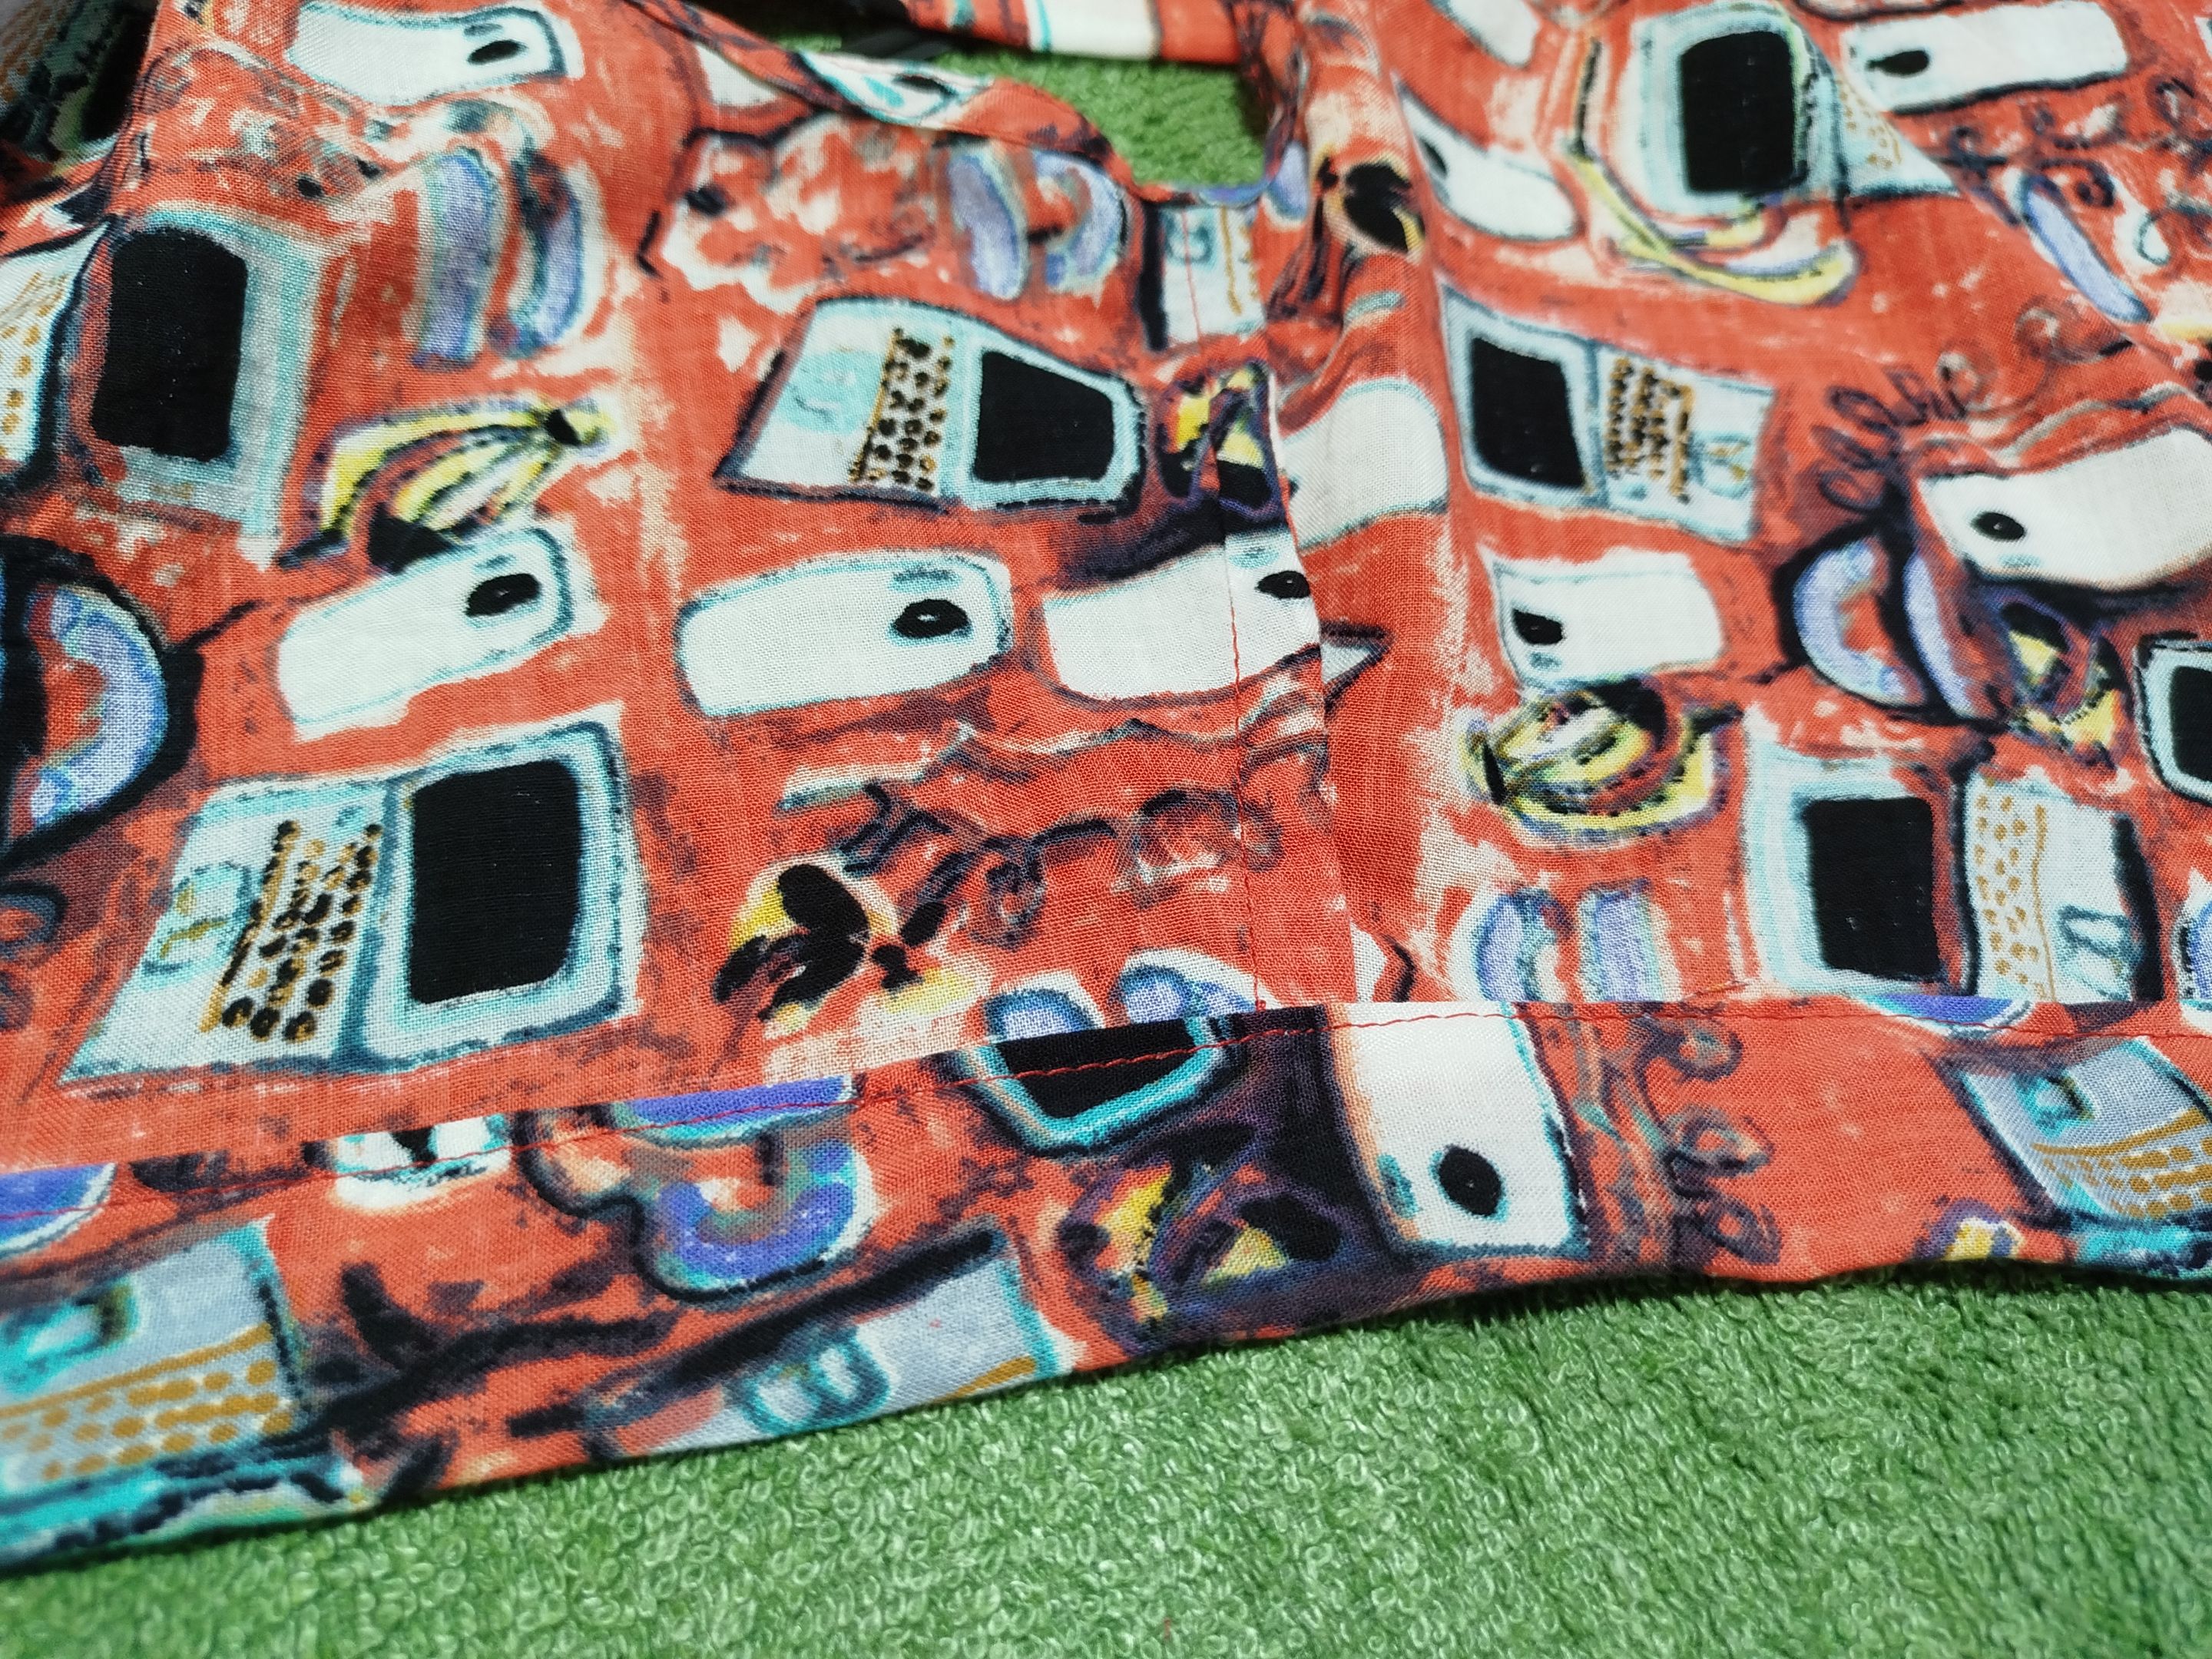
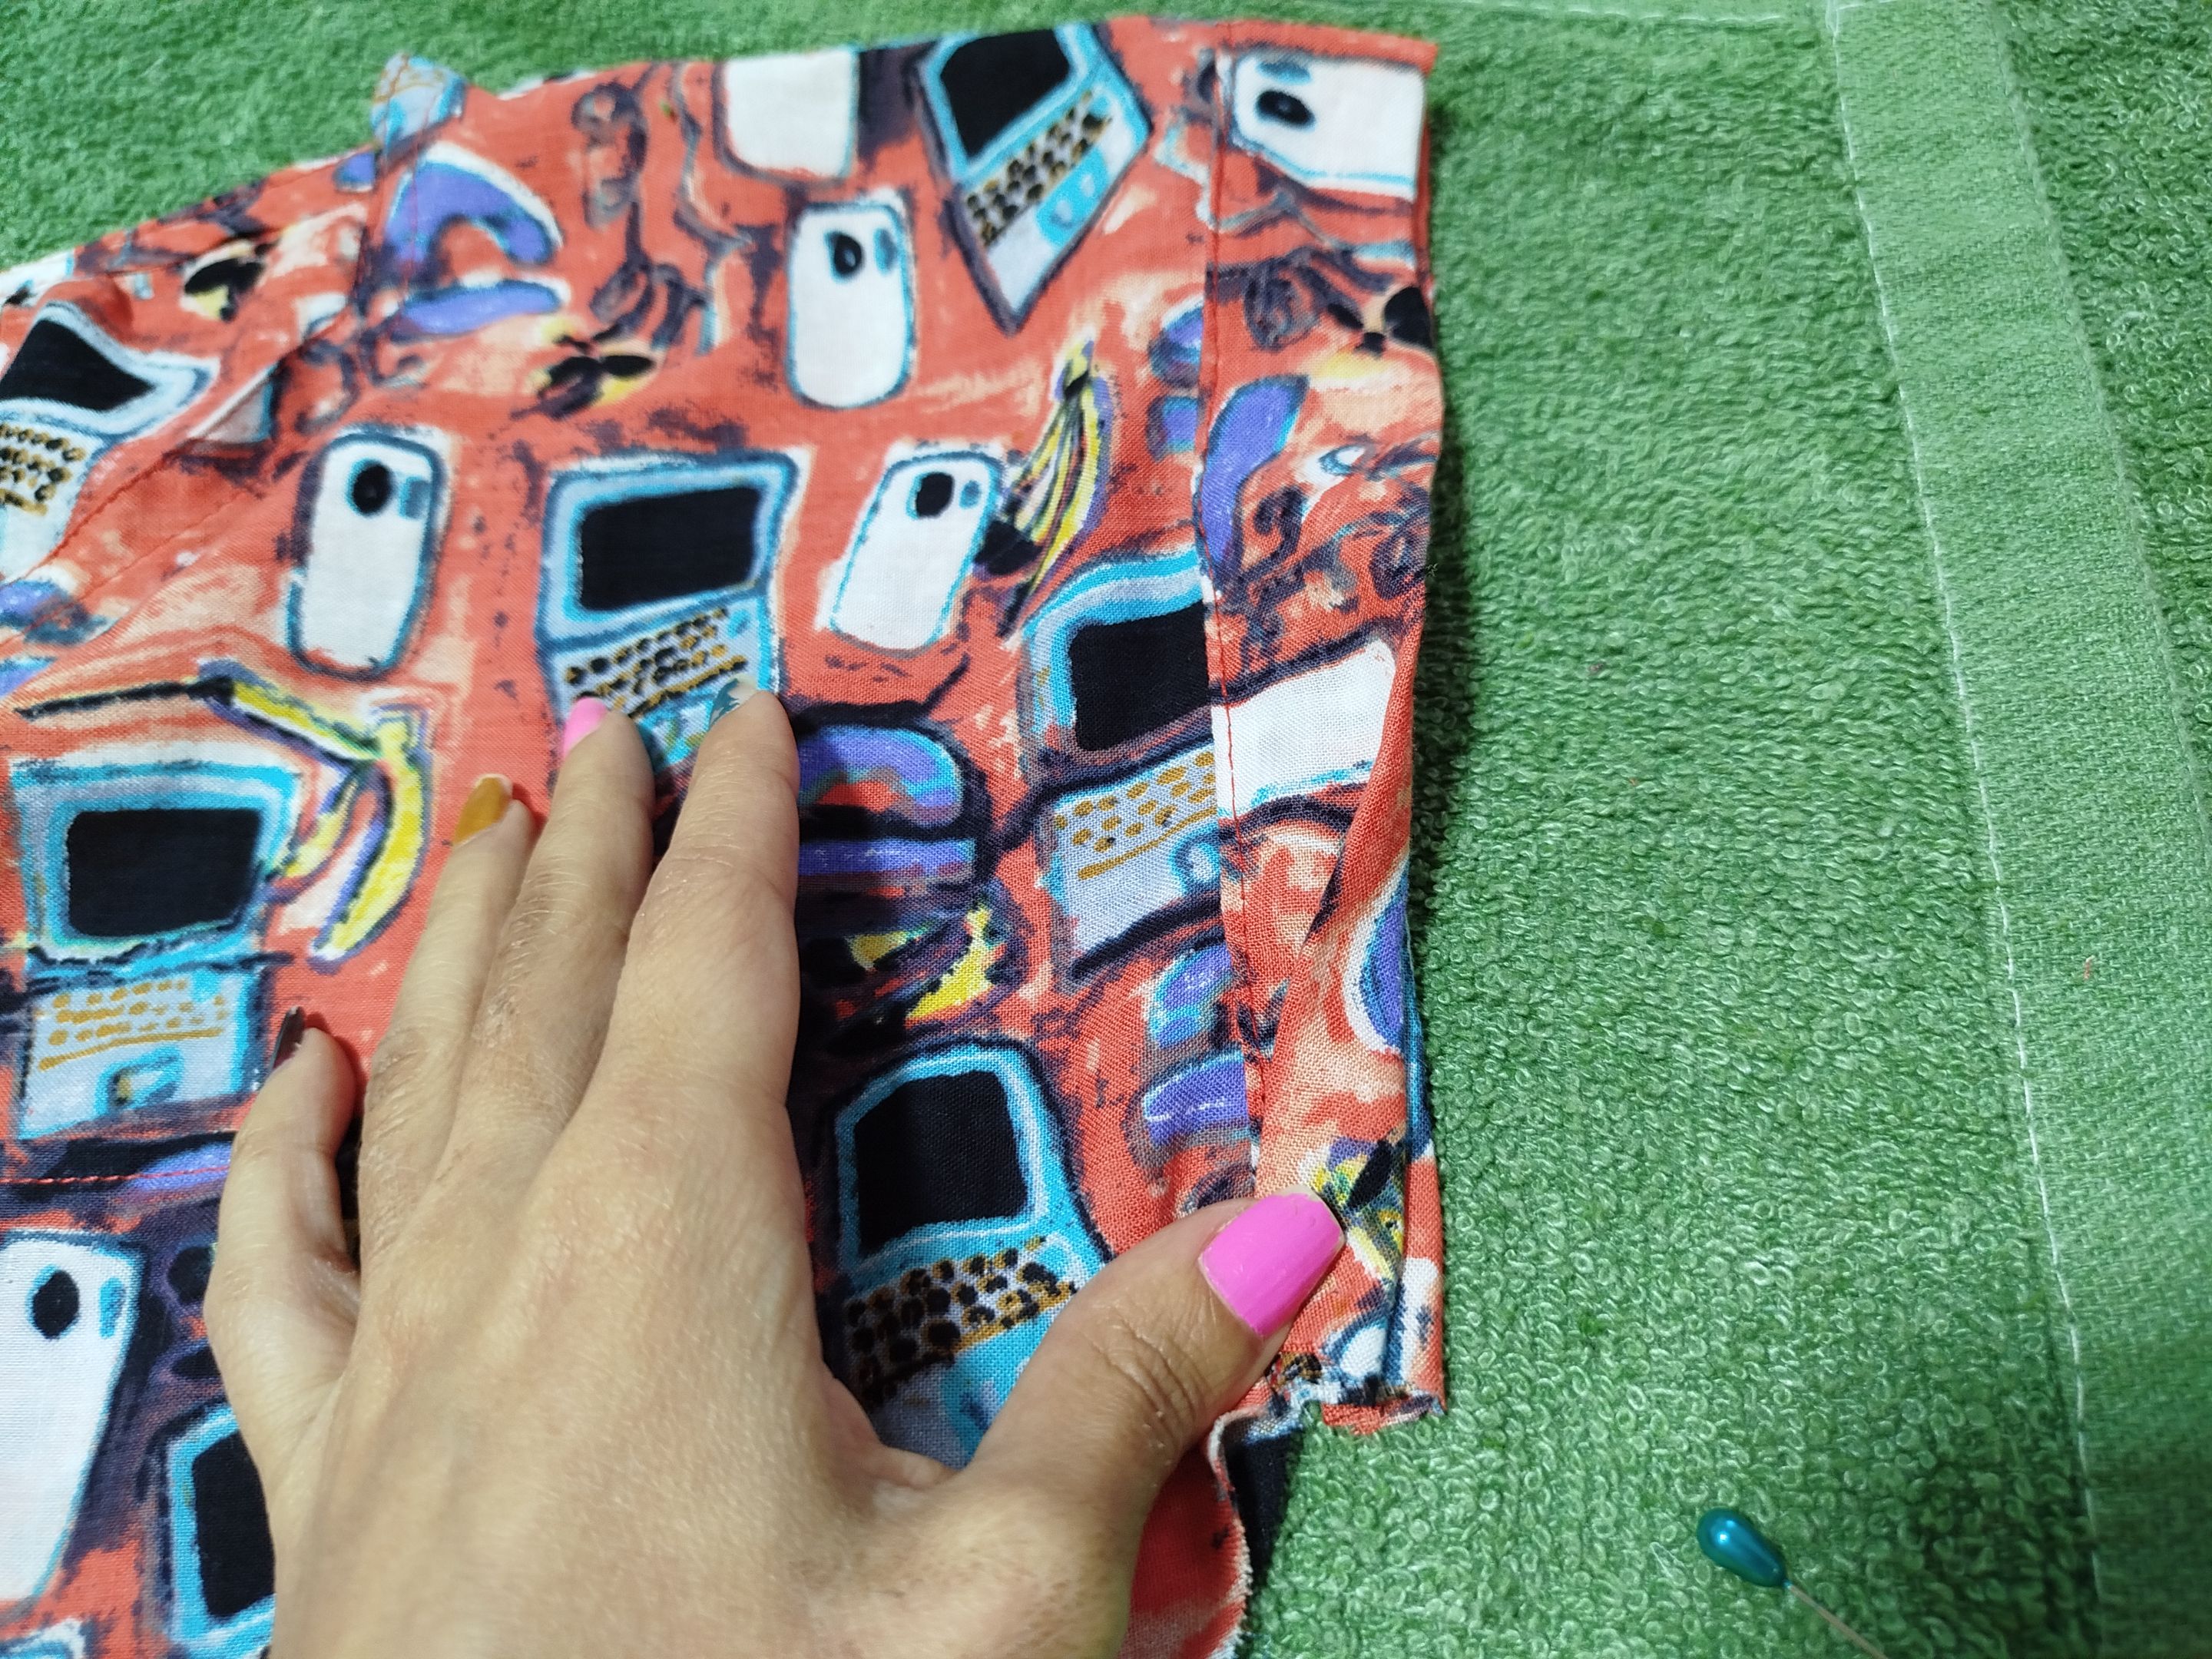
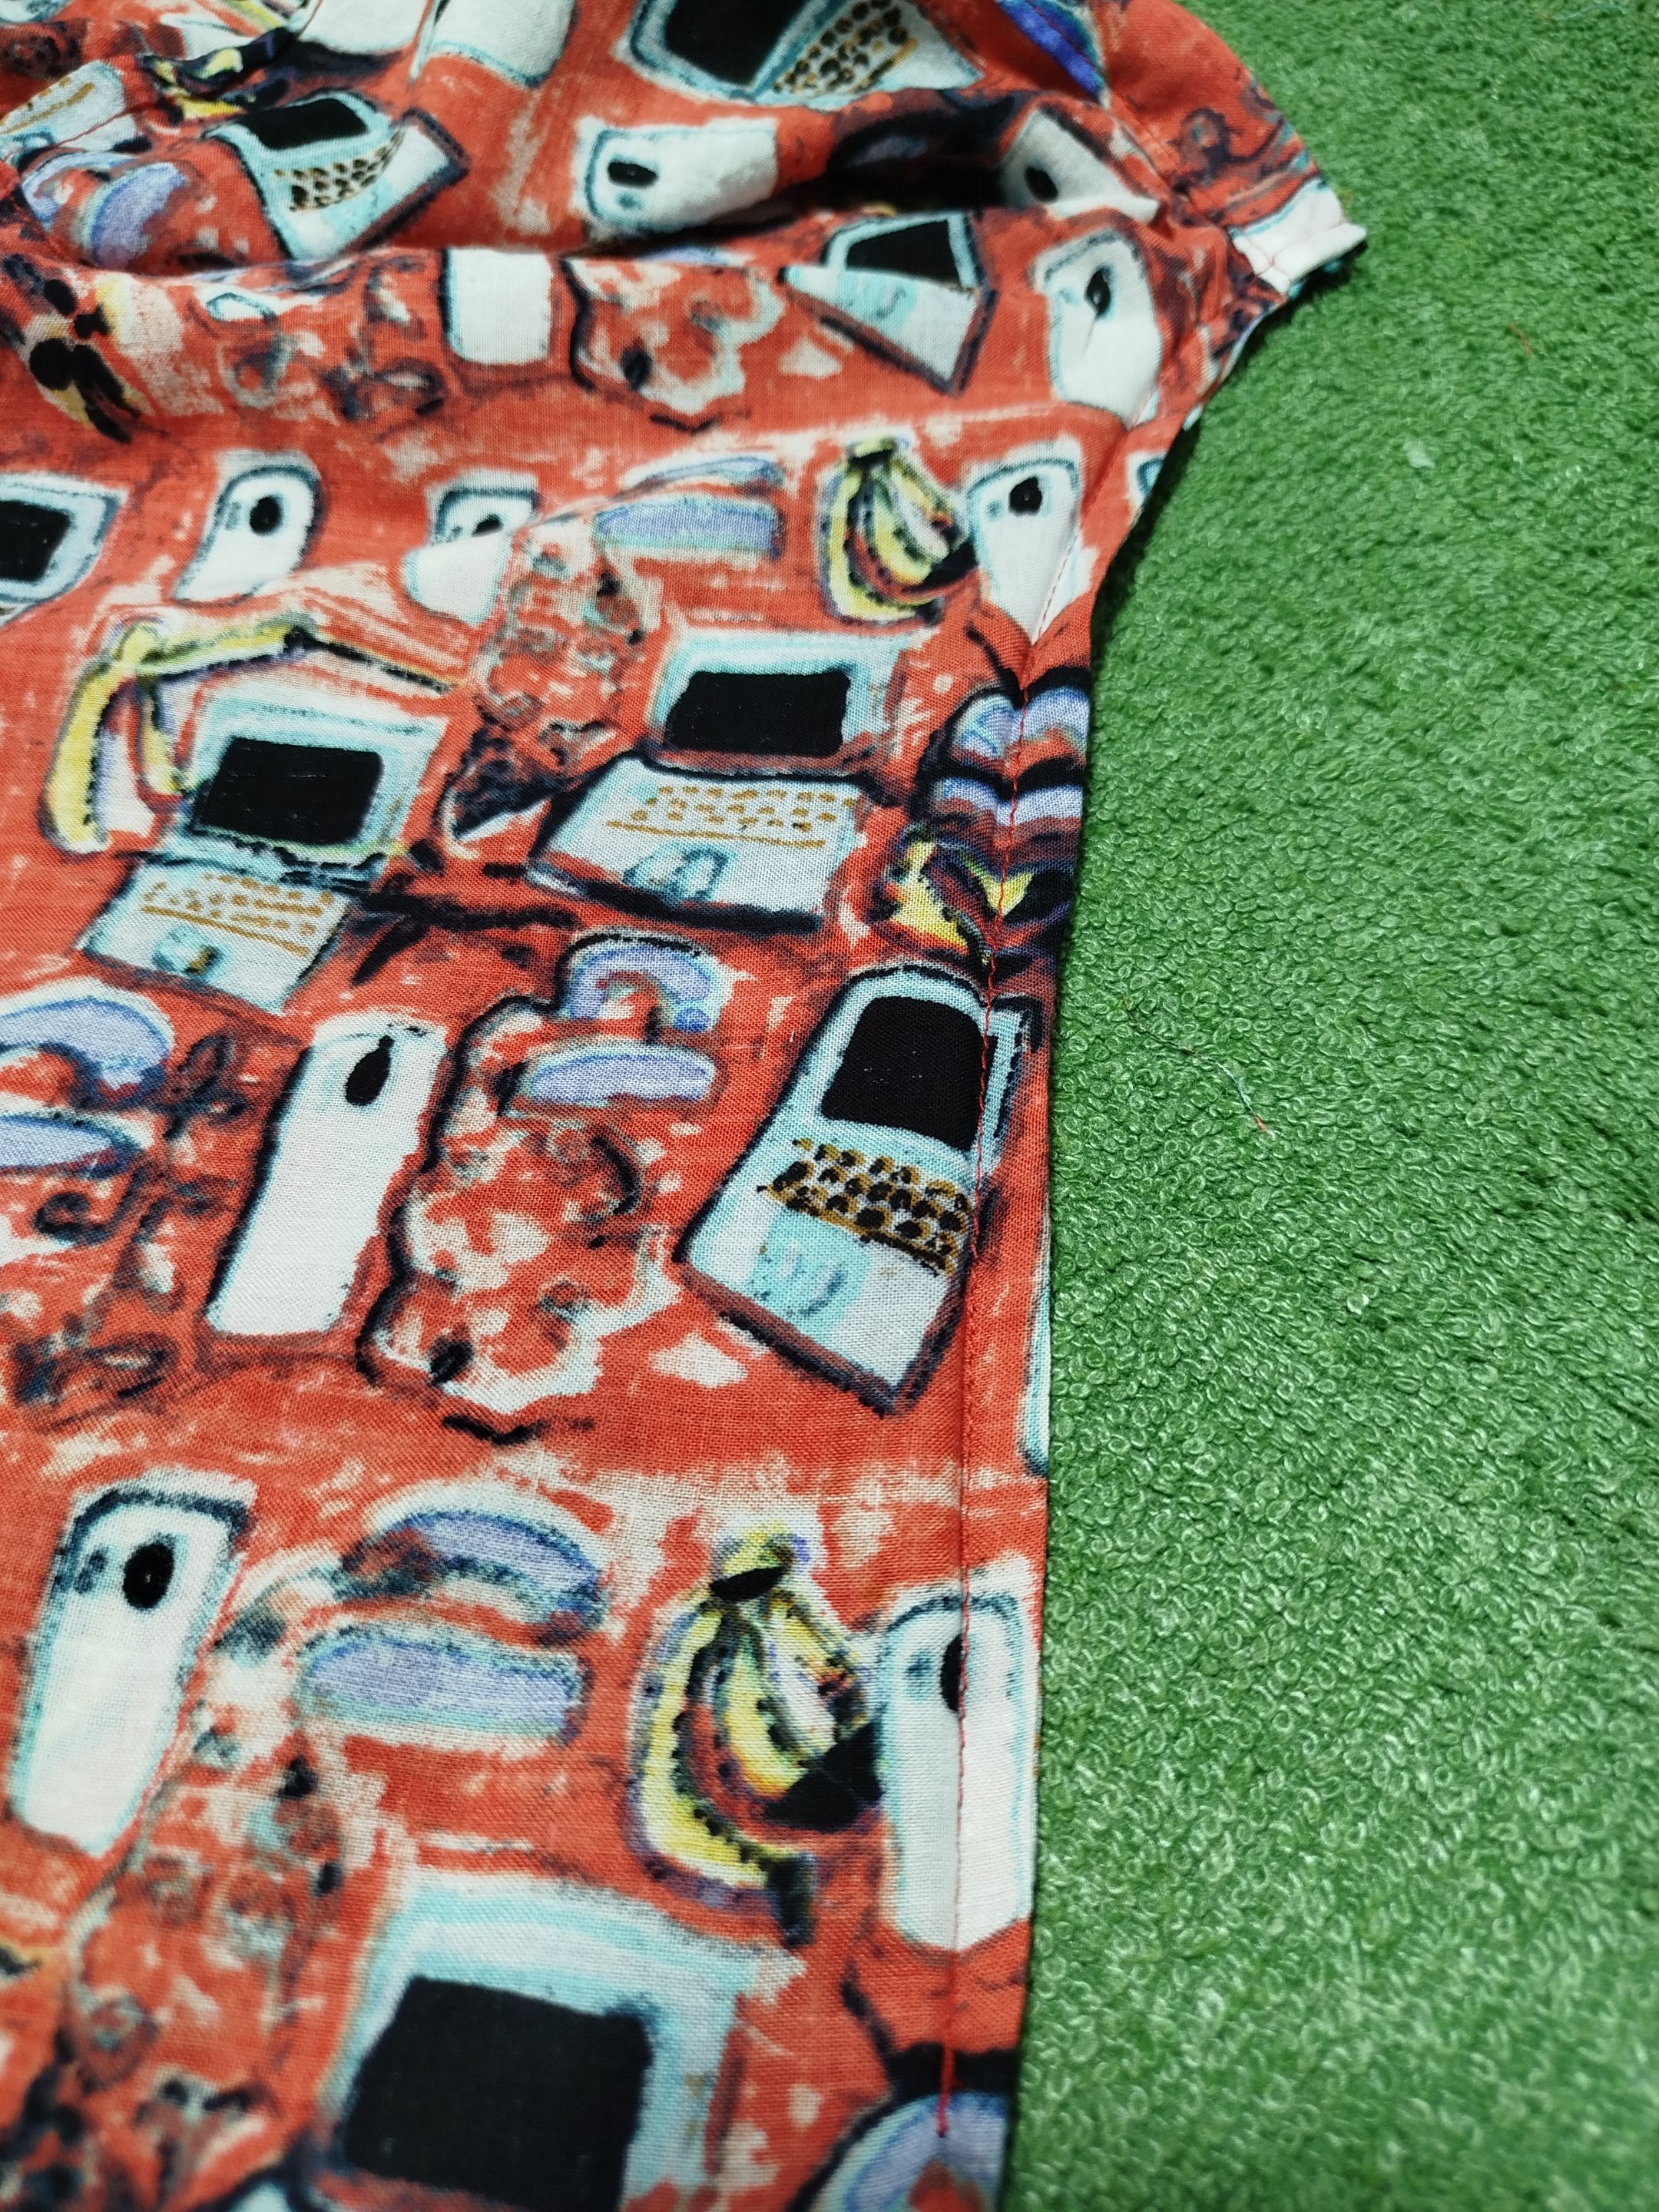
The next step was to sew the garment, following the same technique I used when joining the shoulders: first, facing the right sides of the blouse, then the wrong sides. Finally, I hemmed the bottom of the blouse.
 |
 |
 |
|---|---|---|
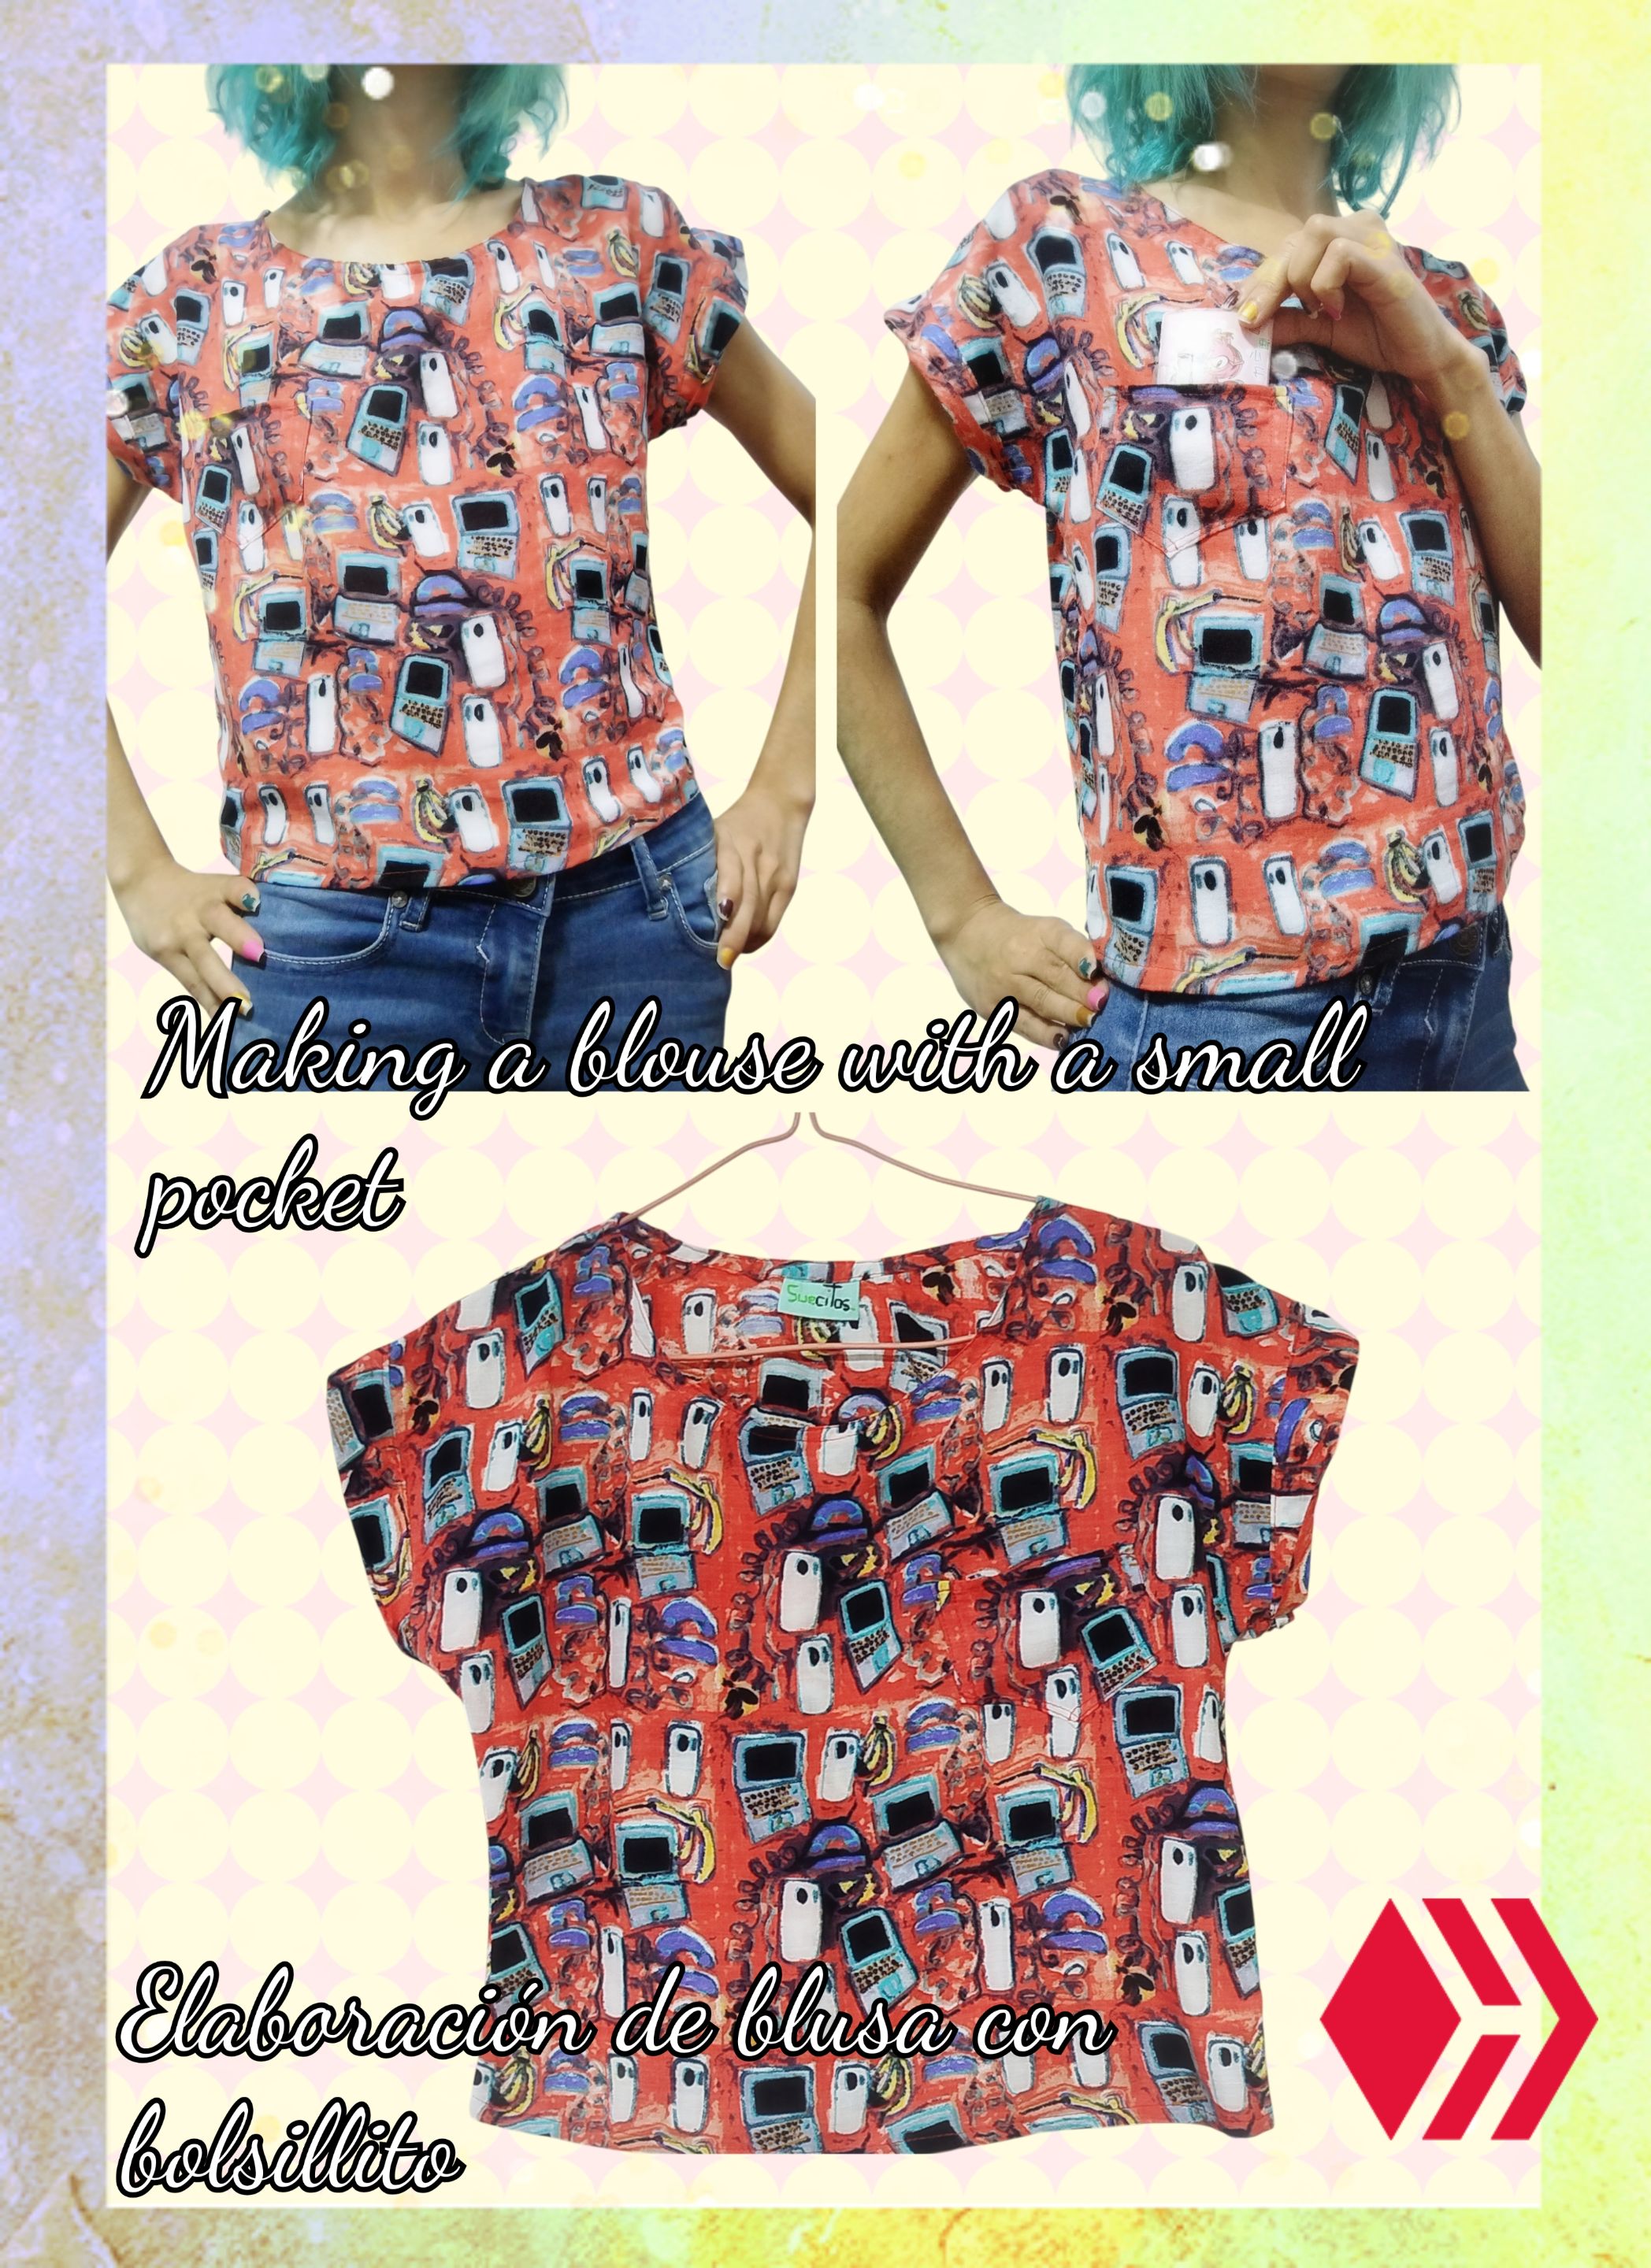
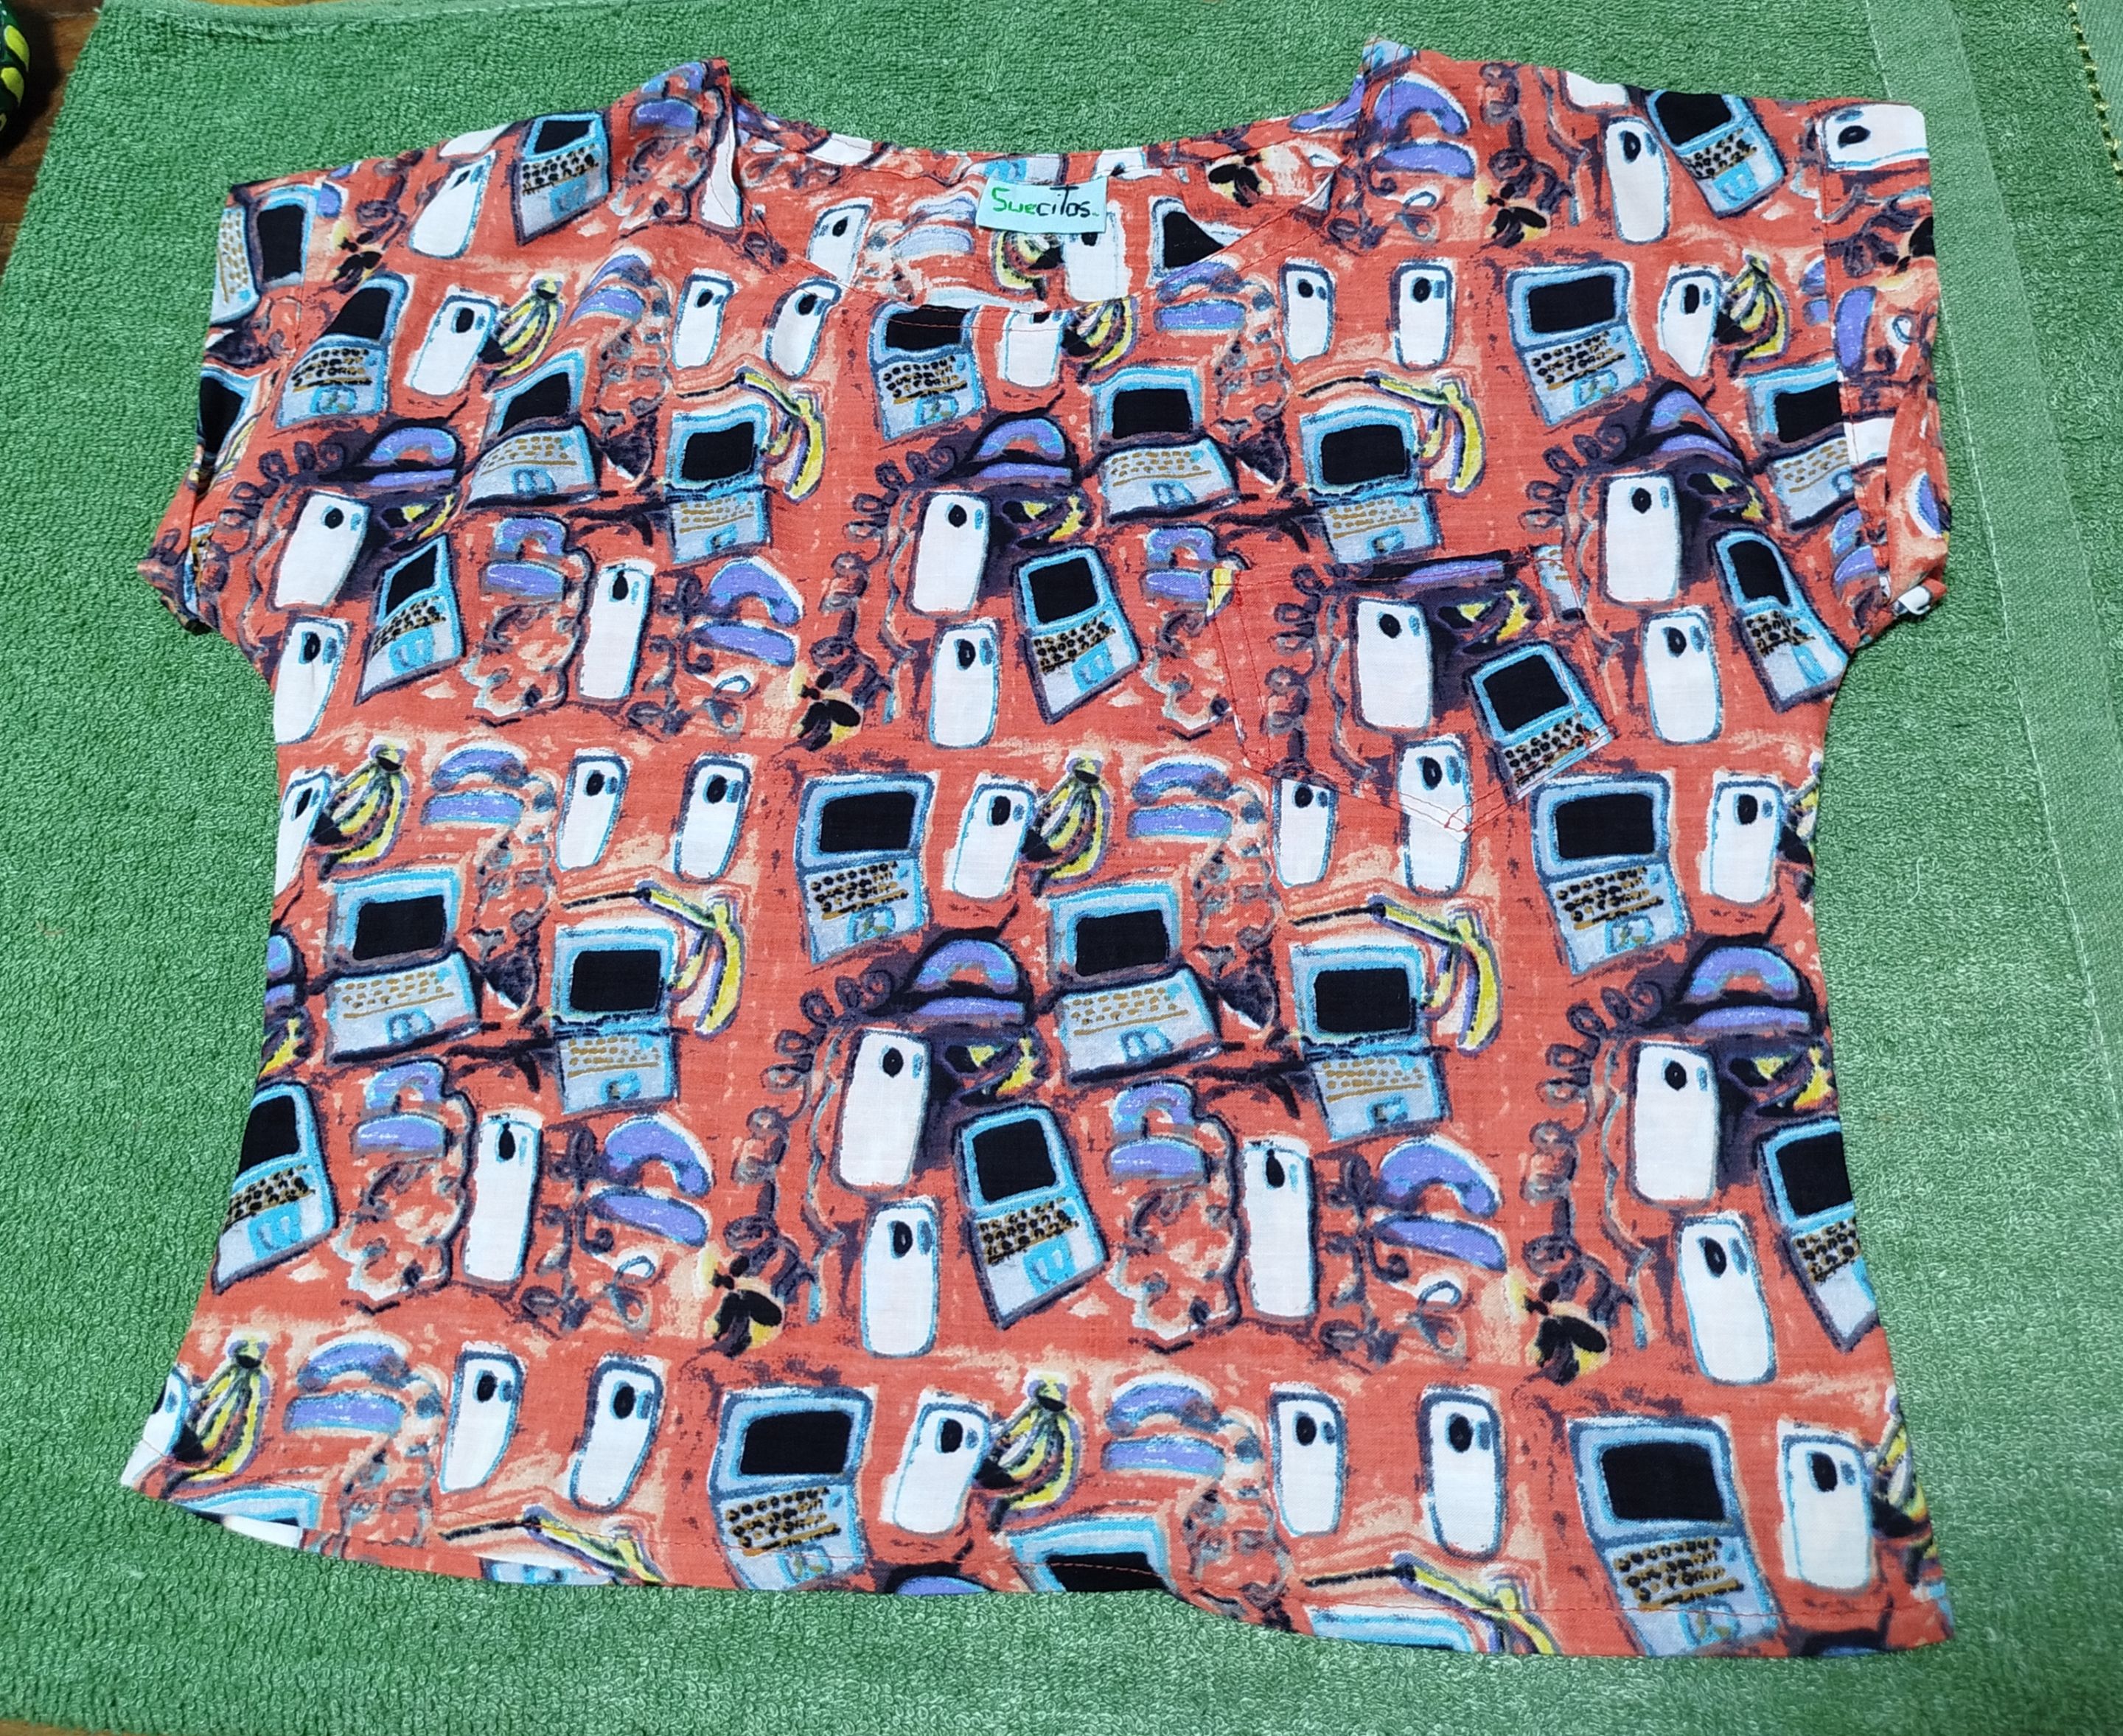
And so, the '90s-inspired blouse was finished. Quite simple to make and fresh ✨
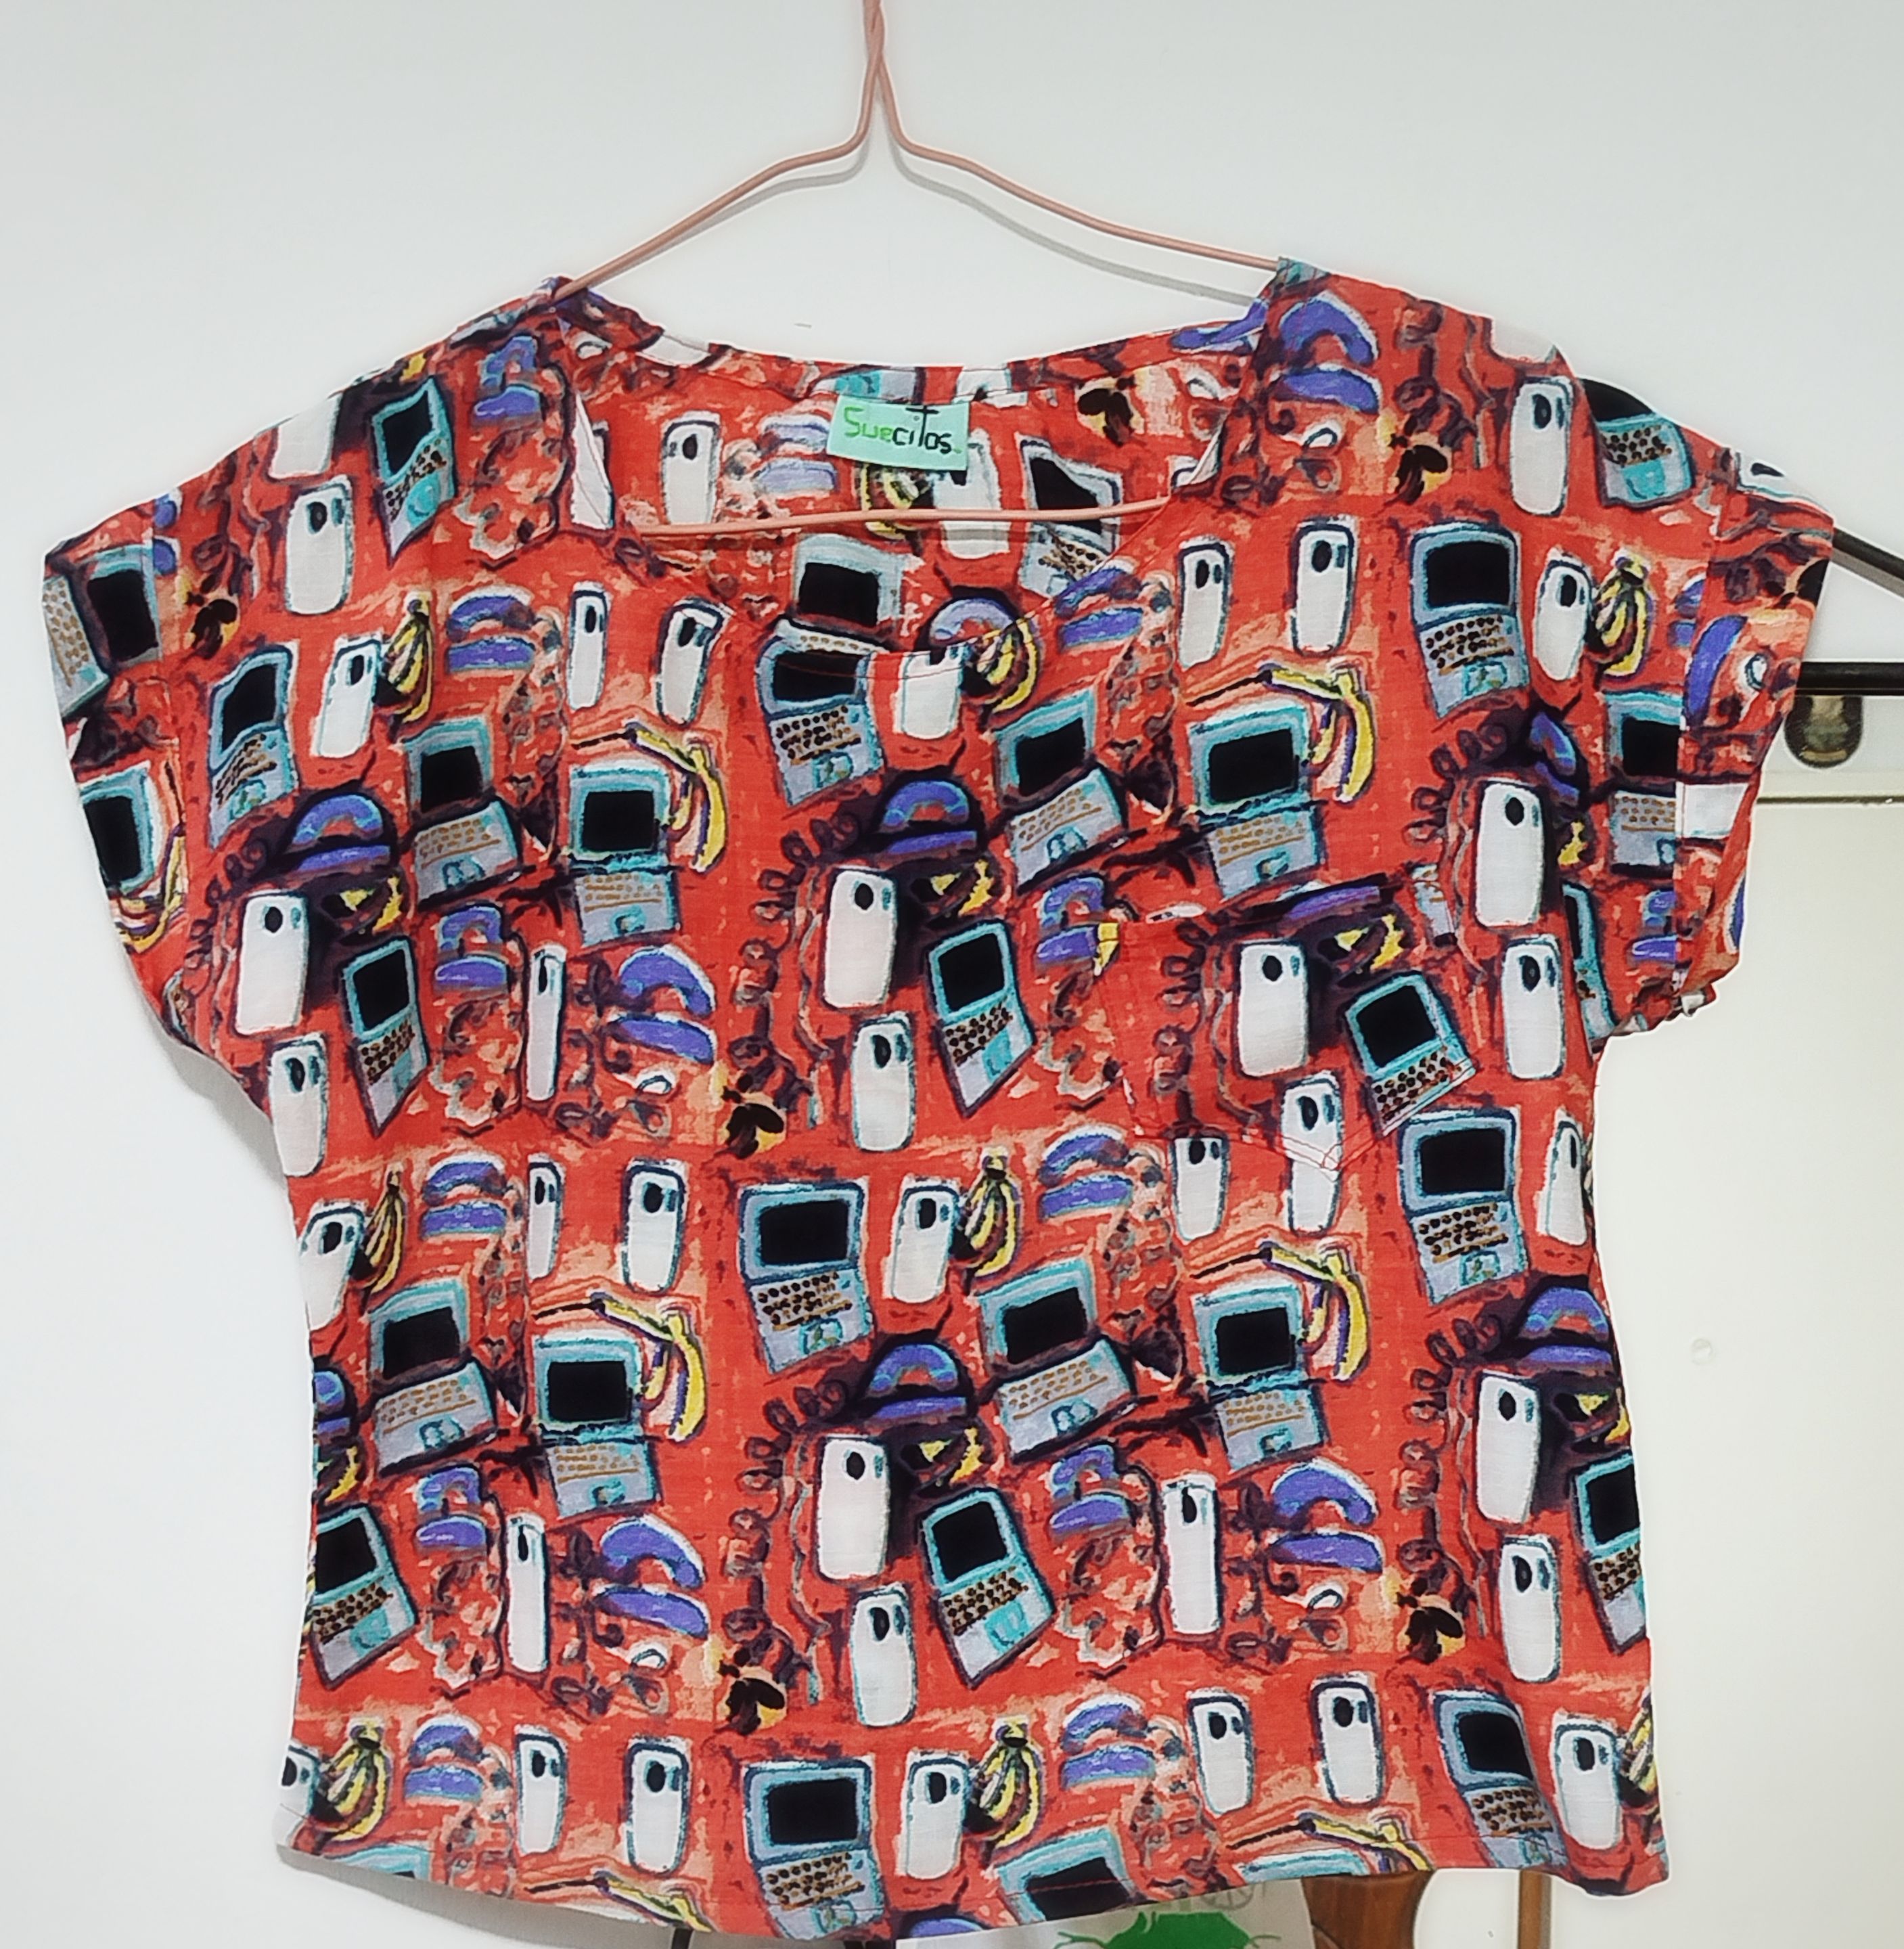
I must admit that I loved how it turned out, even though I'm not an expert at sewing clothes, it was a good decision not to use the fabric for a tablecloth haha I think the blouse would be fantastic to wear with showy accessories, like some very extravagant TV-shaped earrings that I have, I think they would look fantastic with this blouse. The little pocket still seems phenomenal to me, it's perfect for a bill, a candy or a small shopping list haha Later I'll show you what I make with the other fabrics I bought 🧡✨
 |
 |
|---|---|
 |
 |
|---|---|
✨ Thank you so much for checking out my post. I hope you found it interesting ✨
💚 See you next time! 💚

CONTENIDO EN ESPAÑOL
¡Hola a todos los integrantes de esta comunidad y amantes de la costura! Me encanta ir a los centros textiles y comprar así sea un metro de tela. Es así como he acabado con metros de tela de diseños variados, algunas que he adquirido más recientemente, entre otros metros que compré hace años y nunca les di uso, así como algunos metros de tela que me obsequiaron. Aún así, considero que no tengo suficiente tela o al menos, no del tipo que necesito para algunos proyectos en específicos jaja Así que, he decidido ir elaborando algunas piezas con las telas que ya poseo, ya sea para la venta o para mi propio uso.
Muy bien, hablemos de la tela que utilicé para elaborar la prenda de la que trata el post de hoy. En el centro textil donde la adquirí, la tenían bajo el nombre Alg Ternura, así que no sé que otro nombre reciba en otros lugares. Es rígida, delgada, pero no tan transparentosa. De hecho, creo que es menos transparentosa que el propio Dacron, lo cual, me pareció ideal para que su costo fuera de sólo 1$ por metro. Compré 1m solamente, ya que no tenía una idea en específico para ella. Me enamoré de su estampado, pues se me hizo muy retro, tiene algunos teléfonos y computadoras, recordándome a esos dibujos que traían algunas tarjetas de teléfonos públicos.
Confieso que estuve tentada a elaborar con la tela un mantel, para dejar en casa de mi novio, más específicamente, para su escritorio... pero descarté la idea por completo y me quedé con ella. Estando en casa, decidí elaborar una blusa con la tela, utilizando como patrón, una camisa de manga corta que mi hermana compró y cuyo corte, es de mi agrado. De esa forma, luego de lavar y planchar la tela, saqué las piezas correspondientes al delantero y el trasero de la blusa, así como un par de tiras para elaborar las mangas, con sus respectivos aumentos de costura.
|
|
|---|---|
Como la tela se deshilacha, decidí optar por realizar unas costuras escondidas en lugar de el zig zag para los bordes. Para ello, primero se cosen las piezas del derecho, para luego, volverlas a coser del revés. De ésta forma, se tiene un acabado más lindo en su interior. Por supuesto, tras cada costura, procedía a usar la plancha. Comencé la blusa uniendo en la parte de los hombros.
|
|
|
|---|---|---|
|
|
|
|---|---|---|
Seguidamente, pasé al cuello. Podía haber usado un bies o sesgo, pero decidí optar por simplemente doblar la tela (ese día me encontraba con ganas de arriesgarme jaja), aprovechando de colocar una etiqueta con el nombre de mi marca. Una vez establecido el cuello, pasé una segunda costura, para un efecto de collaretera.
|
|
|
|---|---|---|
La blusa de referencia no lo tenía, pero a la que estaba haciendo, quise anexarle un bolsillo, utilizando la tela sobrante de cuando había cortado las piezas. Tengo una blusa que tiene un bolsillito pequeño y me fascina. No es que lo use mucho, pero le da a la prenda un toque coqueto. En éste caso, dado el estampado de la tela, el bolsillo casi se pierde a la vista, volviéndose una especie de "bolsillo secreto" jaja pero pienso que eso, es lo que le da su encanto.
|
|
|
|---|---|---|
|
|
|
|---|---|---|
Después, tocó coser las mangas. Estas, eran bastante sencillas, pues se trataban de un par de tiras de tela, totalmente rectas y sin ningún tipo de curvatura. Cosí las mismas dobladas en lo que sería la sisa de la blusa, haciendo un pequeño doblez en los extremos.
|
|
1000260351.jpg (https://files.peakd.com/file/peakd-hive/suezoe/Ep5nG8hHzLgB2yCd1swfgoGcXx3HAHz91rts1AjoRzGHUsRtLvzP1jxtvR45n2bmZv3.jpg) |
|---|---|---|
Lo próximo, fue cerrar la prenda, siguiendo la misma técnica que utilicé al unir los hombros: Primero enfrentando ambos derechos de la blusa y luego, el reverso. Finalmente, hice un dobladillo en la parte inferior de la blusa.
| 1000275693.jpg (https://files.peakd.com/file/peakd-hive/suezoe/EoeFuGwXscYMm3ucV5B33z3hE5d8wUCAvAvnQxWTeE6pU219Pn6Pp7p1tG51d5QbpoT.jpg) | 1000260375.jpg (https://files.peakd.com/file/peakd-hive/suezoe/23yJGkYqXikBRSj2sJQ4K2s96kknvd2ZiAbEcuPjR26Nv91iMYoFDTPgpY5ahJP3LTLY2.jpg) | 1000275694.jpg (https://files.peakd.com/file/peakd-hive/suezoe/EowHa2MmZvsrTmTTDyBtGCgv4L3s1rG1fDd7oh8qvvDA83STEU4CrnbrvCiSeB7Jc6V.jpg) |
|---|---|---|
Y de ésta forma, la blusa con un aire de los años 90, estuvo terminada. Bastante sencilla de elaborar y fresca ✨
1000275695.jpg (https://files.peakd.com/file/peakd-hive/suezoe/23t7o9hDzd5f75LYyrESdCR6DZyzAXN25p74pBMNfZzA5QQBCHQWNzpX66N7VXX8Fw1EK.jpg)
Debo admitir que me encantó como quedó, a pesar de no soy experta cosiendo ropa, fue una buena decisión no usar la tela para un mantel jaja Creo que la blusa sería fantástica para usarla con accesorios vistosos, como unos aretes muy extravagantes con forma de televisor que tengo, considero que se verían fantásticos con esta blusa. El bolsillito, sigue pareciéndome fenomenal, es perfecto para un billete, un caramelo o una pequeña lista de compras jaja Luego les muestro lo que vaya elaborando con las otras telas que adquirí 🧡✨
| 1000260490.jpg (https://files.peakd.com/file/peakd-hive/suezoe/23z7QHmv4UmrtN4LkUPeVphoisVPAnBaukqnpBsoc5NdMPq8fVQtYUpdxLouJgApDy6kb.jpg) | 1000275717.jpg (https://files.peakd.com/file/peakd-hive/suezoe/23x1FU4JfAbsGH6XbX3wwSqbmr35jpVyrE4C1nV1KxBsKkfpdWnJbwbtfx4FVcgcBRfGg.jpg) |
|---|---|
| 1000275715.jpg (https://files.peakd.com/file/peakd-hive/suezoe/23x1FQ5sXRfH1xrUxLJKRp3DDfSnNdbNfX1yxQdQR7n6jppp5nah8sBeifuddtAQTKuUz.jpg) | 1000275716.jpg (https://files.peakd.com/file/peakd-hive/suezoe/23wCJ2Nj7zqfabTu4zqA7n4a5Vup7yzqZY1QDhXHDCReLPekPCP4pUZWDvQ8KwHWqZLok.jpg) |
|---|---|
✨ Muchas gracias por haber visitado mi publicación. Espero que les haya parecido interesante ✨
💚 ¡Hasta una próxima oportunidad! 💚
Banner_firma.jpg (https://files.peakd.com/file/peakd-hive/suezoe/243qKSX98HnS81RSc373SCdZCWRTfTqNYaNDPUS5jHdkJGkUn7b1TXxBkwrZPgzVjB2WH.jpg)
https://linktr.ee/sue_zoe