Repository
https://github.com/bcit-ci/CodeIgniter
What Will I learn ?
- You will learn how to configure and use Codeigniter Framework
- You will learn how to get follower and following count from steemit API
- You will learn how to animate the number using odometer
- You will learn how to load live count every second
Requirements
- Basic knowledge about PHP, Javascript, HTML
- Editor and browser
- XAMPP or LAMPP
Difficulty
- basic
Tutorial Content
 This Live Follower / Following count is the same as the page for calculating yutube subcriber in real time. Here I am trying to use Codeigniter as a framework. For web page display I use bootstrap and to animate the numbers I use odometer. As for the data I take directly from the Steemit API.
- Configure Codeigniter
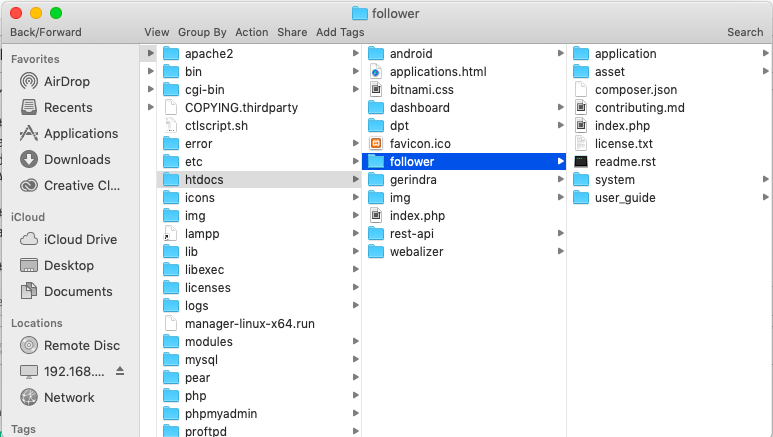
- Download Codeigniter on its official website https://codeigniter.com/download
-
Extract it in htdoc folder and rename it as follower
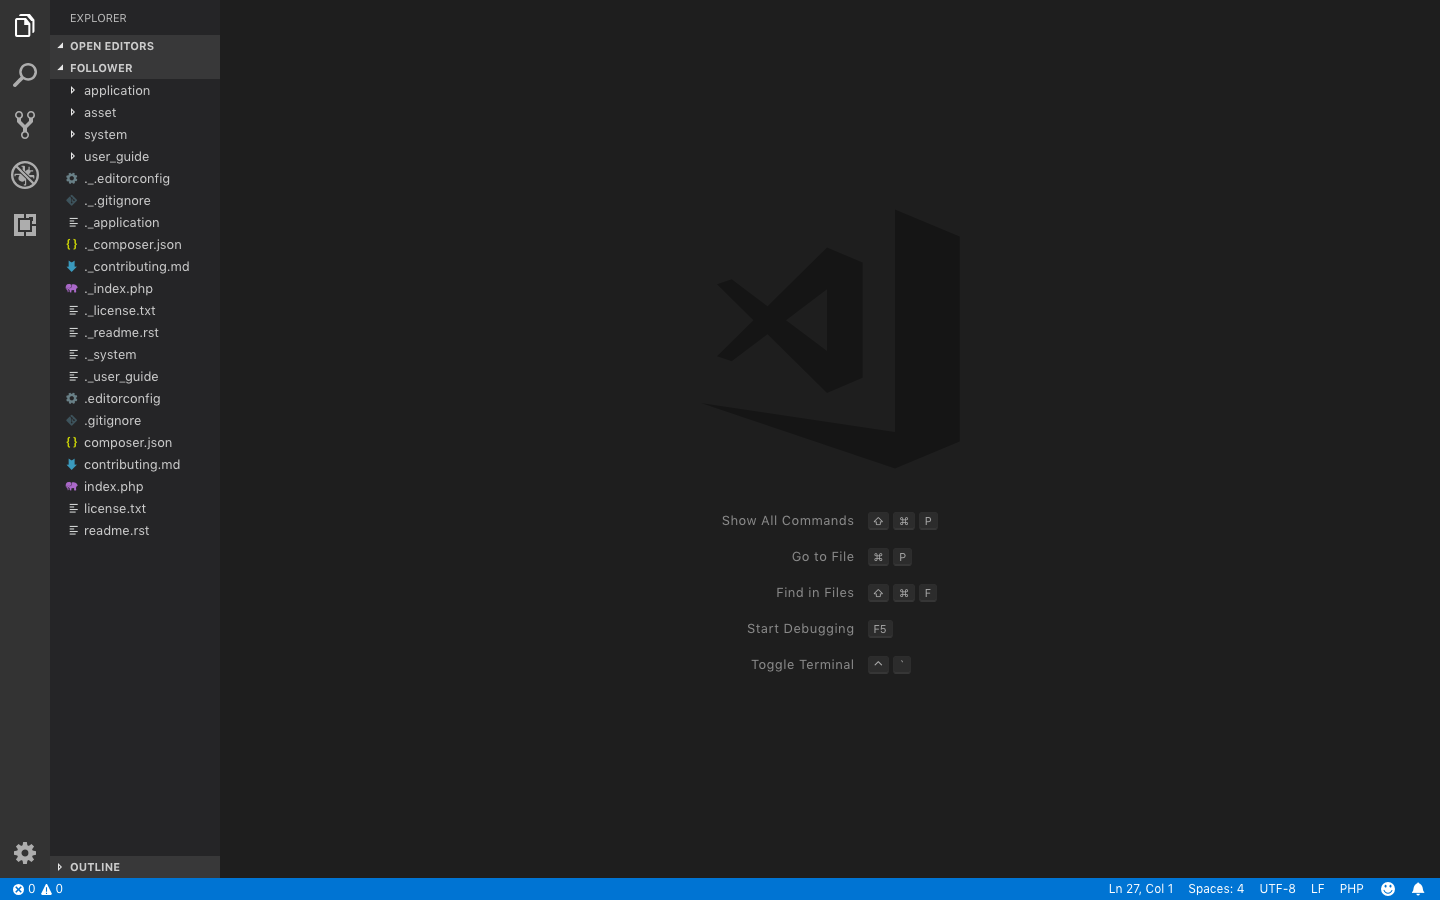
-
Open it on your editor. Here I use Visual studio code
-
Open Application > Config > config.php and search
$config['base_url']then add the value with your base url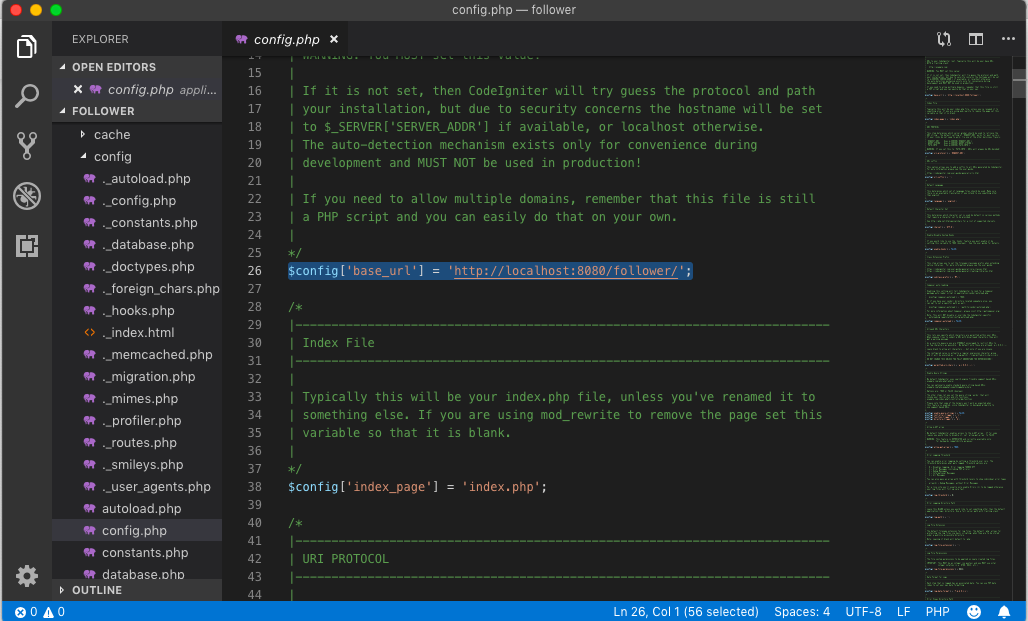
-
Open Application > Config > autoload.php and search
$autoload['helper']then addurlas array value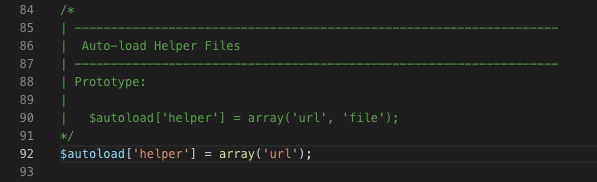
-
Open Application > Config > routes.php and search
$route['default_controller']then change the value fromwelcometofollower. This is to set the default controller.
-
Open Application > Controller then create new php file and rename it as
Follower.php - Then add this code to the
Follower.phpfile
load->view('follower');
        // to load the display page in application > view
    }
}
-
Now go to Application > View and create new php file as
follower.php. Why ? because in Controller file you load the page with name is follower, so you should create with the same name. -
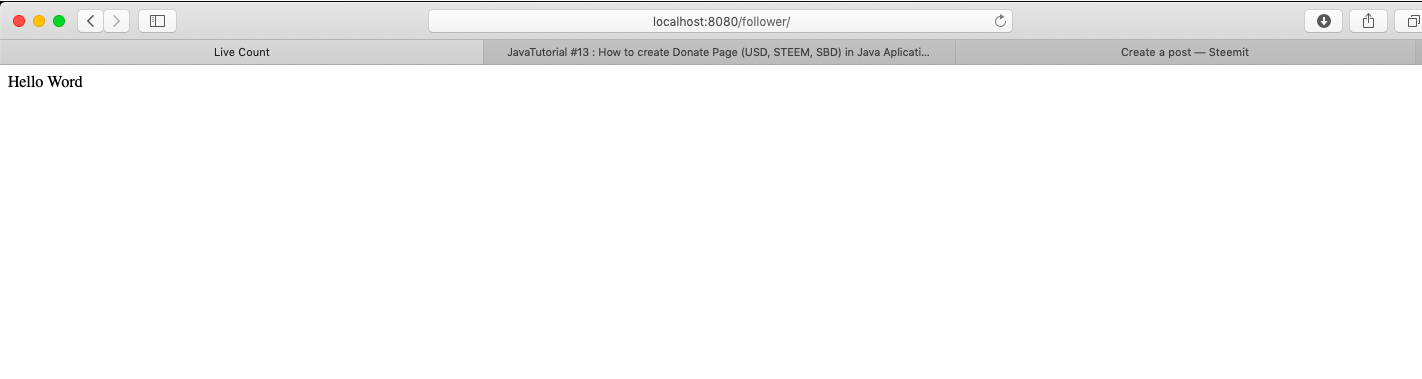
Add html:5 component to
follower.phpand add some text in body then run on your browser to see the result
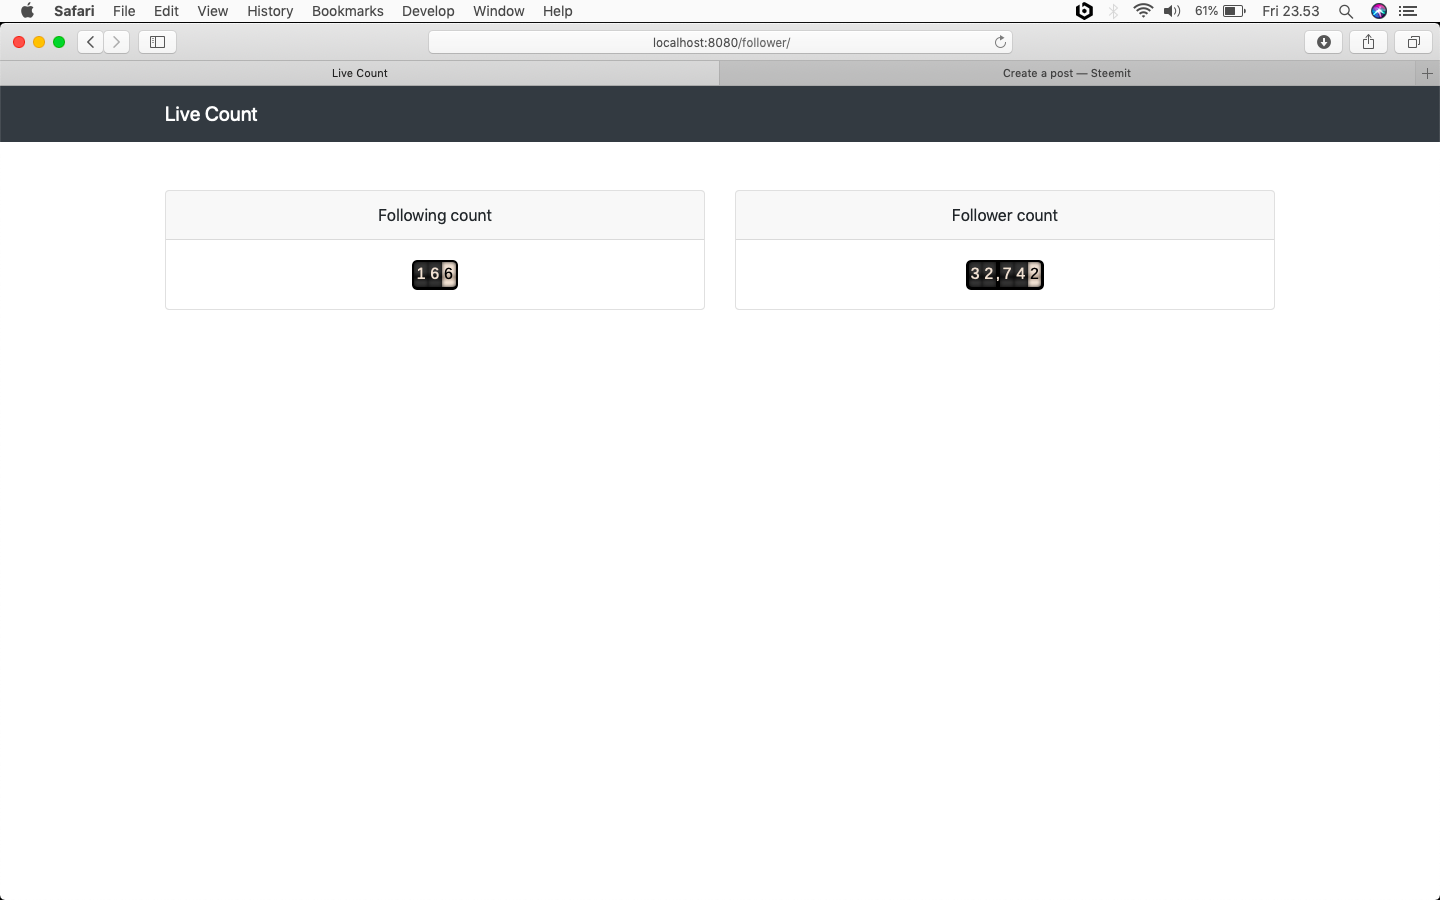
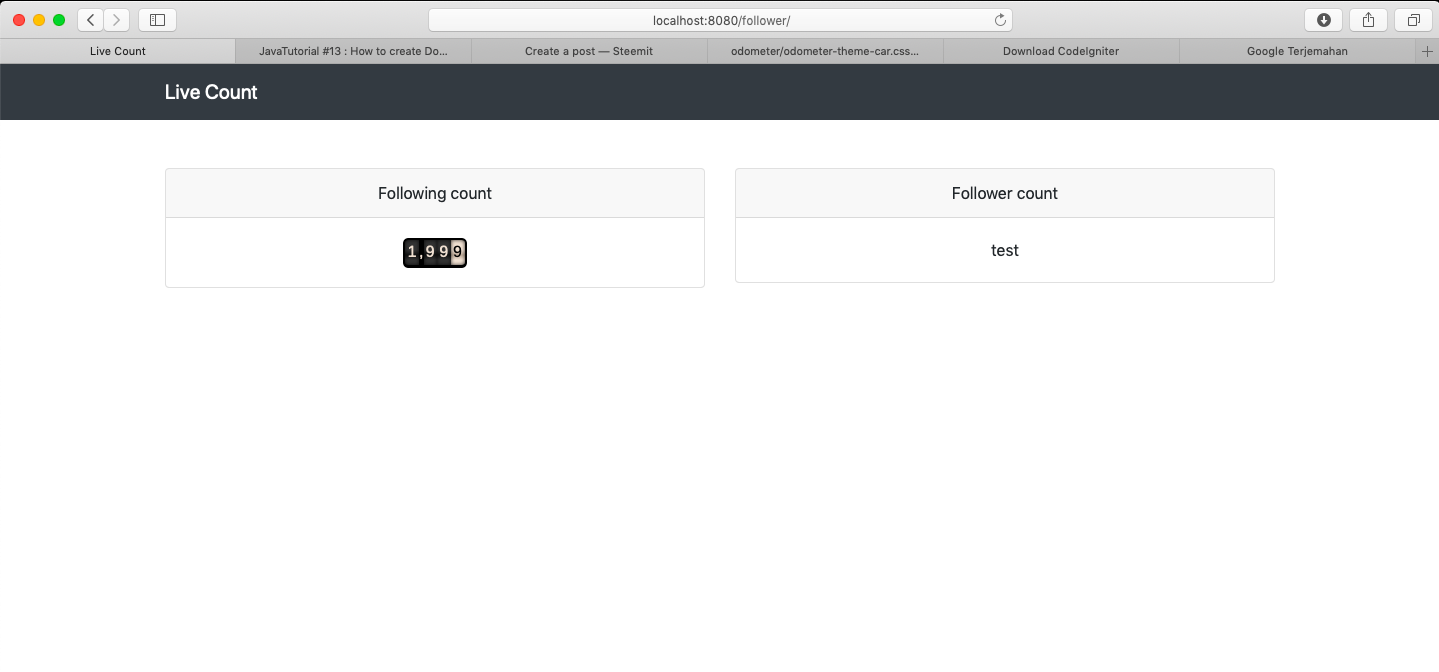
    Live Count


    Hello Word
- If you see like this that mean the configuration is success
- Design The Display Page using Bootstrap
- Add the CDN of Bootstrap in
headcomponent. For more detail you can read here : https://getbootstrap.com/docs/4.3/getting-started/introduction/
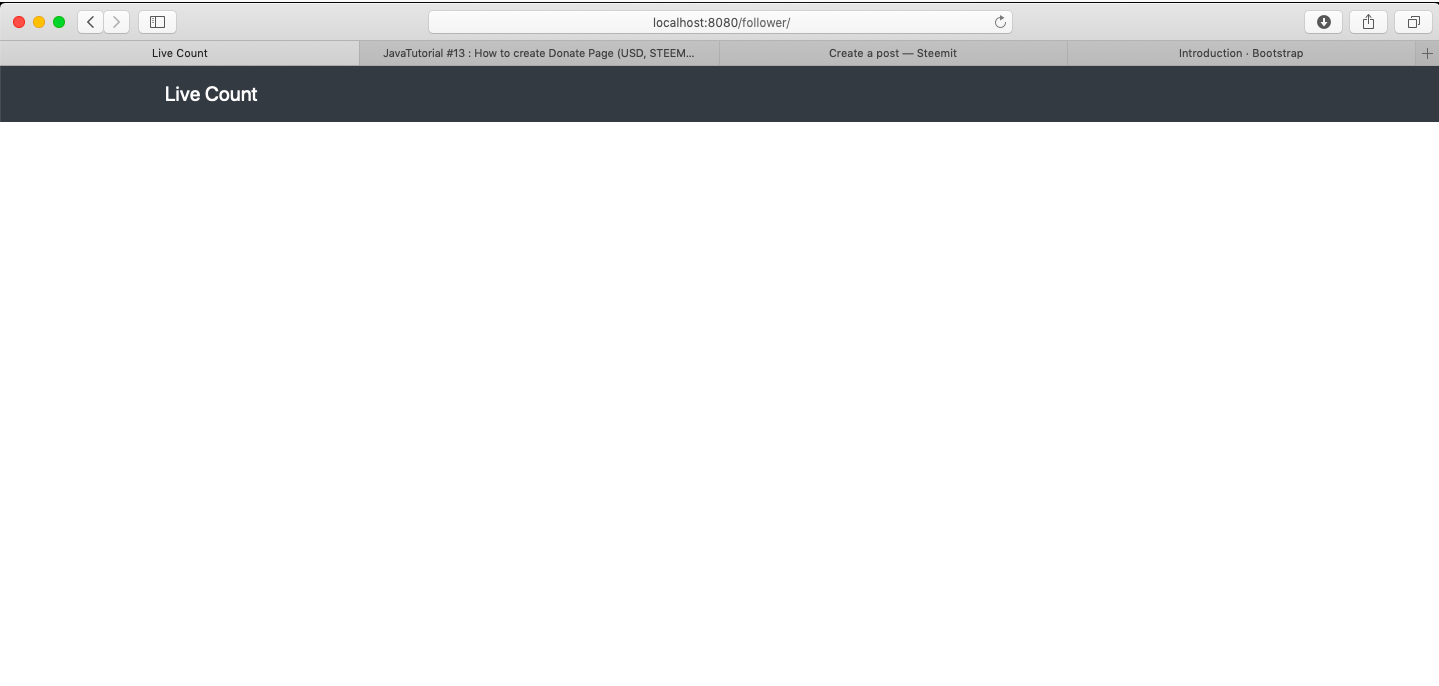
- Create a navbar to write the title
result :
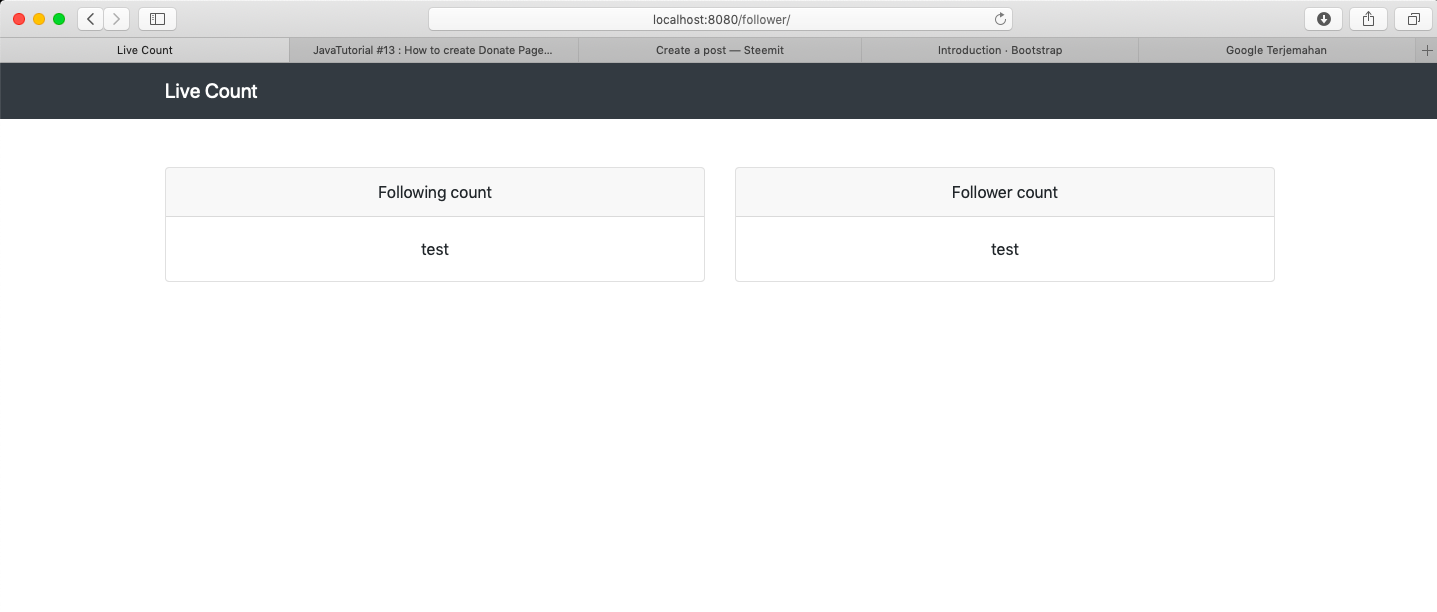
- Create 2 columns using
cardclass. One for follower and one other for following.
                        Following count


                        test


                        Follower count


                        test
result :
- Add Odometer
- To animate the number of result we use odometer. you can check it on GitHub : https://github.com/HubSpot/odometer
- Odometer provide some theme you can see the detail on its document. Here I use
odometer-car-theme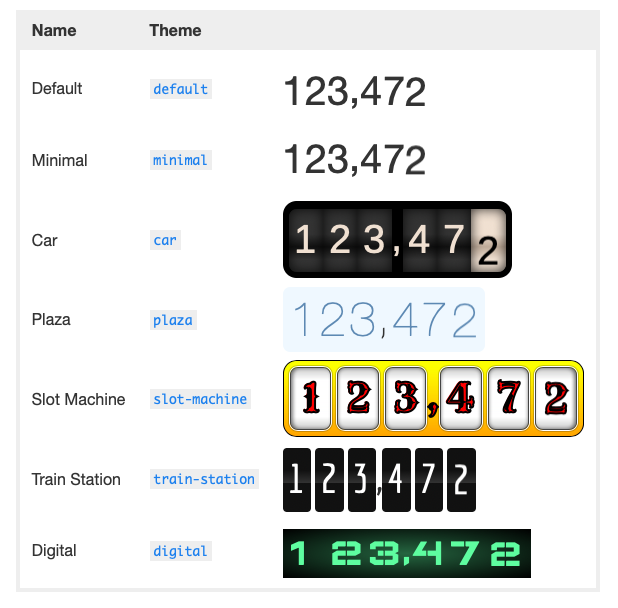
- back to visual studio code. Create new folder as
assetin root. Then create 2 new folder again in asset. Itsjsandcss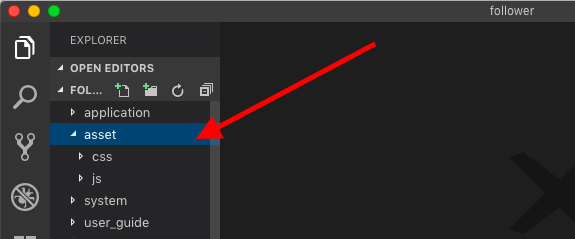
- create new js file as
odometer.jsin asset > js. - Copy all code from https://github.com/HubSpot/odometer/blob/master/odometer.js and paste it on your
odometer.jsin js folder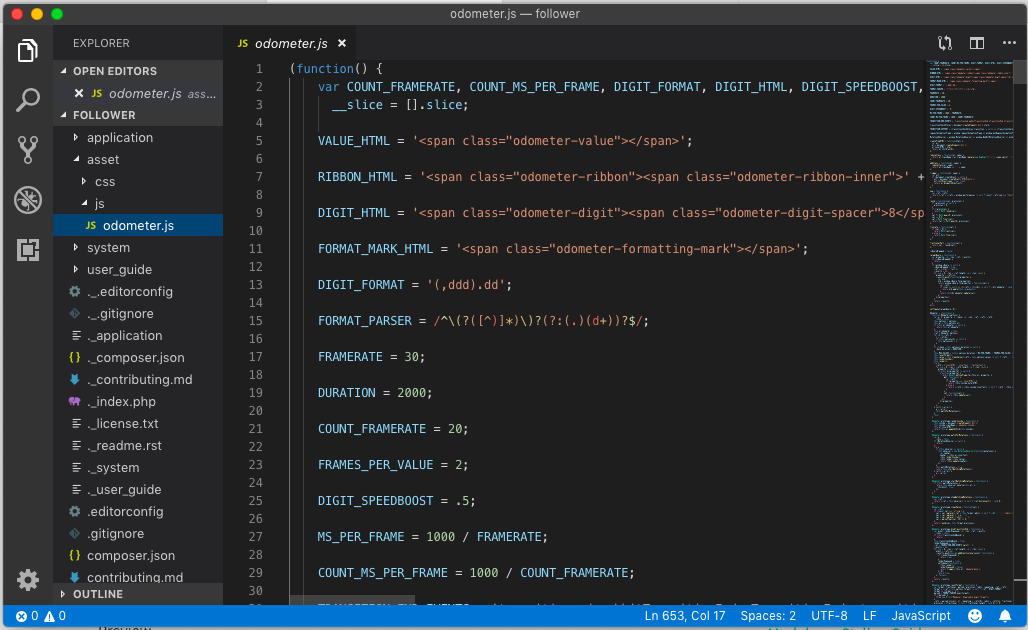
- Create new css file as
odometer-theme-car.cssin your css folder. - Copy all code from https://github.com/HubSpot/odometer/blob/master/themes/odometer-theme-car.css and paste it on your
odometer-theme-car.cssfile.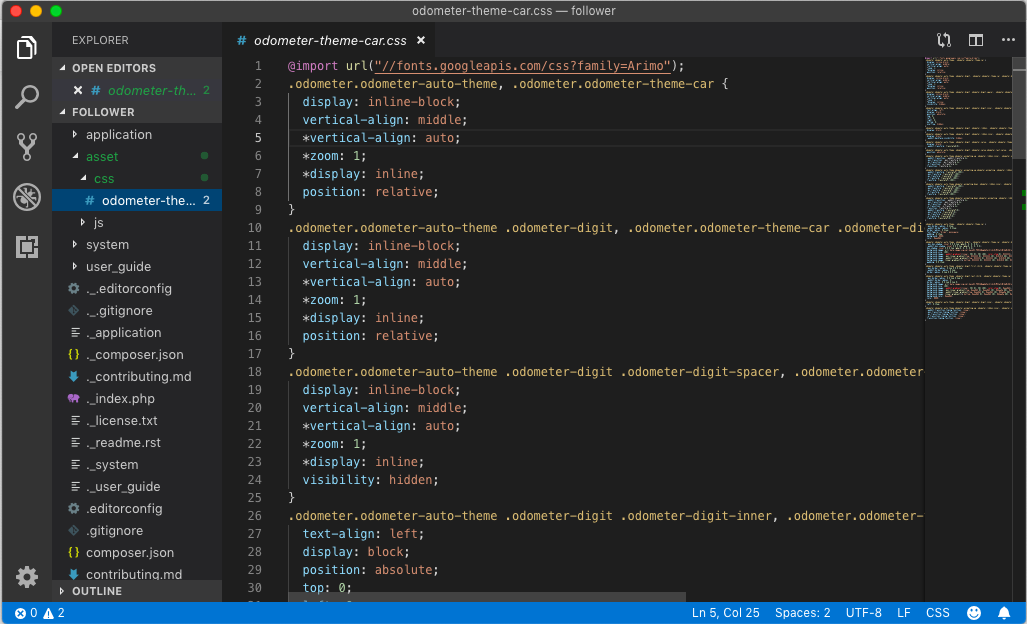
- To Call odometer js dan css just go to application > view > follower.php add the following code in
headelement
- To try the odometer just add this code in
card-bodyclass
1999
-
If you see like this that mean the odometer is run as possible
-
Now add
incard-bodyfor follower andfor following like this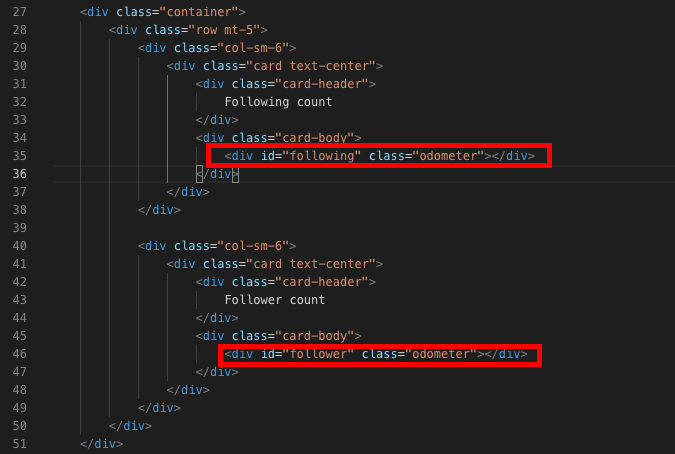
- Get live data from STEEM API
- add steem js CDN in head element of
follower.phpfile
-
Open