
Hola Hivers, espero que todos esten contentos y felices. Un saludos especial a la comunidad y a los desarrolladores!
ENGLISH VERSION AT THE END.
Serie de Tutoriales de React, Hive y Typescript
Tratando de modernizar lo que se encuentra actualmente disponible, me atrevo a compartir el conocimiento para que otros desarrolladores de React y Web3 puedan aprender y profundizar. Estare entregando tutoriales modernos usando herramientas como: - ReactJS, Typescript, Vite, Webpack, Nodejs, Dhive, Hive Keychain, keychain-helper y todo lo que haga falta.
Muy importante: debes estar familiarizado con crear proyectos usando comandos de terminal, npm o yarn u otro manejador de paquetes. Y debes tener instalado en tu sistema operativo nodejs. Y un editor de codigo. Recomiendo VSCode.
He dispuesto el proyecto matriz Aca
Lo puedes clonar o descargar y correr en tu PC.
1. Copia el enlace https://github.com/theghost1980/react-hive-tutorials.git.

- Ve a tu editor de codigo, ejemplo: VSCode y busca la opcion "Source Control" y elige "Clonar repositorio".
- Una vez clonado, y dentro de la carpeta raiz, simplemente ejecuta:
npm installo si usas yarn:yarn add - Y corres la aplicación:
npm run dev
o usando yarn:
yarn dev
Que encontraras en dicho proyecto?
Un indice con el codigo completado de cada entrega.
La idea es que vayas haciendo el codigo con la ayuda de este post y luego puedas comparar o revisar para corregir de ser necesario.
Código base del lector de publicaciones Tutorial #1
- Dentro de tu editor de código, crea un nueva carpeta e inicializa usando:
npm init -yesto creara un archivo package.json con informacion por defecto. - Ahora instalemos todo lo que necesitamos:
npm install react react-dom axios
- Seguimos instalando:
npm install --save-dev typescript @types/react @types/react-dom vite
- Crea el archivo
vite.config.tsen tu directorio raiz y su contenido debe ser:
import { defineConfig } from 'vite';
import react from '@vitejs/plugin-react';

export default defineConfig({
  plugins: [react()],
});
- En el mismo directorio raiz, creamos el archivo
tsconfig.jsoncon:
{
  "compilerOptions": {
    "target": "ESNext",
    "module": "ESNext",
    "jsx": "react-jsx",
    "moduleResolution": "bundler",
    "strict": true,
    "esModuleInterop": true,
    "skipLibCheck": true,
    "forceConsistentCasingInFileNames": true
  }
}
Ojo no me detengo en lo basico sobre configuraciones ya que siempre puedes hablar con chatgpt o gemini y con gusto te daran mucha guia :)
- Ahora creeemos en raiz, la carpeta
src, ya que es una practica estandar para ubicar los archivos de codigo fuente. - Dentro de la recien creada carpeta
src, creamos el archivomain.tsx, y su contenido debe ser:
import React from "react";
import ReactDOM from "react-dom/client";
import App from "./App";

ReactDOM.createRoot(document.getElementById("root")!).render(


);
- Y ahora debemos crear
App.tsxcon:
import React, { useEffect, useState } from "react";
import axios from "axios";
interface Post {
title: string;
author: string;
permlink: string;
created: string;
}
export default function App() {
const [posts, setPosts] = useState([]);
useEffect(() => {
const fetchPosts = async () => {
const response = await axios.post("https://api.hive.blog", {
jsonrpc: "2.0",
method: "condenser_api.get_discussions_by_created",
params: [{ tag: "hive", limit: 5 }],
id: 1,
});
setPosts(response.data.result);
};
fetchPosts();
}, []);
return (
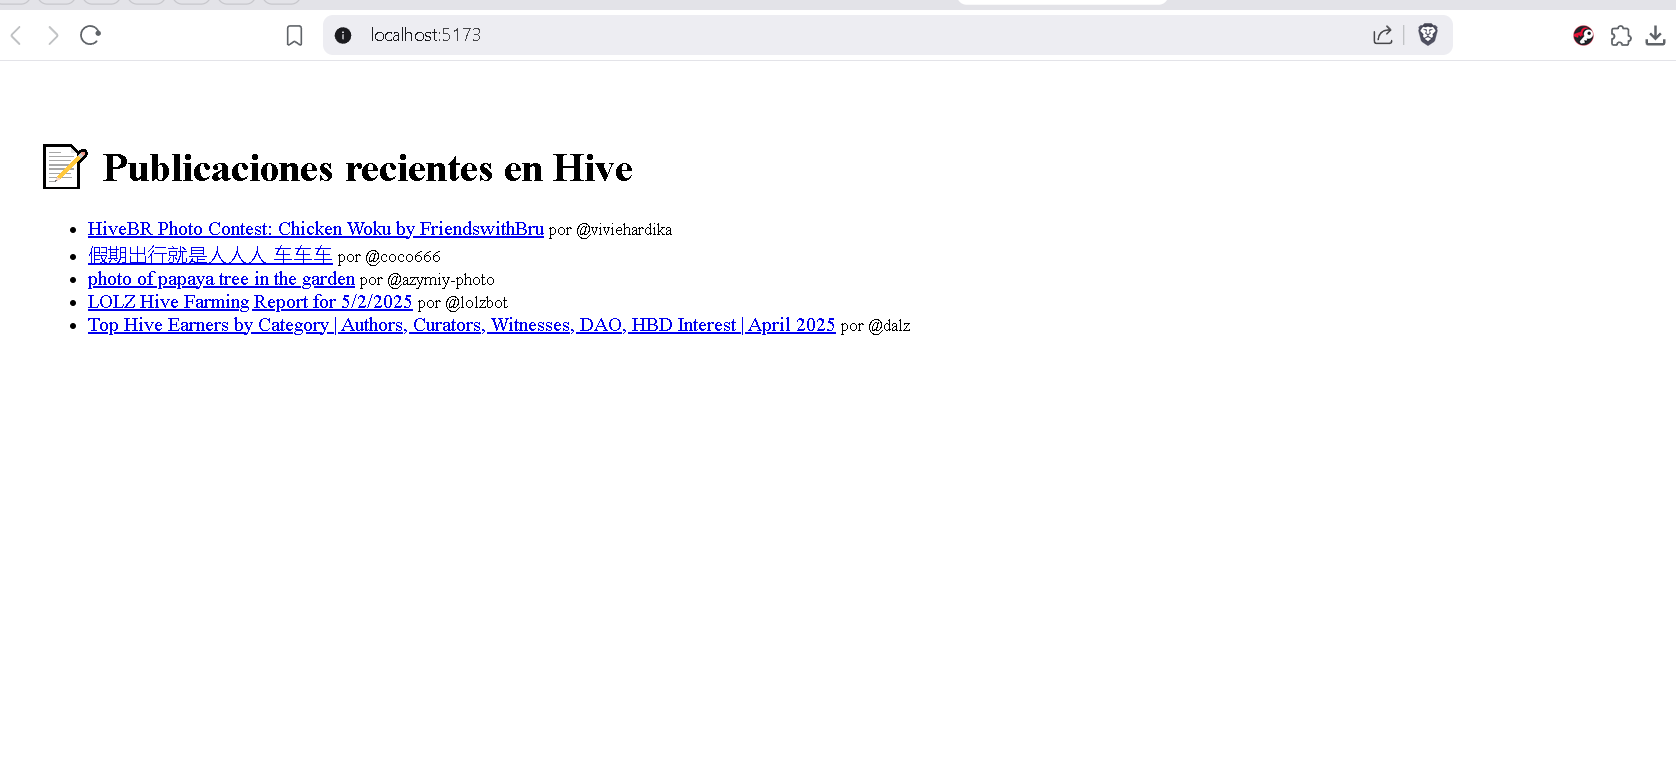
📝 Publicaciones recientes en Hive
{posts.map((post) => (
-
{post.title}
{" "}
por @{post.author}
))}
);
}
- Por ultimo debemos agregar nuestro archivo
index.html, con el contenido:
Tutorial 01 - Hive Reader
-> Ahora ya podemos correr nuestra primera app de Hive & React, haciendo:
npx vite dentro de la terminal de VSCode. Y deberiamos ver esto en la terminal:
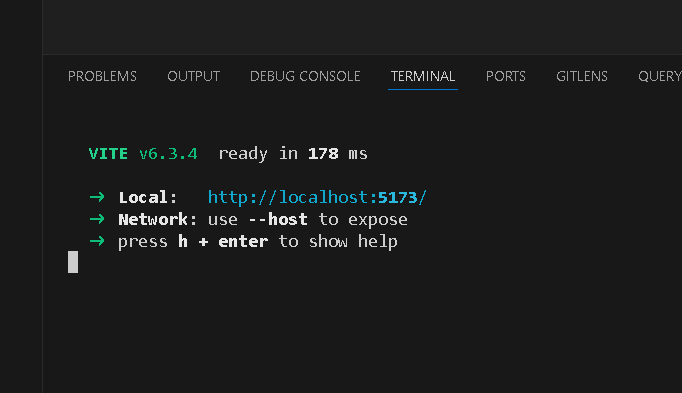
Y podemos hacer CTRL + Clic sobre el enlace y se abre automaticamente el navegador con la App corriendo. Y deberias ver:

🧠 Un poco de conceptos básicos
-
Vite se encarga de ser el bundler o empaquetador moderno que sirve tu aplicación durante el desarrollo y la compila para producción. Es rápido, ligero y reemplaza a herramientas como Webpack. → vitejs.dev
-
React es quien se encarga de construir interfaces de usuario declarativas usando componentes reutilizables. Es la biblioteca principal que usamos para renderizar la UI. → reactjs.org
-
TypeScript es quien agrega tipado estático sobre JavaScript. Esto ayuda a detectar errores antes de tiempo y mejorar el autocompletado en el código. → typescriptlang.org
-
Axios es quien facilita hacer peticiones HTTP desde JavaScript o TypeScript. Lo usamos para conectarnos fácilmente a la API de Hive usando
POST. → axios-http.com -
JSON-RPC es el mecanismo o protocolo encargado de enviar comandos a la blockchain de Hive (como leer posts) mediante llamadas HTTP. Es simple y basado en JSON. → json-rpc.org
-
La página
index.htmlsirve como punto de entrada principal para la aplicación. Es el archivo que Vite carga y dentro del cual React renderiza todo. -
npm es quien gestiona las dependencias del proyecto. Permite instalar librerías como React, axios o Vite, y ejecutar scripts del proyecto. → npmjs.com
Datos interesantes para el desarrollador:
Sabías que Hive Keychain, aunque es una extension para Navegadores en esencia es una aplicación hecha en React y Typescript? En cambio tribaldex.com esta desarrollada en Vue que es otro marco de trabajo para aplicaciones web modernas.
🚀 ¿Querés ir un paso más allá?
Te dejo un desafío opcional para aplicar lo que aprendiste:
🧪 Permitir al usuario elegir la etiqueta (
tag) que quiere consultar.
En lugar de traer siempre publicaciones de la etiqueta hive, podés agregar un campo de texto y que el usuario escriba la que quiera (por ejemplo: spanish, photography, programacion, etc.). Luego hacé que se actualicen los resultados según esa entrada.
💡 Otros retos que podés intentar:
- Mostrar la fecha del post de forma legible (ej:
1 de mayo, 2025) - Agregar un botón "Refrescar" para recargar los datos
- Mostrar número de votos o payout estimado
- Filtrar por autor
- Limitar la cantidad de resultados mostrados
Seguiremos conectados para traerles la proxima entrega! Y Si quieren algun tutorial especifico pues deja en comentarios.
English Version Here
Hi Hivers, I hope everyone is happy and happy. Special greetings to the community and developers! ### React, Hive and Typescript Tutorial Series Trying to modernize what is currently available, I dare to share the knowledge so that other React and Web3 developers can learn and go deeper. I will be delivering modern tutorials using tools like: - ReactJS, Typescript, Vite, Webpack, Nodejs, Dhive, Hive Keychain, keychain-helper and everything you need. ---- > Very important: You should be familiar with creating projects using terminal, npm or yarn commands or another package handler. And you must have [nodejs](https://nodejs.org/en). and a code editor installed on your operating system. I recommend [VSCode](https://code.visualstudio.com/). ---- ### I have arranged the parent project [Here](https://github.com/theghost1980/react-hive-tutorials) You can clone it or download and run it on your PC. 1. Copy the link `https://github.com/theghost1980/react-hive-tutorials.git`.  2. Go to your code editor, example: VSCode and look for the "Source Control" option and choose "Clone repository". 3. Once cloned, and inside the root folder, simply run: `npm install` or if you use yarn:`yarn add` 4. And you run the application:npm run dev
yarn dev
npm install react react-dom axios
npm install --save-dev typescript @types/react @types/react-dom vite
import { definesConfig } from 'vite';
import react from '@vitejs/plugin-react';

export default definesConfig({
  plugins: [react()],
});
{
  "compilerOptions": {
    "target": "ESNext",
    "module": "ESNext",
    "jsx": "react-jsx",
    "moduleResolution": "bundler",
    "strict": true,
    "esModuleInterop": true,
    "skipLibCheck": true,
    "forceConsistentCasingInFileNames": true
  }
}
import React from "react";
import ReactDOM from "react-dom/client";
import App from "./App";

ReactDOM.createRoot(document.getElementById("root")!).render(


);
import React, {useEffect, useState } from "react";
import axios from "axios";
post interface {
title: string;
author: string;
permlink: string;
created: string;
}
export default function App() {
const [posts, setPosts] = useState([]);
useEffect(() => {
const fetchPosts = async() => {
const response = await axios.post("https://api.hive.blog", {
jsonrpc: "2.0",
method: "condenser_api.get_discussions_by_created",
params: [{ tag: "hive", limit: 5 }],
id: 1,
});
setPosts(response.data.result);
};
fetchPosts();
}, []);
return (
📝 Recent posts on Hive
{posts.map((post) => (
-
{post.title}
{" "}
by @{post.author}
))}
);
}
Tutorial 01 - Hive Reader