**
ESPAÑOL
**
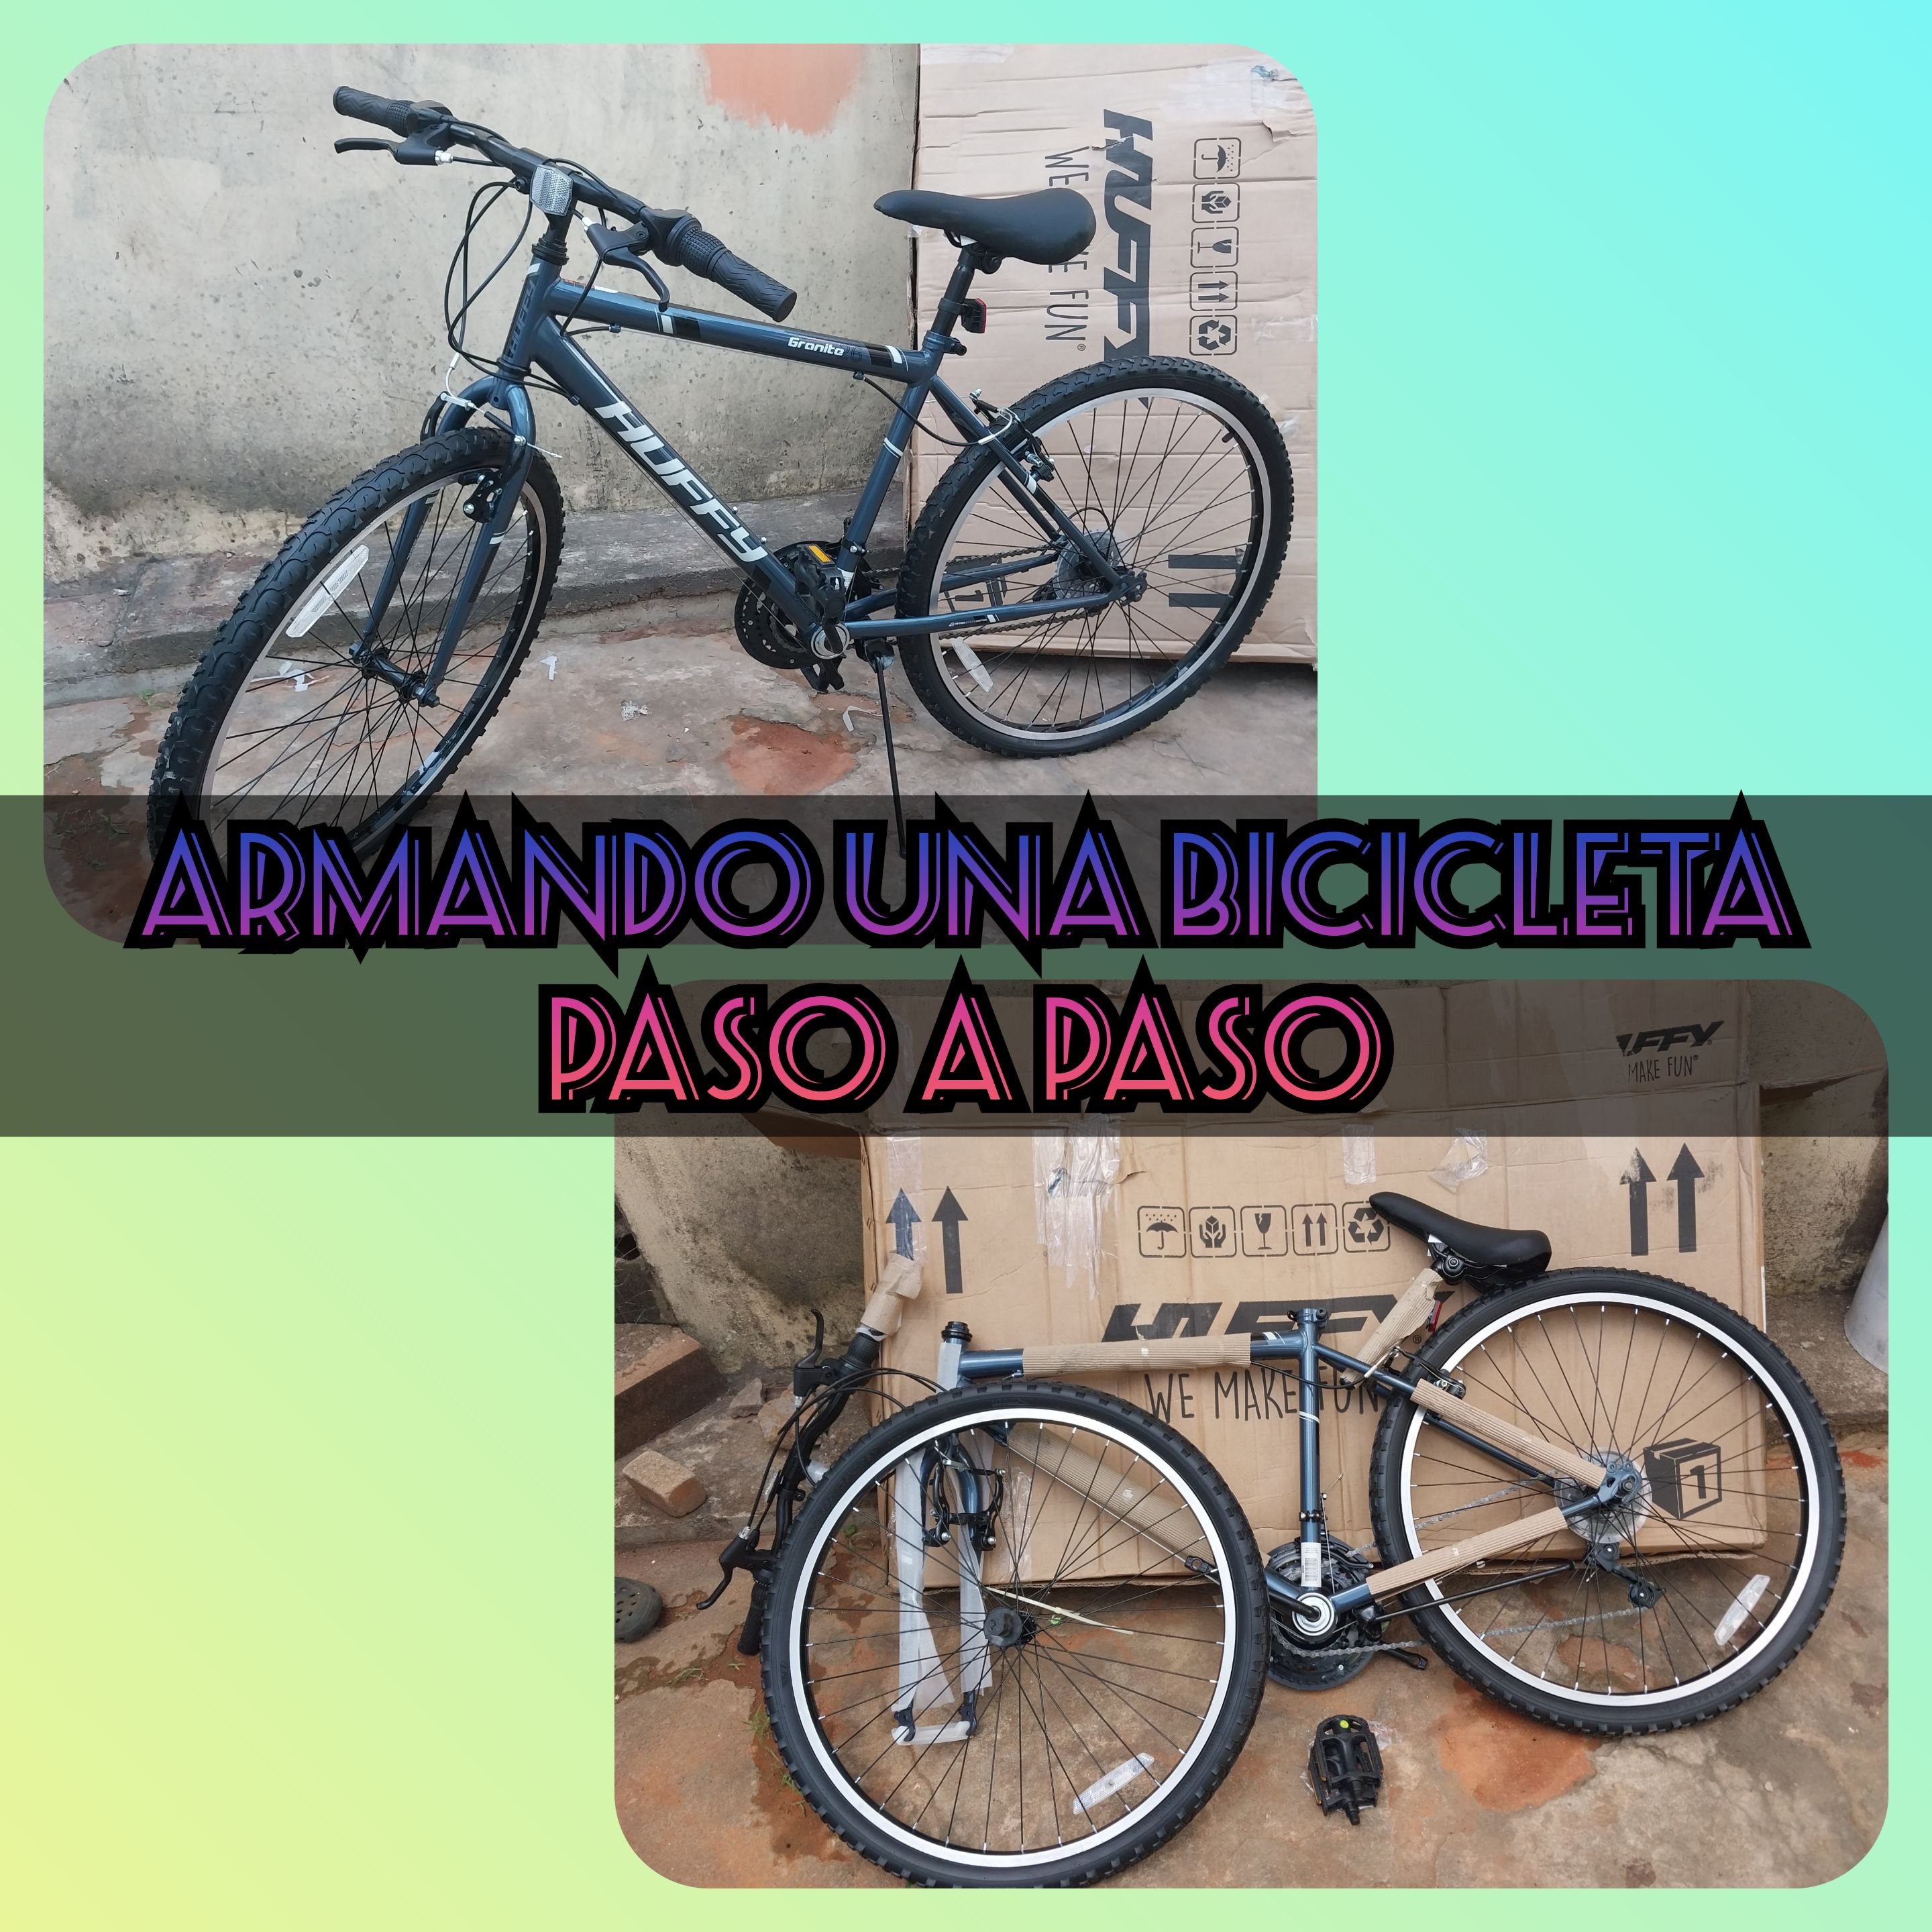
Hola amigos de la comunidad de Diyhub, ¿cómo están? Dios les bendiga, espero que se encuentren muy bien y que la estén pasando increíble. En esta oportunidad les quiero compartir un paso a paso de cómo armar una bicicleta. Les cuento rápidamente, hace poco fui a visitar a mi tía y bueno, ella trabaja en una empresa y cada cierto tiempo la empresa les hace obsequios, regalos por así decirlo, y bueno, en esta ocasión a ella le tocó una bicicleta nueva de caja, y bueno, cuando llegue ahí estaba la bicicleta en la sala en su caja, y me pidió el favor de armarla y bueno, ¿por qué no? Ayudé a armársela. Y aquí les comparto el paso a paso.
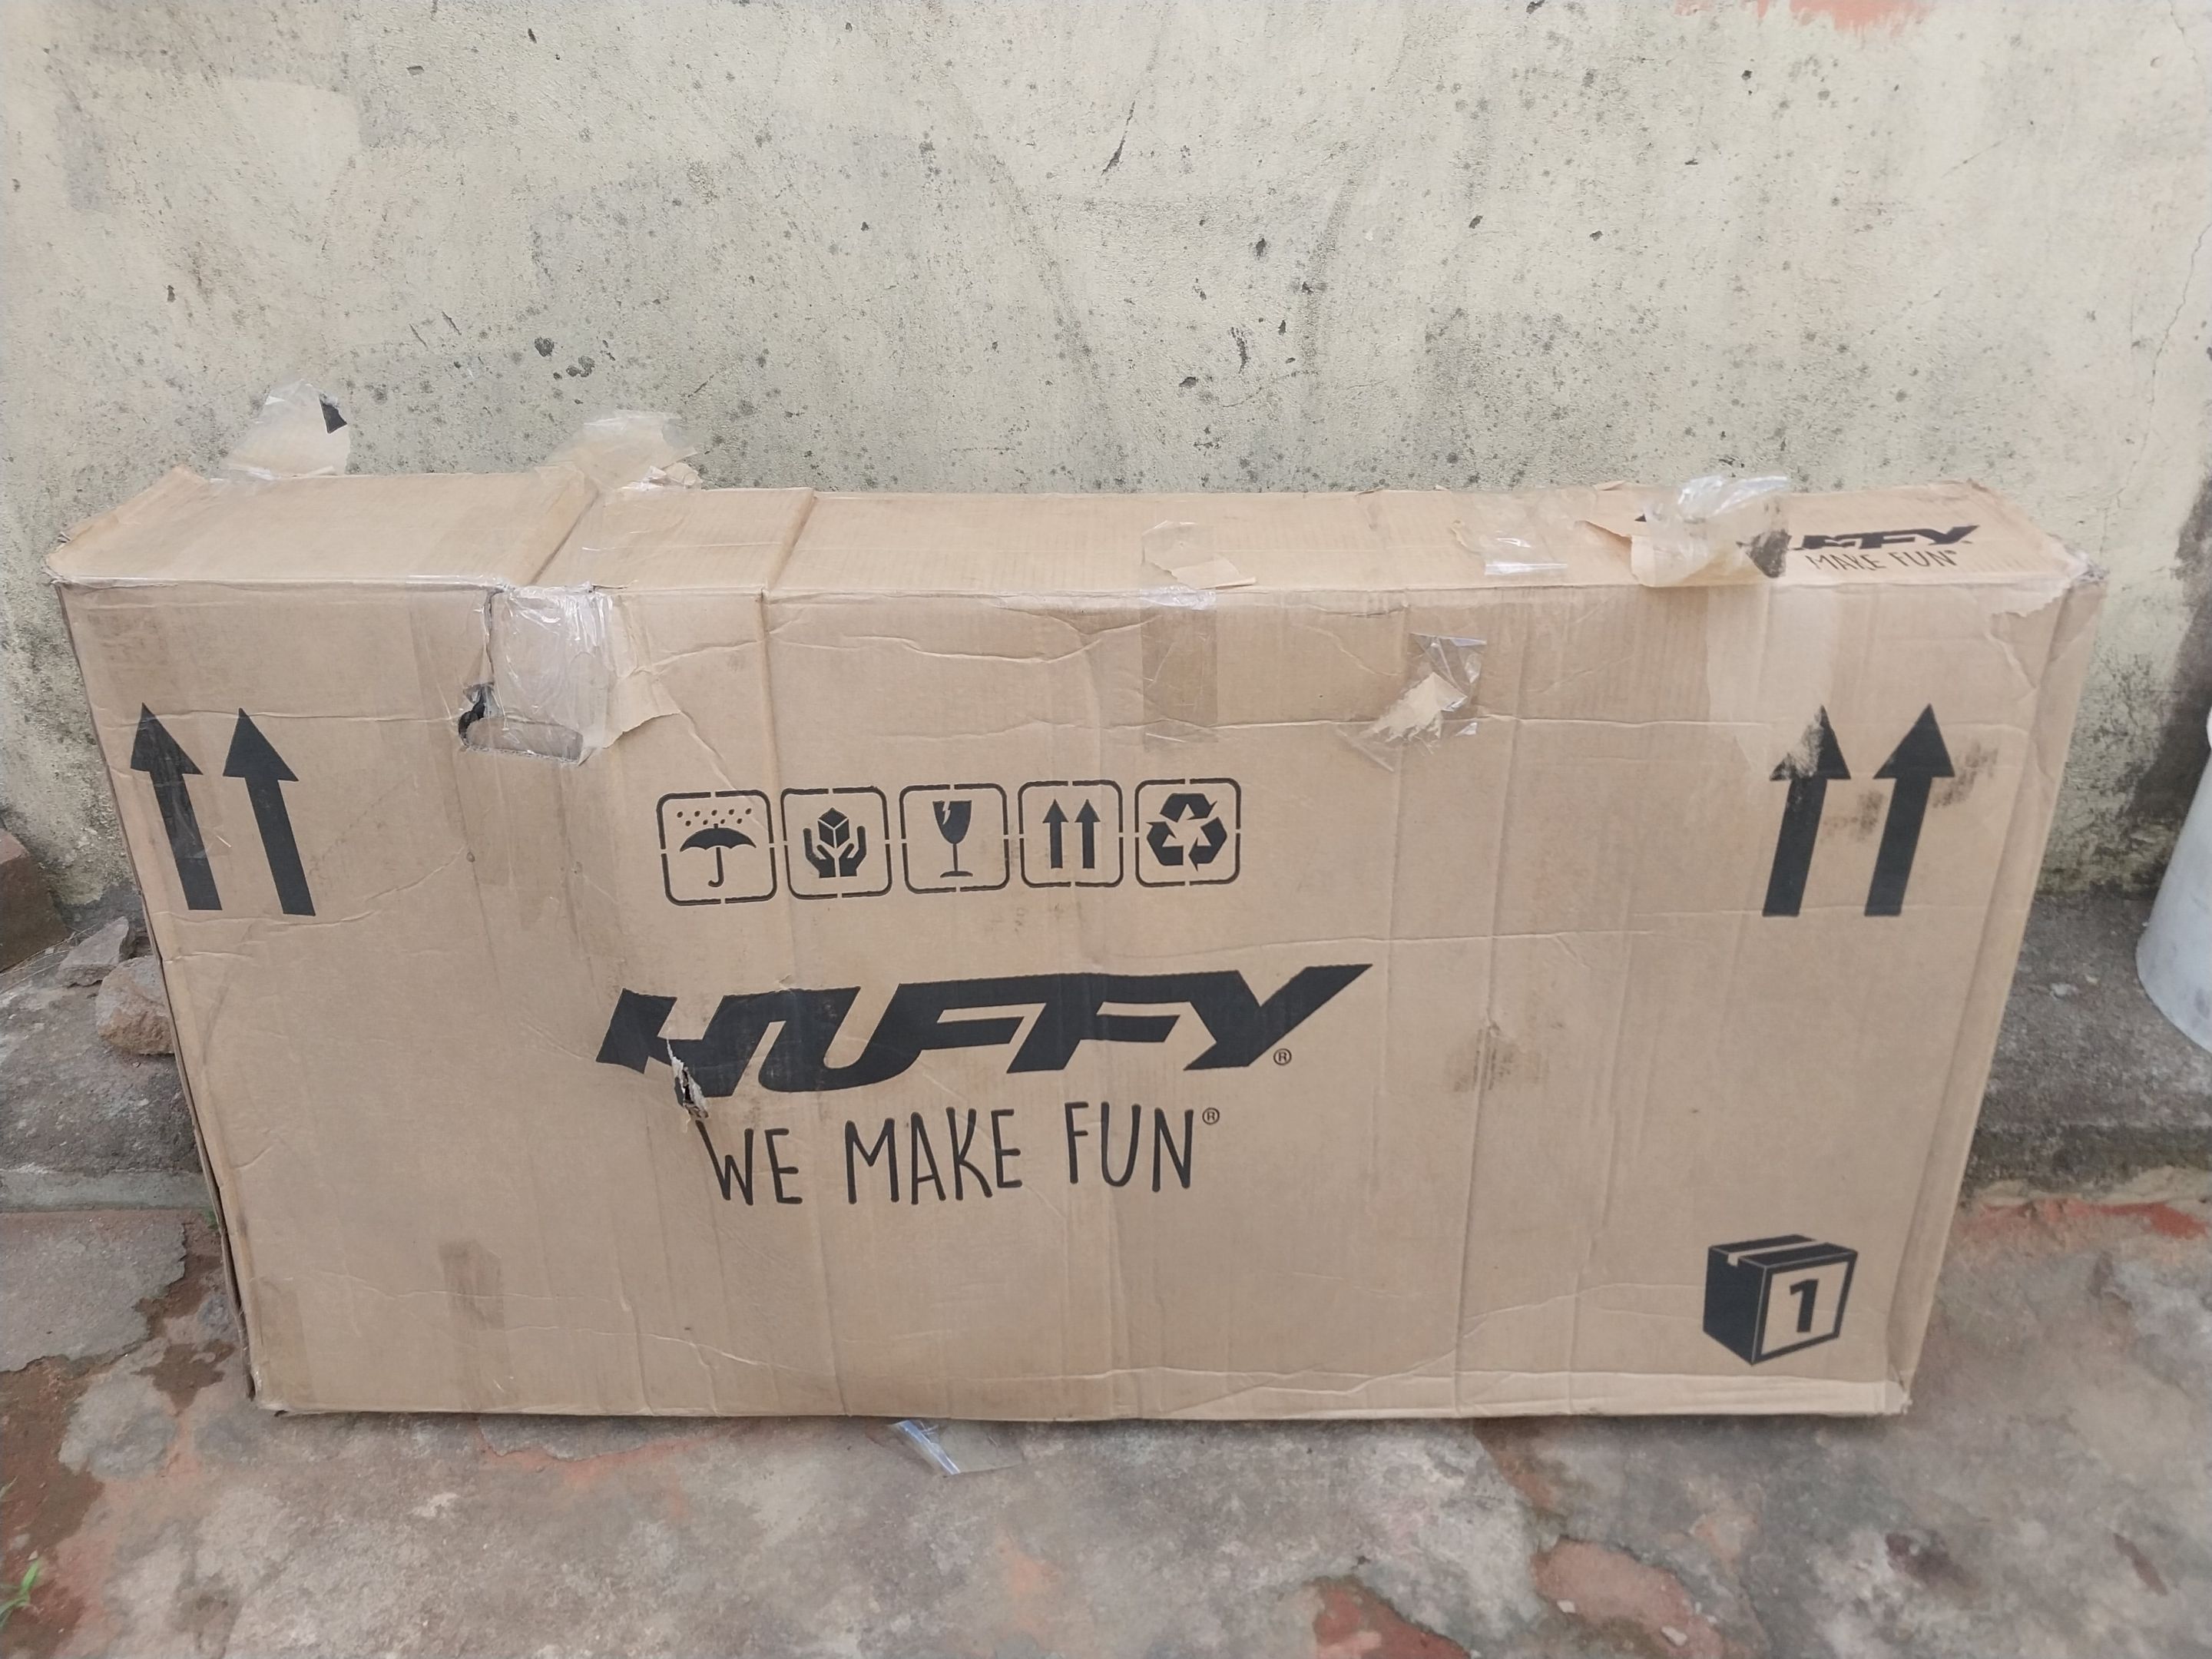
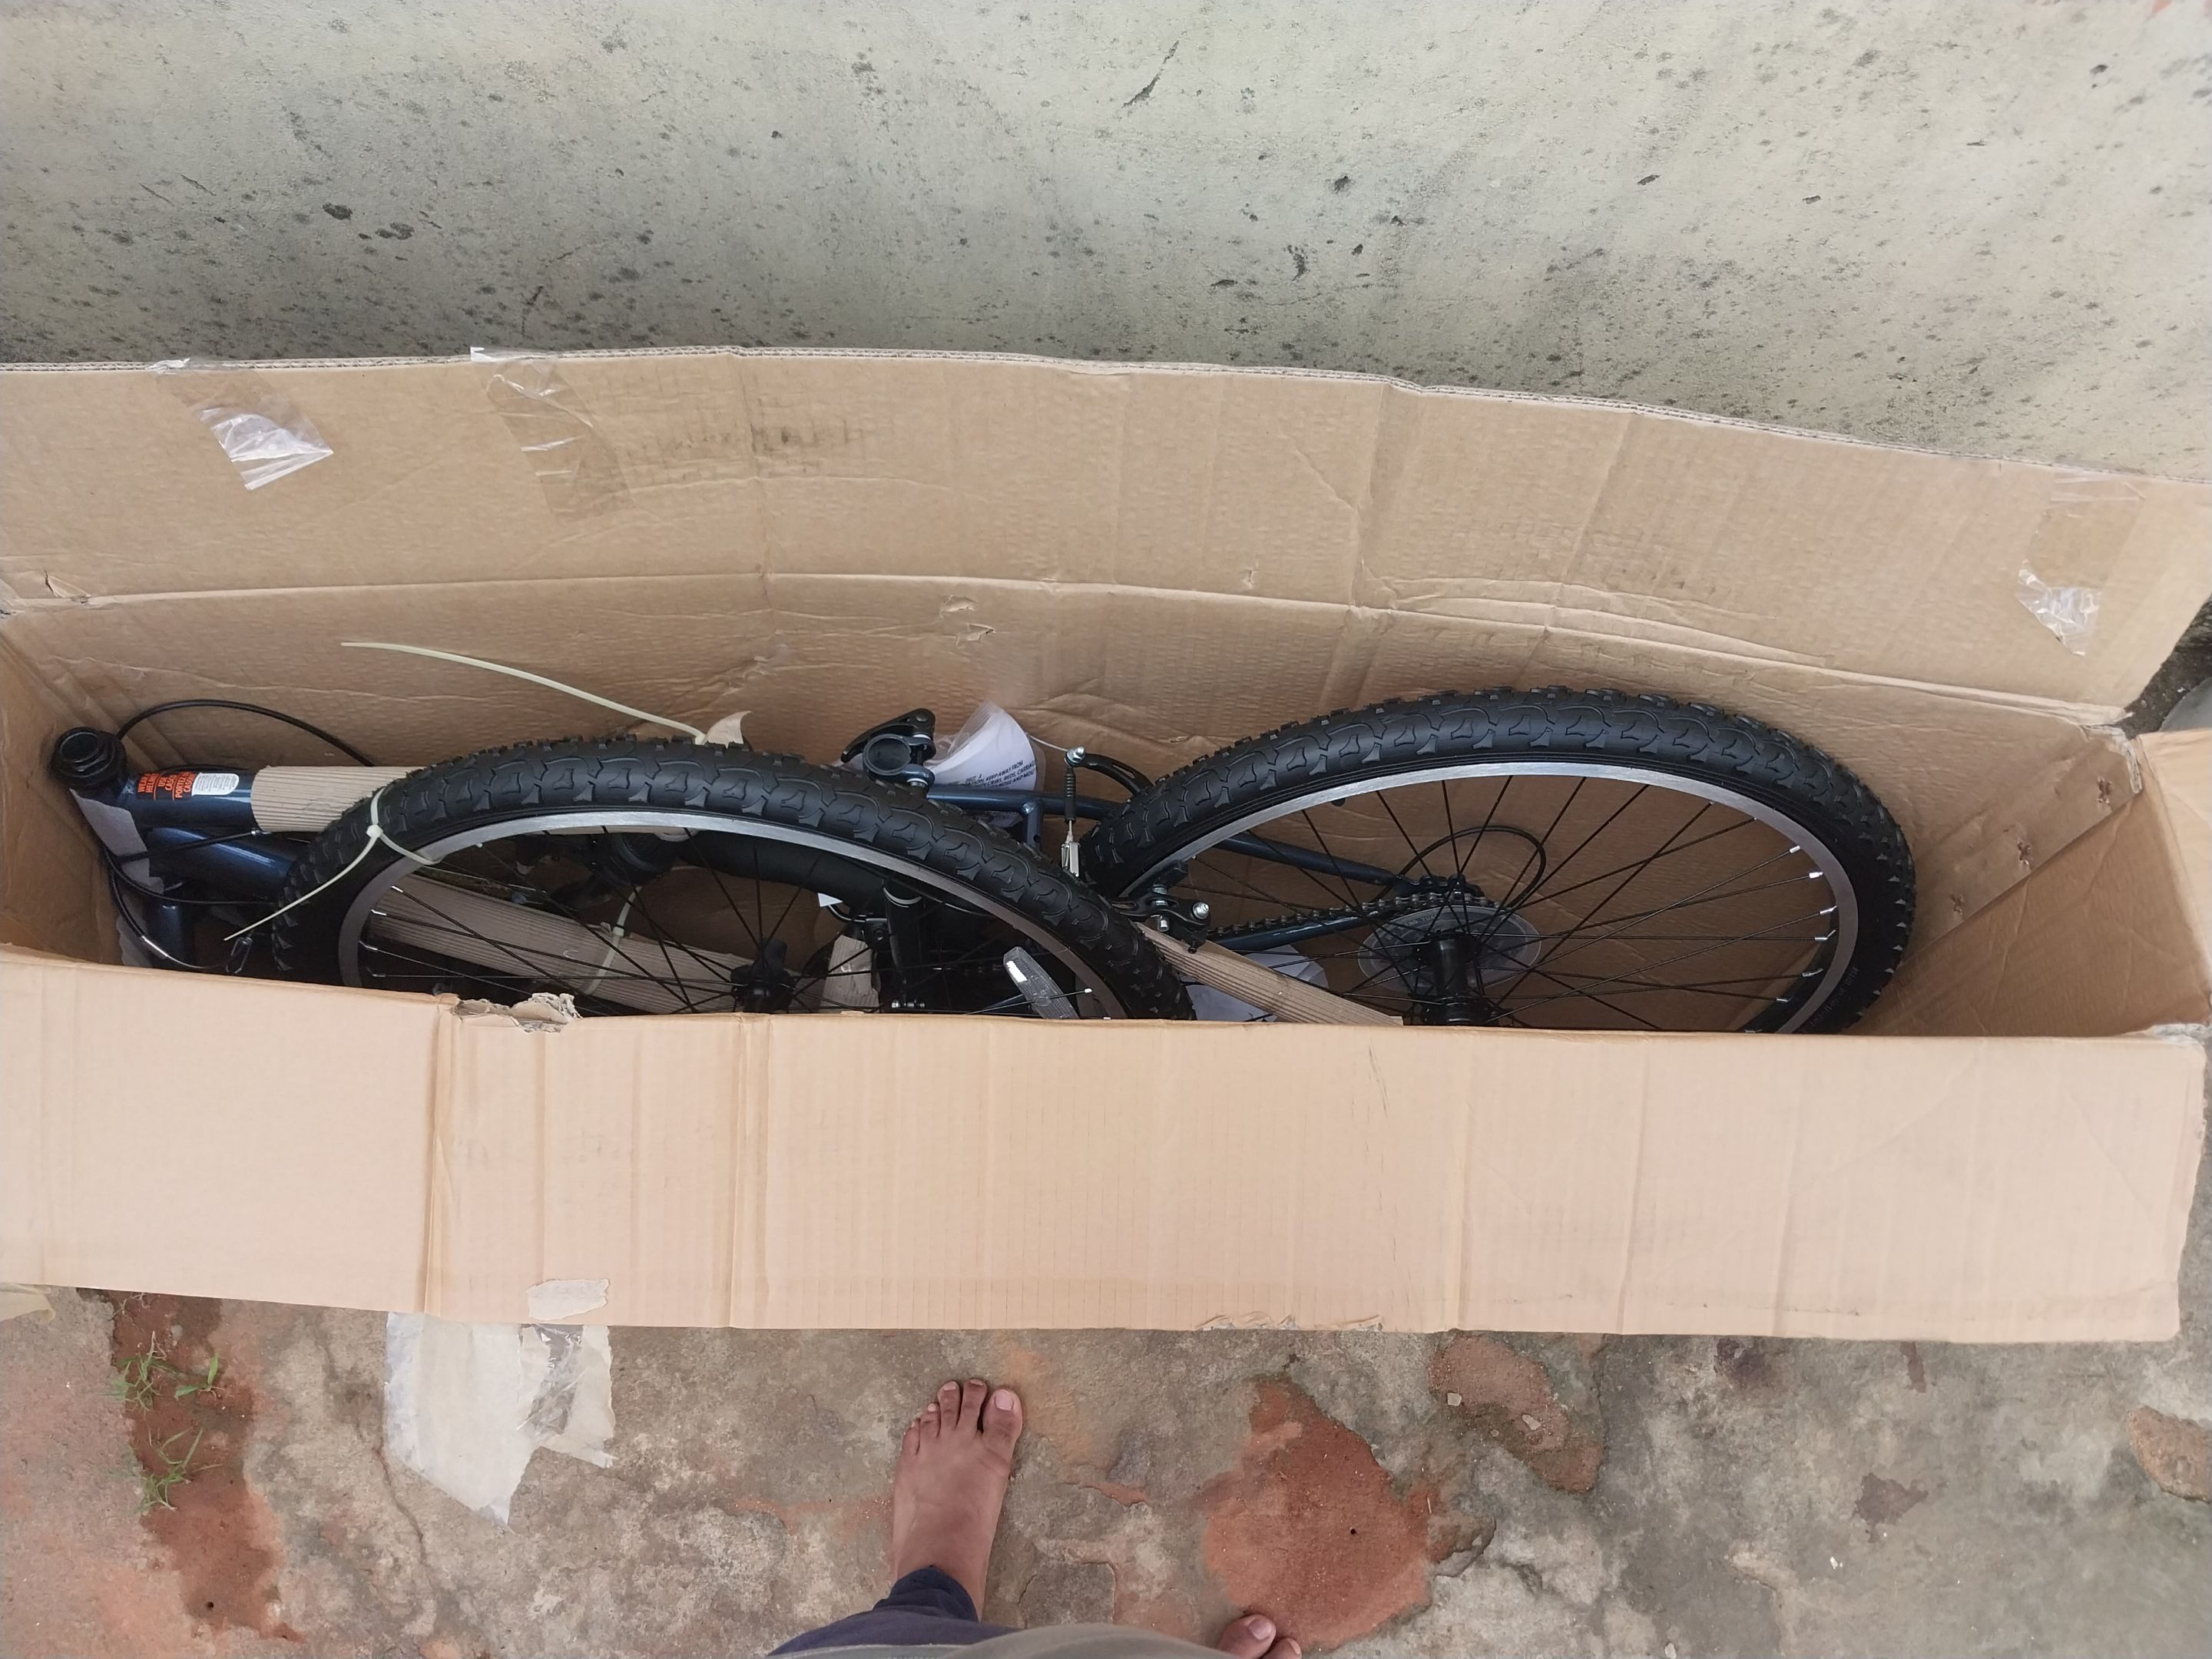
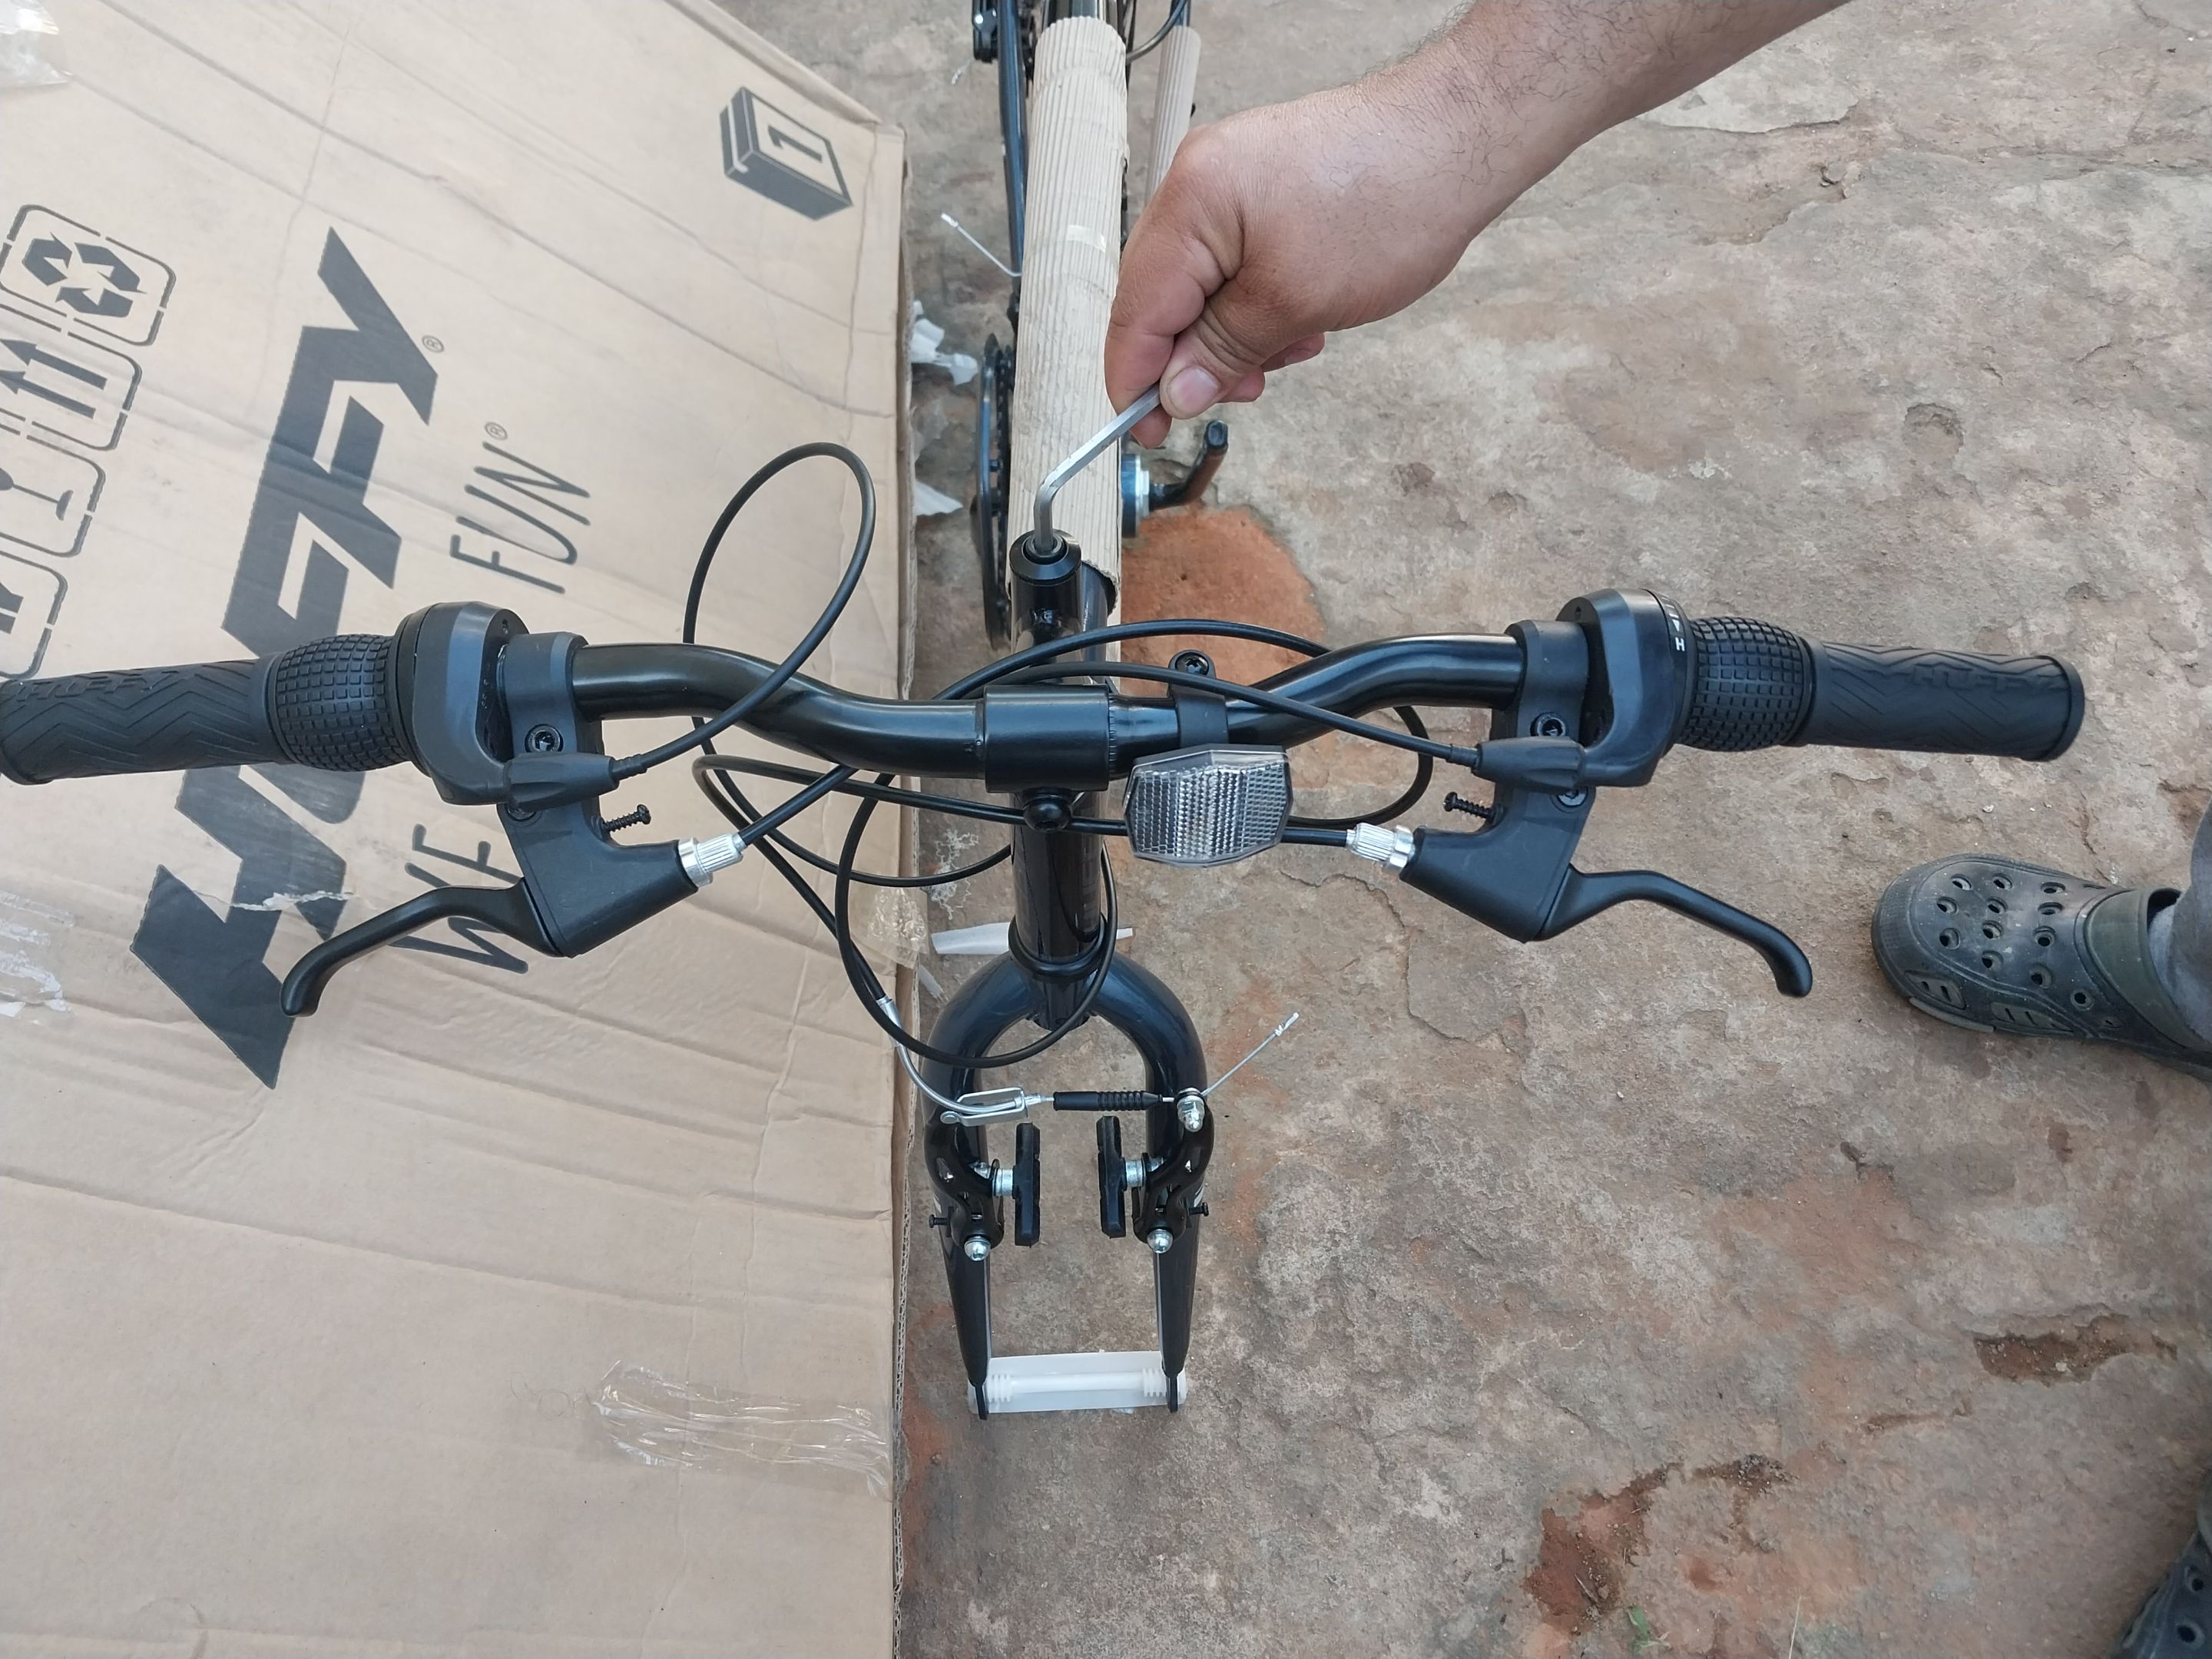
Lo primero que hice fue llevar la caja a un lugar amplio para trabajar más cómodo. Luego procedí a abrir la caja. Y ahí estaba la bicicleta, nueva de paquete jajaj, bueno, saqué todas las piezas de la caja, los cauchos, el manubrio, el cuadro, el asiento y los demas accesorios que venian en la caja, y luego de eso procedi a armar. Lo primero que hice fue pedir ayuda a mi tío que estaba allí para que sostuviera firme la bicicleta, mientras tanto tomé el manubrio, lo fijé en su base del cuadro, tomé una llave Ale, lo apreté y listo! manubrio colocado.
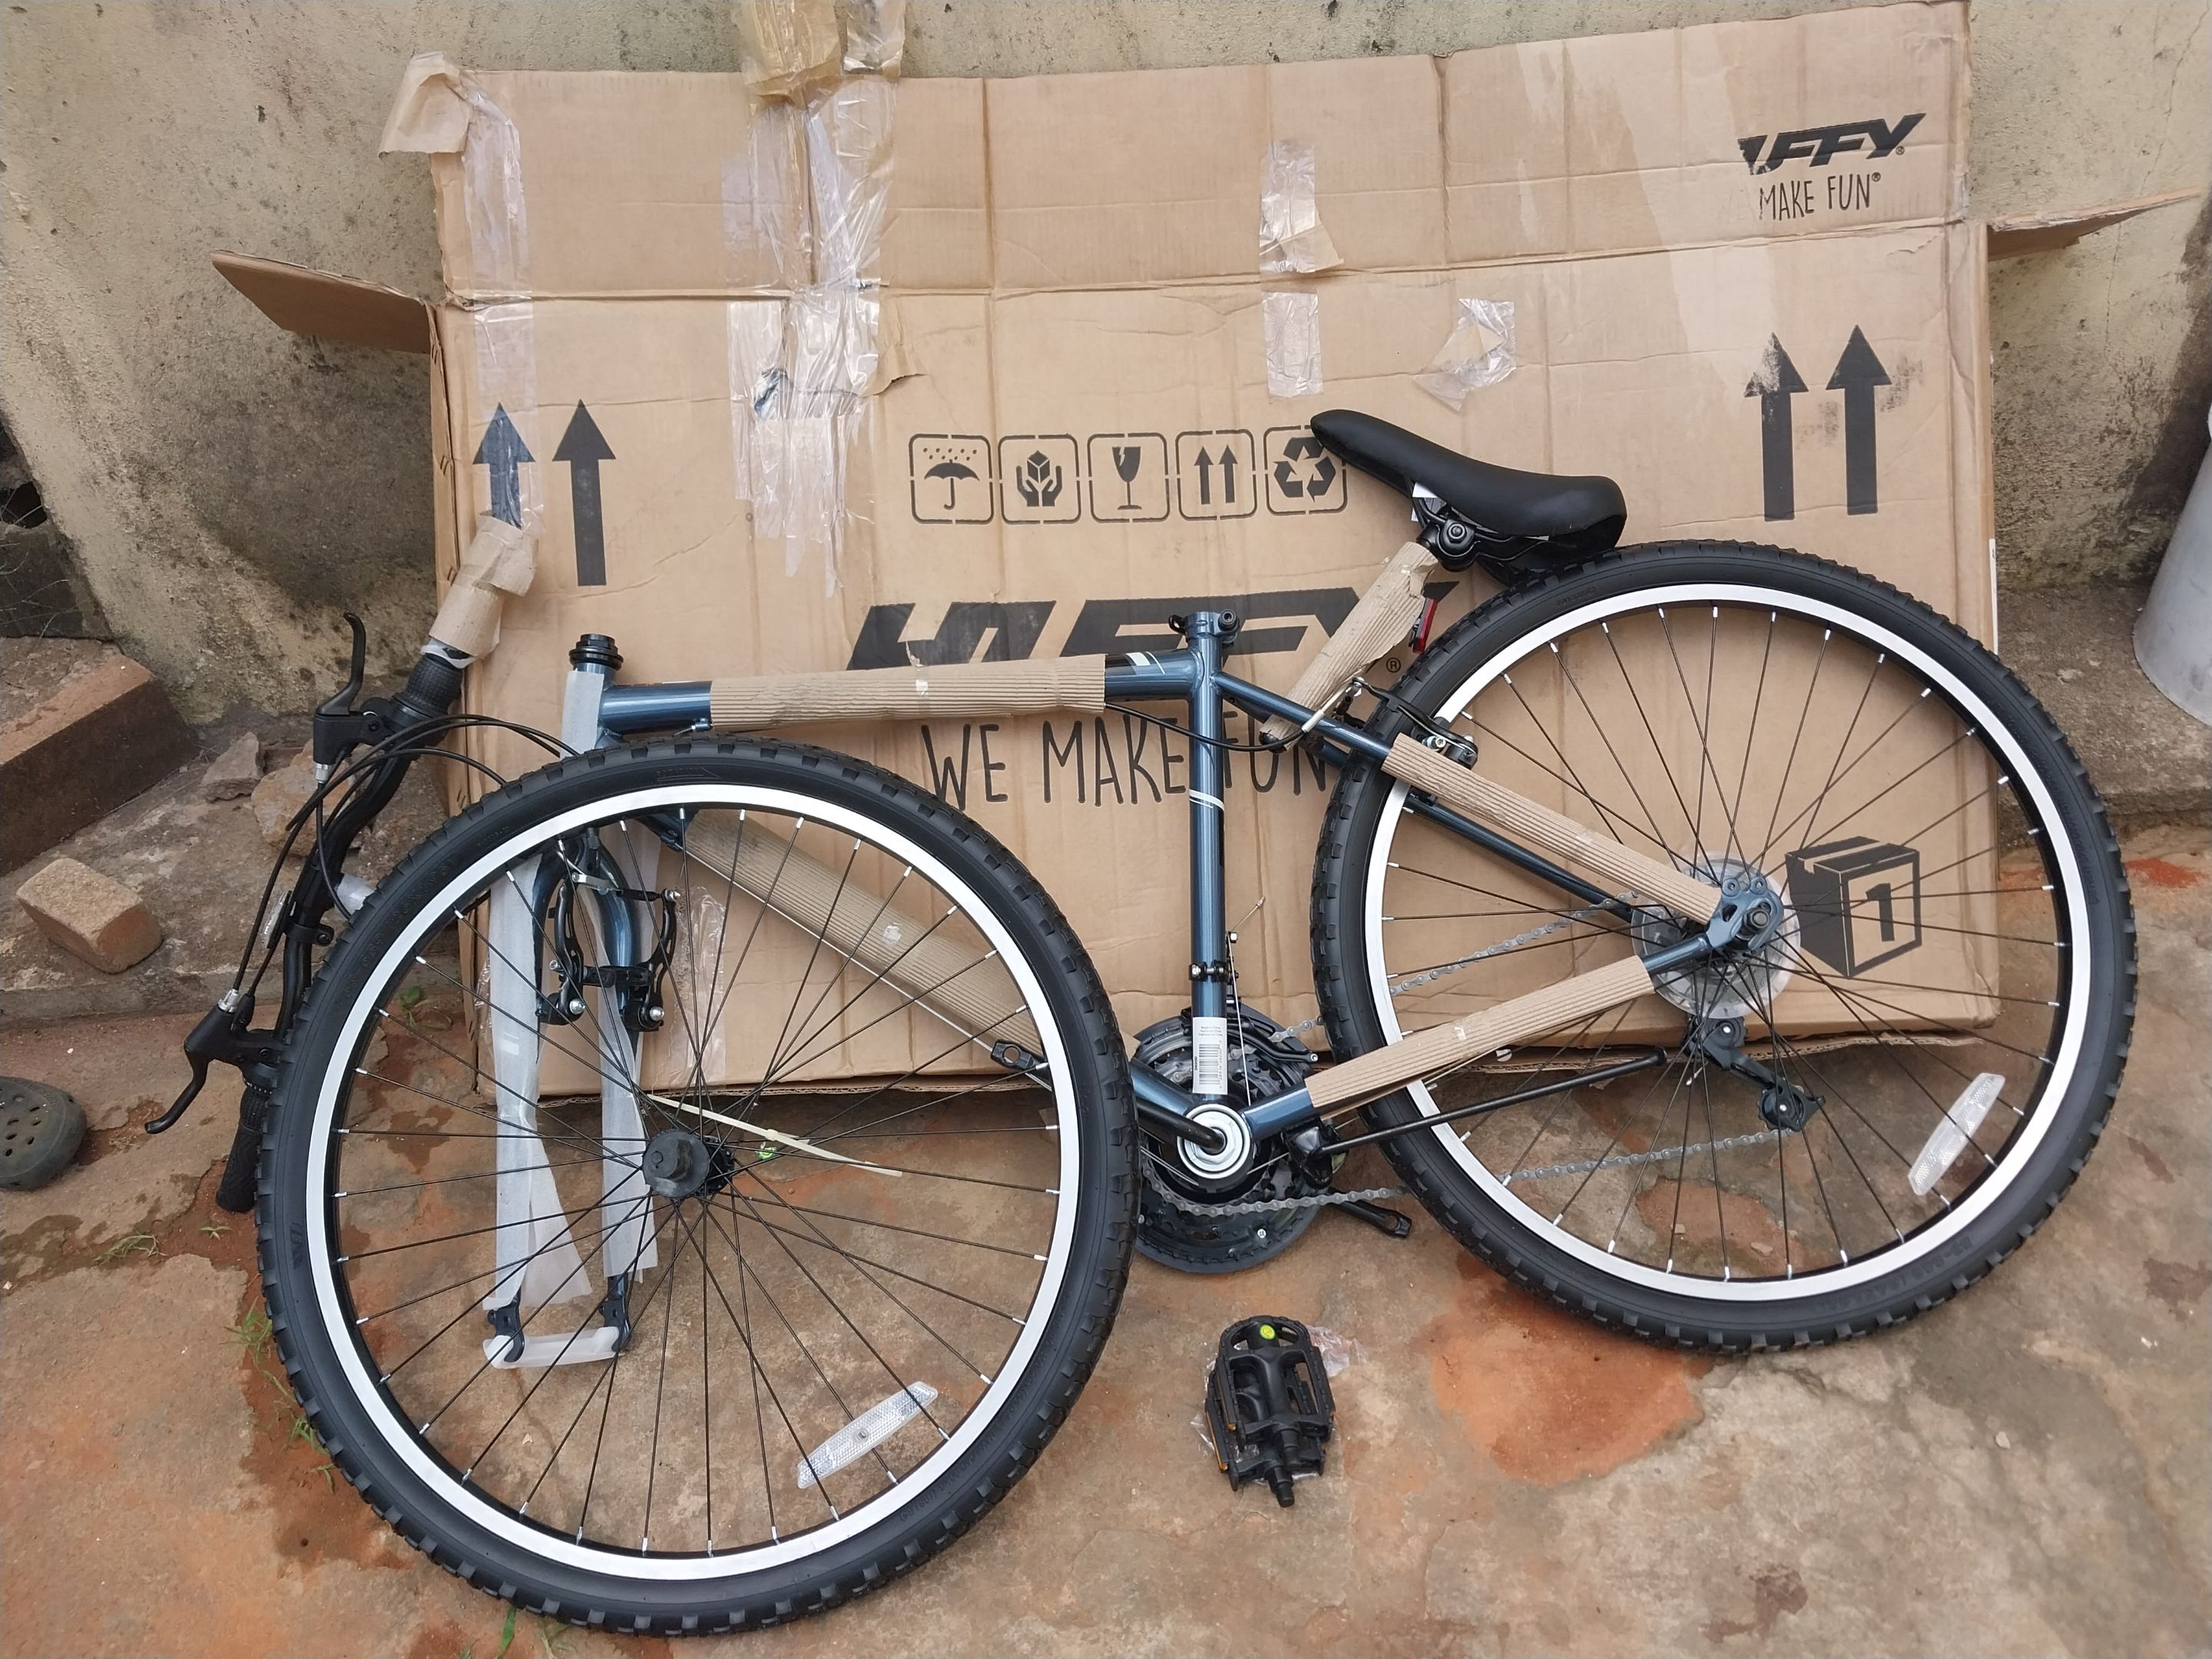
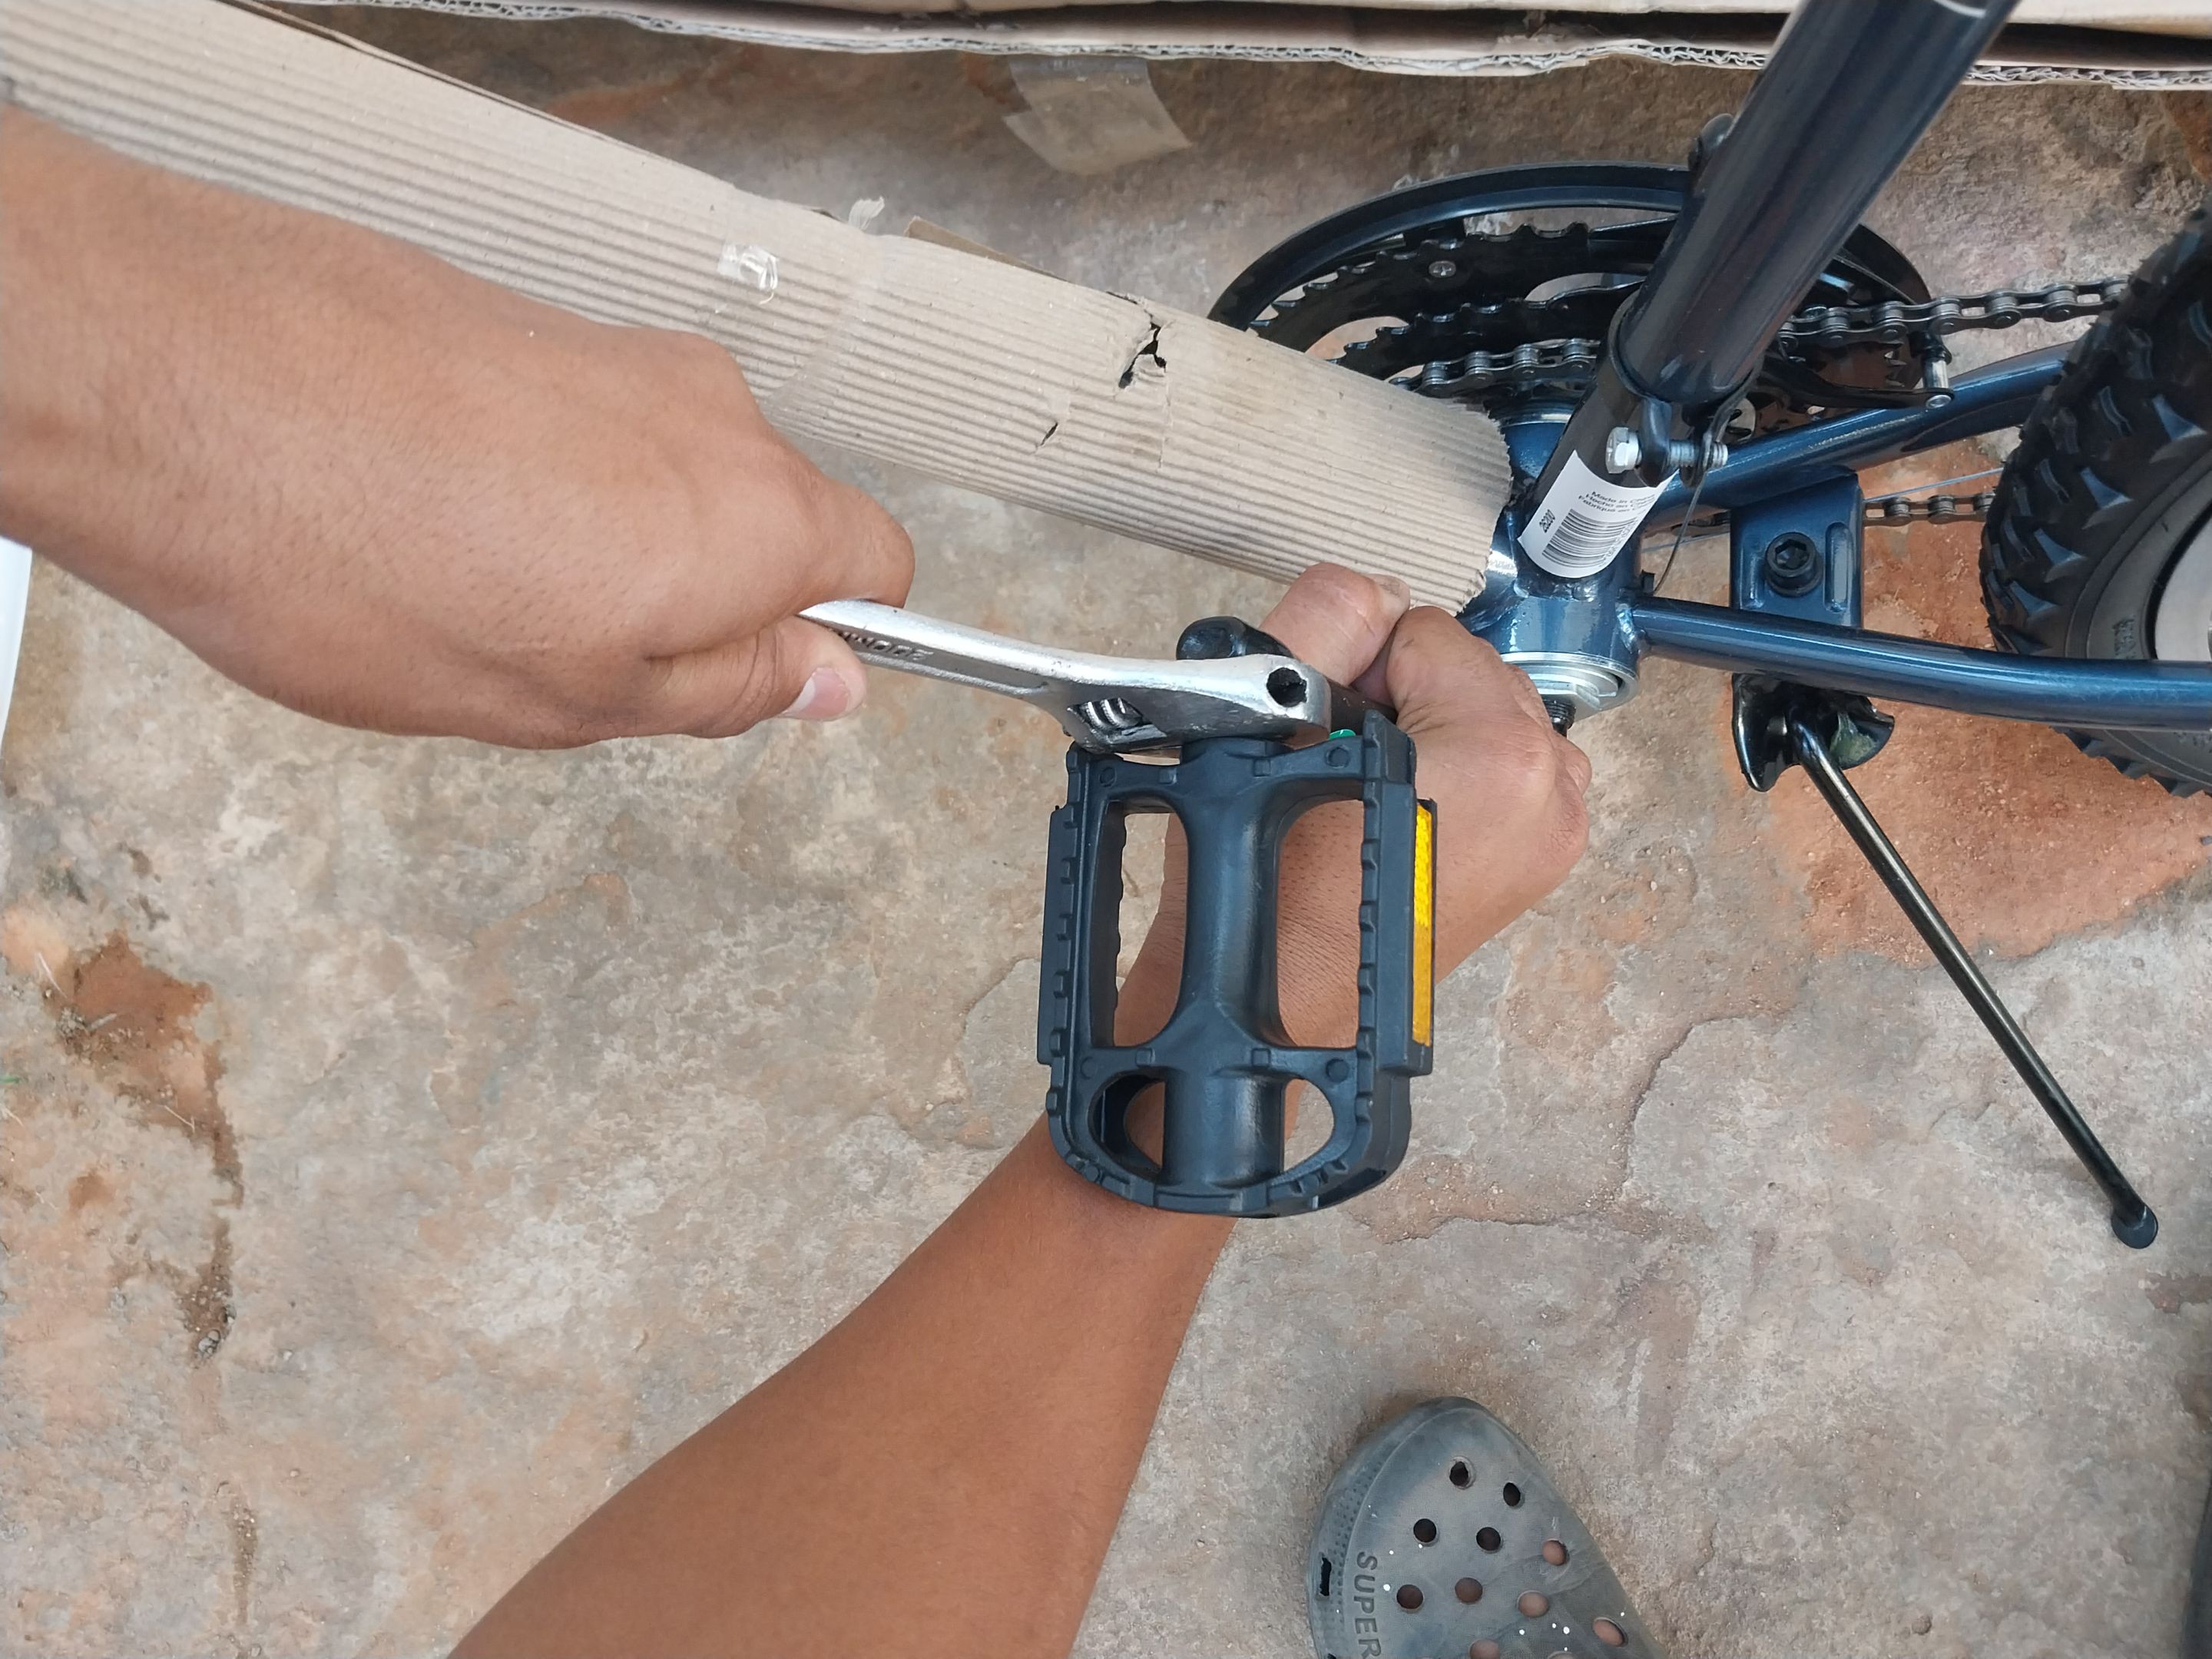
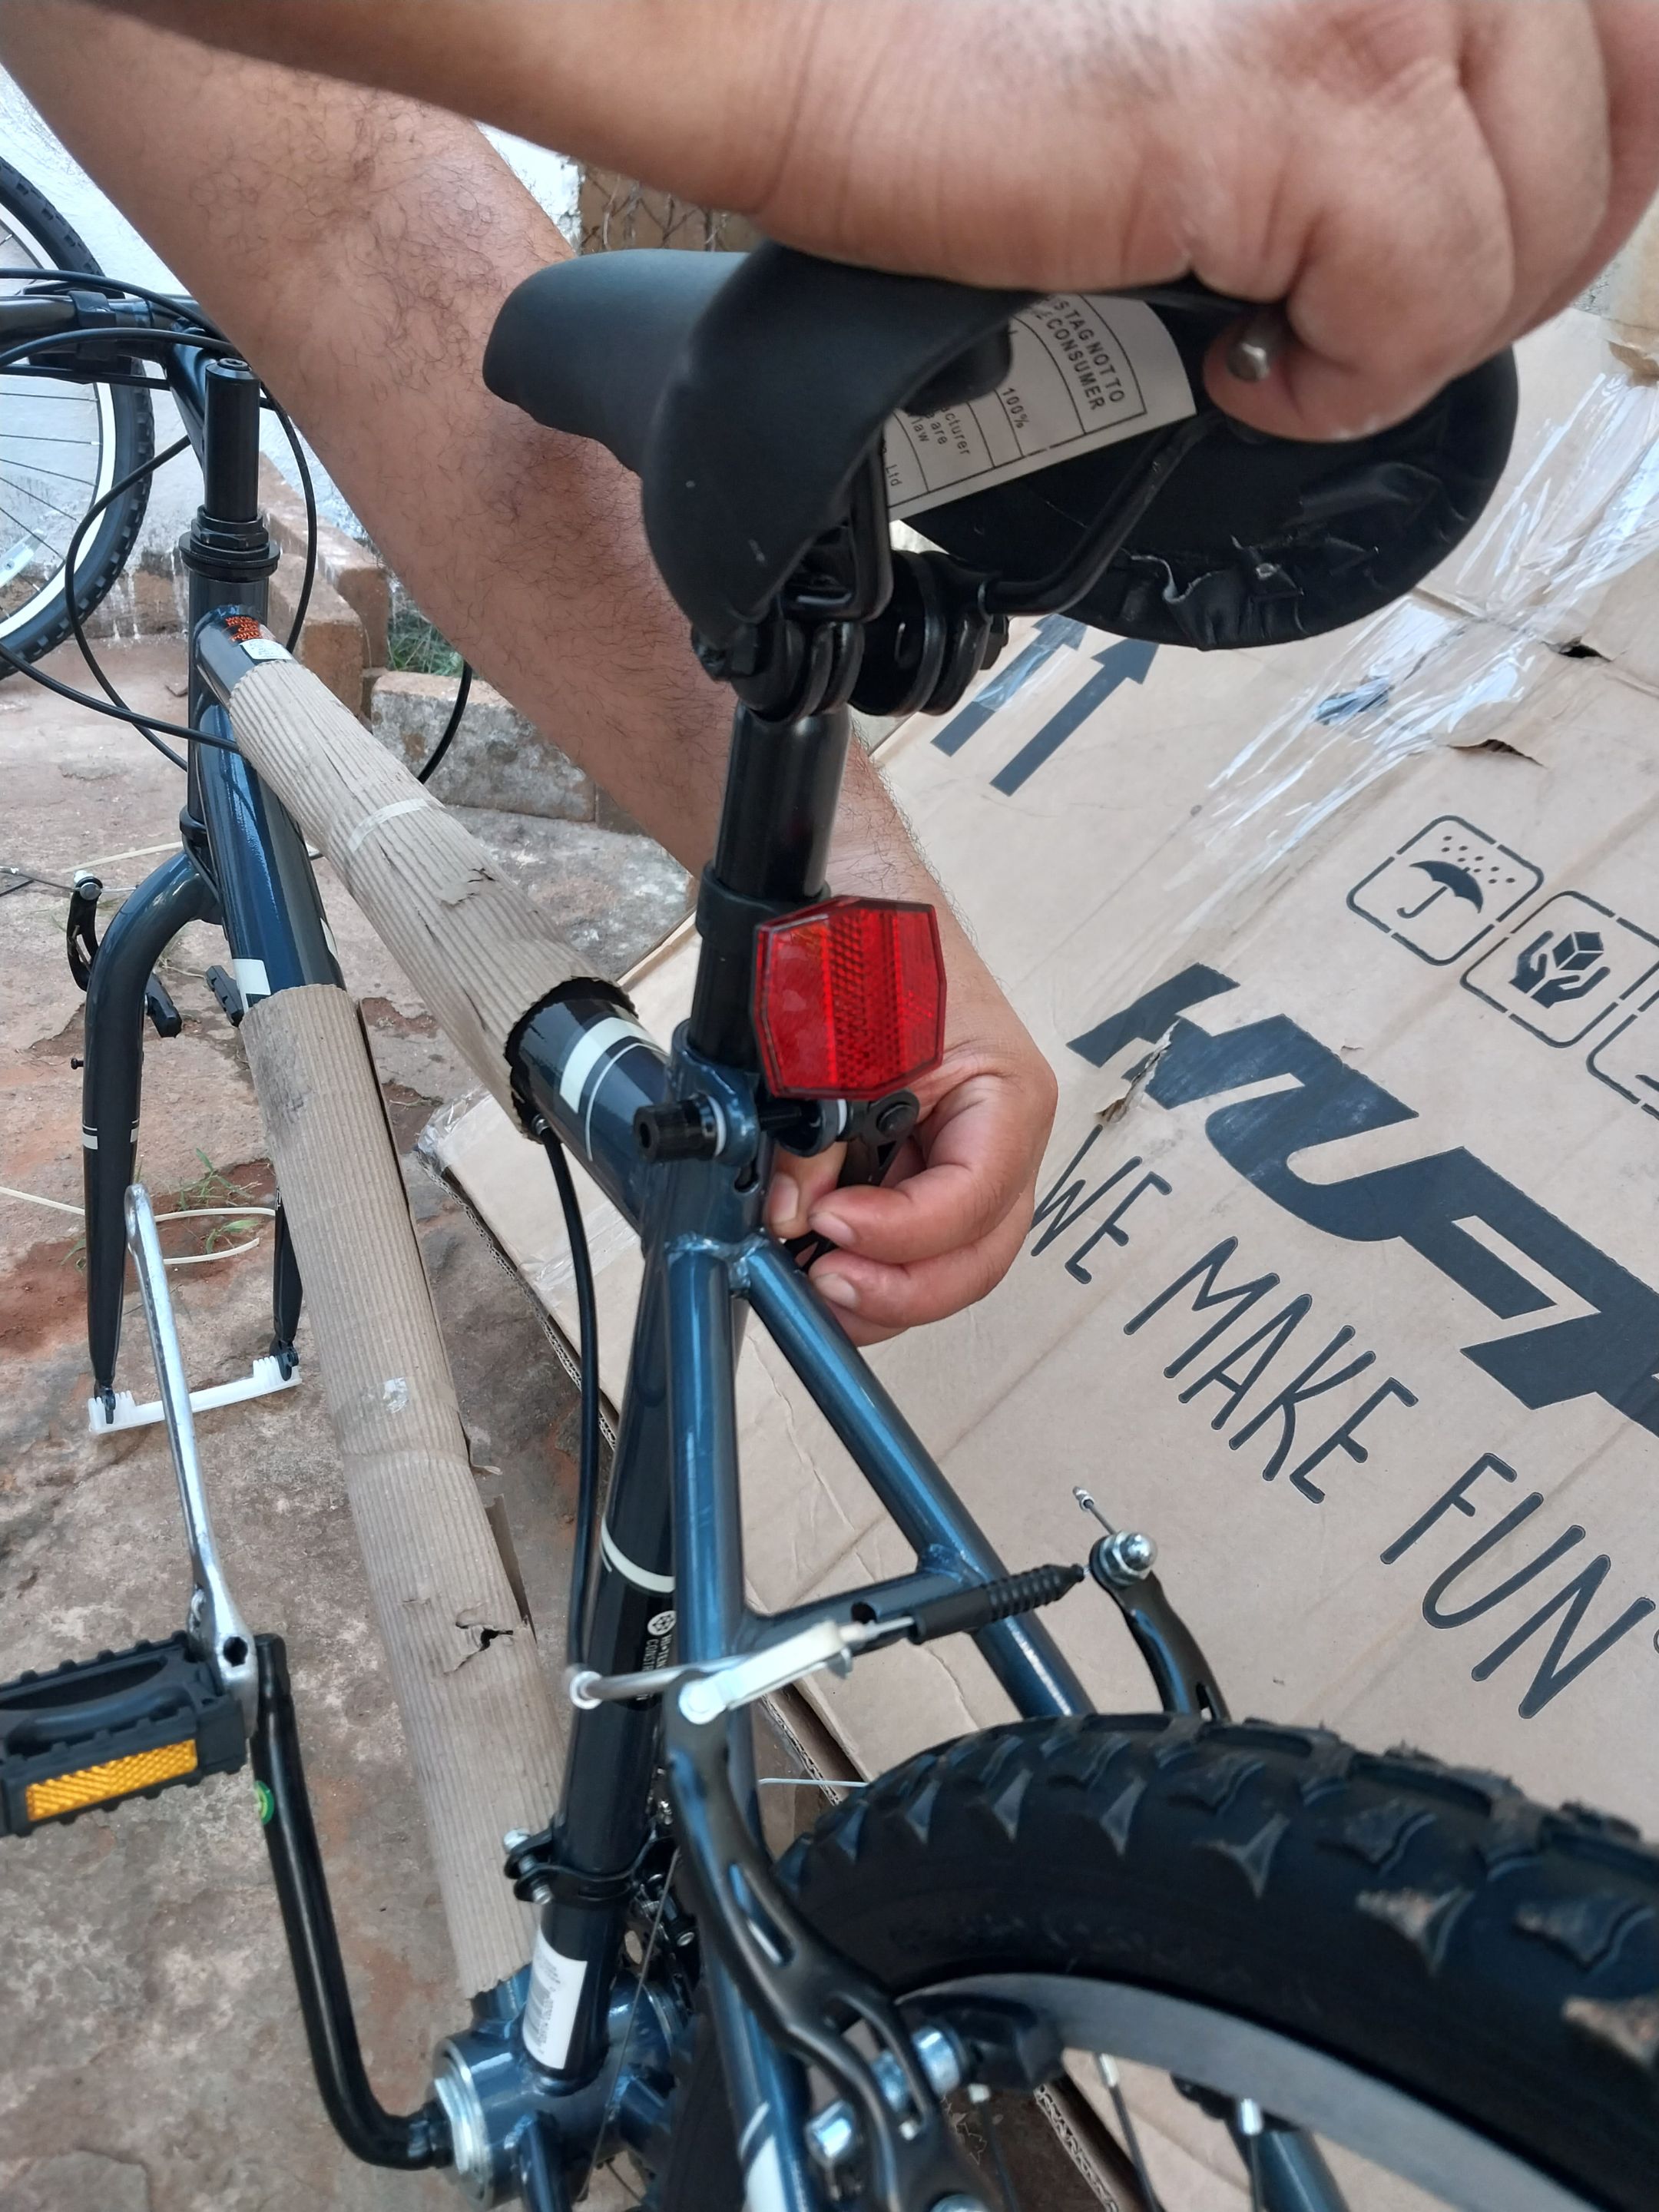
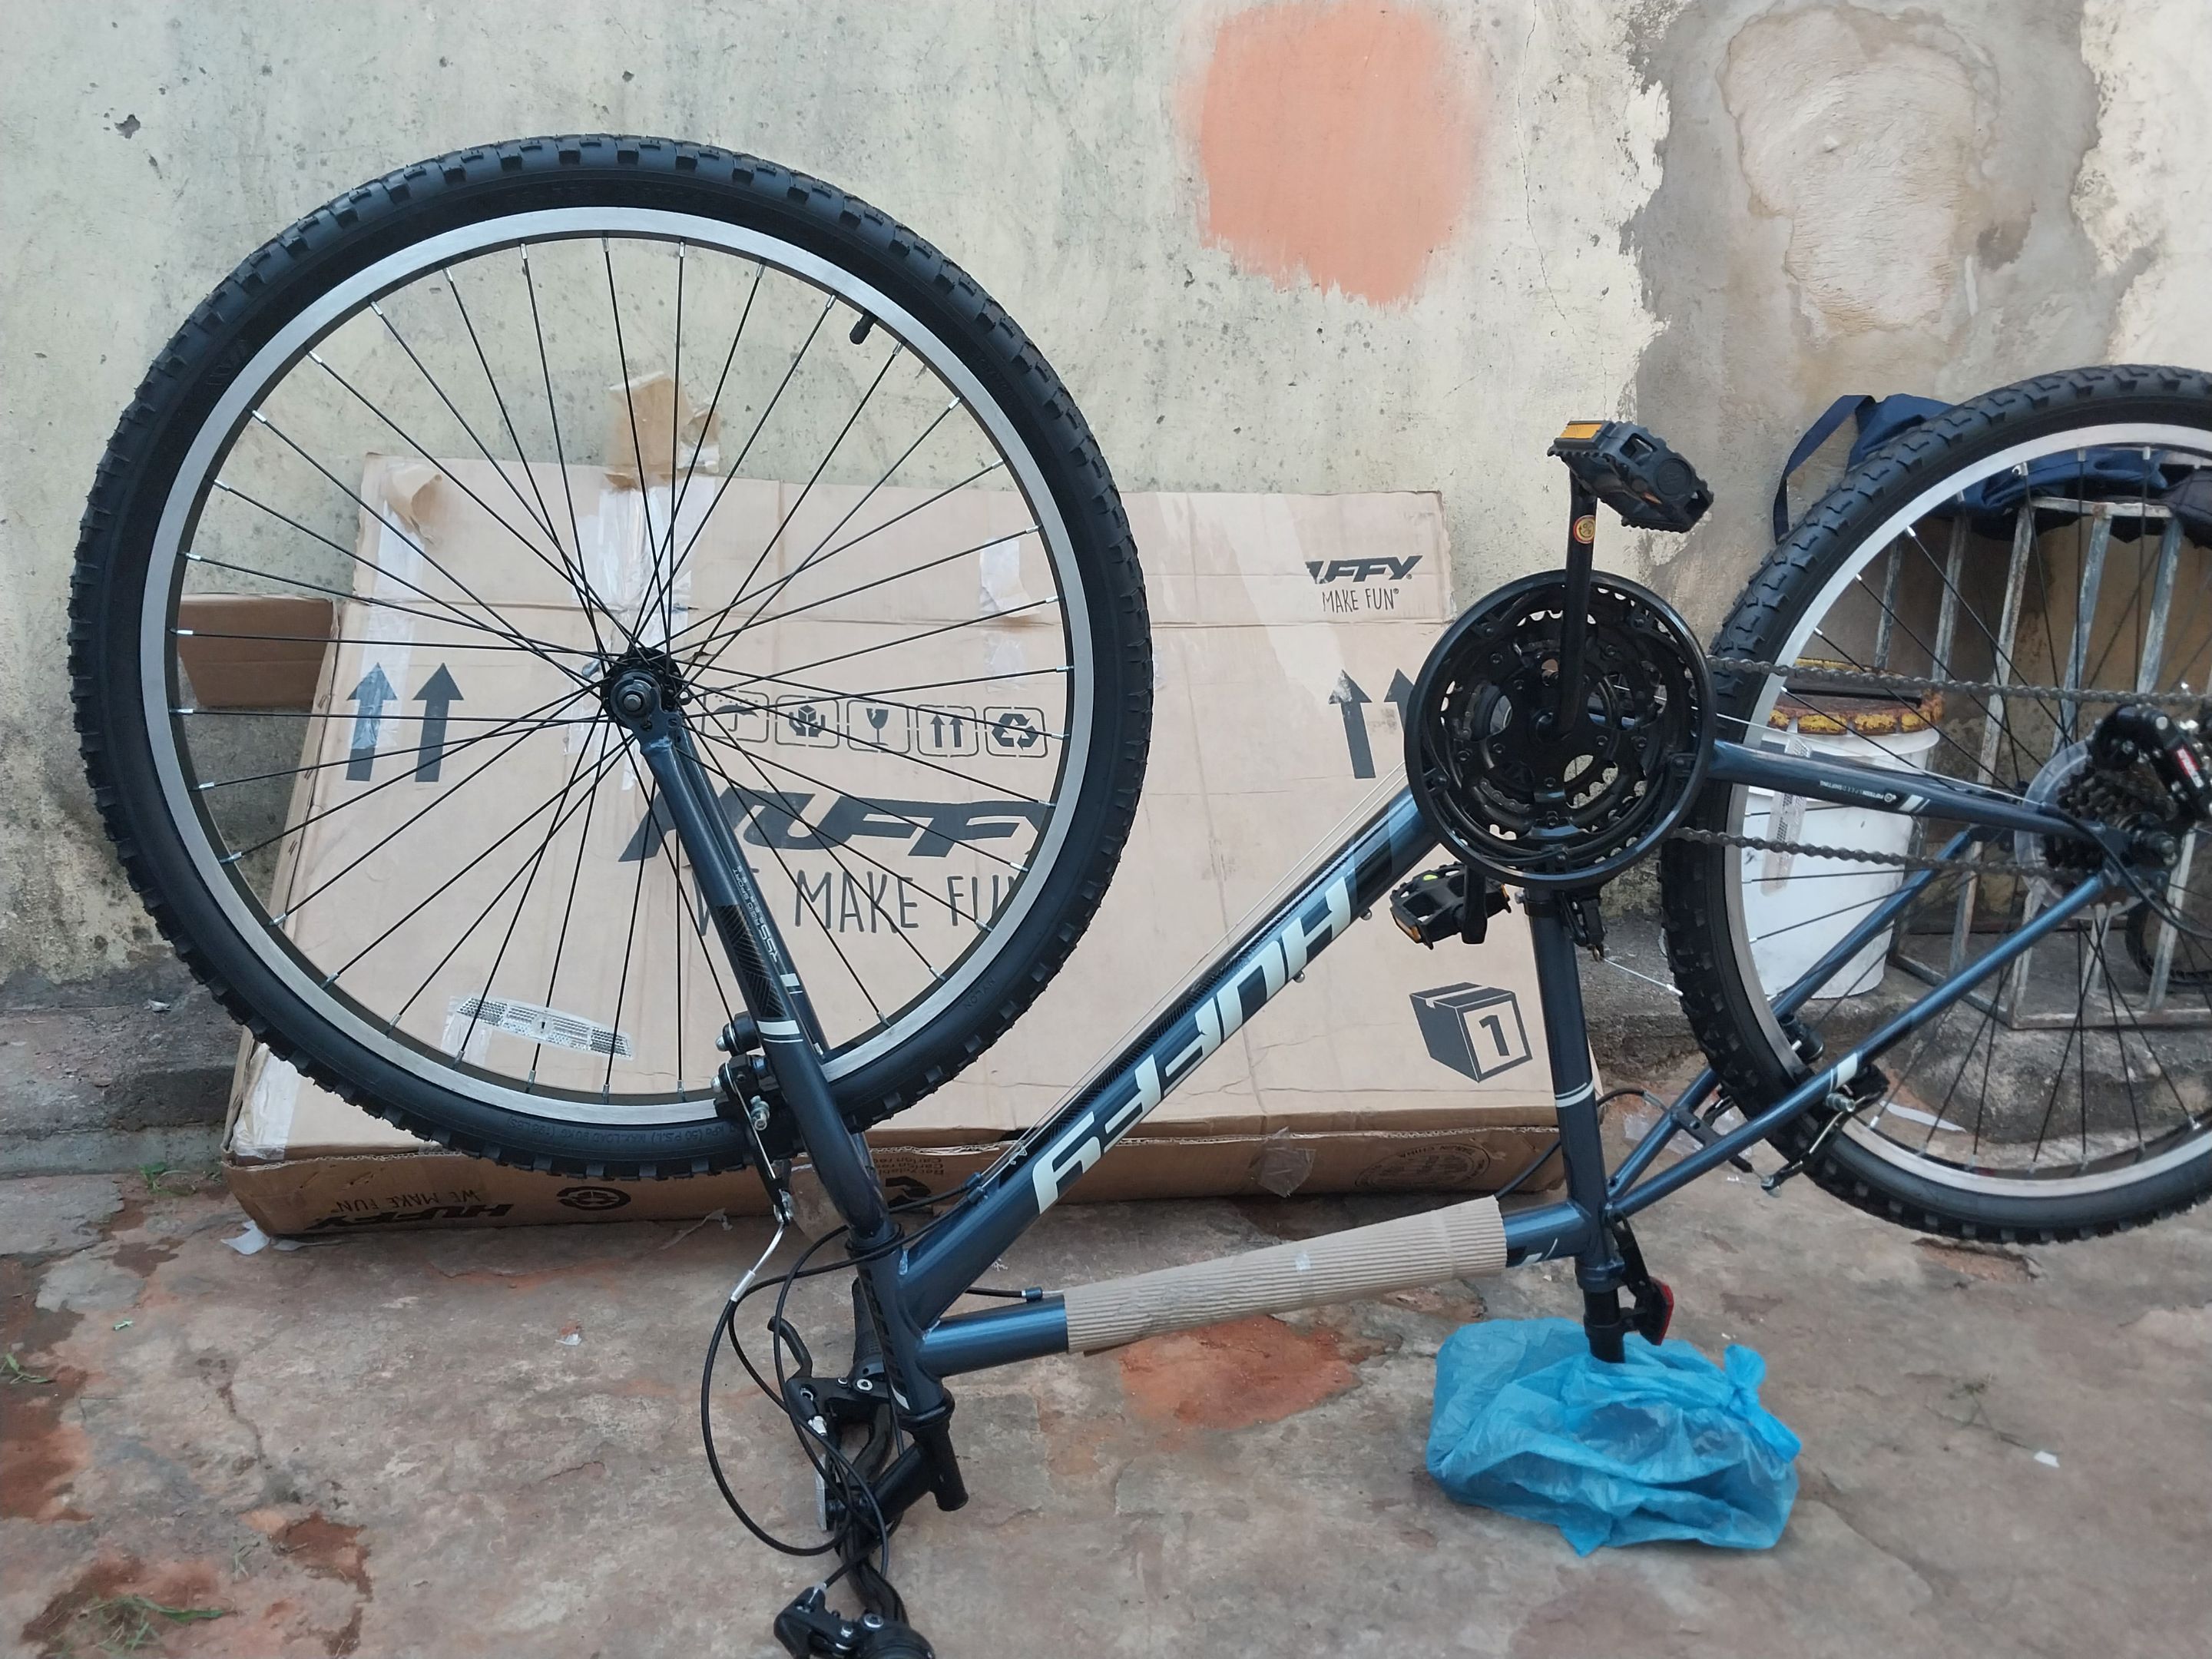
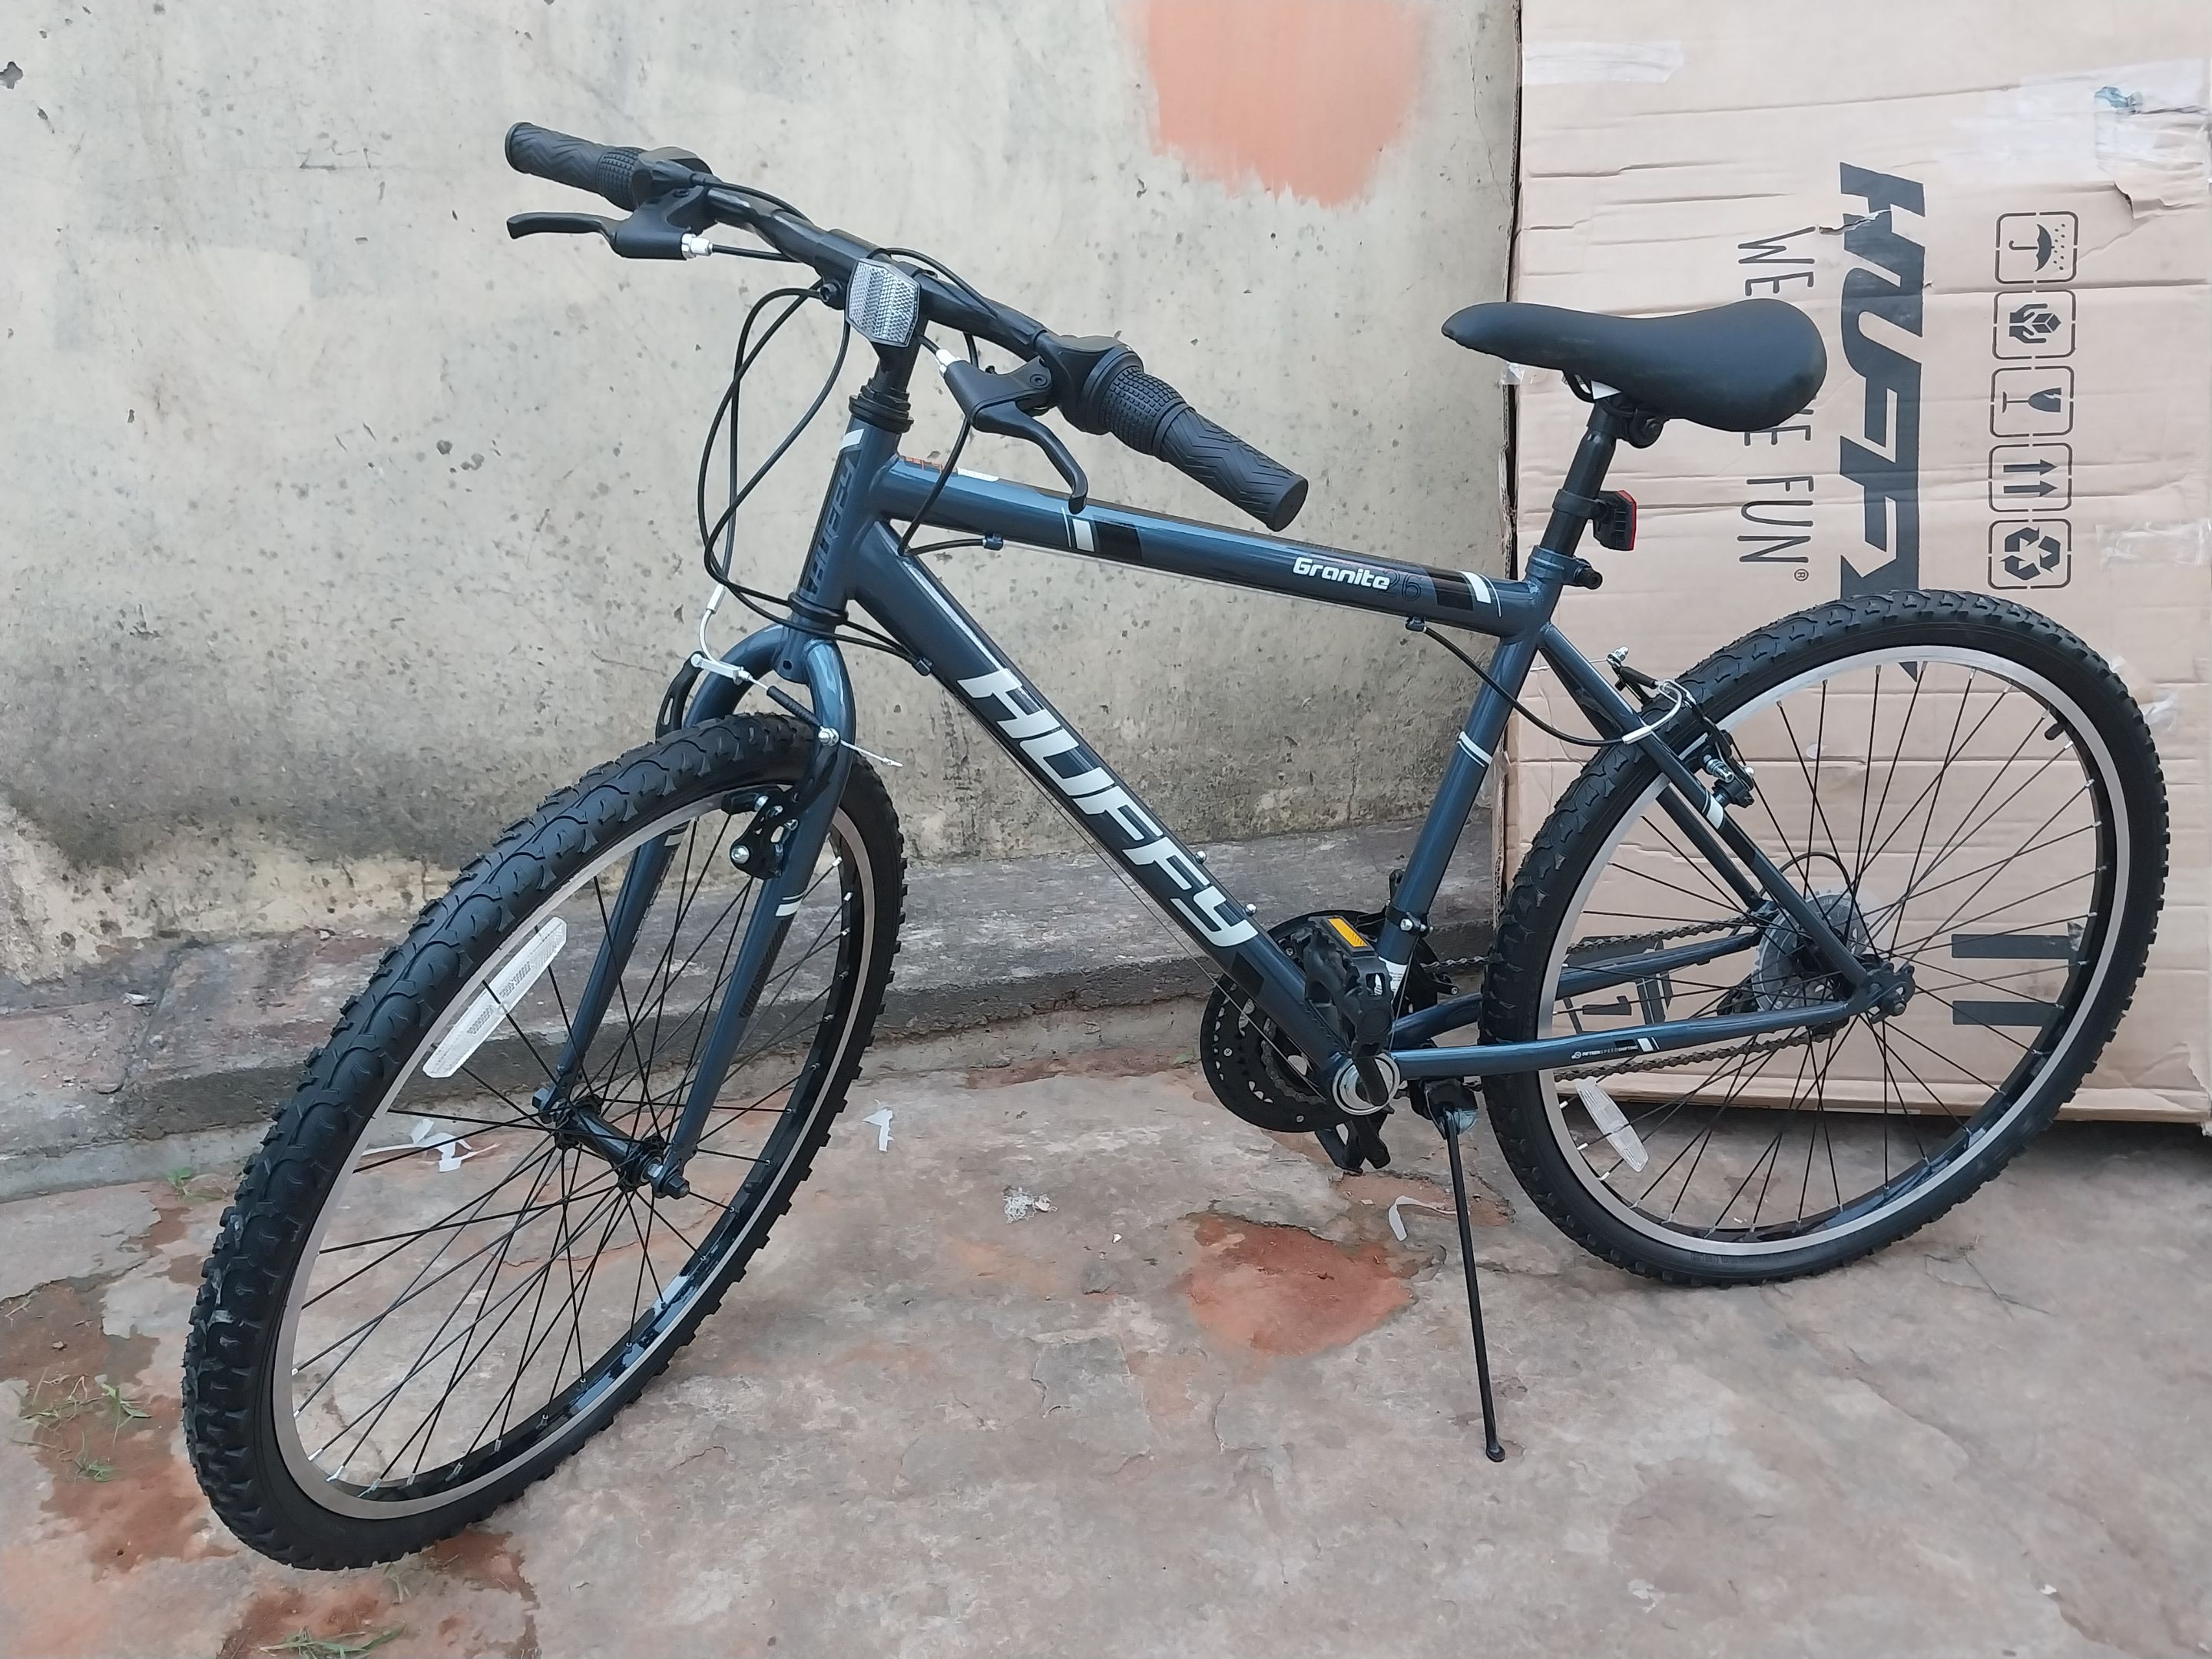
Como verán en las imágenes, la bicicleta viene semi armada y solamente había que colocar ciertas cosas al cuadro; por ejemplo, el manubrio ya venía con su juego de cambios instalado y también con sus frenos y guayas listas, de manera que solamente hubo que montar el manubrio en el cuadro y apretarlo. Luego de eso Procedí a colocar los pedales que también venían separados, tome una llave ajustable, la gradue correctamente, posicioné los pedales, y procedi a apretarlo uno por uno; una vez ajustados los pedales, tomé el asiento de la bicicleta, lo coloqué en el cuadro y lo ajuste, y lo bueno es que esta clase de asientos no hay que ajustarlos con tornillos ni tuercas, sino que vienen con una palanca de presión, así que solamente coloque el asiento, lo gradué a la altura necesaria, y con la palanca ajusté y listo, asiento colocado.
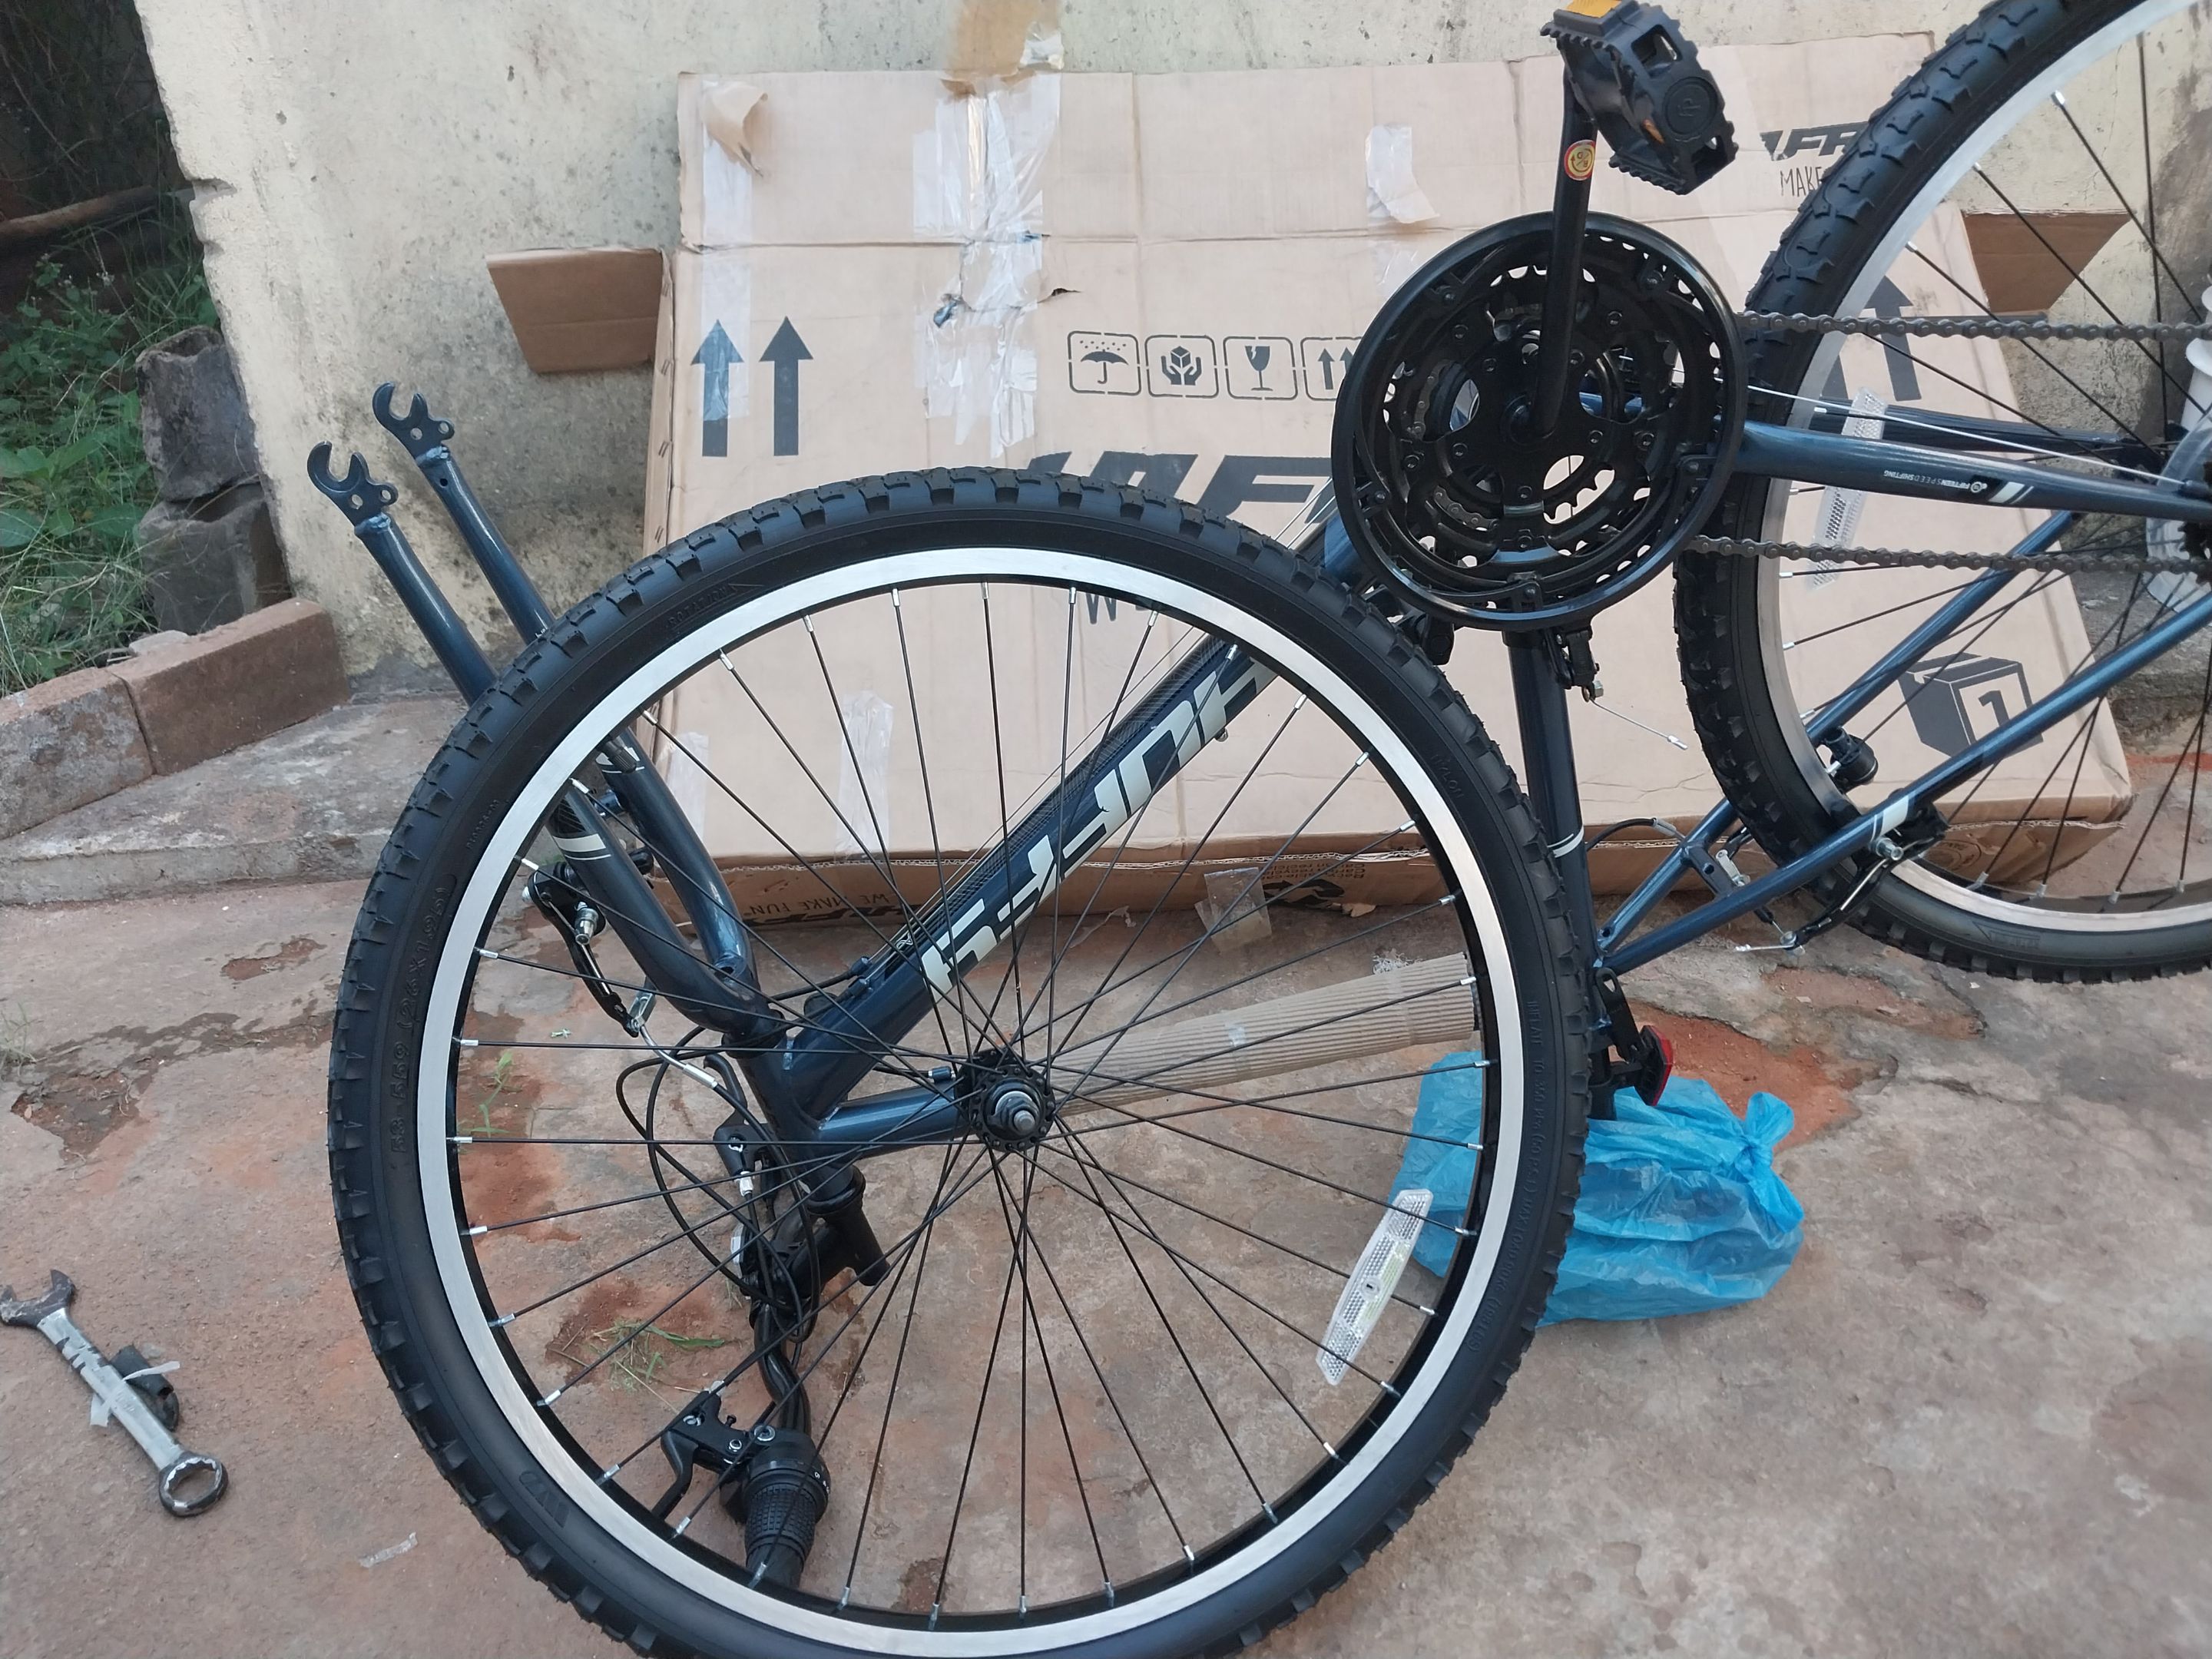
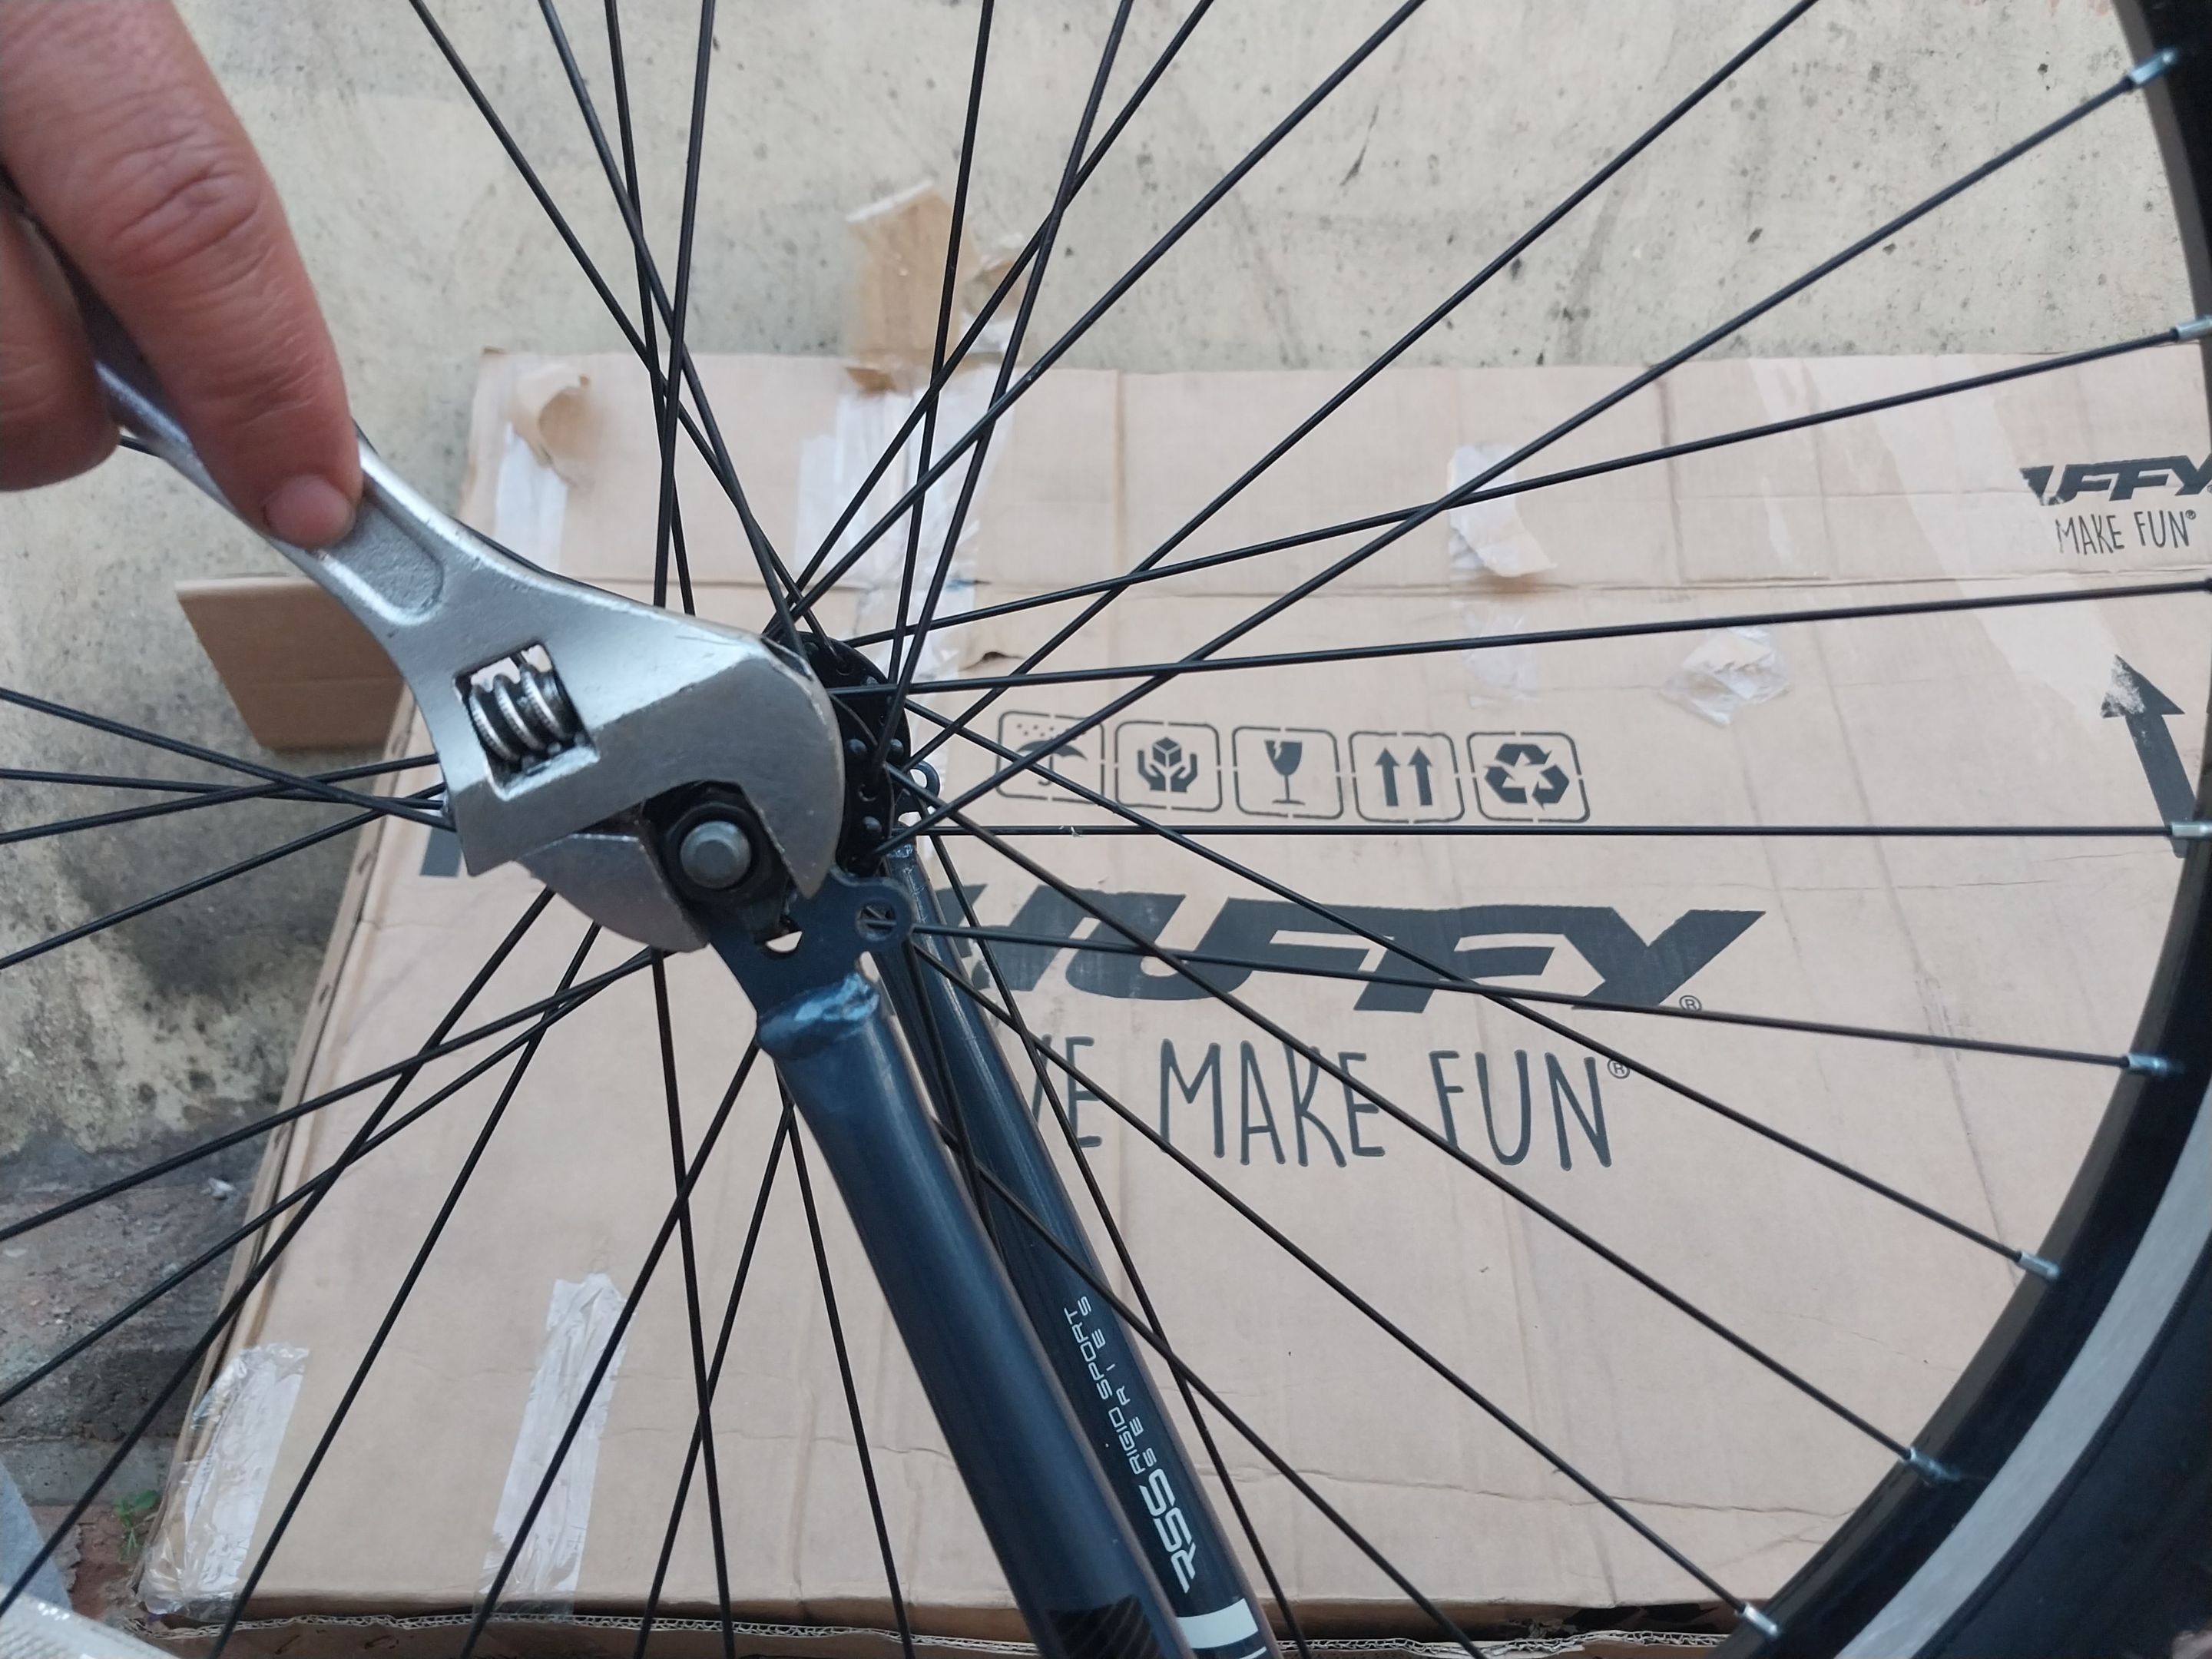
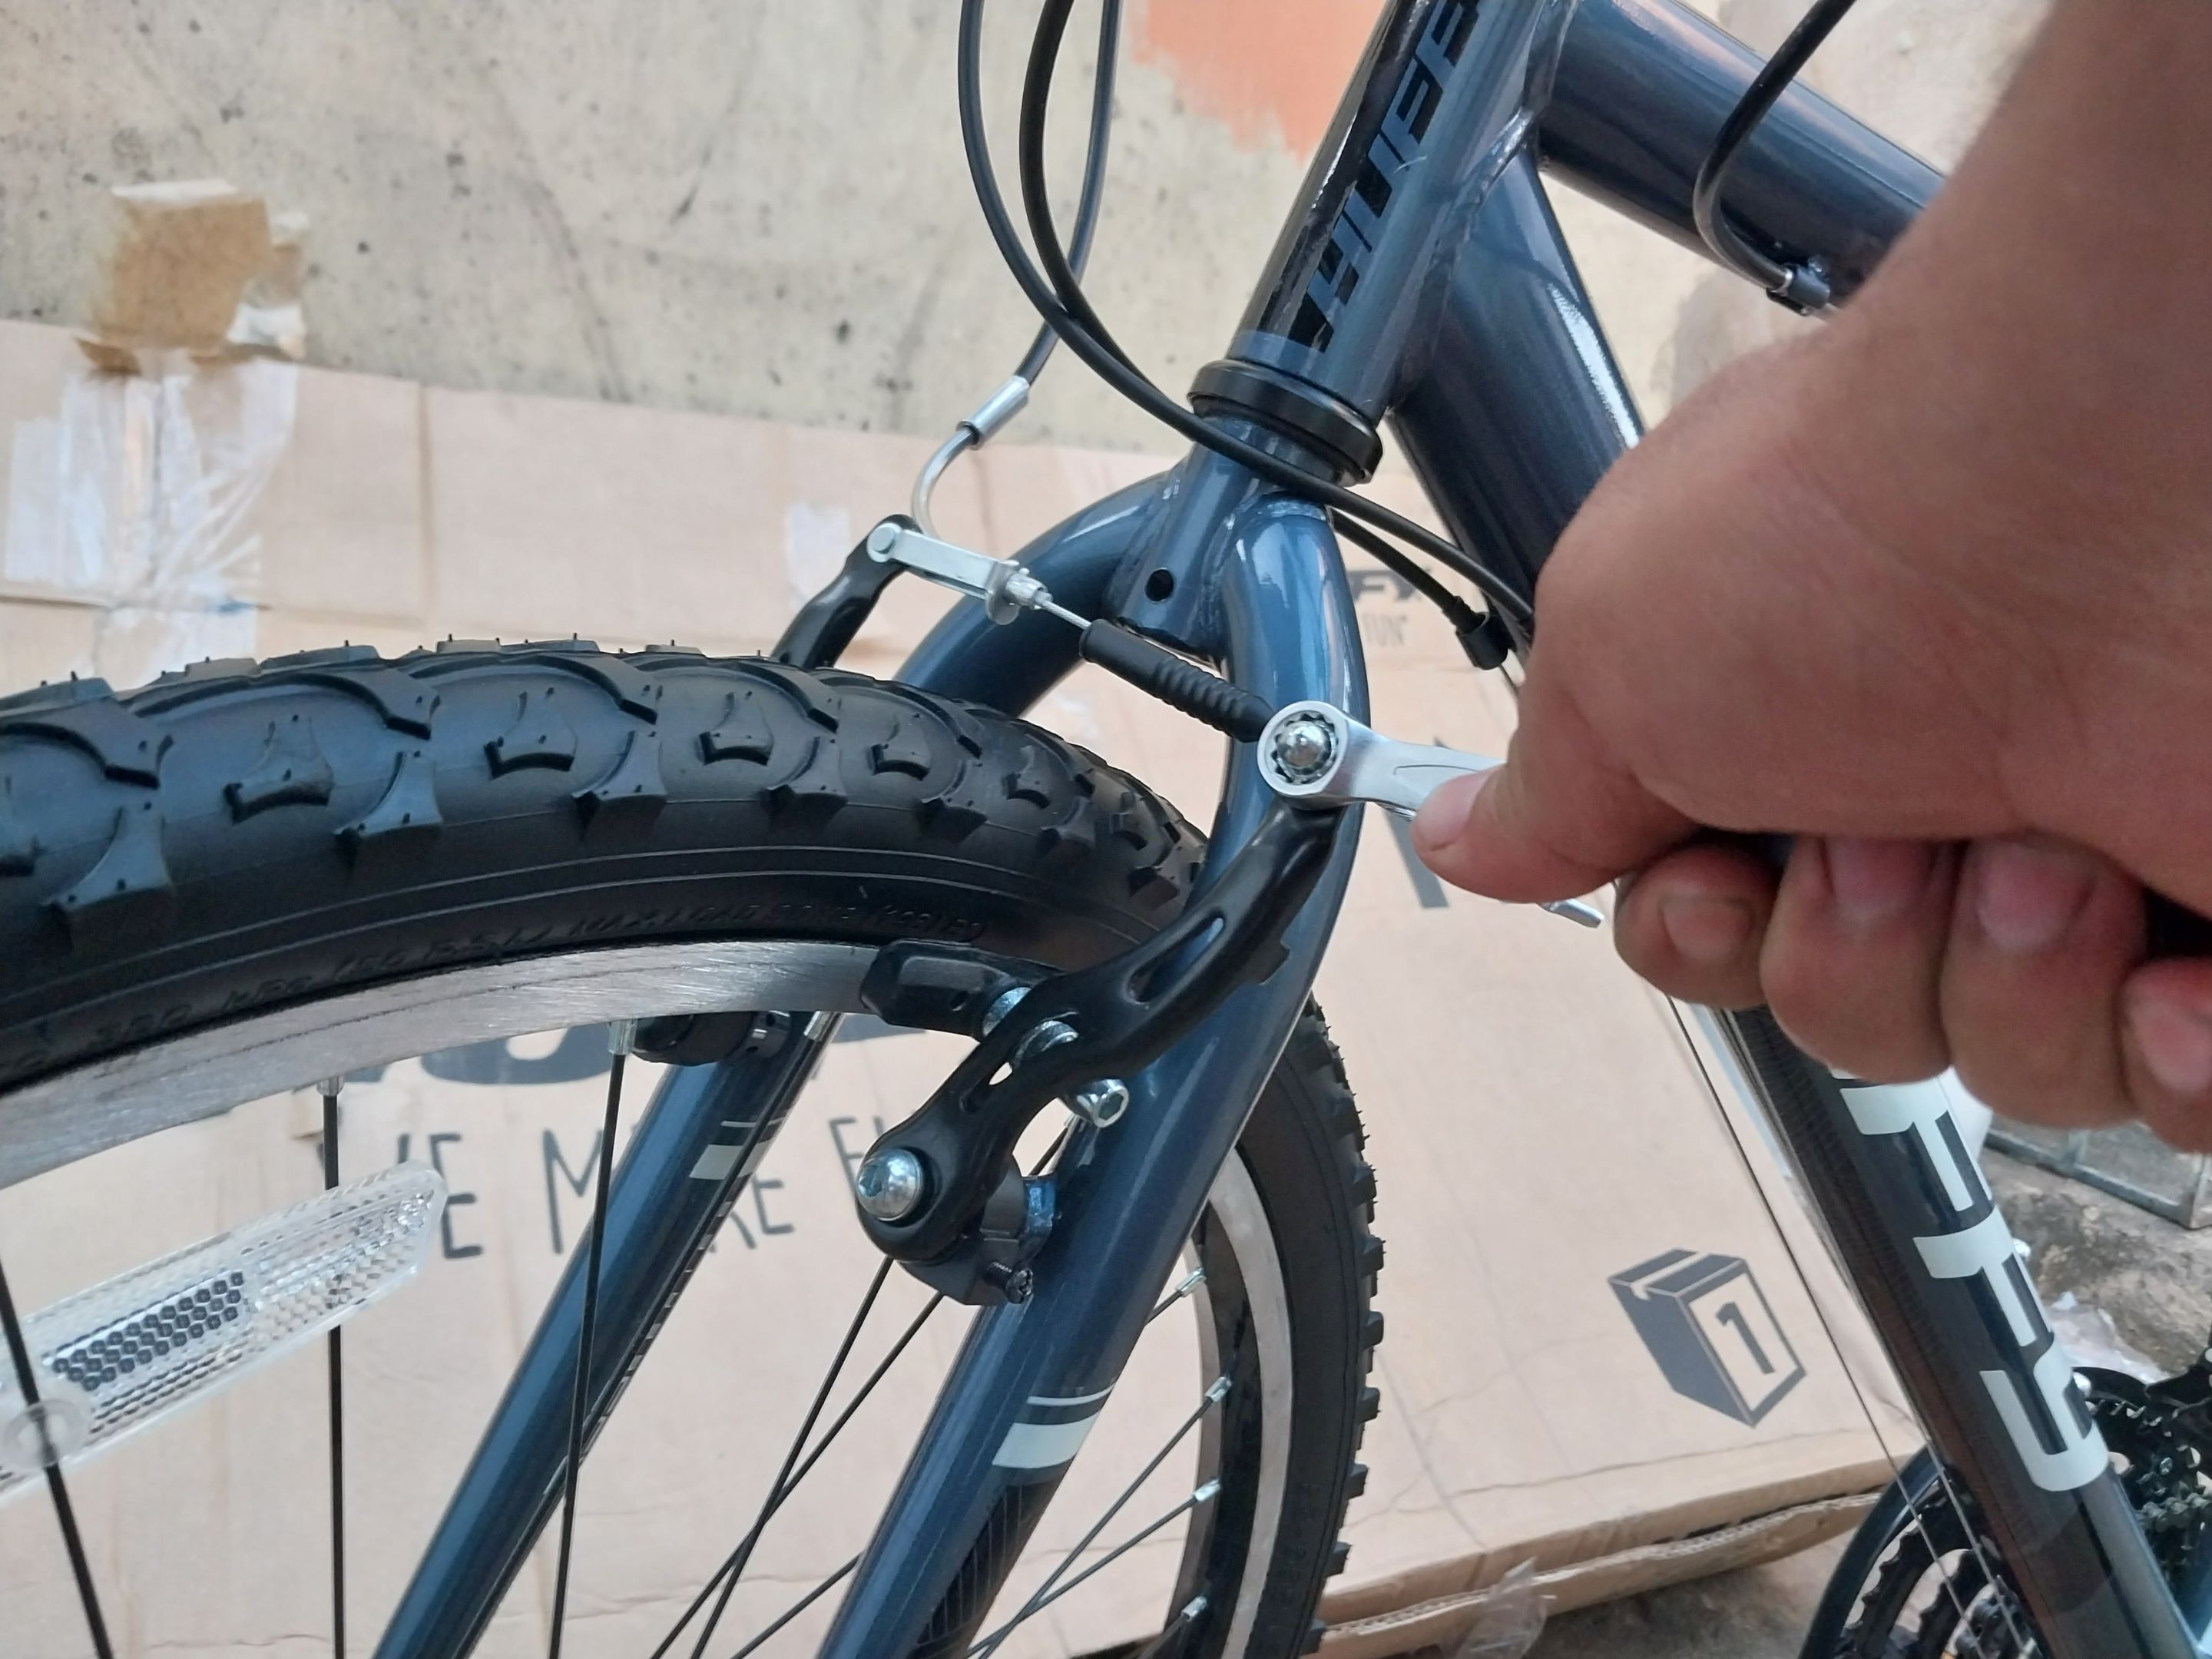
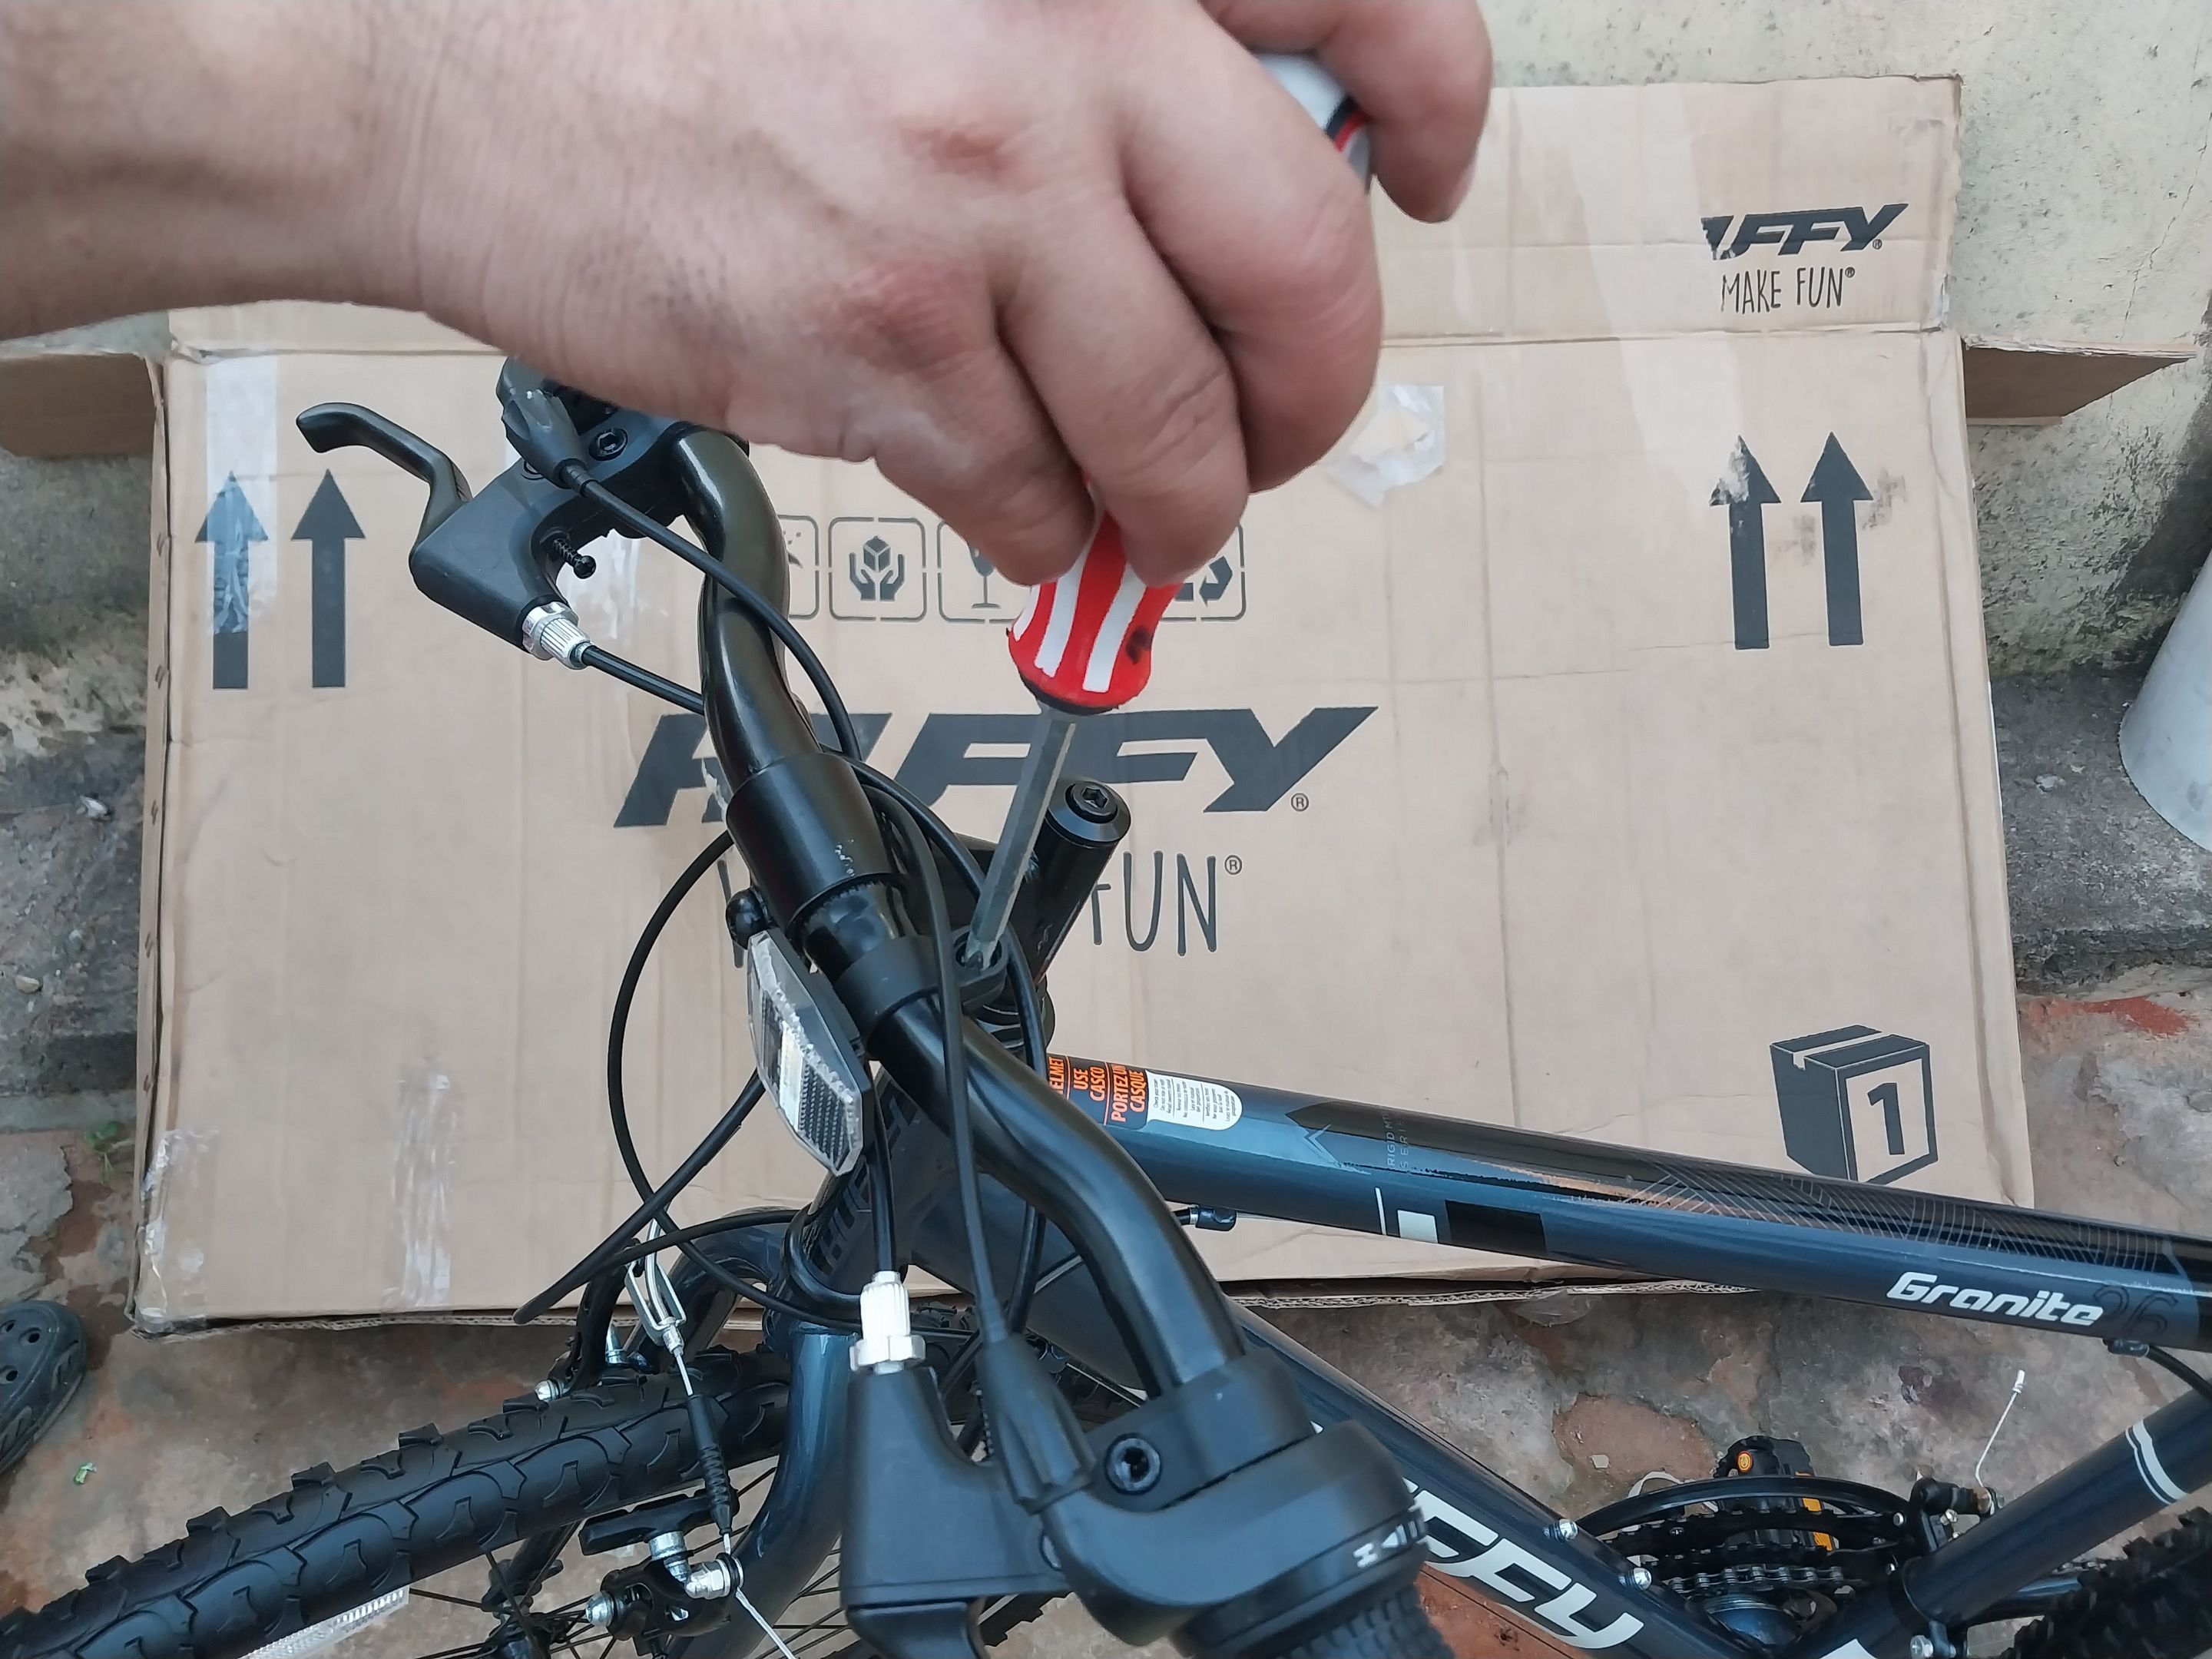
Luego procedí a colocar el caucho de adelante porque como les dije la bicicleta viene semi armada y el caucho de atrás junto con el rache y la estrella ya venían armados, así que solamente faltaba colocar el caucho de adelante, así que le di la vuelta a la bicicleta, le coloque una bolsa al asiento de manera que no fuese a romperse porque estaba nuevo, posicione el caucho de manera correcta, tomé nuevamente la llave ajustable y procedí a apretar poco a poco hasta que quedara al punto, ni muy apretado ni muy flojo. Una vez hecho eso, ya tenía la bicicleta casi lista. Luego de eso procedí a ajustar los que también venían casi listos solamente tuve que graduar un poco con ayuda de una llave 10, ya ajustado eso coloqué un ojo de gato que también venia en la caja, con ayuda de un estornillador de estría lo posicioné en el manubrio, lo apreté y listo, Un ensamble Perfecto.
Algo que me sorprendió bastante Es que los cauchos de la bicicleta También venían inflados, así que bueno, ni siquiera hizo falta utilizar una bomba de aire jajaj.
Y bueno, así quedó la bicicleta, lista para correr. Espero que les haya gustado este paso a paso. Bendiciones Y hasta la próxima.
**
ENGLISH
**
Hello friends of the Diyhub community, how are you? God bless you. I hope you're all doing well and having an amazing time. This time, I want to share a step-by-step guide on how to assemble a bicycle. Let me tell you quickly: I recently went to visit my aunt, and well, she works for a company, and every so often the company gives them gifts—presents, so to speak—and this time, she got a brand-new bicycle. When I got there, the bike was in its box in the living room, and she asked me to put it together, and well, why not? I helped her put it together. And here I'm sharing the step-by-step instructions.
The first thing I did was take the box to a spacious area to work more comfortably. Then I opened the box. And there was the bike, brand-new, haha. Well, I took out all the parts from the box: the tires, the handlebars, the frame, the seat, and the other accessories that came in the box, and after that, I started assembling. The first thing I did was ask my uncle, who was there, to help hold the bike steady. Meanwhile, I took the handlebars, fixed them to the frame base, grabbed an Ale wrench, tightened them, and voila! The handlebar was in place.
As you can see in the pictures, the bike came semi-assembled, and only a few things needed to be attached to the frame. For example, the handlebars already came with their shifters installed, as well as the brakes and cables, so all I had to do was mount the handlebars on the frame and tighten them. After that, I proceeded to attach the pedals, which also came separately. I took an adjustable wrench, set it correctly, positioned the pedals, and proceeded to tighten them one by one. Once the pedals were adjusted, I took the bike seat, placed it on the frame, and tightened it. The good thing is that these types of seats don't have to be adjusted with screws or nuts. Instead, they come with a pressure lever. So, I just placed the seat, adjusted it to the necessary height, and adjusted it with the lever, and that's it—the seat was in place.
Then I proceeded to install the front tire because, as I told you, the bike comes partially assembled, and the rear tire, along with the spoke and the star, were already assembled. So, all that remained was to install the front tire. So, I turned the bike over, put a bag on the seat so it wouldn't break because it was new. I positioned the tire correctly. I took the adjustable wrench again and proceeded to tighten it little by little until it was just right, neither too tight nor too loose. Once that was done, my bike was almost ready. After that, I proceeded to adjust the tires, which also came almost ready. I just had to adjust them a bit with a 10-gauge wrench. Once that was adjusted, I added a cat's eye bolt that also came in the box. With the help of a slotted screwdriver, I positioned it on the handlebar, tightened it, and that's it. A perfect assembly.
Something that surprised me quite a bit was that the bike tires also came pre-inflated, so, well, I didn't even need to use an air pump, haha.
And well, that's how the bike turned out, ready to ride. I hope you enjoyed this step-by-step guide. Blessings, and until next time.
---
---
Translated with https://www.deepl.com/translator