**
ESPAÑOL
**
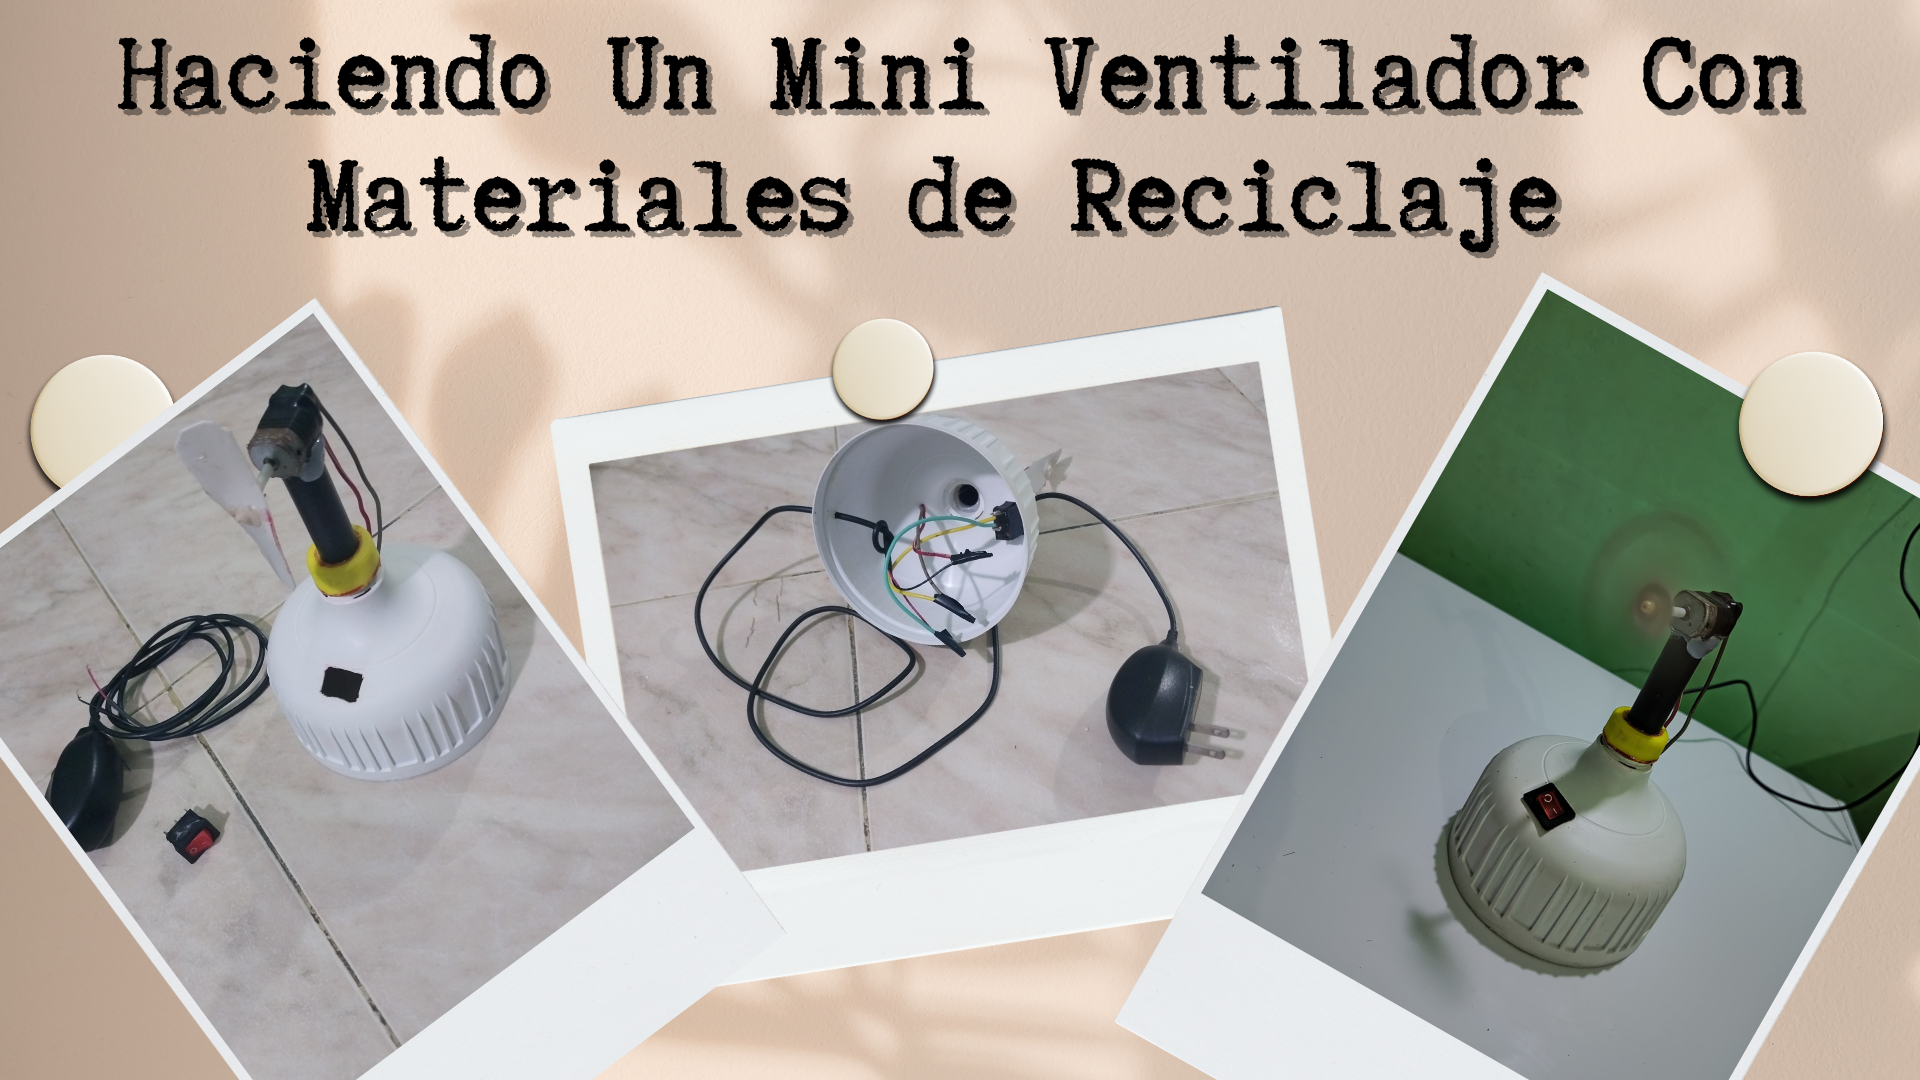
Hola amigos de la comunidad de Diyhub! Como están? Dios les bendiga espero que se encuentren muy bien y que la estén pasando increíble. En esta oportunidad quiero sumarme a esta gran iniciativa con el tema correspondiente a este mes que es "El Reciclaje", y bueno, sin duda alguna es un tema muy amplio y en el que hay infinidades de actividades las cuales se pueden realizar. Y bueno, ya sin mas que decir, por acá les comparto mi creación, un mini ventilador realizado con materiales de reciclaje.
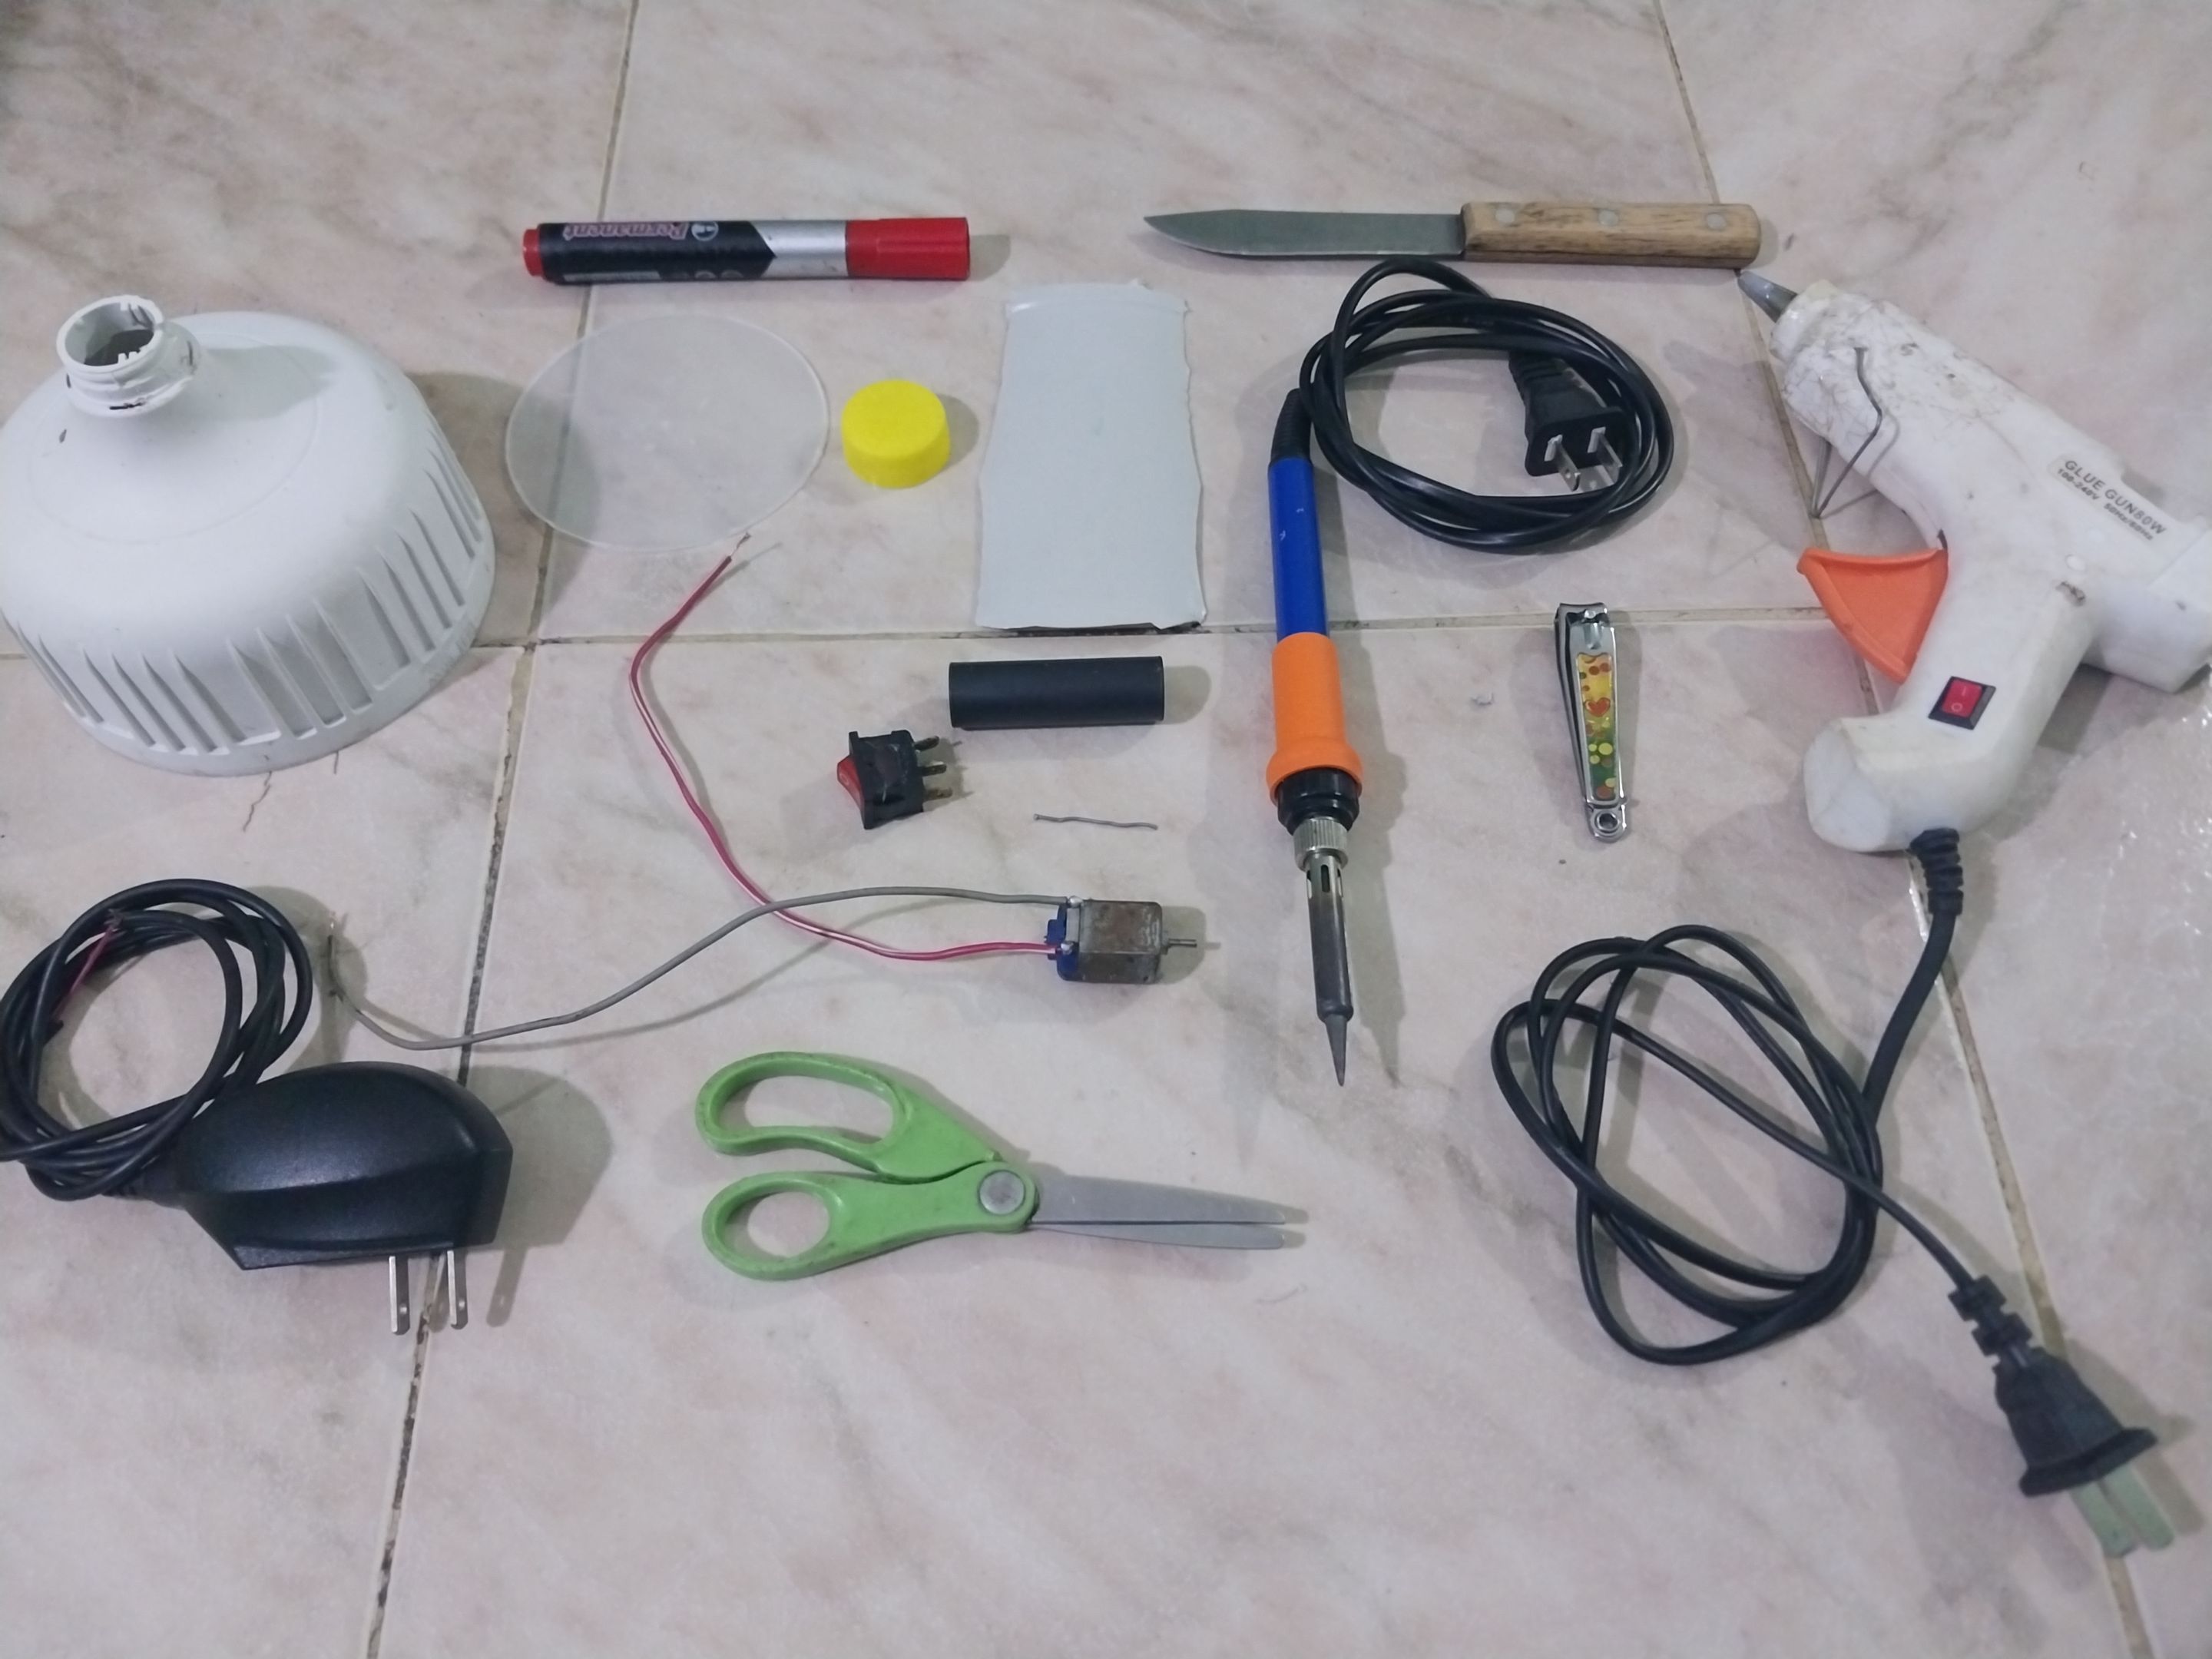
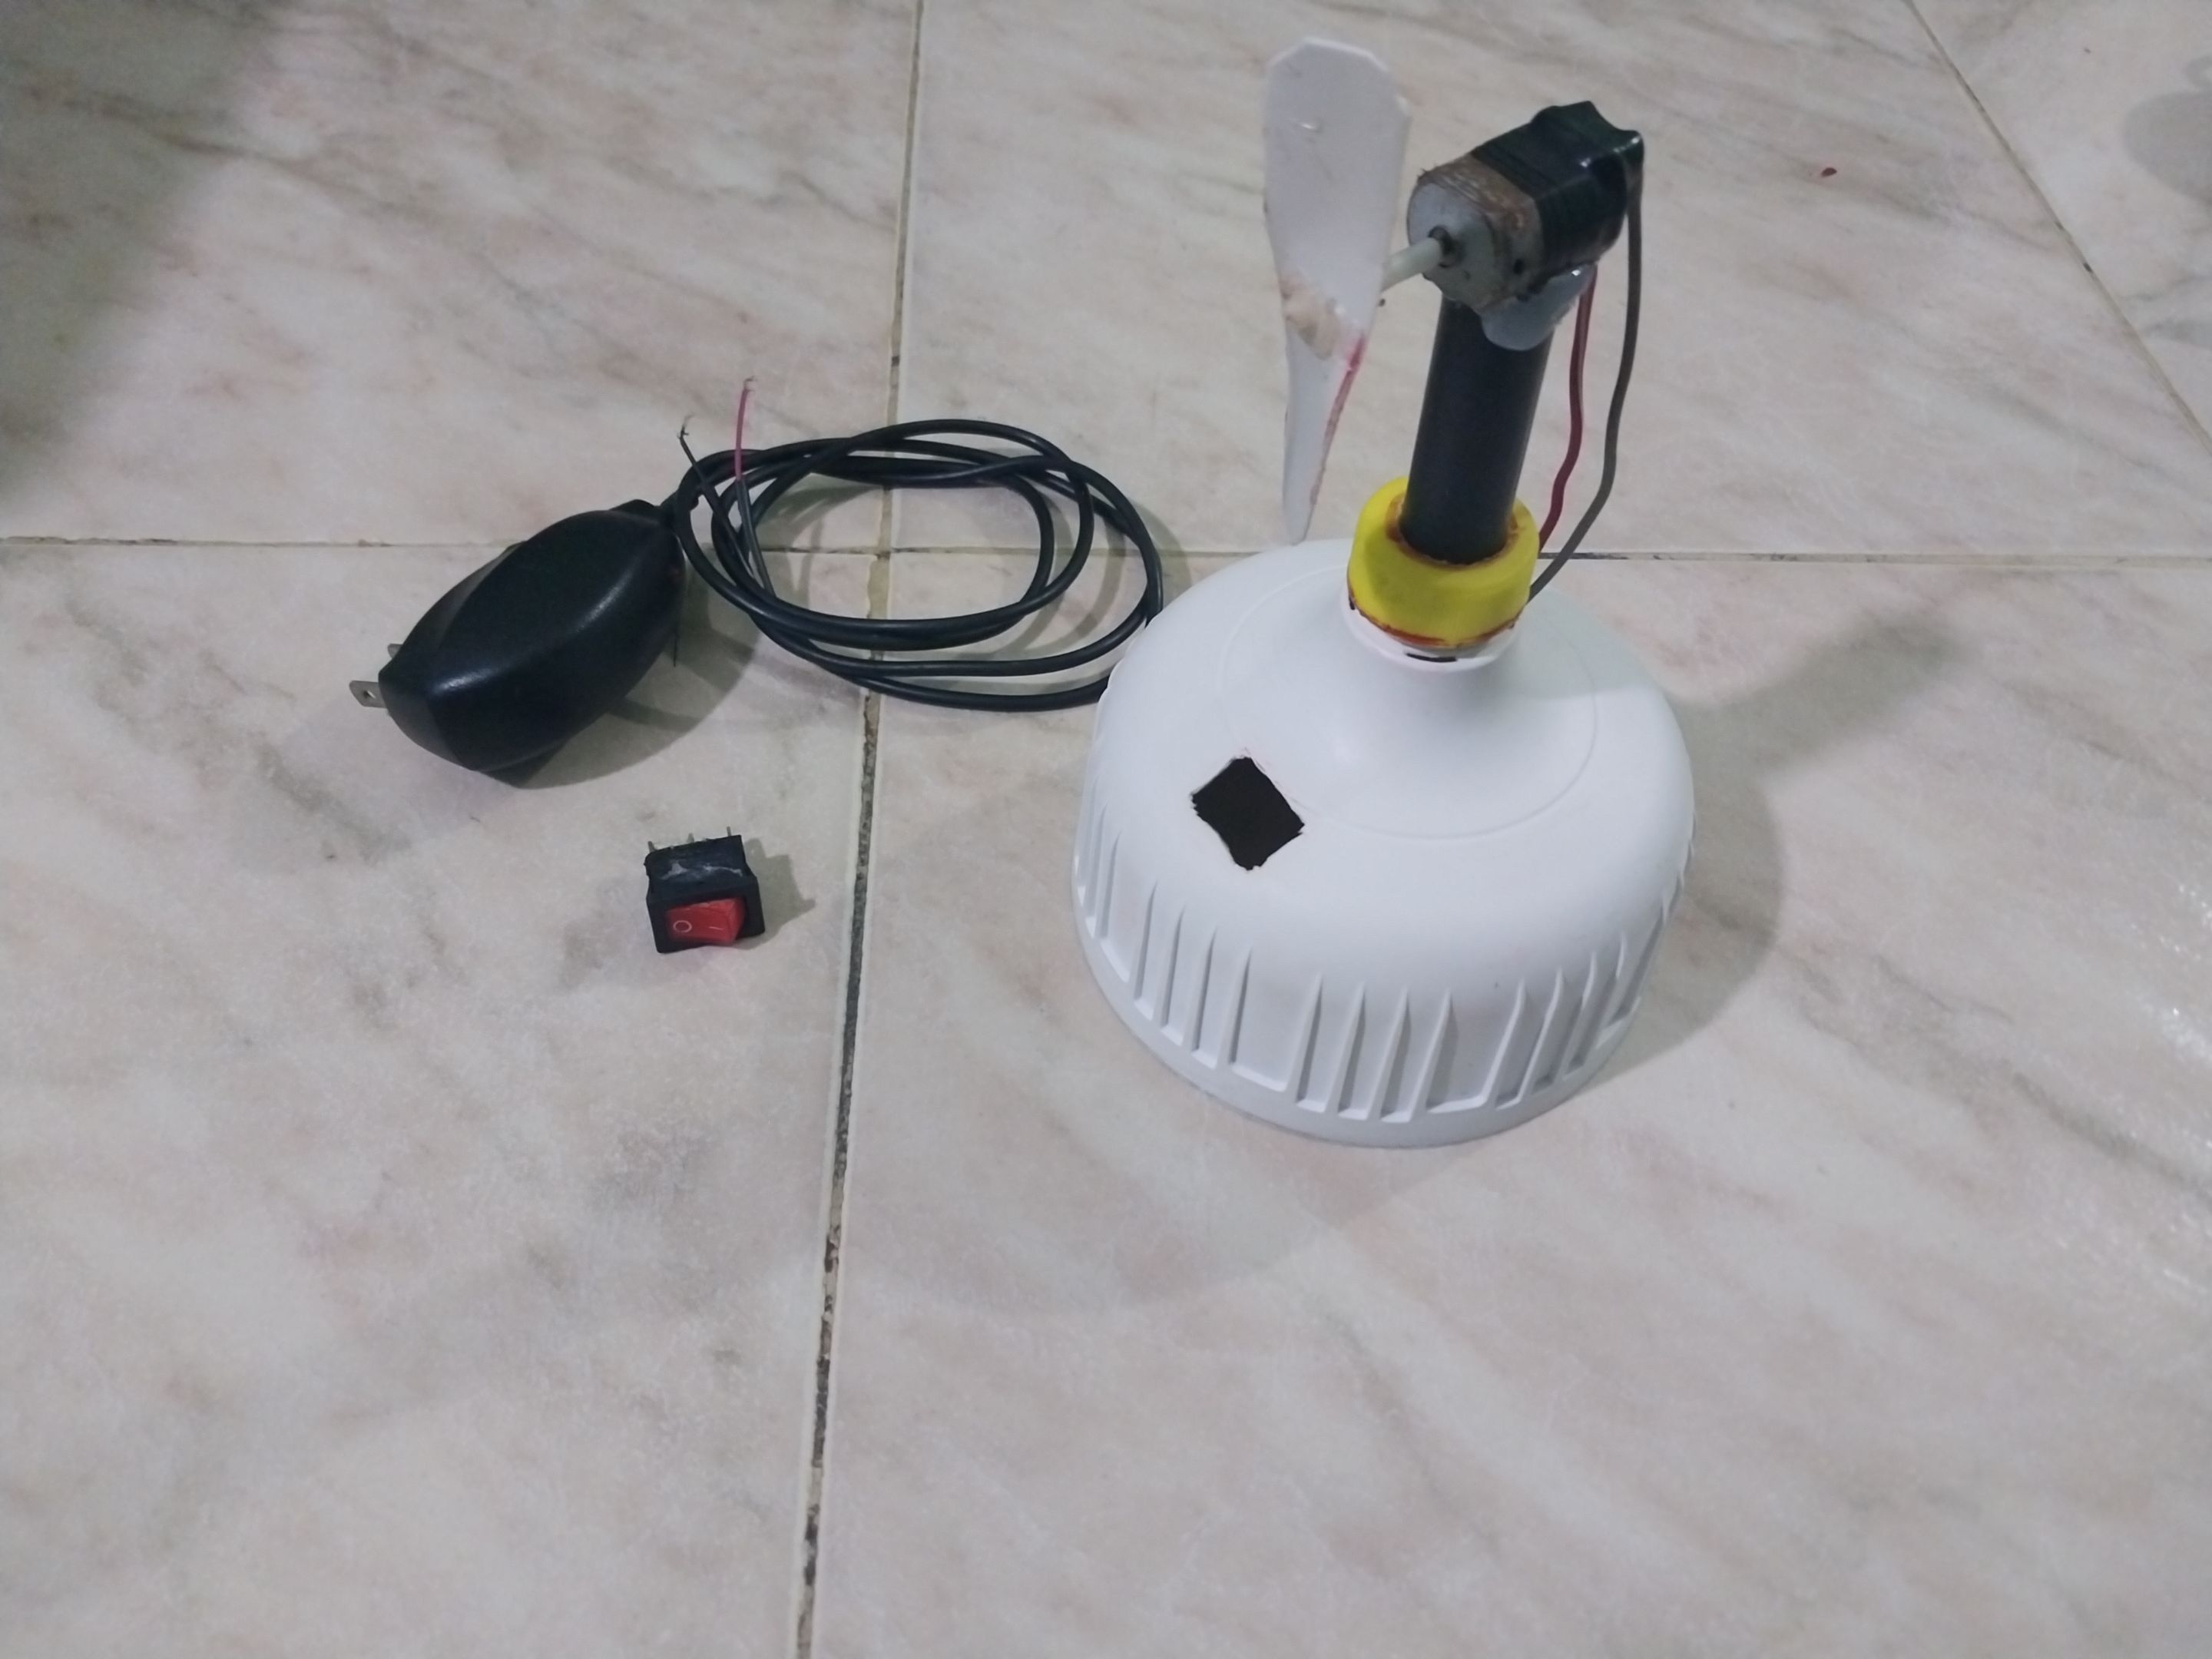
Lo primero fue ubicar los materiales y herramientas de trabajo. Para los materiales utilice el cuerpo de un bombillo led que conseguí en la calle, un motor de un carro de radio control que no servía, un encendedor viejo, pero funcional, dos retazos de plástico, una tapa de refresco, un cargador de teléfono viejo, unos pedazos de cable, el cilindro del centro de los rollos de papel de impresoras y un palito de chupeta.
Y para las herramientas, utilice un cautin, estaño, una pinza, un corta uñas, una tijera, teipe negro, un cuchillo, marcador permanente, y la pistola de silicon.
**
ENGLISH
**
Hello friends of the Diyhub community! How are you? God bless you! I hope you're all doing well and having a wonderful time. This time, I want to join this great initiative with this month's theme, "Recycling." It's a very broad topic, with countless activities to do. So, without further ado, I'm sharing my creation with you: a mini fan made from recycled materials.
The first thing I did was gather the materials and tools. For the materials, I used the body of an LED light bulb I found on the street, a motor from a disused RC car, an old but functional lighter, two scraps of plastic, a soda cap, an old phone charger, some wire, the core of a printer paper roll, and a lollipop stick.
And for tools, use a soldering iron, solder, tweezers, nail clippers, scissors, black tape, a knife, permanent marker, and the hot glue gun.
---
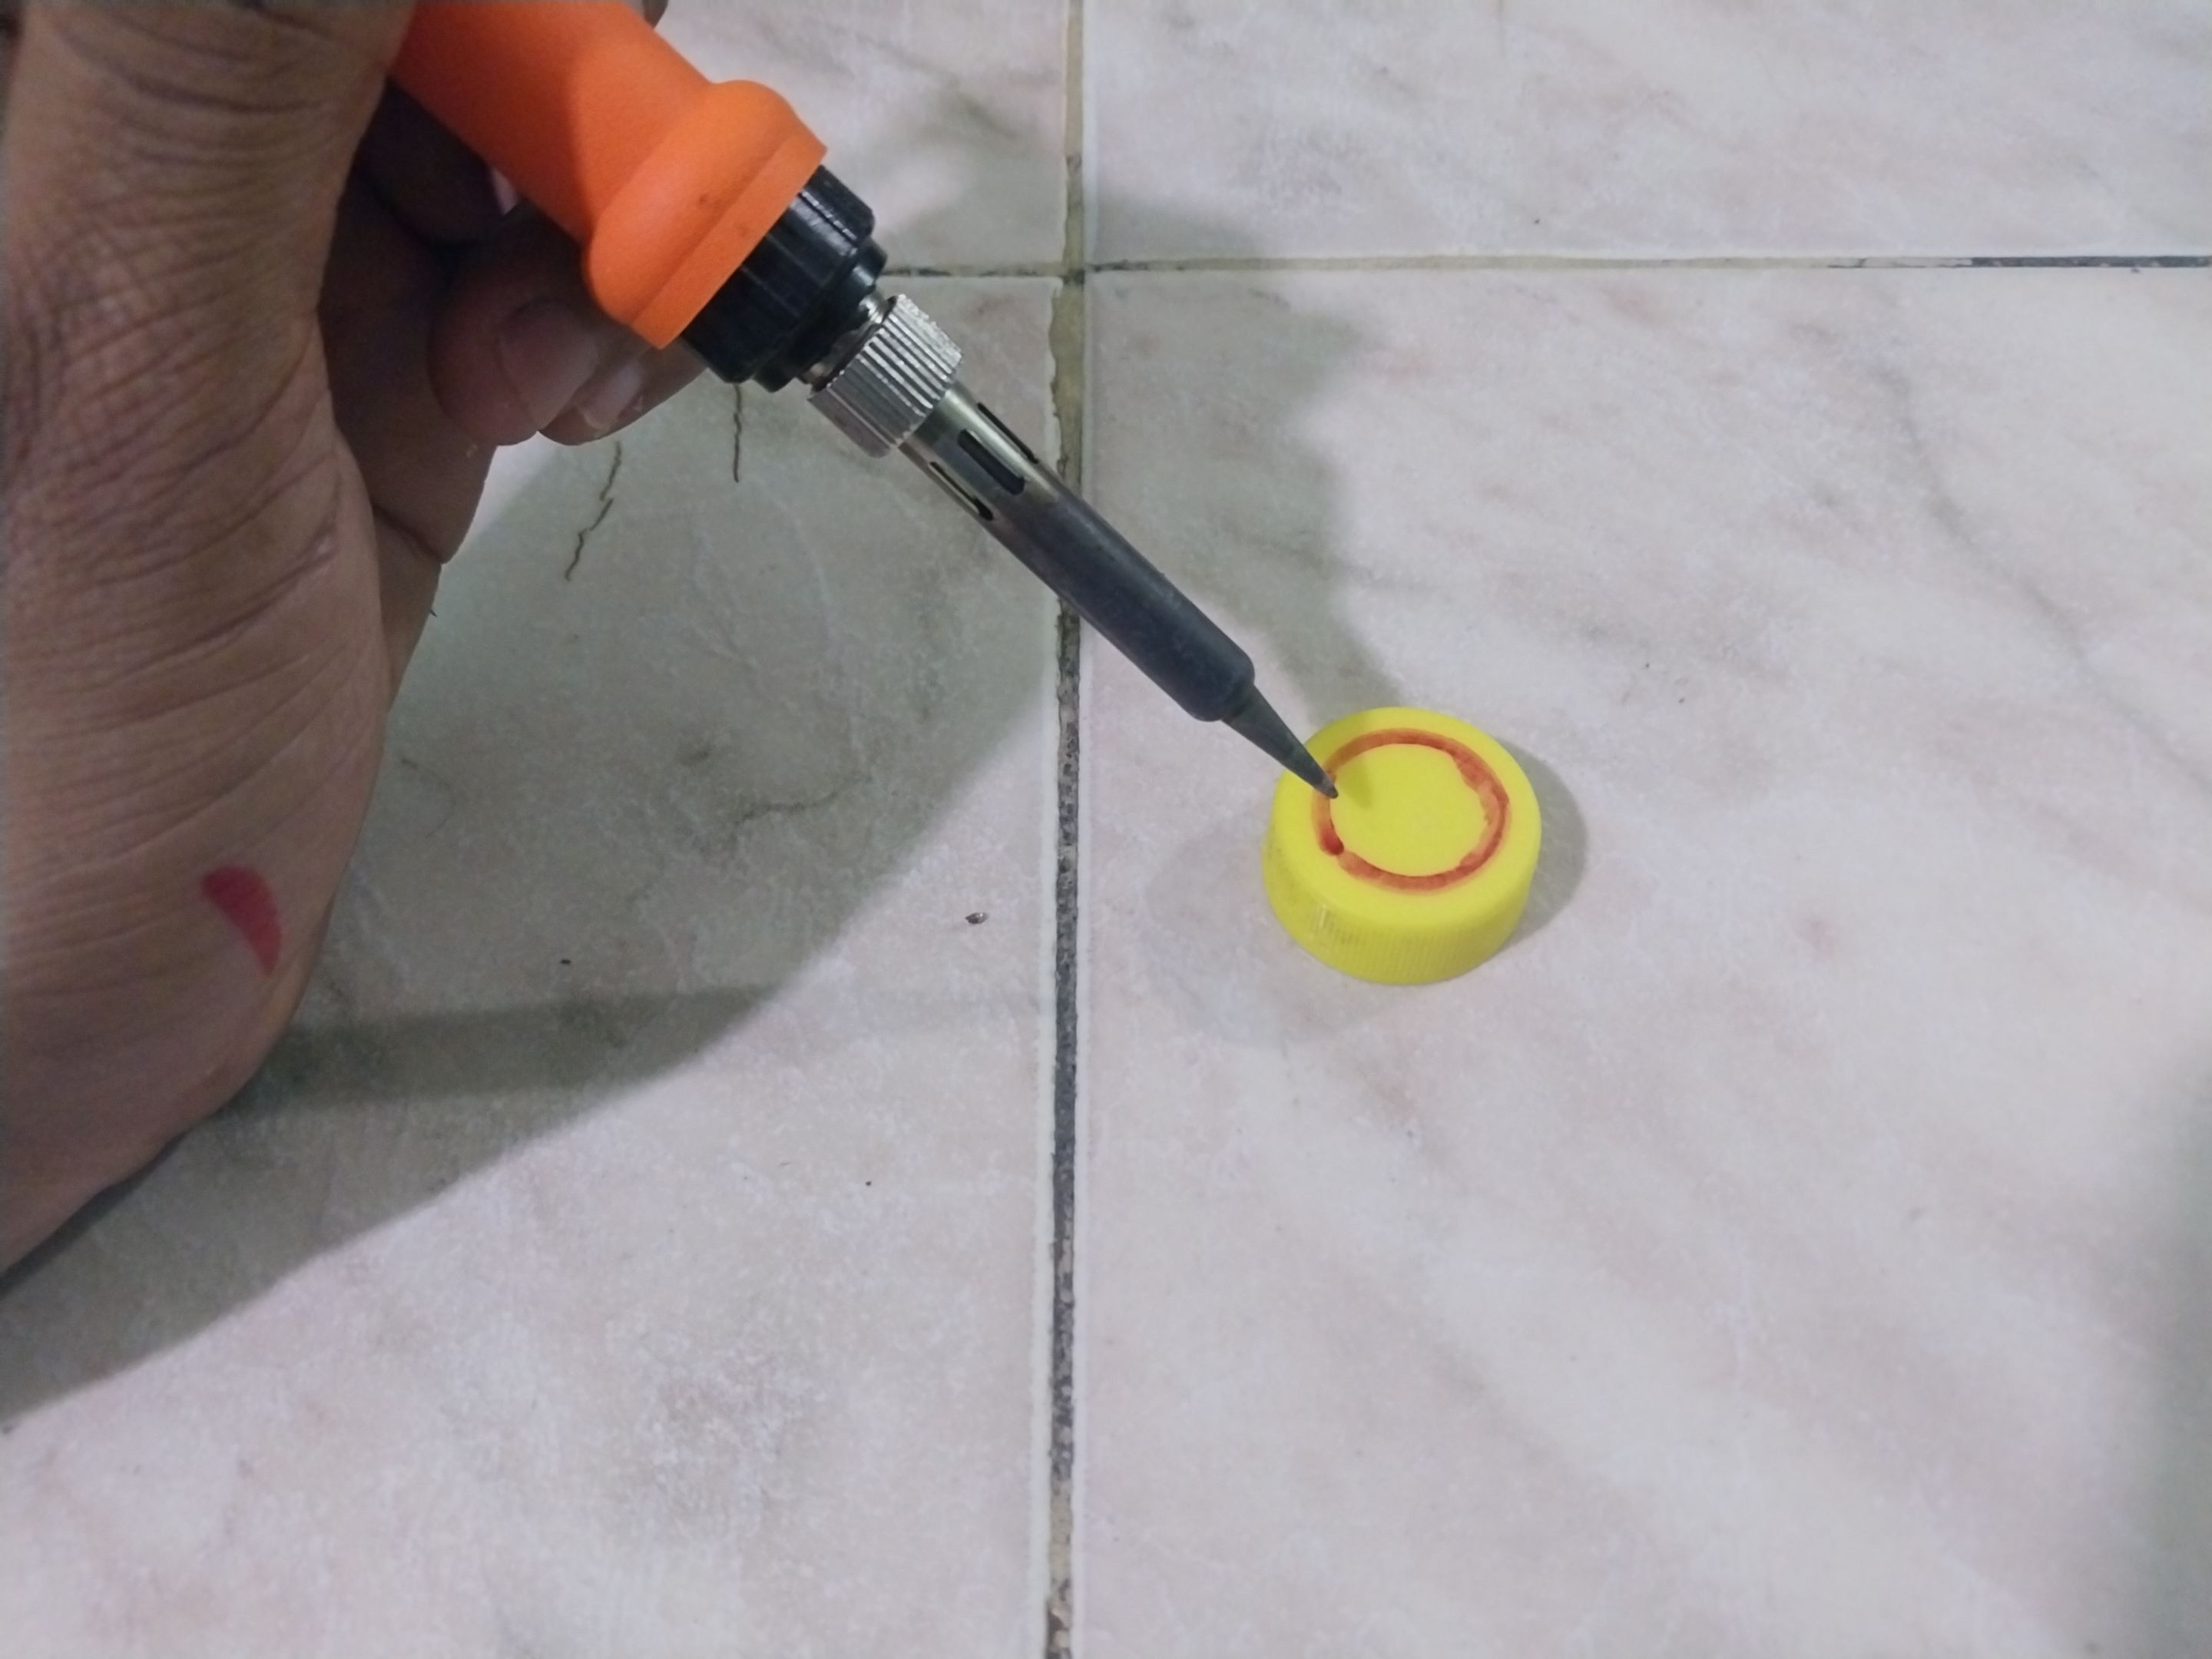
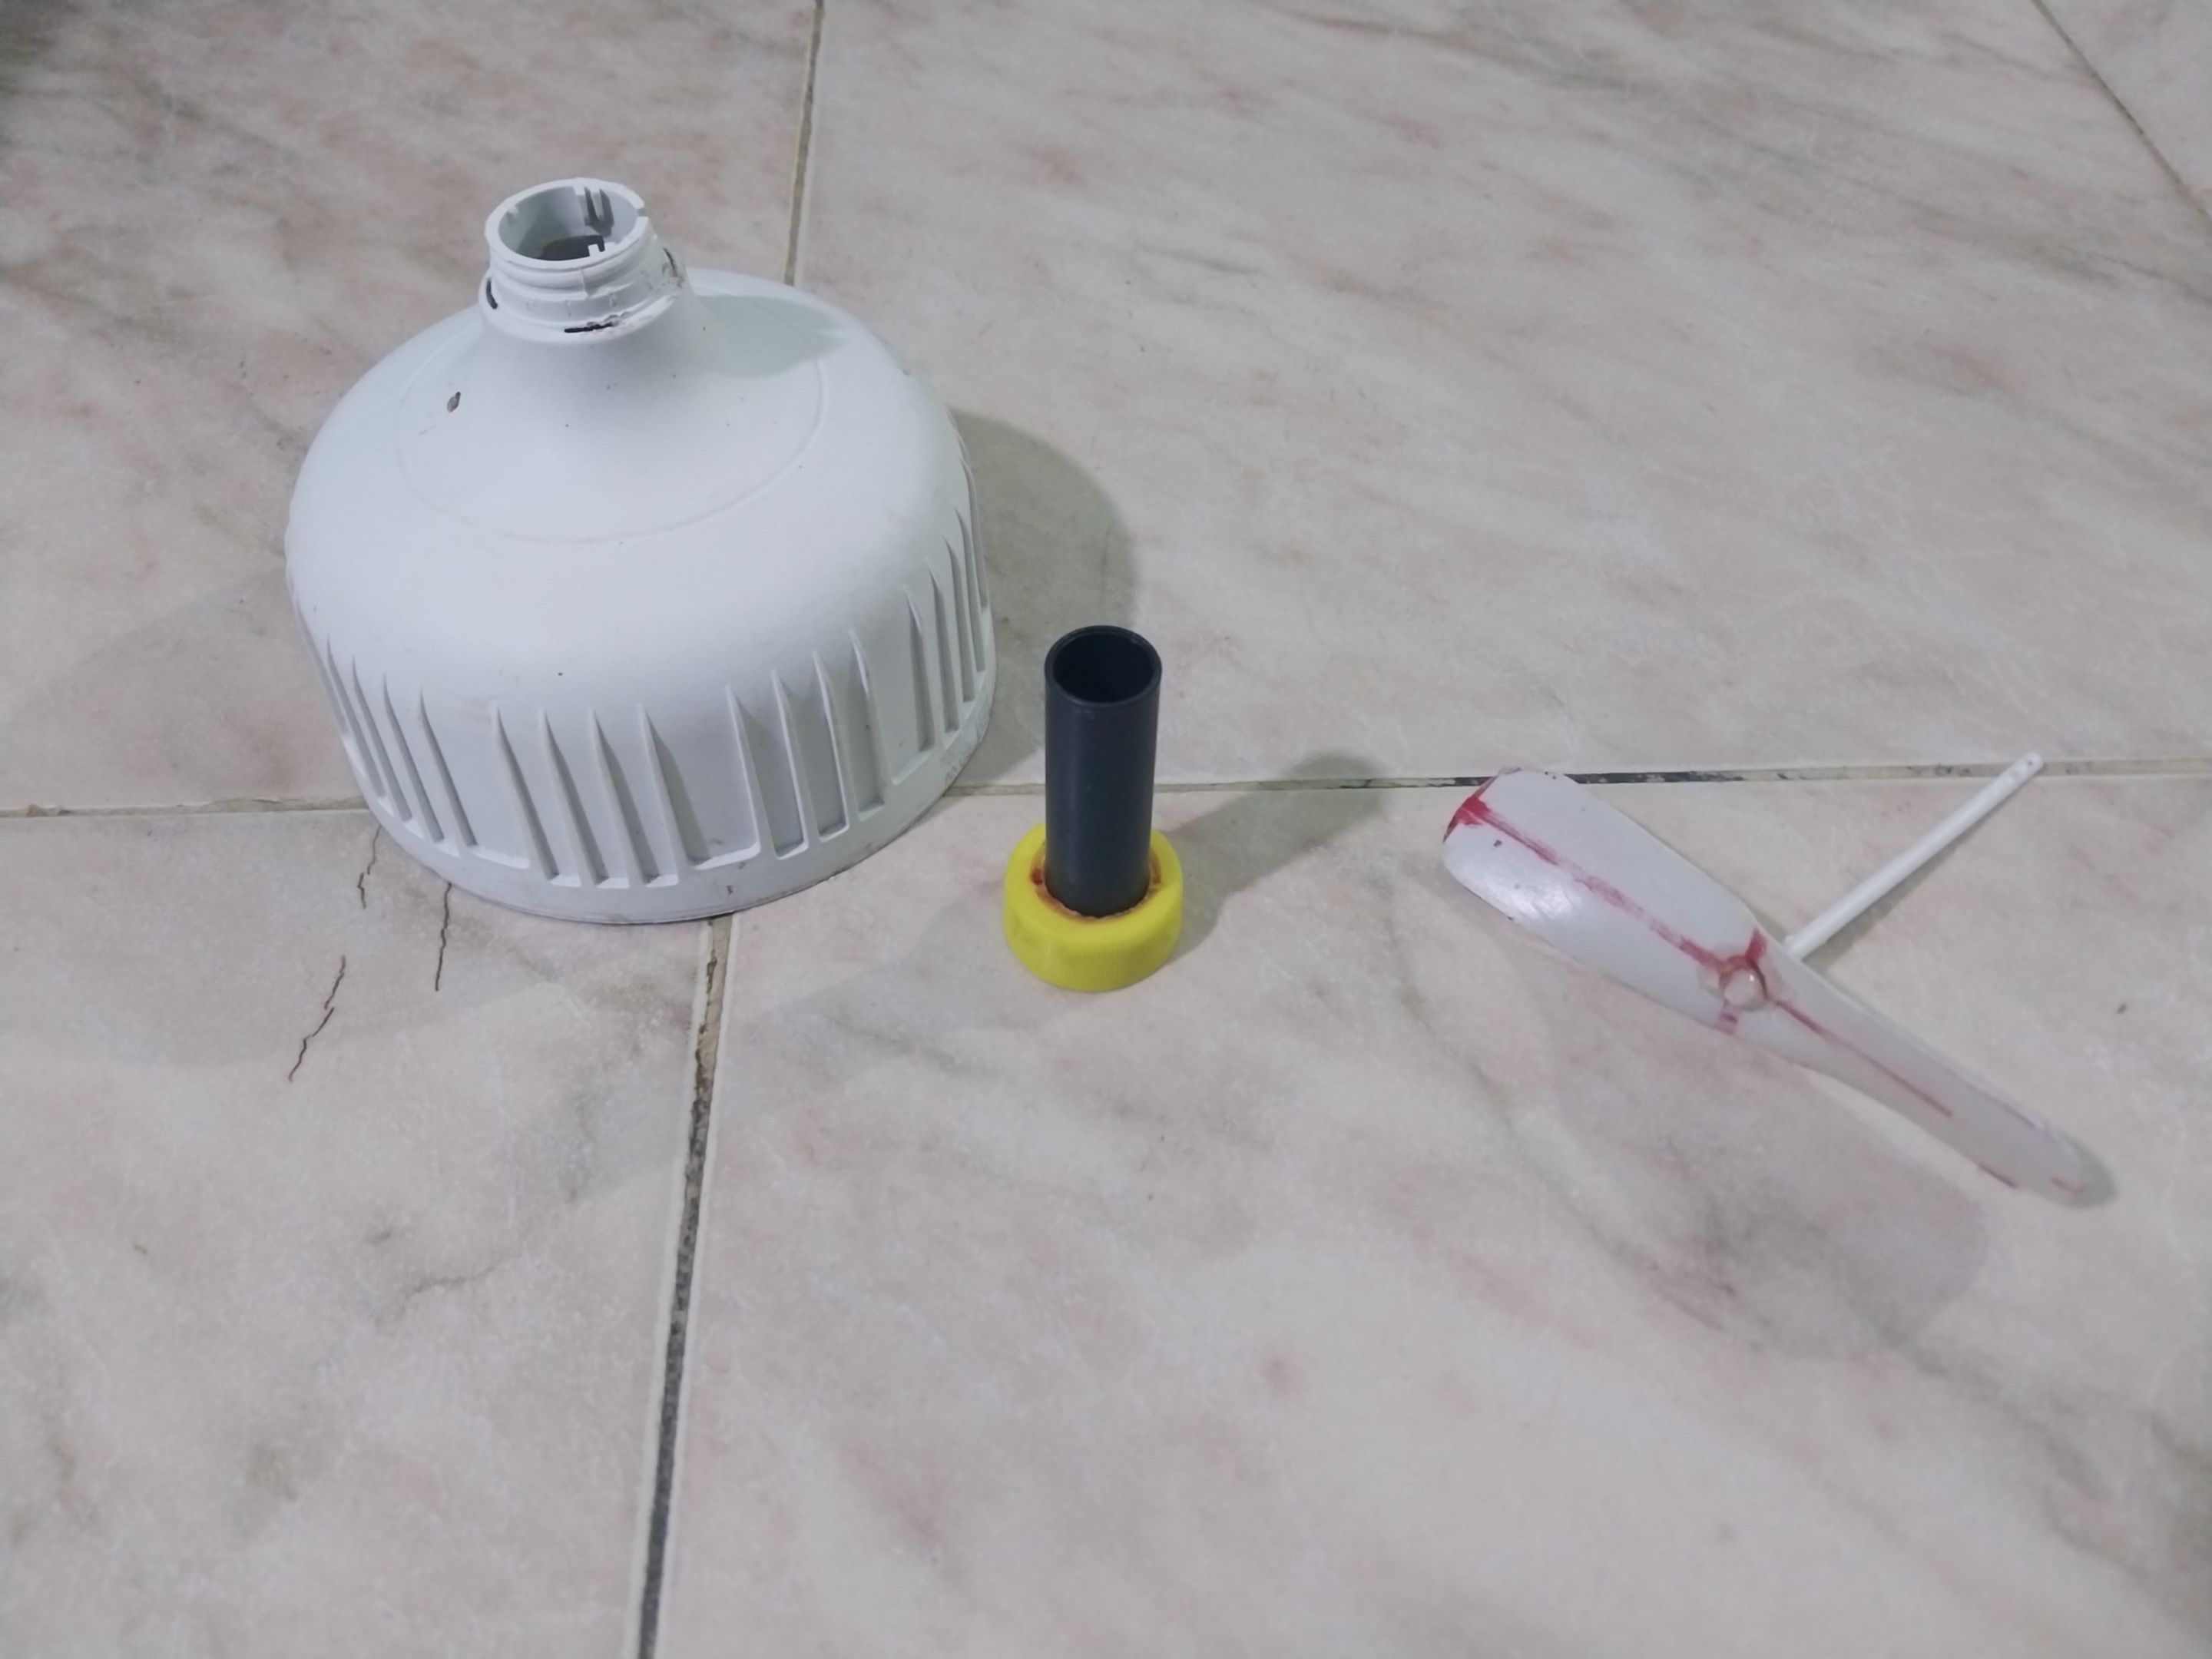
Y bueno, una vez ubicado todos los materiales procedí a empezar con mi ventilador. Lo primero que hice fue tomar la tapa de refresco y con ayuda del cautín perforé un agujero en el centro de la tapa para luego insertar el cilindro de plástico en ese agujero, y por la parte de abajo de la tapa le eche un poco de silicón para que quedase firme, luego de eso, tome uno de los retazos de plástico y con el marcador tracé un rectángulo con las esquinas ovaladas y lo recorte con la tijera, y eso sería el aspa del ventilador y después lo incrusté en el palito de chupeta.
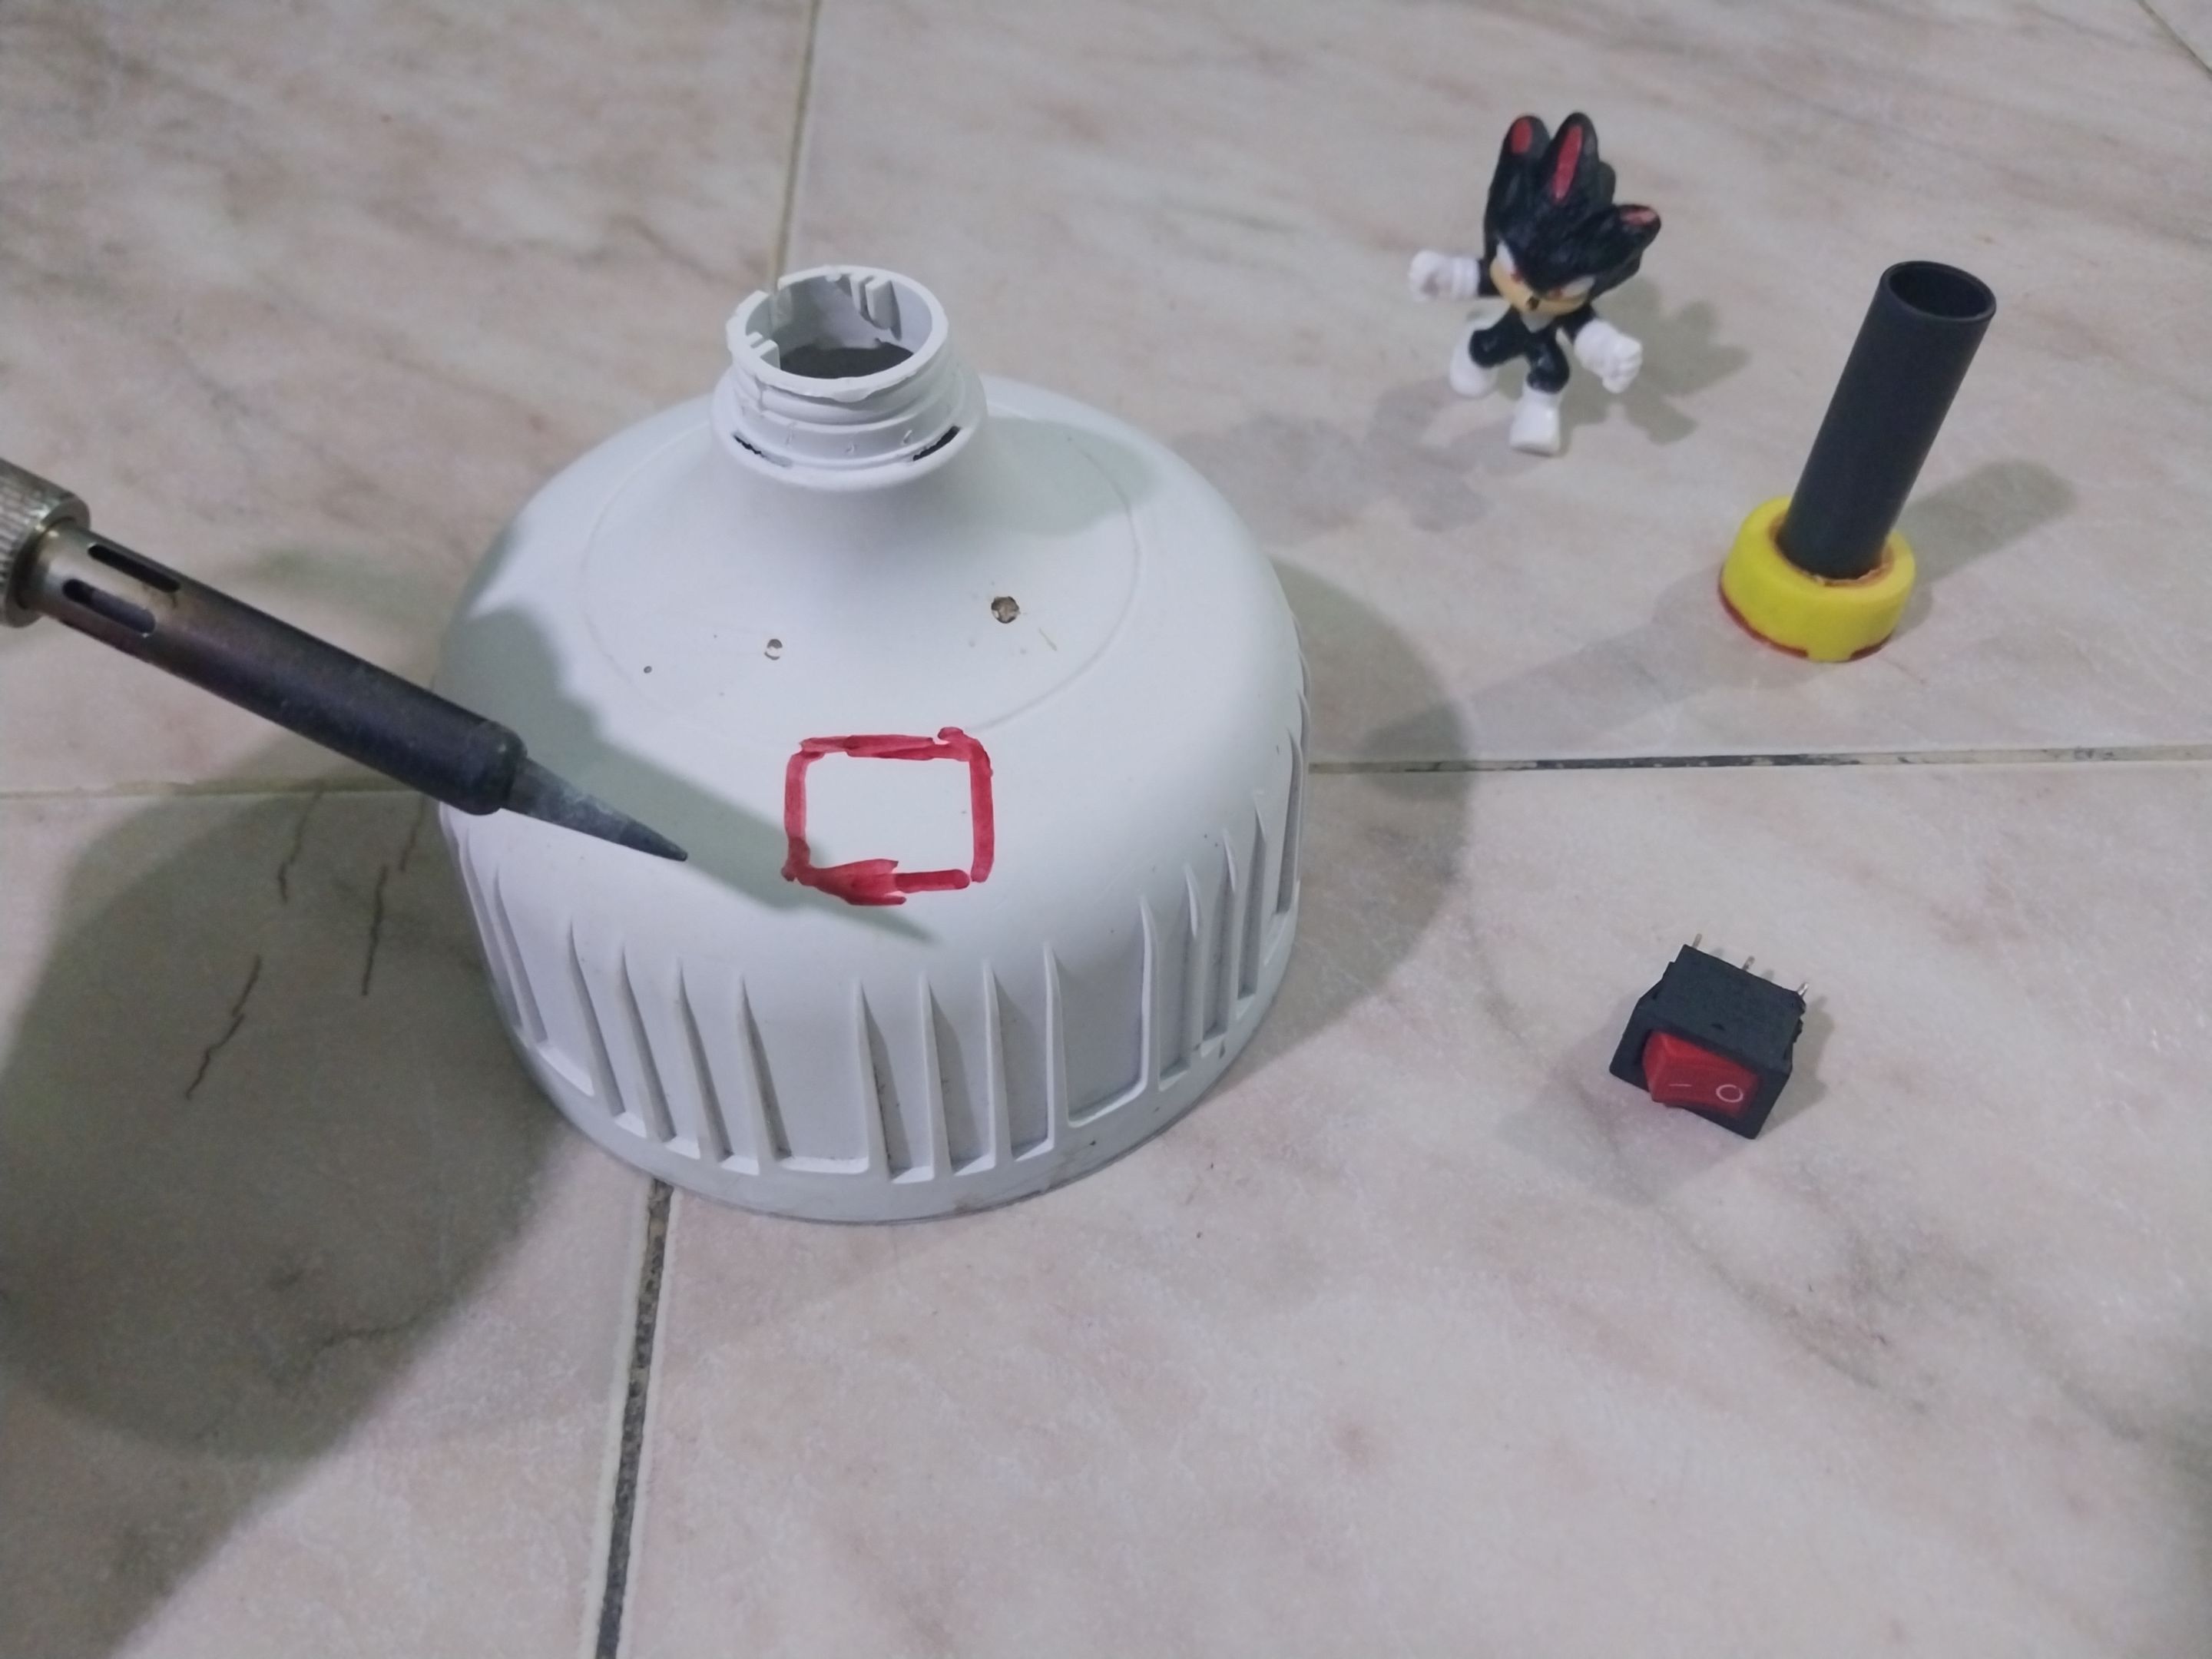
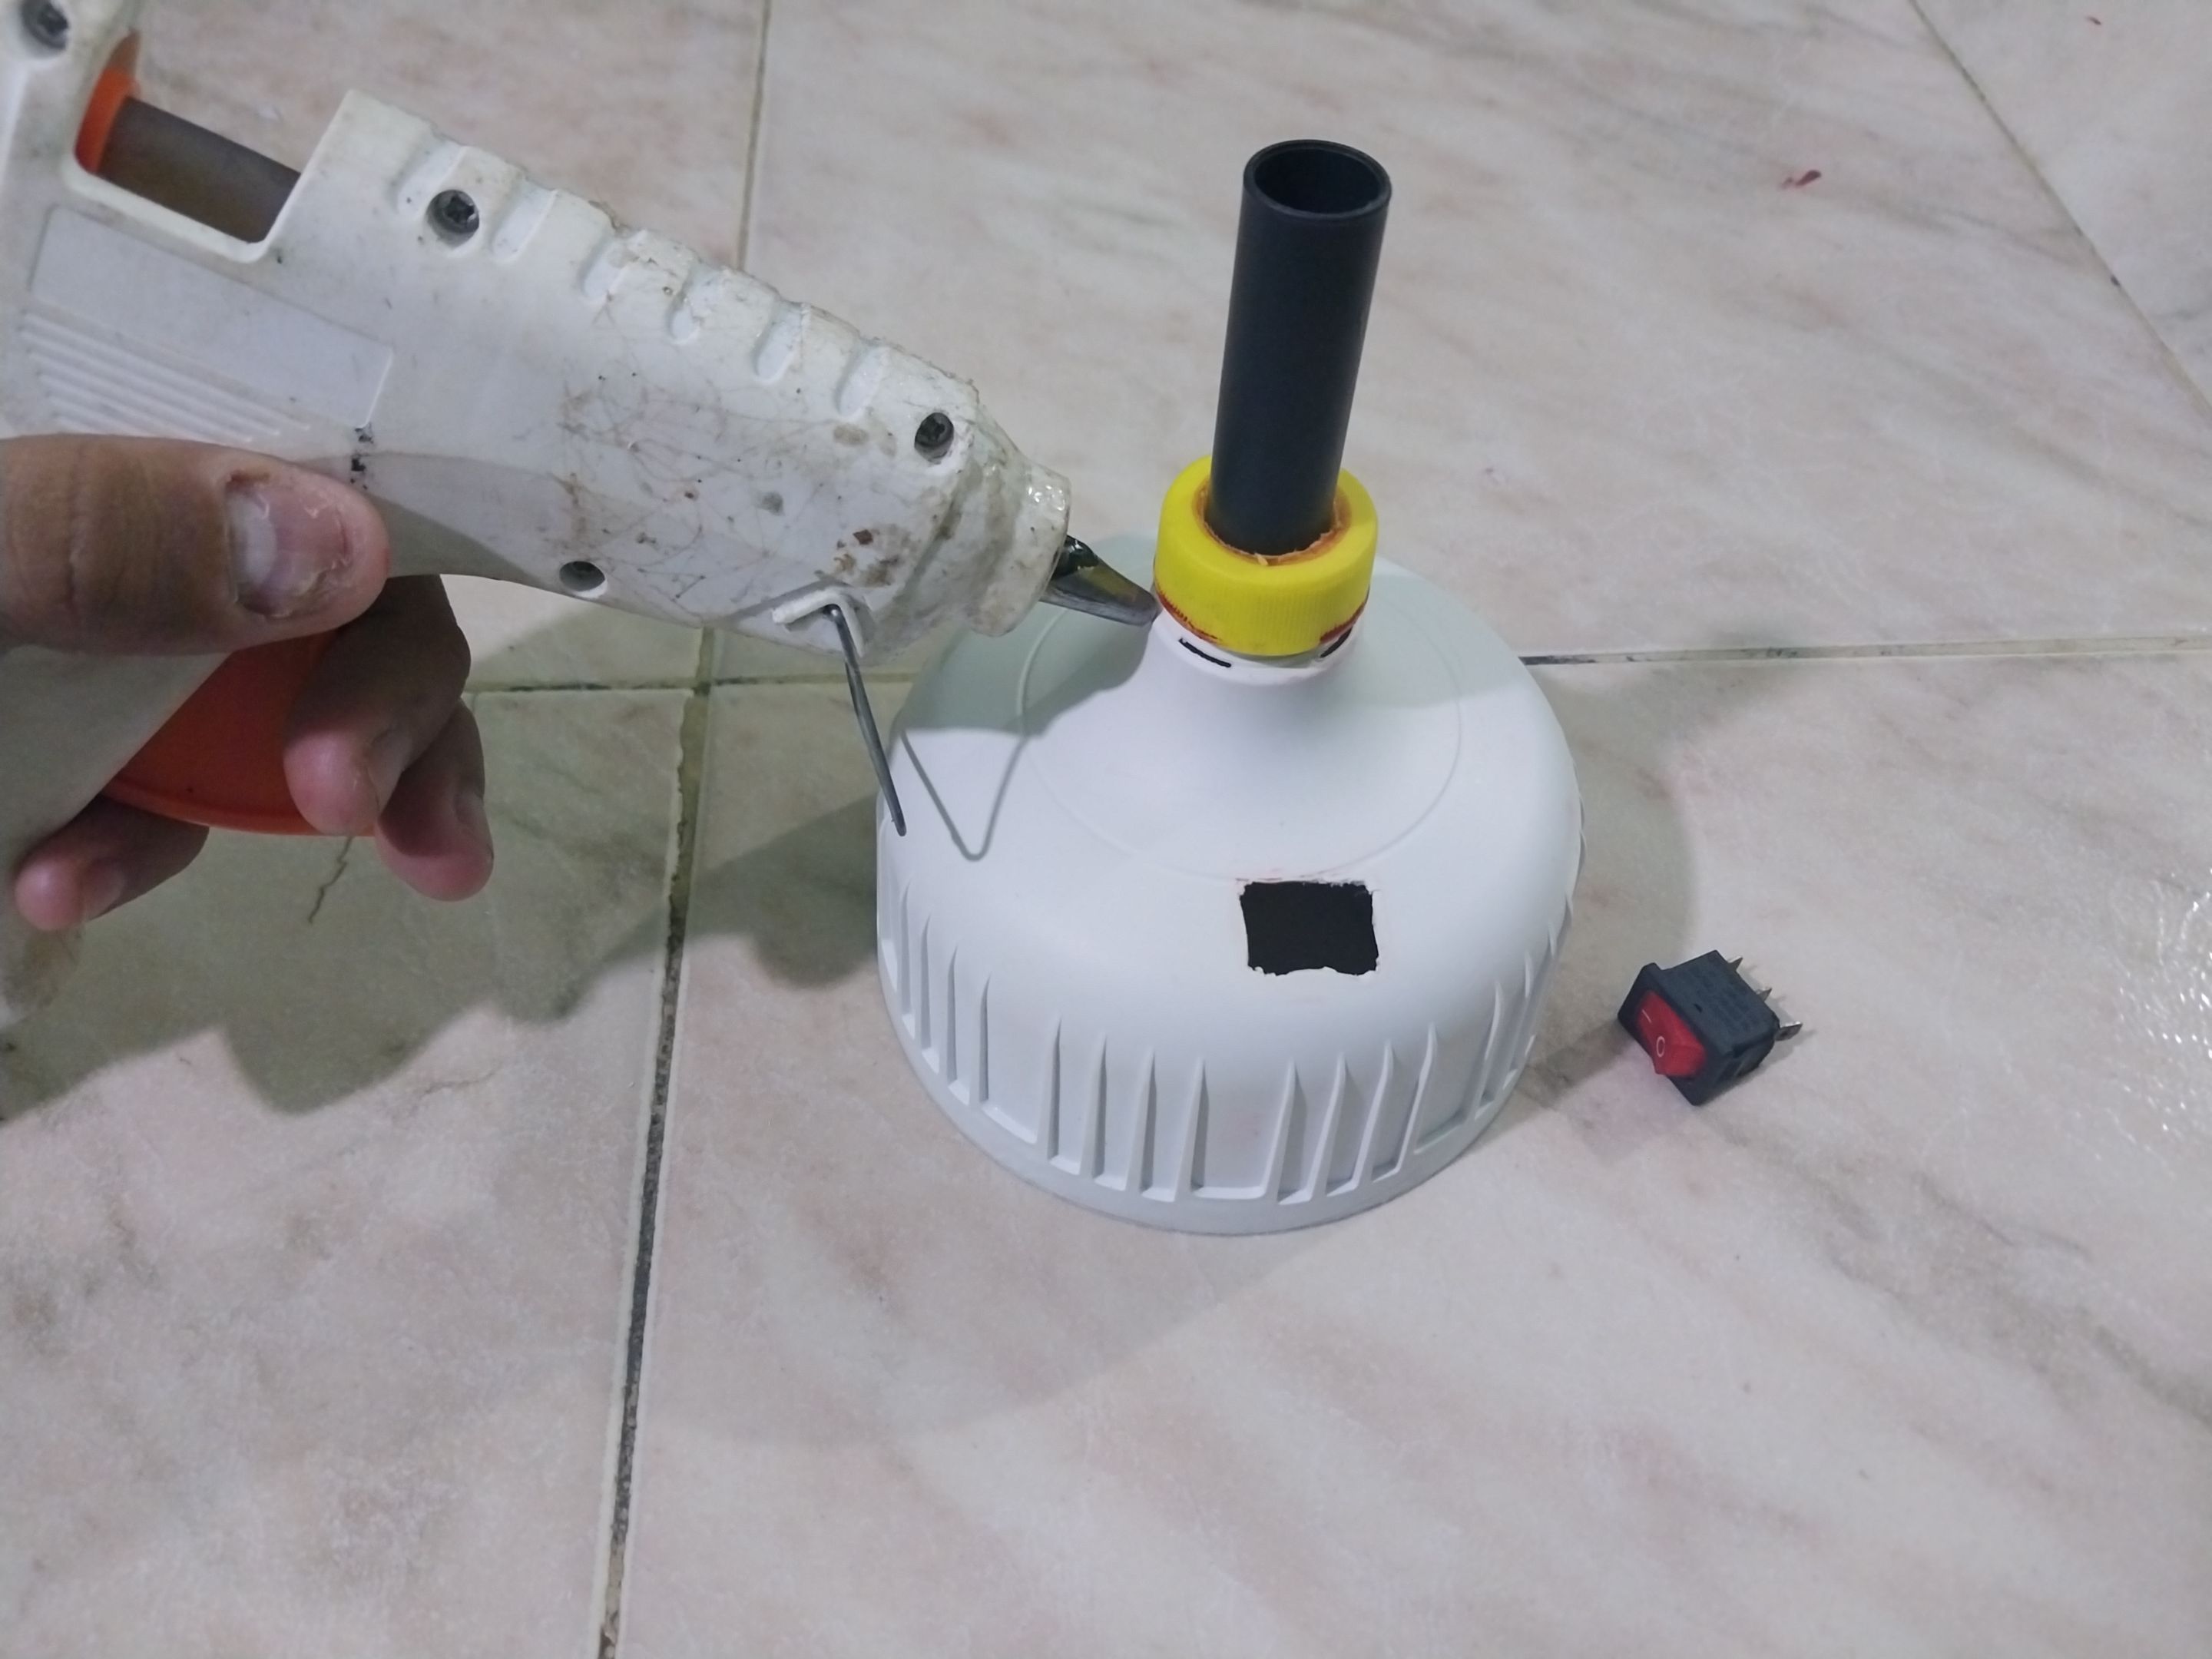
Una vez hecho eso tome el cuerpo del bombillo y con el marcador tracé un pequeño rectángulo que es donde iba a poner el encendedor, así que nuevamente tomé el cautin y guiándome con lo que marqué hice la apertura y quedo listo el espacio donde iba el encendedo; una vez hecho eso, tomé mi tapa de refresco ya con el cilindro pegado a ella y lo puse en la parte donde va la rosca del bombillo, lo presente y en vista de que quedaba bien, lo acomode y tomé mi pistola de silicón y le eché bastante silicón en una apertura que quedaba entre la tapa de refresco y el cuerpo del bombillo, de manera que quedara firme y estable para que la vibración del motor no fuese a afectar el rendimiento del ventilador.
Well, once I had all the materials in place, I started on my fan. The first thing I did was take the soda cap and, using the soldering iron, drill a hole in the center of the cap. Then, I inserted the plastic cylinder into that hole. On the underside of the cap, I applied a little silicone to hold it firmly. After that, I took one of the plastic scraps and, using the marker, drew a rectangle with oval corners. I cut it out with scissors. That would be the fan blade. Then, I inserted it into the popsicle stick.
Once that was done, I took the body of the light bulb and, using the marker, drew a small rectangle where I would put the lighter. So, I took the soldering iron again and, using what I'd marked, made the opening, leaving the space where the lighter would go. Once that was done, I took my soda cap with the cylinder already glued to it and placed it on the part where the thread of the bulb goes, I presented it and since it fit well, I adjusted it and took my silicone gun and poured a lot of silicone into an opening that was between the soda cap and the body of the bulb, so that it would be firm and stable so that the vibration of the motor would not affect the performance of the fan.
---
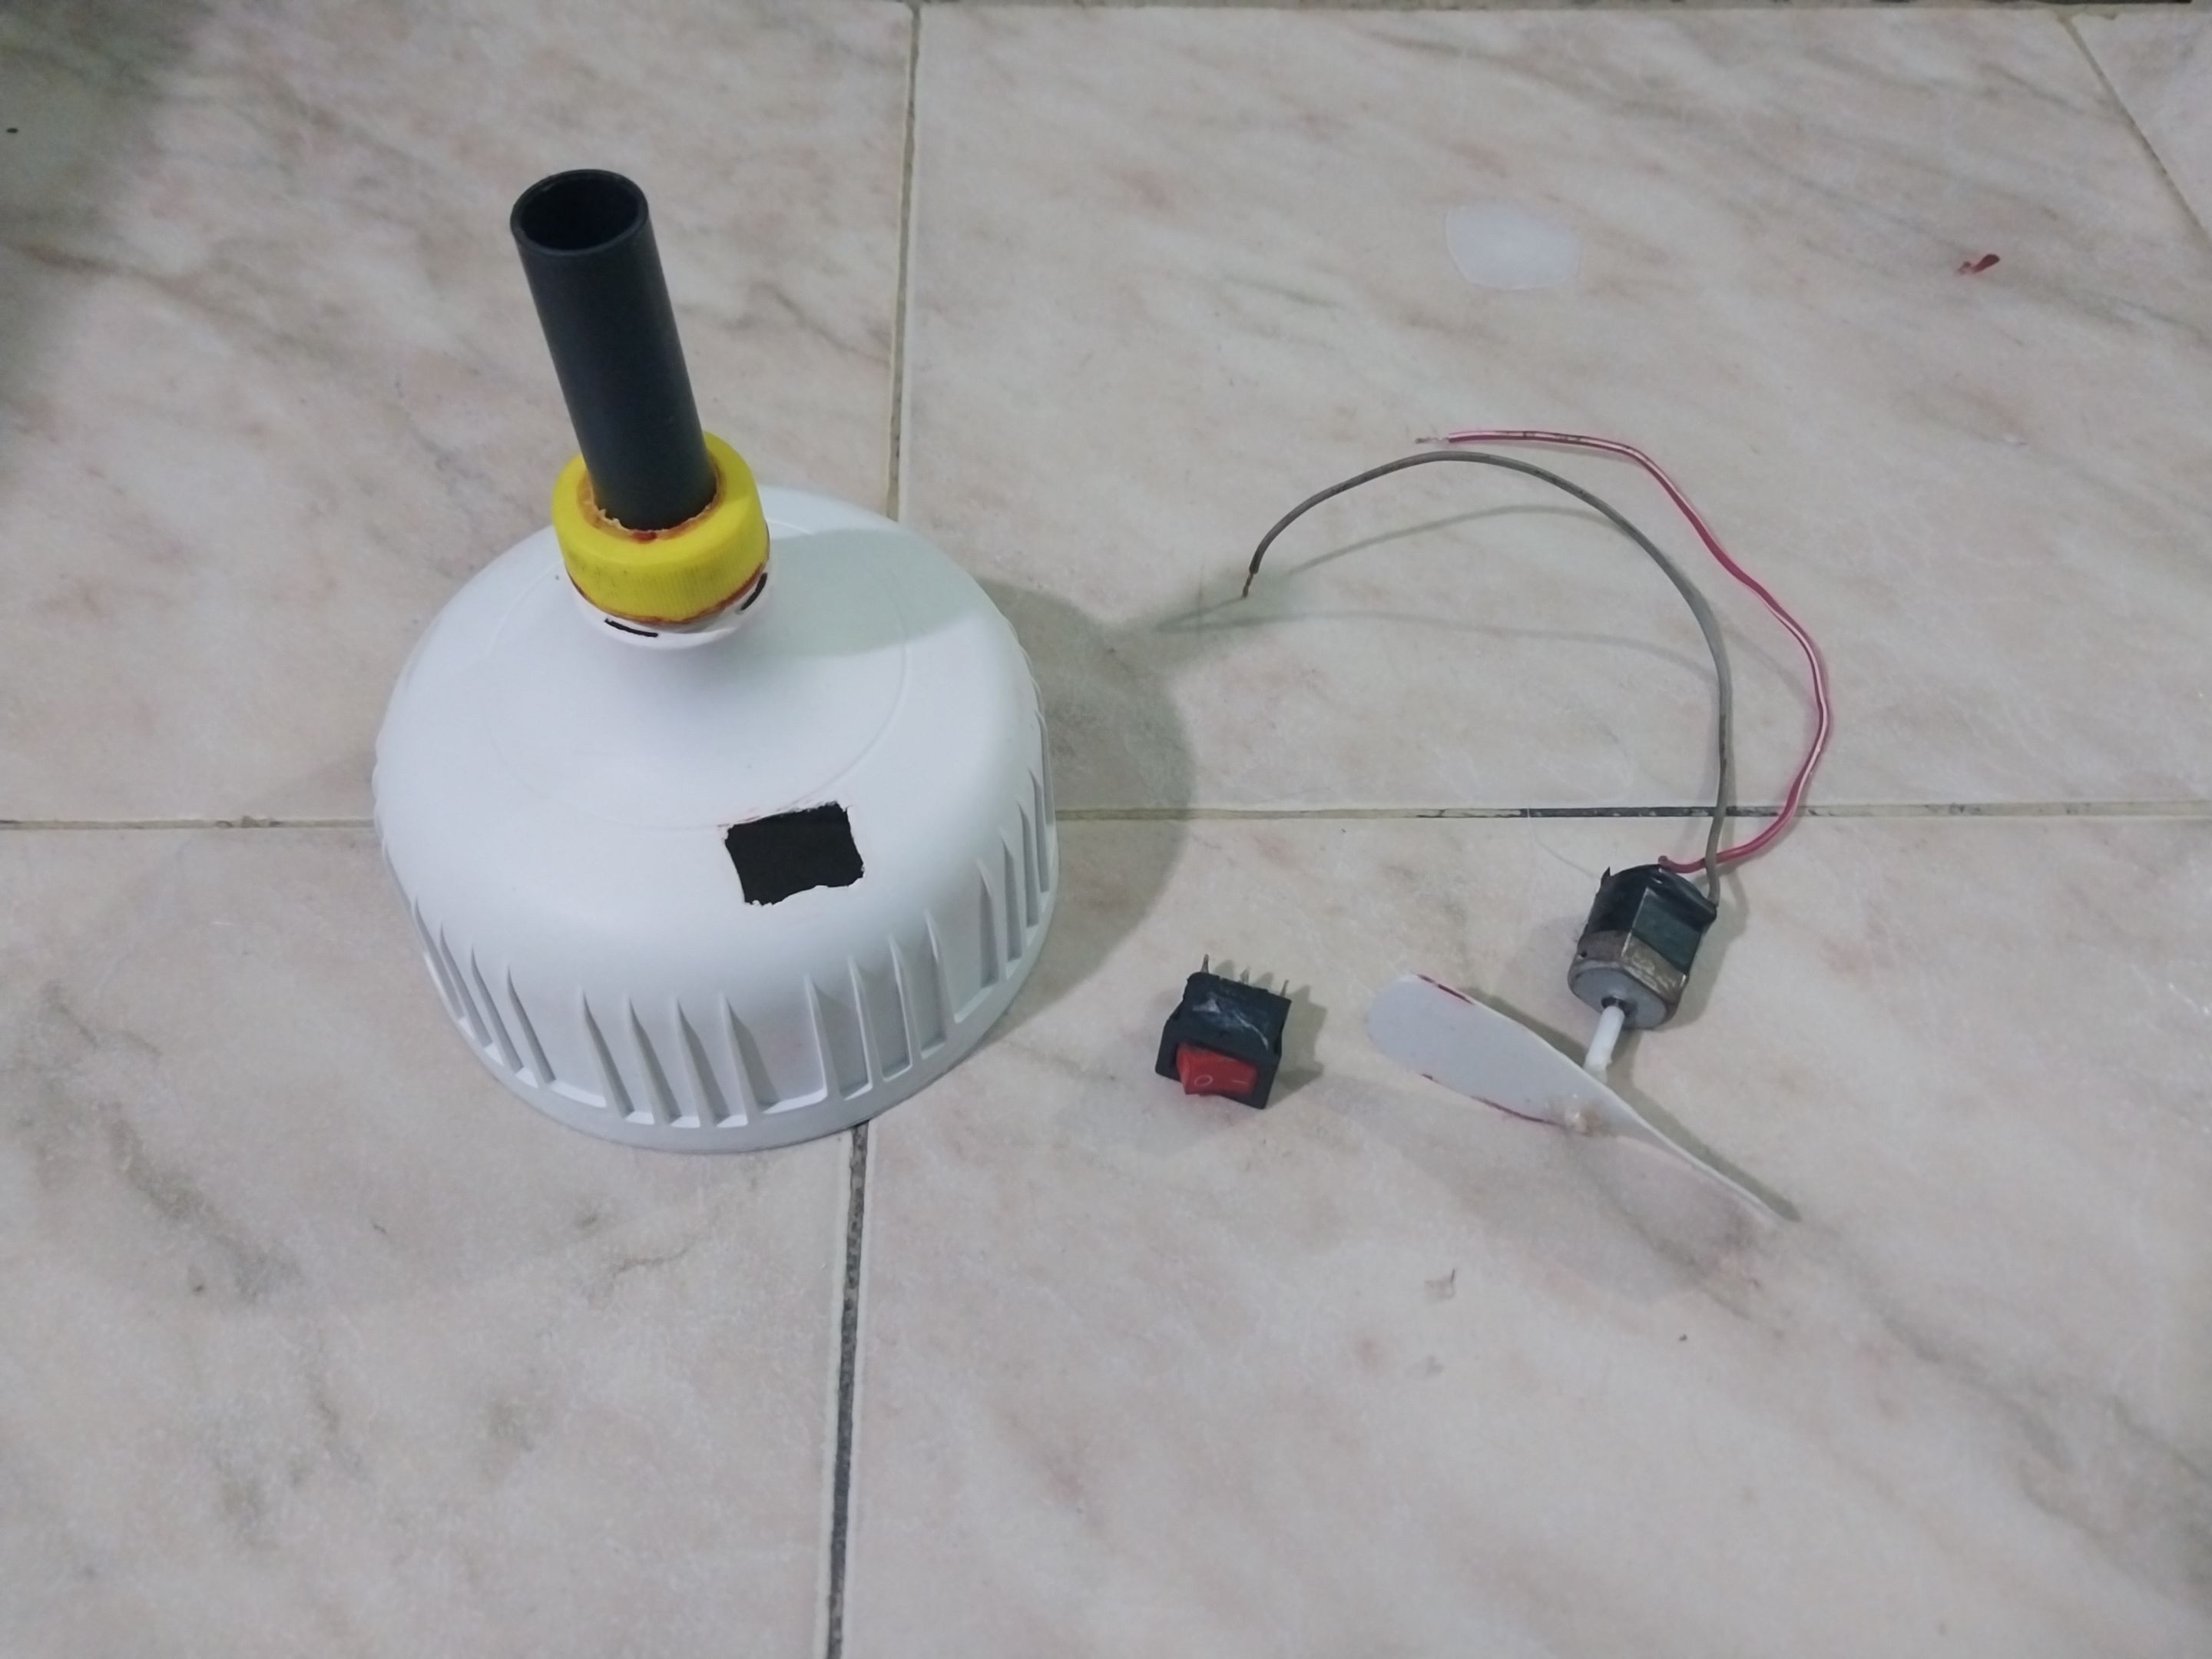
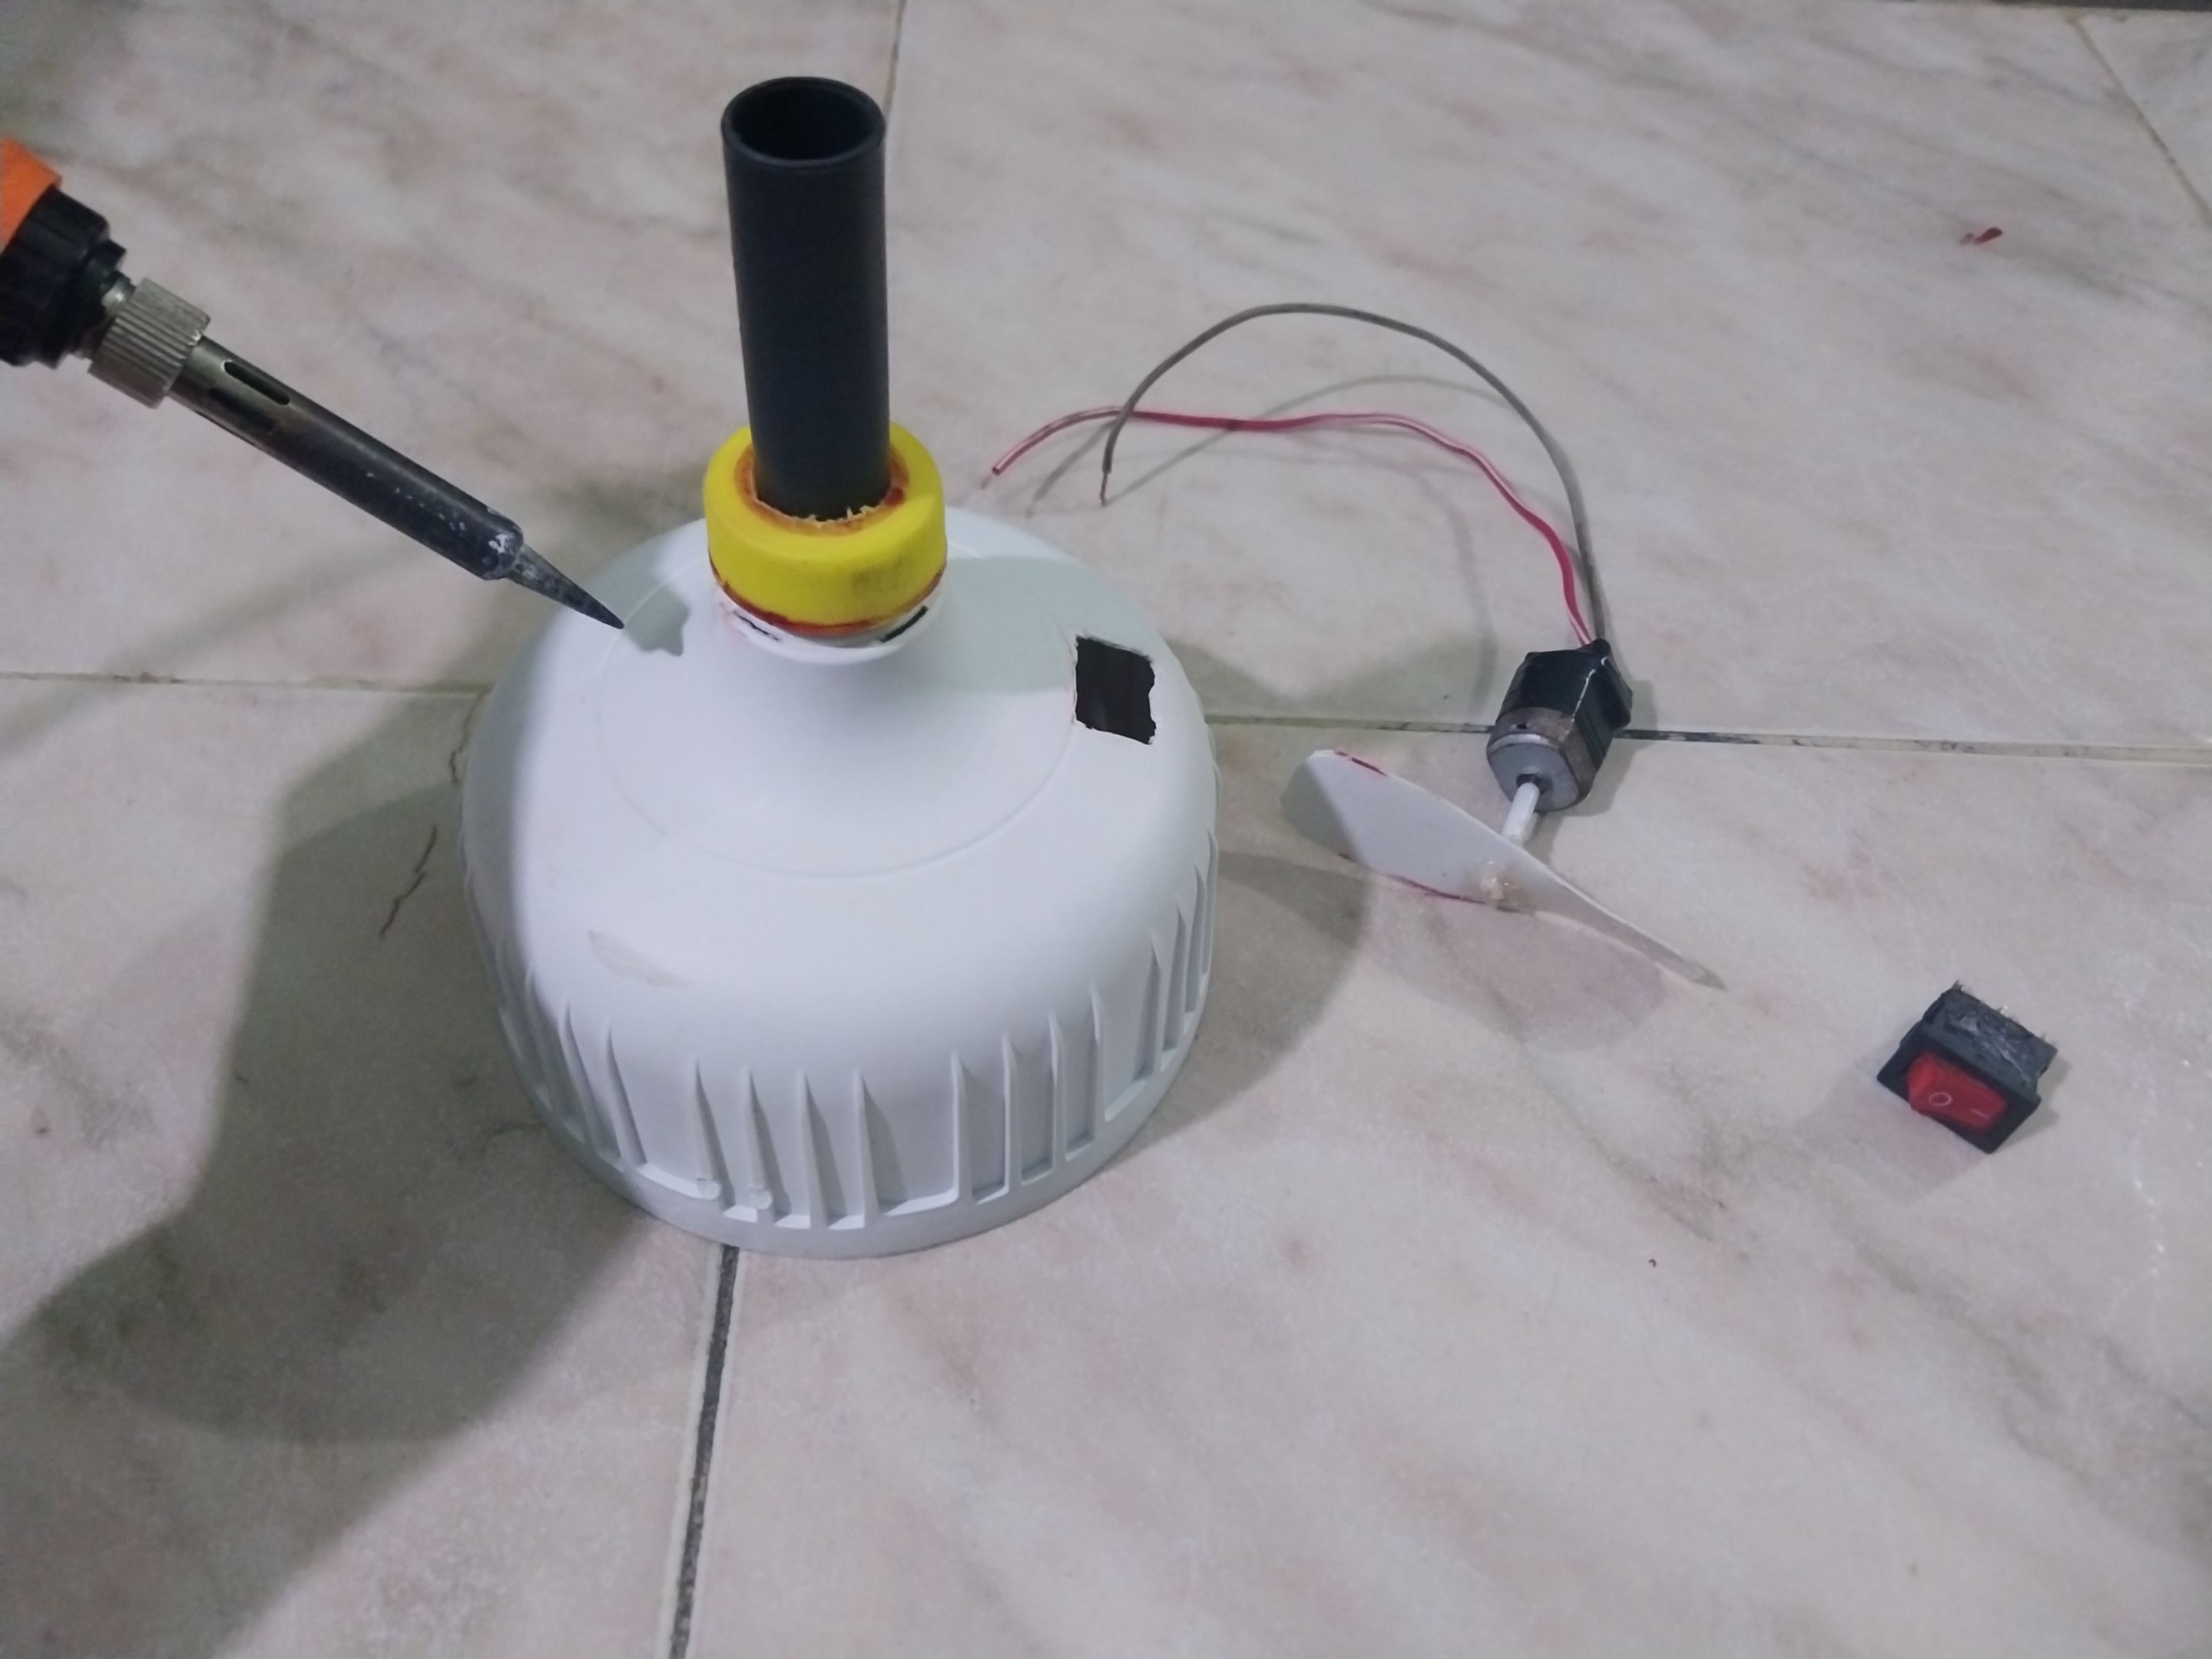
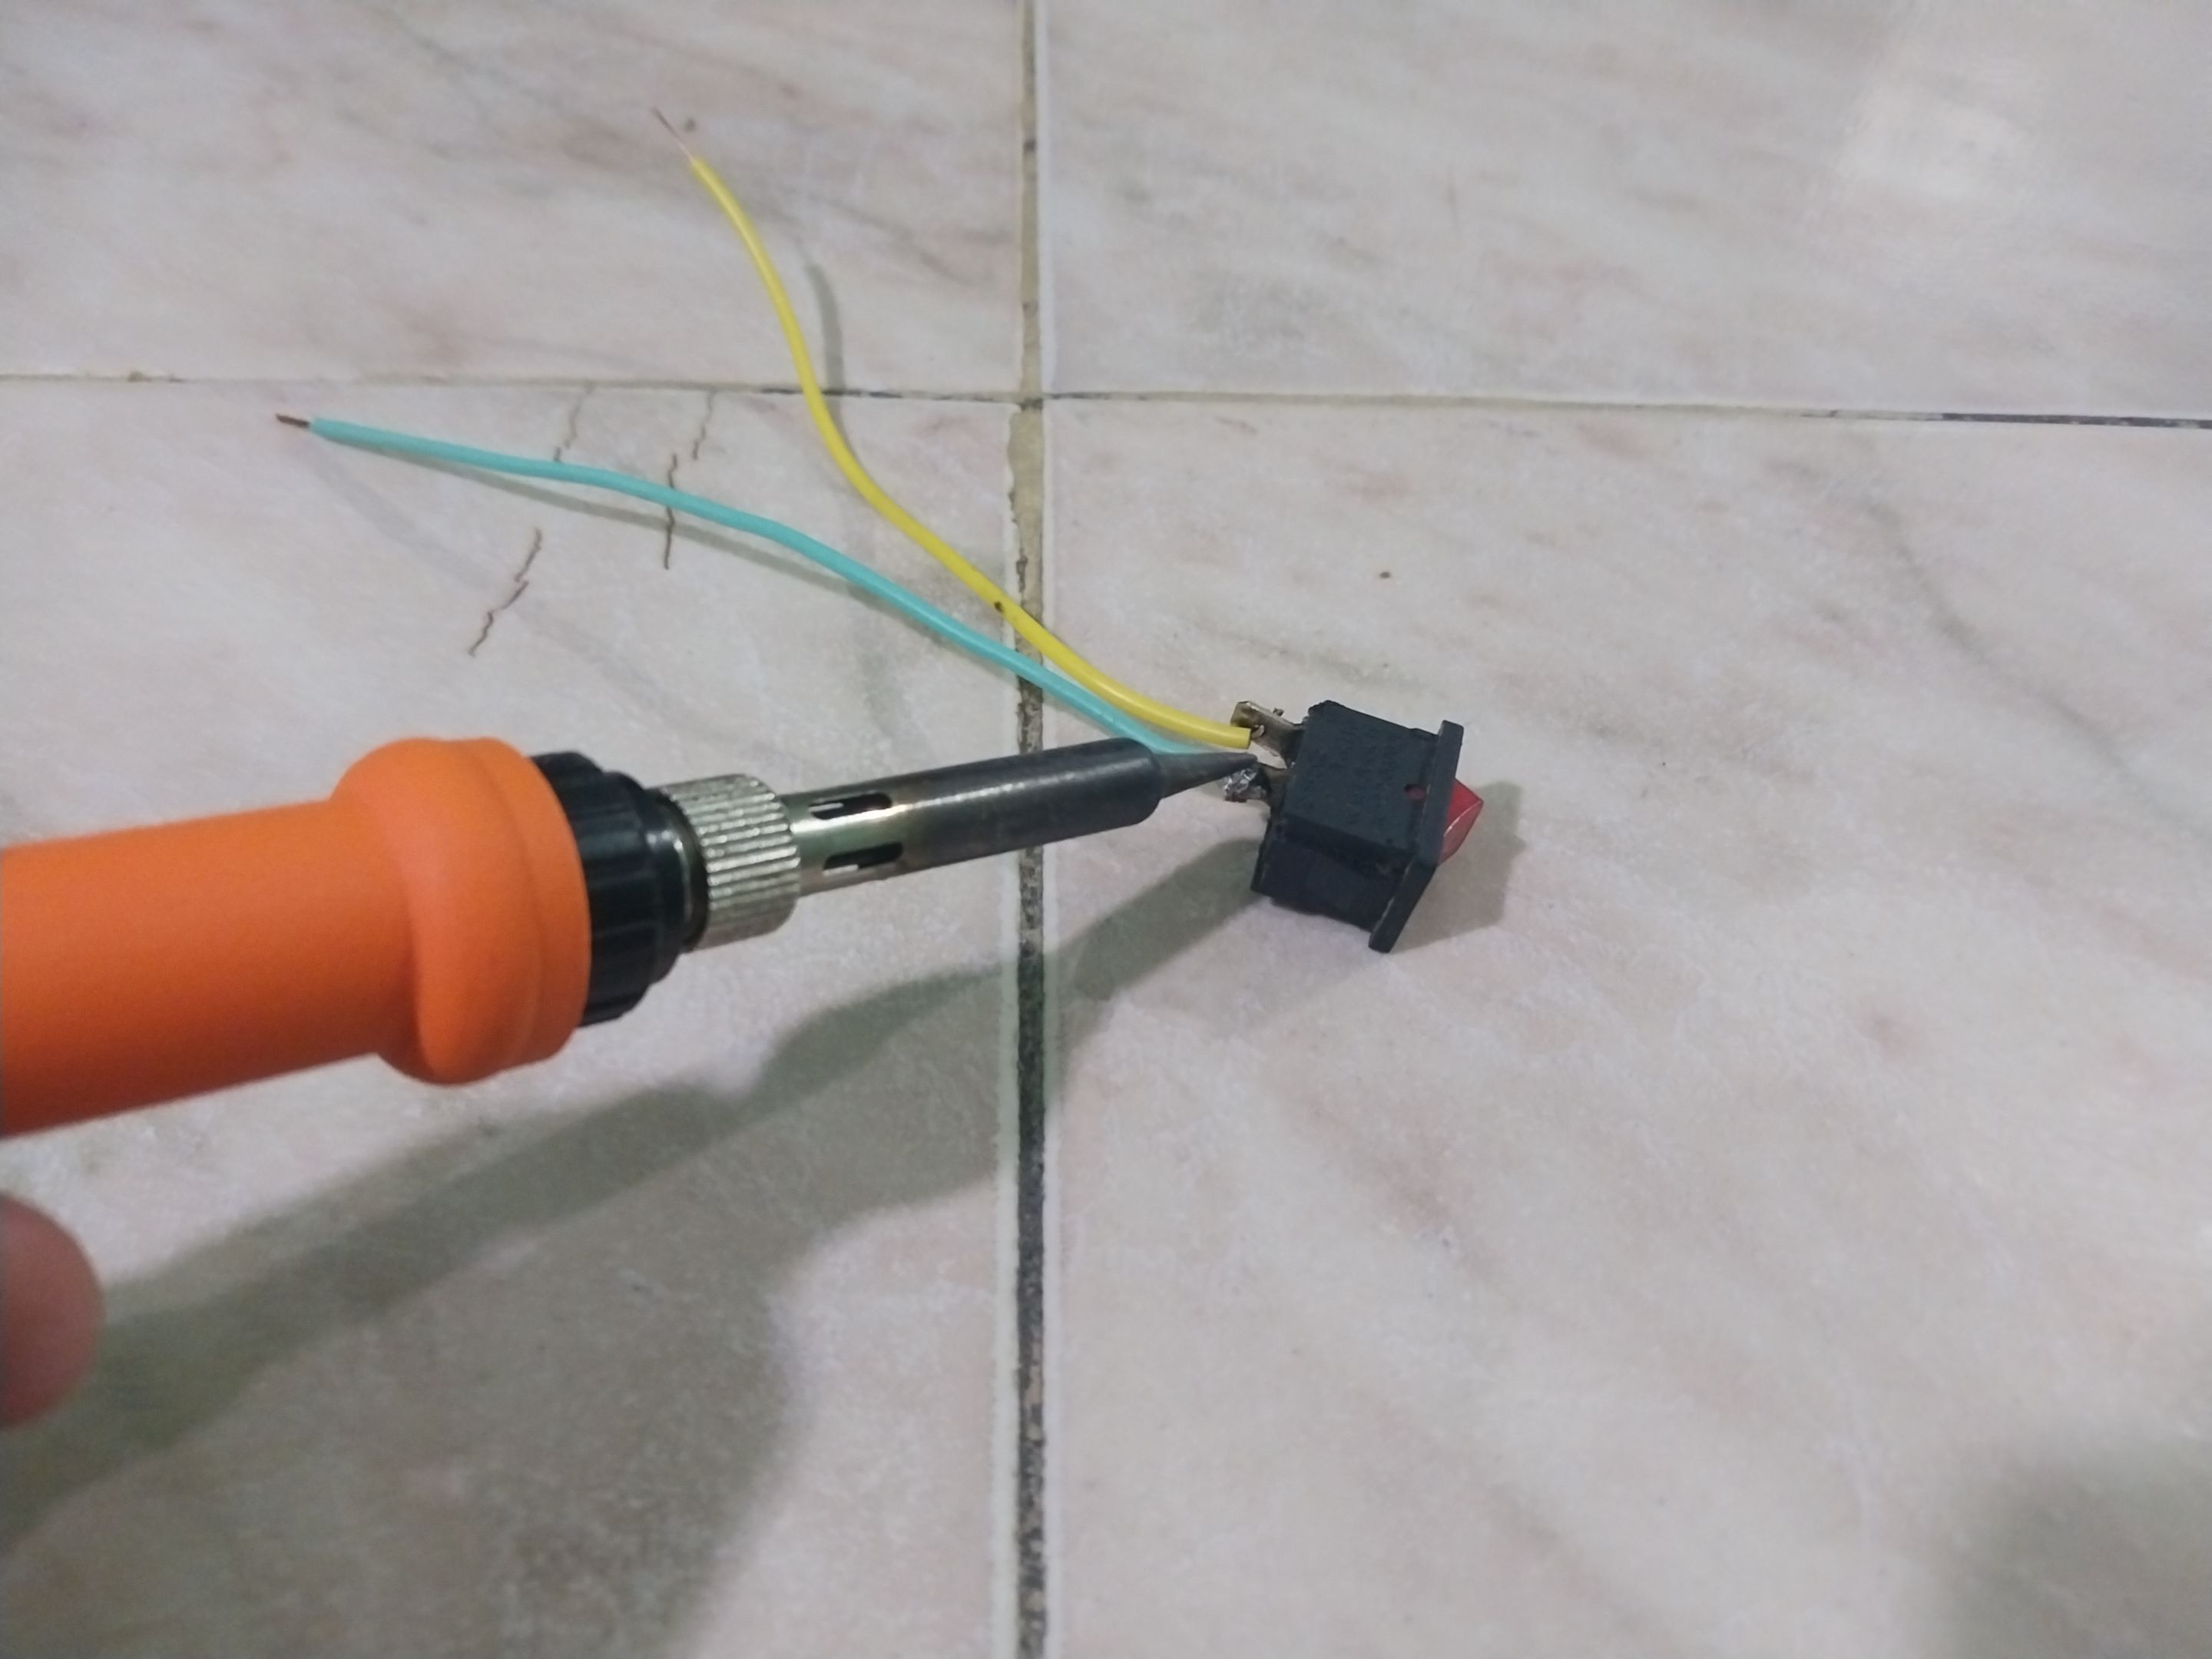
Bueno, ya teniendo la base del ventilador lista, procedí a tomar mi motorcito y con el palito que le incrusté a la hélice que hice, lo inserté en una punta que tiene el motorcito, de manera que ya mi aspa estaba lista. Luego de eso, tomé el cautín nuevamente e hice dos inserciones más en la base del ventilador, una de frente al orificio donde iba el encendedor, y la otra, en esa misma linea pero más abajo, de manera que por esos pequeños orificios iba a insertar los cables que iban a dar vida al motor y las otras conexiones, ya les muestro cómo. Bueno, una vez hecho esas aperturas tomé mi motor eché bastante silicón en el cilindro y procedí a pegarlo, luego de eso esperé algunos minutos a que secara bien y los cables del motor los metí por el orificio que hice de manera que no quedasen a la deriva. Luego de eso, tomé el encendedor y con dos pedazos de cable que tenia y un poco de estaño solde cada cable a cada pata del encendedor, para luego proceder a hacer mis conexiones.
Well, with the base of the fan ready, I proceeded to take my little motor and with the stick that I embedded in the propeller I made, I inserted it into a tip that the little motor has, so my blade was ready. After that, I took the soldering iron again and made two more inserts in the base of the fan, one facing the hole where the lighter was, and the other, in that same line but lower, so that through those small holes I would insert the cables that would power the motor and the other connections, I'll show you how. Well, once those openings were made, I took my motor, poured a lot of silicone into the cylinder and proceeded to glue it. After that, I waited a few minutes for it to dry well and I inserted the motor cables through the hole I made so they wouldn't be adrift. After that, I took the lighter and with two pieces of wire that I had and a little bit of solder, I soldered each wire to each leg of the lighter, and then proceeded to make my connections.
---
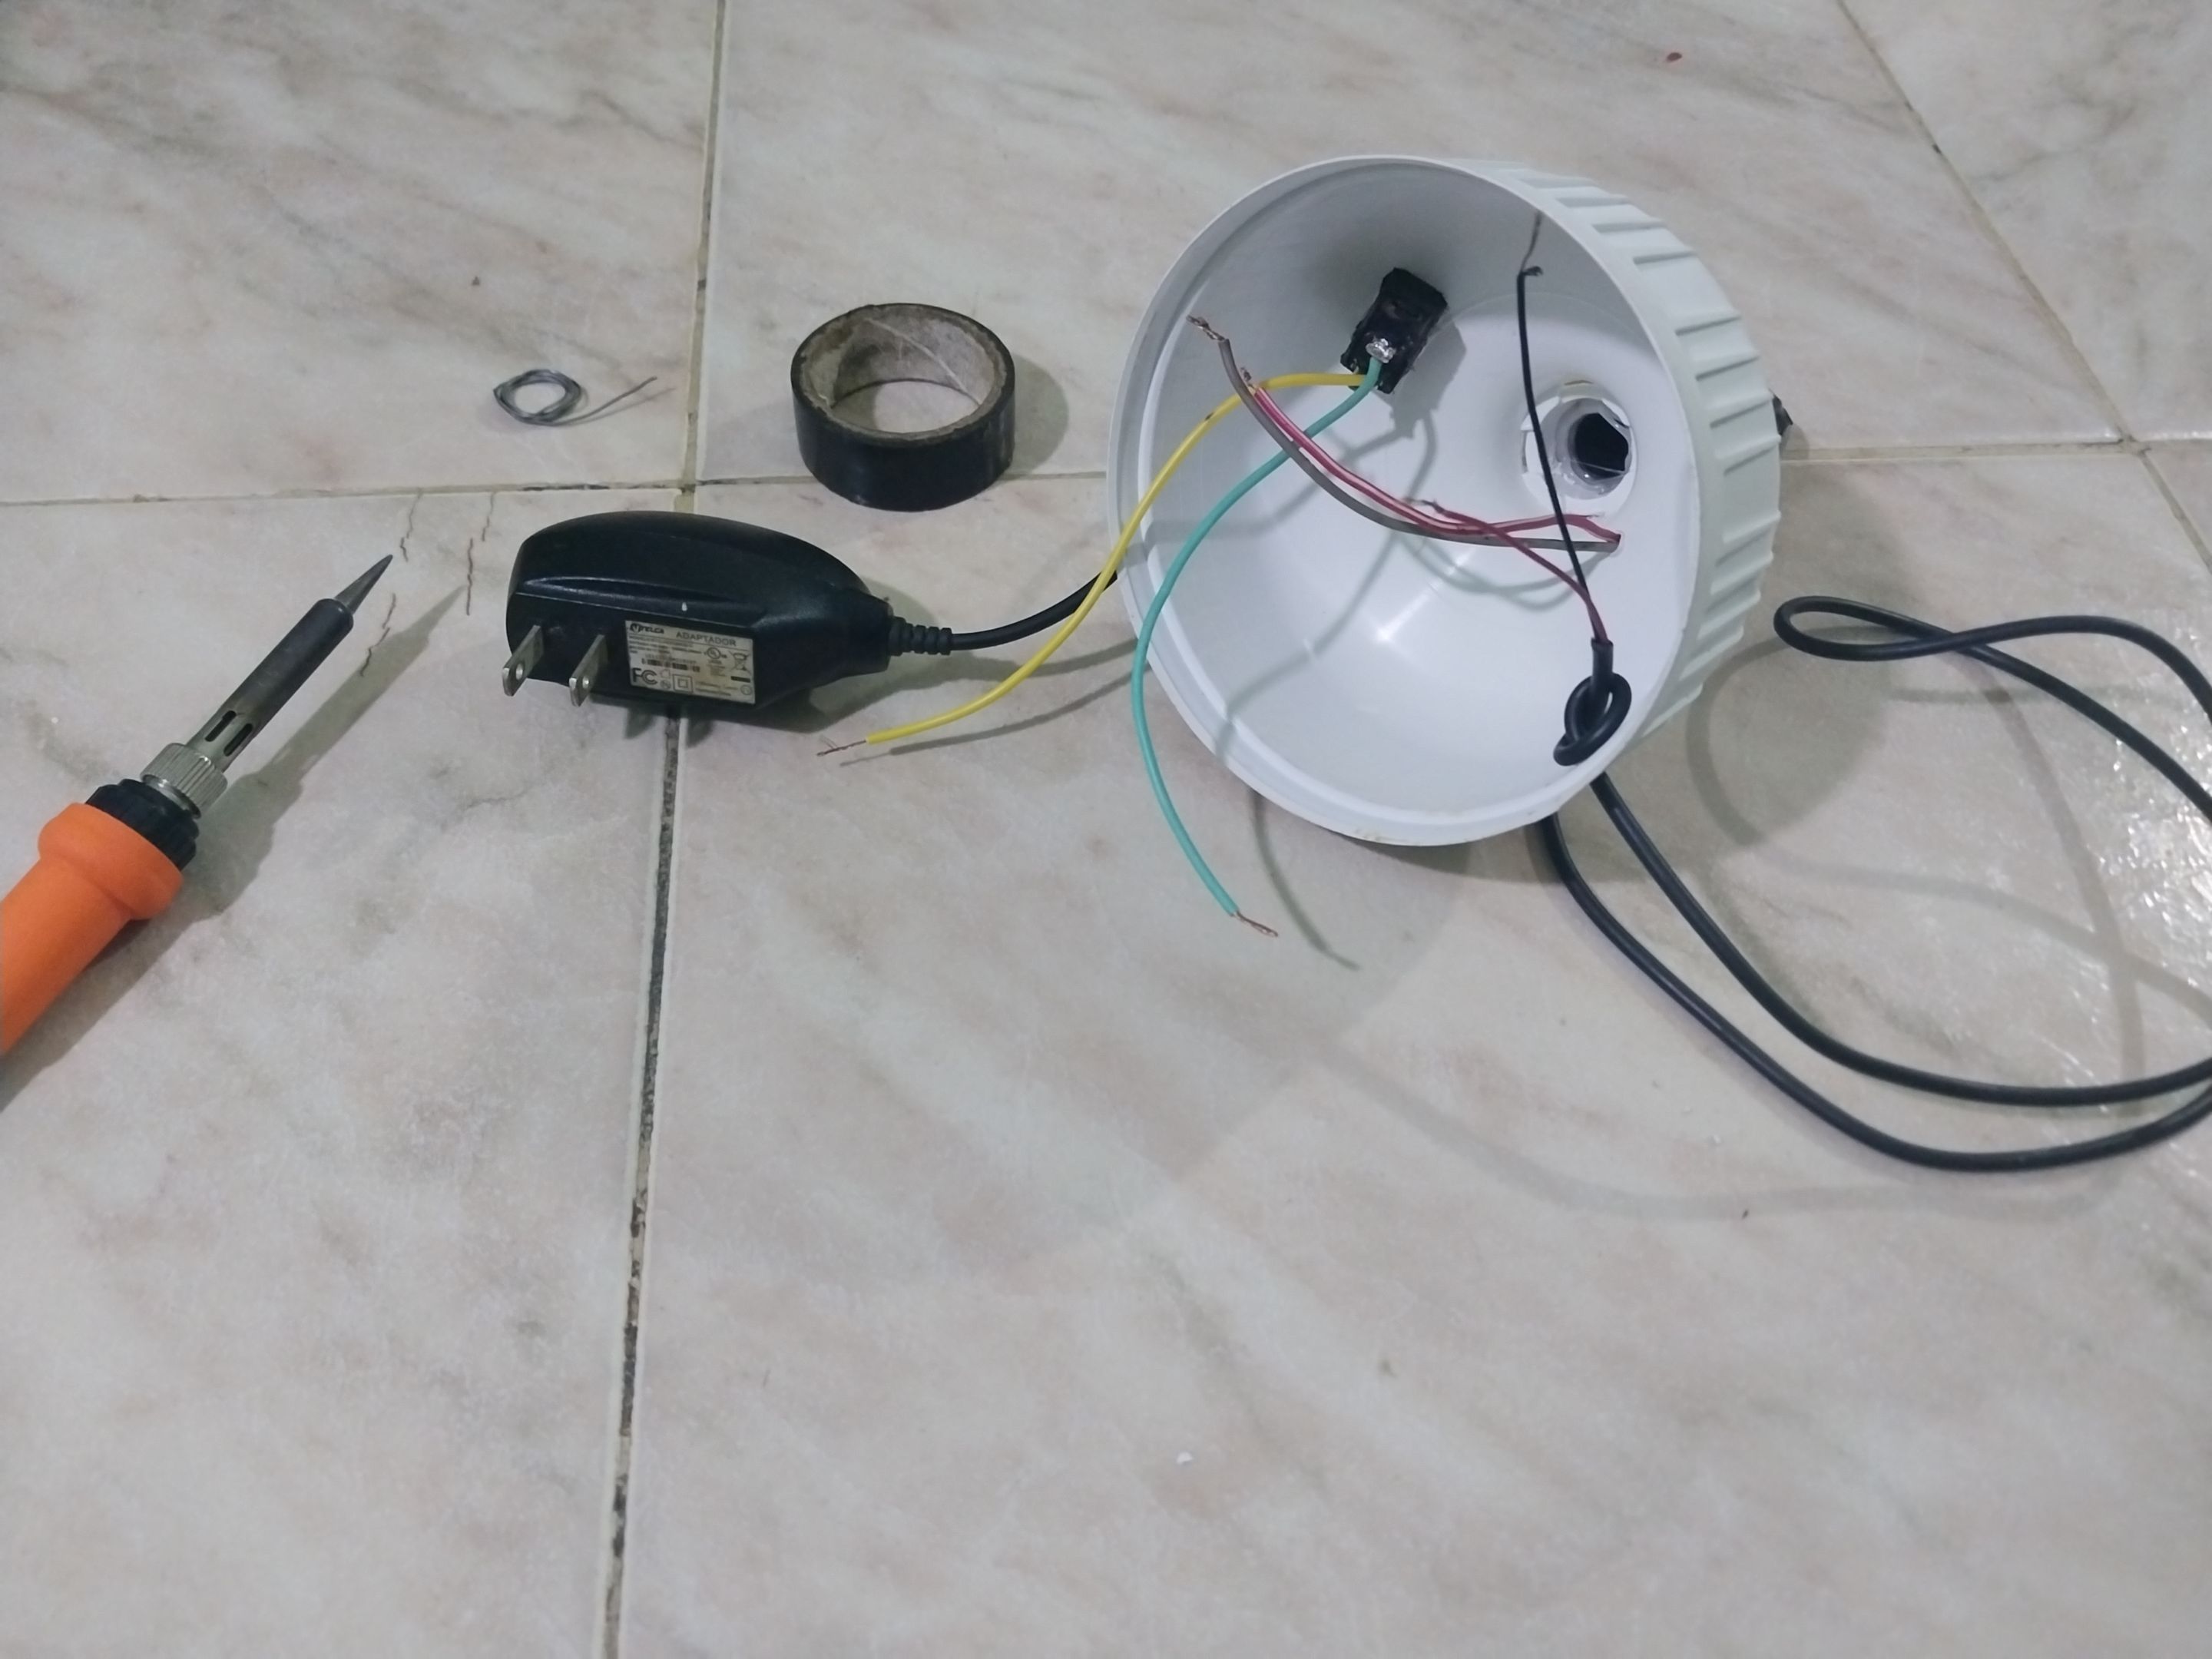
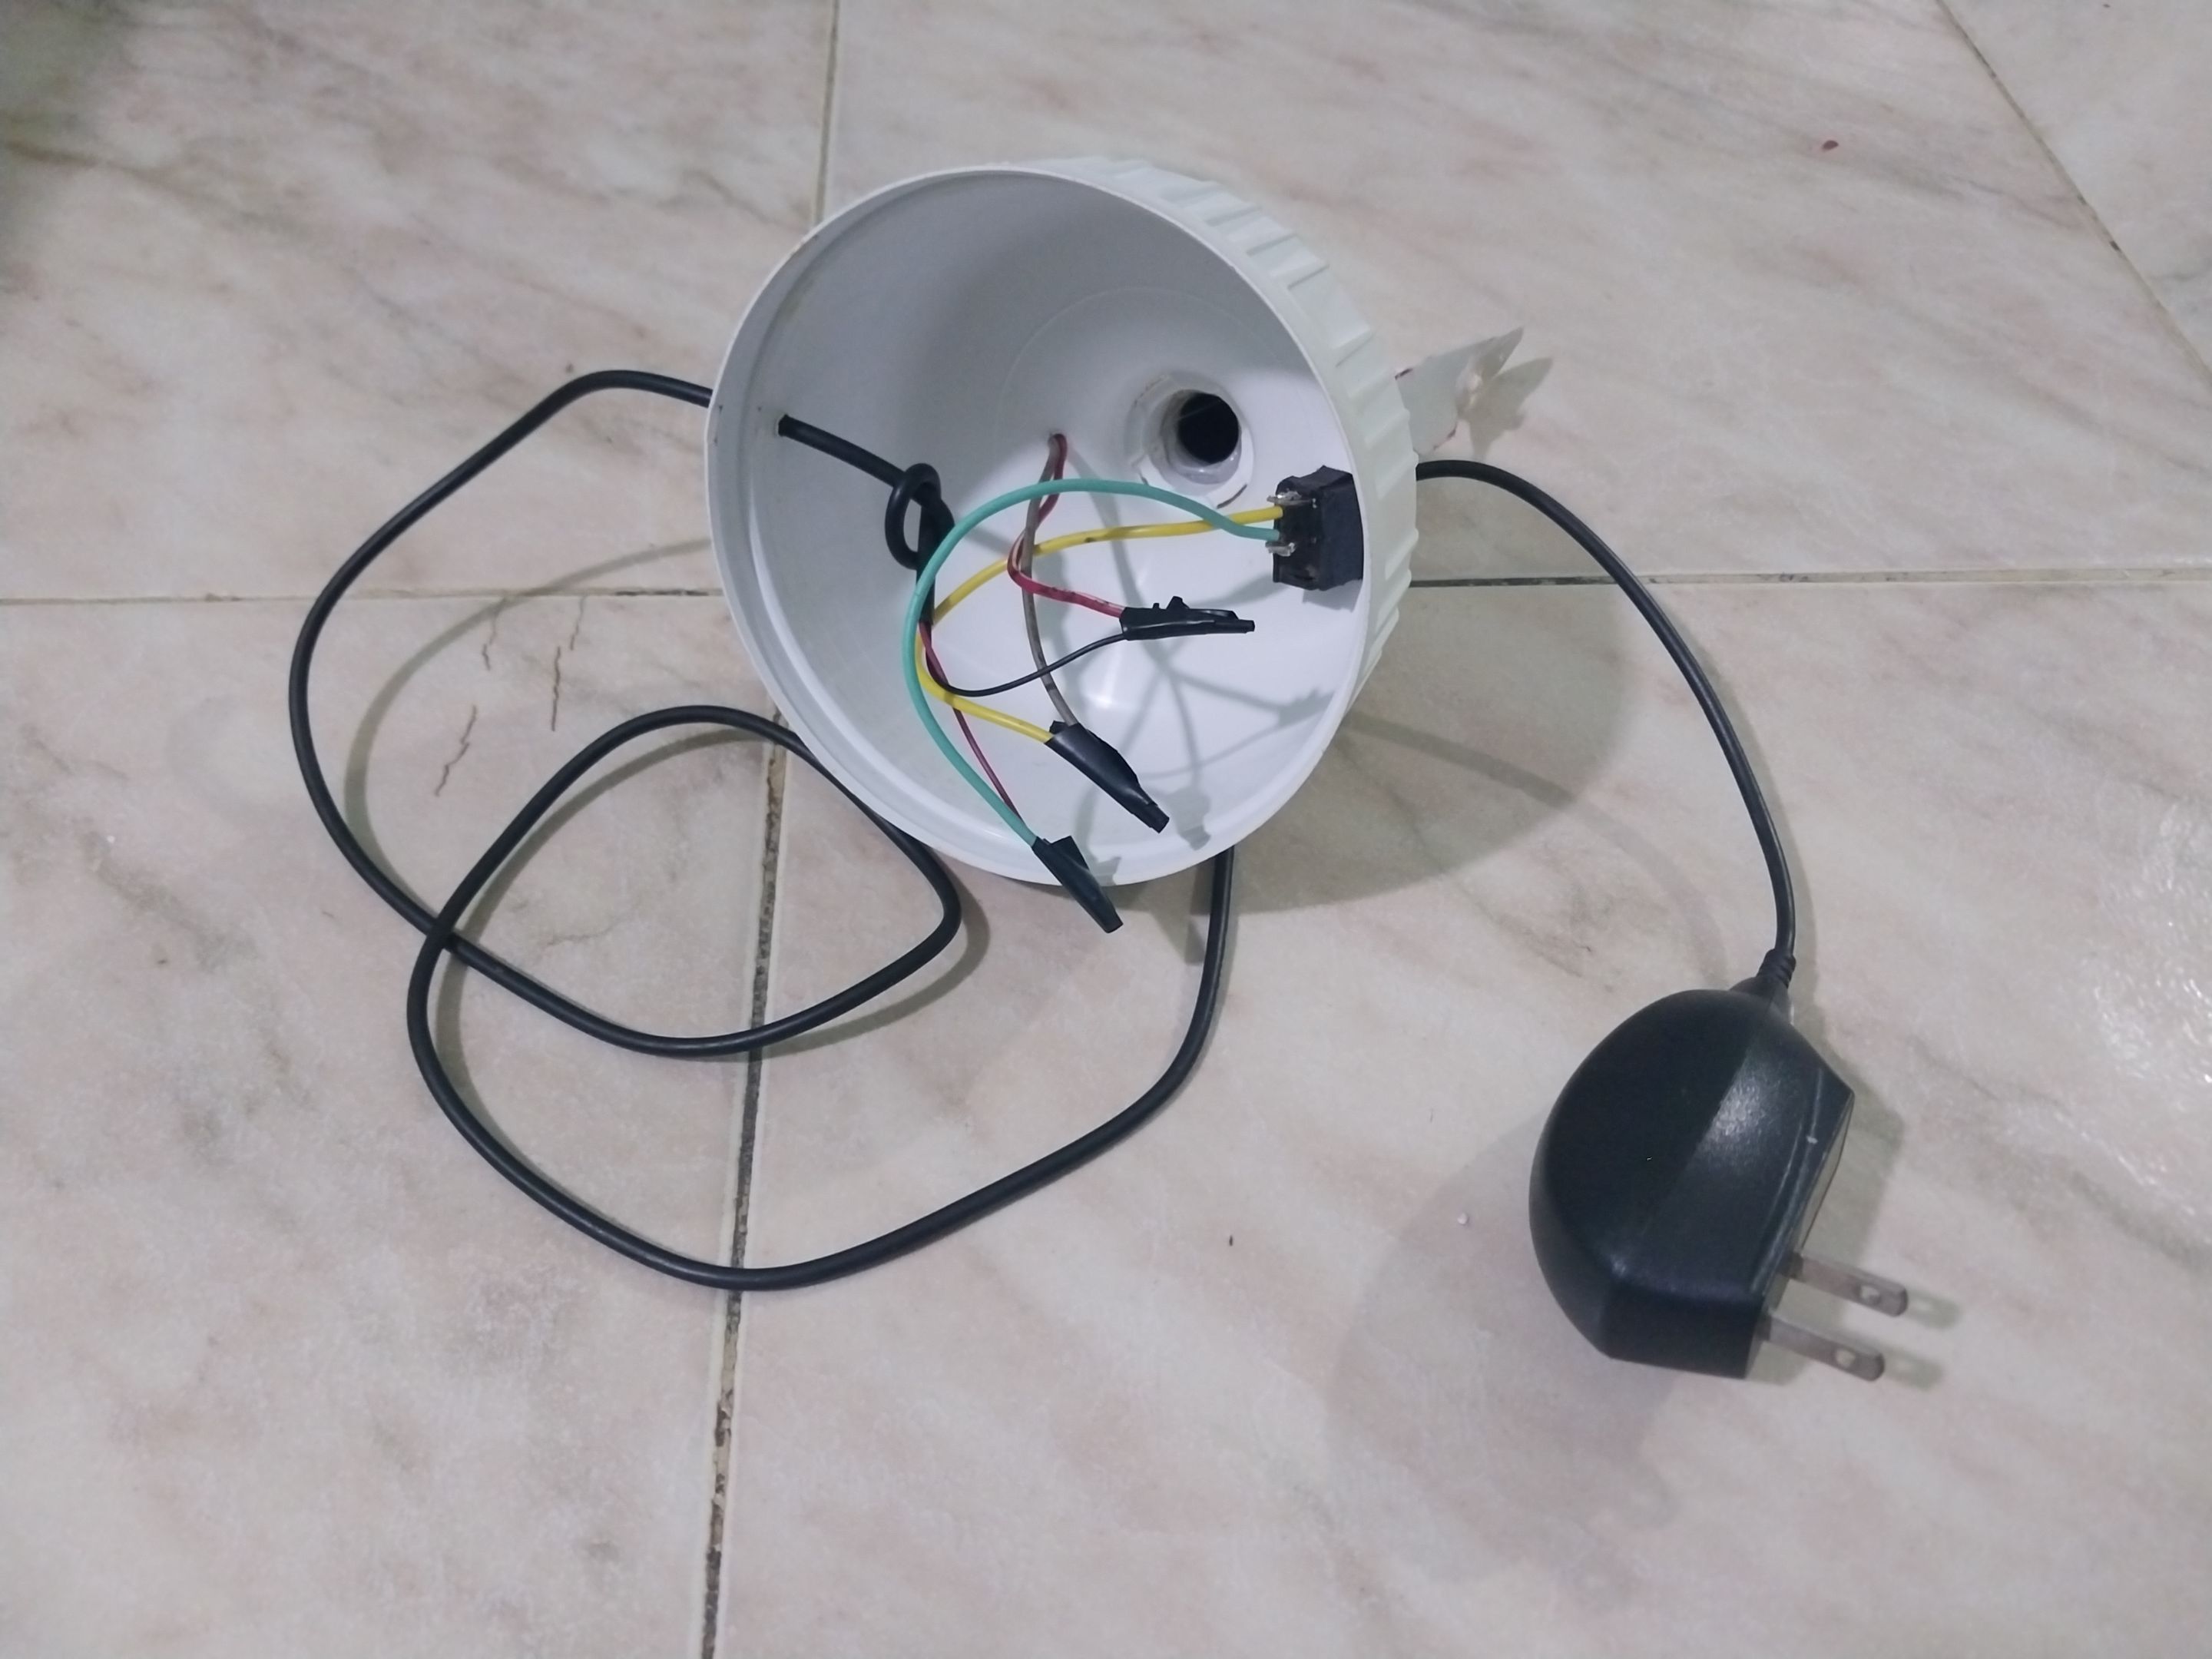
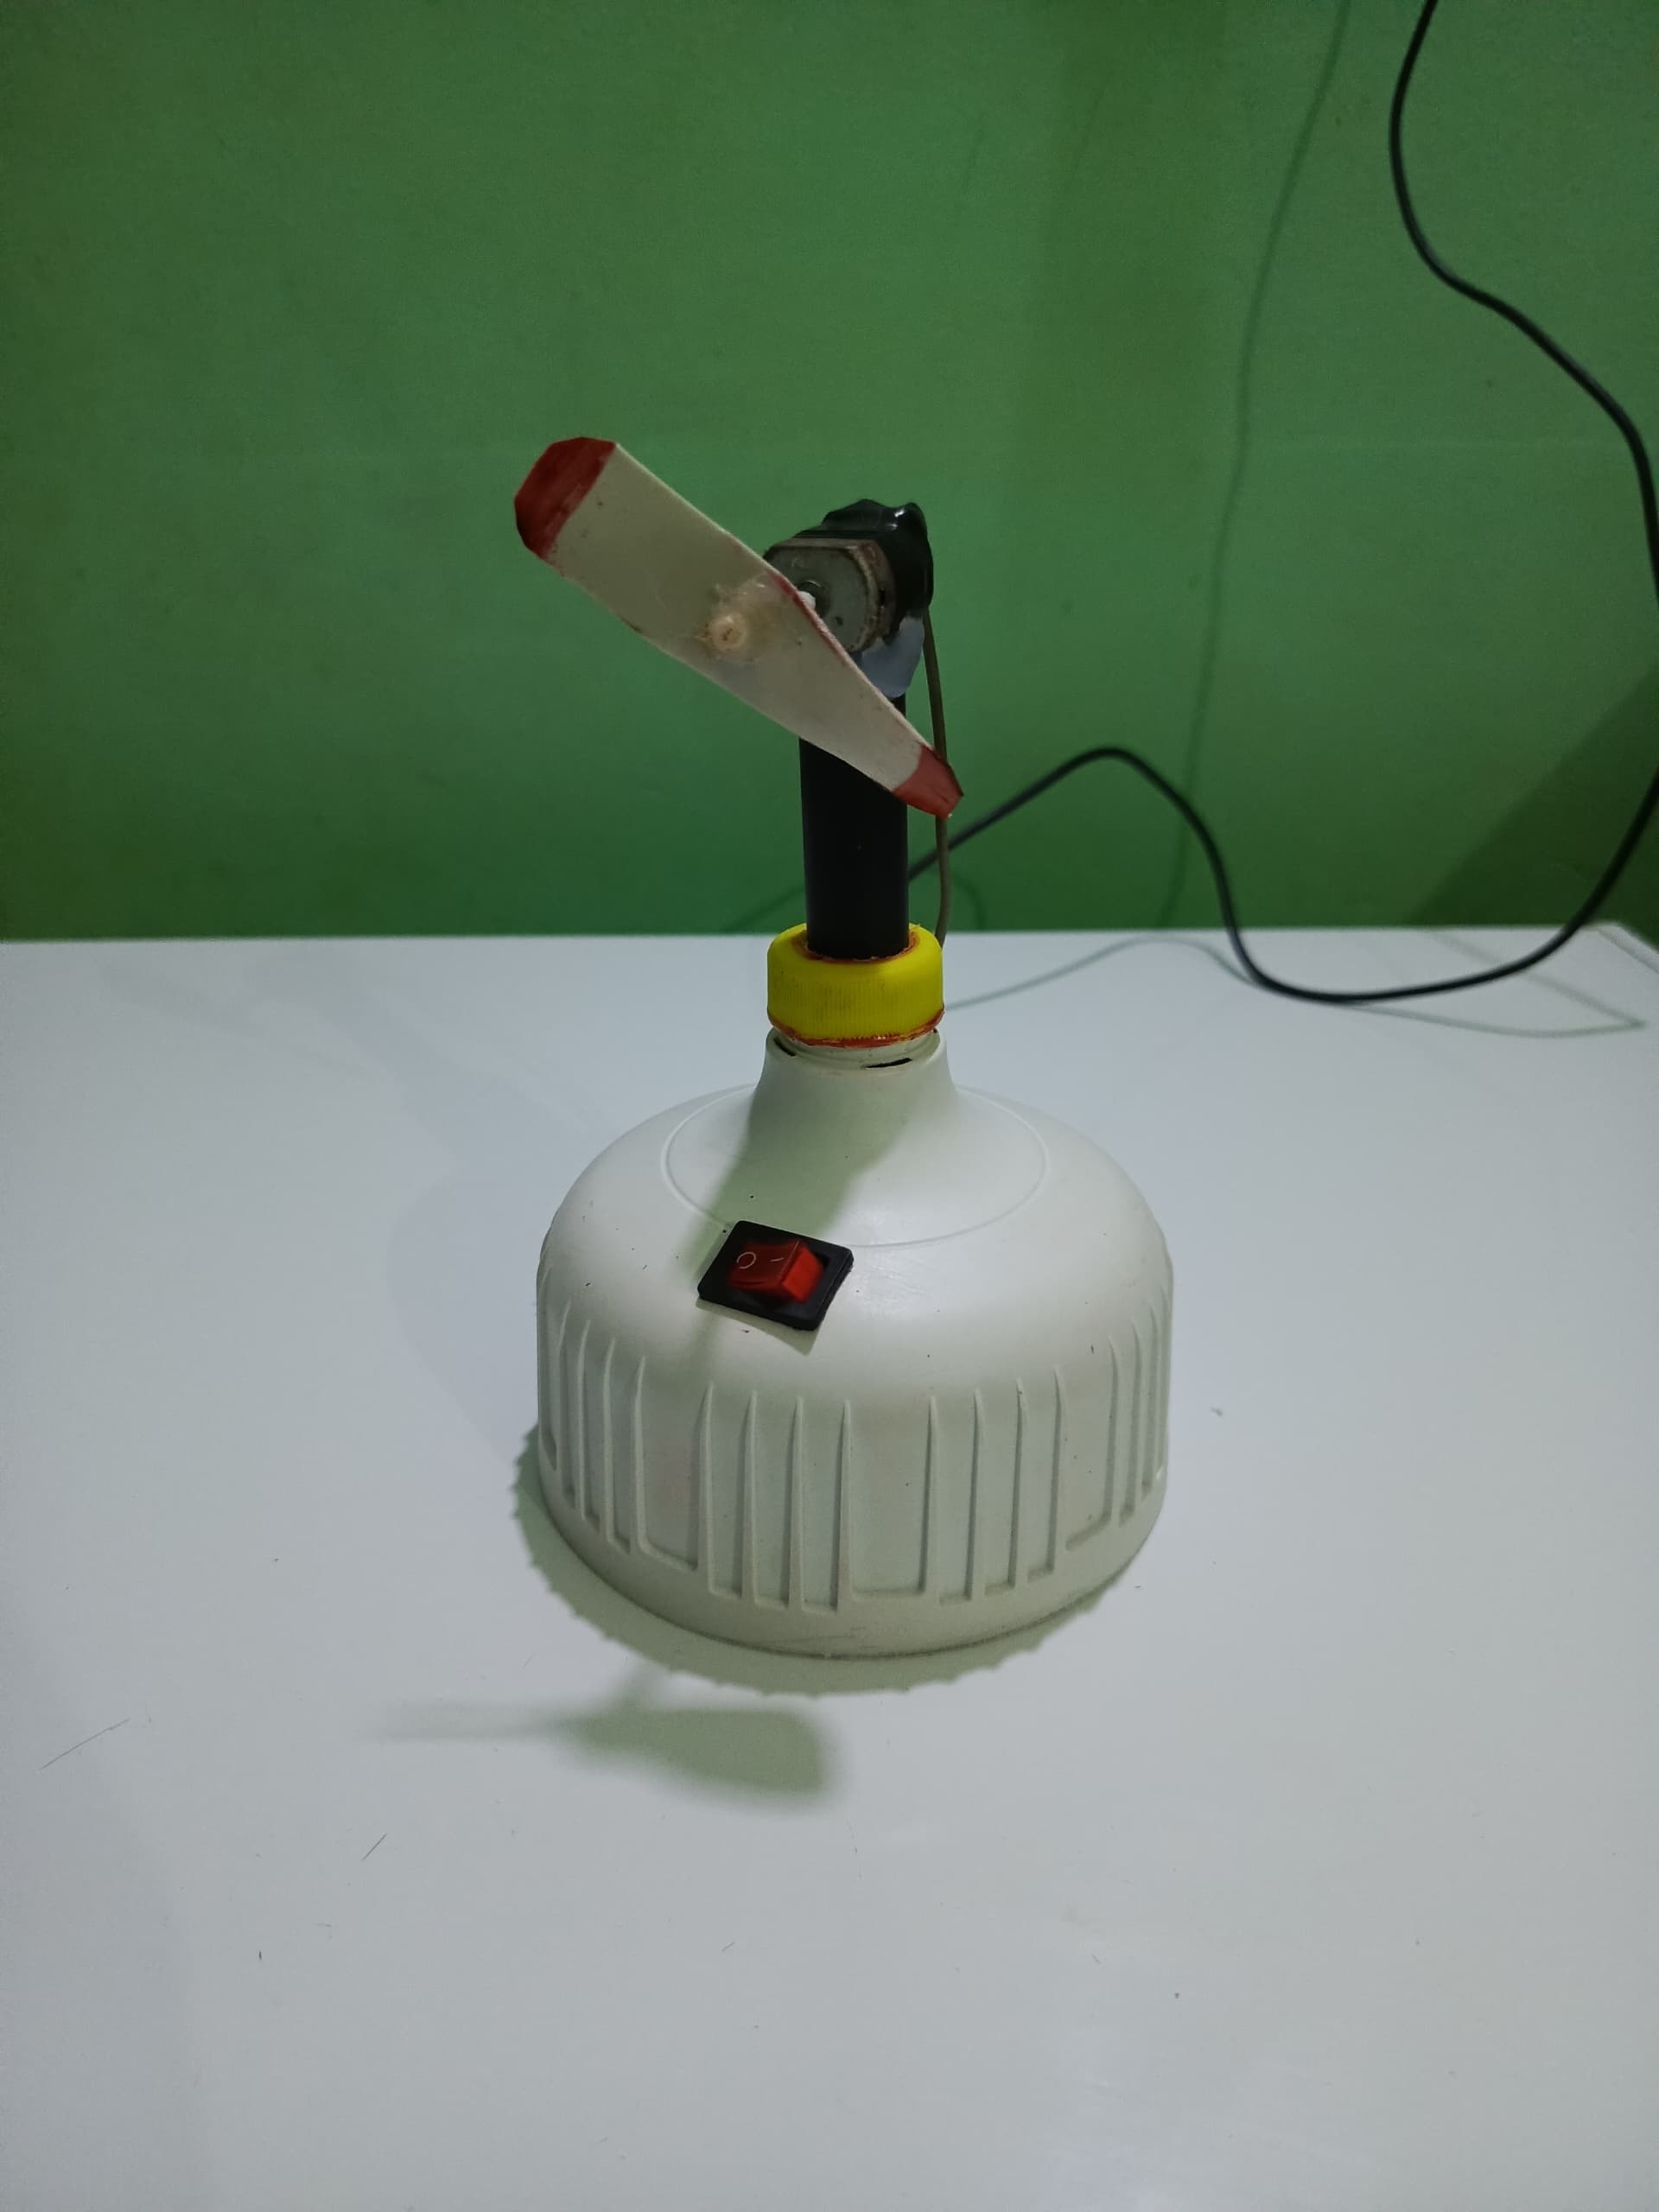
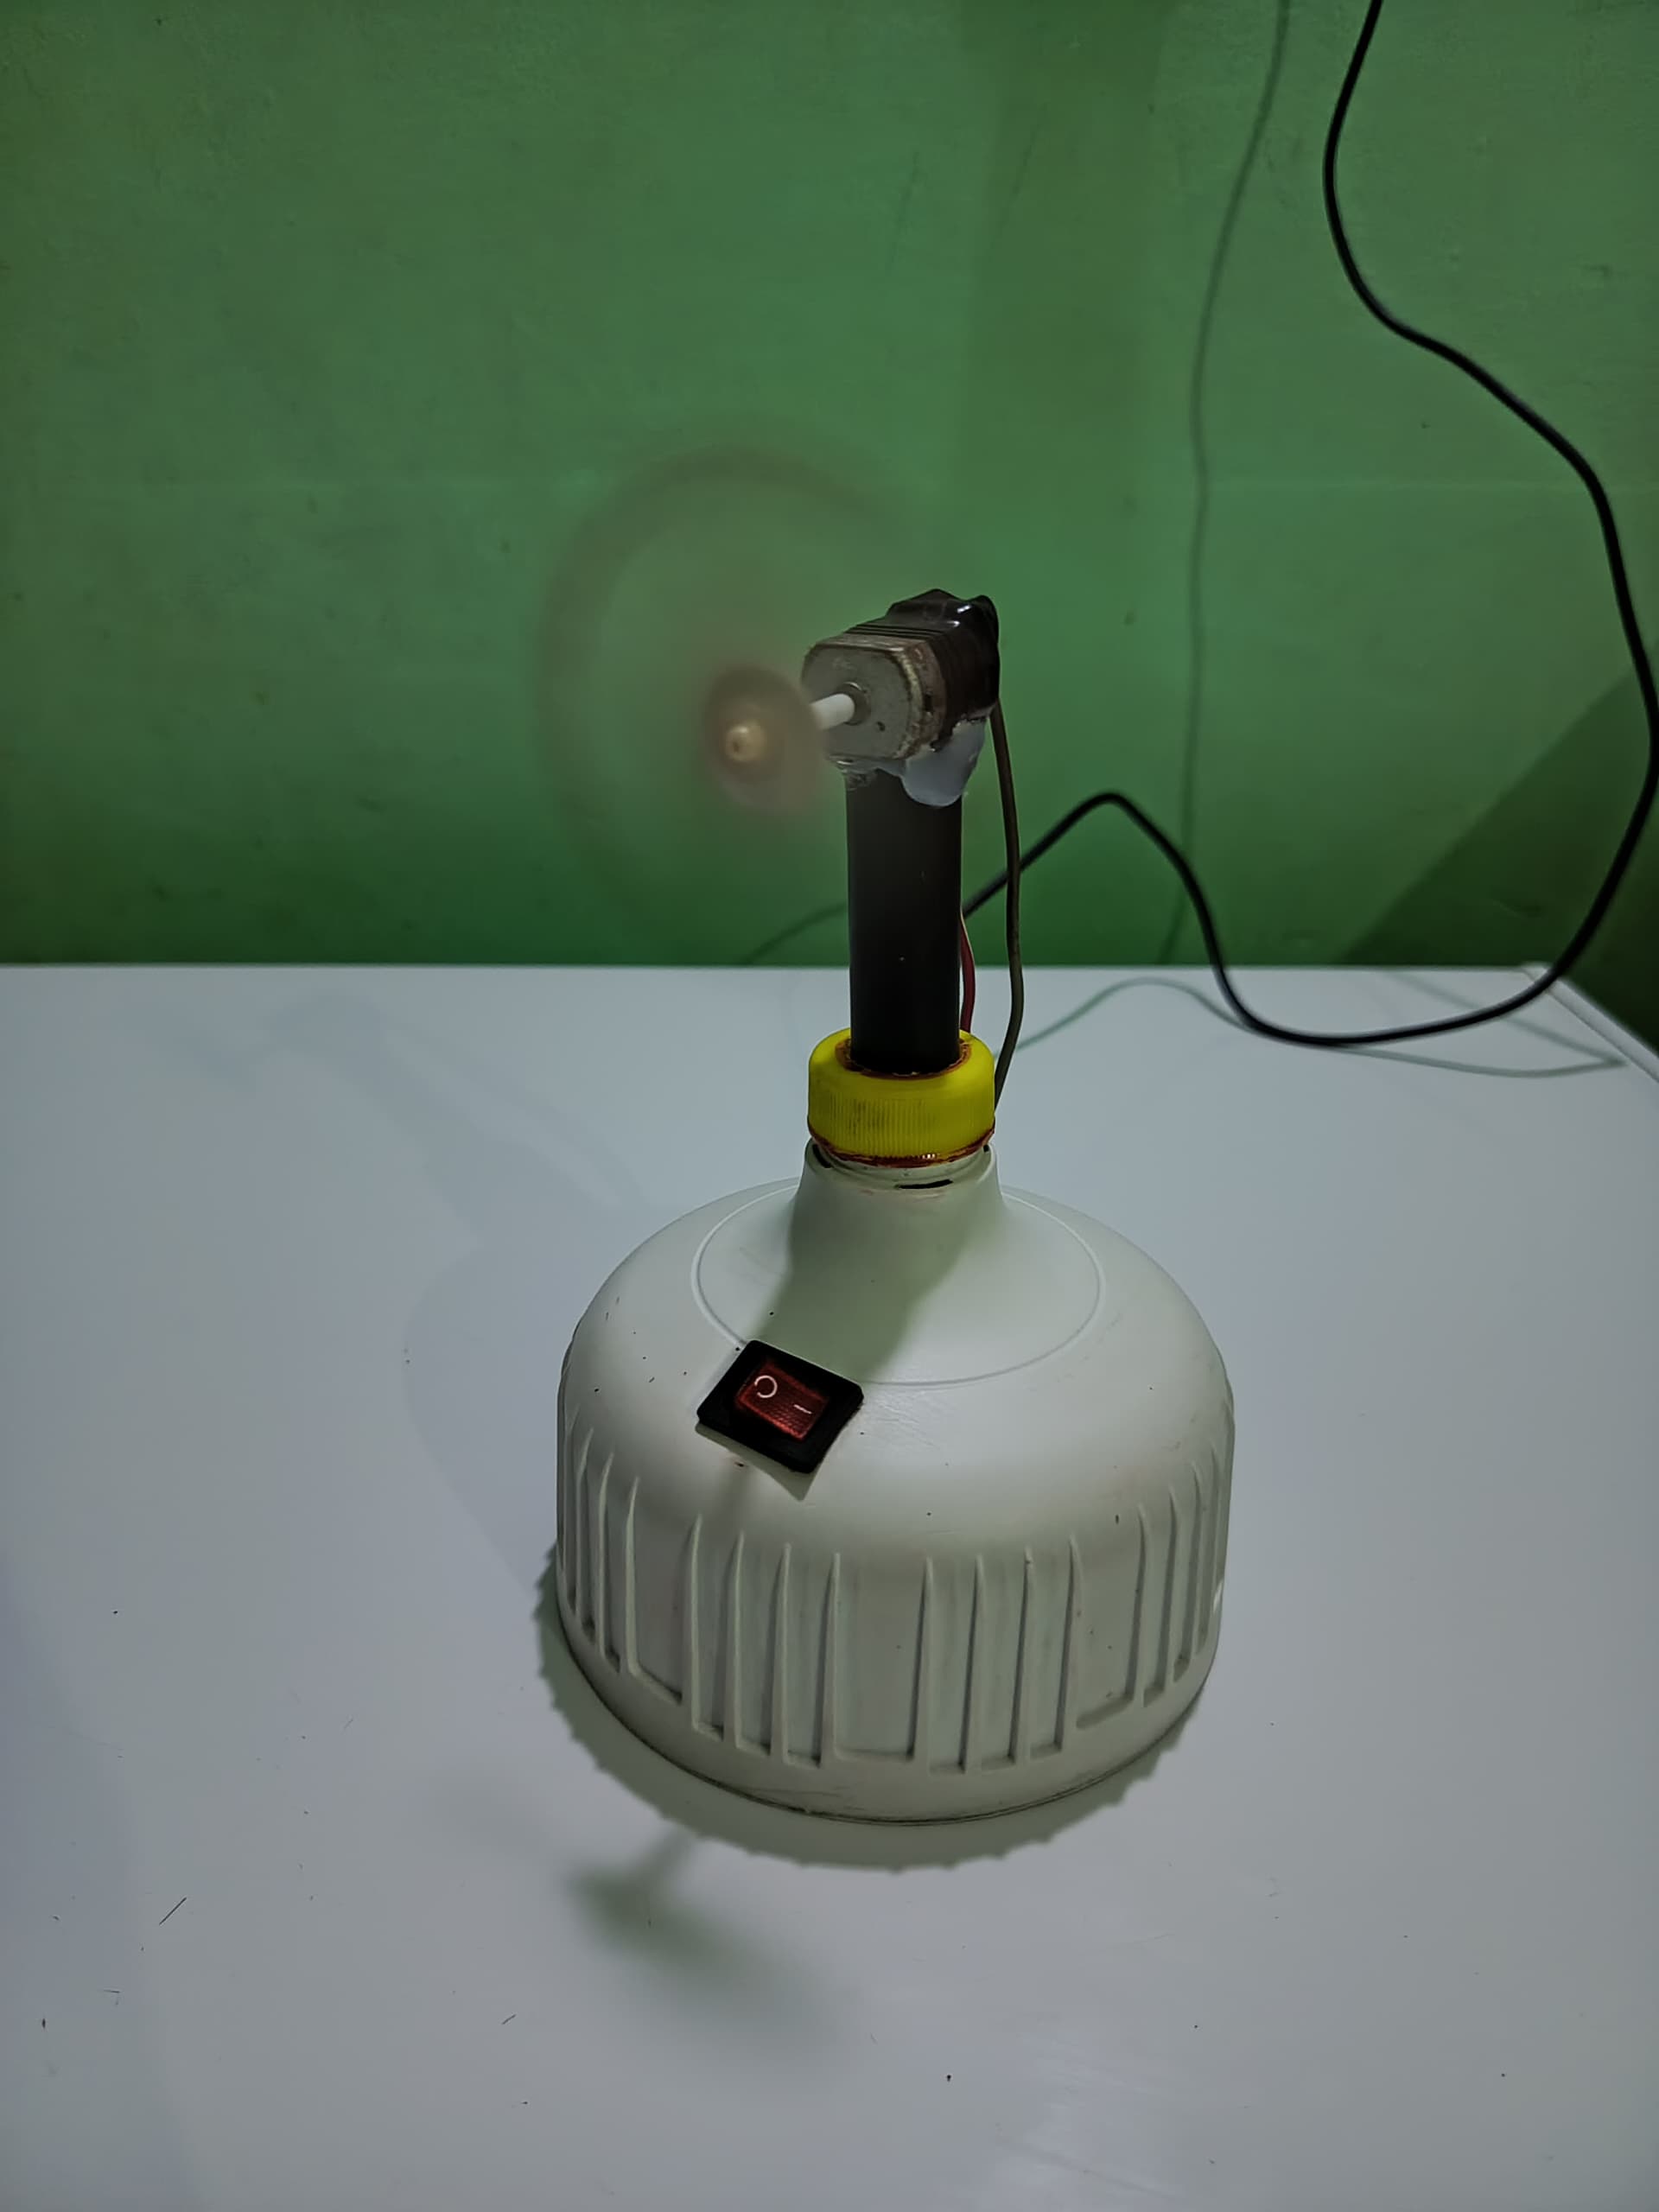
Luego tomé mi encendedor y lo incrusté en el orificio que le correspondía, y por otra parte tomé mi cargador que era el que le iba a la suministrar la energía al motor y bueno, luego metí la punta del cargador en el otro orificio que quedaba libre y le hice un nudo de manera que si se jalaba no se fuera a soltar, y bueno, ya tenía mis cables listos, nada más que de hacer las conexiones, tenía los cables del motor, los cables del encendedor, y los cables de la corriente que eran los cables que venían del cargador; ya teniendo todo eso listo procedí a hacer las conexiónes, y bueno, fijé mi línea directa mientras que la otra línea del cargador pasaba por el encendedor, de manera que permitiría encenderlo y apagarlo y que no funcionara de manera directa, y bueno, luego tomé el teipe negro, aislé las conexiones, y quite todo el silicón que estaba sobrando, y listo! ya había terminado mi ventilador, luego lo llevé a la mesa, conecté el cargador, active el encendedor y encendió inmediatamente, y bueno, proyecto terminado y listo para usarse jaja.
Then I took my lighter and inserted it into the hole that corresponded to it, and on the other hand I took my charger which was the one that was going to supply power to the motor and well, then I put the tip of the charger into the other hole that was free and tied a knot so that if it was pulled it wouldn’t come loose, and well, I already had my cables ready, nothing more than making the connections, I had the motor cables, the lighter cables, and the current cables which were the cables that came from the charger; already having all that ready I proceeded to make the connections, and well, I fixed my direct line while the other line from the charger passed through the lighter, in a way that would allow it to turn on and off and not work directly, and well, then I took the black tape, insulated the connections, and removed all the excess silicone, and that’s it! I had already finished my fan, then I took it to the table, connected the charger, activated the lighter and it turned on immediately, and well, project finished and ready to use haha.
---
Y bueno, ese fue el resultado final, la verdad me divertí mucho haciéndolo, y no solo eso, sino que de allí nace la importancia del reciclaje, ya que con cosas que pensamos que ya no sirven o que son obsoletas podemos hacer eso y otras infinidades de cosas muy útiles para nuestro día a día.
La verdad, espero que les haya gustado mi trabajo, fue un gusto compartirlo con ustedes y nos vemos pronto. Saludos y Bendiciones.
And well, that was the final result. I really had a lot of fun doing it. Not only that, but it's also where the importance of recycling comes from. We can use things we think are no longer useful or obsolete to make them, along with countless other very useful things for our daily lives.
I really hope you liked my work. It was a pleasure to share it with you, and I'll see you soon. Best regards and blessings.

---
---
Translated with https://www.deepl.com/translator
#recyclingdiy
#diyhub
#diy
#tutorial
#spanish
#neoxian
#electronics
#crafting
#creative
#ocd
Payout: 0.000 HBD
Votes: 243
More interactions (upvote, reblog, reply) coming soon.