**
ESPAÑOL
**
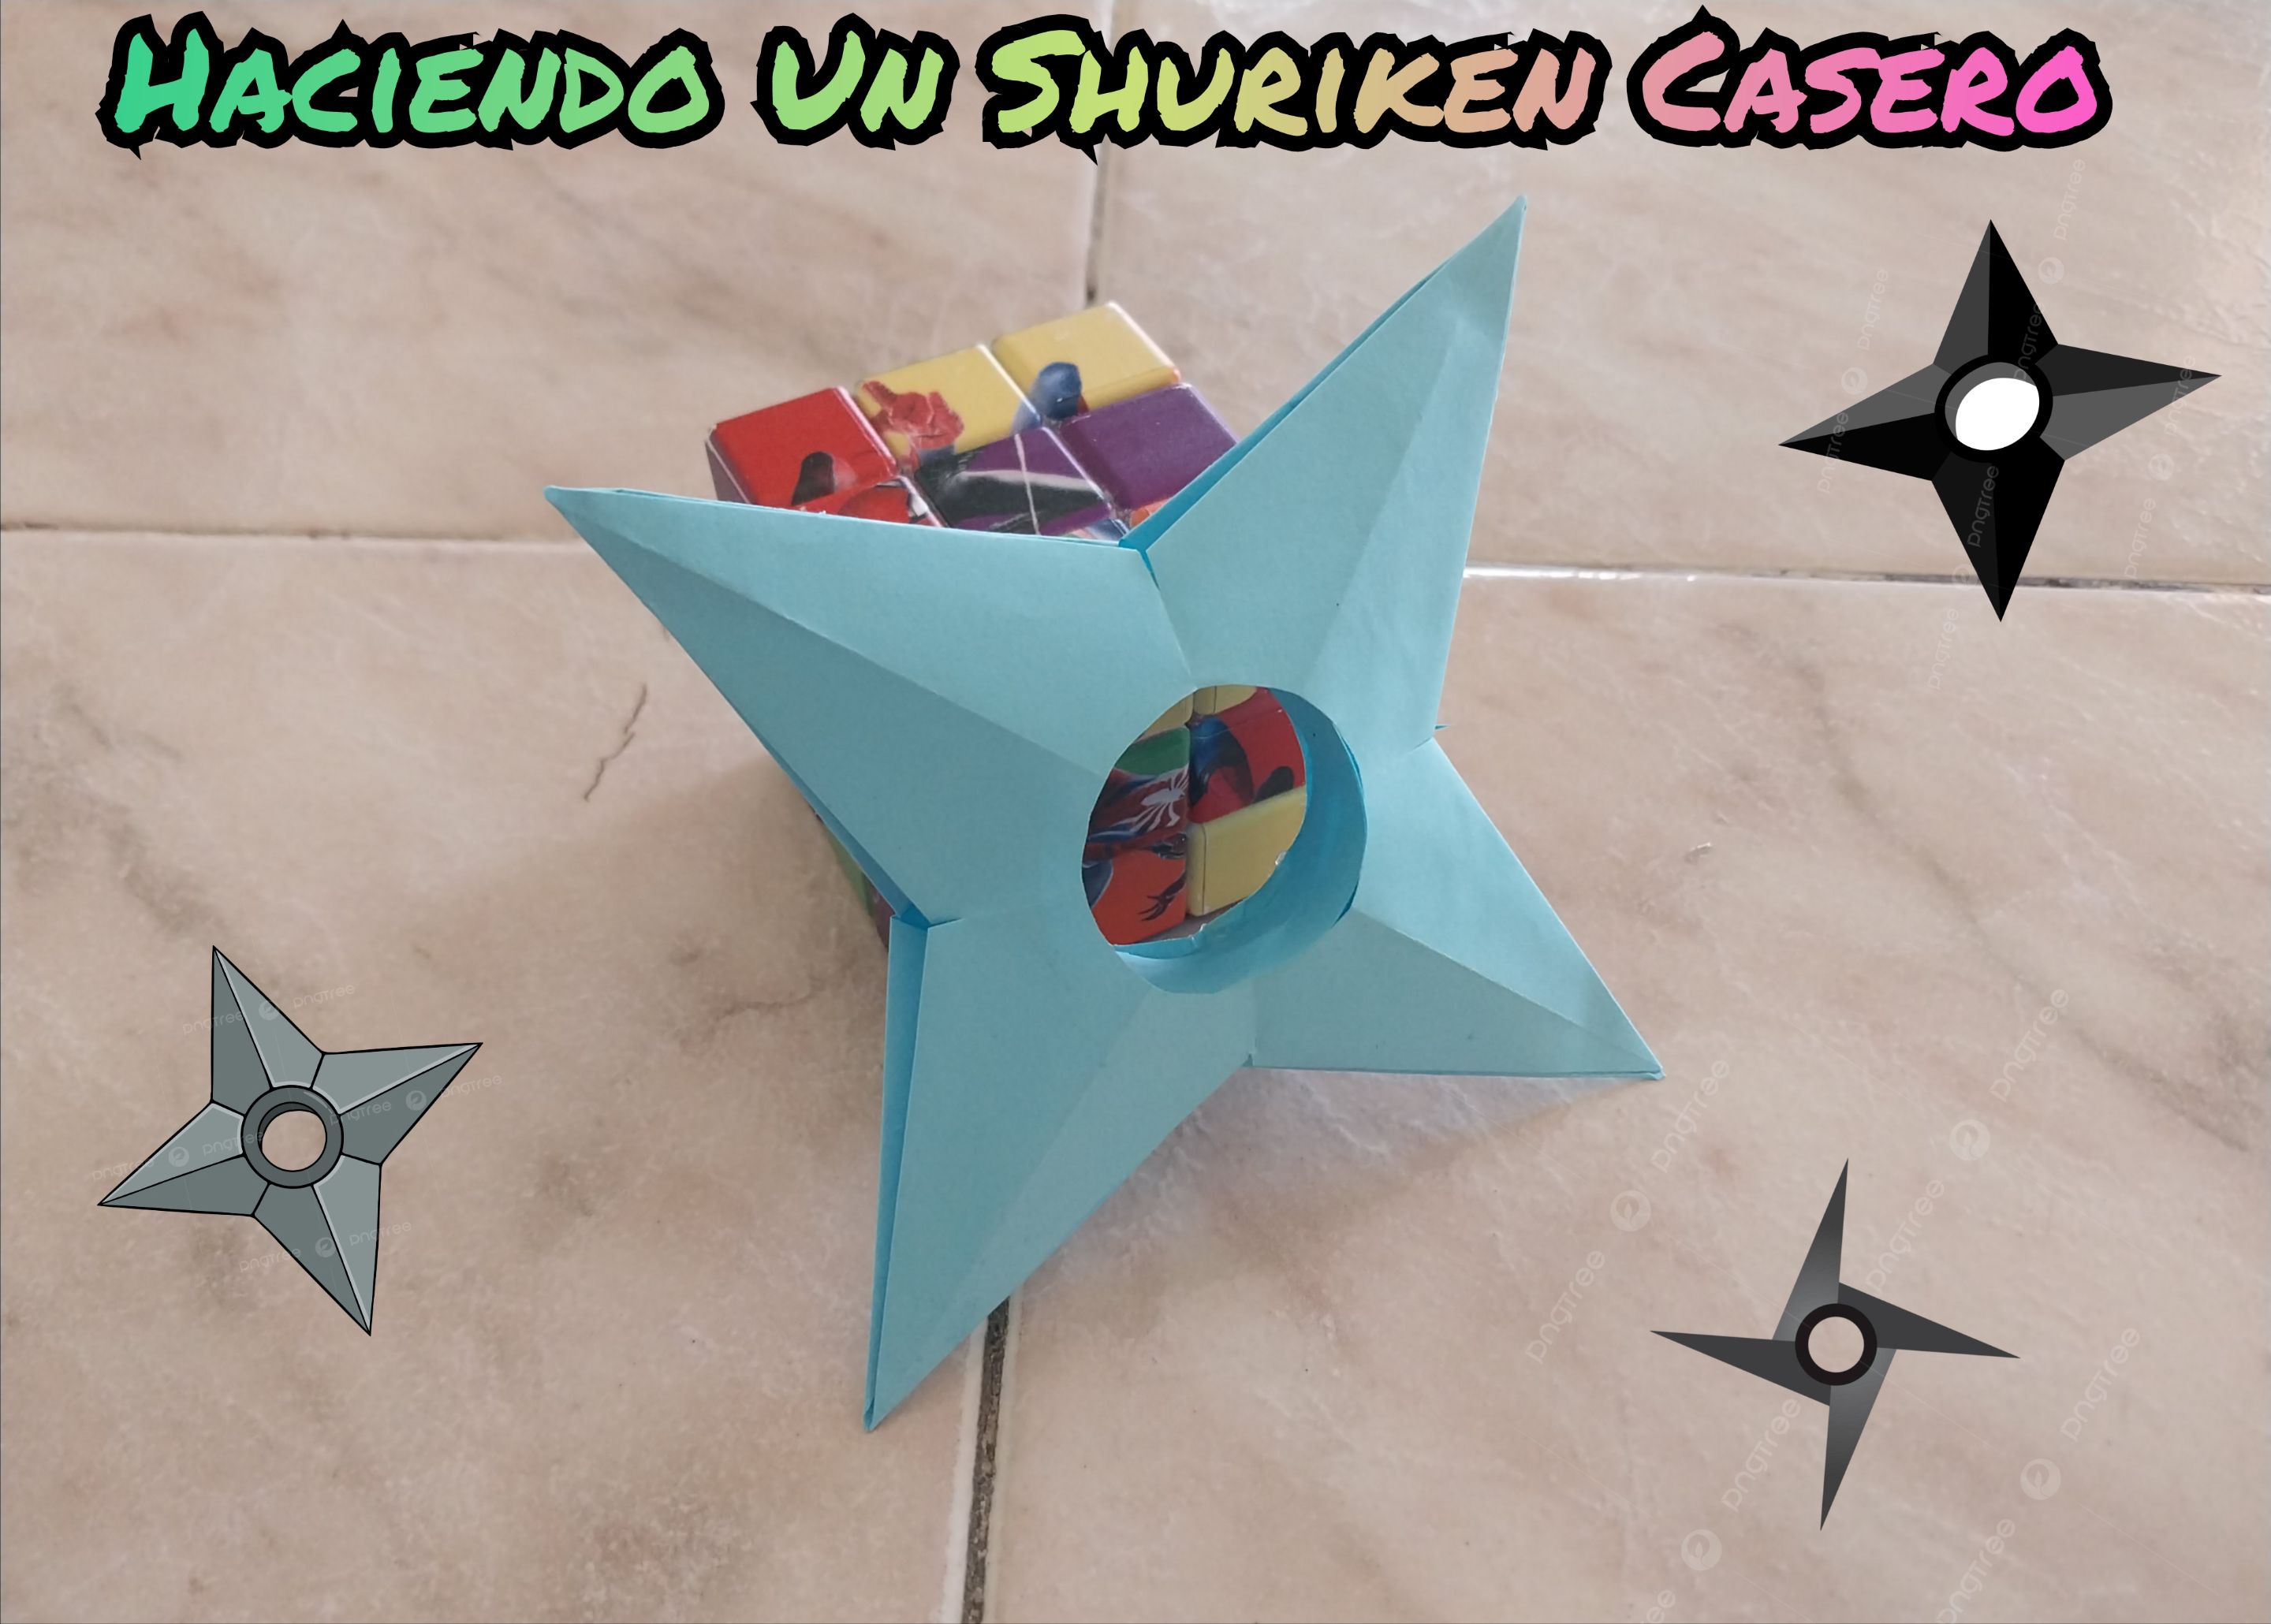
Hola amigos de la comunidad de Diyhub, ¿cómo están? Espero que se encuentren muy bien y que la estén pasando increíble. En esta oportunidad les quiero compartir una idea muy creativa que vi hace poco y bueno, la verdad me llamó bastante la atención. Se trata de un Shuriken hecho con papel. Es algo muy divertido, muy entretenido y fácil de hacer; y aparte de eso también pueden ponerlo como decoración o incluso usarlo para jugar. Y bueno, aquí les enseño cómo lo hice.
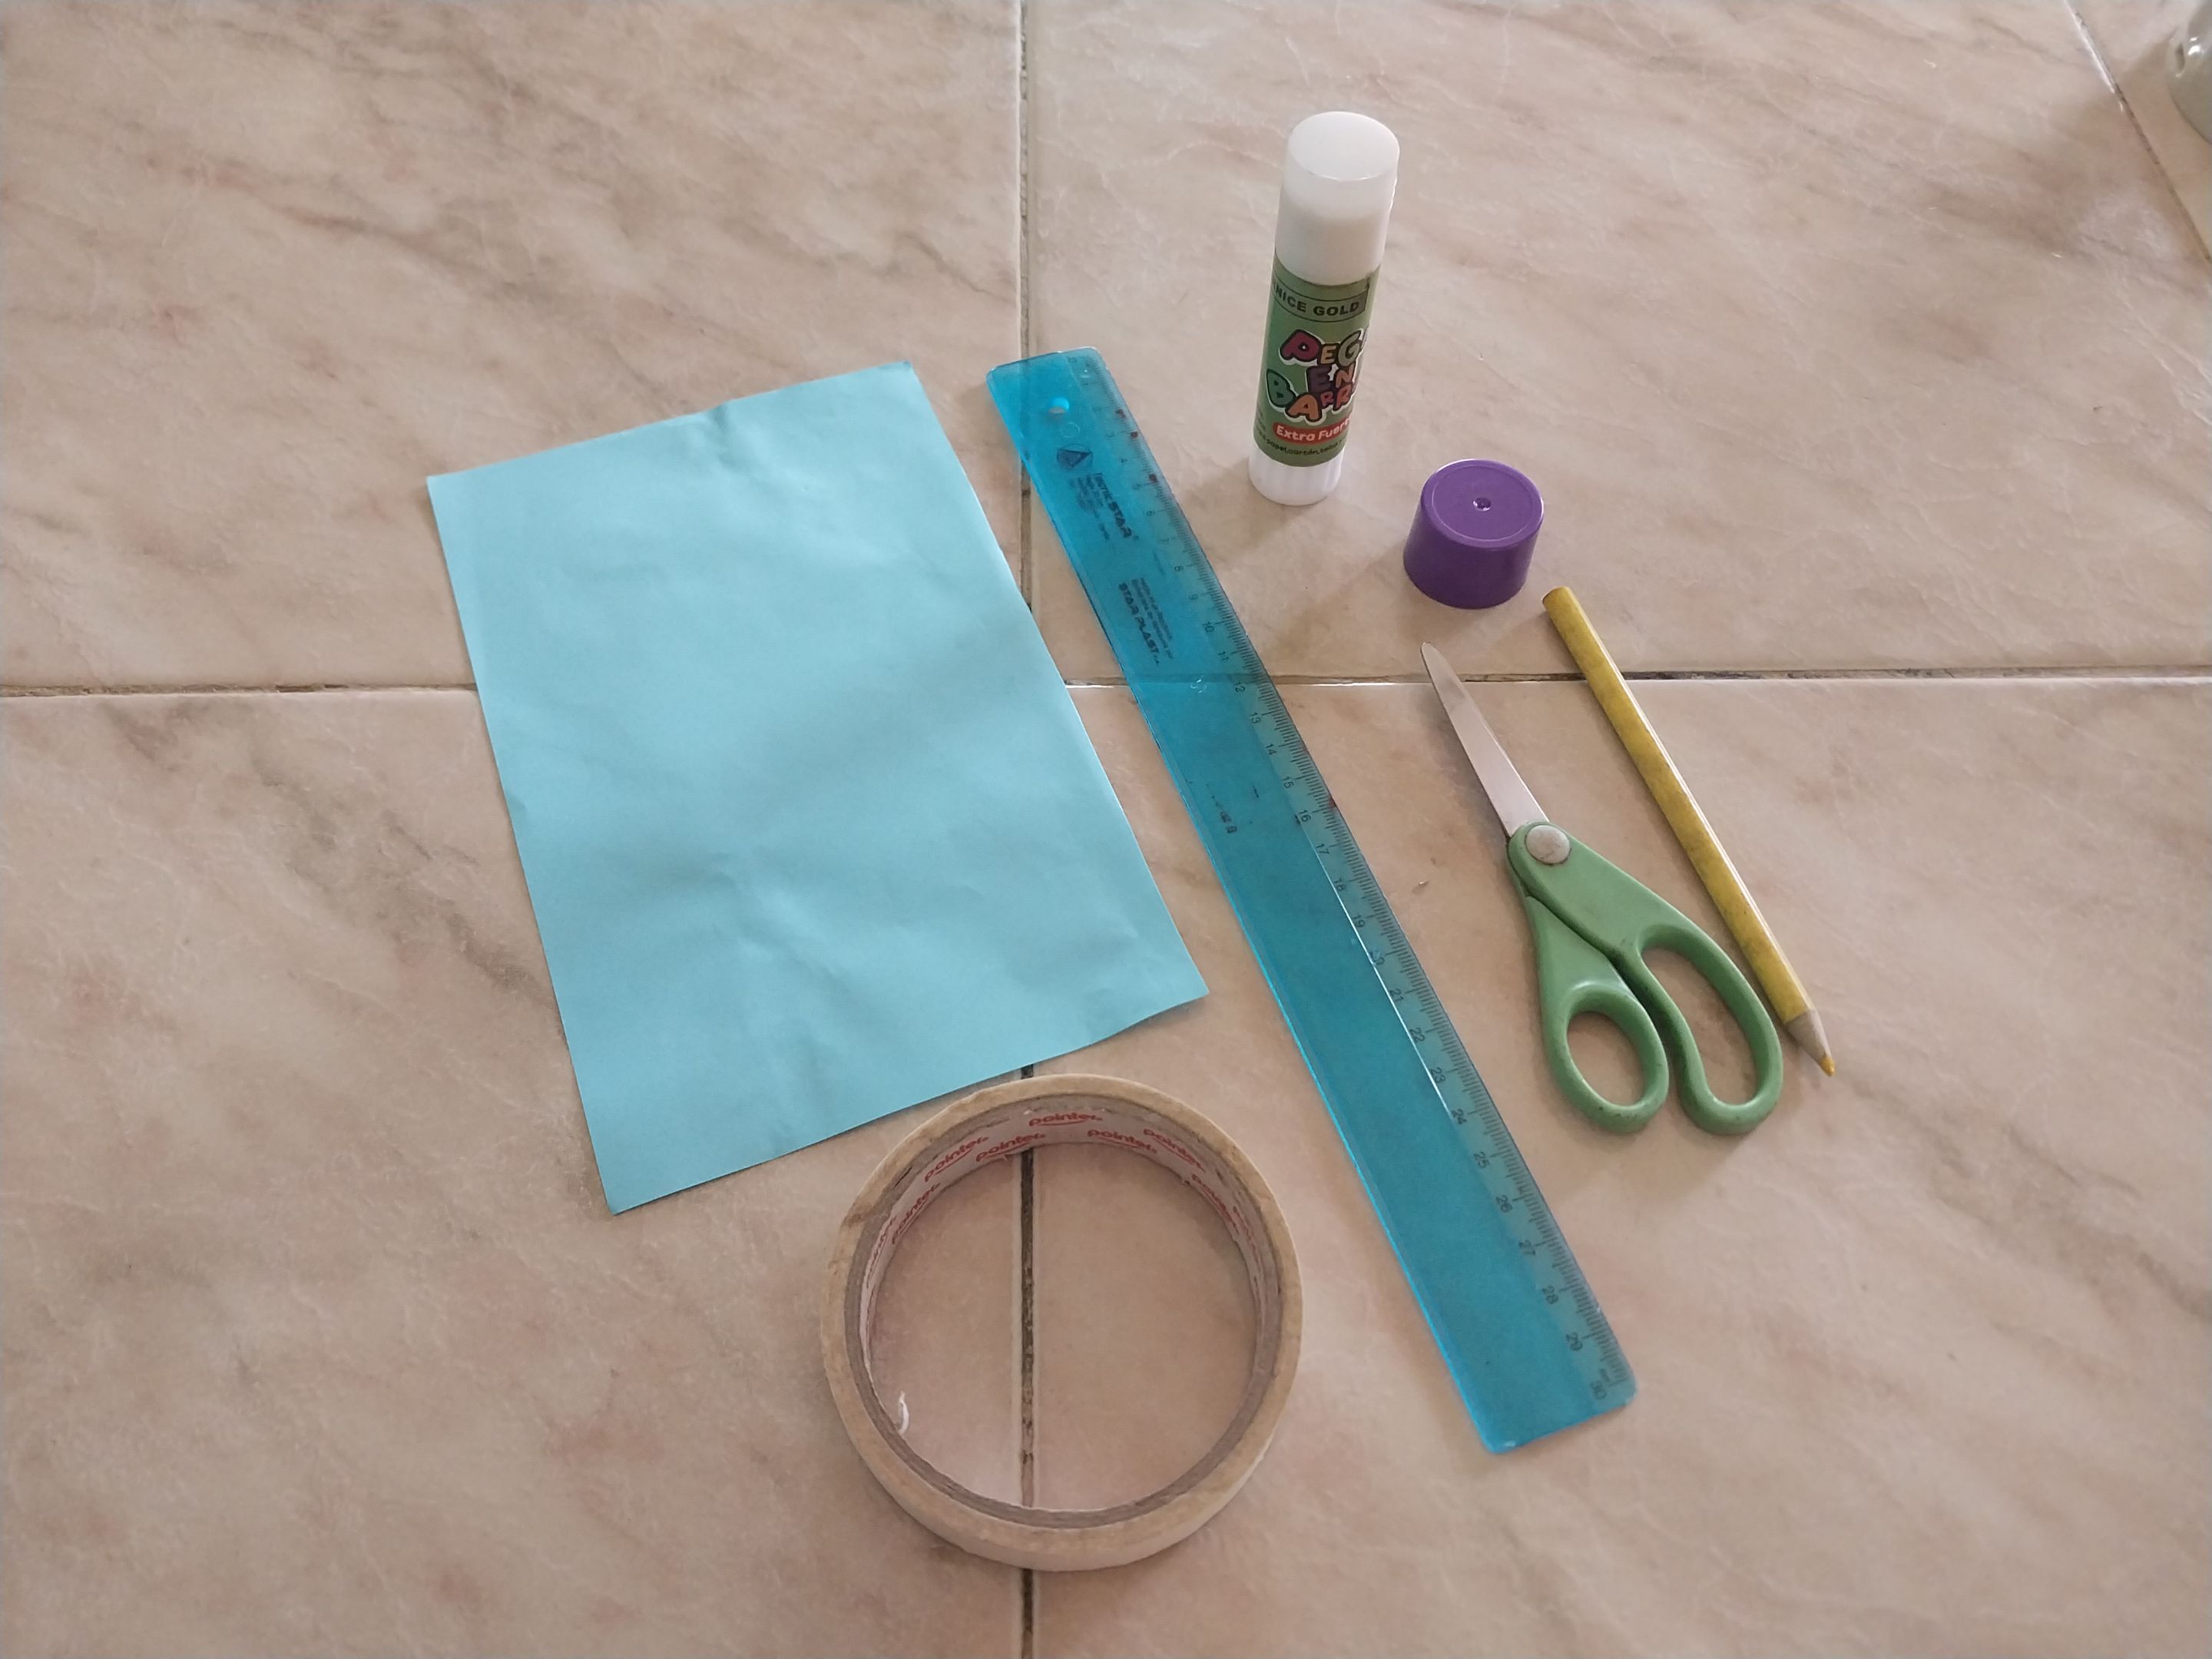
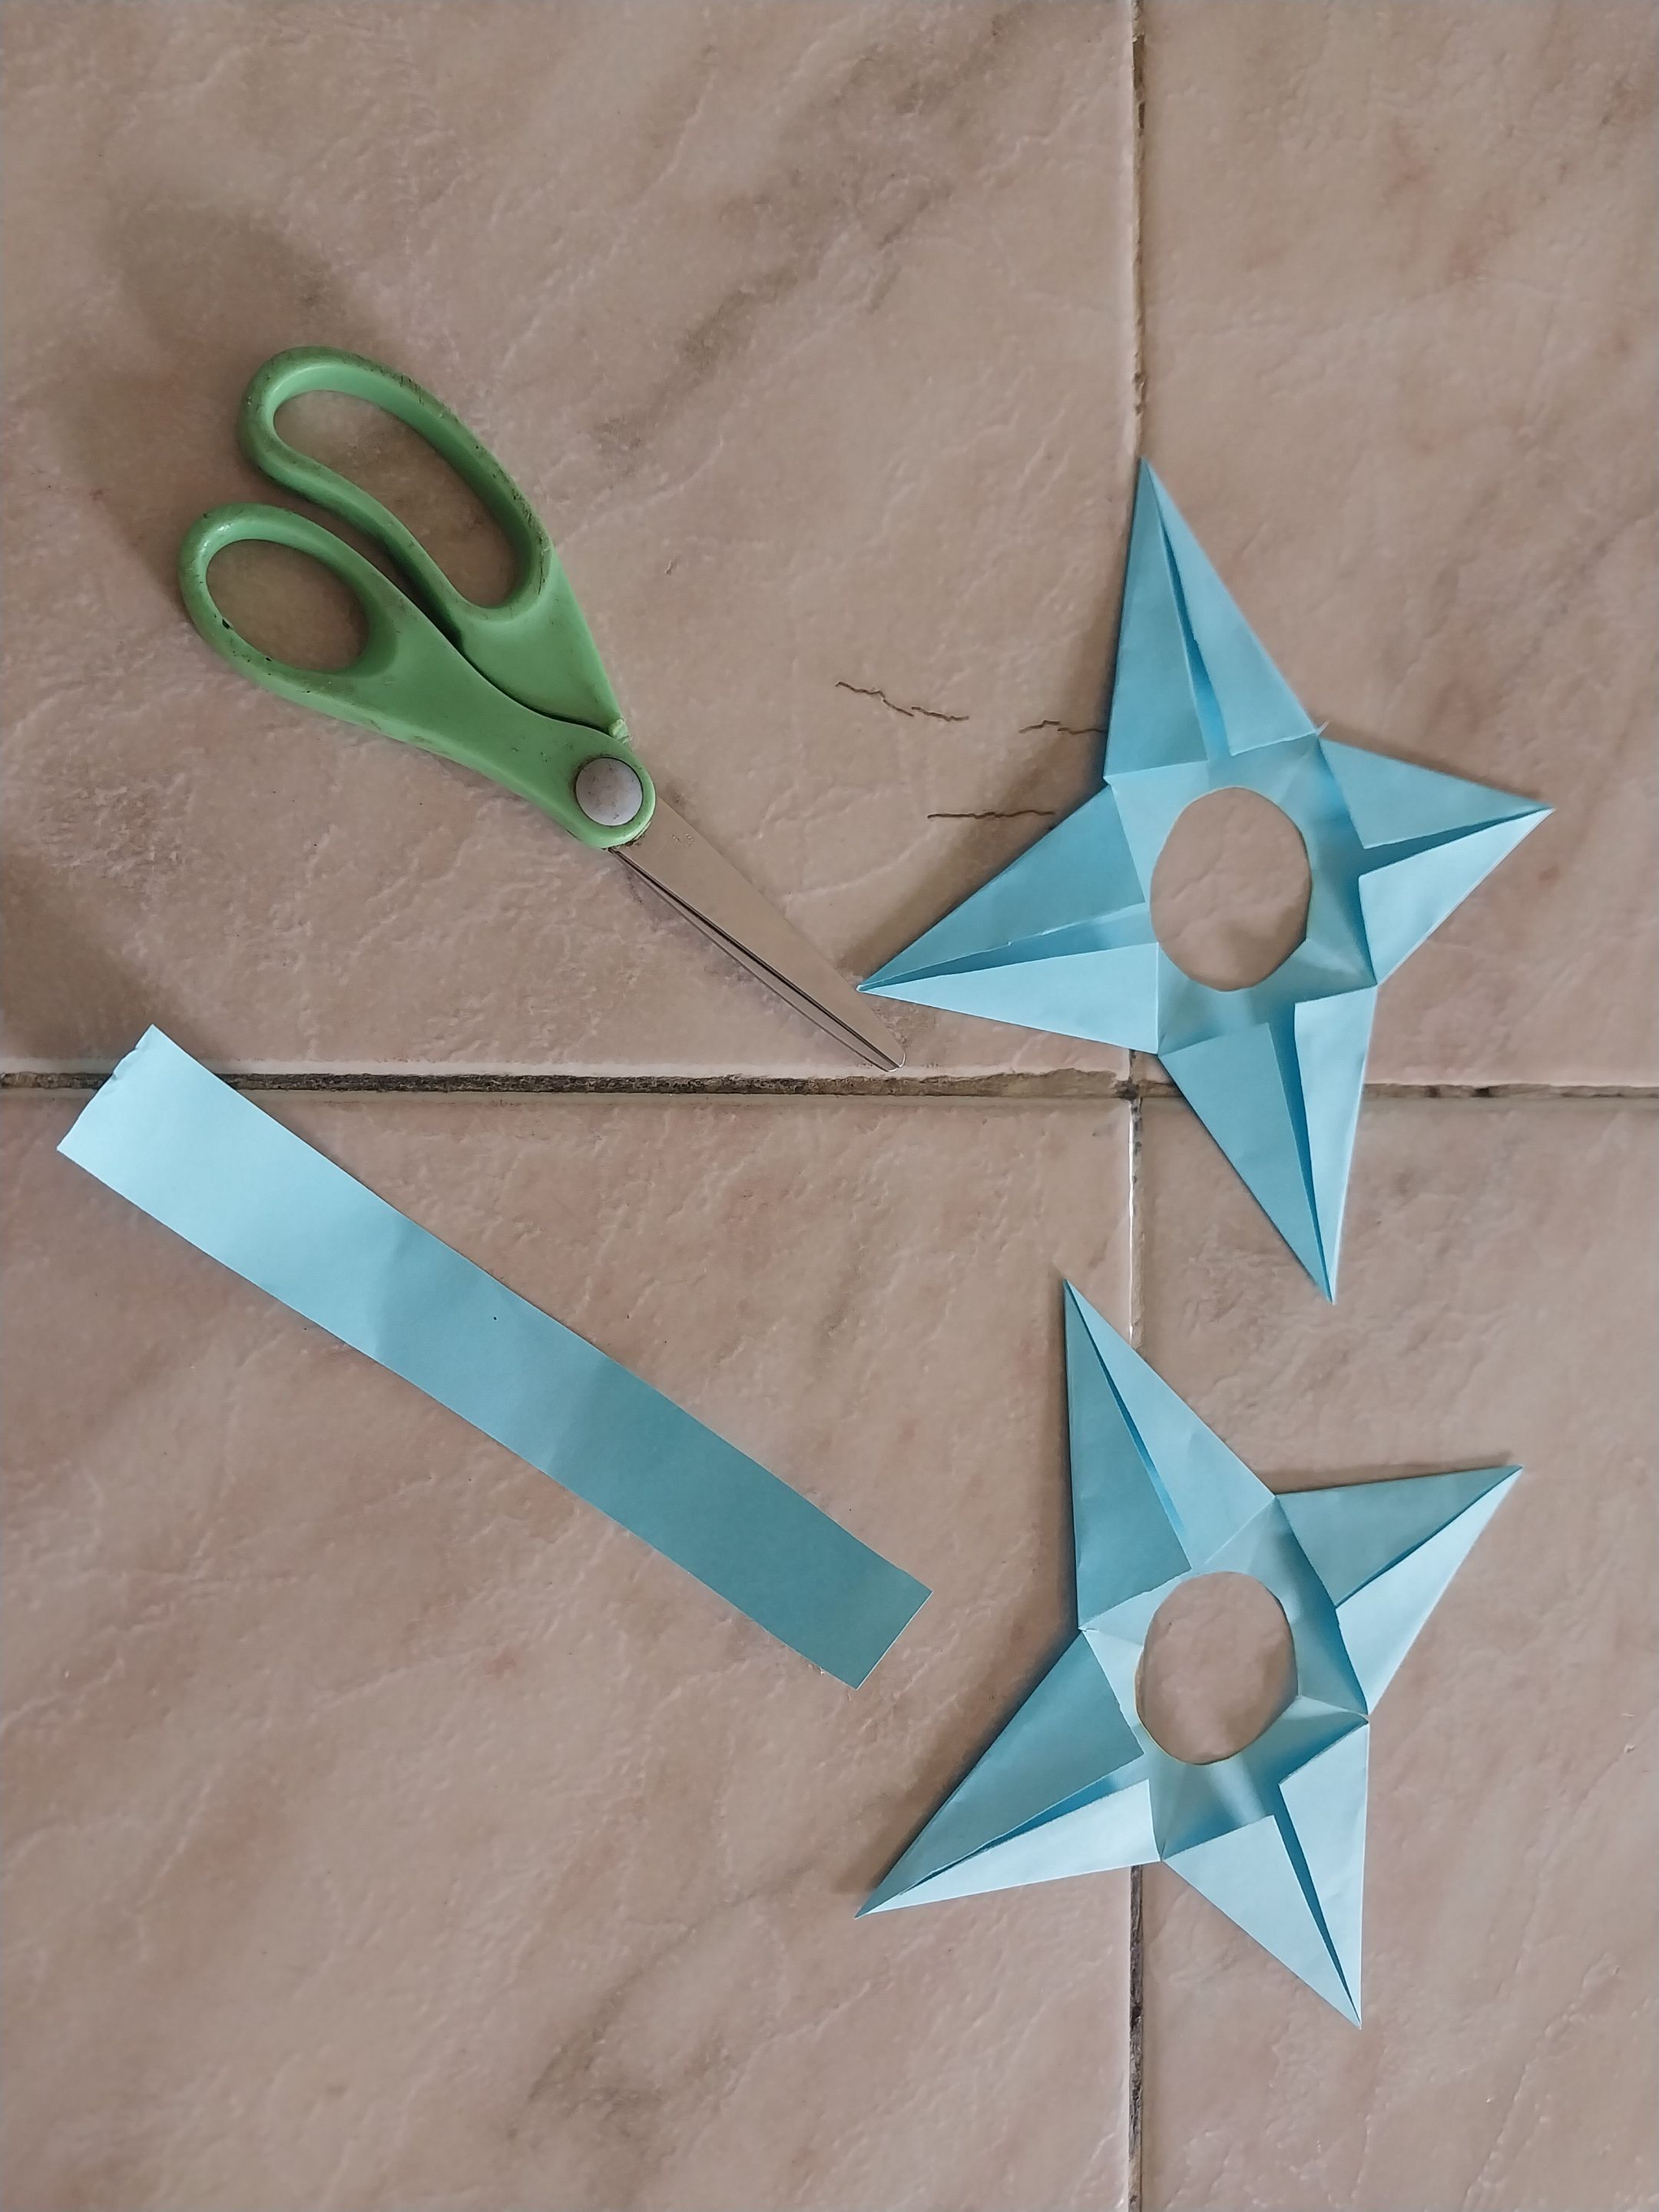
Lo primero fue ubicar los materiales, Para esto utilizamos un pedazo de papel, en este caso yo escogí uno de color azul, una regla, teipe, pega en barra, una tapita circular, tijeras y un lápiz.
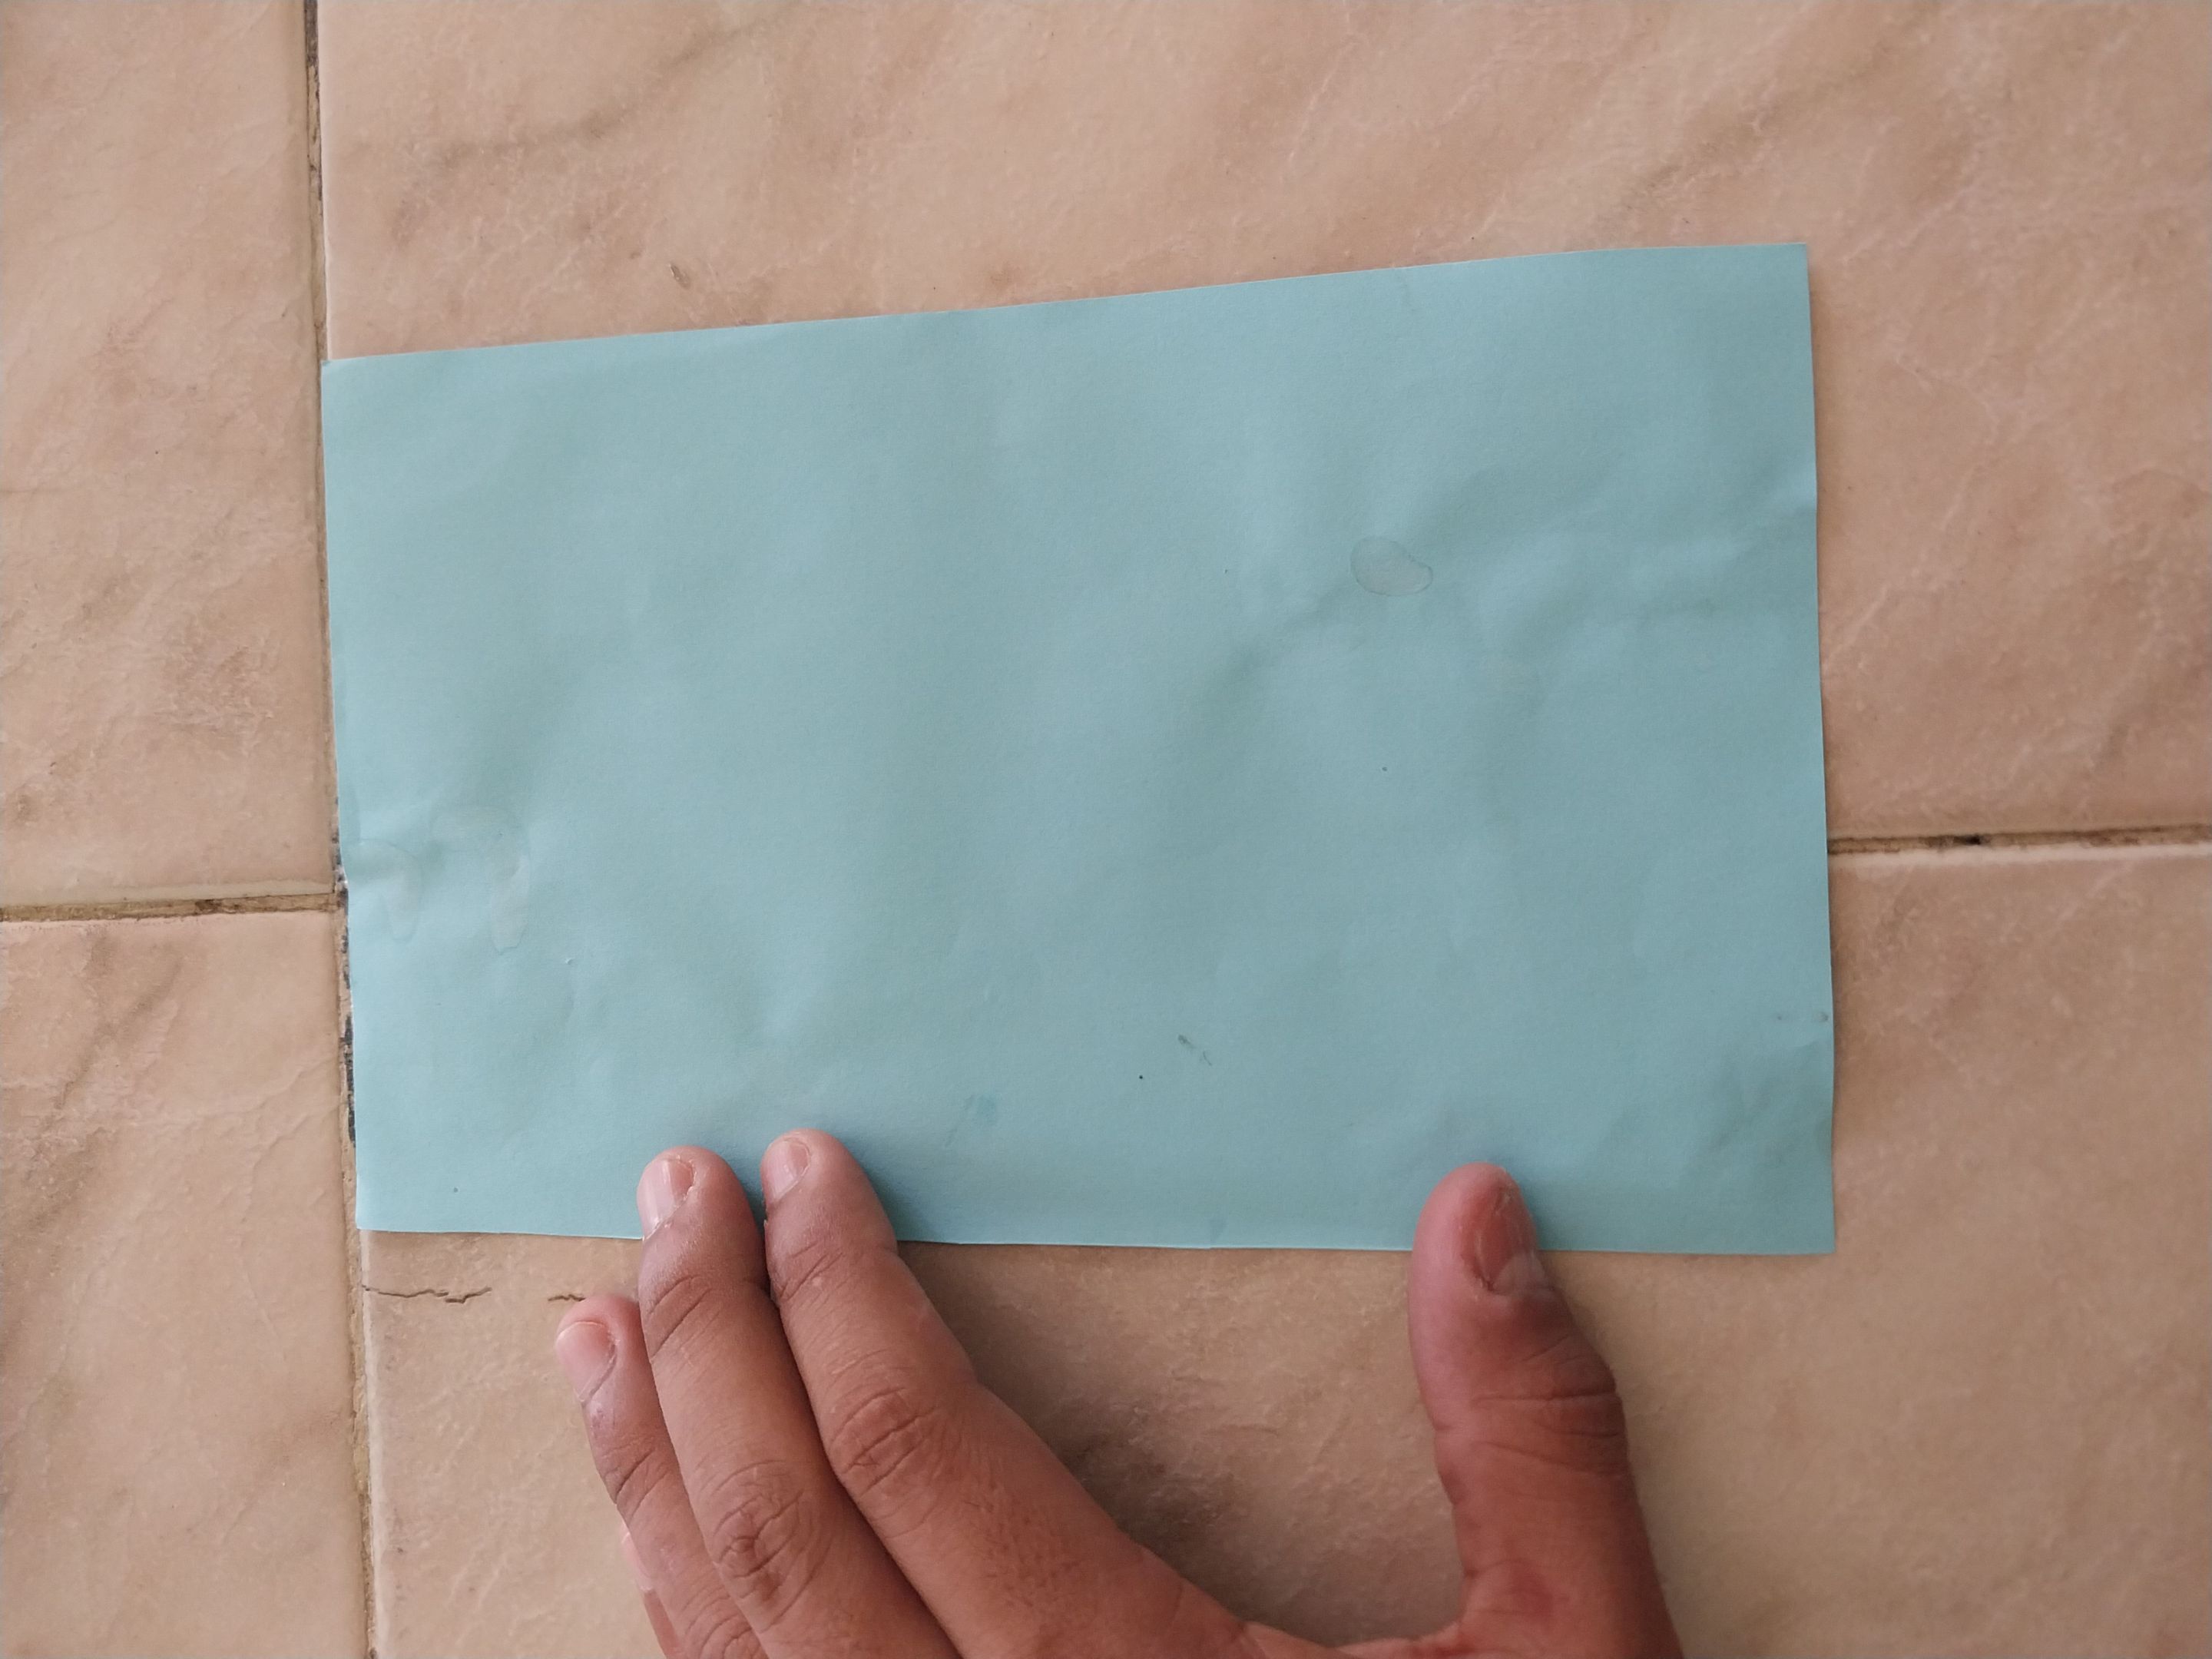
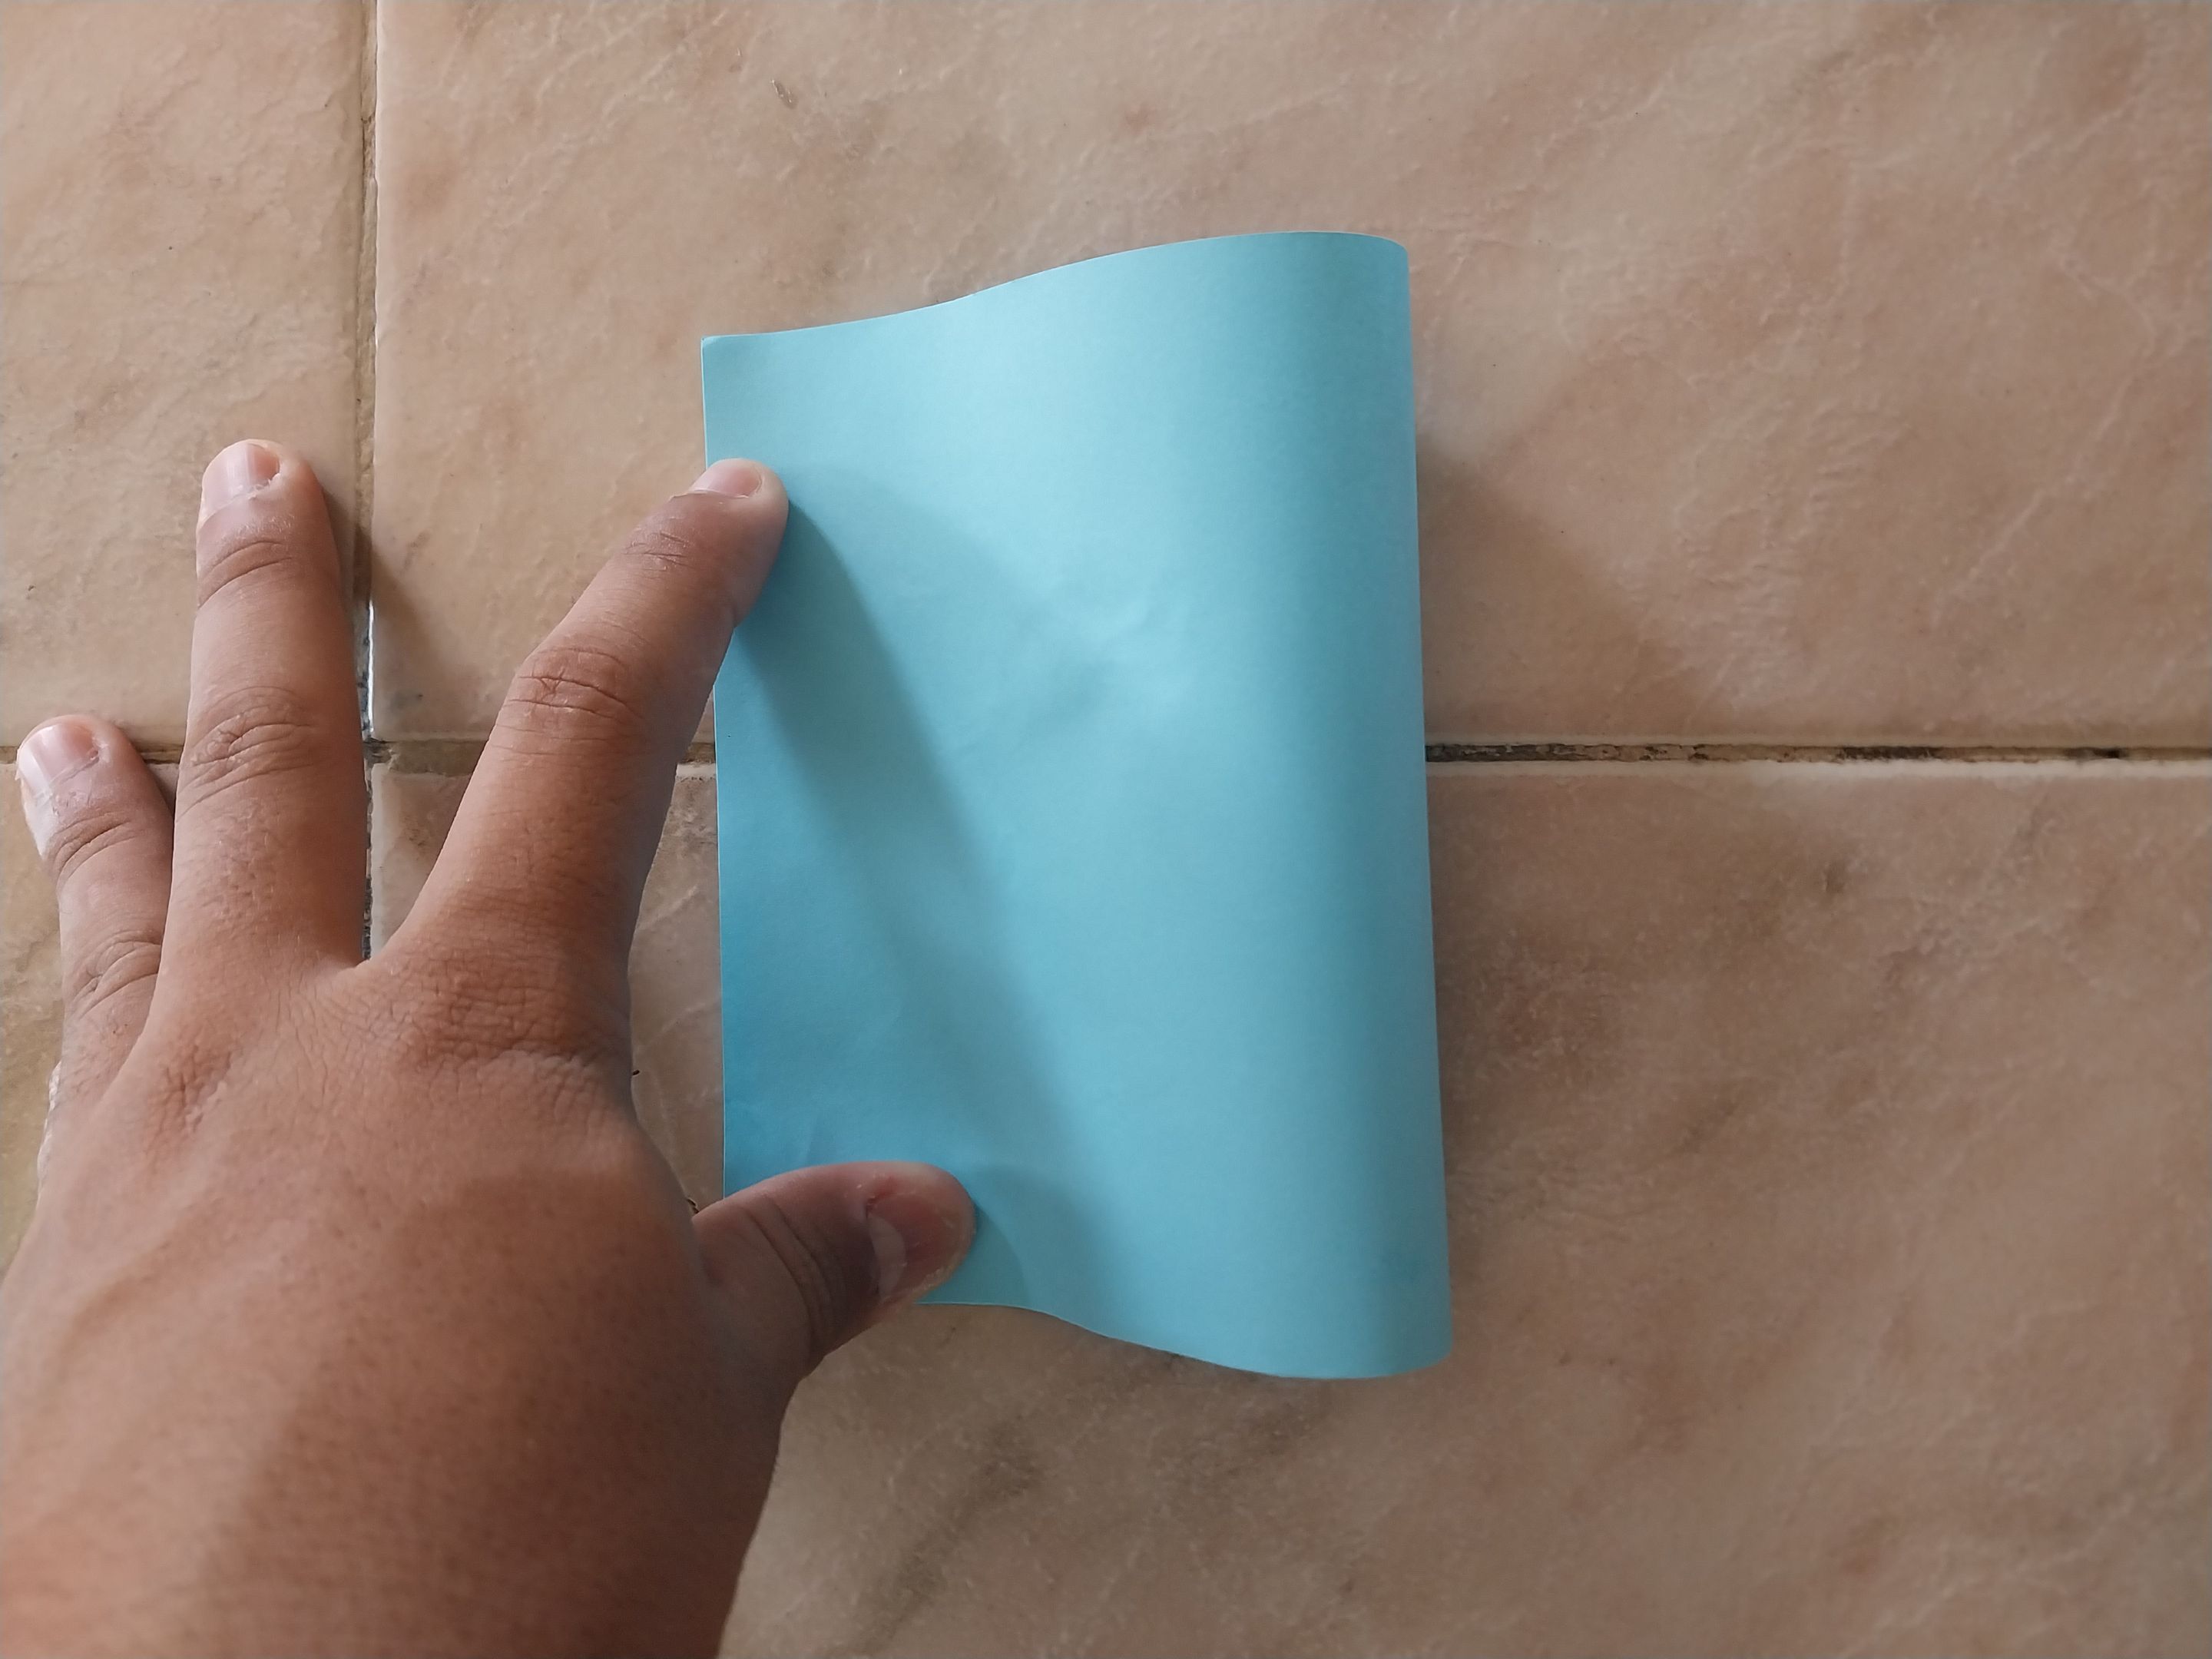
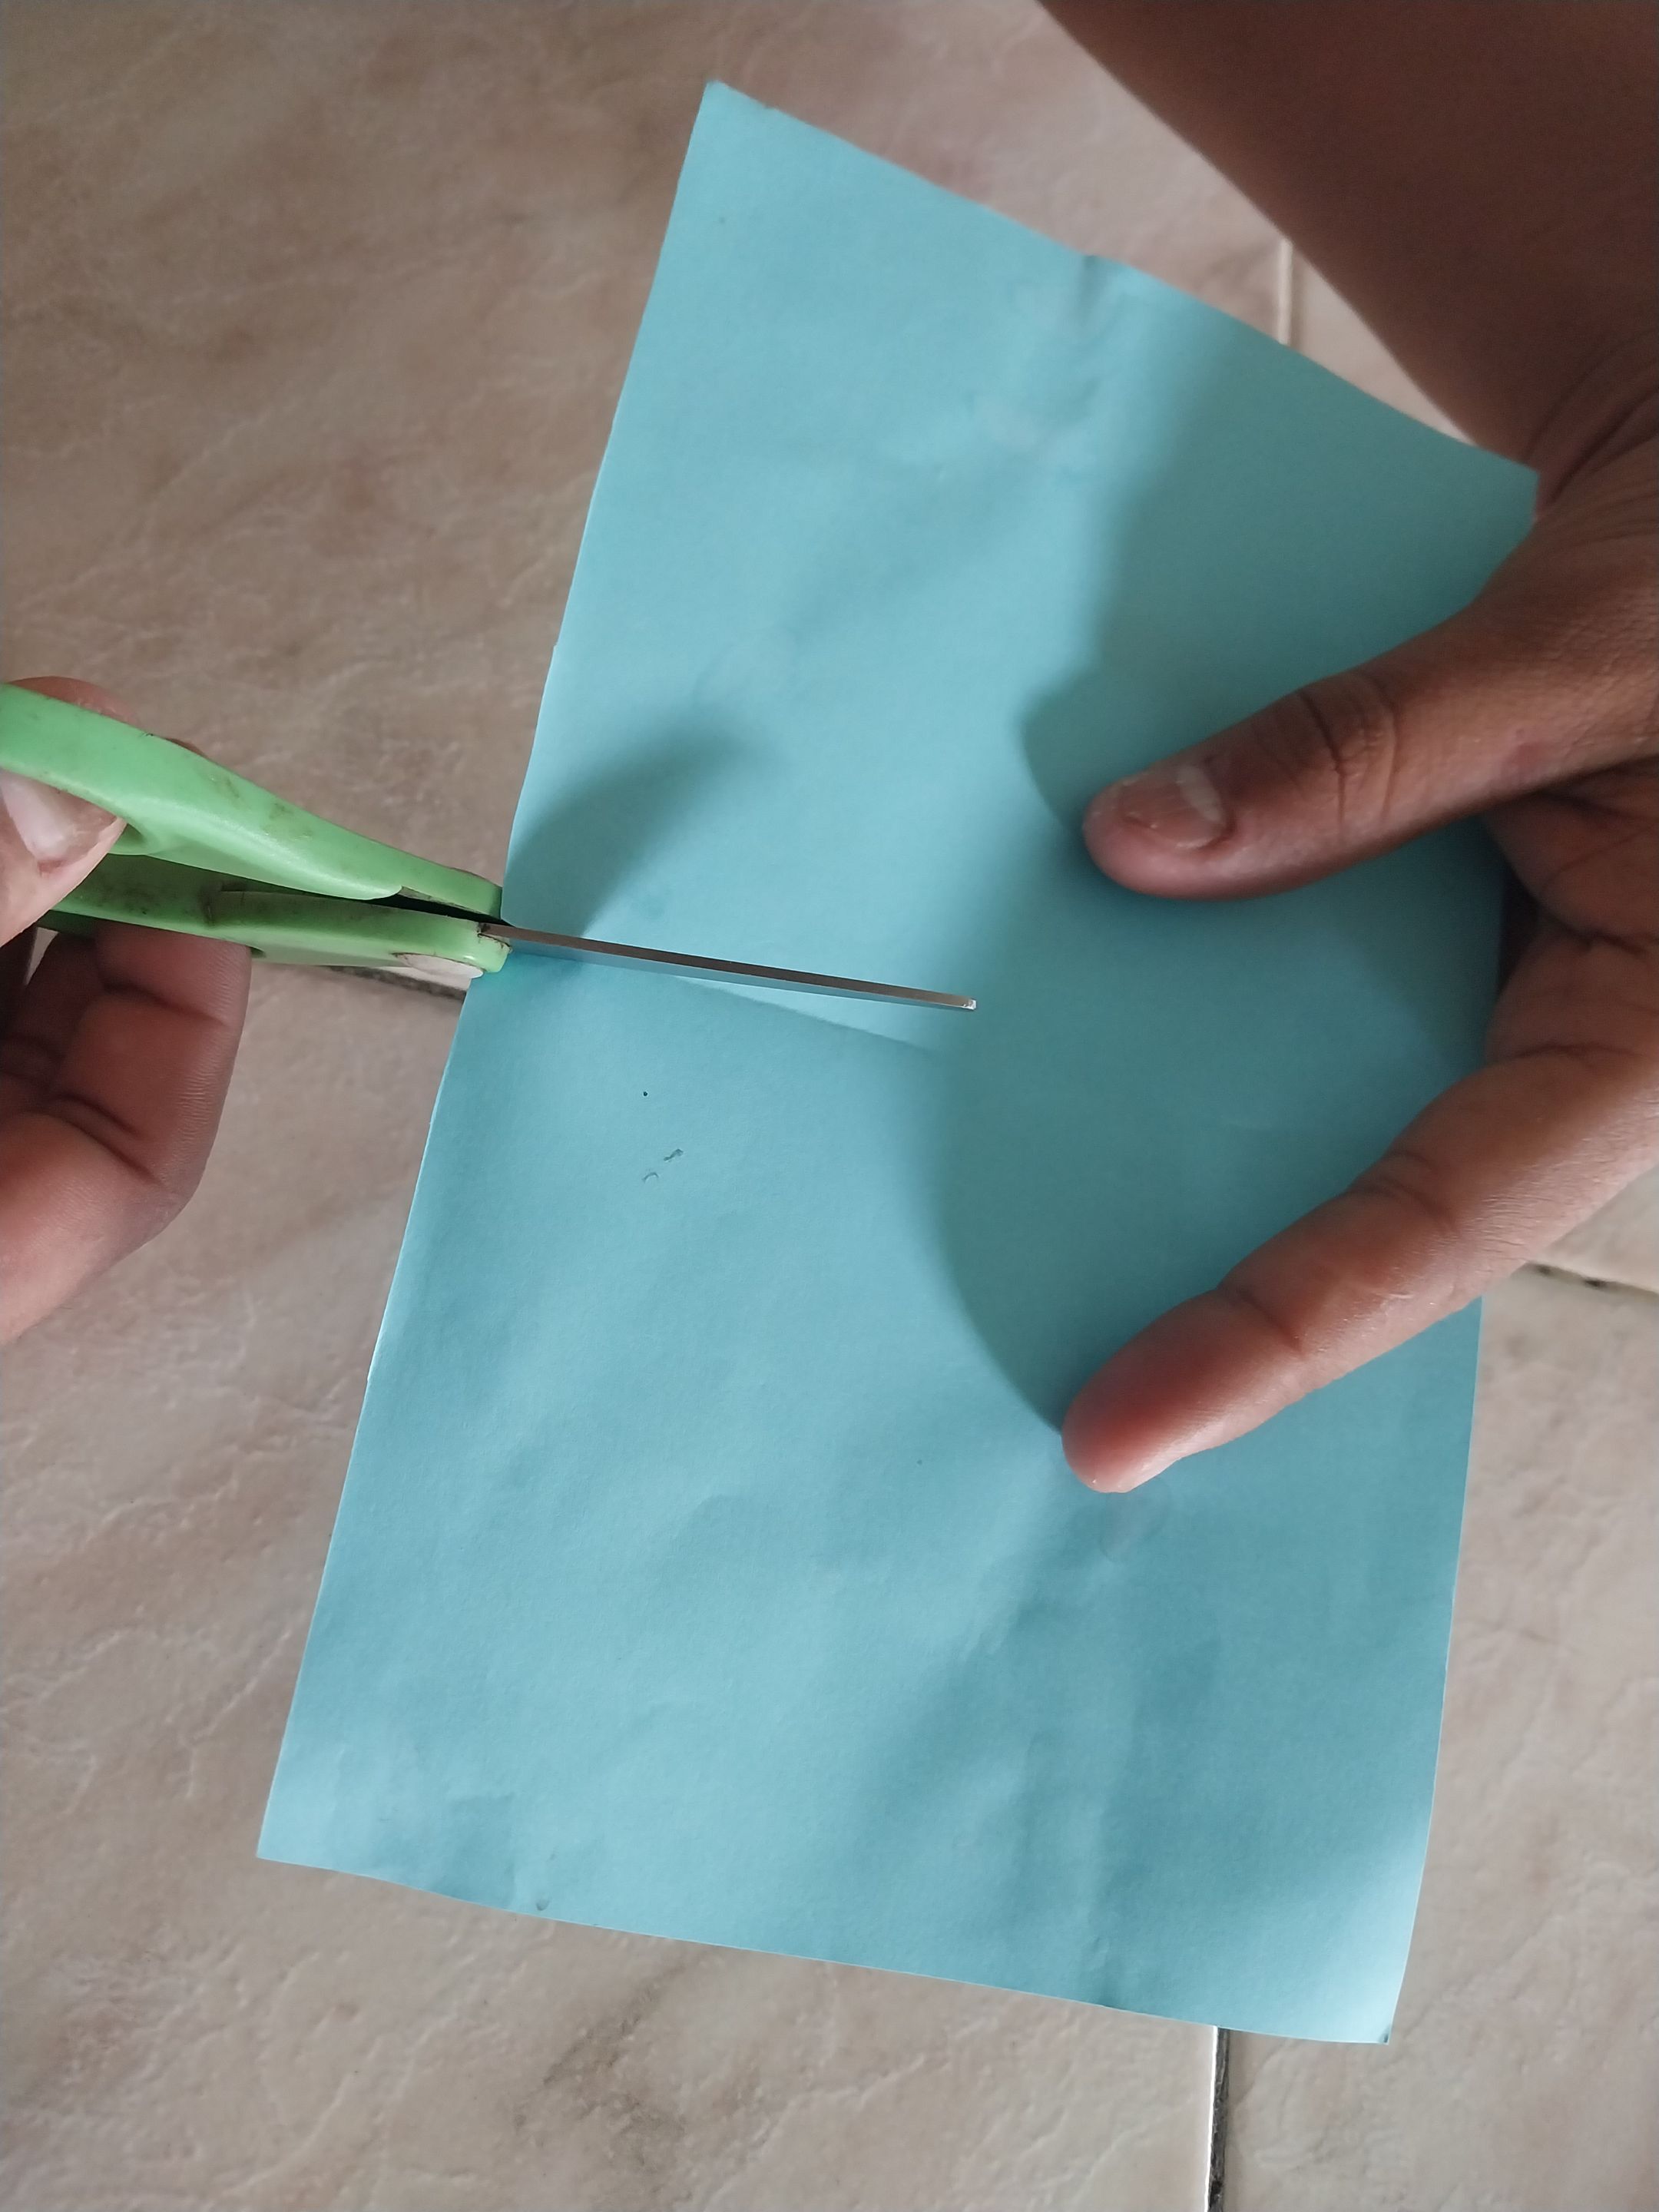
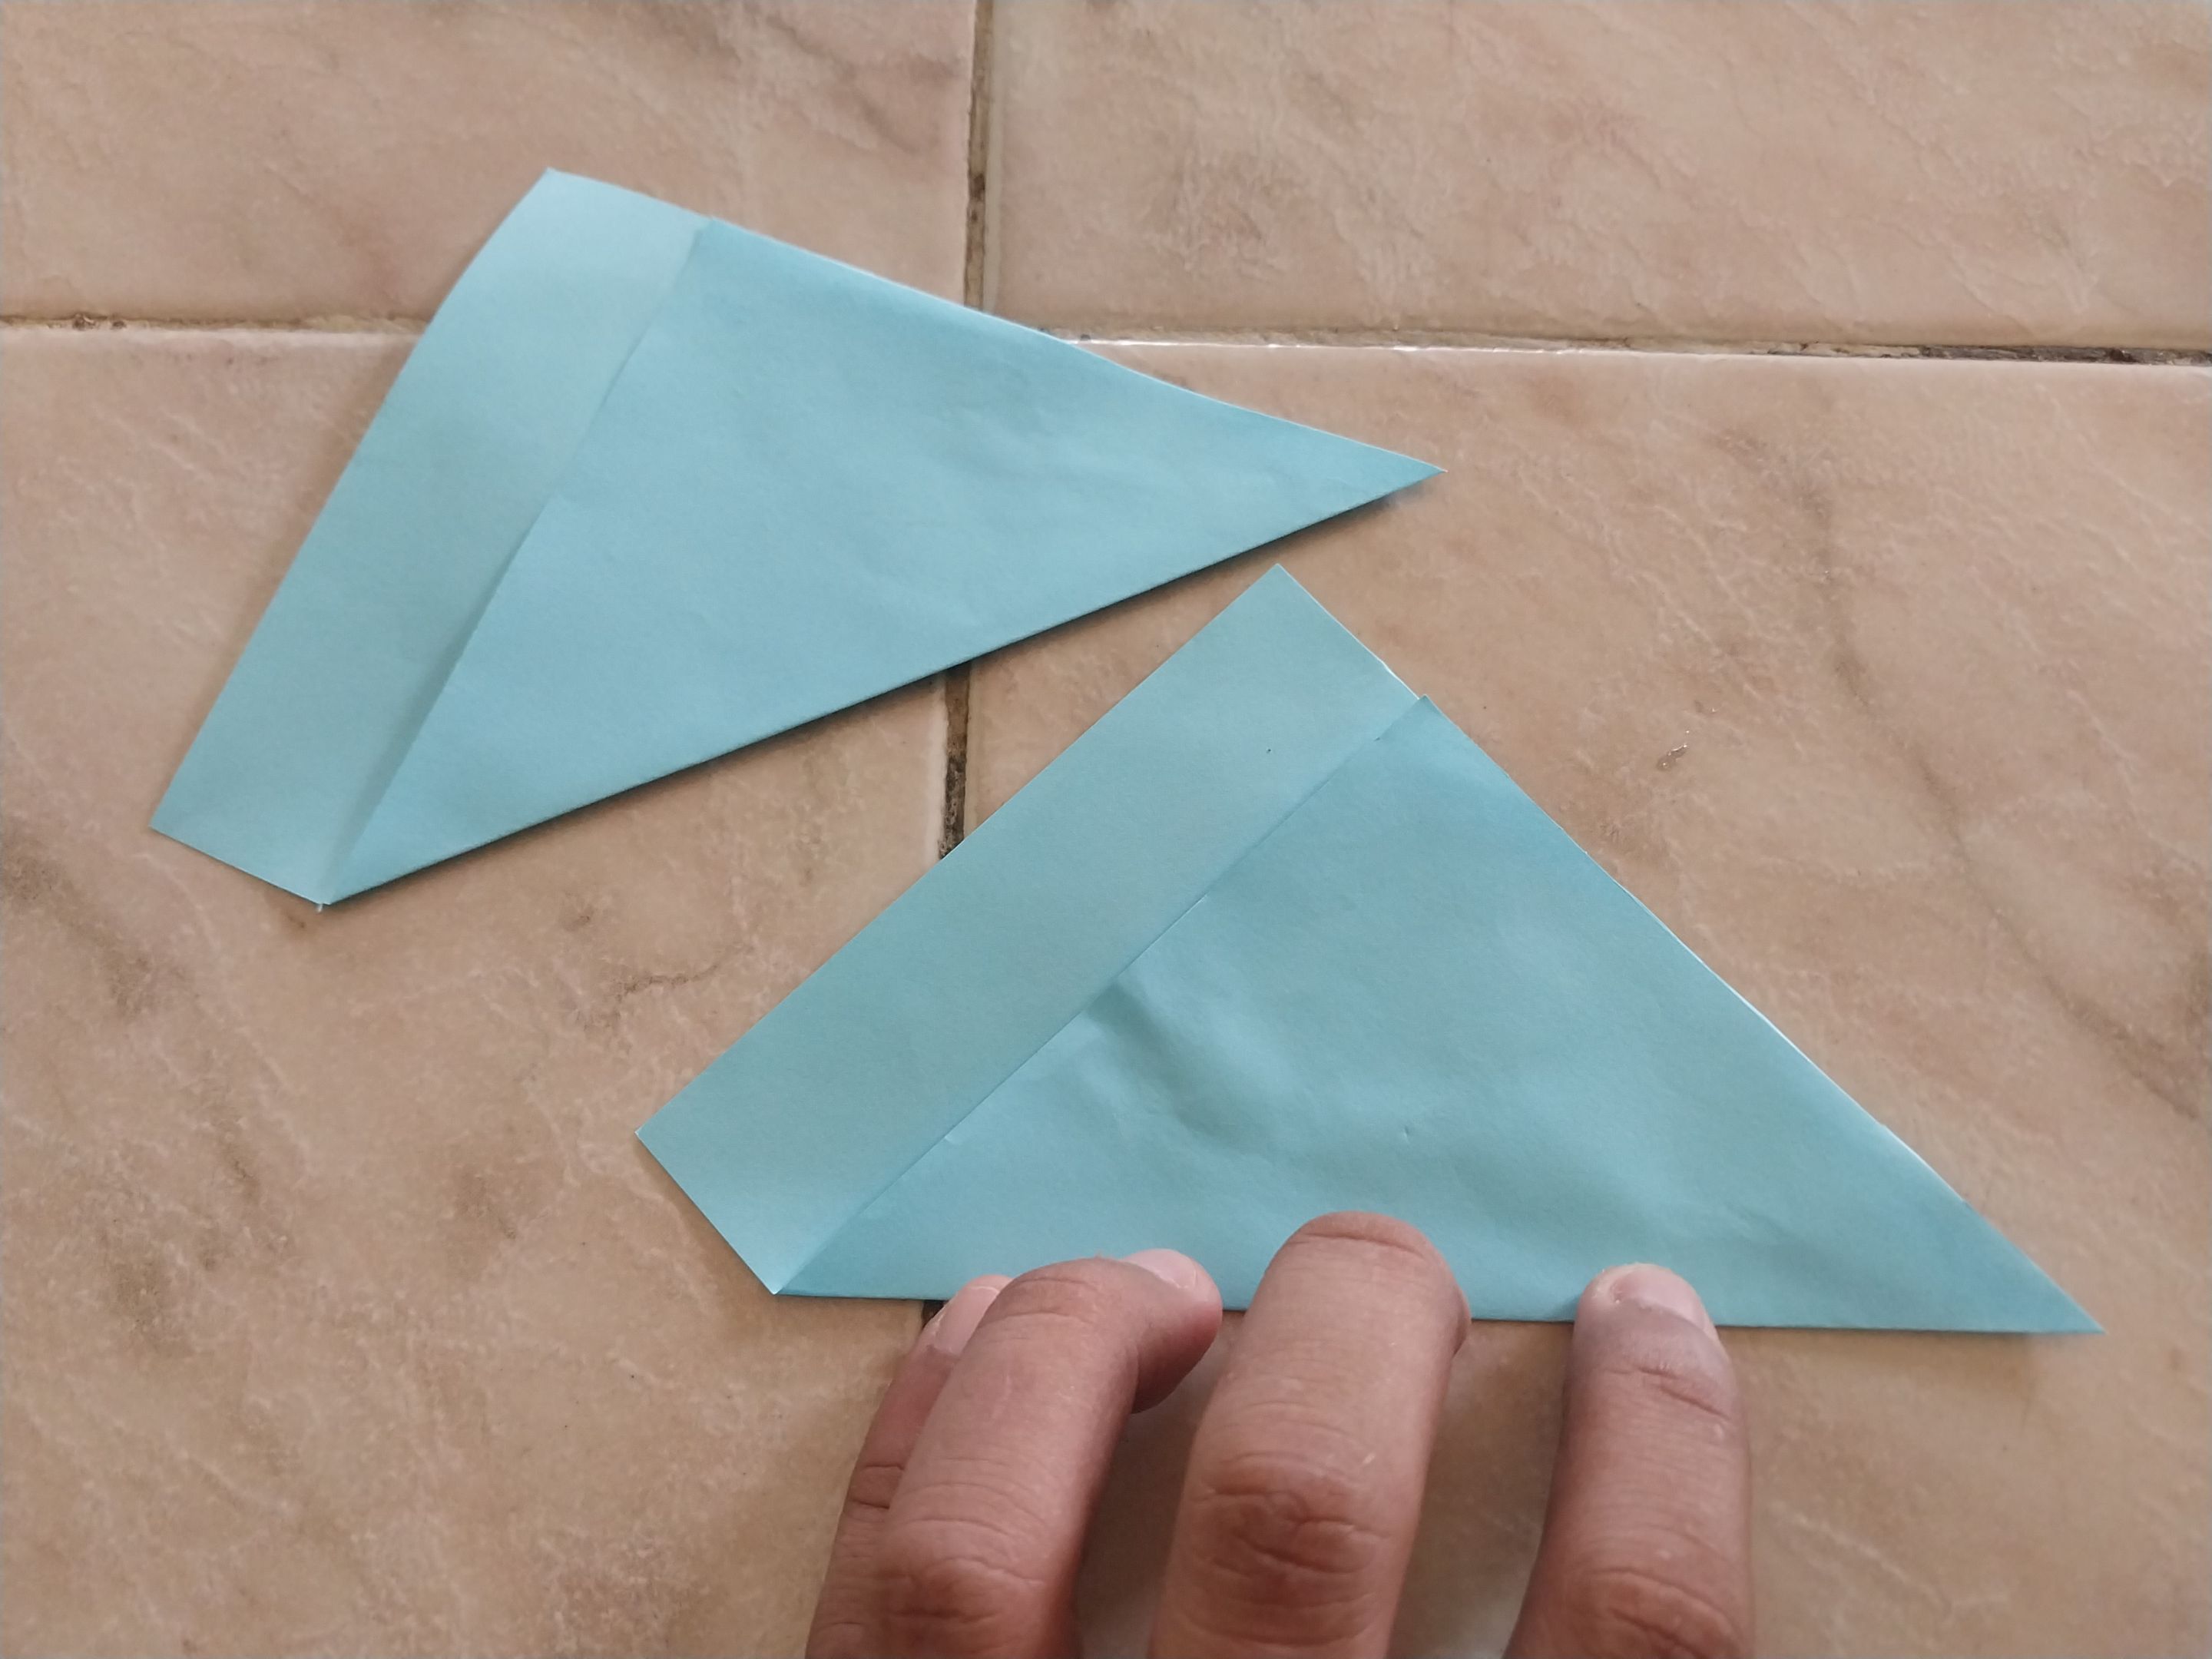
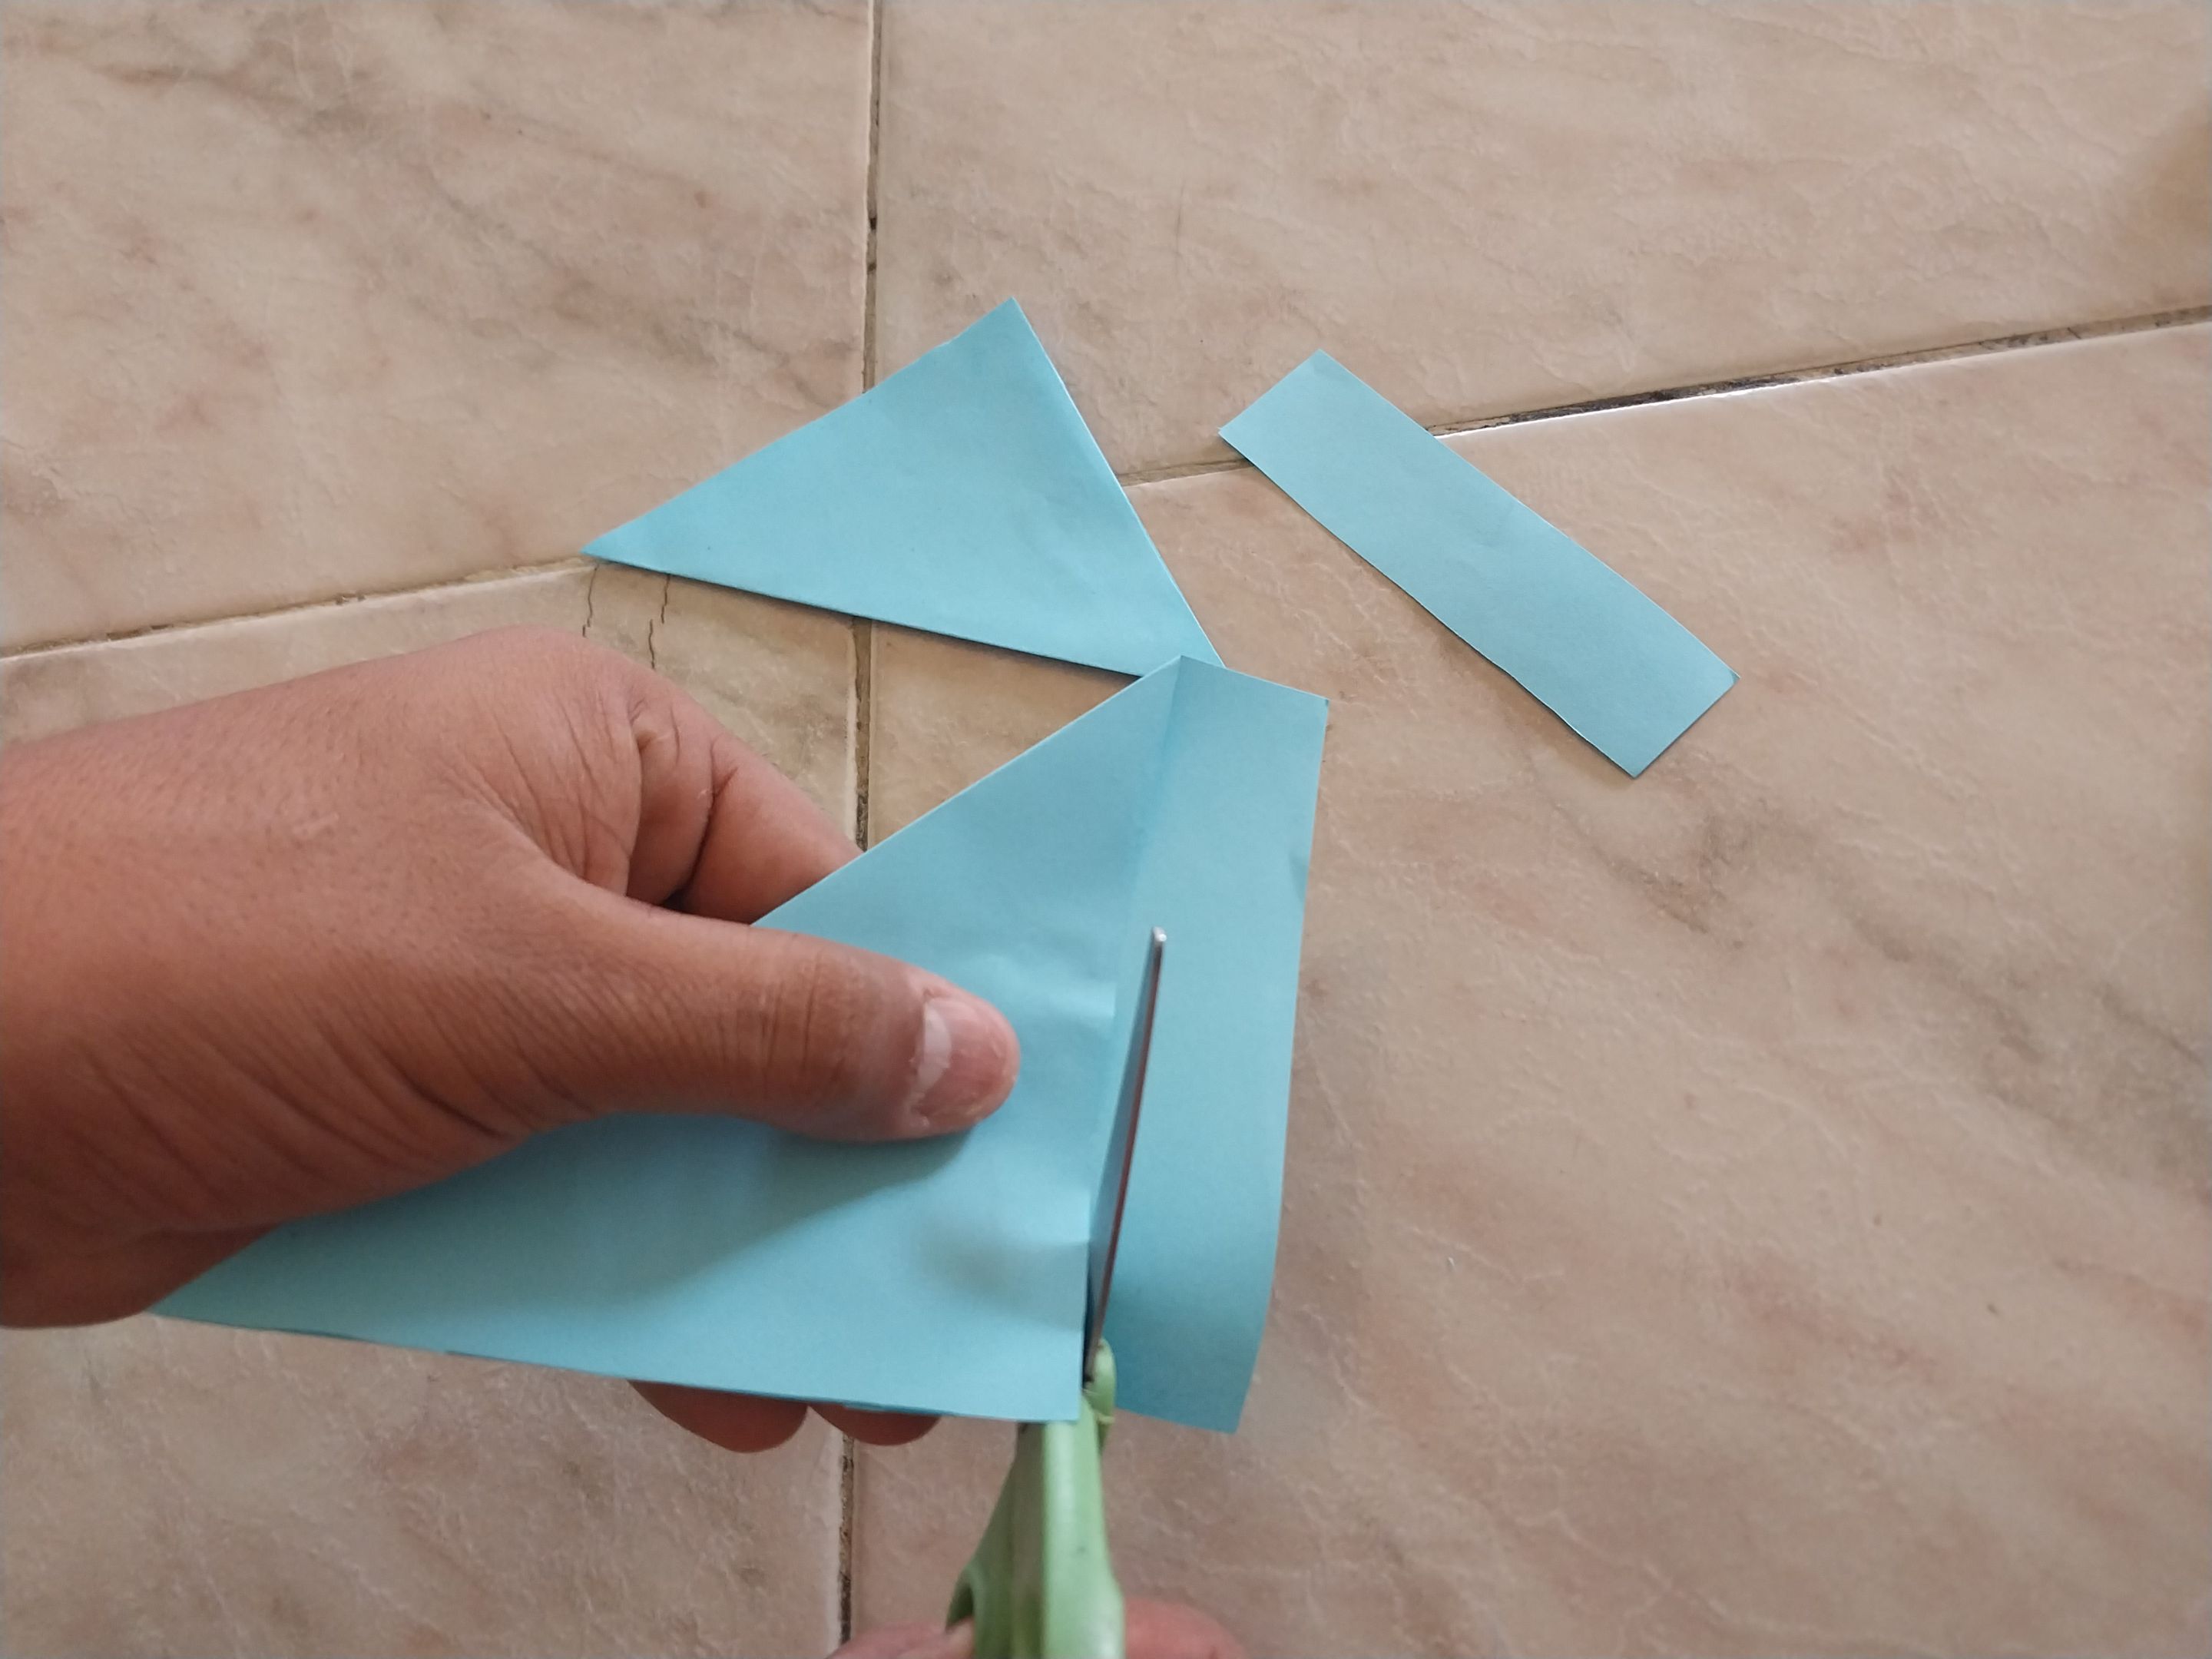
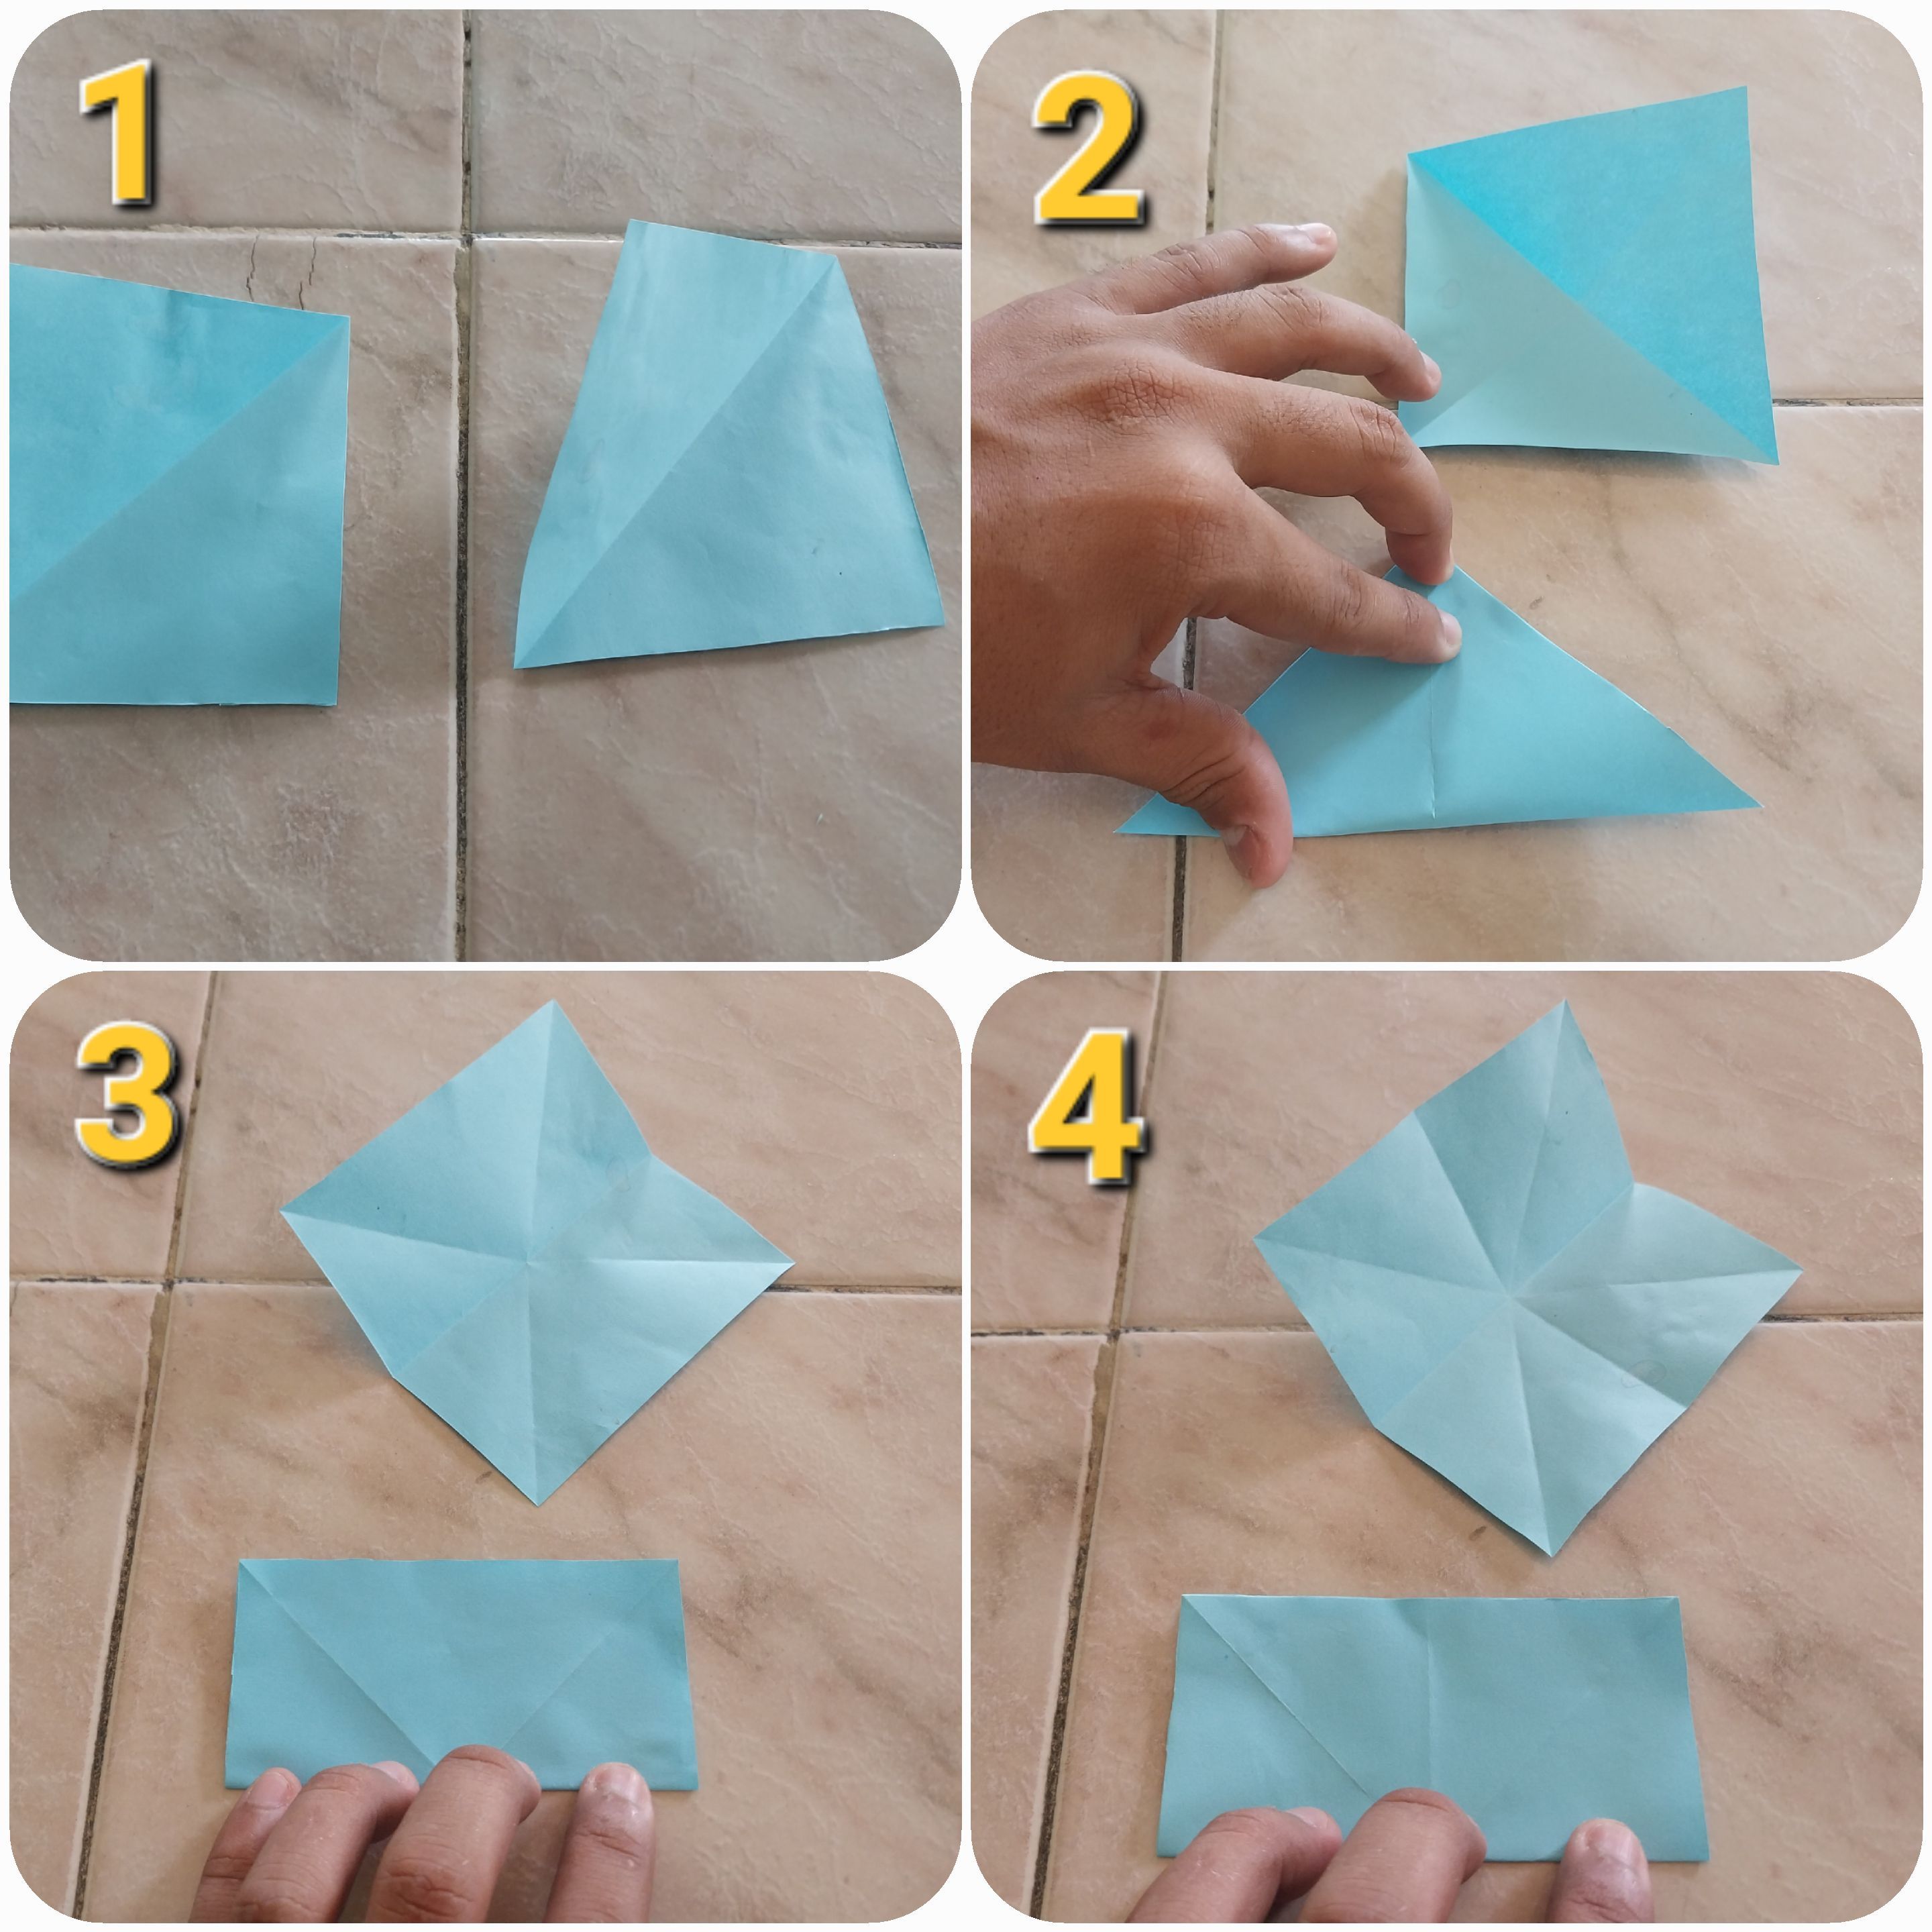
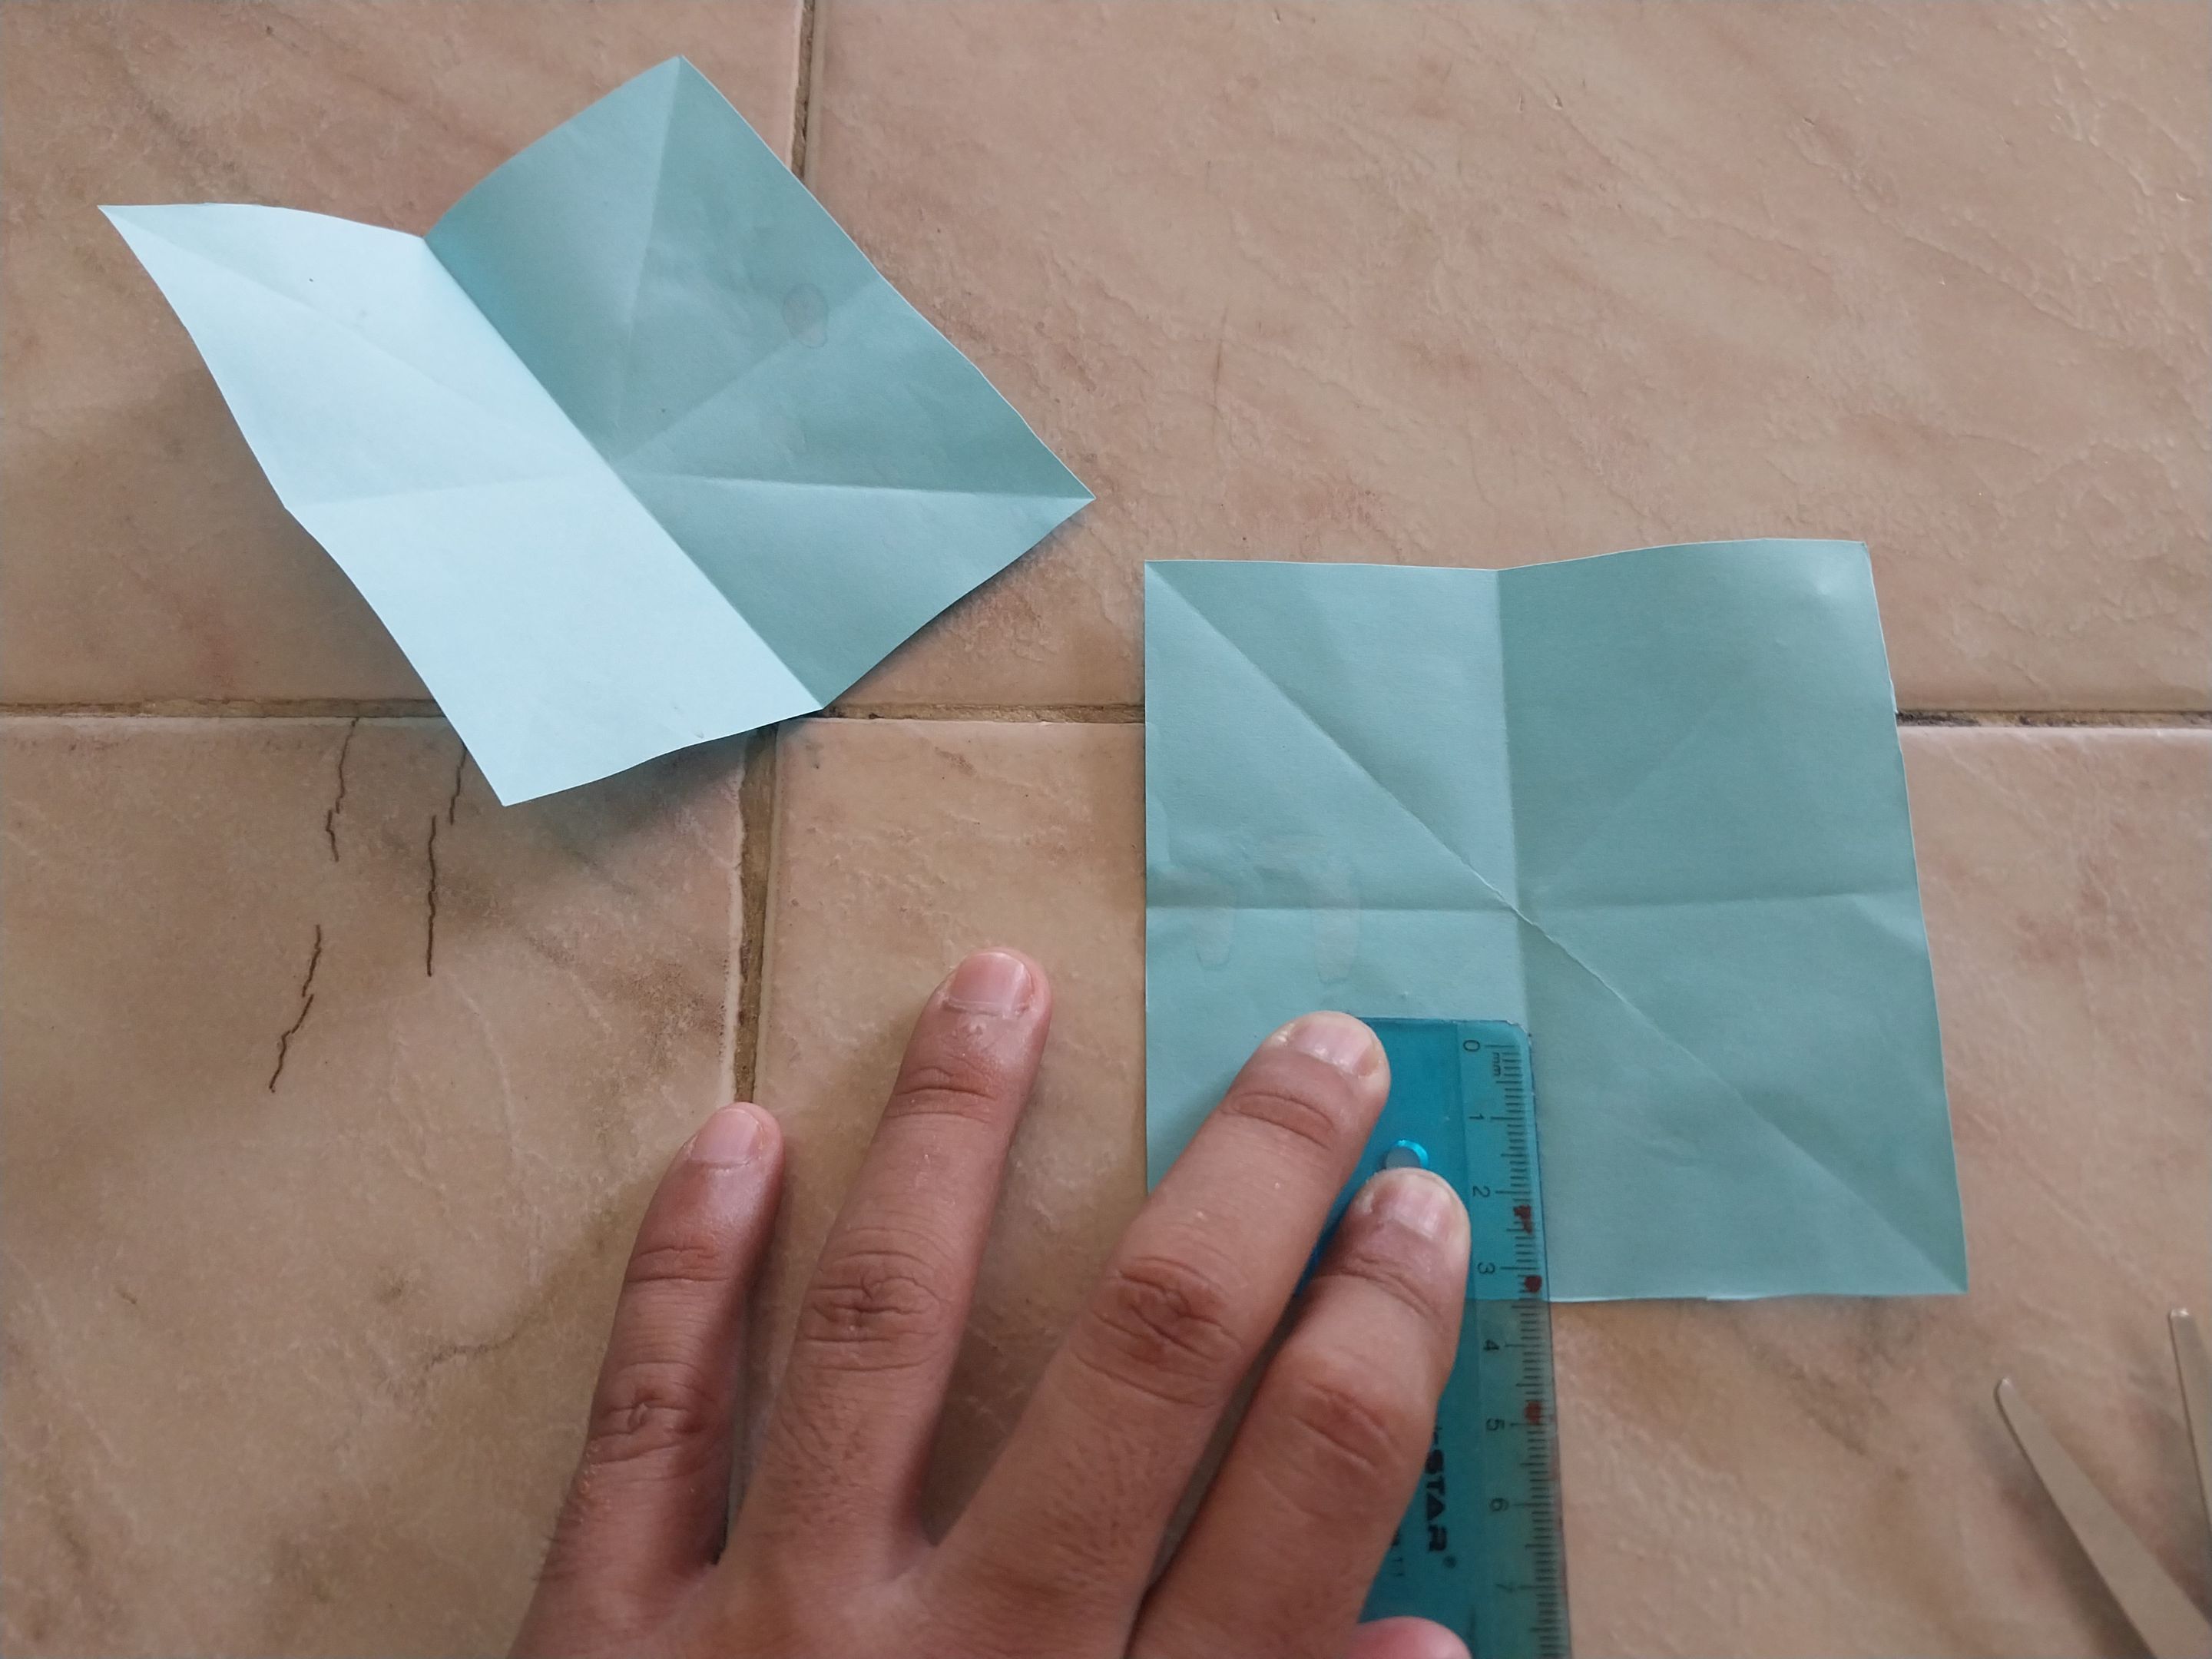
Lo primero que se hice fue tomar el pedazo de papel doblarlo hacia adentro, exactamente a la mitad y con ayuda de la tijera lo recorte. Una vez recortado, con ayuda de la misma tijera recorte un poco mas cada pedazo hasta que quedaran completamente cuadrados. Luego de eso tomé ambos pedazos de papel y los doblé en forma de pirámide, y el pedacito de papel que quedaba sobrando lo recorté con ayuda de la tijera. Luego de eso procedí a doblar cada pedazo de papel hacia la mitad en todas las direcciones, hacia las esquinas, hacia adentro y hacia afuera.
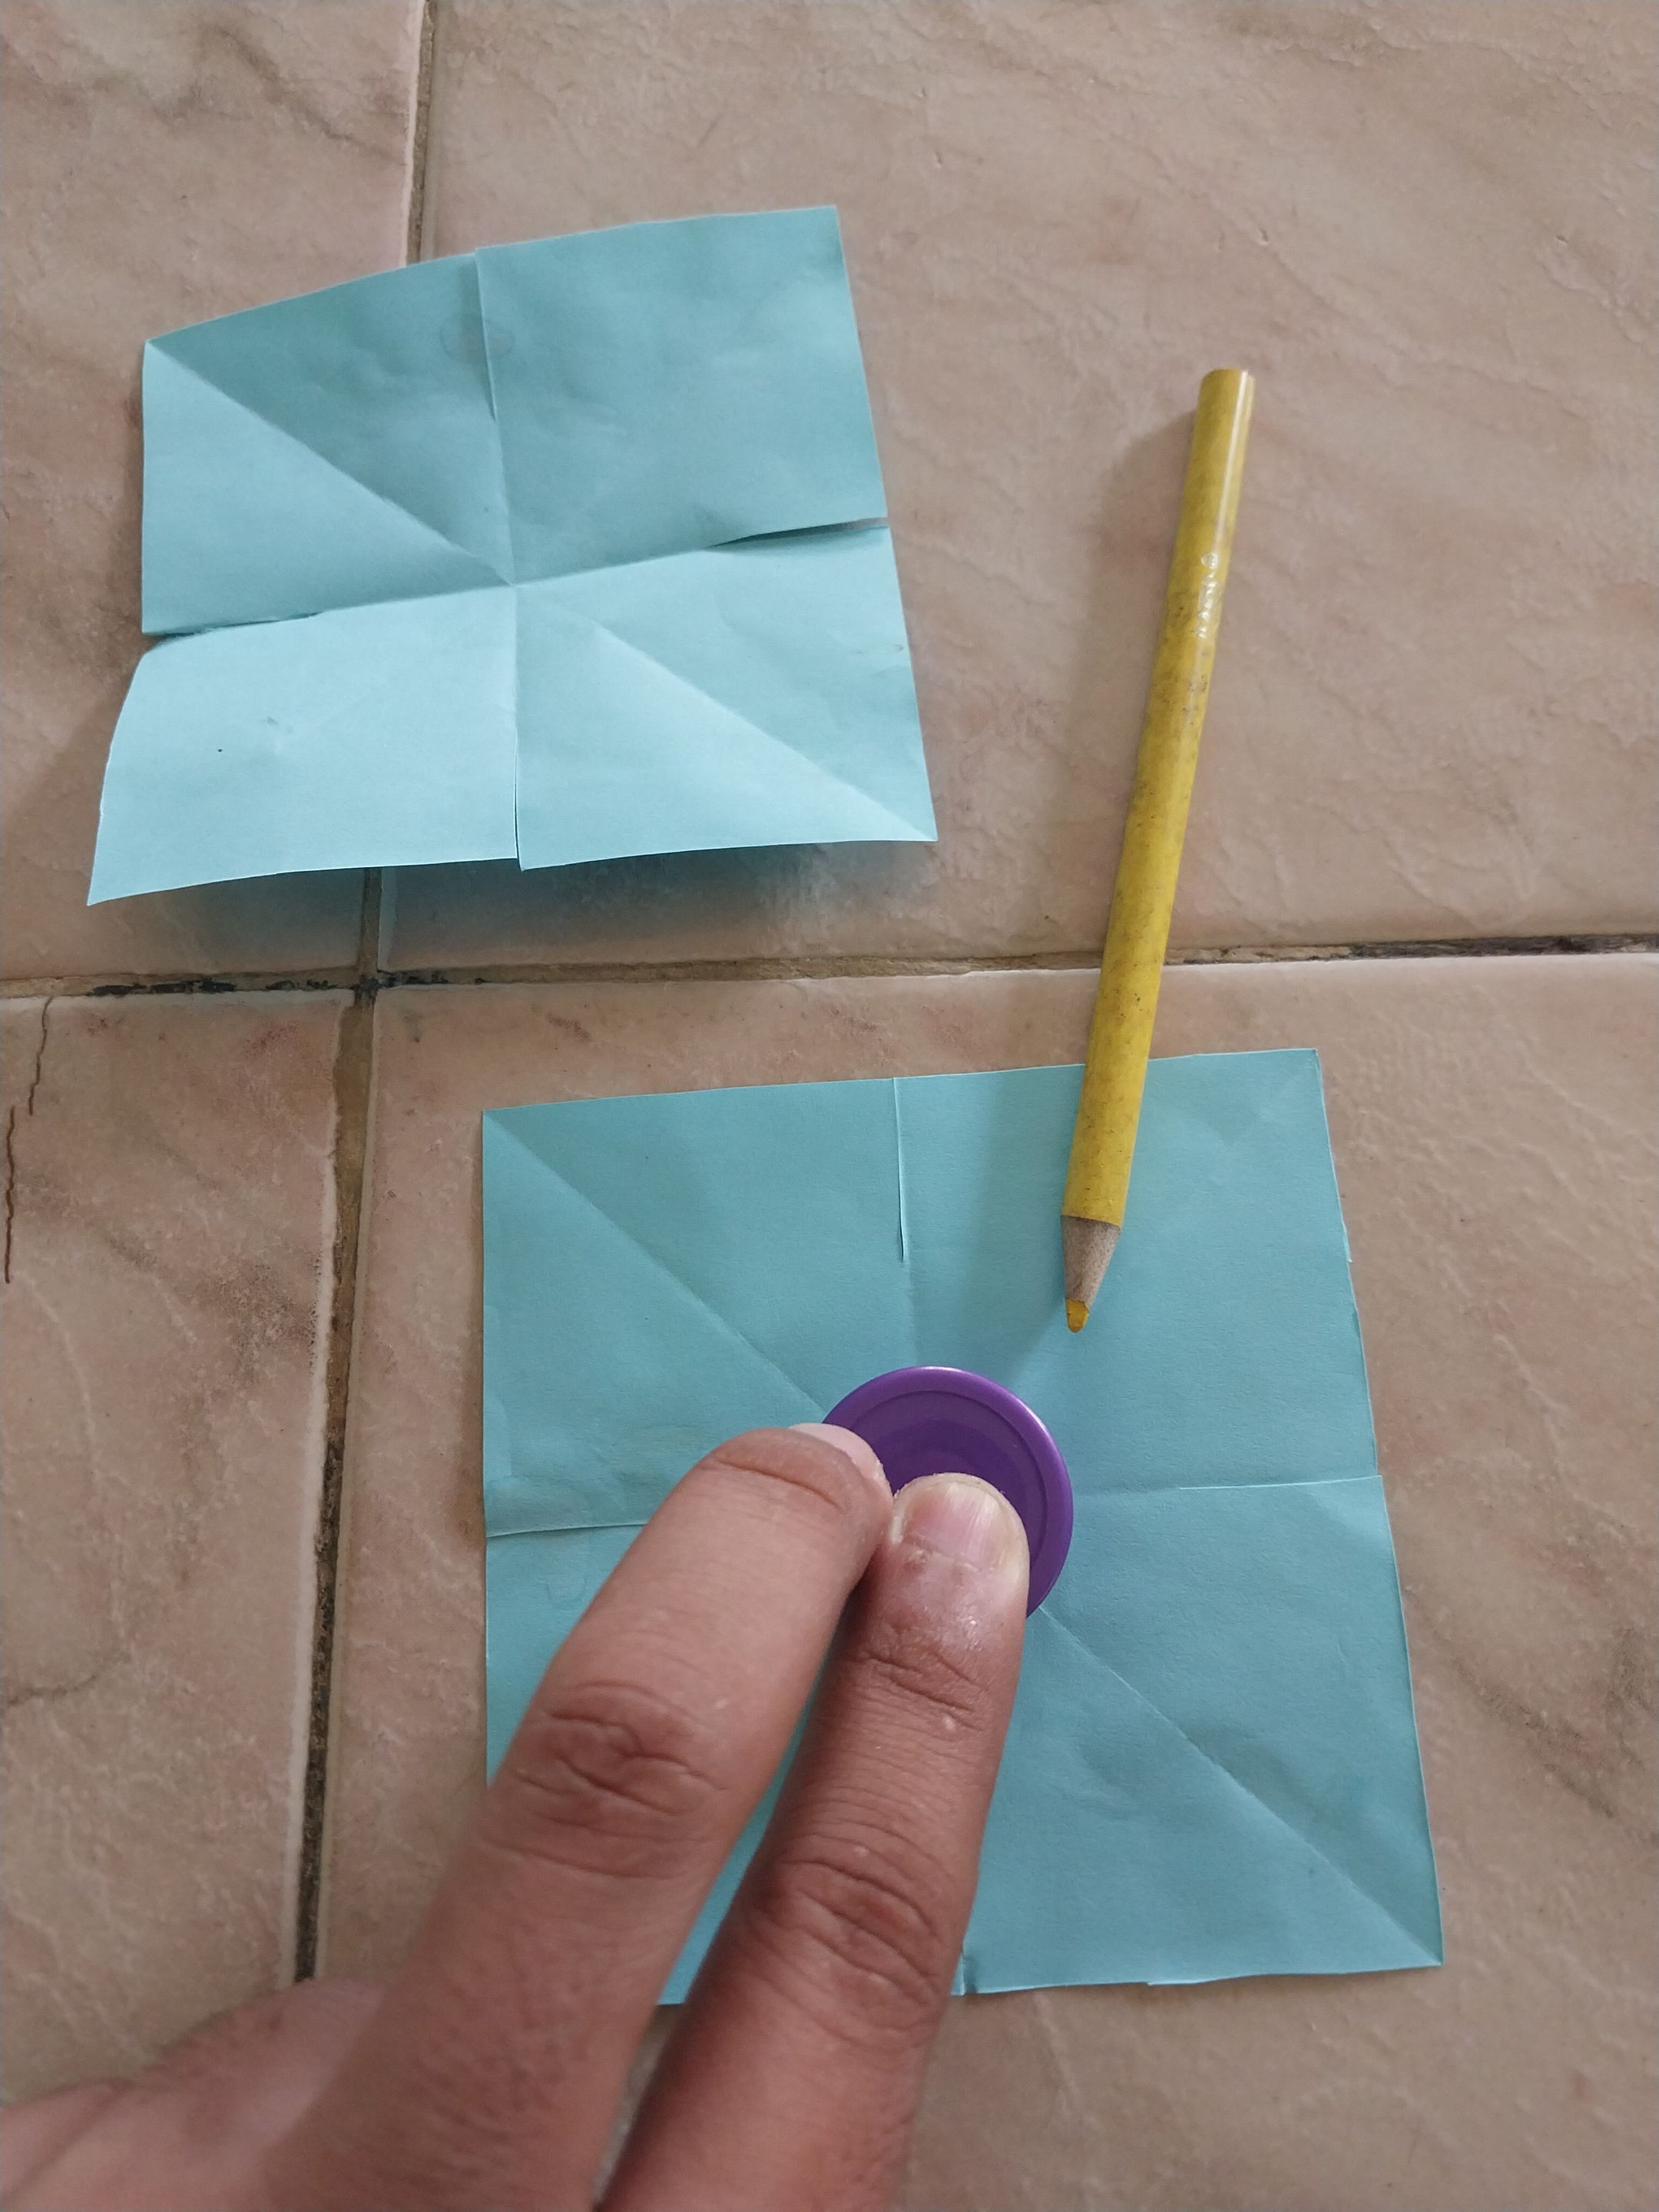
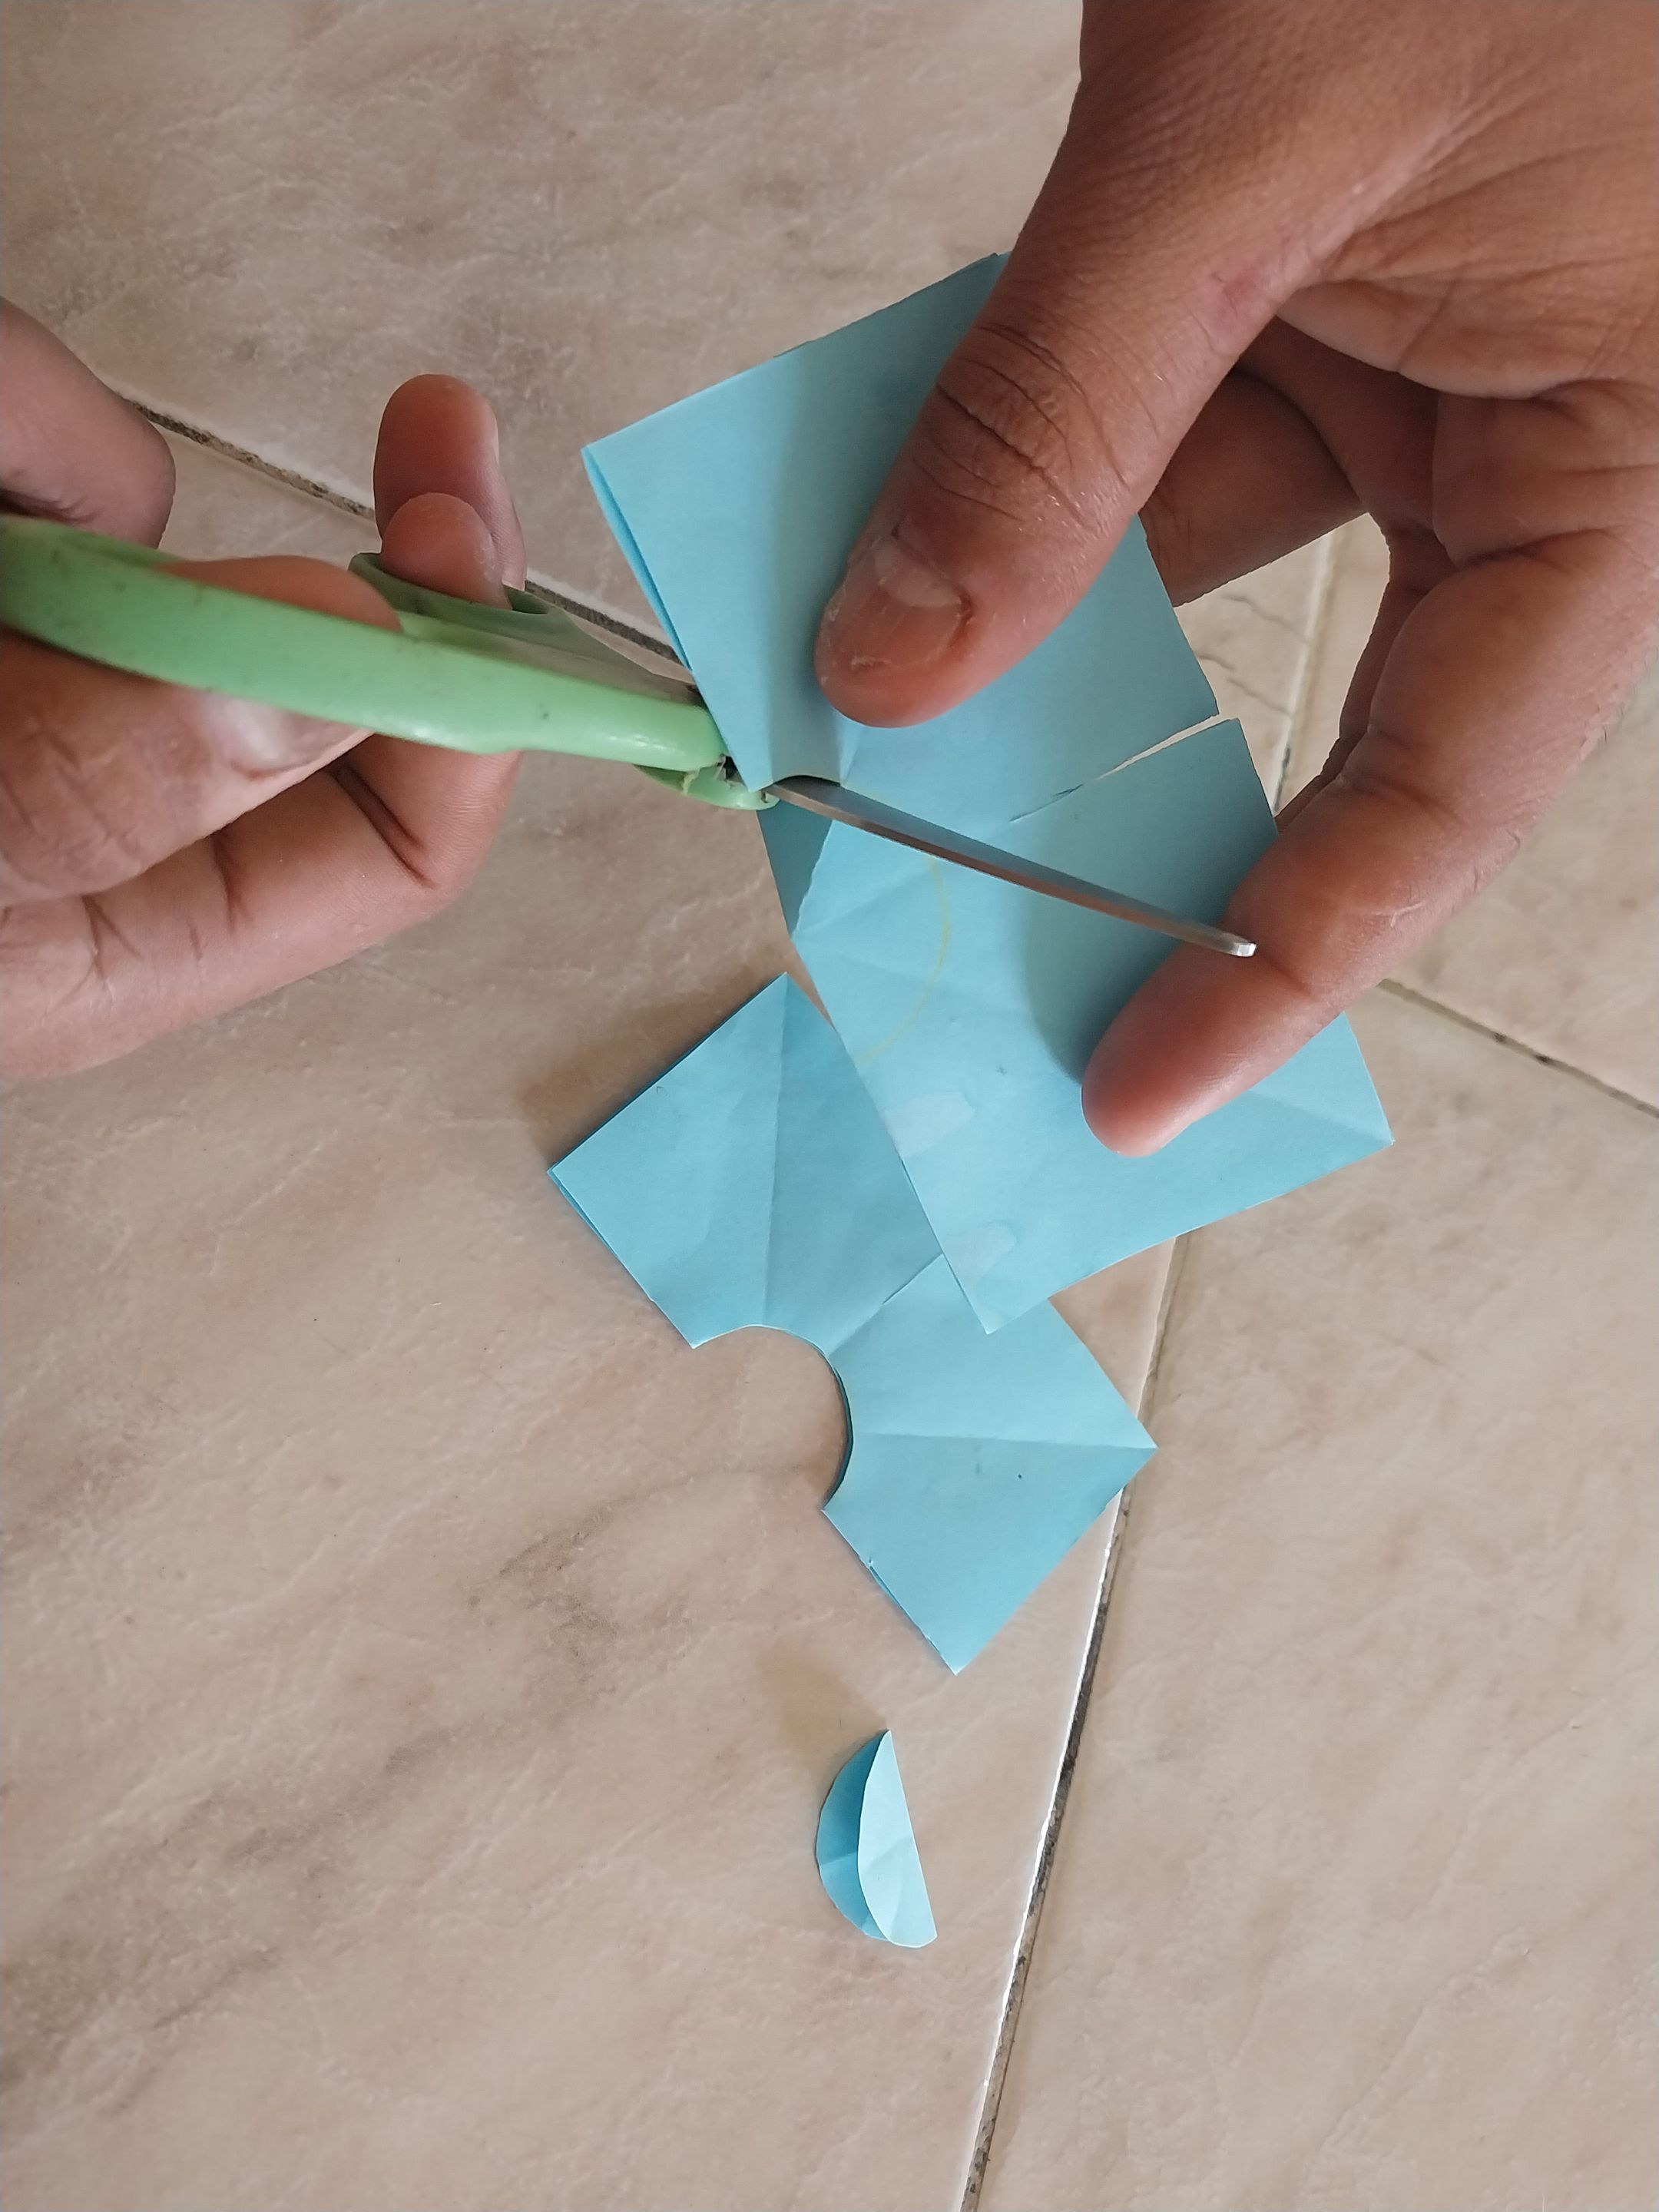
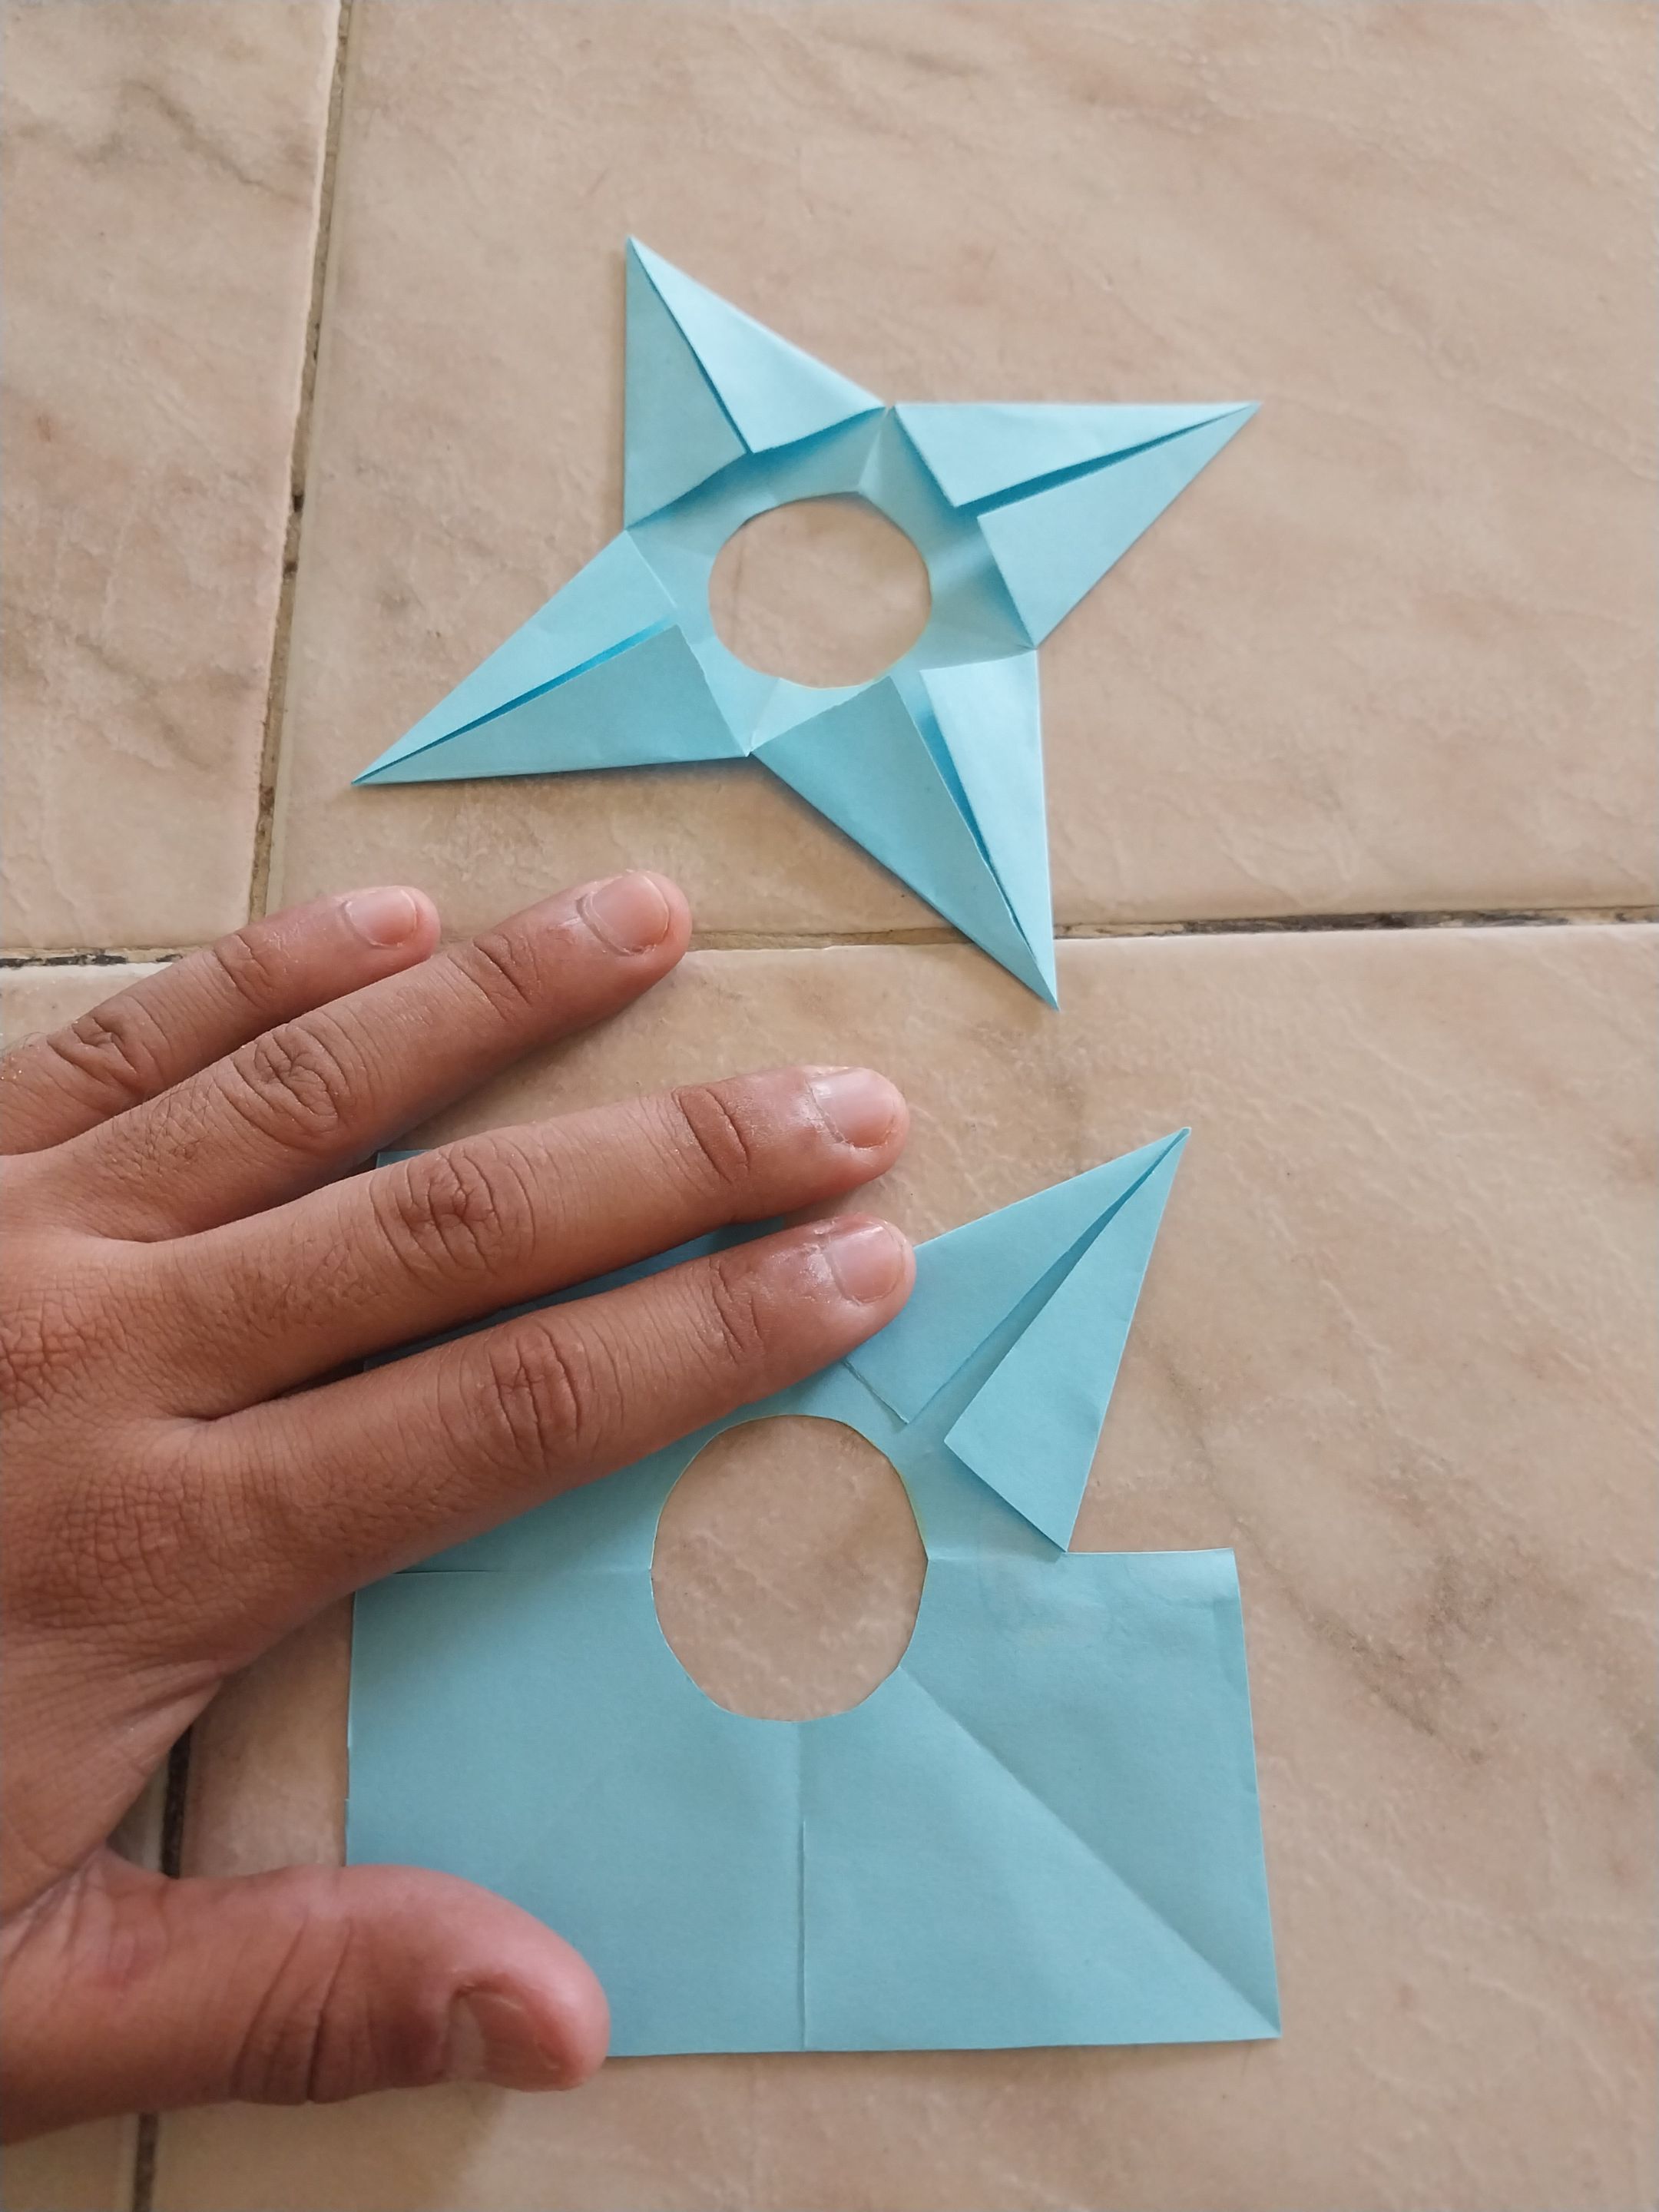
Una vez hecho eso tome la regla y medi aproximadamente 3 centimetros y medio, para luego hacer el corte en el medio tomando esa misma medida. Luego tomé mi tapita circular, la fijé en el medio, y con ayuda del lápiz remarque, para luego volver a doblar hacia adentro el pedazo de papel y picar lo que ya había remarcado con el lápiz, de manera que me quedó un círculo.
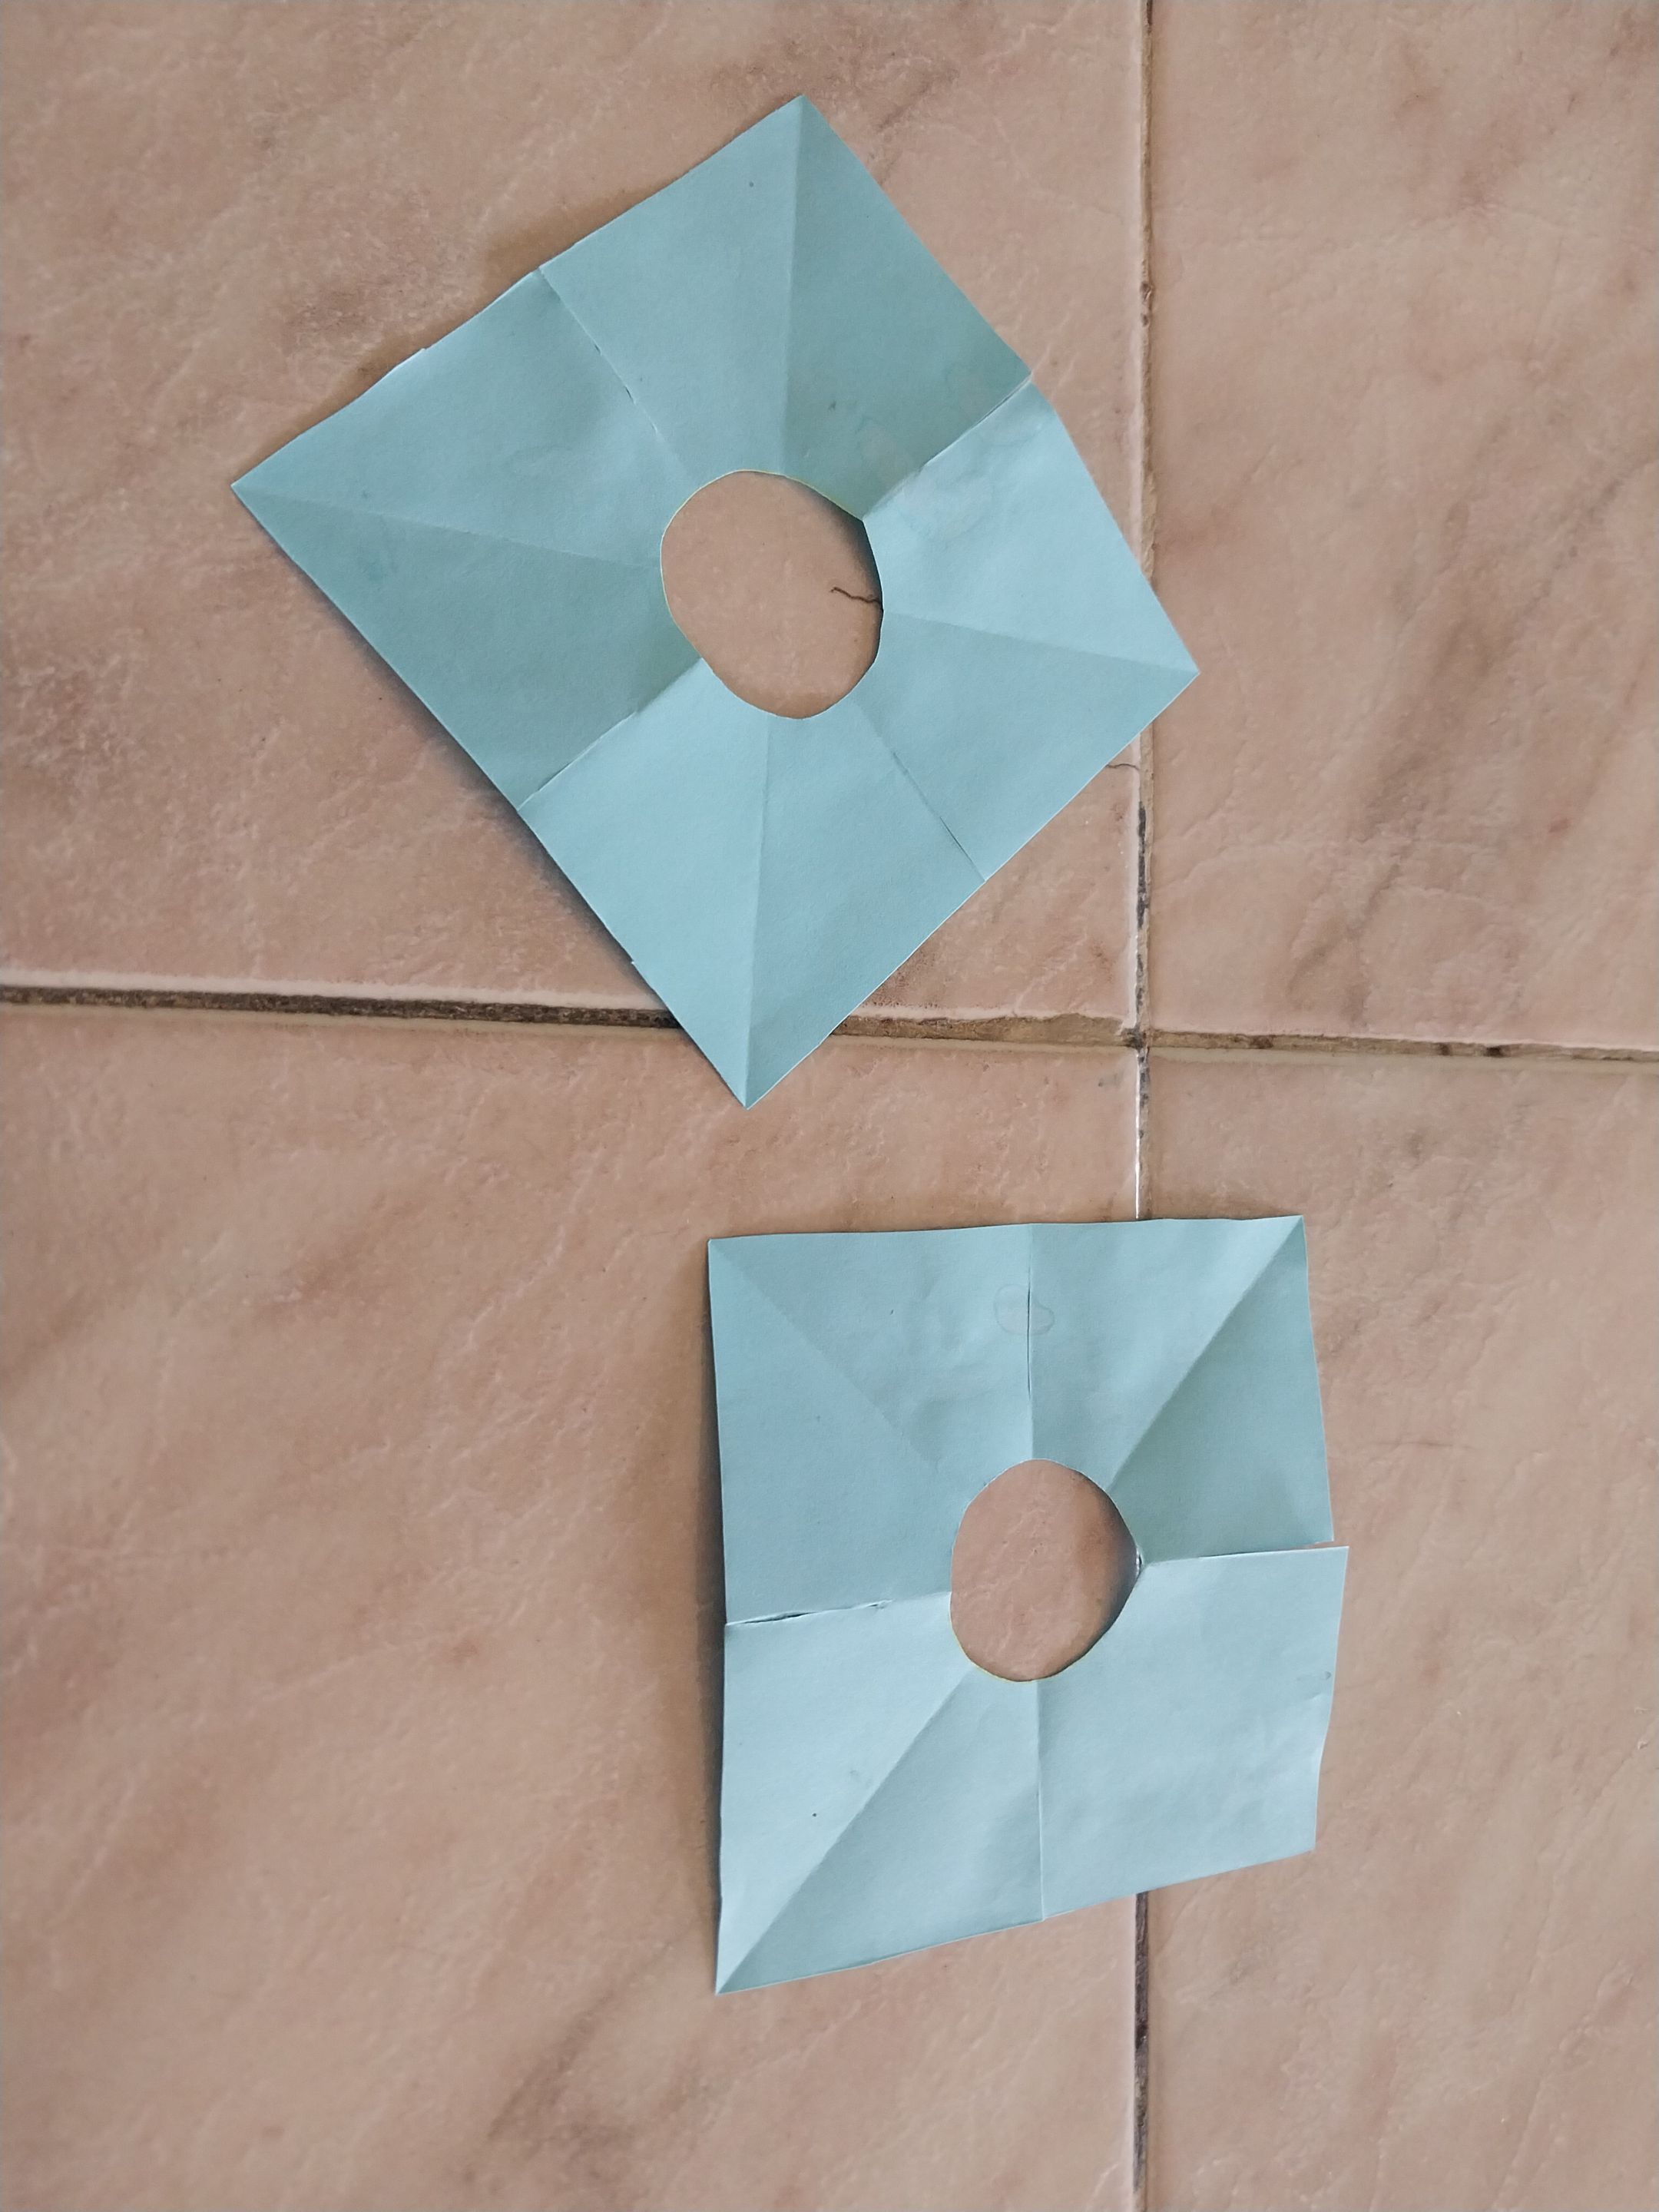
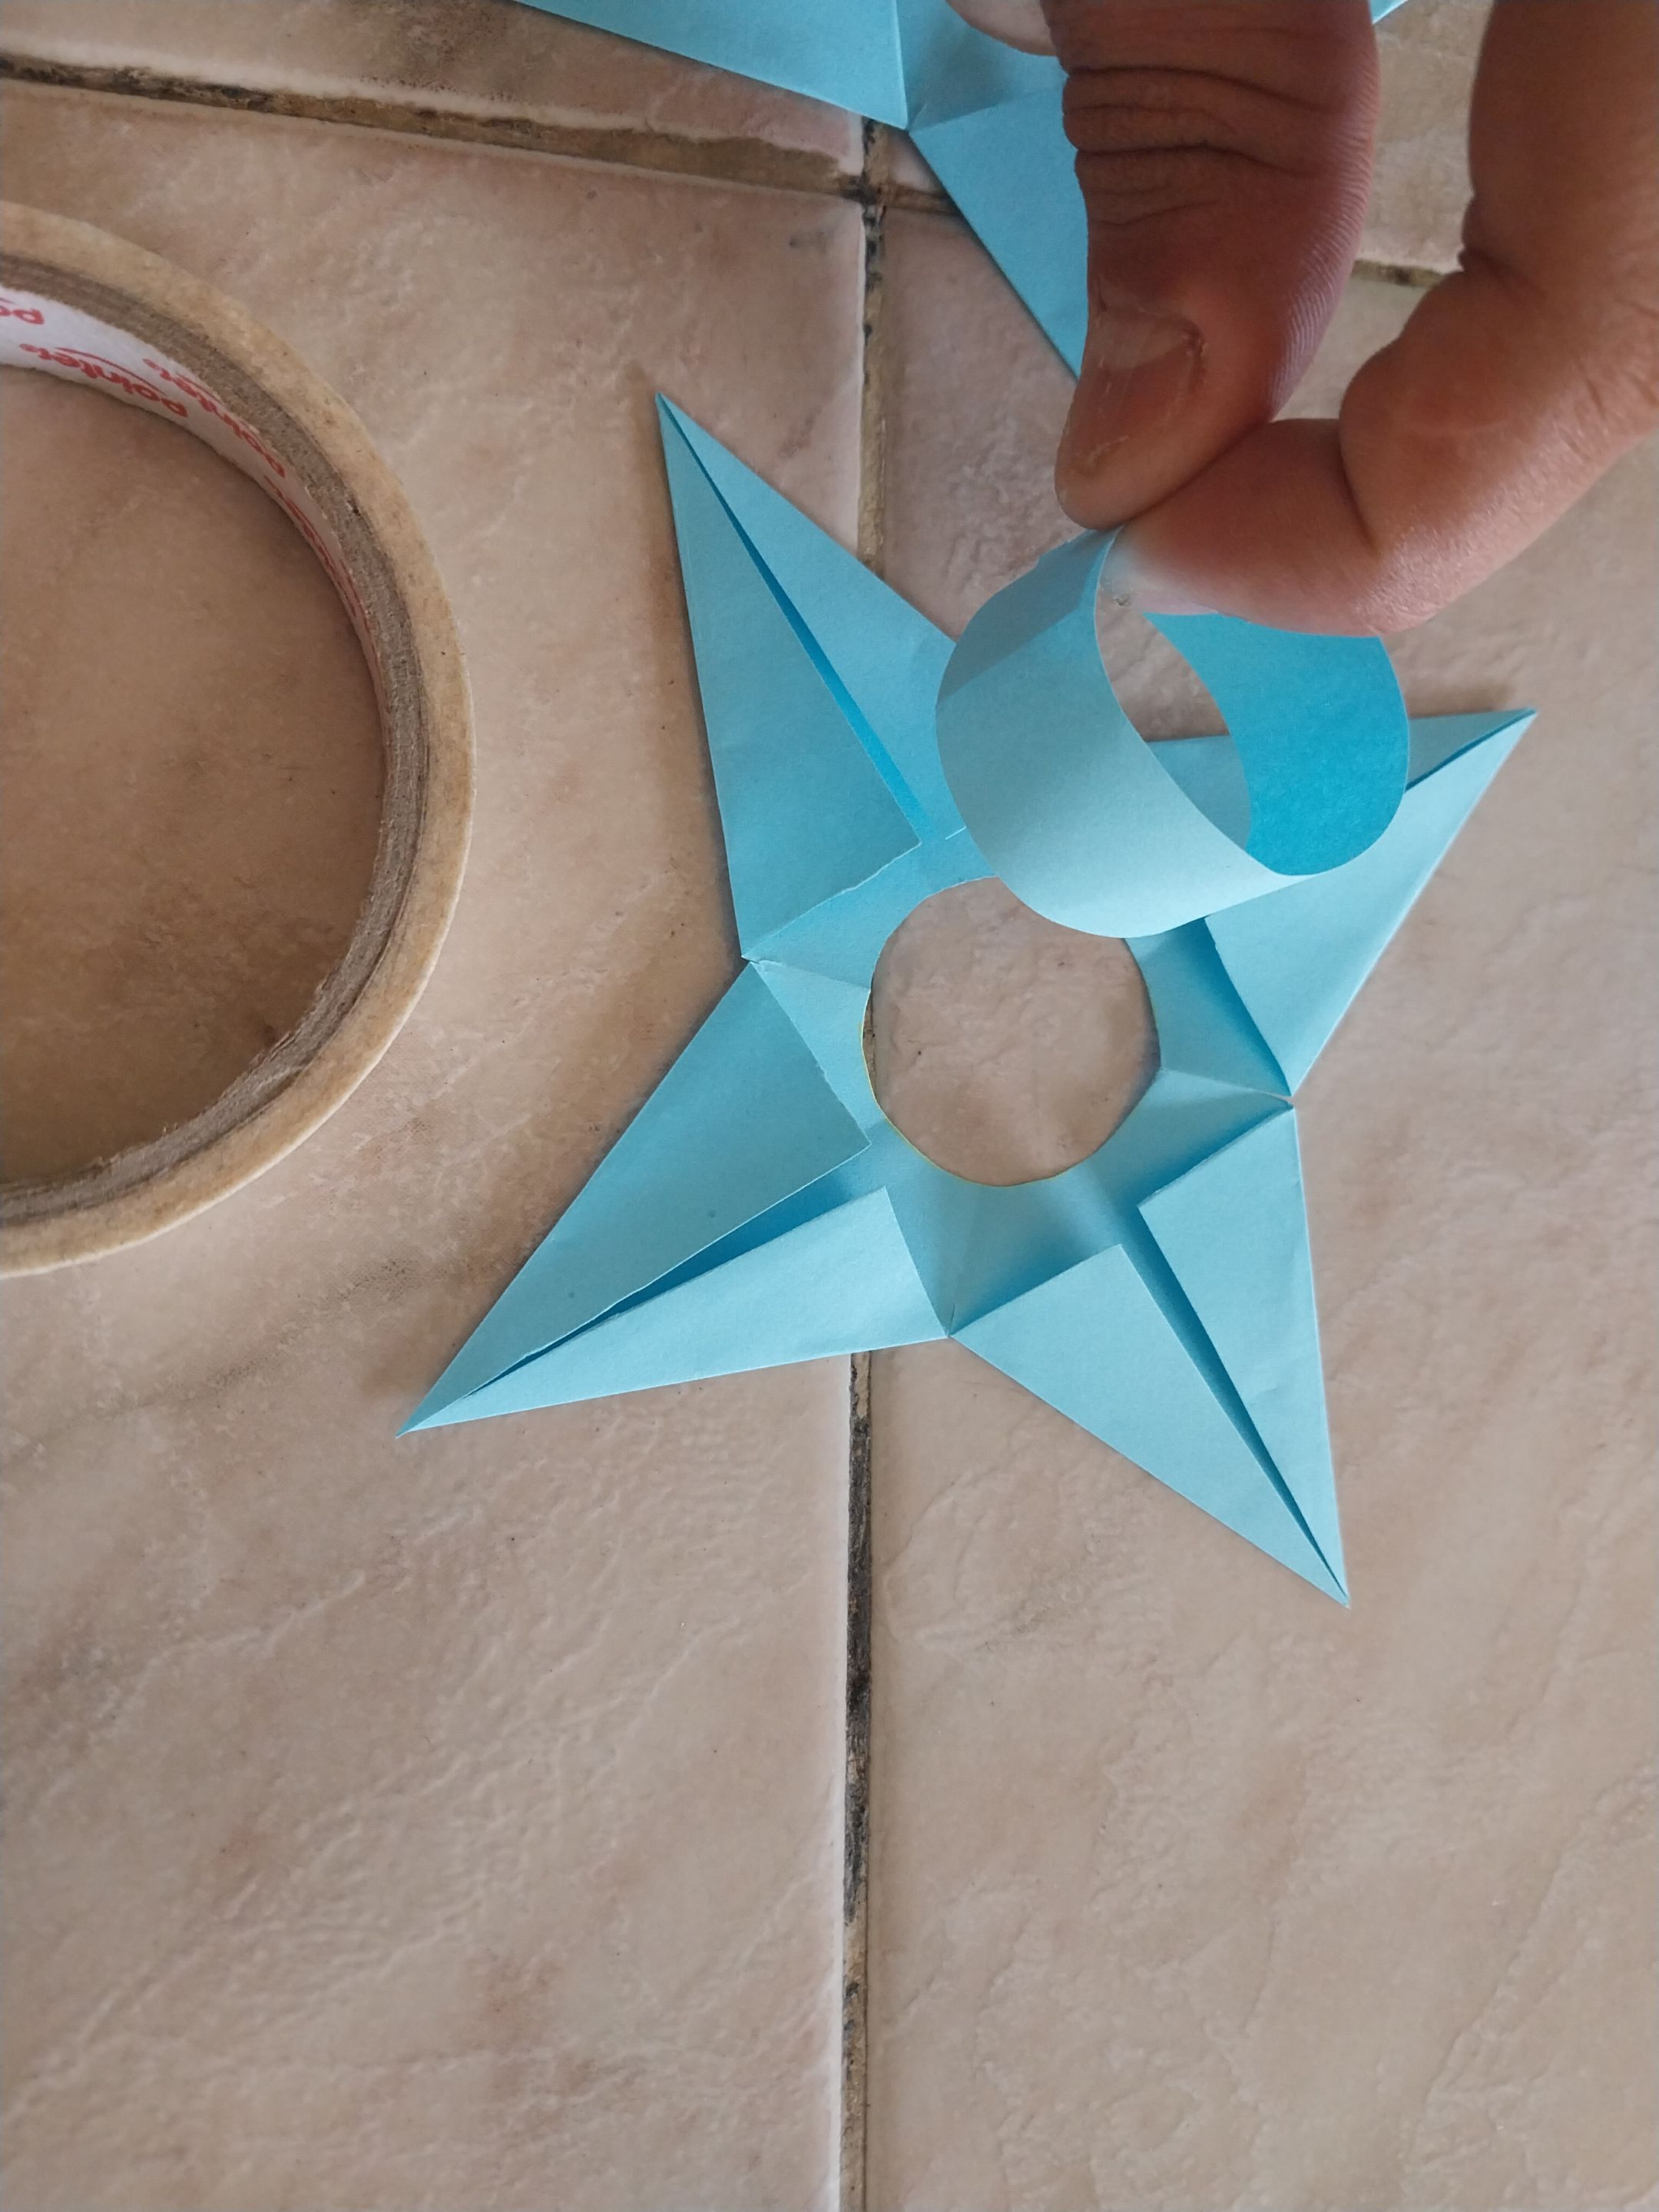
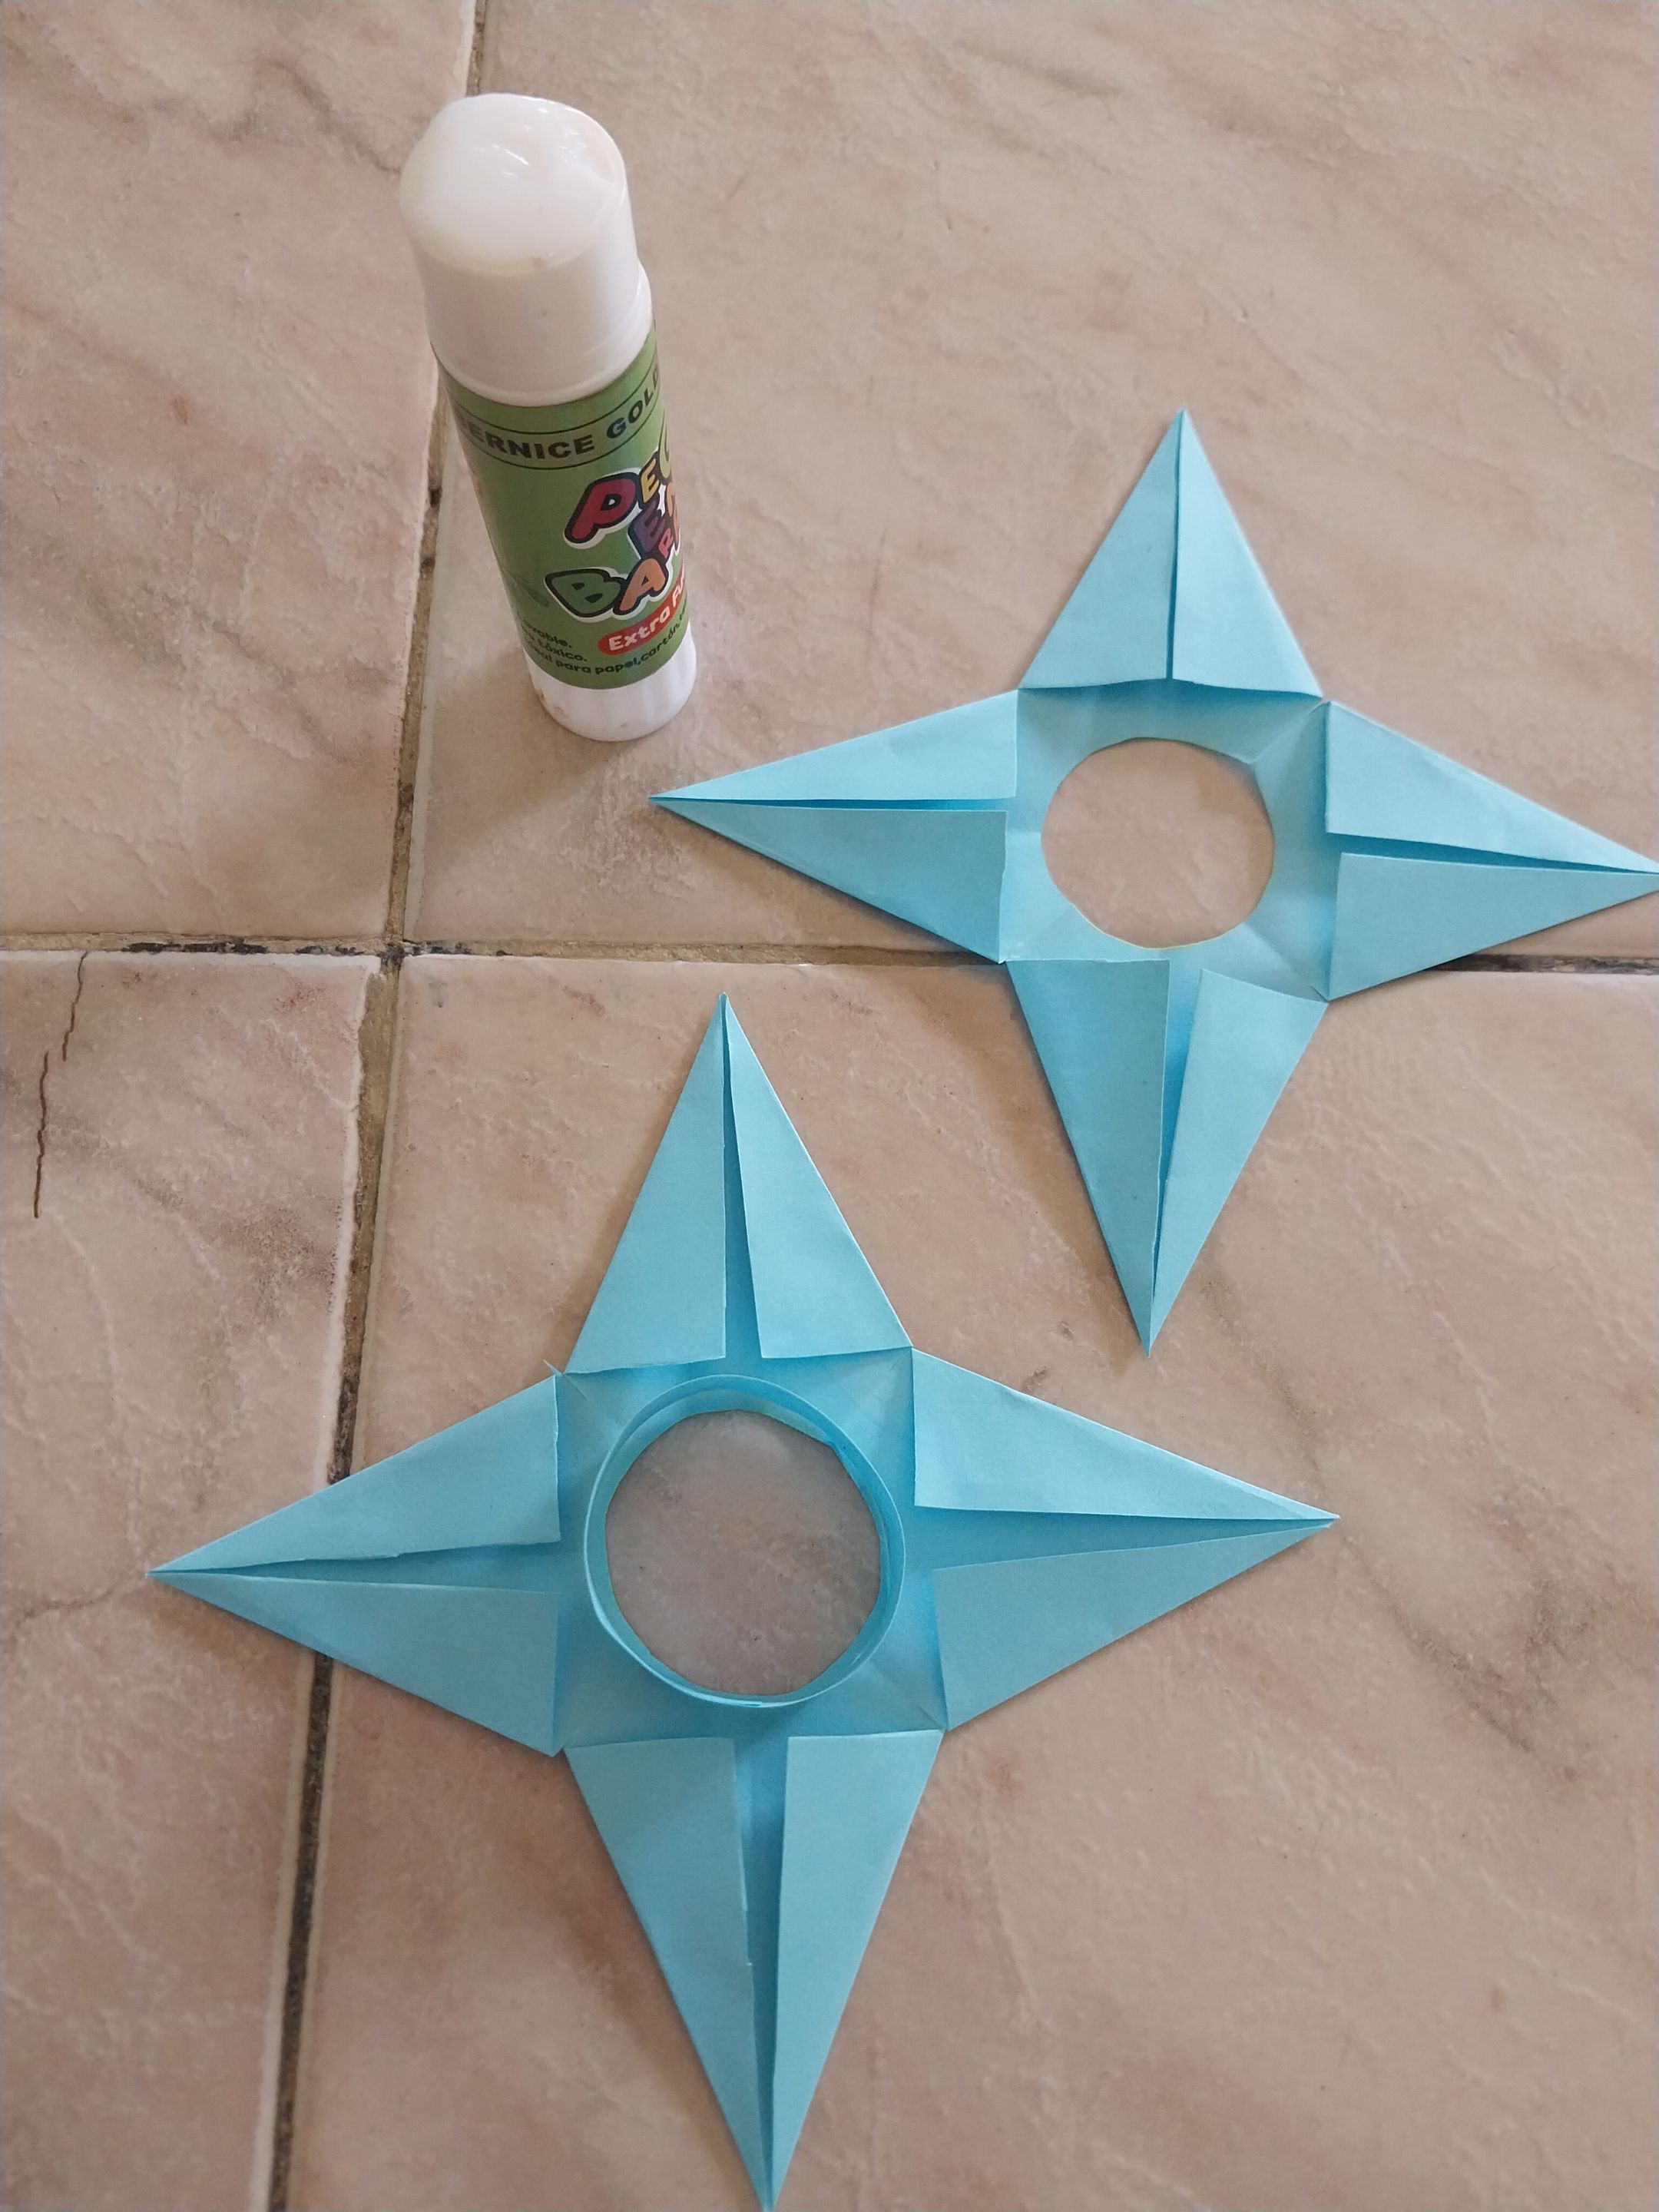
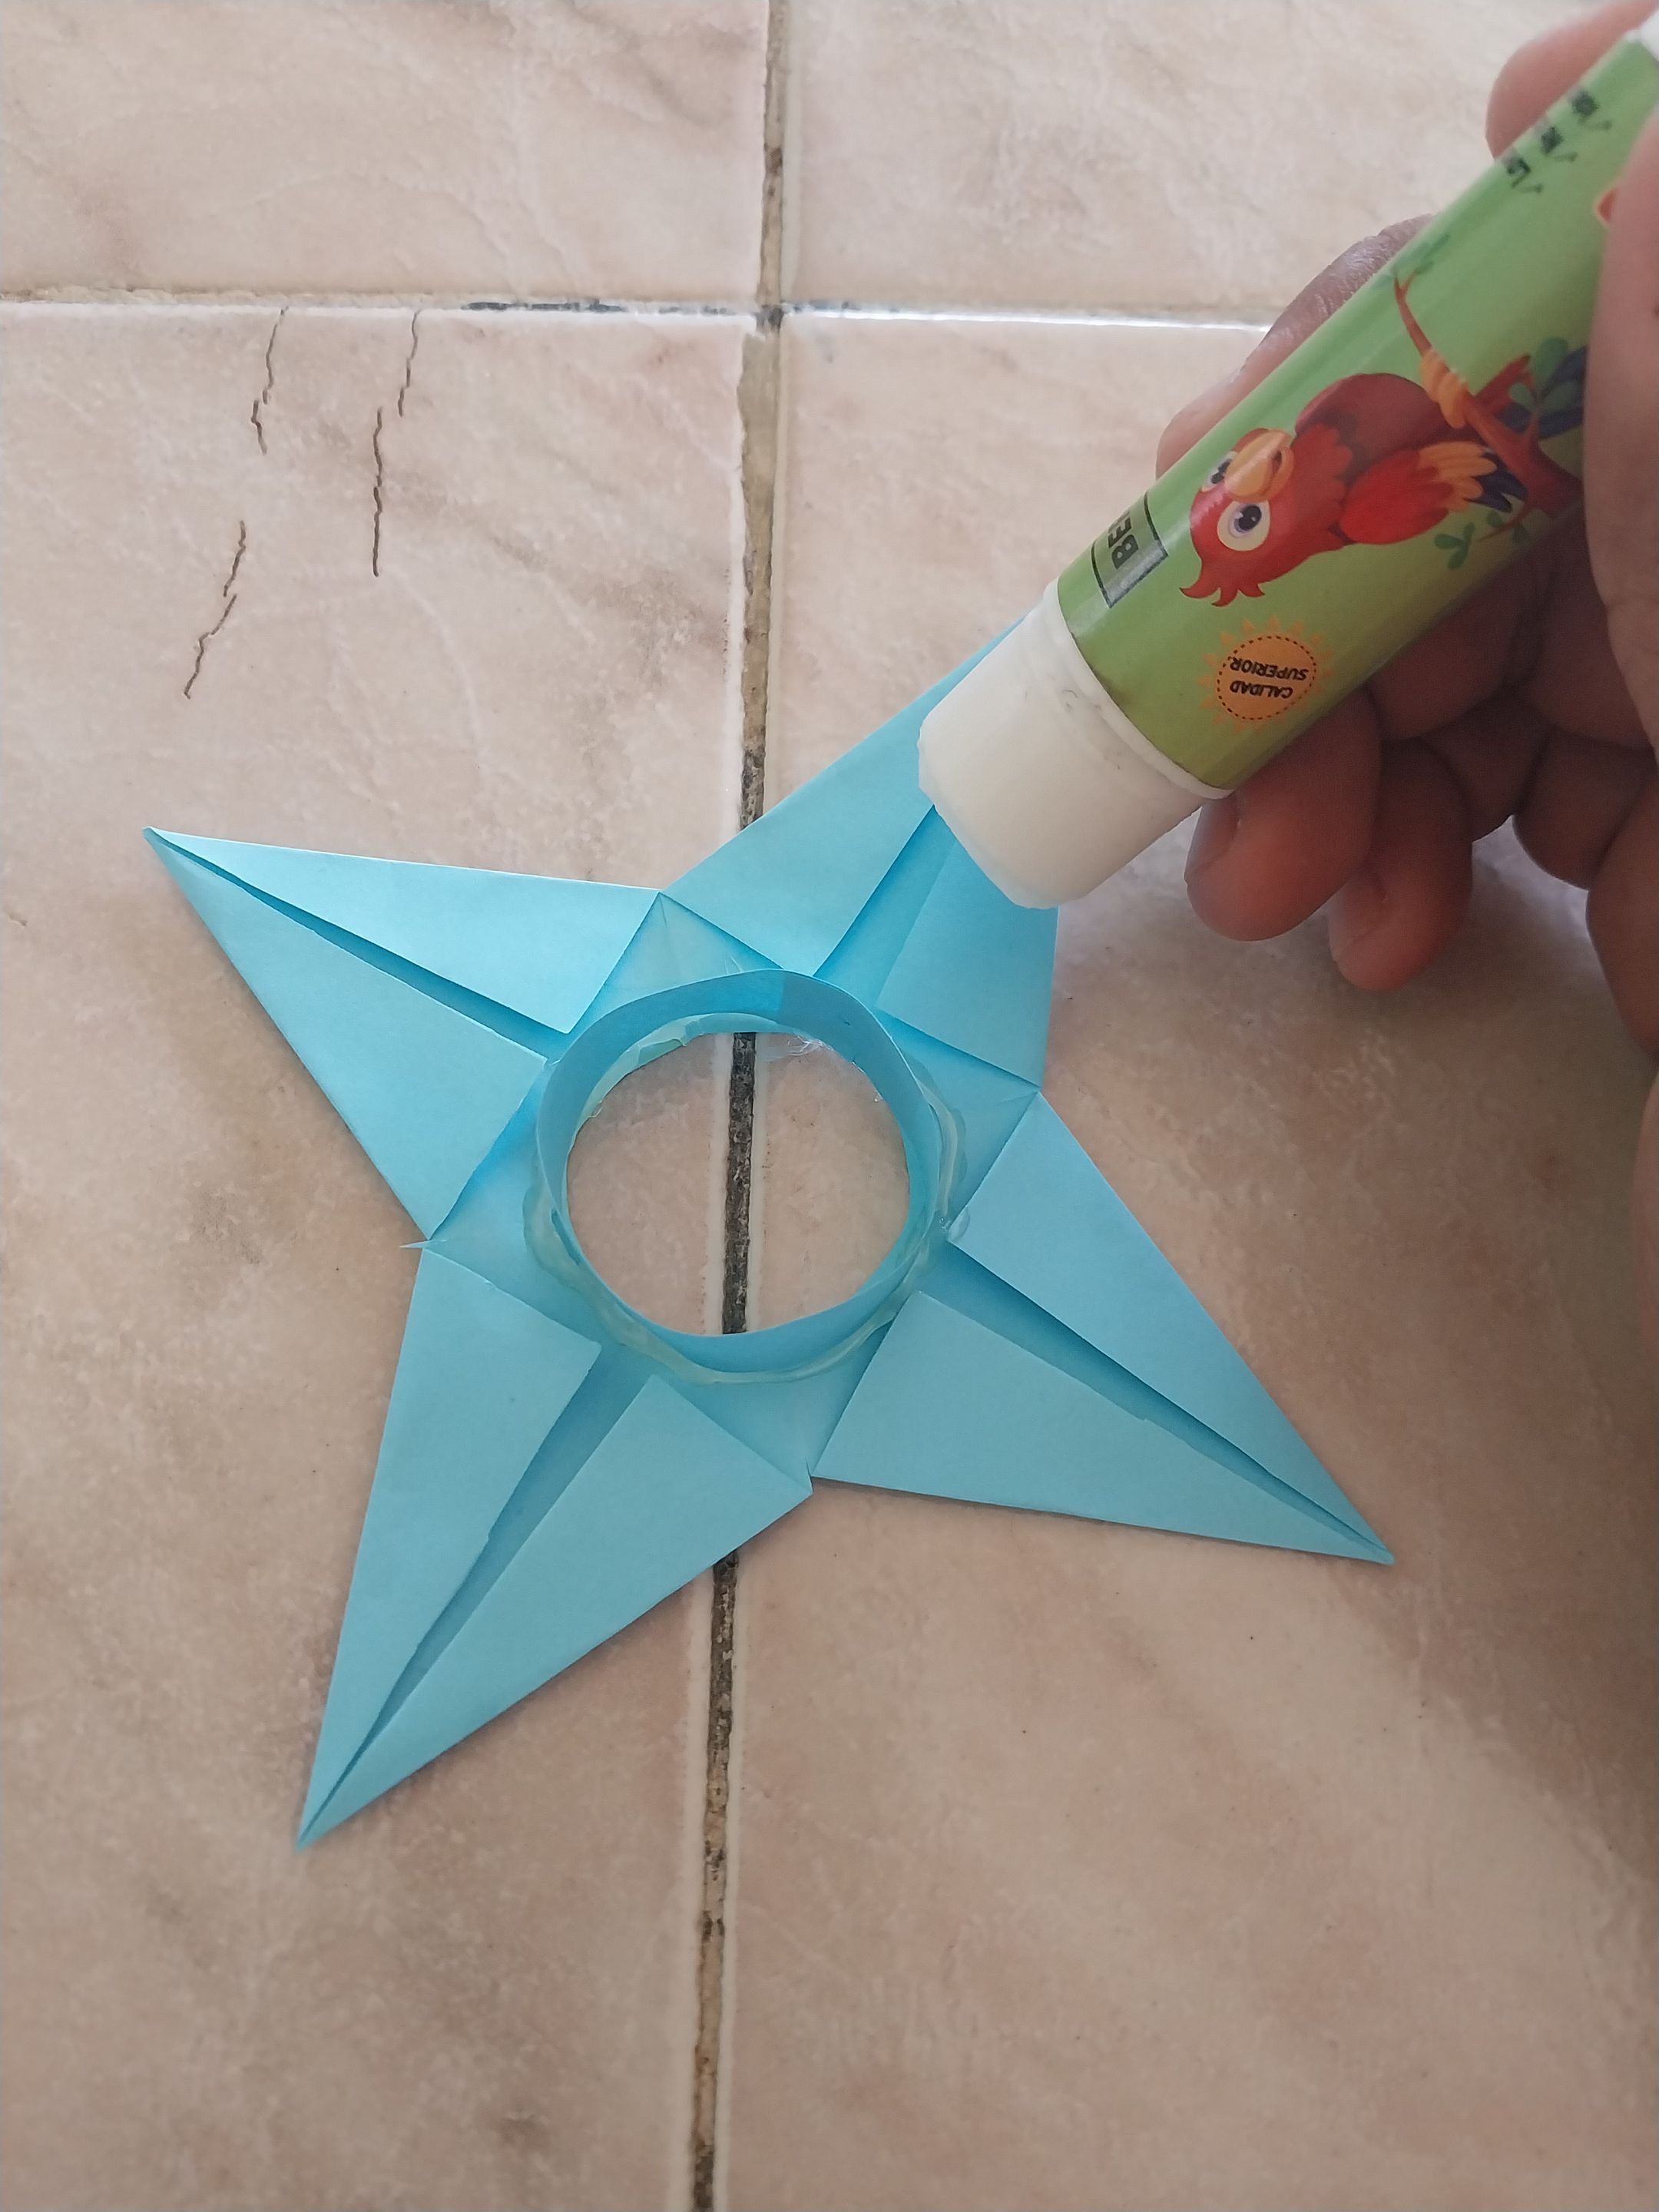
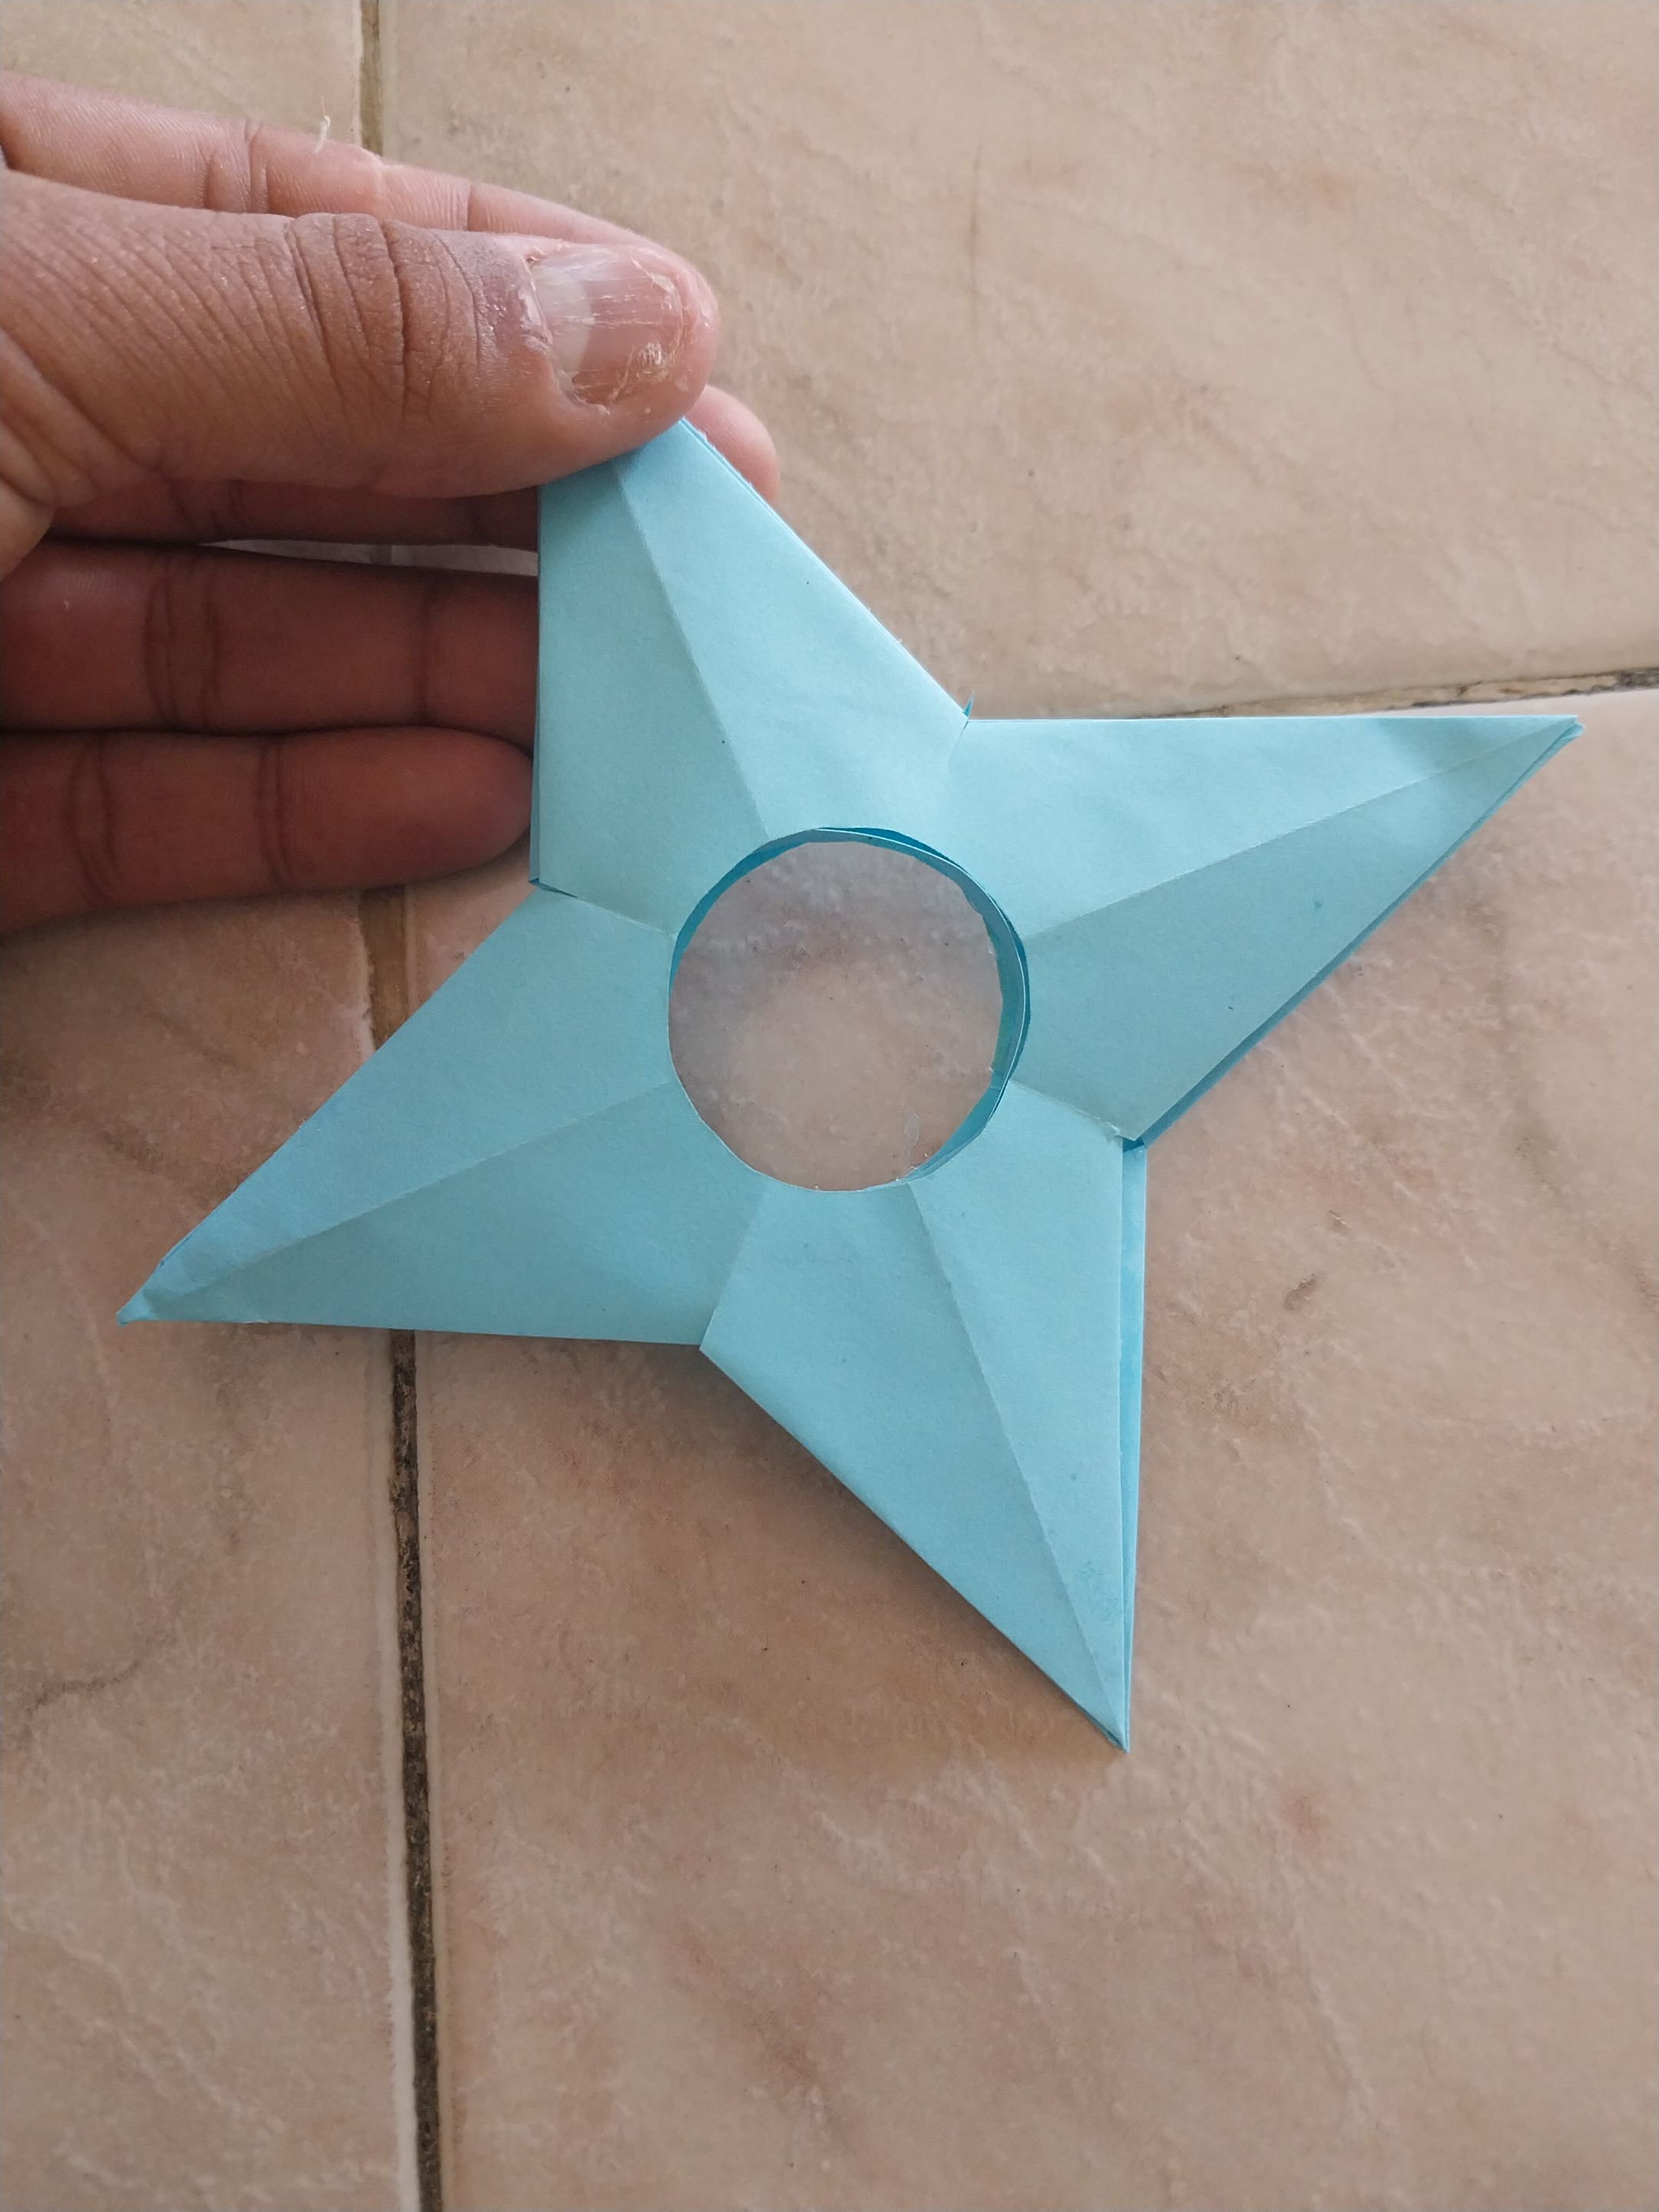
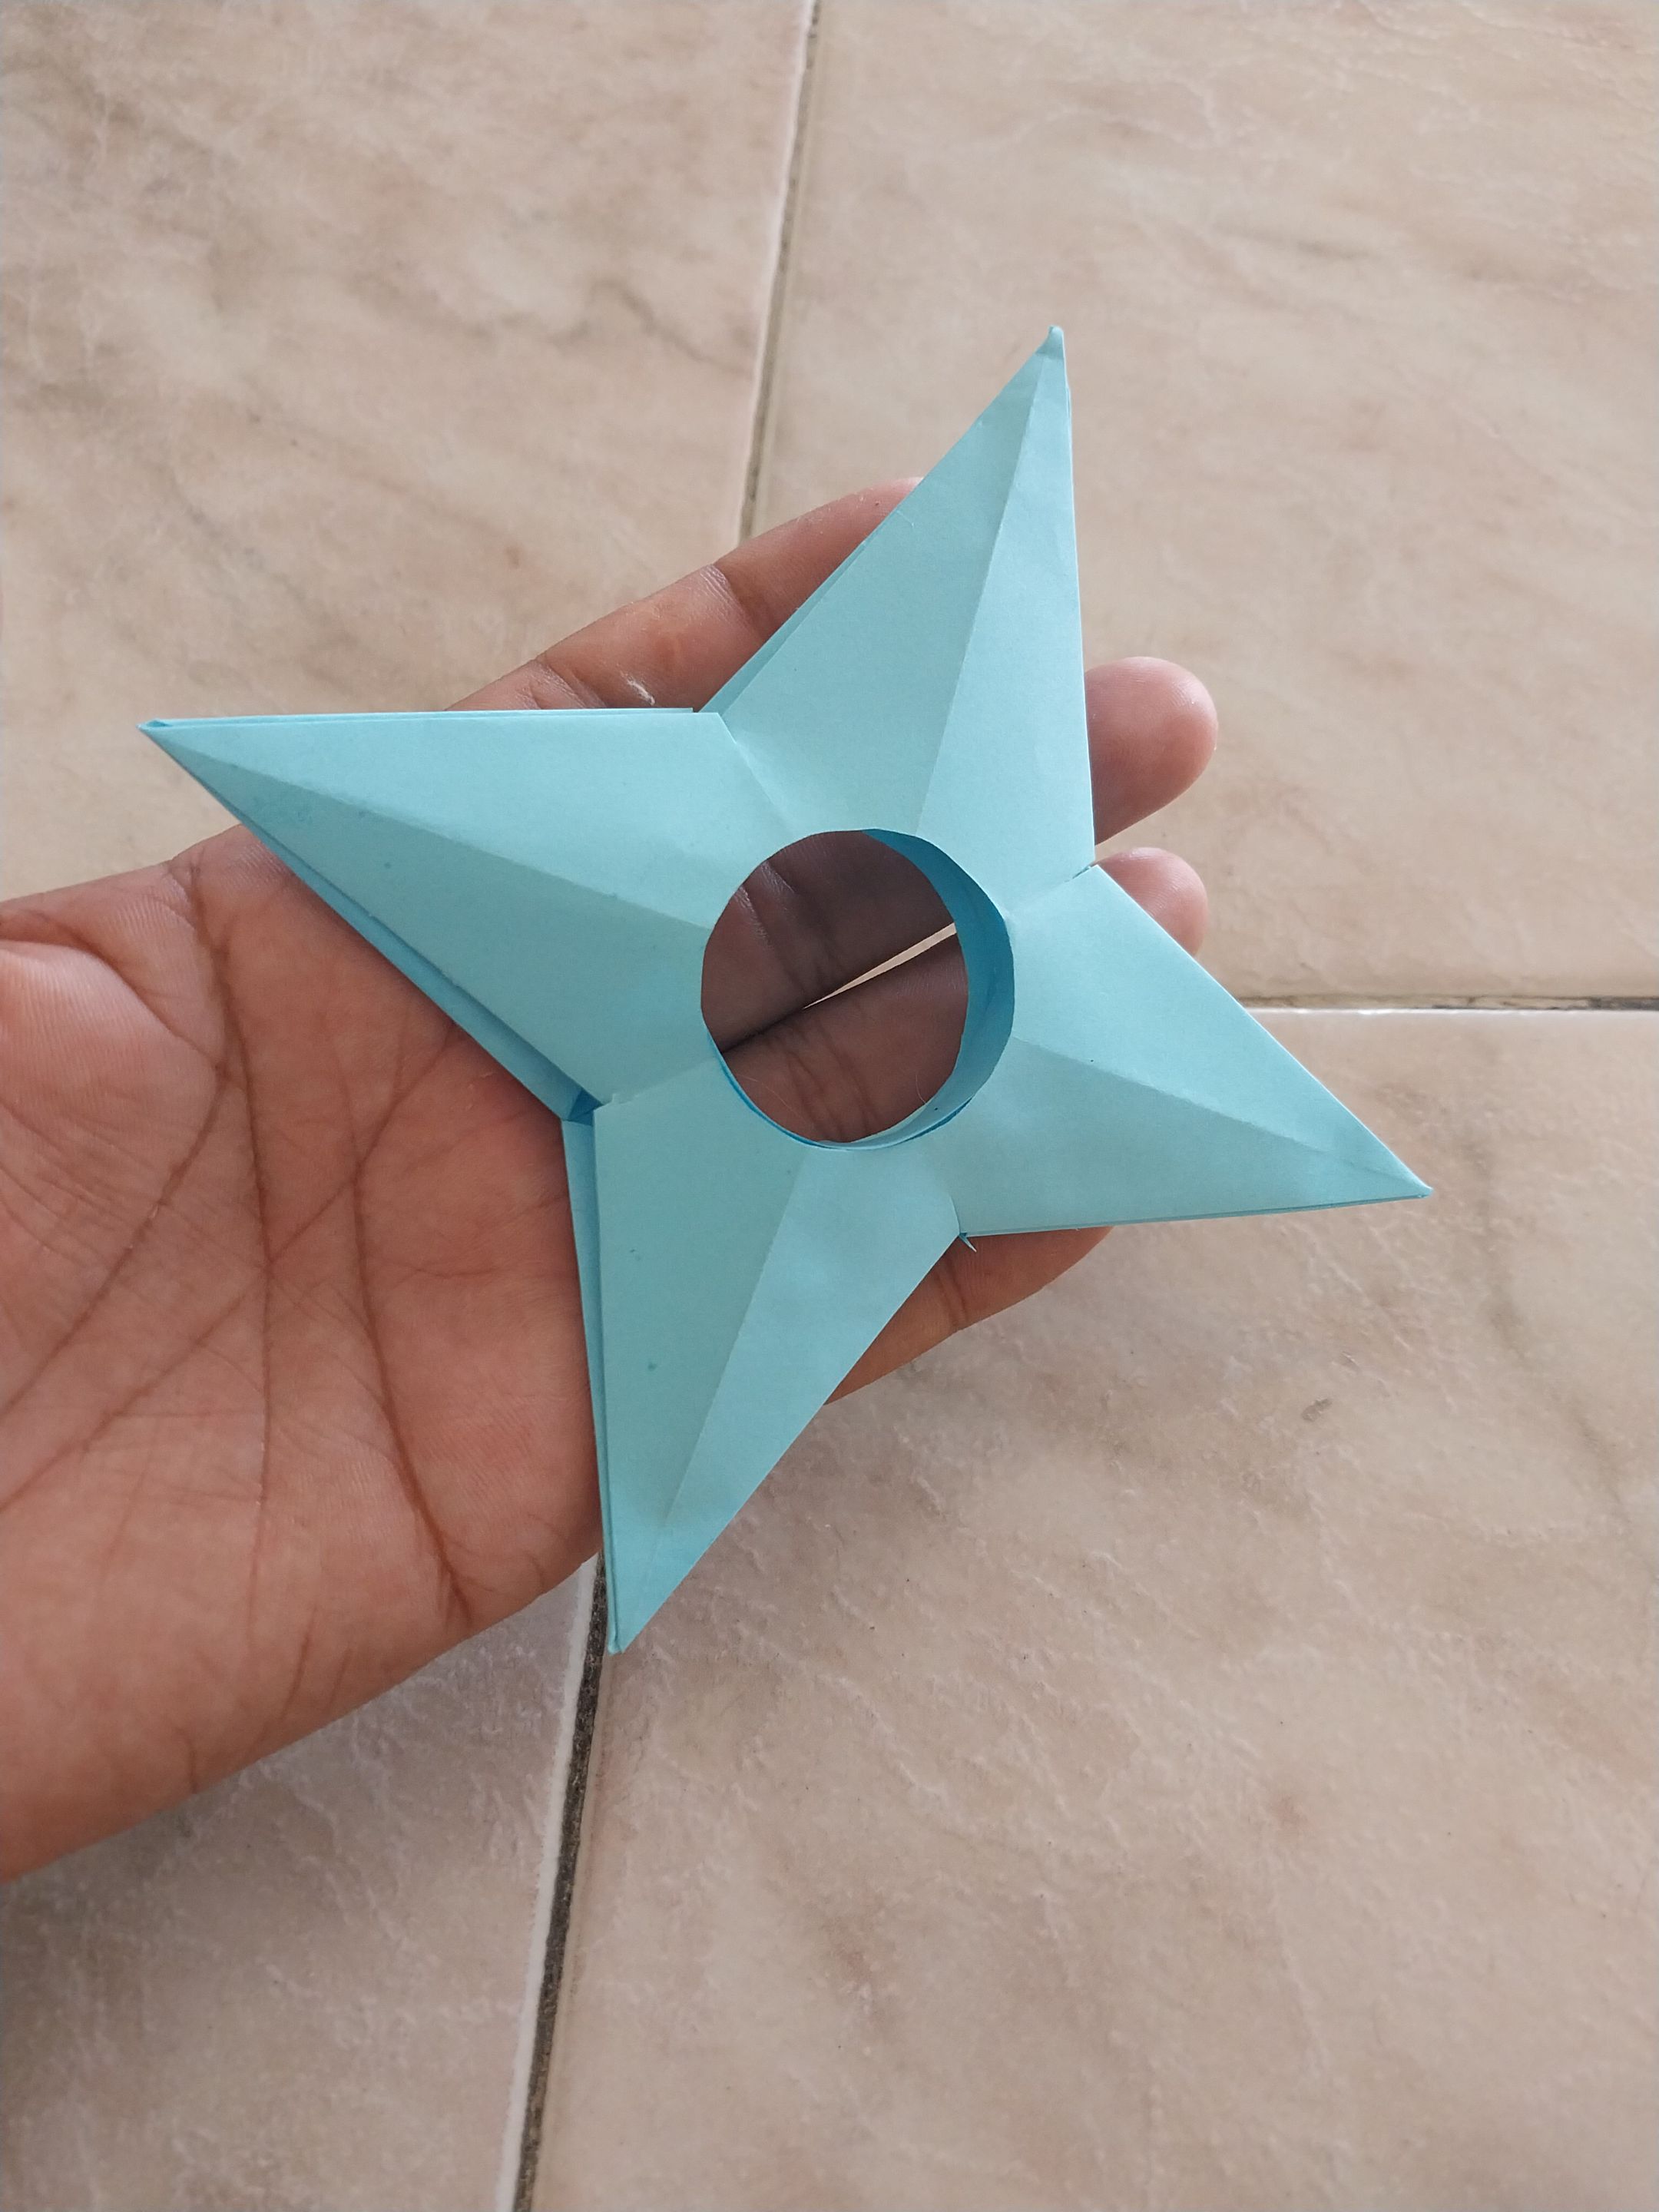
Una vez hecho eso tomé las esquinas de ambos pedazos de papel y las empecé a doblar hacia adentro de manera que me quedaran uniformes; una vez que todas las esquinas estaban dobladas, tome otro retazo de papel que me habia quedado y lo medi para que me quedara del mismo tamaño que el orificio que tenian los pedazos de papel, una vez medido, tomé un poco de teipe y lo fije bien. Ya hecho eso, le agregué un poco de pega y lo pegué exactamente en todo el centro de uno de los pedazos de papel, luego procedí a echar pega en las cuatro esquinas de uno de los pedazos de papel, ya con suficiente pega, tome el el otro pedazoy lo coloque encima, apreté un poco las puntas para que no fueran a soltarse y quedaran uniforme. Y listo! trabajo terminado, un Shuriken casero 100% funcional.
**
ENGLISH
**
Hello friends of the DIY Hub community, how are you? I hope you're all doing well and having a wonderful time. This time, I want to share a very creative idea I saw recently, and it really caught my attention. It's a paper shuriken. It's very fun, entertaining, and easy to make; and aside from that, you can also use it as a decoration or even play with it. So, here's how I made it.
The first thing was to gather the materials. For this, we used a piece of paper—in this case, I chose a blue one—a ruler, tape, glue stick, a small circular cap, scissors, and a pencil.
The first thing I did was take the piece of paper, fold it inward exactly in half, and cut it out with scissors. Once cut, I trimmed each piece a little more with the same scissors until they were completely square. After that, I took both pieces of paper and folded them into a pyramid shape. I cut off the excess with scissors. After that, I proceeded to fold each piece of paper in half in all directions: toward the corners, inward, and outward.
Once that was done, I took the ruler and measured approximately 3.5 centimeters, then made the cut in the middle using that same measurement. Then I took my circular cap, fixed it in the middle, and outlined with the pencil. Then, I folded the piece of paper inward again and punched out what I had already outlined with the pencil, so that I was left with a circle.
Once that was done, I took the corners of both pieces of paper and began to fold them inward so that they were even. Once all the corners were folded, I took another scrap of paper that I had left over and measured it so that it was the same size as the hole in the pieces of paper. Once measured, I took some tape and held it in place. Once that was done, I added a little glue and glued it exactly in the center of one of the pieces of paper. Then I proceeded to apply glue to the four corners of one of the pieces of paper. With enough glue, I took the other piece and placed it on top. I pressed the tips down a little so that they wouldn't come loose and would be even. And that's it! The job was done, a 100% functional homemade shuriken.
---
Y bueno, esto ha sido todo por ahora, de verdad espero que lo hayan disfrutado, y que les sea útil. Ya sin mas que decir, Bendiciones, y hasta la próxima.
Well, that's all for now. I truly hope you enjoyed it and that it's useful. Without further ado, best wishes, and until next time.

---
---
Translated with https://www.deepl.com/translator
#diyhub
#diy
#tutorial
#crafting
#creative
#home
#spanish
#creativecoin
#neoxian
#ocd
Payout: 0.000 HBD
Votes: 232
More interactions (upvote, reblog, reply) coming soon.