Hello crafters and friends!
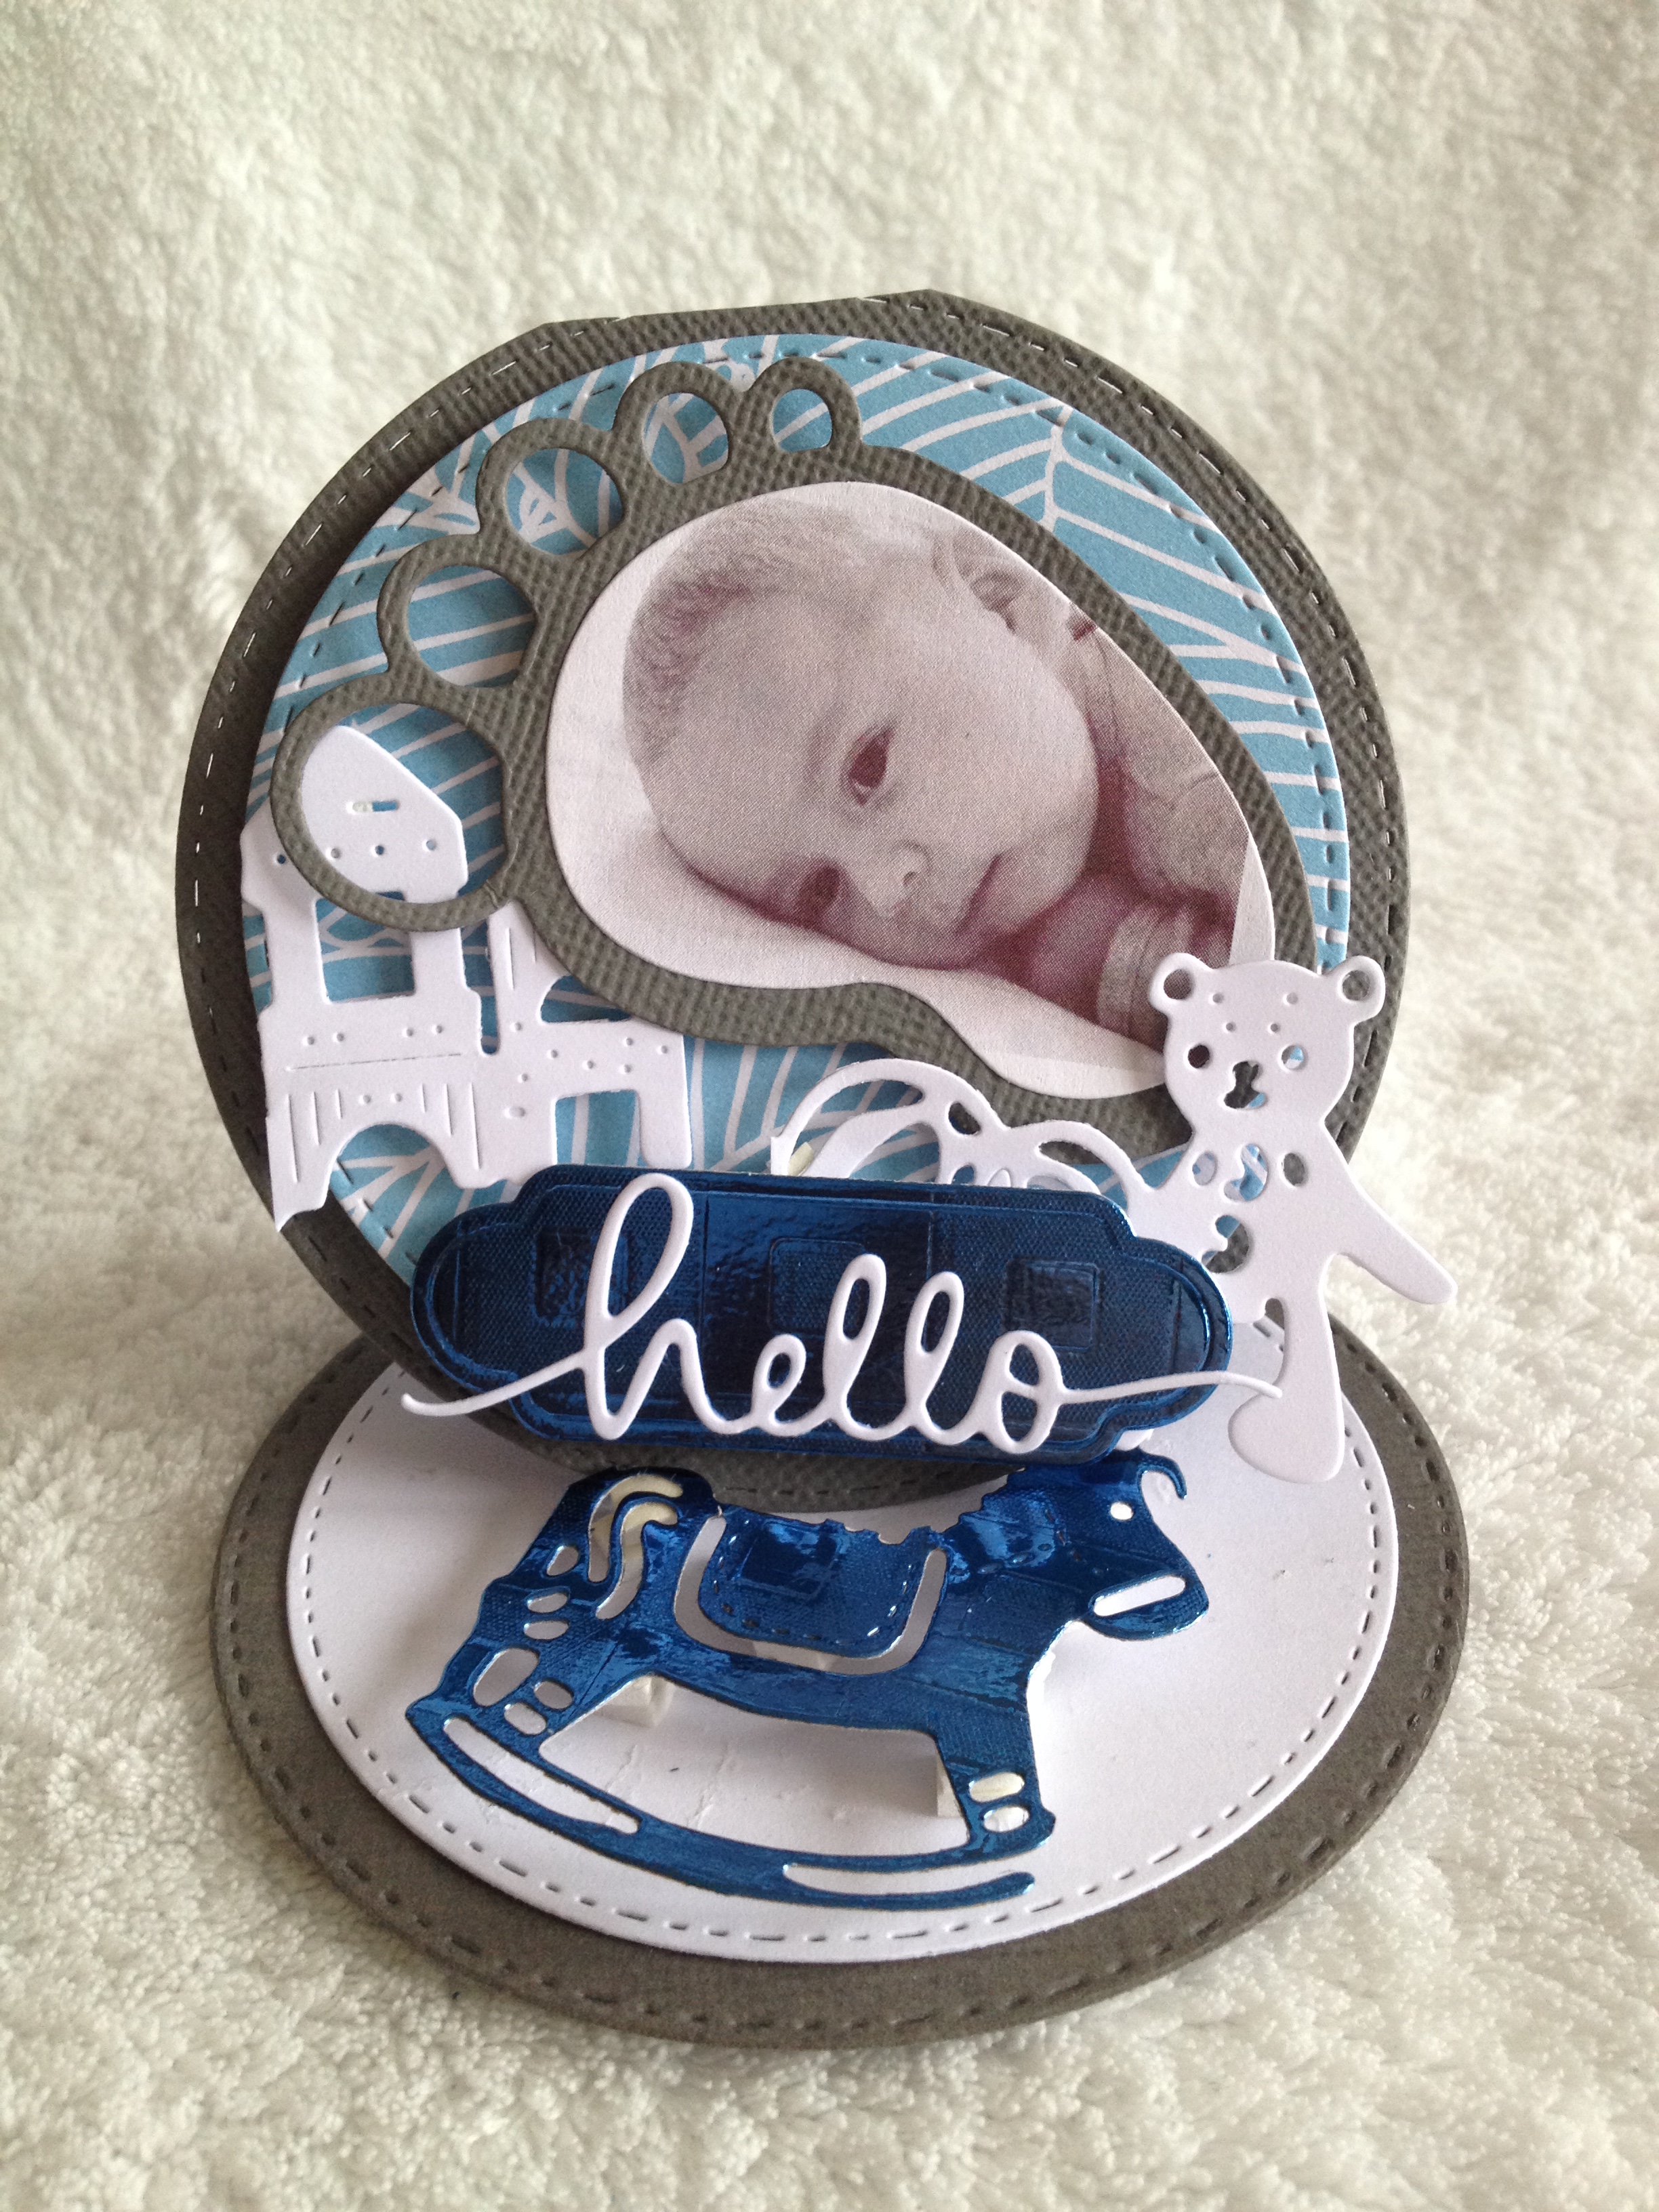
Today I will share how I made my "Birth Announcement Card" that supposed to be posted here a few months ago, but I was occupied. This tradition of giving birth announcements card is optional. But because my husband's family used to do it, so I made my own. This card is cheaper and easy to make as long as you have all the materials needed. This easel card is my favorite style, the card doesn't look flat, and it creates dimensional which make the card stand or display. Yes, a card that you can display like a photo frame.

So here are my materials and tools:
- Die-cutting machine
- Paper trimmer
- A pair of scissors
- Glue
- Foam tape
- White and gray cardstock, designed paper and shimmering paper (optional)
- Dies
- Photo
The procedure
- Prepare 3 pieces of gray cardstock and cut into 8x4 inches each. Fold each paper into a half using a scoring board. Then you can start to cut your round design and run it to your machine. In making a flap using a round shape, make sure to put some gap at the top of the folded paper. Then fold the upper flap into the half.
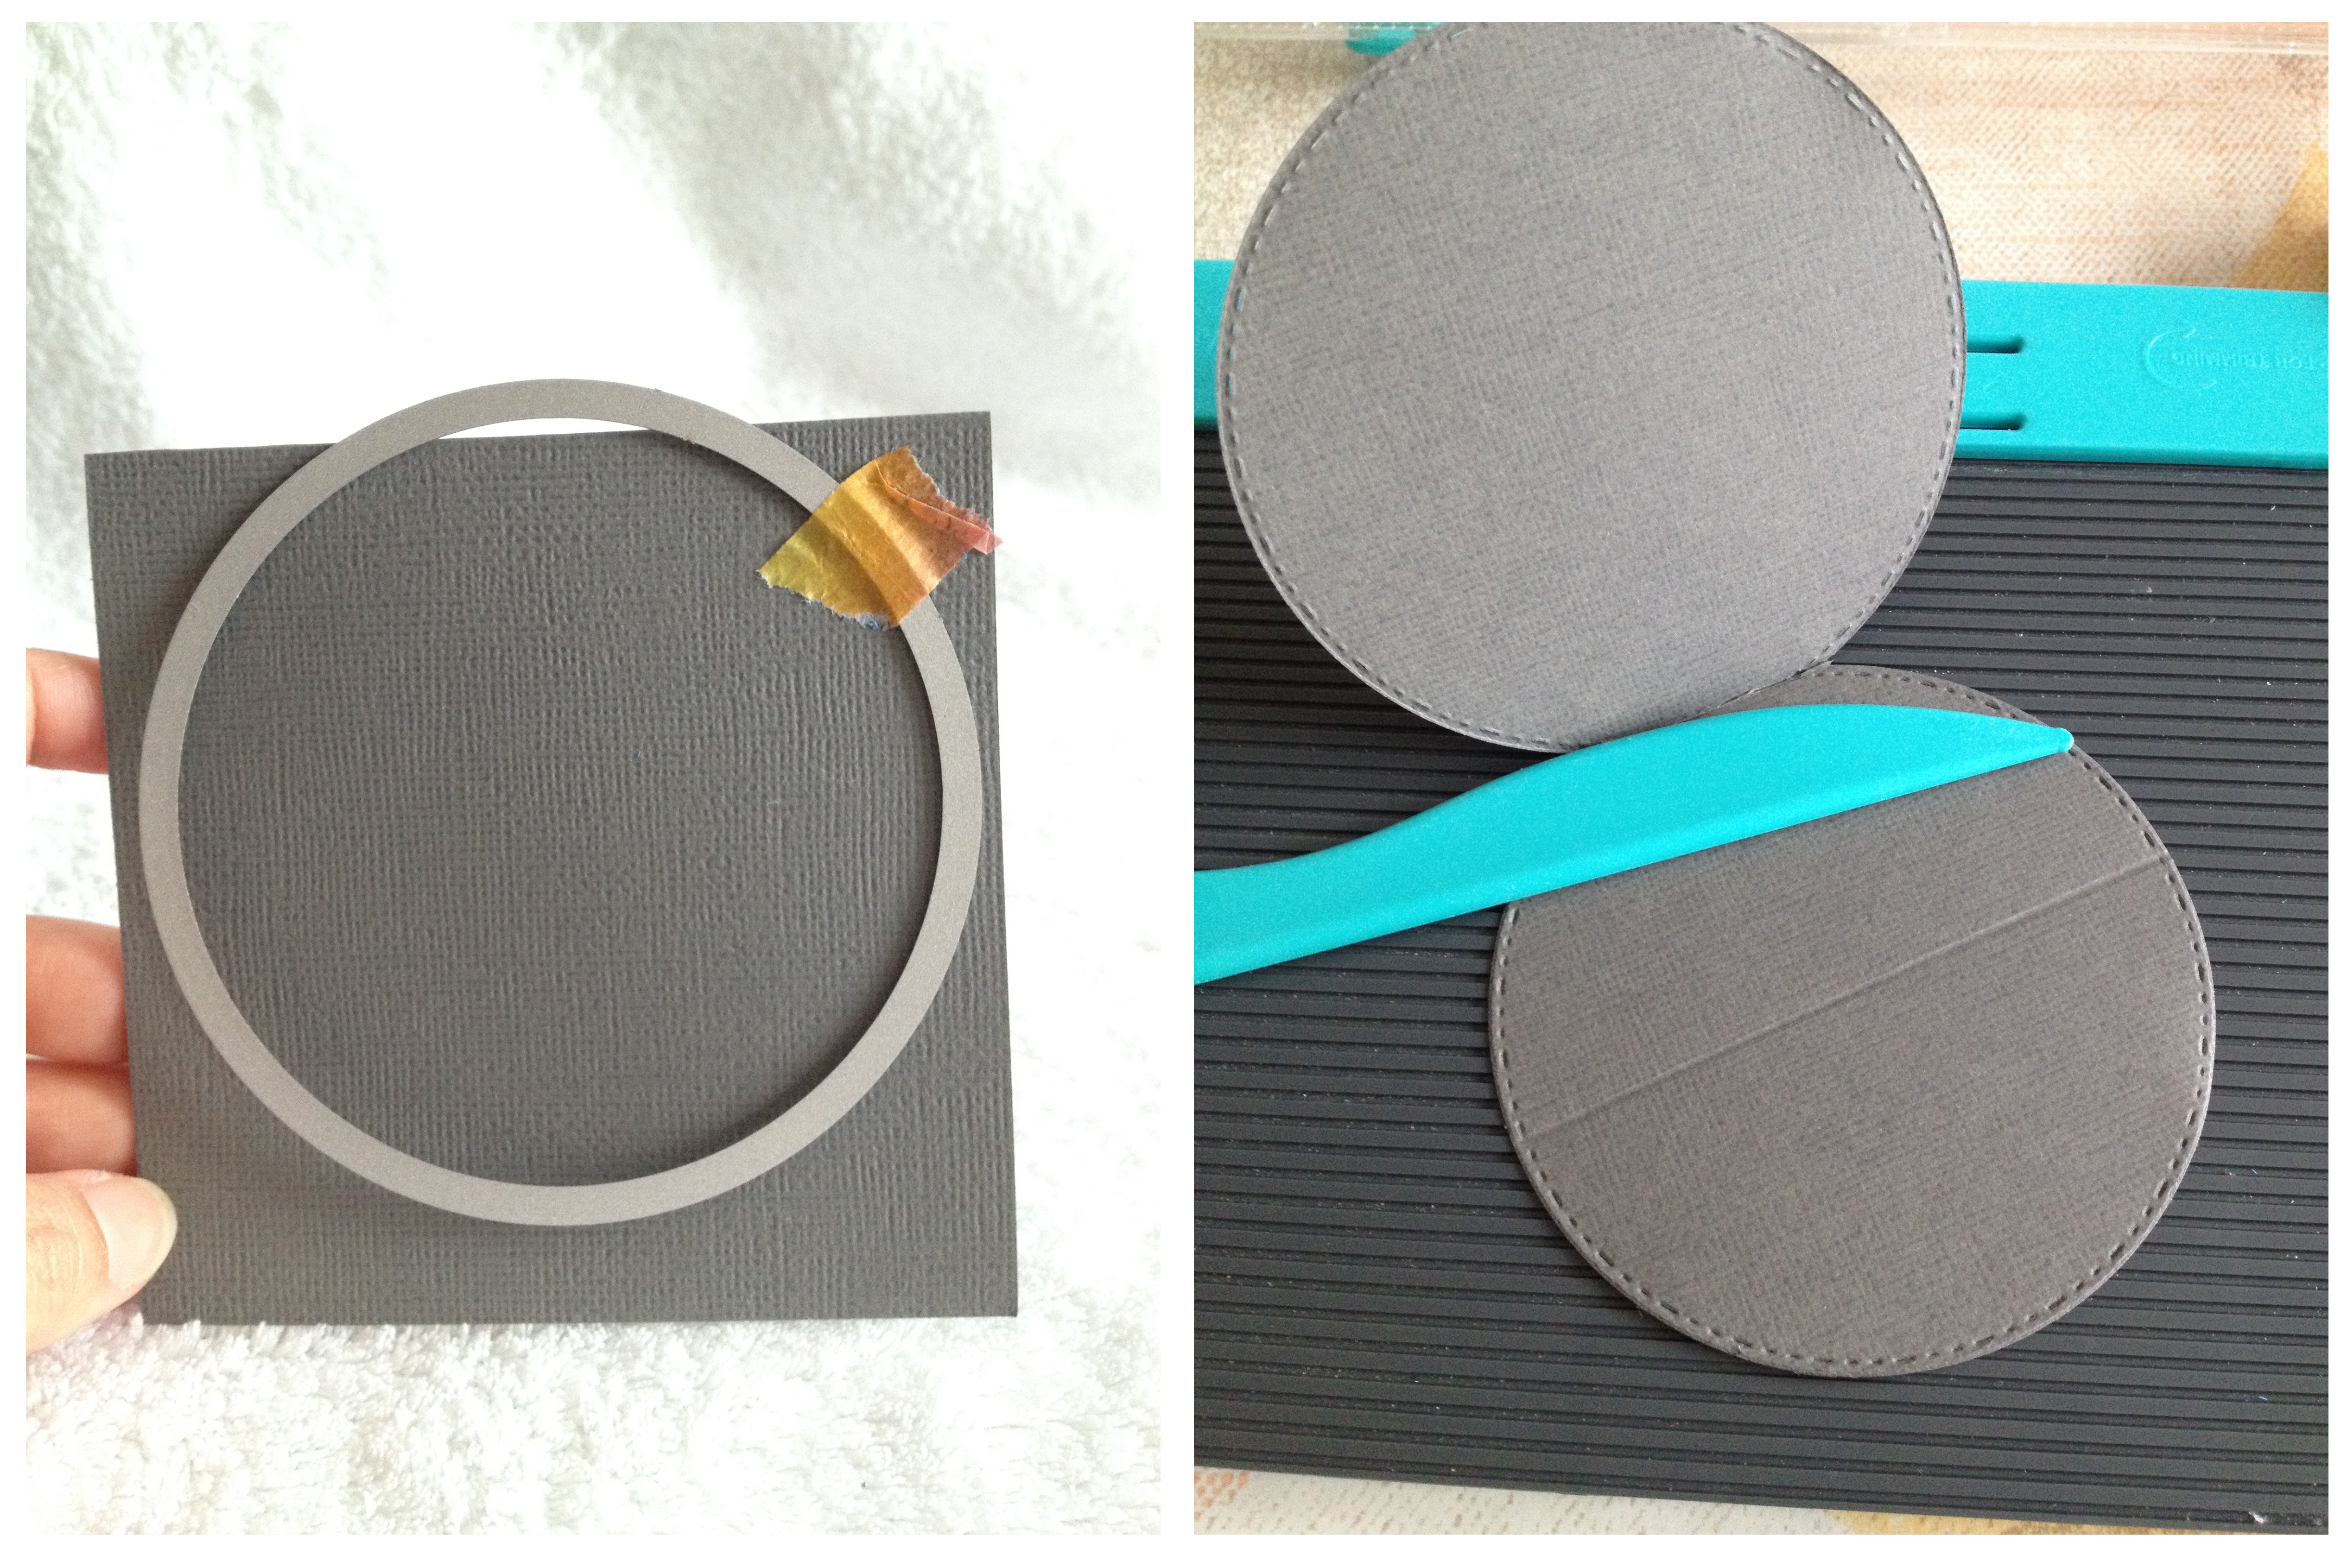
- Cut the other gray cardstock into 4x4 inches and do the same in cutting it into a round shape using the machine. On the upper folded flap, stick the round shape downside and trim the excess part. Cut another smaller round of designed paper and stick it at the main top of the card as your background.

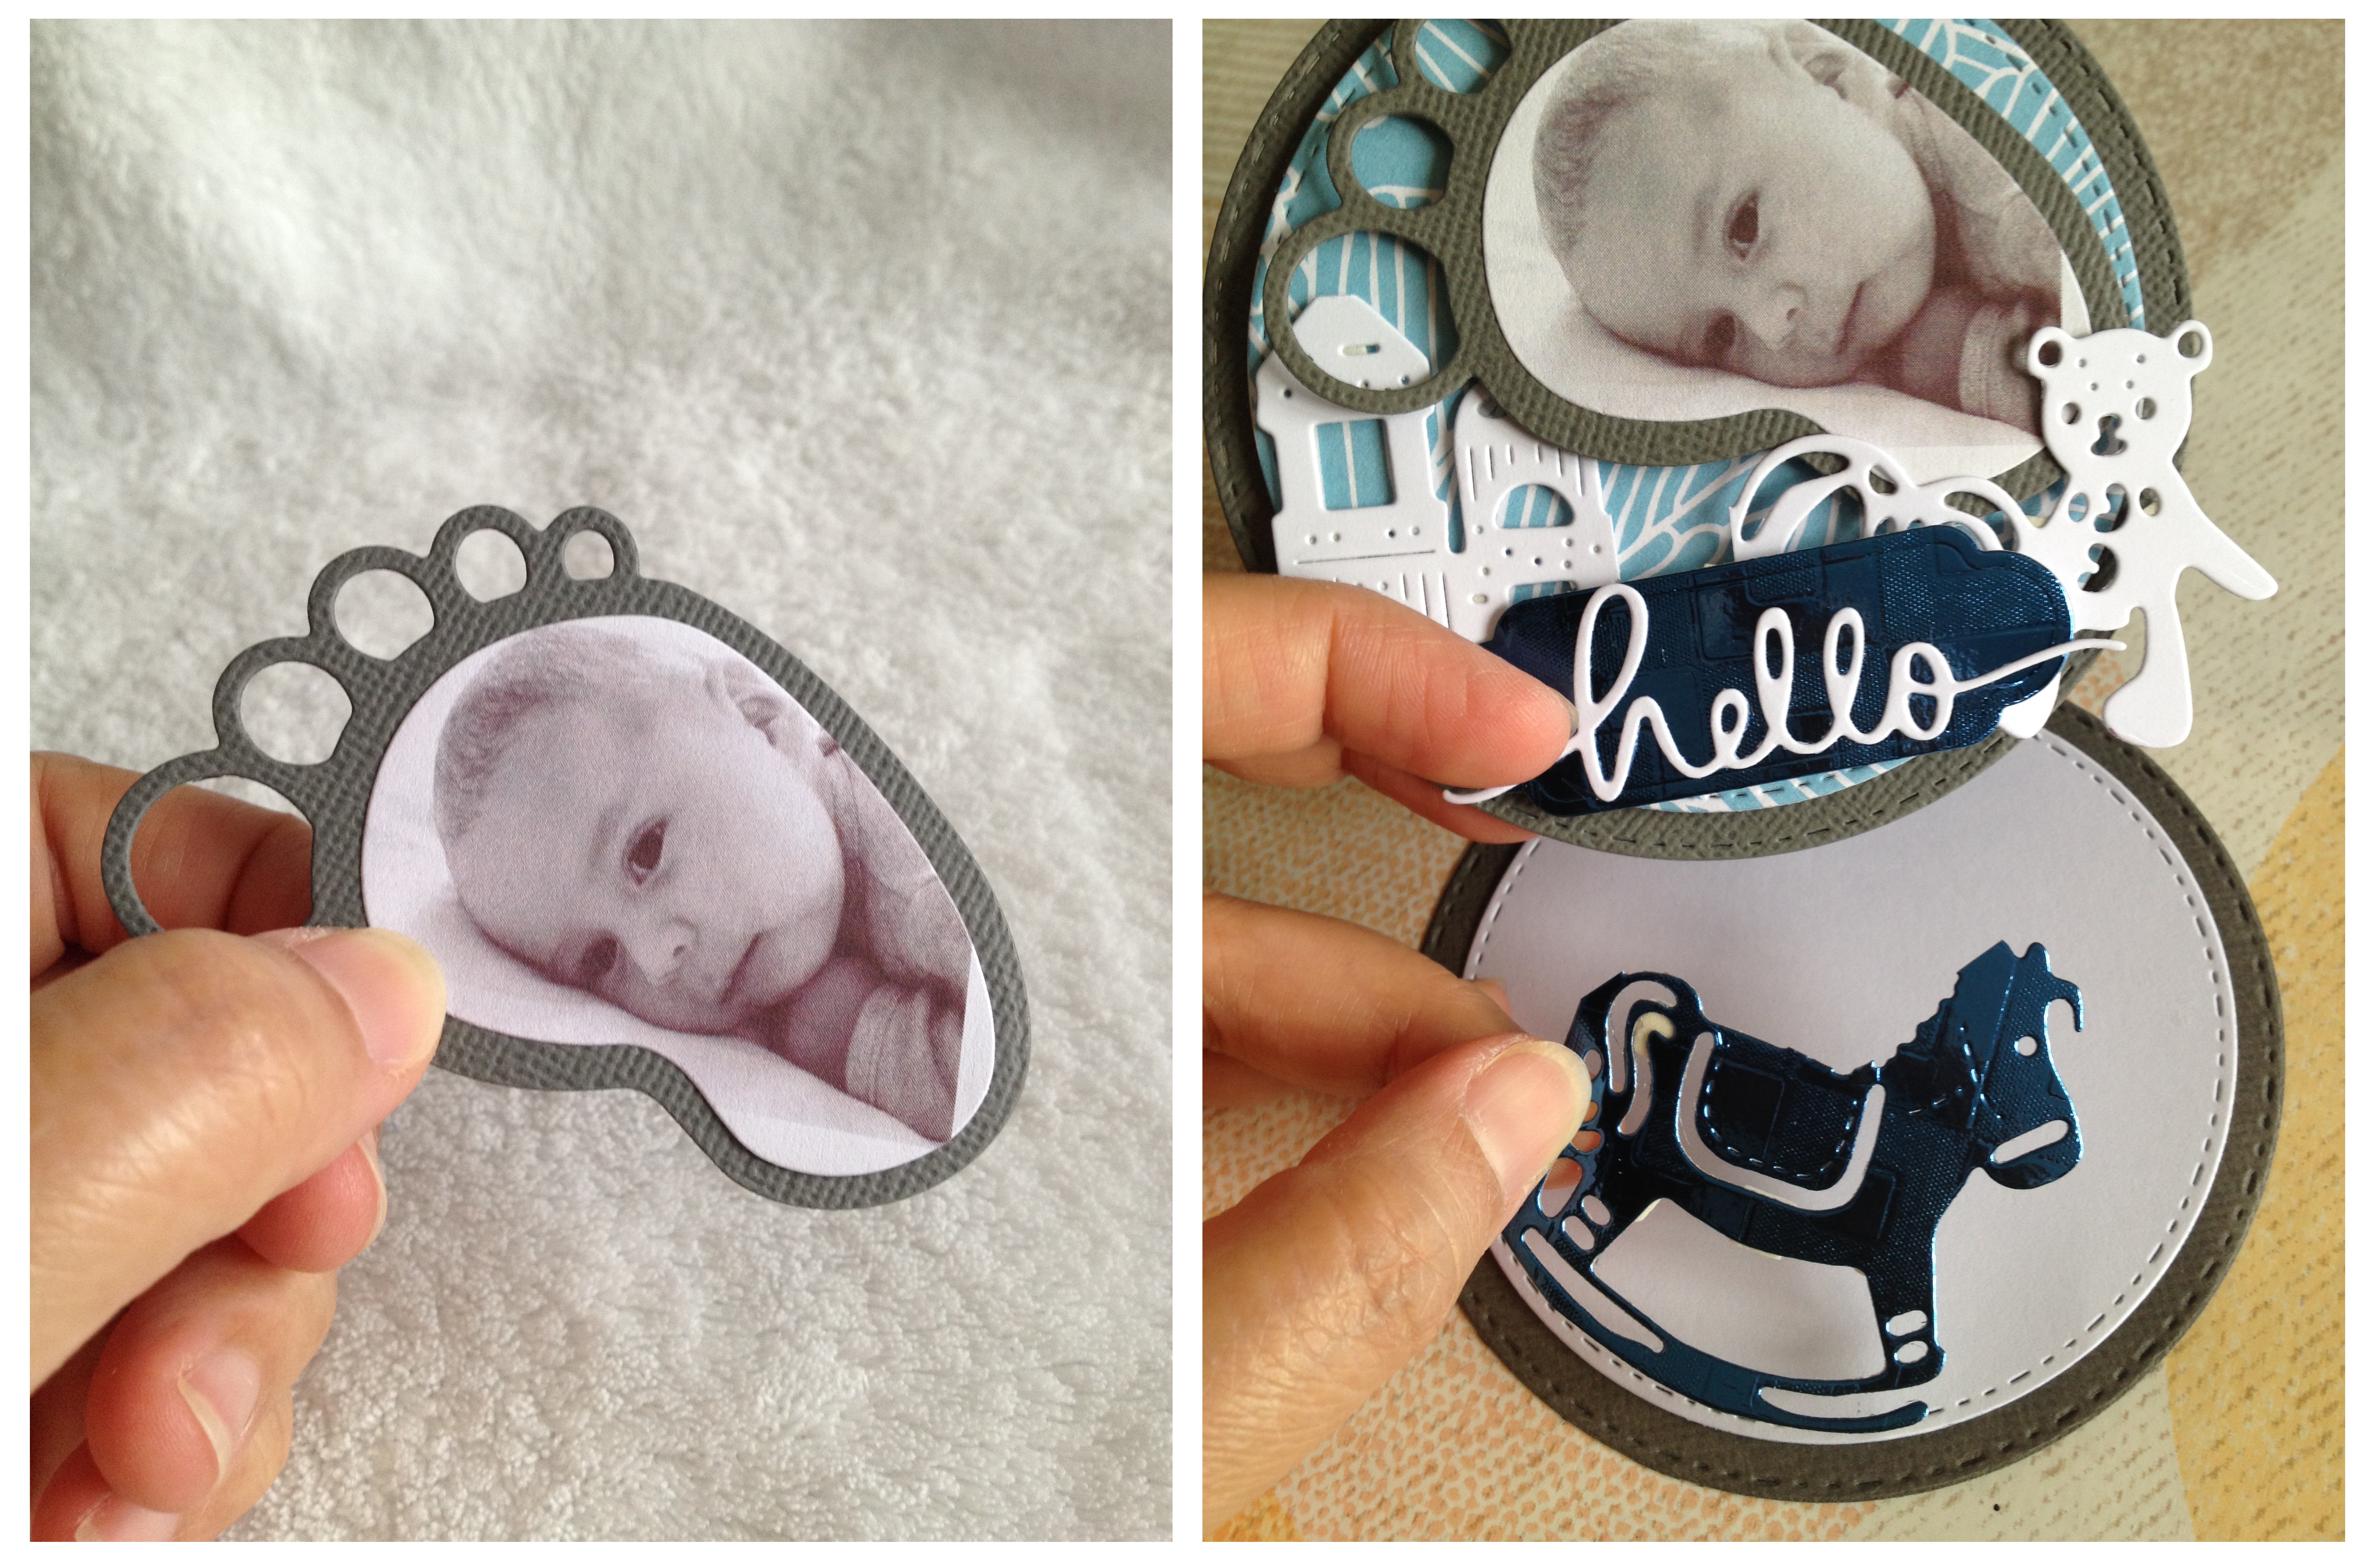
However, if you want to make it easier, cut all you desired design into your machine, as shown picture below my dies and the finish cutting design.

- Now it's time to stick all the design and decorate! I decided to cut the photo in the same shape of the feet and glue it at the center. I cut one tag, and stick the hello sentiment. The baby toy design, I cut it in two and stick it on both sides of the card. I just overlap the teddy bear a little bit and the tag is more overlapping above them. I chose this shimmering paper for the tag to enhance the sentiment word. Inside the card, I stick the horse design at the bottom. This may serve as your stopper to make the card stand or display. Use foam tape for all the embellishments for the 3D effect. In addition to the decoration, I printed the small information on my baby for details and stick it inside the card. And that's it! The card making is done!
Voilà! And here's my finished product!


Thanks for dropping by!
Have you already cast your vote for a witness? Please support sir @surpassinggoogle by typing "steemgigs" here in the box below or you can type "surpassinggoogle" as a proxy in your behalf.


Keep calm and be creative!
