Hello! Hello and welcome back to my craft blog! I’m glad I made it at this time despite my hectic schedule. So today, I’m gonna share another DIY tutorial that even non-crafter can do it. This is just a very common interactive card that I made for the baptismal occasion, and I’m using Illustrator for the layout design and laser printer for the printing.
So let’s jump to the materials! All you need for this project is ordinary card stock or any type of paper that you can grab on your stash.
Materials:
- 2 pieces of black cardstock ( 160 & 300 GSM )
- Stick glue
- Photo paper ( glossy)
Tools:
- Trimmer & scoring board (optional)
- Ruler
- Pen or pencil
Let’s get started to our tutorial!
Procedure:
Step 1: Cutting
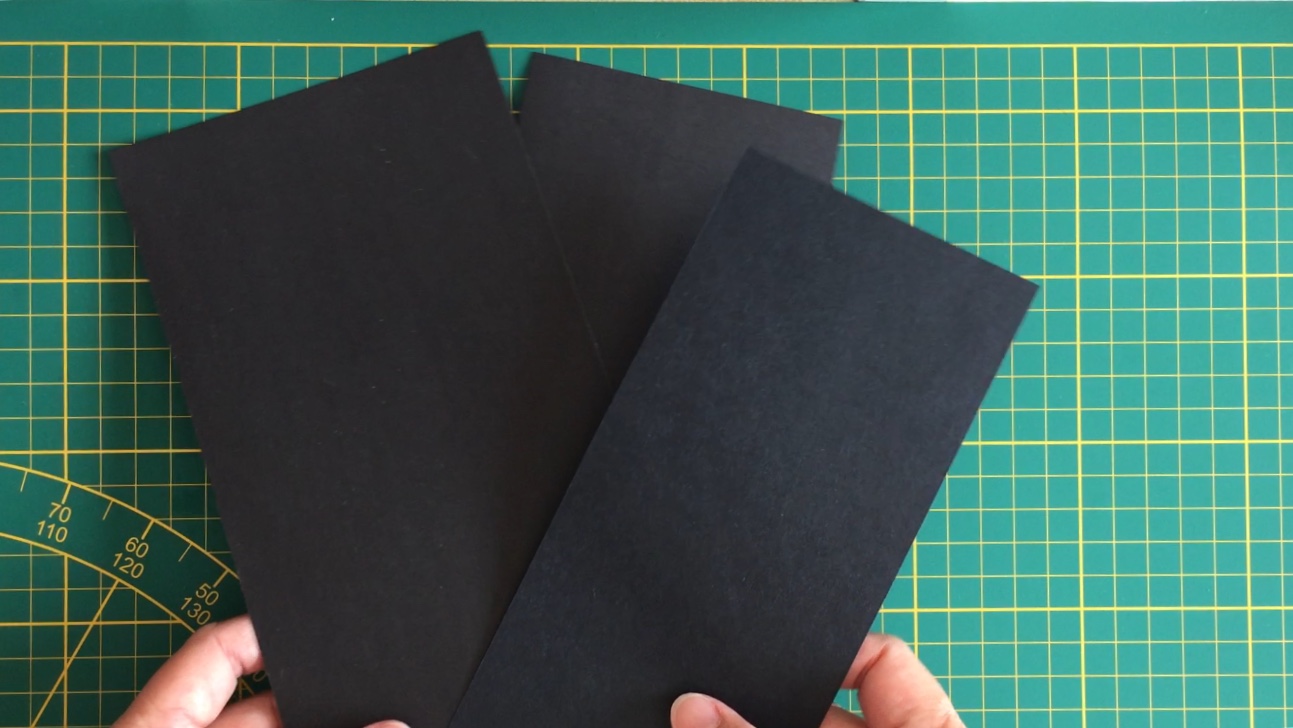 Get your cardstock and cut a piece of 11 3/4" x 4 1/2" for the main cover which is the 300 gsm and 11" x 3 3/4" for the interior pop-up card. And lastly, for the mechanism cut a piece of 8" x 3 1/2" with 160gsm cardstock. The mechanism of the card serves as the big role to pop the card.
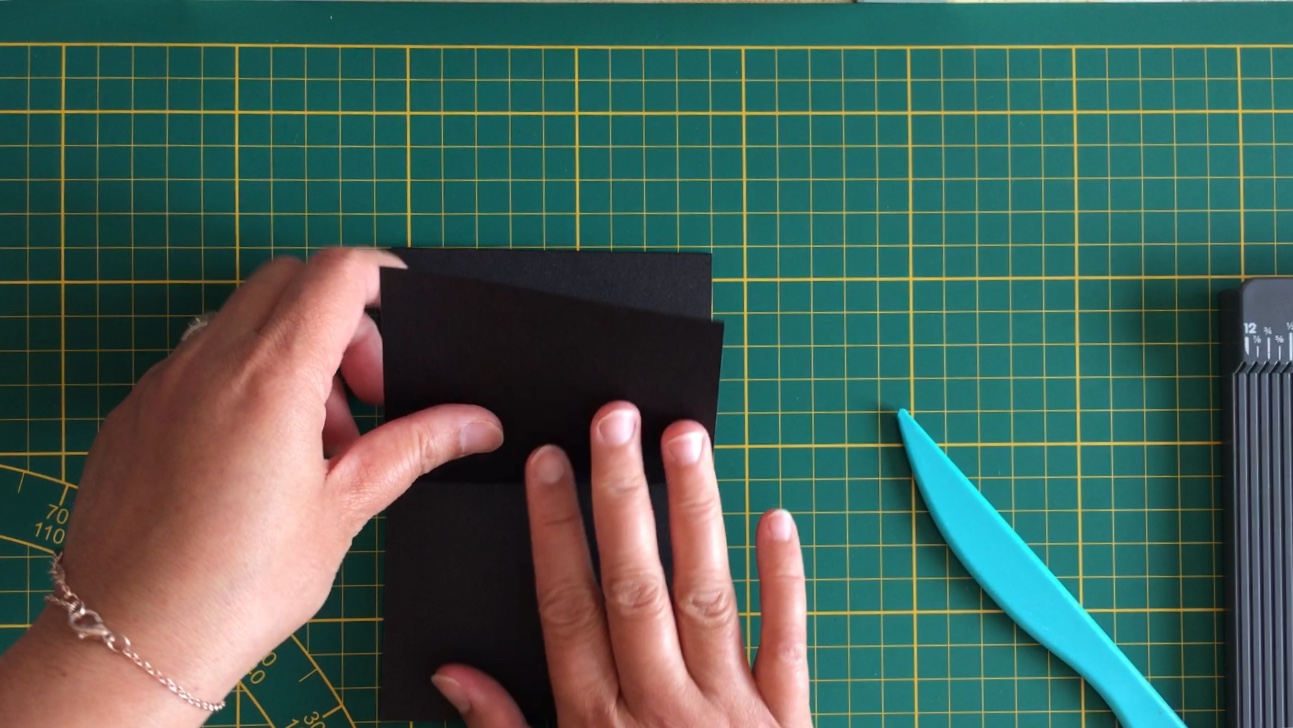
Step 2: Scoring and folding
Get your main card and fold in a half using a bone folder to have a nice crease or other option by using a ruler or any tool to avoid cracking.
For the pop-up card, position in a landscape then scores at 2 3/4" - 5 1/2" and 8 1/4". After the scoring is done, fold in the center, and do the same in the two flaps towards the center. It must be a W or M shape.


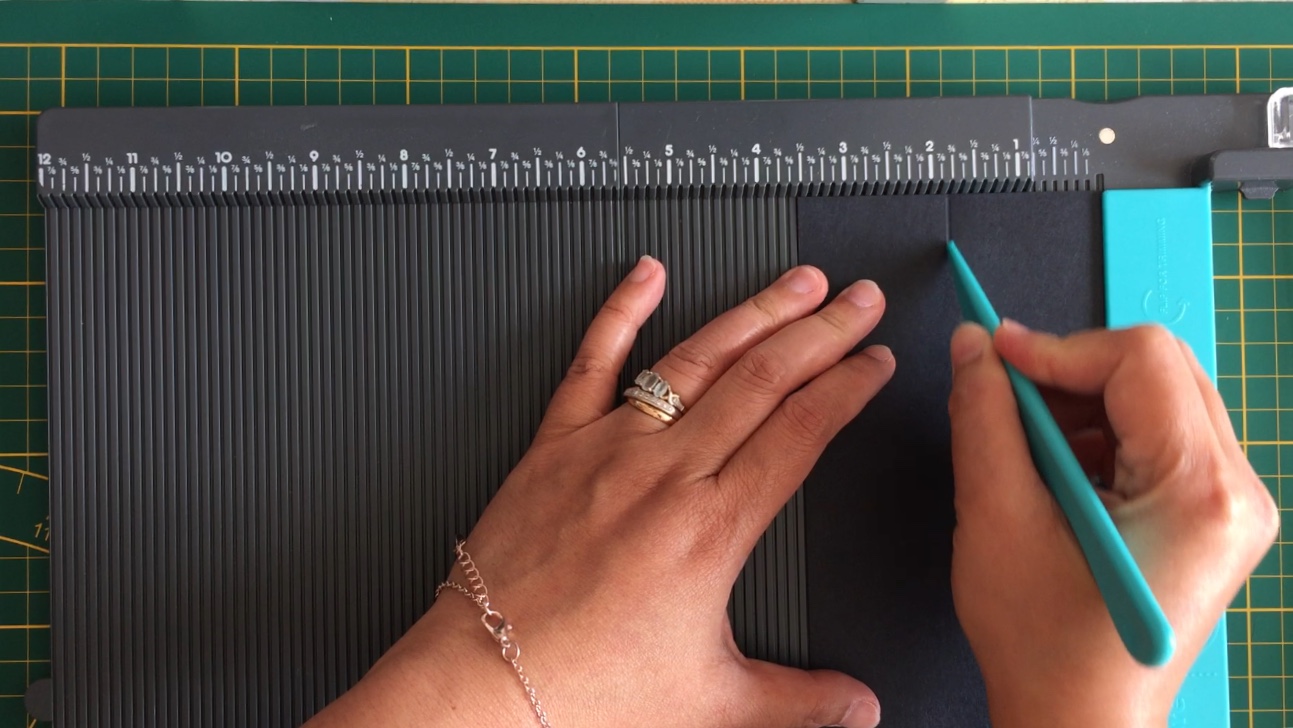
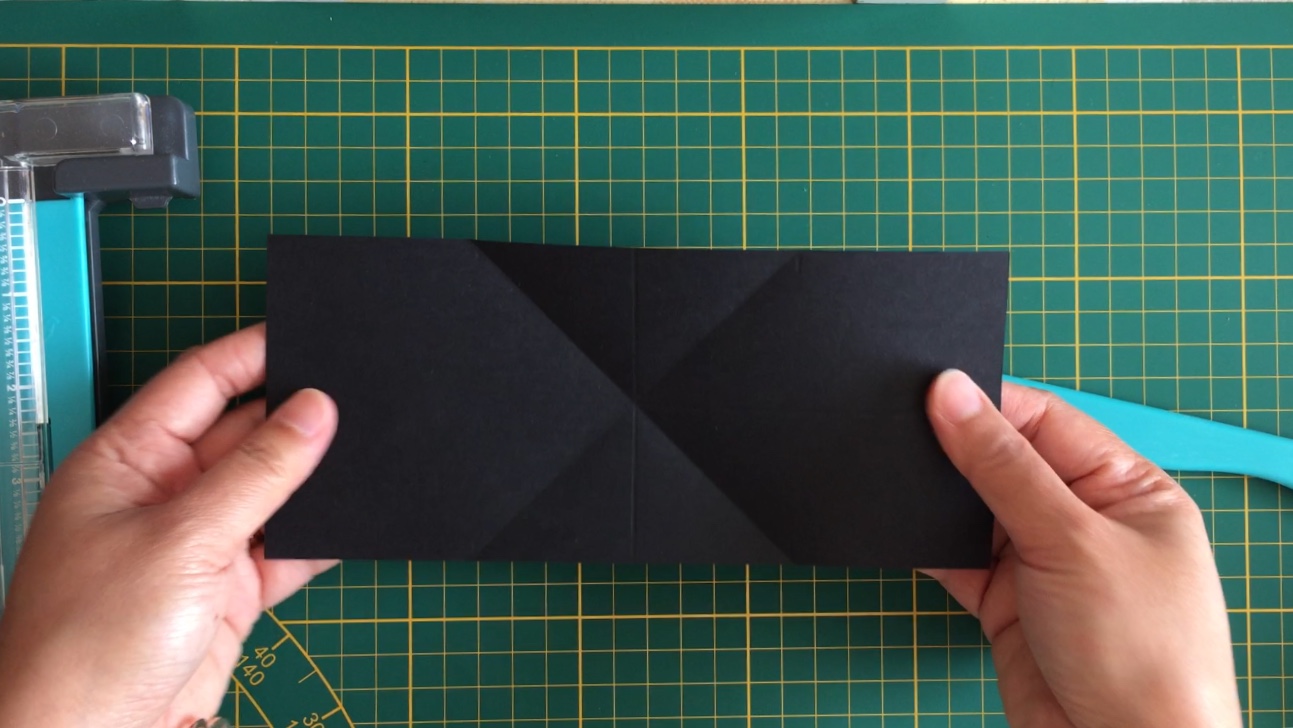
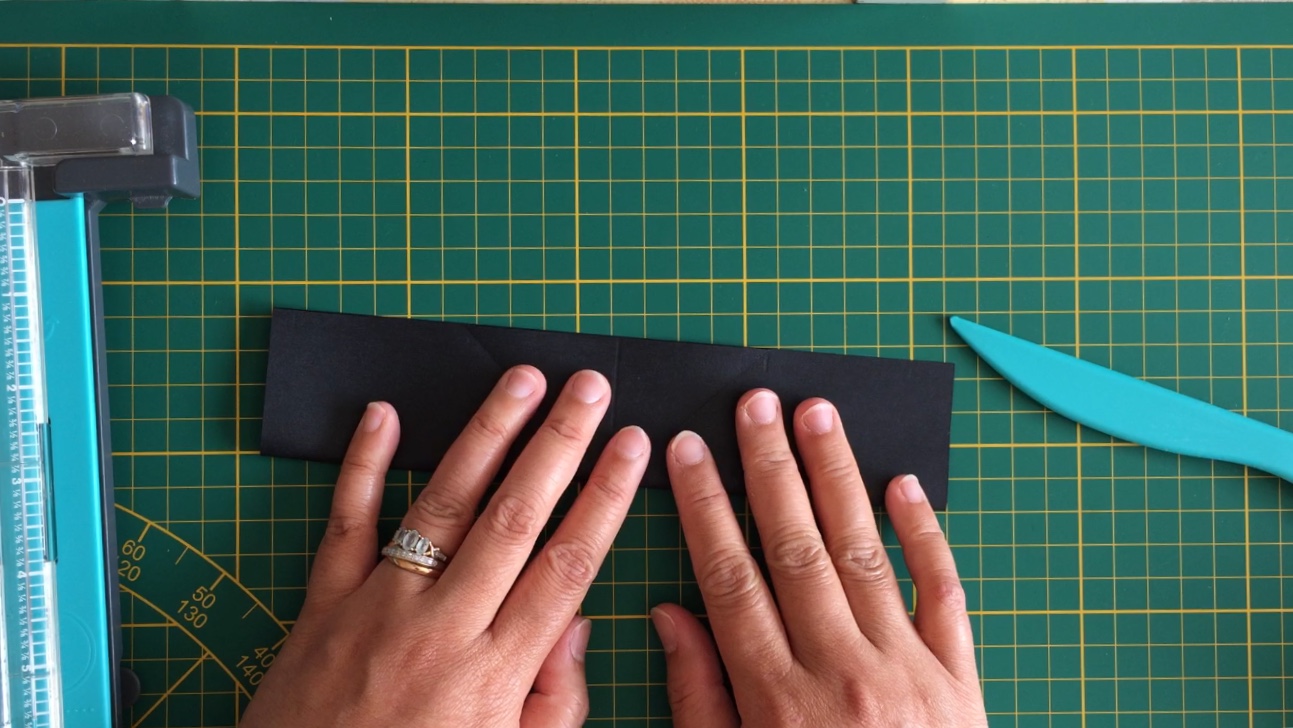
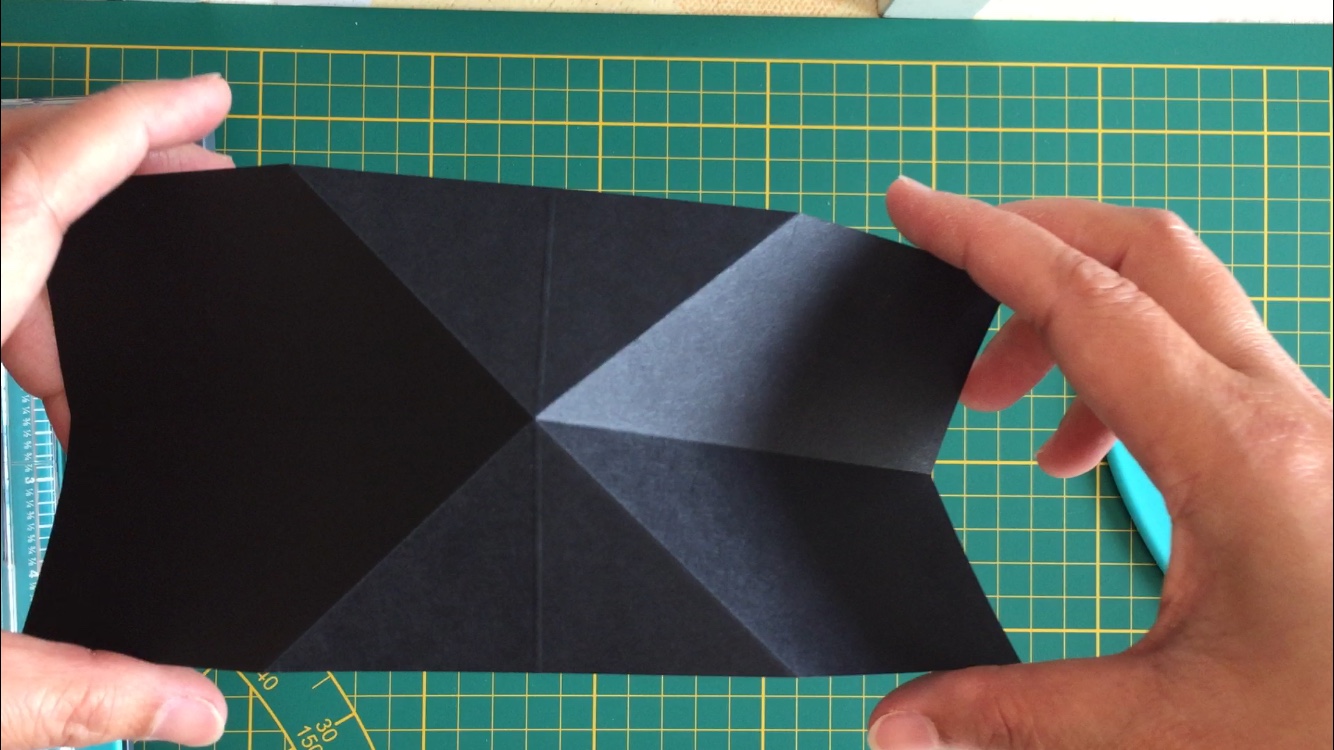
Lastly, for the mechanism, it’s quite confusing but you can check in my video for a more detailed tutorial. So for scoring, position your card in a landscape then score at 4" then make a notch or guide at 2 1/4” and 5 1/2” this will be the guide for folding in a diagonal position. Rotate the paper in a portrait position and score at 1 3/4” then fold. Let’s proceed for the folding, fold the paper in a half by the long side or landscape side. Then for the confusing part, fold each diagonal line and it must be formed as X. Make sure the cross lines and X lines are meet at the center for better result. Hold together the two flaps then press to the center to form a structure of a house. The two flaps at the bottom must be aligned. You can cut the excess part if not in the same measurement.


Now let’s proceed for the assembling the 3 parts of the card. 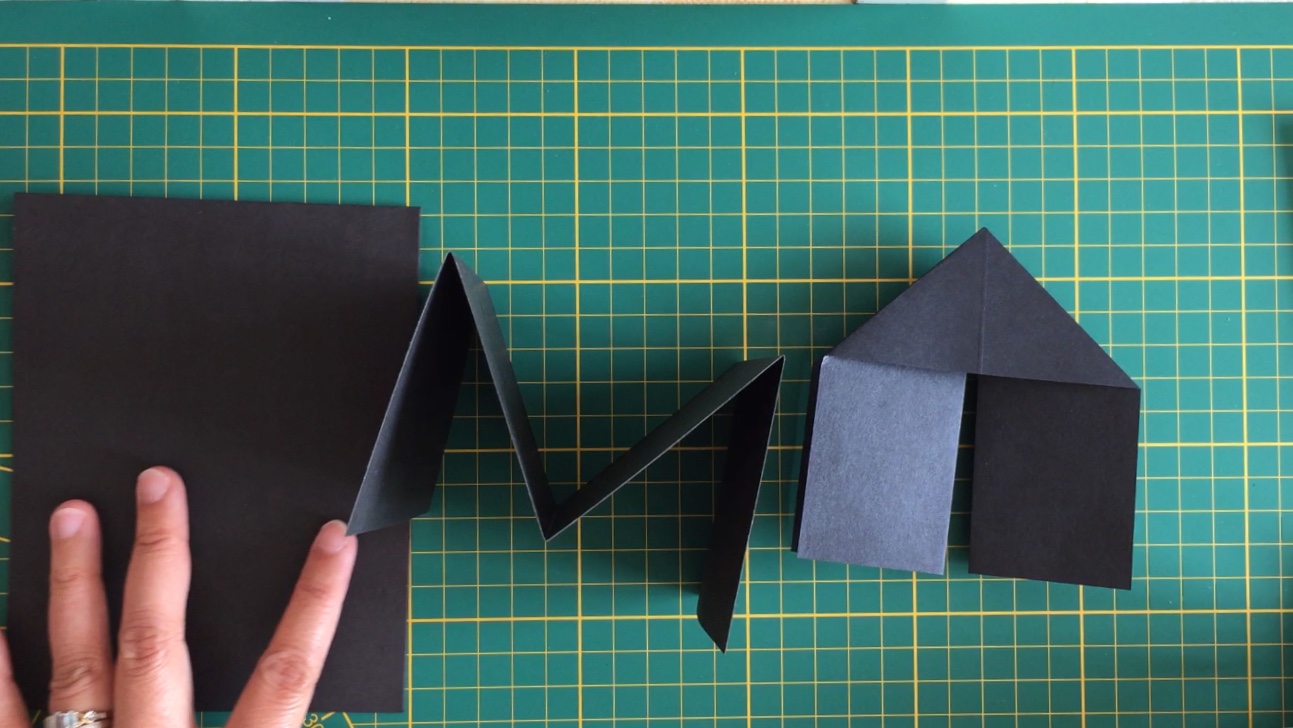
Step 3: Assemble the pieces
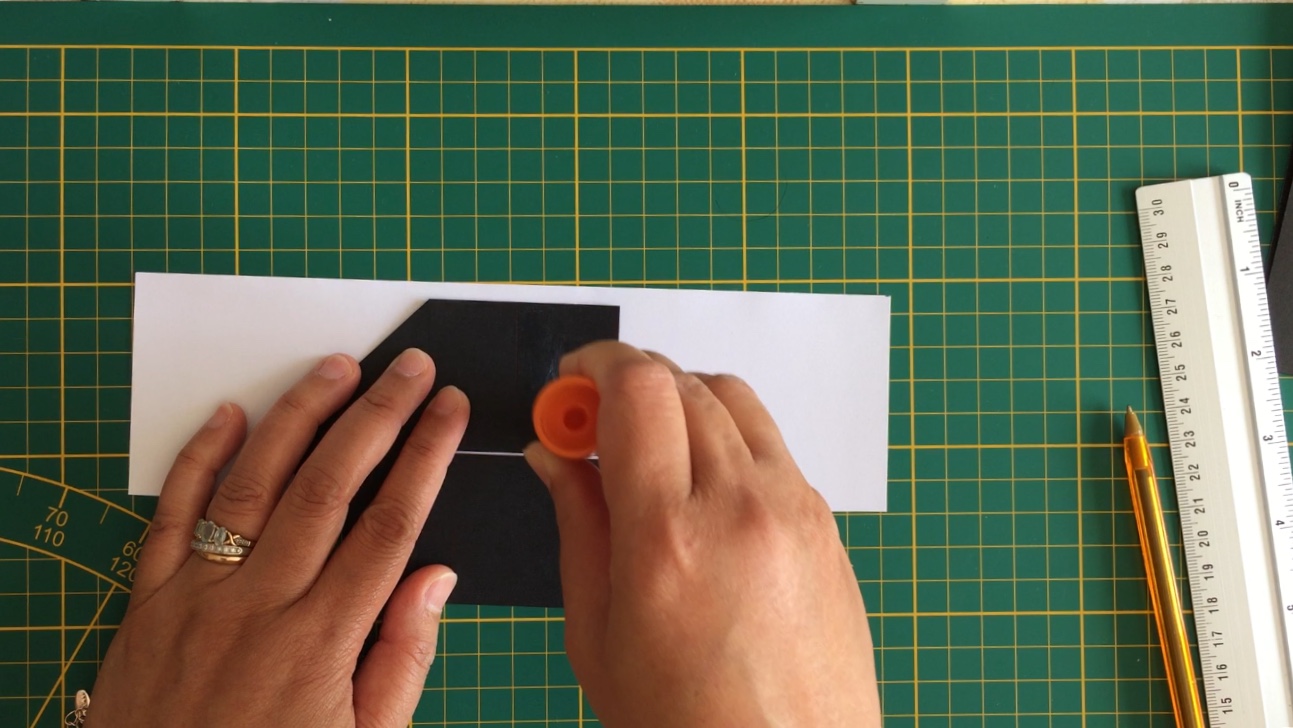
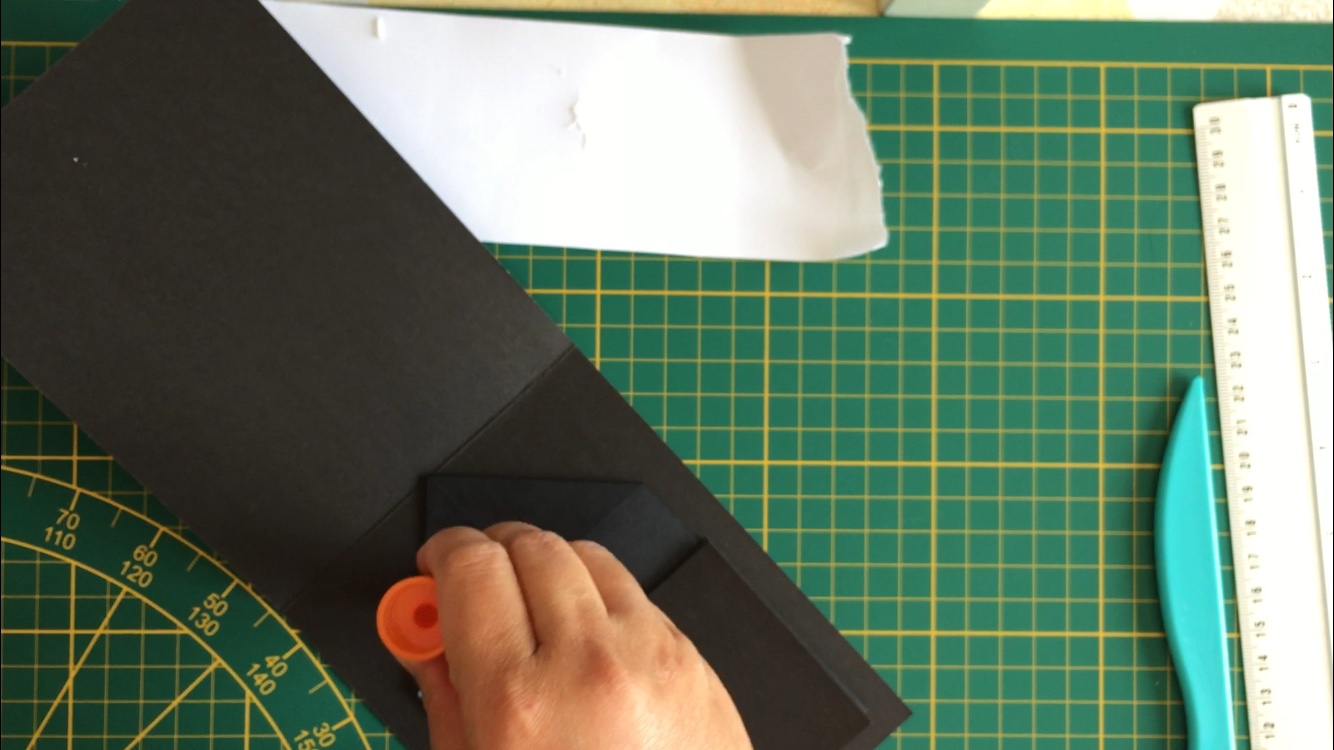
Now it’s time to assemble and stick all the 3 parts of the paper. Get the main card and measure the center. Paste the triangular shape of the mechanism then do the same in the other sides. Use a ruler or eyeball it for sticking in the center of the main card. Press gently and wait a few seconds before opening the card.


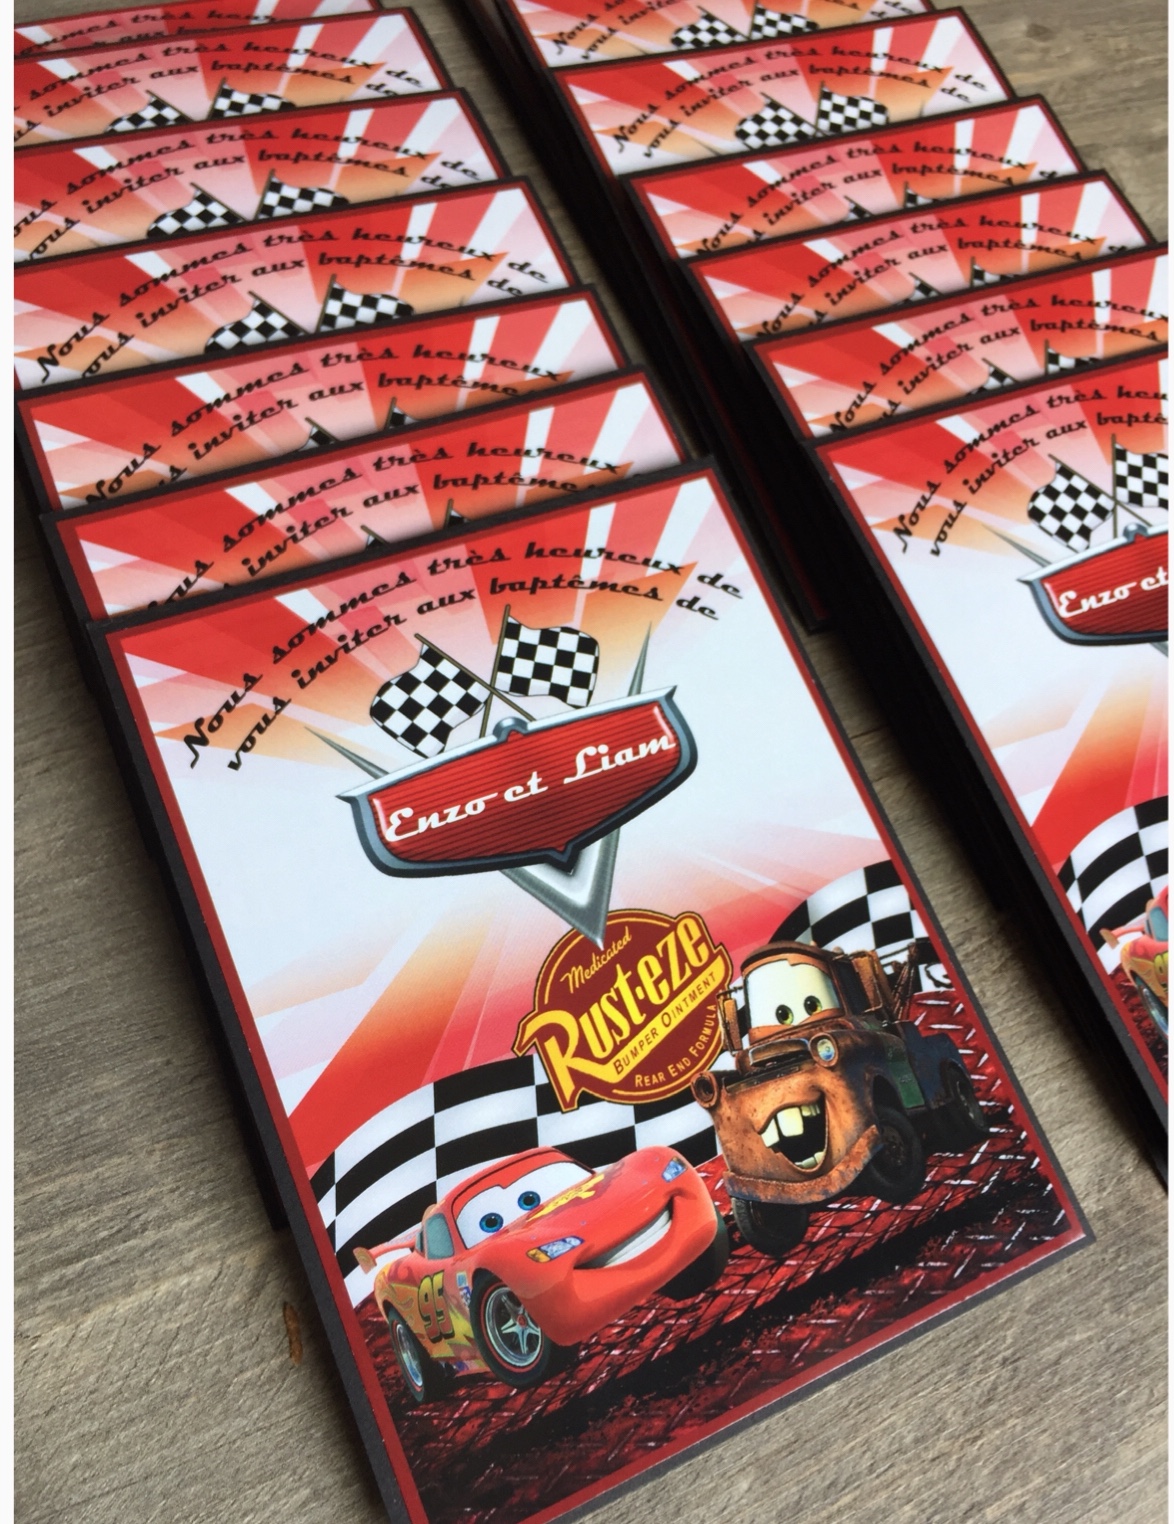
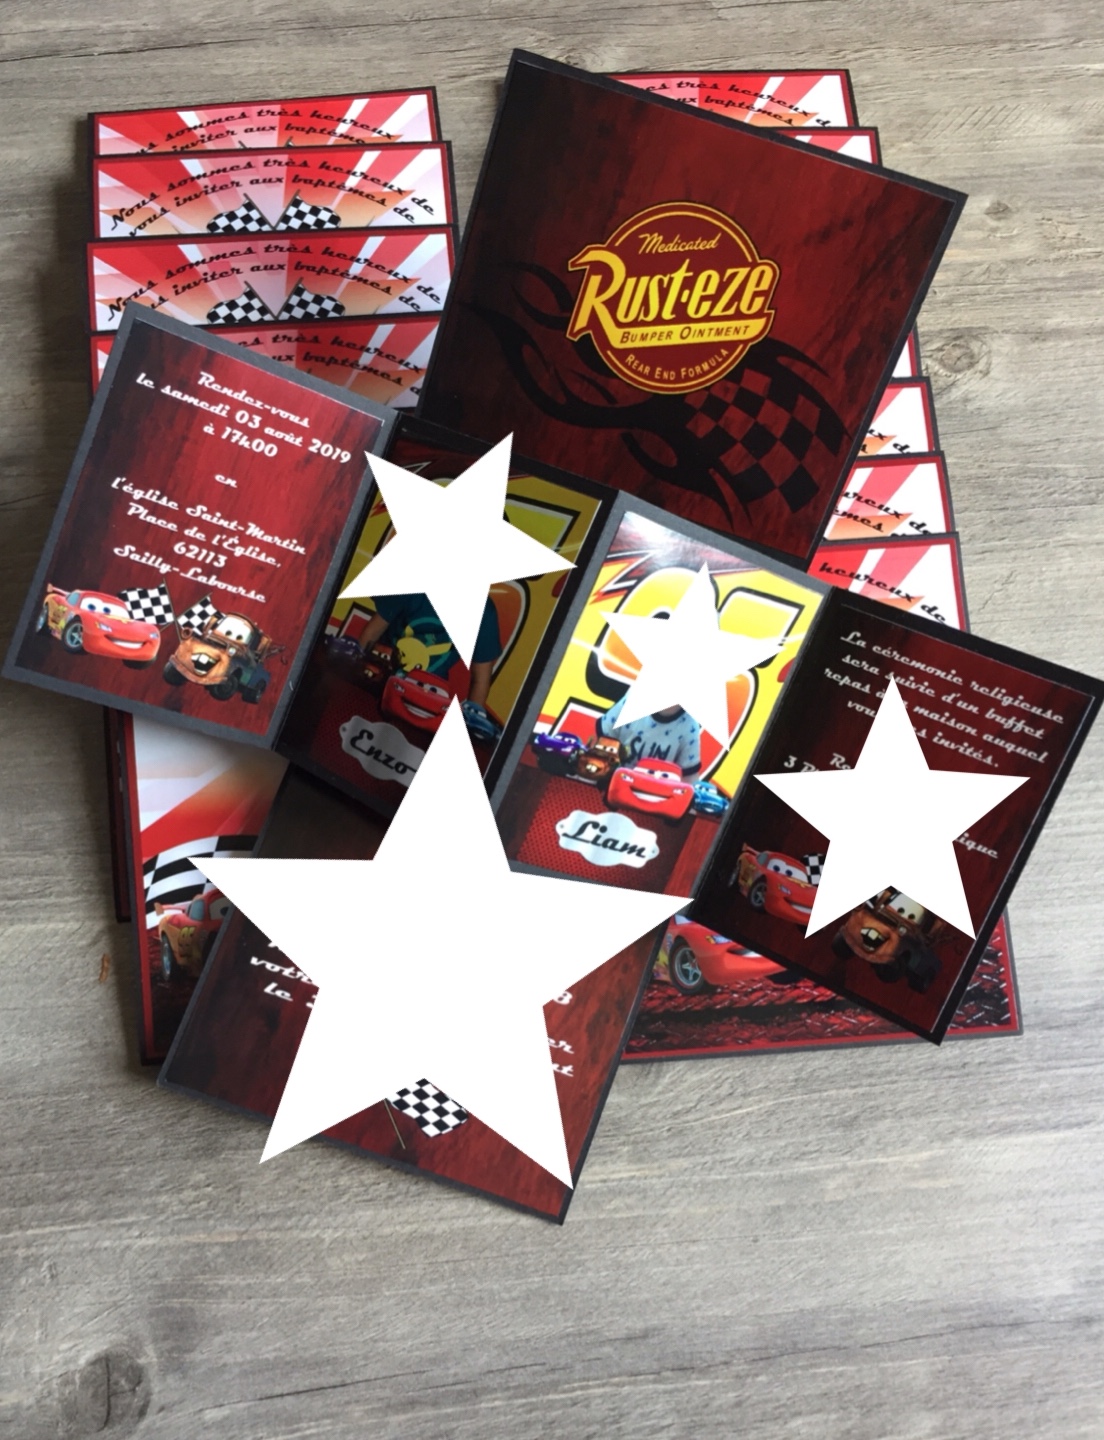
The skeleton of the card is already done! We can now stick all the designed printed details to the designated rooms or space of the card. I'm using illustrator for the layout and laser printer for the printing using photo paper glossy type. Since I started using illustrator, I enjoyed the software perfect for my invitation home-based sideline.


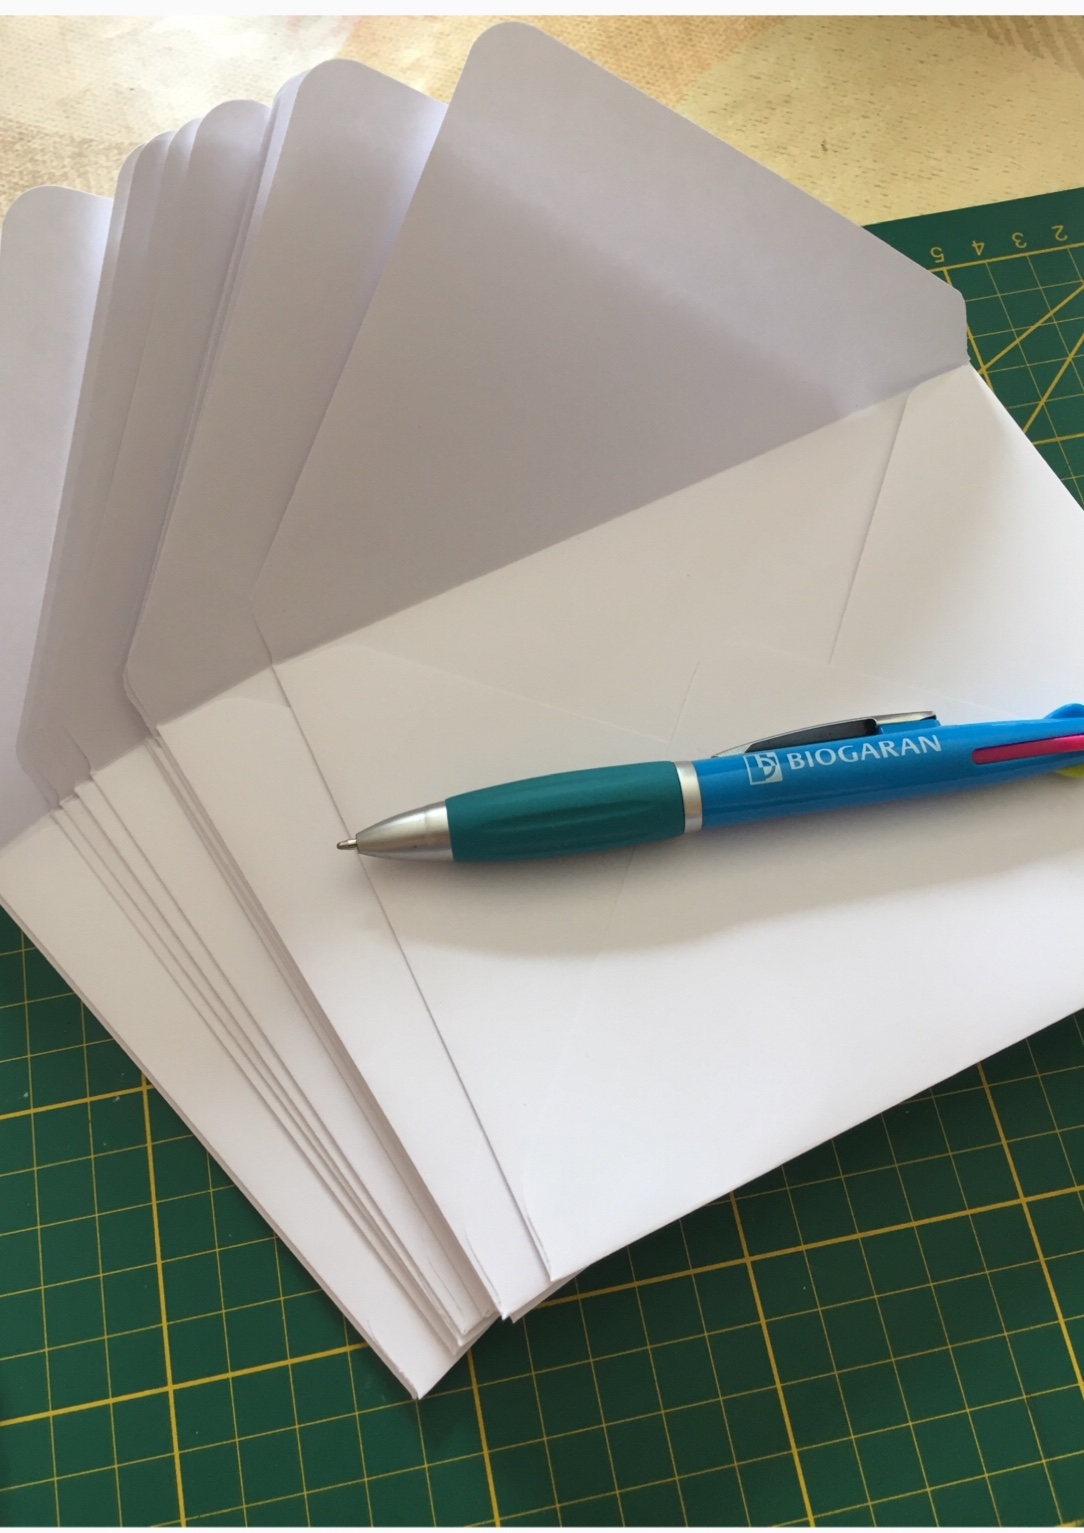
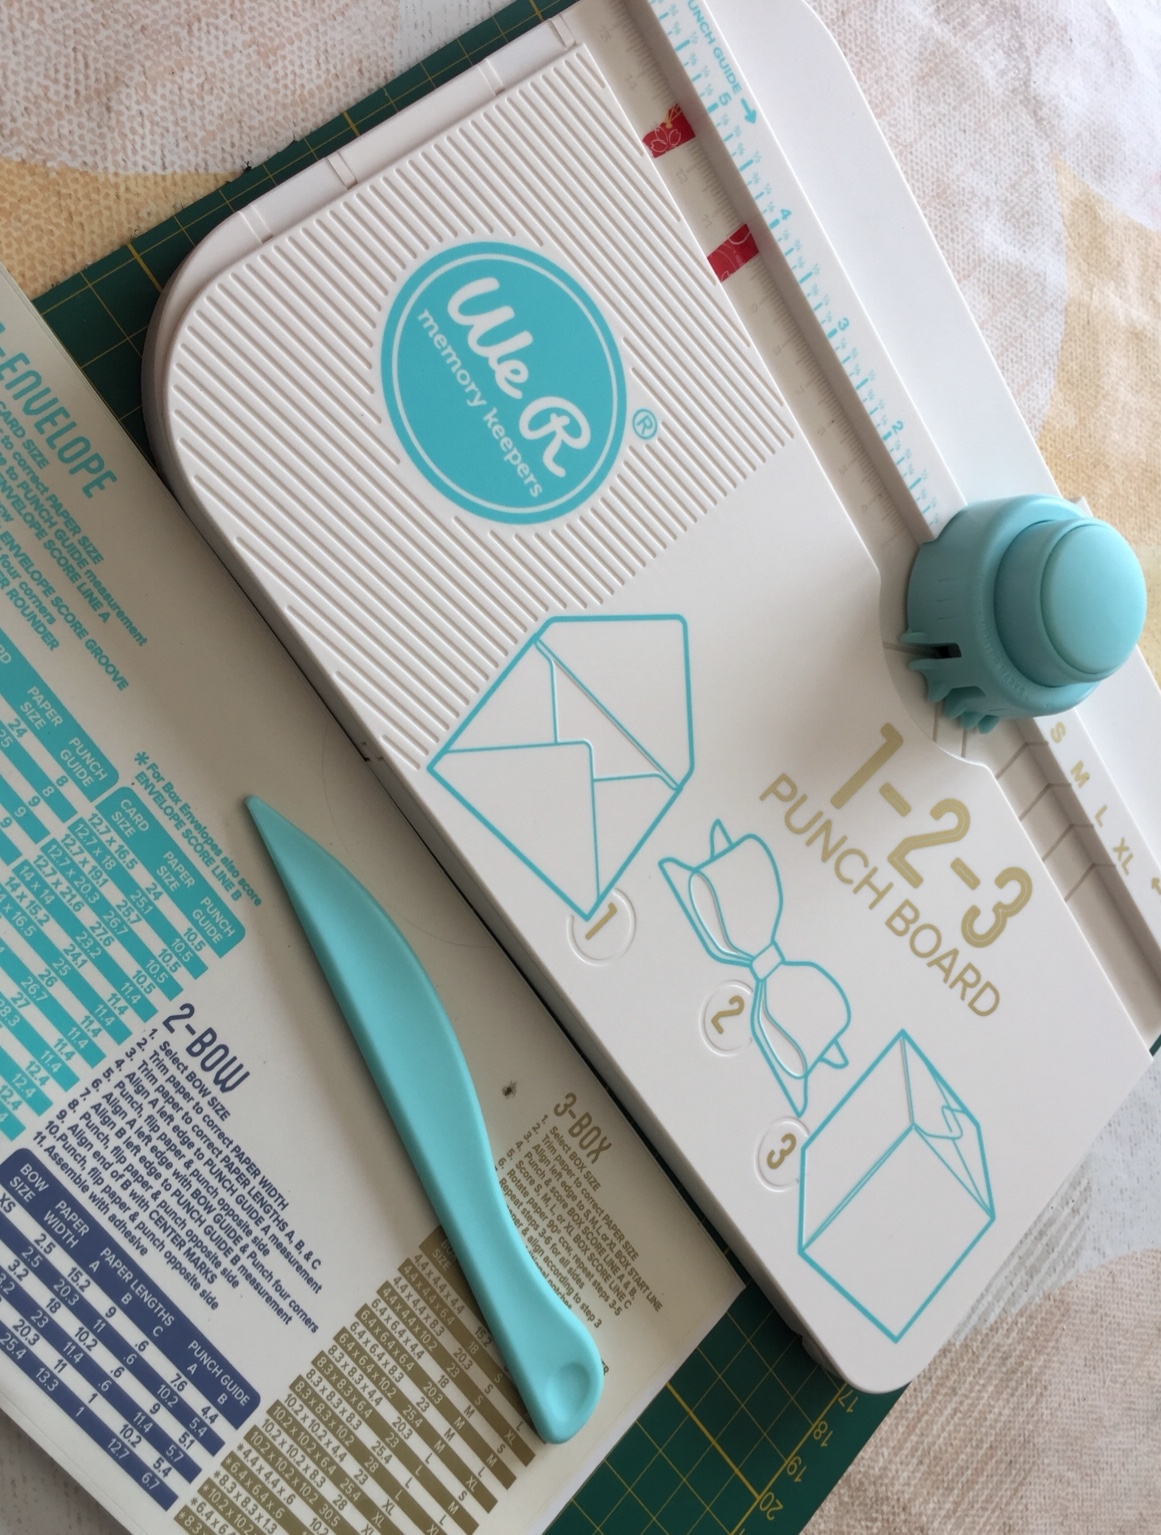
For the envelope, I customized using 160gsm plain white paper and WRMK (We are memory keepers 1-2-3 punchboard tool).
So that's it! A simple and common type of card making. Here's my link for my youtube channel for a more detailed tutorial. Hope you like my tutorial and see you next time!
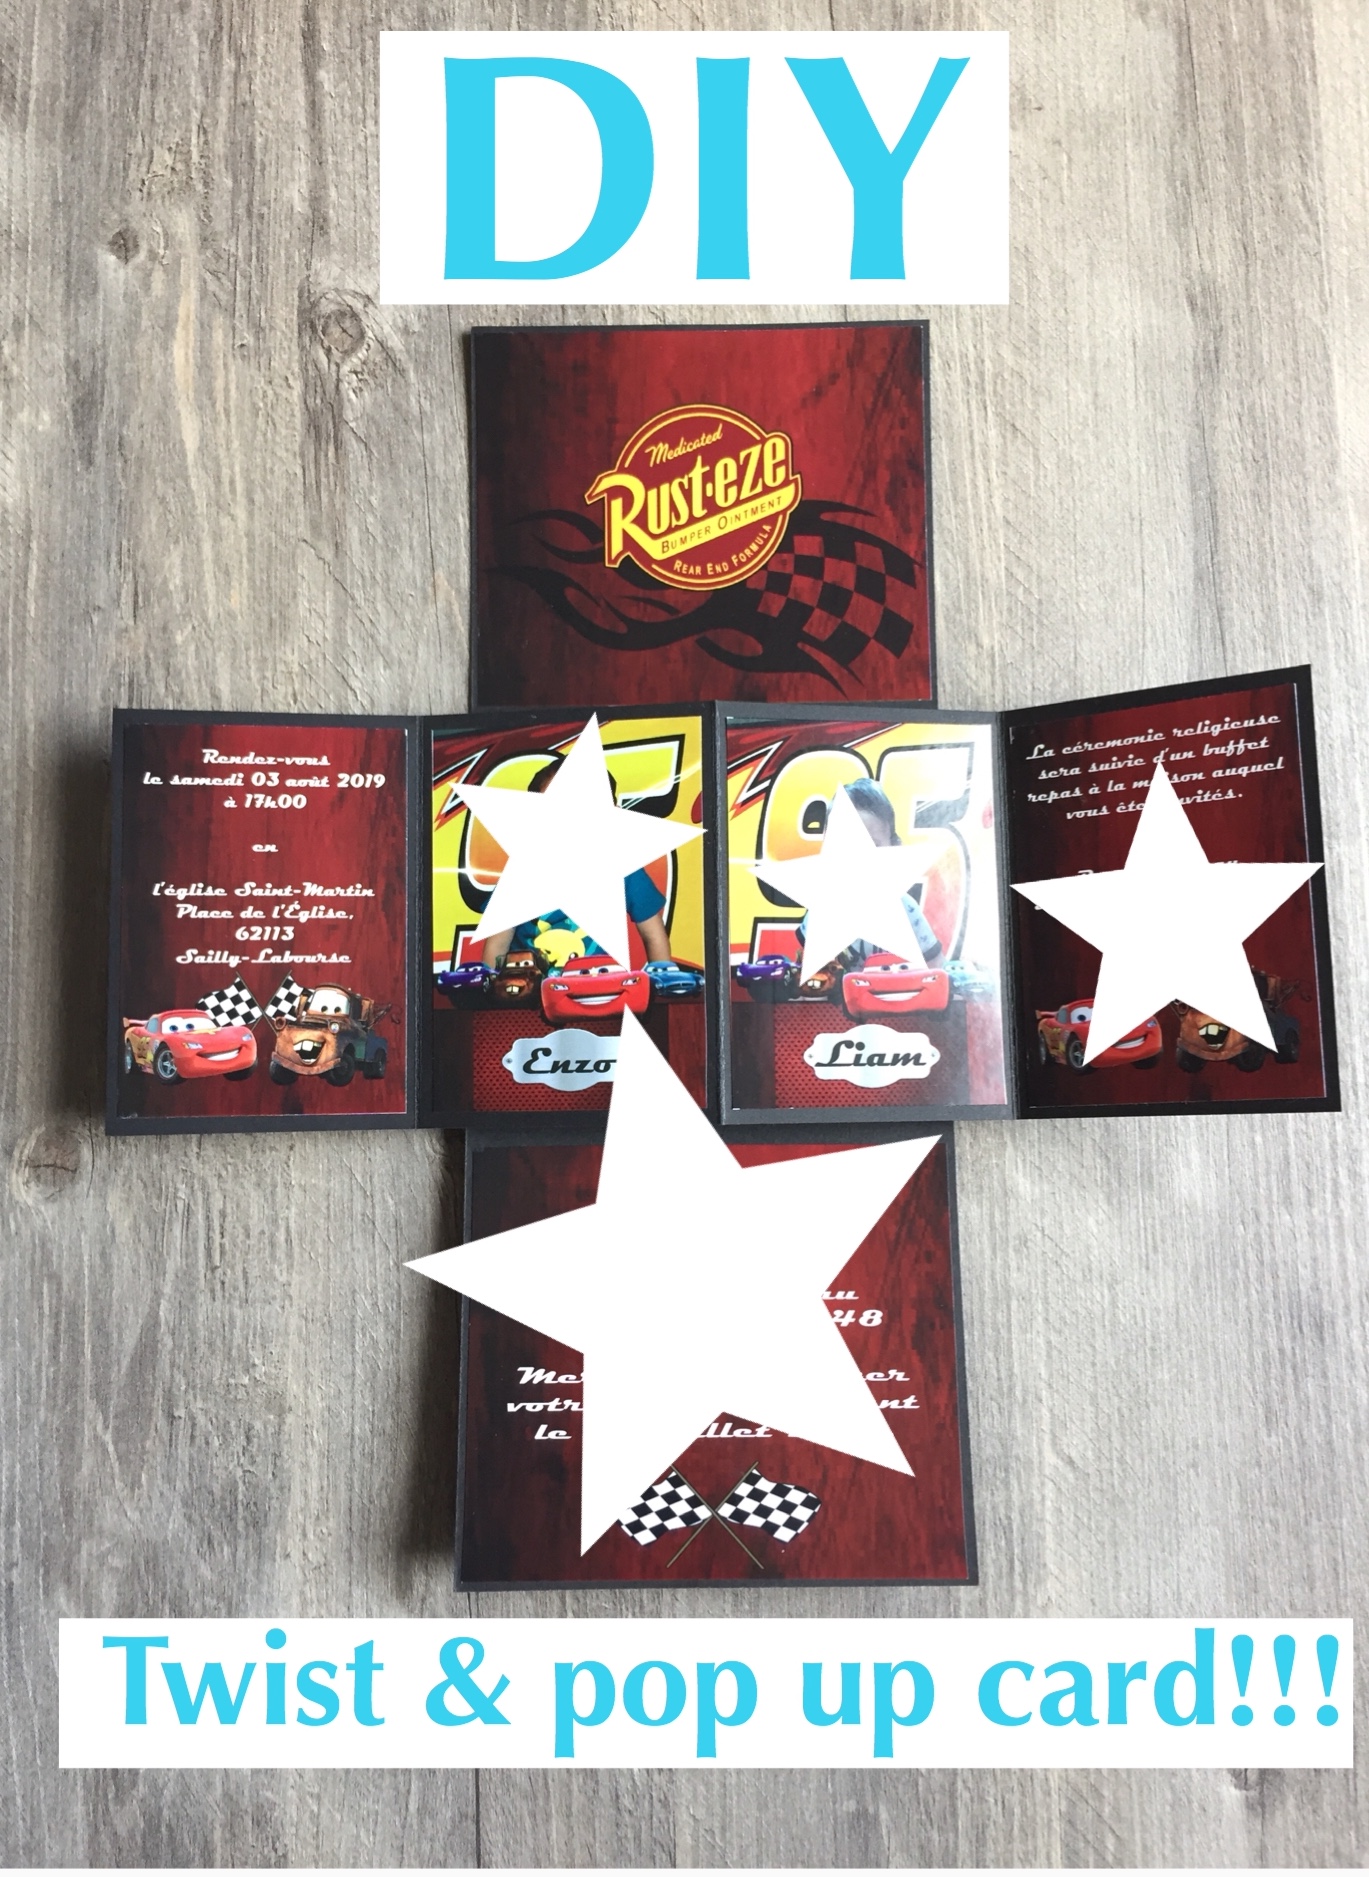
DIY Twist & pop-up card tutorial!!!
Wait! We are not yet done! I will give 1 steem giveaways to the first person who will comment on my youtube tutorial. I will be doing this giveaways every time I uploaded a video on my youtube channel, so check it out and win a simple game!
So here's the mechanics of the game:
1.) You must be my follower in steemit, upvote this post but I'm not forcing you, and share this post so everybody can join. 2.) You must subscribe in my youtube channel, like and share the video but clicking the notification bell is not necessary.
NOTE: Make sure you are public in subscribing my channel so it’s easy to check, Thanks!
So take the chance to win! Sorry for my reward, I just come back to steemit, and hope I can give more the next time. As long as I can upload in my youtube channel I will be posting here in steemit and make a new giveaways again. So please check the link down below for my youtube channel.
DIY Twist & pop-up card tutorial!!!
P. S. You can visit my facebook page at this link: Craftytionery

Thanks for dropping by!
Have you already cast your vote for a witness? Please support sir @surpassinggoogle by typing "steemgigs" here in the box below or you can type "surpassinggoogle" as a proxy in your behalf.


Keep calm and be creative!
