### ***El color blanco es fundamental en el diseño y la pintura, sirviendo principalmente para representar la luz y las luces indirectas. Se utiliza para destacar luces en las pinturas y también para modificar otros colores. En diseño, junto con el negro, es crucial para la expresión de luces y sombras.***
Usualmente, no se suele usar este color porque no se conoce específicamente su uso, pero en manos de un experto se logran grandes obras, yo recientemente estoy descubriendo el uso de este color, el cual era inexistente en mis obras.
Pero luego de ver como una amiga lo usaba para difuminar y crear degradados espectaculares en sus dibujos me dio mucha curiosidad el ver como se podría aplicar este color.
Es así como en este post he decidido nombrarlo el correcto empleo del color blanco.
# [Colores](https://es.pinterest.com/pin/10062799163600504/)

El blanco se utiliza para definir formas y crear contraste, permitiendo al artista construir imágenes complejas.
Se destaca la importancia del blanco en la definición de contornos y la creación de una composición visualmente atractiva en dibujos en blanco y negro, es por eso que para empezar a explicar de manera sencilla vamos a realizar un dibujo fácil.
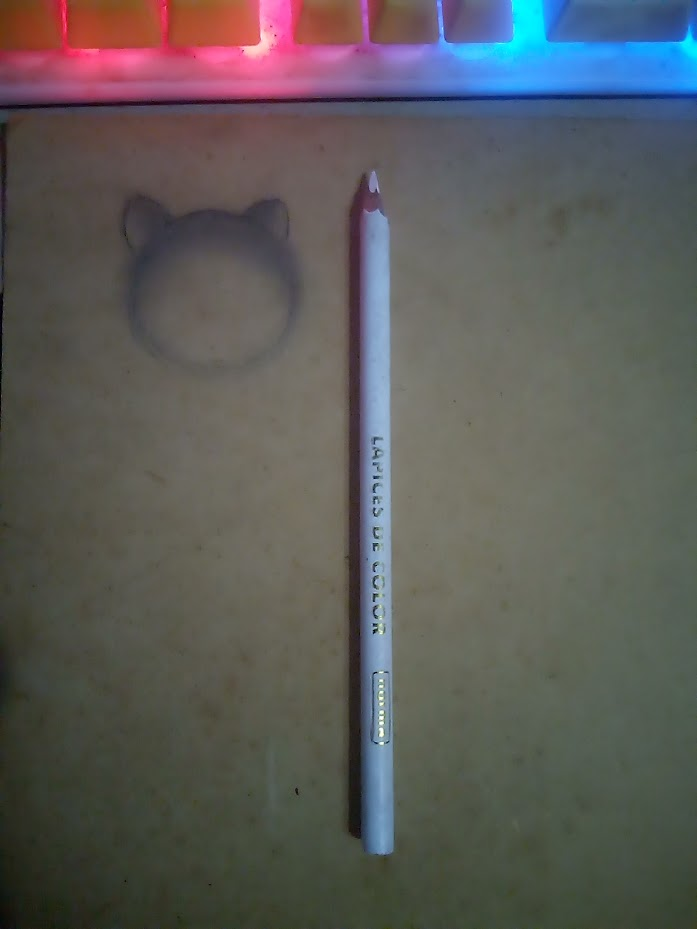
El material que voy a utilizar en esta ocasión es un cartón llamado cartón piedra lo decidí usar porque es color beige contrasta bien y se notará la diferencia de colores, de igual manera se puede aplicar en hoja blanca, pero difuminando colores como normalmente es el negro y contrastando con el blanco para crear rayos de luz.

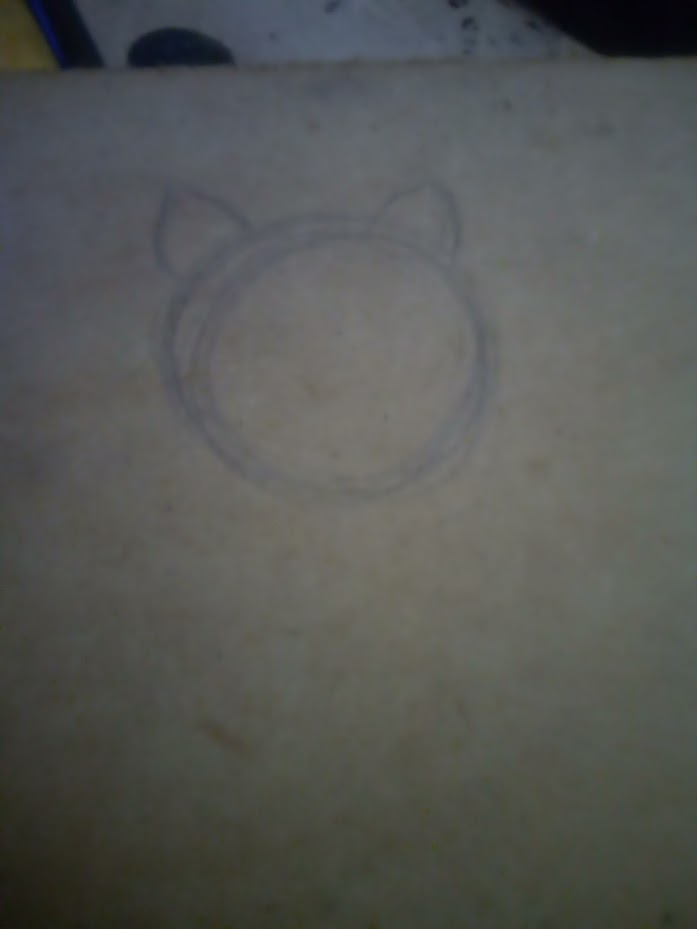
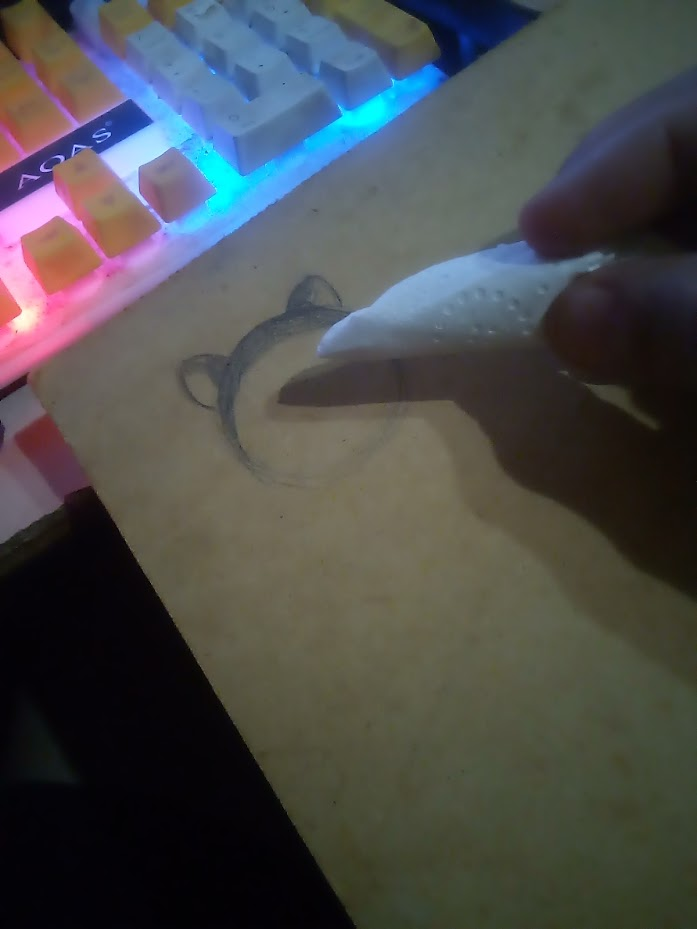
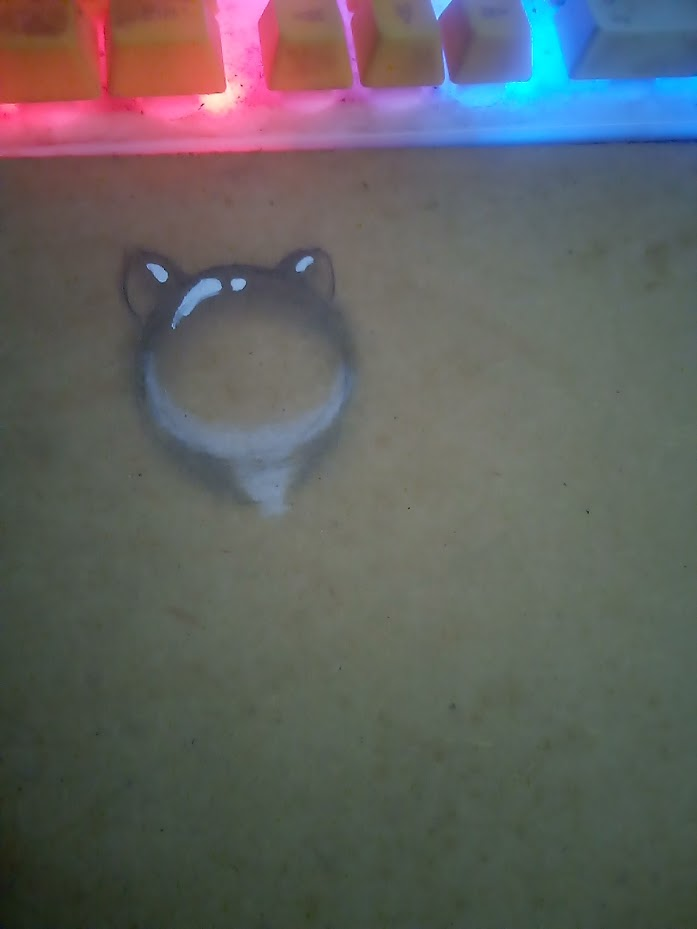
Con ayuda de un compás podemos trazar un círculo, yo lo voy a hacer con forma de gatito porque es mi estilo y así me gusta, ustedes pueden darle la forma que más les guste.

En la parte superior con un lápiz de grafito o carboncillo o incluso un color negro comenzamos a marcar la zona donde carece de luz, para esto debemos saber donde queremos que se proyecte la luz y así saber donde colocar la iluminación.
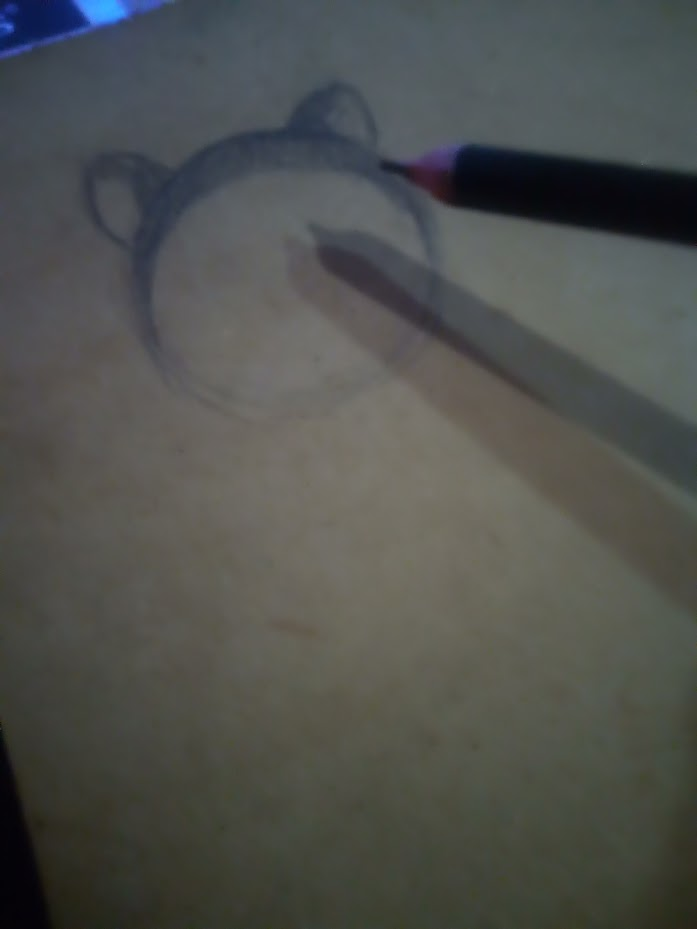

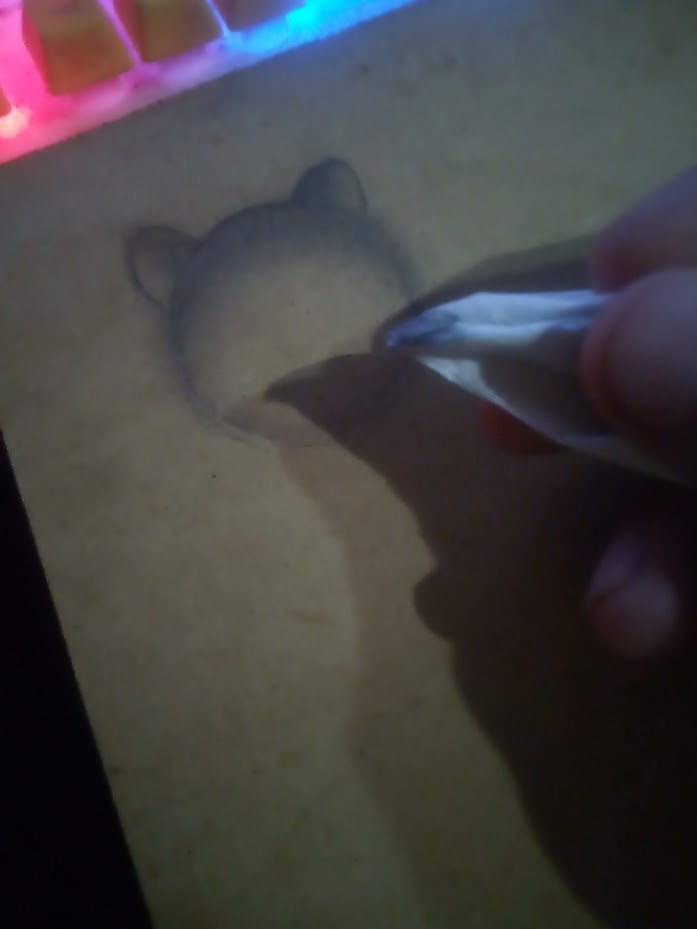
Con ayuda de servilleta o una tela vamos a difuminar esa zona solo un poco para que no se esparza por todo el dibujo y nos quede espacio para la iluminación, el difuminado también se puede hacer con la punta del dedo.
|||
|-|-|

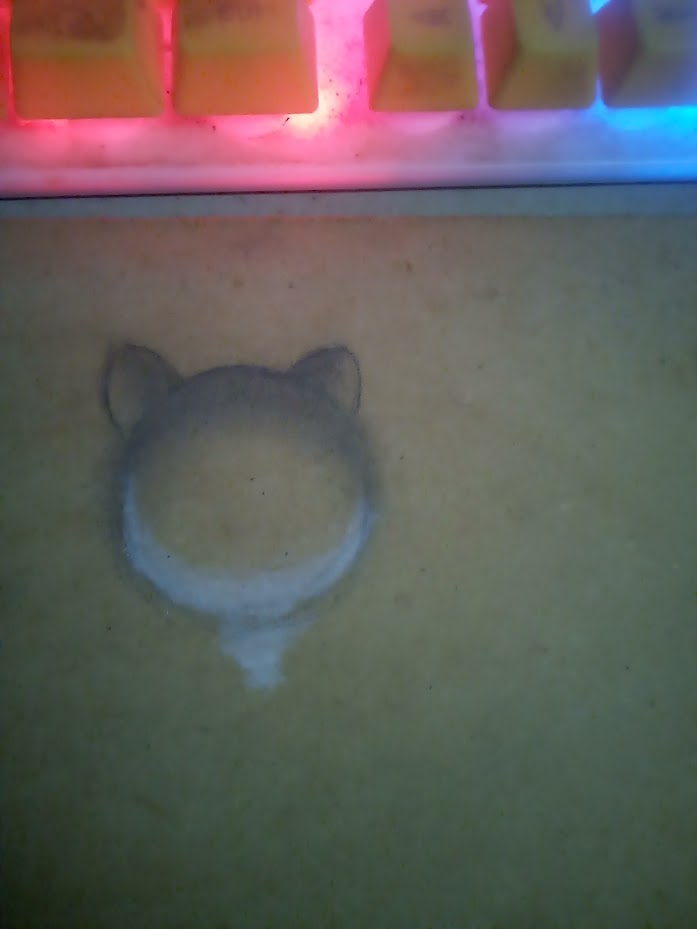
Ahora para saber donde aplicar la luz o iluminación casi siempre va en sentido contrario de la sombra, así que con nuestro color blanco que apartamos siempre esta vez será el protagonista porque sin este color aplicado sería una obra solo de sombras.
Así que aplicando lo anterior repetimos, marcamos y difuminamos.

>! [ENGLISH VERSION GENERATED BY GOOGLE TRANSLATE]
>>###
|||
|-|-|

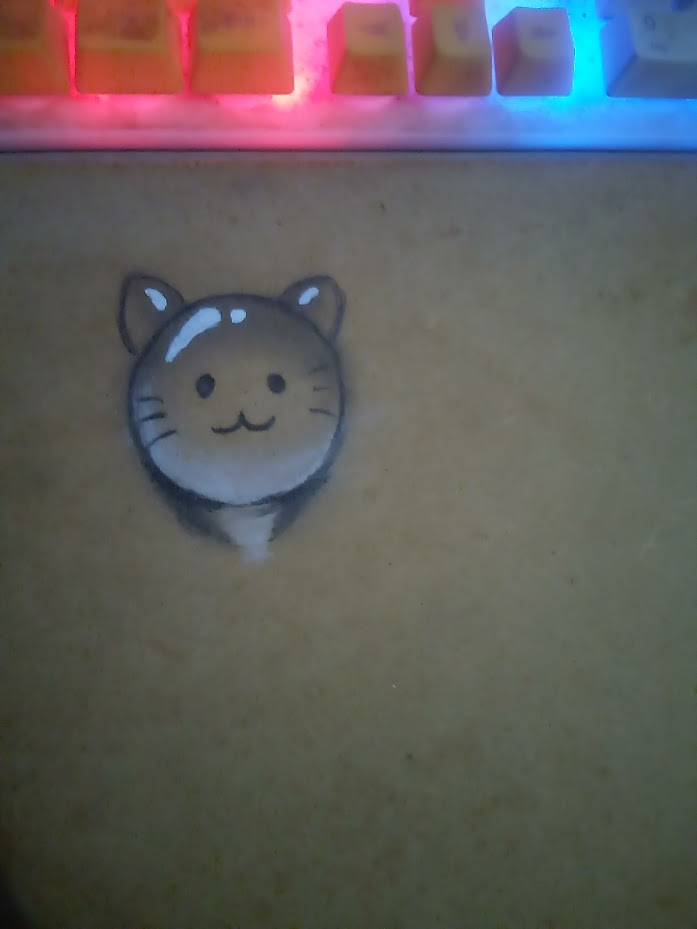
Luego con ayuda de un correcto vamos a crearle los destellos que son esos puntos y rayas de color blanco más intensos, pero esto también se puede lograr con un color o marcador blanco.
Ya solo quedaría delinear muy finamente para que no pierda la esencia de ser algo líquido porque si las líneas son muy grandes se vuelve algo muy sólido, en mi caso hice las líneas un poco gruesas pero funciona.
||||
|-|-|-|
Una vez terminado, ¿ustedes que opinan, utilizarían esta técnica?

.................................................................
F U L L // A R T
.................................................................


***Considera unirte a nuestro trail de curación en HIVEVOTE haciendo clic en la imagen inferior, Les agradecemos todo el apoyo.***
[](https://hive.vote/dash.php?i=1&trail=takeru255)
**A todos los artistas ahí afuera en HIVE, si alguna vez se sienten solos y perdidos, únanse al [canal de Discord](https://discord.gg/BTH5VMj9HX) de Bokura No Digital World**
### ***The color white is fundamental in design and painting, primarily used to represent light and indirect light. It's used to highlight highlights in paintings and also to modify other colors. In design, along with black, it's crucial for expressing light and shadow.***
Usually, this color isn't used because its specific uses aren't known, but in the hands of an expert, great works can be achieved. I'm recently discovering the use of this color, which was nonexistent in my works.
But after seeing how a friend used it to blur and create spectacular gradients in her drawings, I became very curious to see how this color could be applied.
That's why, in this post, I've decided to describe the correct use of white.

# [Colors](https://es.pinterest.com/pin/10062799163600504/)

White is used to define shapes and create contrast, allowing the artist to construct complex images.
The importance of white in defining contours and creating a visually appealing composition is emphasized in black and white drawings. To begin our simple explanation, we'll create a simple drawing.
The material I'm going to use this time is cardboard called papier-mâché. I decided to use it because its beige color contrasts well, and the difference in colors will be noticeable. It can also be applied to a white sheet of paper, but blending colors, as is usually the case with black, and contrasting them with white to create rays of light.


With the help of a compass we can draw a circle. I'm going to make it in the shape of a kitten because that's my style and I like it that way. You can give it any shape you like best.


At the top, using a graphite or charcoal pencil, or even a black pencil, we begin to mark the area where there is a lack of light. To do this, we need to know where we want the light to be projected and thus know where to place the lighting.


Using a napkin or cloth, we're going to blend that area just a little so that it doesn't spread throughout the drawing and we have room for the lighting. Blending can also be done with a fingertip.
|||
|-|-|

Now, to know where to apply light or illumination, it almost always goes in the opposite direction to the shadow, so with our white color that we always set aside, this time it will be the protagonist because without this color applied, it would be a work of shadows only.
So, applying the above, we repeat, marking, and blending.
|||
|-|-|

Then, with the help of a marker, we'll create the sparkles, which are those more intense white dots and stripes. This can also be achieved with a white marker or color.
The only thing left to do is outline it very finely so that it doesn't lose its liquid essence. If the lines are too thick, it becomes very solid. In my case, I made the lines a little thick, but it works.
||||
|-|-|-|
Once finished, what do you think, would you use this technique?

.................................................................
F U L L // A R T
.................................................................


Grateful to all of you who are also part of my life. 💖
#### Well, from here I say goodbye, I hope you like my work like I do every day that I see and know that there are people dedicated to commenting on me and giving me encouragement to continue.  # ***May the light be the key that guides your hearts.***
#hive-134572
Payout: 0.000 HBD
Votes: 103
More interactions (upvote, reblog, reply) coming soon.