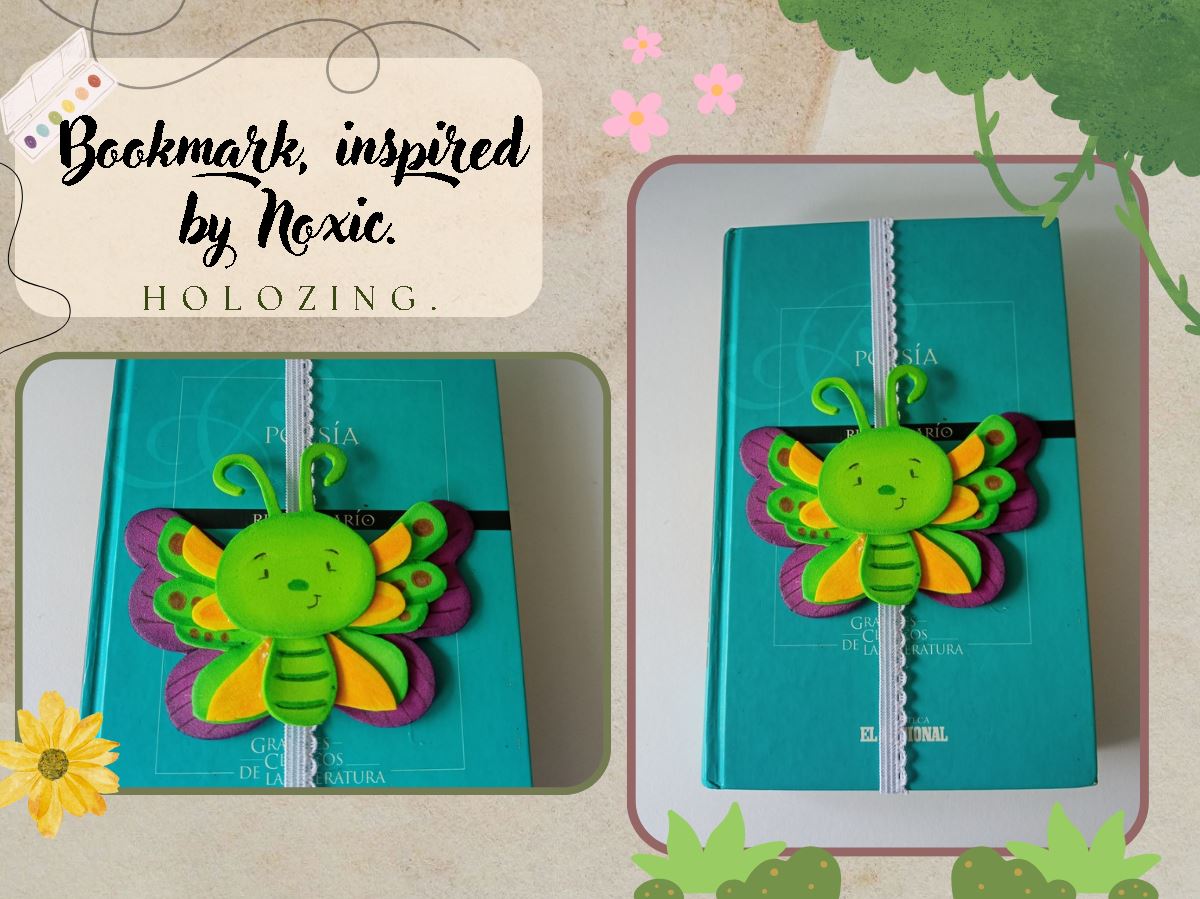
**✨¡Buenas tardes, amigos de holozing!✨** Espero que estén pasando una excelente semana. Por mi parte, estoy contenta de pasar por aquí a compartir una linda idea con ustedes. En esta ocasión, les comparto el paso a paso para elaborar una linda decoración de marcapáginas, inspirada en Noxic. Me encanta este tipo de marcapáginas simple pero hermoso, con una liga o elástico. También puede ser una cinta, pero me parece más bonita, resistente y fácil de usar.
Esta vez, quise elaborar a la criatura completa, pues creo que en mis creaciones solo le había hecho las alitas, que para mí son preciosas, pero esta vez me animé y quedó muy linda..
**🔸Sin más que añadir, a continuación los dejo con el paso a paso:**
>
**✨Good afternoon, holozing friends!✨** I hope you're having a great week. For my part, I'm happy to stop by to share a lovely idea with you. This time, I'm sharing the step-by-step instructions for making a beautiful bookmark decoration, inspired by Noxic. I love this simple yet beautiful bookmark, with a rubber band or elastic. It can also be a ribbon, but I find it prettier, more durable, and easier to use.
This time, I wanted to make the whole creature. I think I'd only made the wings in my previous creations, which I think are beautiful, but this time I took the plunge, and it turned out very cute.
> **🔸Without more to add, then I leave you with the step by step:**
---

|||
|-|-|


|||
|-|-|


|||
|-|-|


||||
|-|-|-|

---
❤️ Hasta la próxima publicación.
❤️ Until the next post.
---
🐦 [Twitter](https://twitter.com/valpba)
---

---
**!TE DESEO UN GRAN DÏA¡**
Todas las fotografías son de mi propiedad.
Separador y Fotos editadas en [Canva](https://www.canva.com/)
**!I WISH YOU A GOOD DAY**
All photographs are my property.
Photos edited in [Canva](https://www.canva.com/)
**♥️ESPERO QUE TE GUSTE,
¡Empecemos!**
**♥️I HOPE YOU LIKE IT,
Let's start!**
---

# ✂️ *MATERIALES* | ✂️ *MATERIALS*

- Foami morado.
- Foami verde.
- Foami amarillo.
- Liga.
- Pinturas y marcadores.
- Pegamento.
- Tijeras.
- Regla.
- Hoja blanca.
- Lápiz.
- Purple foam.
- Green foam.
- Yellow foam.
- Glue.
- Paints and markers.
- Glue.
- Scissors.
- Ruler.
- White paper.
- Pencil.

# ✨ *PROCEDIMIENTO* | ✨ *PROCESS*

###### ✨ PASO 1:
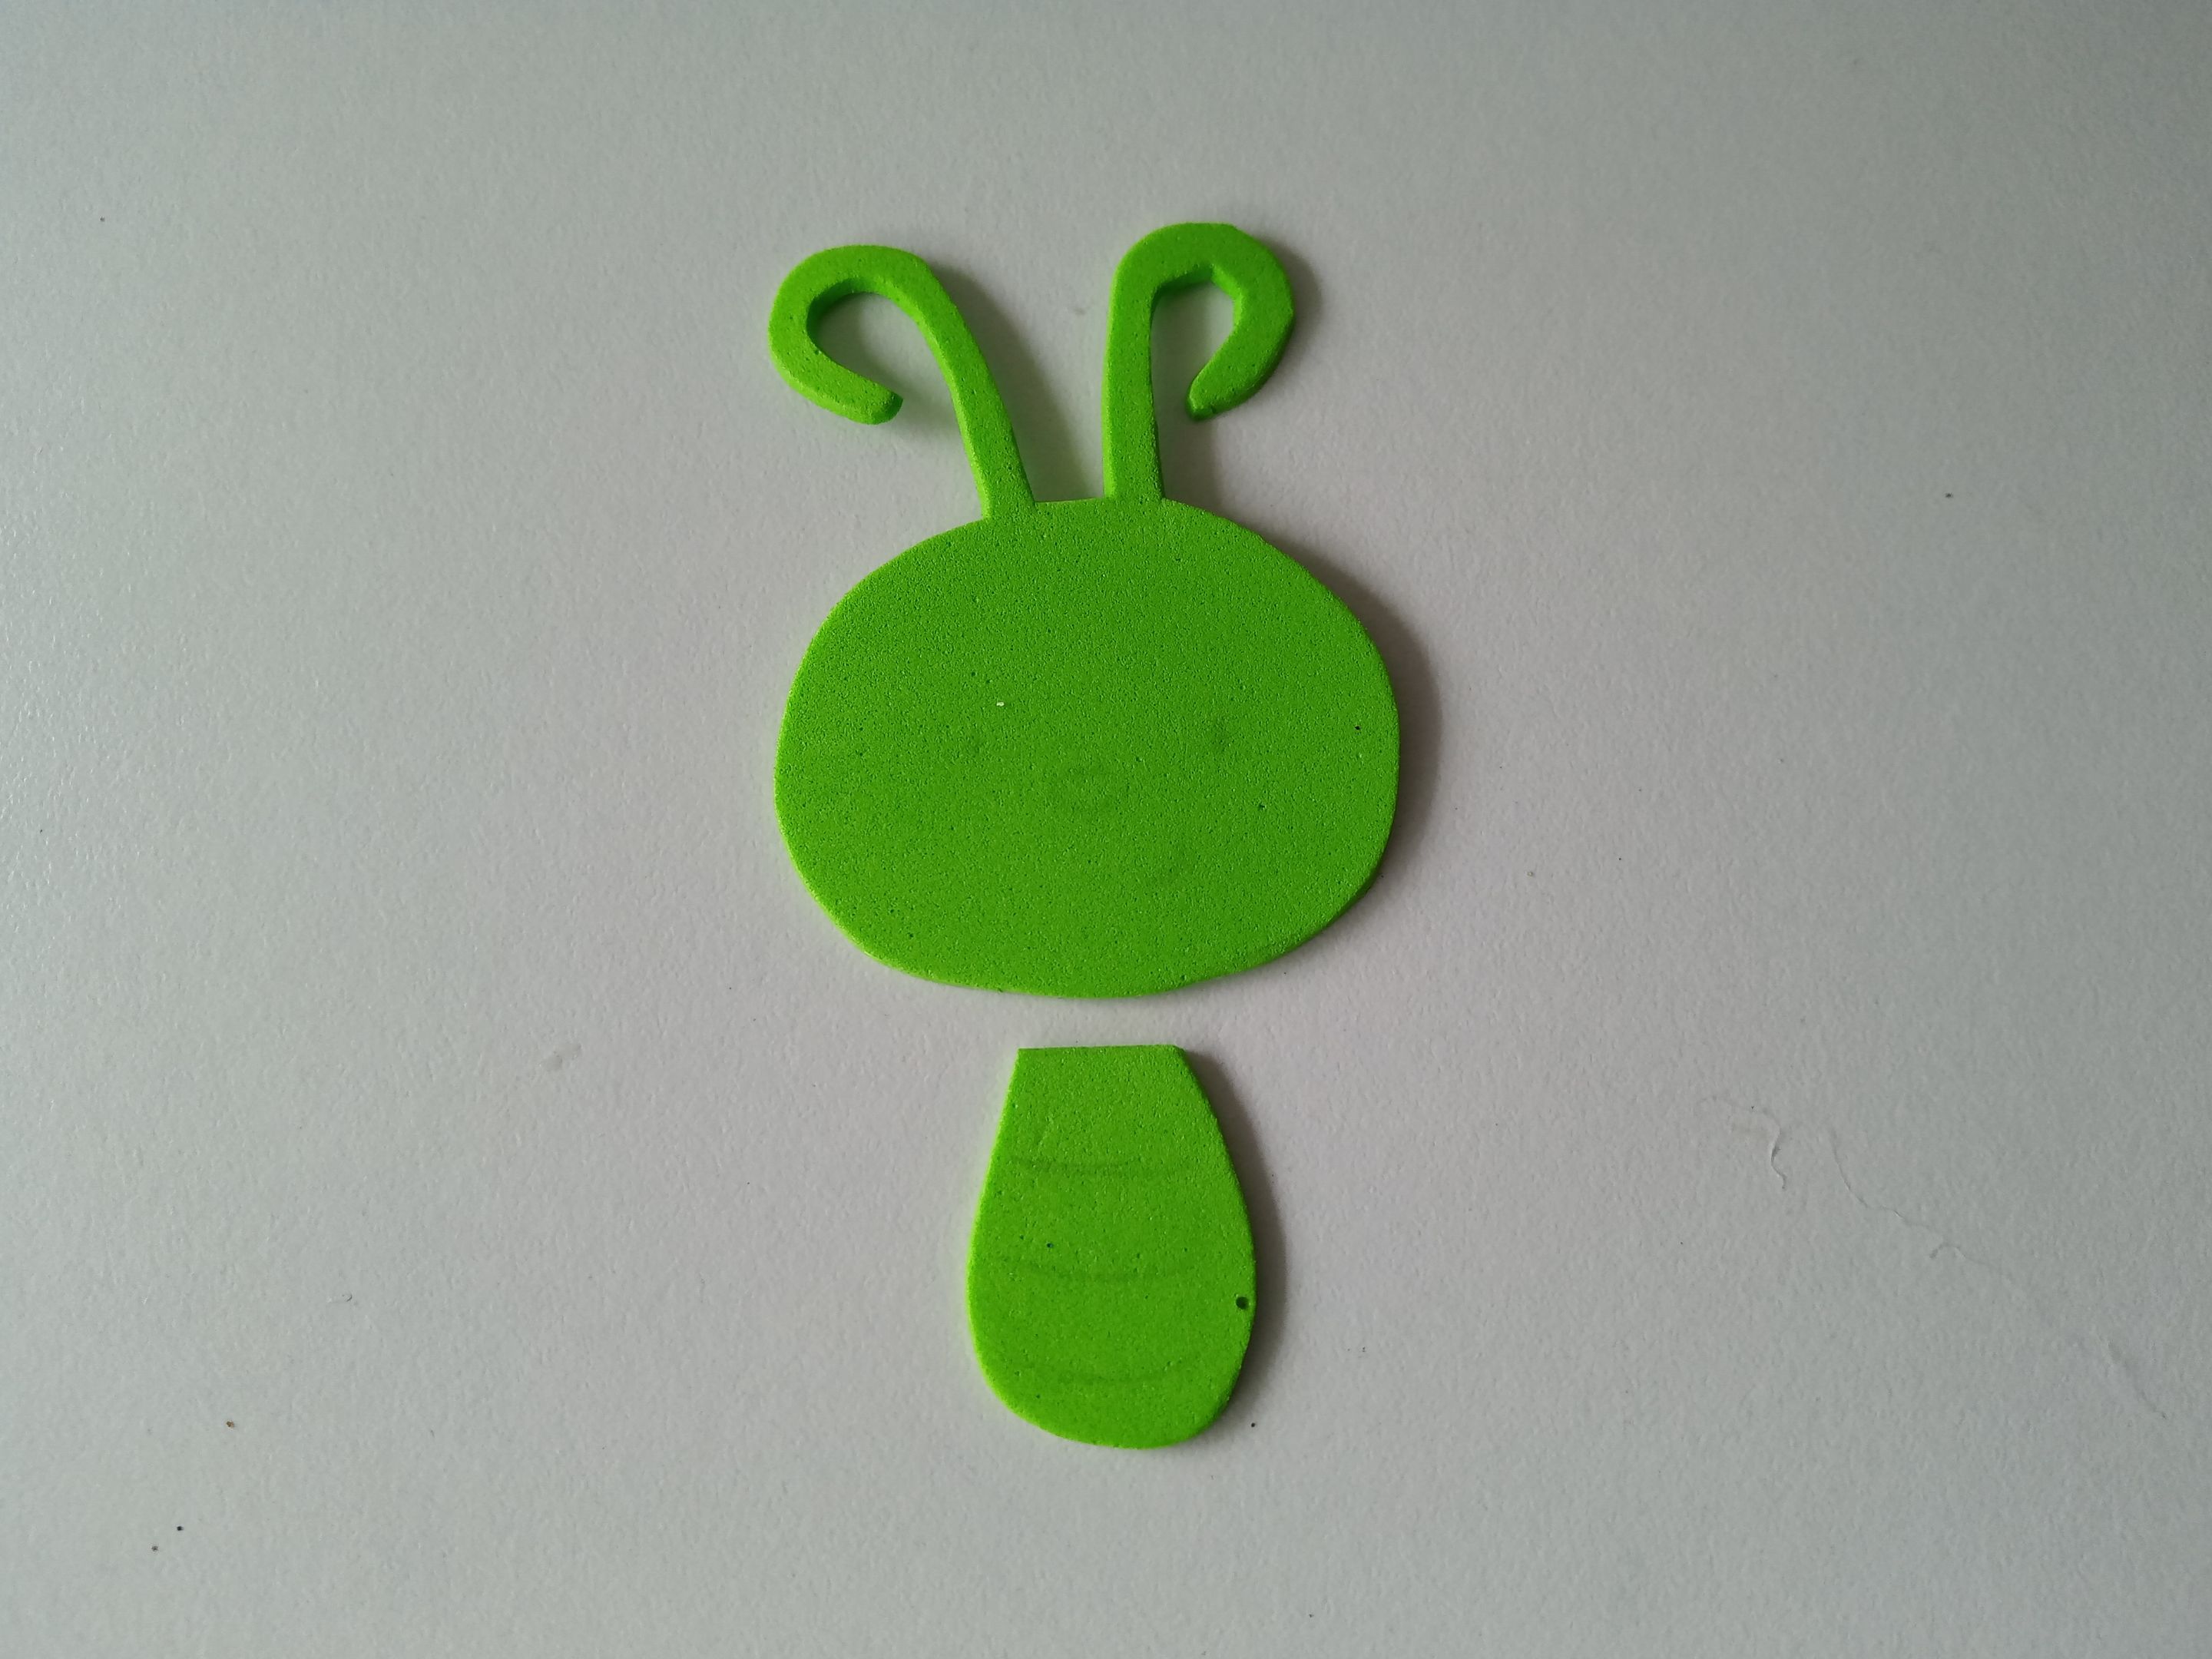
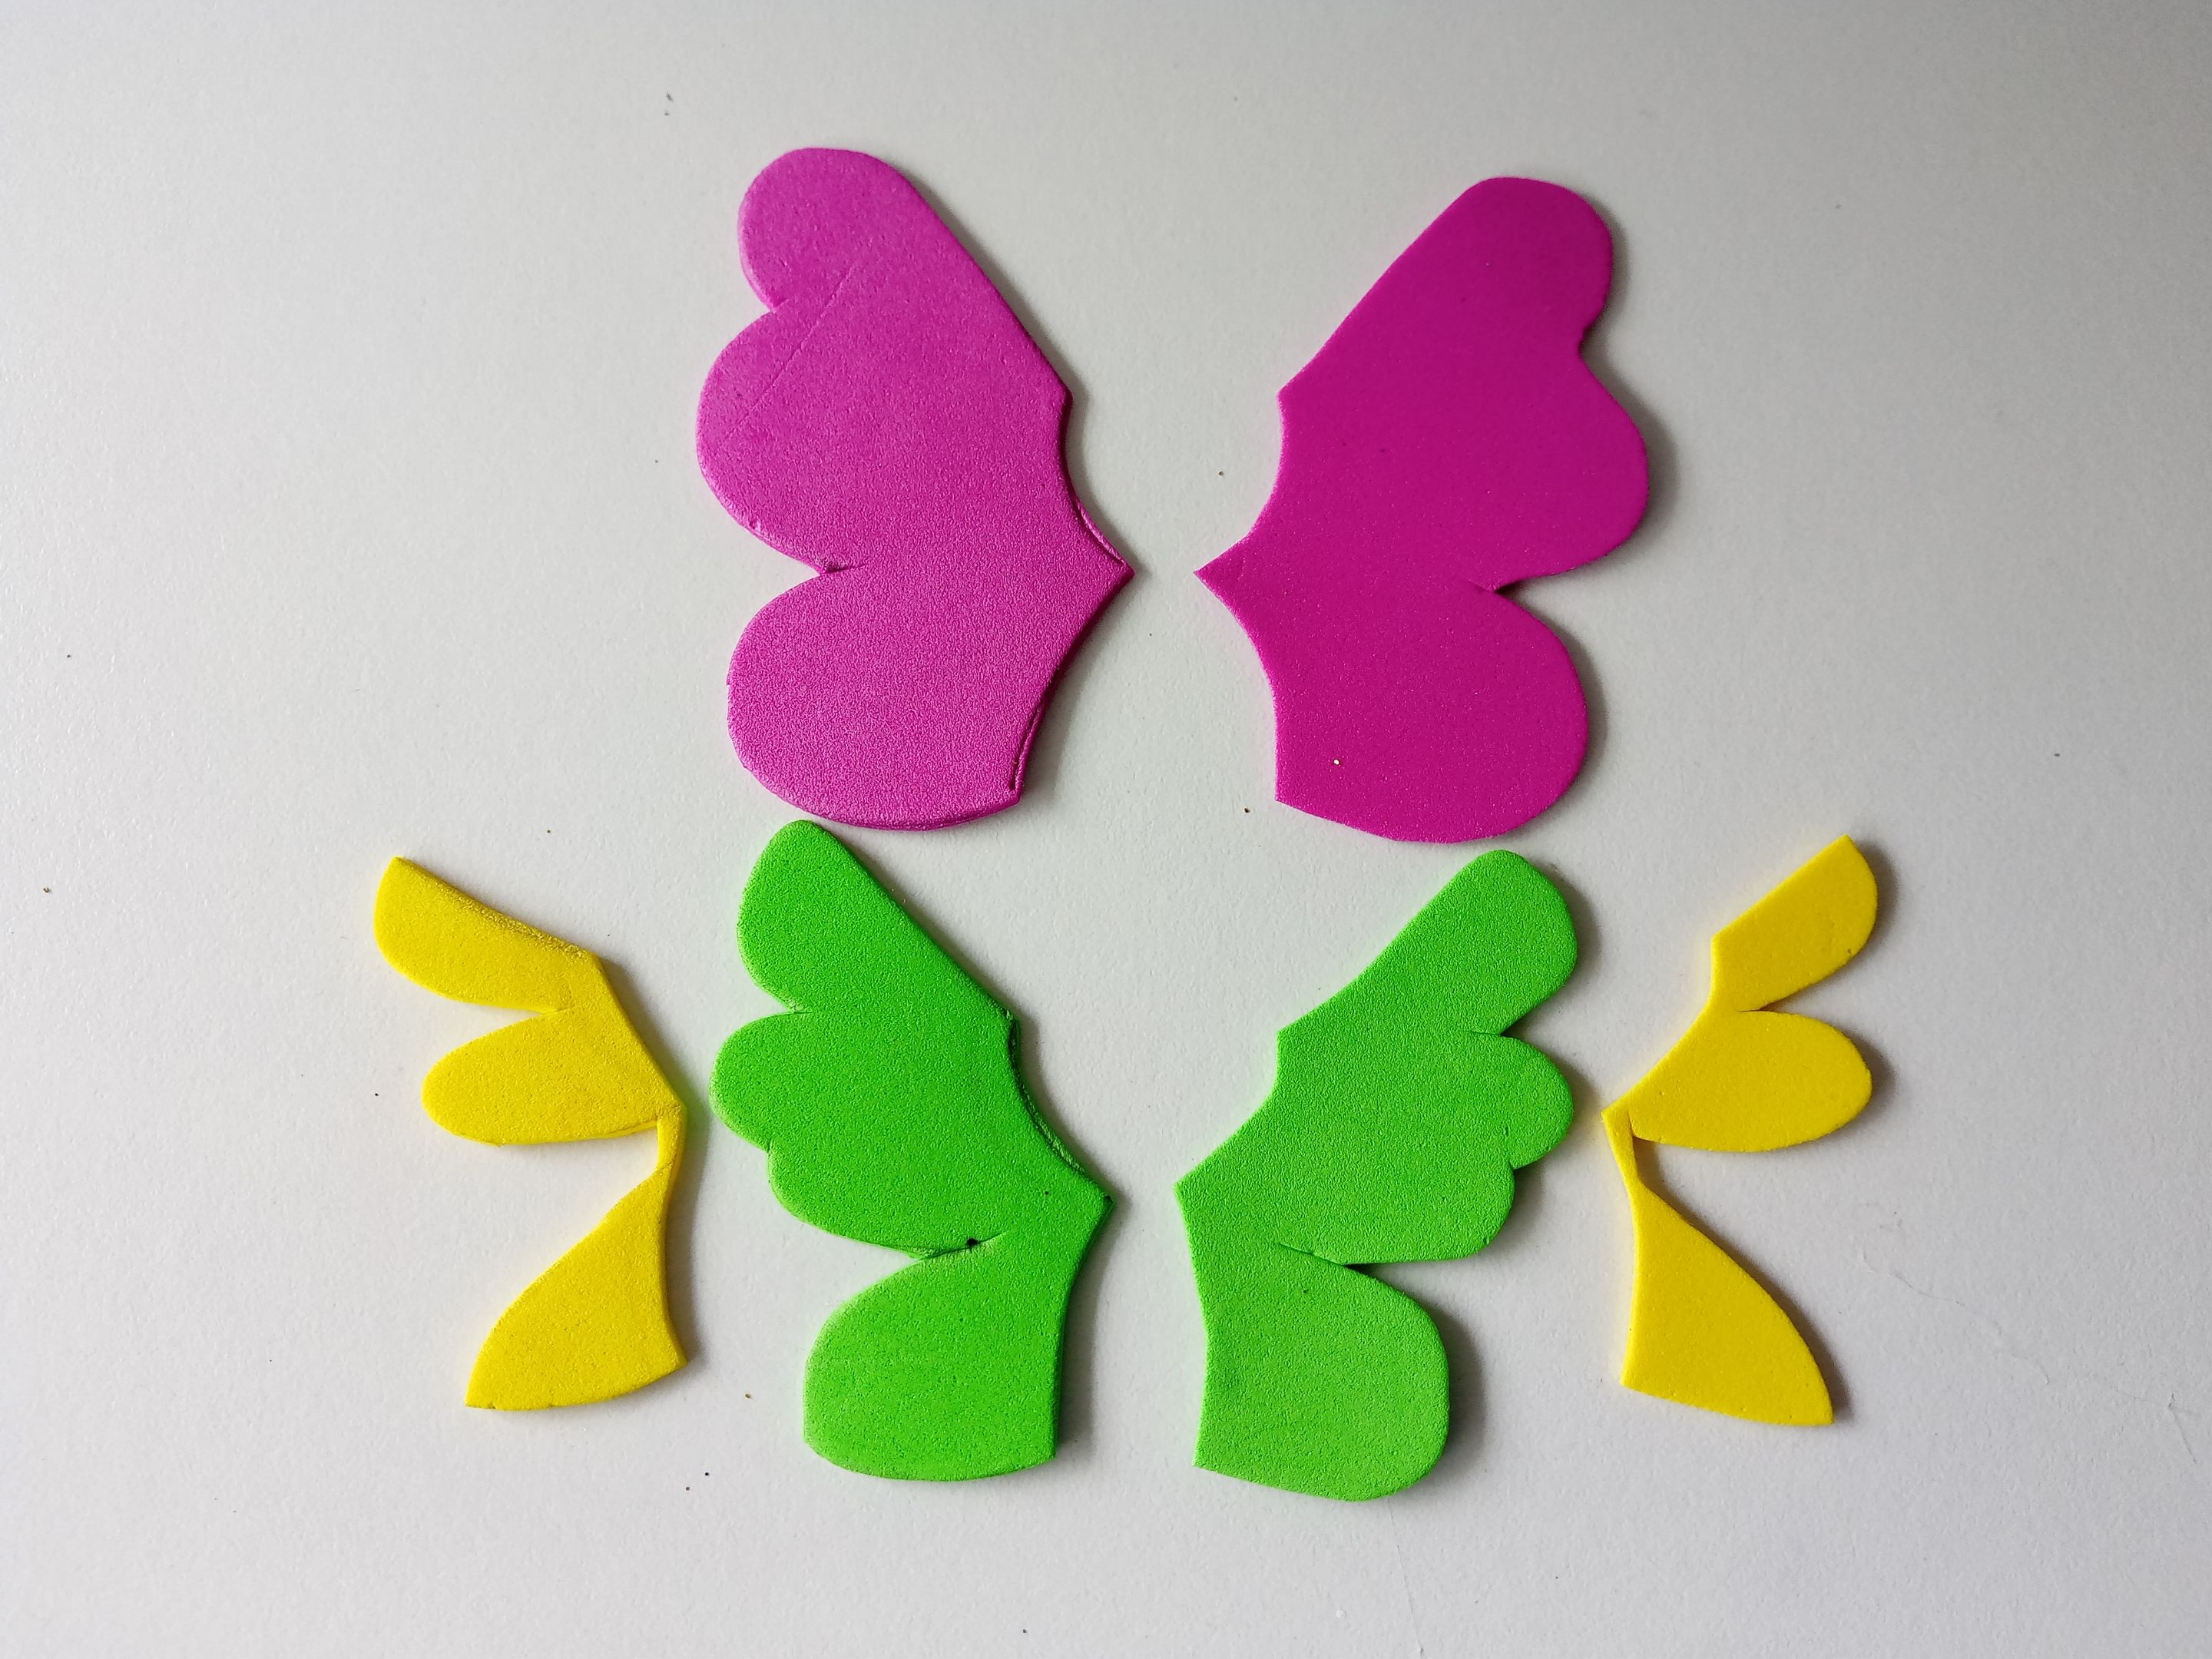
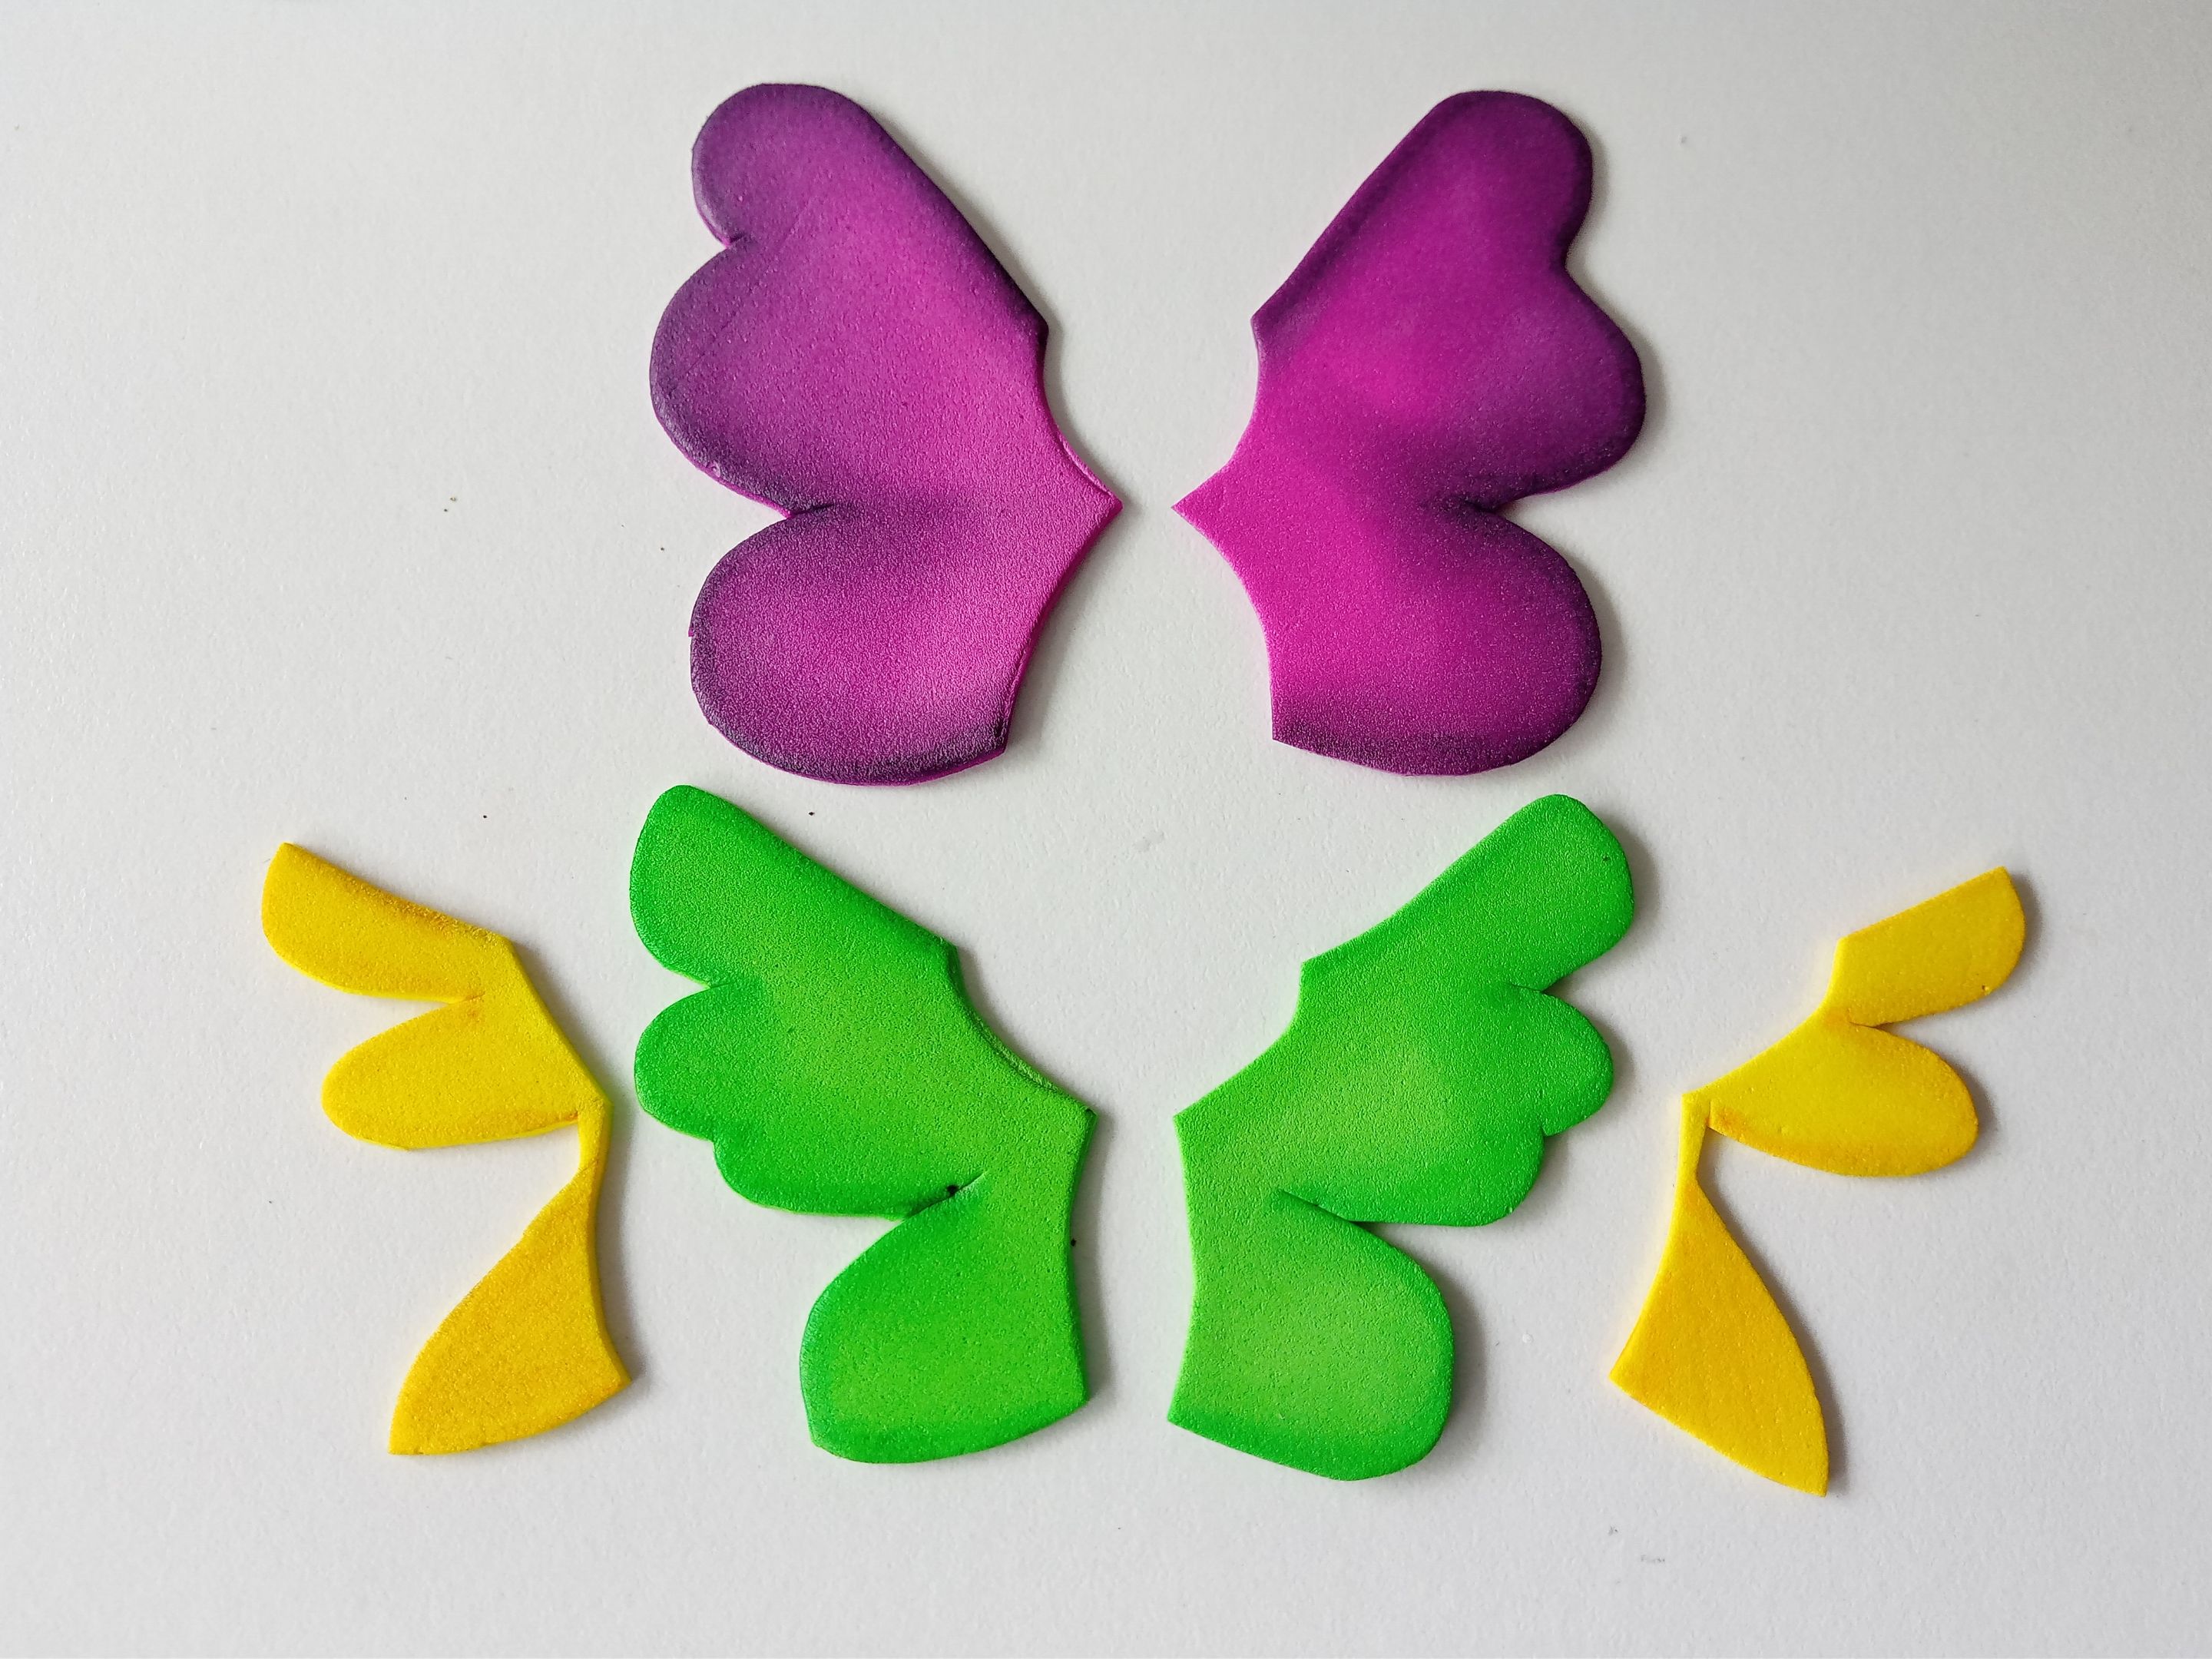
Lo primero que hice, como siempre, fue dibujar el diseño en una hoja blanca. Como dije al inicio, por primera vez hice el cuerpo entero de Noxic, pero obviamente a mi estilo, así que tanto el rostro como el cuerpo serán un poco diferentes en cuanto a proporciones, pues me gusta hacer mis creaciones un poco más cabezonas. Pero bueno, al tener listo el diseño en la hoja blanca, pasé a los colores correspondientes de foami, como explico a continuación:
✨Cabeza y antenas: 5.7 cm x 4.5 cm en foami verde.
✨Cuerpo: 3 cm x 2 cm en foami verde.
✨Alas traseras: 7 cm x 3.5 cm en foami morado.
✨Alas centrales: 6.5 cm x 2.5 cm en foami verde.
✨Alas delanteras: 5.6 cm x 2 cm en foami amarillo.
###### ✨ STEP 1:
The first thing I did, as always, was draw the design on a white sheet of paper. As I said at the beginning, for the first time I made Noxic's entire body, but obviously in my own style, so both the face and body will be a little different in terms of proportions, as I like to make my creations a little more head-sized. Anyway, once I had the design ready on the white sheet, I moved on to the corresponding foam colors, as explained below:
✨Head and antennae: 5.7 cm x 4.5 cm in green foam.
✨Body: 3 cm x 2 cm in green foam.
✨Hind wings: 7 cm x 3.5 cm in purple foam.
✨Central wings: 6.5 cm x 2.5 cm in green foam.
✨Front wings: 5.6 cm x 2 cm in yellow foam.
###### ✨ PASO 2:
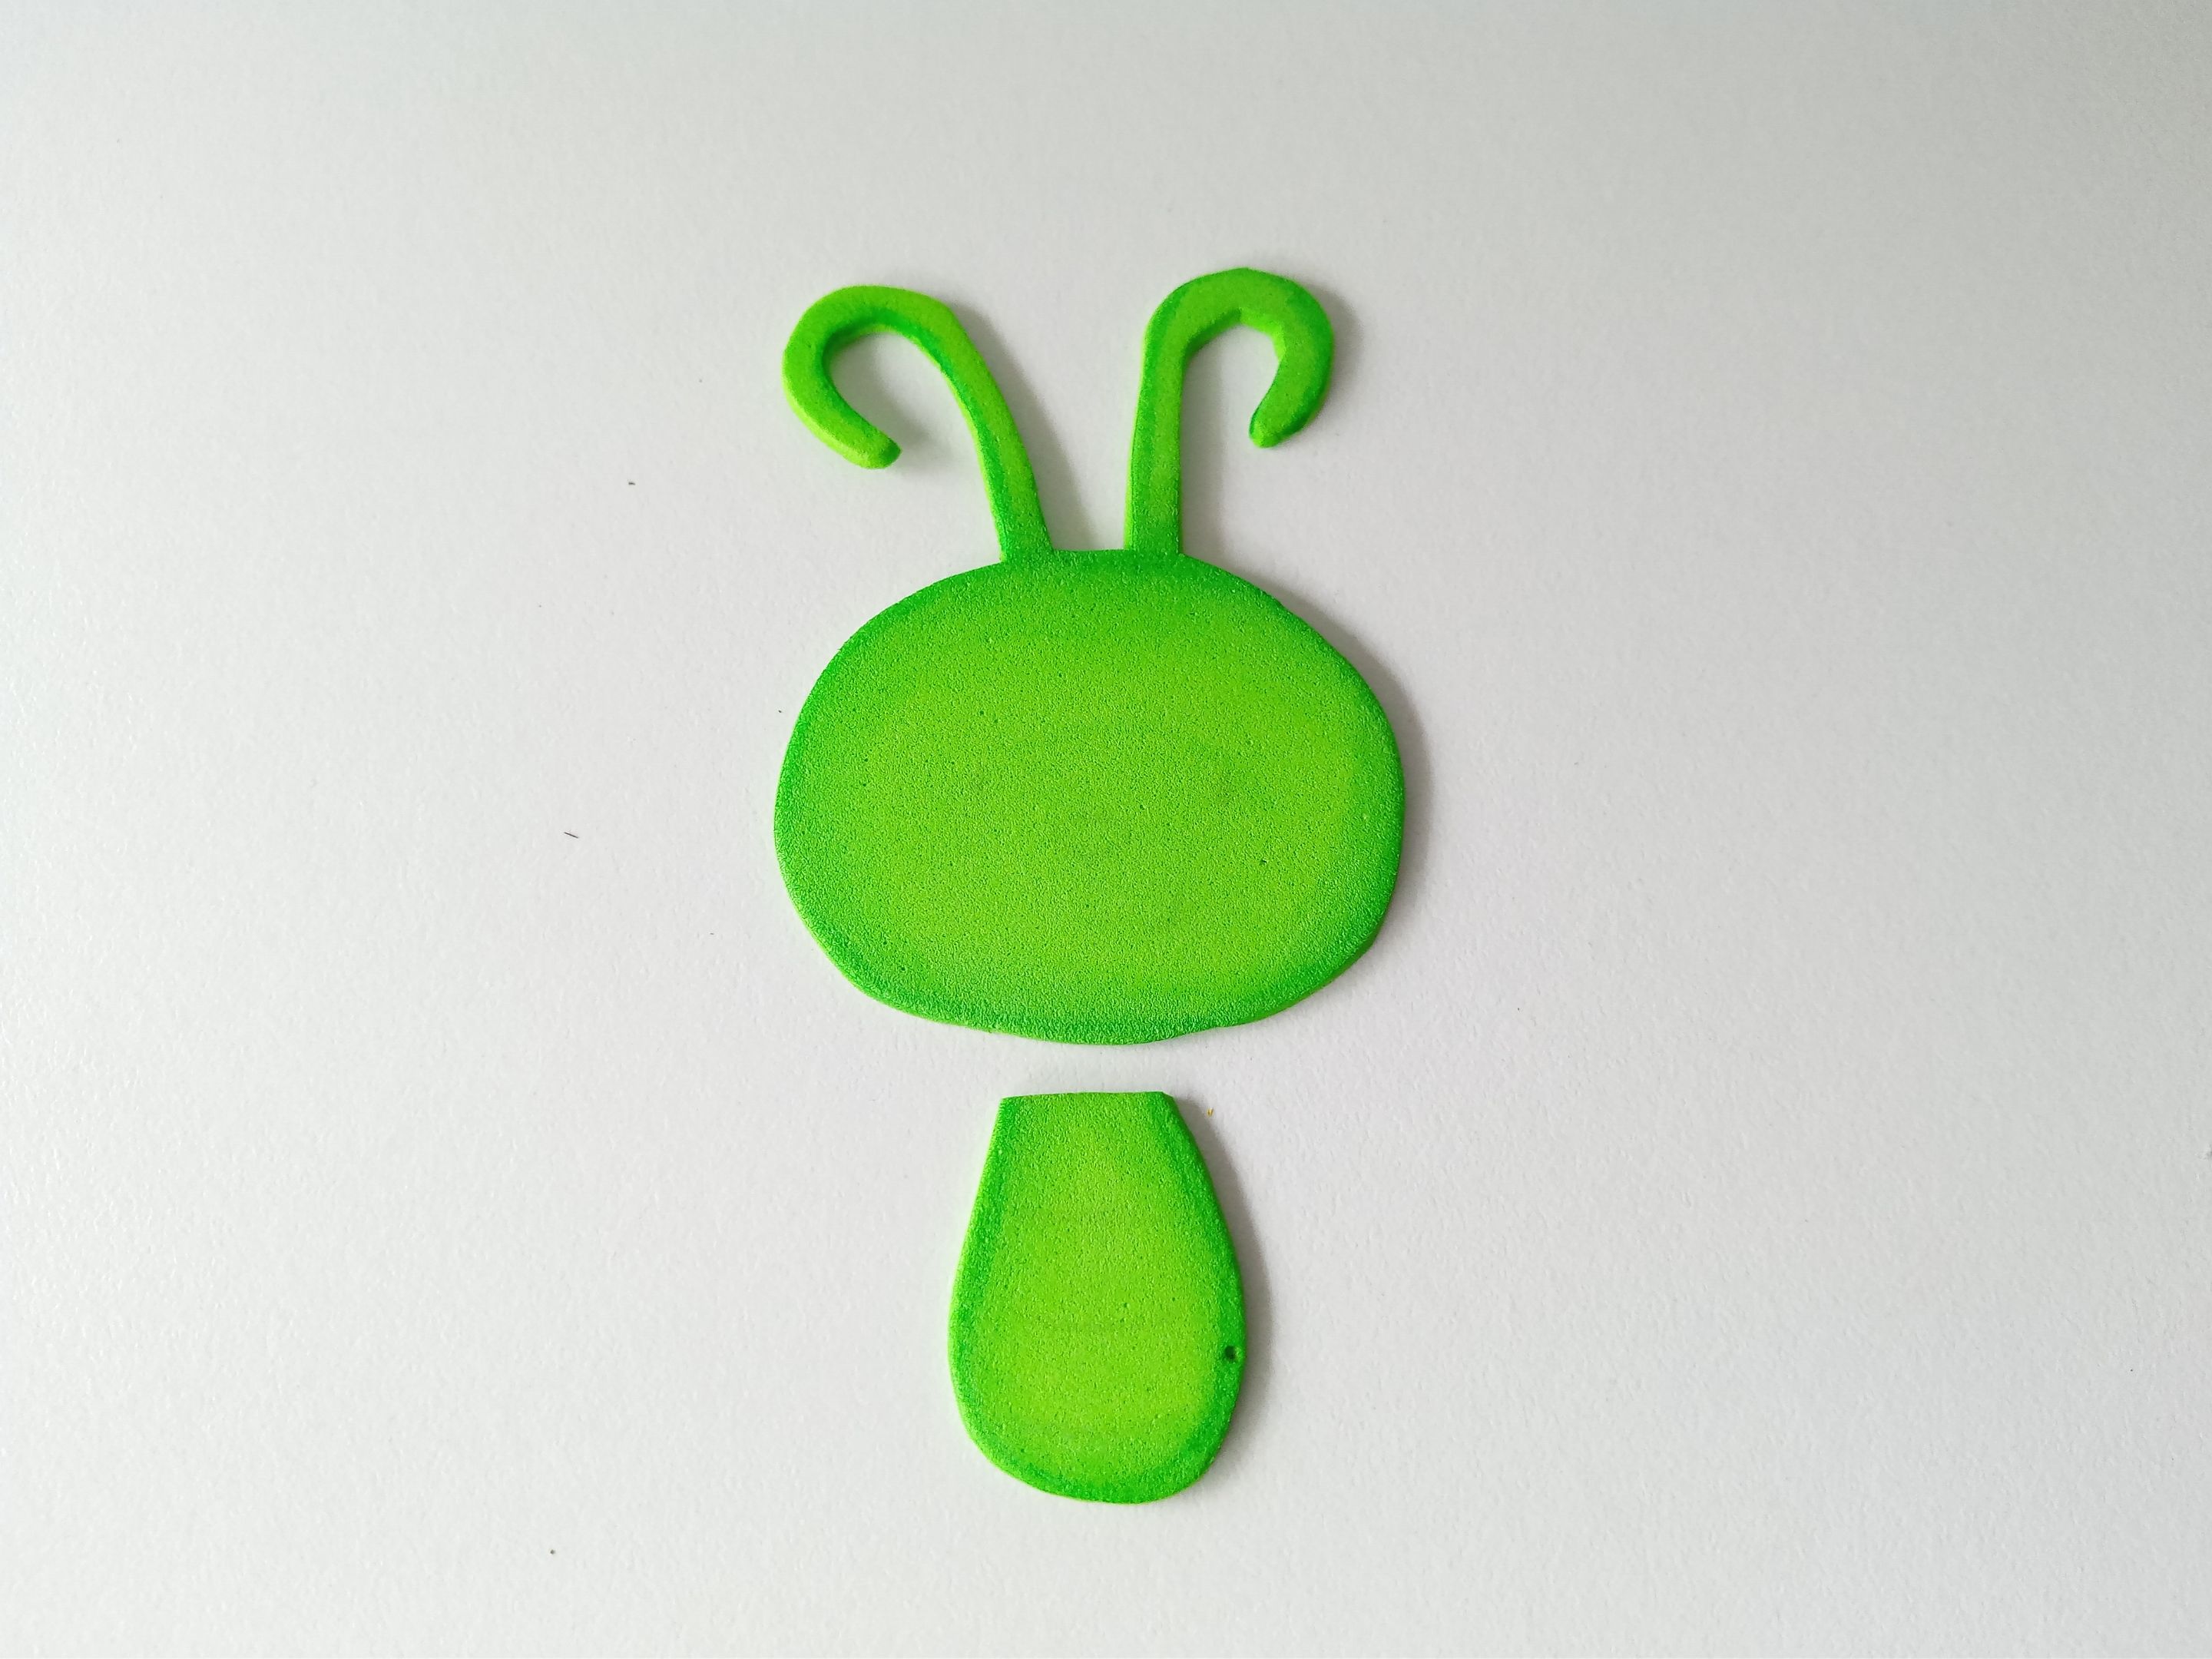
Al tener listas todas las piezas, es momento de dar color a los bordes con pinturas o marcadores, que hagan contraste o den el color que estamos buscando. En mi caso, como no tenía foami morado, sino fucsia, difuminé un poco de pintura negra por el borde y me dio el tono morado que estaba buscando, pero si ustedes tienen el foami morado, no es necesario seguir este paso. Por otra parte, en el resto de las piezas, solo utilicé colores de un tono más oscuro que el del foami y difuminé con ayuda de un pañito.
###### ✨ STEP 2:
Once all the pieces are ready, it's time to color the edges with paints or markers to create a contrast or give the desired color. In my case, since I didn't have purple foam, but rather fuchsia, I blended a little black paint around the edge and it gave me the purple tone I was looking for. However, if you have purple foam, this step isn't necessary. For the rest of the pieces, I only used colors a shade darker than the foam and blended them with a cloth.
###### ✨ PASO 3:
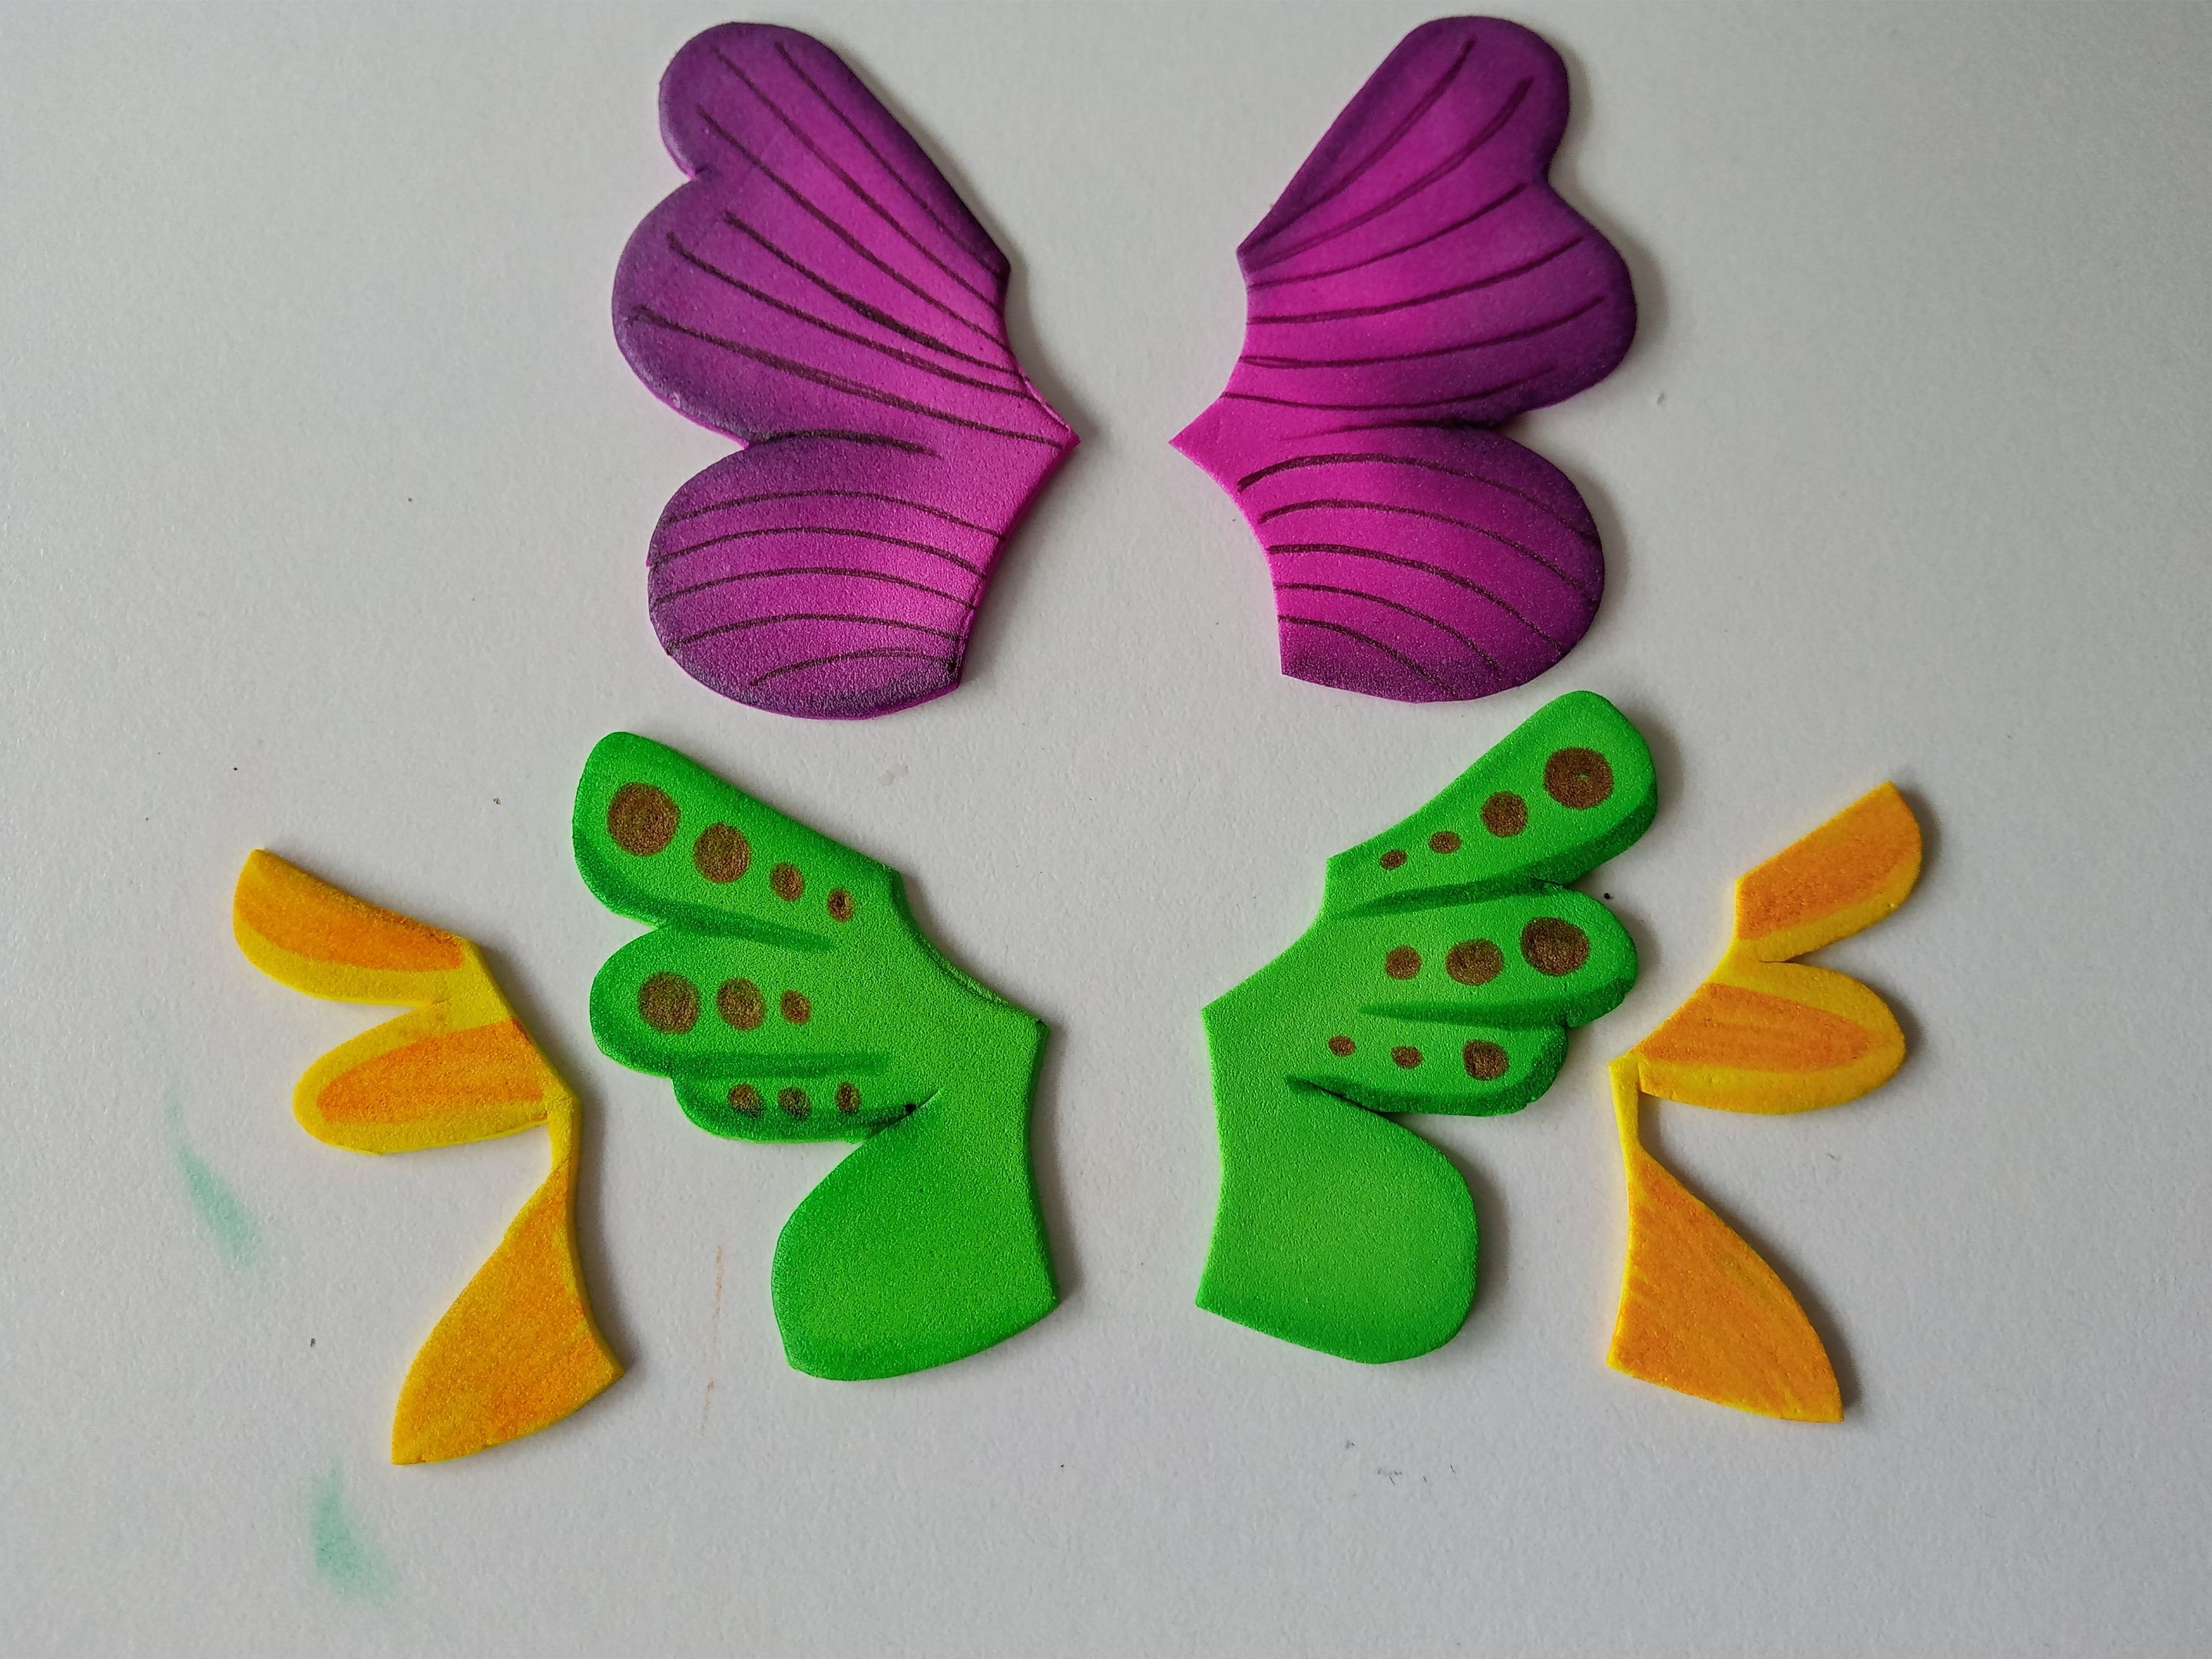
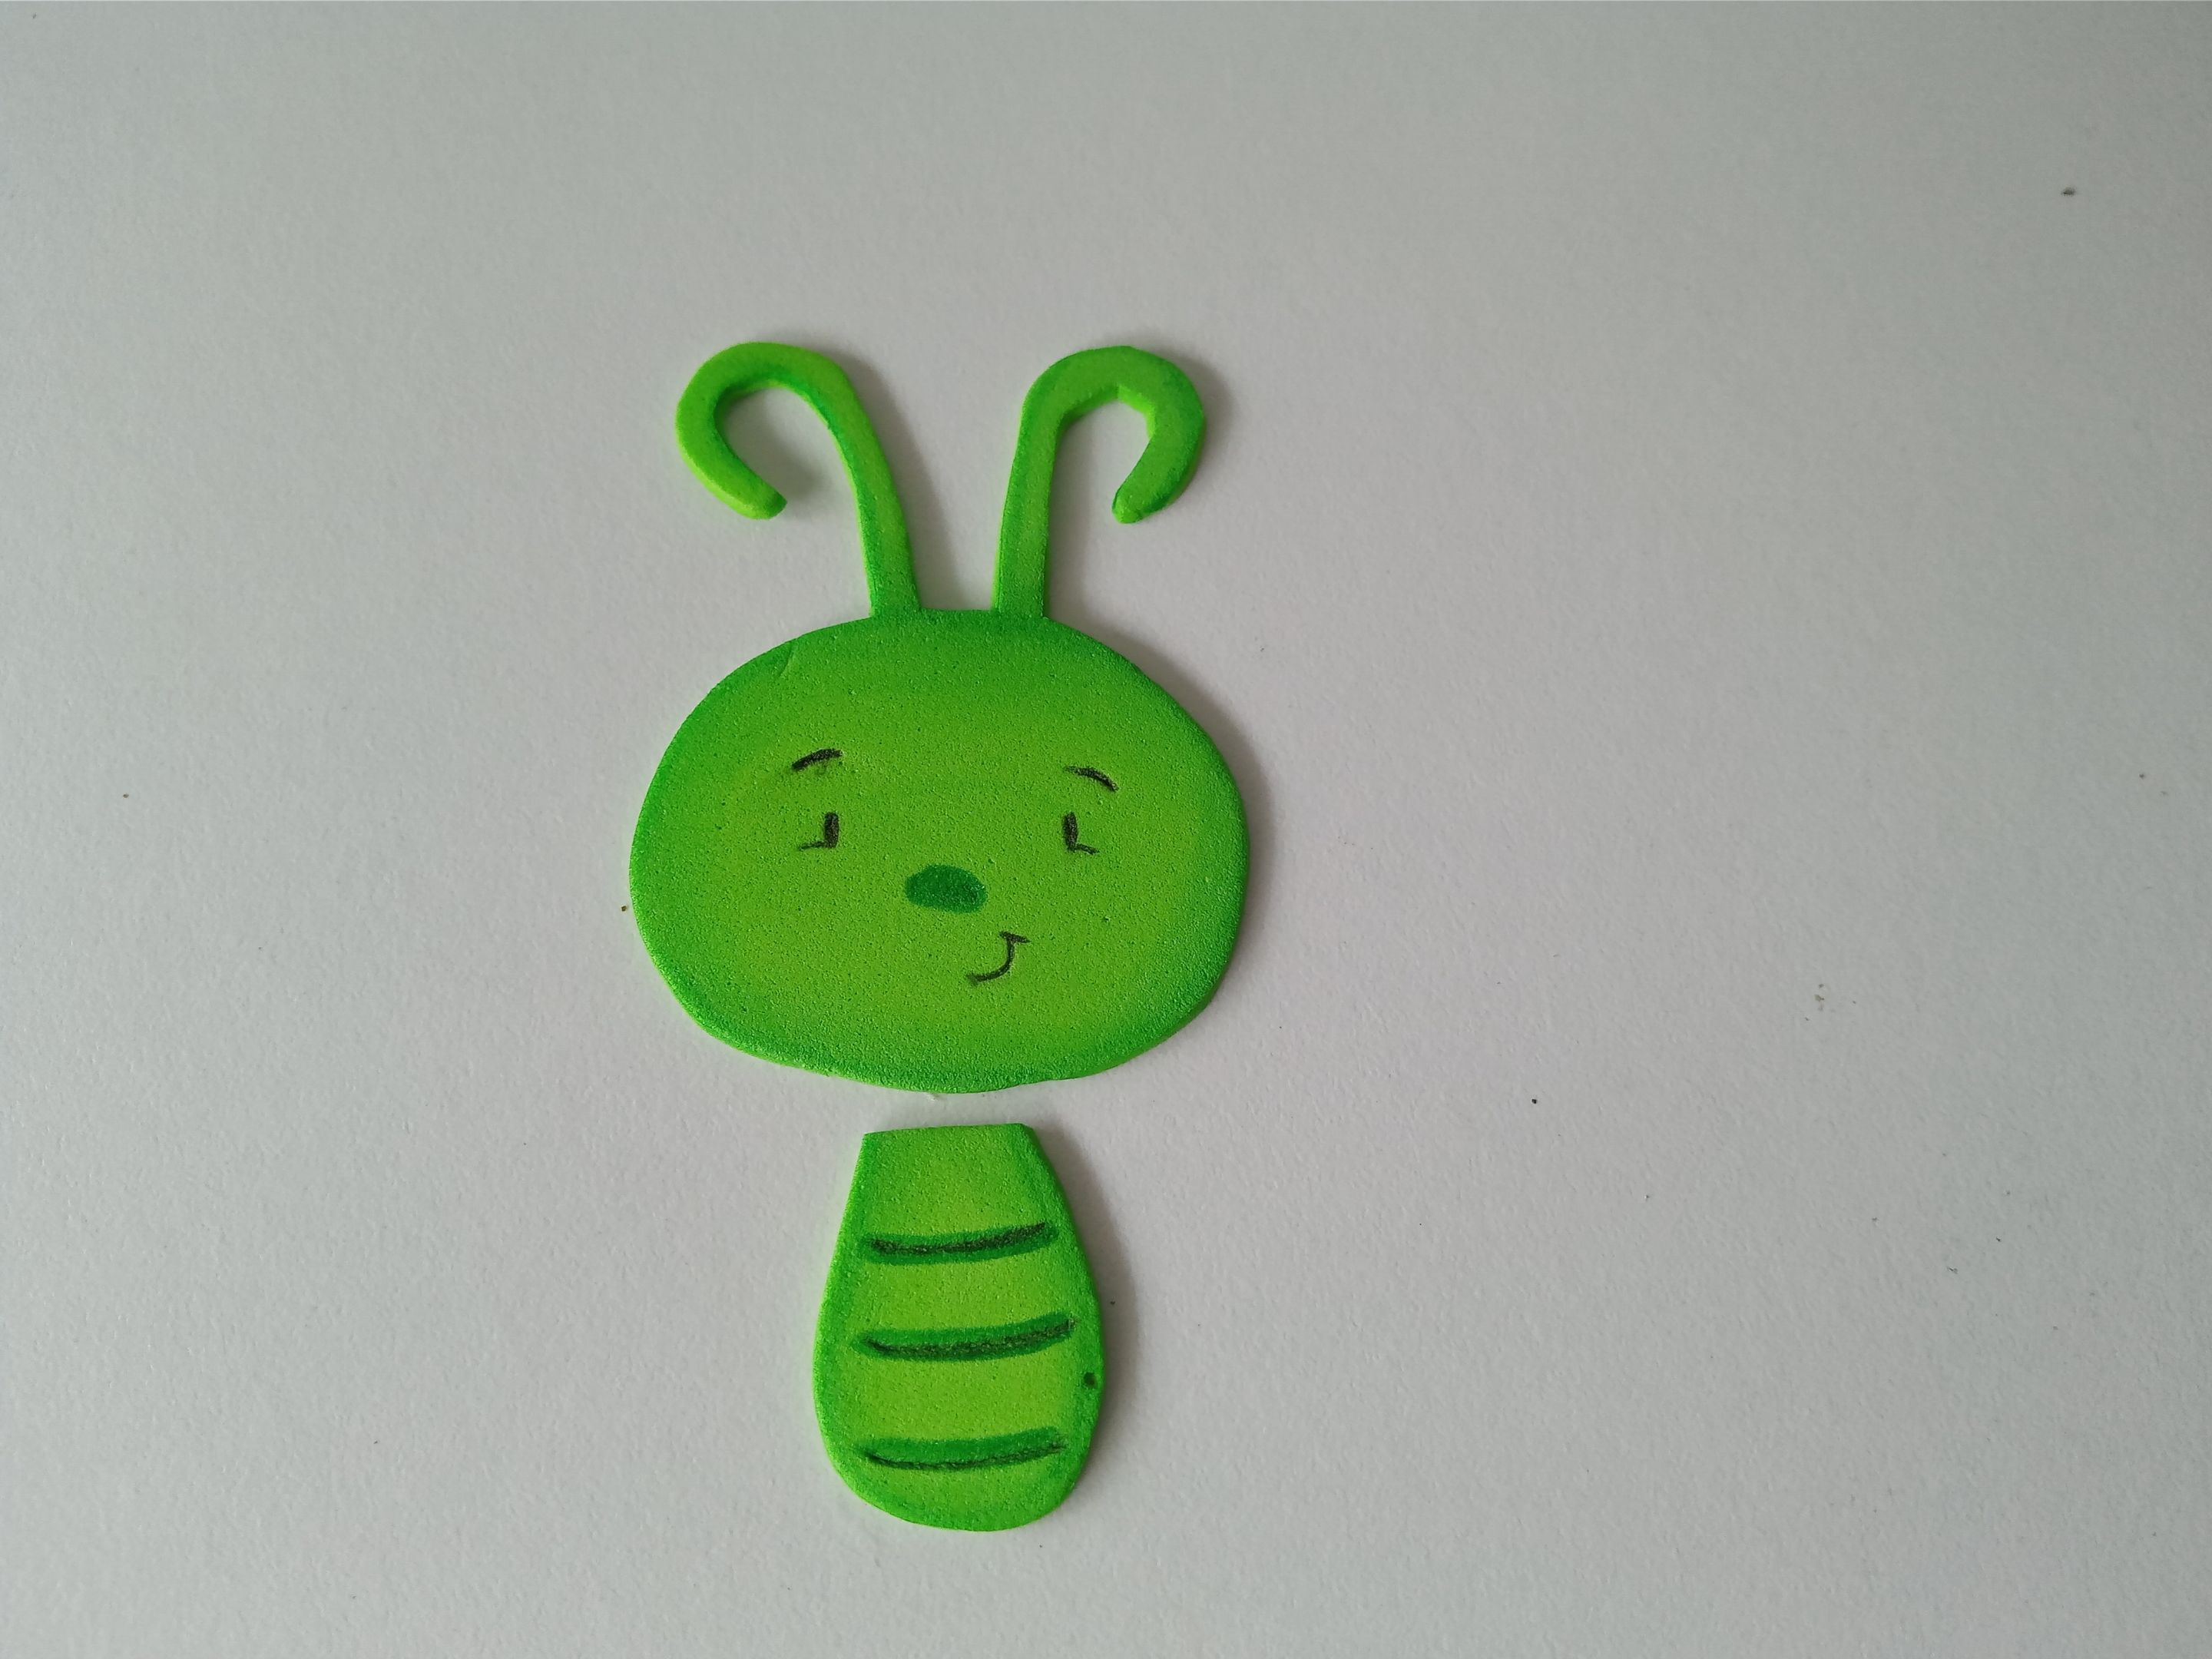
Seguidamente, al estar secas las piezas, es momento de hacer detalles más específicos con marcadores. En este caso di diferentes diseños a cada una de las alas, pues a las traseras les hice algunas líneas curvas, siguiendo la forma de las alas; a las alas centrales les hice algunos círculos con marcador rosa y a las alas delanteras solo rellené con marcador naranja. Además, tomé la cabeza y dibujé el rostro.
###### ✨ STEP 3:
Next, once the pieces are dry, it's time to add more specific details with markers. In this case, I added different designs to each of the wings. I made some curved lines on the back wings, following the shape of the wings; I made some circles with a pink marker on the center wings, and I just filled in the front wings with an orange marker. I also drew the head and the face.
###### ✨ PASO 4:
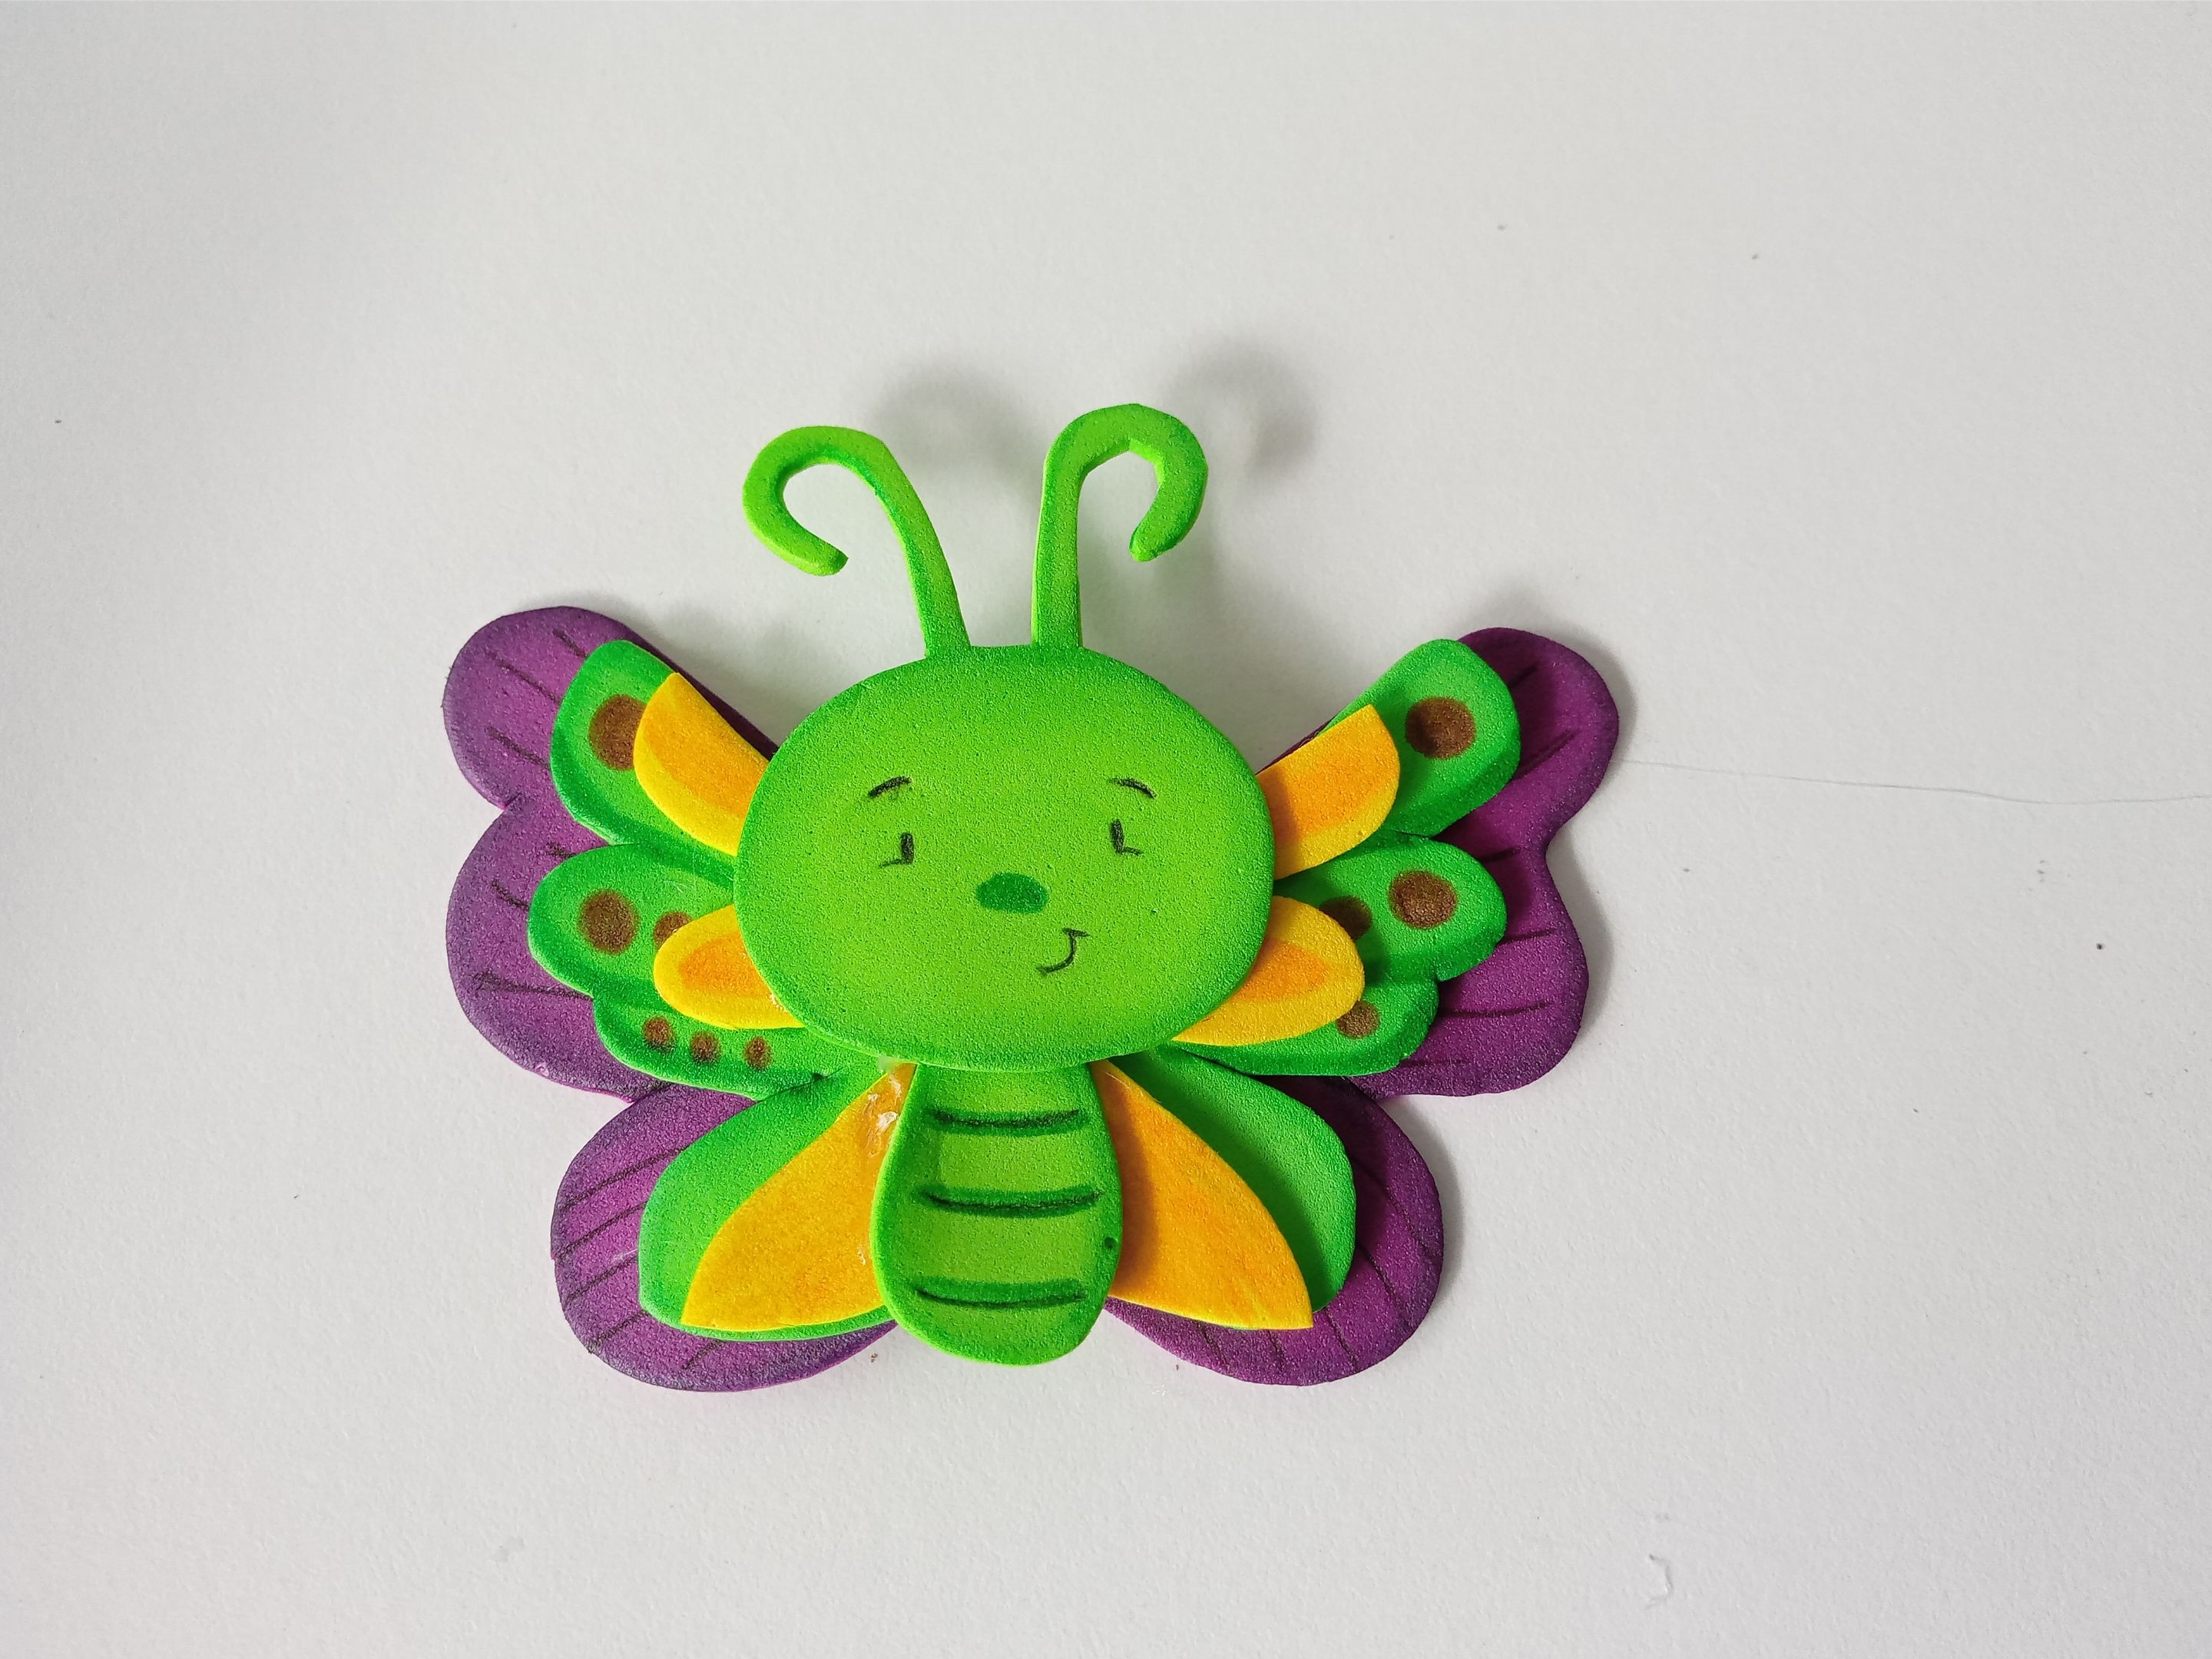
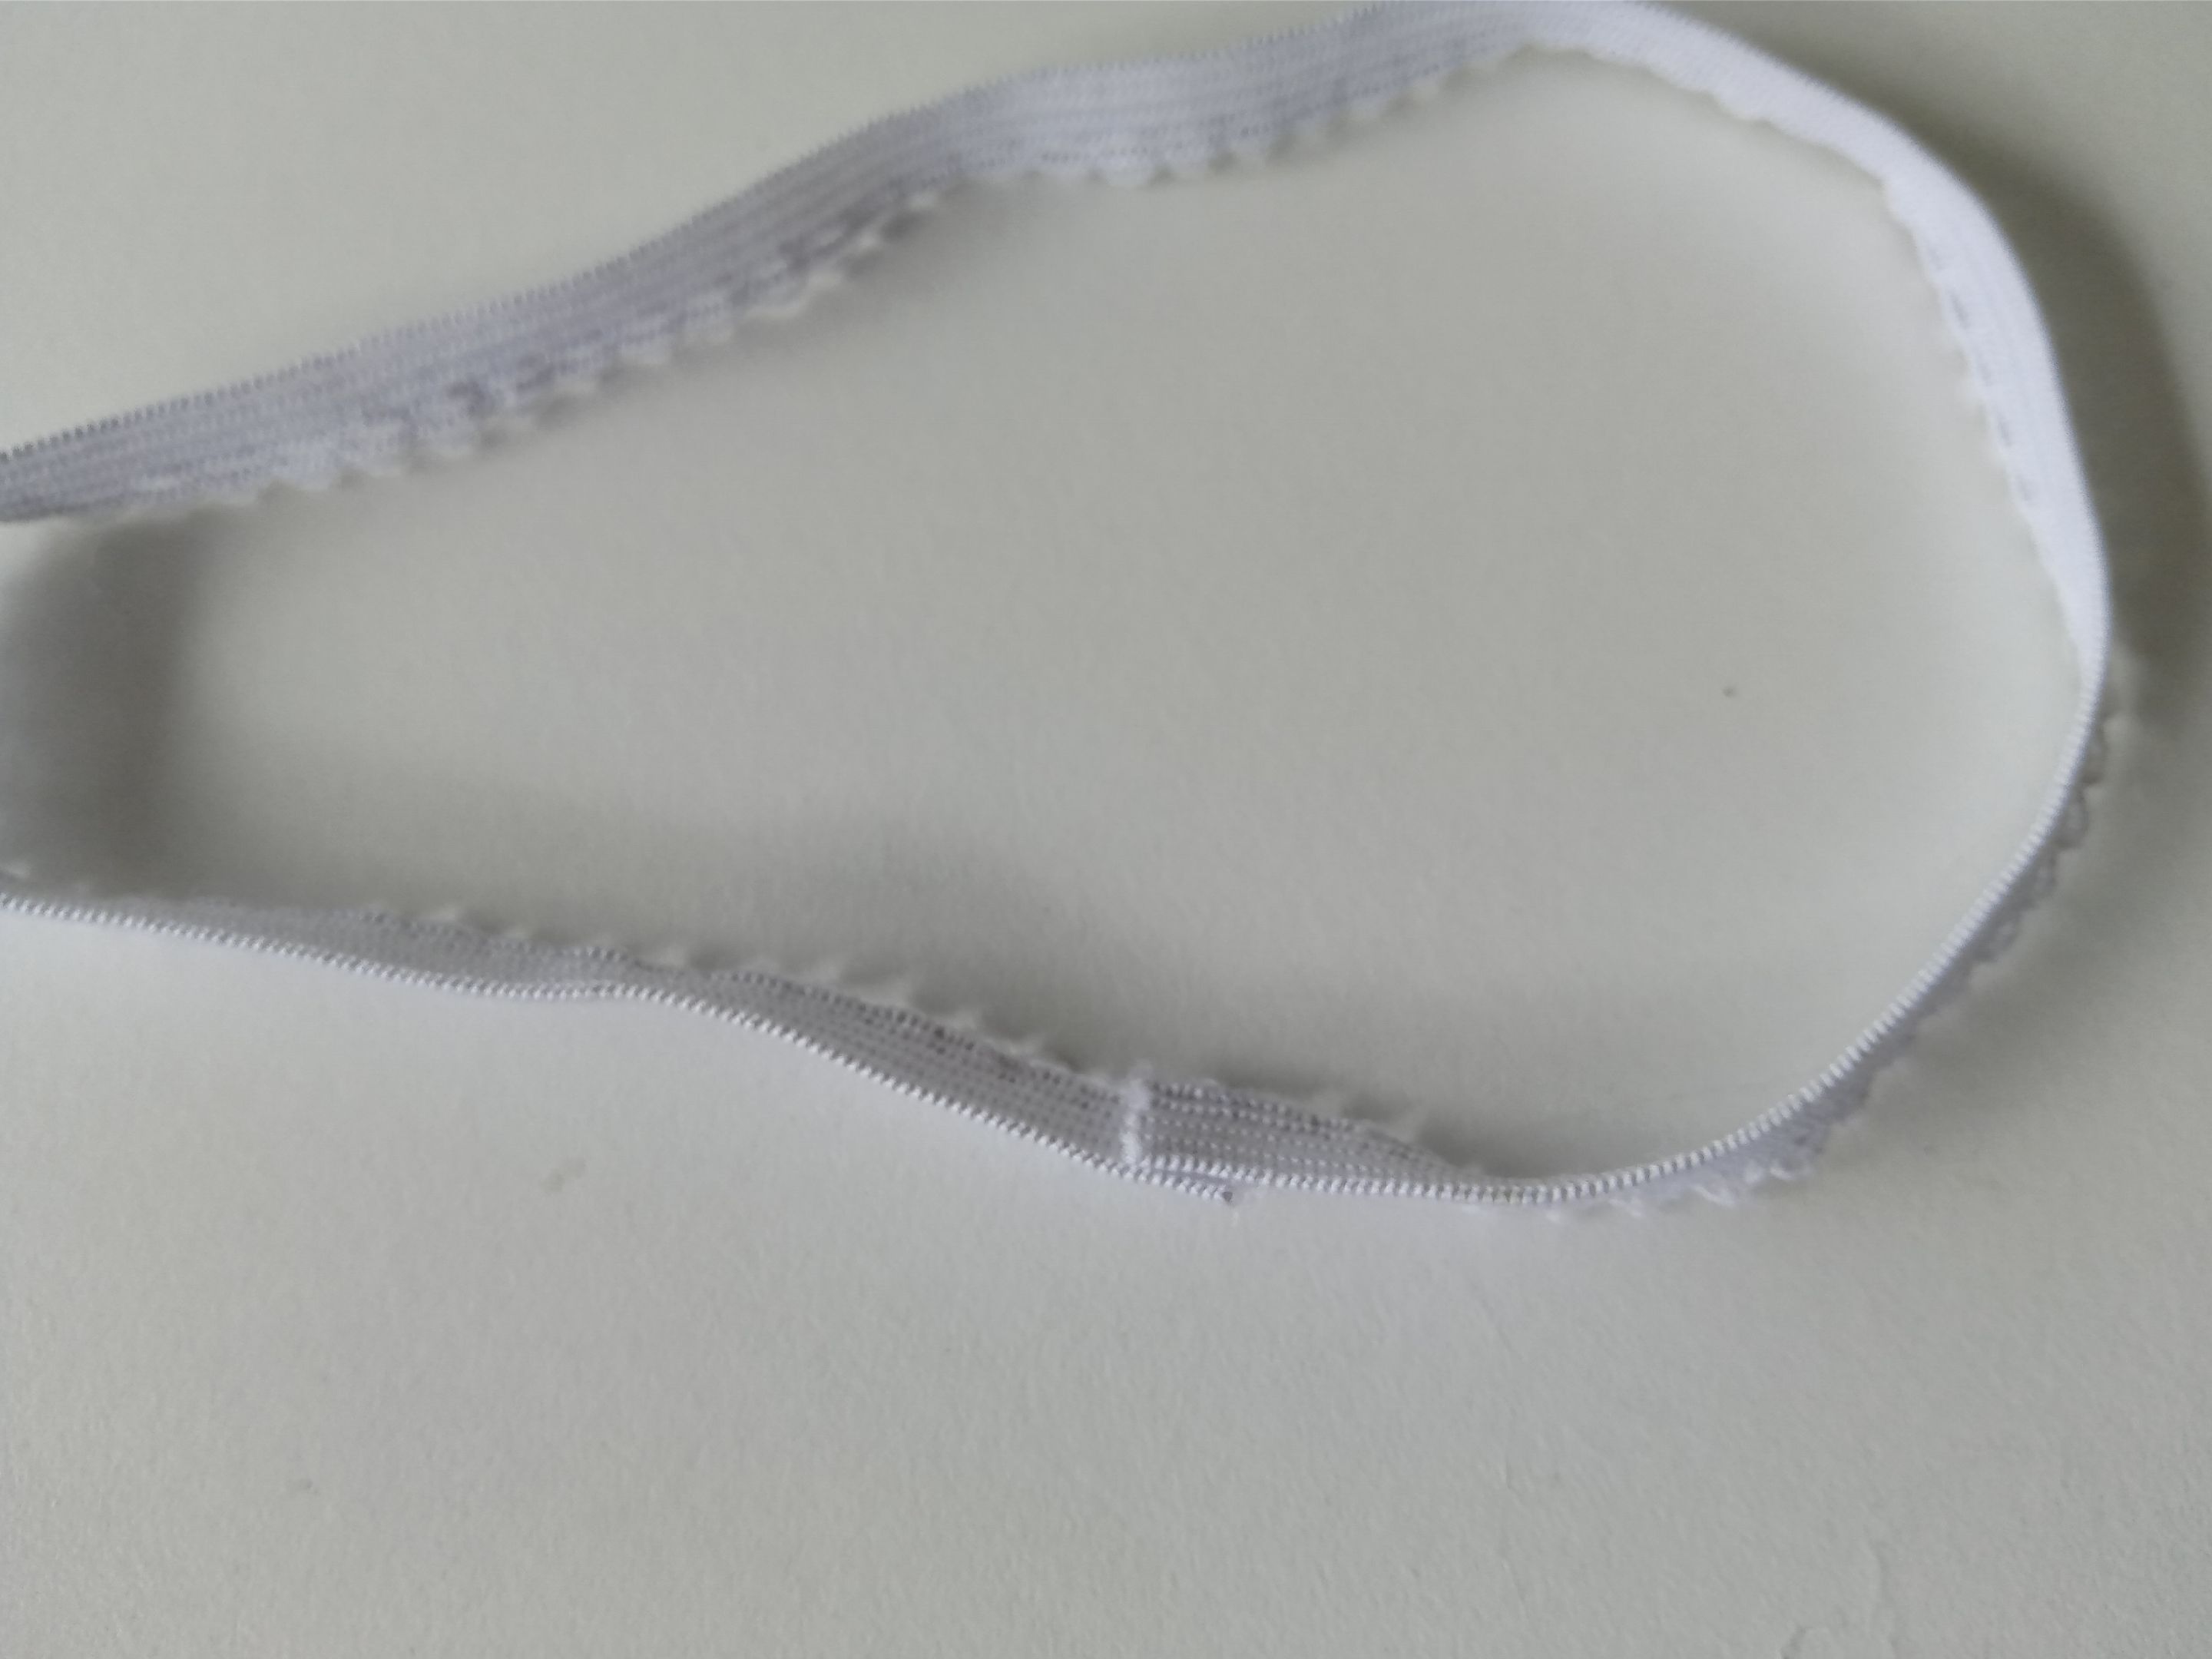
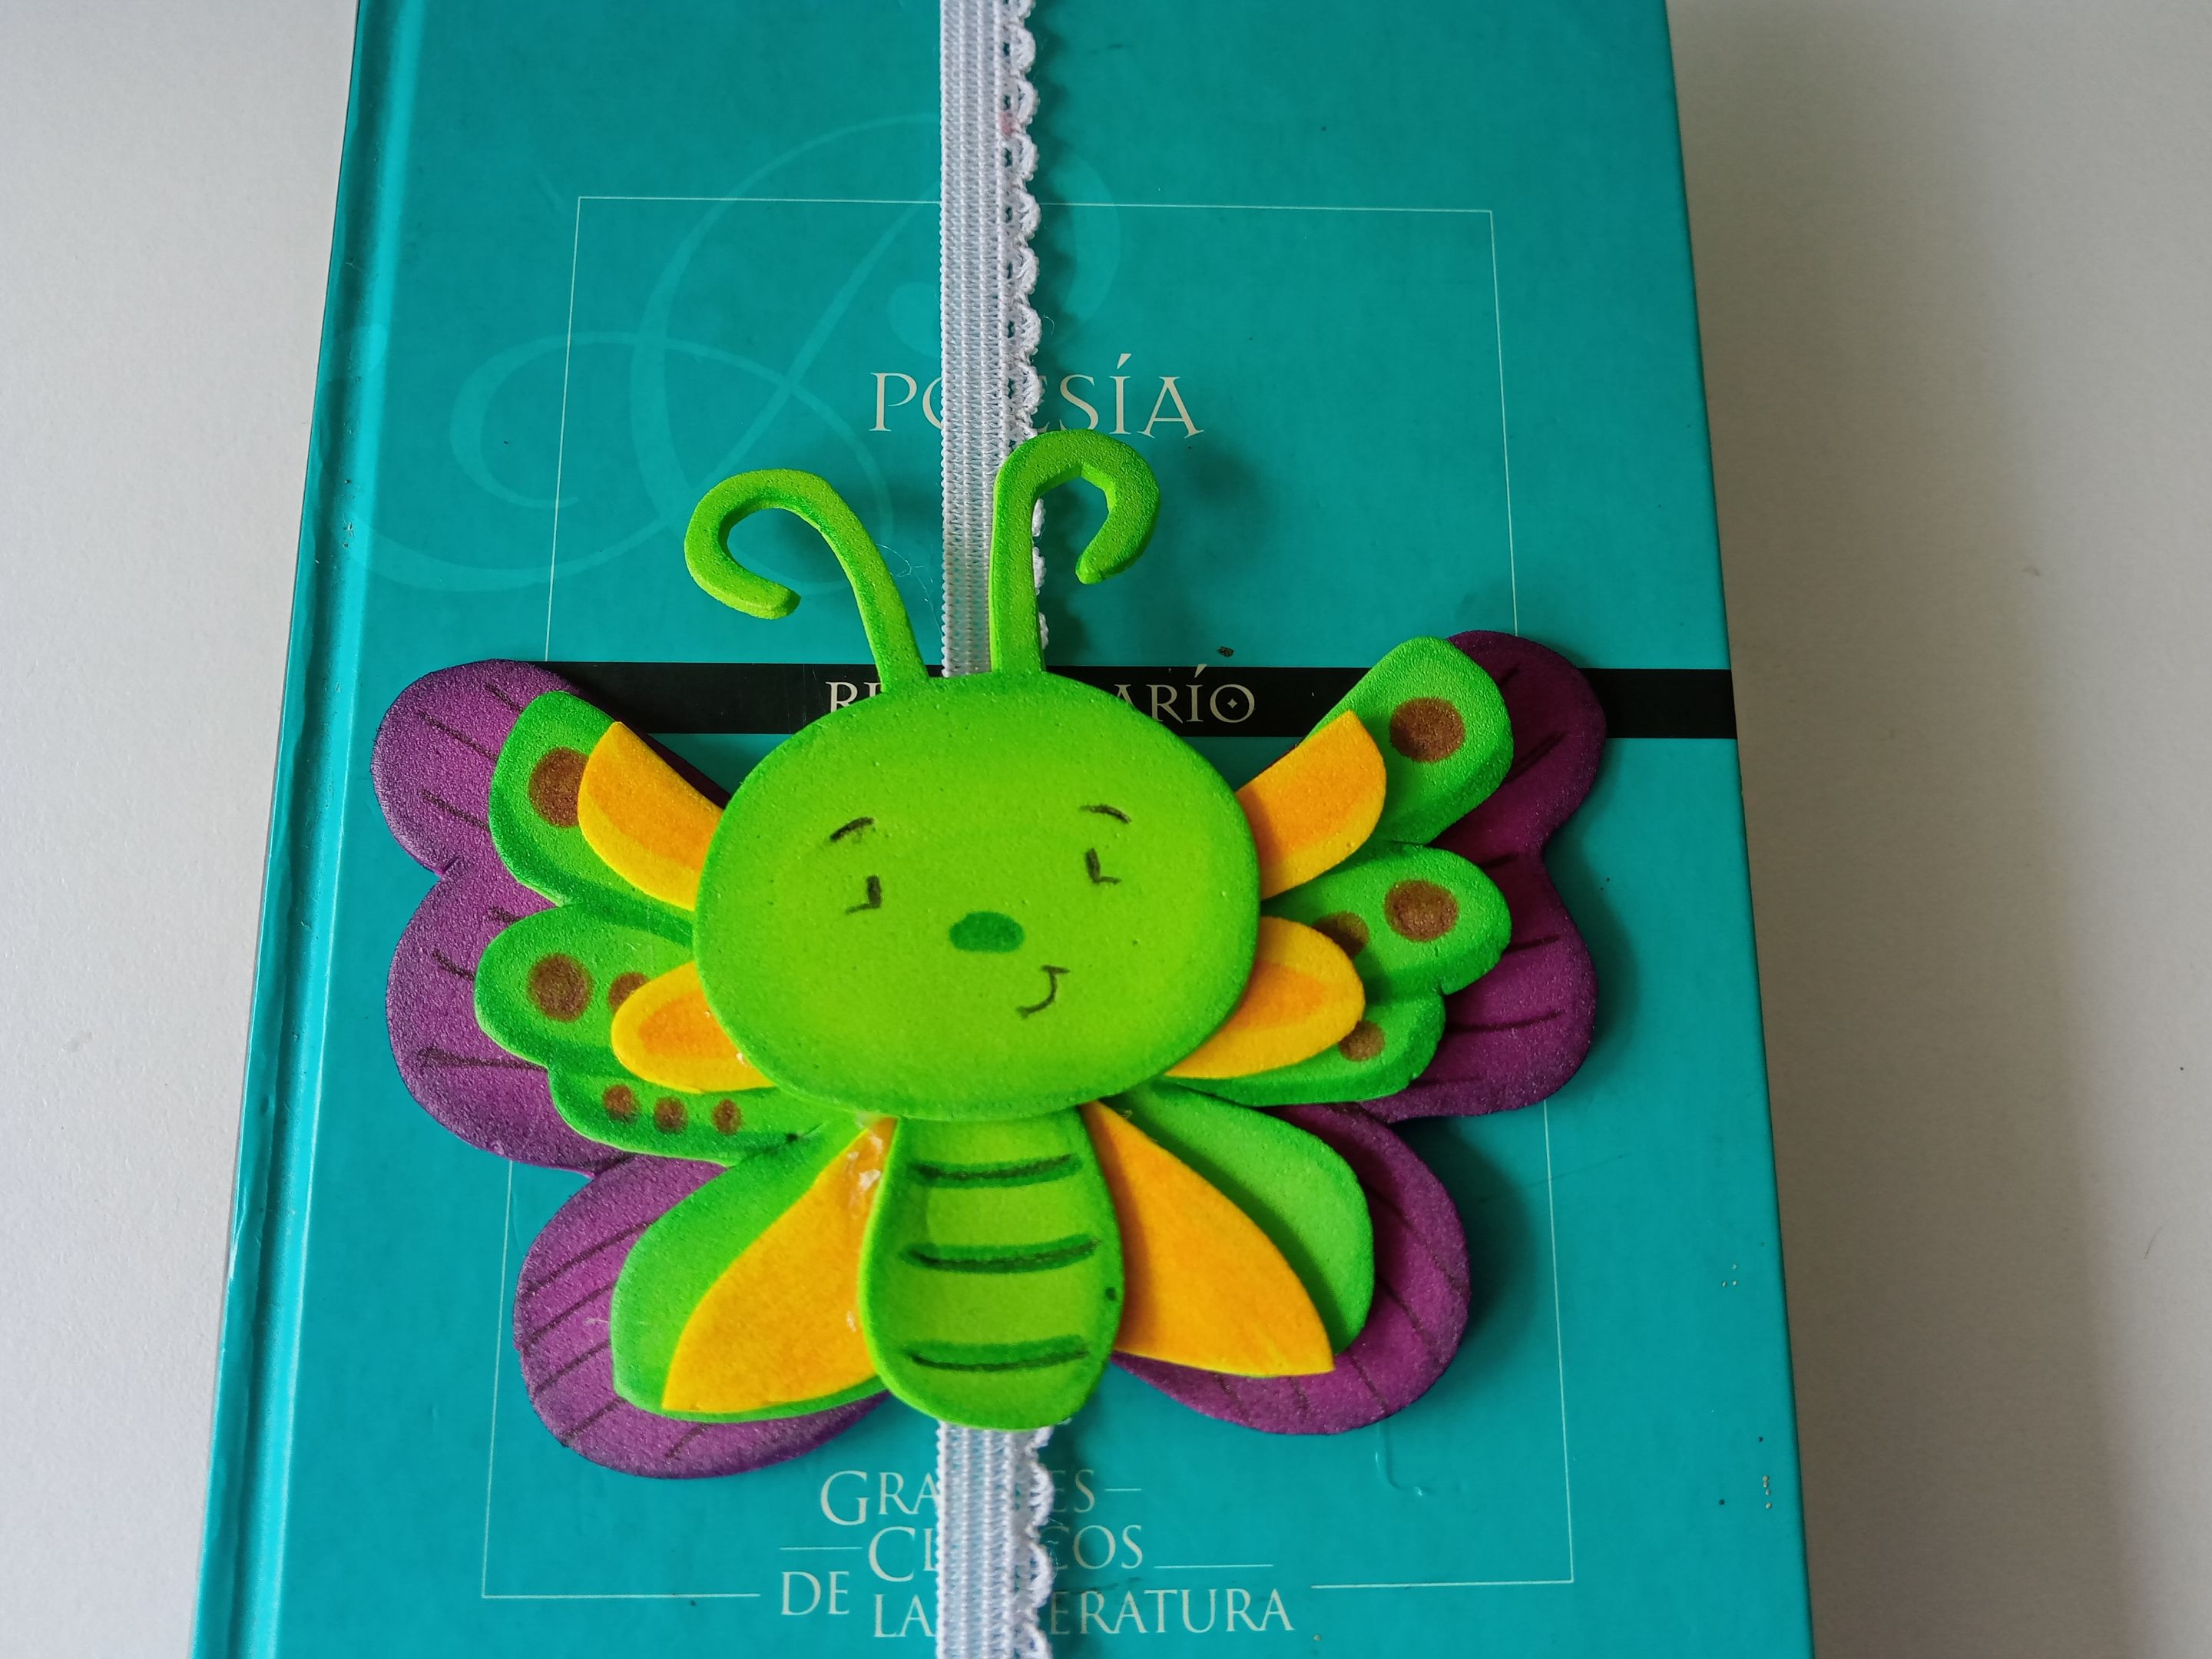
Al estar listas todas las piezas, es momento de comenzar a pegar hasta formar a Noxic. Comencé pegando aparte el cuerpo junto con la cabeza y, por otro lado, las alas en el orden correspondiente, que son las alas traseras, las medias y luego las delanteras, para que, al tenerlas listas, en medio de ambas, peguemos el cuerpo entero de Noxic. Además, recorté 23 cm de liga, pegué las puntas y justo encima de las puntas, pegué a Noxic.
###### ✨ STEP 4:
Once all the pieces are ready, it's time to start gluing them together until Noxic is formed. I started by gluing the body and head separately, and then the wings in the corresponding order: the back wings, the middle wings, and then the front wings. Once they're ready, we can glue Noxic's entire body in between. I also cut 23 cm of elastic, glued the tips, and glued Noxic right above the tips.