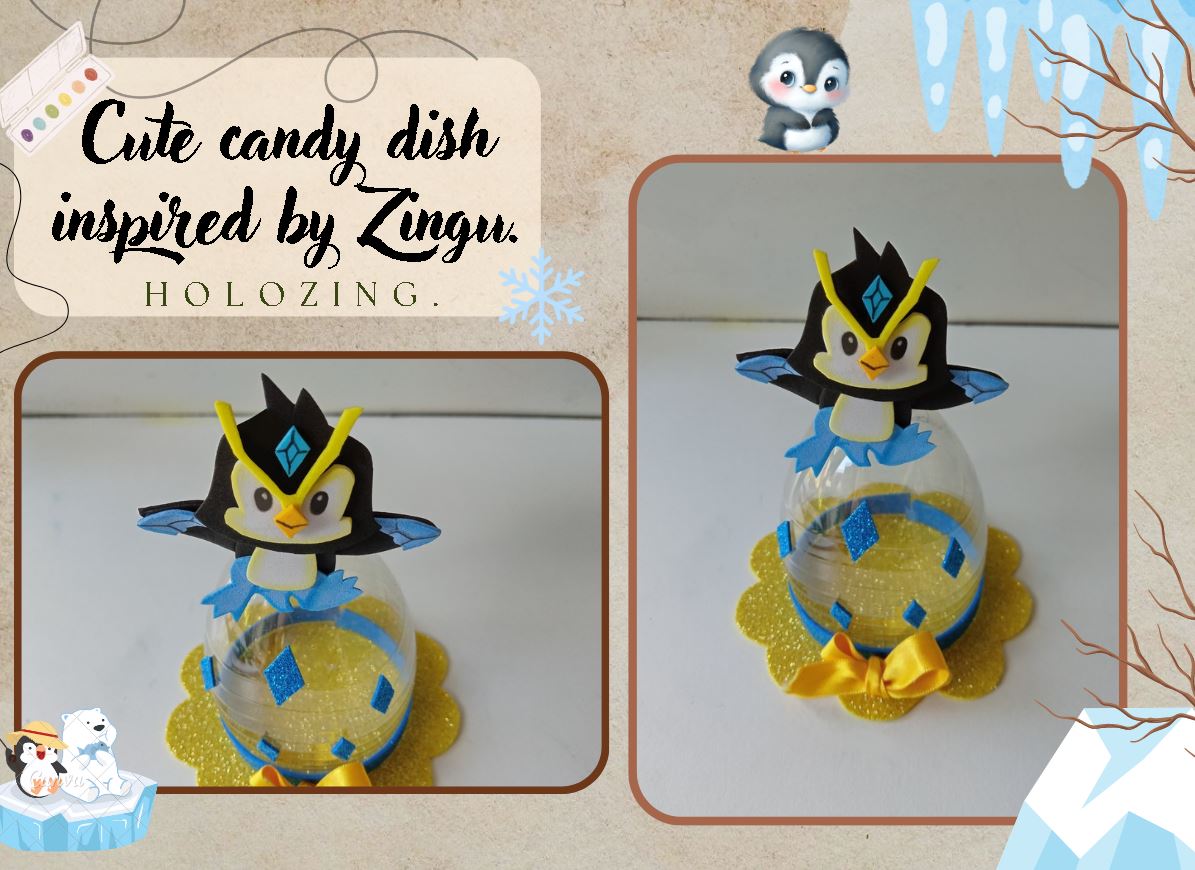
**✨¡Buenas tardes, amigos de holozing!✨** Espero que estén pasando una excelente semana. Por mi parte, estoy contenta de pasar por aquí para compartirles una linda idea. En esta ocasión, les comparto el paso a paso para elaborar un lindo dulcero inspirado en Zingu. Creo que nunca había elaborado a Zingu en una creación de cuerpo completo, así que quise utilizar sus colores originales o acercarme lo más que pude al personaje original. Además de darles una idea de reciclaje por si tienen de sobra botellas de refresco o las pueden conseguir fácilmente.
**🔸Sin más que añadir, a continuación los dejo con el paso a paso:**
>
**✨Good afternoon, holozing friends!✨** I hope you're having a great week. For my part, I'm happy to stop by to share a lovely idea. This time, I'm sharing the step-by-step instructions for making a cute Zingu-inspired candy dish. I don't think I've ever made a full-body Zingu, so I wanted to use his original colors or get as close to the original character as I could. I also wanted to give you a recycling idea in case you have soda bottles left over or can easily find them.
> **🔸Without more to add, then I leave you with the step by step:**
---


||||
|-|-|-|


||||
|-|-|-|


|||
|-|-|
---
❤️ Hasta la próxima publicación.
❤️ Until the next post.
---
🐦 [Twitter](https://twitter.com/valpba)
---

---
**!TE DESEO UN GRAN DÏA¡**
Todas las fotografías son de mi propiedad.
Separador y Fotos editadas en [Canva](https://www.canva.com/)
**!I WISH YOU A GOOD DAY**
All photographs are my property.
Photos edited in [Canva](https://www.canva.com/)
Posted Using [INLEO](https://inleo.io/@valenpba/espeng-cute-candy-dish-inspired-by-zingu-26h)
**♥️ESPERO QUE TE GUSTE,
¡Empecemos!**
**♥️I HOPE YOU LIKE IT,
Let's start!**
---

# ✂️ *MATERIALES* | ✂️ *MATERIALS*

- Botella de refresco.
- Foami escarchado dorado.
- Foami escarchado azul.
- Foami azul.
- Foami negro.
- Foami blanco.
- Foami amarillo.
- Pinturas y marcadores.
- Pegamento.
- Tijeras.
- Regla.
- Hoja blanca.
- Lápiz.
- Soda bottle.
- Gold frosted foam.
- Blue frosted foam.
- Blue foam.
- Black foam.
- White foam.
- Yellow foam.
- Paints and markers.
- Glue.
- Scissors.
- Ruler.
- White paper.
- Pencil.

# ✨ *PROCEDIMIENTO* | ✨ *PROCESS*

###### ✨ PASO 1:
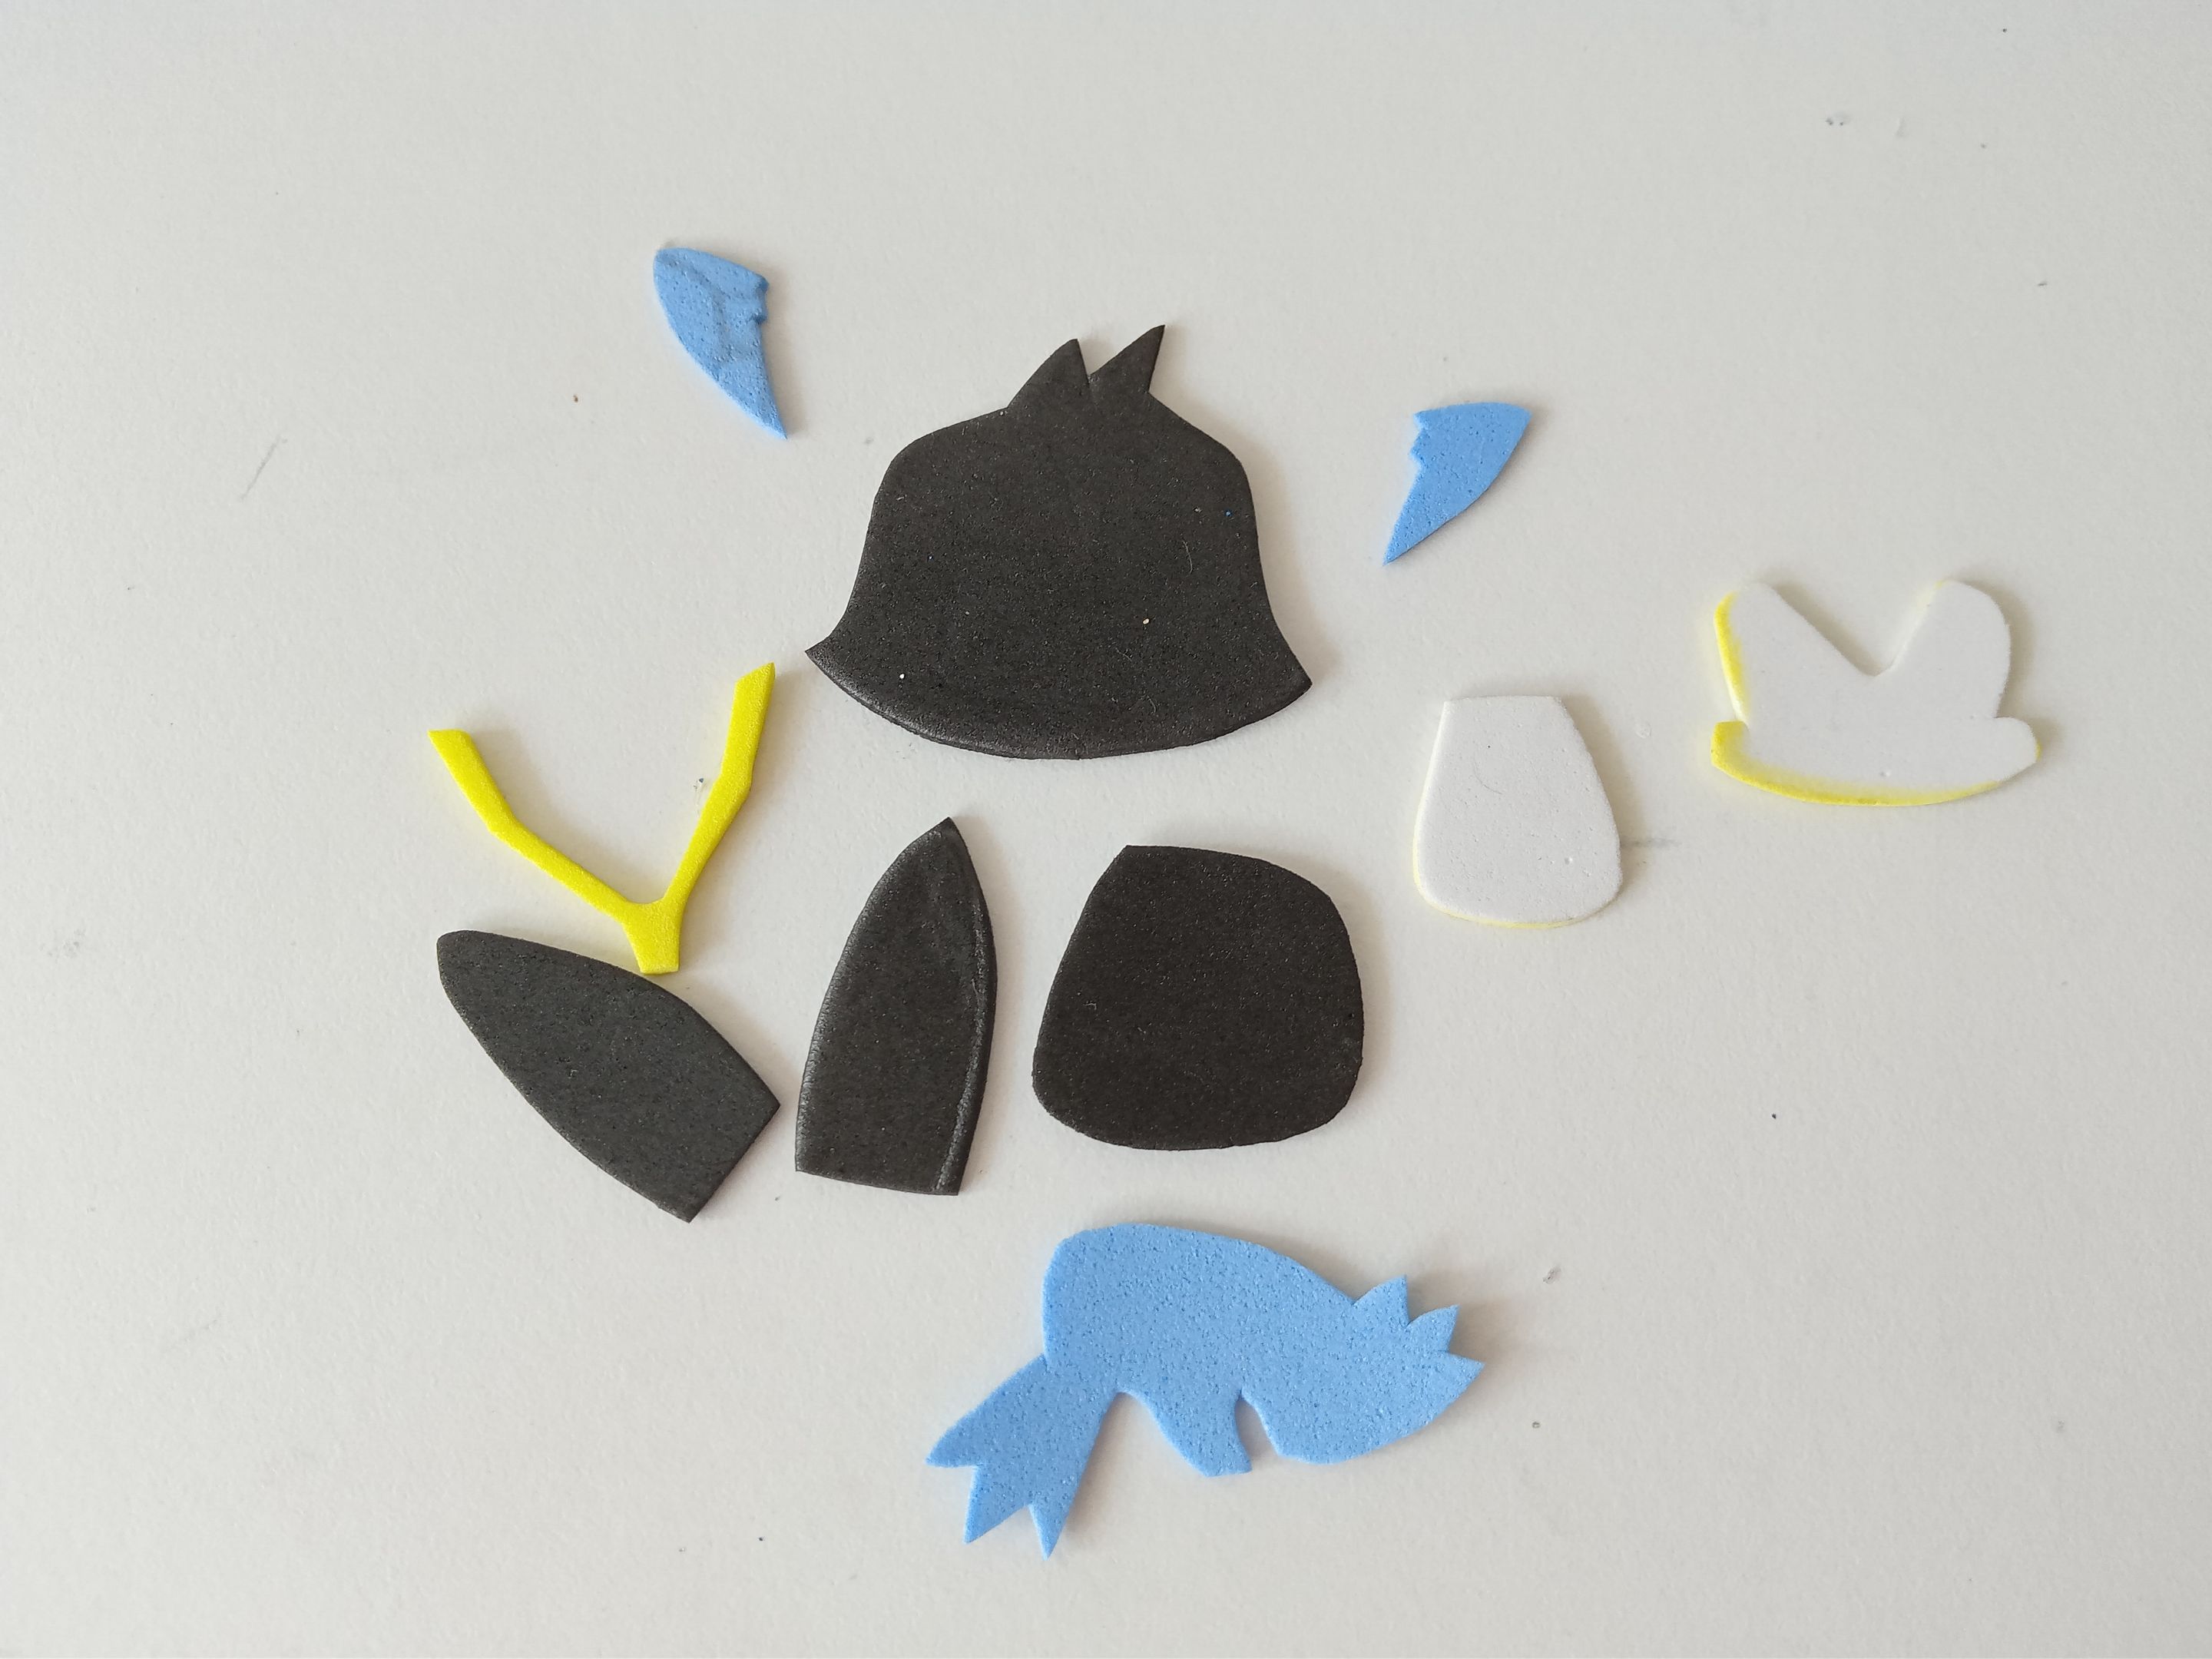
Lo primero que hice fue dibujar a Zingu en una hoja blanca, tal cual es él originalmente, y luego, transferí a los colores correspondientes de foami, como explico a continuación:
✨Cabeza: 4.5 cm x 4 cm en foami negro.
✨Cuerpo: 3 cm x 2.5 cm en foami negro.
✨Aletas: 3 cm x 2 cm en foami negro.
✨Patas: 4.5 cm x 2.5 cm en foami azul.
✨Cristales de las alas: 1.5 cm en foami azul.
✨Parte interna de la cabeza: 3 cm x 2 cm en foami blanco.
✨Parte interna del cuerpo: 2 cm x 1.8 cm en foami blanco.
✨Detalle amarillo: 2 cm en foami amarillo.
✨Pico: 1 cm en foami amarillo.
✨Cristal: 0.8 mm en foami azul.
###### ✨ STEP 1:
The first thing I did was draw Zingu on a white sheet of paper, exactly as he originally was, and then I transferred the corresponding colors of foam, as explained below:
✨Head: 4.5 cm x 4 cm in black foam.
✨Body: 3 cm x 2.5 cm in black foam.
✨Fins: 3 cm x 2 cm in black foam.
✨Legs: 4.5 cm x 2.5 cm in blue foam.
✨Wing crystals: 1.5 cm in blue foam.
✨Inside of head: 3 cm x 2 cm in white foam.
✨Inside of body: 2 cm x 1.8 cm in white foam.
✨Yellow detail: 2 cm in yellow foam.
✨Beak: 1 cm in yellow foam.
✨Crystal: 0.8 mm in blue foam.
###### ✨ PASO 2:
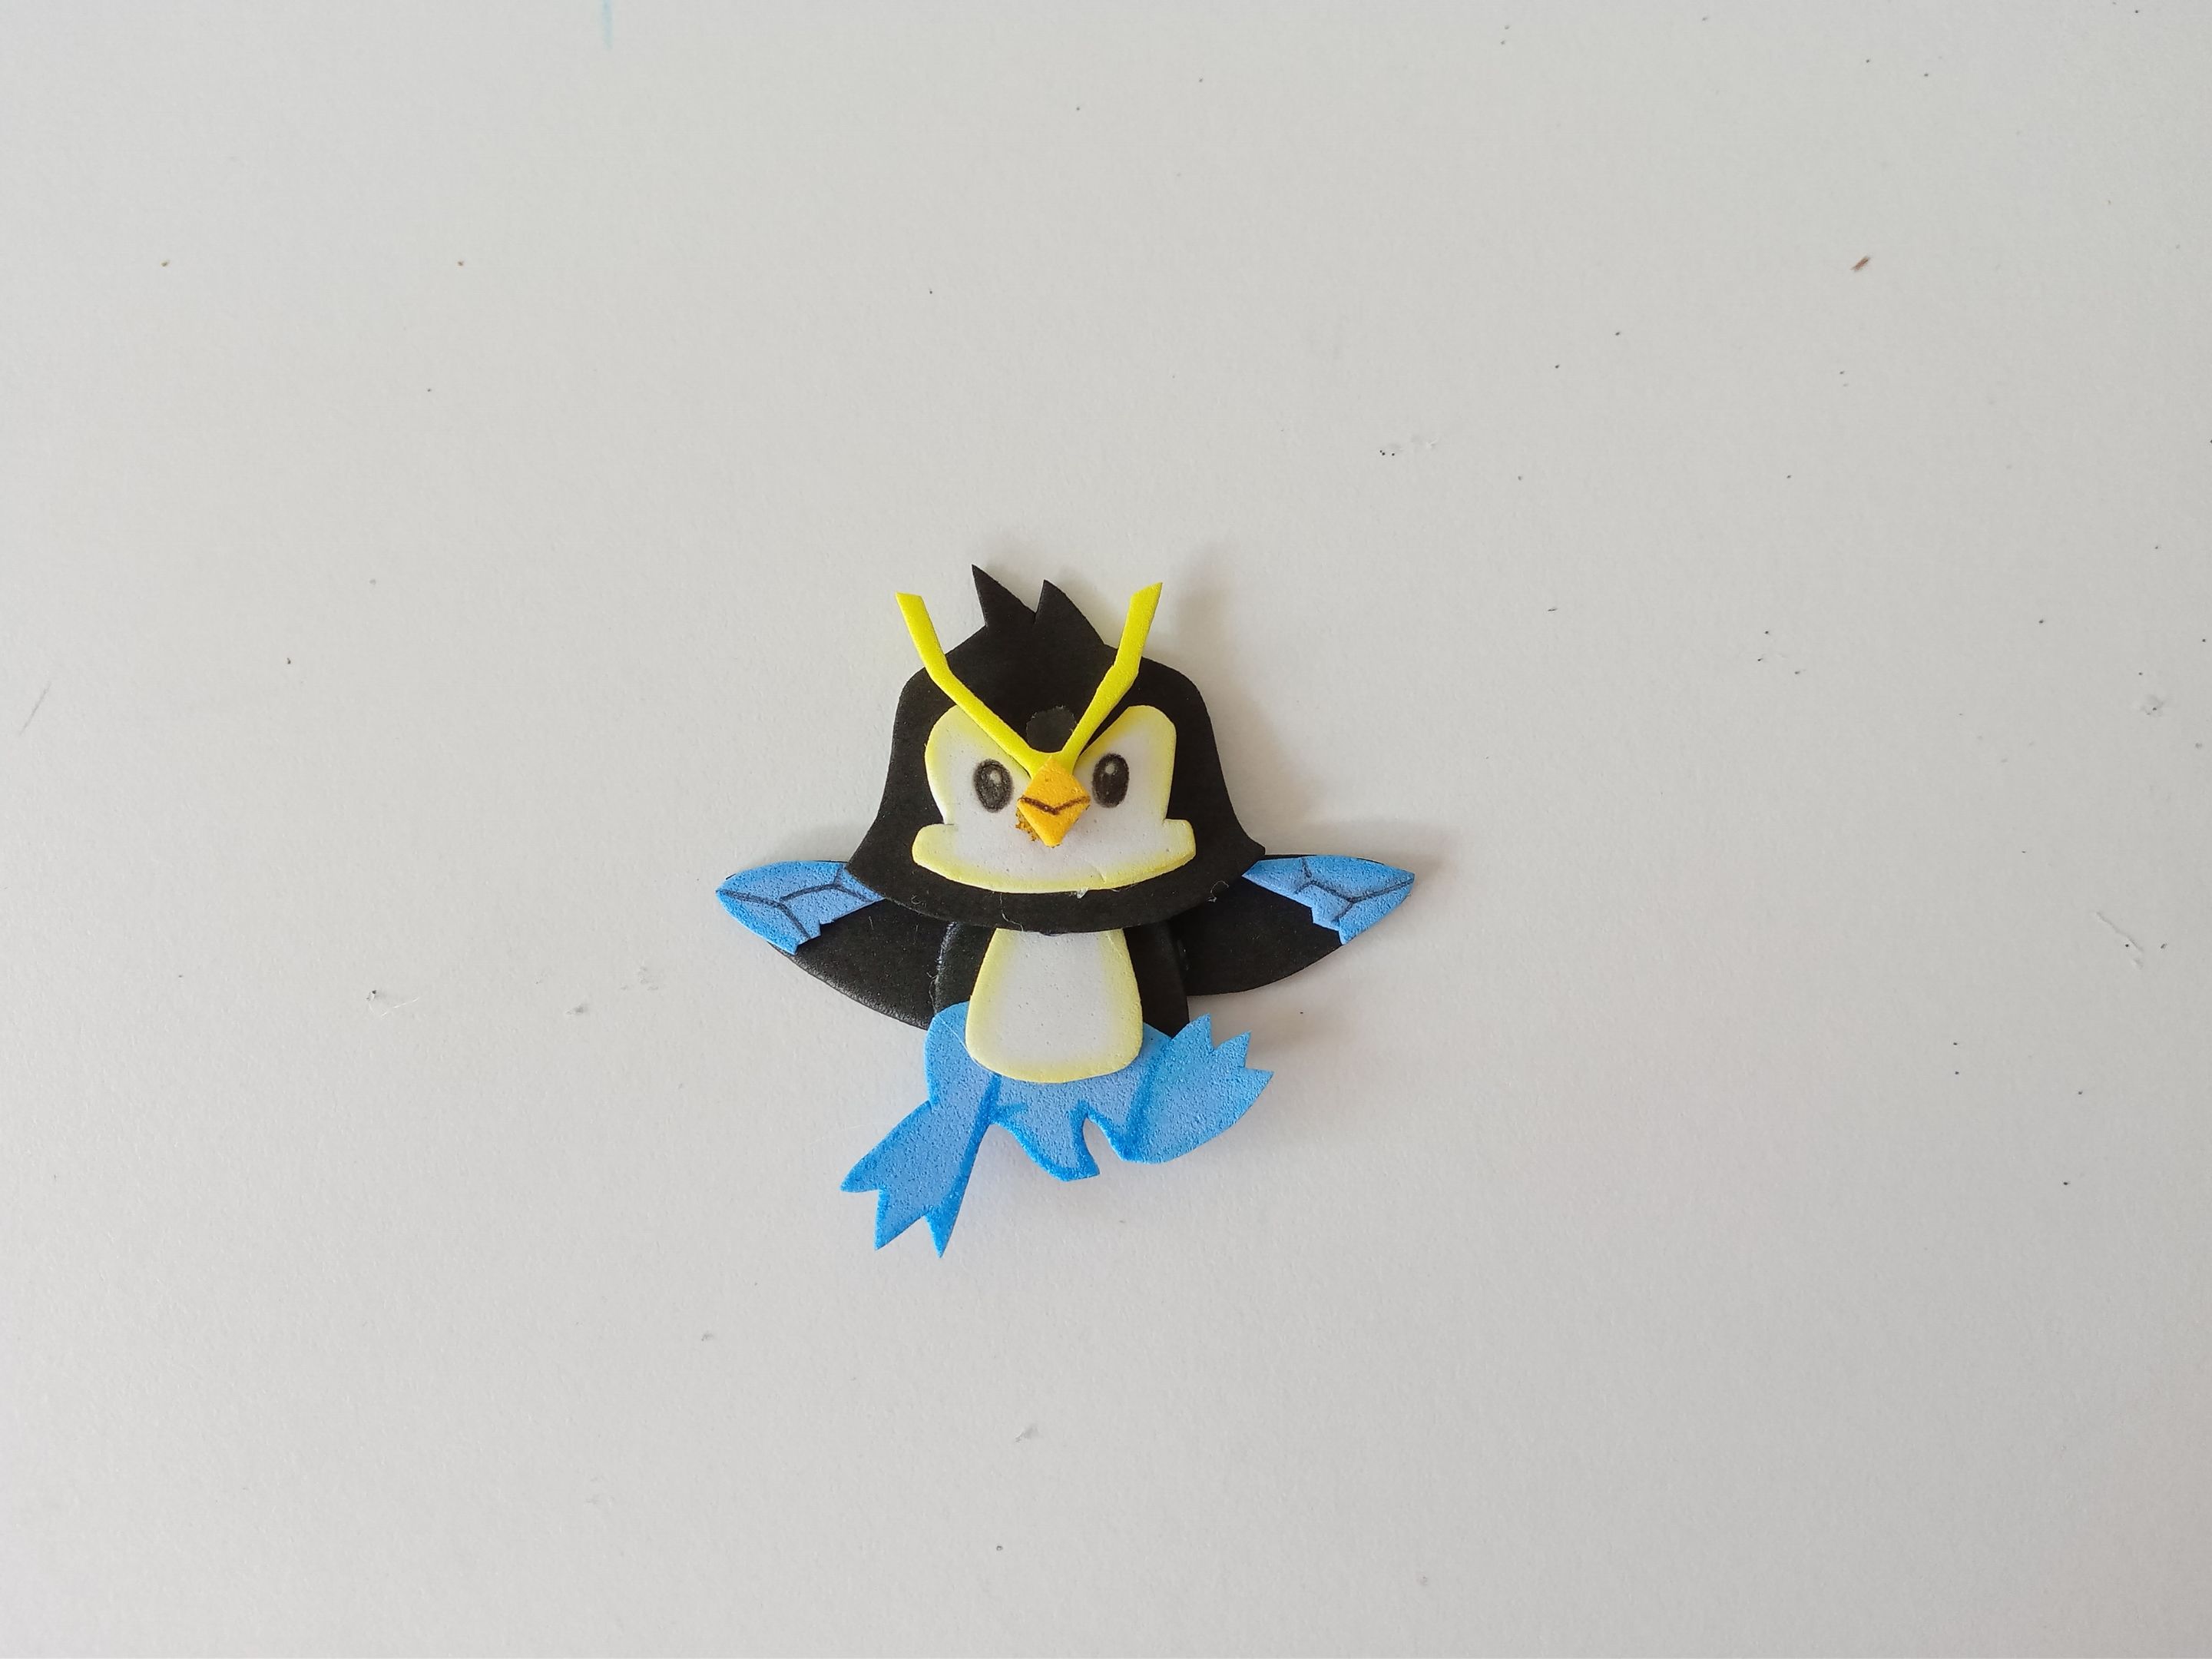
Al estar listas las piezas, es momento de dar color a los bordes con pinturas y difuminar con un pañito. Así que para las piezas en foami blanco utilicé un tono amarillo; para las negras no utilicé ningún color, para las piezas en foami azul utilicé un tono más oscuro y para el pico igual. Al estar secas las piezas, es momento de dar detalles más específicos con marcadores, así que definí mejor las patas, el pico, los cristales y el rostro de Zingu. Al estar secas todas las piezas, las pegué hasta formar a la criatura.
###### ✨ STEP 2:
Once the pieces are ready, it's time to color the edges with paint and blend with a cloth. So, for the white foam pieces, I used a yellow shade; for the black ones, I didn't use any color; for the blue foam pieces, I used a darker shade, and for the beak, the same. Once the pieces were dry, it was time to add more specific details with markers, so I better defined Zingu's legs, beak, crystals, and face. Once all the pieces were dry, I glued them together to form the creature.
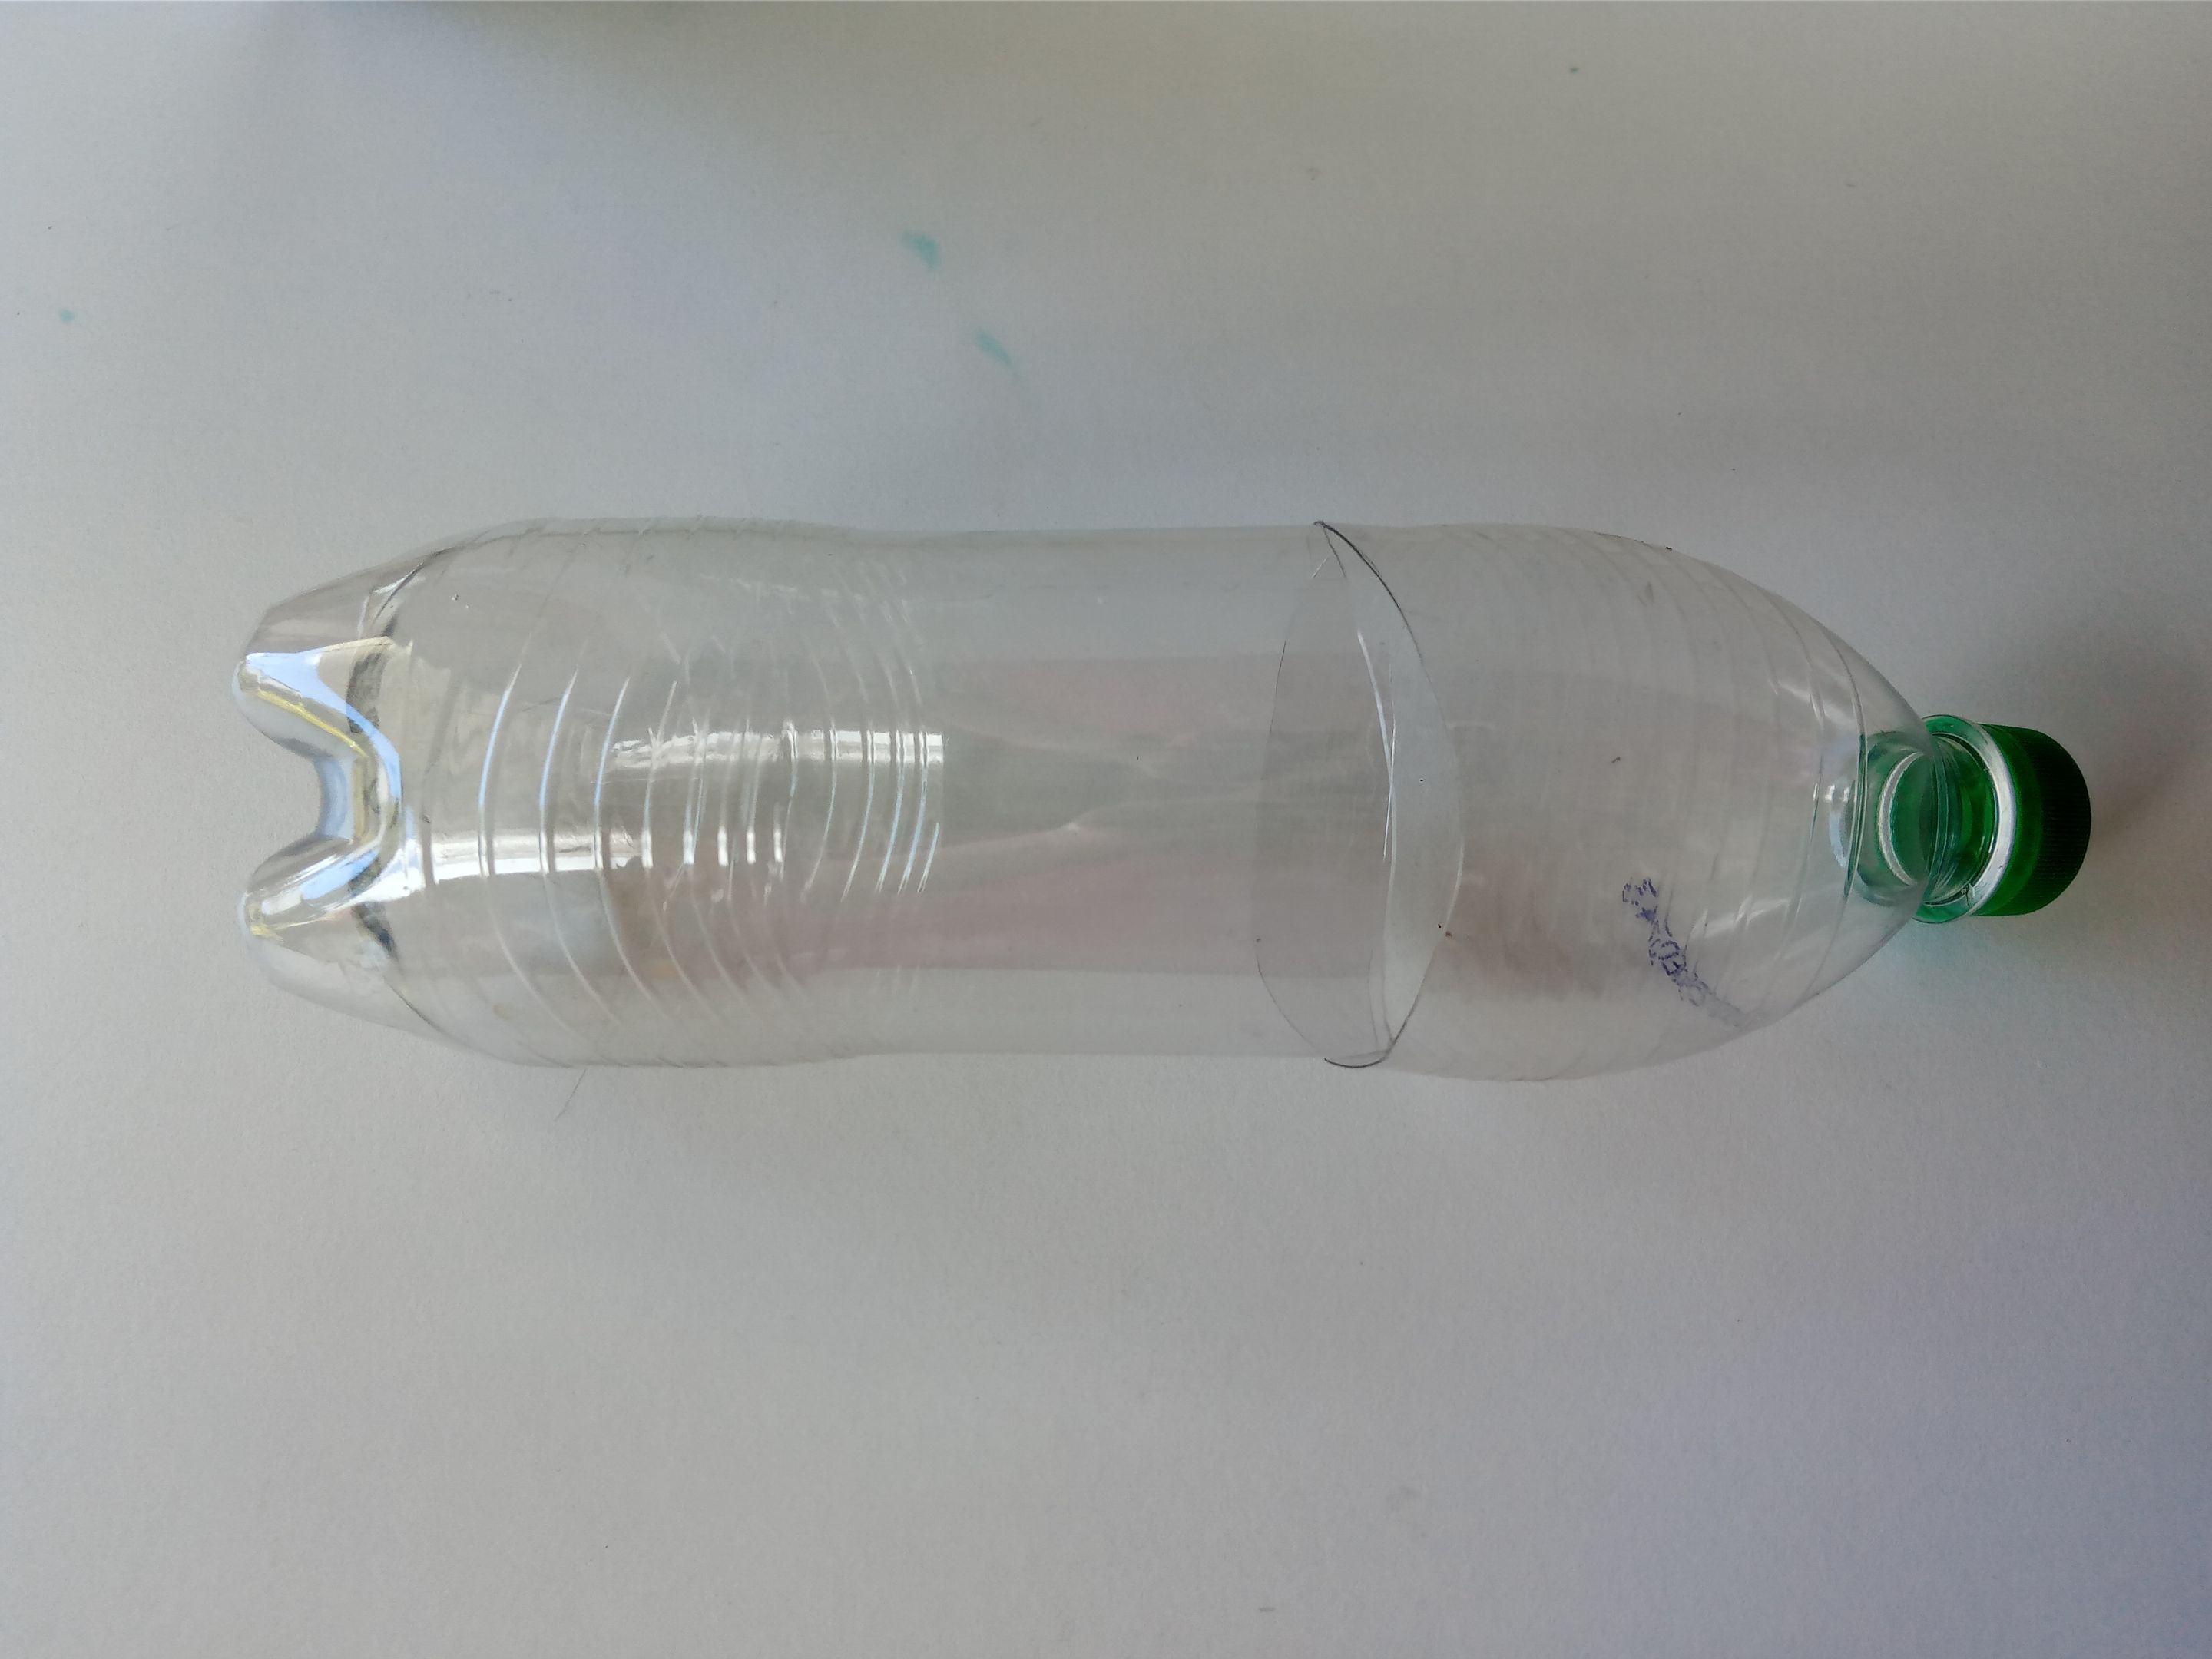
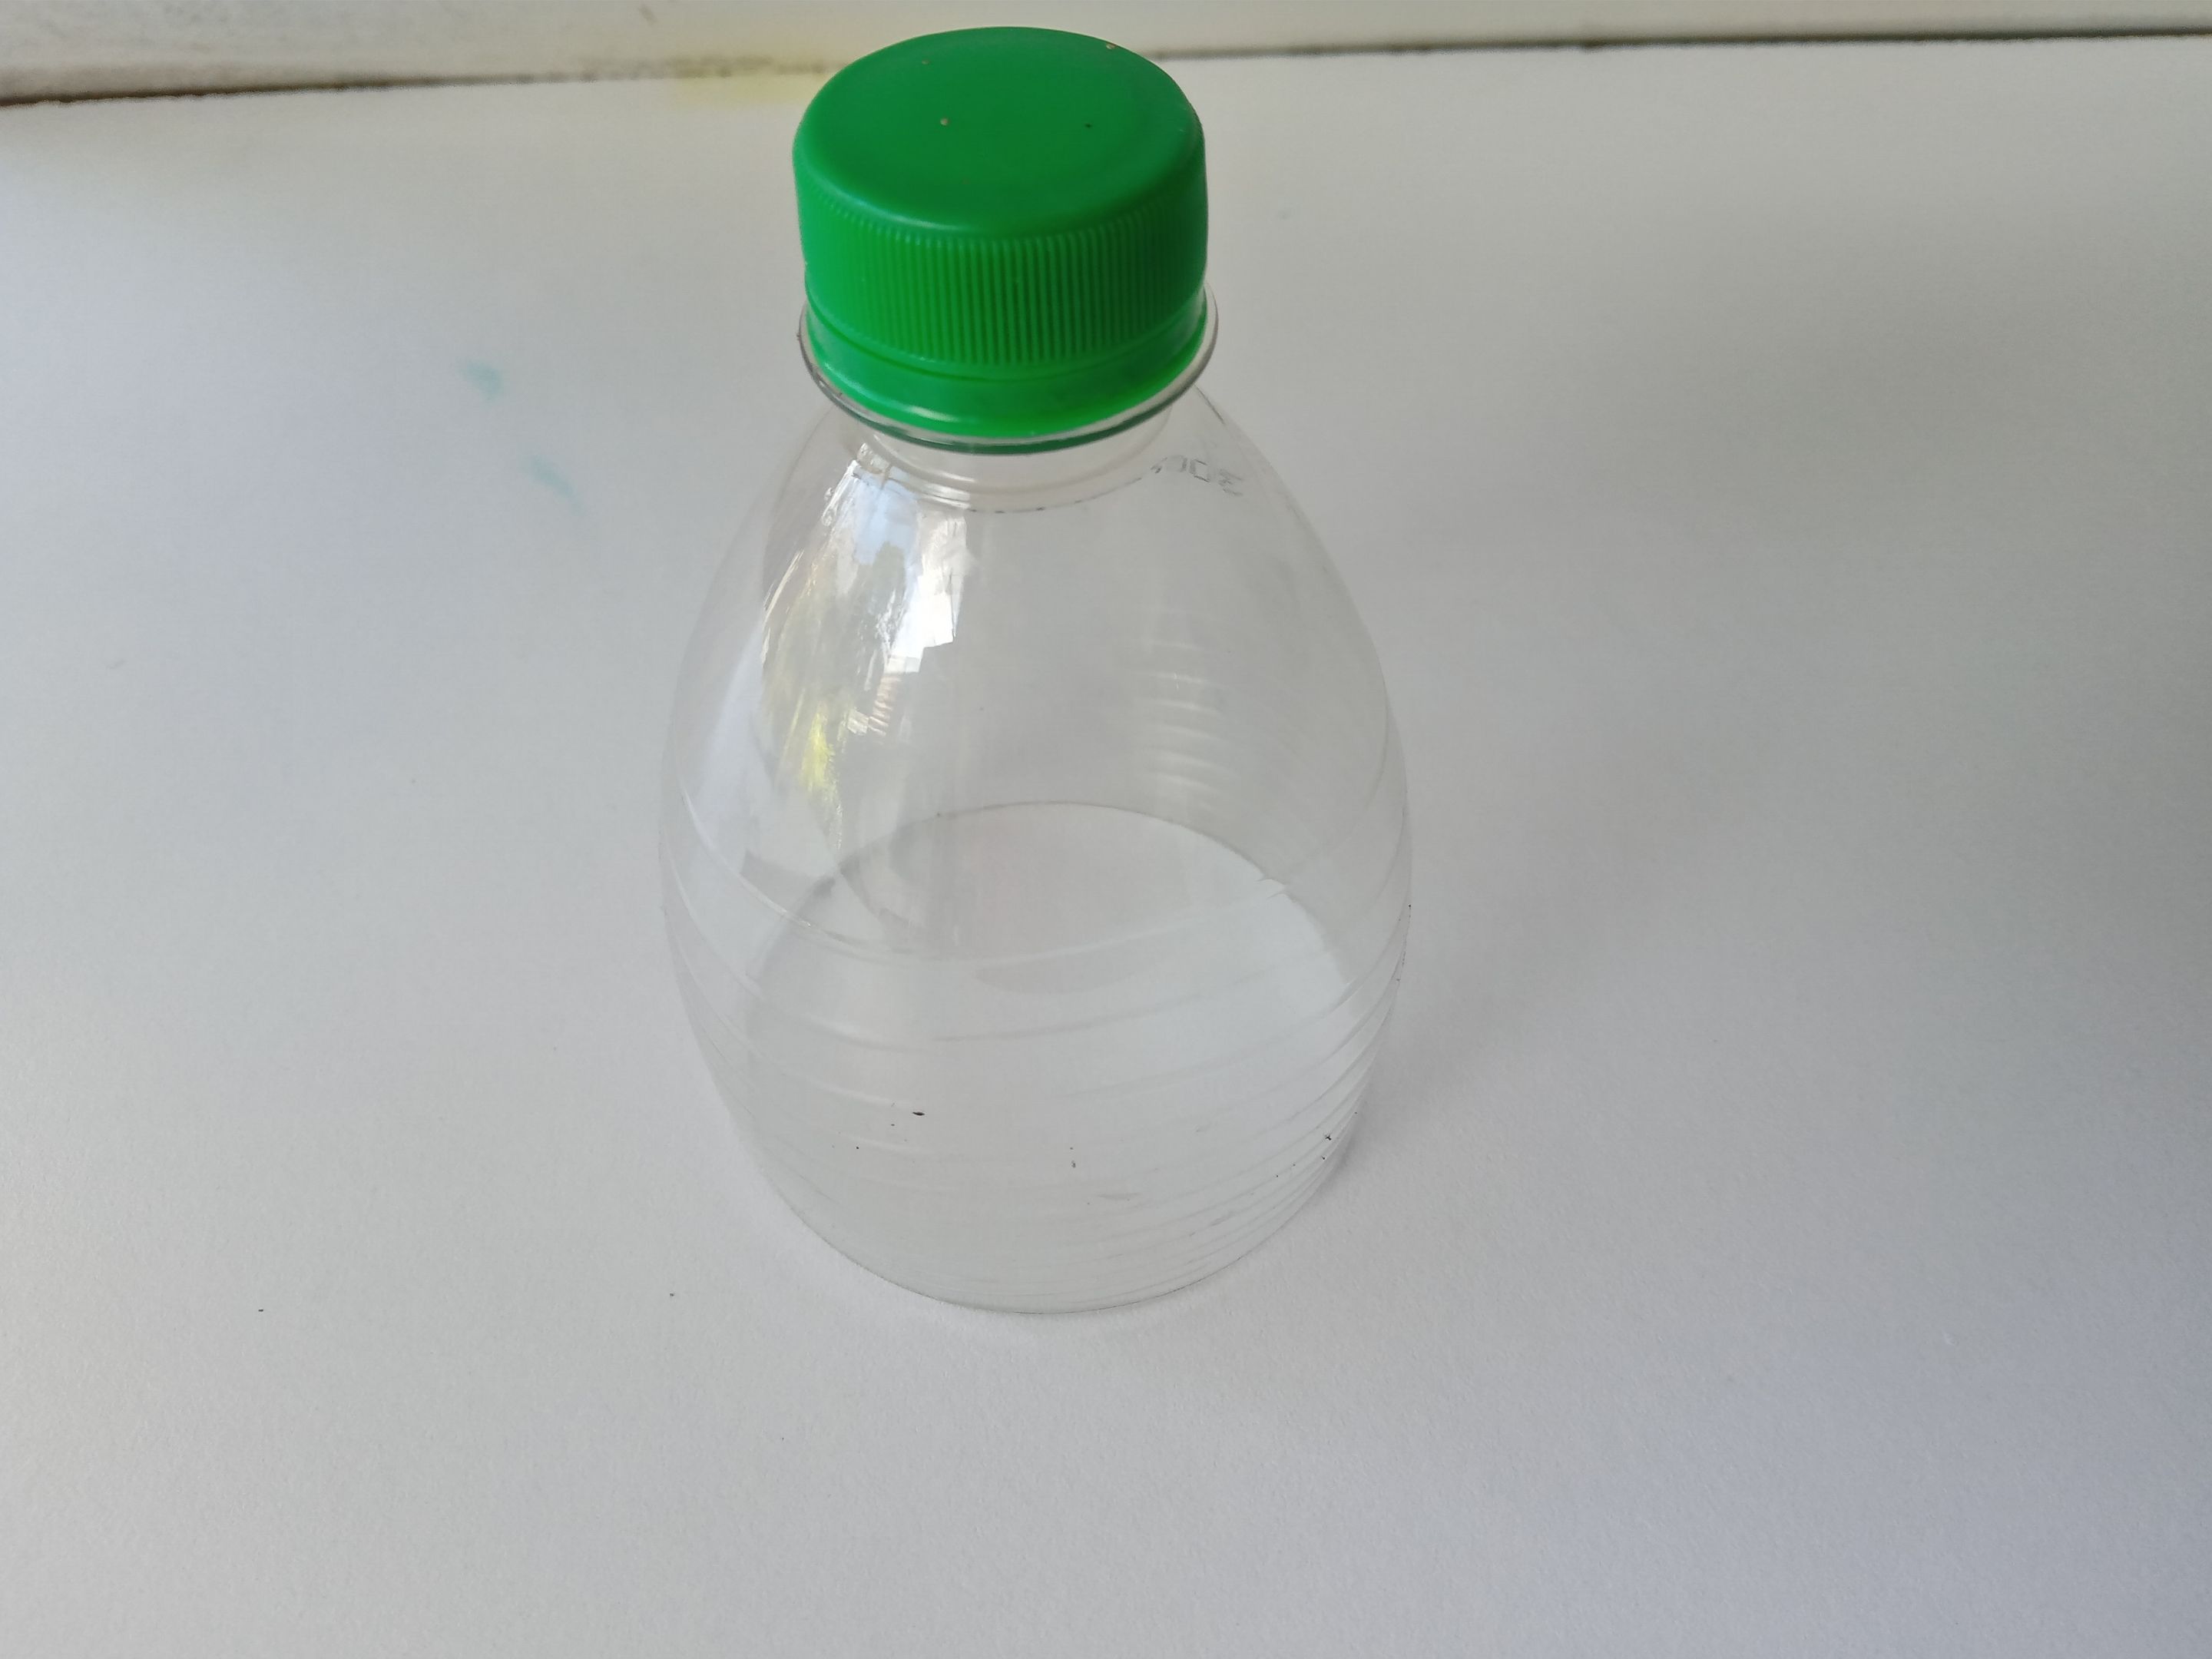
###### ✨ PASO 3:
Ahora es momento de centrarnos en el dulcero; para ello, tomé la botella y corté, con ayuda de un cúter, la parte superior de la botella, por donde tiene una marca para poder guiarnos al momento de hacer el corte.
###### ✨ STEP 3:
Now it's time to focus on the candy dish. To do this, I took the bottle and, using a box cutter, cut the top of the bottle, where there was a mark to guide us when cutting.

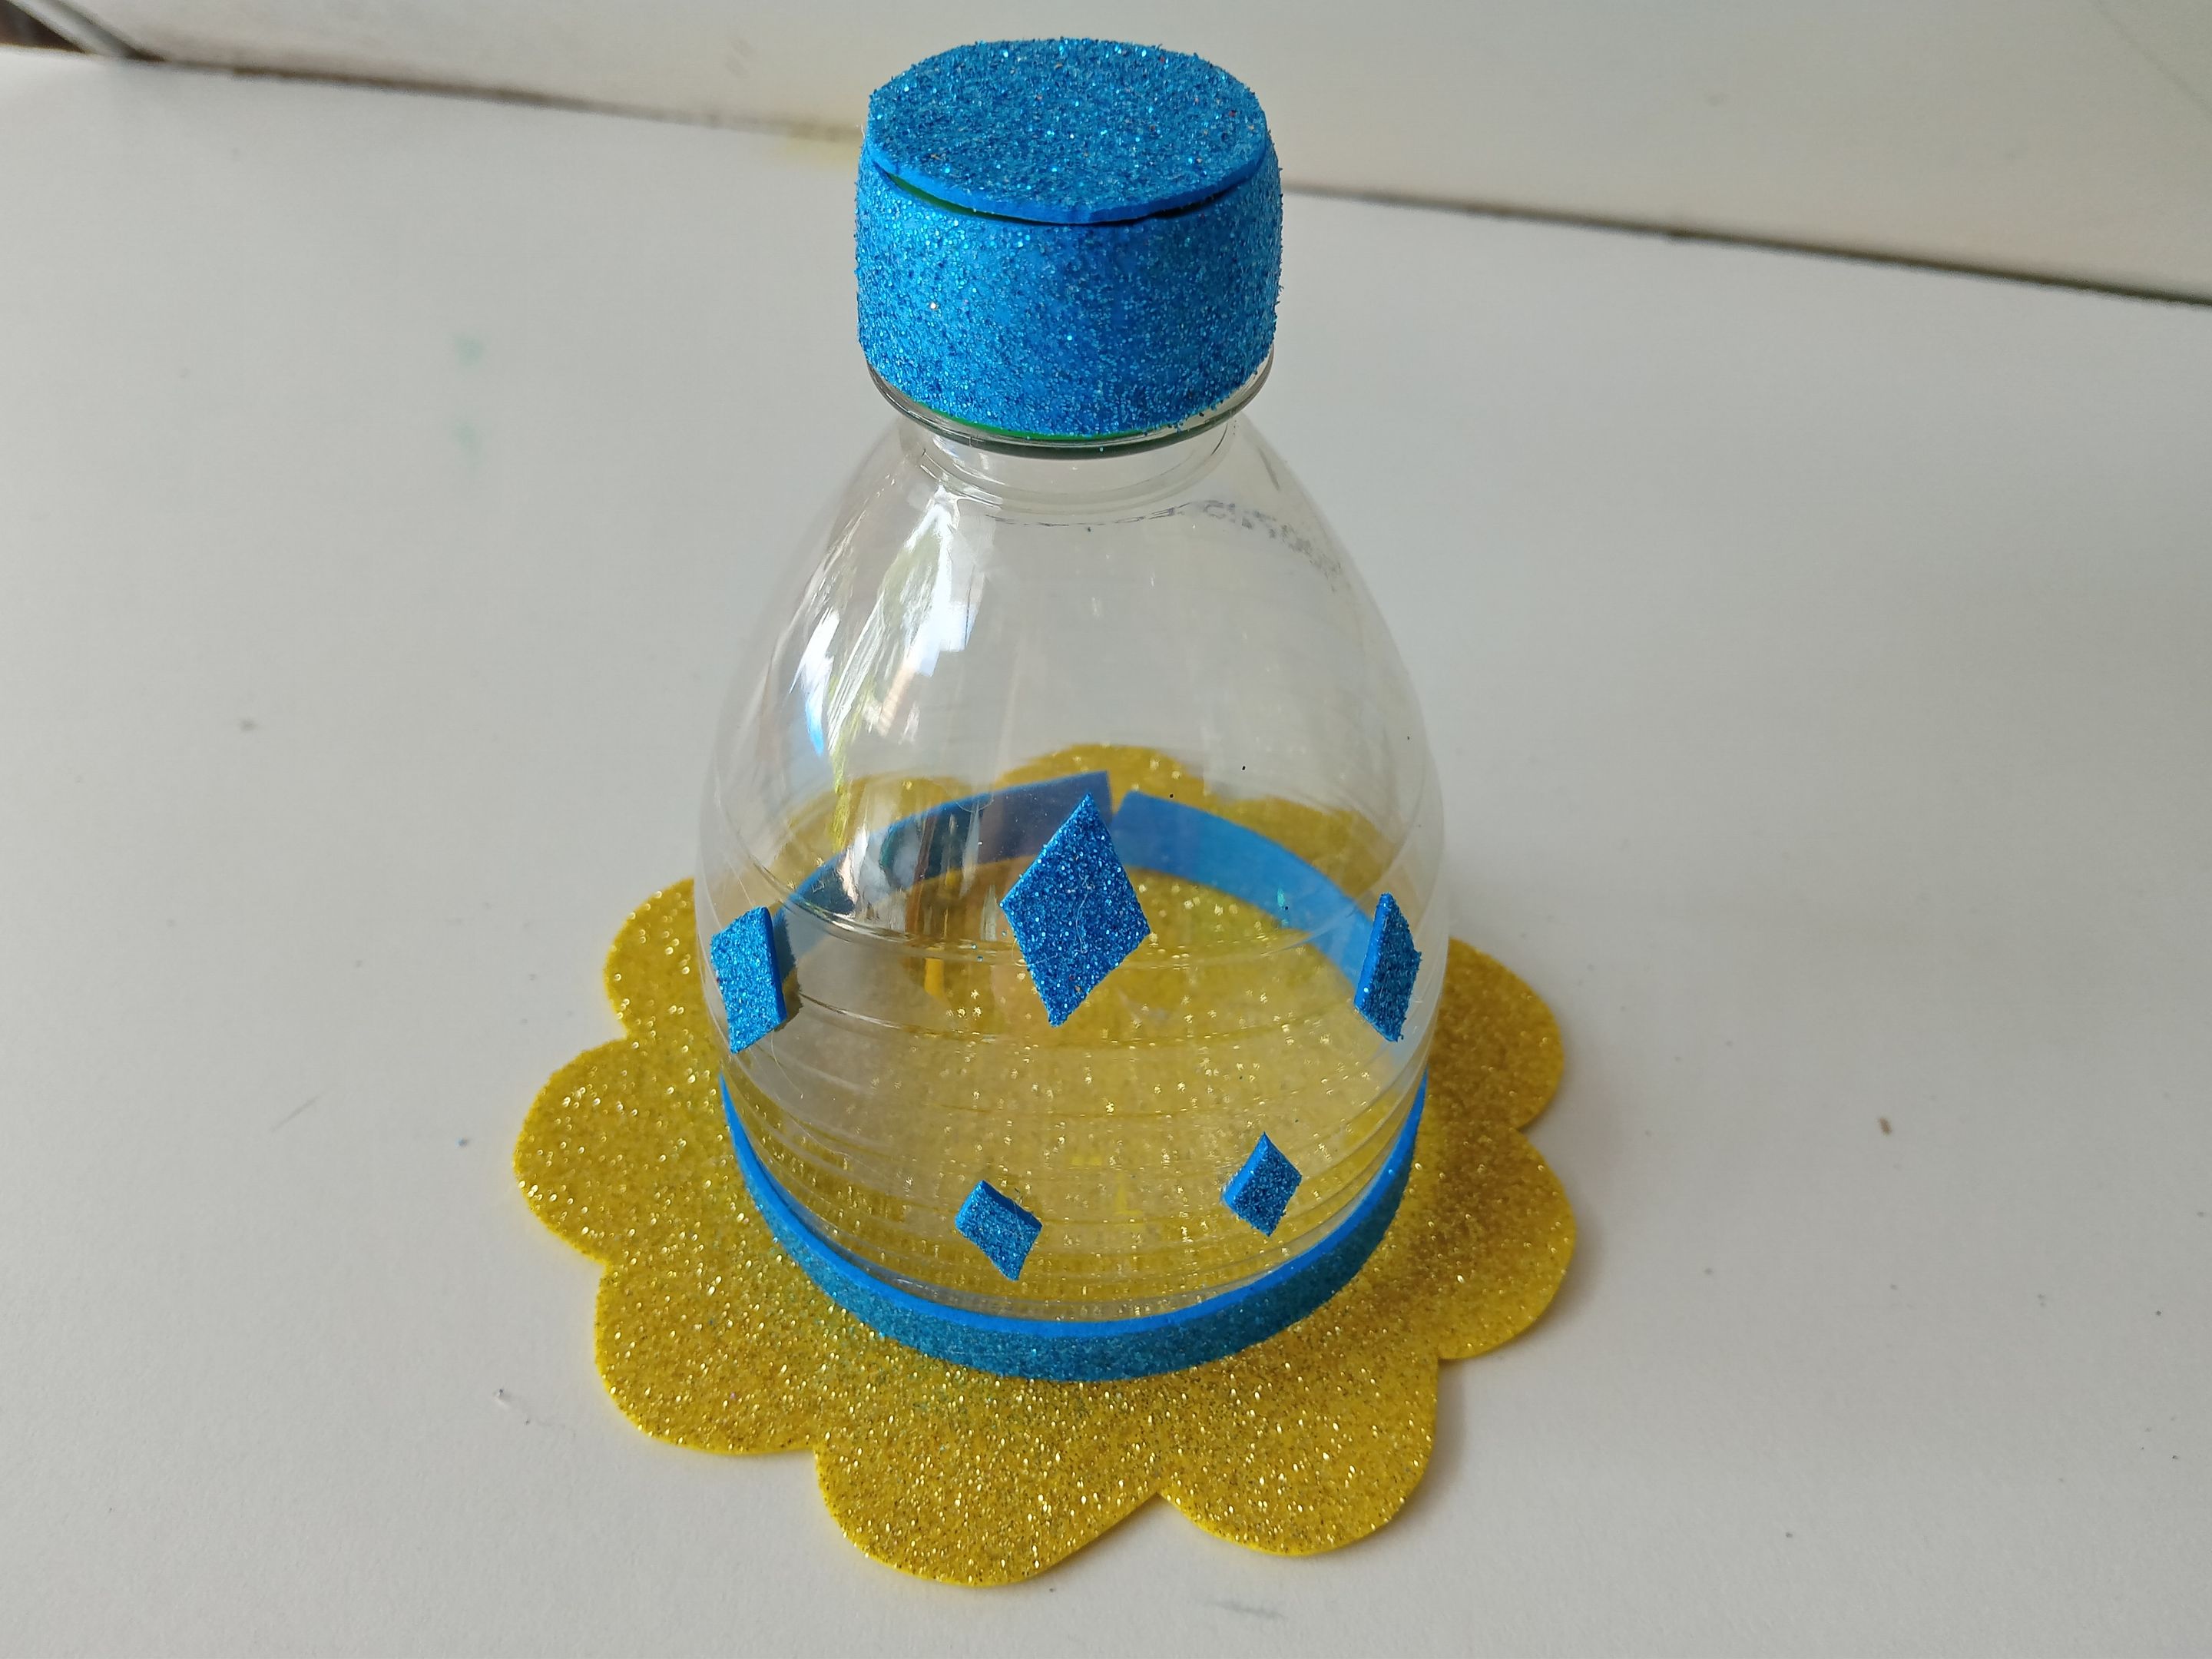
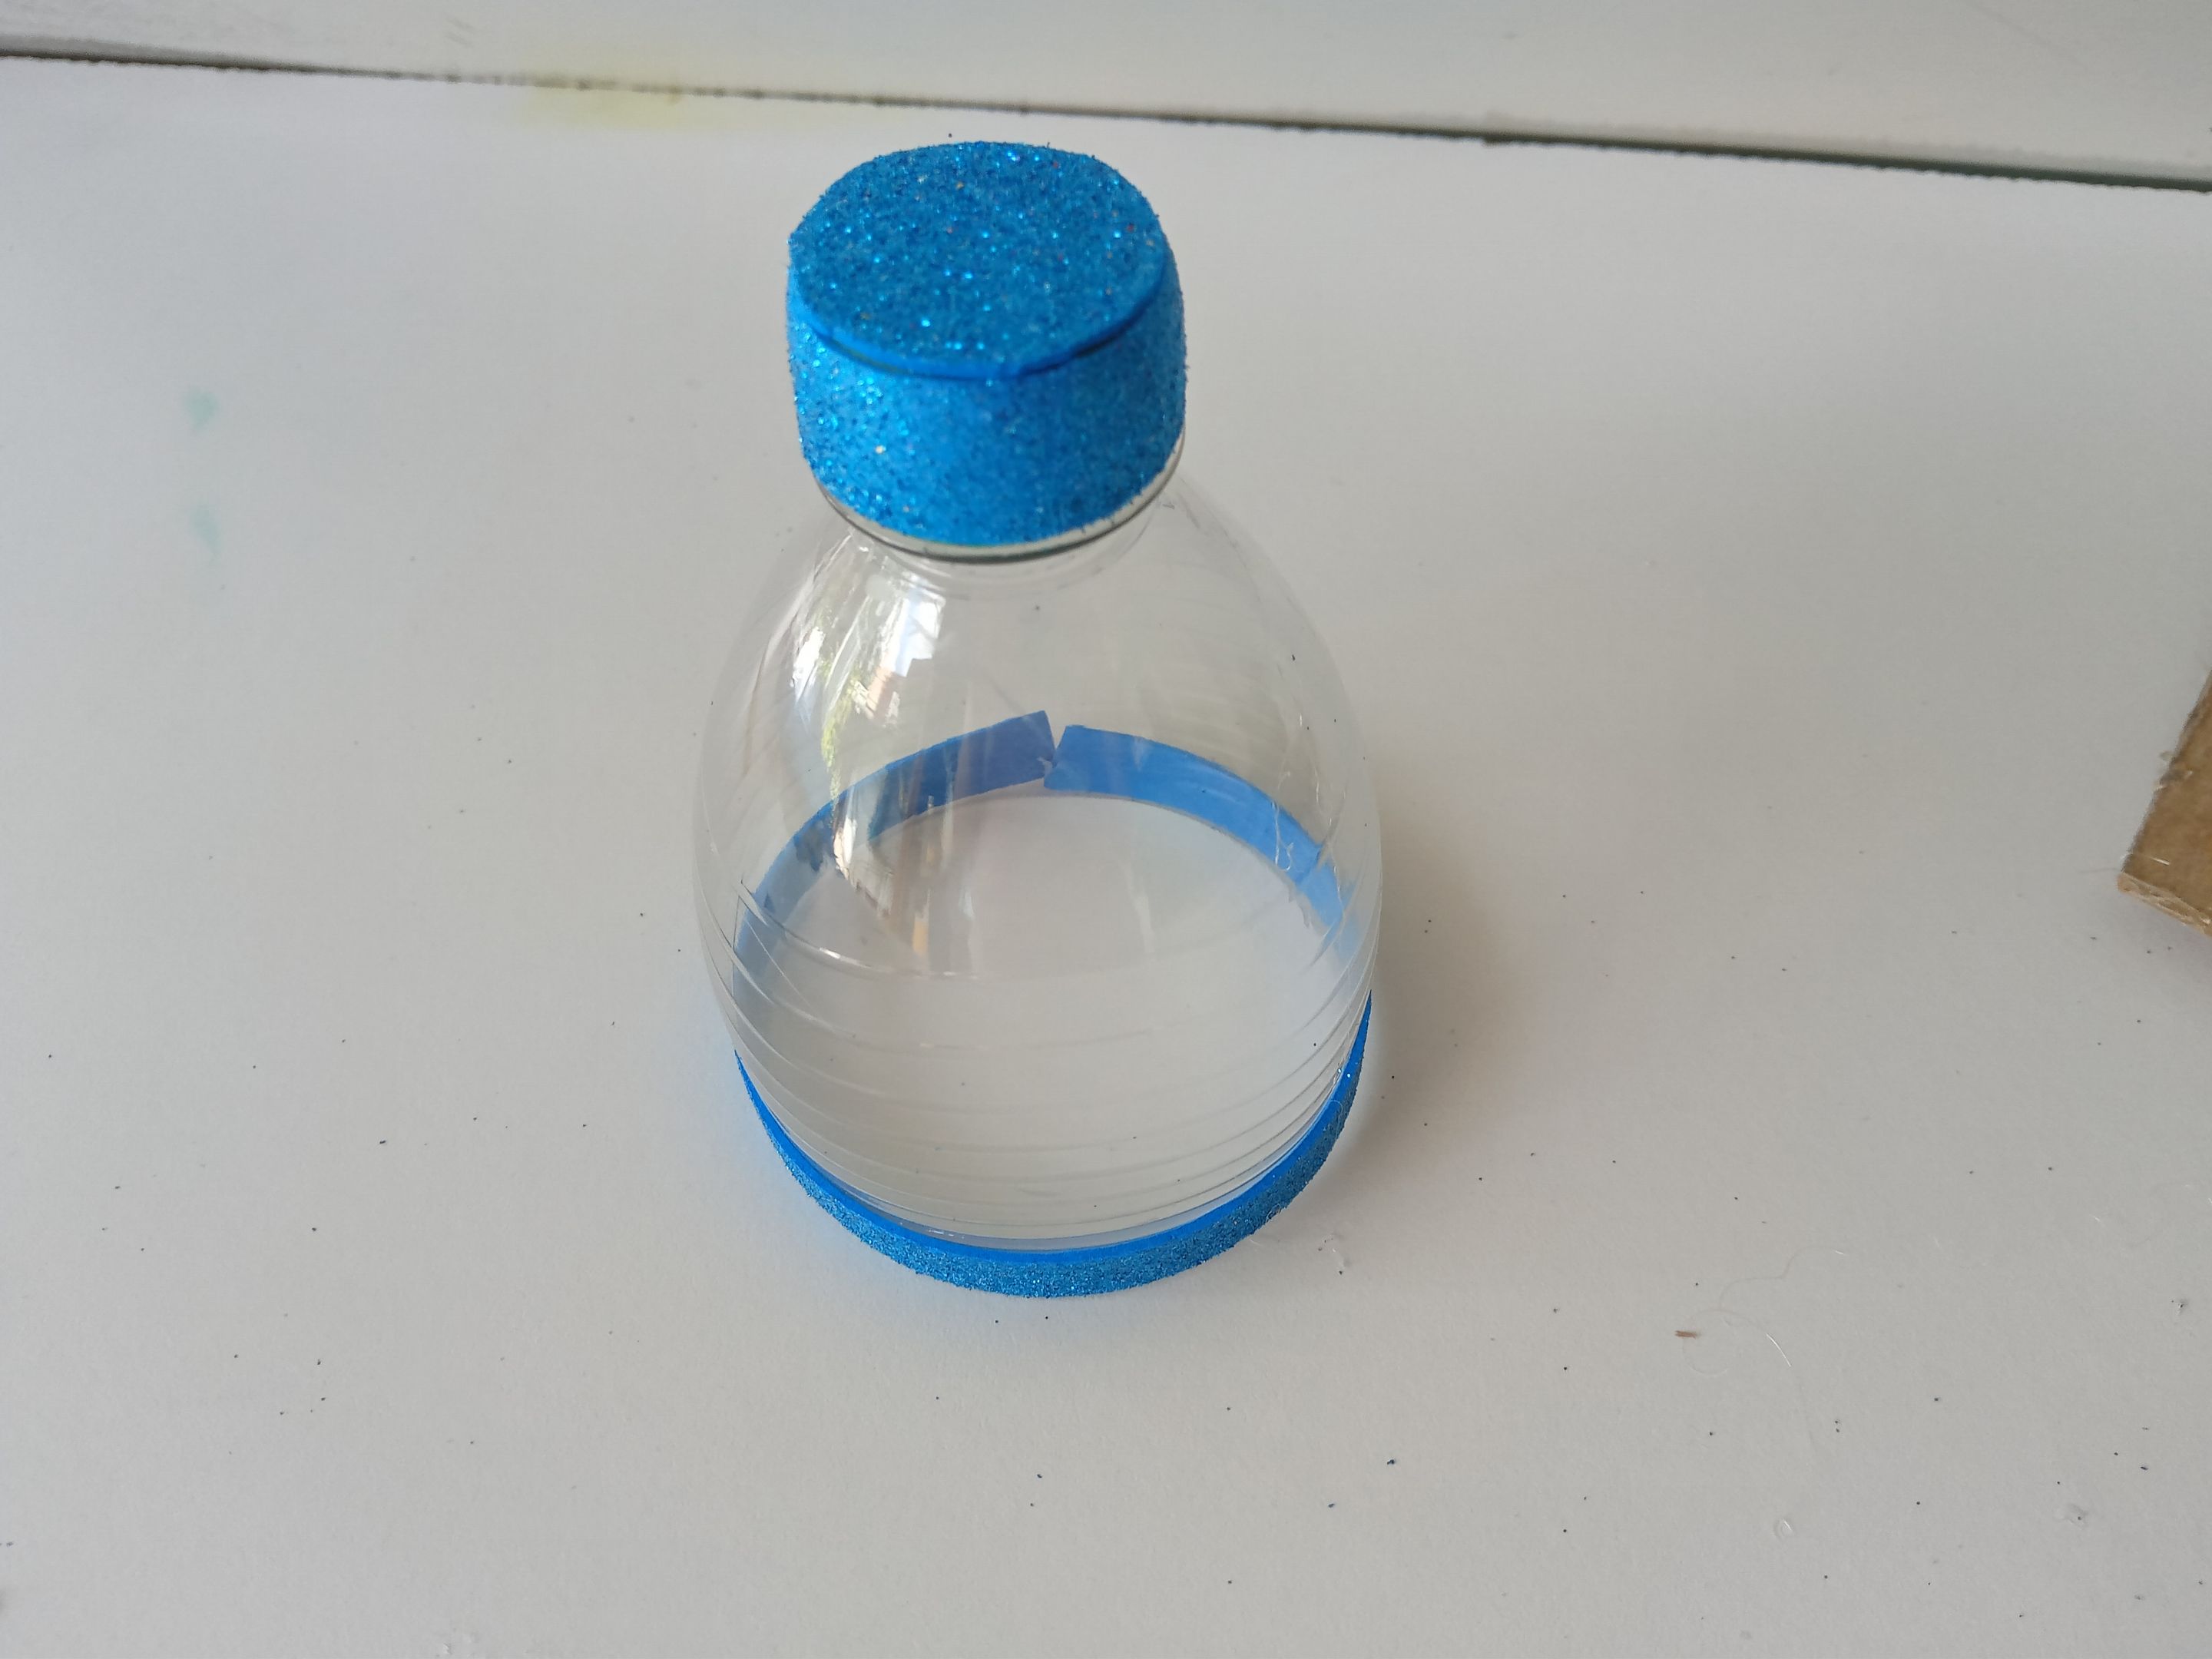
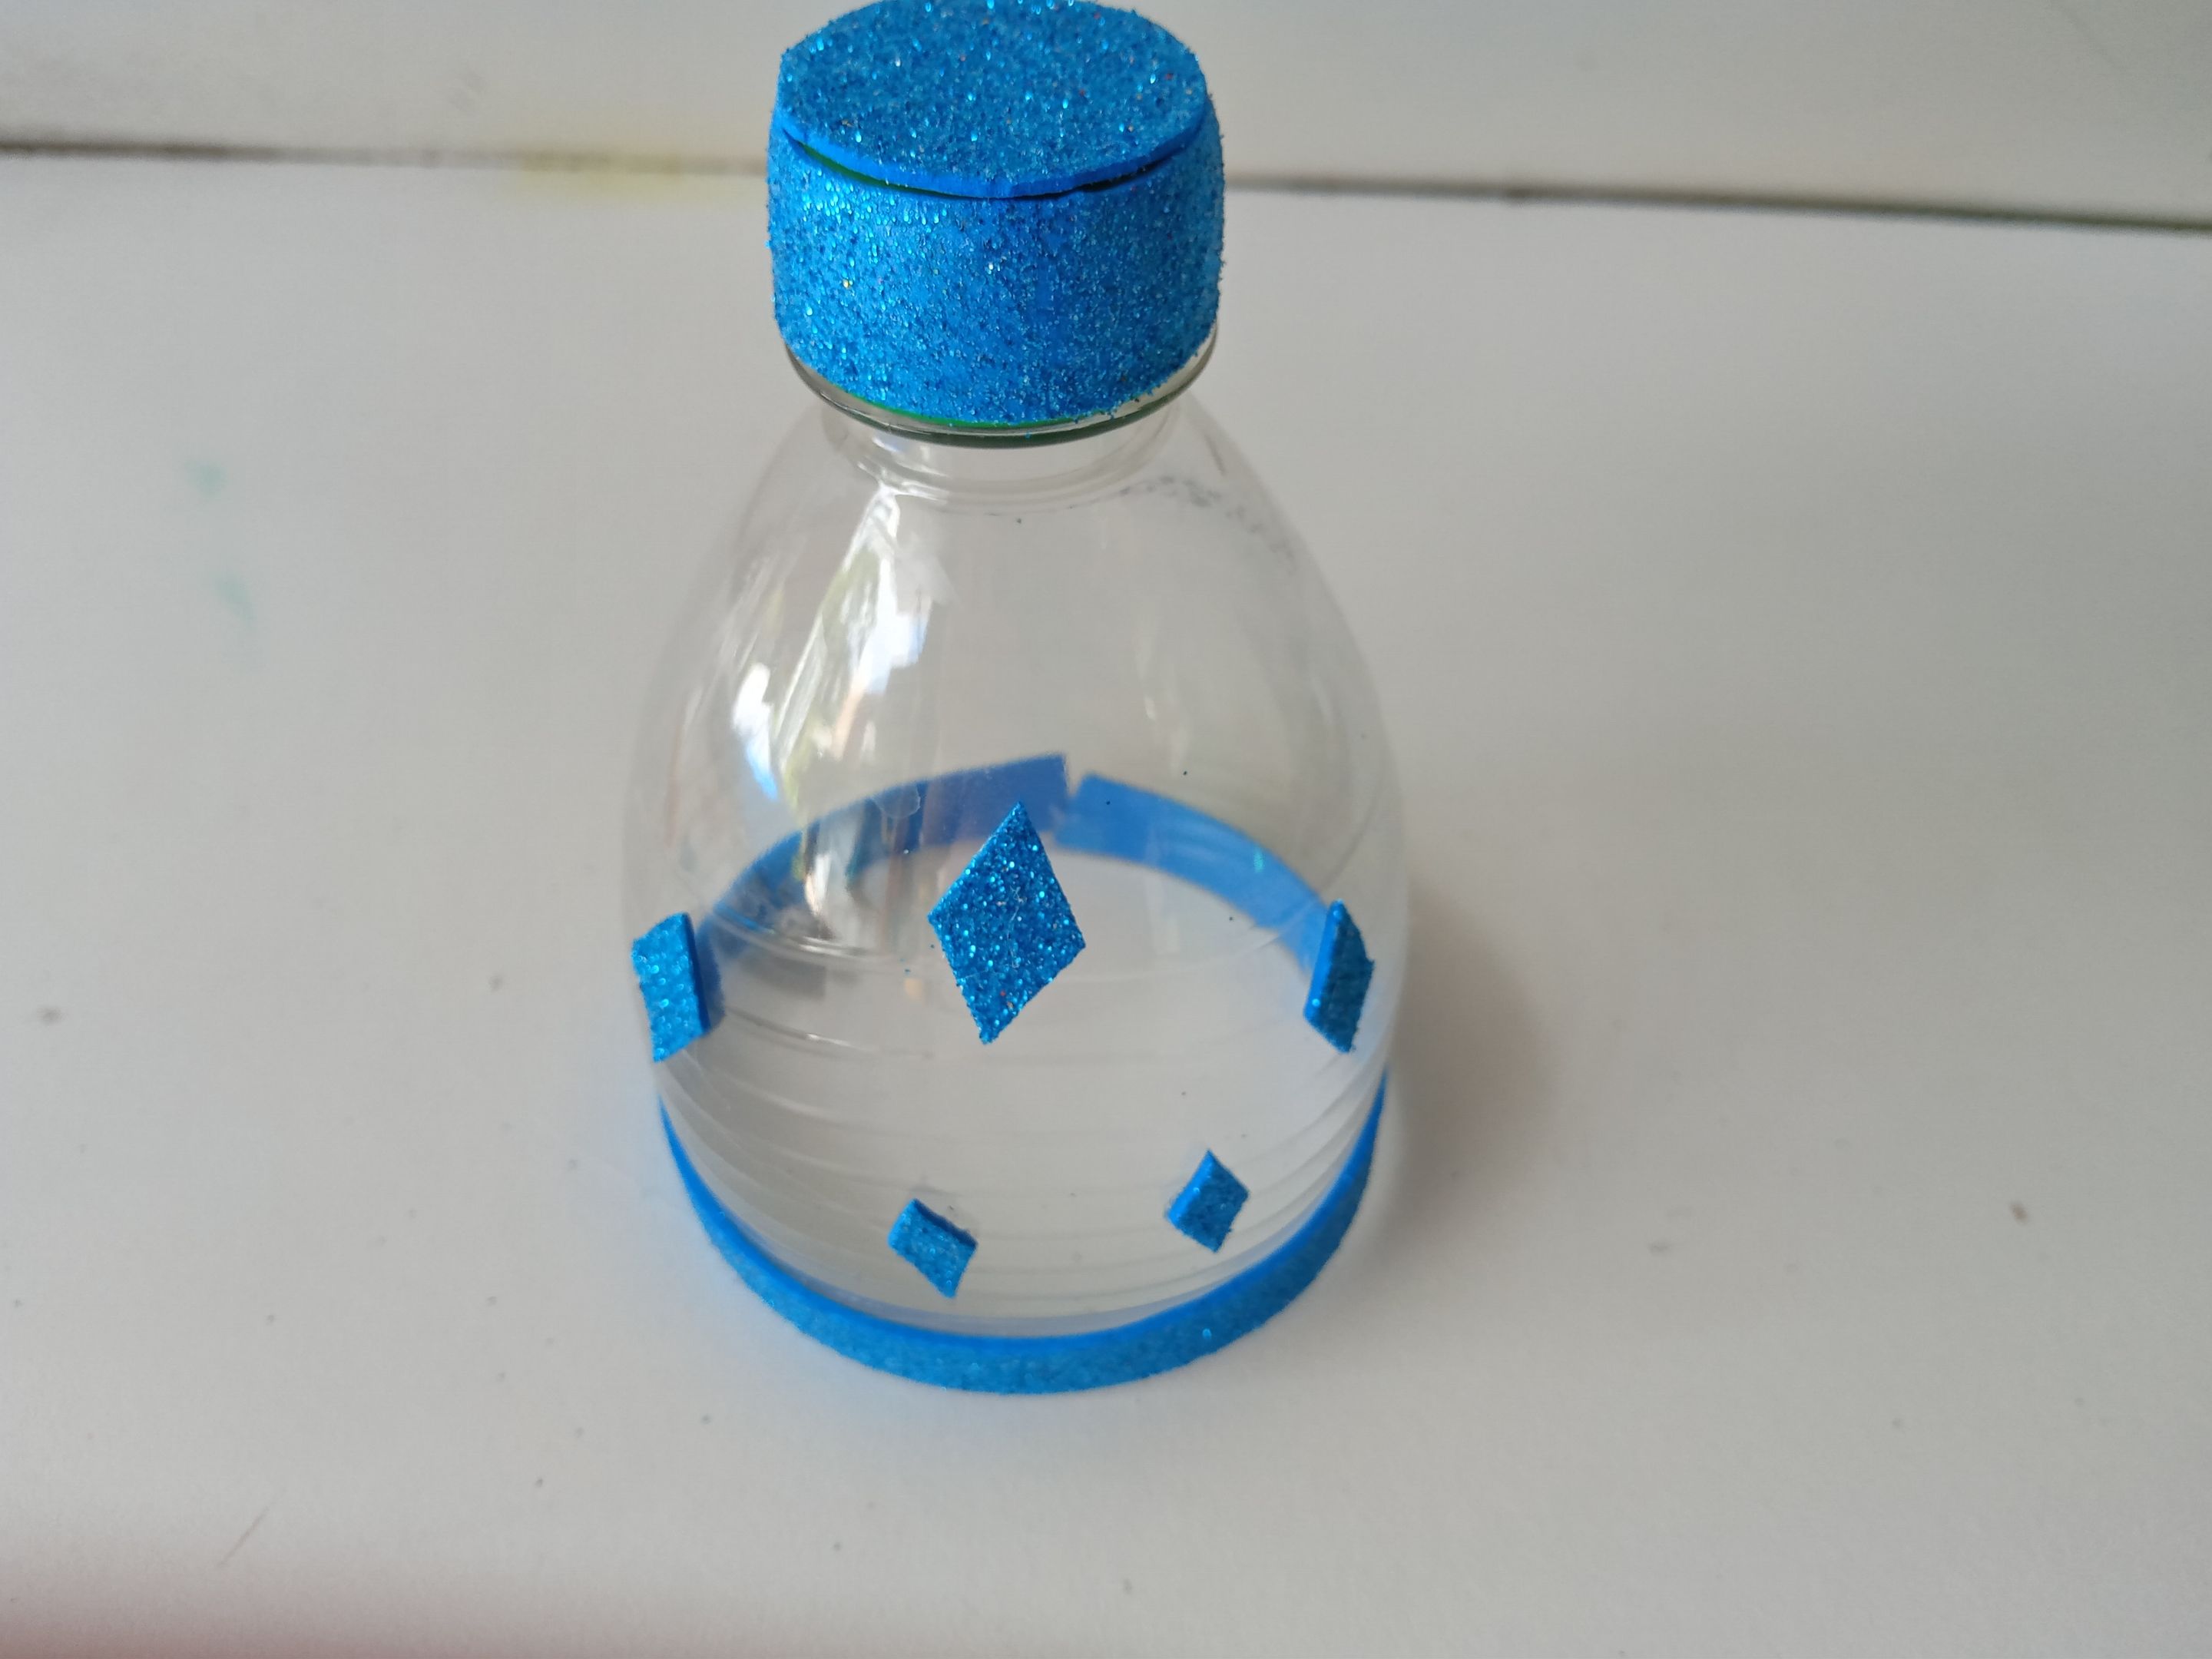
###### ✨ PASO 4:
Al tener lista la botella, recorté una tira de 26 cm x 1 cm en foami escarchado azul, la cual pegué en la parte baja de la botella. Además, para cubrir la tapa, recorté una tira de 10 cm x 1.8 cm en foami escarchado azul y pegué para cubrir los laterales de la tapa y, para la parte superior, recorté una pieza de 3 cm de circunferencia en foami escarchado azul. Como extra de decoración para el dulcero, quise recortar diamantes del mismo foami escarchado azul y los pegué por lo que sería el frente del dulcero.
###### ✨ STEP 4:
Once the bottle was ready, I cut a 26 cm x 1 cm strip of blue frosted foam, which I glued to the bottom of the bottle. Also, to cover the lid, I cut a 10 cm x 1.8 cm strip of blue frosted foam and glued it to cover the sides of the lid. For the top, I cut a 3 cm circumference piece of blue frosted foam. As an extra decoration for the candy dish, I wanted to cut diamonds from the same blue frosted foam and glued them to what would be the front of the candy dish.

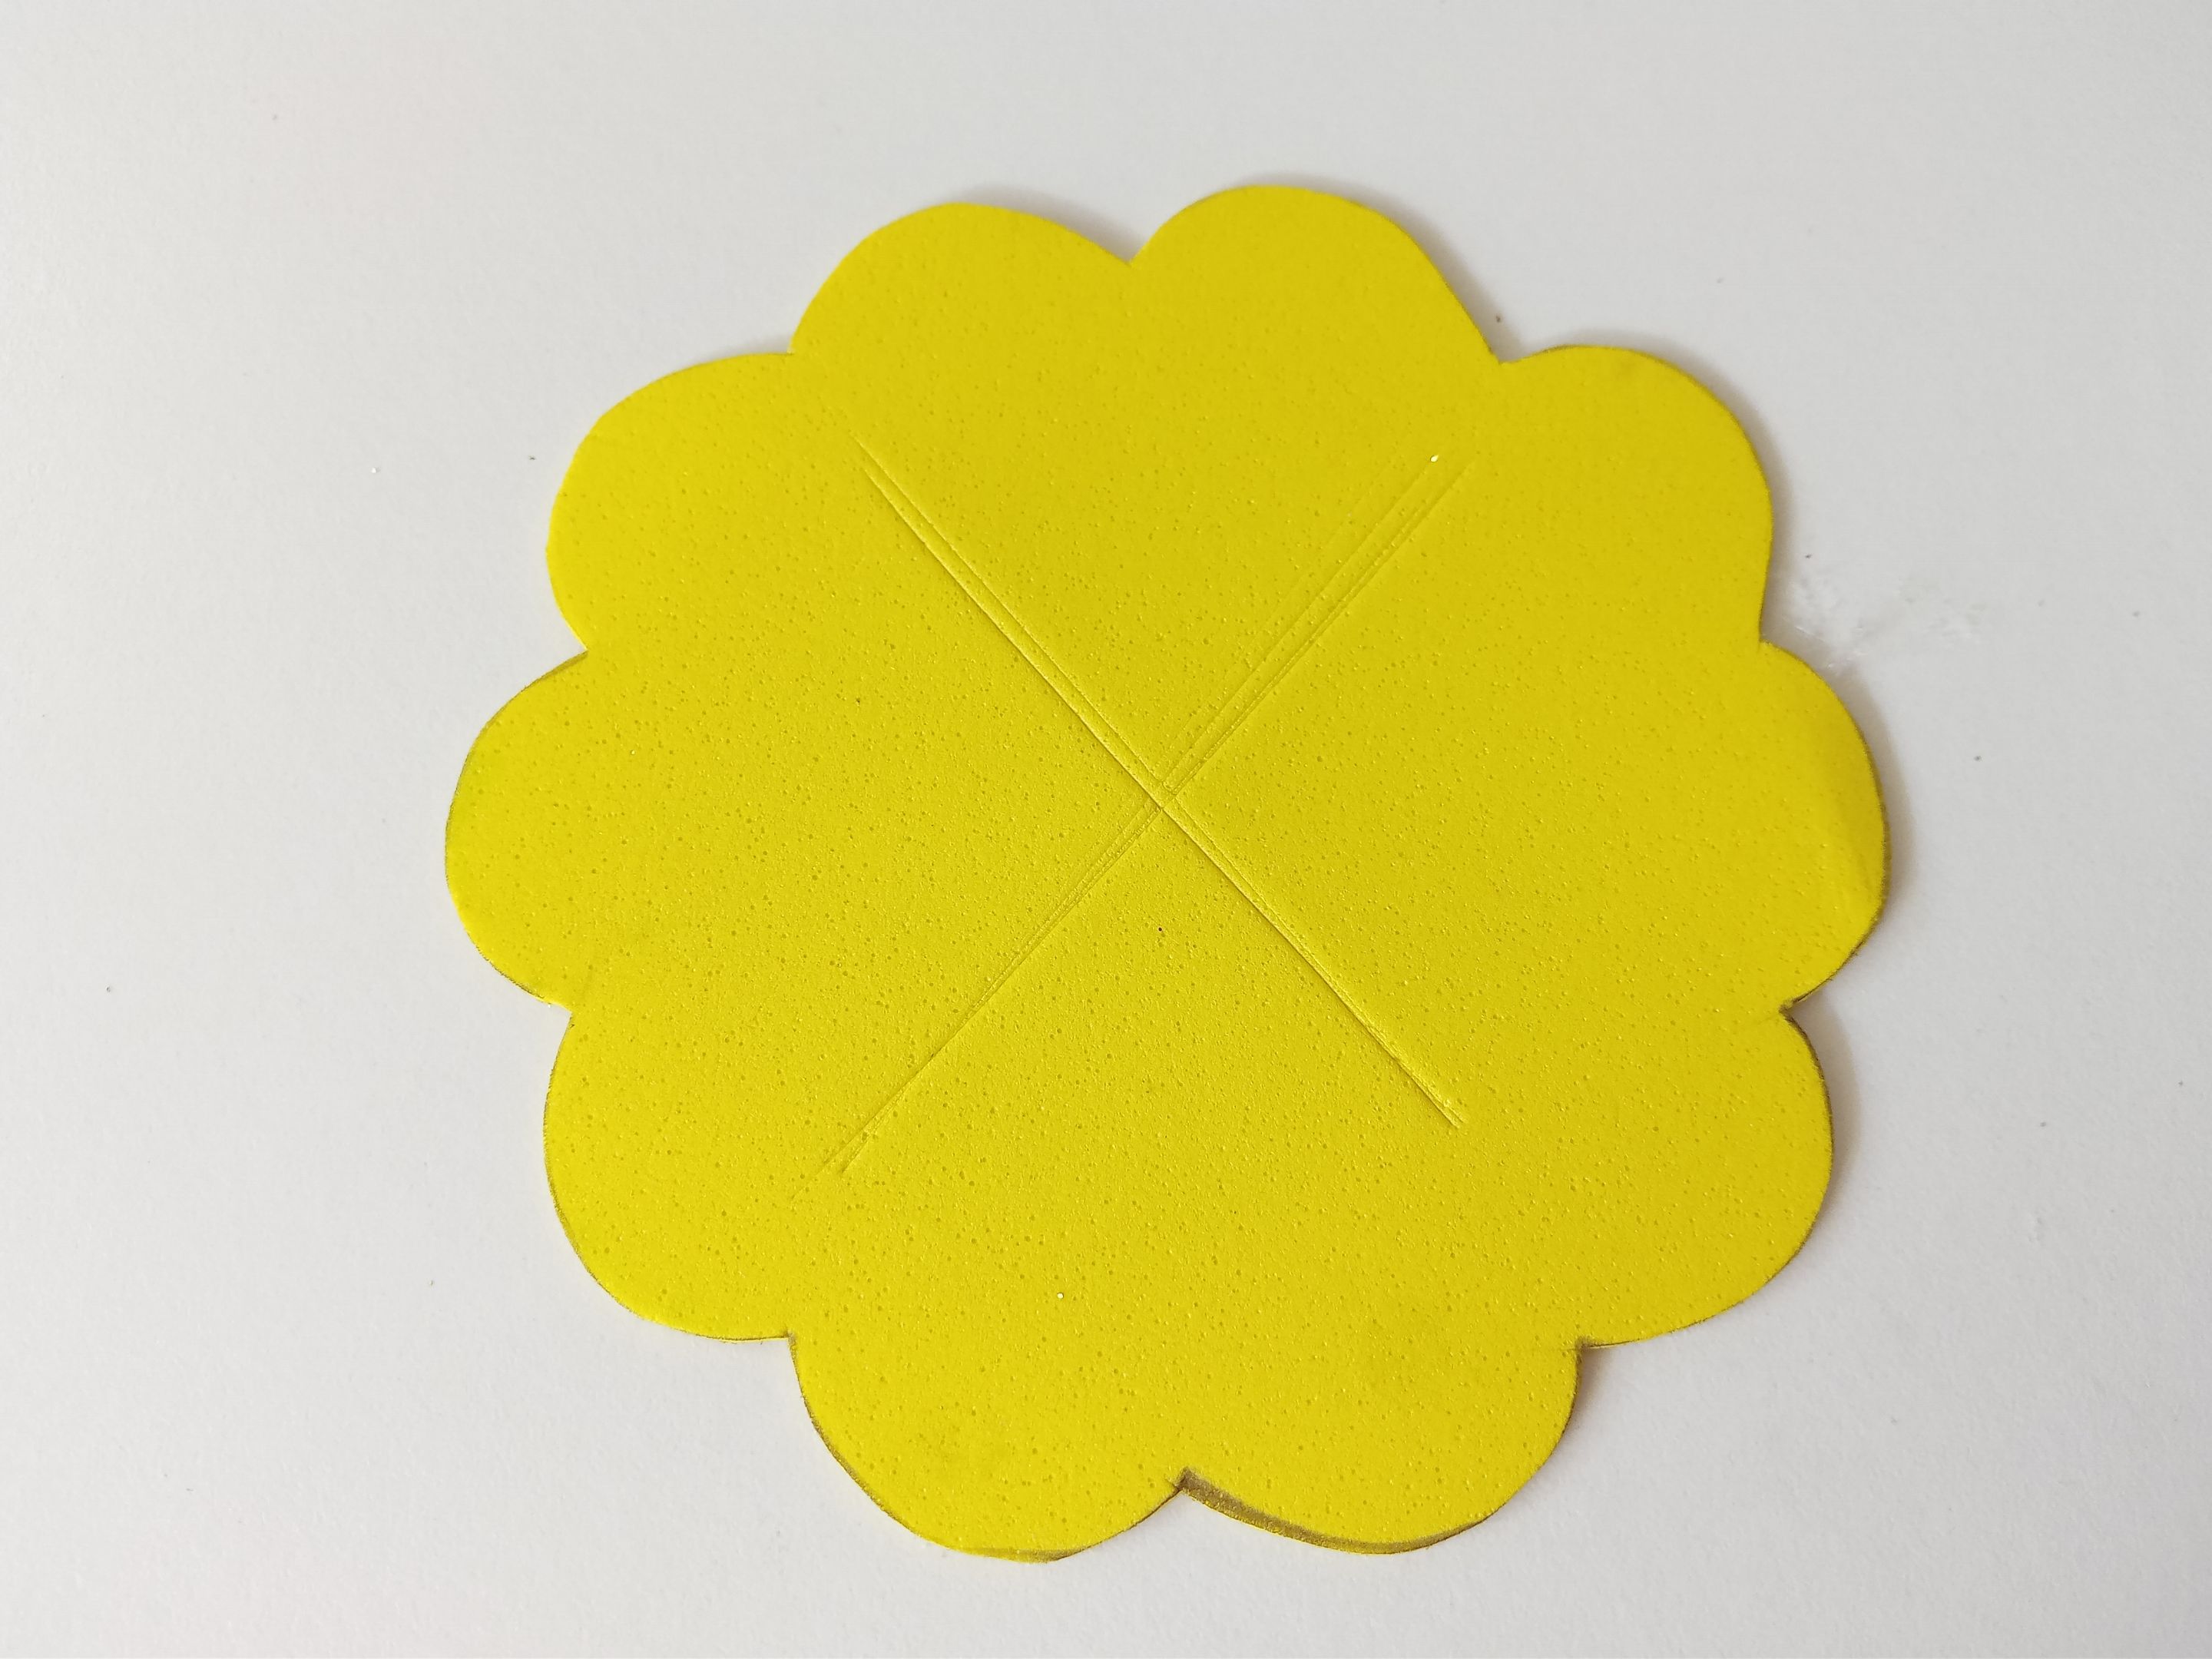
###### ✨ PASO 5:
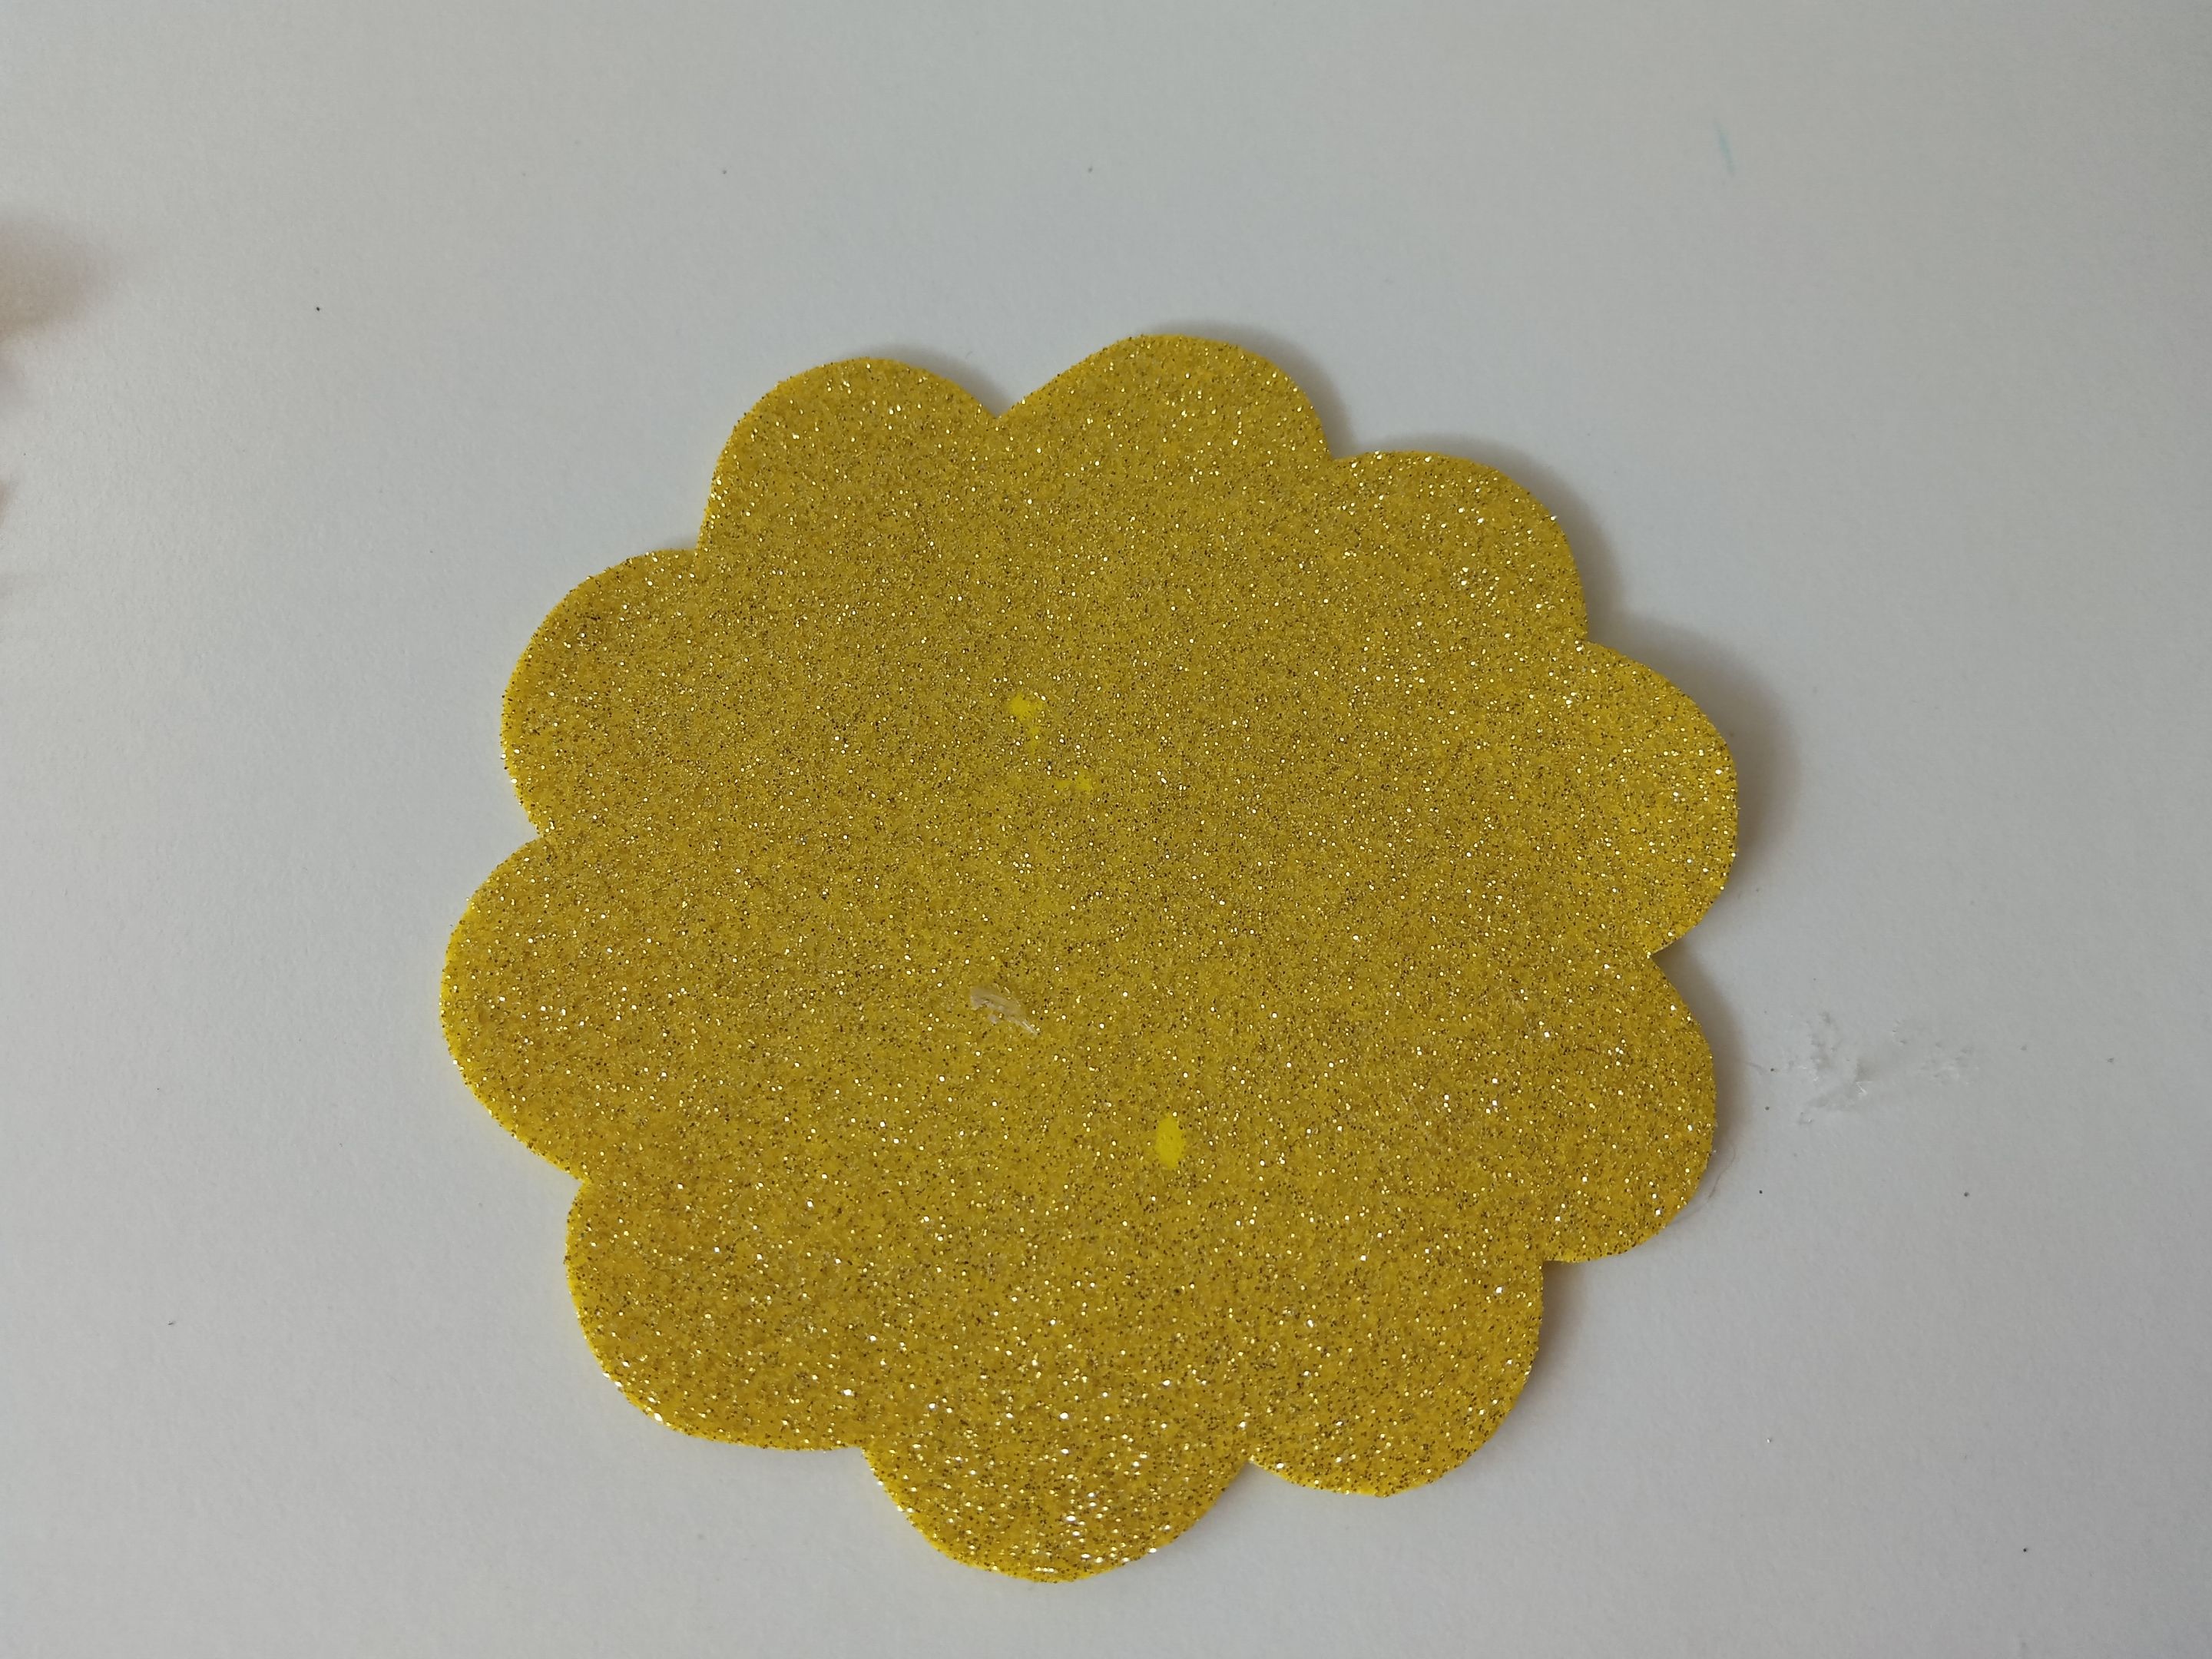
Para cerrar el dulcero, recorté una circunferencia con bordes ovalados tipo flor de 12 cm de circunferencia en foami escarchado dorado, a la cual le corté en medio una cruz que será por donde se introduzcan los dulces y pegué en la parte baja de la botella.
###### ✨ STEP 5:
To close the candy dish, I cut a 12 cm circumference circle with flower-like oval edges from gold frosted foam. I cut a cross in the middle to insert the candy and glued it to the bottom of the bottle.
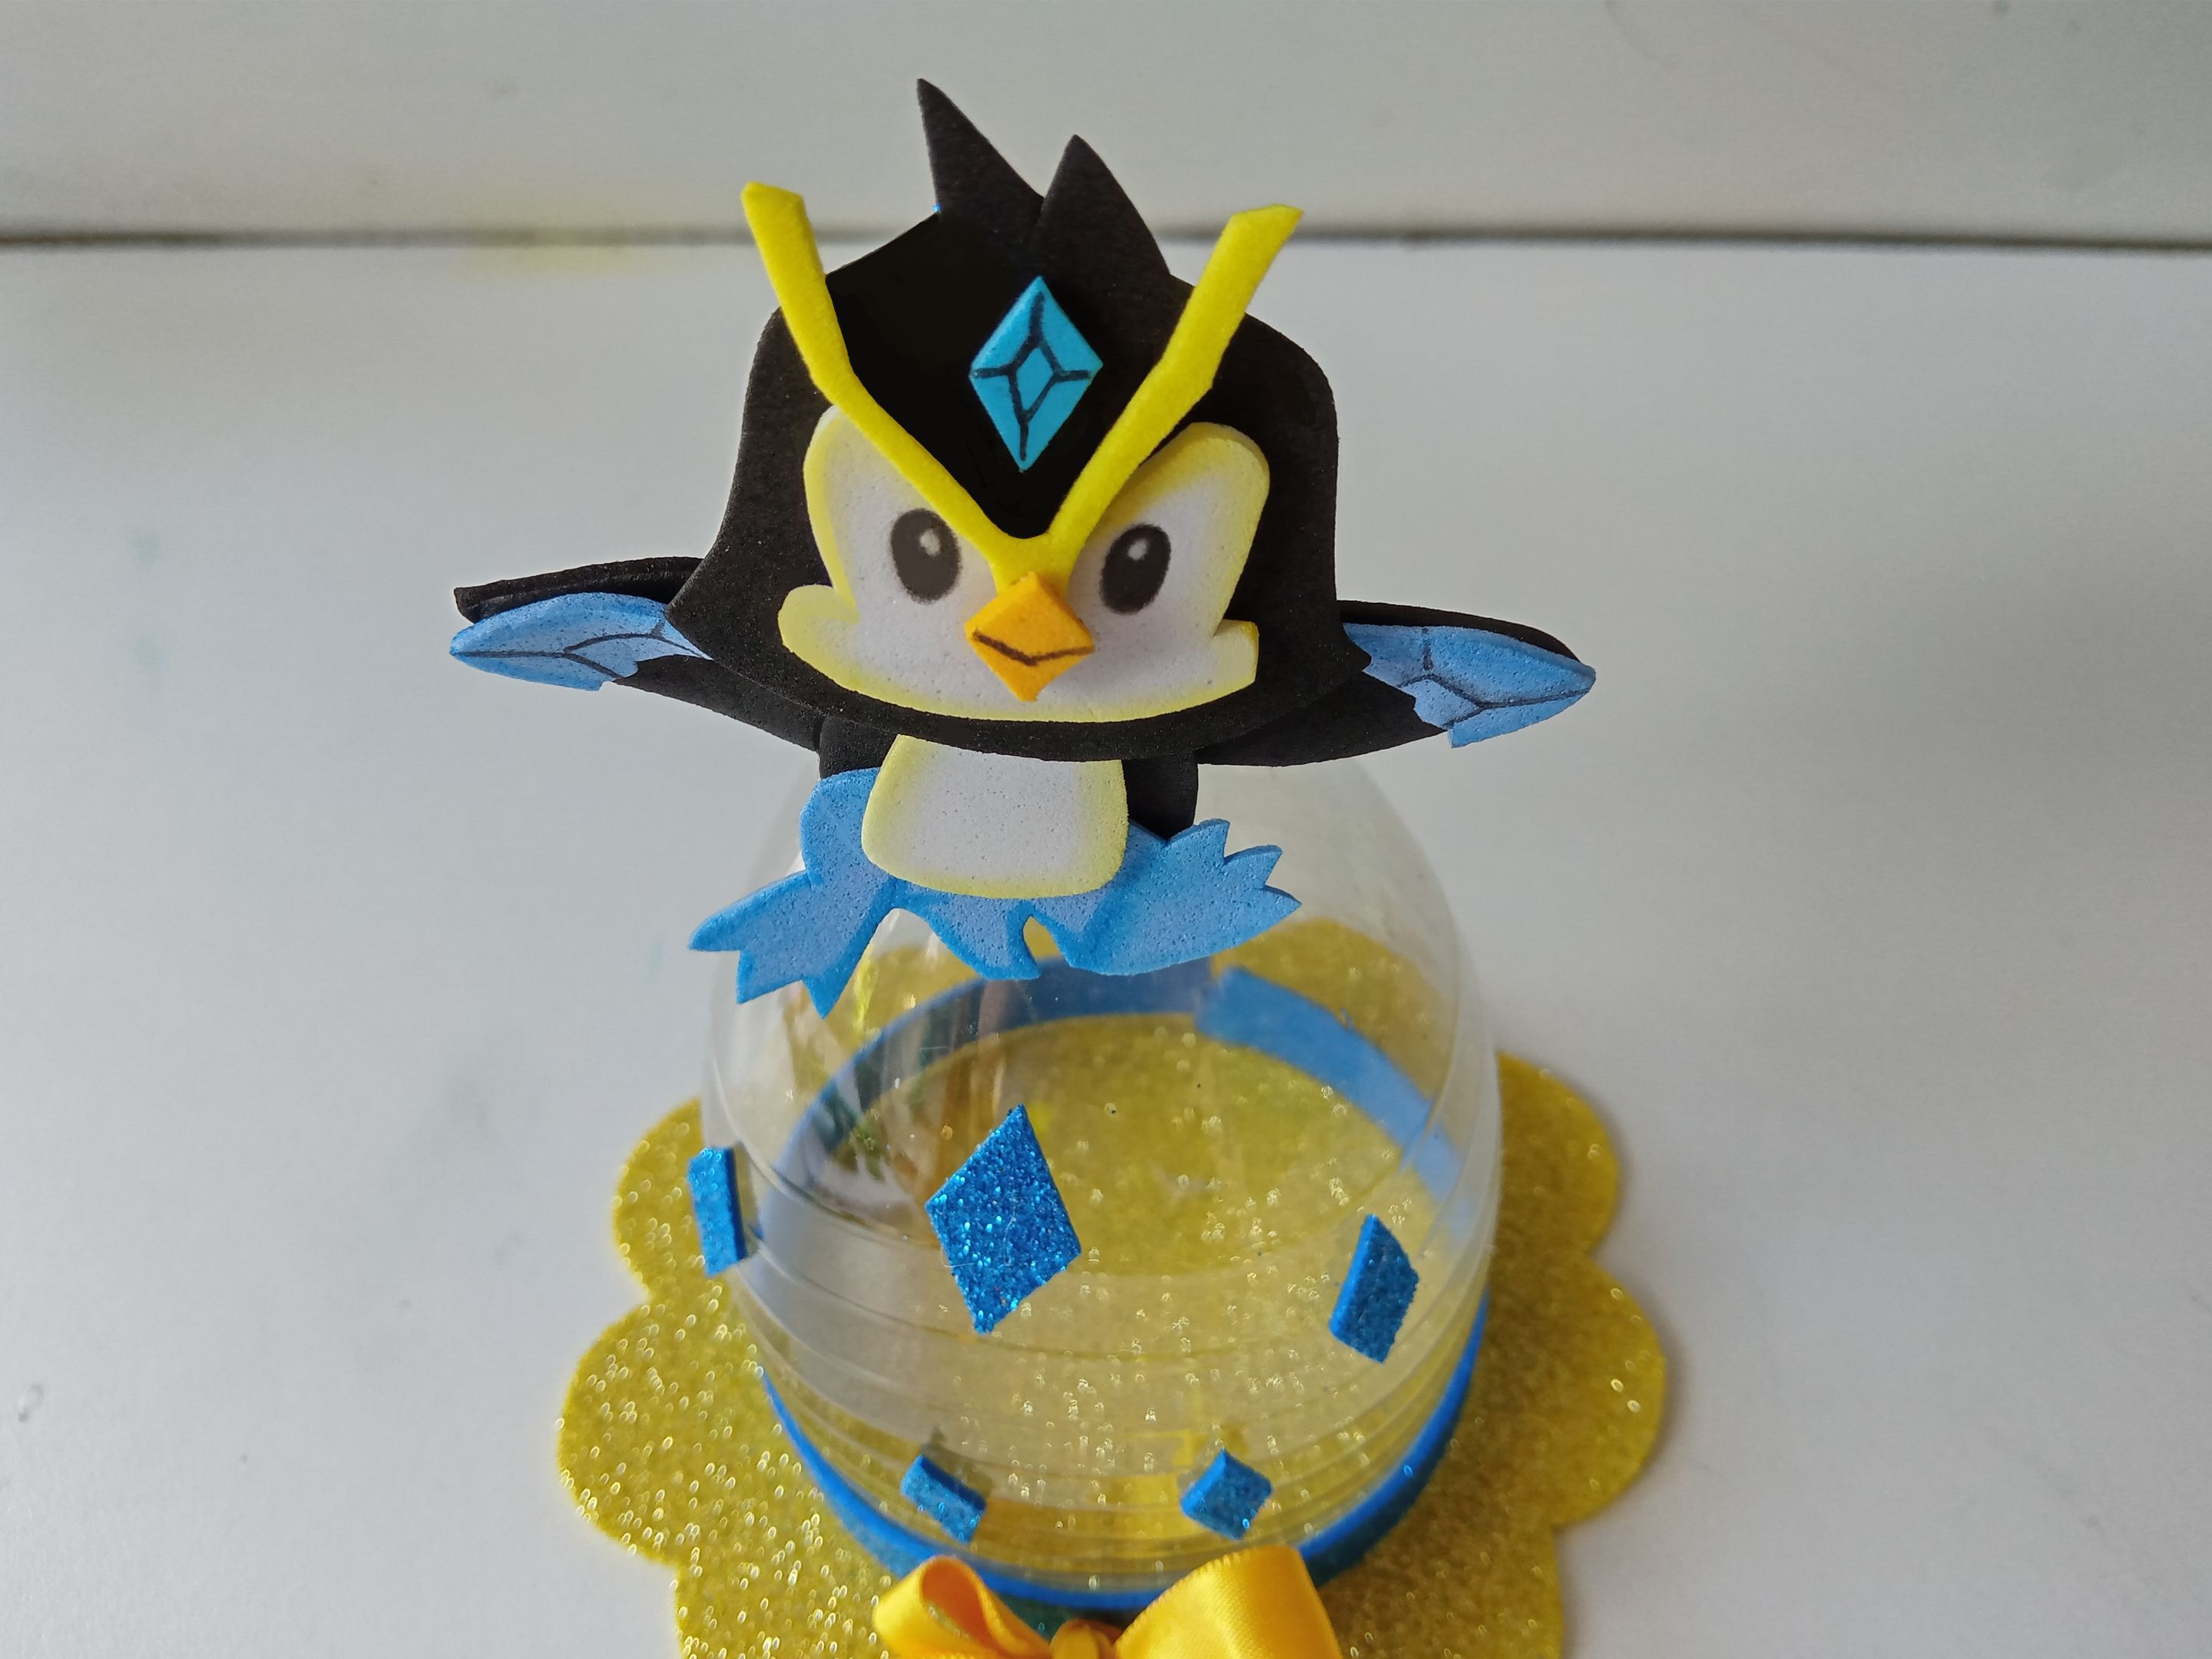
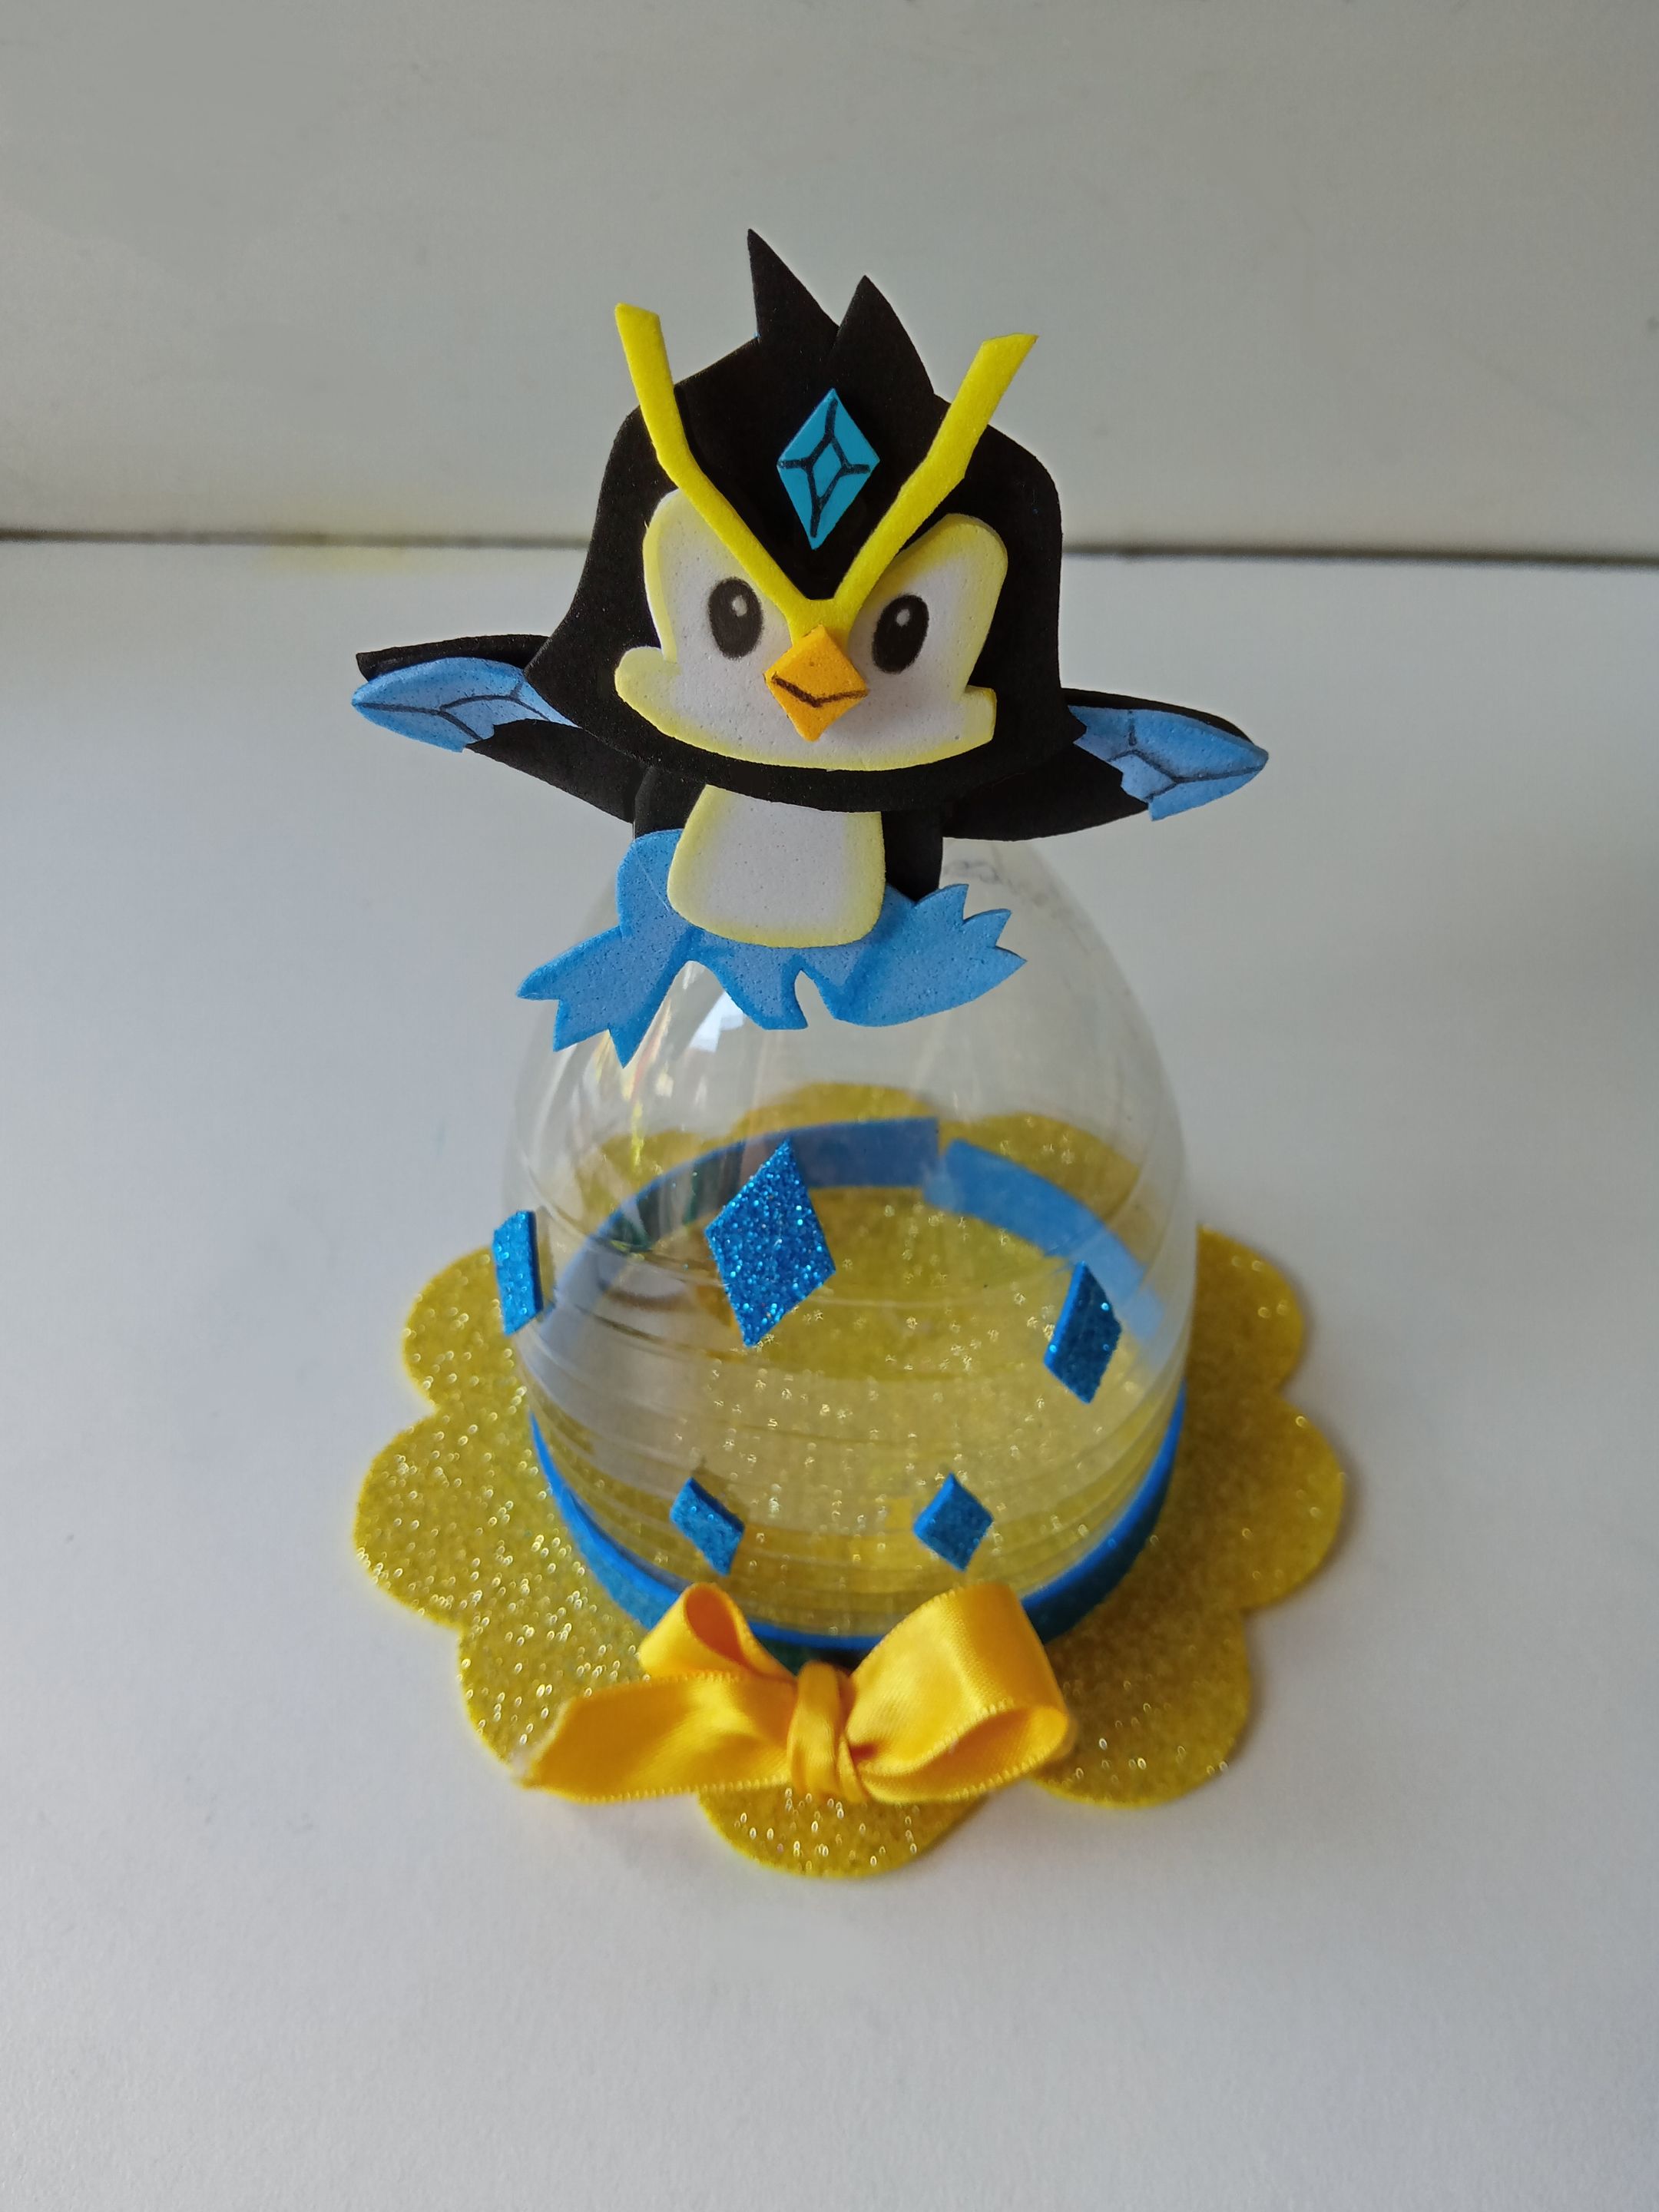
###### ✨ PASO 6:
Para finalizar, pegué a Zingu en la parte superior, justo a un lateral de la tapa que cubrimos, pero, además, para darle un poco más de vida y color, hice un lindo lazo con cinta amarilla y lo pegué justo sobre la tira más larga de foami escarchado azul.
###### ✨ STEP 6:
Finally, I glued Zingu to the top, right on one side of the lid we covered. To give it a little more life and color, I made a cute bow with yellow ribbon and glued it right over the longer strip of blue frosted foam.