######
✨¡Hola amigos amantes de la creatividad! Espero que estén todos bien.✨
¡Buenas tardes, amigos! Espero que estén pasando una excelente semana. Por mi parte, estoy contenta de pasar por acá a compartir una linda idea con ustedes. En esta ocasión les comparto el paso a paso para elaborar una linda decoración para lápiz. Me encanta compartir con ustedes estas creaciones para lápices; de verdad que se pueden sacar muchas ideas de cualquier temática. Sean muñecos o elementos, siempre se pueden elaborar y quedan muy tiernos. Esta vez quise hacer dos diseños sencillos: uno de un niño y otro de una niña, con distintos detallitos en su vestimenta.
**🔸Sin más que añadir, a continuación los dejo con el paso a paso:**
> ######
✨¡Hello friends who love creativity! I hope you are all well.✨
>
Good afternoon, friends! I hope you're having a great week. For my part, I'm happy to stop by to share a lovely idea with you. This time, I'm sharing the step-by-step instructions for making a cute pencil topper. I love sharing these pencil creations with you; you can really get so many ideas from any theme. Whether it's dolls or objects, they can always be made, and they're so cute. This time, I wanted to make two simple designs: one of a boy and one of a girl, with different little details in their clothing.
> **🔸Without more to add, then I leave you with the step by step:**
---

---

|||
|-|-|


|||
|-|-|


|||
|-|-|


|||
|-|-|


||||
|-|-|-|

✨Y bueno, amigos, así es como pueden elaborar unas lindas decoraciones para los lápices o lapiceras, de una manera muy fácil, rápida y personalizable, pues es perfecto para hacer a los muñecos parecidos a algún familiar, amigo, etc. Espero que les haya gustado el paso a paso y se animen a elaborarlo.
❤️Hasta la próxima publicación.
>
✨And so, friends, this is how you can make some cute decorations for pencils or pens, in a very easy, quick, and customizable way, as it's perfect for making the dolls look like a family member, friend, etc. I hope you enjoyed the step-by-step instructions and are encouraged to try it.
>
❤️Until the next post.

**♥️ESPERO QUE TE GUSTE,
¡Empecemos!**
**♥️I HOPE YOU LIKE IT,
Let's start!**
---

# ✂️ MATERIALES | ✂️ MATERIALS

- Foami marrón.
- Foami crema.
- Foami negro.
- Foami azul.
- Foami rosa.
- Foami amarillo.
- Pinturas y marcadores.
- Pegamento.
- Tijeras.
- Regla.
- Hoja blanca.
- Lápiz.
- Brown foam.
- Cream foam.
- Black foam.
- Blue foam.
- Pink foam.
- Yellow foam.
- Paints and markers.
- Glue.
- Scissors.
- Ruler.
- White paper.
- Pencil.

# 🌟 PROCEDIMIENTO | 🌟 PROCESS

###### ✨PASO 1:
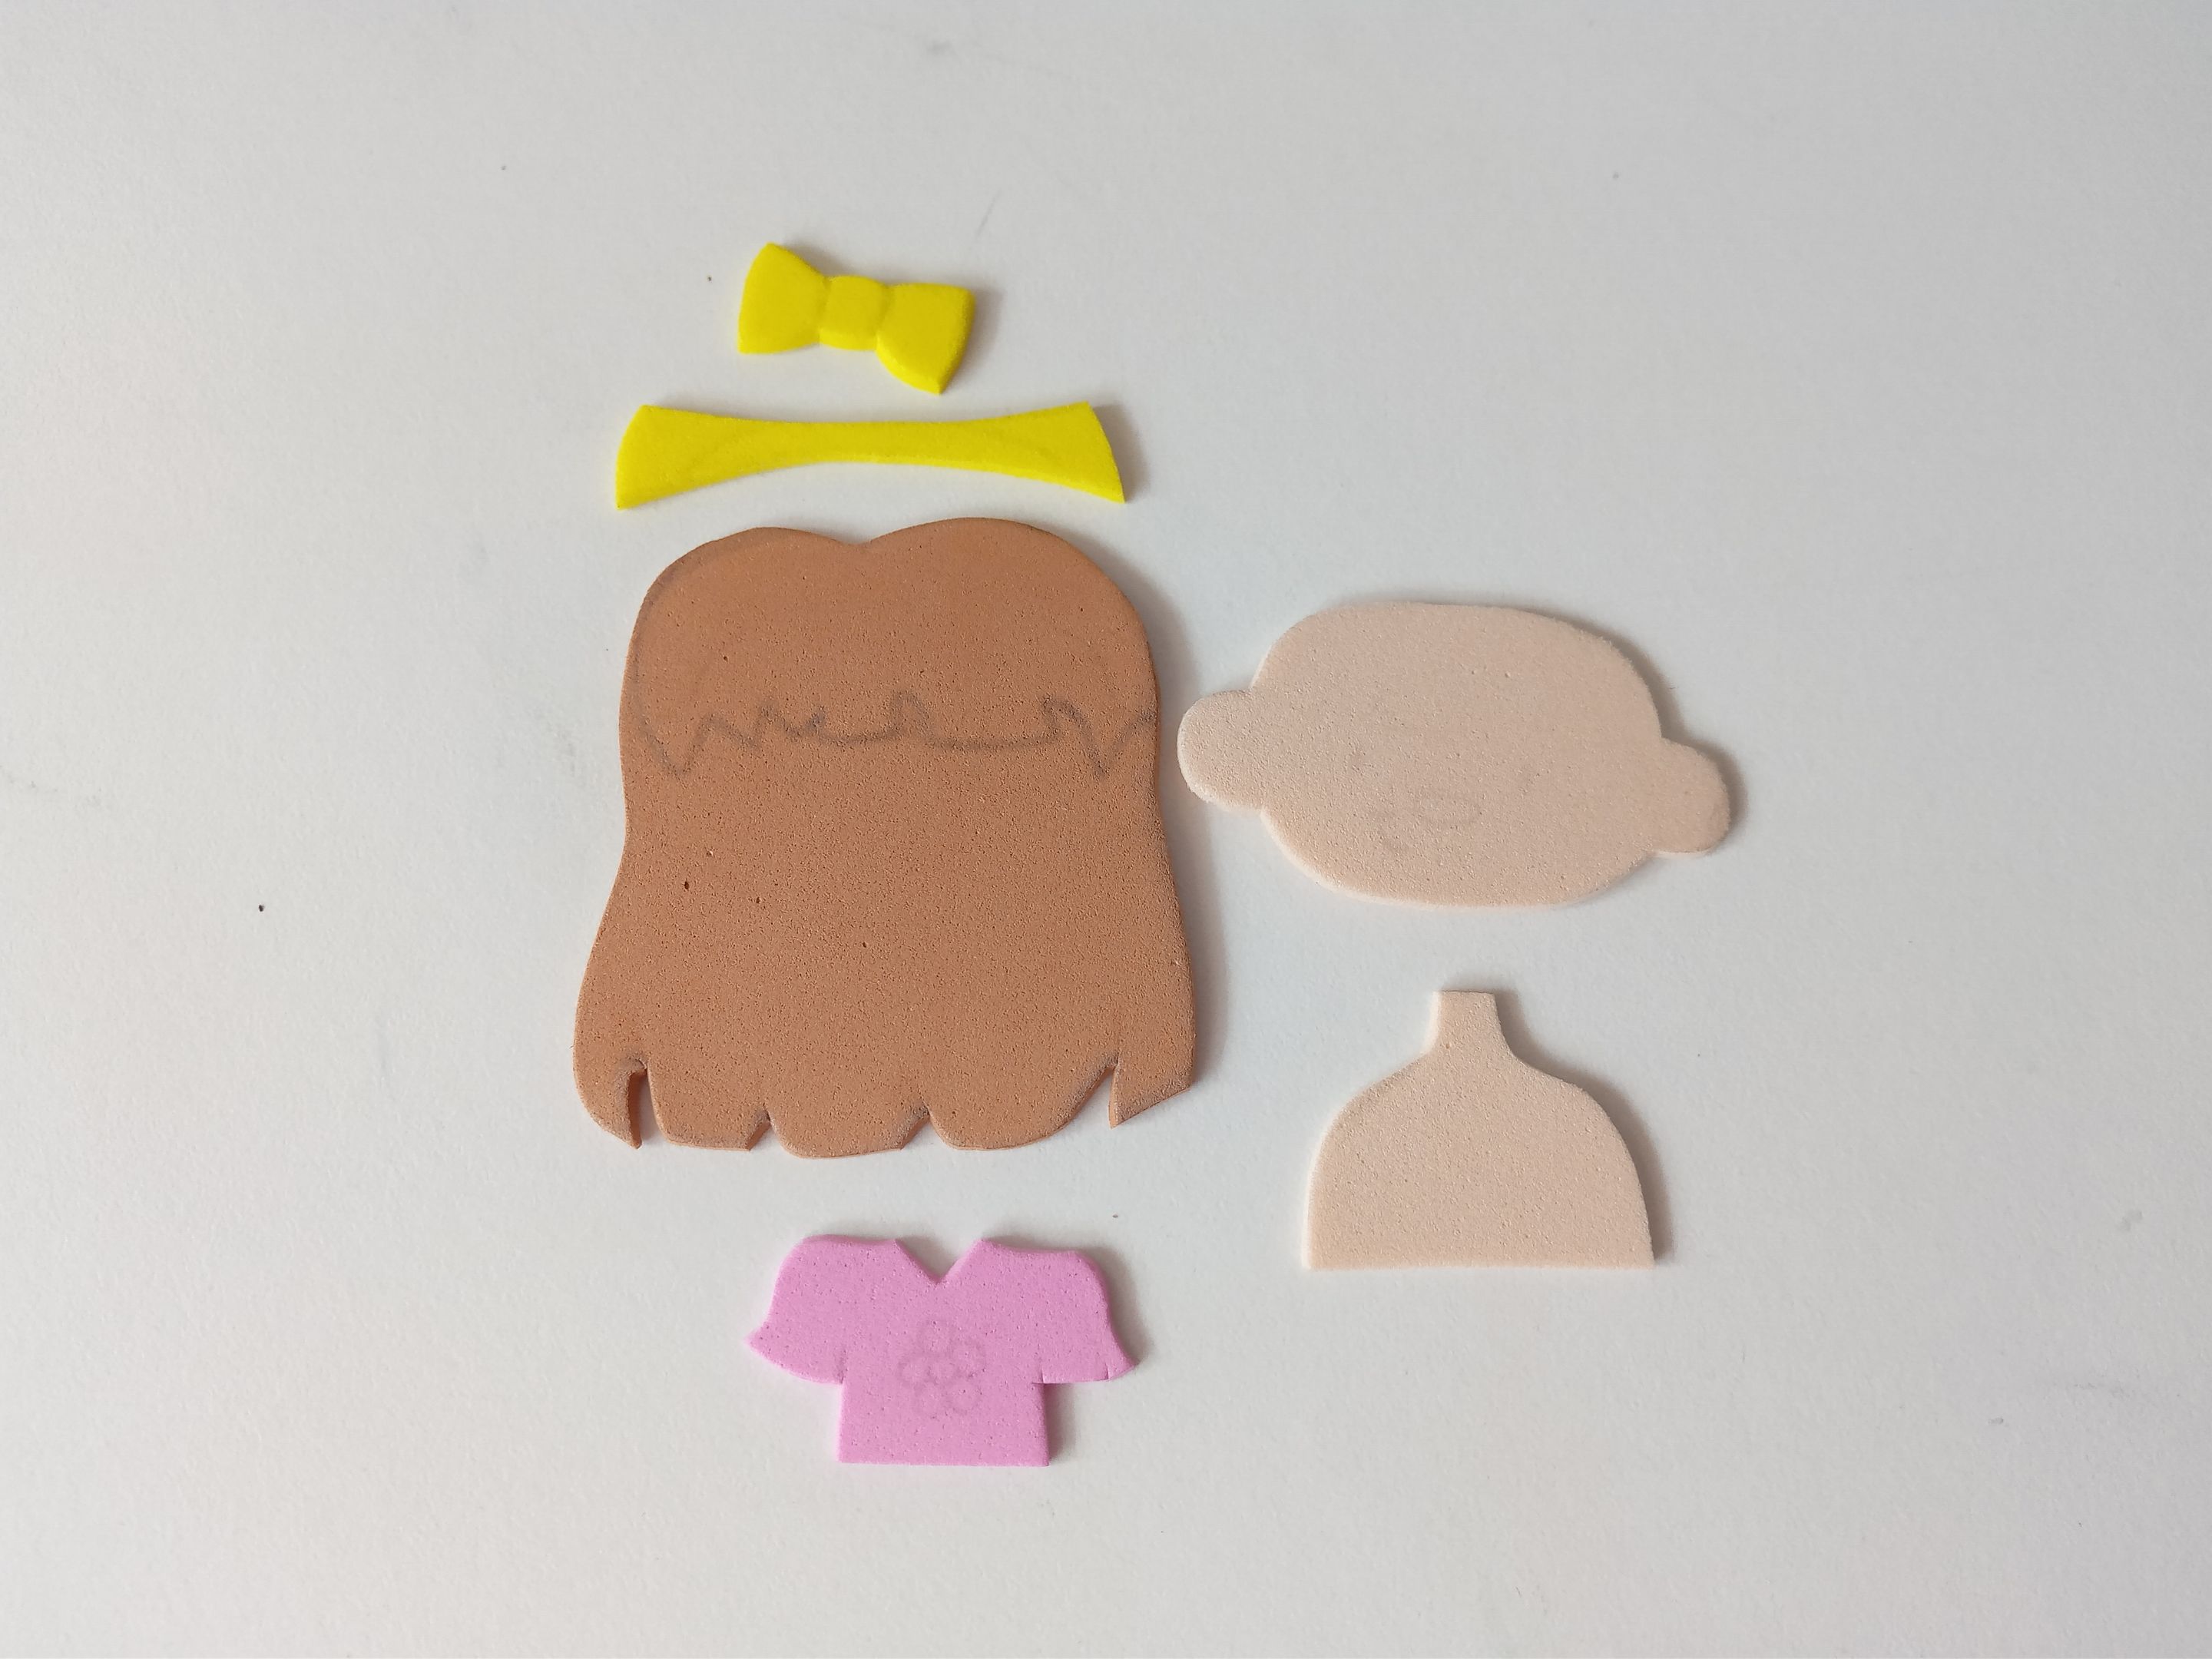
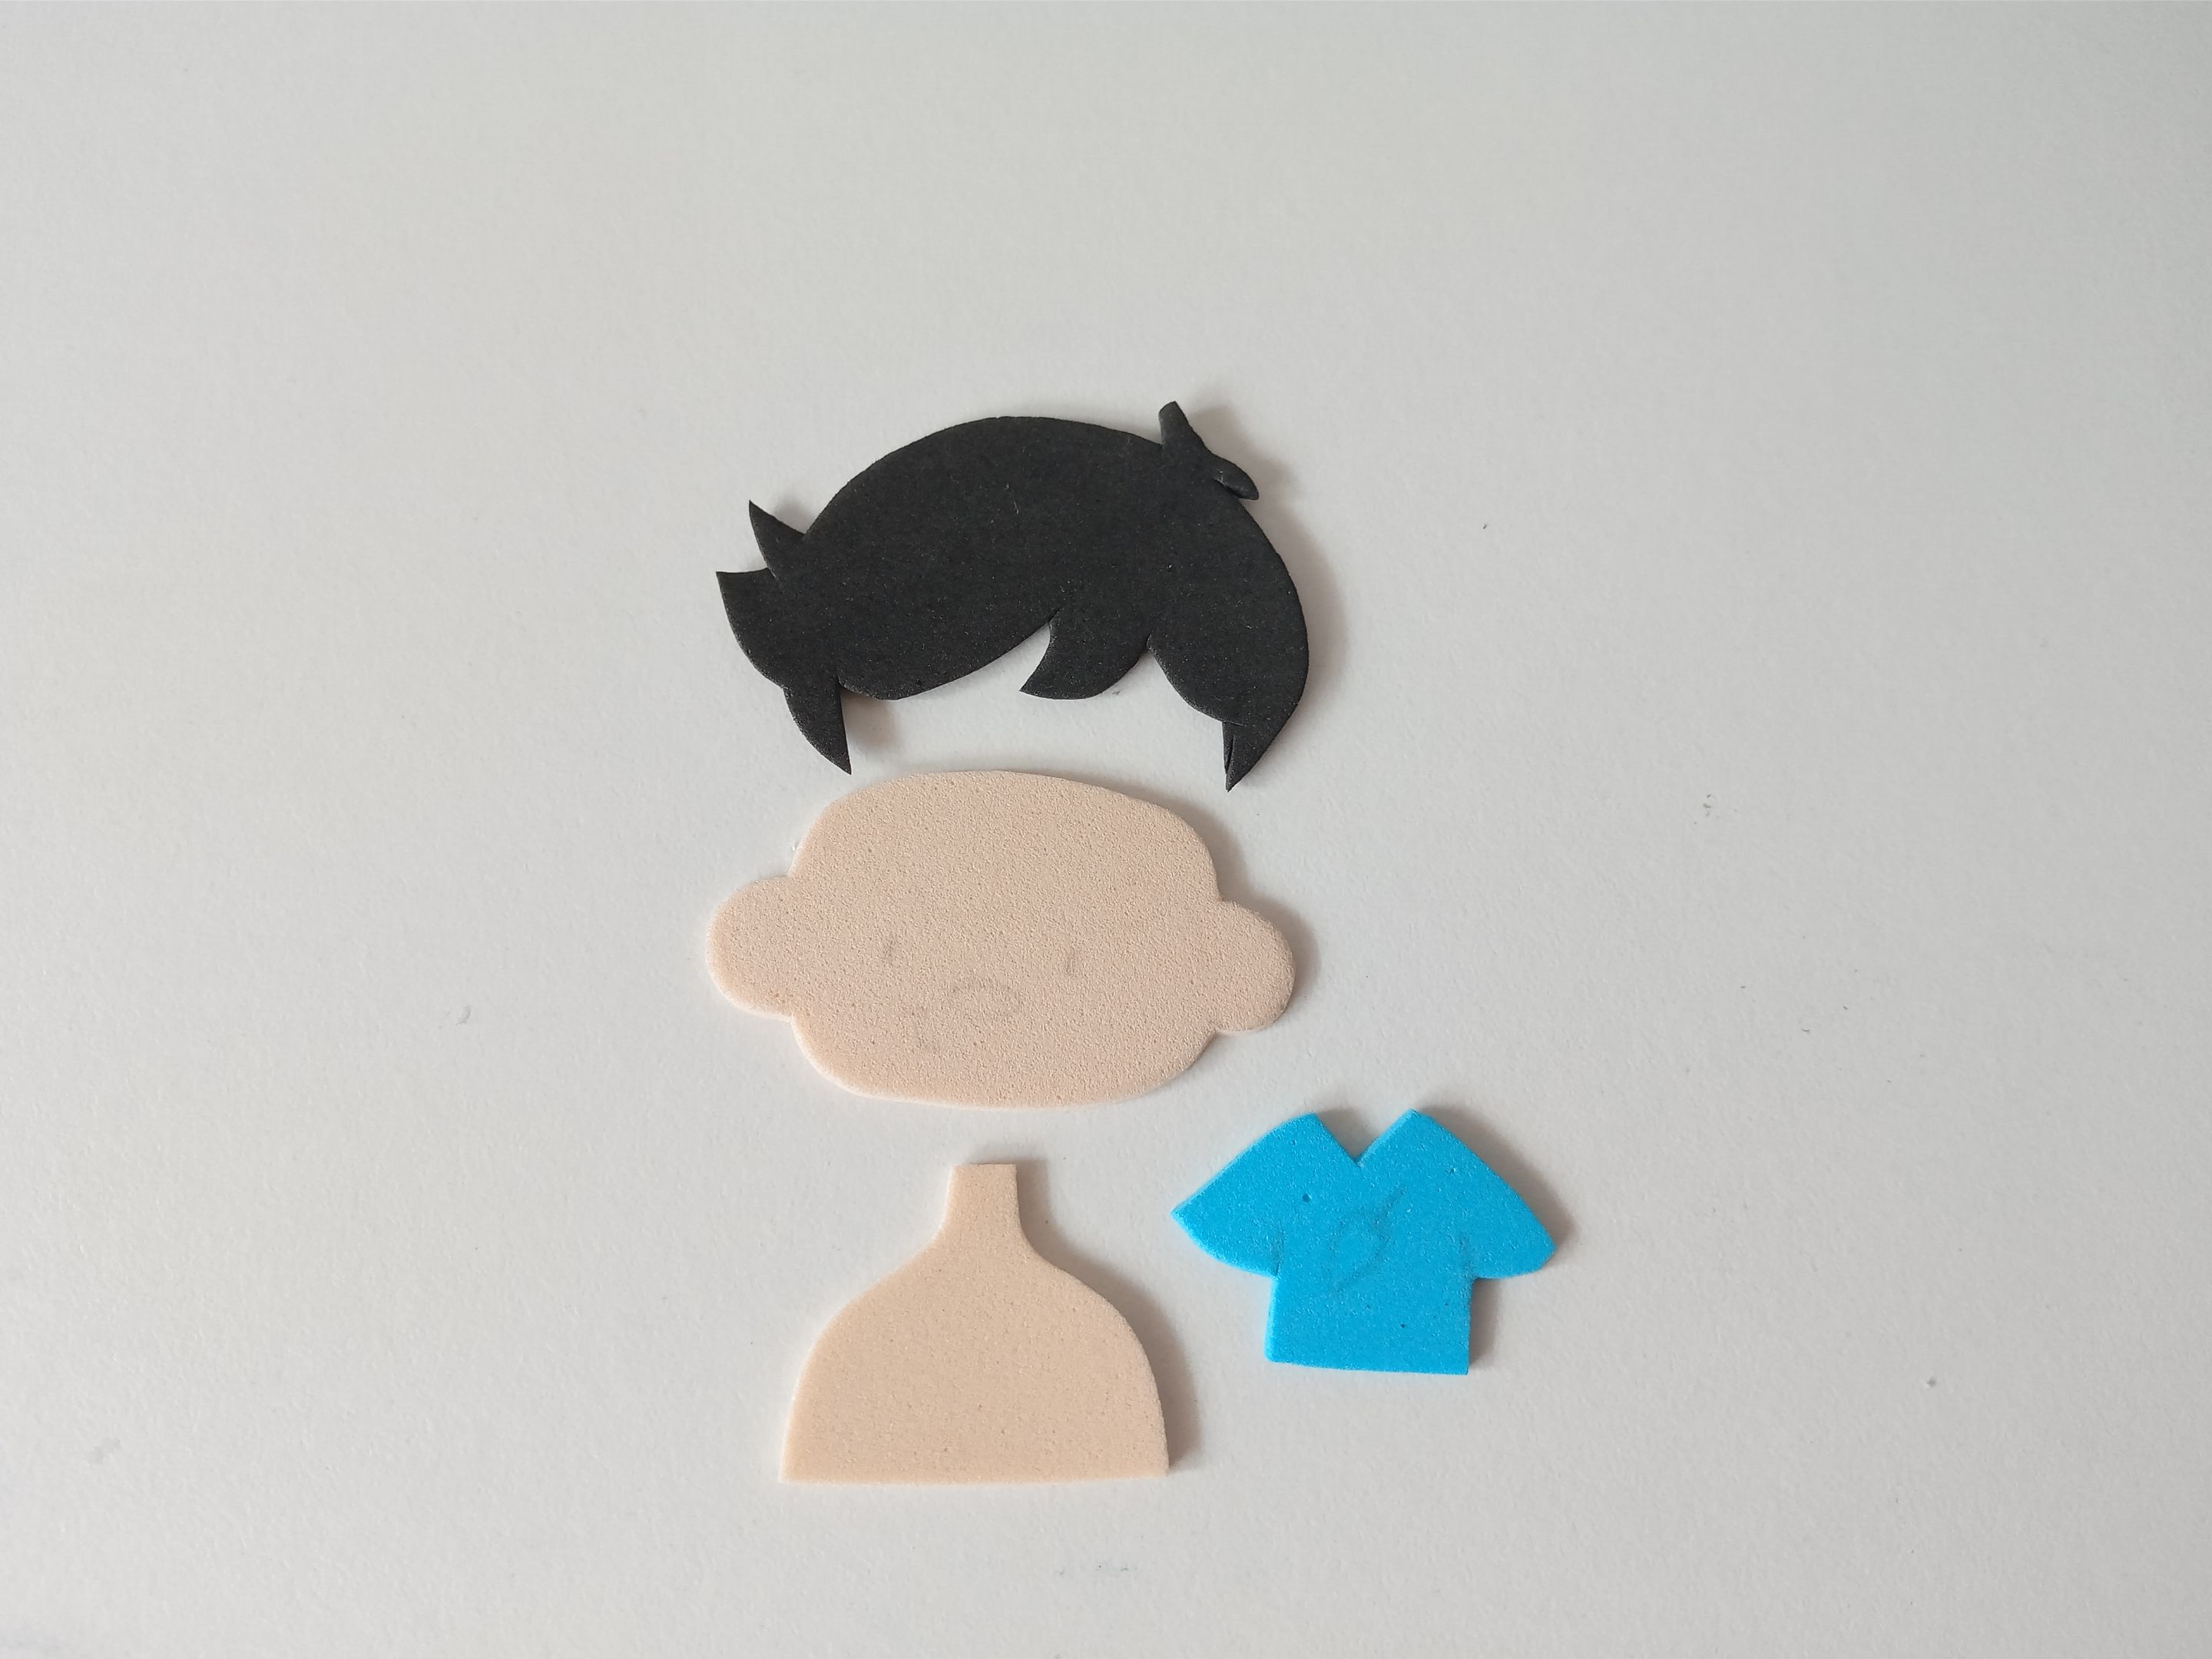
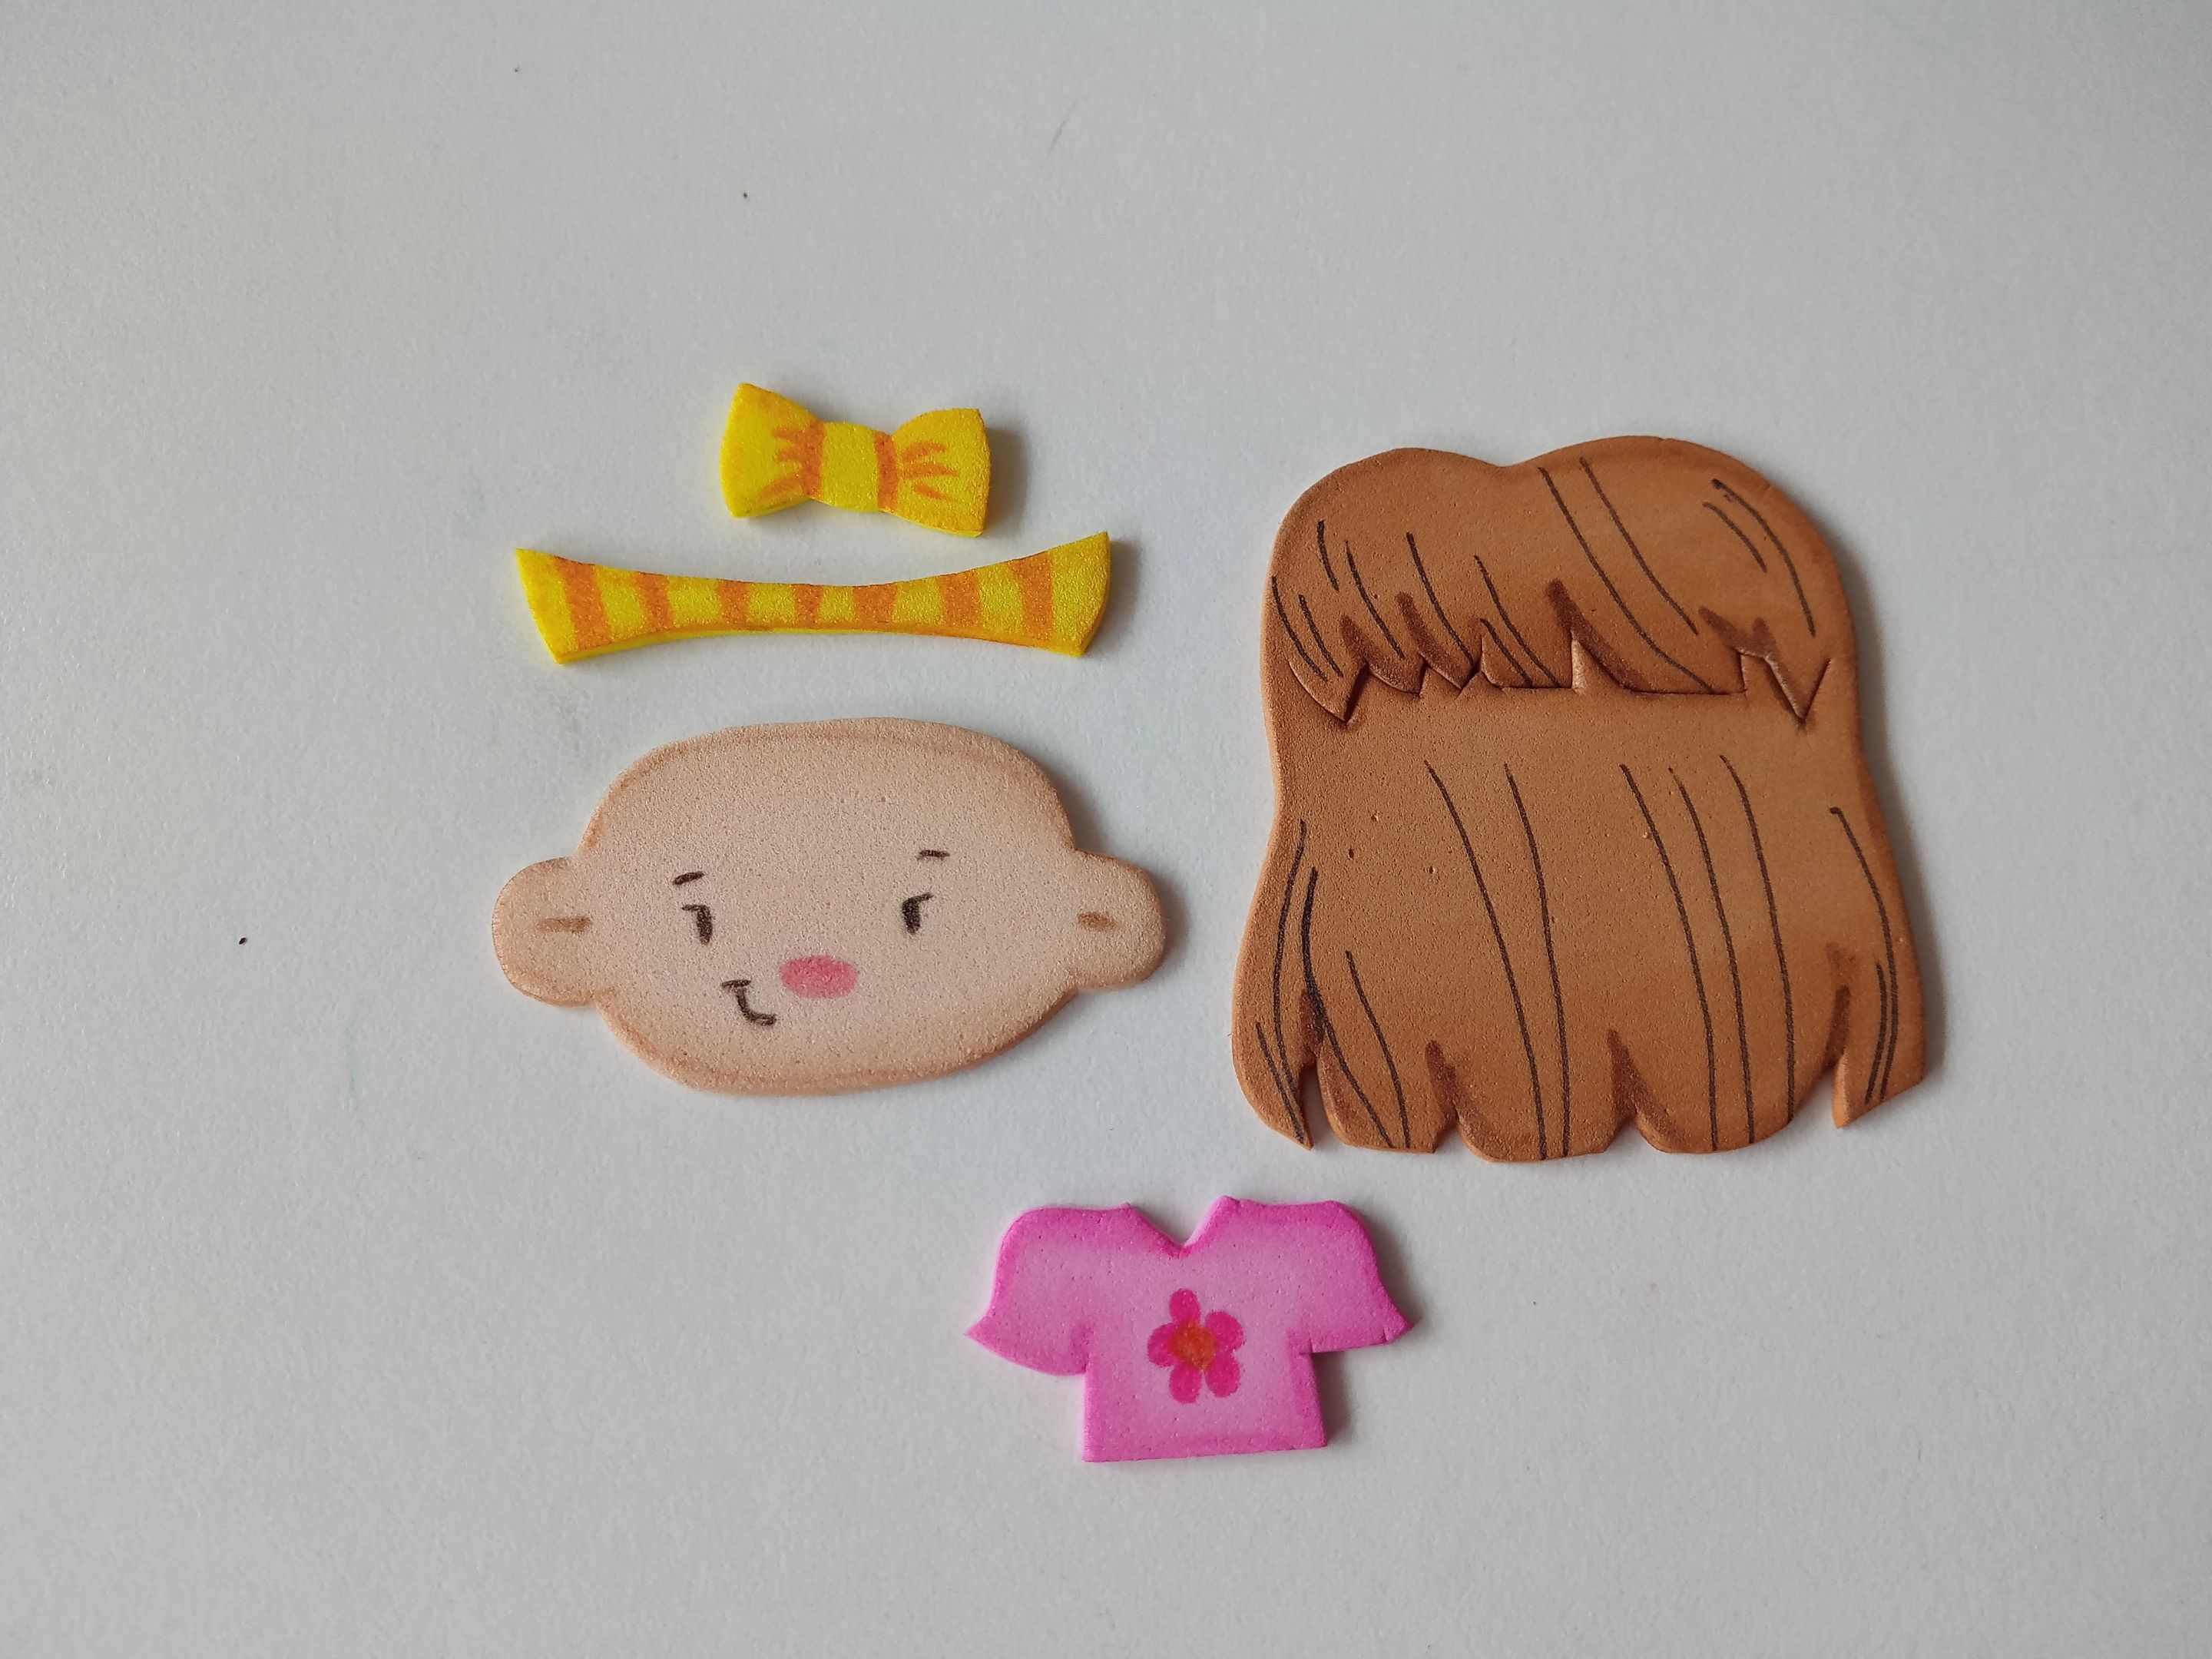
Lo primero que hice, como siempre, es tomar una hoja blanca y dibujar el diseño de los niños. Como mencioné arriba, quise elaborar una niña y un niño bastante sencillos, pero obviamente a mi estilo de caritas grandes y orejitas que resaltan, jaja, además de algunos accesorios extras para ella, como una diadema para el cabello. Al tener listos los diseños, es momento de transferir a los colores correspondientes de foami, como explico a continuación:
**Para la niña:**
✨Cabello: 5.5 cm x 5 cm en foami marrón.
✨Cabeza: 5 cm x 3 cm en foami crema.
✨Cuerpo: 3 cm x 2.5 cm en foami crema.
✨Franela: 3.4 cm x 2 cm en foami rosa.
✨Diadema: 5 cm x 0.8 mm en foami amarillo.
✨Lazo: 2 cm x 1 cm en foami amarillo.
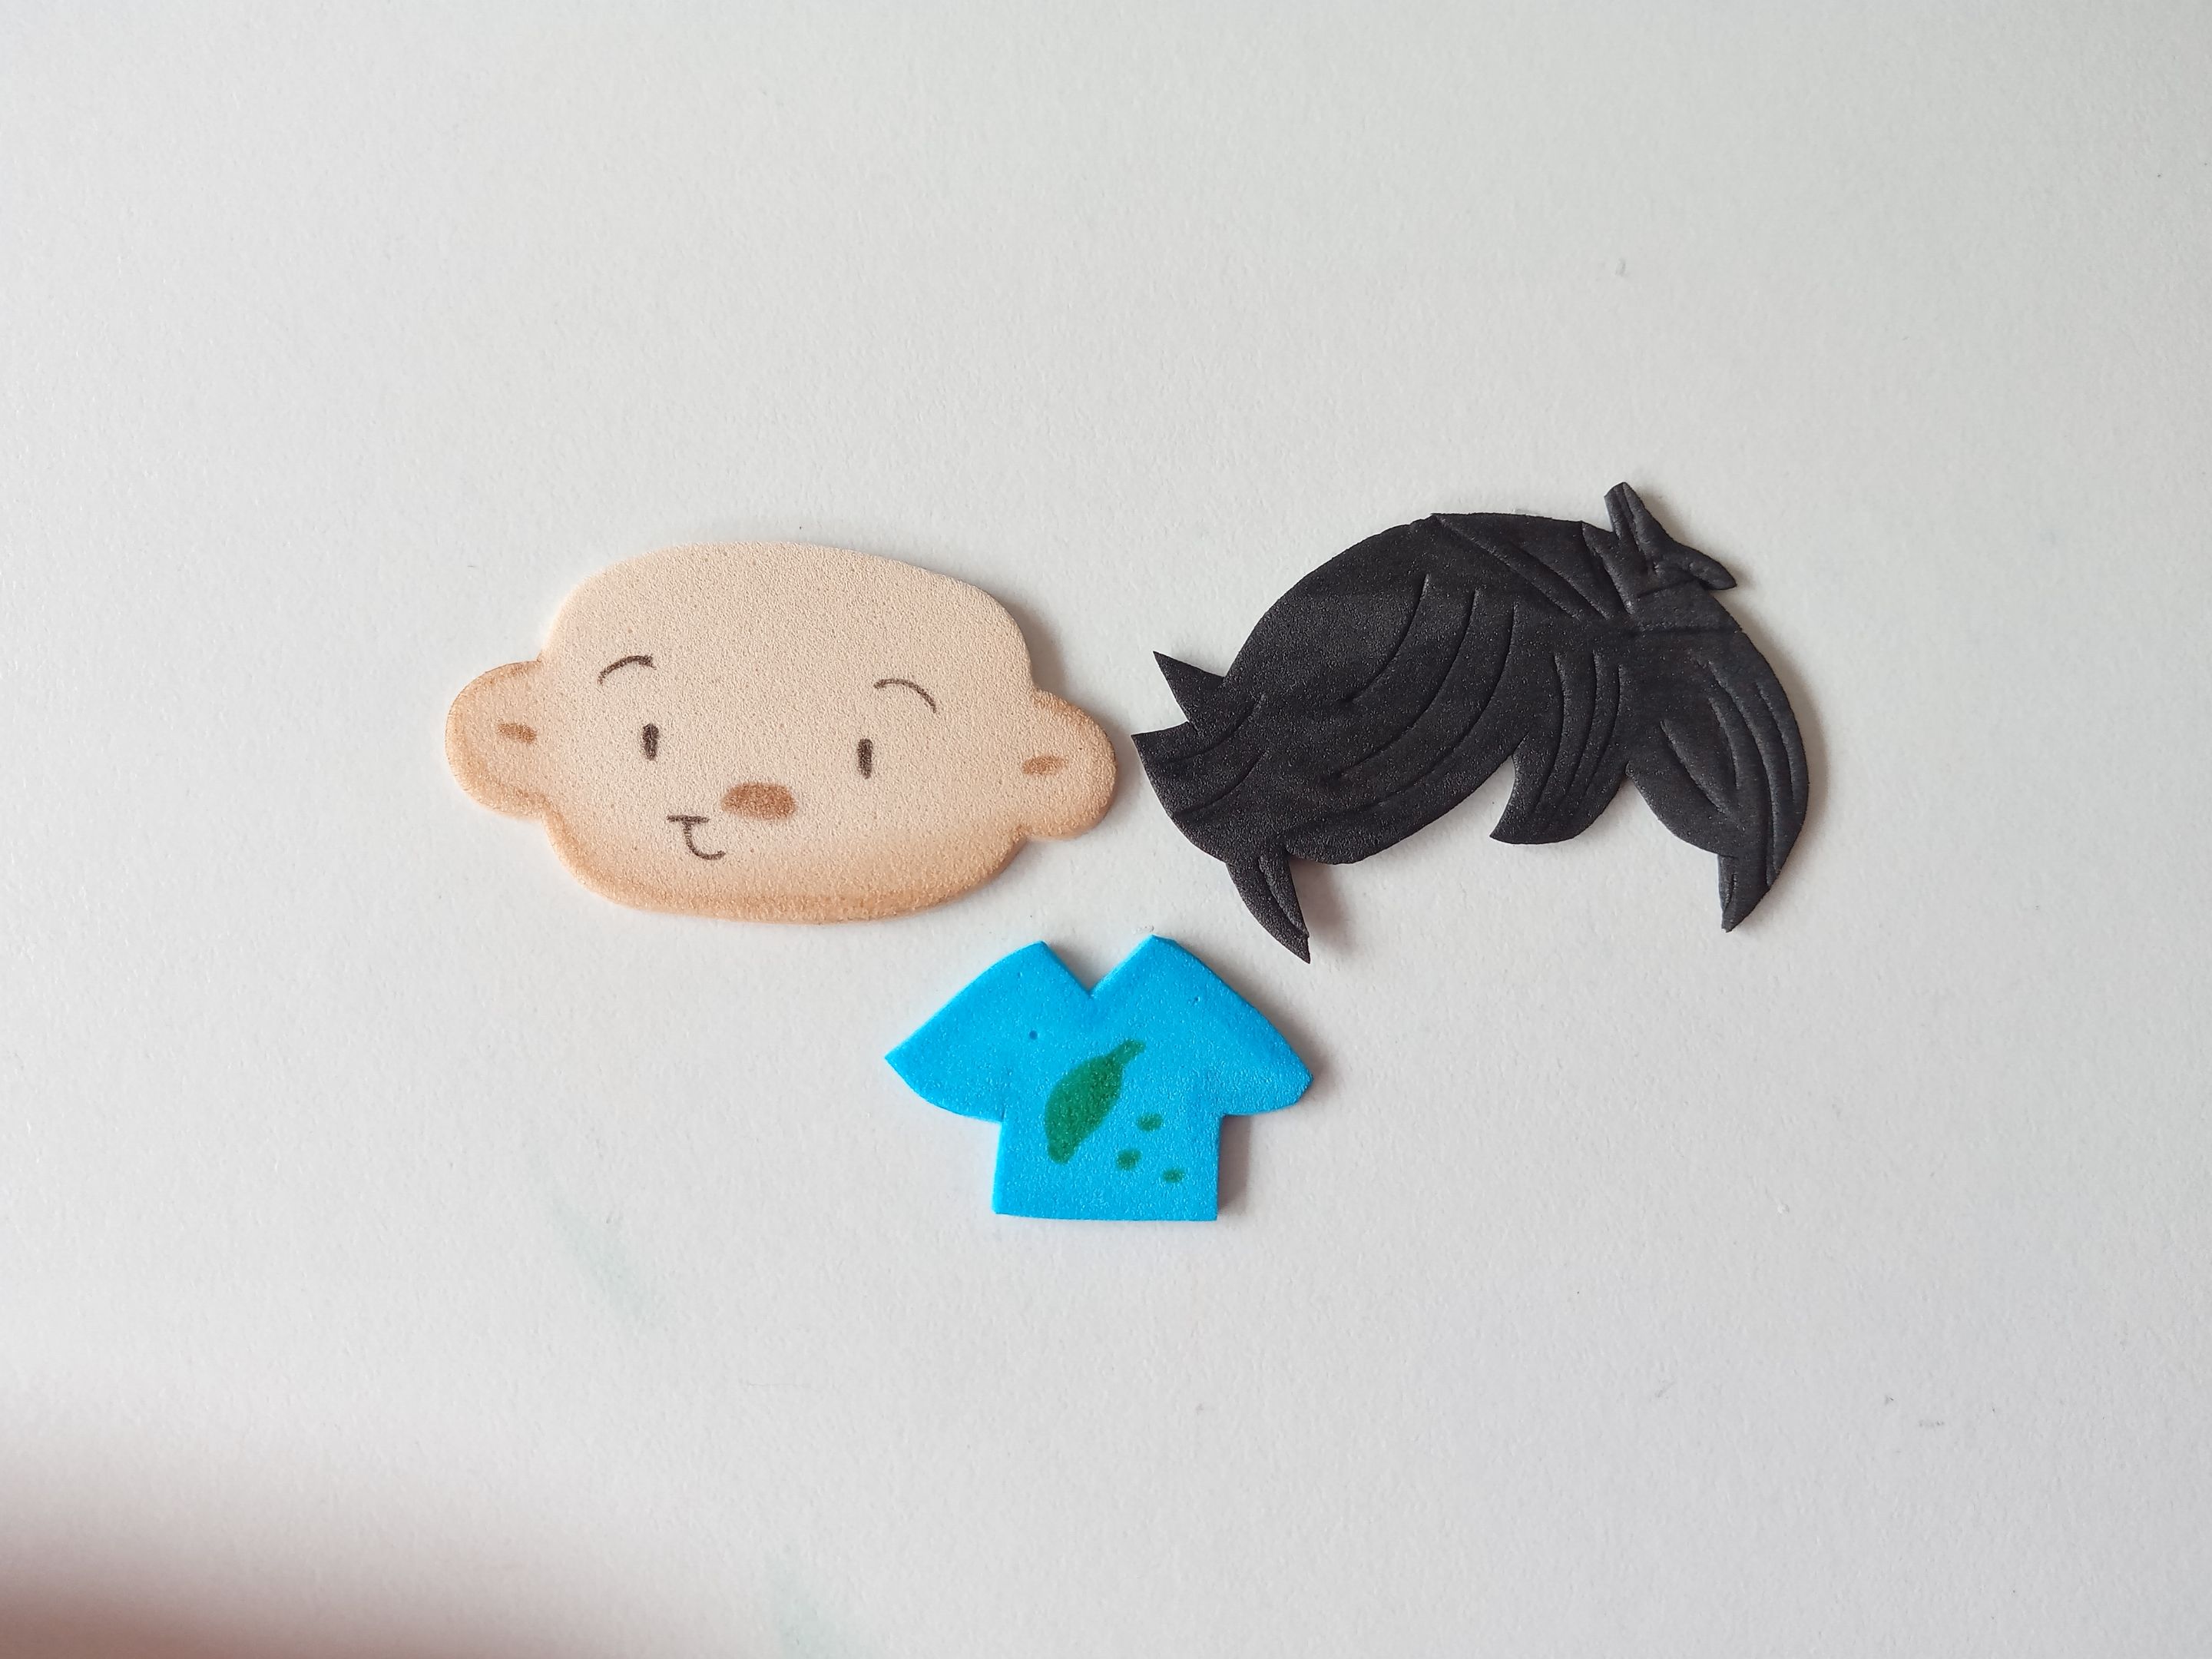
**Para el niño:**
✨Cabello: 5 cm x 3 cm en foami negro.
✨Cabeza: 5 cm x 3 cm en foami crema.
✨Cuerpo: 3 cm x 2.5 cm en foami crema.
✨Franela: 3.4 cm x 2 cm en foami azul.
###### ✨STEP 1:
The first thing I did, as always, was take a white sheet of paper and draw the children's design. As I mentioned above, I wanted to make a fairly simple girl and boy, but obviously in my style with big faces and little ears that stand out, haha, plus some extra accessories for her, like a headband. Once you have the designs ready, it's time to transfer them to the corresponding colors of foam, as explained below:
**For the girl:**
✨Hair: 5.5 cm x 5 cm in brown foam.
✨Head: 5 cm x 3 cm in cream foam.
✨Body: 3 cm x 2.5 cm in cream foam.
✨Flannel: 3.4 cm x 2 cm in pink foam.
✨Headband: 5 cm x 0.8 mm in yellow foam.
✨Bow: 2 cm x 1 cm in yellow foam.
**For the boy:**
✨Hair: 5 cm x 3 cm in black foam.
✨Head: 5 cm x 3 cm in cream foam.
✨Body: 3 cm x 2.5 cm in cream foam.
✨Flannel: 3.4 cm x 2 cm in blue foam.
###### ✨PASO 2:
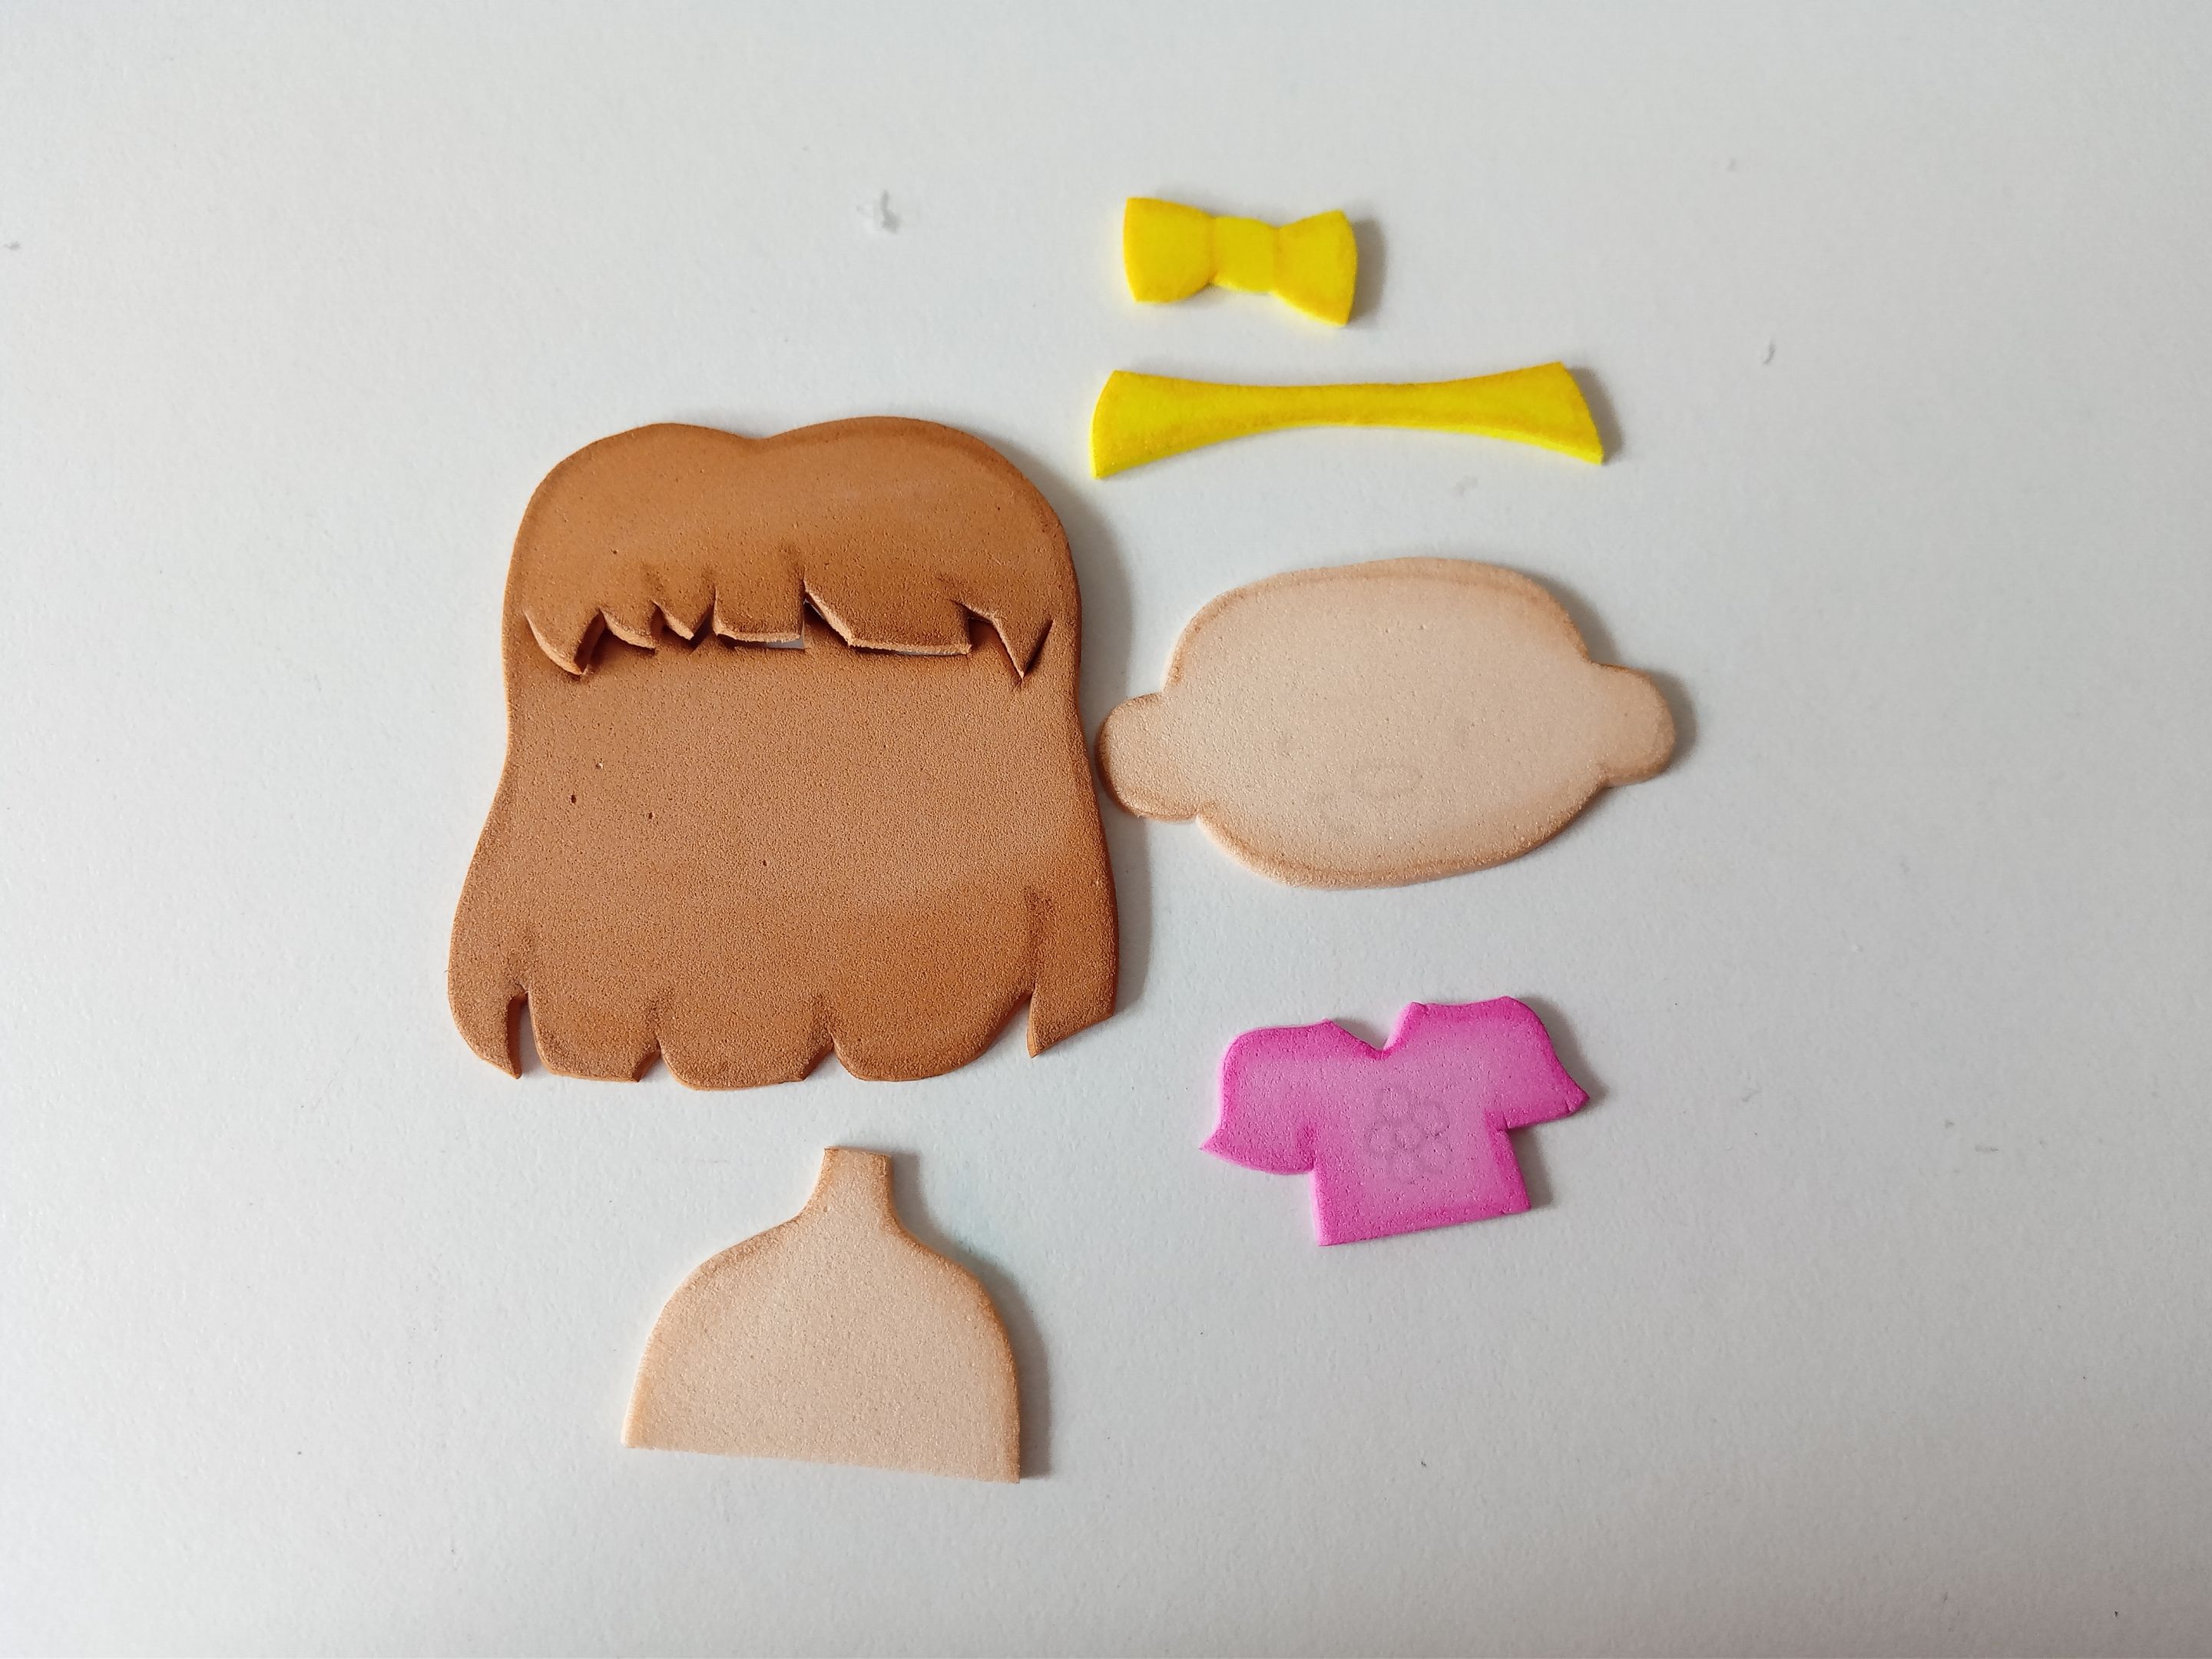
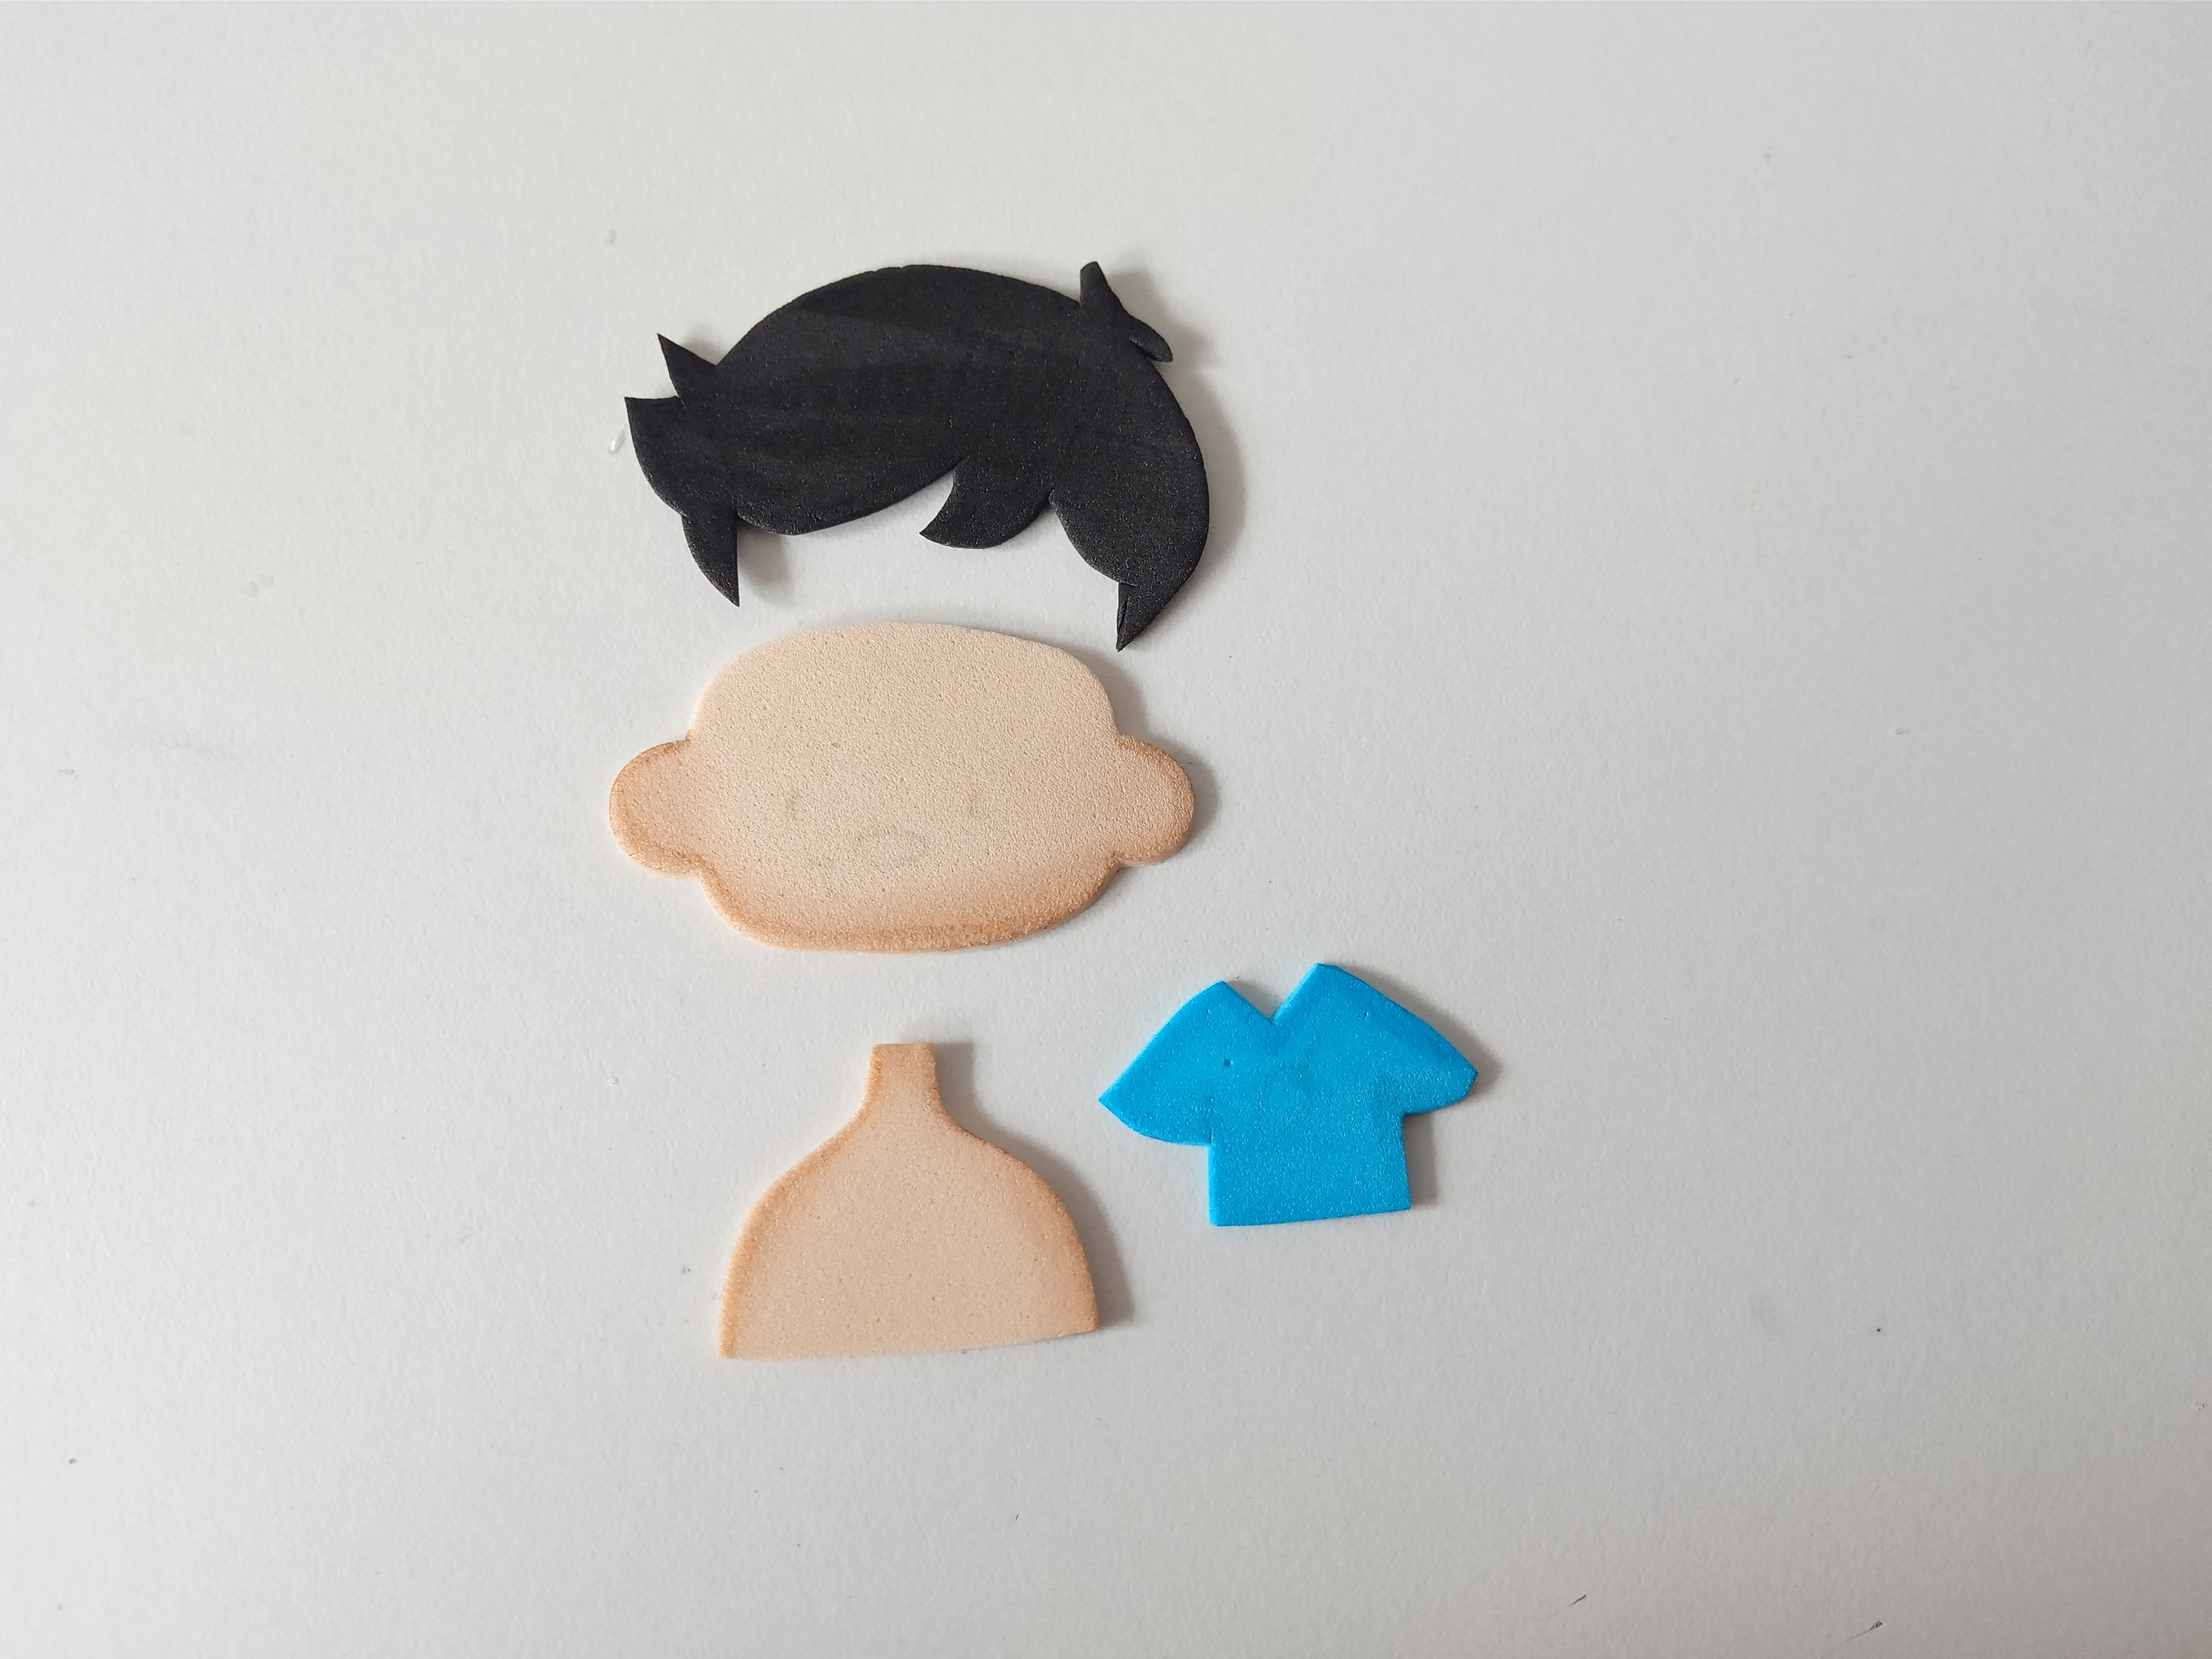
Al estar todas las piezas recortadas, es momento de dar color a los bordes con pinturas o marcadores que hagan contraste. En mi caso, siempre utilizo marrón claro para las pieles claras y, para el resto de piezas, que son los accesorios y vestimenta, utilizo los mismos colores, pero en tonos más oscuros. Al estar listo, dejamos secar.
###### ✨STEP 2:
Once all the pieces are cut, it's time to color the edges with contrasting paints or markers. In my case, I always use light brown for the light skin tones, and for the rest of the pieces, which are the accessories and clothing, I use the same colors but in darker tones. Once they're ready, let them dry.
###### ✨PASO 3:
Al estar secas las piezas, es momento de dar detalles más específicos con marcadores, como sería el caso de los ojos, la nariz, cejas, bocas y cabello de ambos personajes. Además, di un diseño a la diadema, definí el lazo y, en cuanto a las franelas, a la de la niña le dibujé una flor con marcador rosa y al niño una hojita.
###### ✨STEP 3:
Once the pieces are dry, it's time to add more specific details with markers, such as the eyes, nose, eyebrows, mouths, and hair of both characters. I also designed the headband, defined the bow, and, as for the flannels, I drew a flower with a pink marker on the girl's and a leaf on the boy's.
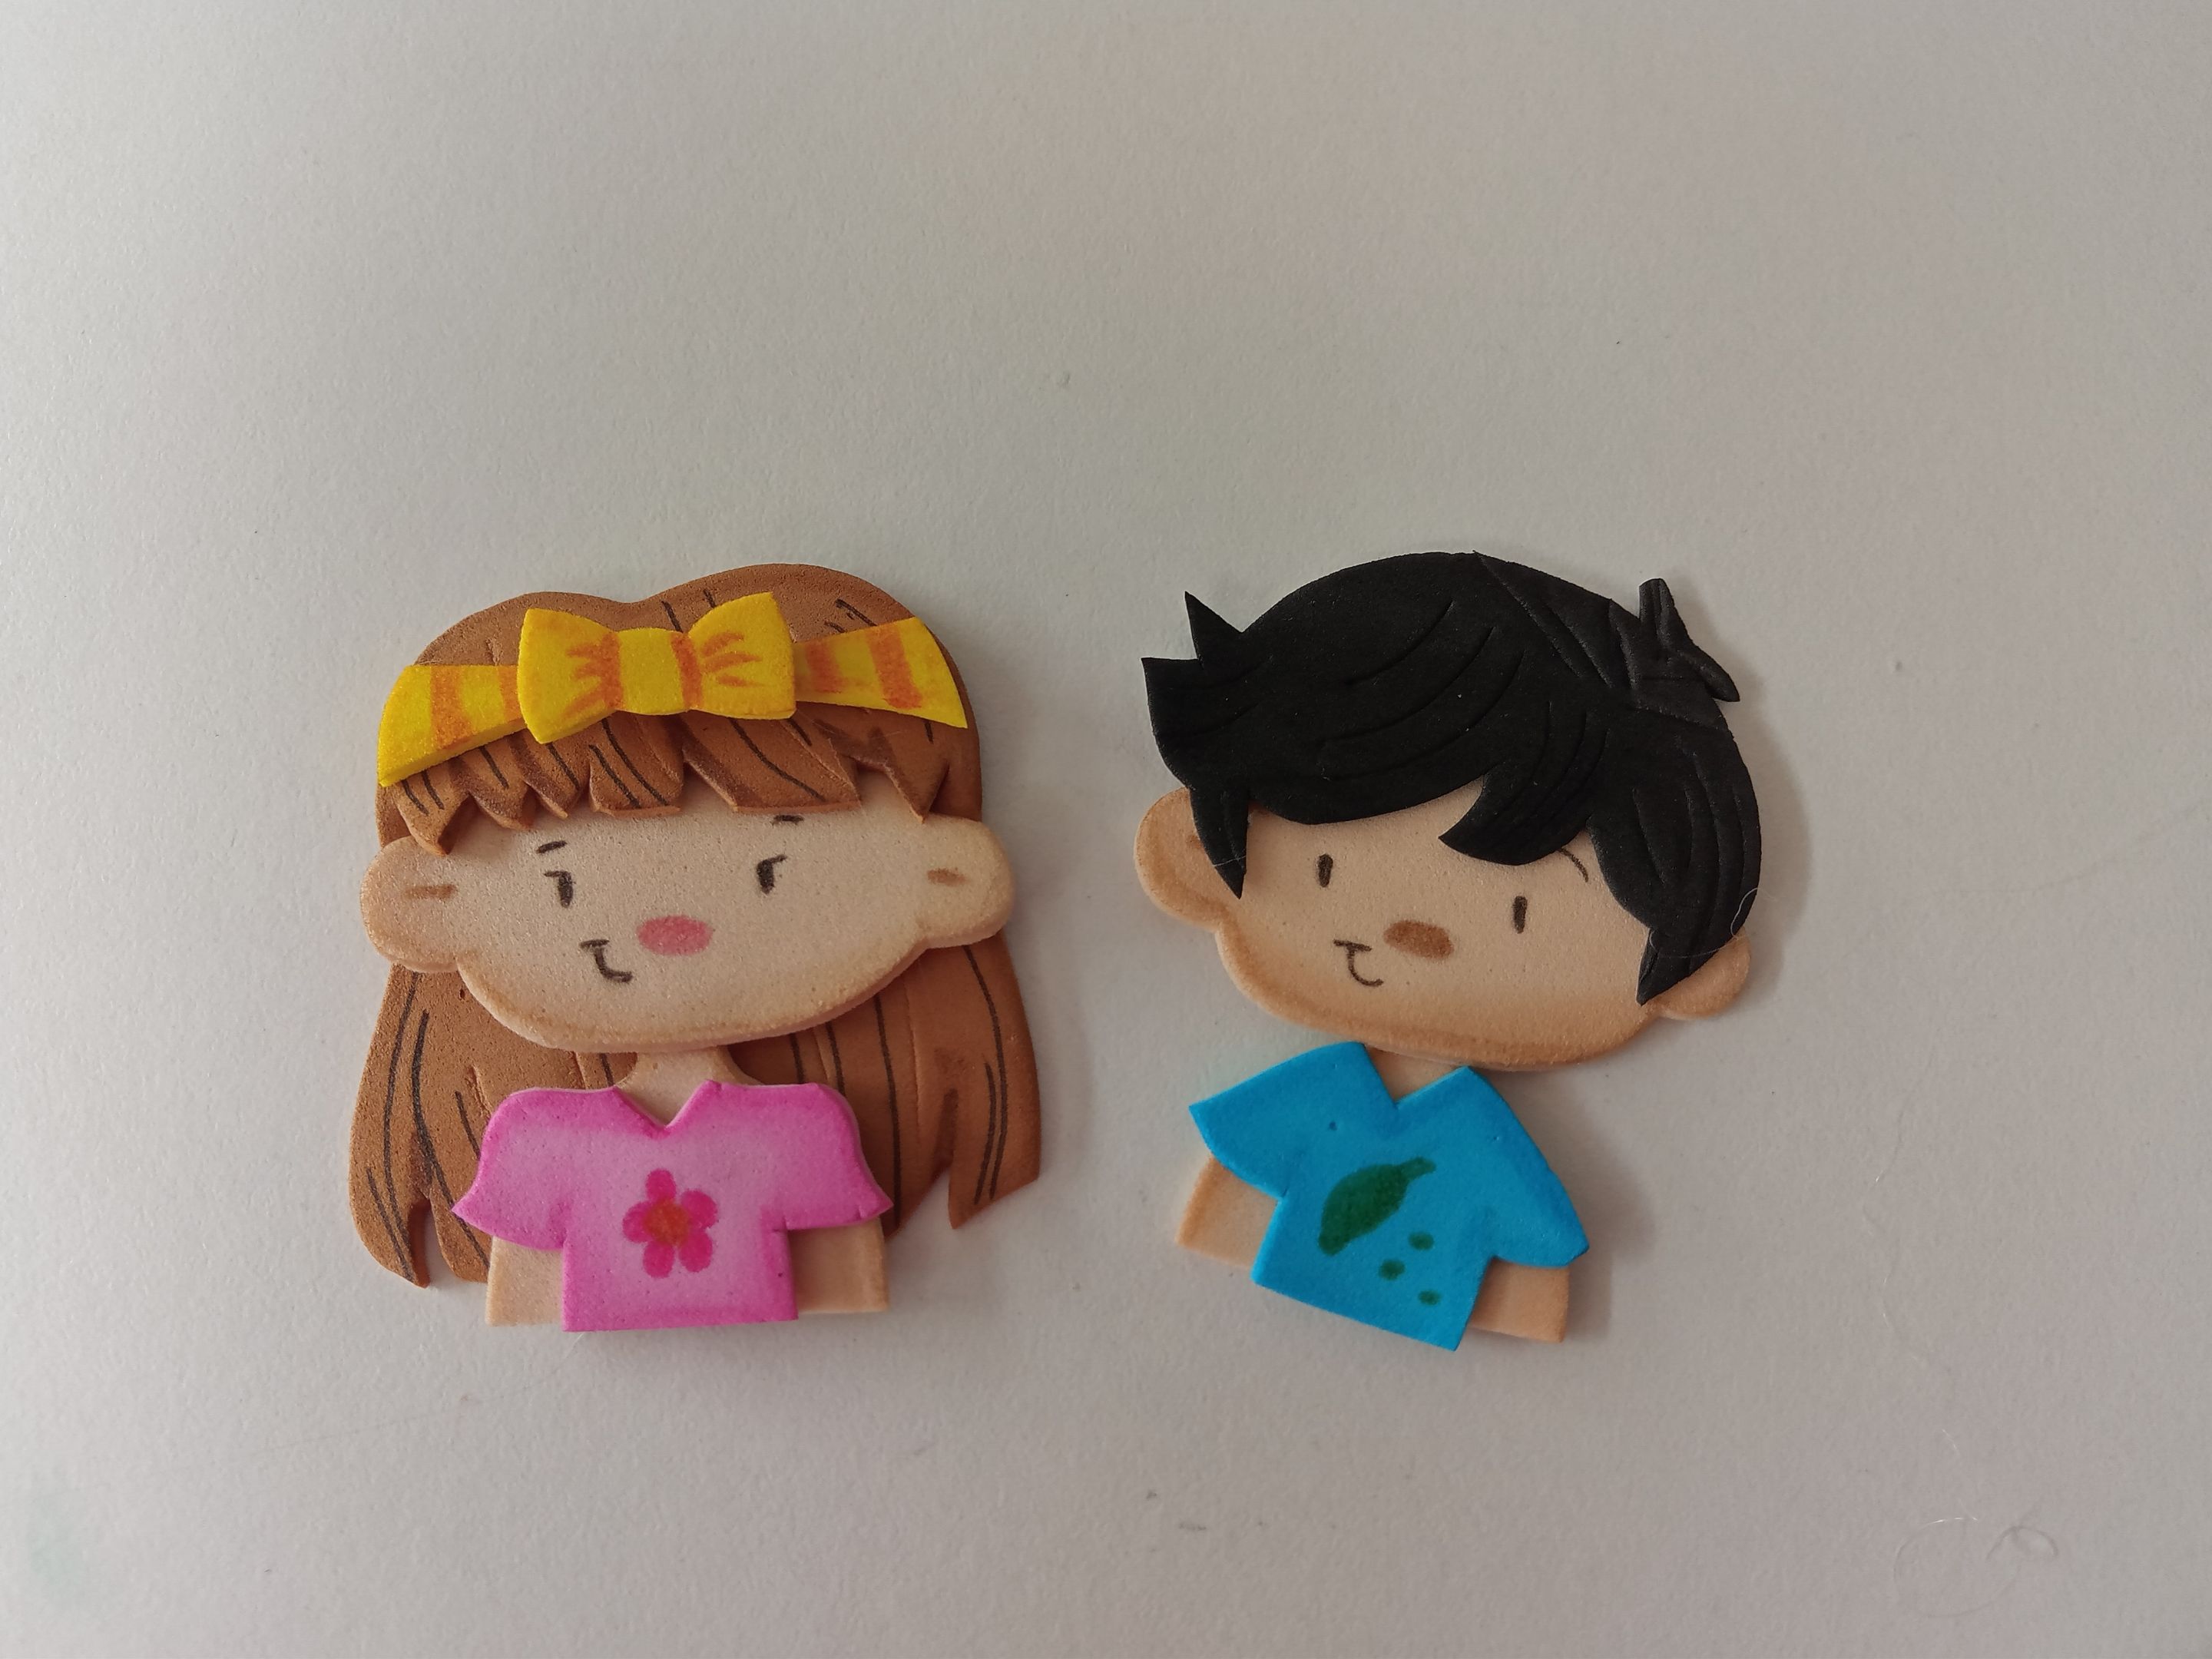
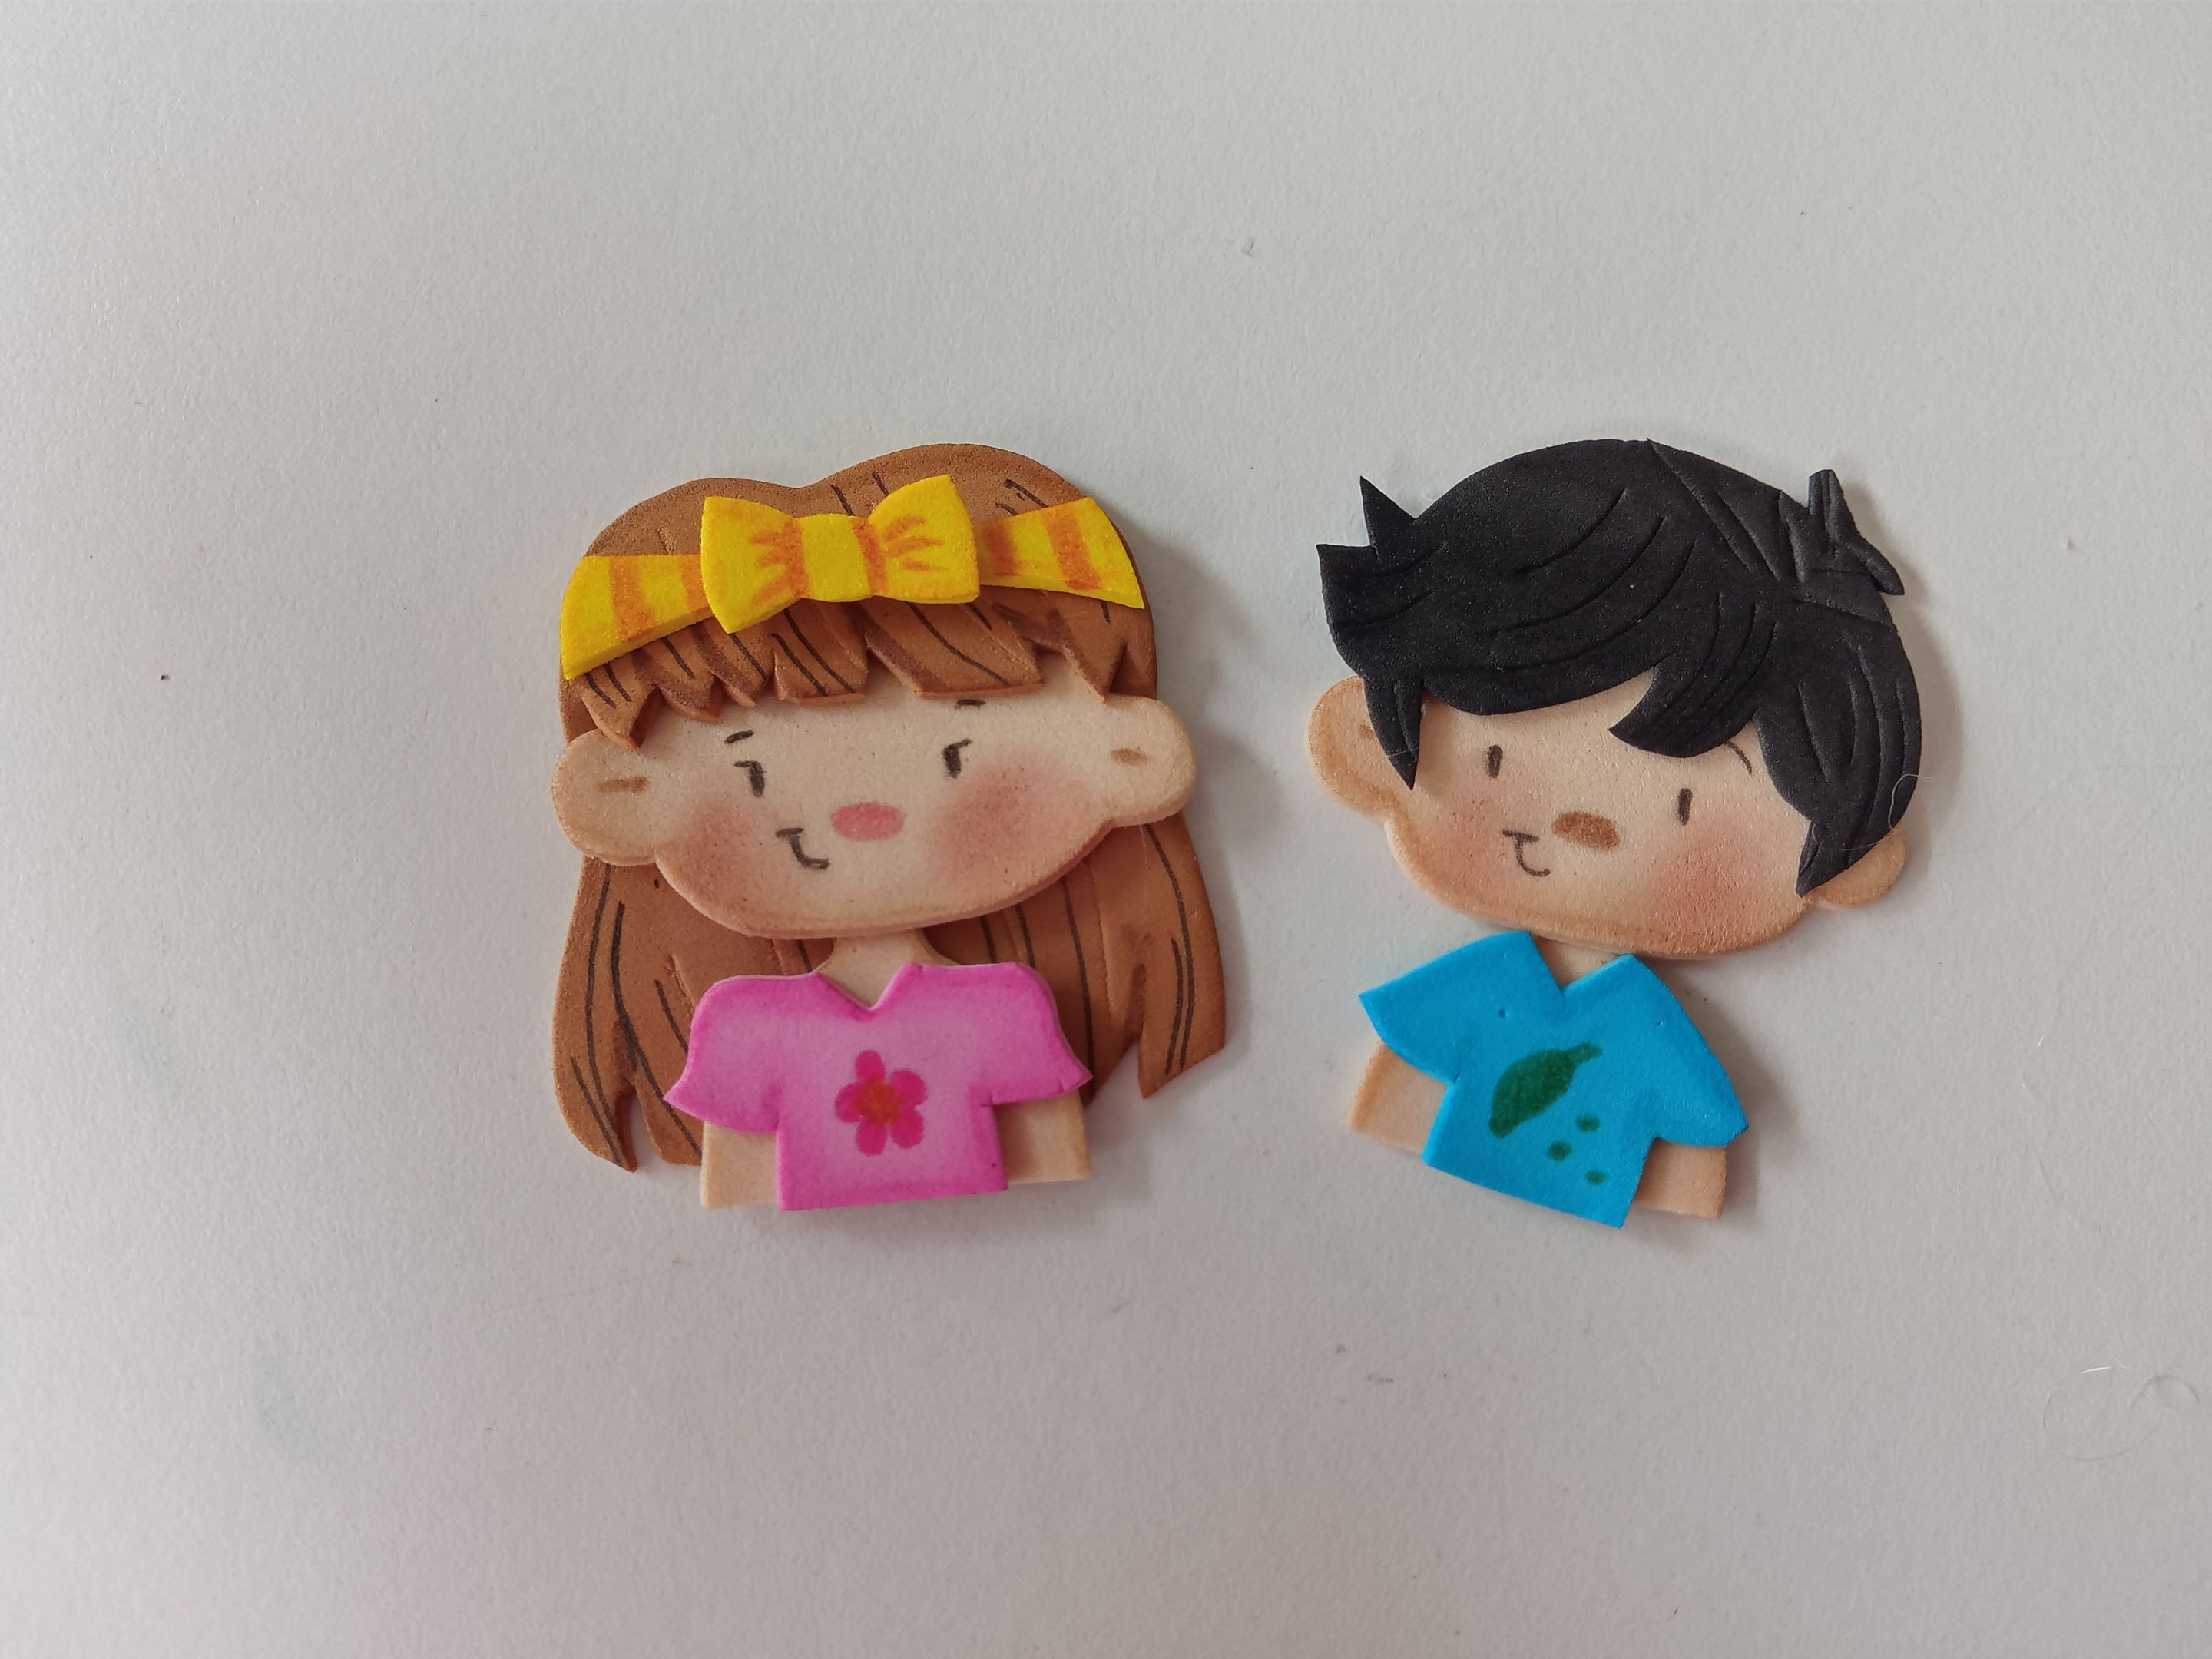
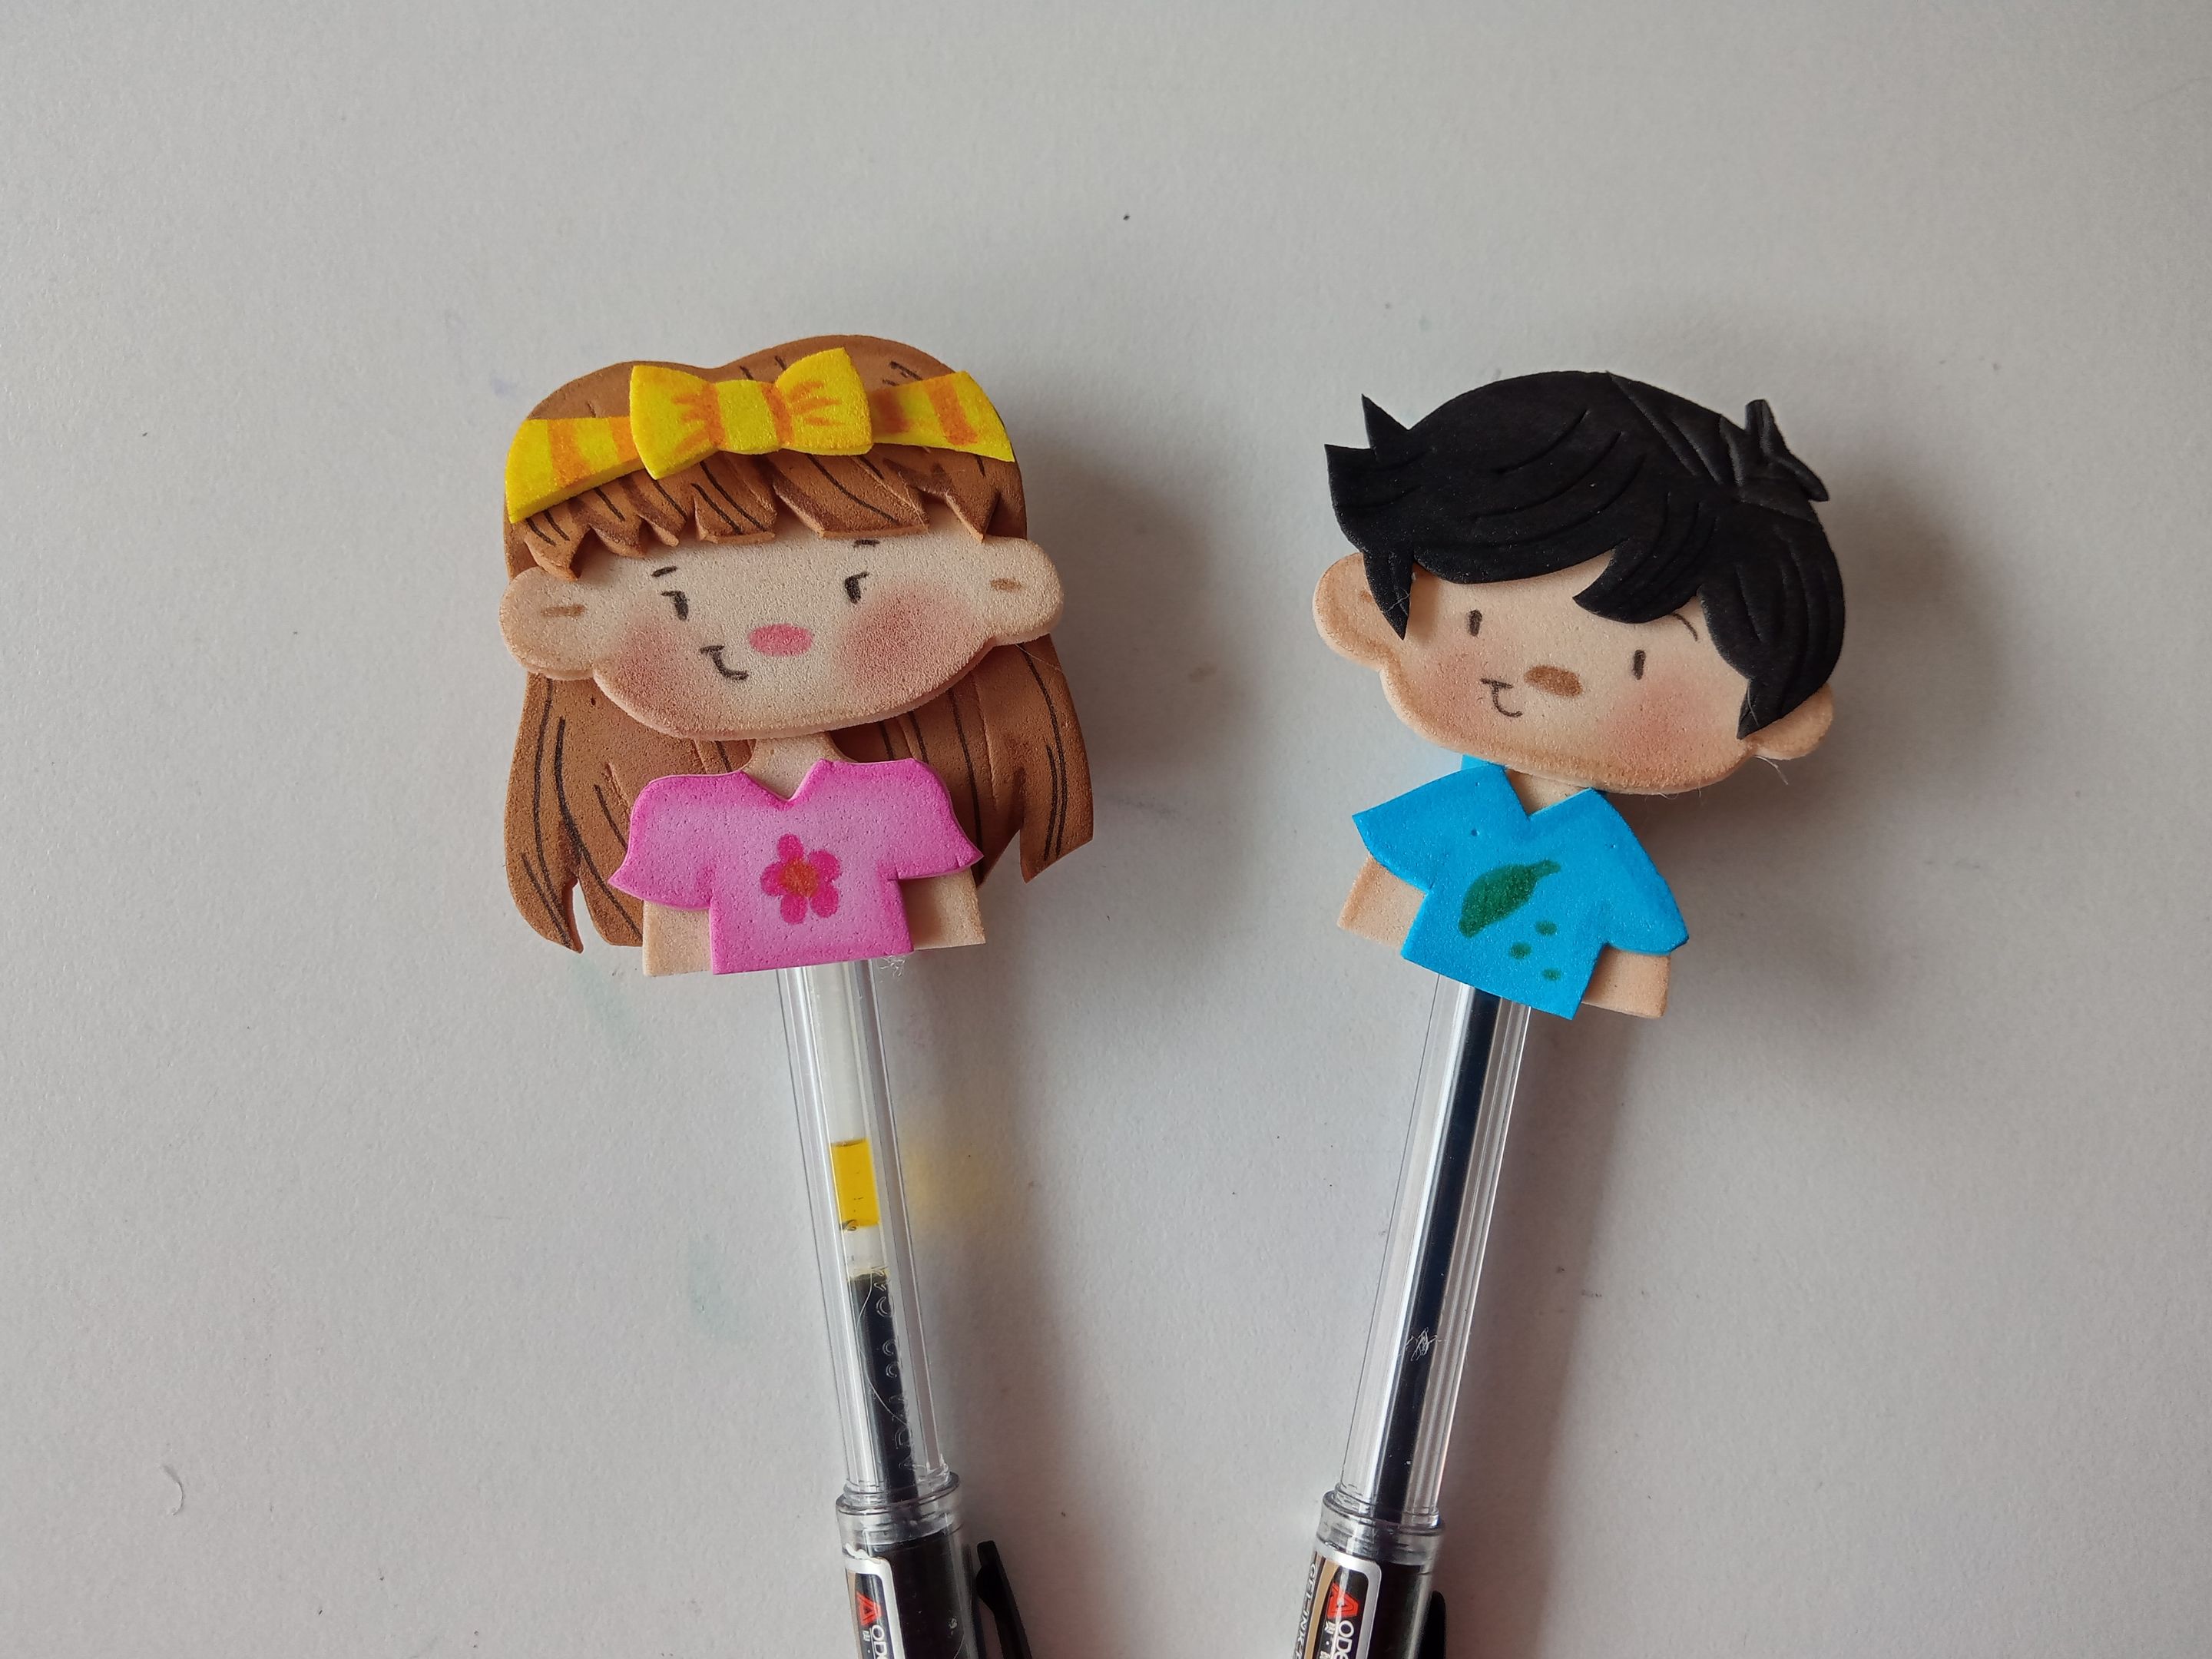
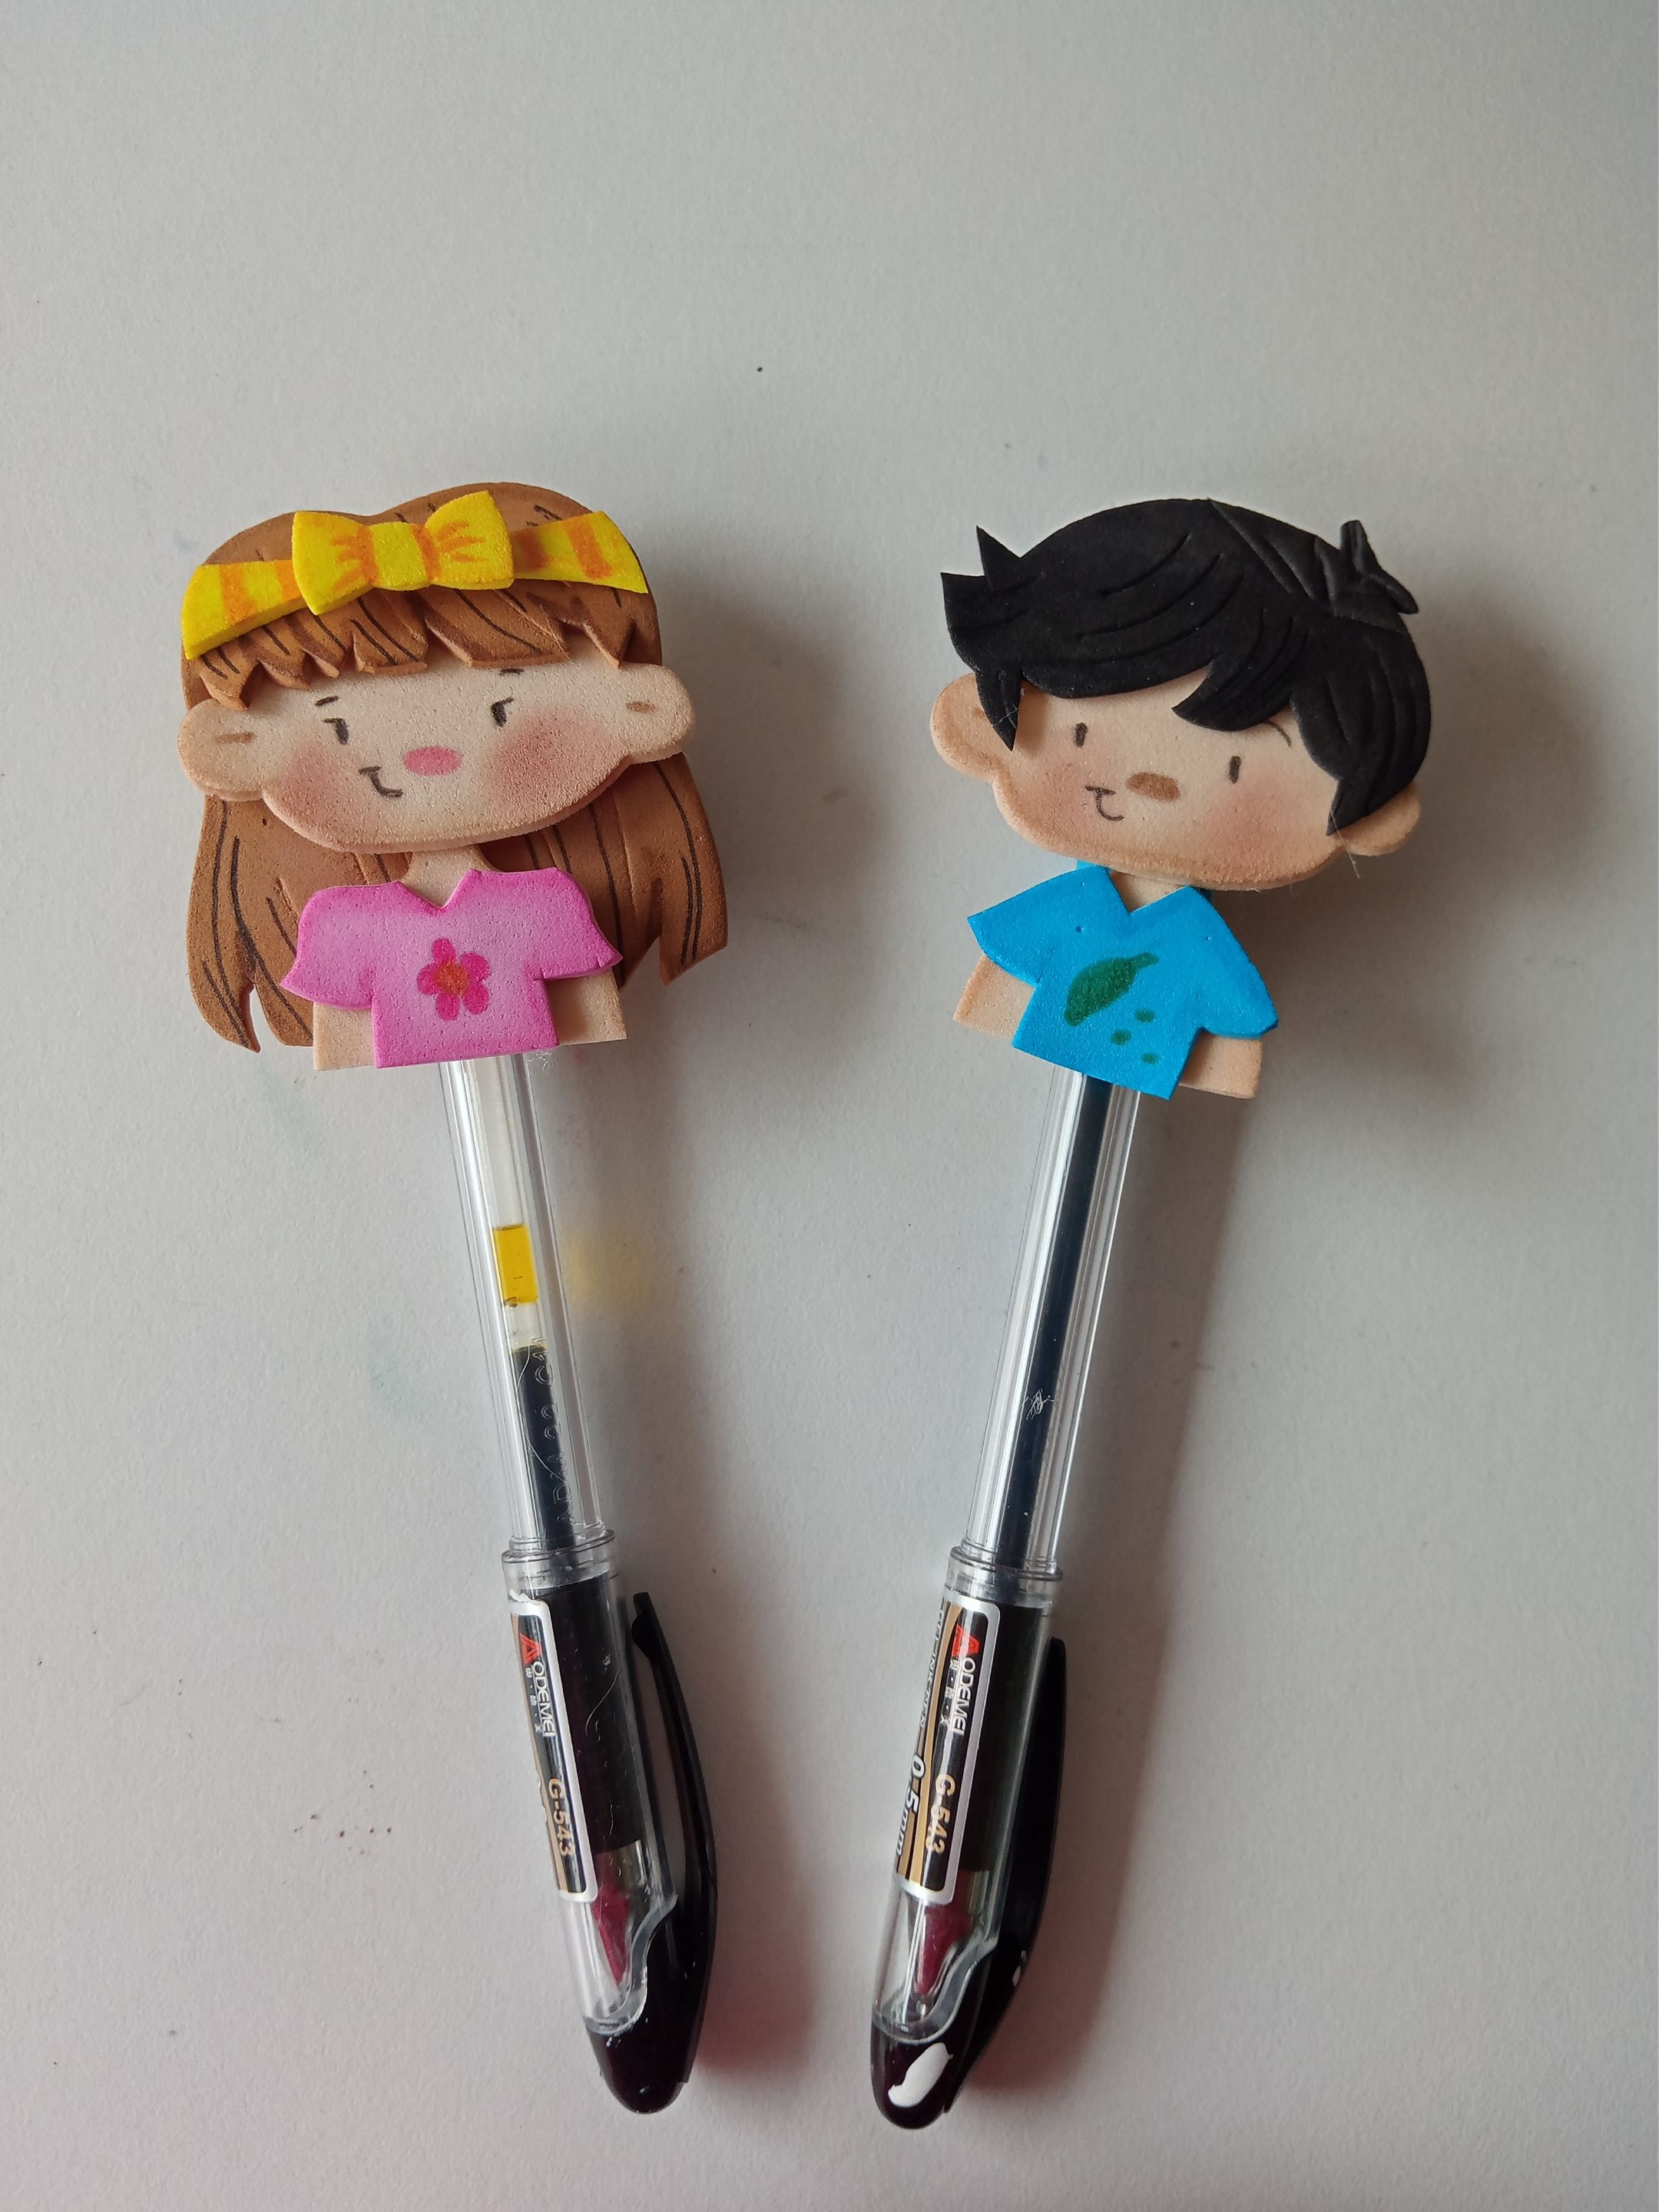
###### ✨PASO 4:
Al estar secas las piezas, es momento de comenzar a pegar. Así que, como casi siempre, comienzo por las cabezas, el cabello, seguido del cuerpo, la vestimenta y, por último, los accesorios. Además, tomé rubor y pinté un poco las mejillas con ayuda de una brocha.
###### ✨STEP 4:
Once the pieces are dry, it's time to start gluing. So, as almost always, I start with the heads, the hair, followed by the body, the clothing, and finally, the accessories. I also used blush and lightly colored the cheeks with a brush.
###### ✨PASO 5:
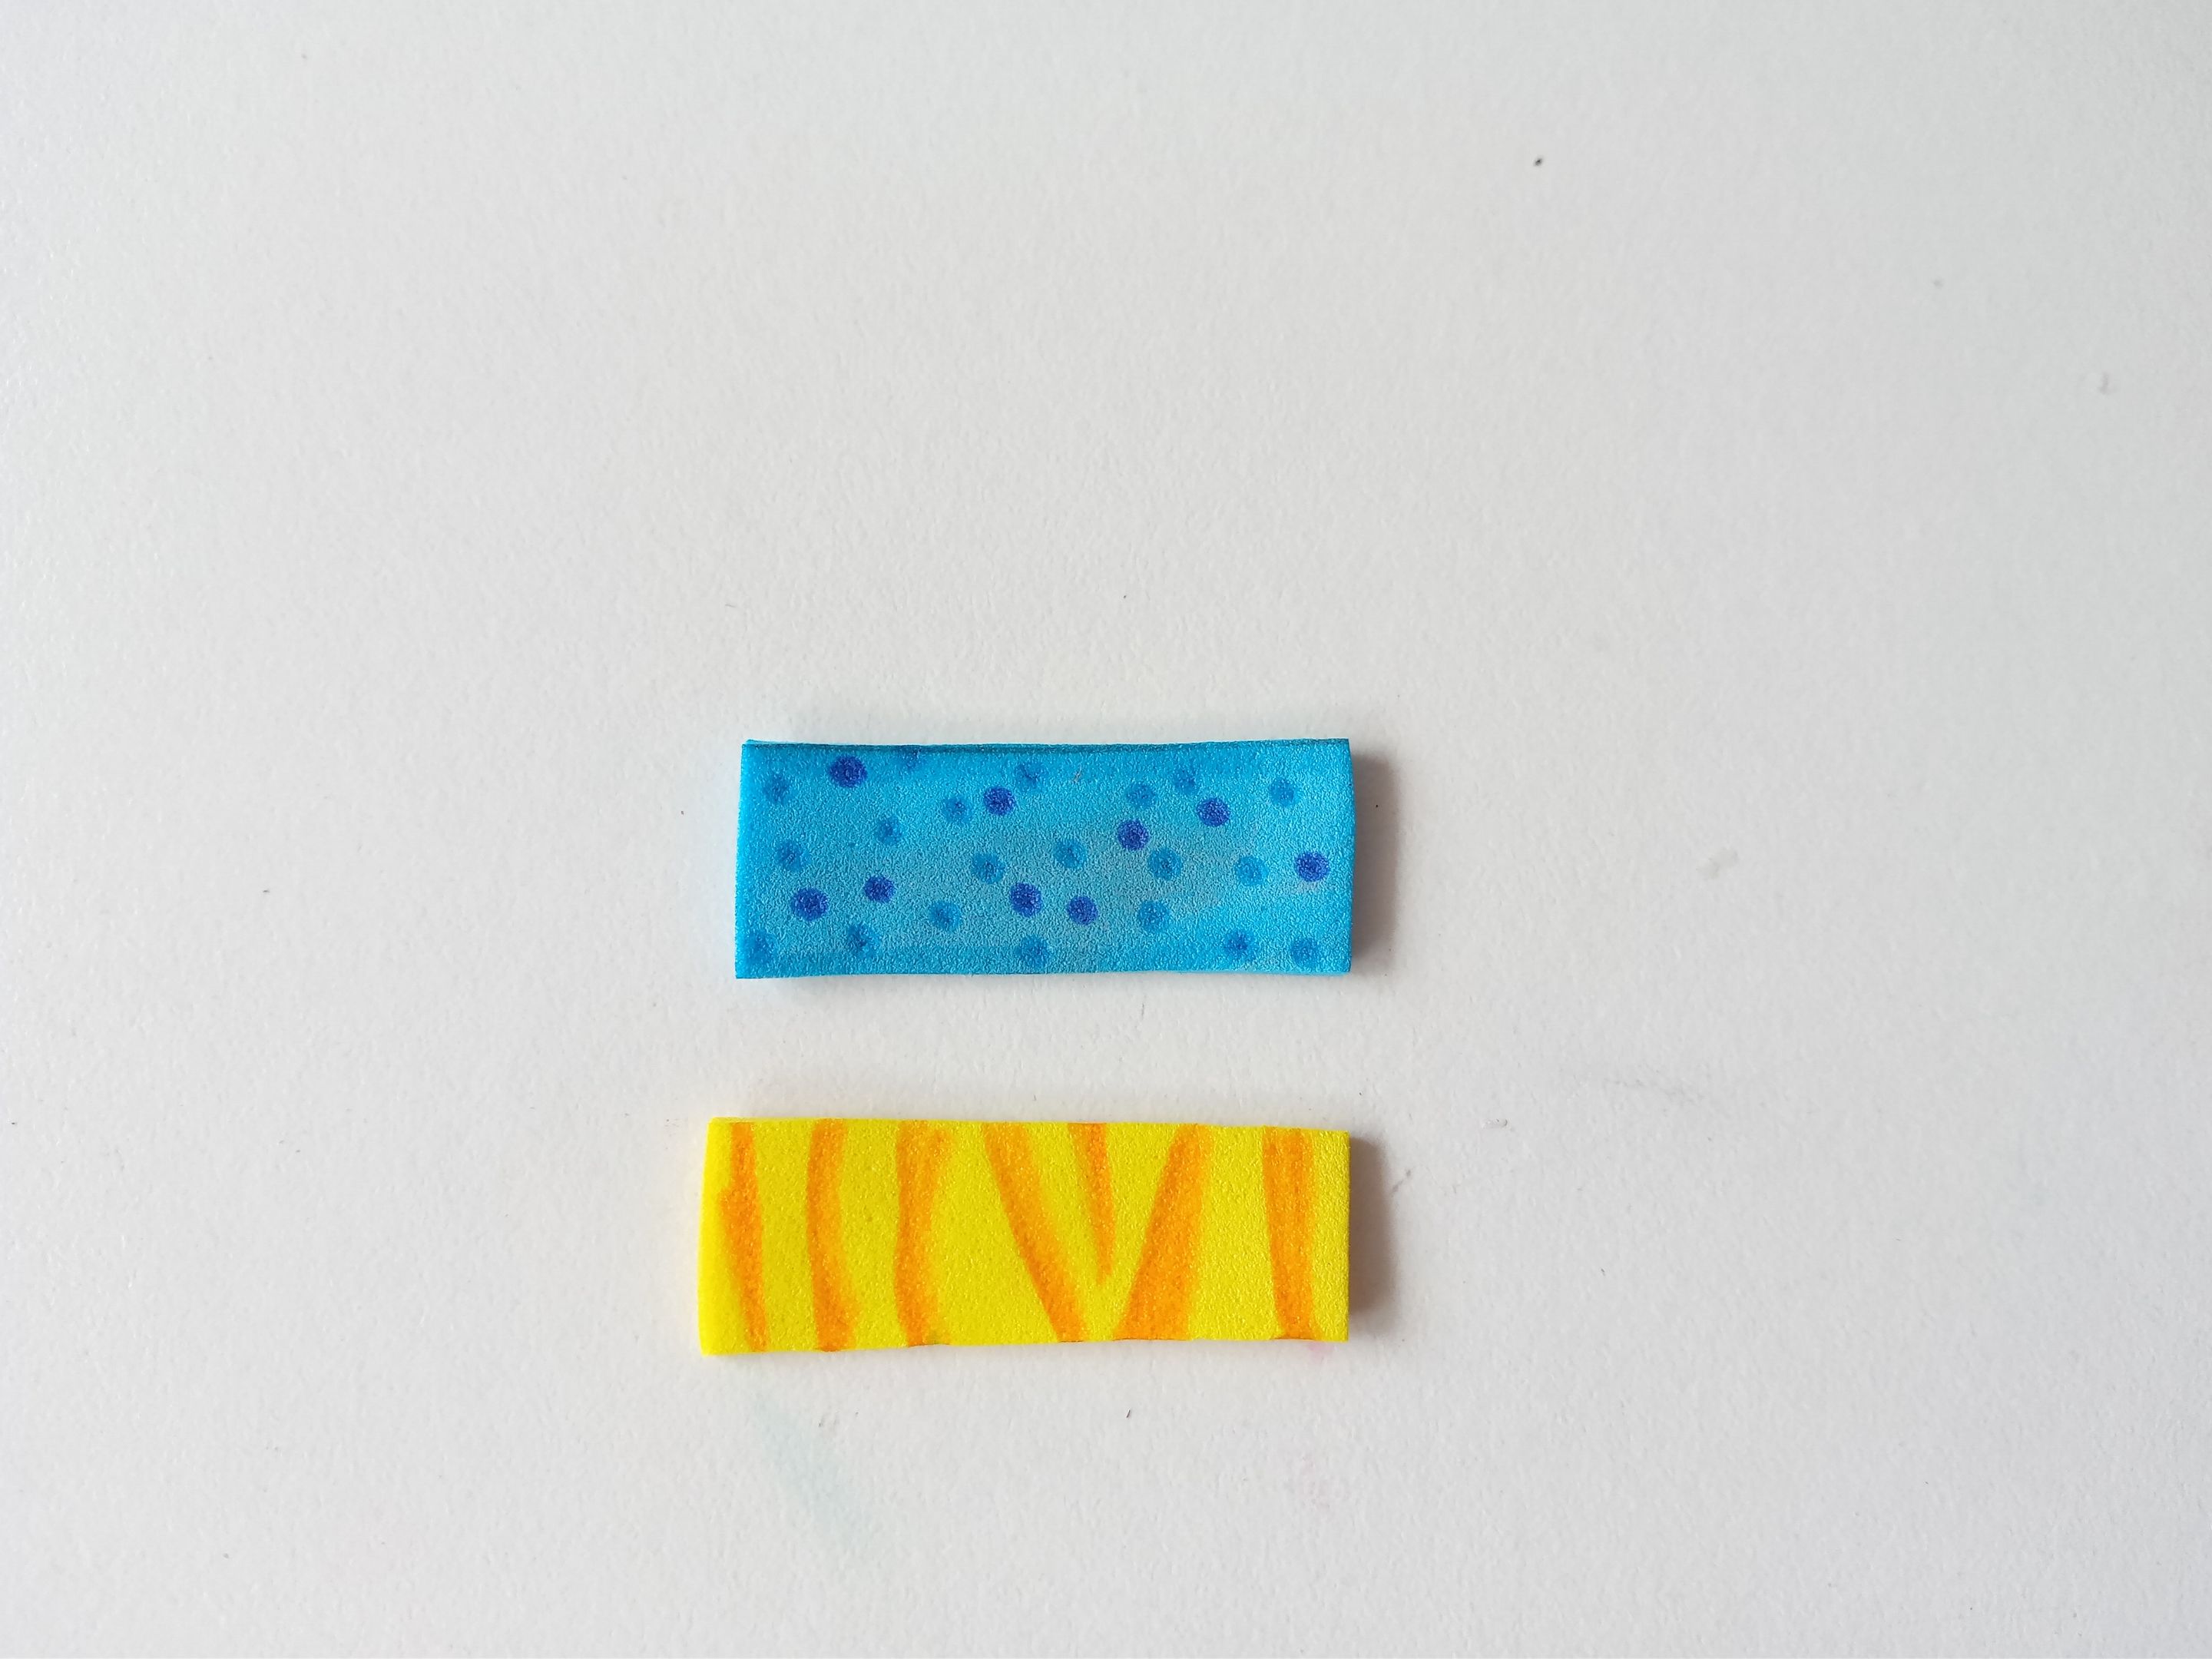
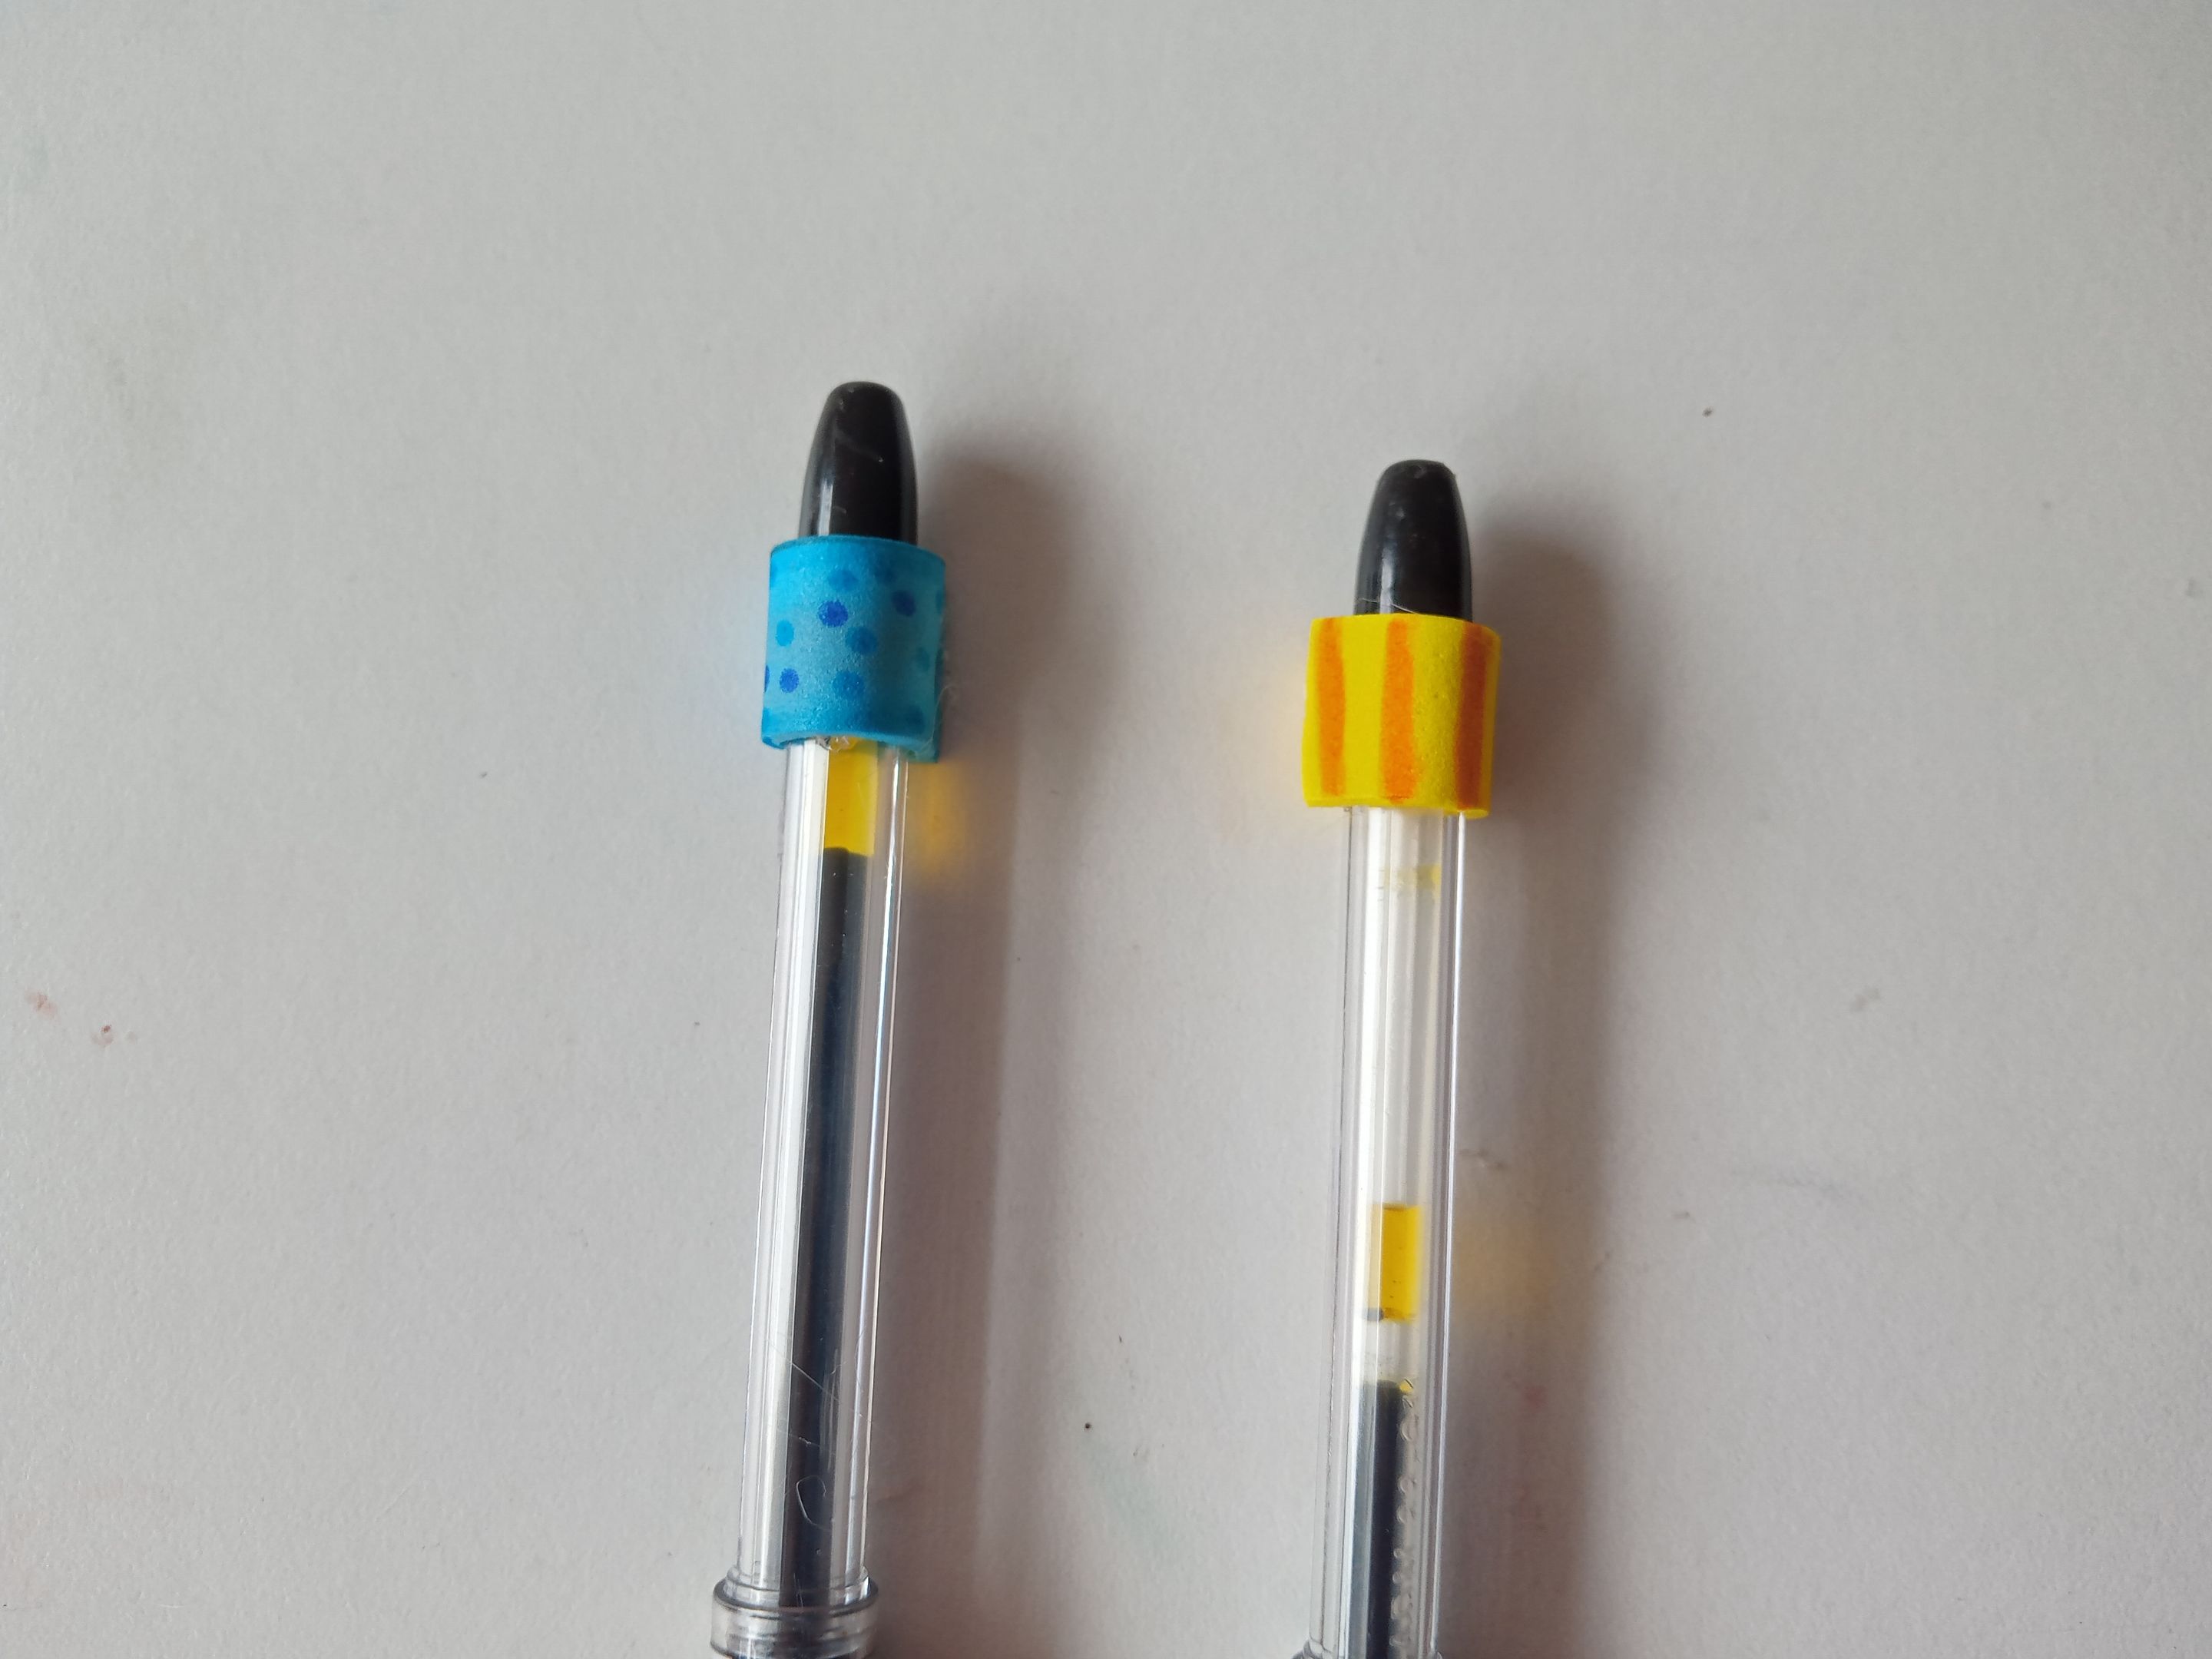
Casi para finalizar, recorté 2 piezas de foami de 4 cm x 1 cm en amarillo y azul, di color a los bordes de cada una de las piezas y les hice un diseño diferente a cada uno, de líneas y al otro de puntos. Pegué enrollado a la parte superior de las lapiceras y encima de estas, pegué a ambos niños.
###### ✨STEP 5:
To finish, I cut out two 4 cm x 1 cm pieces of foam in yellow and blue, colored the edges of each piece, and made a different design for each one: lines and dots. I glued the rolled pieces to the top of the pencil cases, and on top of these, I glued both children.
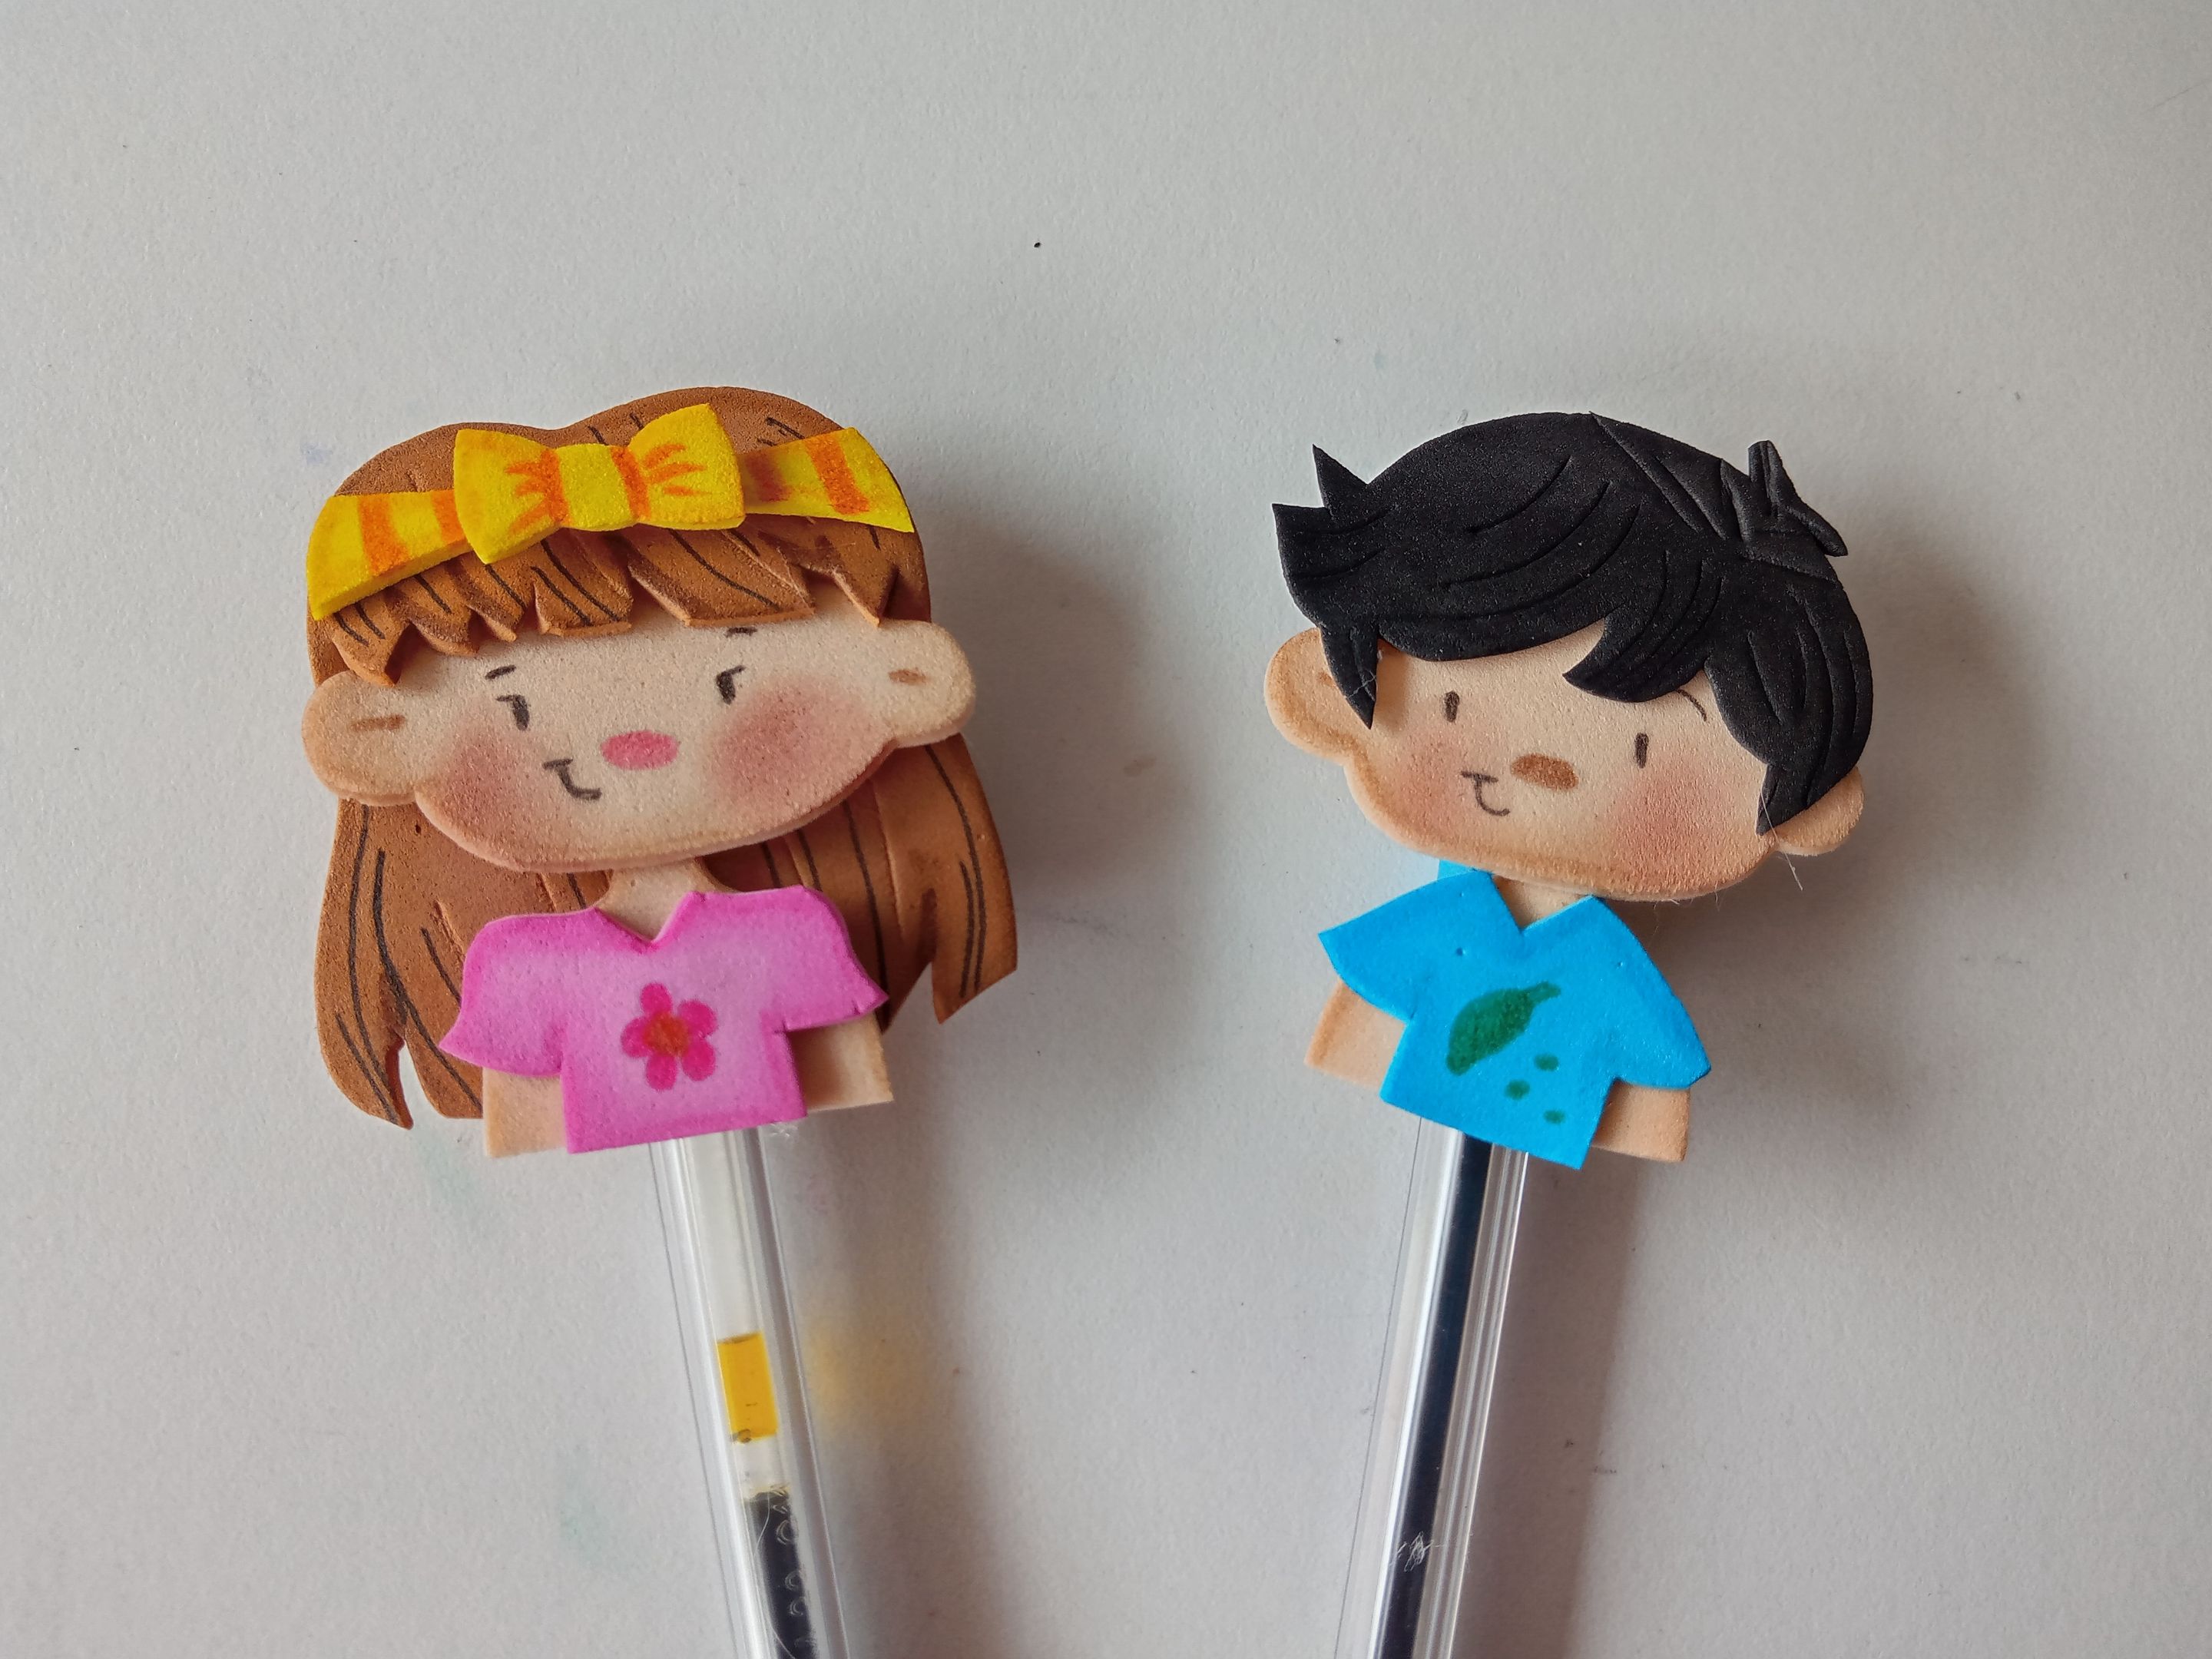
# ✨RESULTADO: | ✨RESULT:

|||
|-|-|
---

---
**!TE DESEO UN GRAN DÏA¡**
Todas las fotografías son de mi propiedad.
Separador y Fotos editadas en [Canva](https://www.canva.com/)
**!I WISH YOU A GOOD DAY**
All photographs are my property.
Photos edited in [Canva](https://www.canva.com/)