######
✨¡Hola amigos amantes de la creatividad! Espero que estén todos bien.✨
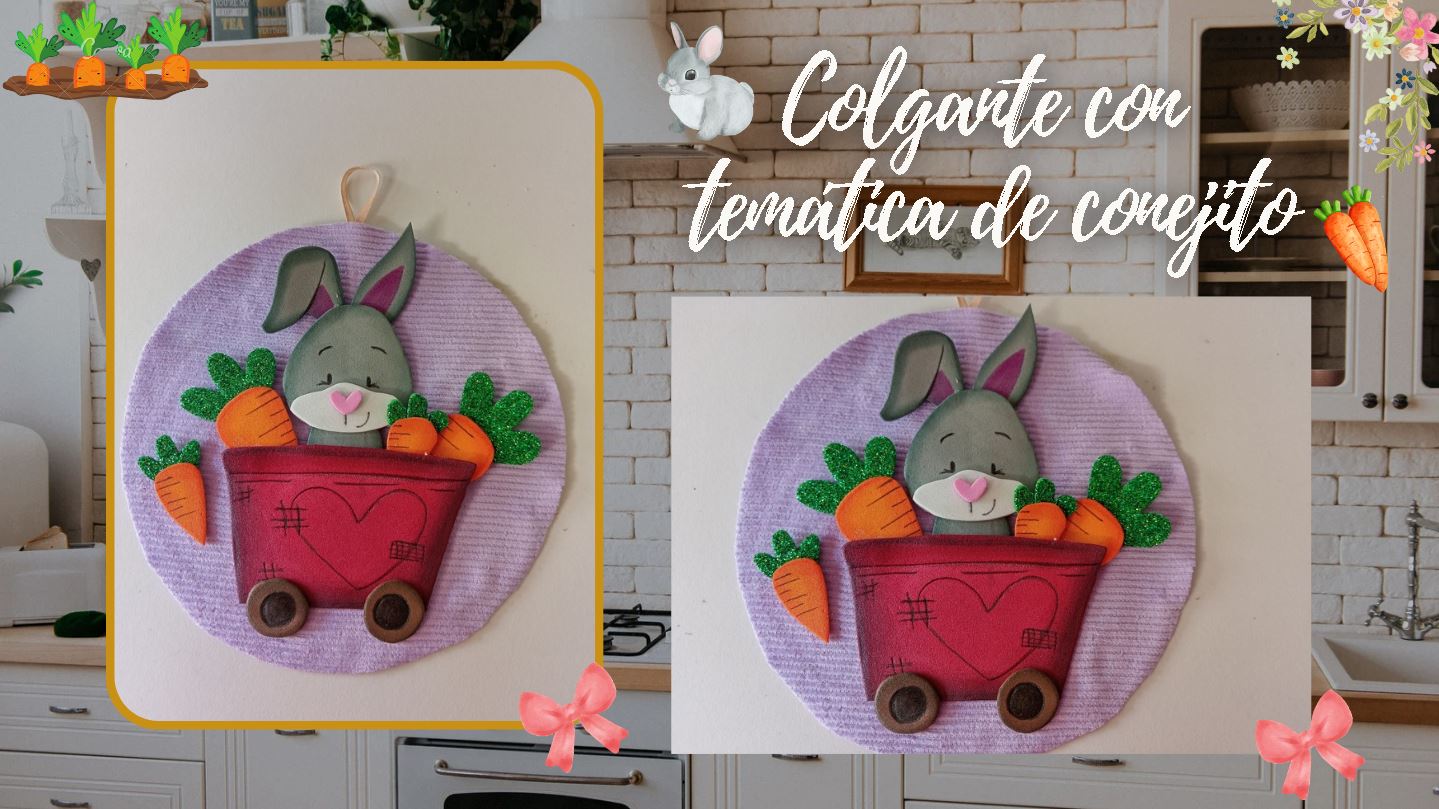
¡Buenas tardes, amigos! Espero que estén pasando una excelente semana. Por mi parte, estoy contenta de pasar por aquí para compartir una linda idea con ustedes. En esta ocasión, les comparto el paso a paso para elaborar un lindo colgante con temática de conejo. Hace unos días, un familiar me encargó un pequeño colgante y me dijo que quería que fuera esta temática, con algunas zanahorias alrededor, y que no se viera ni muy serio ni muy infantil; perfecto para la cocina.
Así que, al decirme los colores que le gustaban, me puse manos a la obra y pensé en utilizar una linda tela de pana en color lila que tenía guardada hacía un tiempo para alguna manualidad.
**🔸Sin más que añadir, a continuación los dejo con el paso a paso:**
> ######
✨¡Hello friends who love creativity! I hope you are all well.✨
>
Good afternoon, friends! I hope you're having a great week. For my part, I'm happy to stop by to share a lovely idea with you. This time, I'm sharing the step-by-step instructions for making a cute bunny-themed pendant. A few days ago, a relative asked me for a small pendant and told me she wanted it to have this theme, with some carrots around it, and that it shouldn't look too serious or childish; perfect for the kitchen.
So, after she told me the colors she liked, I got to work and thought about using some pretty lilac corduroy fabric she'd had stashed away for a while for some craft projects.
> **🔸Without more to add, then I leave you with the step by step:**
---
---

|||
|-|-|


|||
|-|-|


|||
|-|-|


||||
|-|-|-|

✨Así es como pueden elaborar sus propios colgantes, ya sea para la cocina o cualquier área de la casa, totalmente a gusto y con los colores deseados. En lo personal, me encantó la combinación de colores, pues el tono de la tela ayudó a resaltar el resto de la decoración. Espero que les haya gustado el paso a paso y se animen a elaborarlo.
❤️Hasta la próxima publicación.
>
✨This is how you can make your own pendants, whether for the kitchen or any other area of the house, completely to your liking and in the colors you desire. Personally, I loved the color combination, as the fabric's tone helped highlight the rest of the decor. I hope you enjoyed the step-by-step instructions and are inspired to try it out.
>
❤️Until the next post.

**♥️ESPERO QUE TE GUSTE,
¡Empecemos!**
**♥️I HOPE YOU LIKE IT,
Let's start!**
---

# ✂️ MATERIALES | ✂️ MATERIALS

- Cartón o cartulina.
- Foami escarchado verde.
- Foami gris.
- Foami blanco.
- Foami rosa.
- Foami naranja.
- Foami rojo.
- Foami marrón
- Tela (color deseado).
- Cinta delgada.
- Pinturas y marcadores.
- Pegamento.
- Tijeras.
- Regla.
- Hoja blanca.
- Lápiz.
- Cardboard or poster board.
- Green frosted foam.
- Gray foam.
- White foam.
- Pink foam.
- Orange foam.
- Red foam.
- Brown foam.
- Fabric (color of choice).
- Thin ribbon.
- Paints and markers.
- Glue.
- Scissors.
- Ruler.
- White sheet of paper.
- Pencil.

# 🌟 PROCEDIMIENTO | 🌟 PROCESS

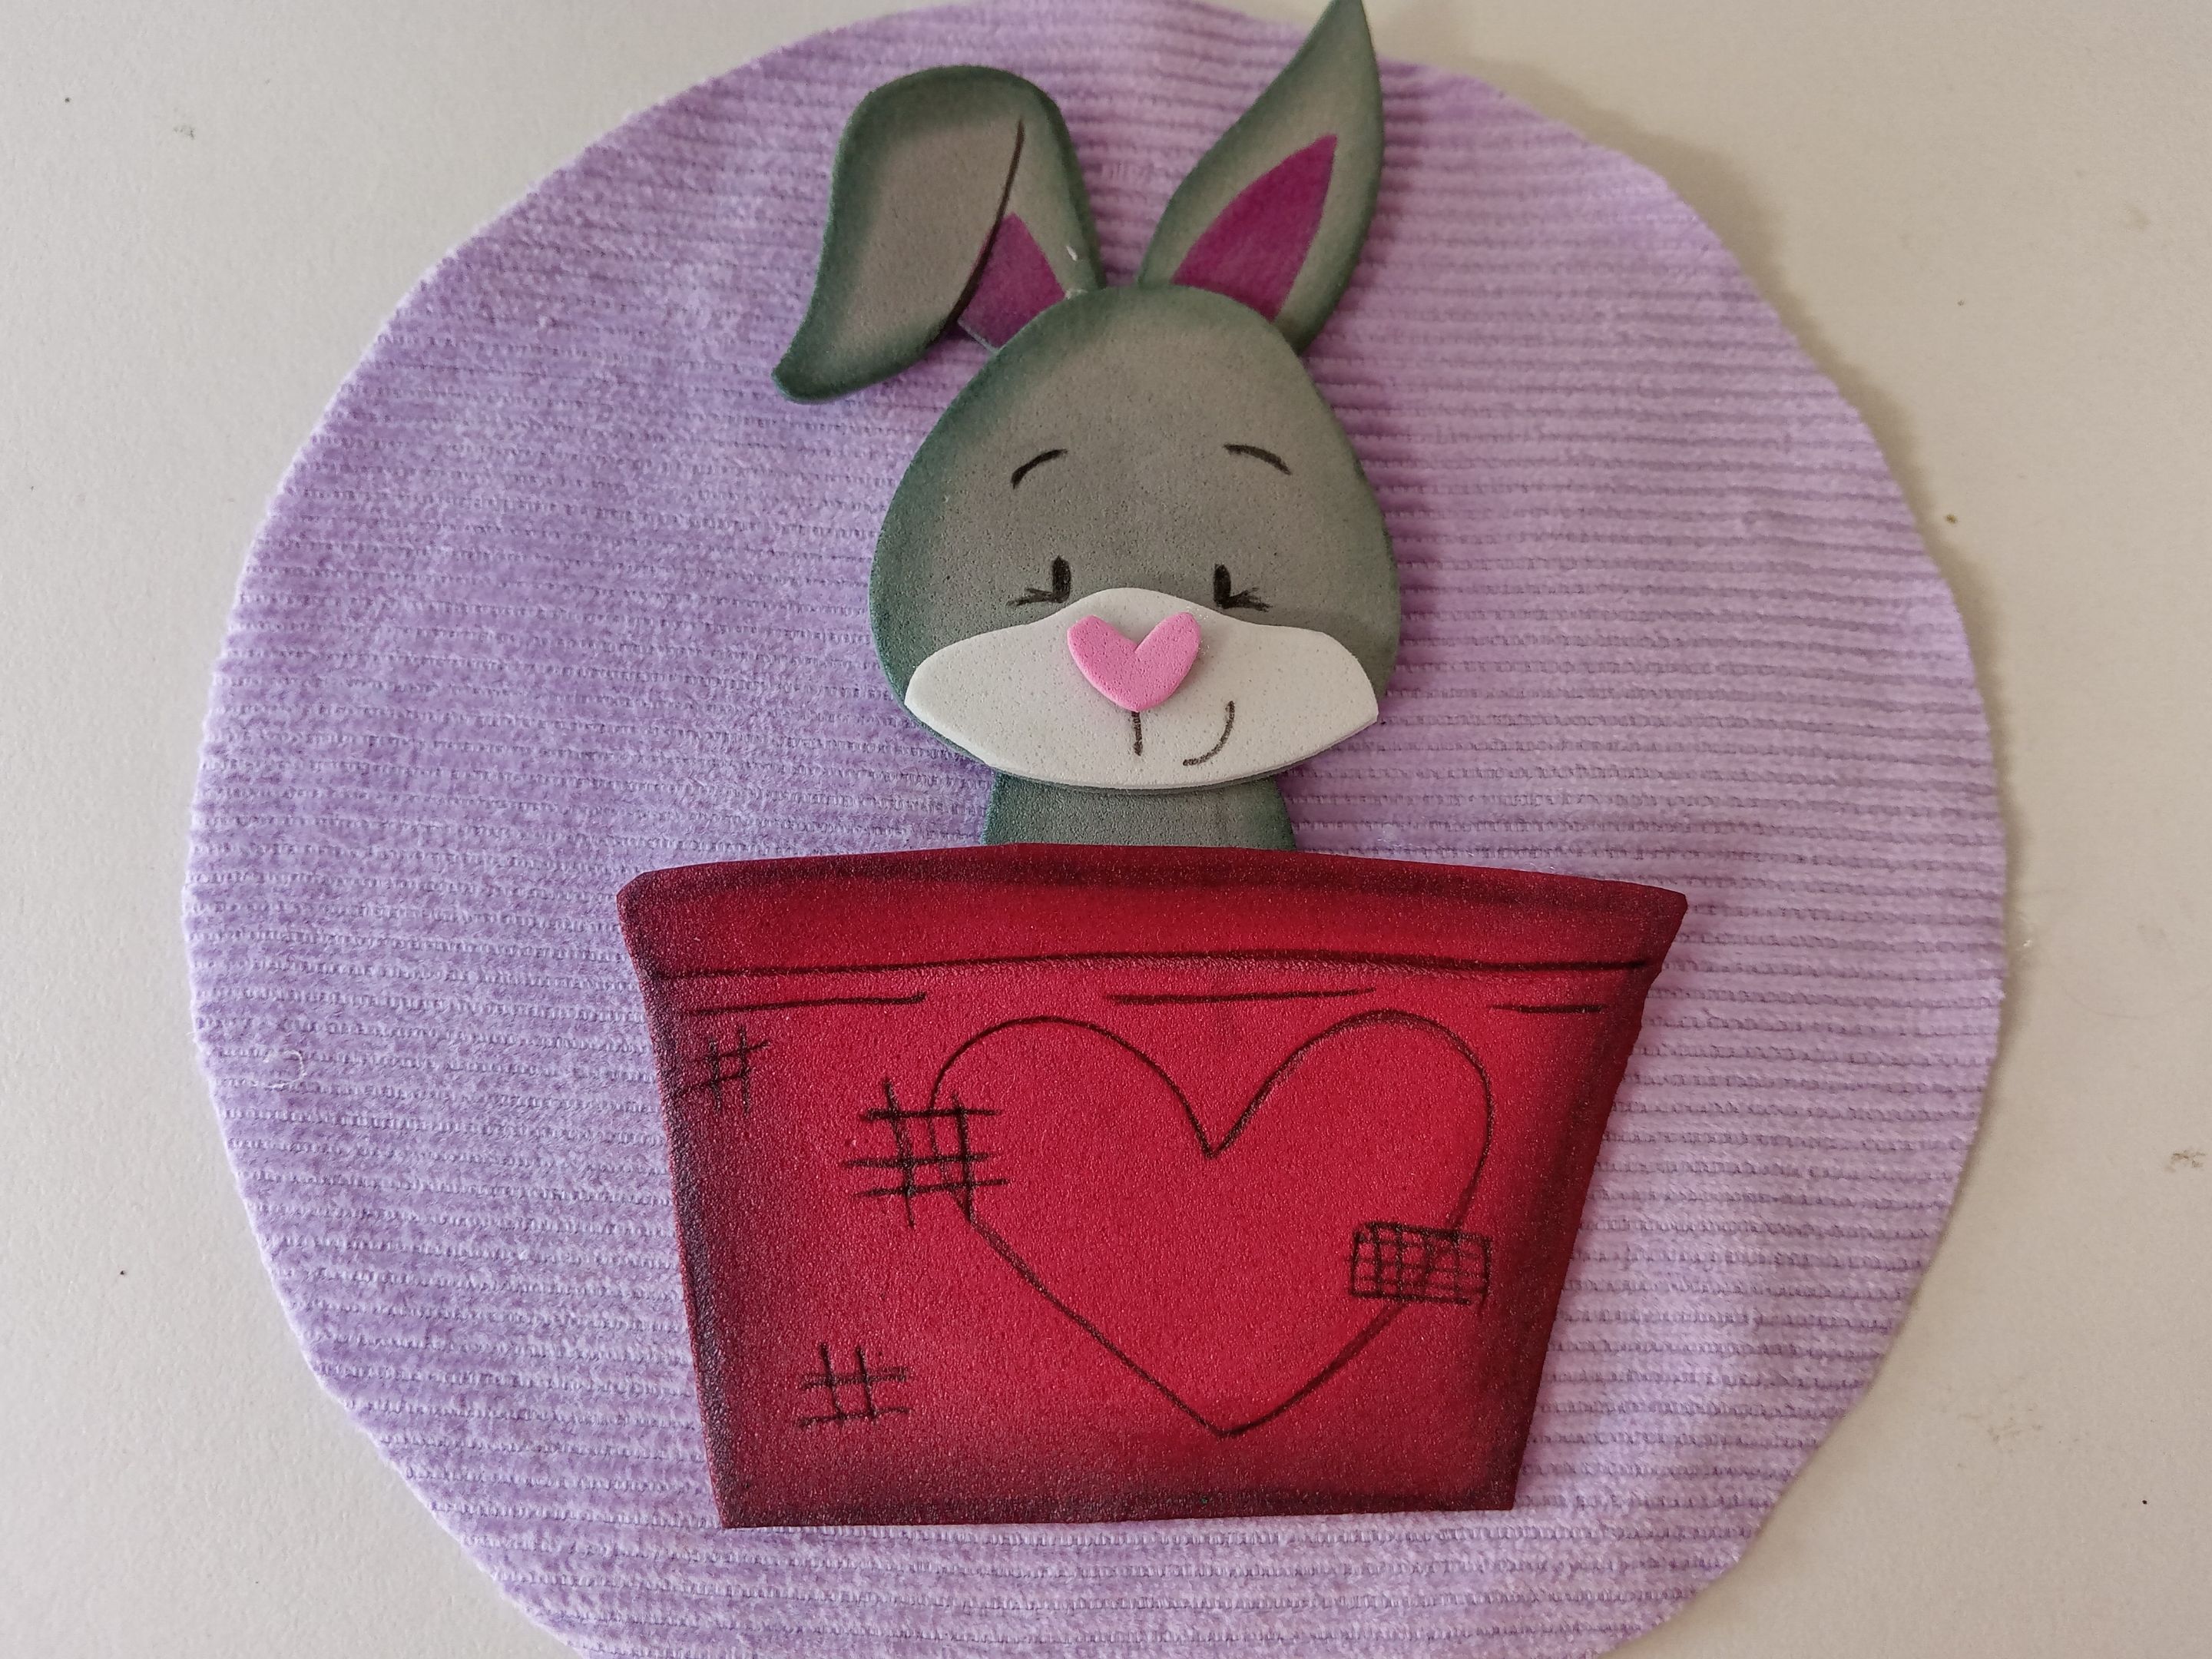
###### ✨PASO 1:
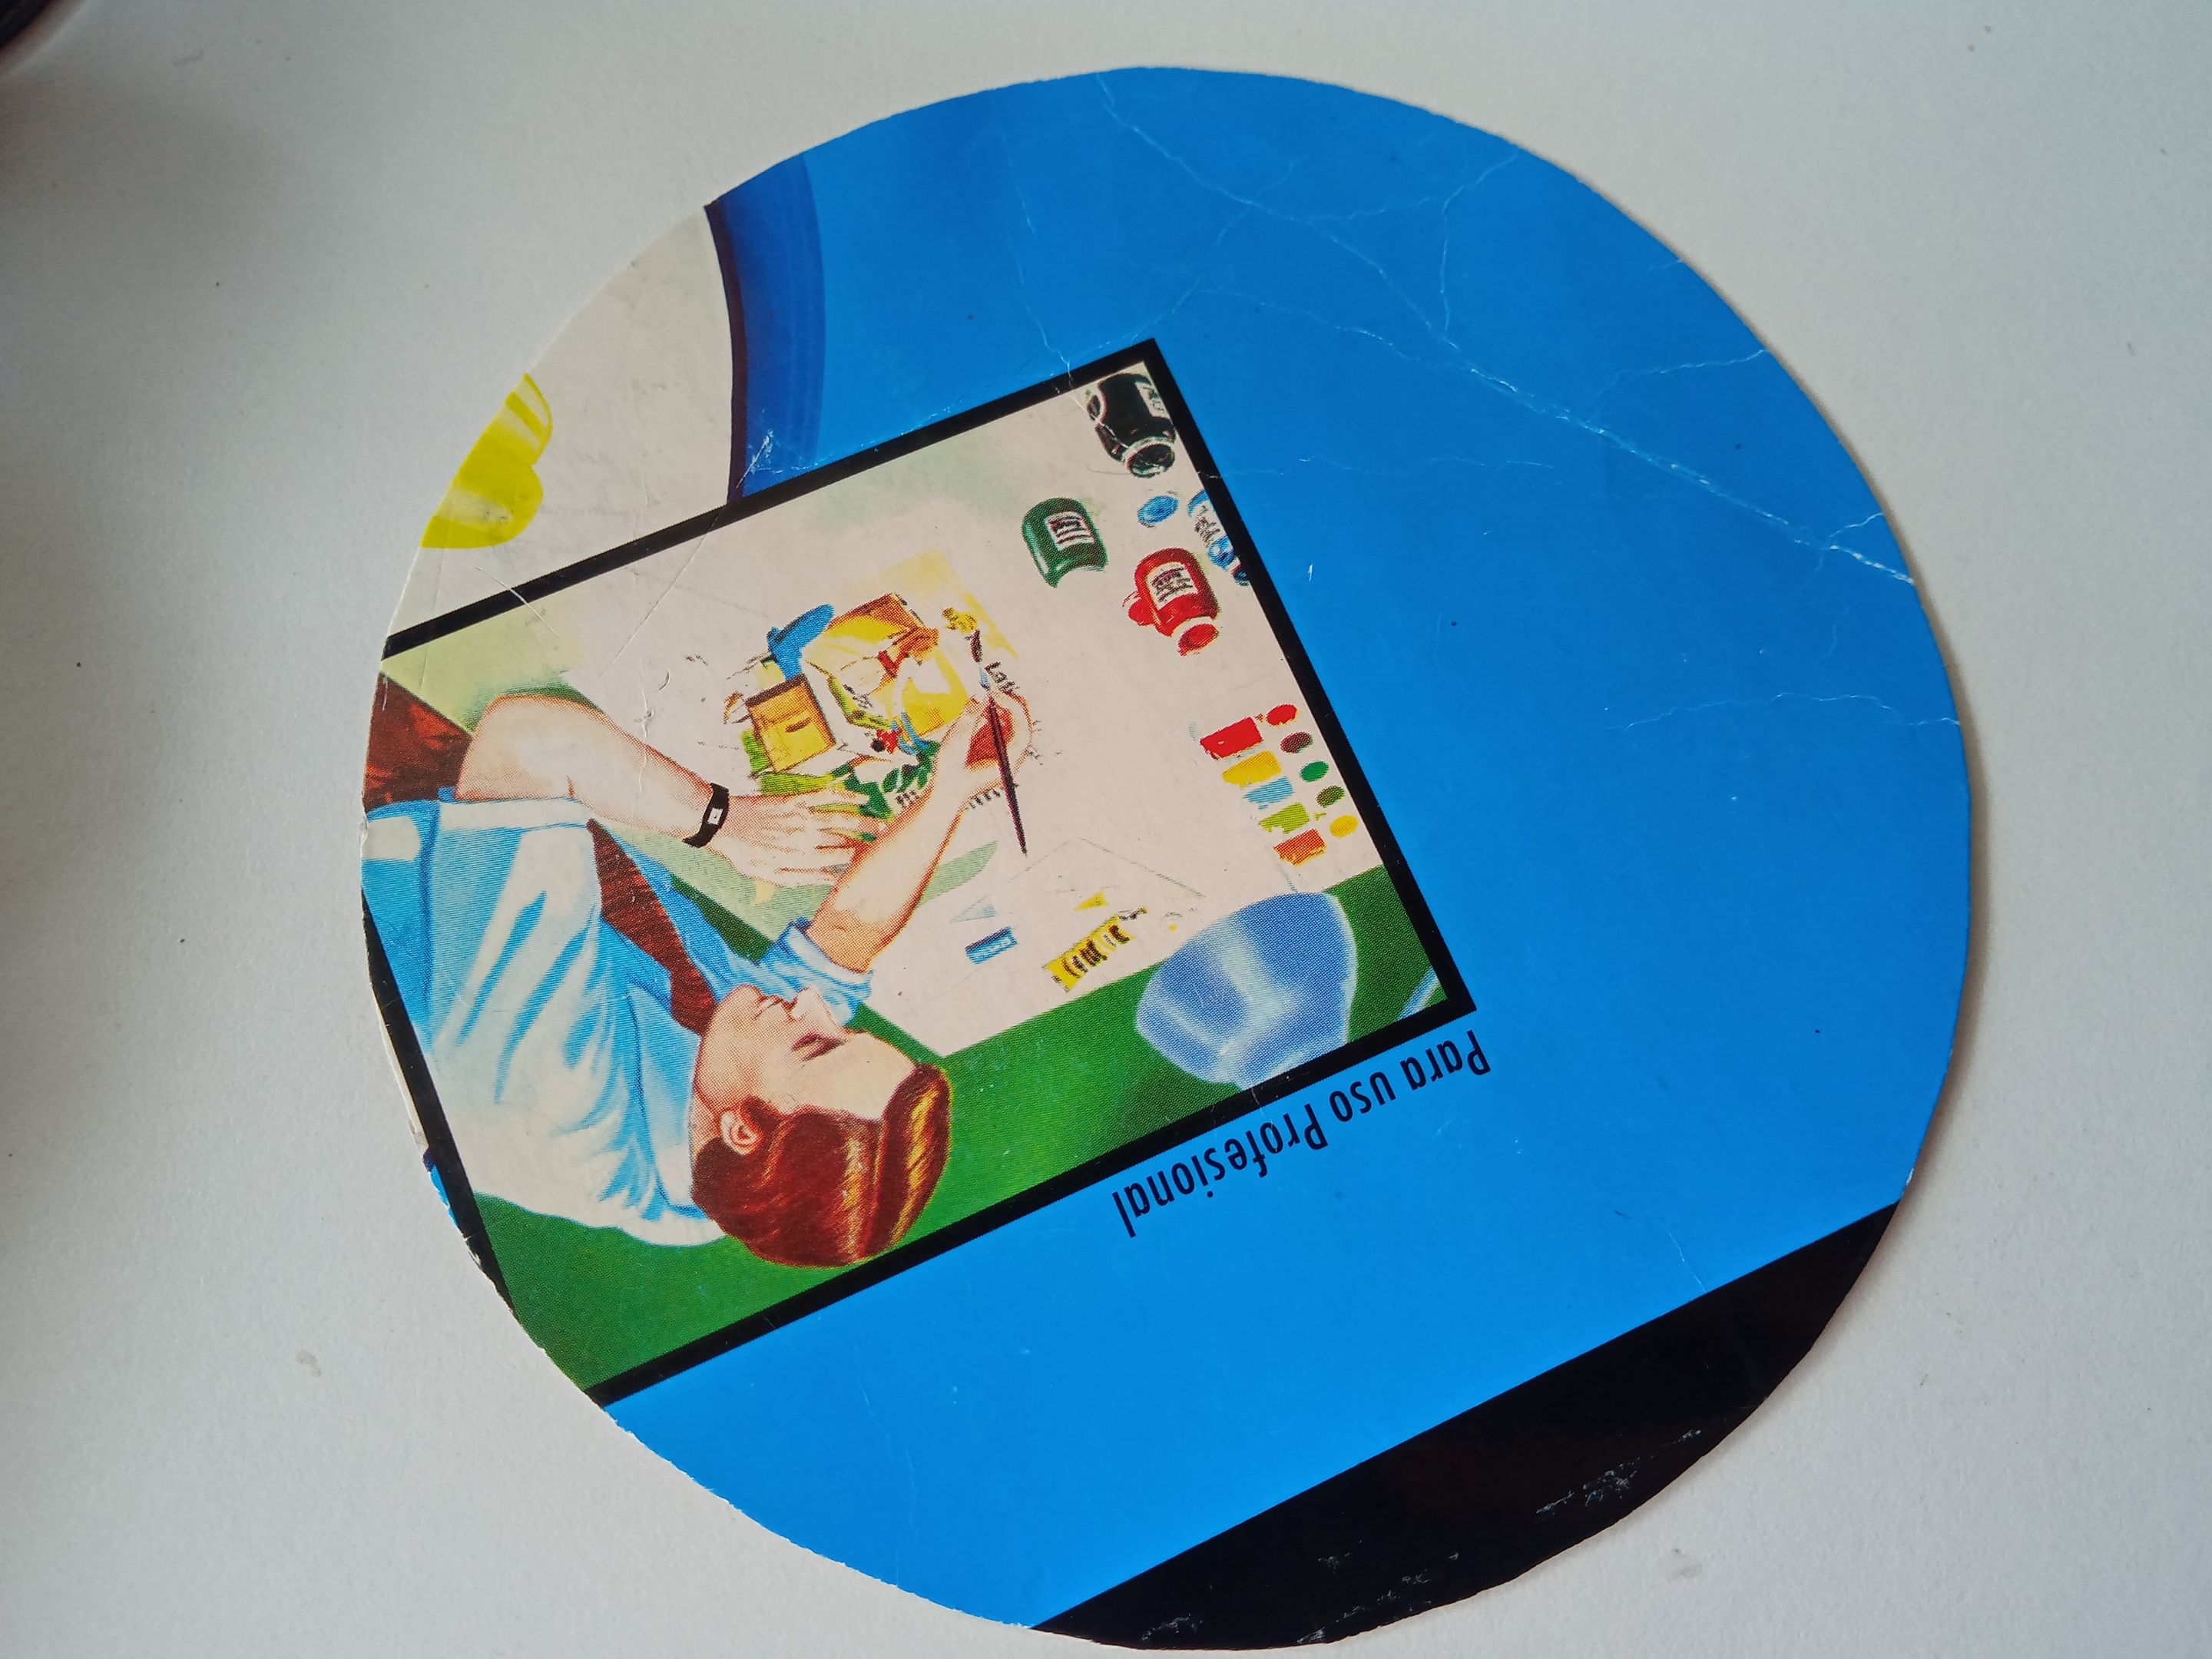
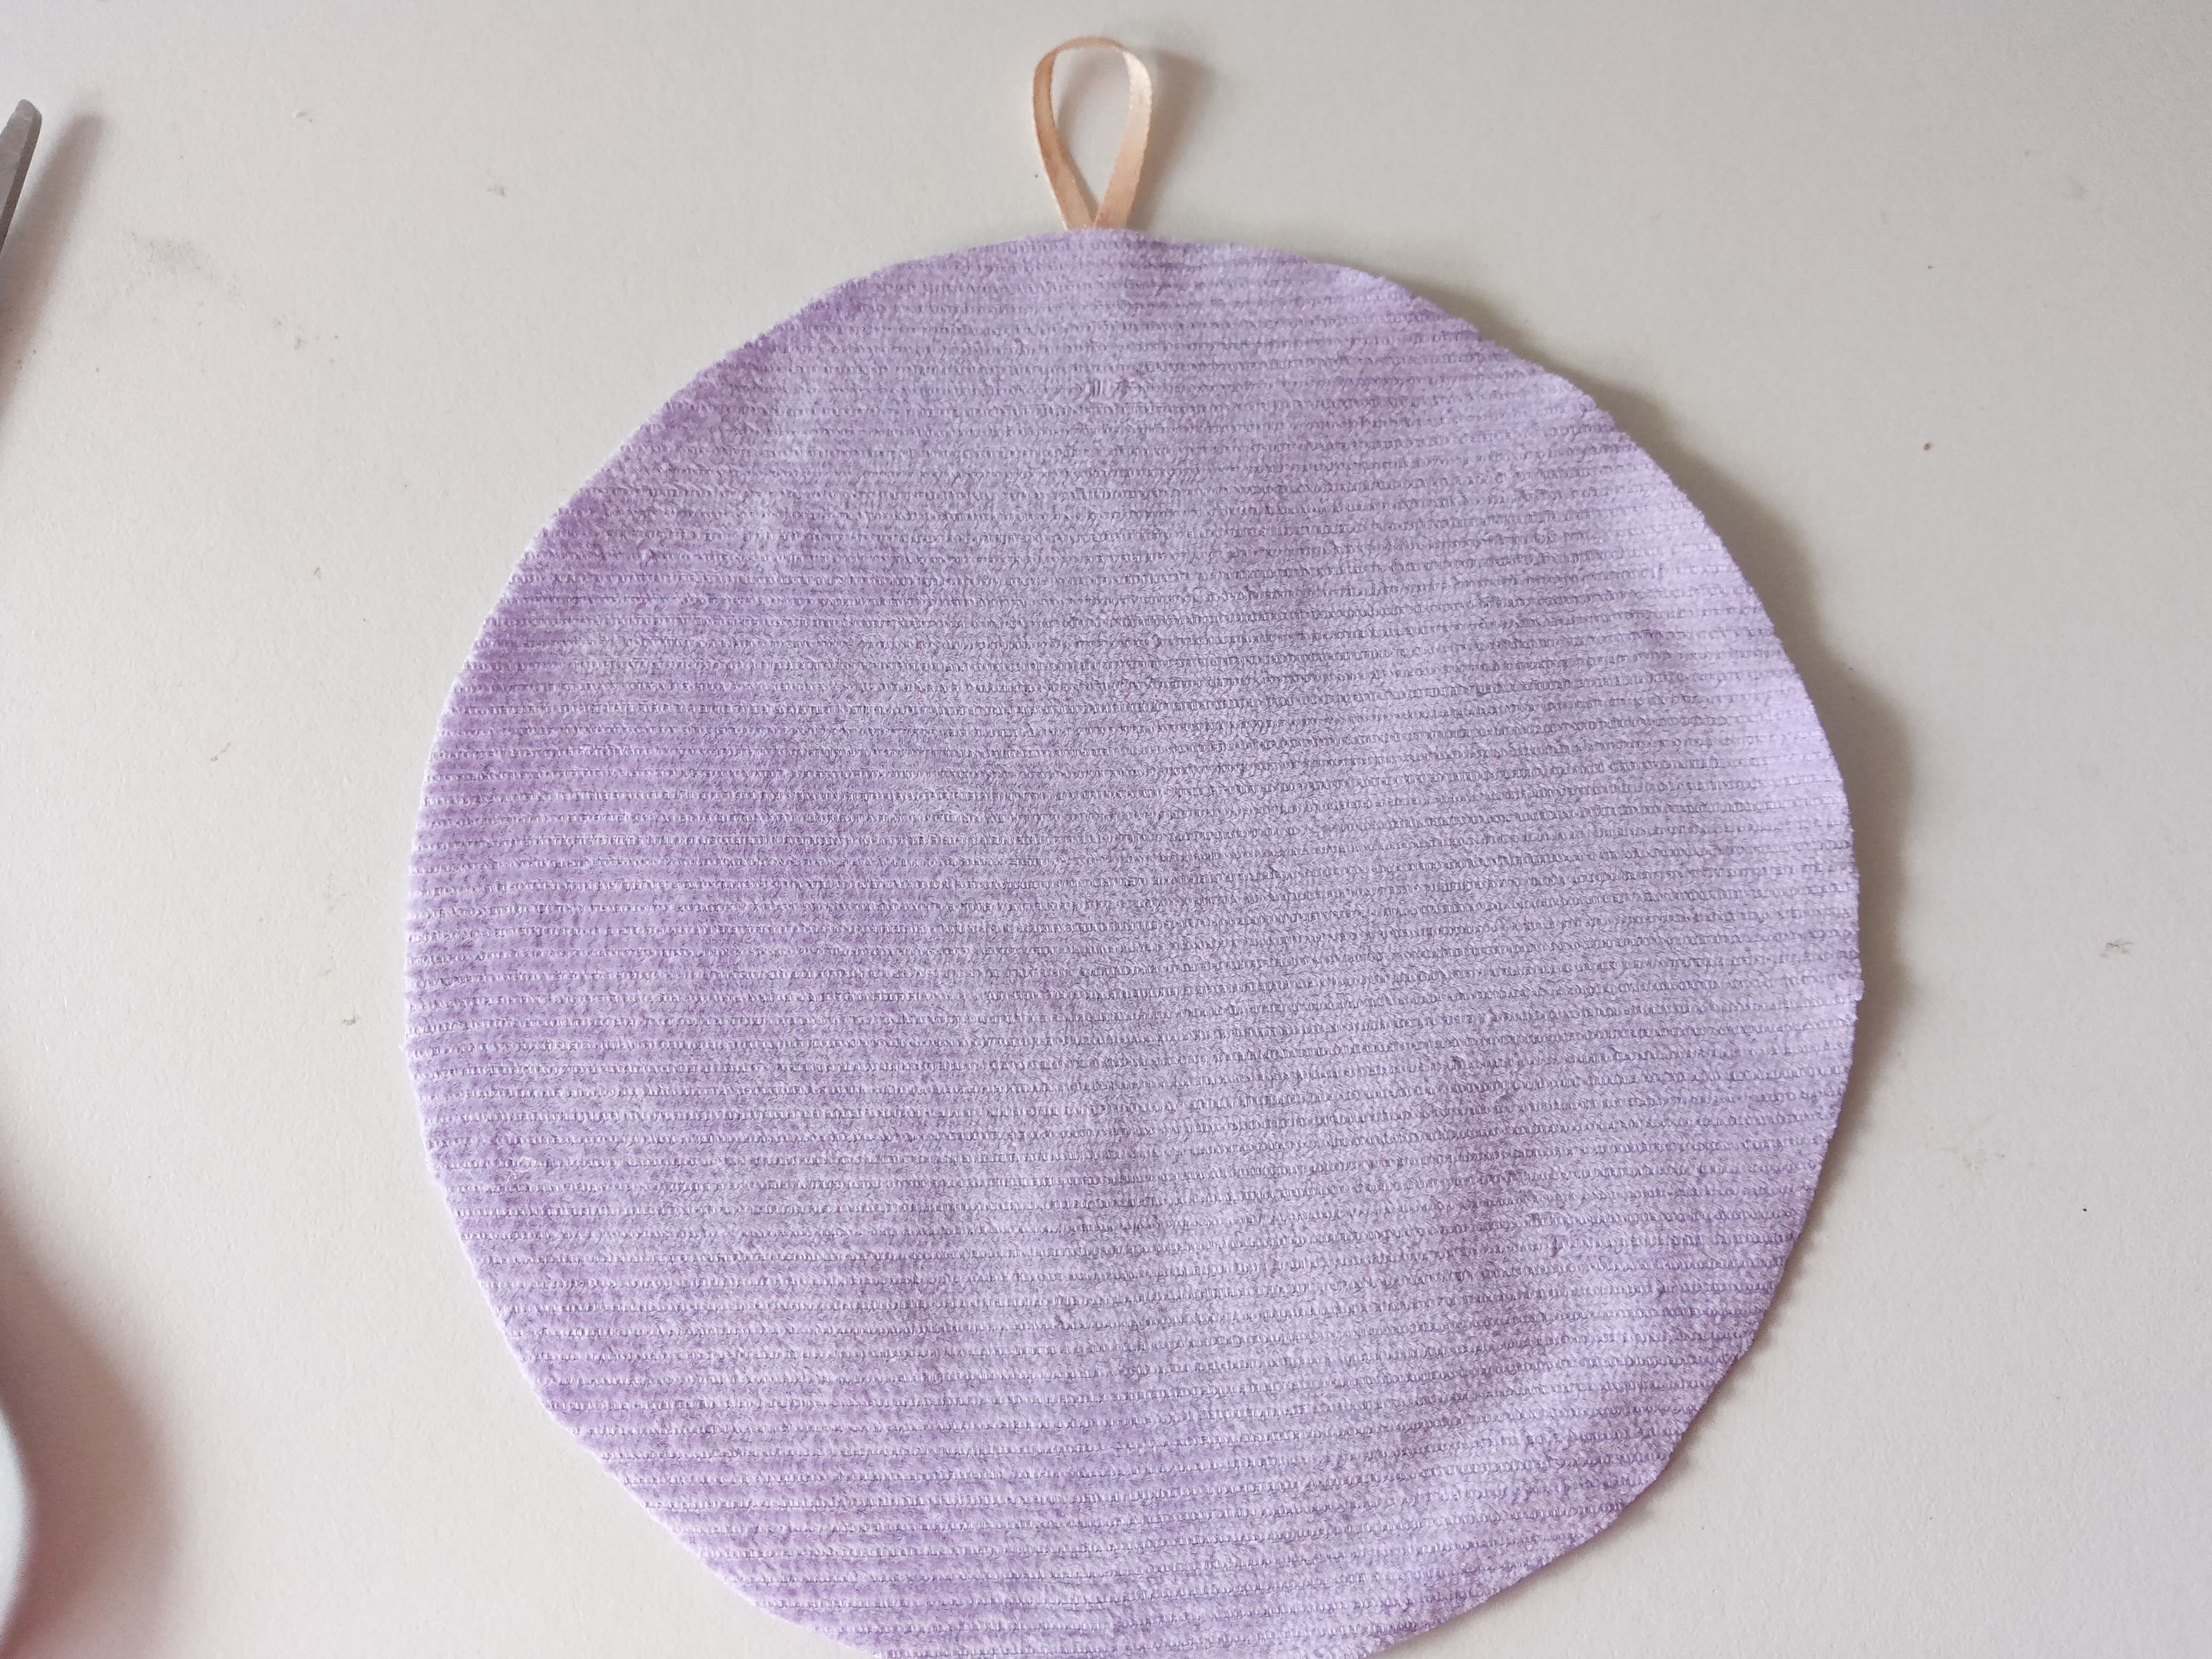
Lo primero que hice fue tomar el cartón y recortar un círculo, el que será la base del colgante de 14 cm de circunferencia. Al tenerlo listo, pegué sobre la tela con el diseño o color de preferencia, que en este caso utilicé una tela pana en color lila, y recorté el excedente, a ras con la base y, al estar listo, recorté 6 cm de cinta delgada, la doblé a la mitad y pegué en la parte trasera para poder colgar.
###### ✨STEP 1:
The first thing I did was take the cardboard and cut out a circle, which will be the base of the pendant, 14 cm in circumference. Once I had it ready, I glued it onto the fabric with the design or color of my choice. In this case, I used a lilac corduroy fabric. I trimmed the excess, flush with the base. Once it was ready, I cut 6 cm of thin ribbon, folded it in half, and glued it to the back so it could hang.
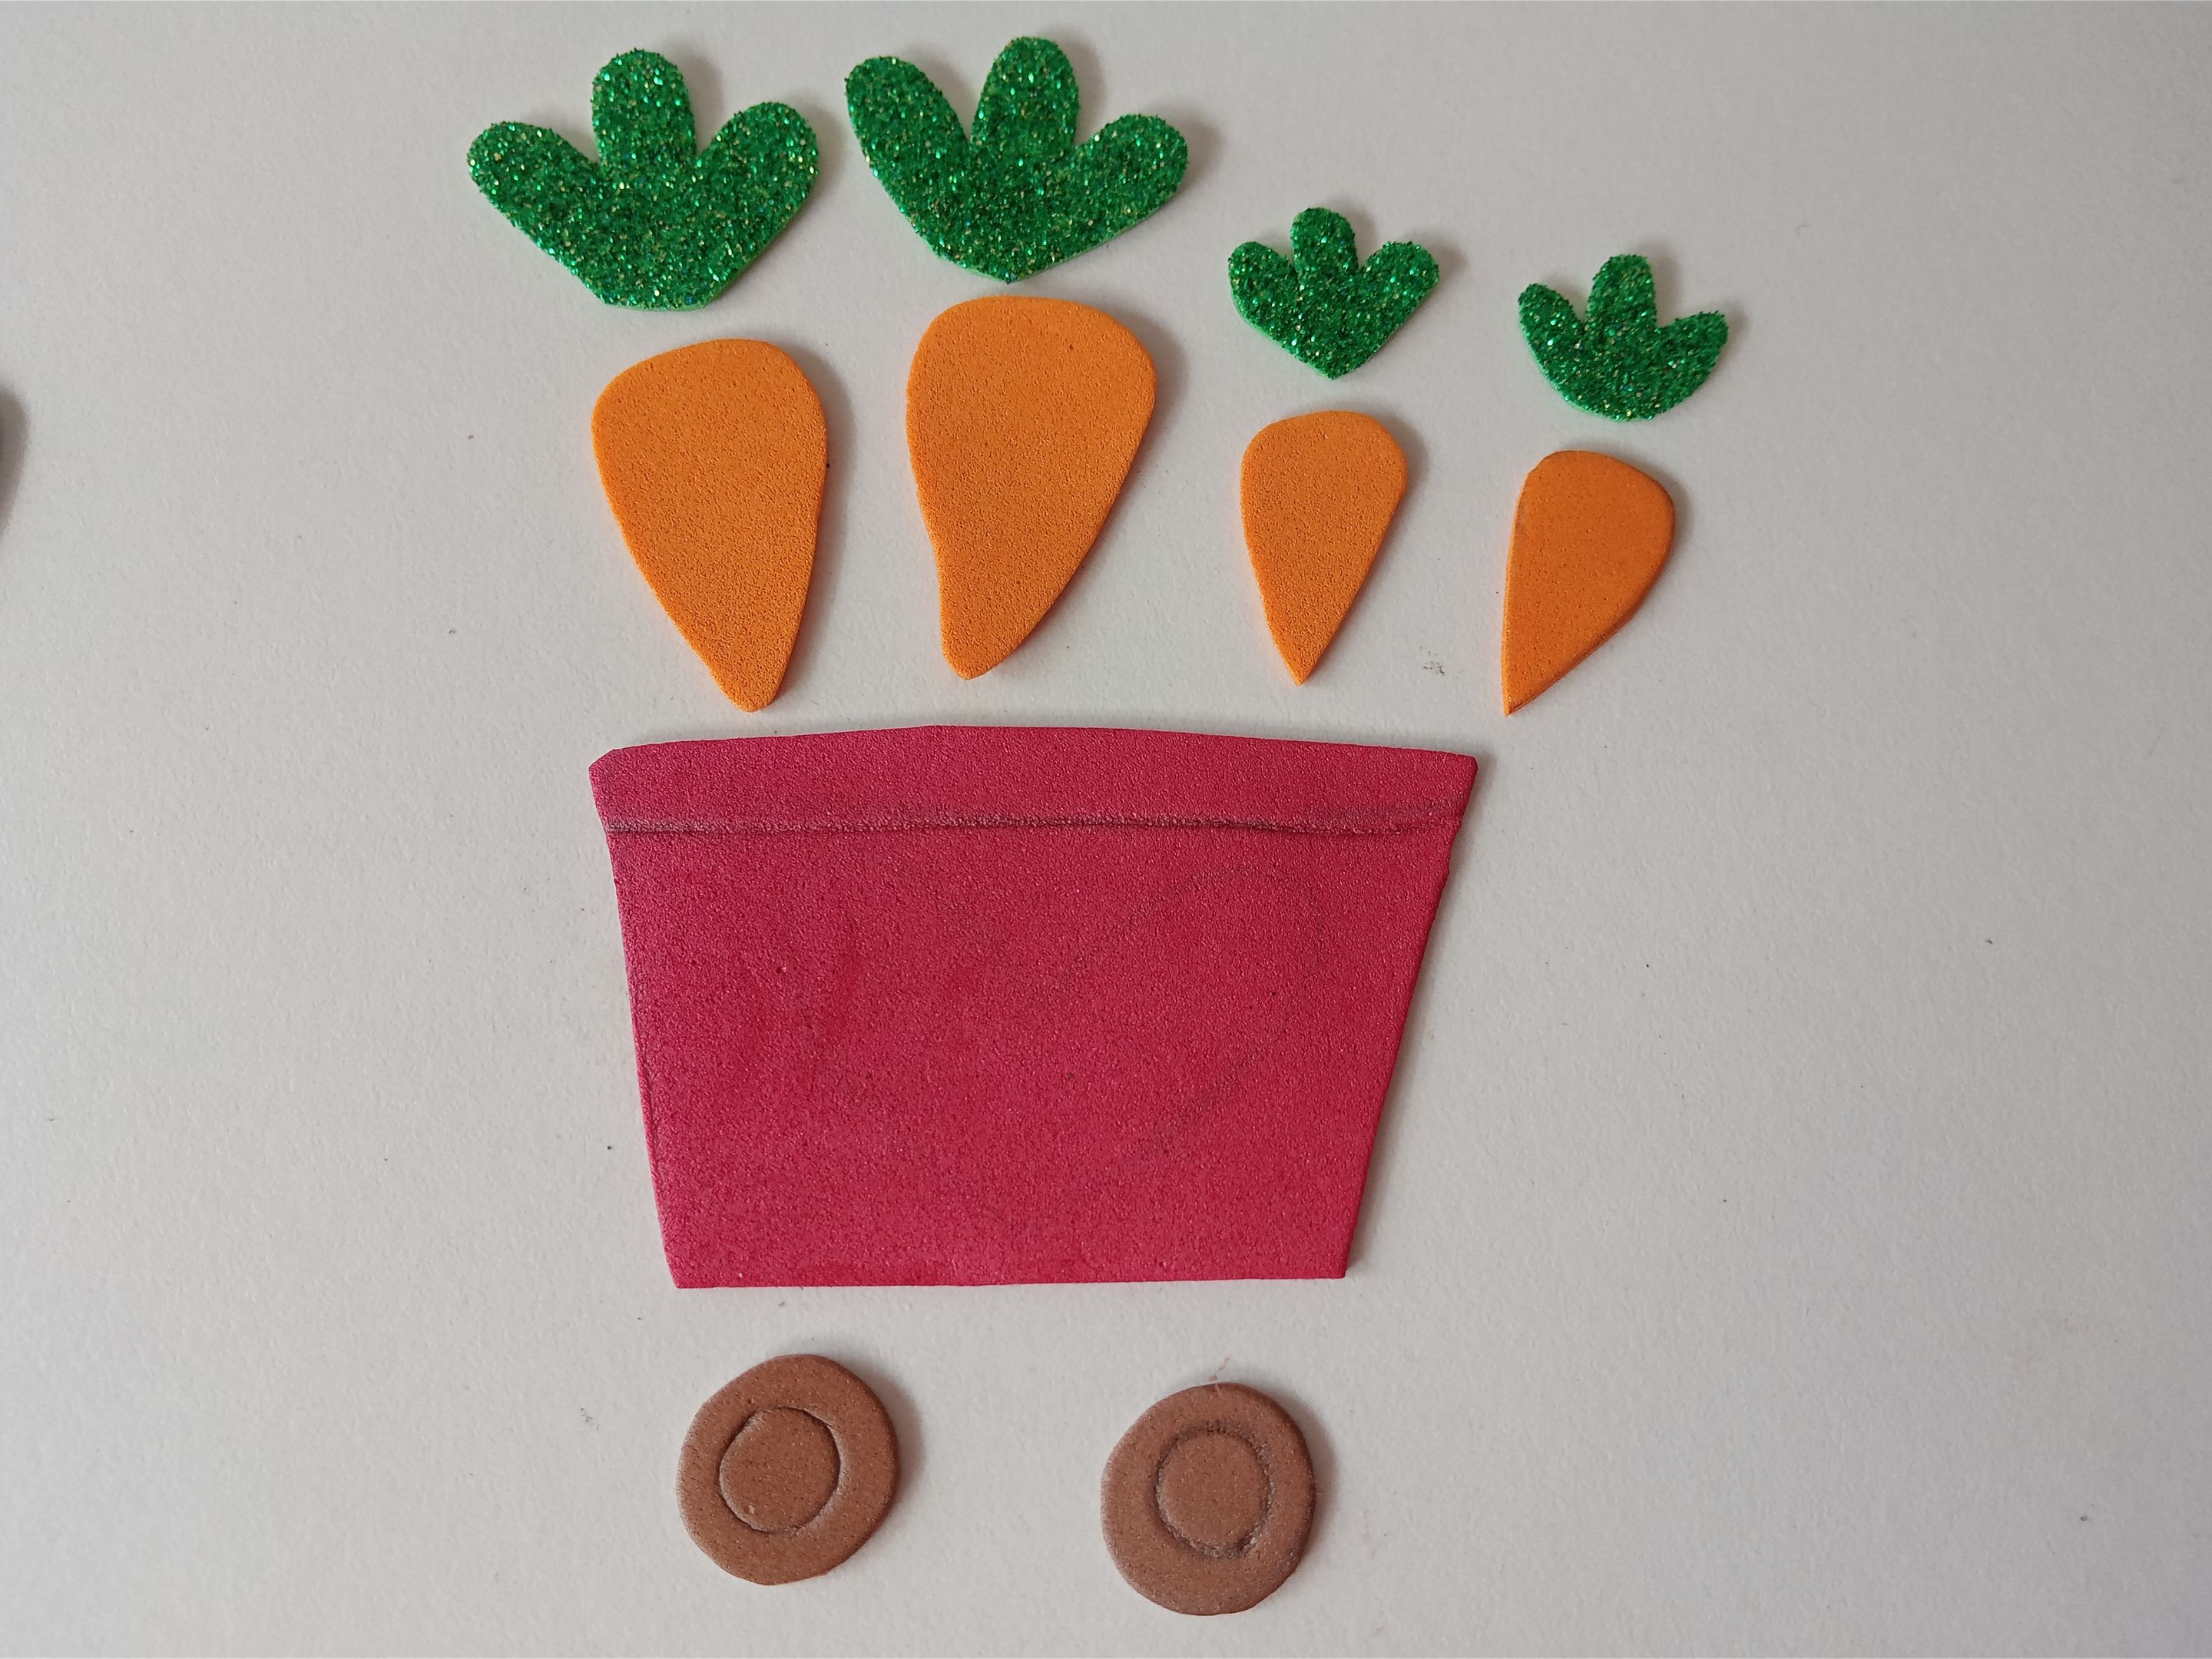
###### ✨PASO 2:
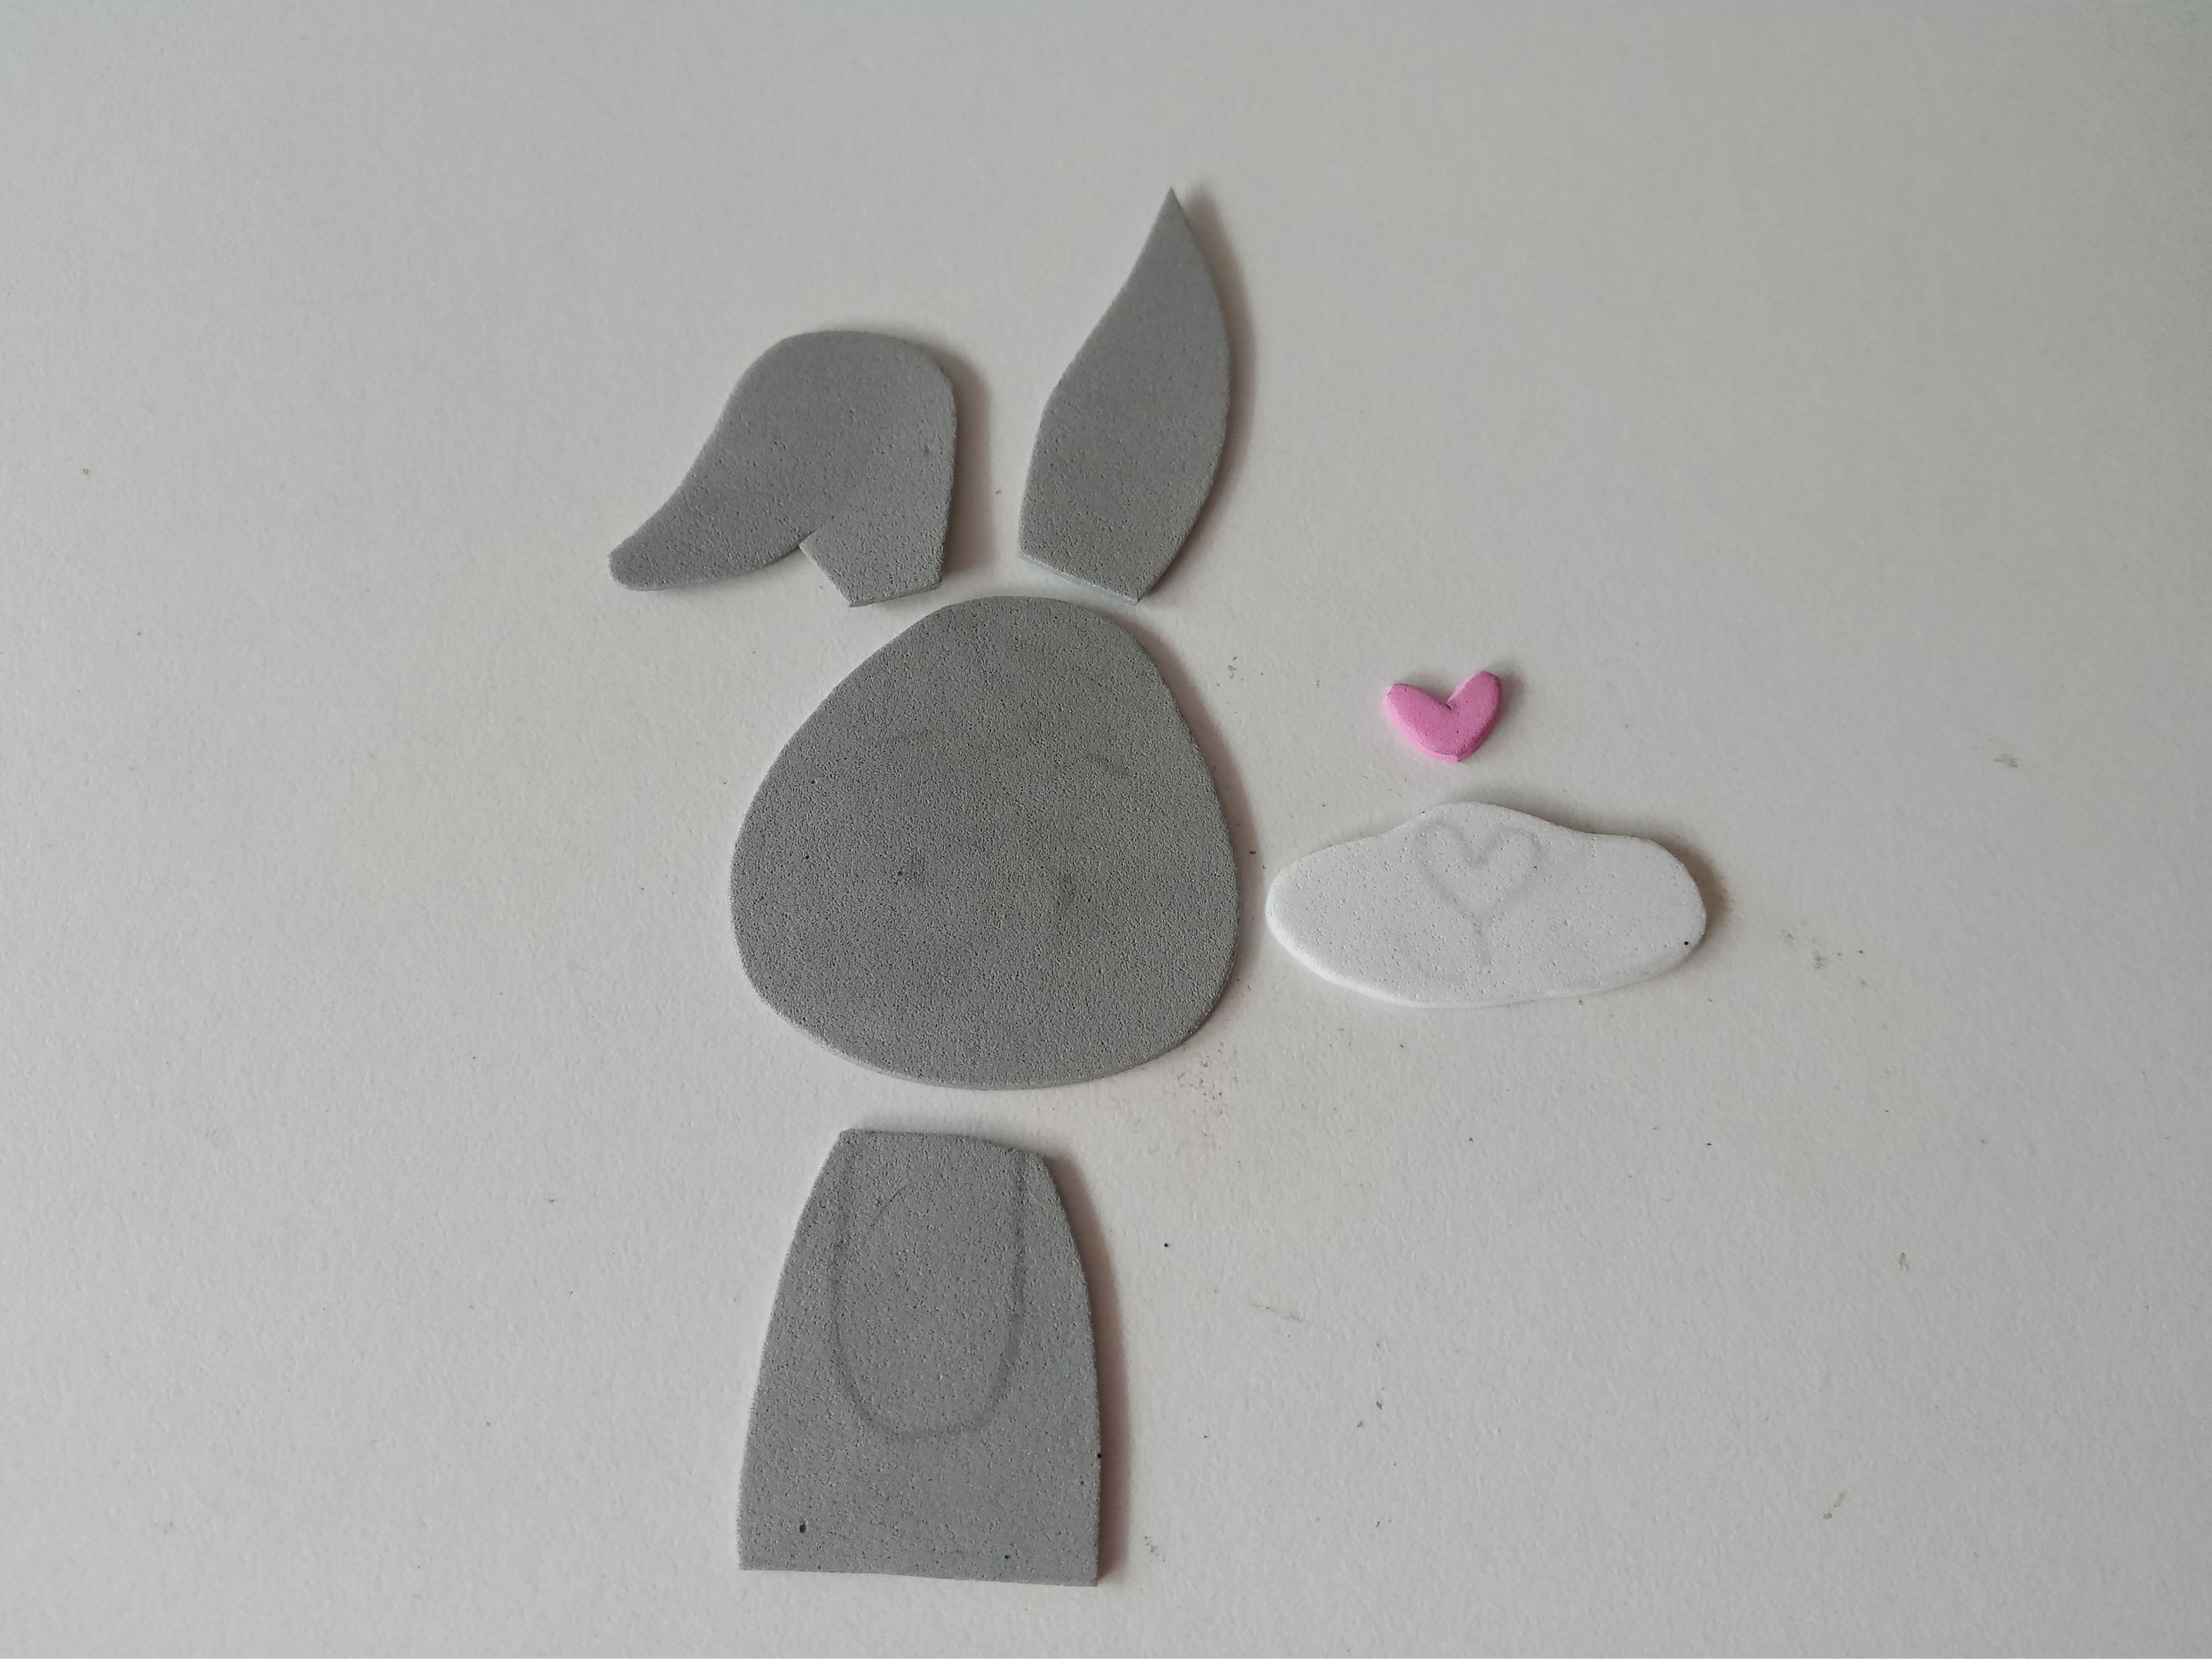
Seguidamente, tomé la hoja blanca y dibujé el diseño que quería para el colgante, para así tener una idea y sacar patrones, que en este caso la idea era un carrito en el cual va dentro el conejo y un par de zanahorias, tanto dentro como por fuera del mismo. Al tener la idea lista, transferimos a los colores correspondientes de foami, como explico a continuación:
✨Orejas: 3.5 cm x 1.5 cm y 3.8 cm x 2.5 cm en foami gris.
✨Cabeza: 4.2 cm x 4.5 cm en foami gris.
✨Hocico: 3.6 cm x 1.5 cm en foami blanco.
✨Nariz: 1 cm en foami rosa.
✨Cuerpo: 3 cm x 2.5 cm en foami gris.
✨Carrito: 8 cm x 5 cm en foami rojo.
✨Ruedas: 2 cm de circunferencia.
✨Zanahorias: 3 cm x 2 cm y 2.5 cm x 1.5 cm en foami naranja.
✨Hojas: 3 cm x 2 cm y 2 cm x 1.5 cm en foami escarchado verde.
###### ✨STEP 2:
Next, I took the white sheet and drew the design I wanted for the pendant, to get an idea and create patterns. In this case, the idea was a cart with the bunny inside and a pair of carrots, both inside and outside. Once I had the idea ready, we transferred it to the corresponding colors of foam, as explained below:
✨Ears: 3.5 cm x 1.5 cm and 3.8 cm x 2.5 cm in gray foam.
✨Head: 4.2 cm x 4.5 cm in gray foam.
✨Snout: 3.6 cm x 1.5 cm in white foam.
✨Nose: 1 cm in pink foam.
✨Body: 3 cm x 2.5 cm in gray foam.
✨Cart: 8 cm x 5 cm in red foam.
✨Wheels: 2 cm in circumference.
✨Carrots: 3 cm x 2 cm and 2.5 cm x 1.5 cm in orange foam.
✨Leaves: 3 cm x 2 cm and 2 cm x 1.5 cm in green frosted foam.
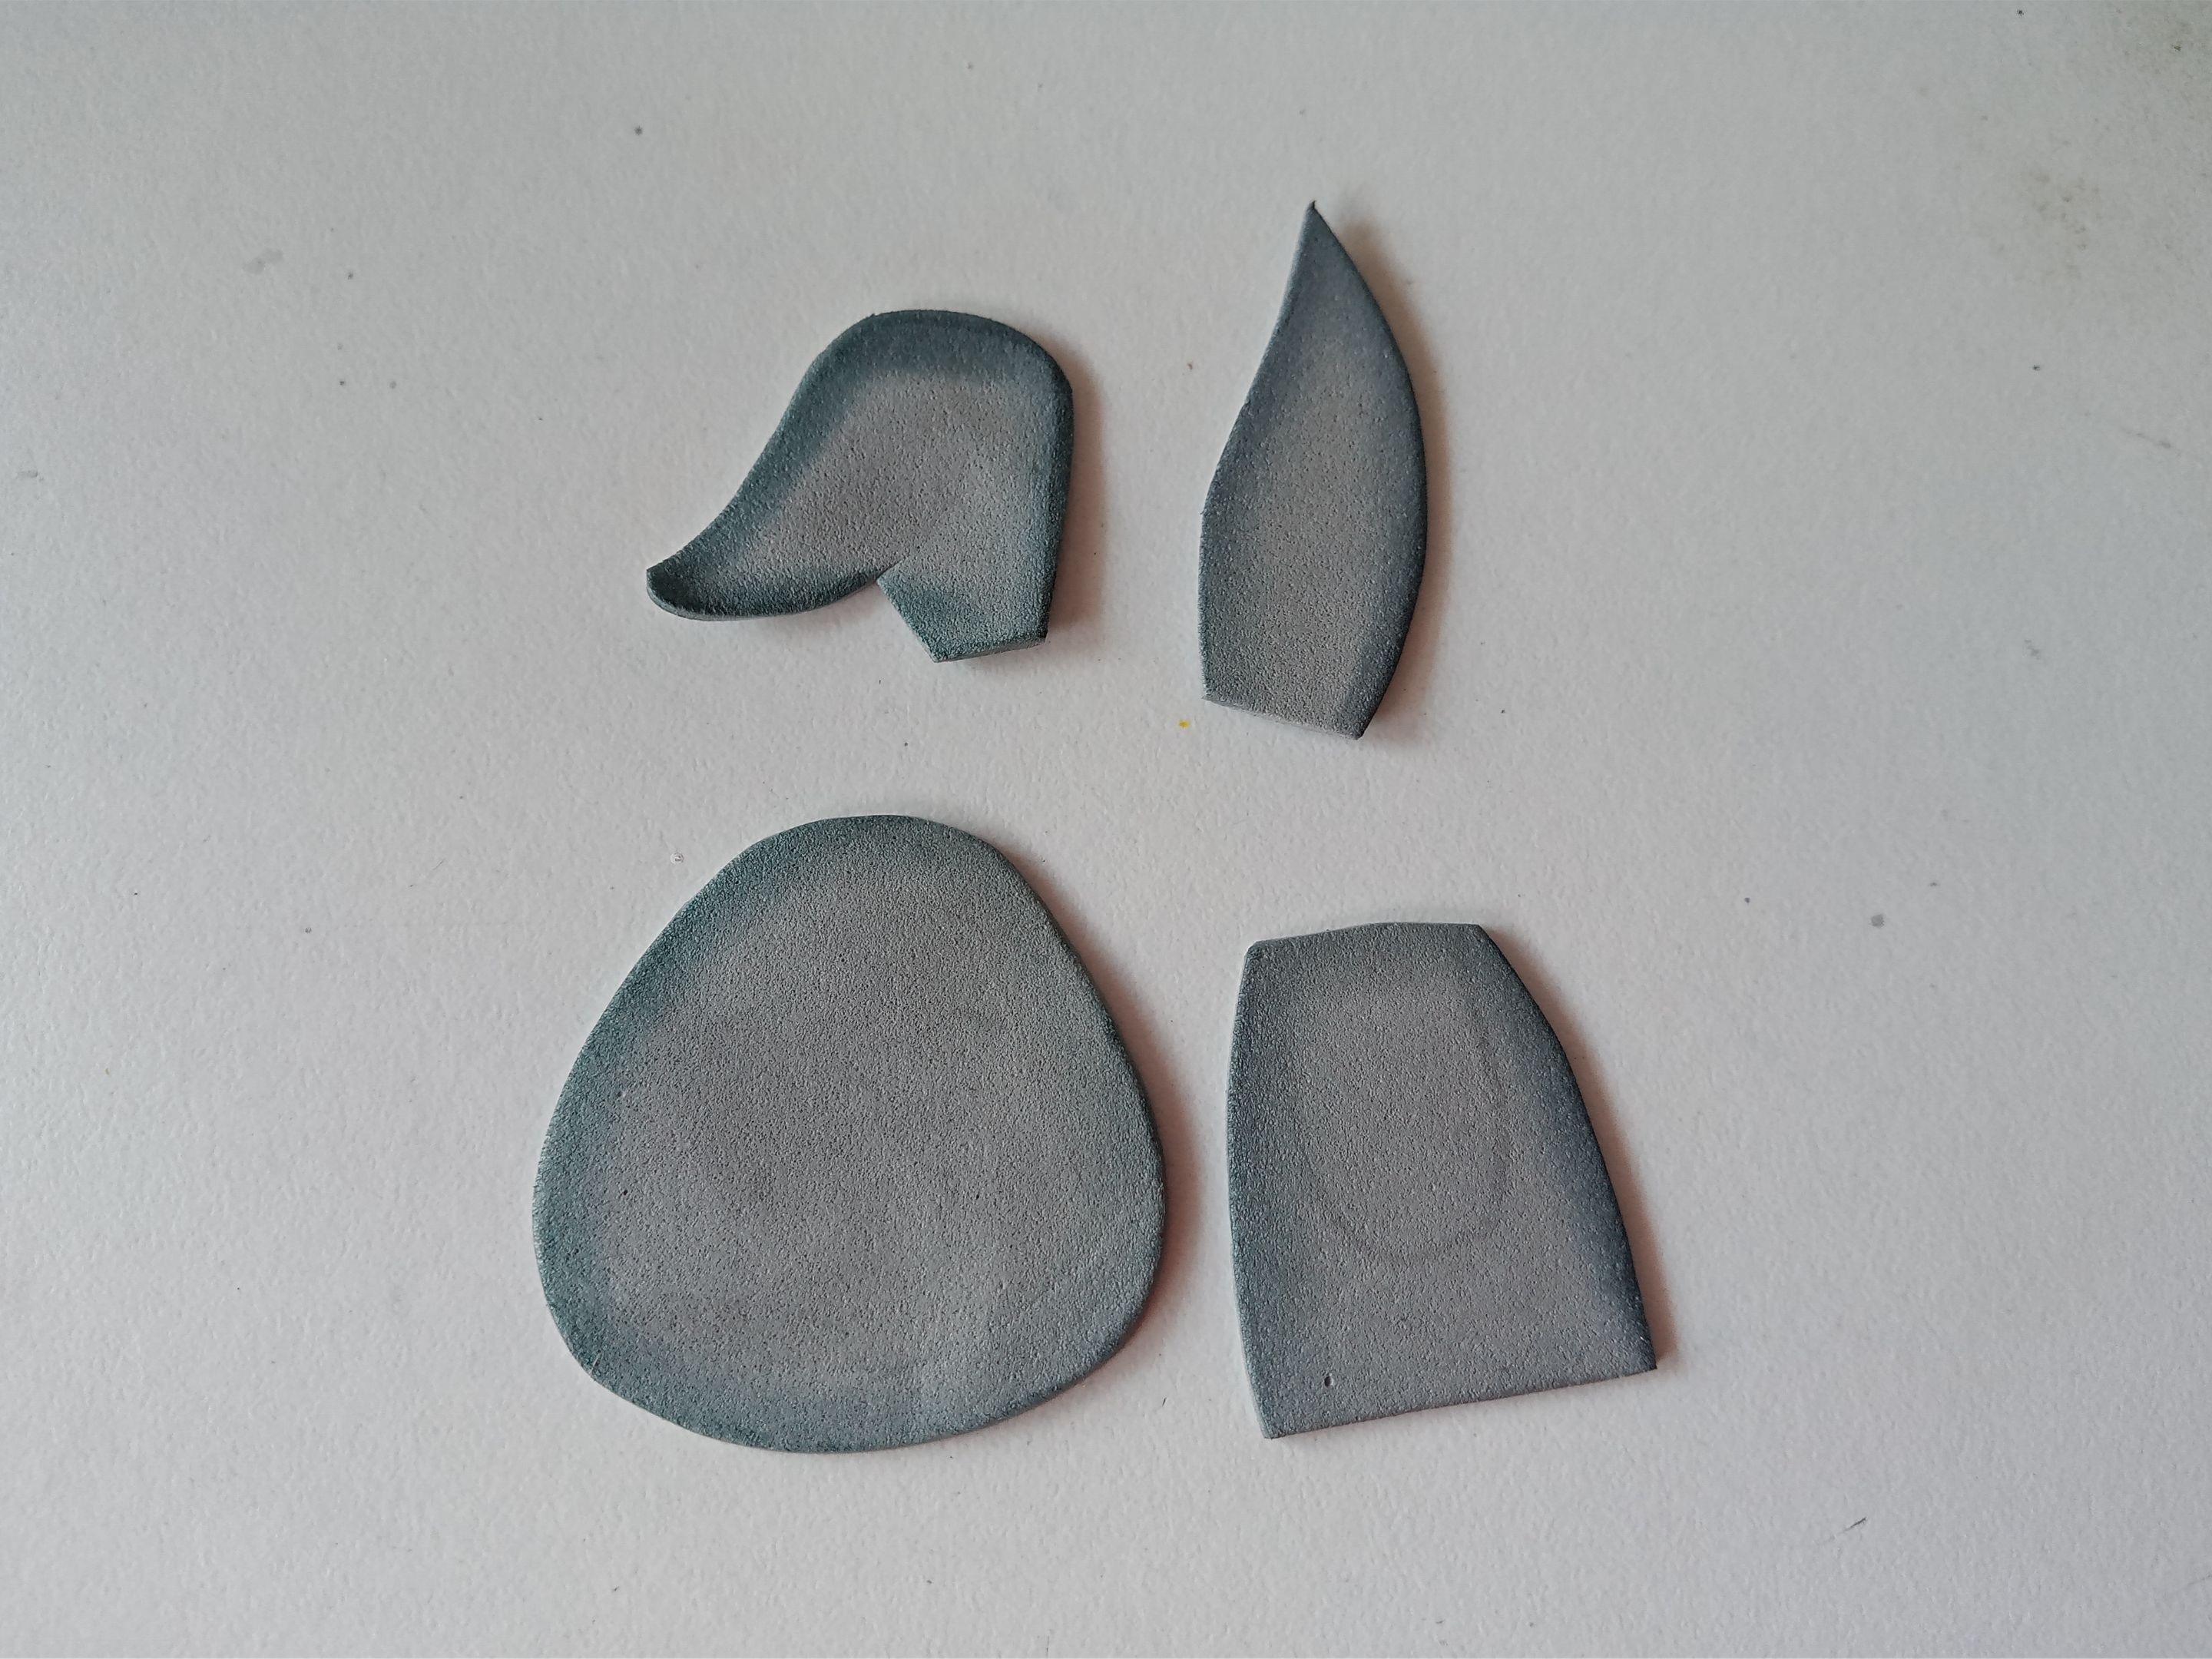
###### ✨PASO 3:
Al tener todas las piezas recortadas y con las medidas correspondientes, es momento de dar color a los bordes. En mi caso, siempre suelo utilizar colores más oscuros que el de las piezas, como en el caso de las piezas en tono gris, que utilicé un tono negro, al igual que para la pieza roja del carrito y las ruedas, pero para las zanahorias, utilicé un naranja más oscuro y difuminé con ayuda de un pañito. Por otra parte, para las piezas que no mencioné, simplemente a esas no les di color a los bordes, pues me parece que se veía mejor así.
###### ✨STEP 3:
Once all the pieces are cut out and have the correct measurements, it's time to color the edges. In my case, I always tend to use darker colors than the pieces, as in the case of the gray pieces, where I used black, as well as for the red piece of the cart and the wheels. But for the carrots, I used a darker orange and blended it with a cloth. On the other hand, for the pieces I didn't mention, I simply left the edges uncolored, as I thought it looked better that way.
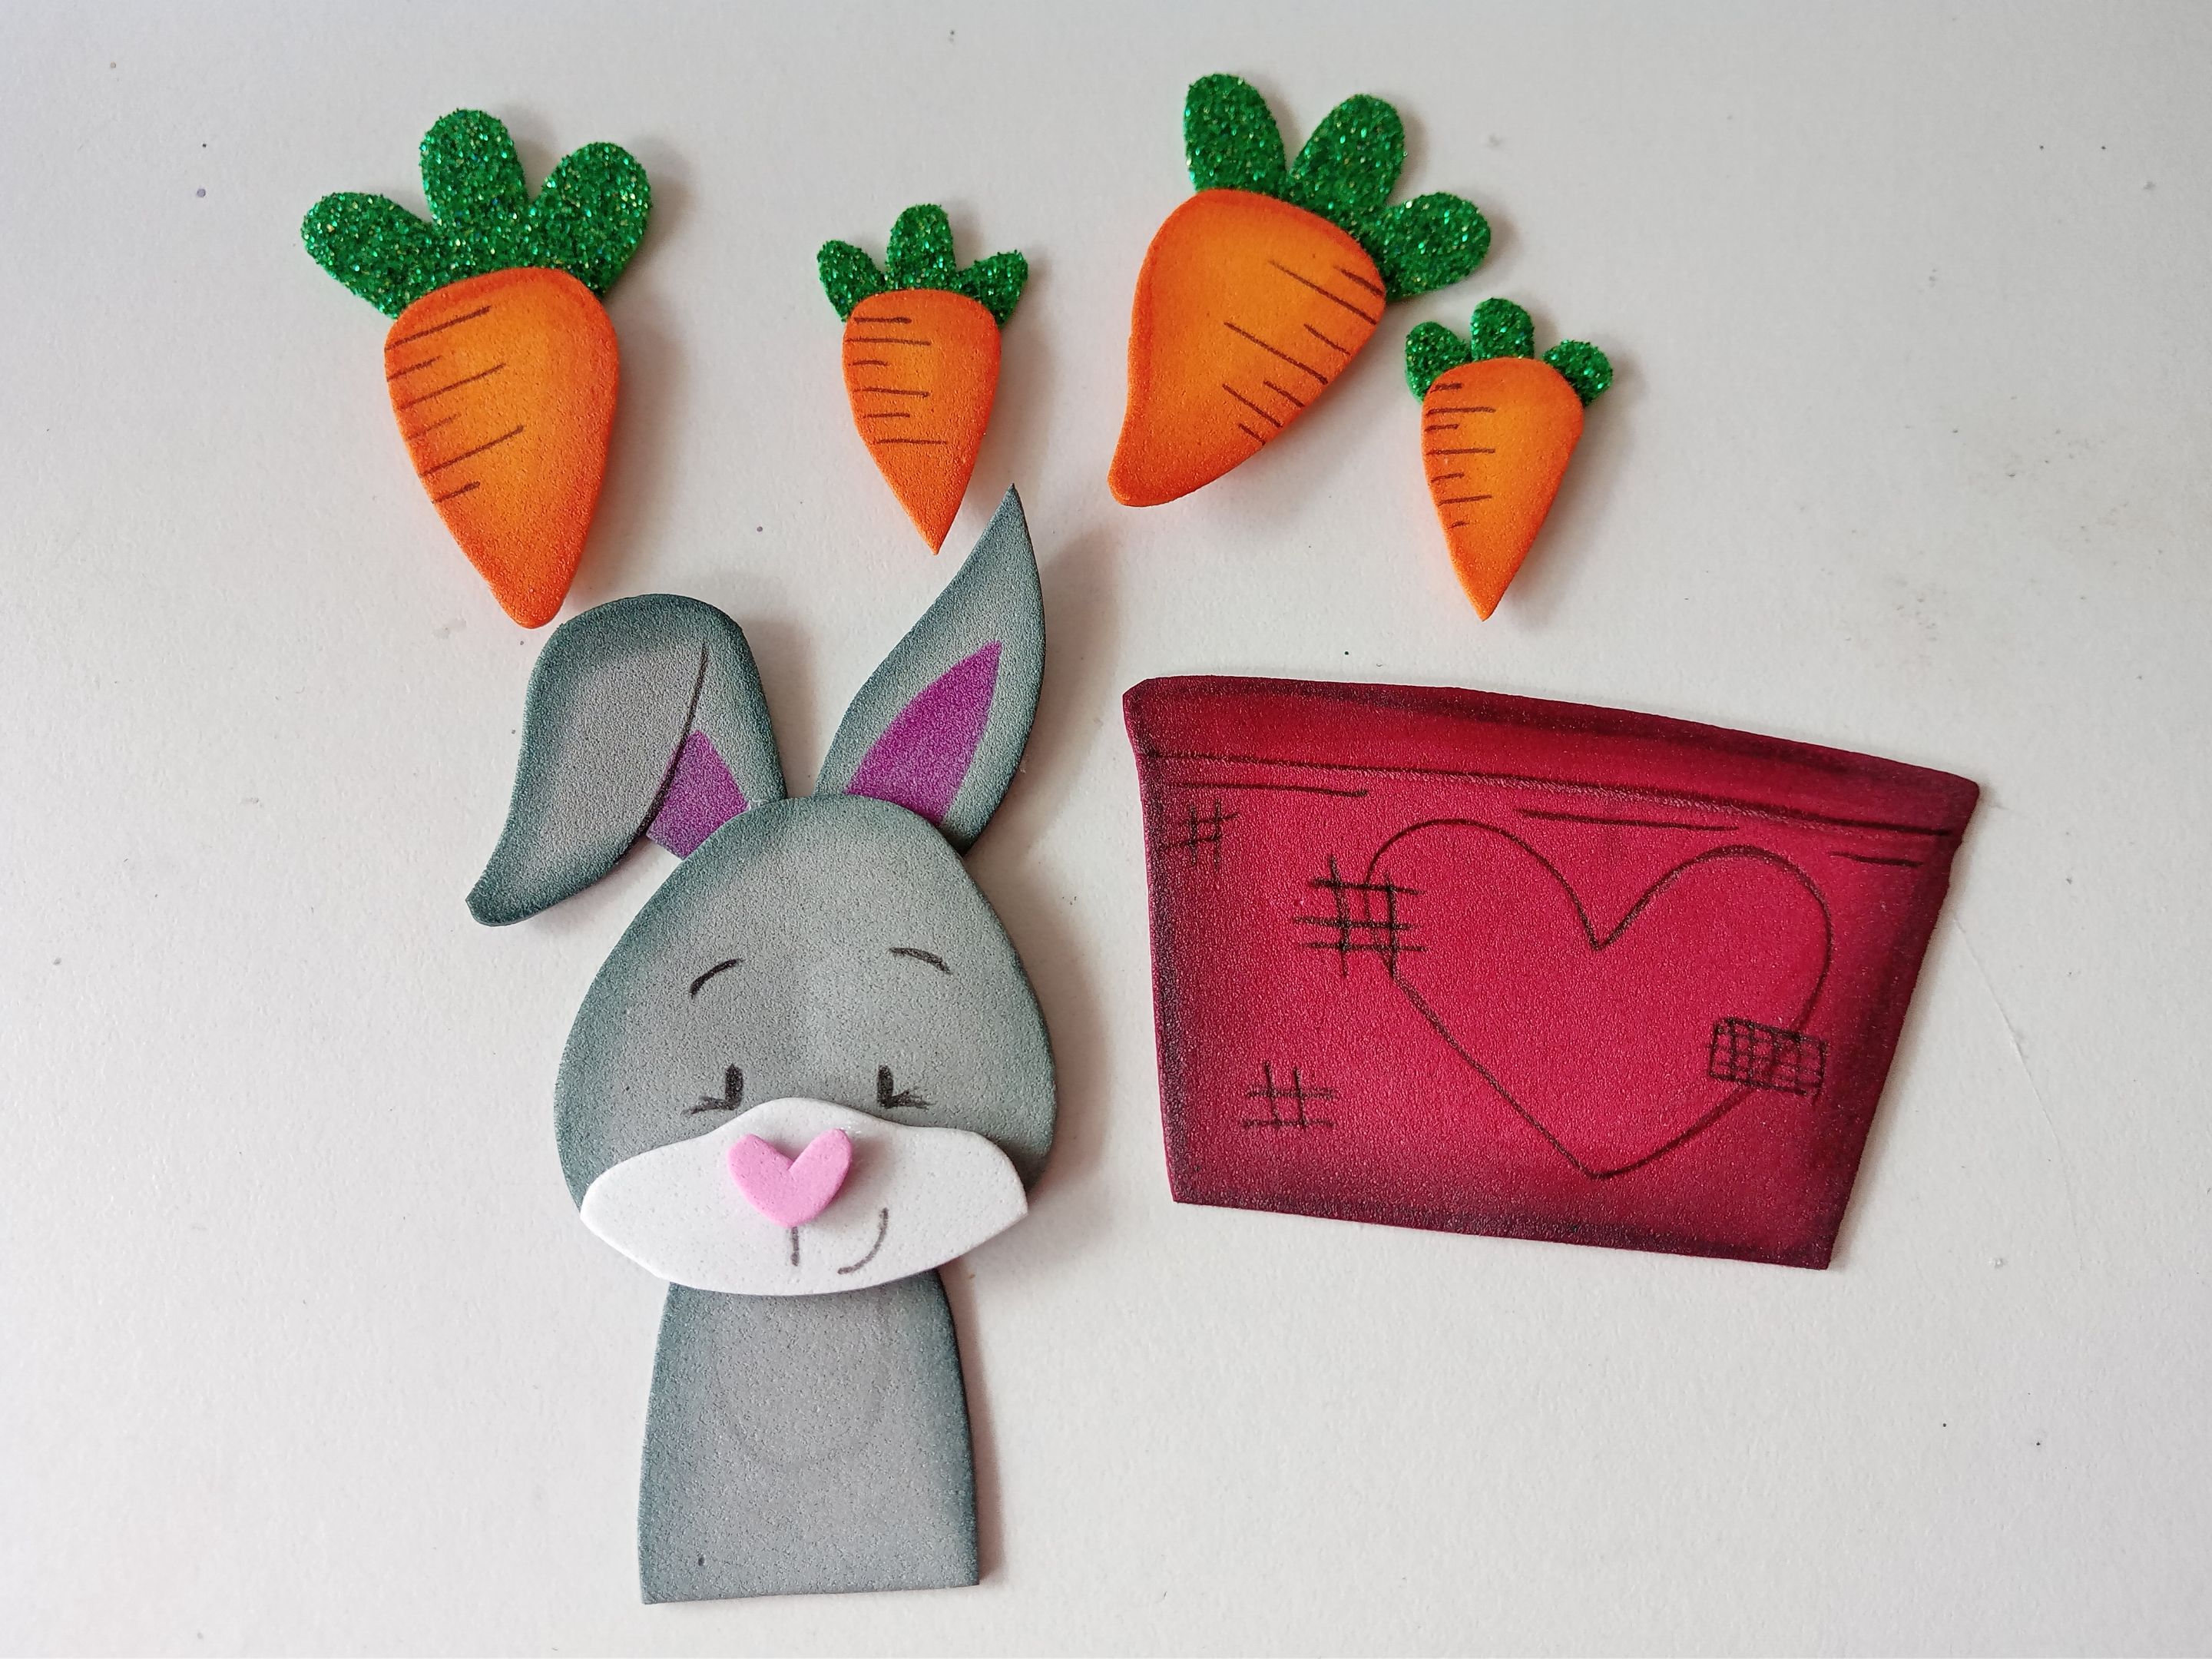
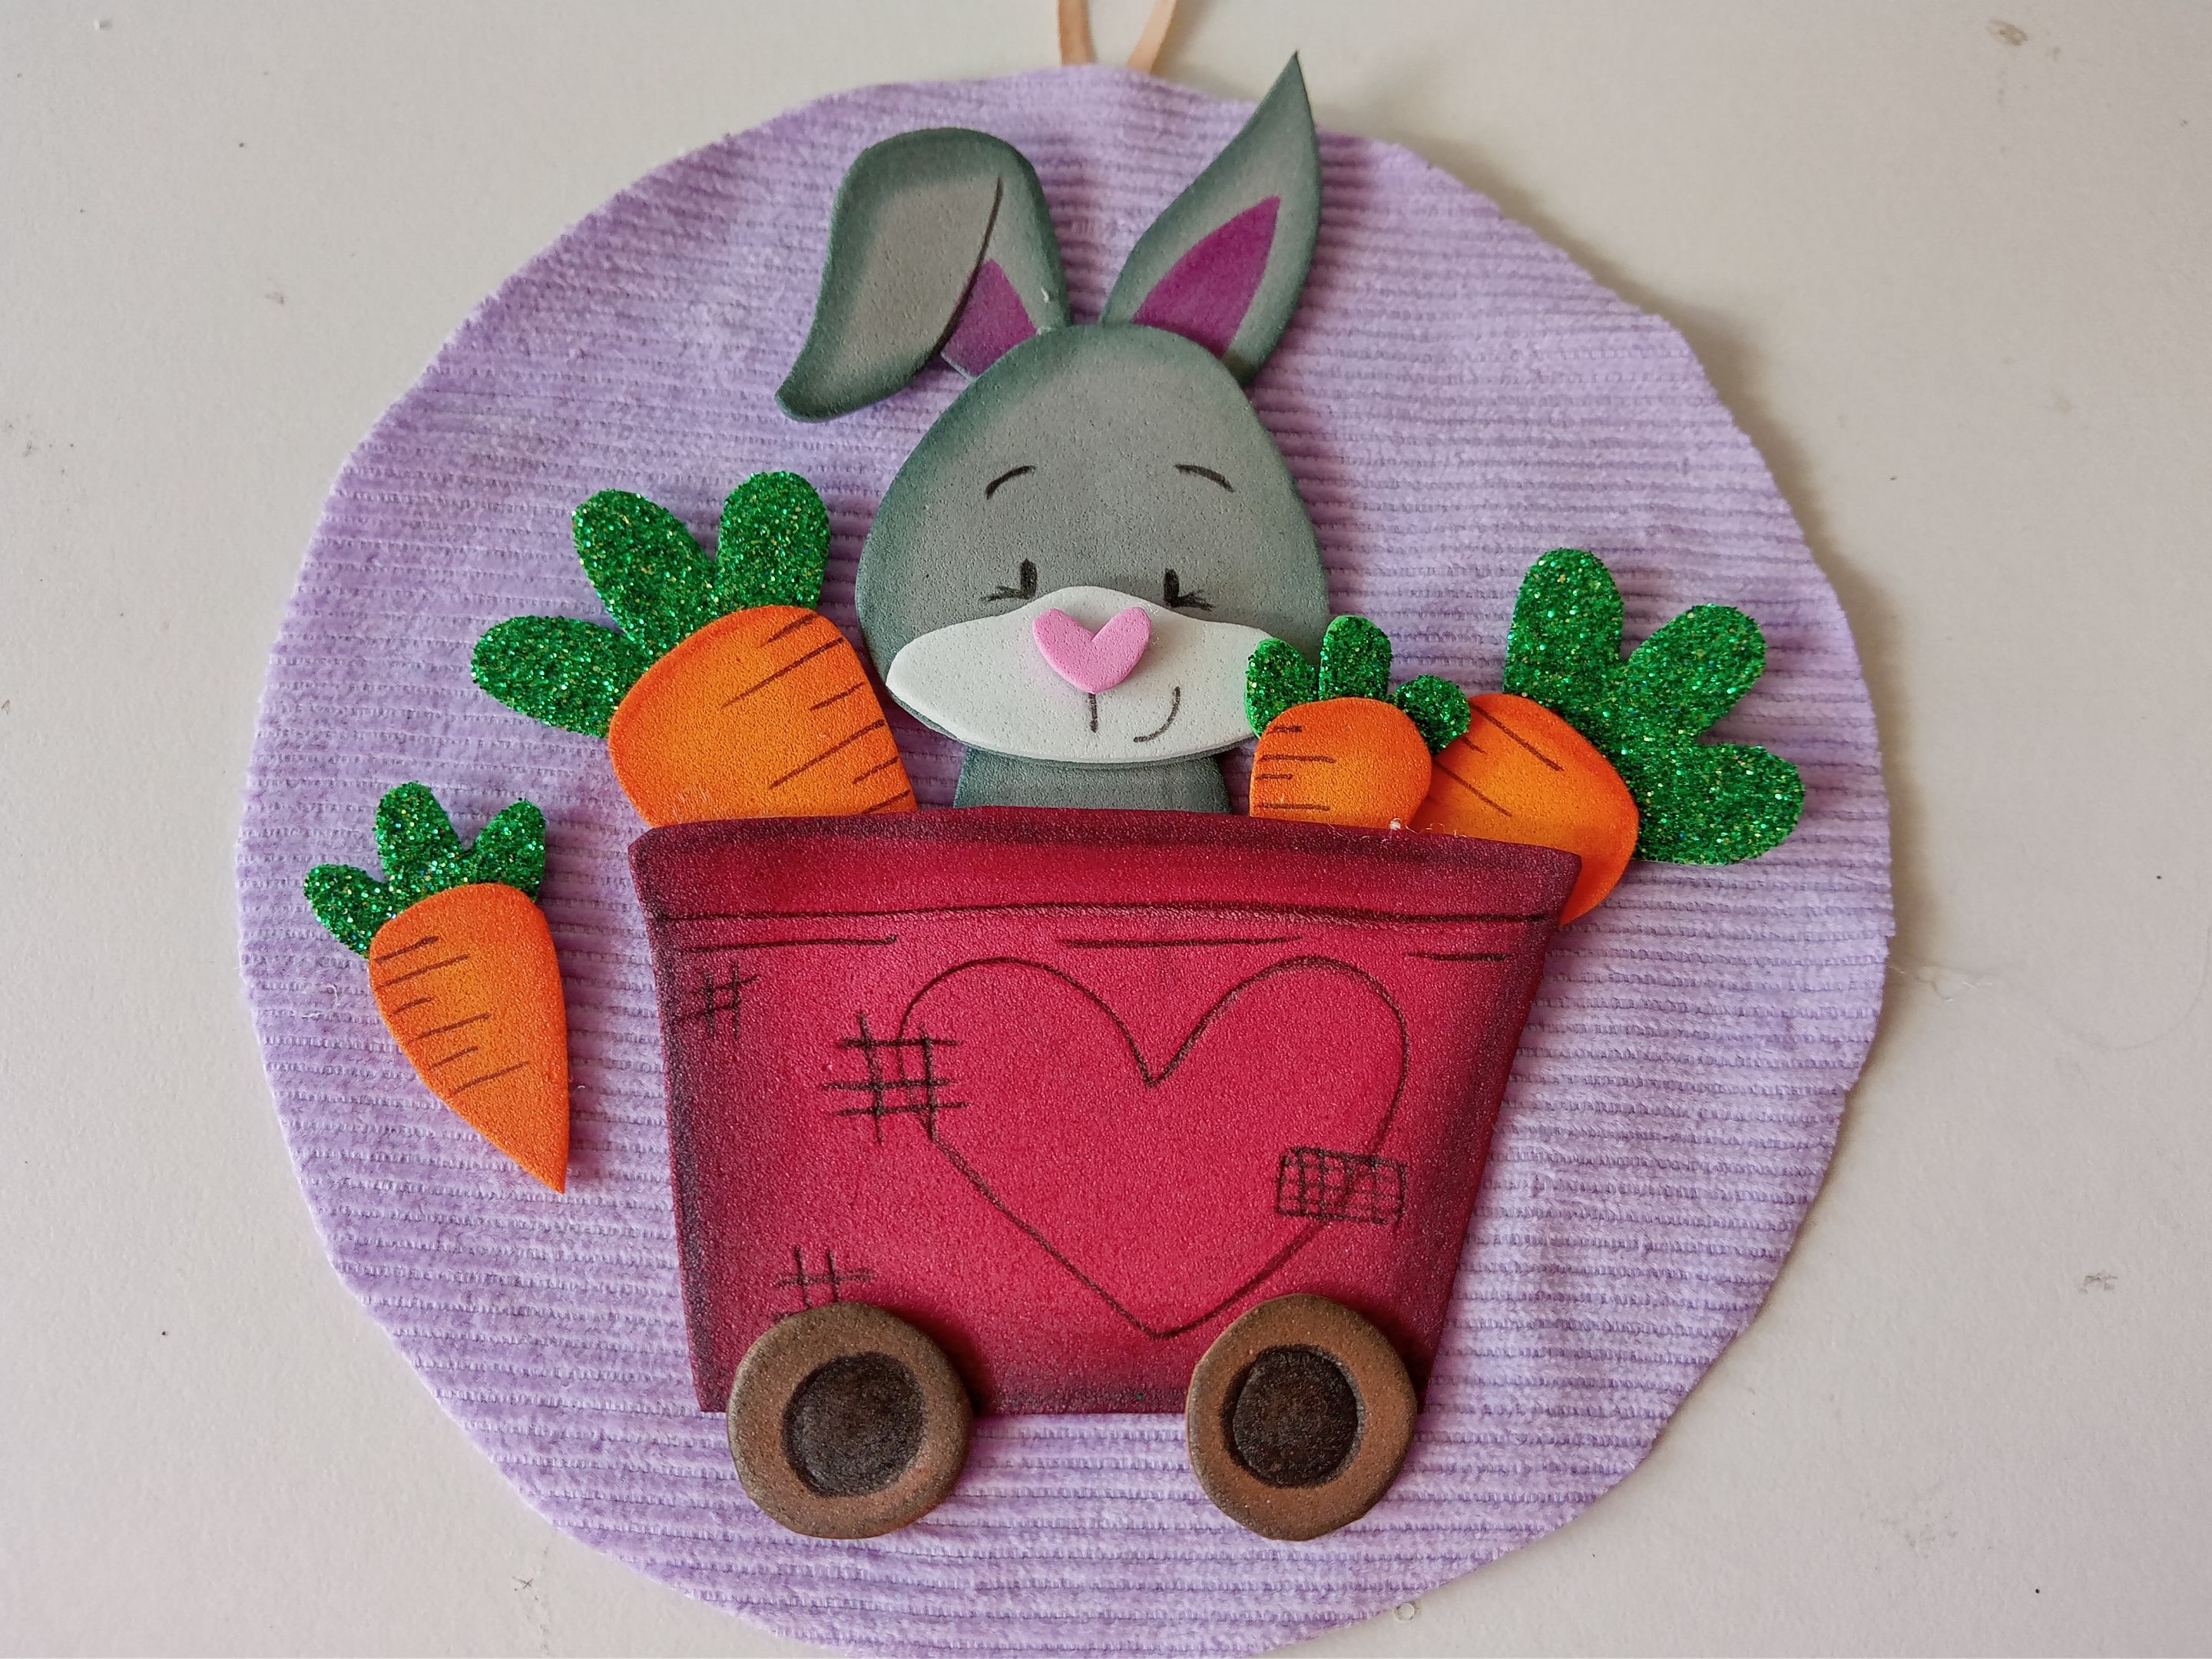
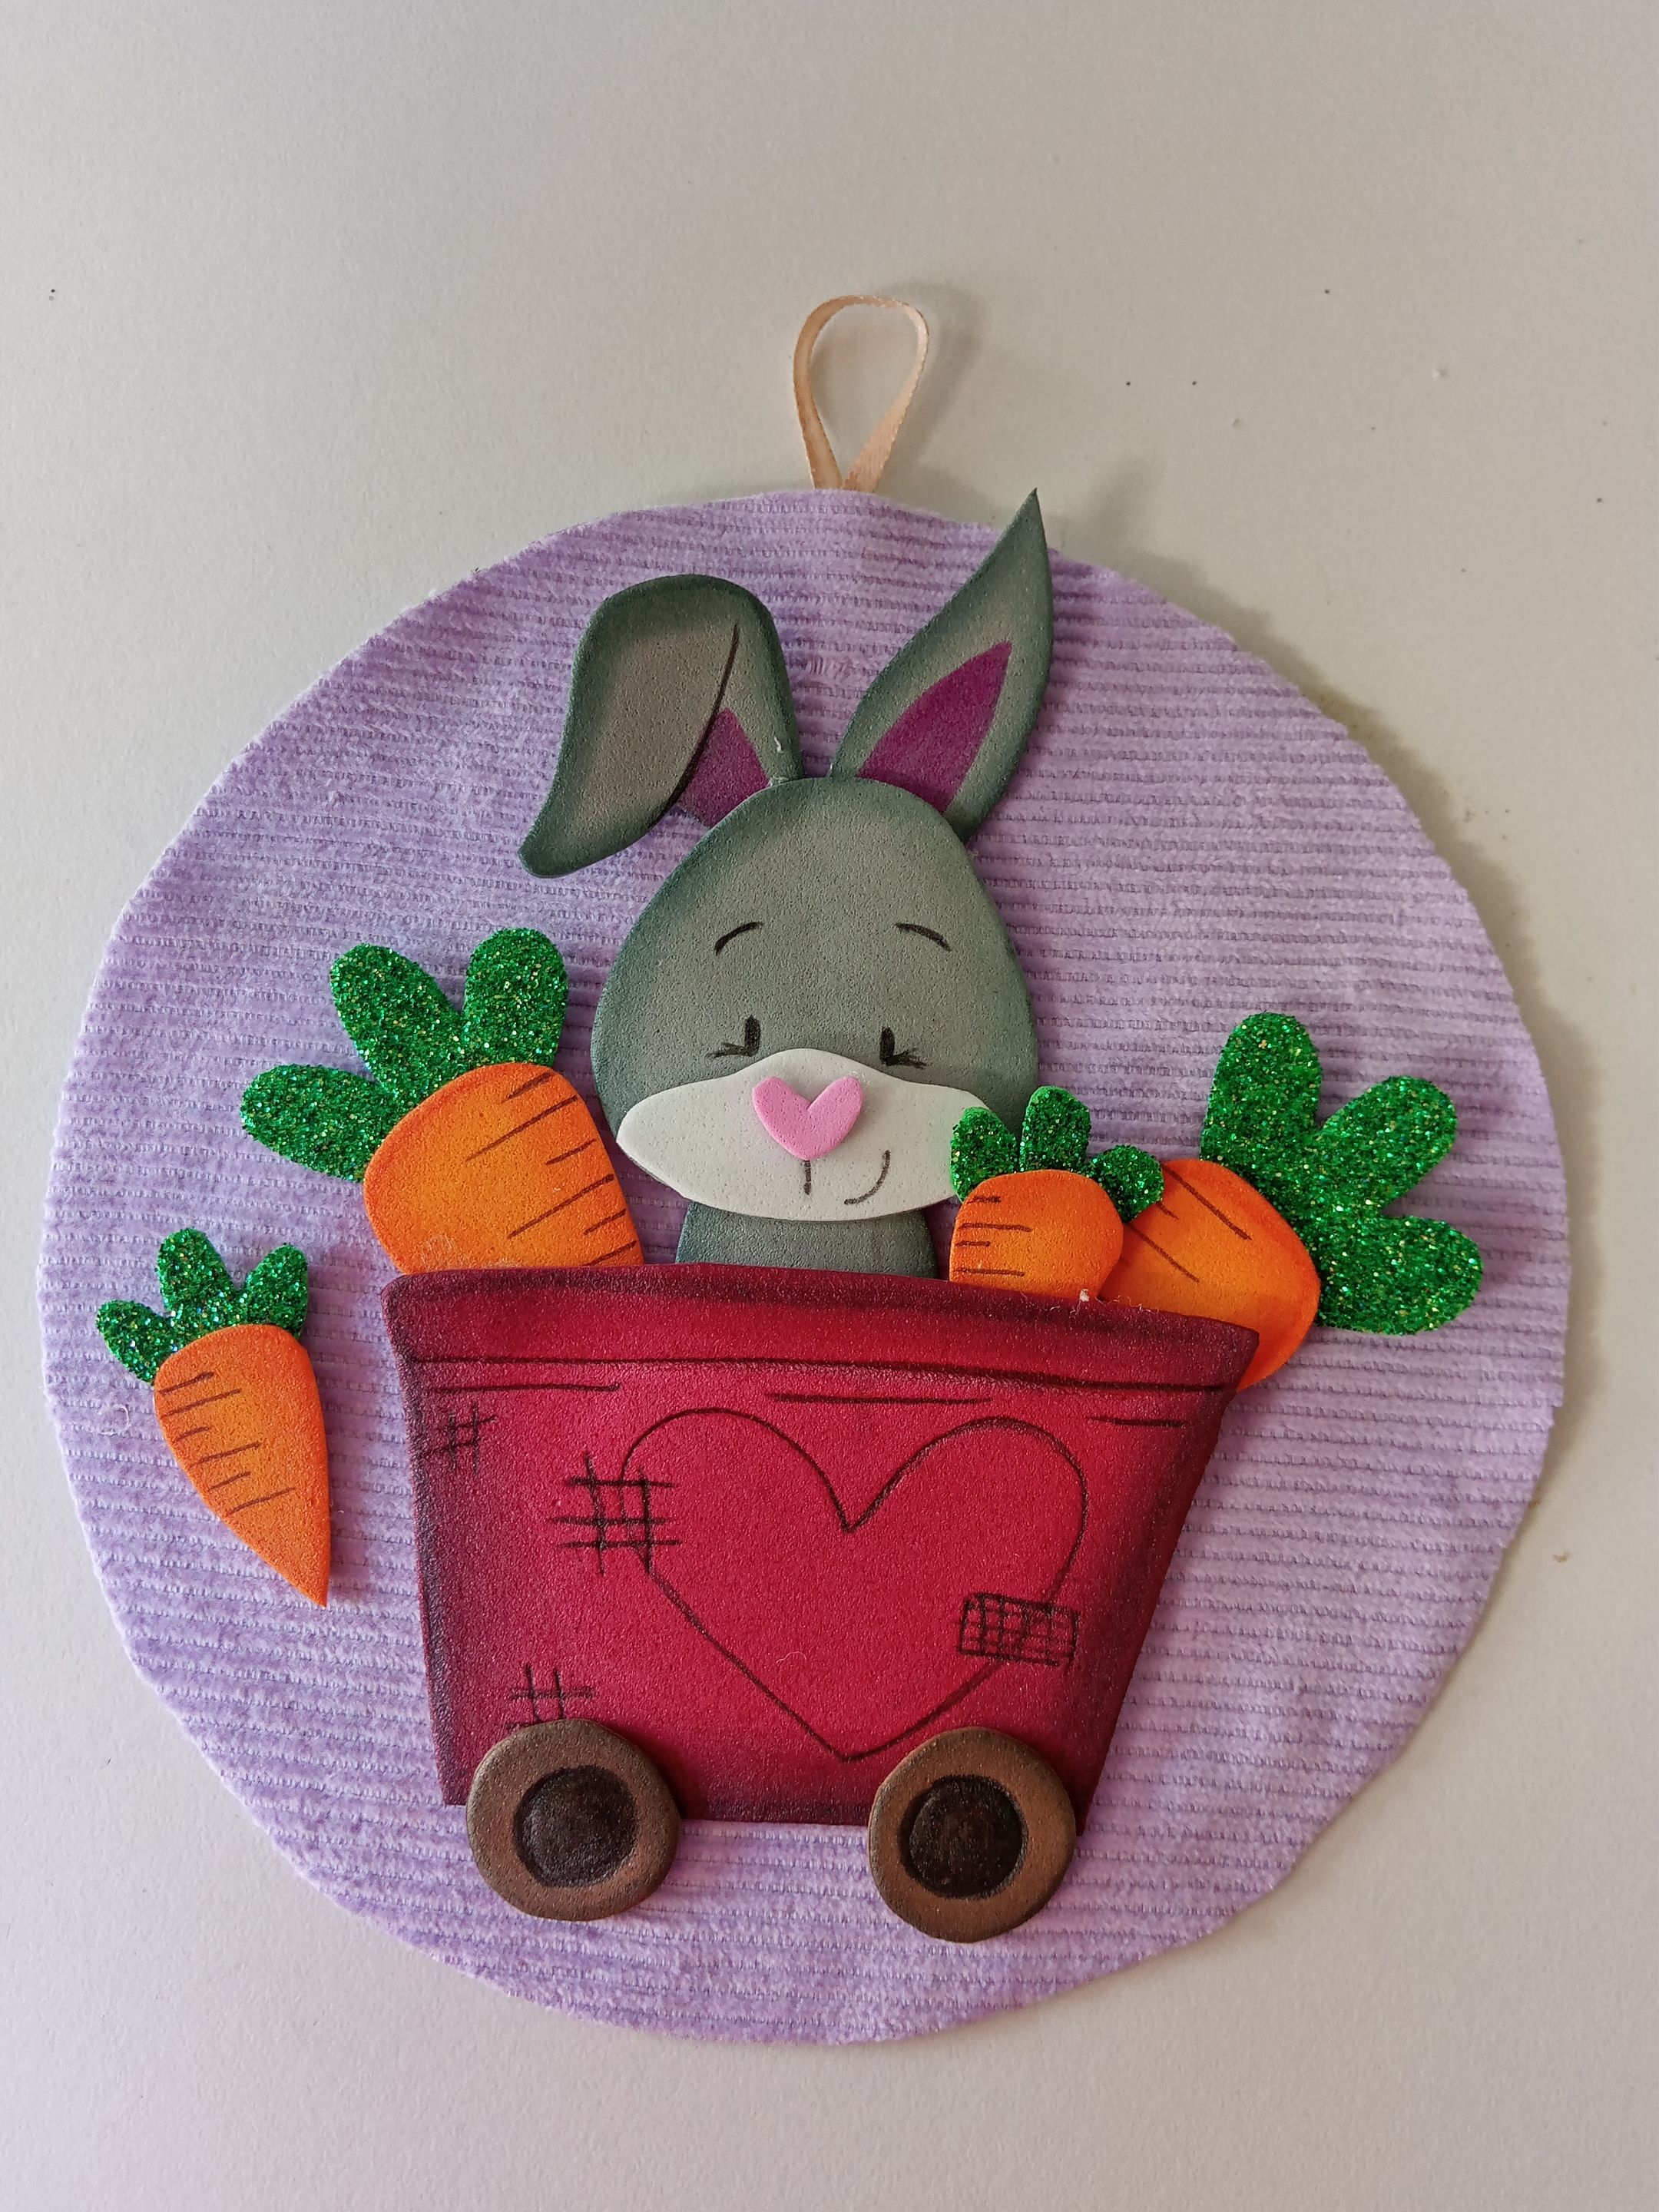
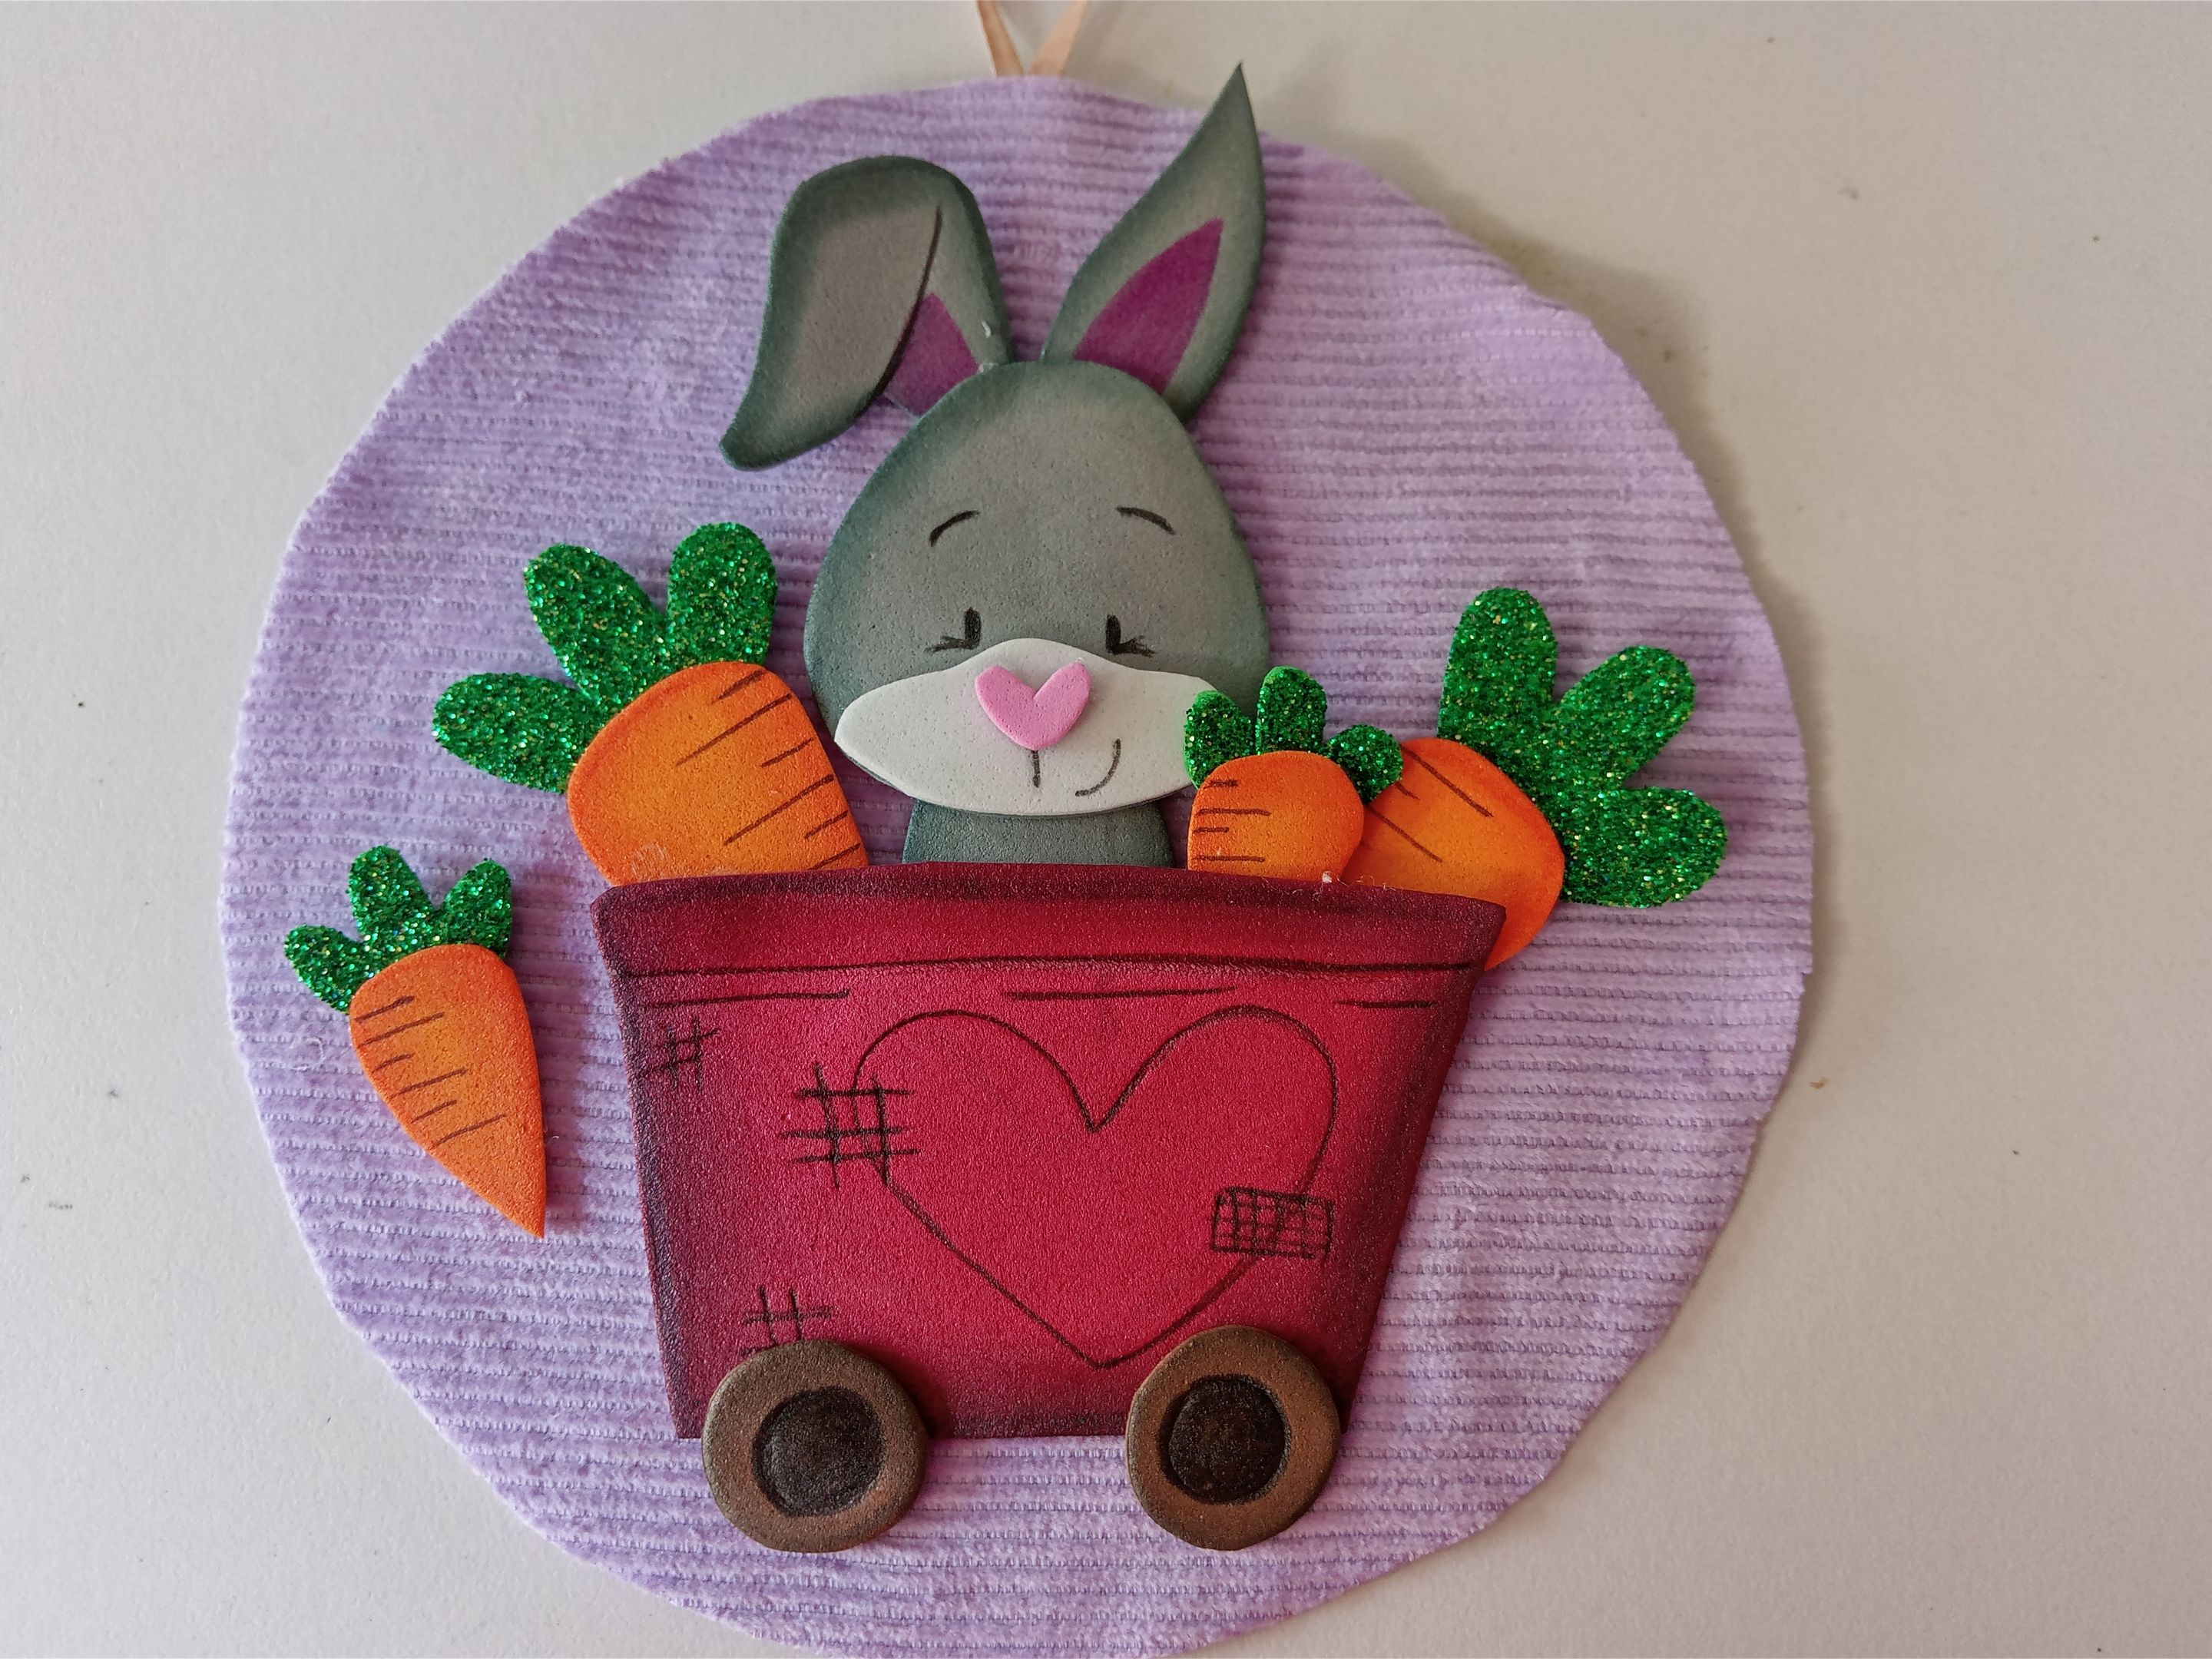
###### ✨PASO 4:
Al estar secas las piezas, comencé a dar detalles más específicos con marcadores, como rostro, orejas, ruedas, zanahorias y una decoración extra al carrito. Seguidamente, pegué las piezas para formar el conejo, las zanahorias, el carrito y luego las pegué a la base del colgante; primero el carrito con el conejo en medio, a los lados del conejo la mayoría de las zanahorias y, por fuera, una de las zanahorias más pequeñas.
###### ✨STEP 4:
Once the pieces were dry, I began adding more specific details with markers, such as the face, ears, wheels, carrots, and additional decoration for the cart. Next, I glued the pieces to form the bunny, the carrots, and the cart, and then glued them to the base of the pendant: first the cart with the bunny in the middle, on either side of the rabbit, most of the carrots, and on the outside, one of the smaller carrots.
# ✨RESULTADO: | ✨RESULT:

|||
|-|-|
---

---
**!TE DESEO UN GRAN DÏA¡**
Todas las fotografías son de mi propiedad.
Separador y Fotos editadas en [Canva](https://www.canva.com/)
**!I WISH YOU A GOOD DAY**
All photographs are my property.
Photos edited in [Canva](https://www.canva.com/)
Posted Using [INLEO](https://inleo.io/@valenpba/espeng-lindo-colgante-con-temtica-de-conejito-cute-bunnythemed-pendant-4rk)