######
✨¡Hola amigos amantes de la creatividad! Espero que estén todos bien.✨
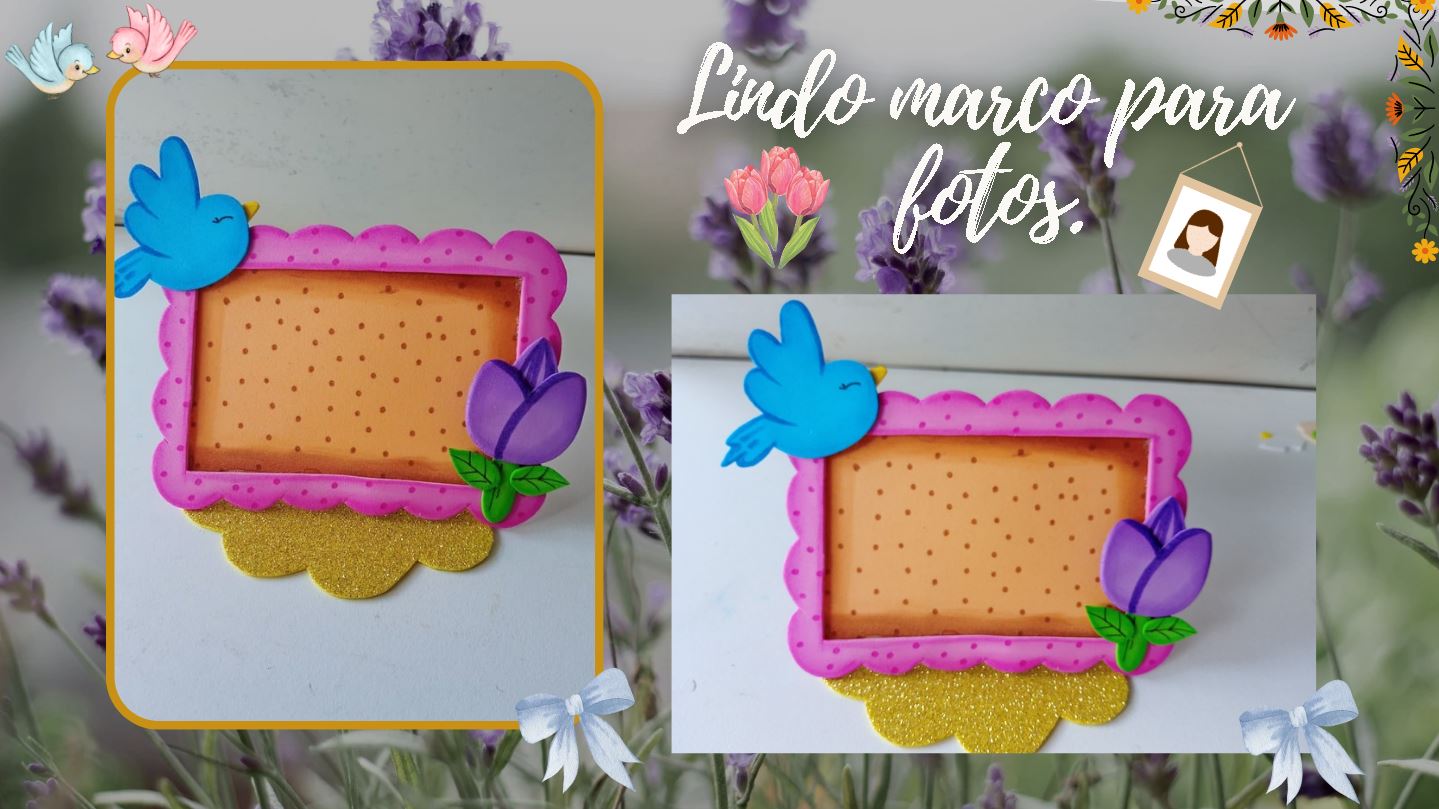
¡Buenas tardes, amigos! Espero que estén pasando una excelente semana. Por mi parte, estoy contenta de pasar por acá a compartir una linda idea con ustedes. En esta ocasión, les comparto el paso a paso para elaborar un lindo marco para fotos. Hace años que no compartía ideas para marcos de fotos, pues me atrevo a decir que en todo mi tiempo en Hive, esta sería la segunda vez que se me ocurre una. En este caso, puede ser tanto para la habitación de los pequeños como para cualquier área de la casa, según los colores que deseen utilizar.
**🔸Sin más que añadir, a continuación los dejo con el paso a paso:**
> ######
✨¡Hello friends who love creativity! I hope you are all well.✨
>
Good afternoon, friends! I hope you're having a great week. For my part, I'm happy to stop by to share a lovely idea with you. This time, I'm sharing the step-by-step instructions for making a cute photo frame. It's been years since I shared photo frame ideas, but I dare say that in all my time at Hive, this would be the second time I've come up with one. In this case, it could be for the little ones' room or any other area of the house, depending on the colors you want to use.
> **🔸Without more to add, then I leave you with the step by step:**
---
---

||||
|-|-|-|


|||
|-|-|


|||
|-|-|


||||
|-|-|-|

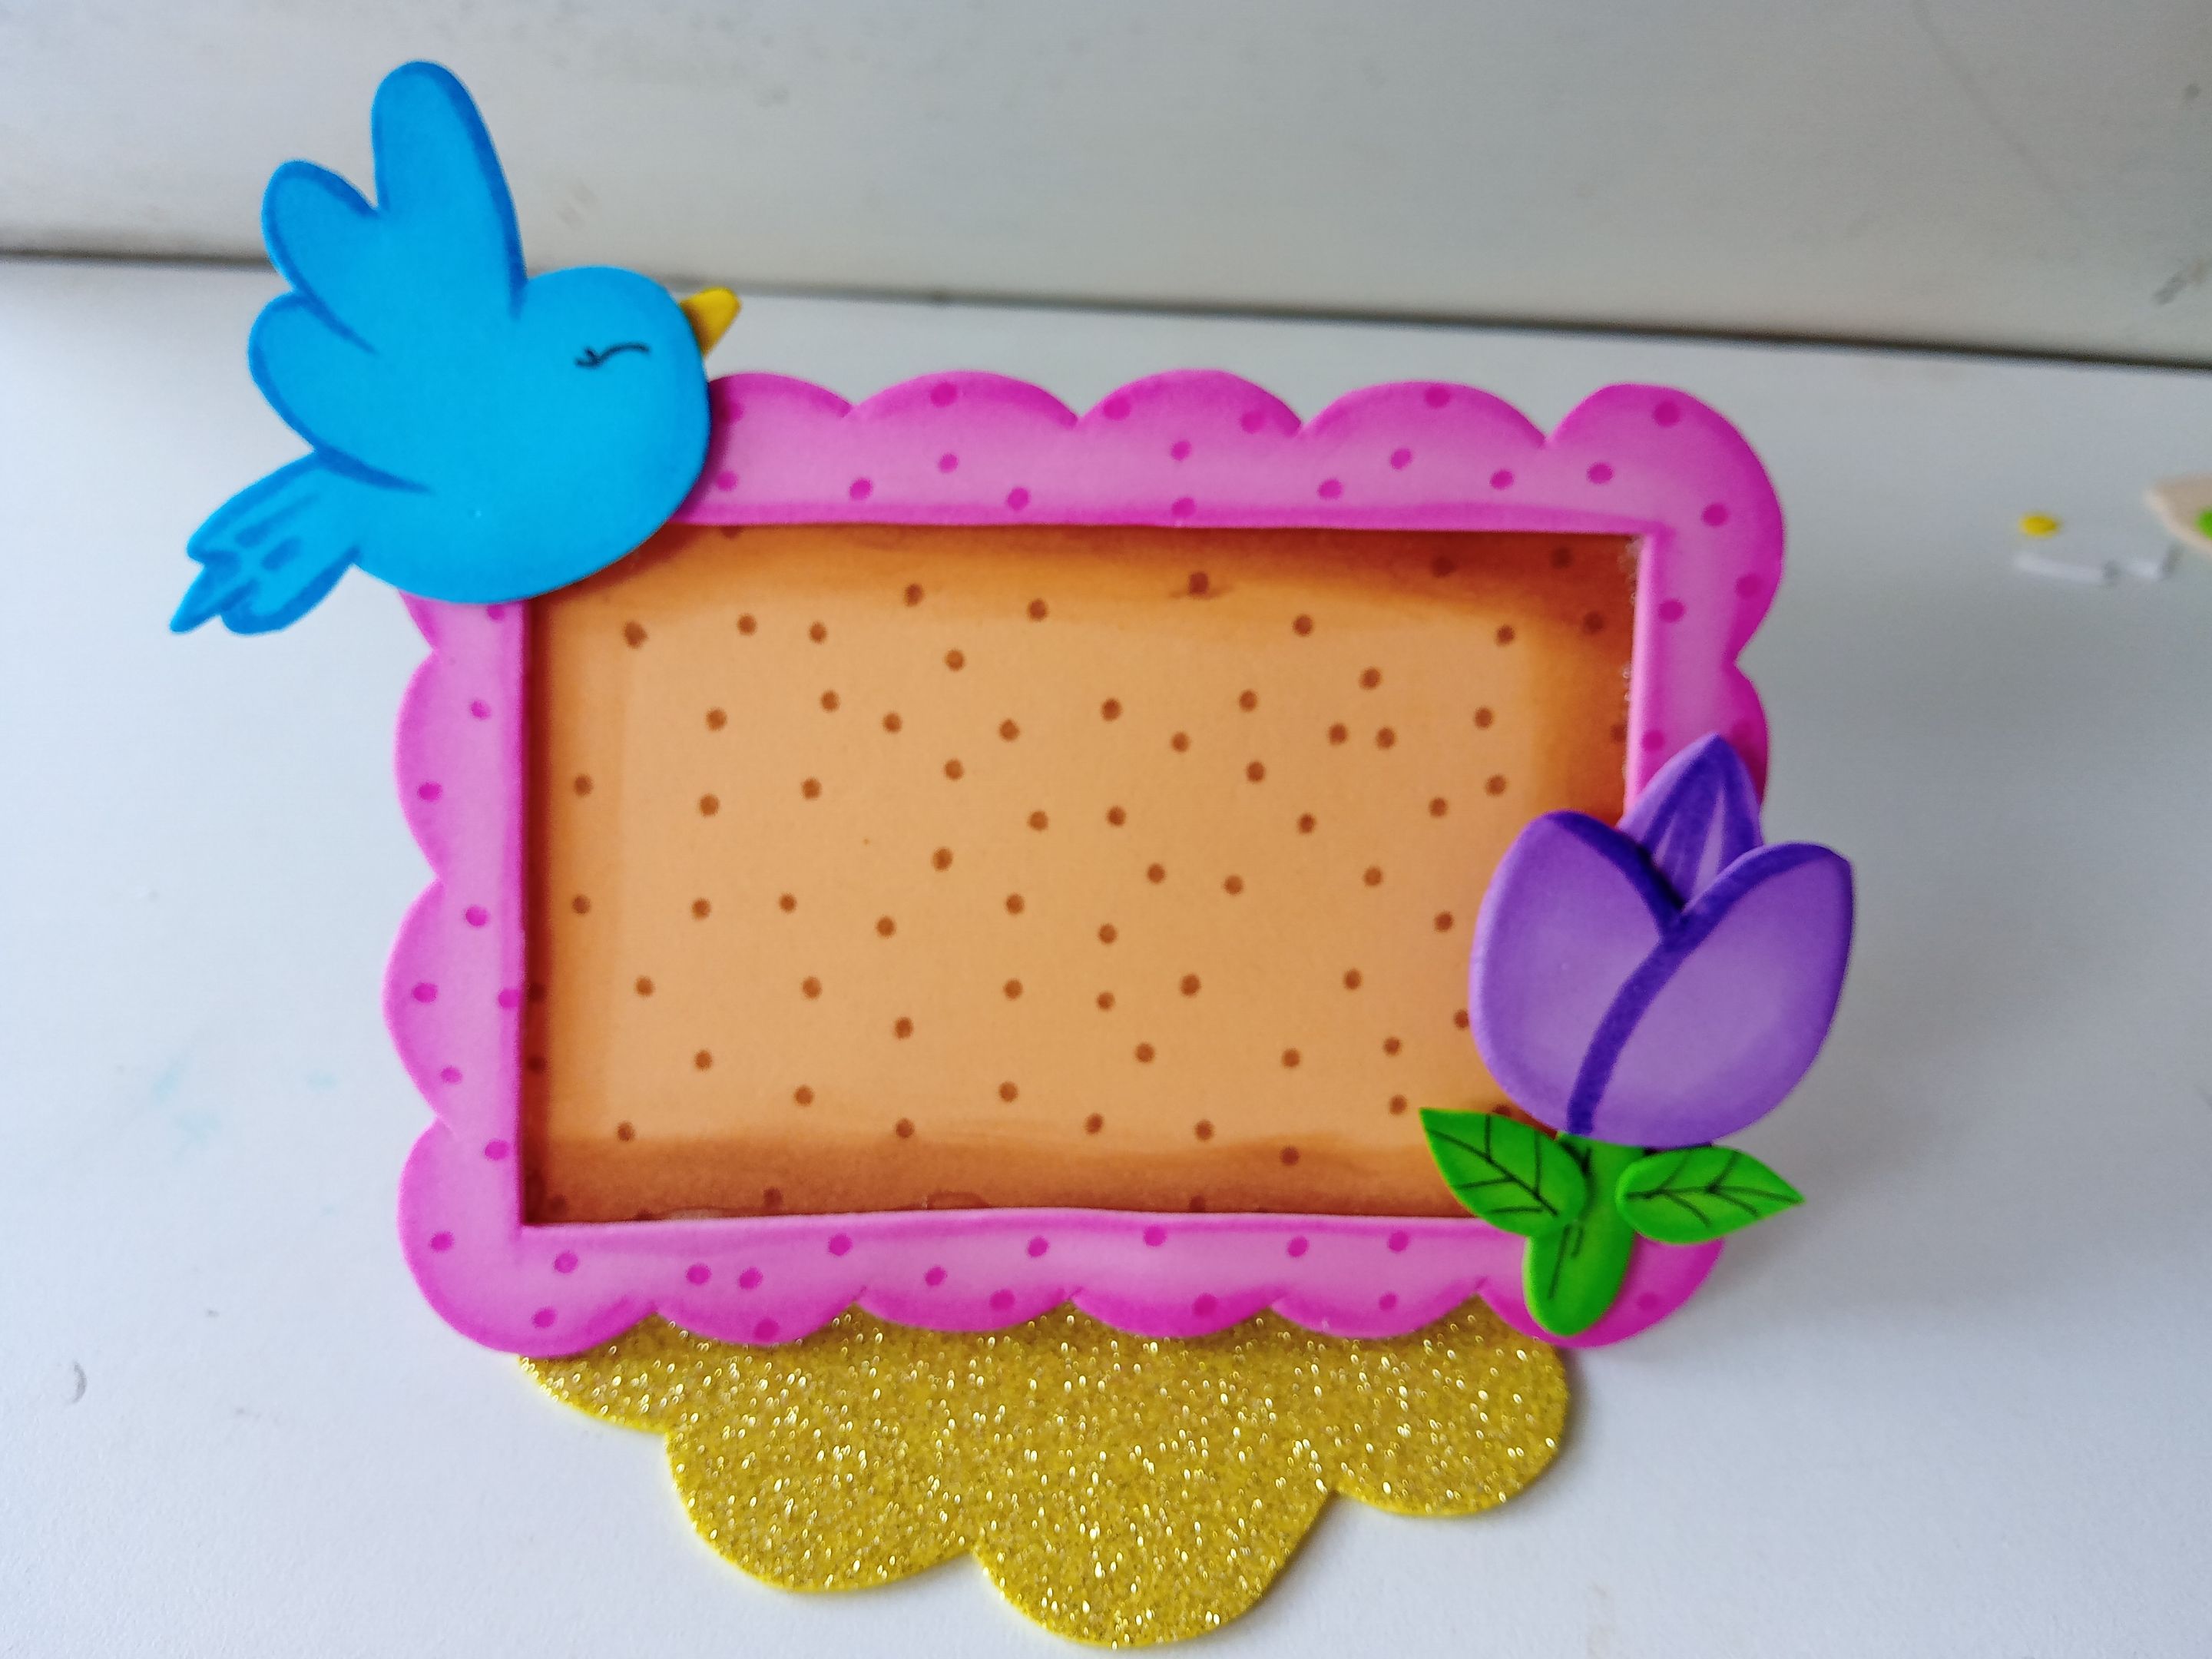
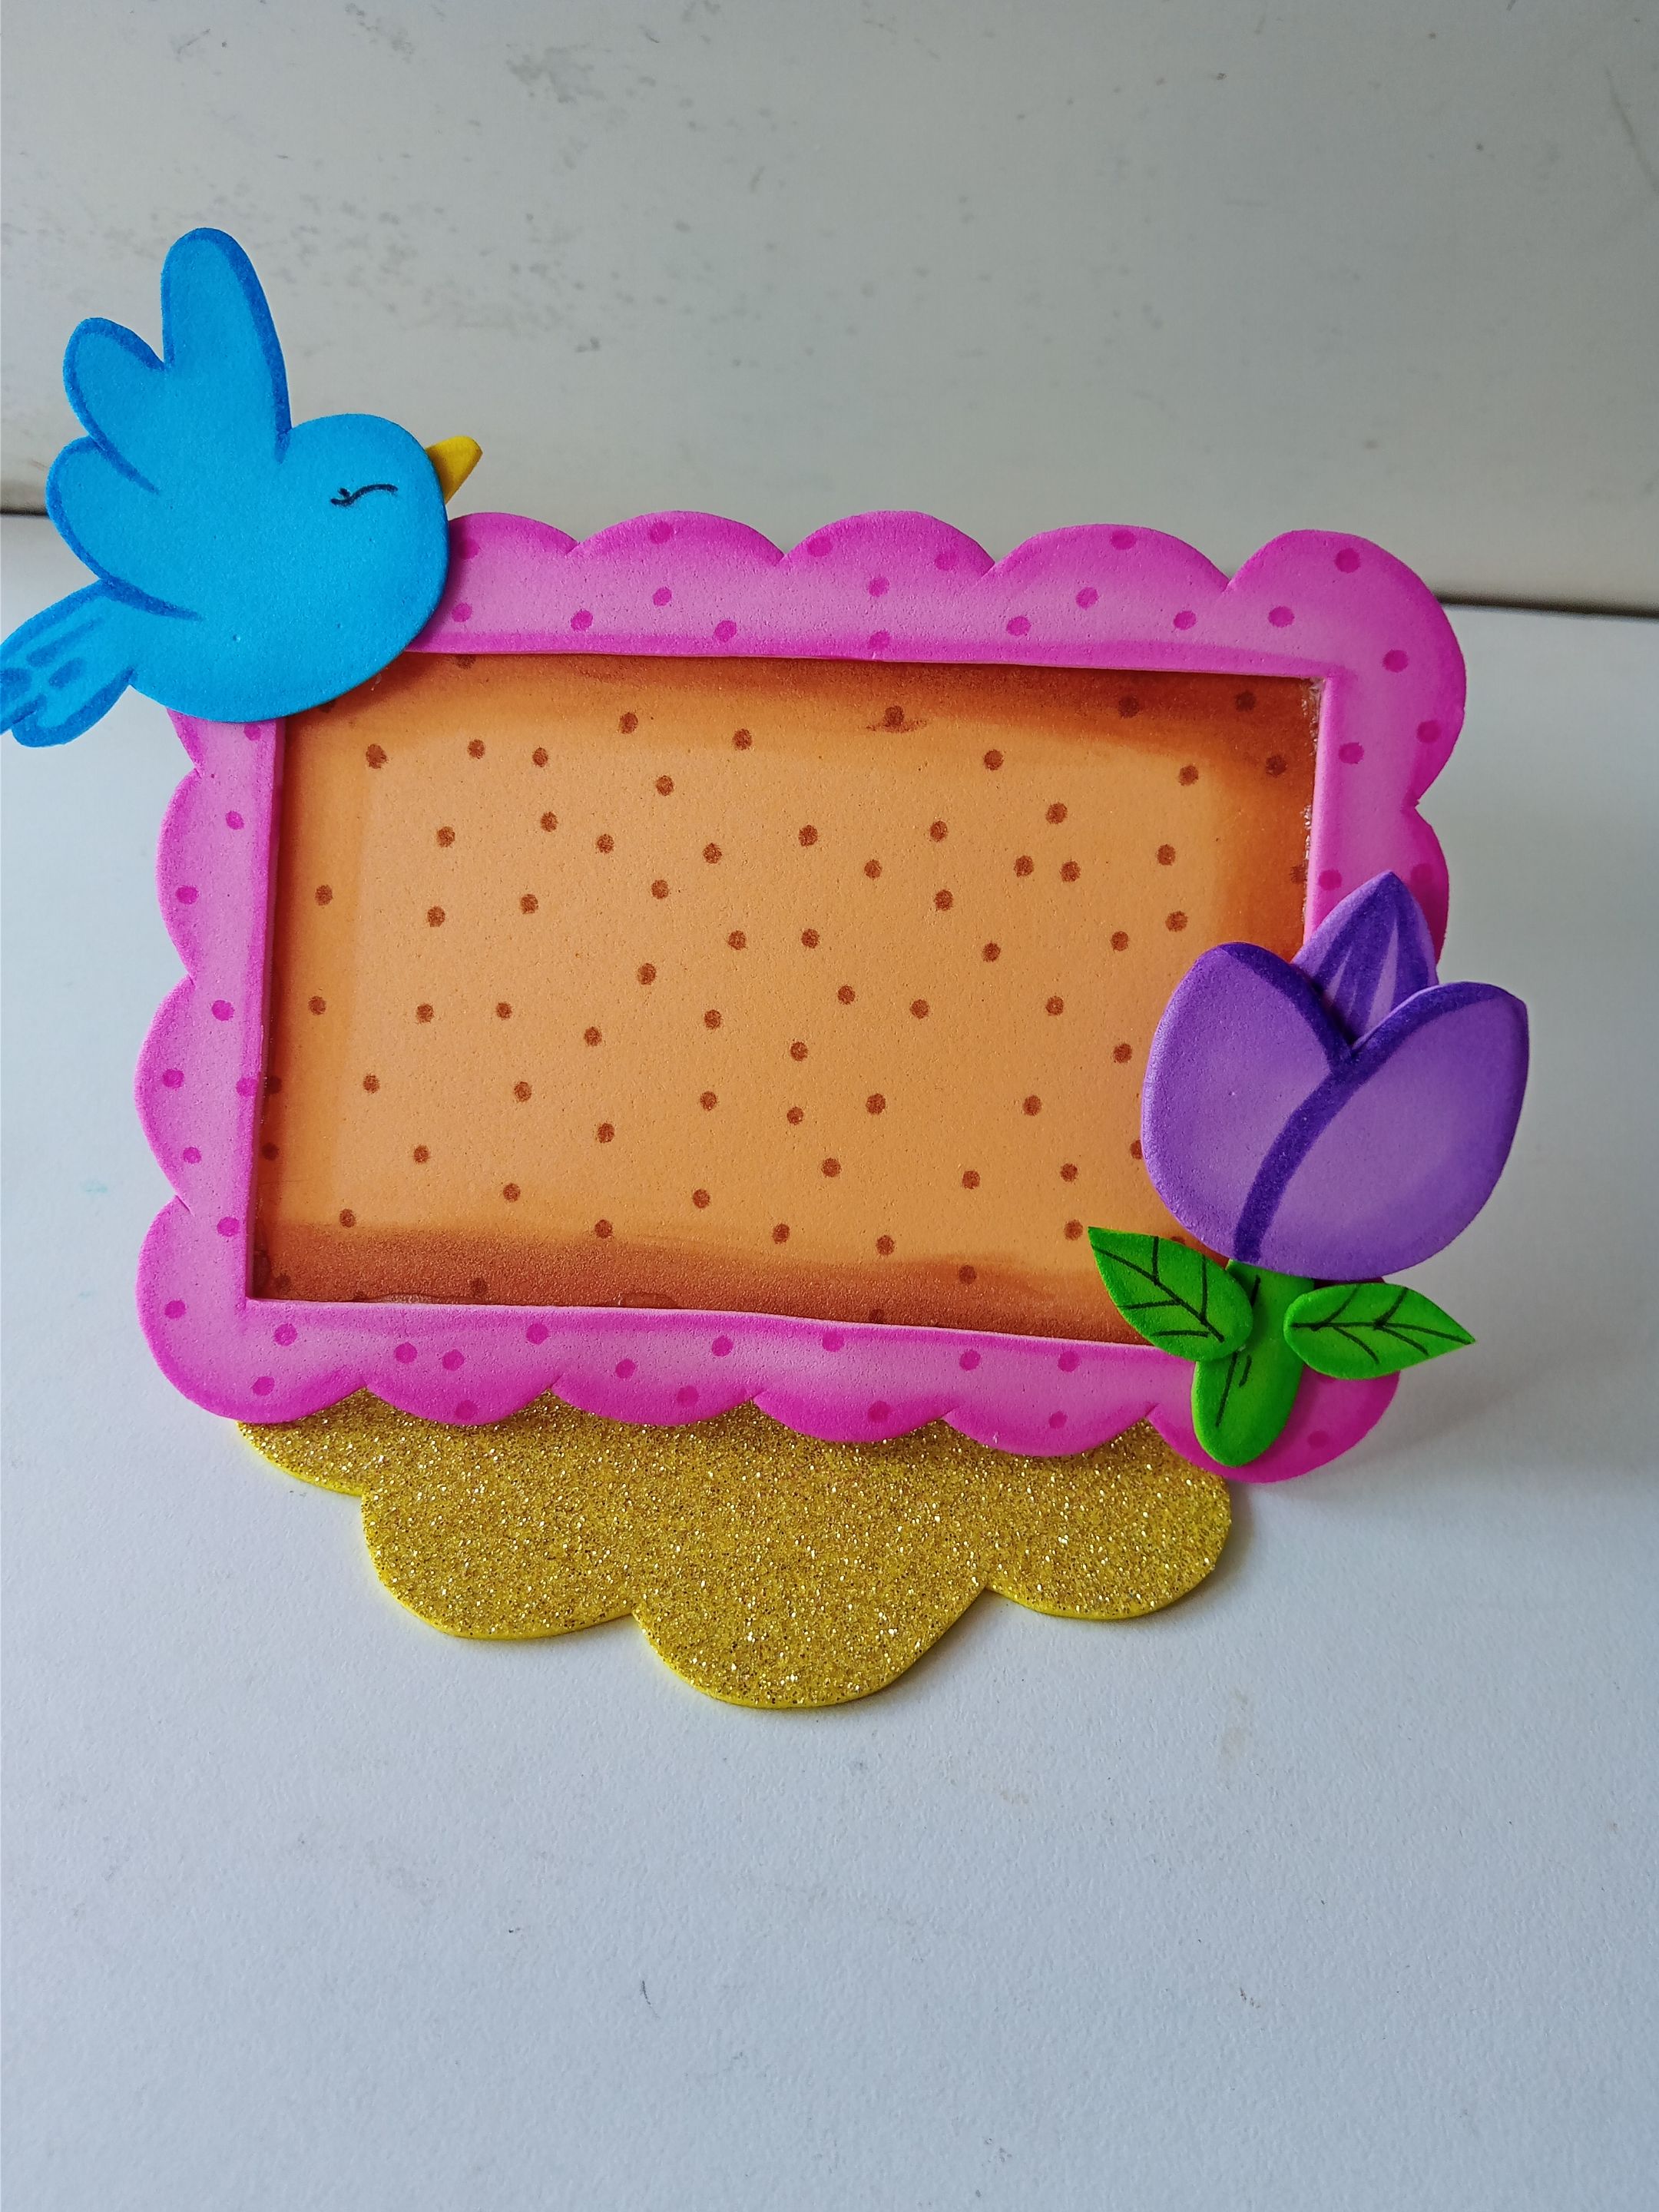
✨Así es como pueden elaborar un lindo marco para la habitación de los pequeños o para donde gusten. Como lo comenté al inicio del post, pueden cambiar los colores para adaptarlo según el área de la casa que lo quieran colocar o de la temática de preferencia. Espero que les haya gustado el paso a paso y se animen a elaborarlo.
❤️Hasta la próxima publicación.
>
✨This is how you can make a cute frame for your little ones' room or wherever you like. As I mentioned at the beginning of the post, you can change the colors to adapt it to the area of your house you want to display it in or your preferred theme. I hope you enjoyed the step-by-step instructions and are inspired to try it out.
>
❤️Until the next post.

**♥️ESPERO QUE TE GUSTE,
¡Empecemos!**
**♥️I HOPE YOU LIKE IT,
Let's start!**
---

# ✂️ MATERIALES | ✂️ MATERIALS

- Foami escarchado dorado.
- Foami rosa.
- Foami salmón.
- Foami azul.
- Foami amarillo.
- Foami verde.
- Foami lila.
- Paleta de helado.
- Pinturas y marcadores.
- Pegamento.
- Tijeras.
- Regla.
- Hoja blanca.
- Lápiz.
- Gold frosted foam.
- Pink foam.
- Salmon foam.
- Blue foam.
- Yellow foam.
- Green foam.
- Lilac foam.
- Popsicle stick.
- Paints and markers.
- Glue.
- Scissors.
- Ruler.
- White paper.
- Pencil.

# 🌟 PROCEDIMIENTO | 🌟 PROCESS

###### ✨PASO 1:
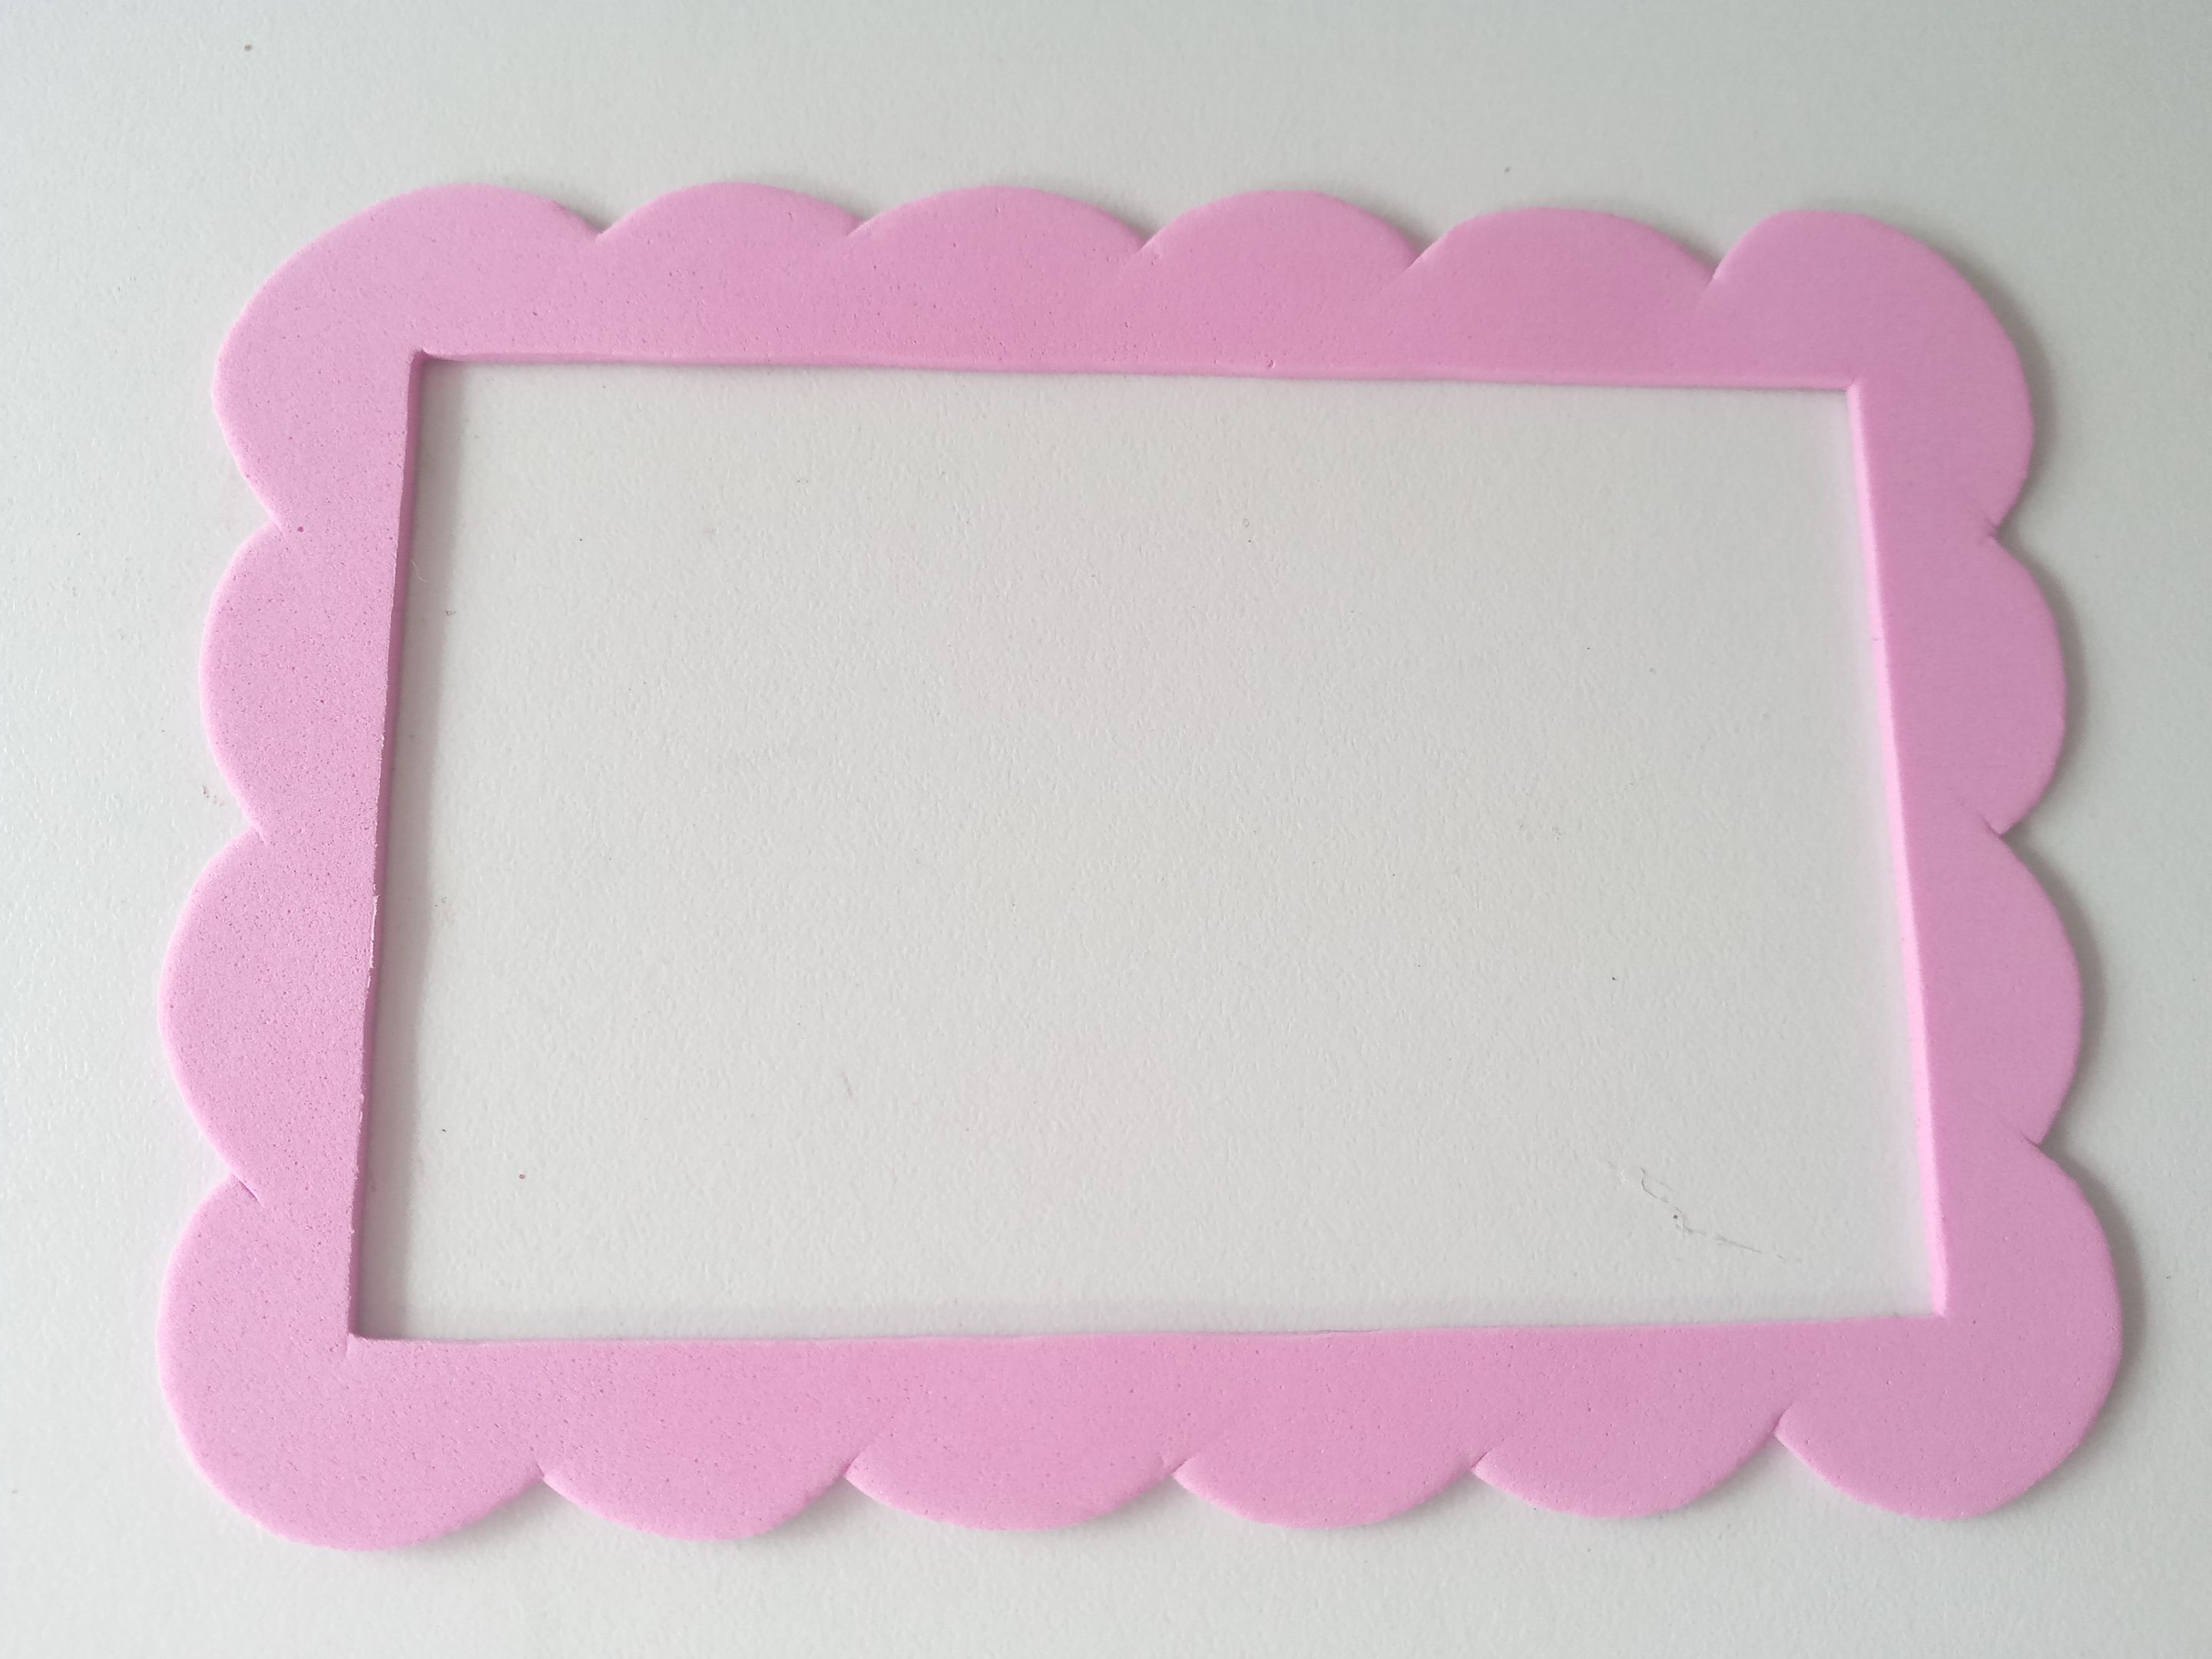
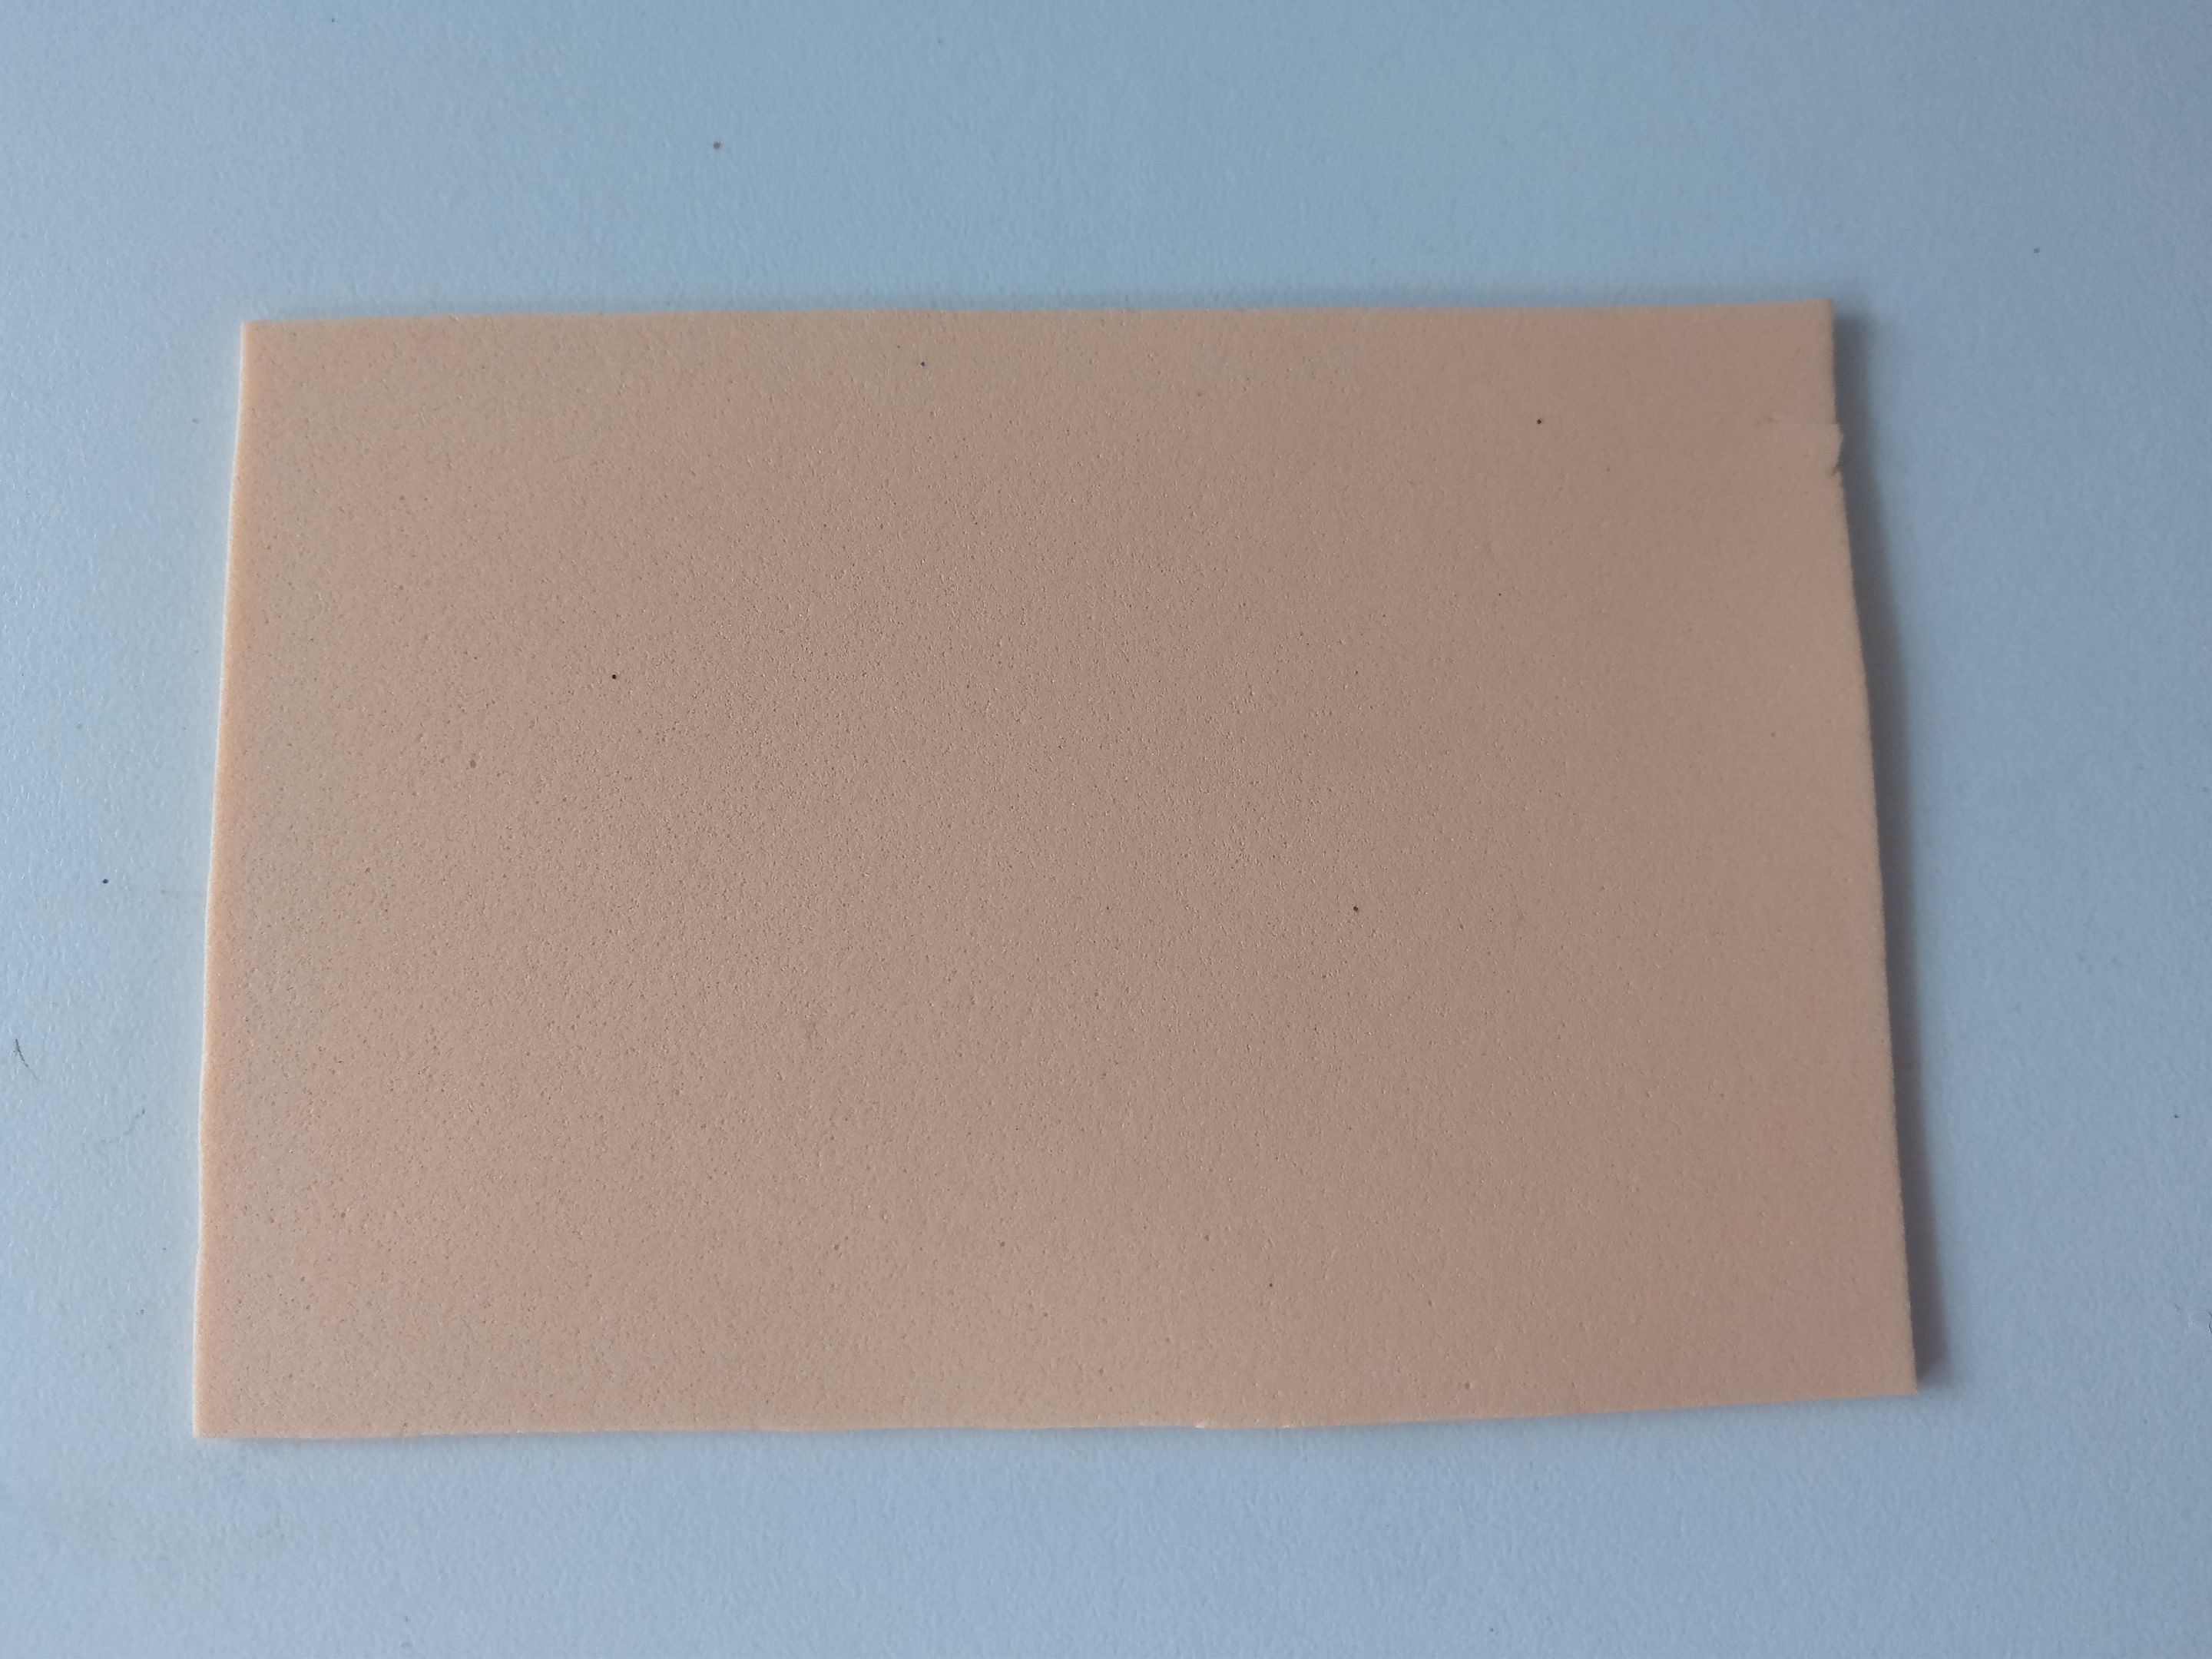
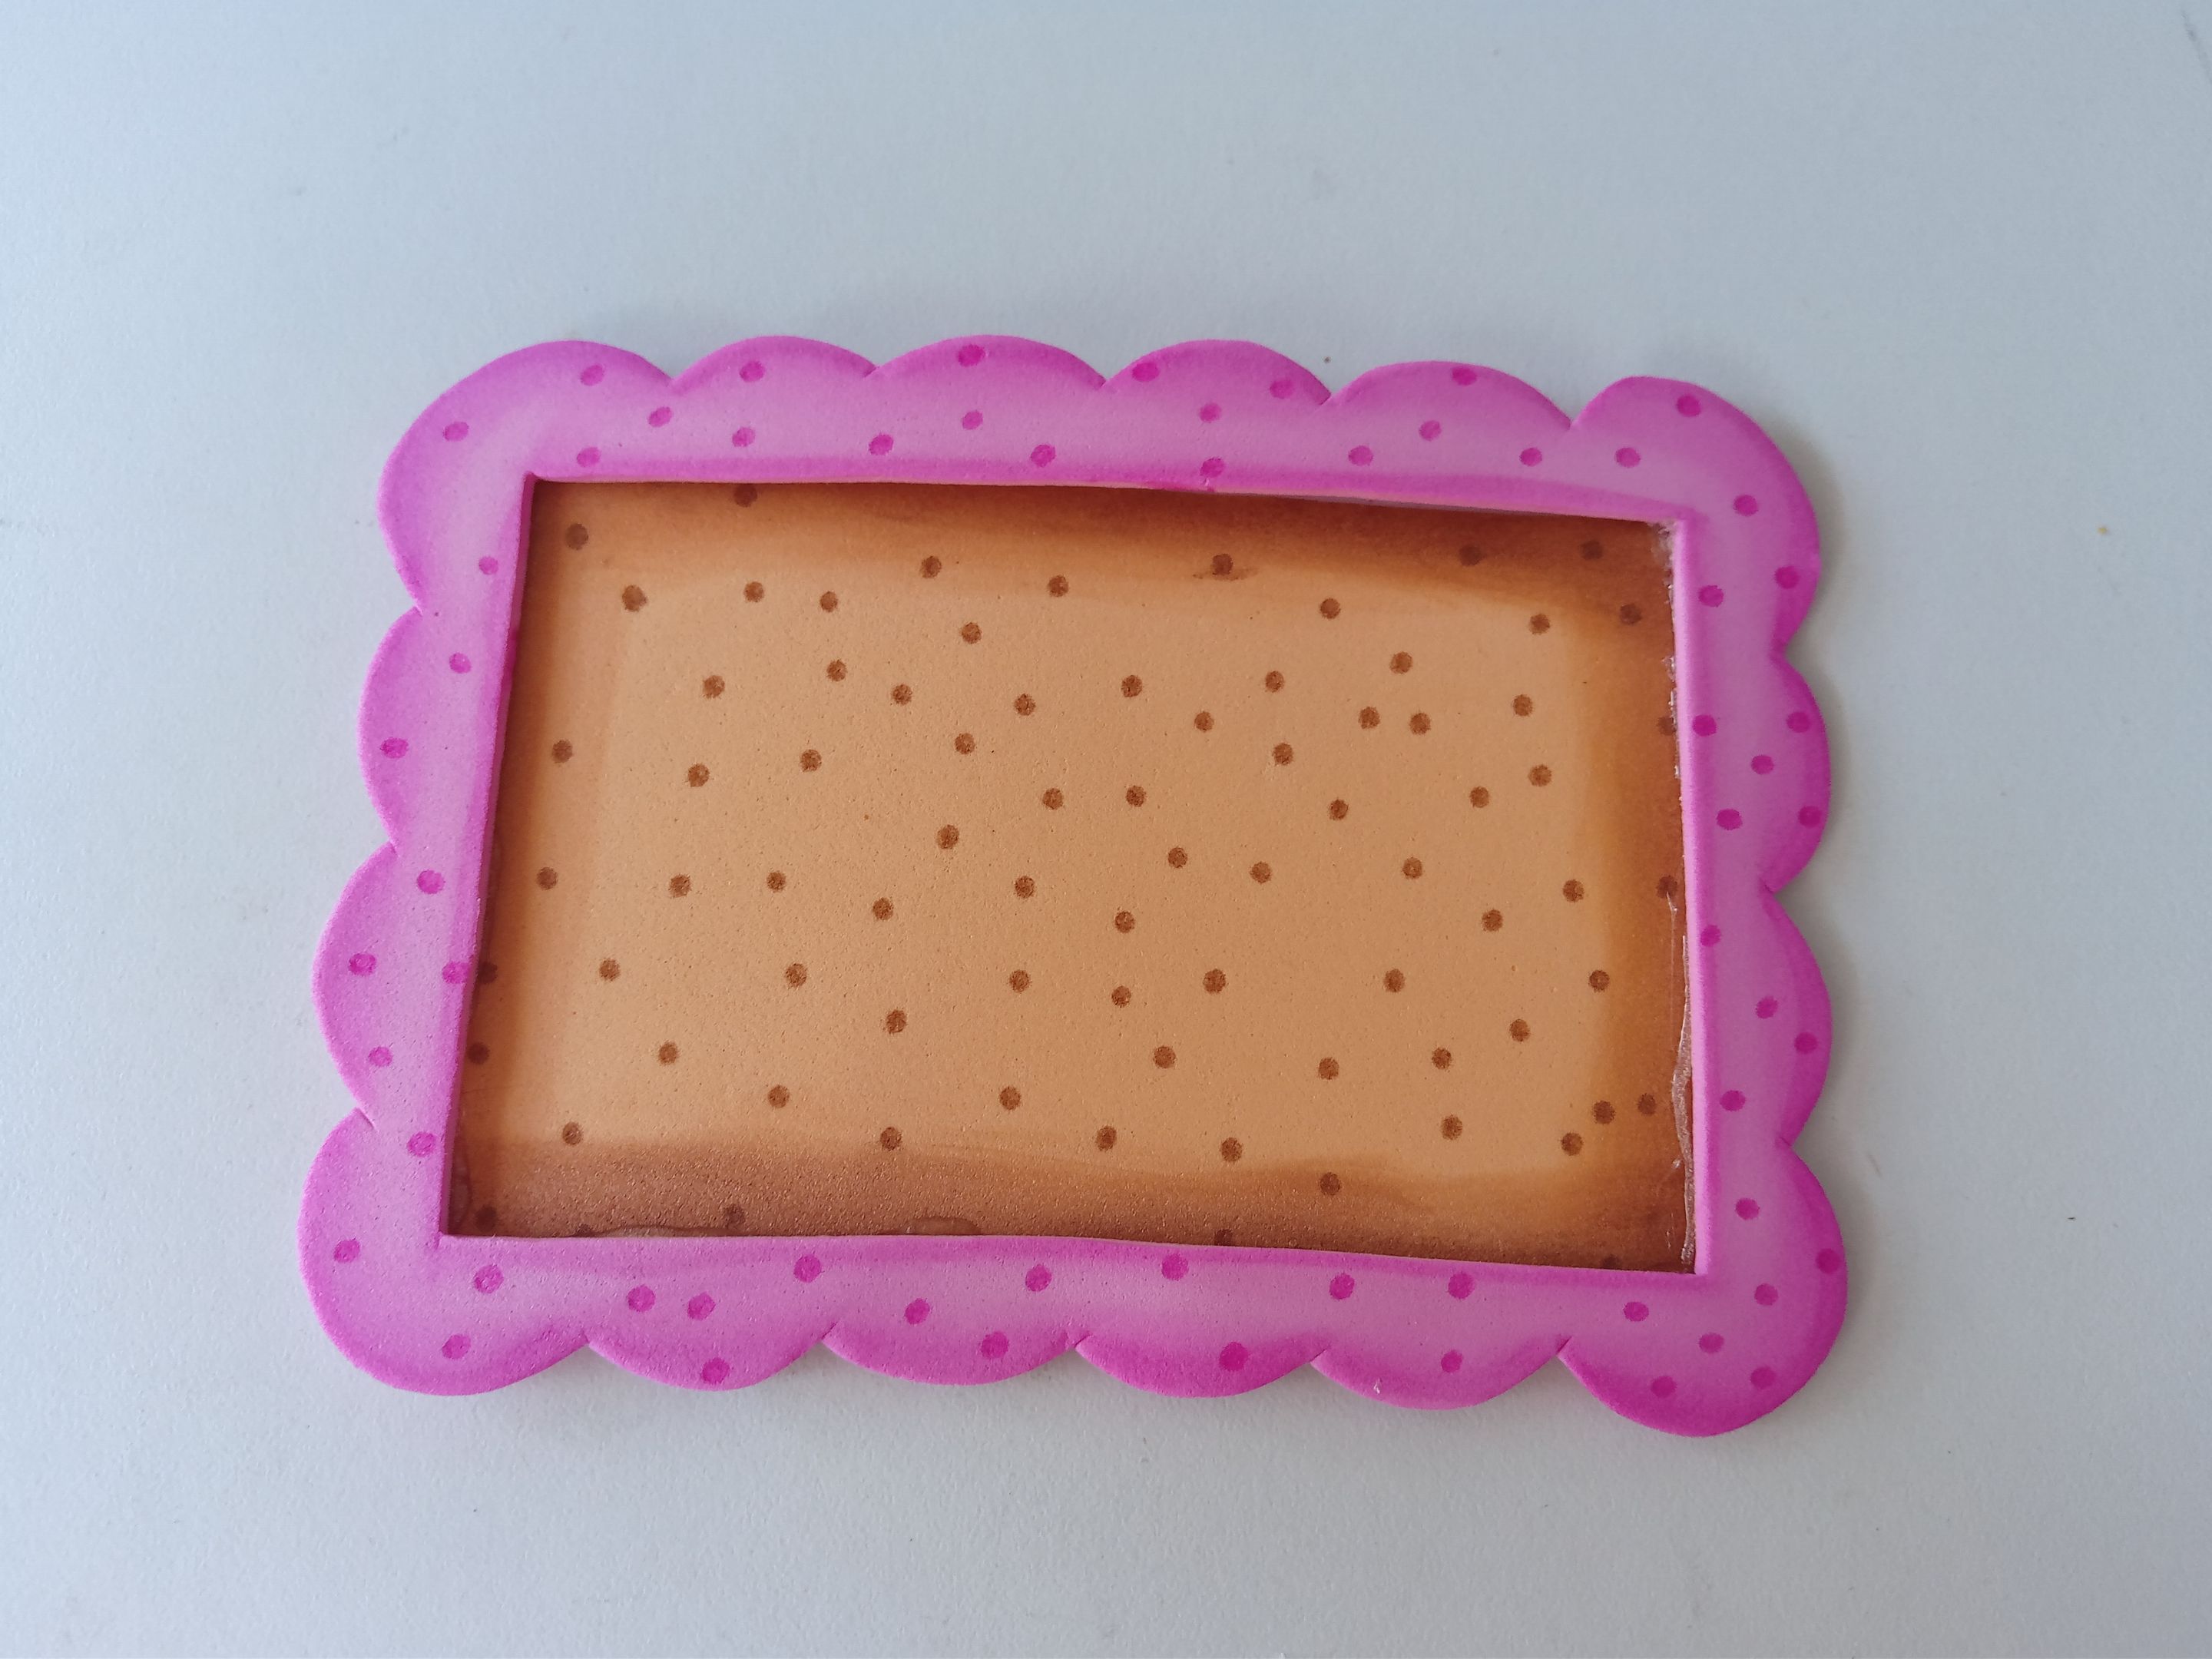
Lo primero que hice fue dibujar el marco con formas ovaladas en el borde, tipo flor, en foami rosa, con una medida de 13 cm x 9.5 cm, y recorté el centro dejando los bordes de 1.5 cm de ancho. Por otra parte, para el fondo del marco, recorté un rectángulo de 11.5 cm x 8 cm y la base, una circunferencia de 12 cm en foami escarchado dorado, dando el mismo diseño ovalado en el borde, tipo flor, como el marco.
###### ✨STEP 1:
The first thing I did was draw the frame with oval flower-like shapes on the edge using pink foam, measuring 13 cm x 9.5 cm. I cut out the center, leaving the edges 1.5 cm wide. For the background of the frame, I cut a rectangle measuring 11.5 cm x 8 cm, and for the base, a 12 cm circumference from gold frosted foam, creating the same oval flower-like design on the edge as the frame.
###### ✨PASO 2:
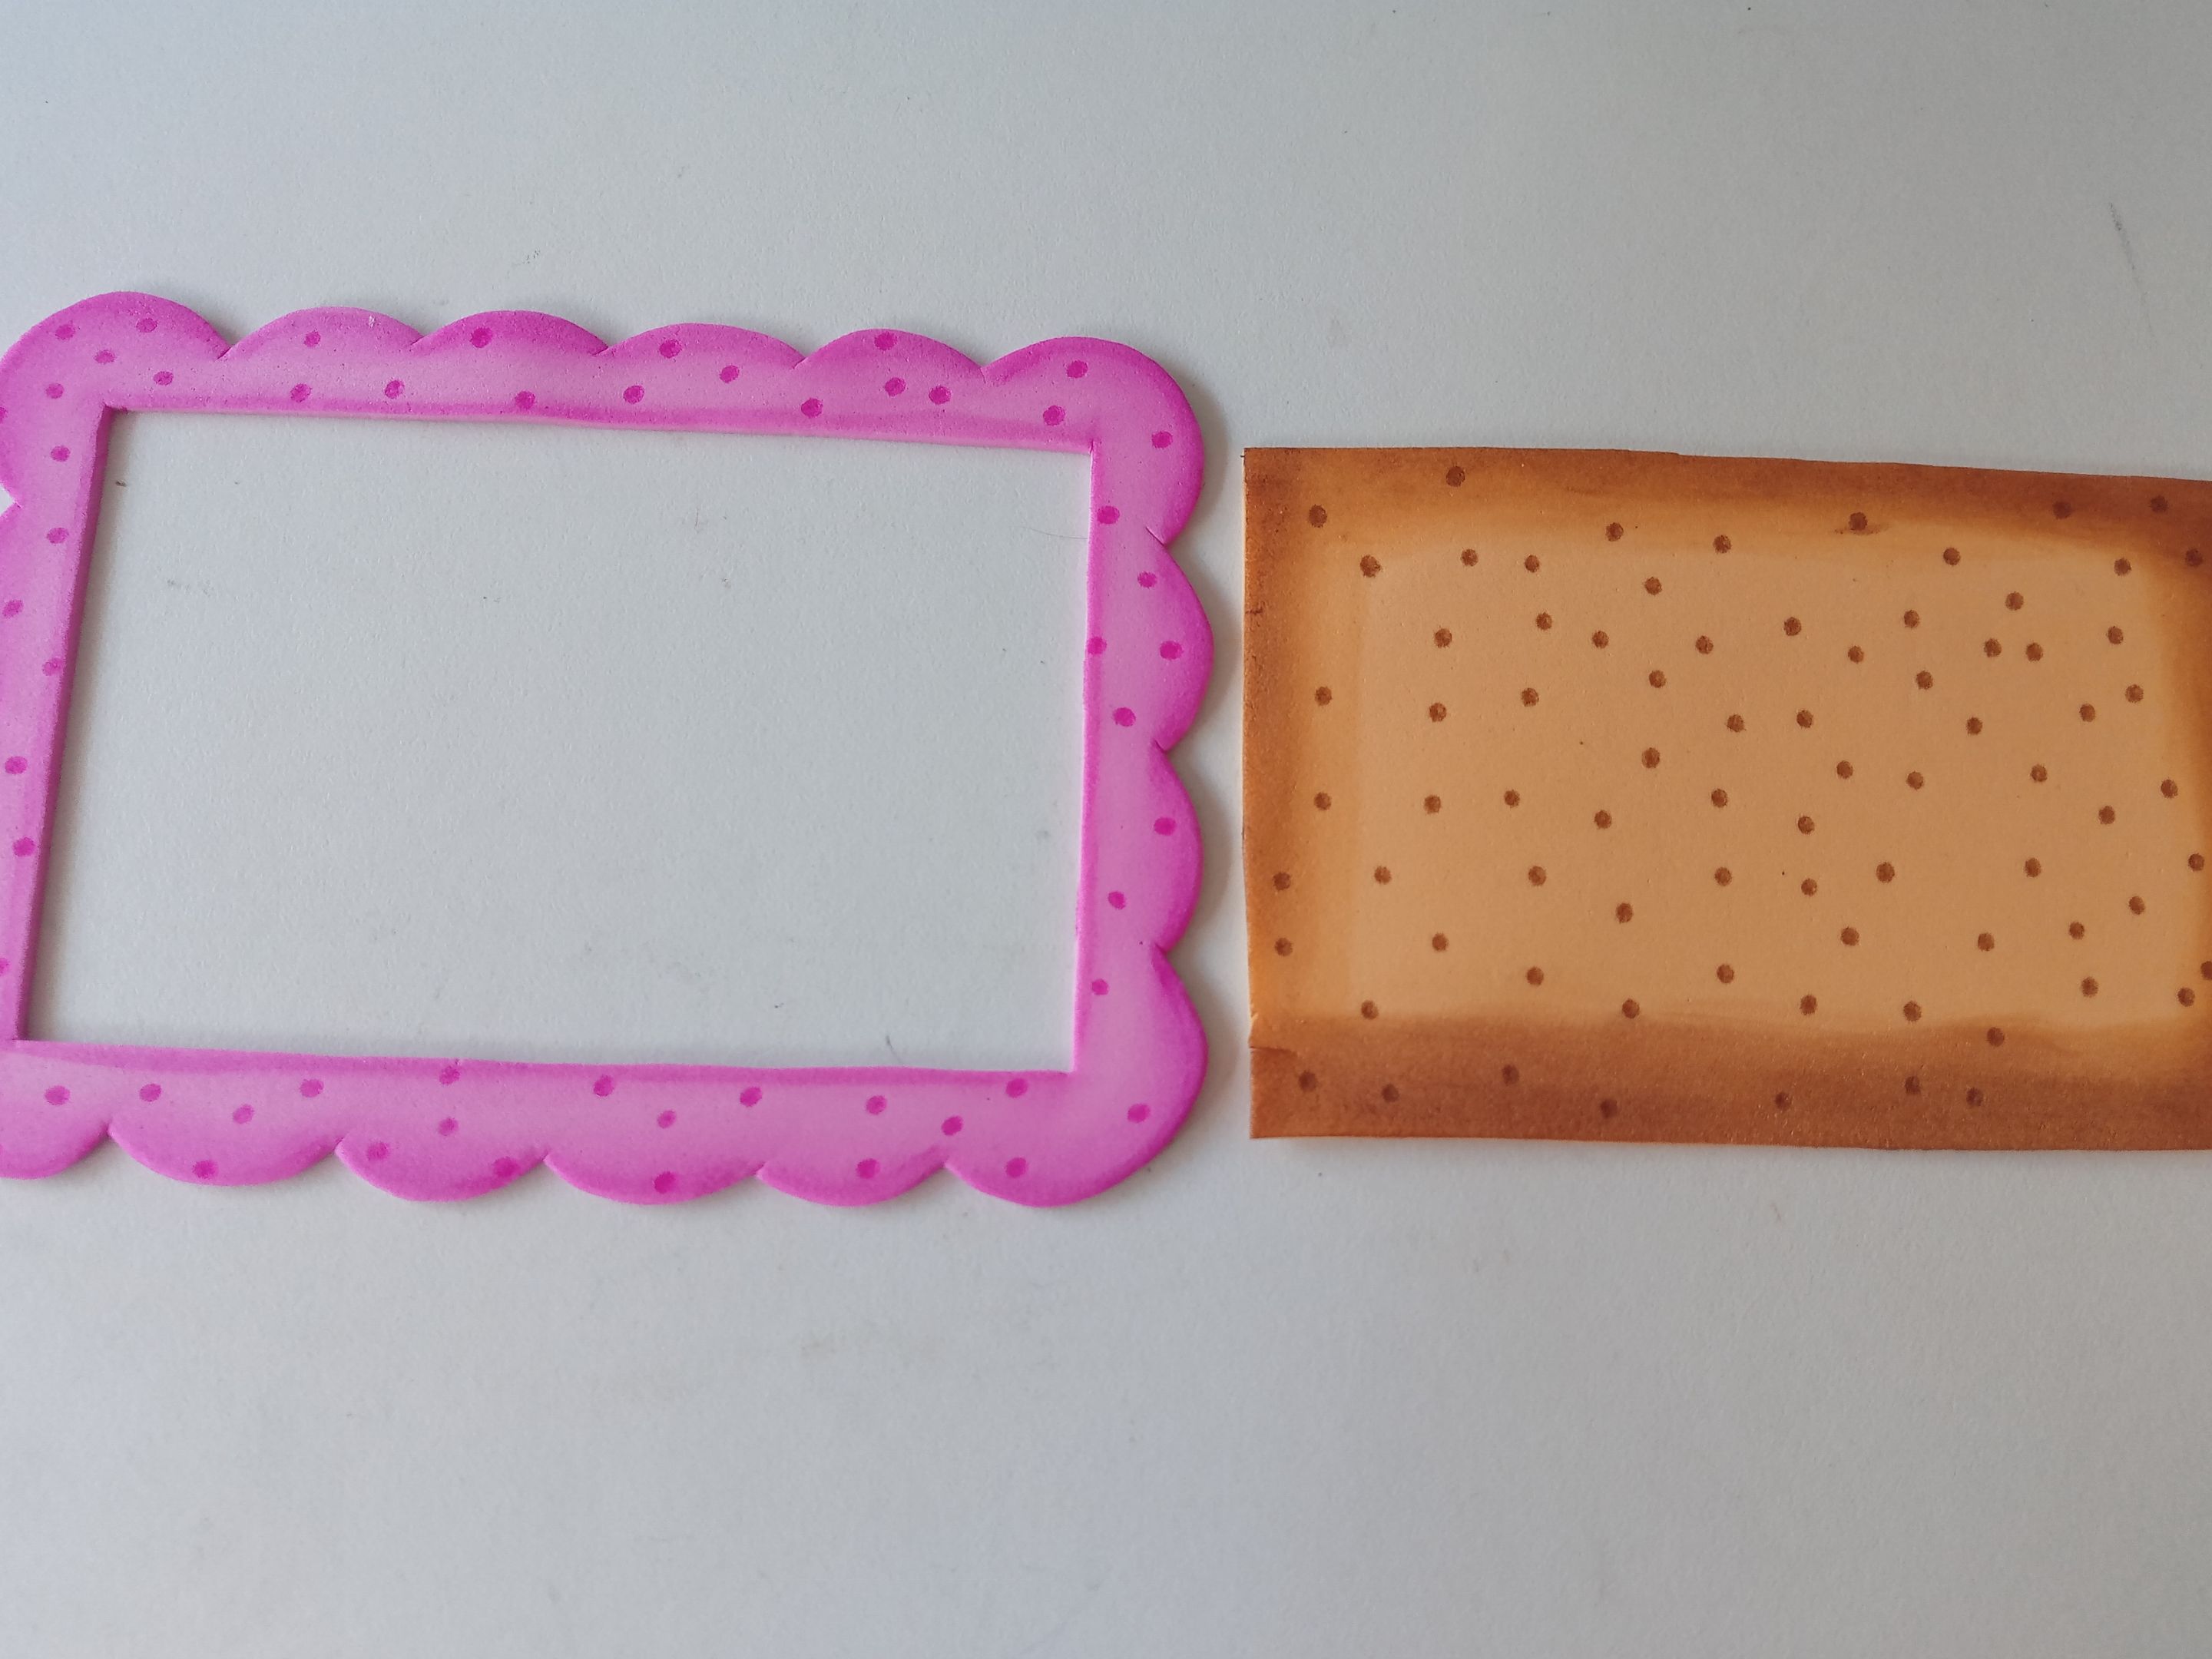
Seguidamente, di color a los bordes del marco y el fondo, utilizando colores que hagan contraste, casi siempre colores de un tono más oscuro que el de las piezas, y luego marqué algunos puntos por ambas piezas, utilizando el mismo color, un tono más oscuro, pero en el caso del salmón, utilicé un marcador marrón. Luego, pegué el fondo en la parte trasera del marco, dejando la parte superior sin pegar para poder introducir las fotos.
###### ✨STEP 2:
Next, I colored the edges of the frame and the background using contrasting colors, usually a darker shade than the pieces themselves. Then I marked some dots on both pieces using the same color, a darker shade, but in the case of the salmon, I used a brown marker. Then, I glued the background to the back of the frame, leaving the top part unglued so I could insert the photos.
###### ✨PASO 3:
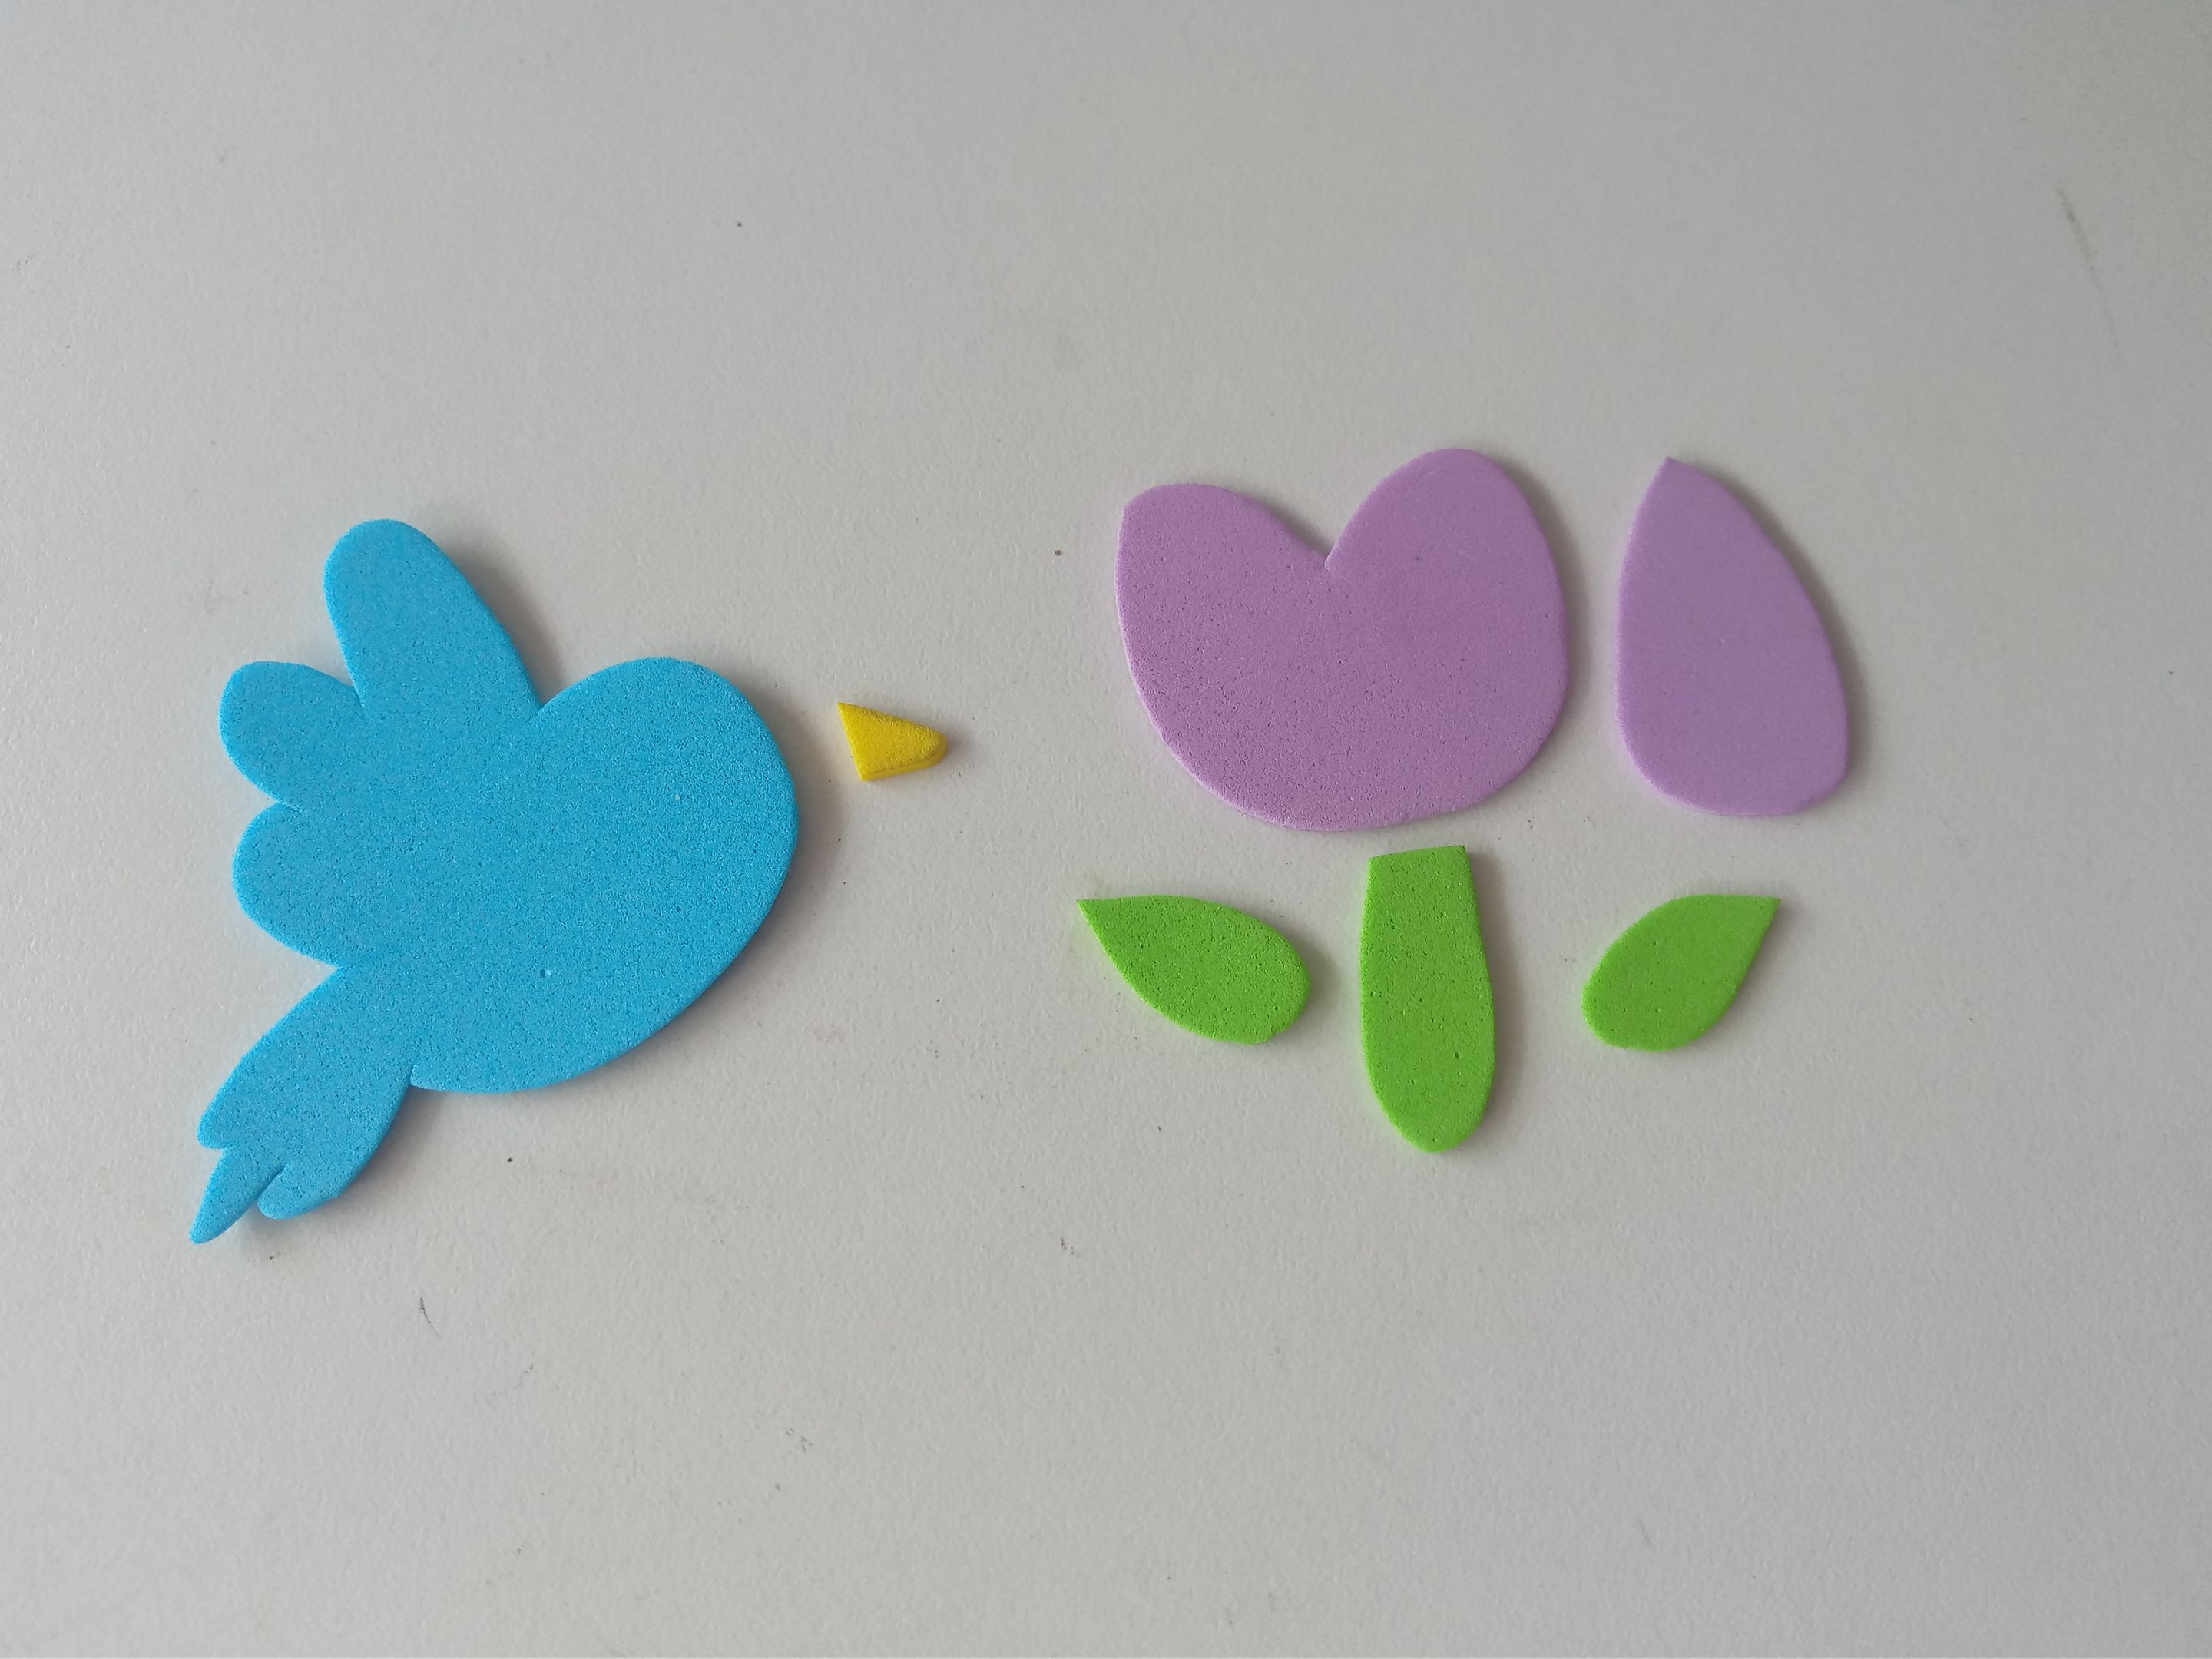
Ahora vamos con la decoración; en este caso quise elaborar un pajarito y una flor, específicamente un tulipán, así que al estar lista la idea en una hoja blanca, transferí a los colores correspondientes de foami, como explico a continuación:
**Para el pájaro:**
✨Cuerpo y alas: 6 cm x 5 cm en foami azul.
✨Pico: 0.8 cm en foami amarillo o dorado.
**Para la flor:**
✨Tulipán: 4 cm x 3.5 cm y 3.5 cm x 2 cm en foami lila.
✨Tallo: 2.5 cm x 1 cm en foami verde.
✨Hojas: 2 cm x 1 cm en foami verde.
###### ✨STEP 3:
Now for the decoration. In this case, I wanted to make a little bird and a flower, specifically a tulip. So, once the idea was ready on a white sheet, I transferred the corresponding colors of foam to the pieces, as explained below:
**For the bird:**
✨Body and wings: 6 cm x 5 cm in blue foam.
✨Beak: 0.8 cm in yellow or gold foam.
**For the flower:**
✨Tulip: 4 cm x 3.5 cm and 3.5 cm x 2 cm in lilac foam.
✨Stem: 2.5 cm x 1 cm in green foam.
✨Leaves: 2 cm x 1 cm in green foam.
###### ✨PASO 4:
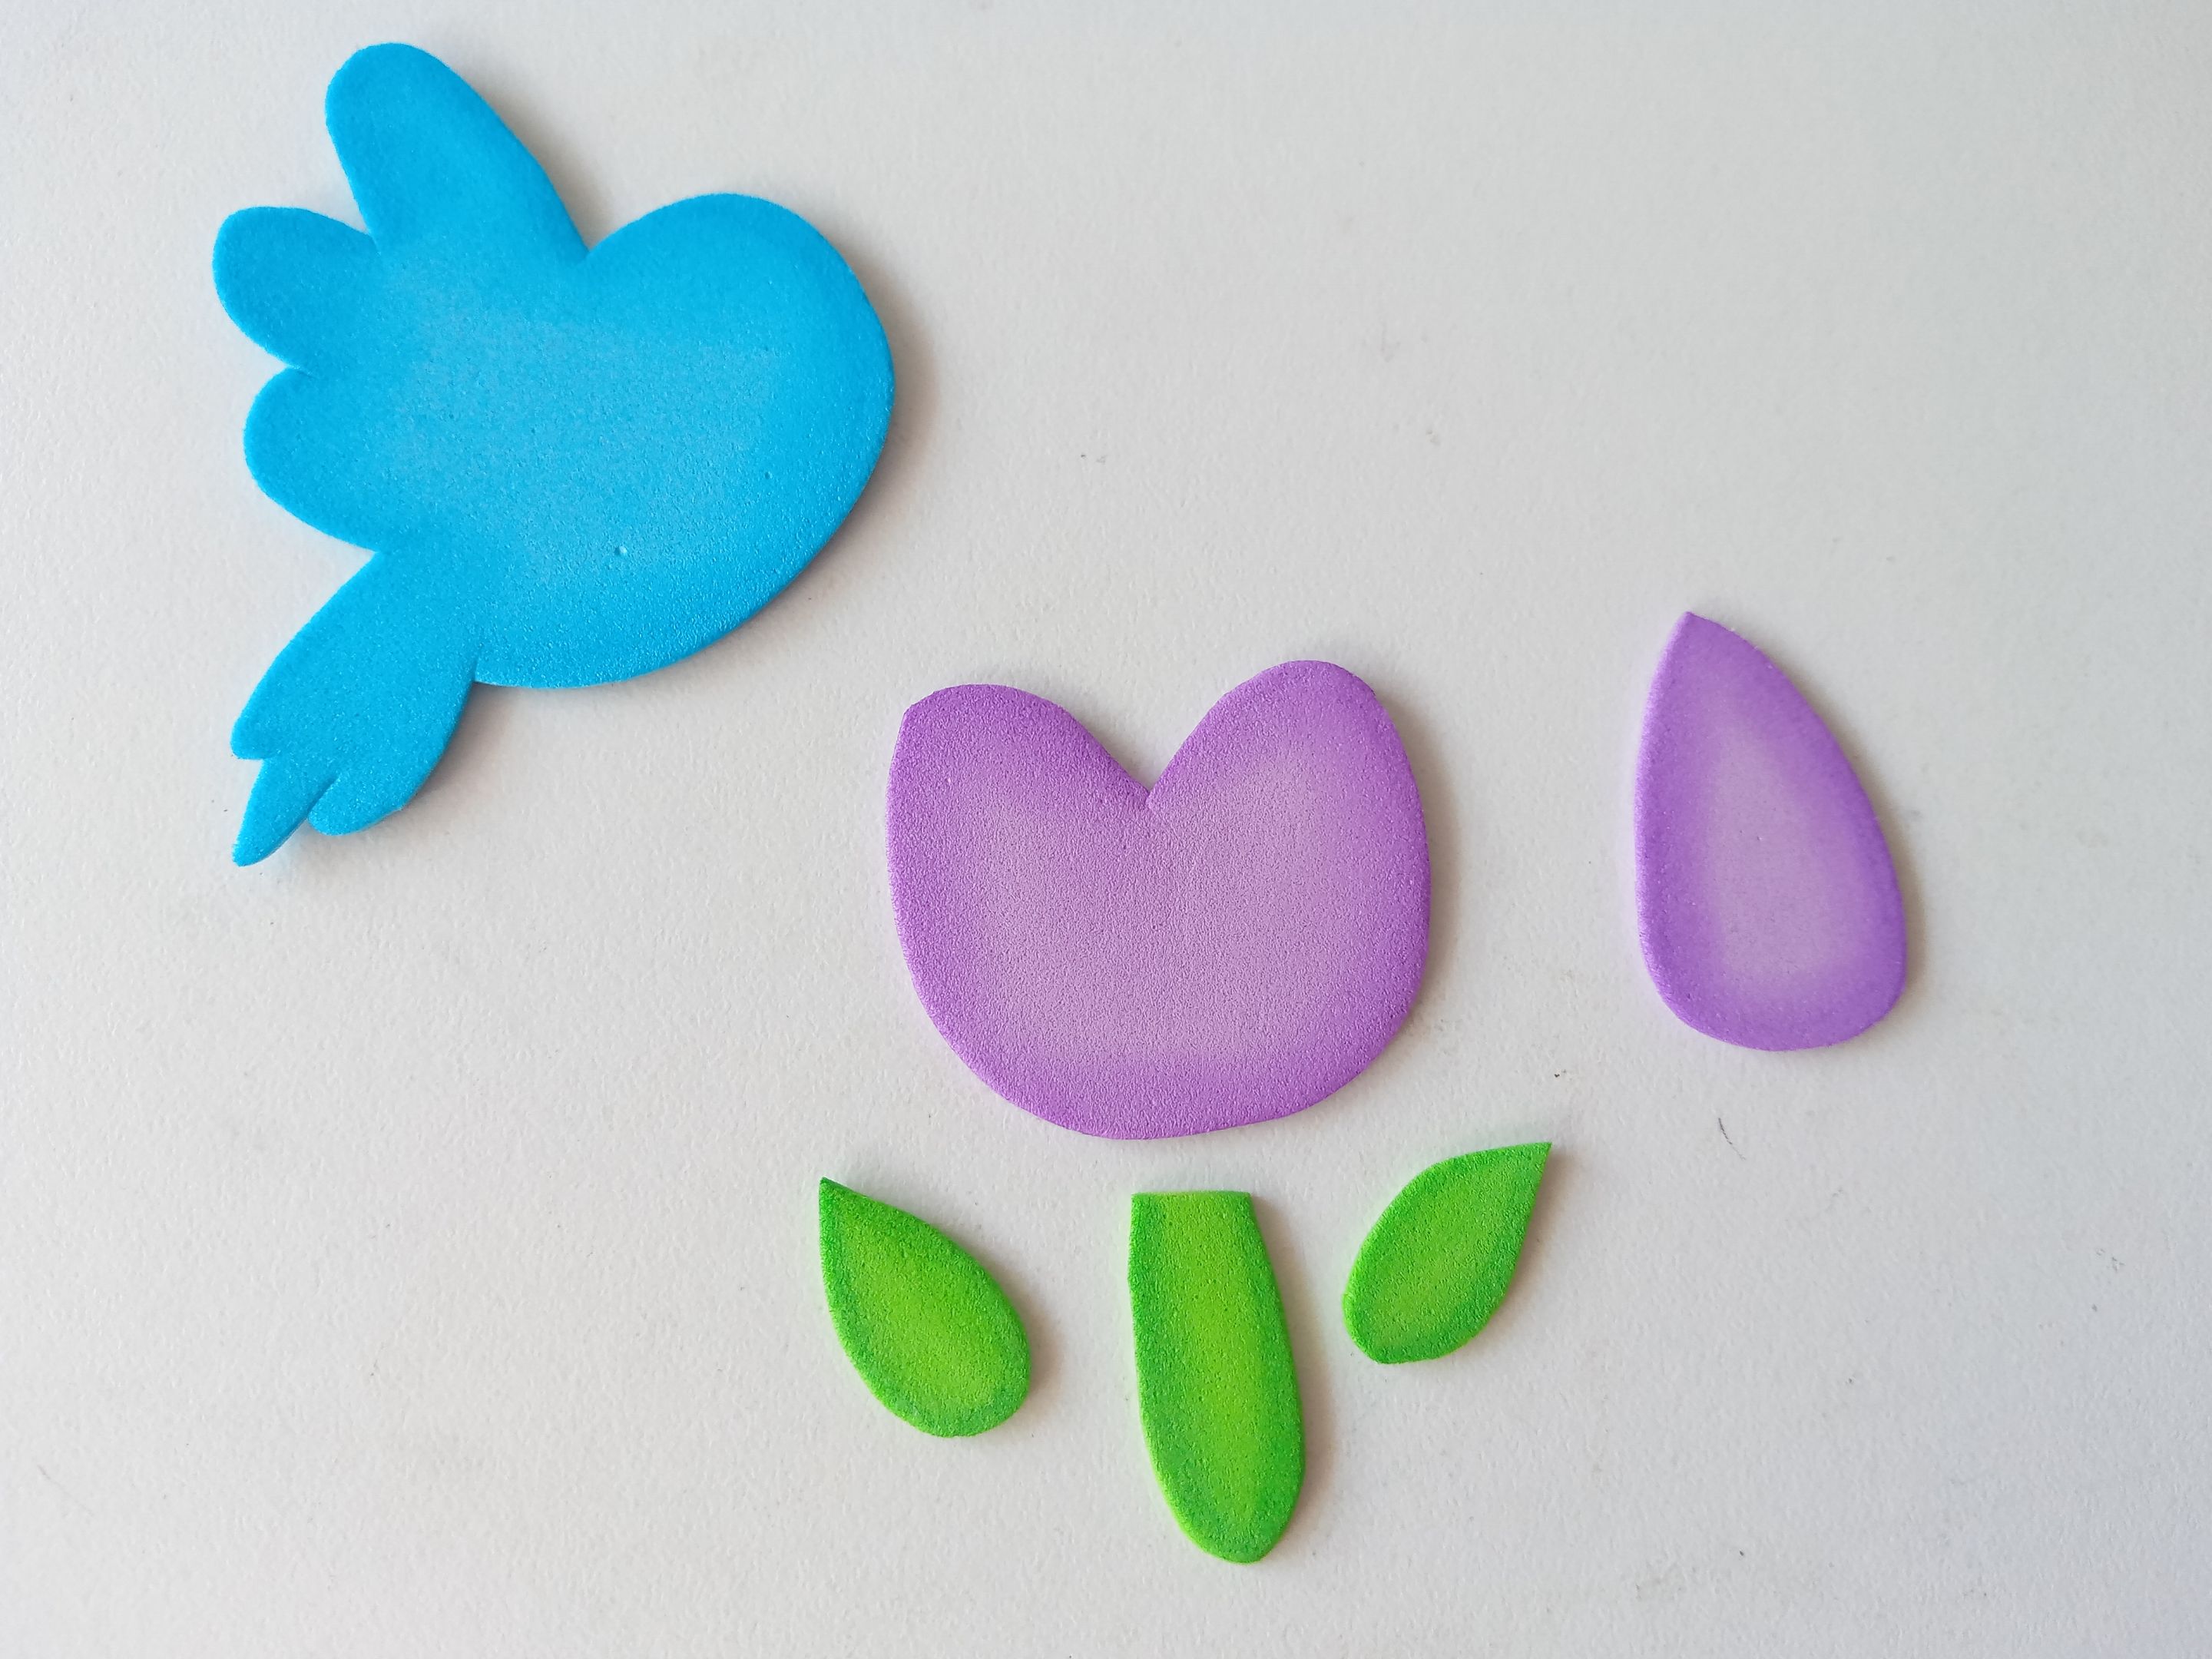
Al estar listas las piezas, damos color a los bordes como hicimos anteriormente con el marco y utilizando tonos más oscuros que el color de las piezas. Al estar seco, es momento de definir y dar más detalles con marcadores, como sería el ojo, definir un poco las alas, el tulipán, el tallo y las hojas.
###### ✨STEP 4:
Once the pieces are ready, we color the edges as we did previously with the frame, using darker tones than the colors of the pieces. Once dry, it's time to define and add more details with markers, such as the eye, and to slightly define the wings, the tulip, the stem, and the leaves.
###### ✨PASO 5:
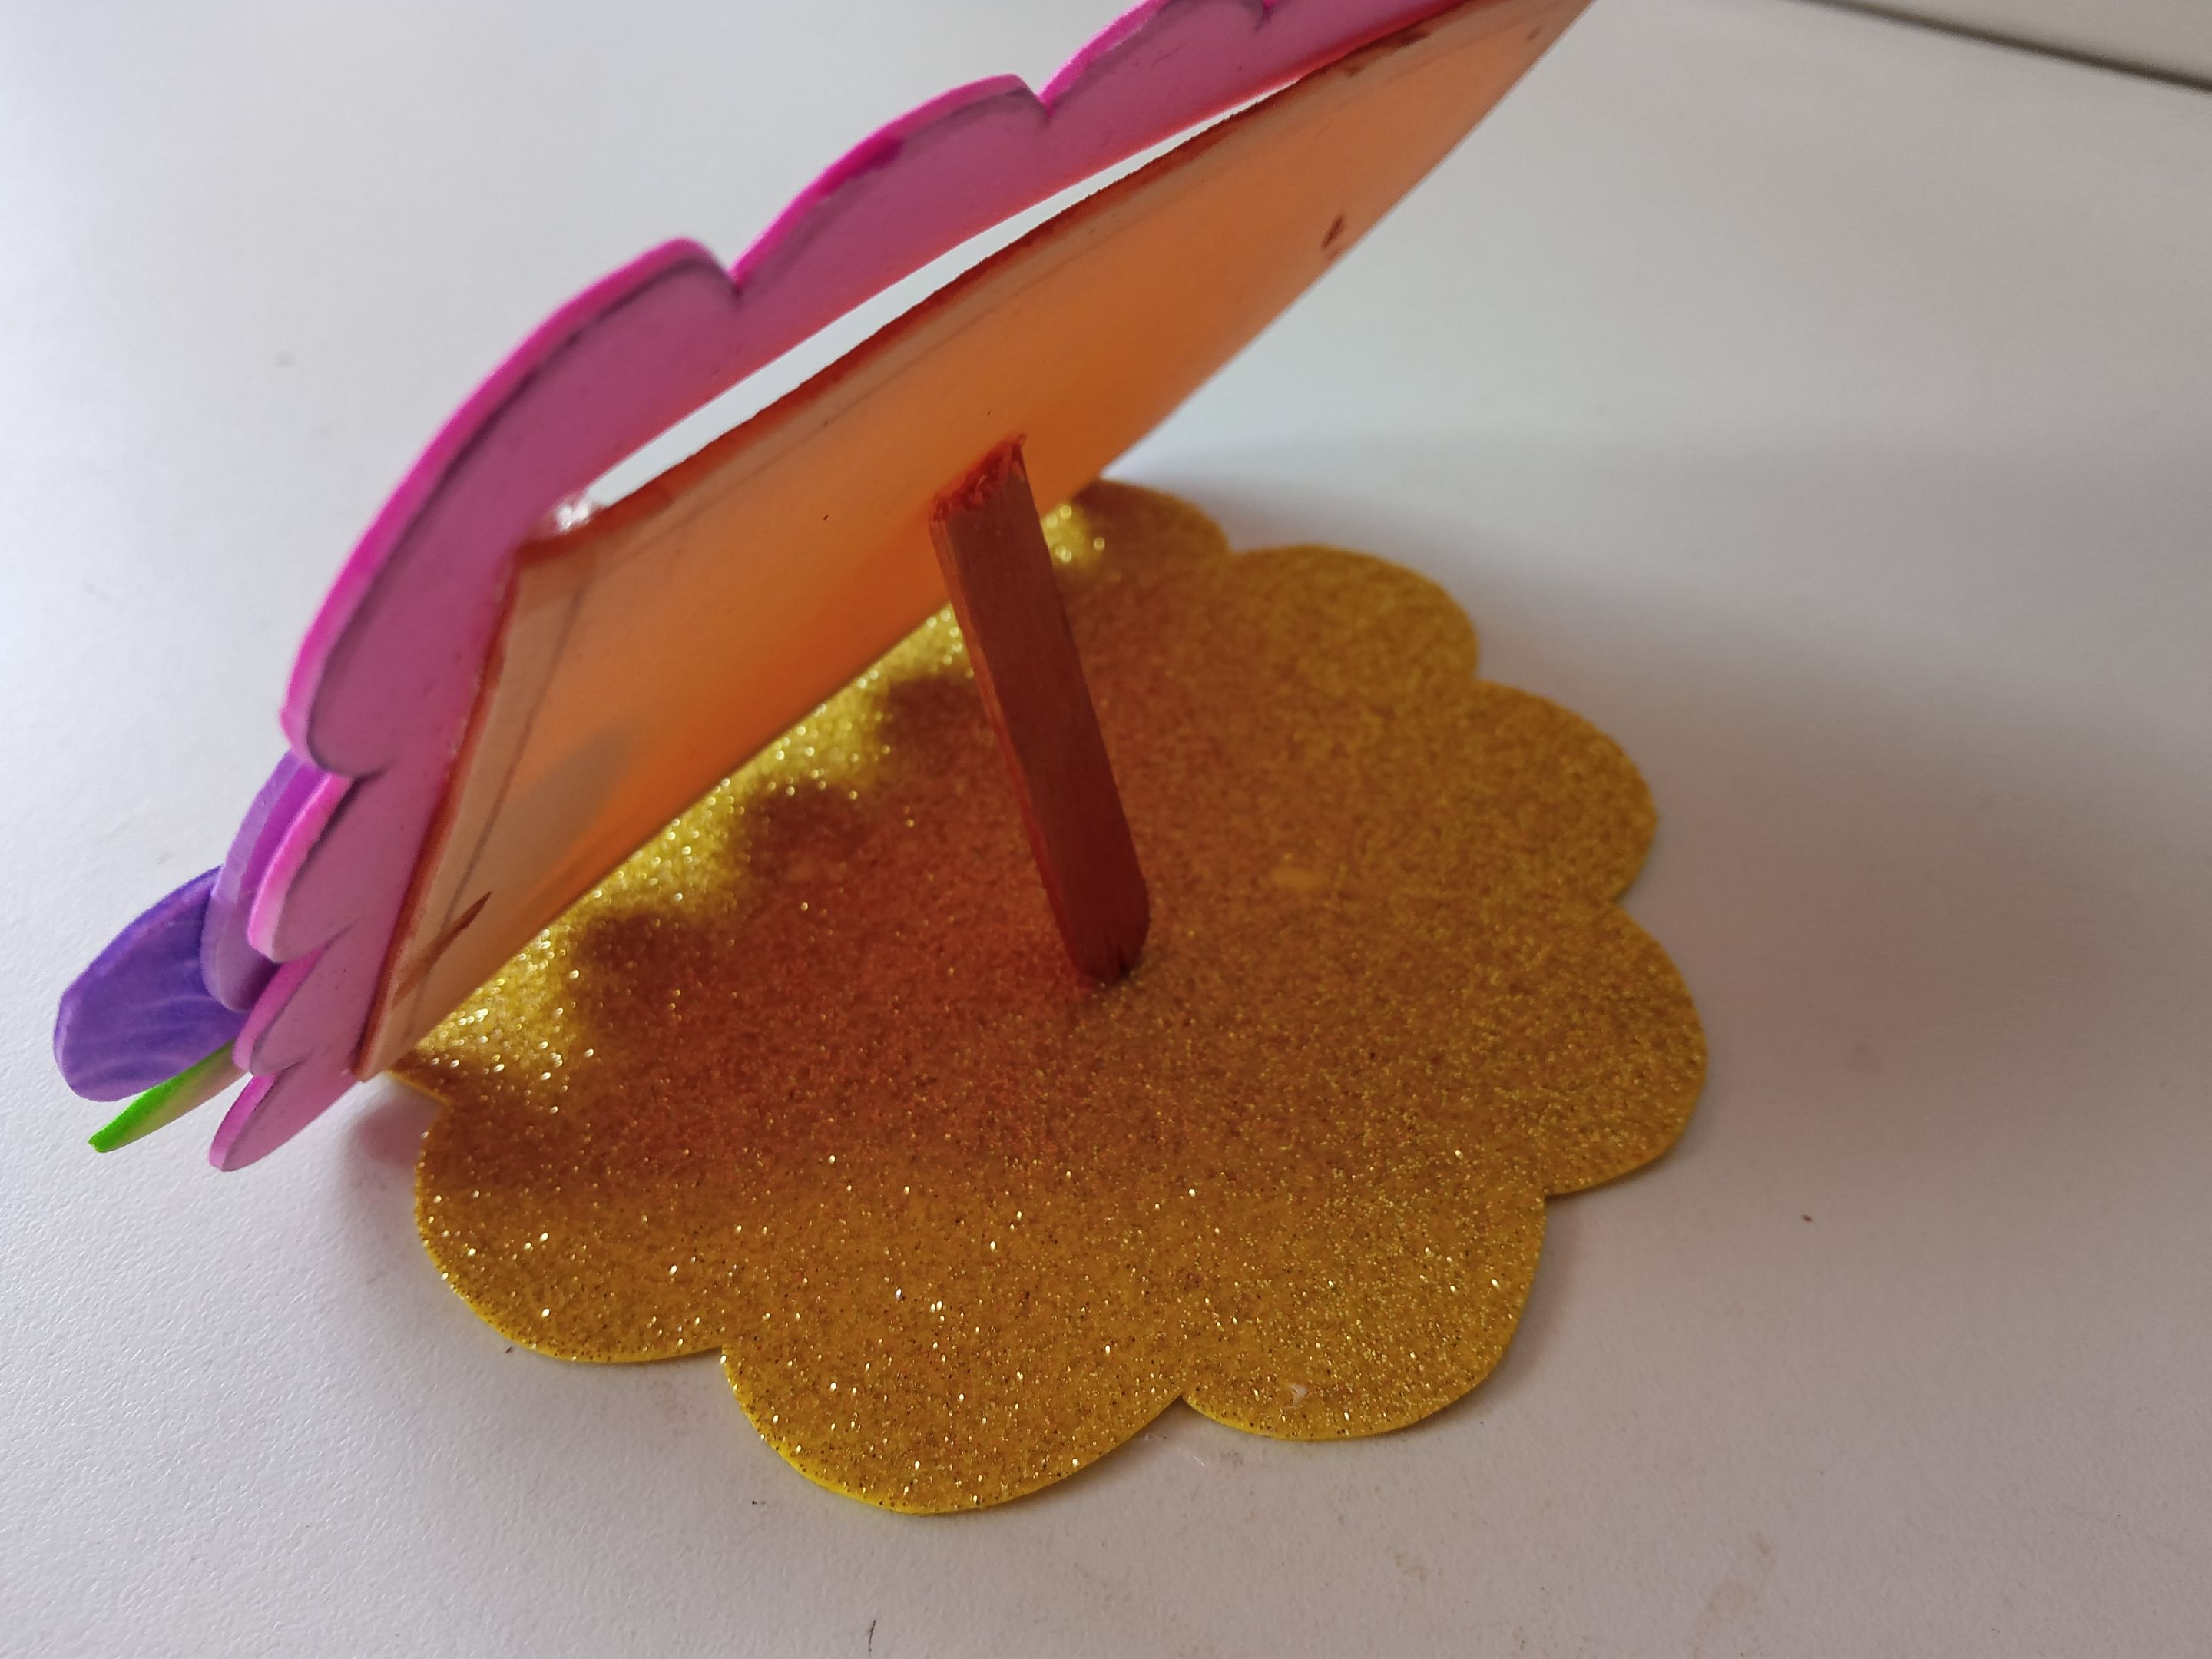
Seguidamente, uní las piezas y las pegué en las esquinas del marco, una arriba y la otra abajo, del lado opuesto. Para finalizar, corté la paleta de helado a la mitad y pegué justo por la parte trasera en el fondo del marco de forma diagonal y la otra punta de la paleta en medio de la base de foami escarchado dorado.
###### ✨STEP 5:
Next, I joined the pieces and glued them to the corners of the frame, one at the top and the other at the bottom, on the opposite side. To finish, I cut the popsicle stick in half and glued the back of the stick diagonally to the bottom of the frame, and glued the other end of the stick to the middle of the gold frosted foam base.
# ✨RESULTADO: | ✨RESULT:

|||
|-|-|
---

---
**!TE DESEO UN GRAN DÏA¡**
Todas las fotografías son de mi propiedad.
Separador y Fotos editadas en [Canva](https://www.canva.com/)
**!I WISH YOU A GOOD DAY**
All photographs are my property.
Photos edited in [Canva](https://www.canva.com/)