######
✨¡Hola amigos amantes de la creatividad! Espero que estén todos bien.✨
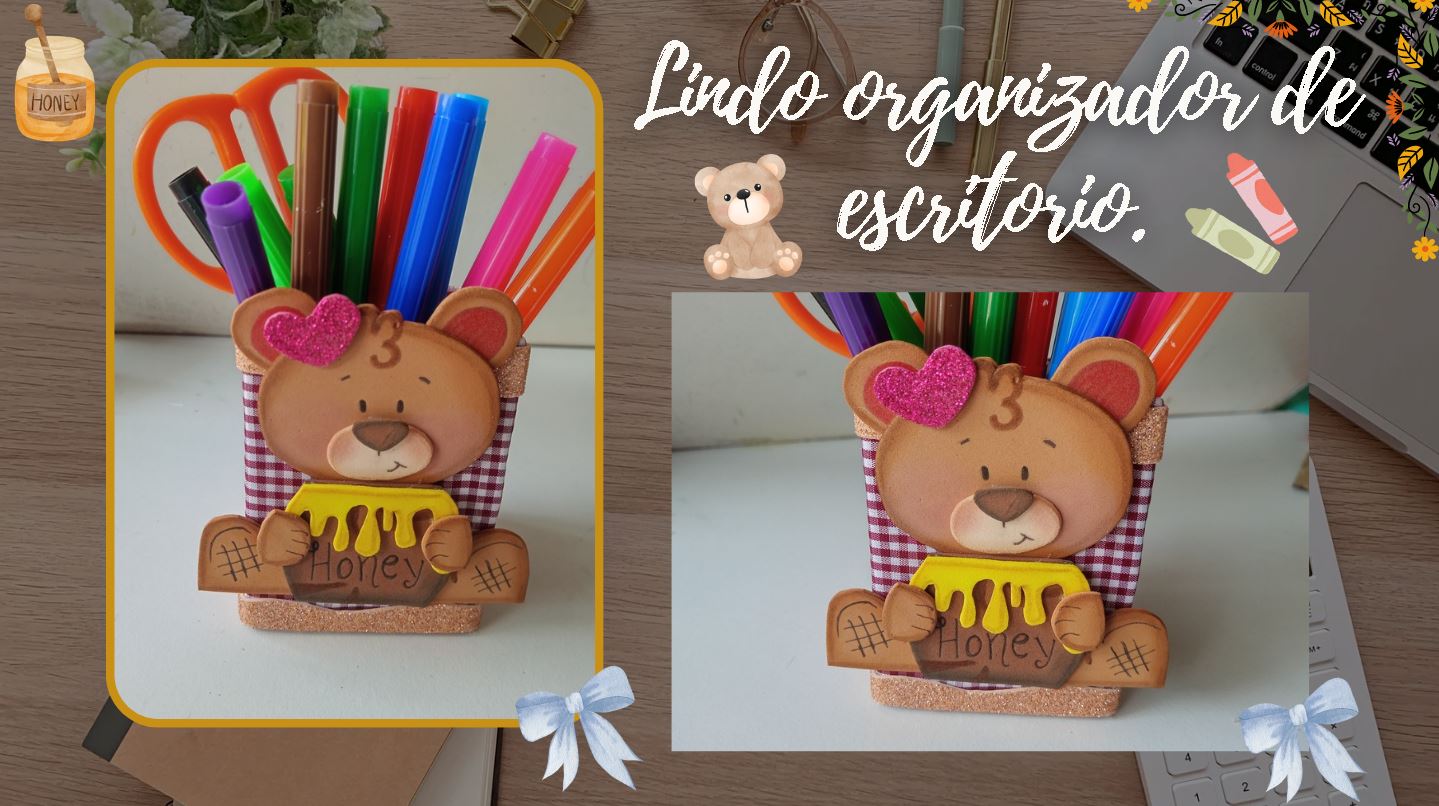
¡Buenas tardes, amigos! Espero estén pasando una excelente semana. Por mi parte, contenta de pasar por acá a compartir una linda idea con ustedes. En esta ocasión les comparto el paso a paso para elaborar un lindo organizador de escritorio. Siempre digo que estas creaciones son perfectas para el escritorio de los pequeños, donde se sientan a hacer sus tareas, pero la verdad puede ser para cualquier persona que le guste y quiera decorar su espacio de trabajo, jaja. Esta vez pensé en elaborar un lindo osito, con su tarro de miel, así que me puse creativa dibujando el diseño hasta tener mi favorito y comenzar con esta linda decoración.
**🔸Sin más que añadir, a continuación los dejo con el paso a paso:**
> ######
✨¡Hello friends who love creativity! I hope you are all well.✨
>
Good afternoon, friends! I hope you're having a great week. For my part, I'm happy to stop by to share a lovely idea with you. This time, I'm sharing the step-by-step instructions for making a cute desk organizer. I always say these creations are perfect for a little one's desk, where they sit and do their homework, but the truth is, they can be for anyone who likes them and wants to decorate their workspace, haha. This time, I thought about making a cute little bear with its honey pot, so I got creative drawing the design until I had my favorite and started with this cute decoration.
> **🔸Without more to add, then I leave you with the step by step:**
---
---

|||
|-|-|


|||
|-|-|


|||
|-|-|


|||
|-|-|


|||
|-|-|

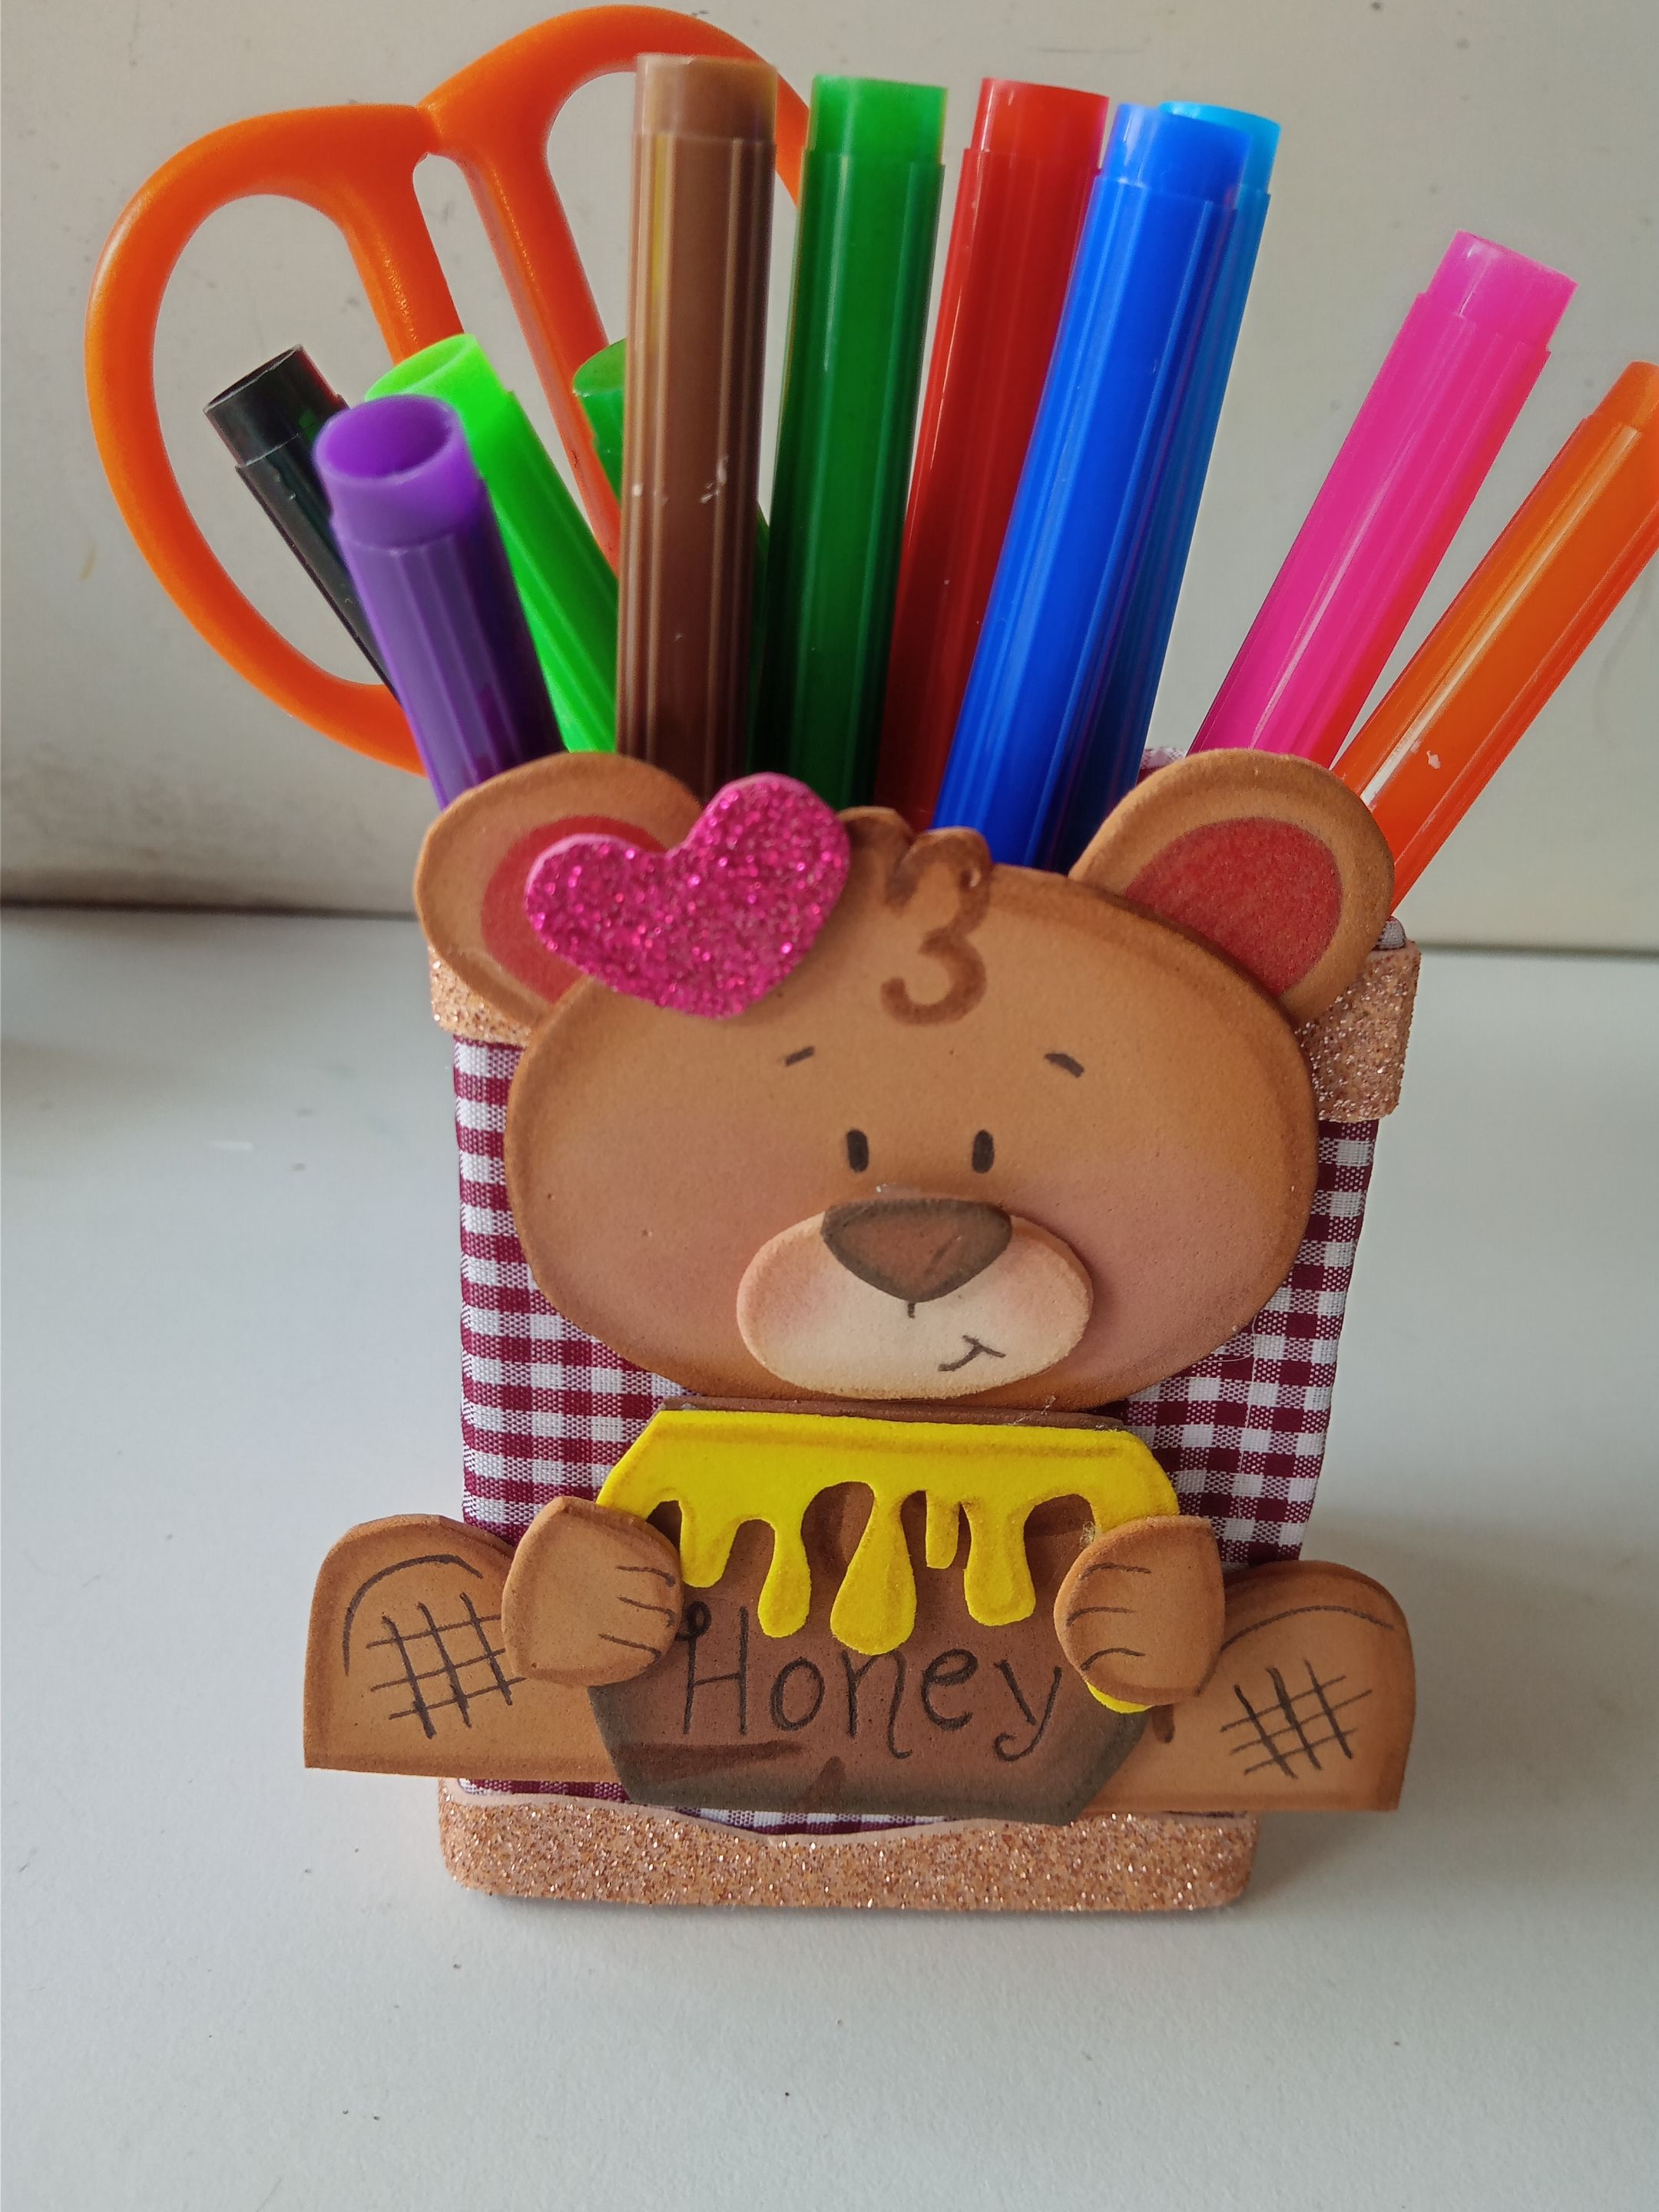
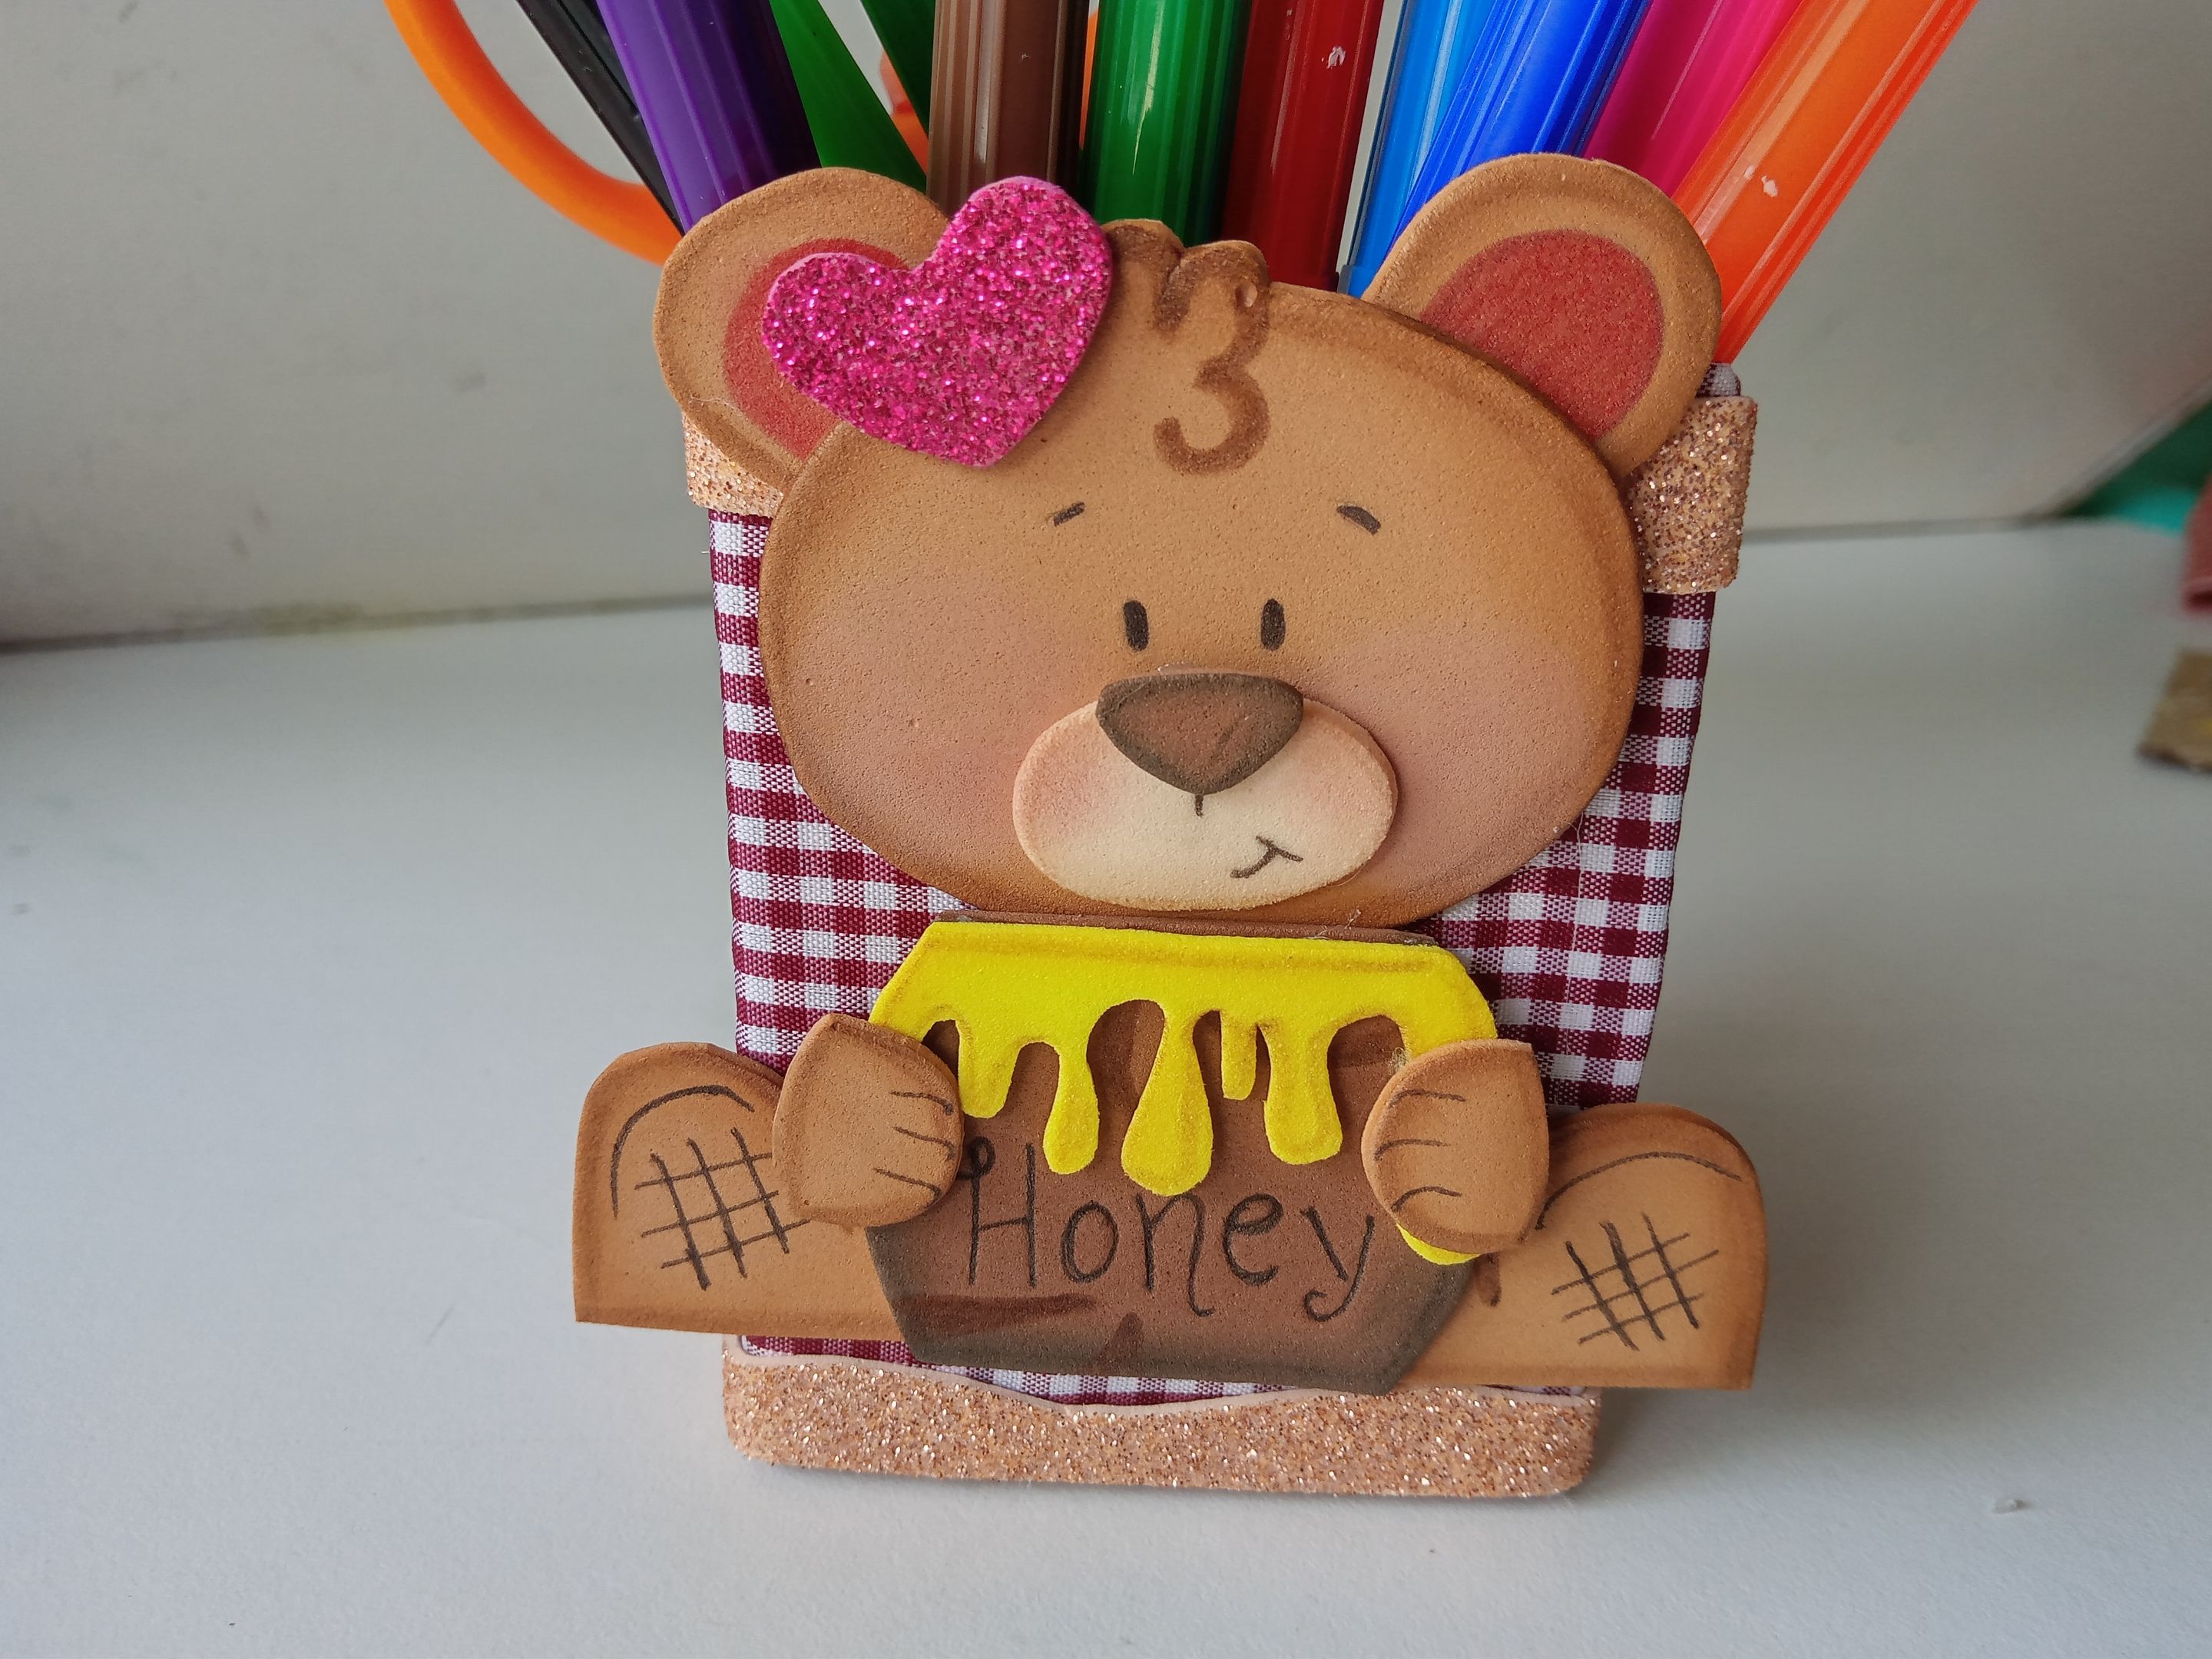
✨Así es como pueden elaborar un lindo organizador para decorar un poco más sus escritorios; como dije, puede ser para niños o quien desee decorar su espacio de trabajo o espacio creativo. Por otra parte, pueden elaborarlo con la decoración que deseen, igual que el tono de tela o diseño que más les guste. Espero que les haya gustado el paso a paso y se animen a elaborarlo.
❤️Hasta la próxima publicación.
>
✨This is how you can make a cute organizer to decorate your desks a little more: As I said, it can be for children or anyone who wants to decorate their workspace or creative space. You can also make it with any decoration you want, including the fabric color or design you like best. I hope you enjoyed the step-by-step instructions and are encouraged to try it.
>
❤️Until the next post.

**♥️ESPERO QUE TE GUSTE,
¡Empecemos!**
**♥️I HOPE YOU LIKE IT,
Let's start!**
---

# ✂️ MATERIALES | ✂️ MATERIALS

- Caja de cartón.
- Tela del color deseado.
- Foami escarchado rosa.
- Foami escarchado crema.
- Foami marrón.
- Foami amarillo.
- Foami crema.
- Pinturas y marcadores.
- Pegamento.
- Tijeras.
- Regla.
- Hoja blanca.
- Lápiz.
- Cardboard box.
- Fabric in the desired color.
- Pink frosted foam.
- Cream frosted foam.
- Brown foam.
- Yellow foam.
- Cream foam.
- Paints and markers.
- Glue.
- Scissors.
- Ruler.
- White paper.
- Pencil.

# 🌟 PROCEDIMIENTO | 🌟 PROCESS

###### ✨PASO 1:
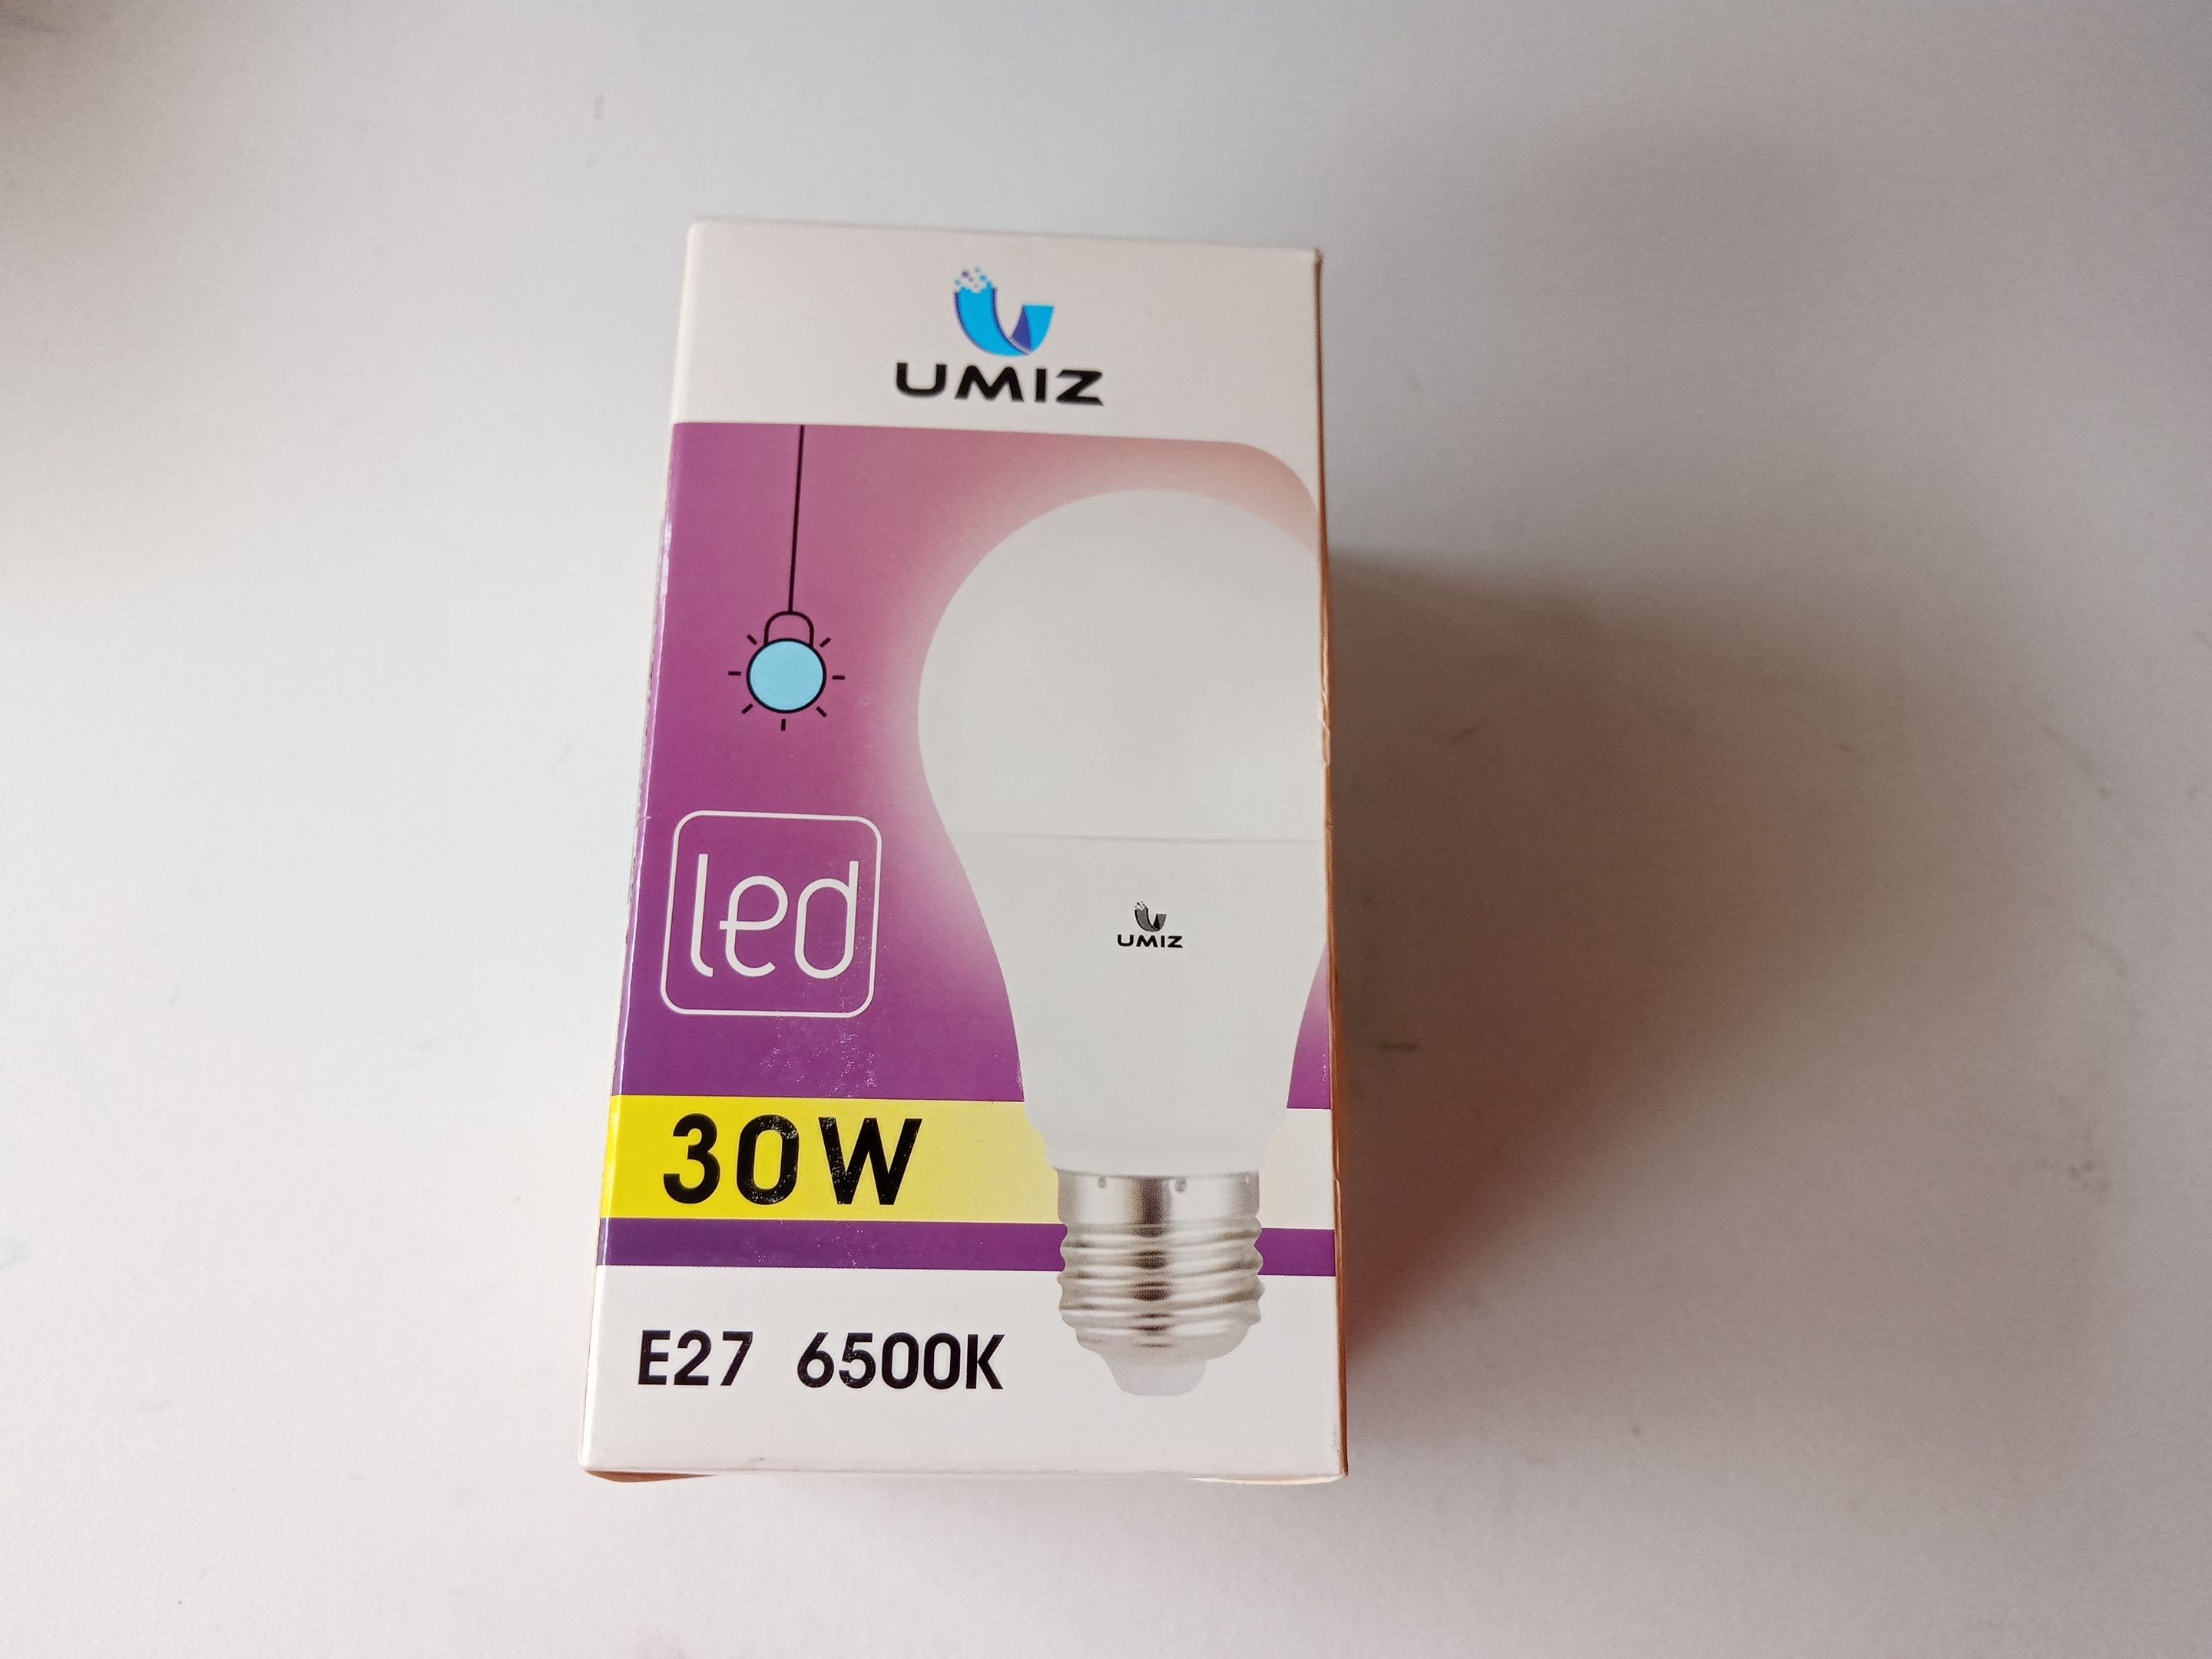
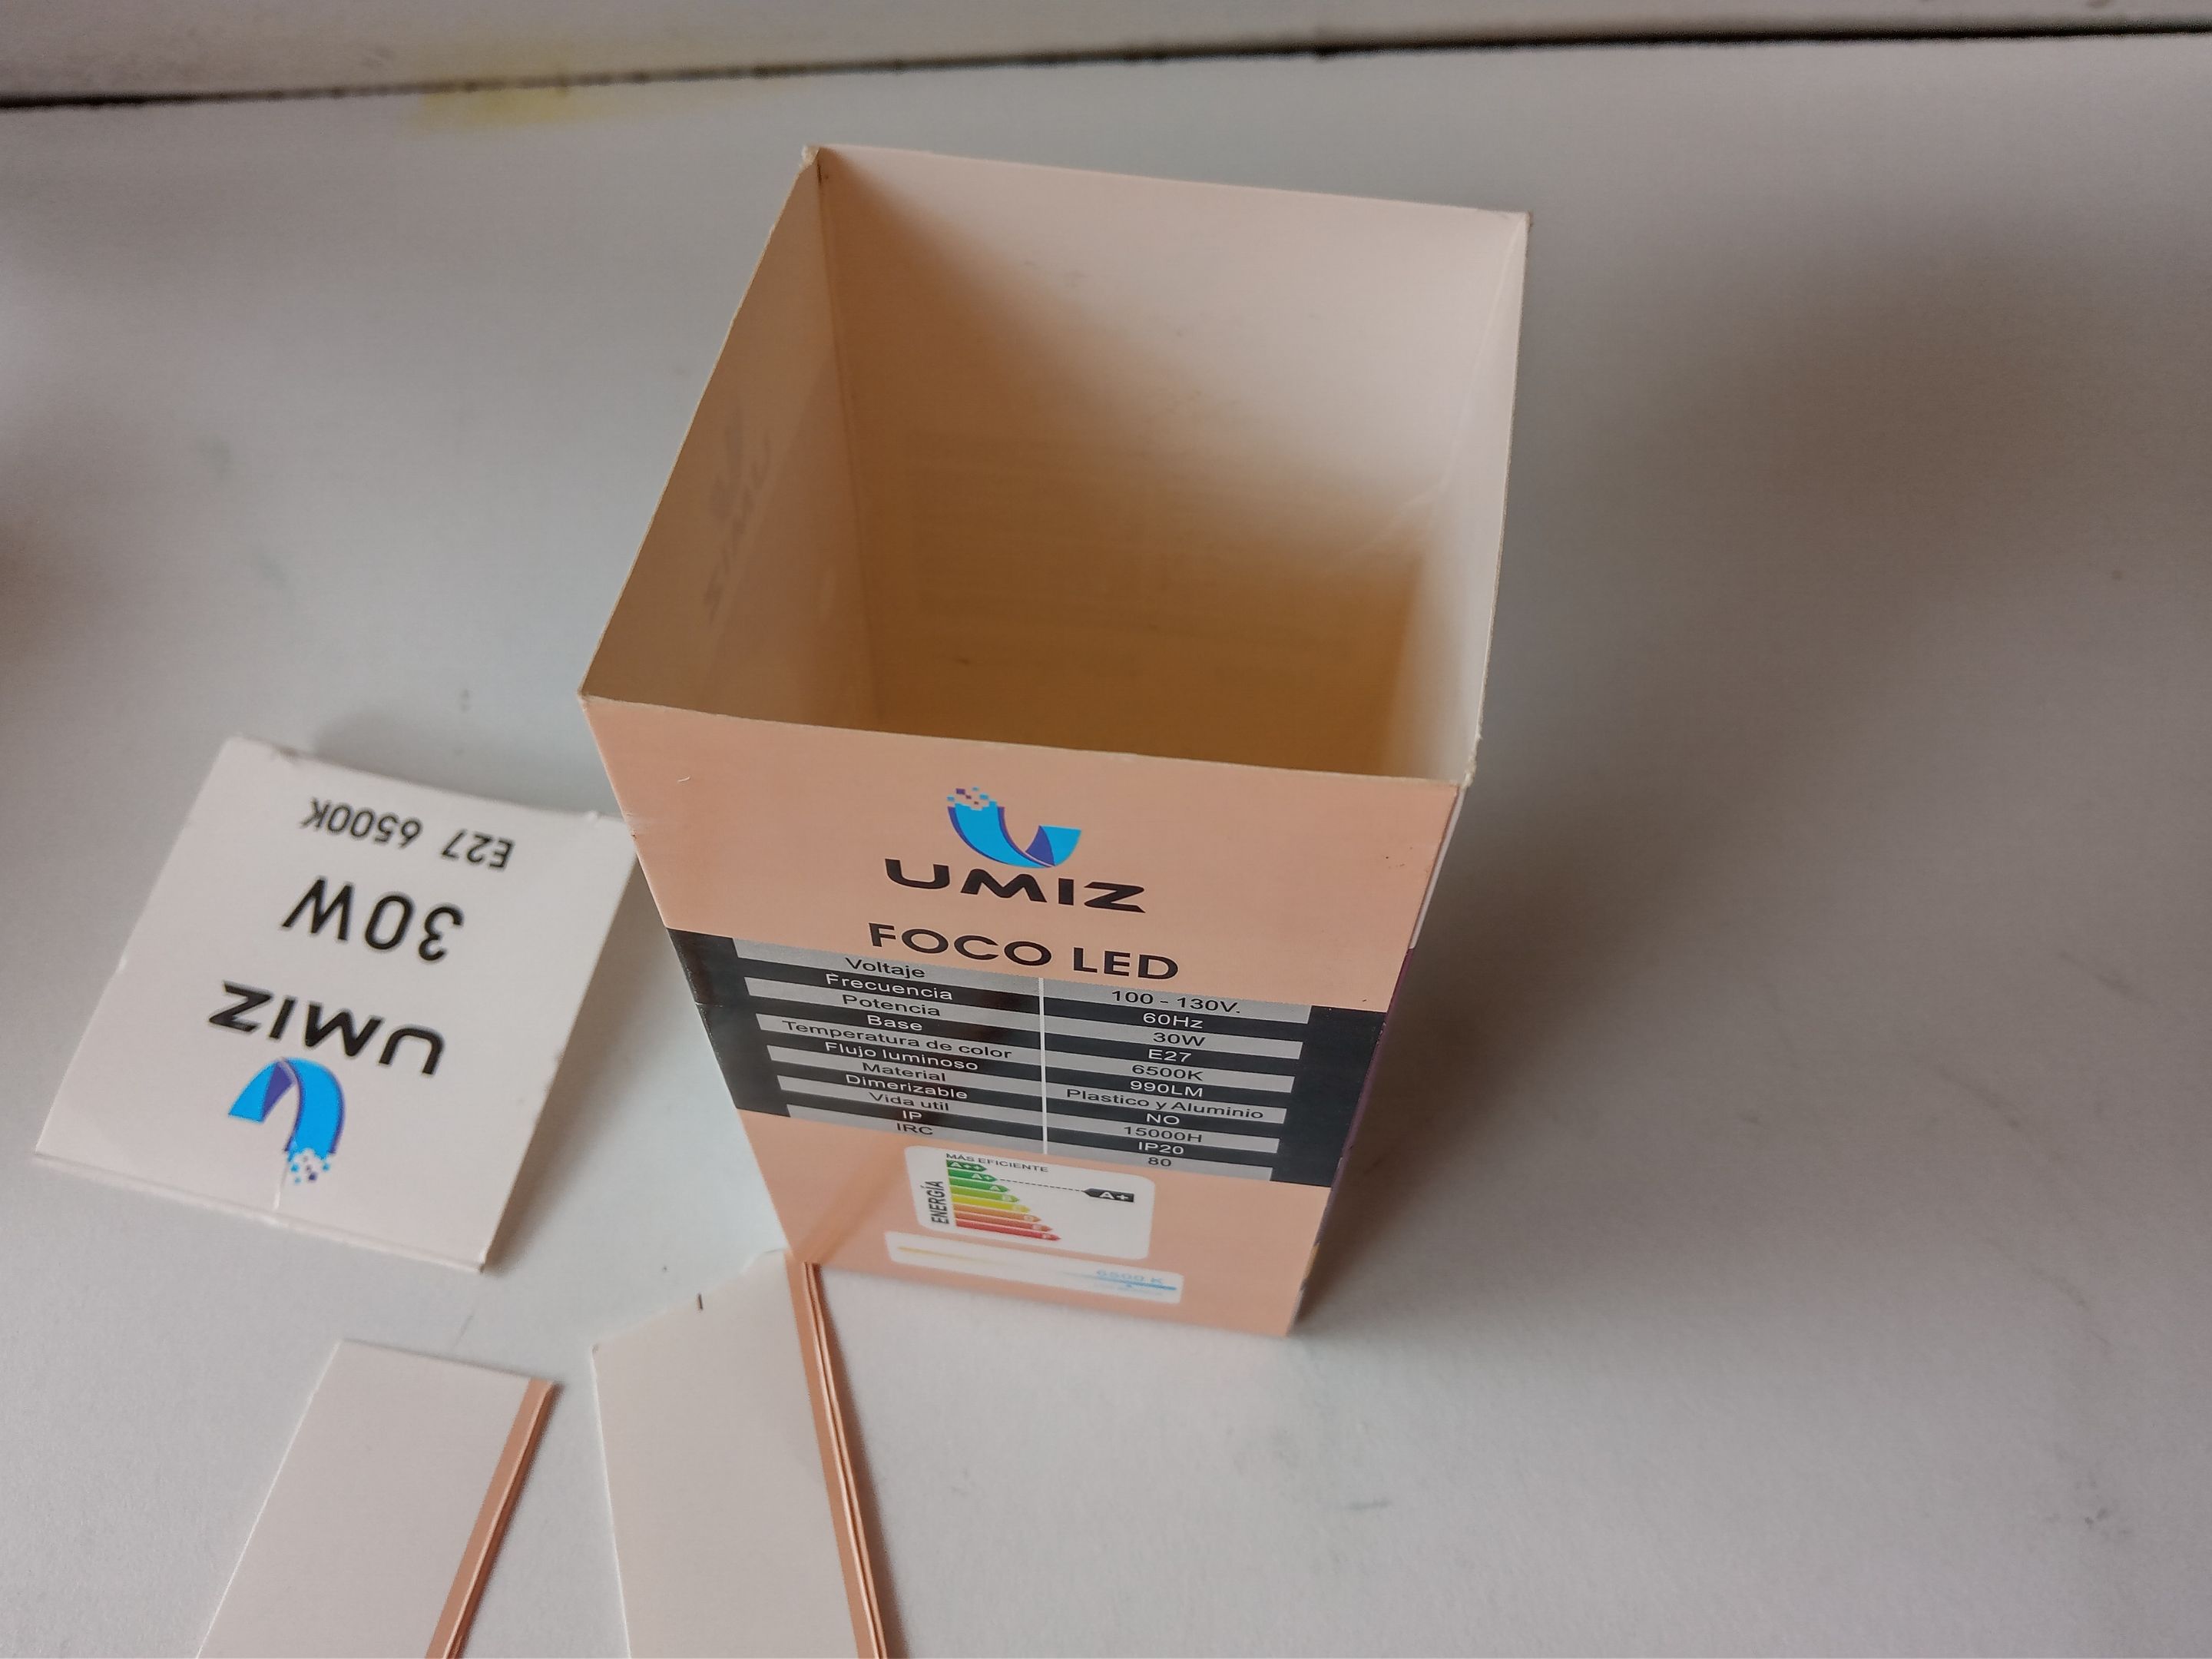
Lo primero que hice fue buscar la caja del tamaño adecuado para la base de mi organizador. En mi caso, utilicé una caja de bombillo, con unas medidas de 12 cm de largo y 7 cm de ancho. Como la veía muy larga, decidí cortar 2.5 cm de largo, dejando la caja con 9.5 cm. Además, le recorté la tapa y las pestañas superiores.
###### ✨STEP 1:
The first thing I did was find the right size box for the base of my organizer. In my case, I used a light bulb box measuring 12 cm long and 7 cm wide. Since it seemed too long, I decided to cut 2.5 cm off the length, leaving the box at 9.5 cm. I also trimmed the lid and the top tabs.
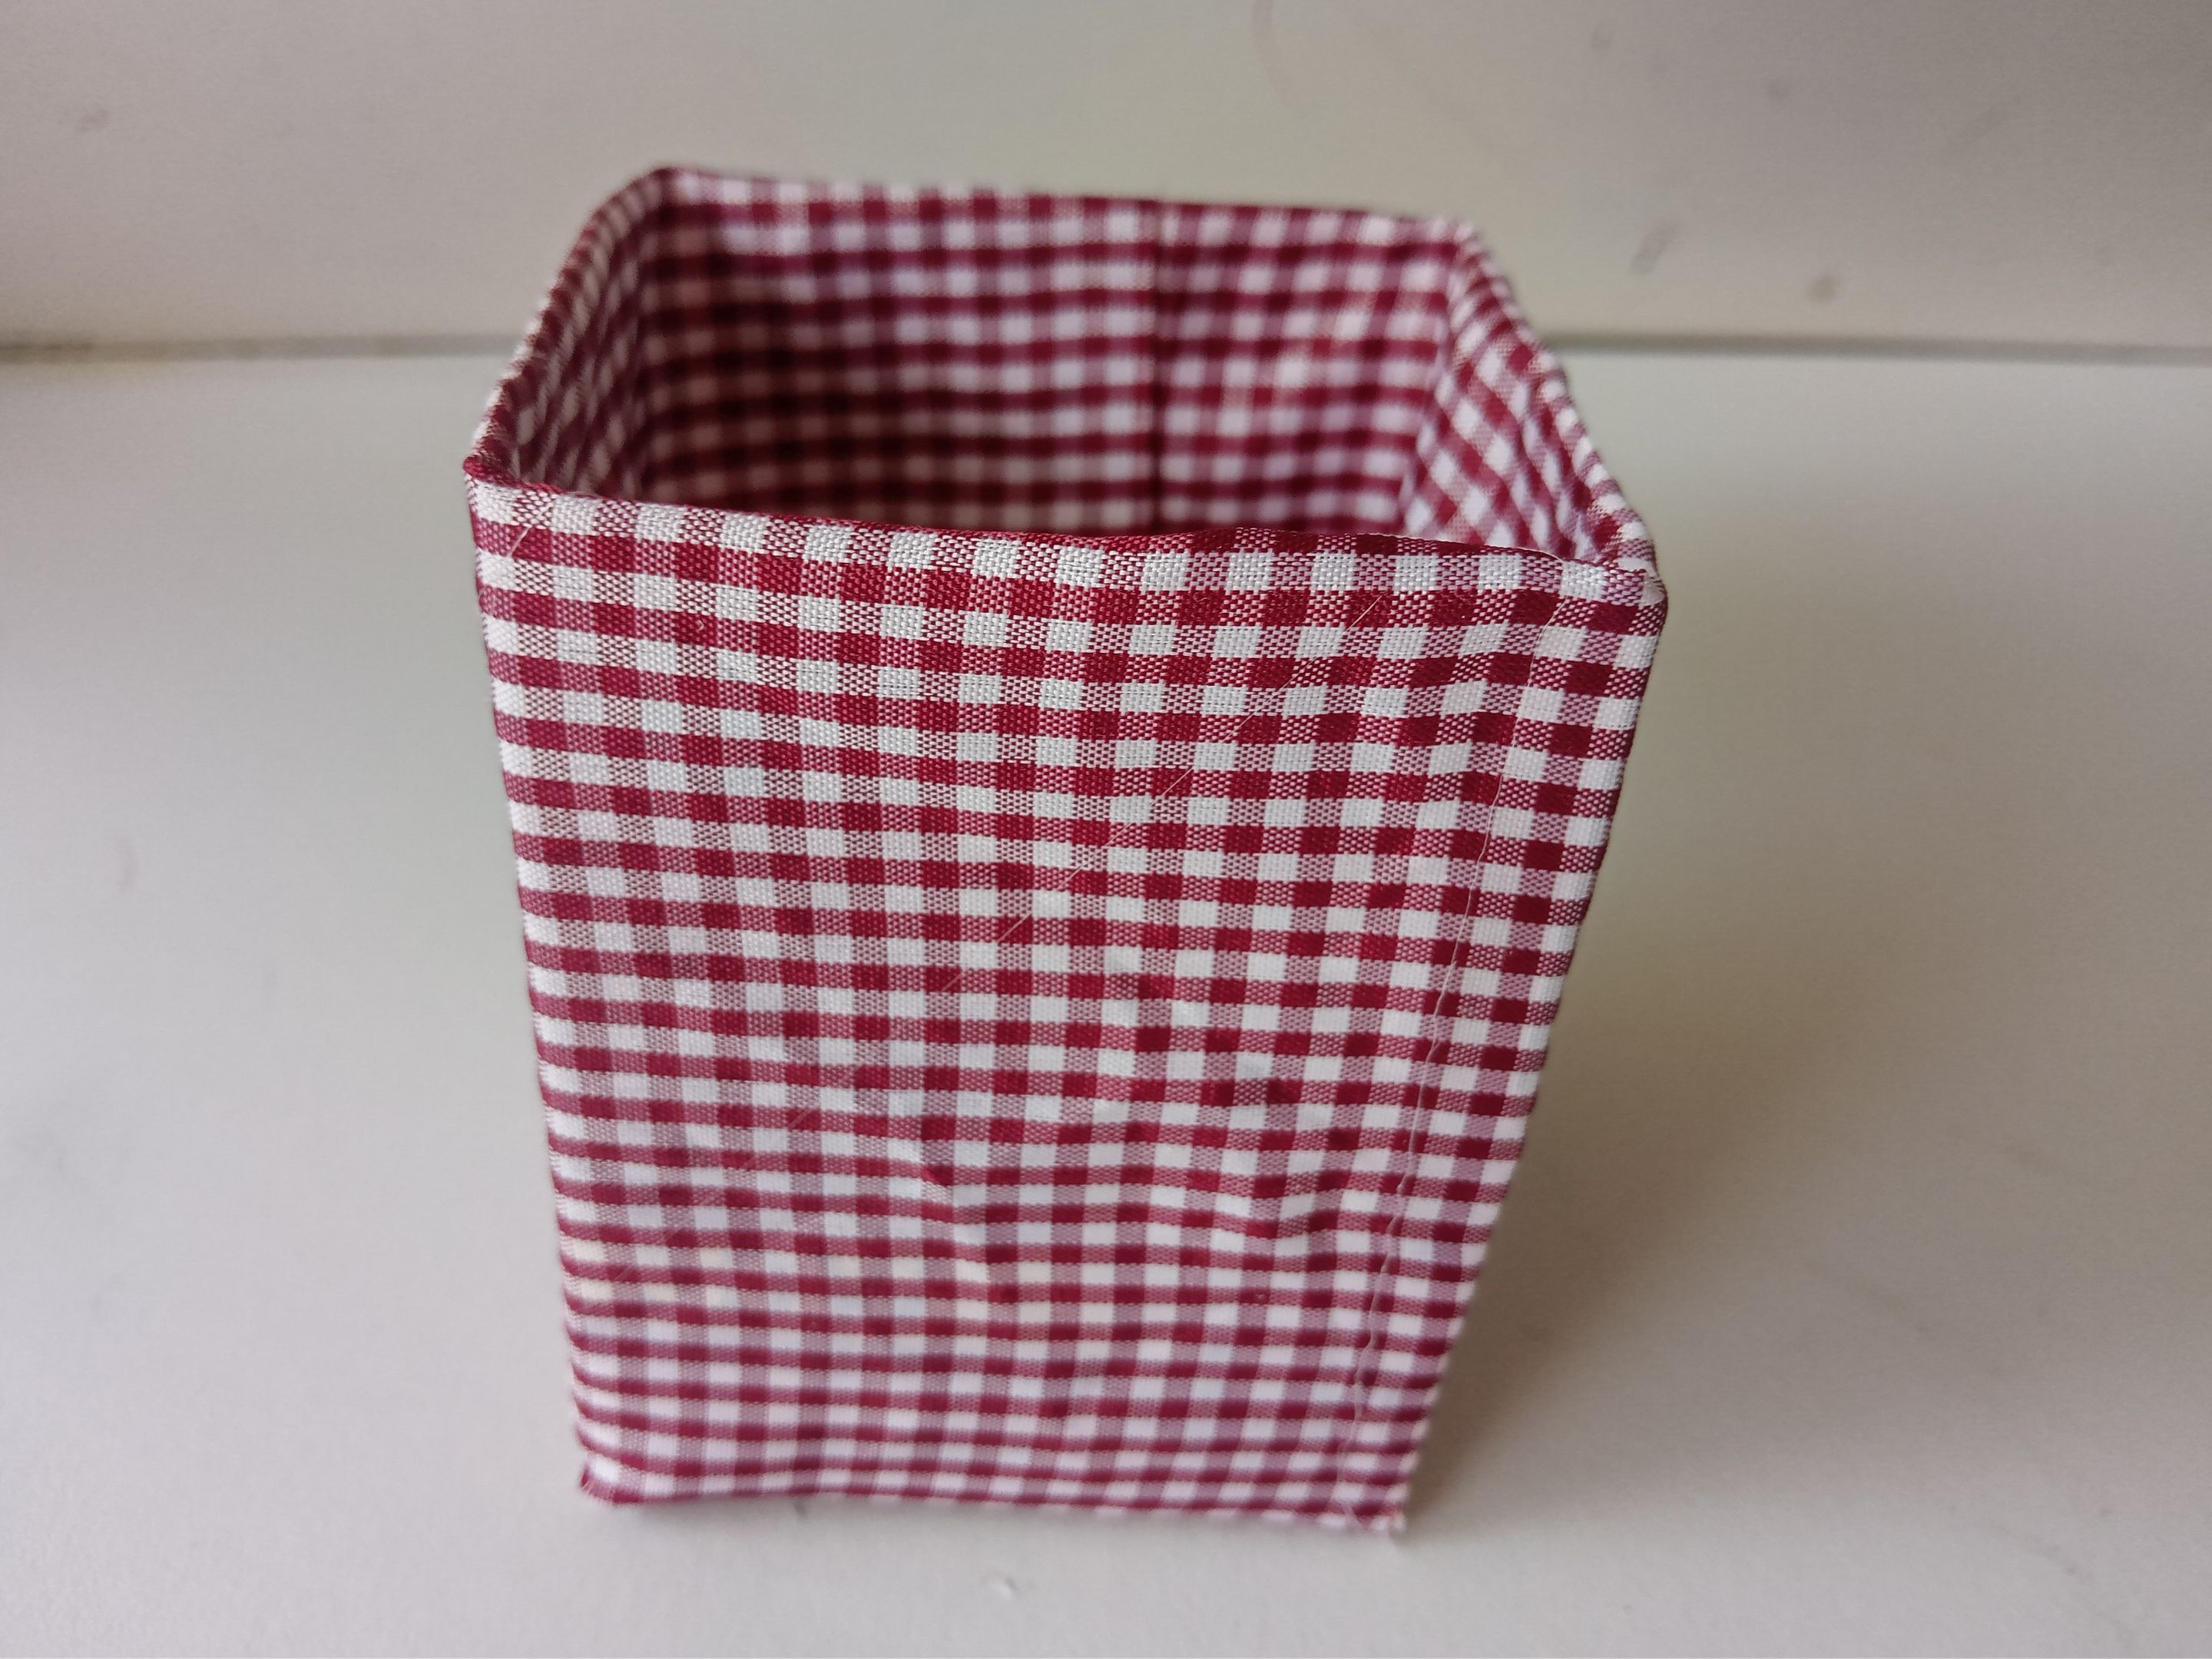
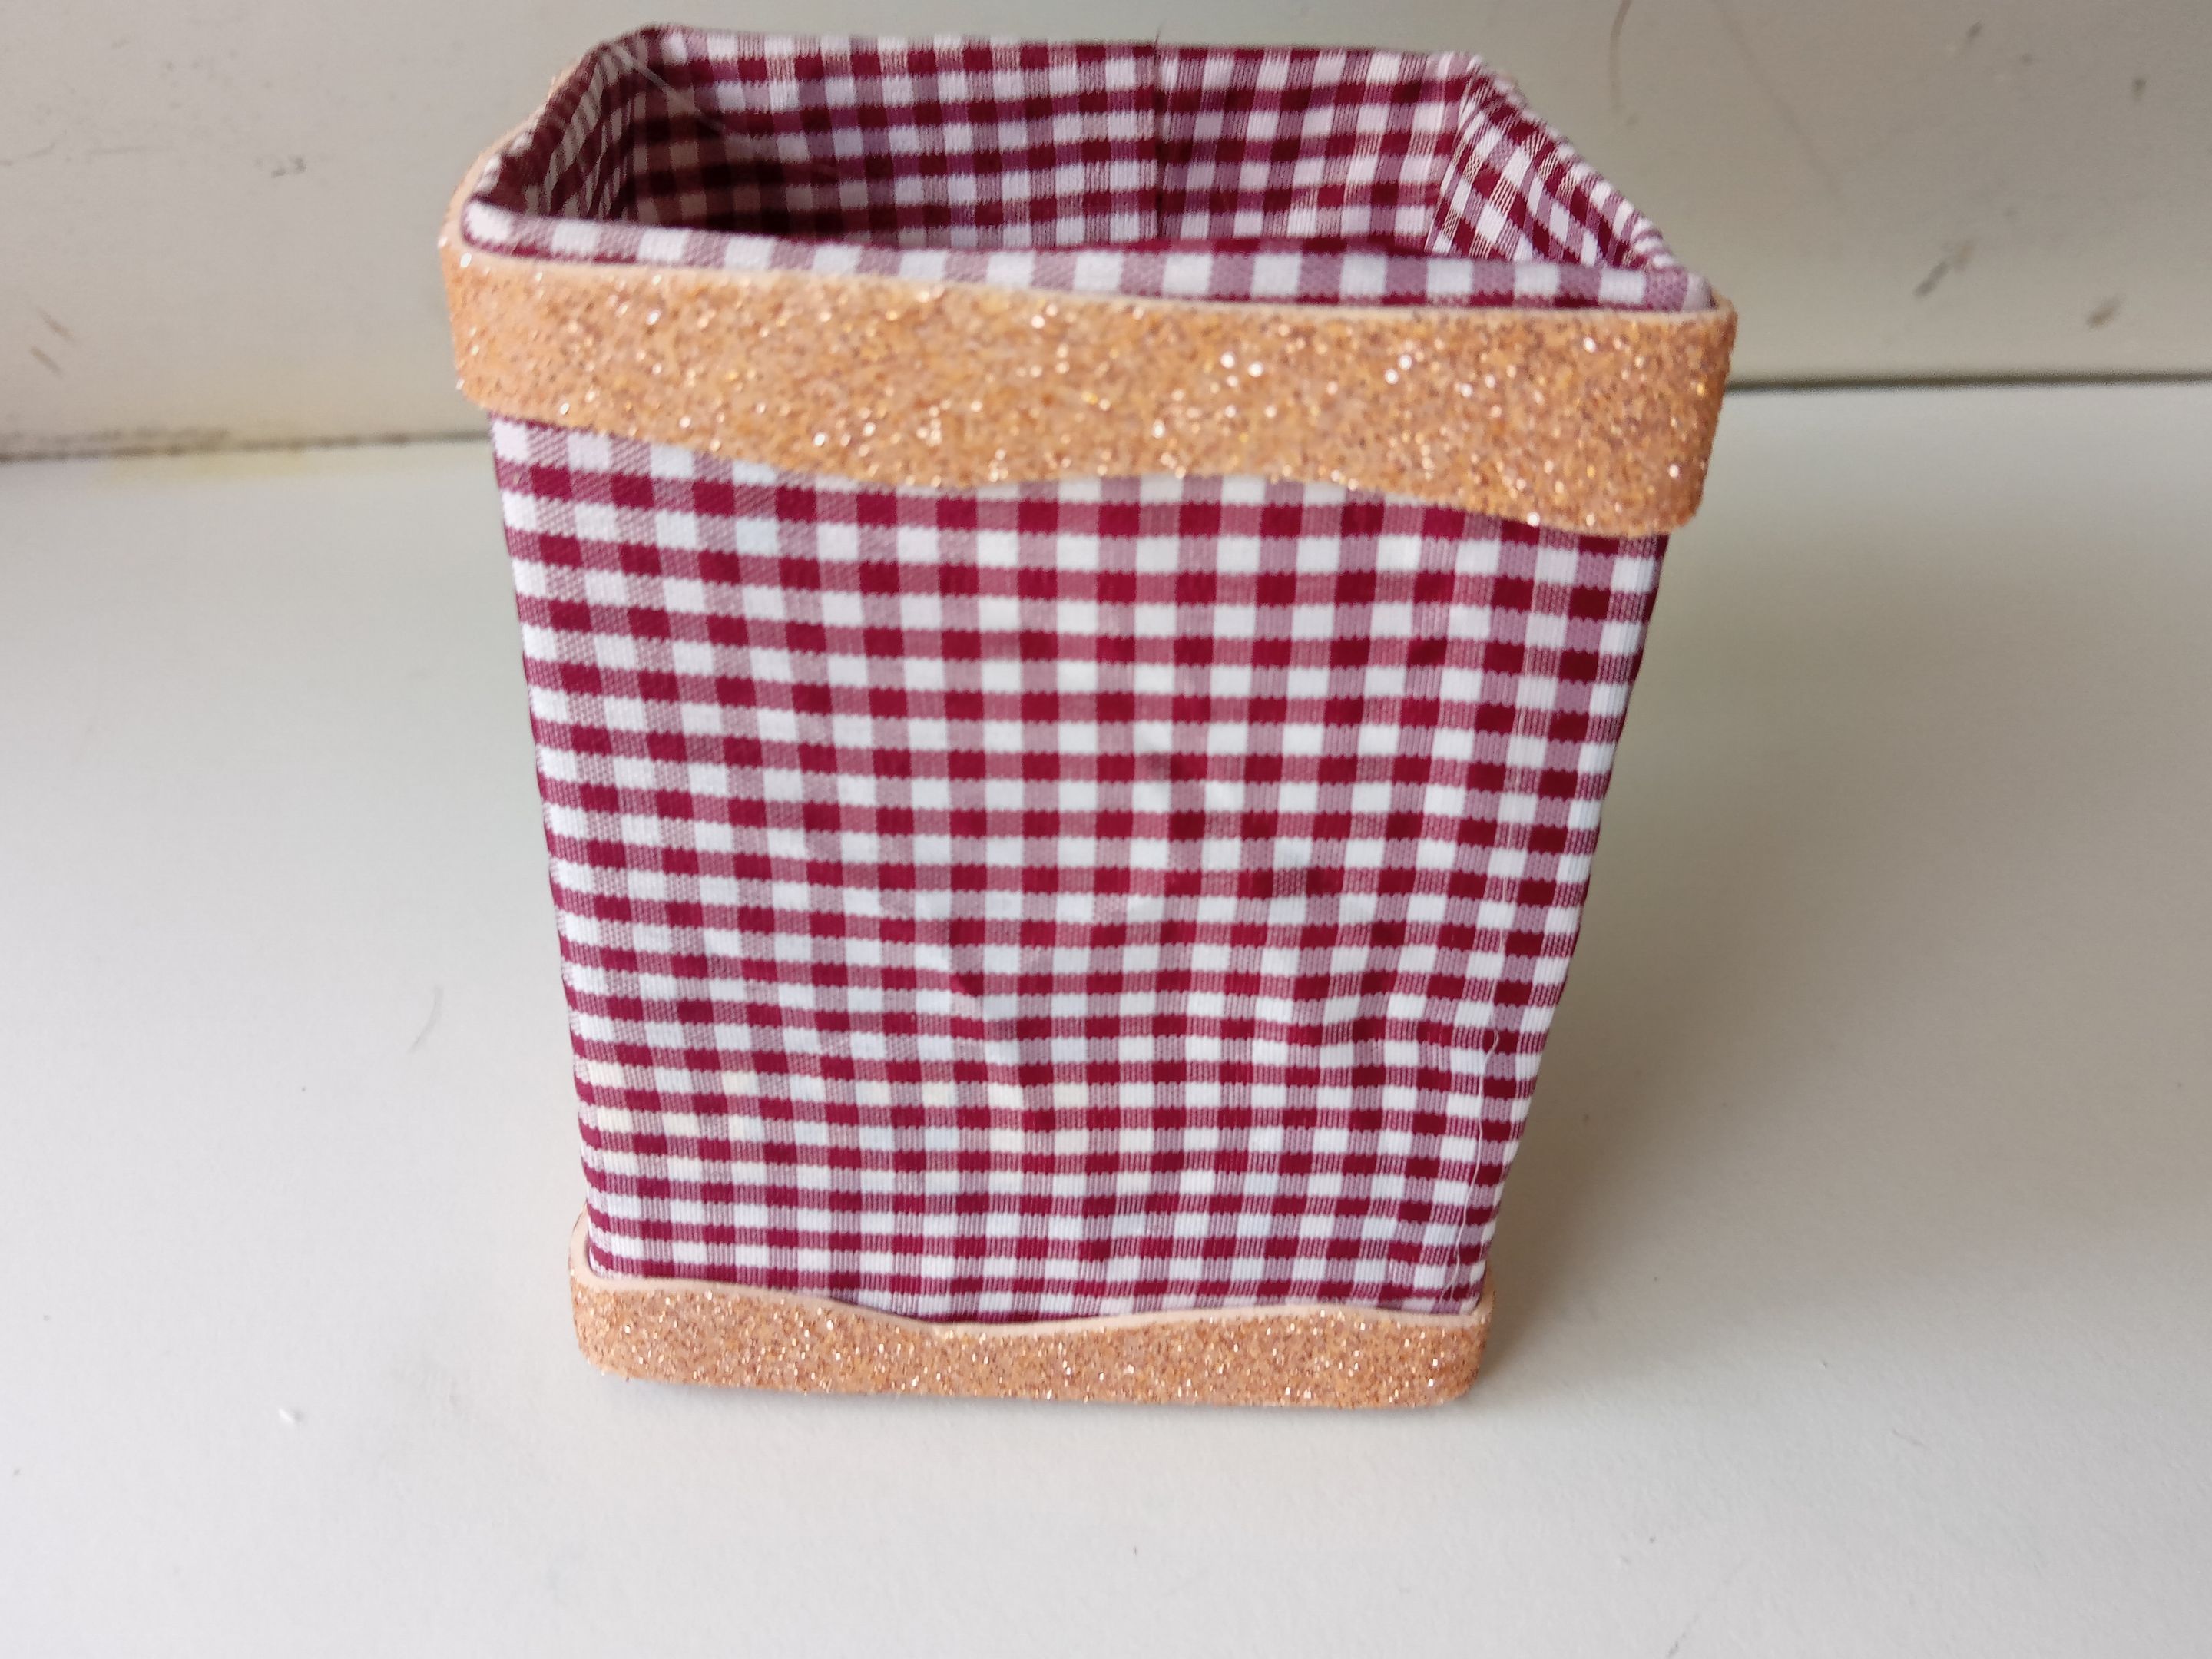
###### ✨PASO 2:
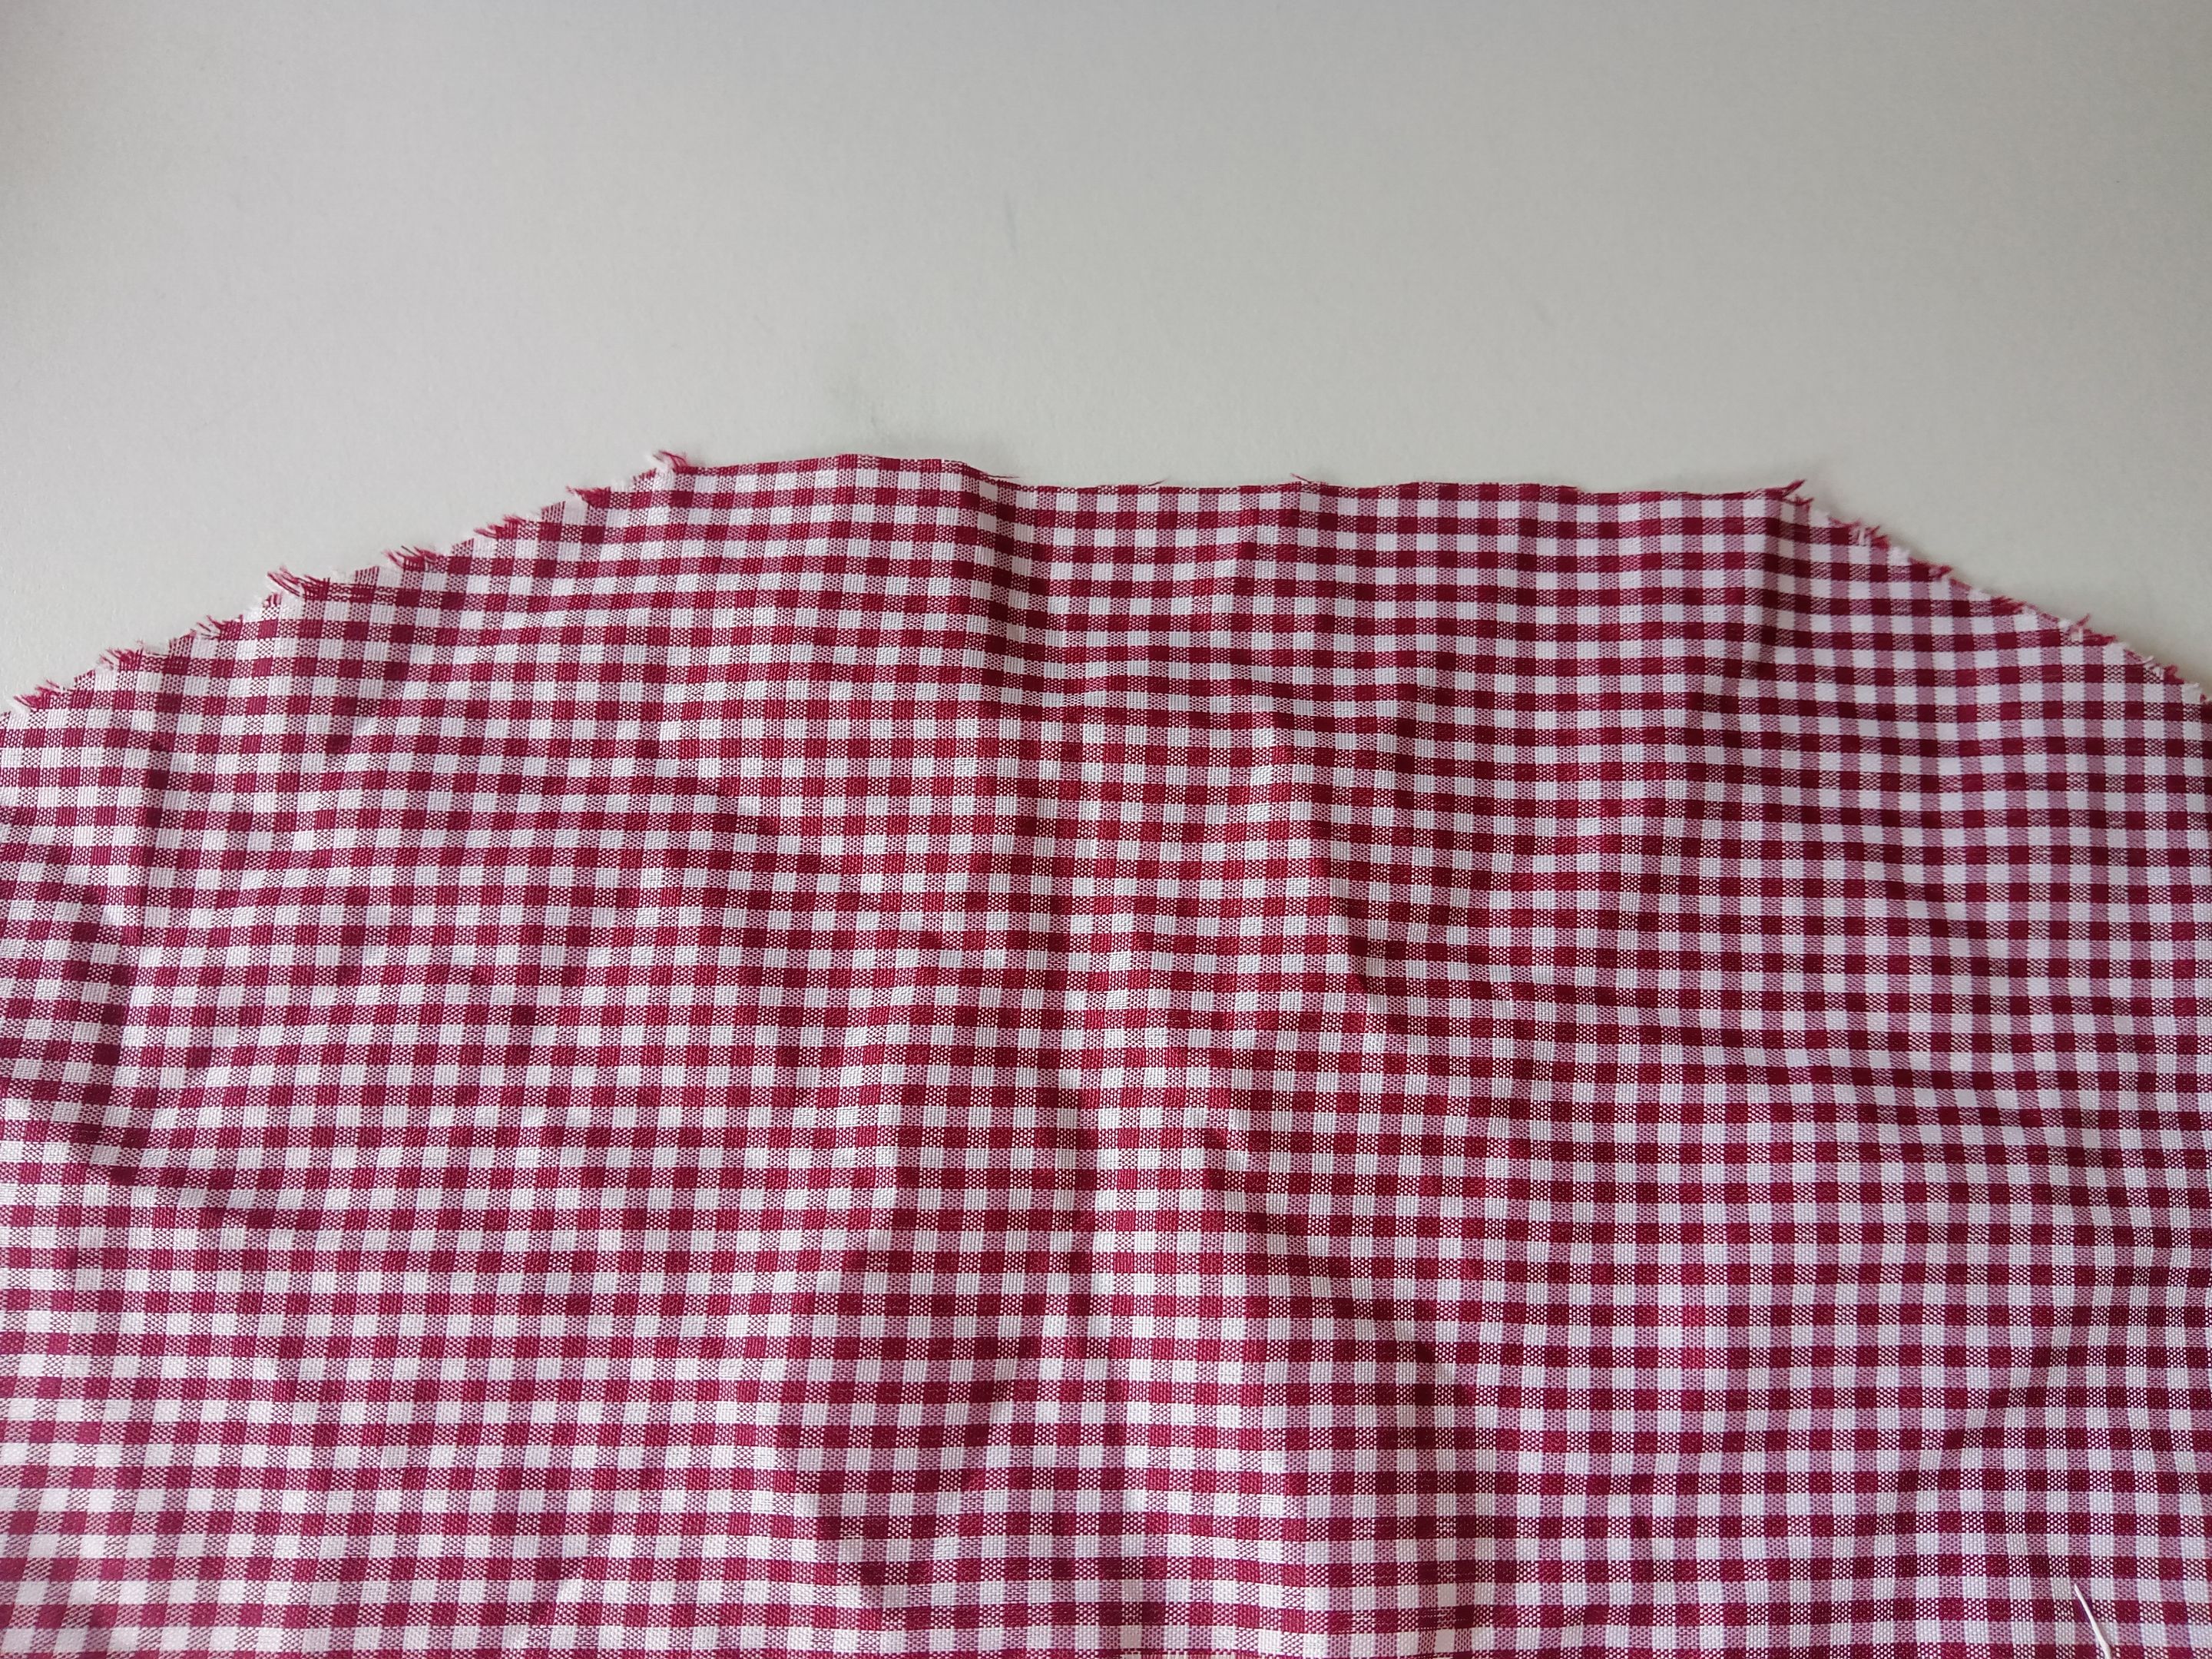
Al estar lista la caja, tomé una tela con el color y diseño deseado. La verdad, estaba un poco indecisa con el color de la tela, pues prefería una amarilla, pero al final me decidí por la de cuadros rojos, porque ayudaba a resaltar aún más los detalles de la decoración. Así que luego, me dispuse a forrar la caja, que, por cierto, siempre intentemos dejar 1 cm o 2 cm más largo y ancho que el tamaño de la caja, para que la tela no quede justa y podamos pegar la tela cómodamente. En cuanto al excedente superior, simplemente lo doblamos a la parte interna de la caja y pegamos.
###### ✨STEP 2:
Once the box was ready, I picked out some fabric in the desired color and design. I was a little hesitant about the color of the fabric, as I preferred yellow, but in the end, I decided on the red checkered one because it helped highlight the details of the decoration even more. So, next, I started lining the box. By the way, we always try to leave 1 or 2 cm longer and wider than the box itself, so the fabric isn't too tight and we can glue it comfortably. As for the excess at the top, we simply fold it over the inside of the box and glue it down.
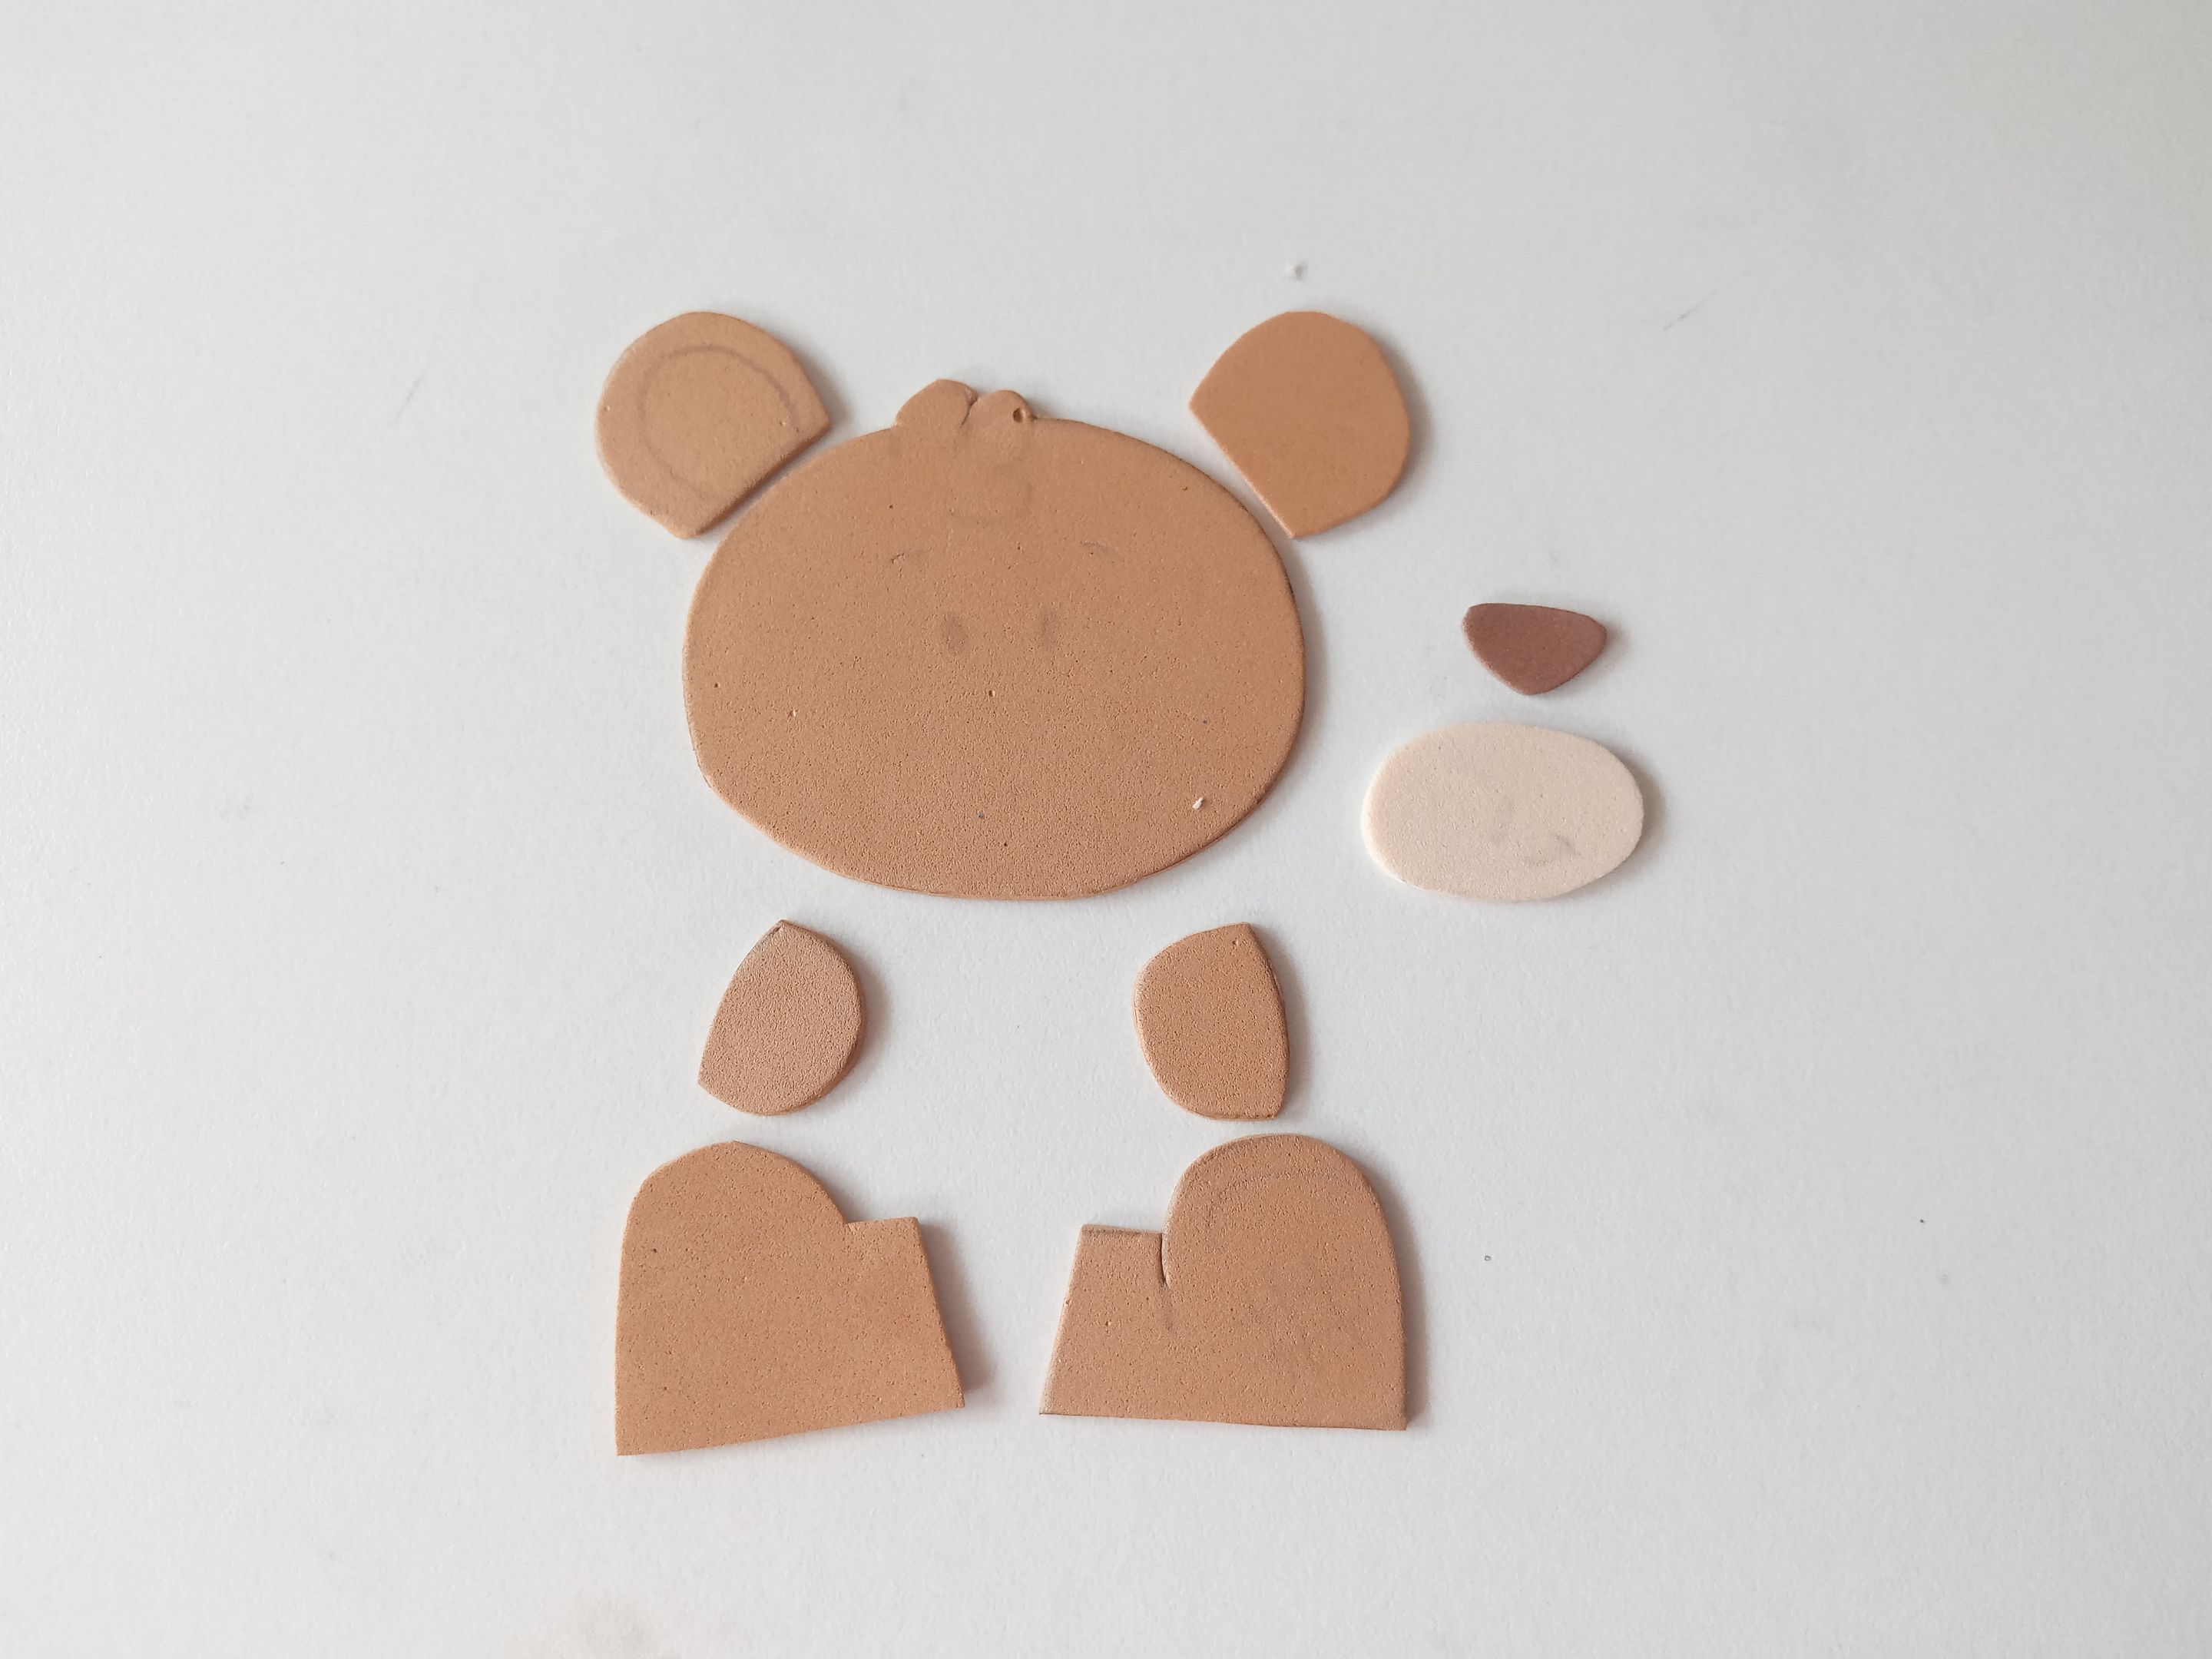
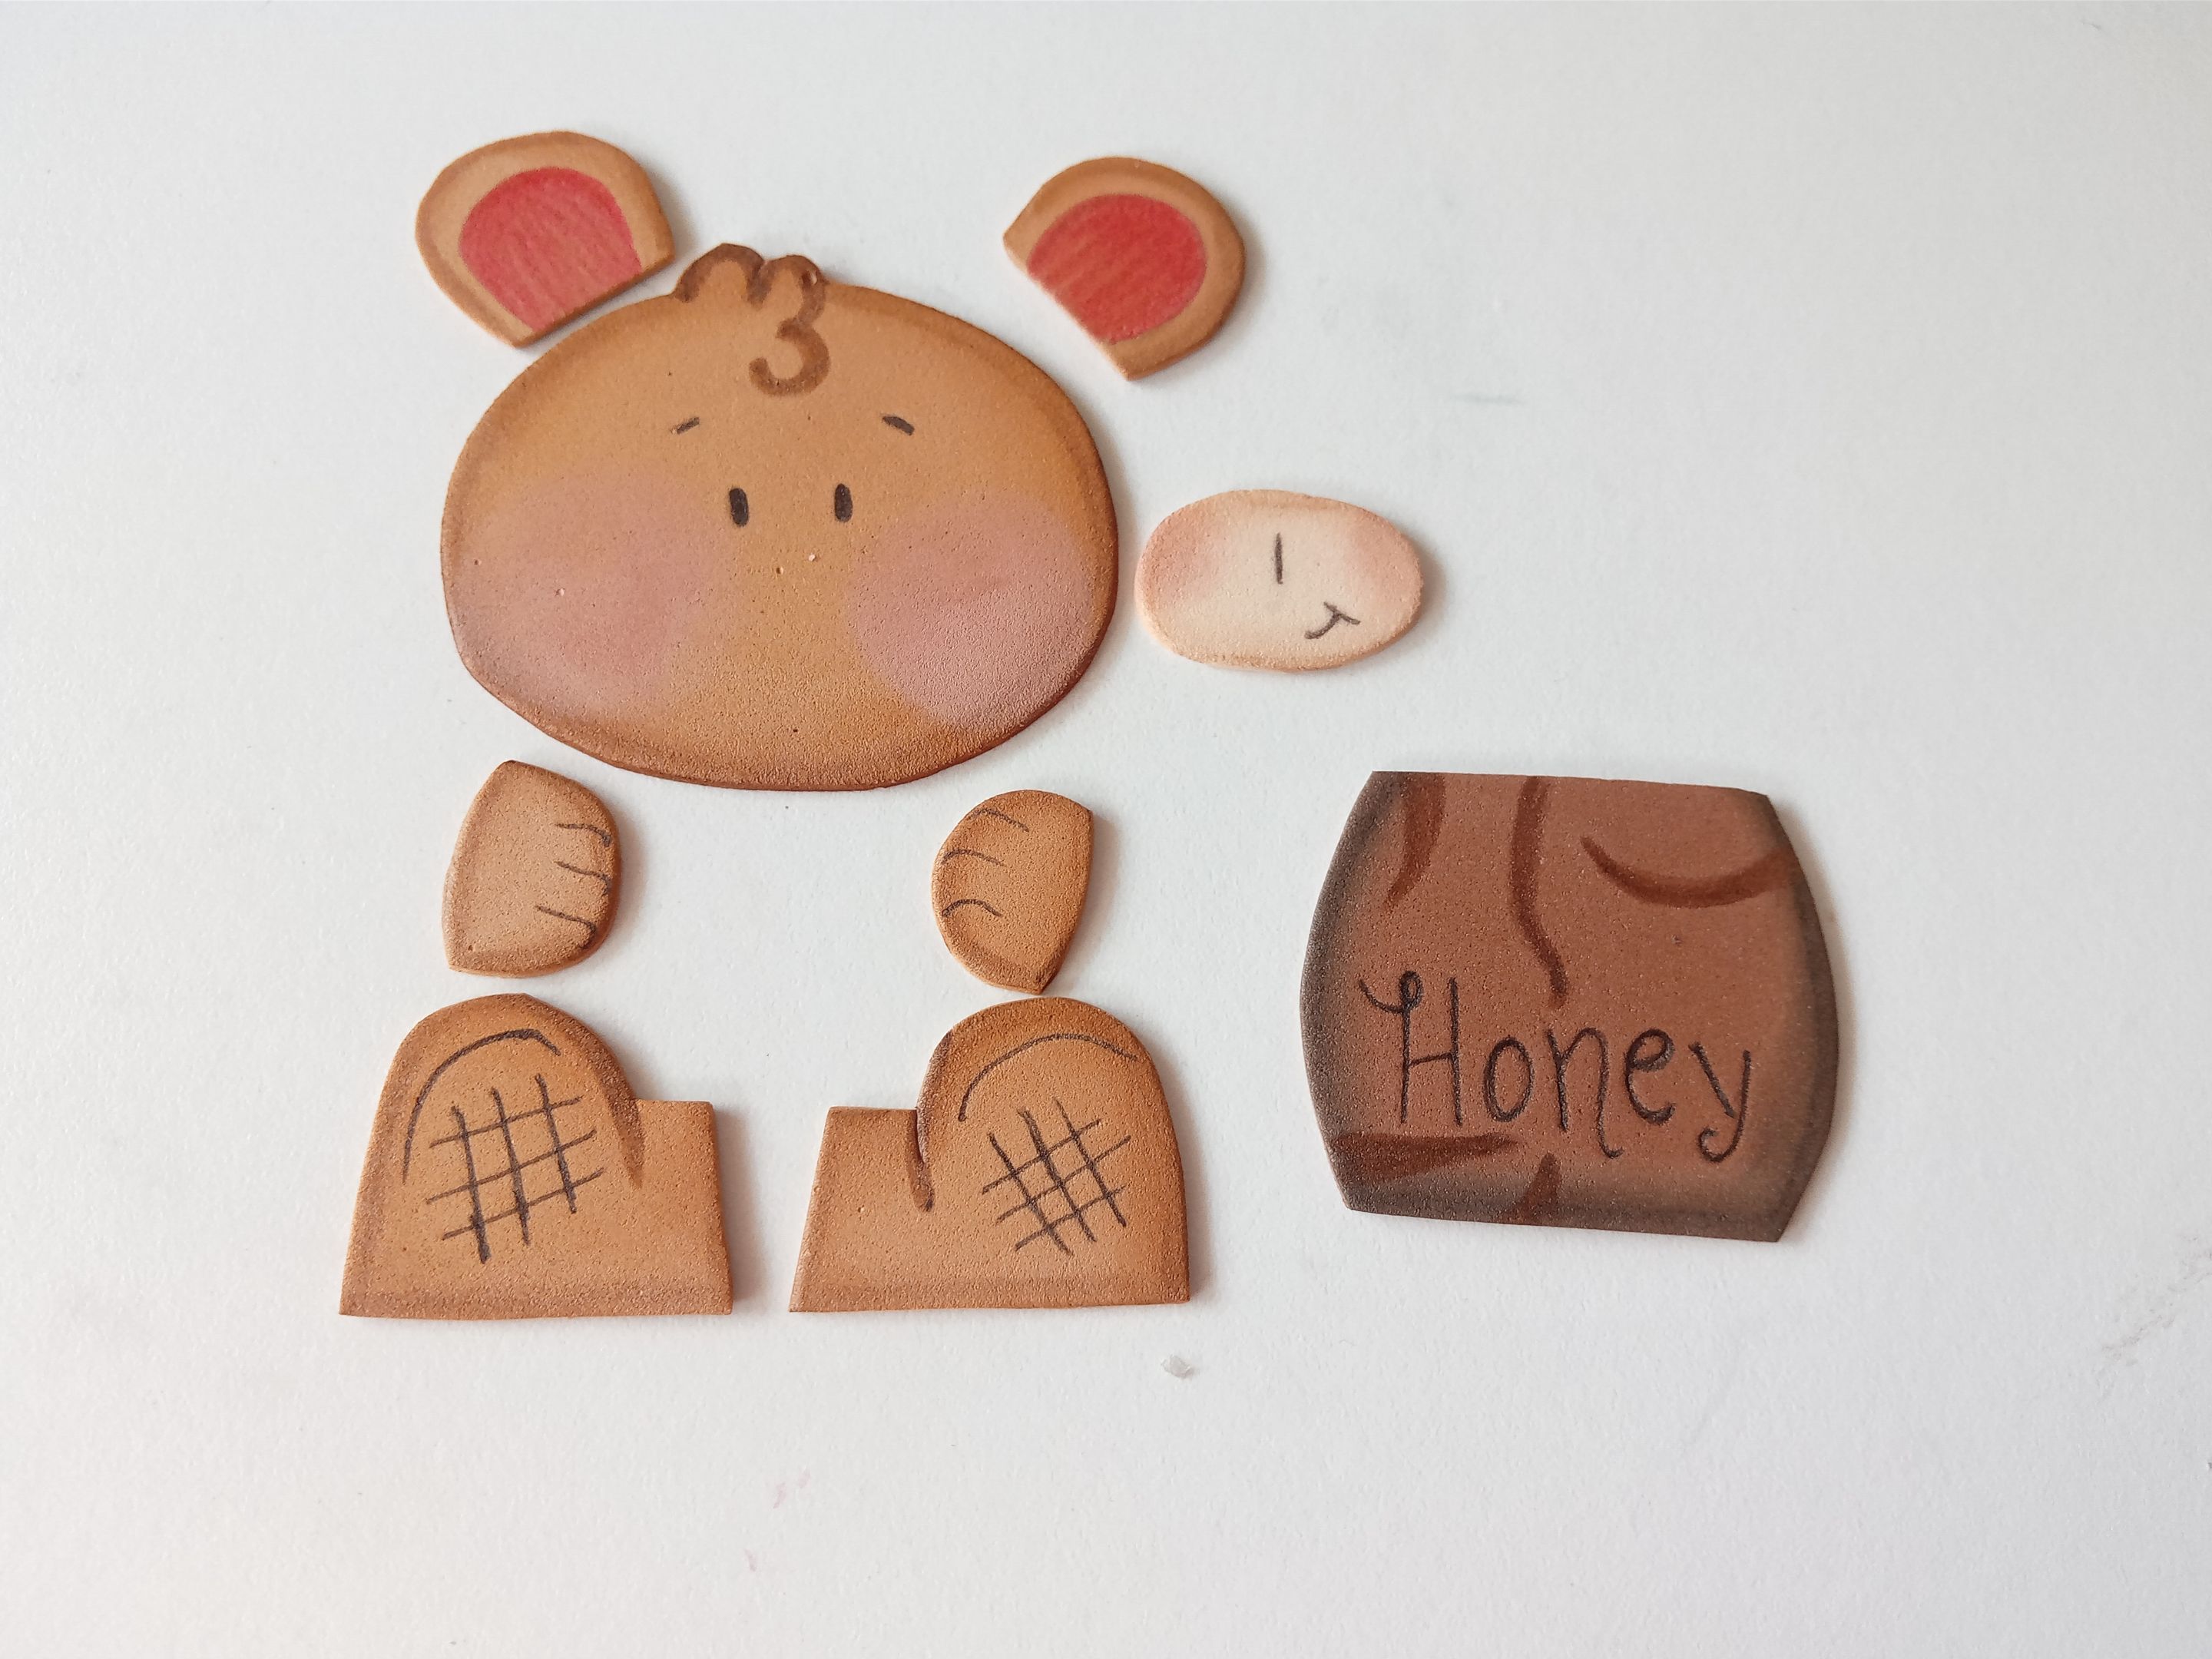
###### ✨PASO 3:
Ahora sí, vamos con mi parte favorita, que es dibujar en una hoja blanca el diseño de la decoración que queremos; puede ser a gusto o buscando referencia para inspirarse. Como dije, yo tenía ya la idea en mente de lo que quería, así que solo dibujé en la hoja blanca y luego transferí a los colores correspondientes de foami, como explico a continuación:
✨Orejas: 2.5 cm x 2 cm en foami marrón.
✨Cabeza: 6 cm x 5 cm en foami marrón.
✨Hocico: 2.8 cm x 2 cm en foami crema.
✨Nariz: 1.5 cm x 1 cm en foami marrón (otro tono).
✨Patas delanteras: 2 cm x 1.5 cm en foami marrón.
✨Patas traseras: 3.5 cm x 2.8 cm en foami marrón.
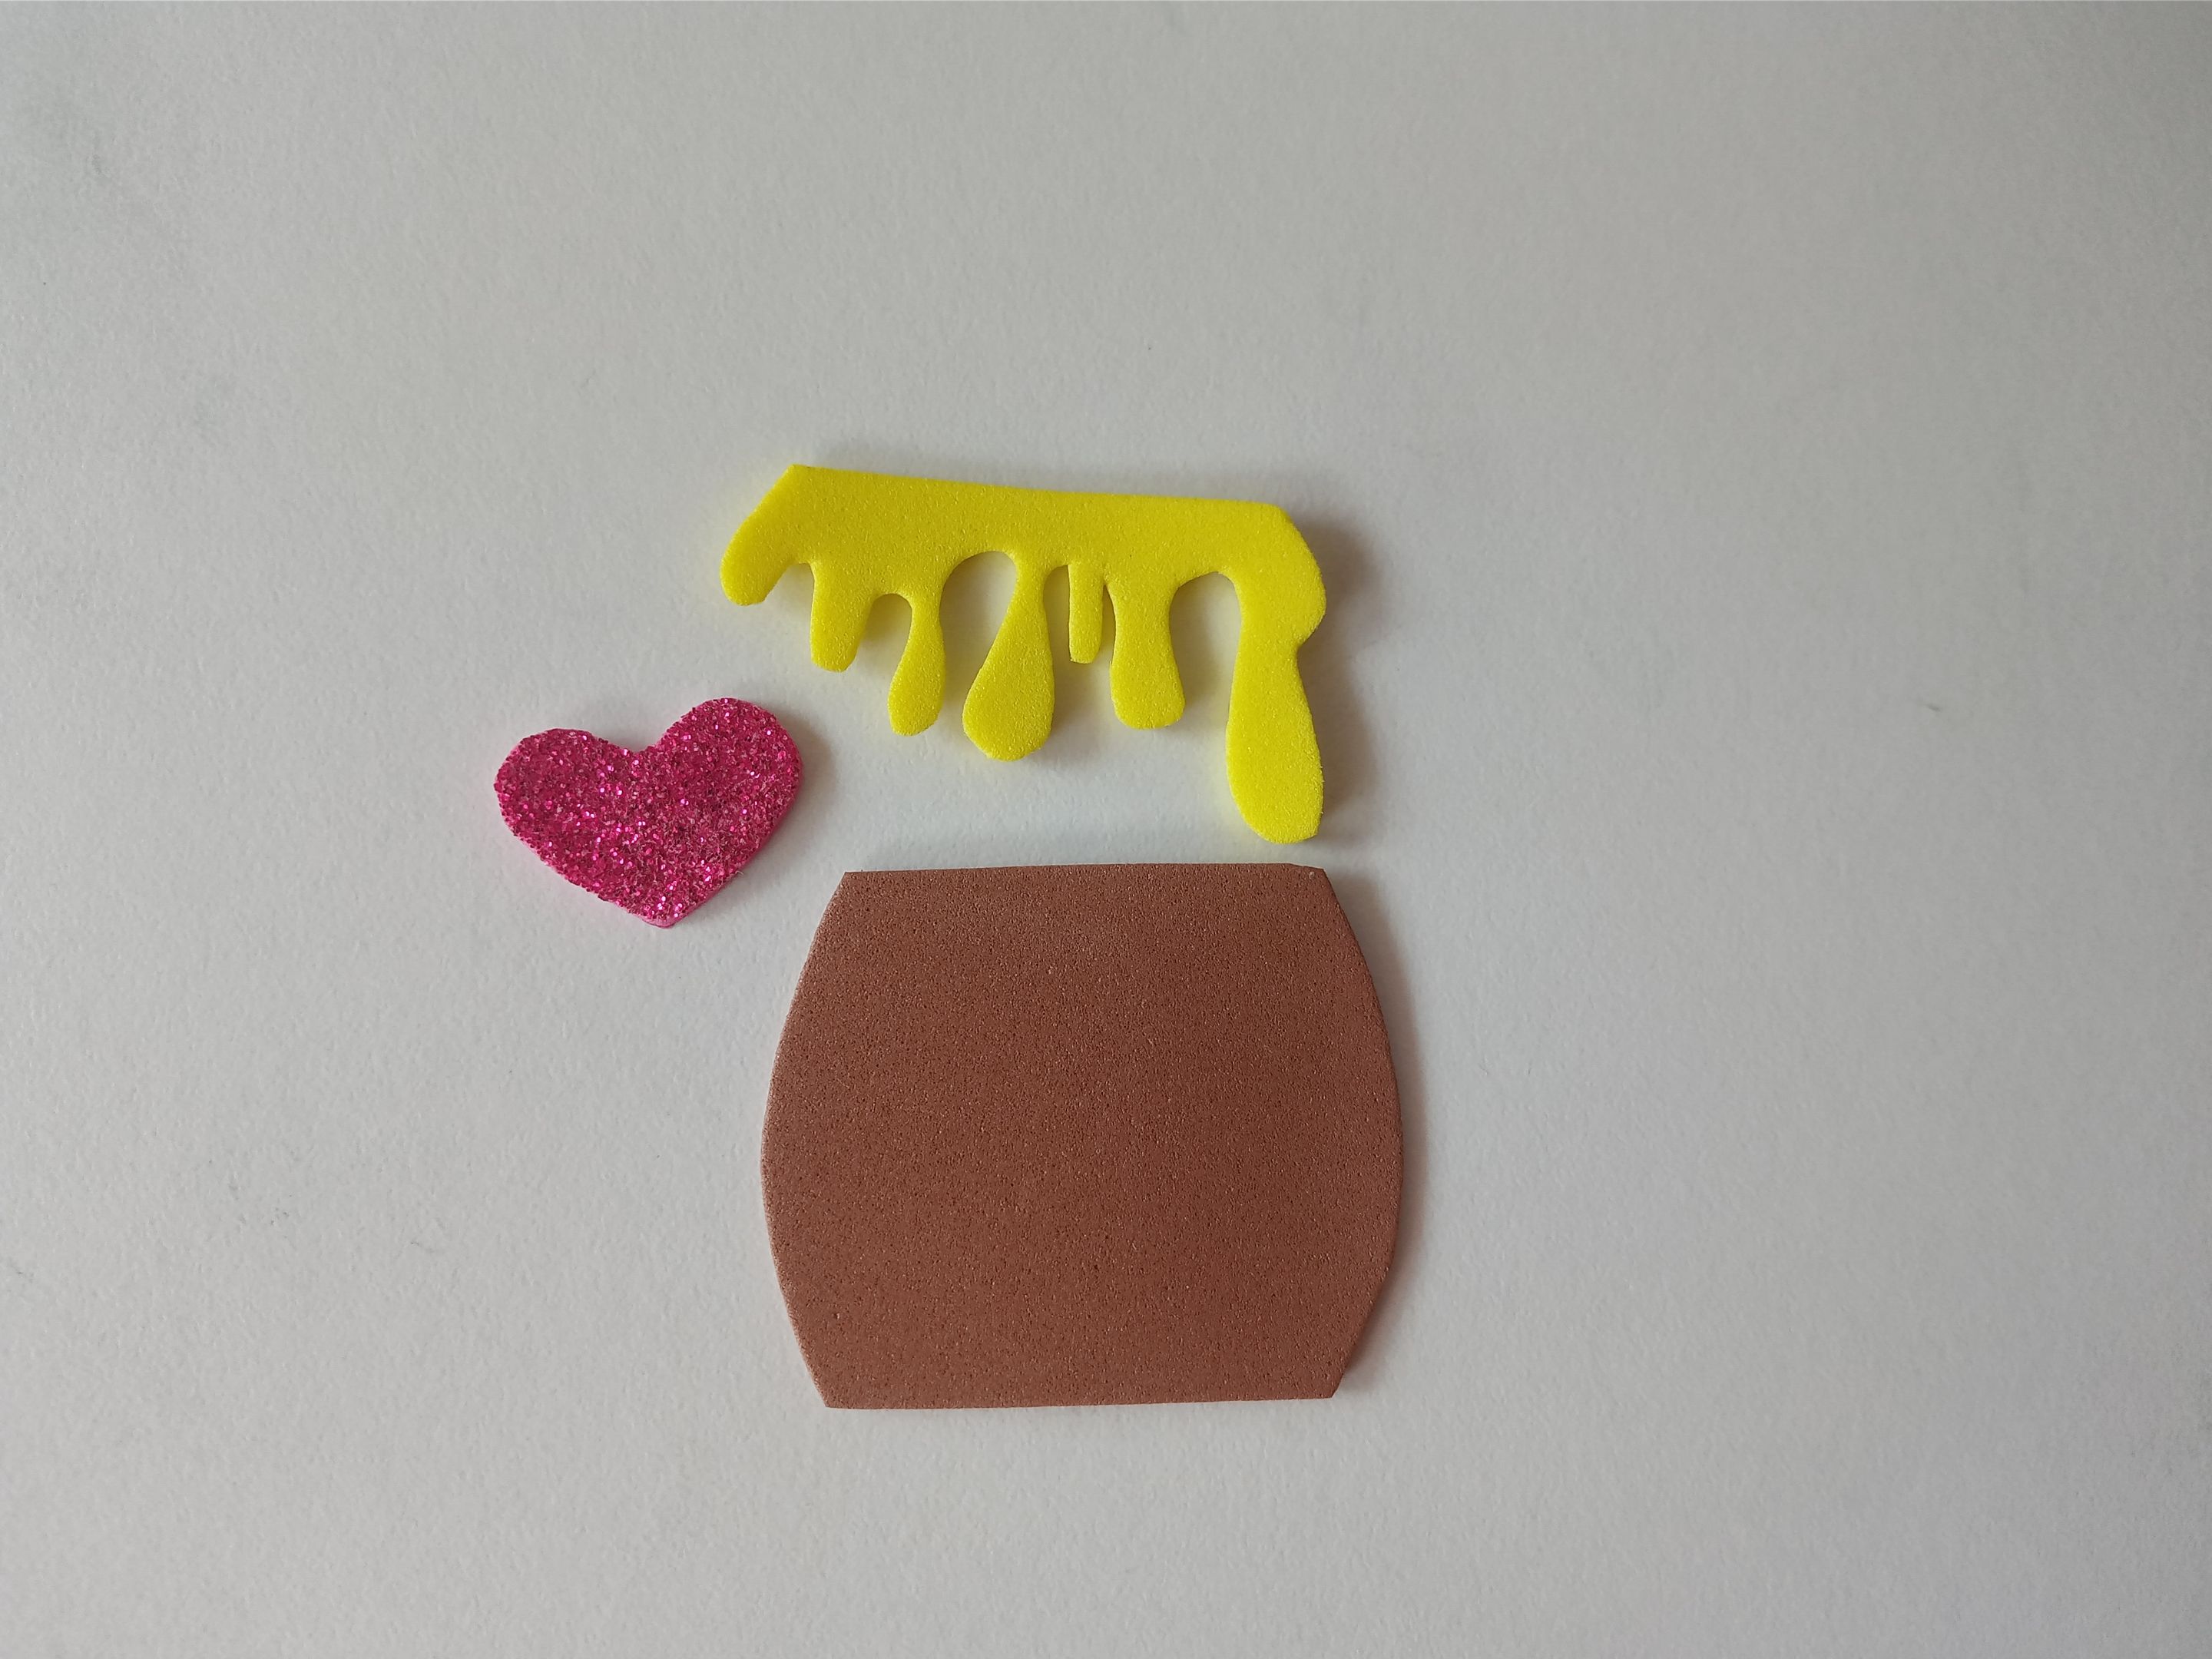
✨Tarro de miel: 5 cm x 4 cm en foami marrón (otro tono).
✨Corazón: 2 cm x 1.5 cm en foami escarchado rosa.
###### ✨STEP 3:
Now, let's move on to my favorite part, which is drawing the design of the decoration we want on a white sheet of paper. It can be done to your liking or by looking for a reference for inspiration. As I said, I already had an idea in mind of what I wanted, so I just drew on the white sheet and then transferred it to the corresponding colors of foam, as explained below:
✨Ears: 2.5 cm x 2 cm in brown foam.
✨Head: 6 cm x 5 cm in brown foam.
✨Snout: 2.8 cm x 2 cm in cream foam.
✨Nose: 1.5 cm x 1 cm in brown foam (another shade).
✨Front legs: 2 cm x 1.5 cm in brown foam.
✨Hind legs: 3.5 cm x 2.8 cm in brown foam.
✨Honey pot: 5 cm x 4 cm in brown foam (another shade).
Heart: 2 cm x 1.5 cm in pink frosted foam.
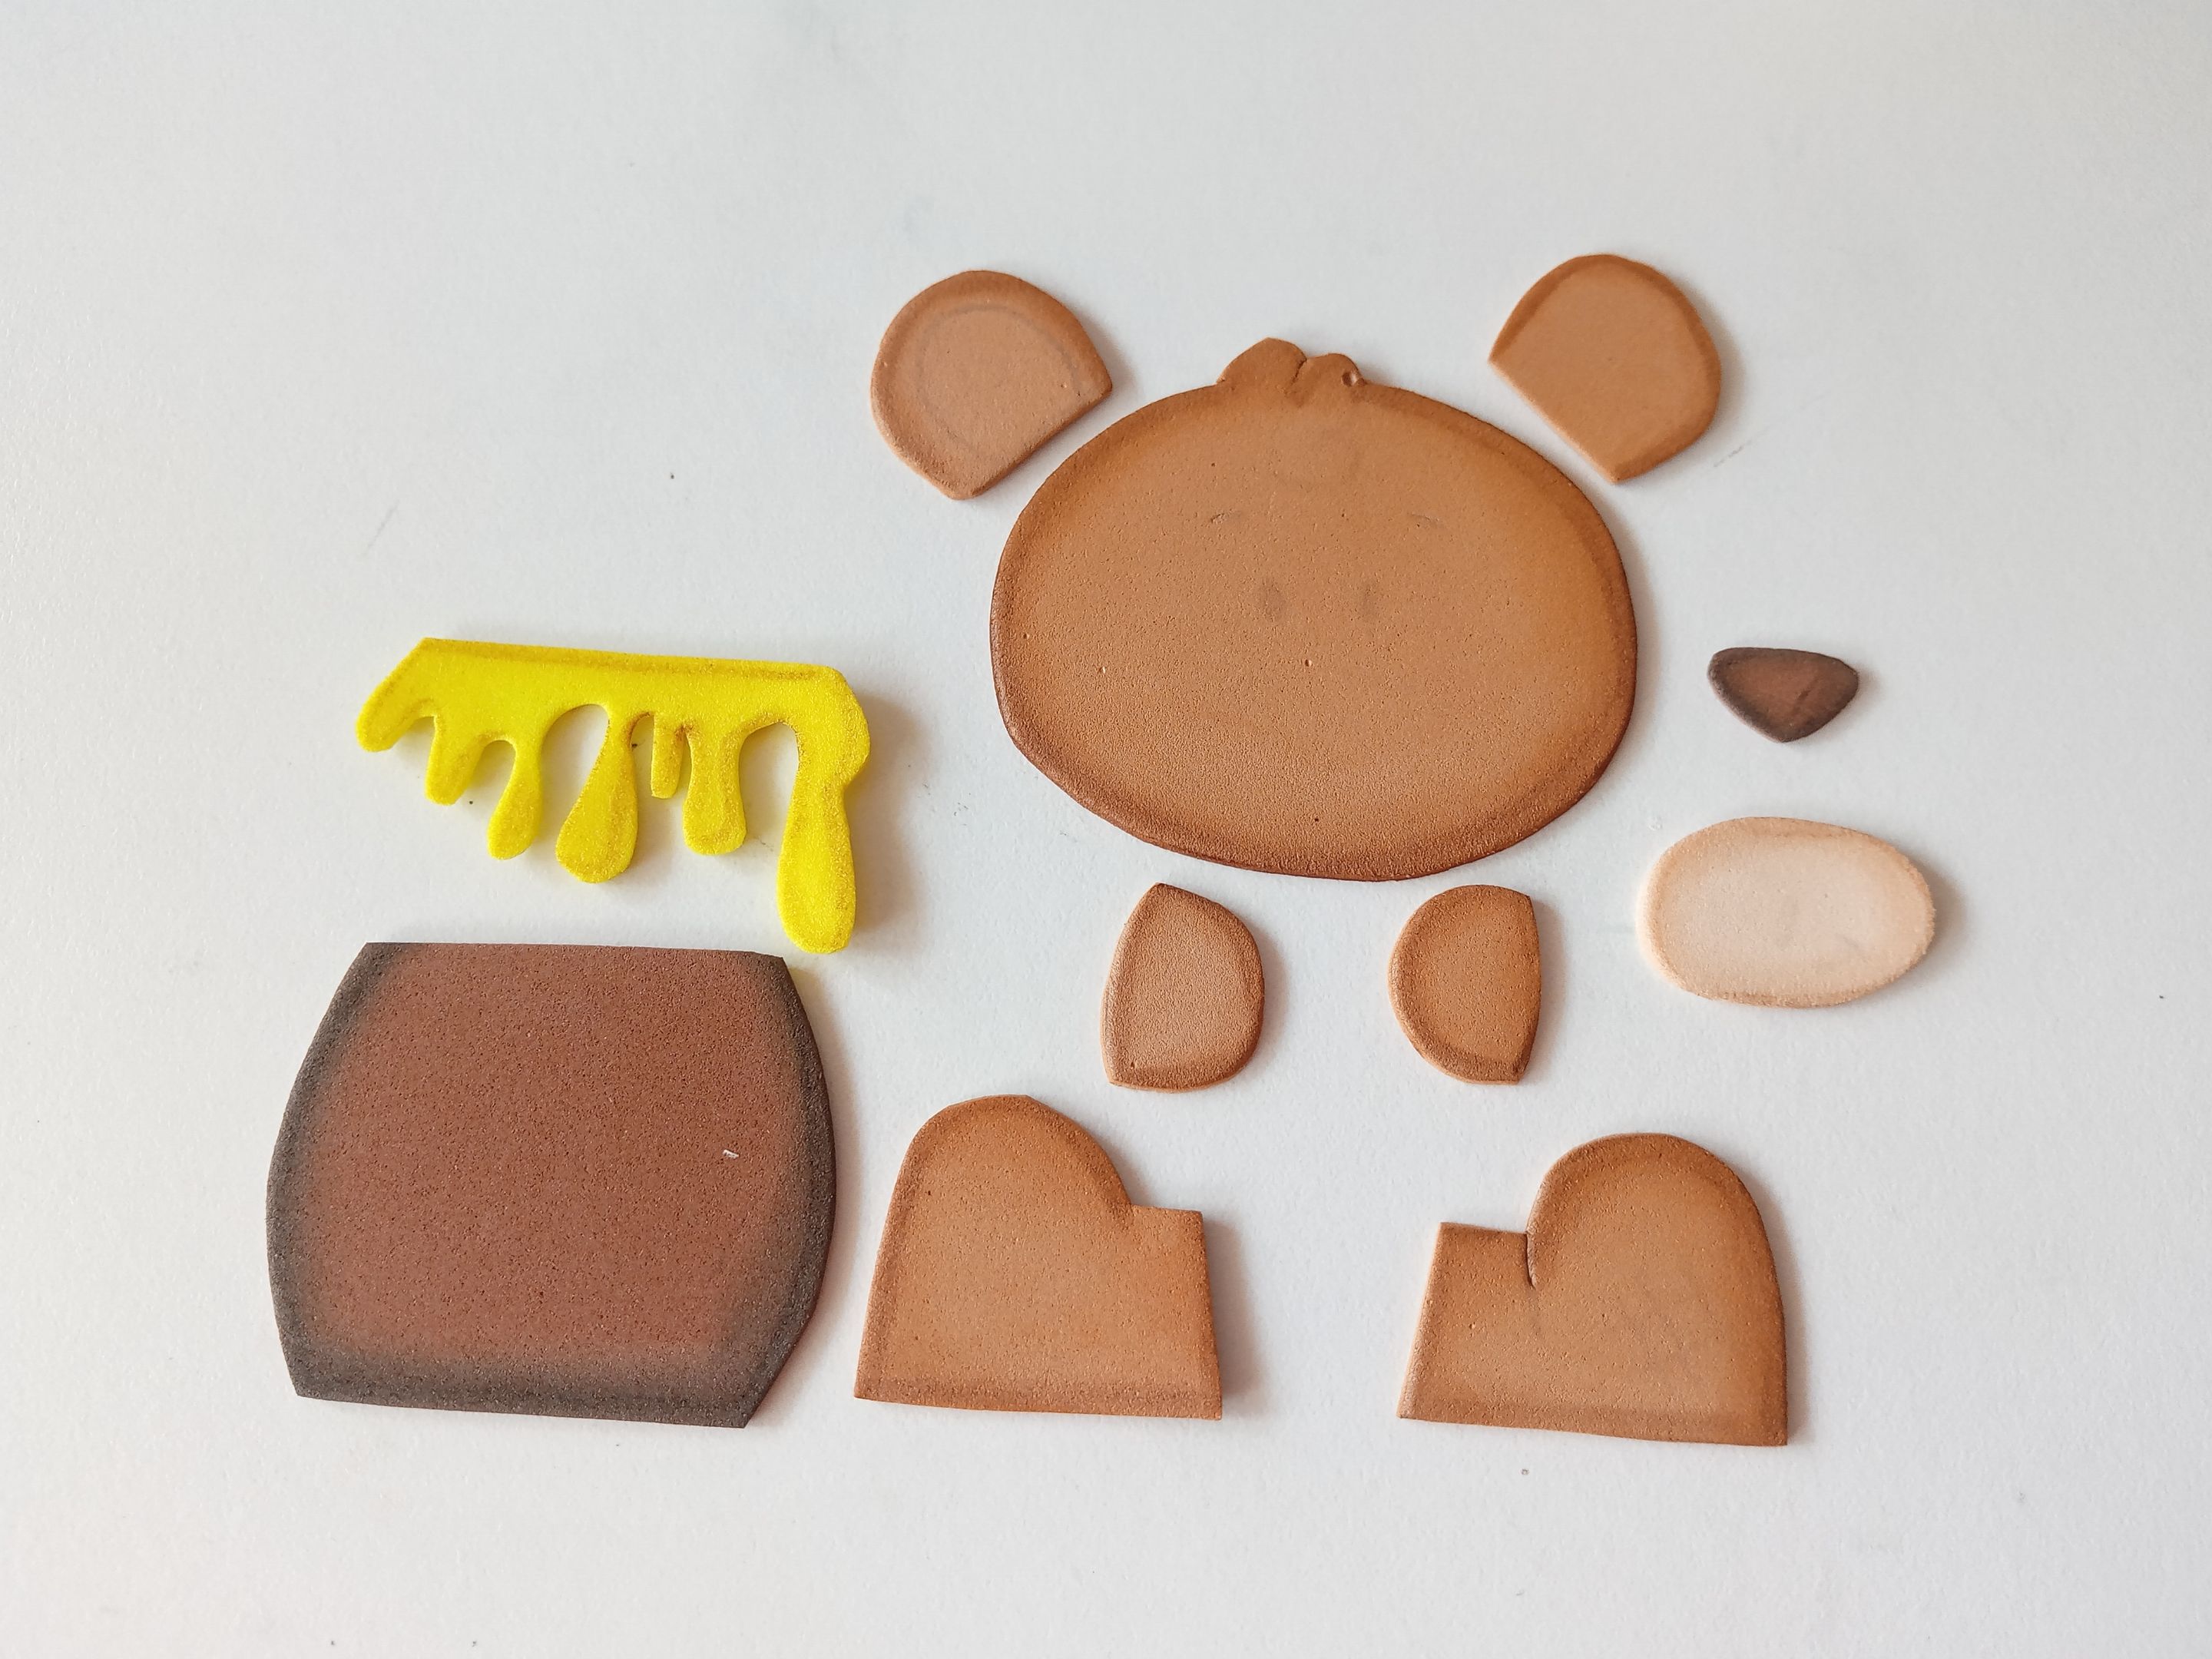
###### ✨PASO 4:
Al tener recortadas todas las piezas, viene mi momento favorito, que es dar color a los bordes, que puede ser con pinturas o marcadores, y difuminamos con ayuda de un pañito, menos a las piezas de foami escarchado. En mi caso, esta vez utilicé para todas las piezas un tono de marrón claro y oscuro. Seguidamente, dejé secar y luego di detalles más específicos con marcadores, como rostro, orejas, cabello, patas, y para el tarro escribí “HONEY” en medio y algunos detalles de madera.
###### ✨STEP 4:
Once all the pieces are cut out, my favorite part comes: adding color to the edges. This can be done with paints or markers, and blending with a cloth, except for the frosted foam pieces. In my case, this time I used a shade of light and dark brown for all the pieces. Next, I let it dry and then added more specific details with markers, such as the face, ears, hair, and paws. For the jar, I wrote "HONEY" in the middle and some wooden details.
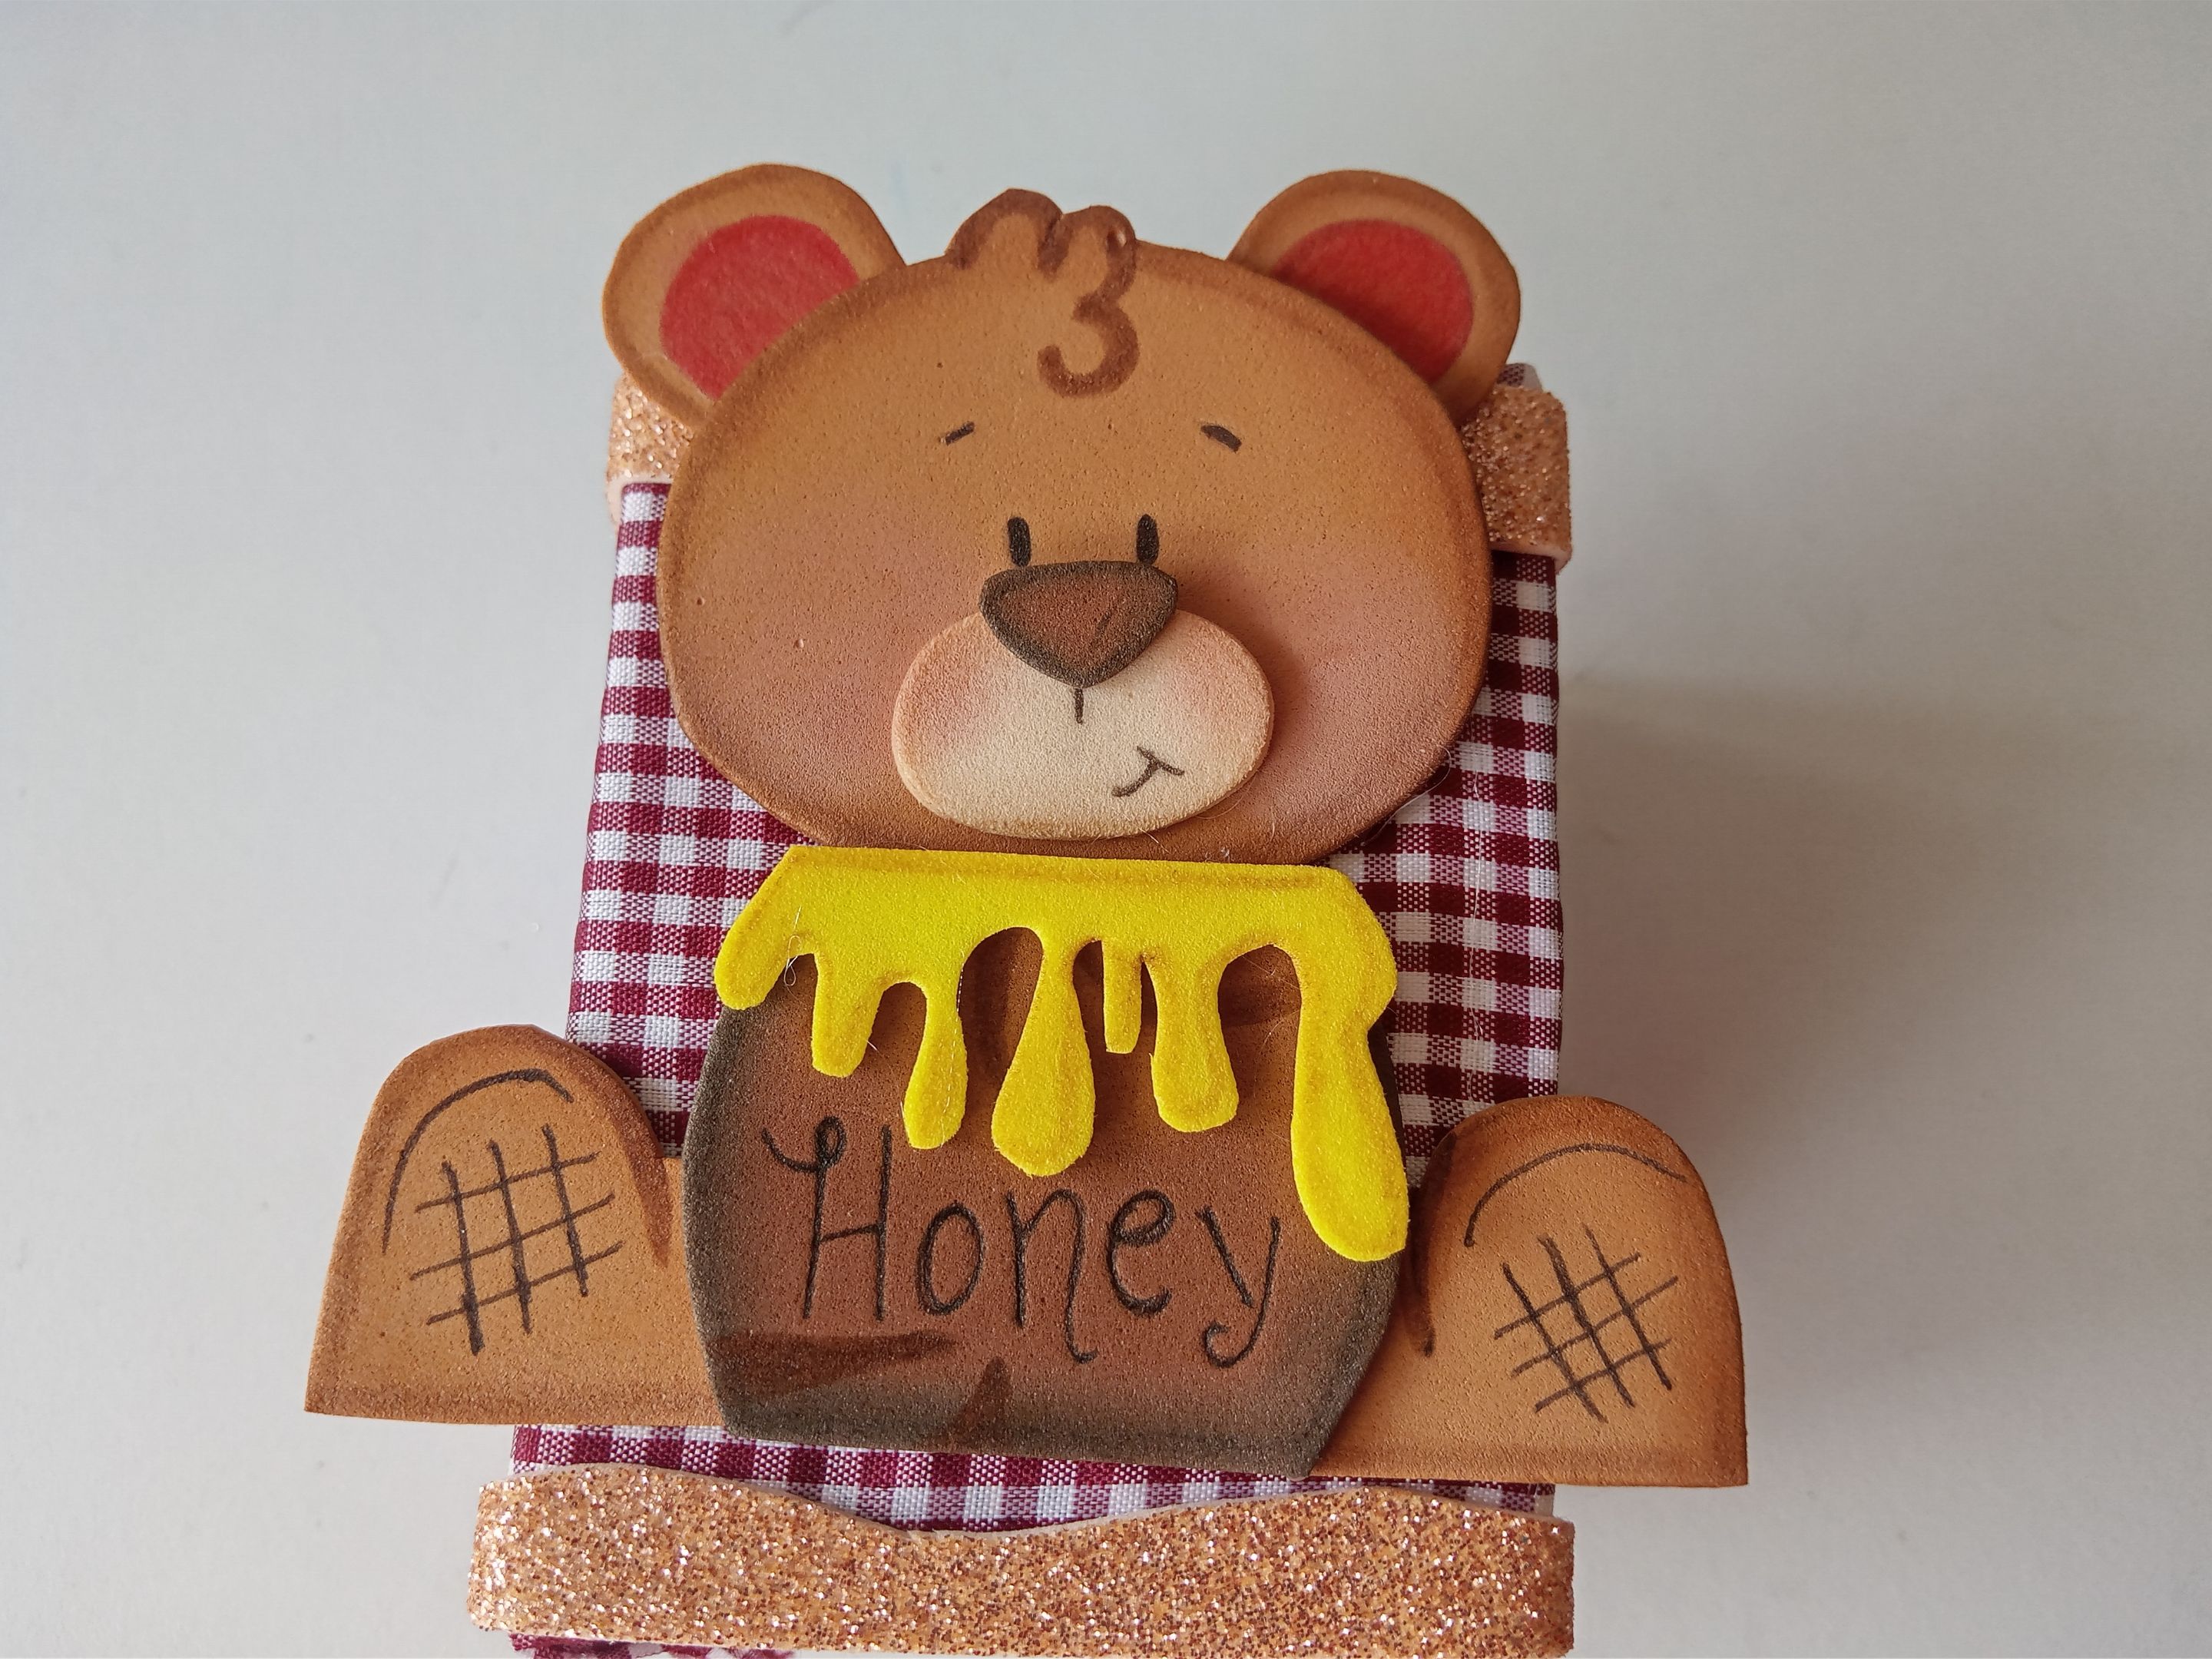
###### ✨PASO 5:
Al estar secas las piezas, es momento de comenzar a pegar, pero antes, recorté dos tiras en foami escarchado crema, dando formas curvas al recortar, y pegué en el borde superior e inferior del organizador. Luego pegué a una de las paredes del organizador la cabeza del oso, seguido de las patas traseras, el tarro de miel, seguido de las patas delanteras y, por último, el corazón rosa en una de las orejitas.
###### ✨STEP 5:
Once the pieces are dry, it's time to start gluing. But first, I cut two strips out of cream frosted foam, creating curved shapes as I cut them, and glued them to the top and bottom edges of the organizer. Then I glued the bear's head to one side of the organizer, followed by the hind legs, the honey jar, followed by the front legs, and finally, the pink heart on one of the ears.
# ✨RESULTADO: | ✨RESULT:

|||
|-|-|
---

---
**!TE DESEO UN GRAN DÏA¡**
Todas las fotografías son de mi propiedad.
Separador y Fotos editadas en [Canva](https://www.canva.com/)
**!I WISH YOU A GOOD DAY**
All photographs are my property.
Photos edited in [Canva](https://www.canva.com/)