######
✨¡Hola amigos amantes de la creatividad! Espero que estén todos bien.✨
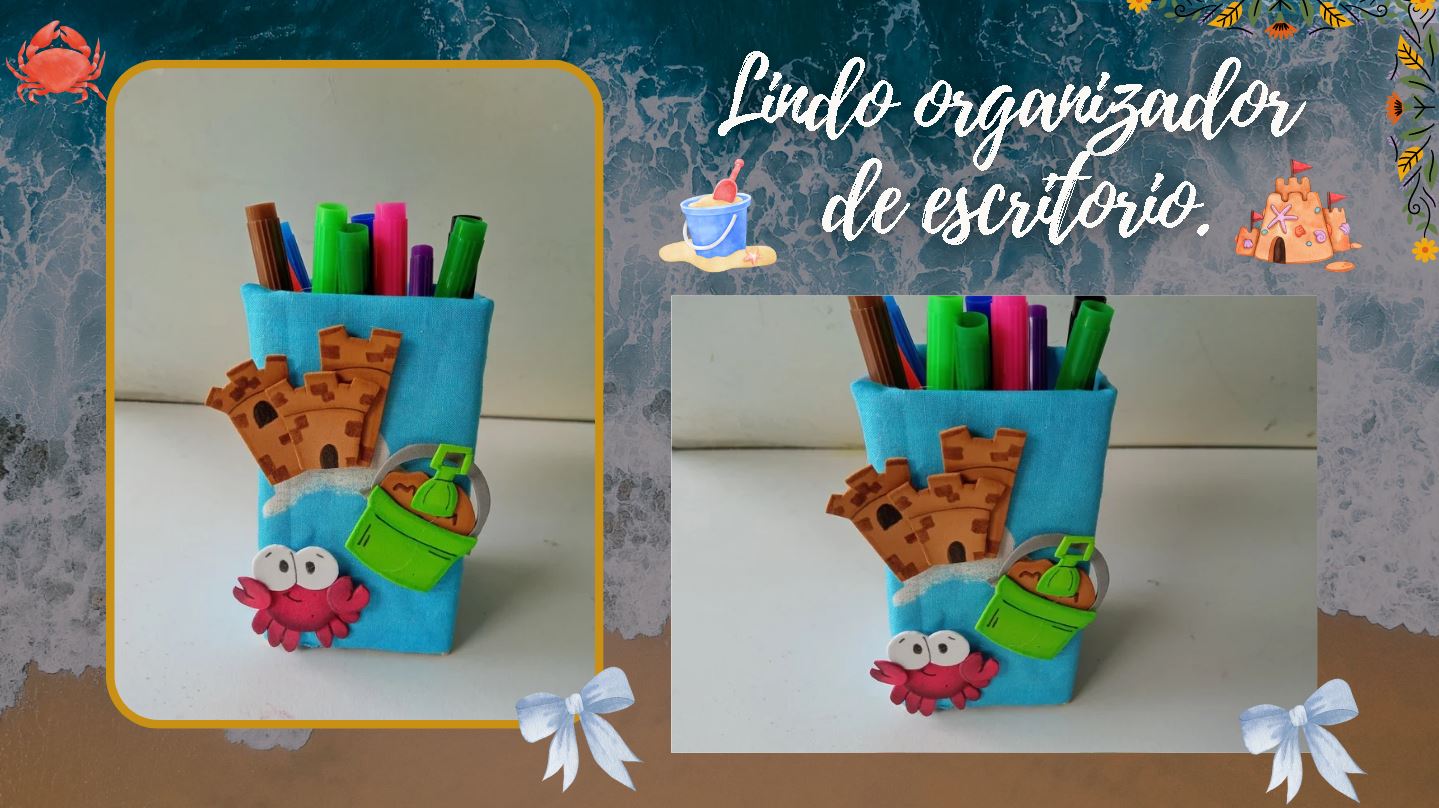
¡Buenas tardes, amigos! Espero estén pasando una excelente semana. Por mi parte, estoy contenta de pasar por aquí a compartir una linda idea con ustedes. En esta ocasión, les comparto el paso a paso para elaborar un lindo organizador de escritorio con temática de playa. Hace unos días se me ocurrió la idea de compartir con ustedes una manualidad con esta temática, pues nunca antes había elaborado algo similar. Bueno, he hecho algunas decoraciones marinas, pero no de playa, verano y diversión.
Me pareció una linda idea para el área de estudios de los niños o simplemente para colocar sus crayones y algunos materiales como tijeras, regla, etc.
**🔸Sin más que añadir, a continuación los dejo con el paso a paso:**
> ######
✨¡Hello friends who love creativity! I hope you are all well.✨
>
Good afternoon, friends! I hope you're having a great week. For my part, I'm happy to stop by to share a lovely idea with you. This time, I'm sharing the step-by-step instructions for making a cute beach-themed desk organizer. A few days ago, I came up with the idea of sharing a craft with this theme with you, as I'd never made anything like this before. Well, I've made some nautical decorations, but not beach decorations, summer decorations, and fun decorations.
>
I thought it would be a nice idea for the children's study area or simply to store their crayons and some supplies like scissors, a ruler, etc.
> **🔸Without more to add, then I leave you with the step by step:**
---
---

||||
|-|-|-|


|||
|-|-|


|||
|-|-|


|||
|-|-|


|||
|-|-|

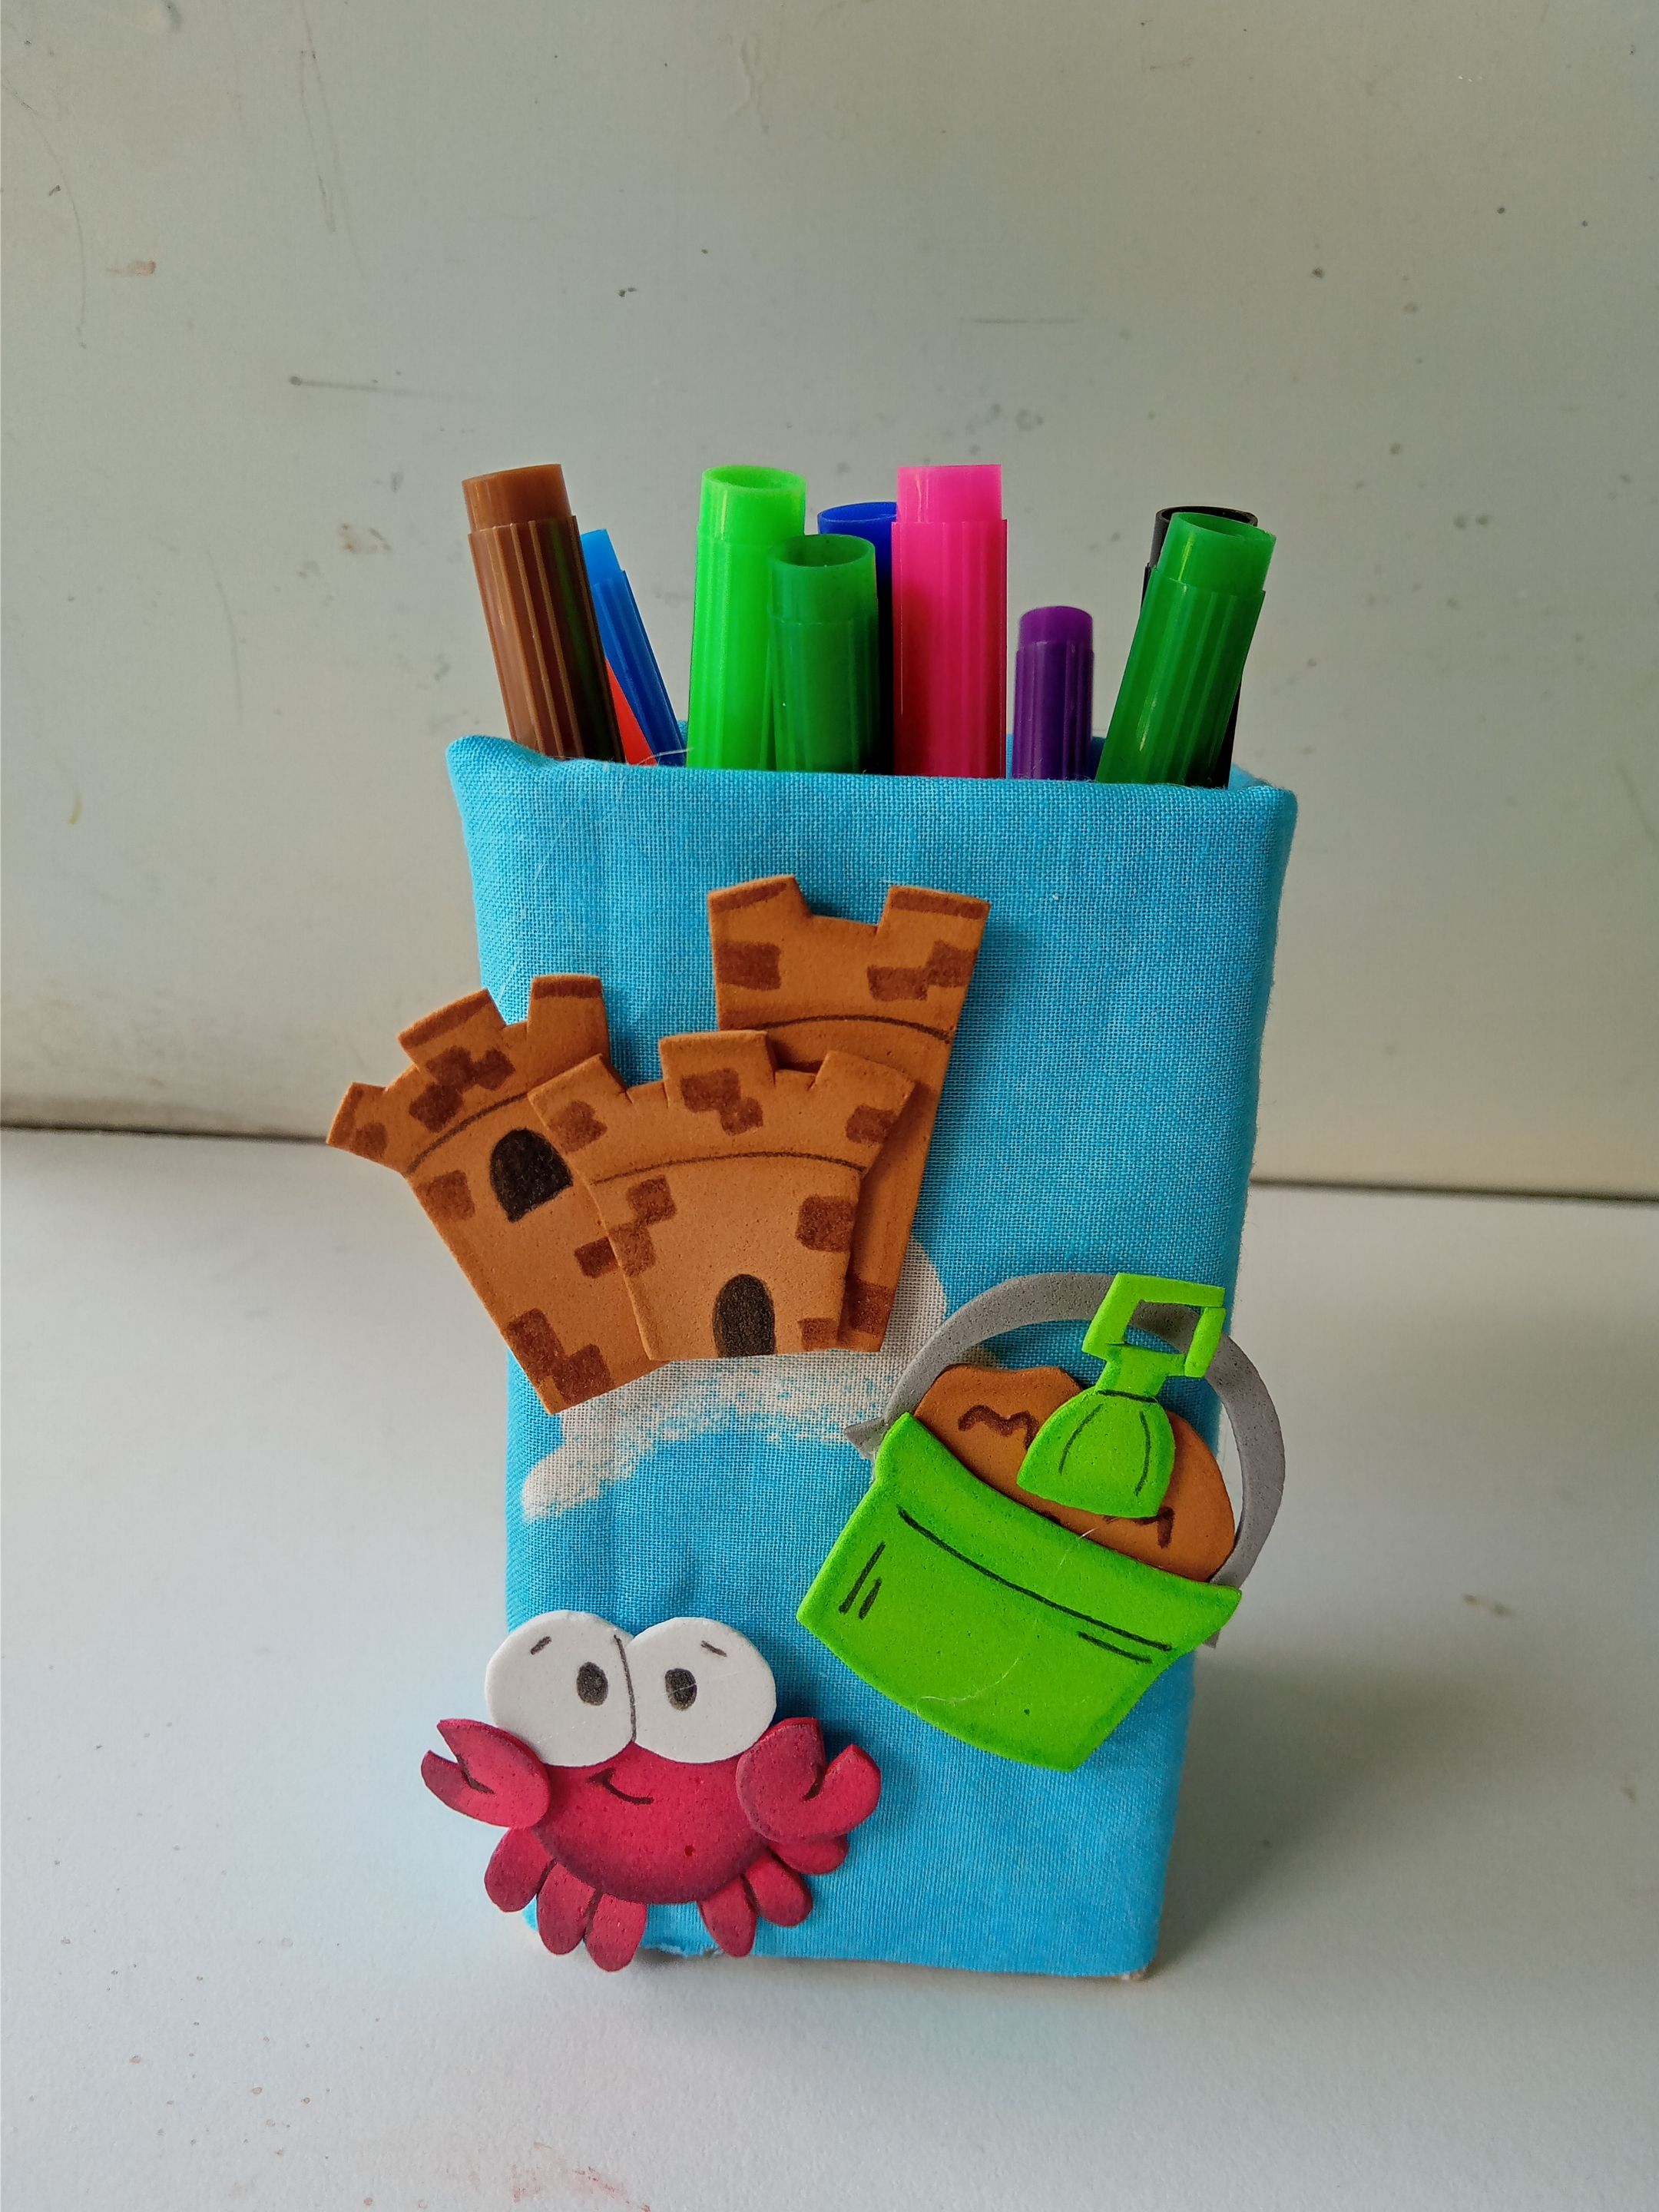
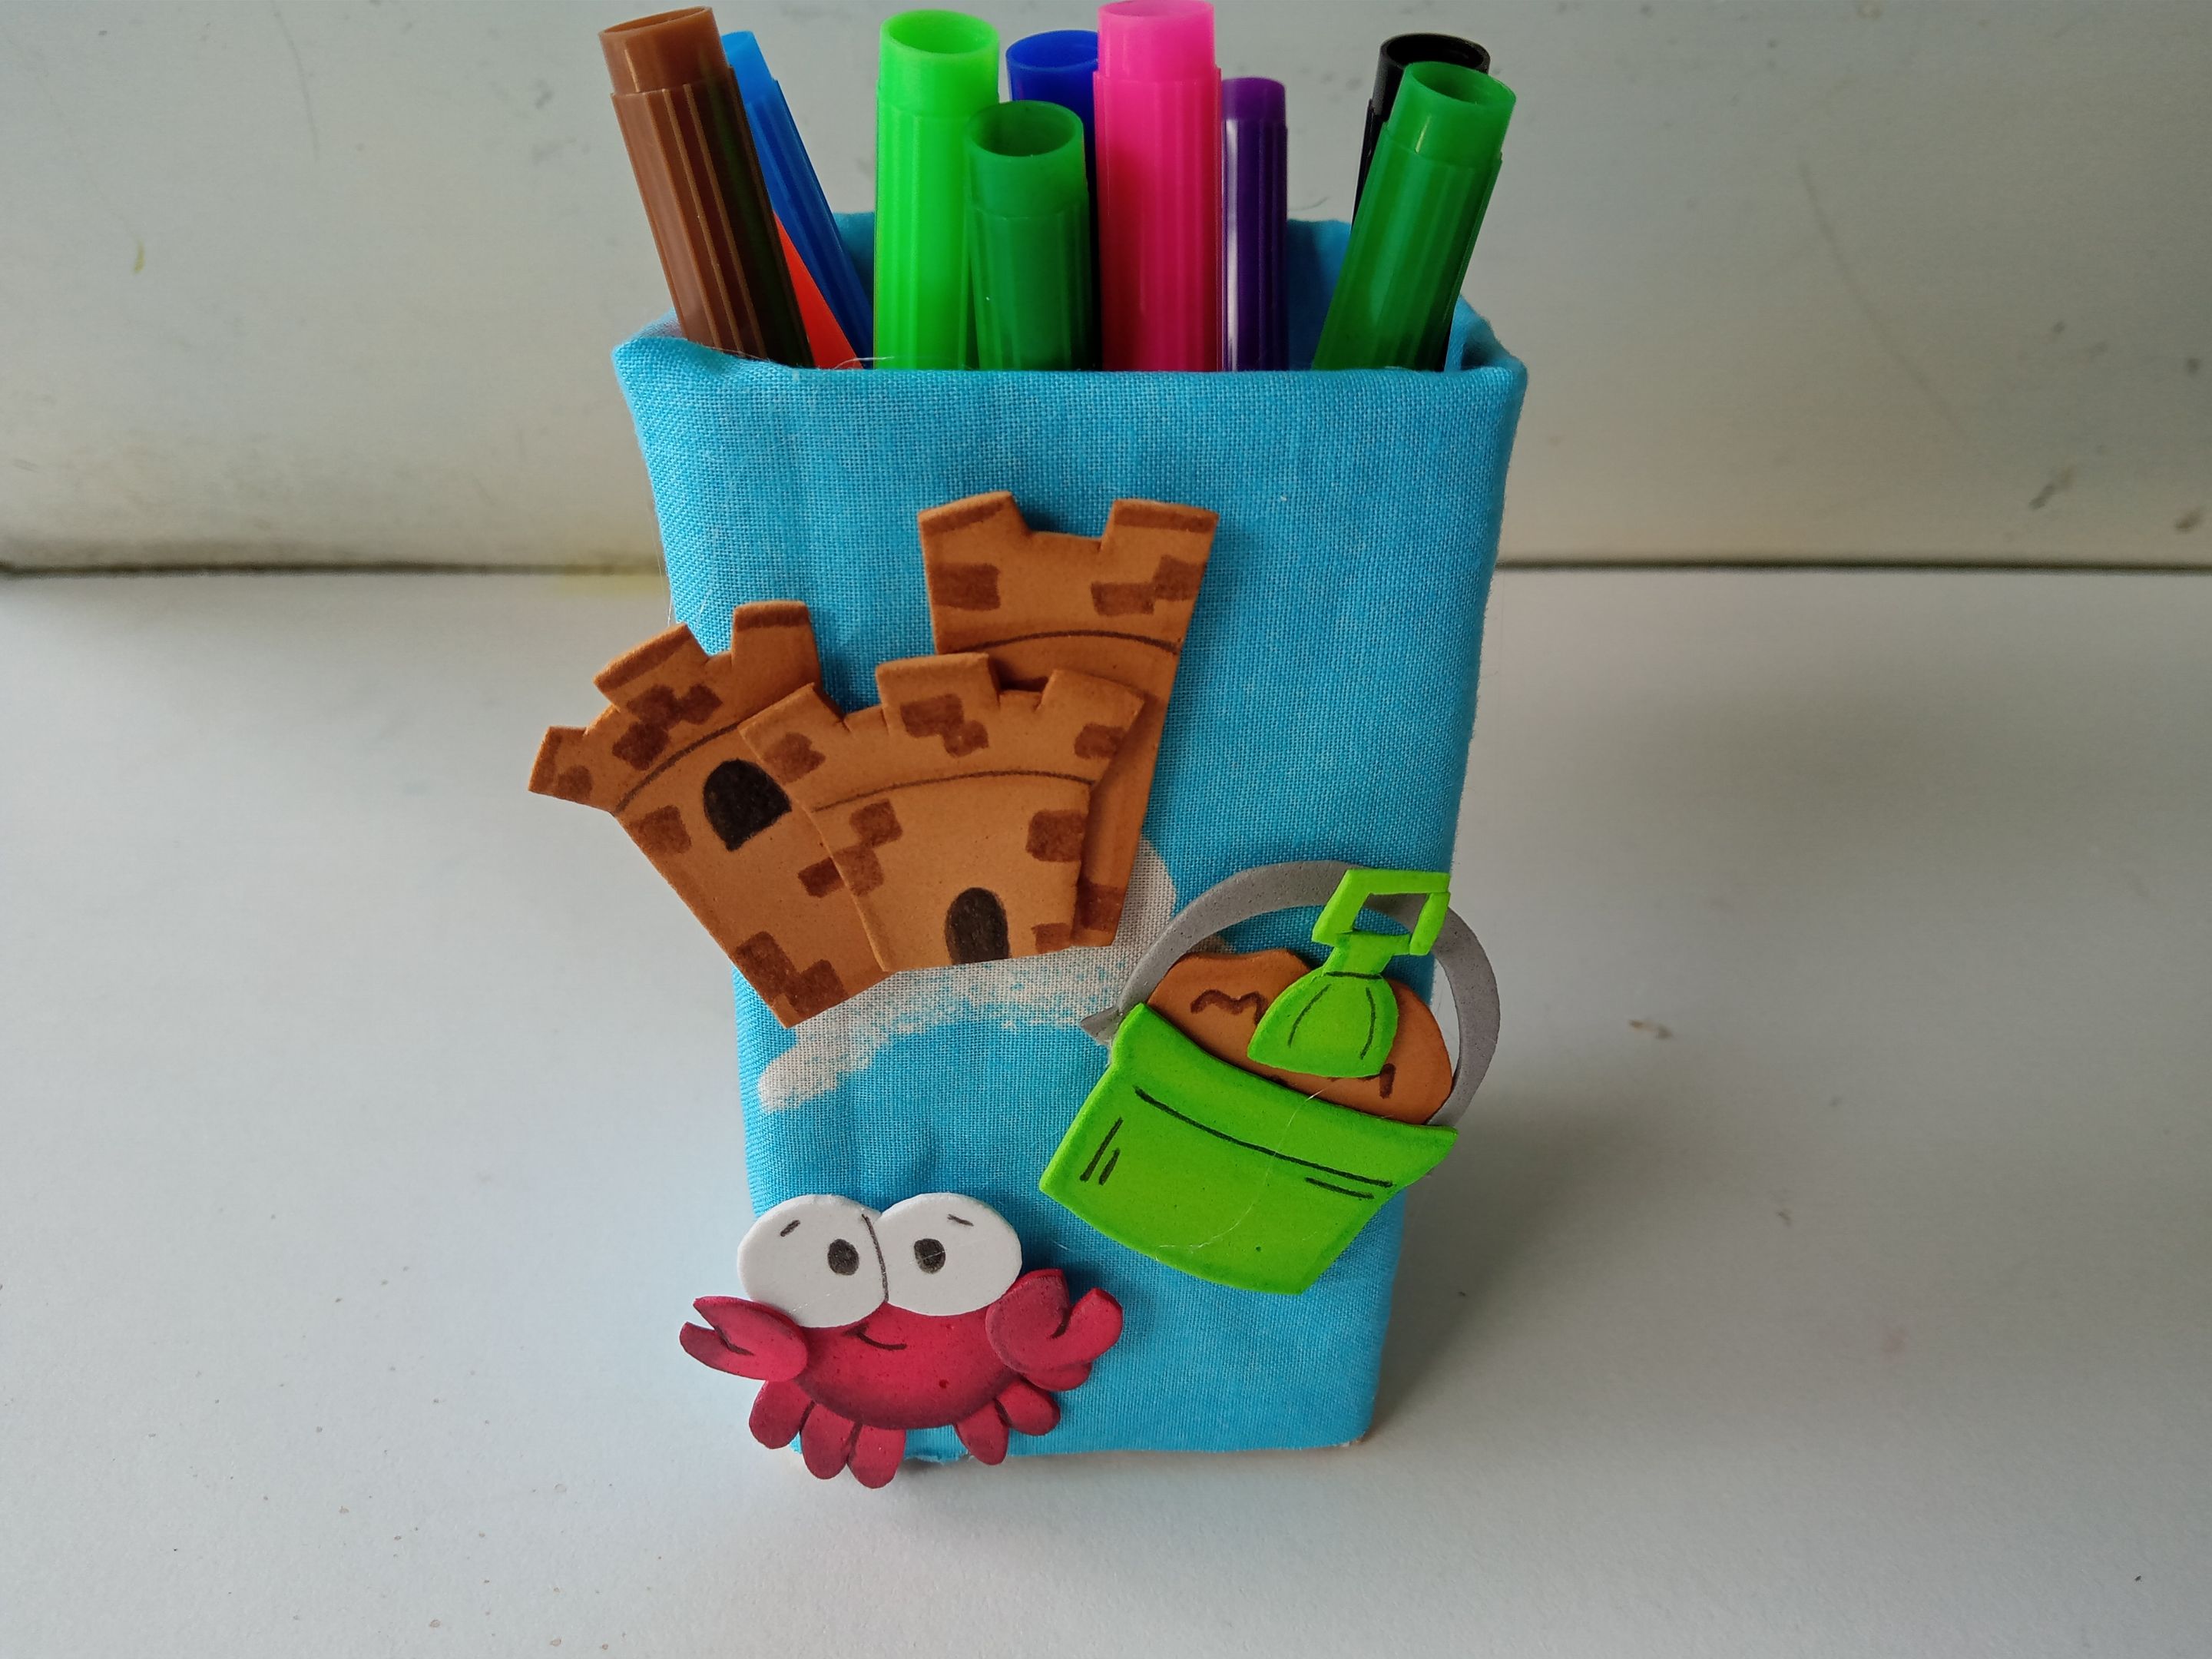
✨Y listo, amigos, ya pueden organizar sus colores, marcadores, lapiceros o los que deseen en este lindo organizador. Así es como pueden elaborar un organizador de escritorio, con la temática que deseen. Espero que les haya gustado el paso a paso, la idea de esta temática y que se animen a elaborarlo.
❤️Hasta la próxima publicación.
>
✨And that's it, friends! You can now organize your crayons, markers, pens, or whatever you want in this cute organizer. This is how you can make a desk organizer with any theme you want. I hope you enjoyed the step-by-step instructions, the idea of this theme, and that you're inspired to try it out.
>
❤️Until the next post.

**♥️ESPERO QUE TE GUSTE,
¡Empecemos!**
**♥️I HOPE YOU LIKE IT,
Let's start!**
---

# ✂️ MATERIALES | ✂️ MATERIALS

- Caja de cartón.
- Foami rojo.
- Foami blanco.
- Foami marrón.
- Foami verde.
- Foami gris.
- Tela.
- Pinturas y marcadores.
- Pegamento.
- Tijeras.
- Regla.
- Hoja blanca.
- Lápiz.
- Cardboard box.
- Red foam.
- White foam.
- Brown foam.
- Green foam.
- Gray foam.
- Fabric.
- Paints and markers.
- Glue.
- Scissors.
- Ruler.
- White paper.
- Pencil.

# 🌟 PROCEDIMIENTO | 🌟 PROCESS

###### ✨PASO 1:
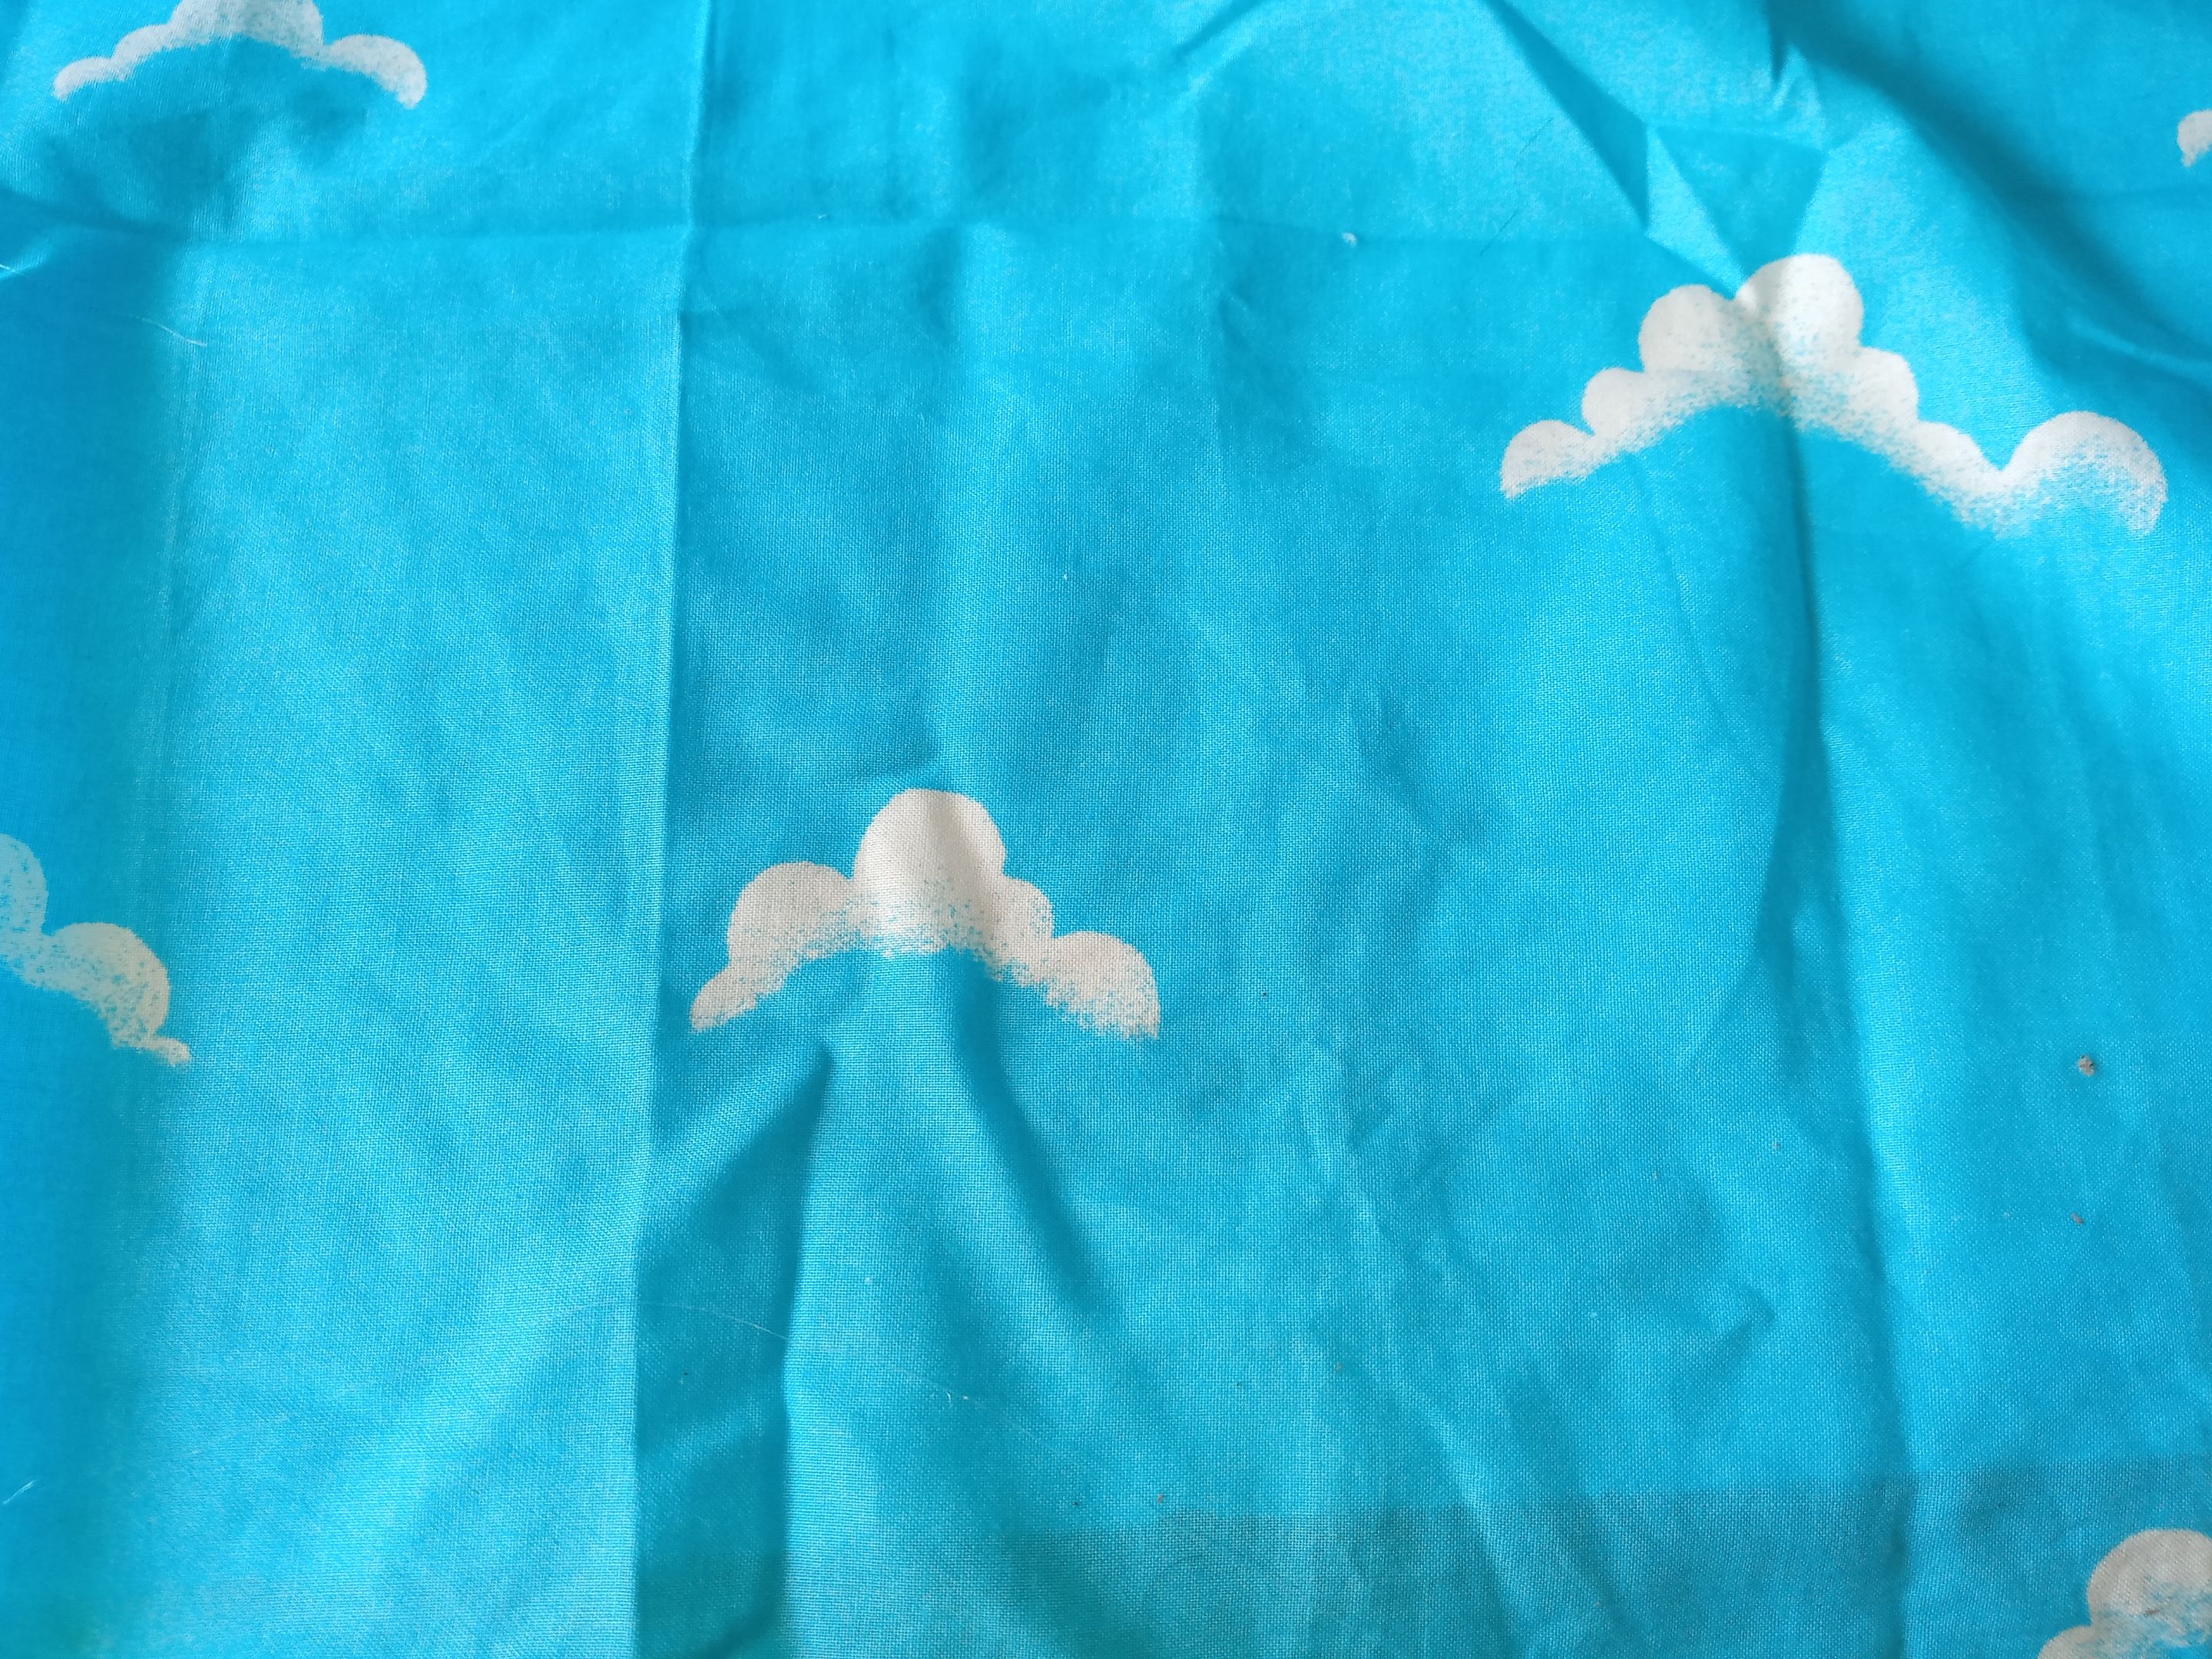
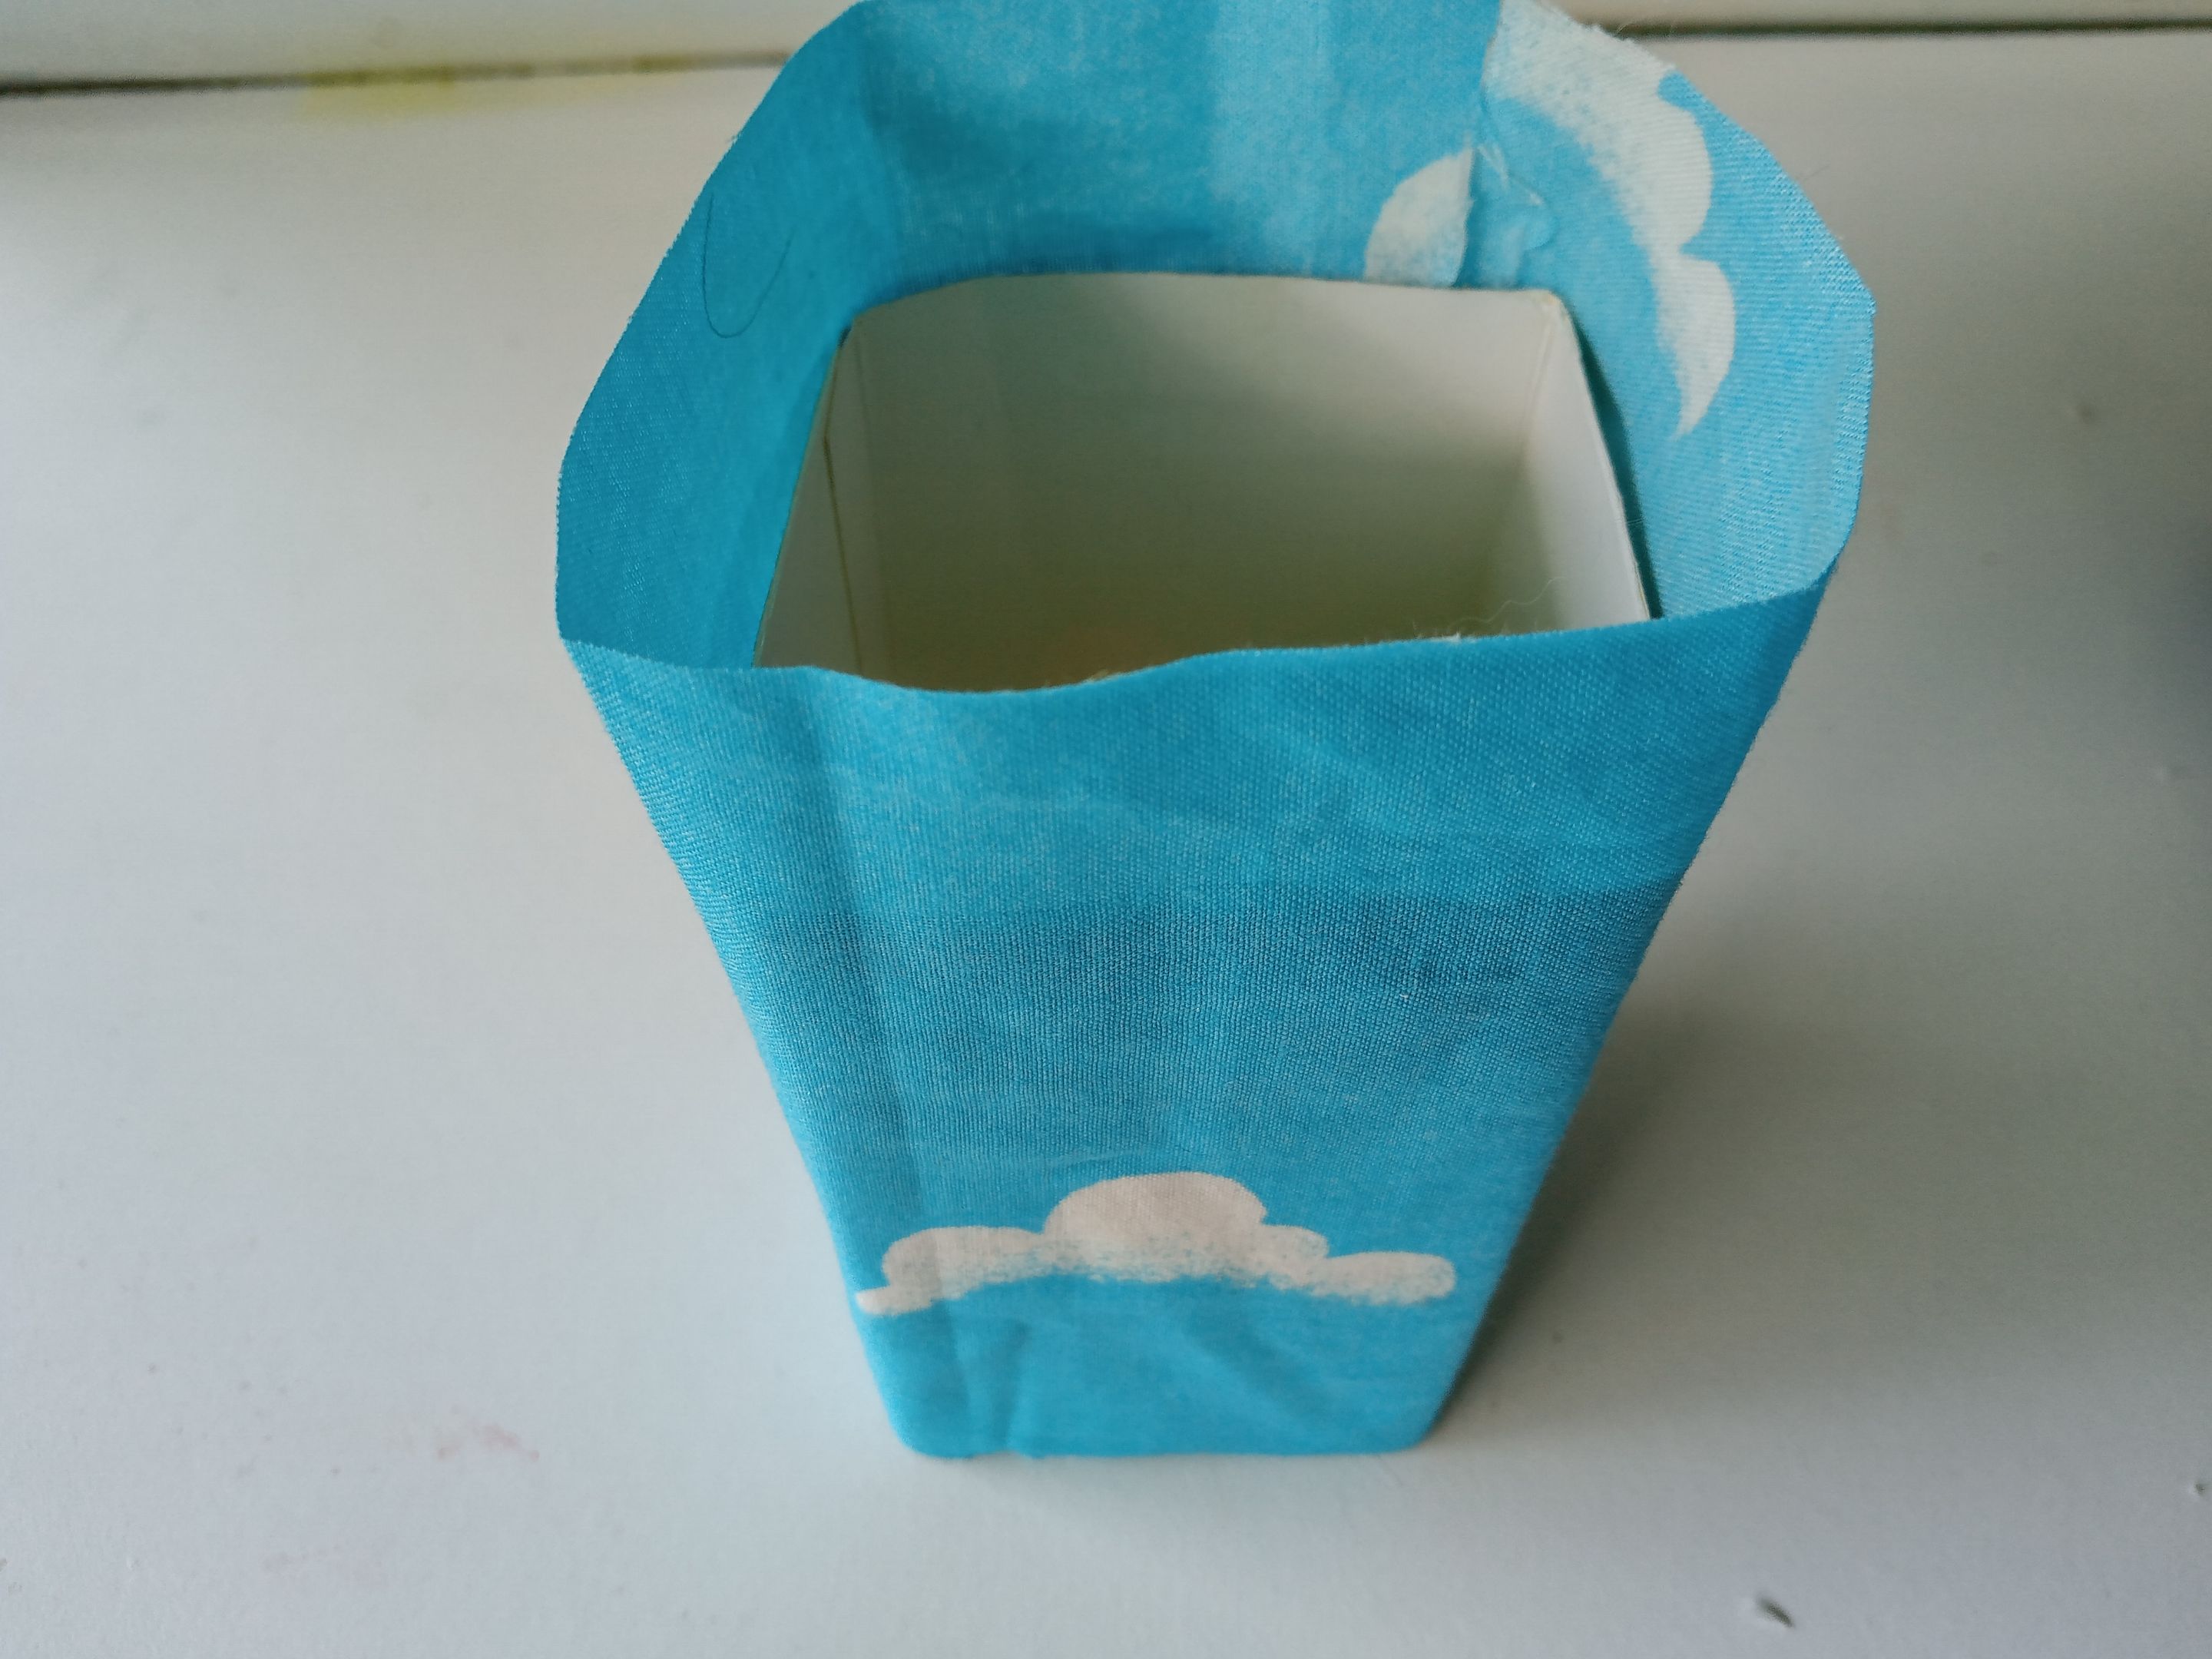
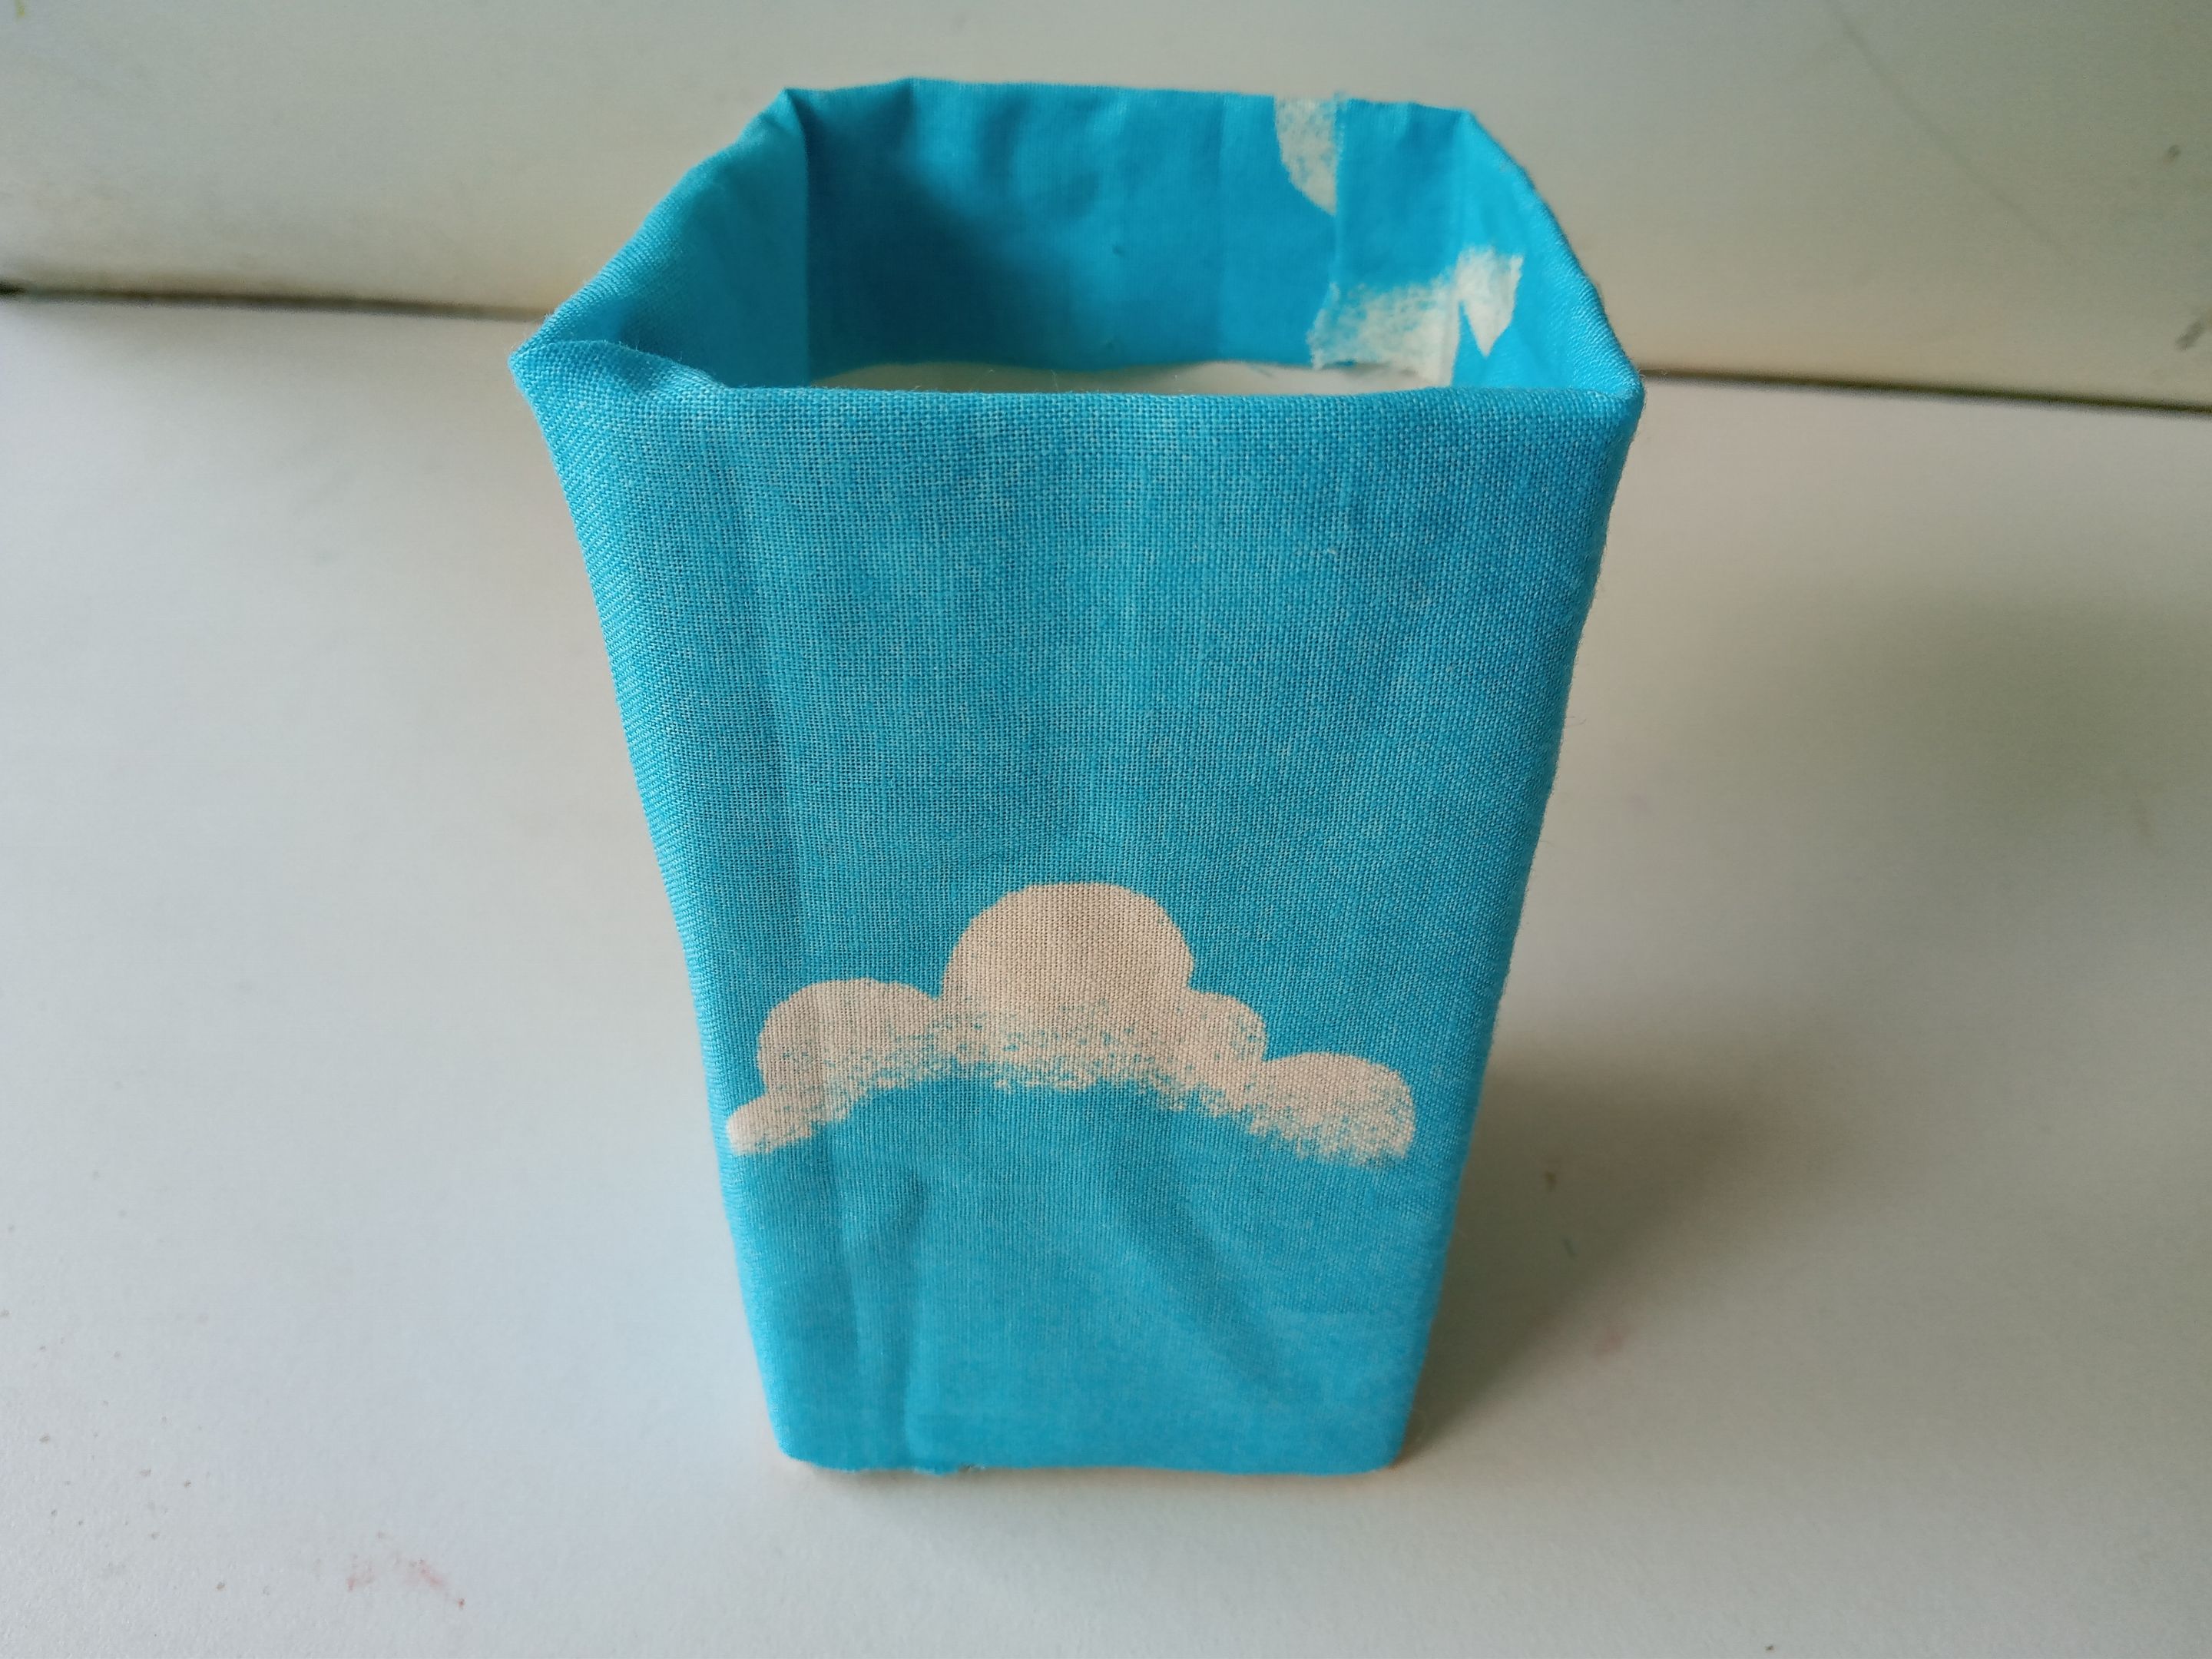
Lo primero que hice fue tomar la caja de cartón, que en este caso estoy utilizando una de bombillo de 12 cm x 6.5 cm, y recorté la tapa superior y las pestañas que lo acompañan. Seguidamente, recorté un trozo de tela para forrar la caja, que en este caso recorté la tela 1 cm más grande de cada lado que el tamaño de la caja, para poder hacer los dobleces hacia adentro en la parte superior y para pegar en las paredes de los laterales.
###### ✨STEP 1:
The first thing I did was take the cardboard box, which in this case I'm using a 12 cm x 6.5 cm light bulb box, and cut out the top lid and the accompanying tabs. Next, I cut a piece of fabric to line the box. In this case, I cut the fabric 1 cm larger on each side than the size of the box, so I could make the inward folds at the top and glue them to the side walls.
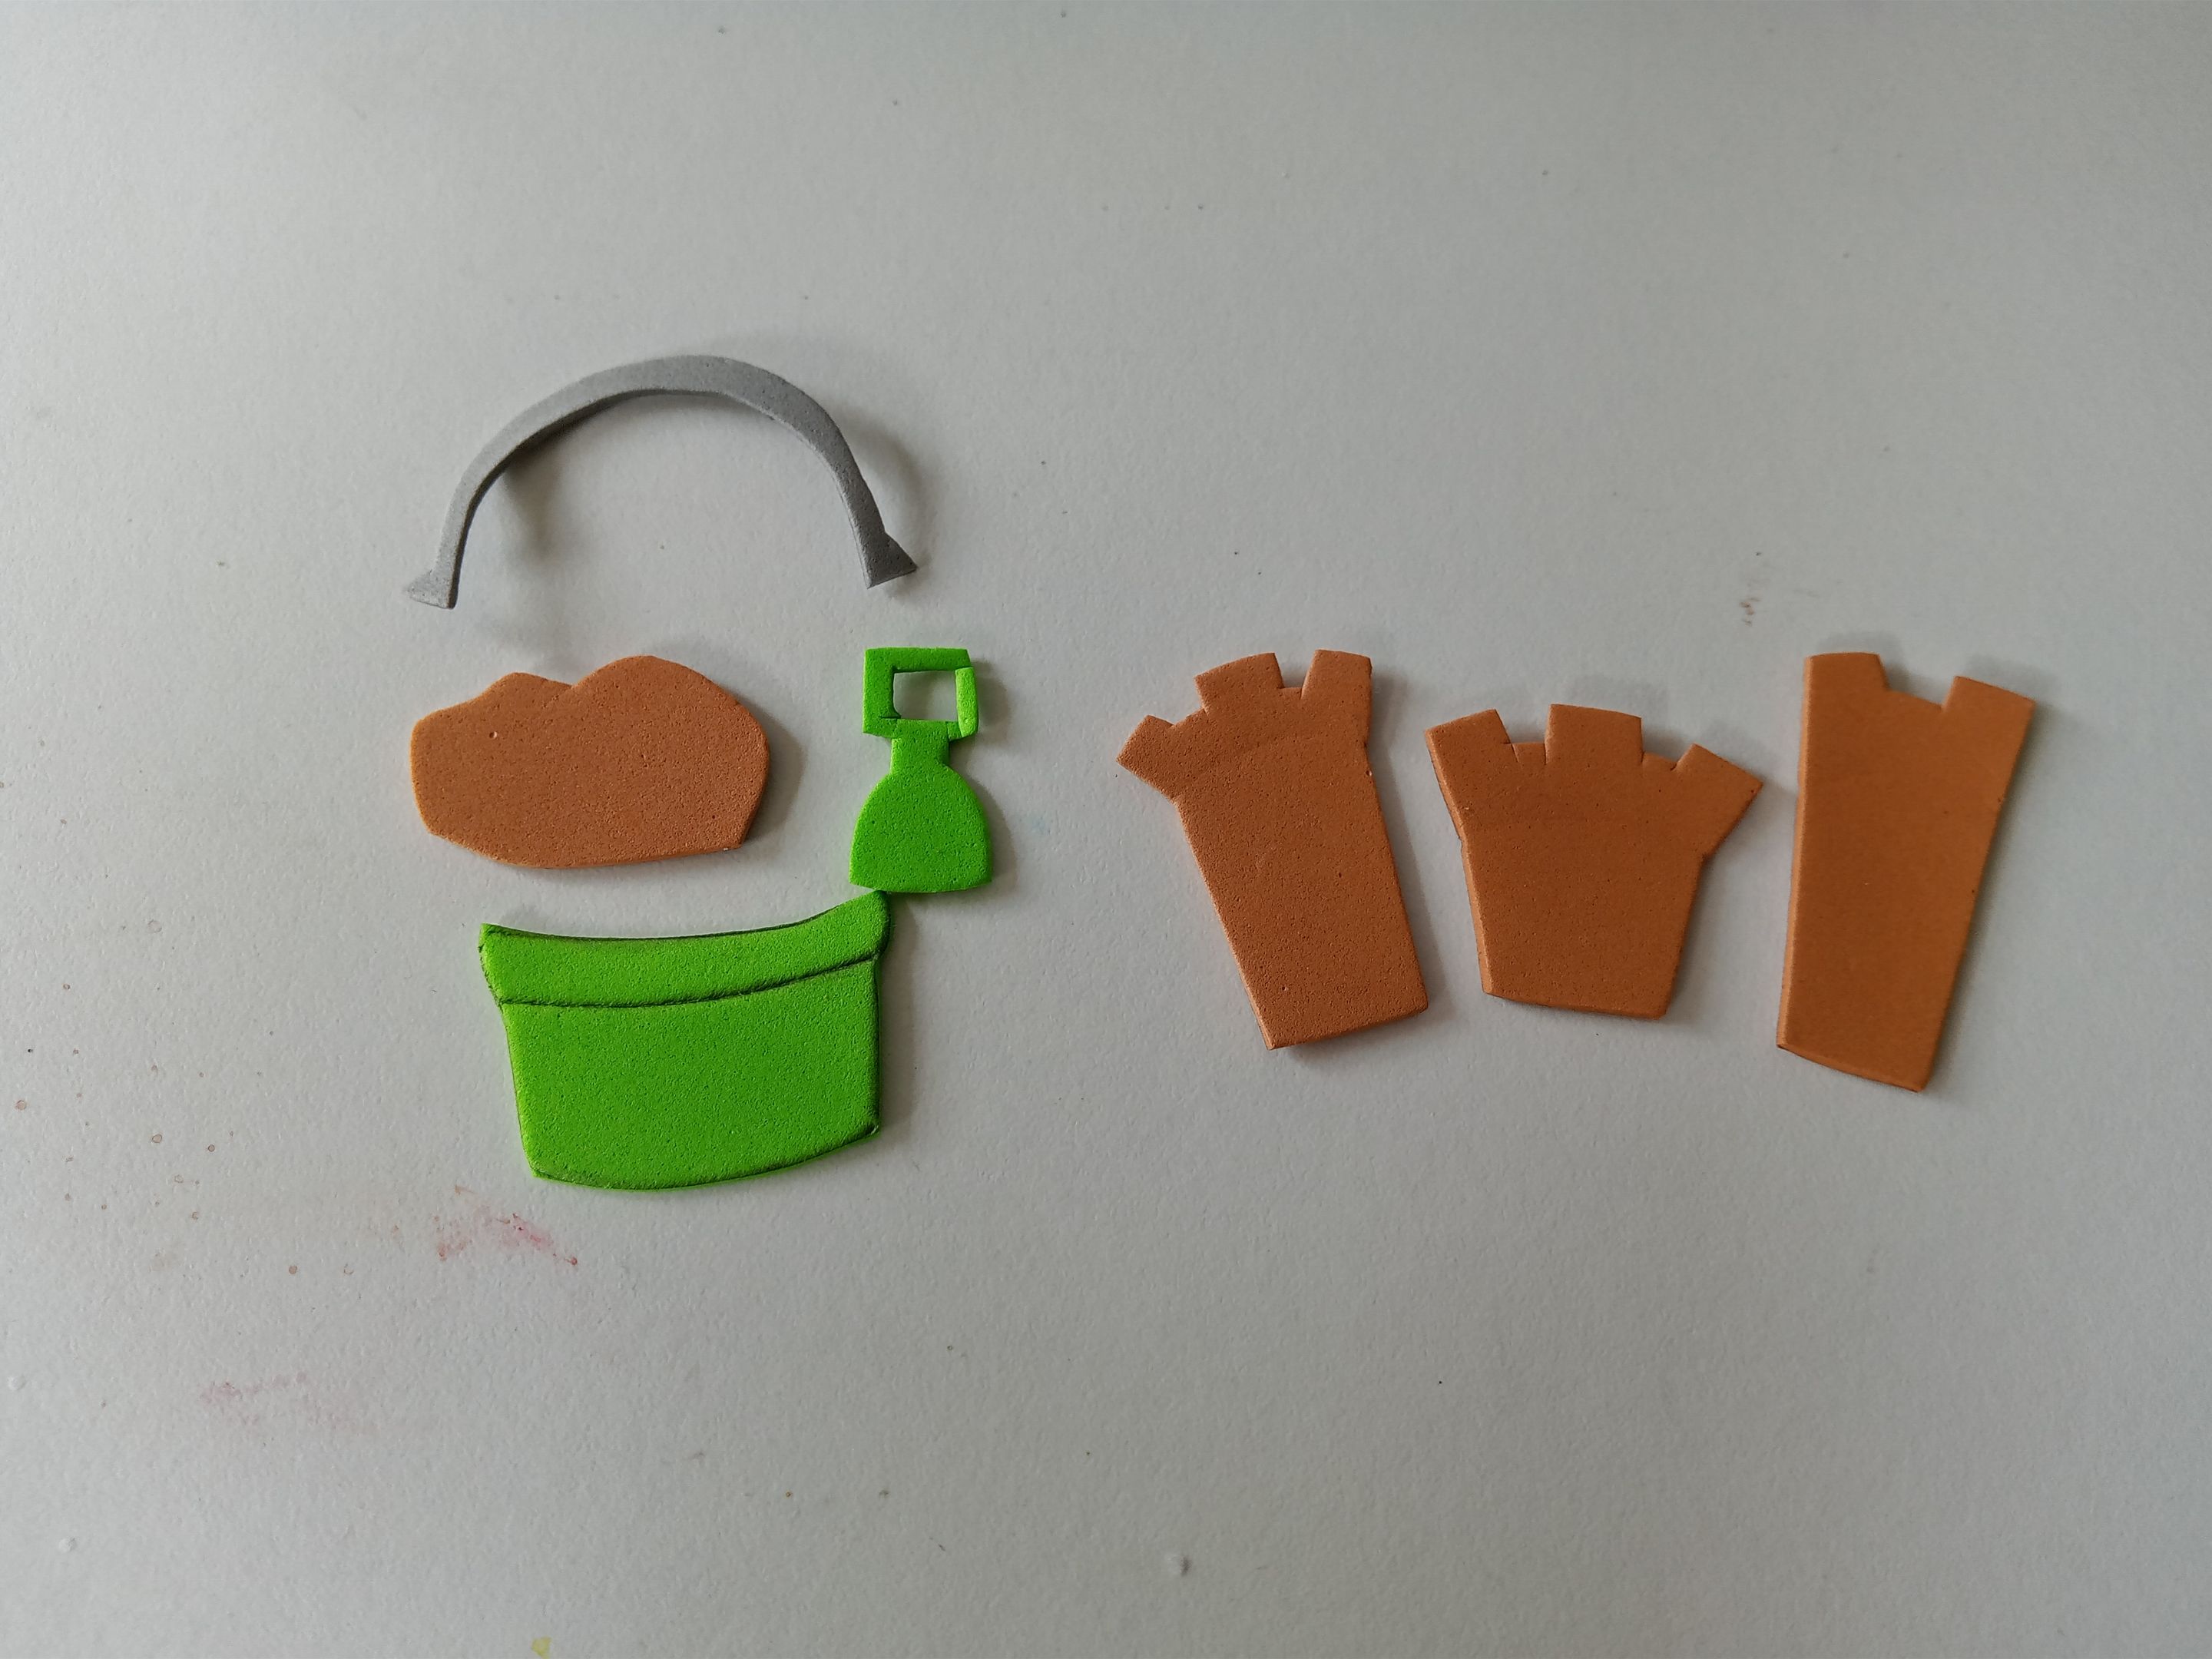
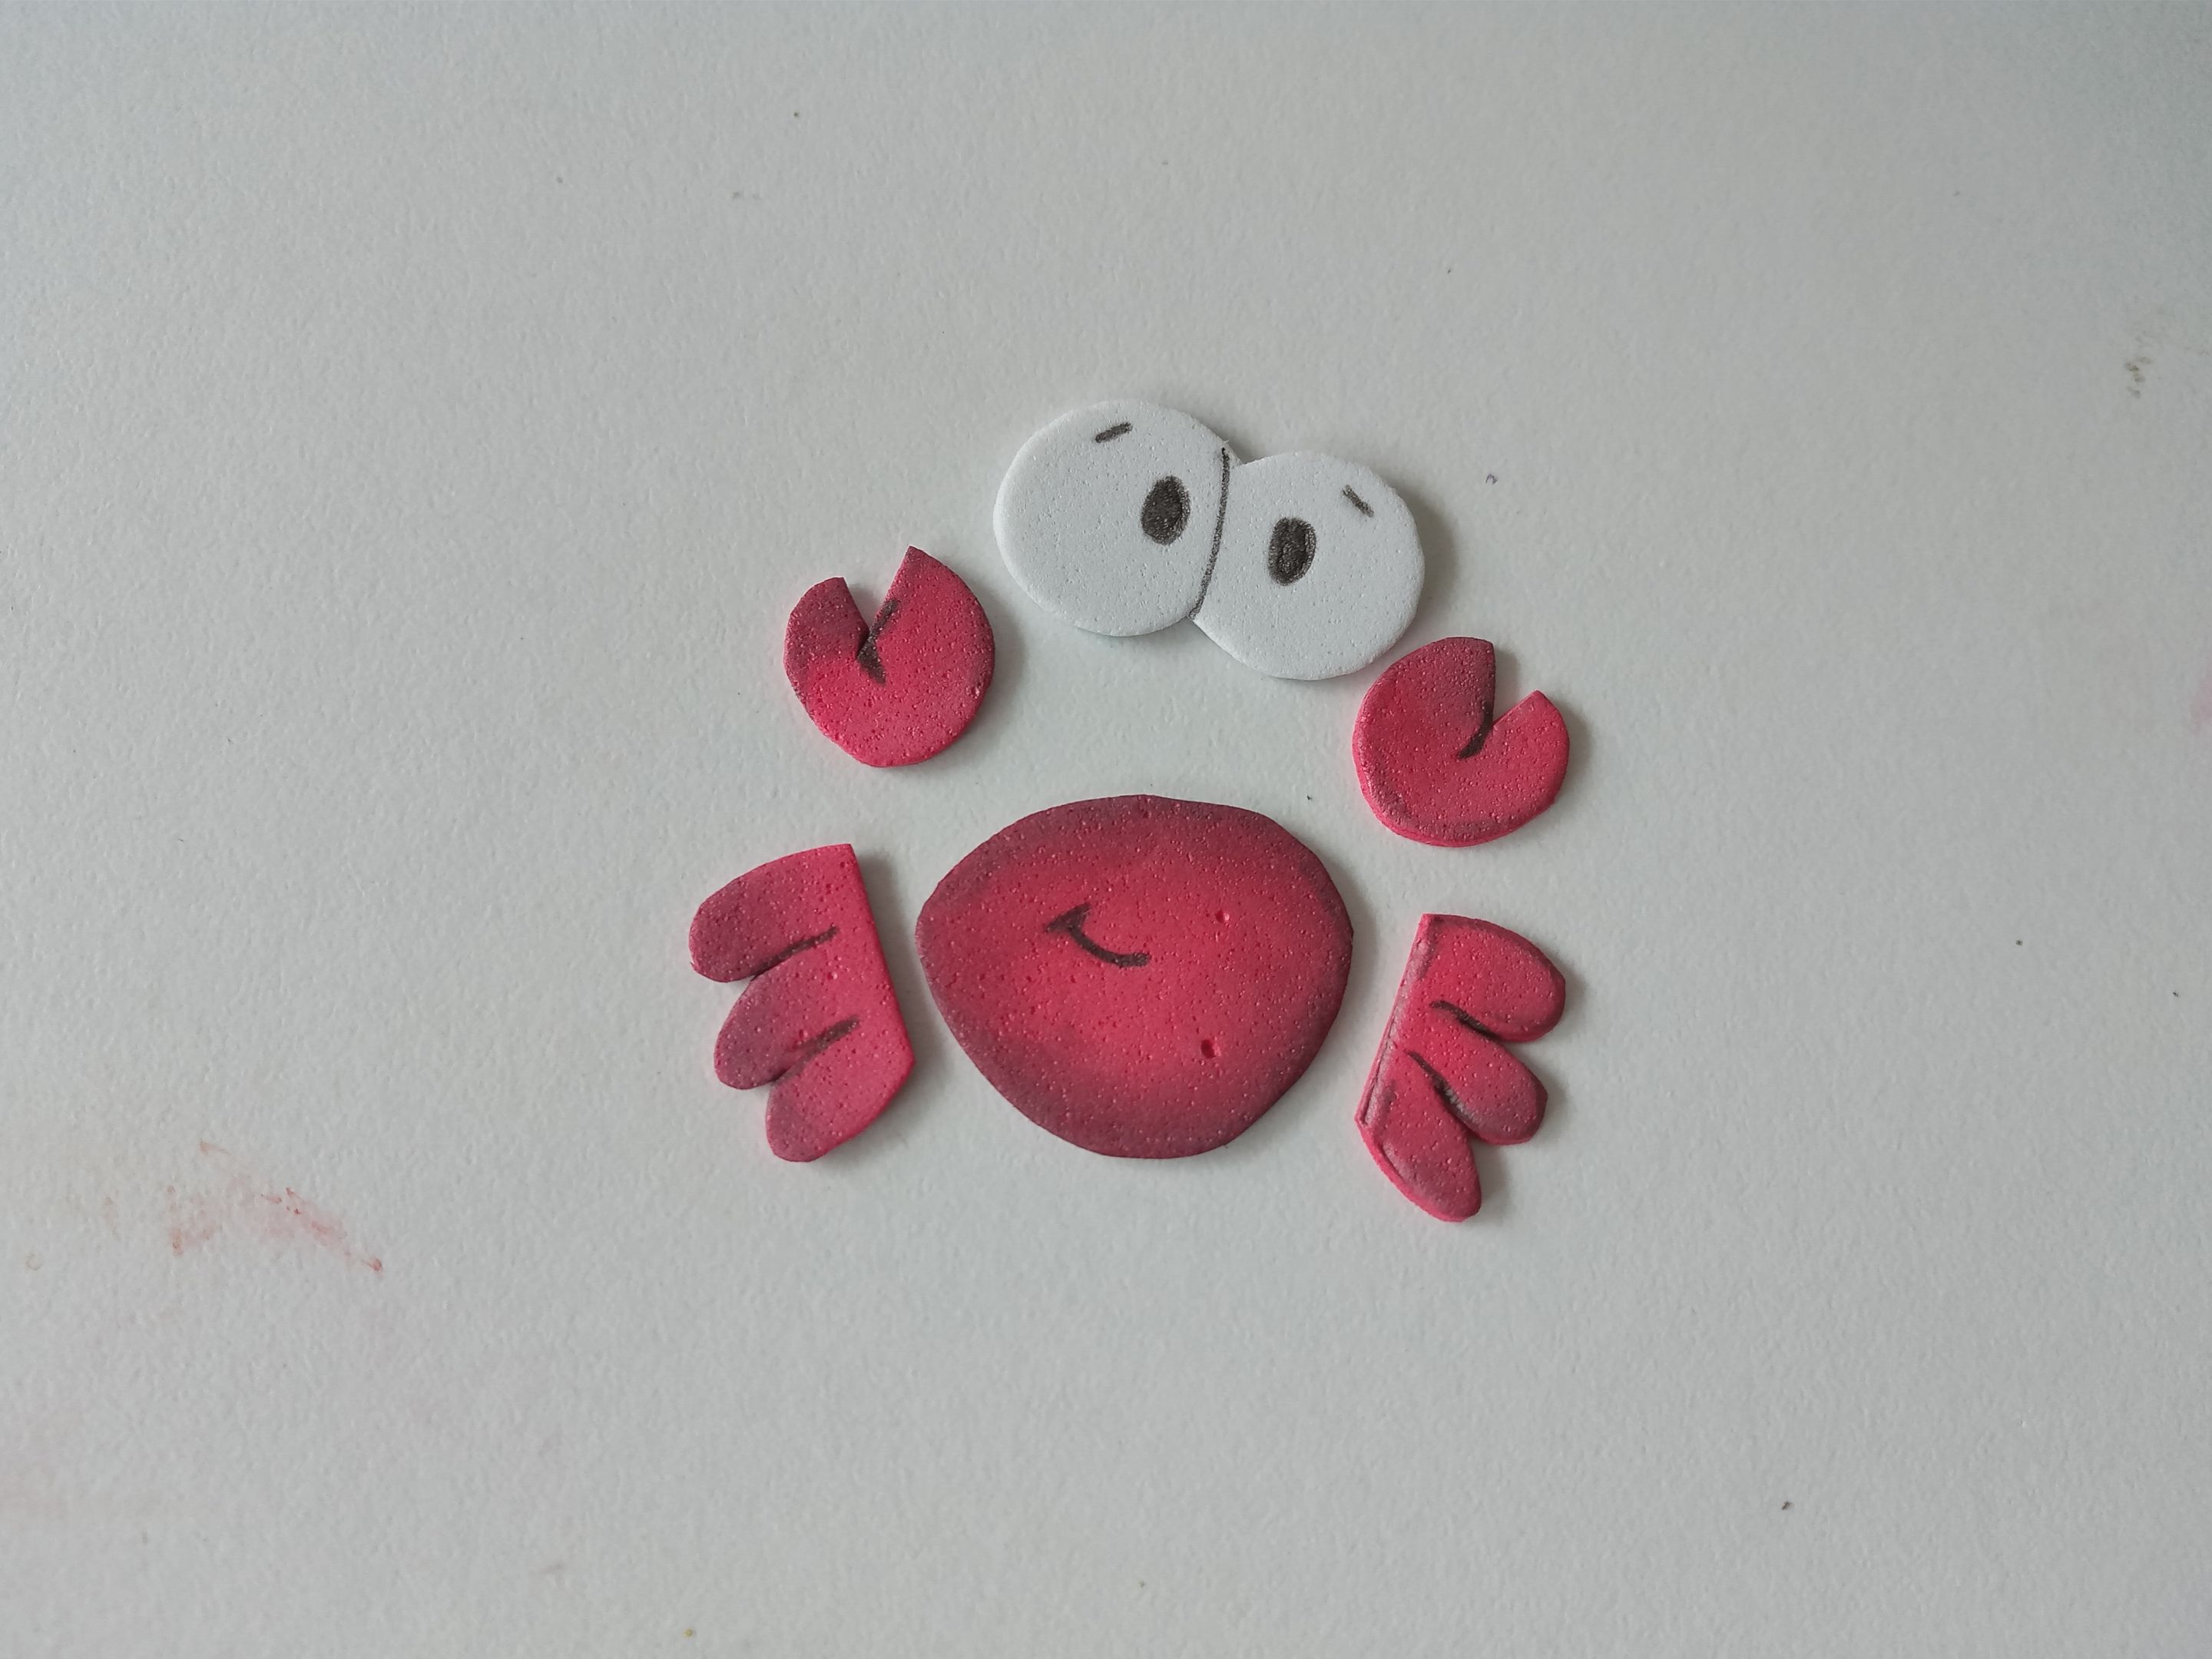
###### ✨PASO 2:
Al tener lista la caja, tomé una hoja blanca e hice los diseños, que en este caso quería un castillo de arena, un cangrejo y un balde de arena junto con su pala. Al tener listos los diseños y tamaños en la hoja blanca, transferí a los colores correspondientes de foami, como explico a continuación:
**Castillo de arena:**
✨Frente: 3.5 cm x 3 cm en foami marrón.
✨Partes traseras: 3.8 cm x 2 cm y 4 cm x 2 cm en foami marrón.
**Balde de arena:**
✨Balde: 4 cm x 2 cm en foami verde.
✨Agarradero: 4.3 cm x 3 cm en foami gris.
✨Arena: 3 cm x 1.5 cm en foami marrón.
✨Pala: 2.5 cm x 1.5 cm en foami verde.
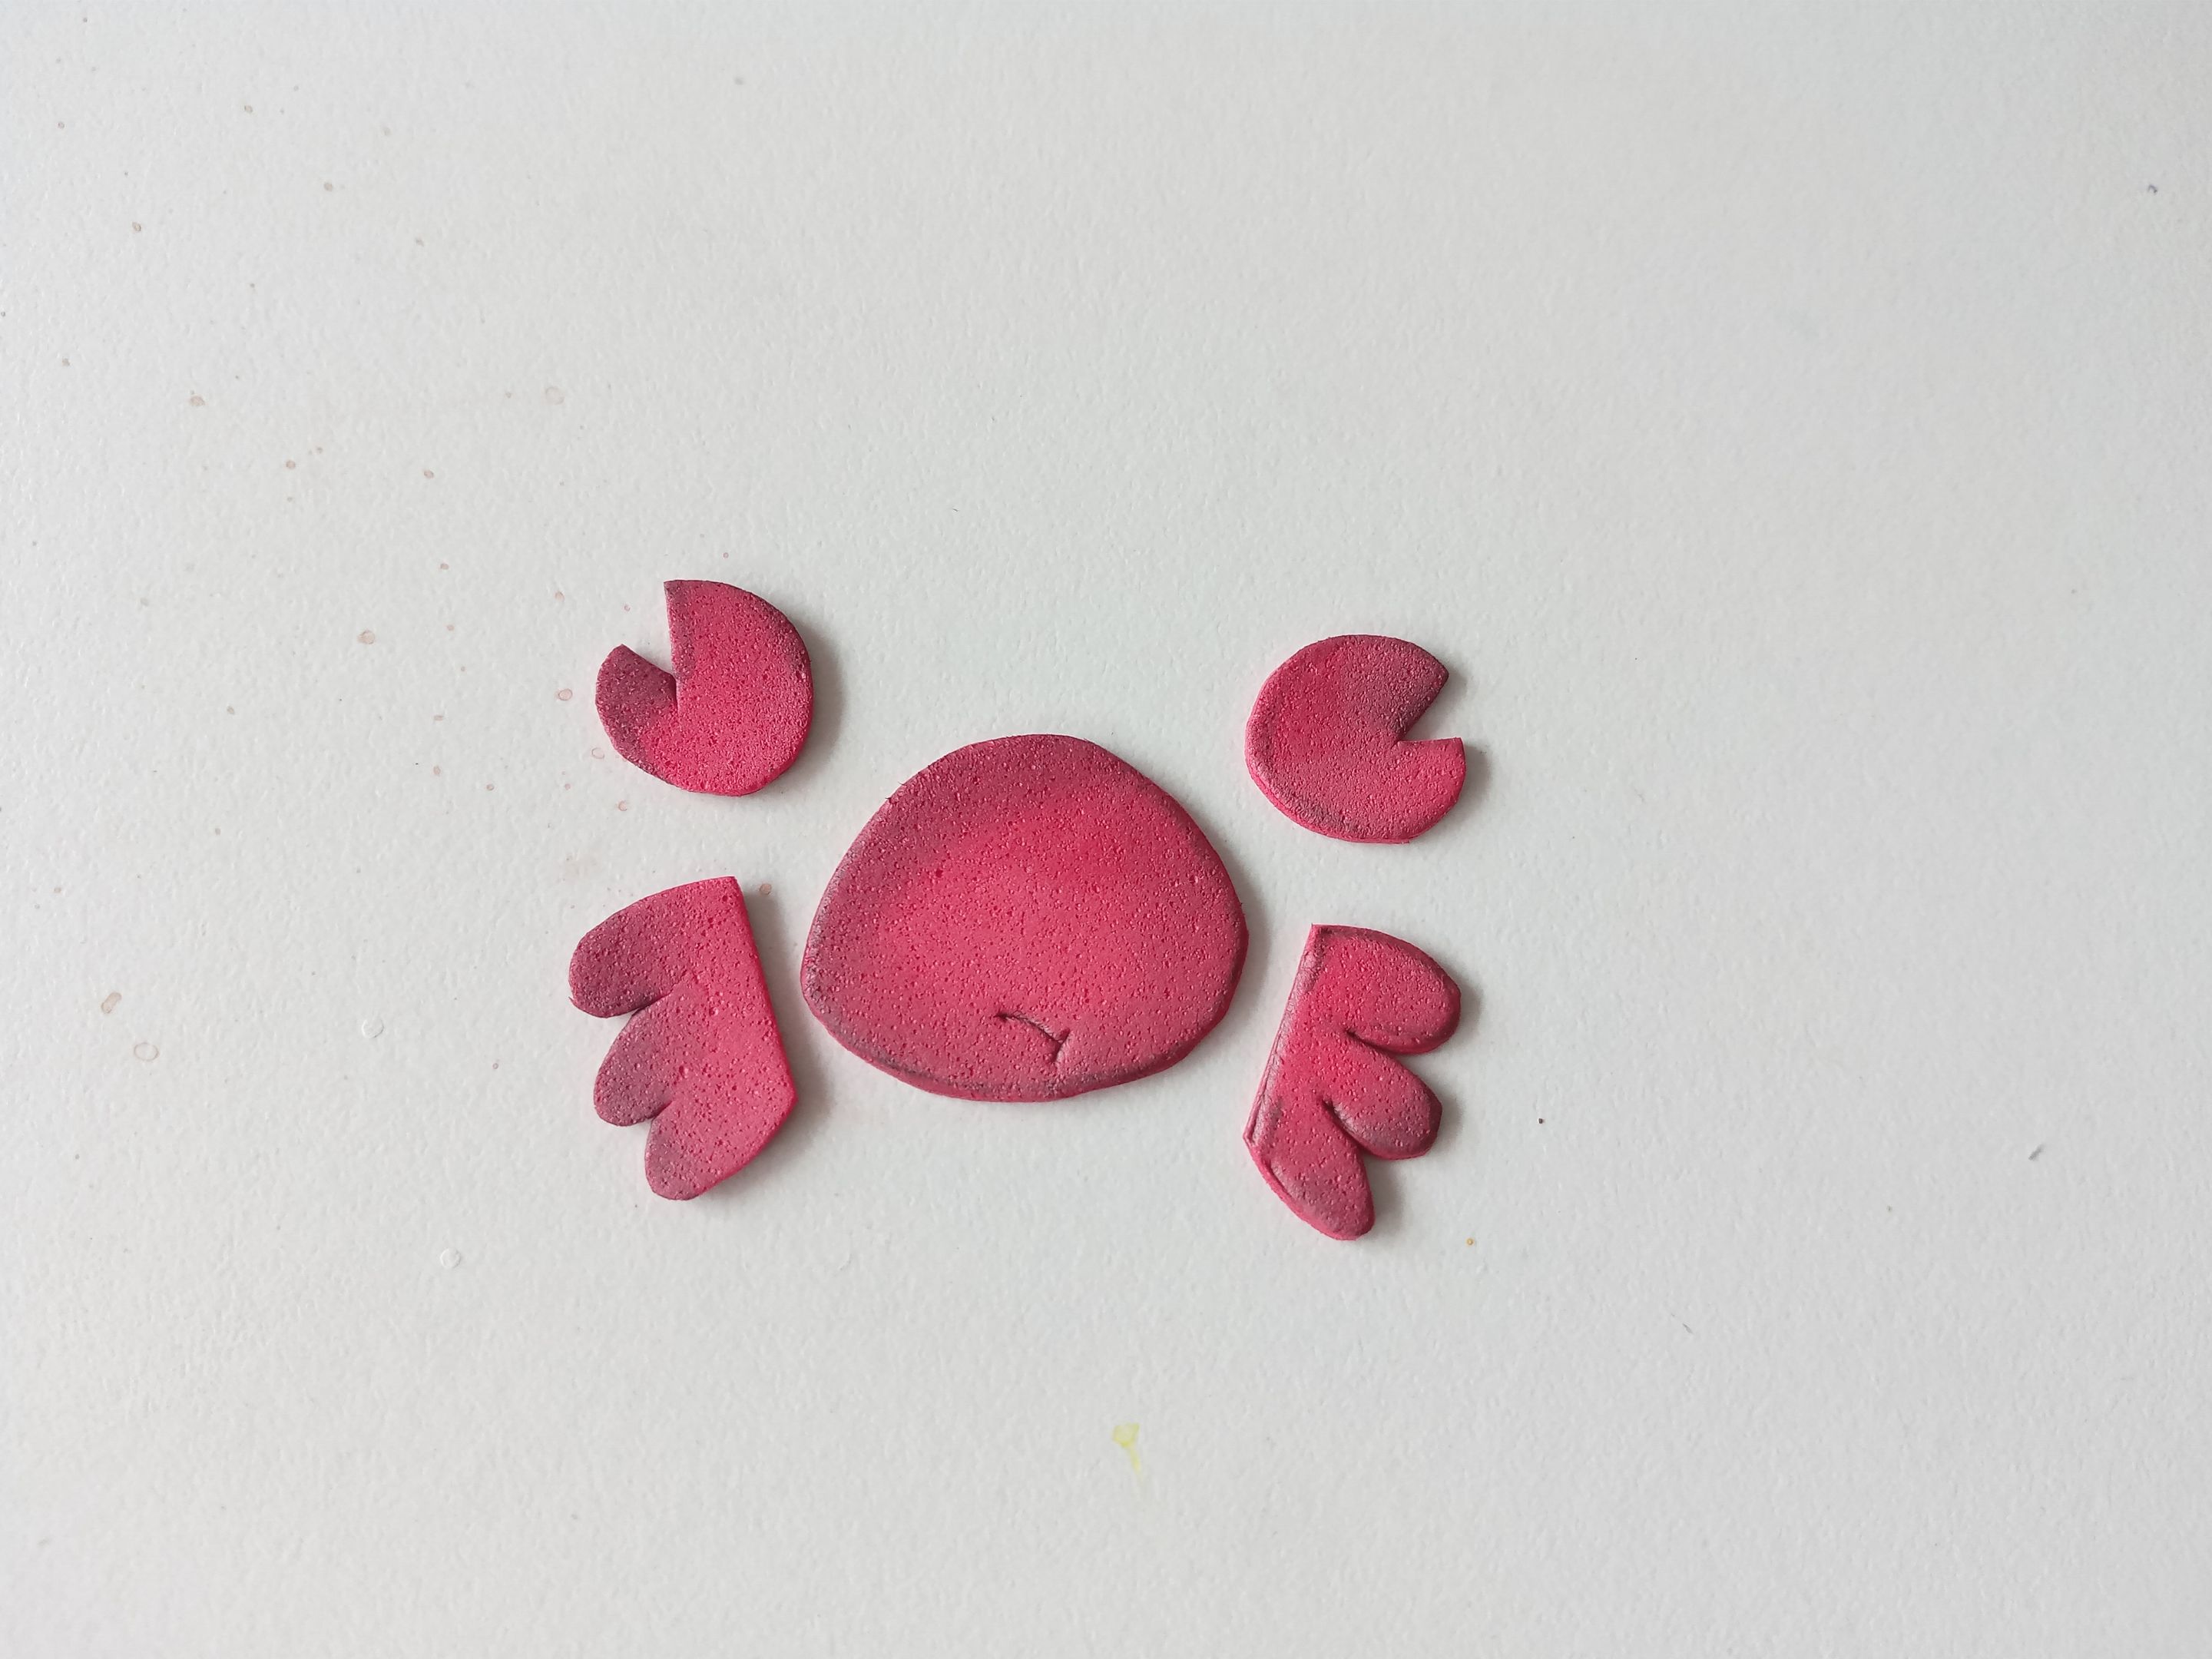
**Cangrejo:**
✨Cuerpo: 3 cm x 2.5 cm en foami rojo.
✨Patas: 1 cm en foami rojo.
✨Pesuñas: 1.5 cm en foami rojo.
✨Ojos: 3 cm x 1.5 cm en foami blanco.
###### ✨STEP 2:
Once I had the box ready, I took a white sheet of paper and made the designs. In this case, I wanted a sandcastle, a crab, and a bucket of sand with its shovel. Once I had the designs and sizes ready on the white sheet, I transferred them to the corresponding colors of foam, as explained below:
**Sandcastle:**
Front: 3.5 cm x 3 cm in brown foam.
Back: 3.8 cm x 2 cm and 4 cm x 2 cm in brown foam.
**Sand Bucket:**
Bucket: 4 cm x 2 cm in green foam.
Handle: 4.3 cm x 3 cm in gray foam.
Sand: 3 cm x 1.5 cm in brown foam.
Shovel: 2.5 cm x 1.5 cm in green foam.
**Crab:**
Body: 3 cm x 2.5 cm in red foam.
Legs: 1 cm in red foam.
Hooves: 1.5 cm in red foam.
Eyes: 3 cm x 1.5 cm in white foam.
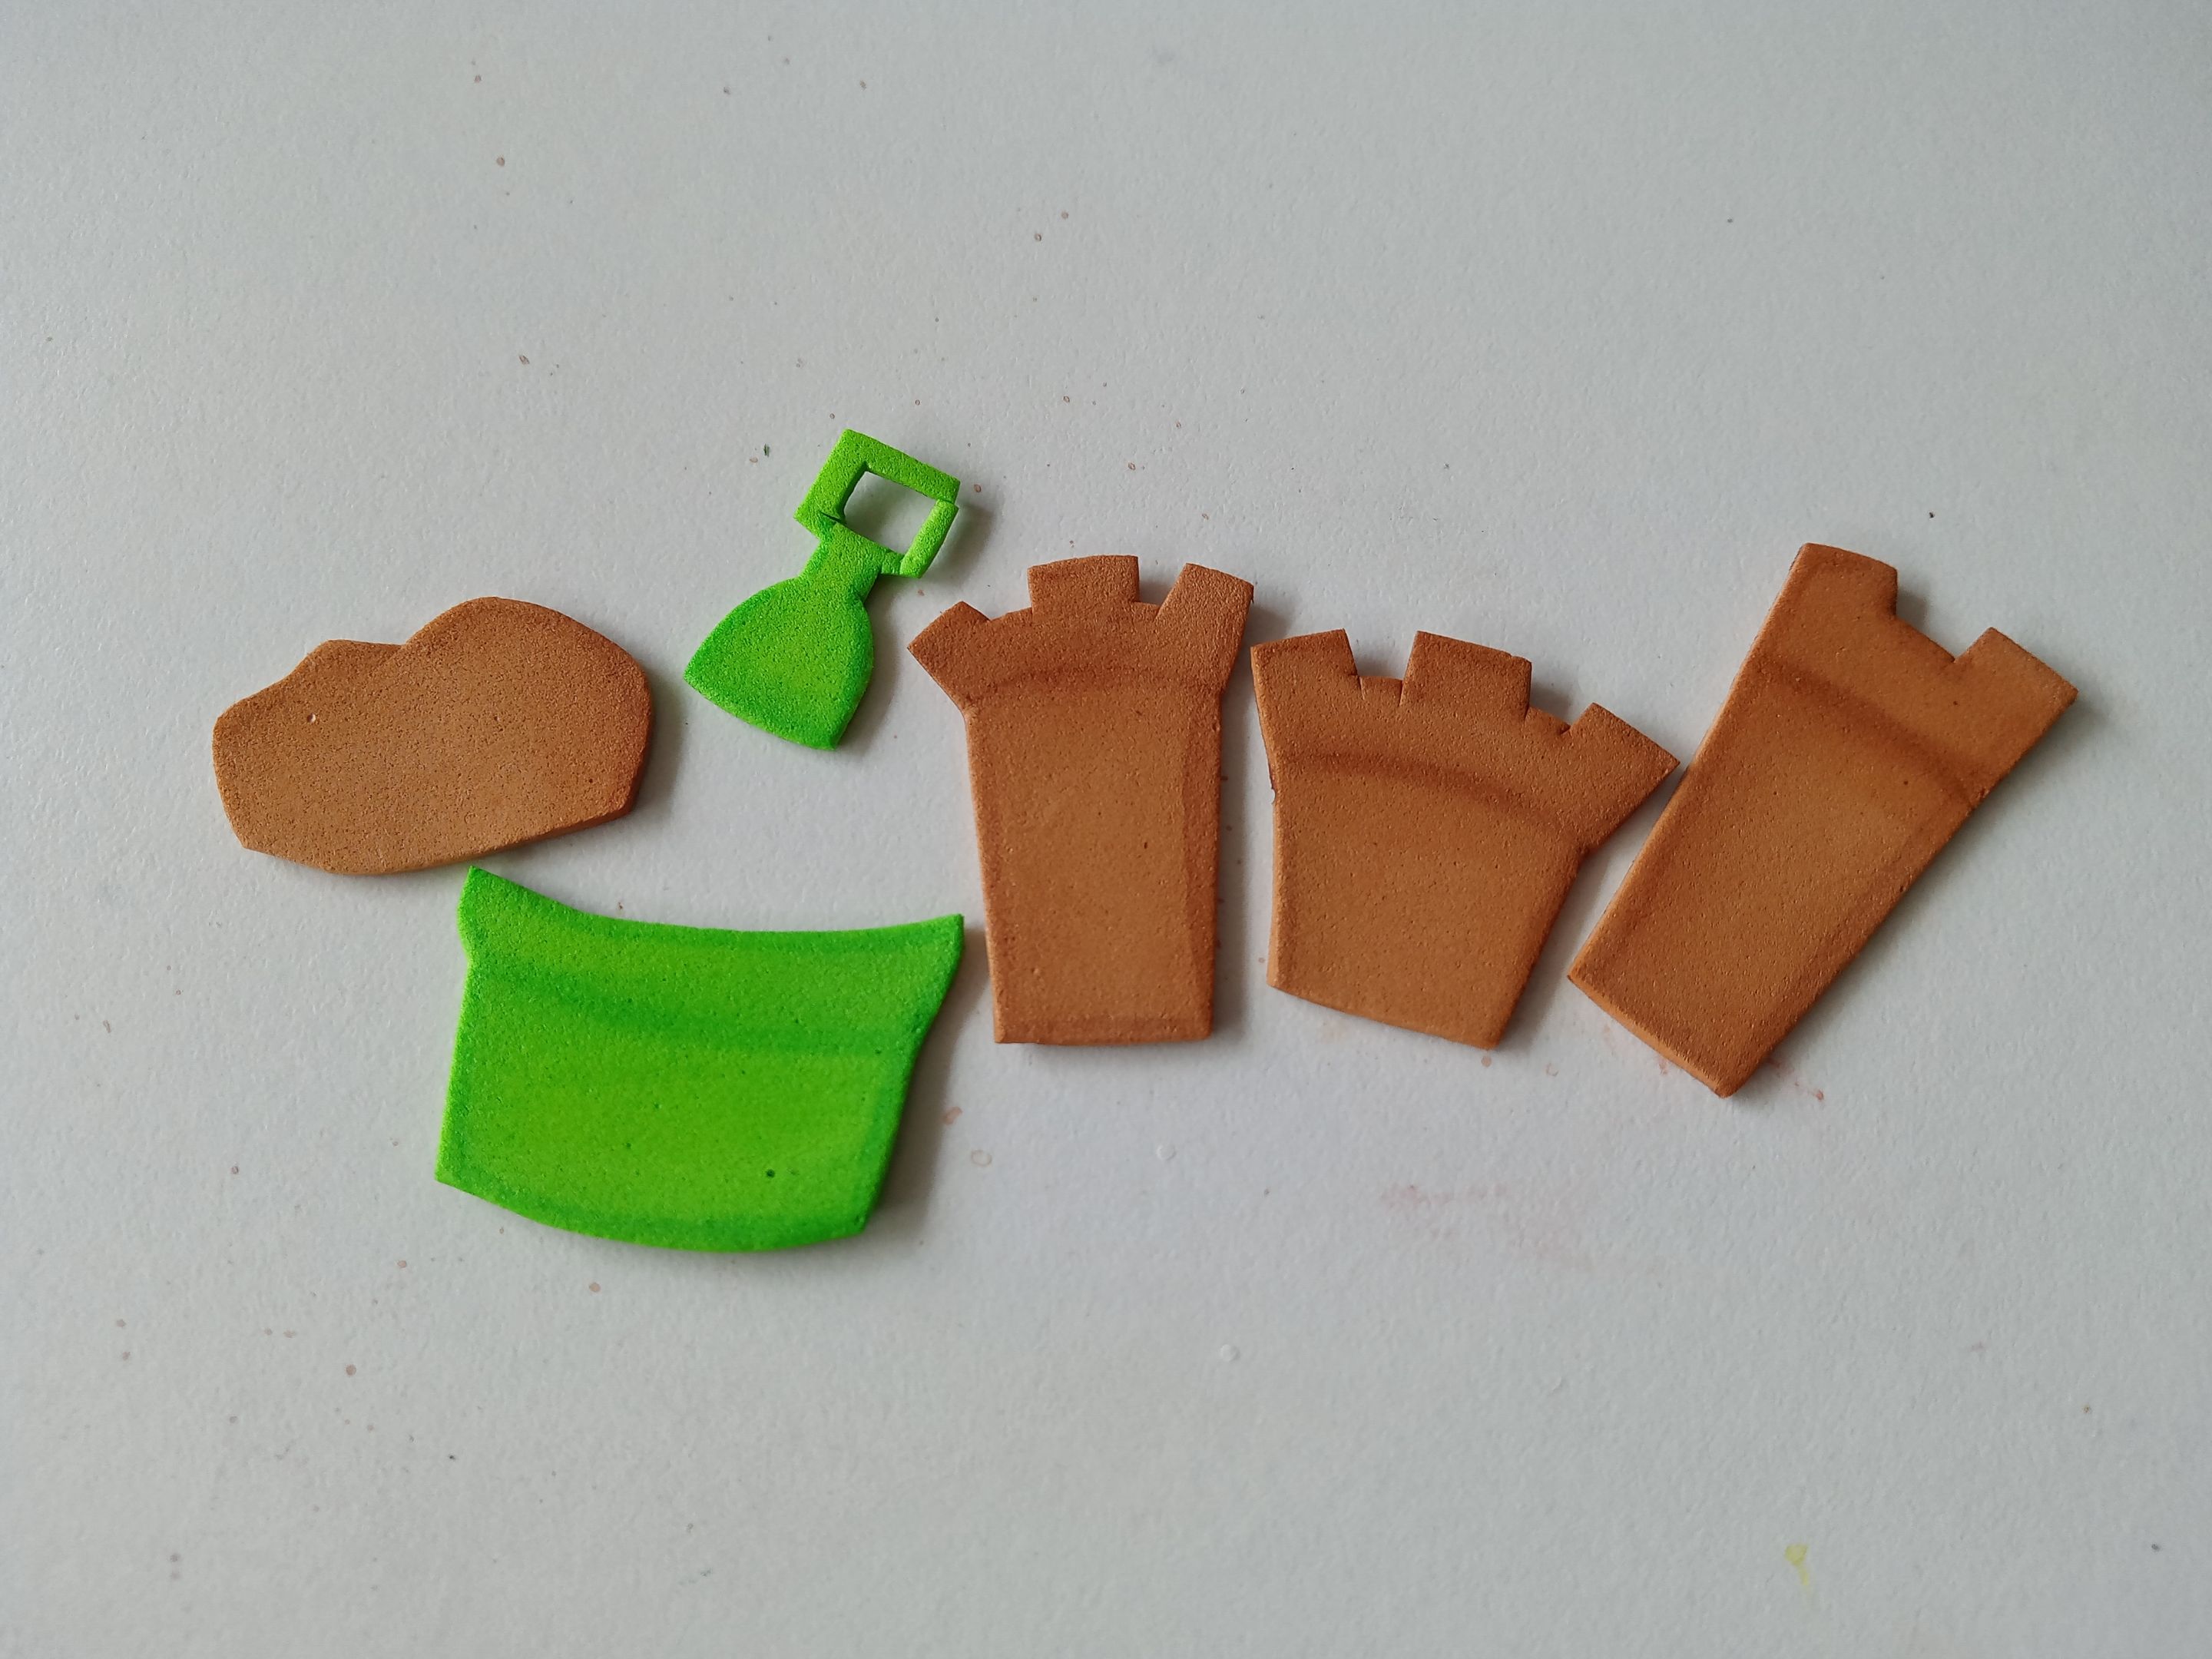
###### ✨PASO 3:
Al tener listas todas las piezas, es momento de dar color a los bordes con pinturas o marcadores. En este caso, utilicé un tono de marrón más oscuro para el castillo, la arena y lo mismo para el balde y la pala, pero en el caso del cangrejo utilicé un tono negro para que el rojo se viera un poco más oscuro.
###### ✨STEP 3:
Once you have all the pieces ready, it's time to color the edges with paints or markers. In this case, I used a darker shade of brown for the castle and the sand, and the same for the bucket and shovel, but for the crab, I used a black shade to make the red look a little darker.
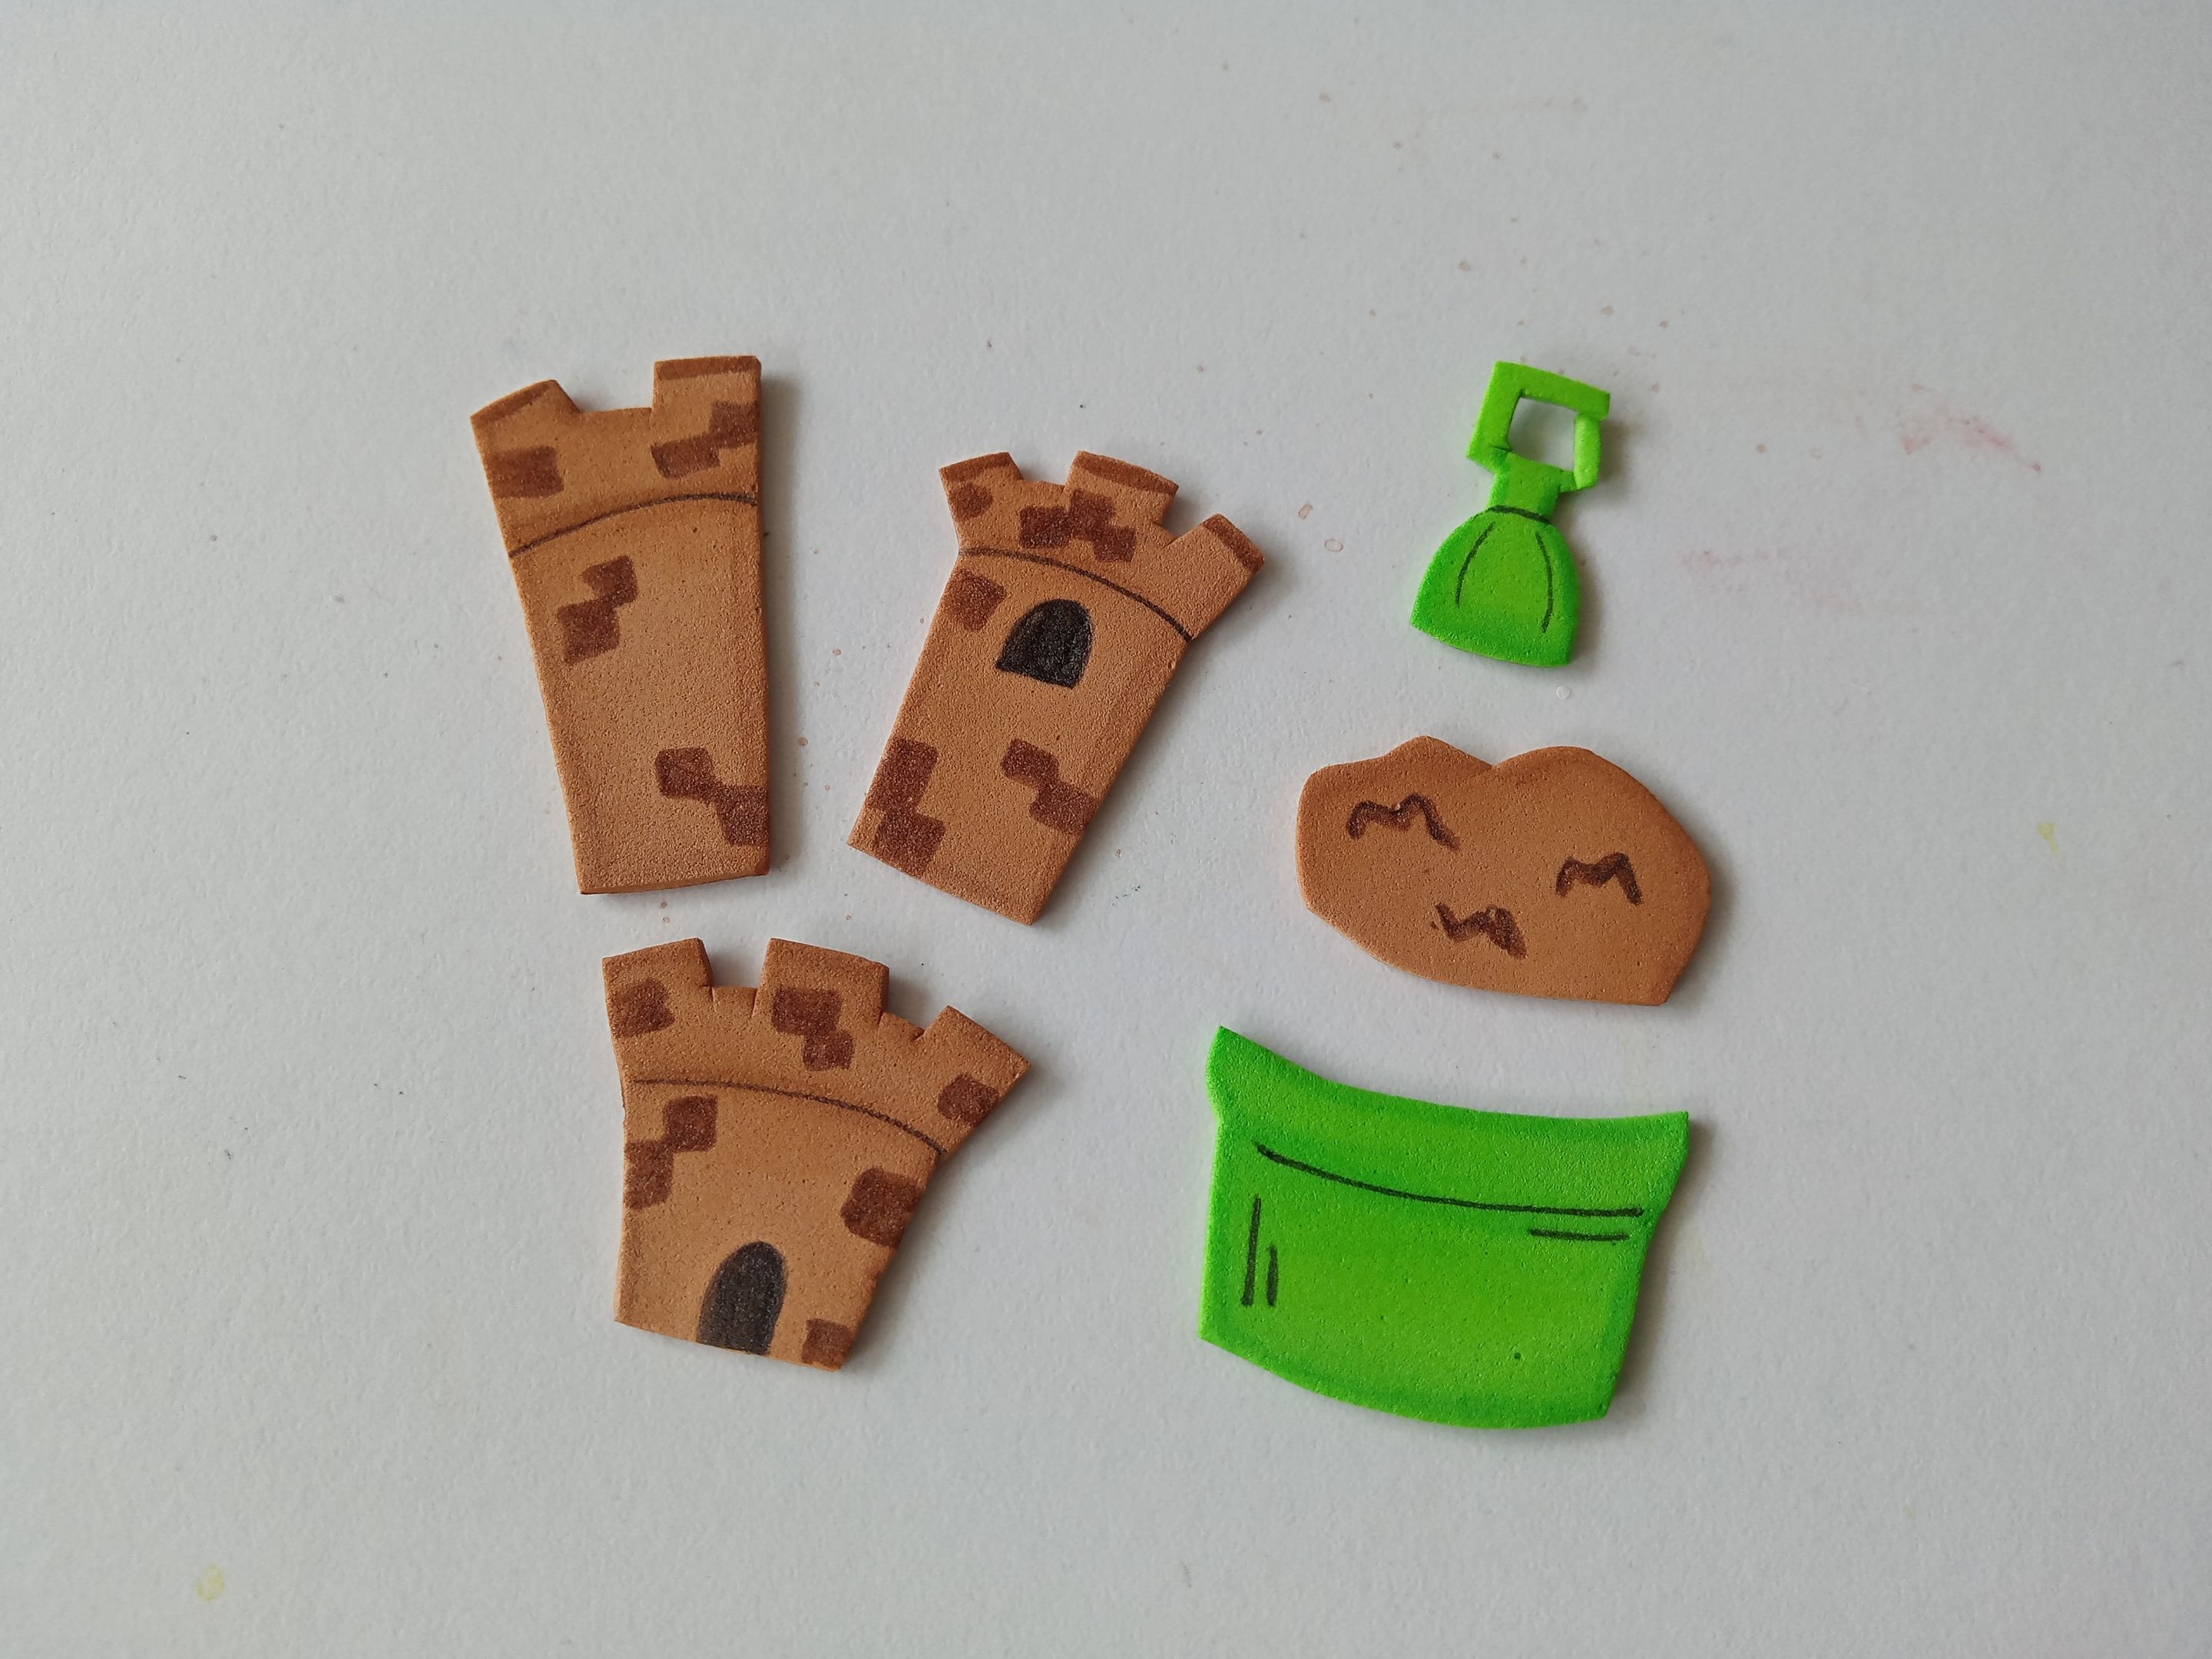
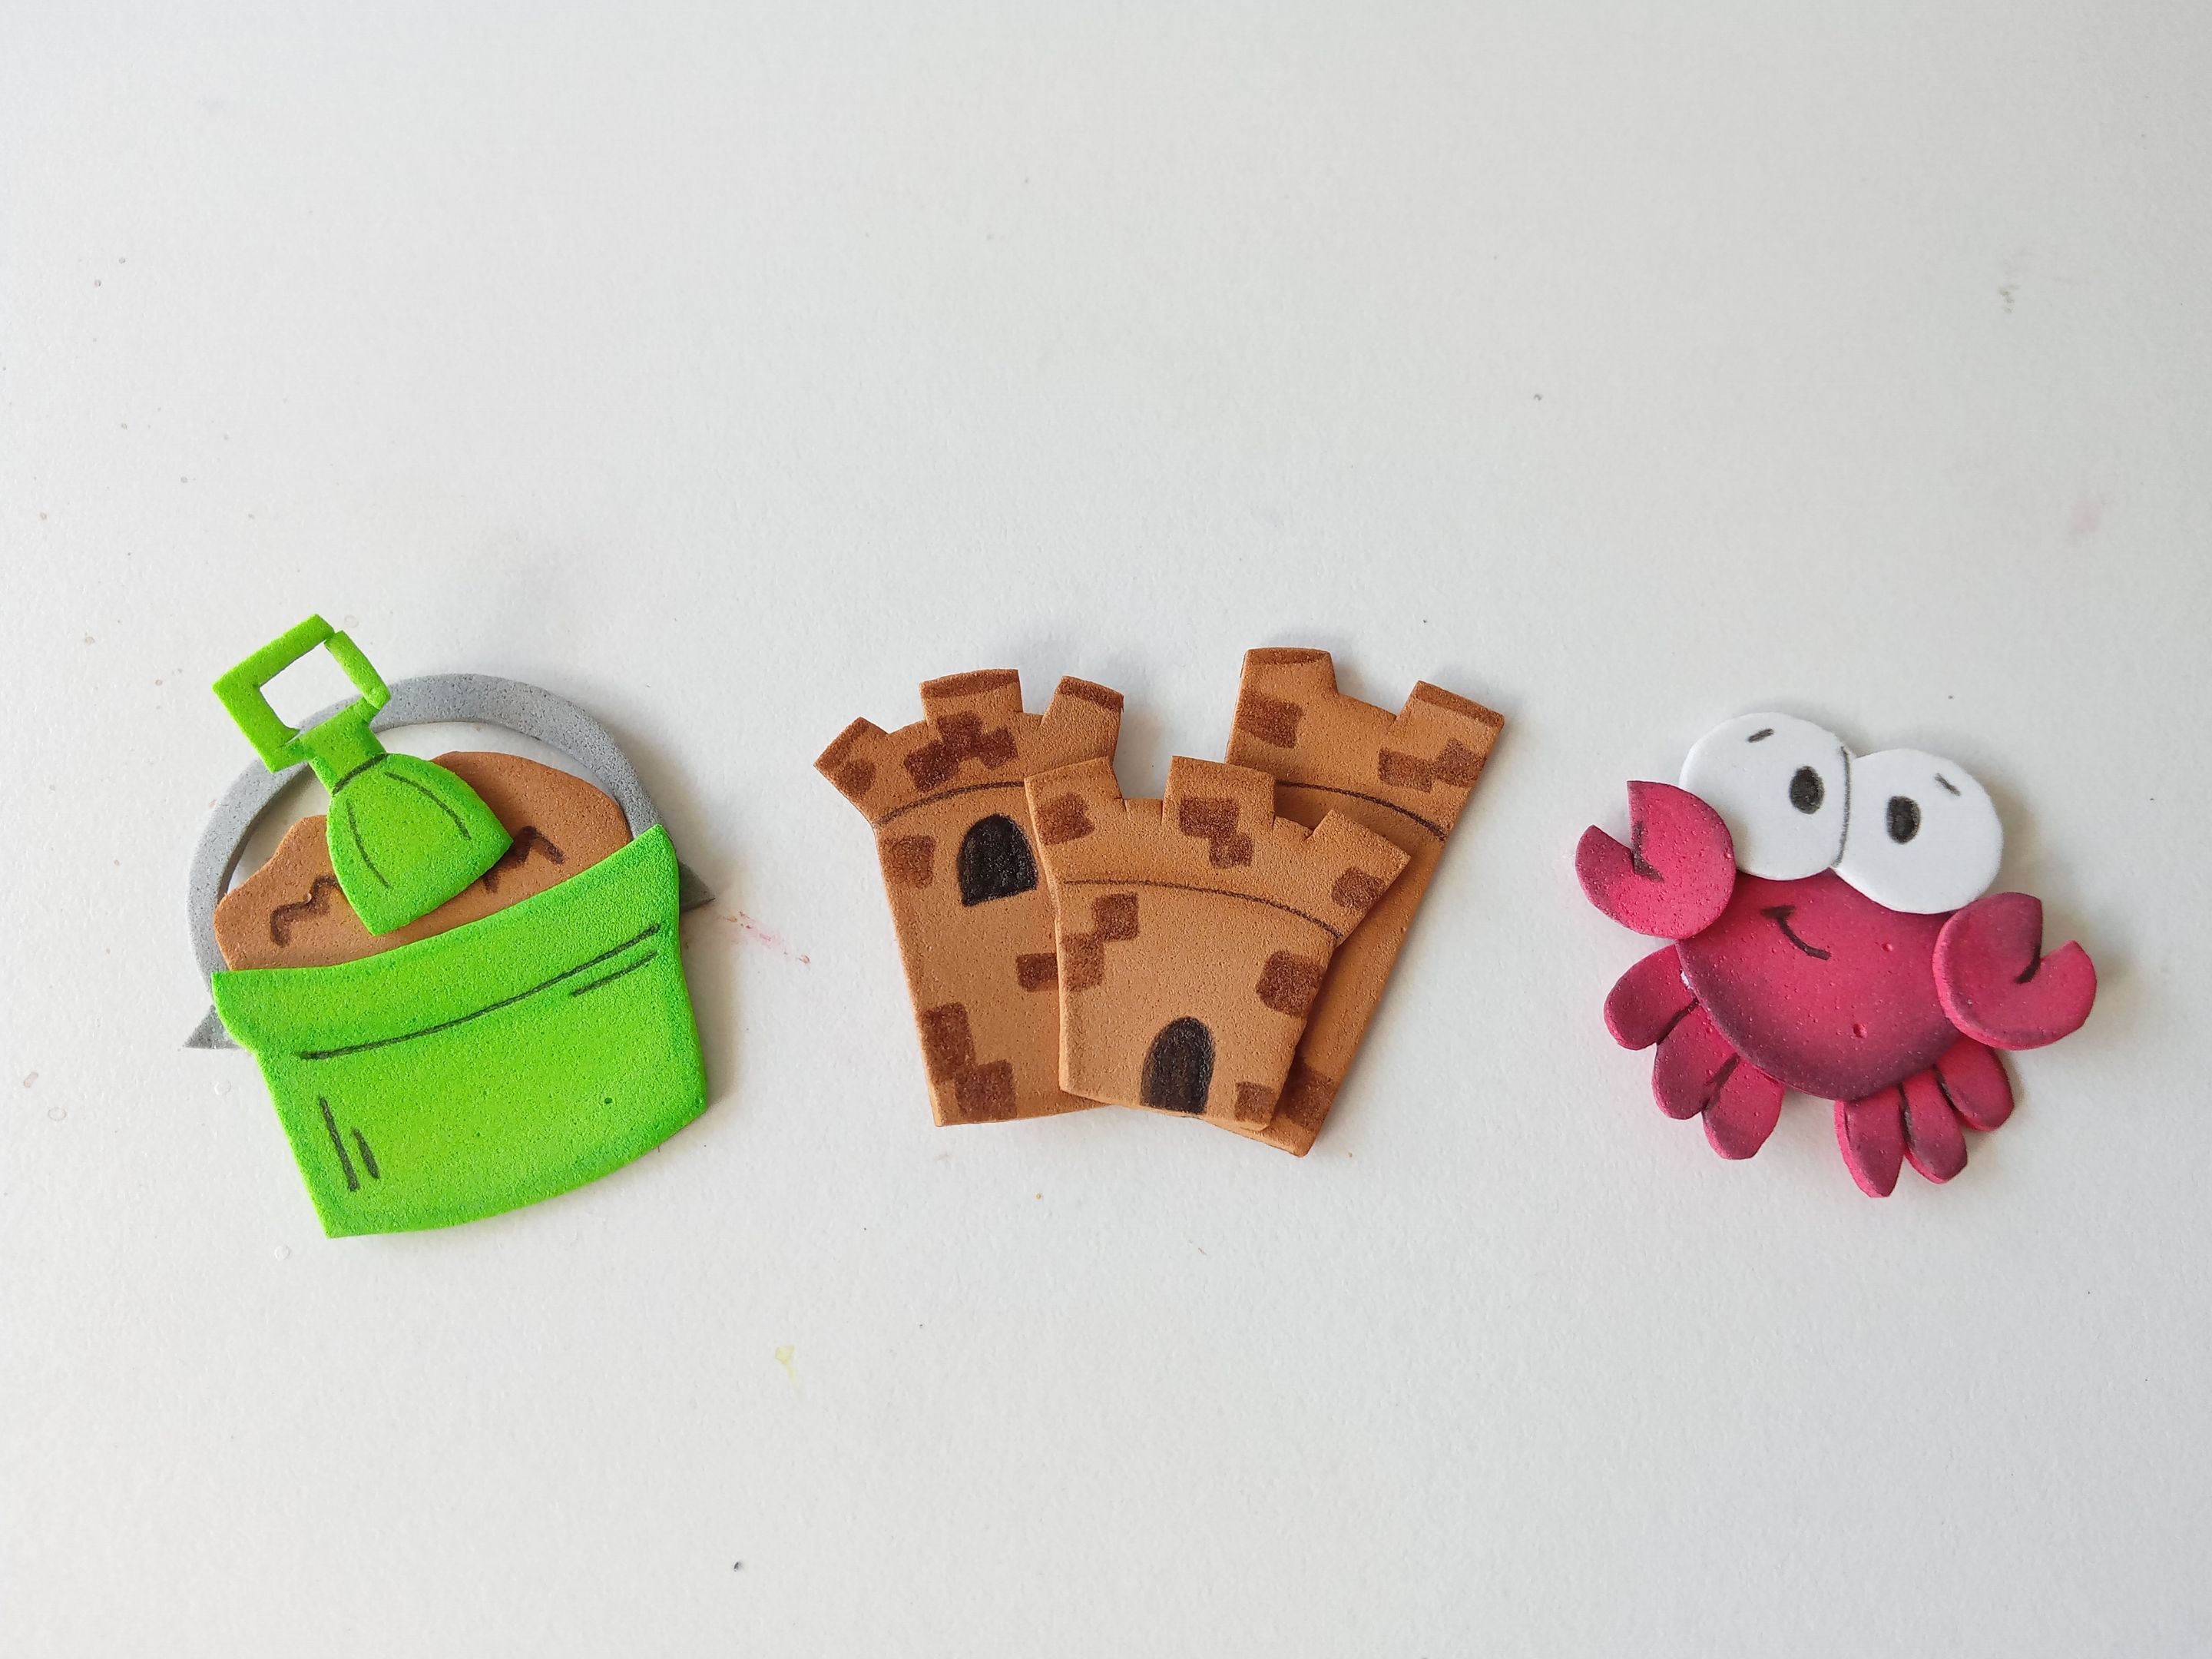
###### ✨PASO 4:
Al estar secas las piezas, es momento de dar detalles más específicos con marcadores, como unos pequeños ladrillos en el castillo, las puertas; al balde lo definí un poco mejor, junto con la pala, la arena y al cangrejo le pinté los ojos, boca, cejas, pesuñas.
###### ✨STEP 4:
Once the pieces are dry, it's time to add more specific details with markers, such as small bricks in the castle and the doors. I defined the bucket a little more, along with the shovel and the sand. I painted the crab's eyes, mouth, eyebrows, and hooves.
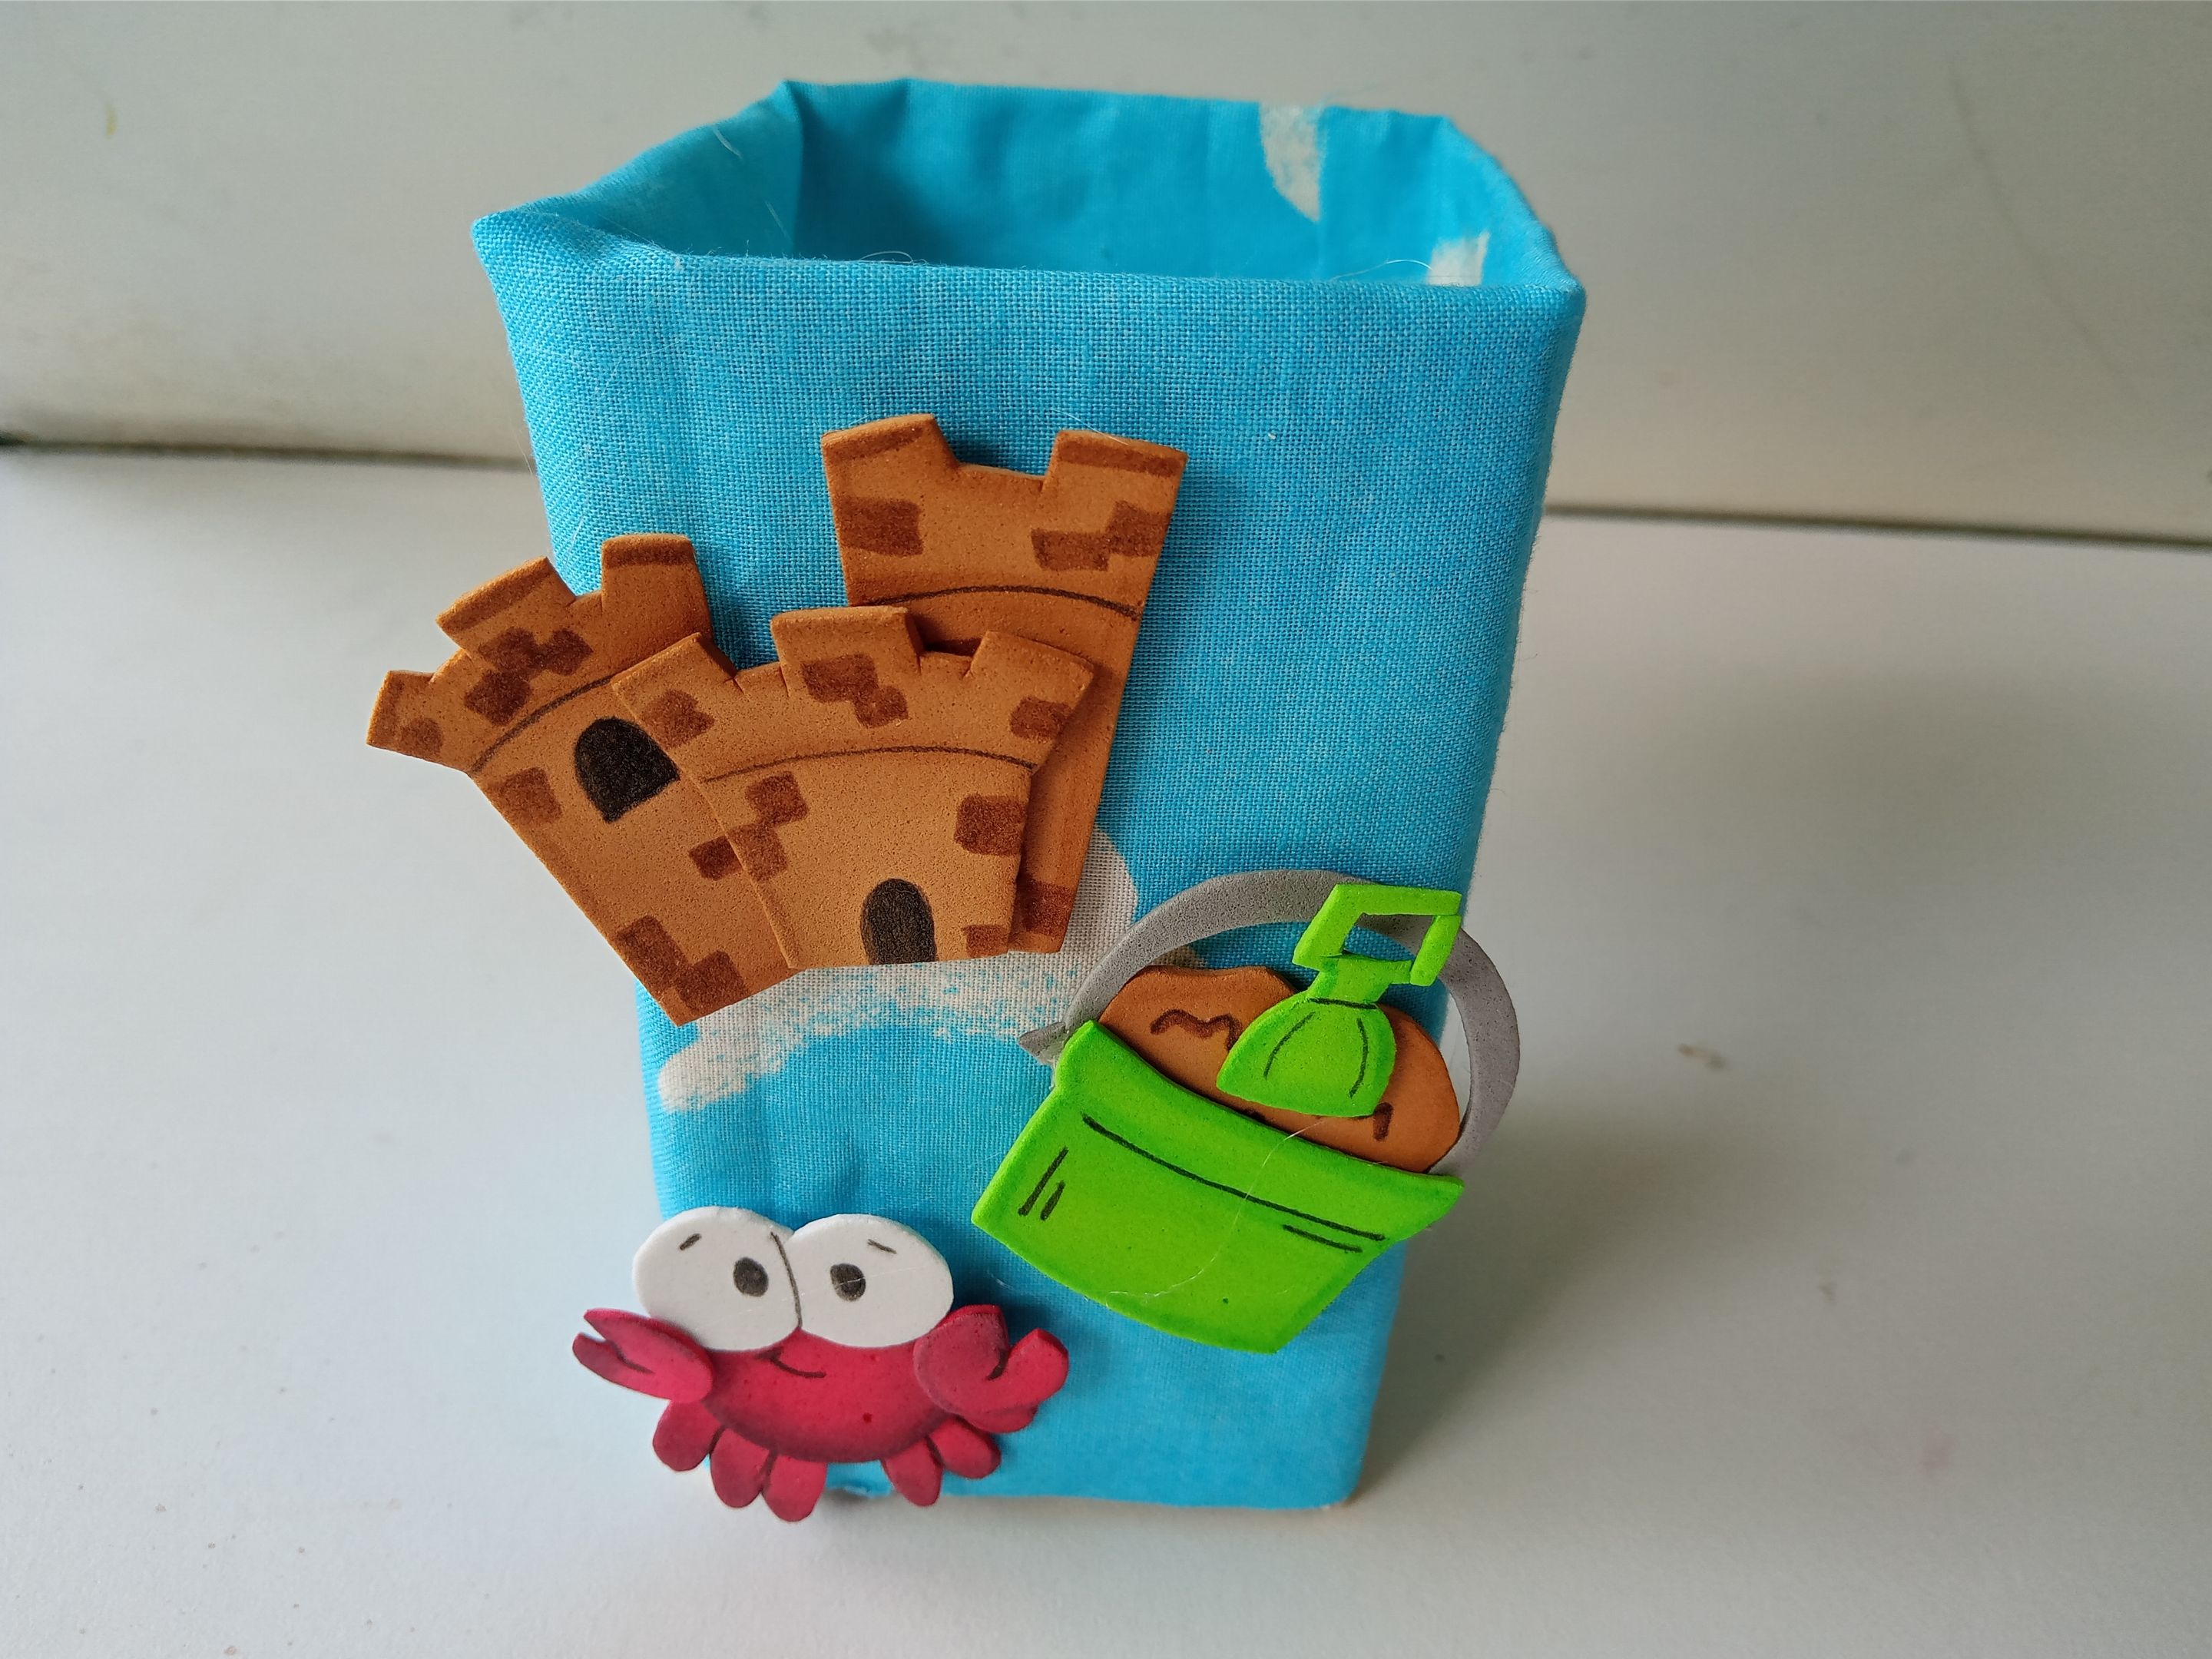
###### ✨PASO 5:
Al estar listas las piezas, es momento de pegar hasta armar cada una de las decoraciones y luego, pegar en el organizador. En mi caso, primero pegué el castillo, seguido del balde de arena y, por último, el cangrejo.
###### ✨STEP 5:
Once the pieces are ready, it's time to glue them together until each decoration is complete, and then glue them onto the organizer. In my case, I glued the castle first, followed by the sand bucket, and finally, the crab.
# ✨RESULTADO: | ✨RESULT:

|||
|-|-|
---

---
**!TE DESEO UN GRAN DÏA¡**
Todas las fotografías son de mi propiedad.
Separador y Fotos editadas en [Canva](https://www.canva.com/)
**!I WISH YOU A GOOD DAY**
All photographs are my property.
Photos edited in [Canva](https://www.canva.com/)
Posted Using [INLEO](https://inleo.io/@valenpba/espeng-lindo-organizador-de-escritorio-nice-desk-organizer-fyn)