######
✨¡Hola amigos amantes de la creatividad! Espero que estén todos bien.✨
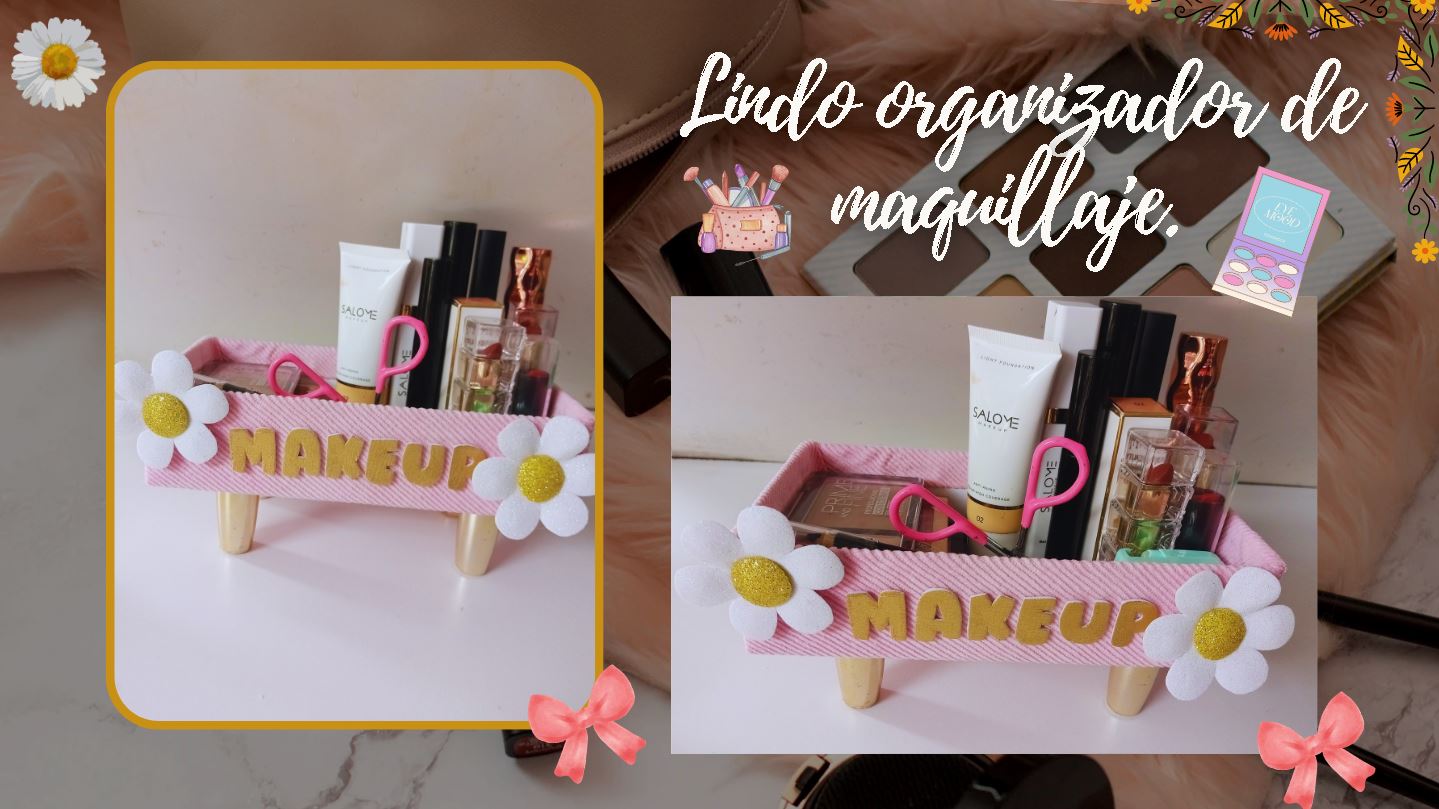
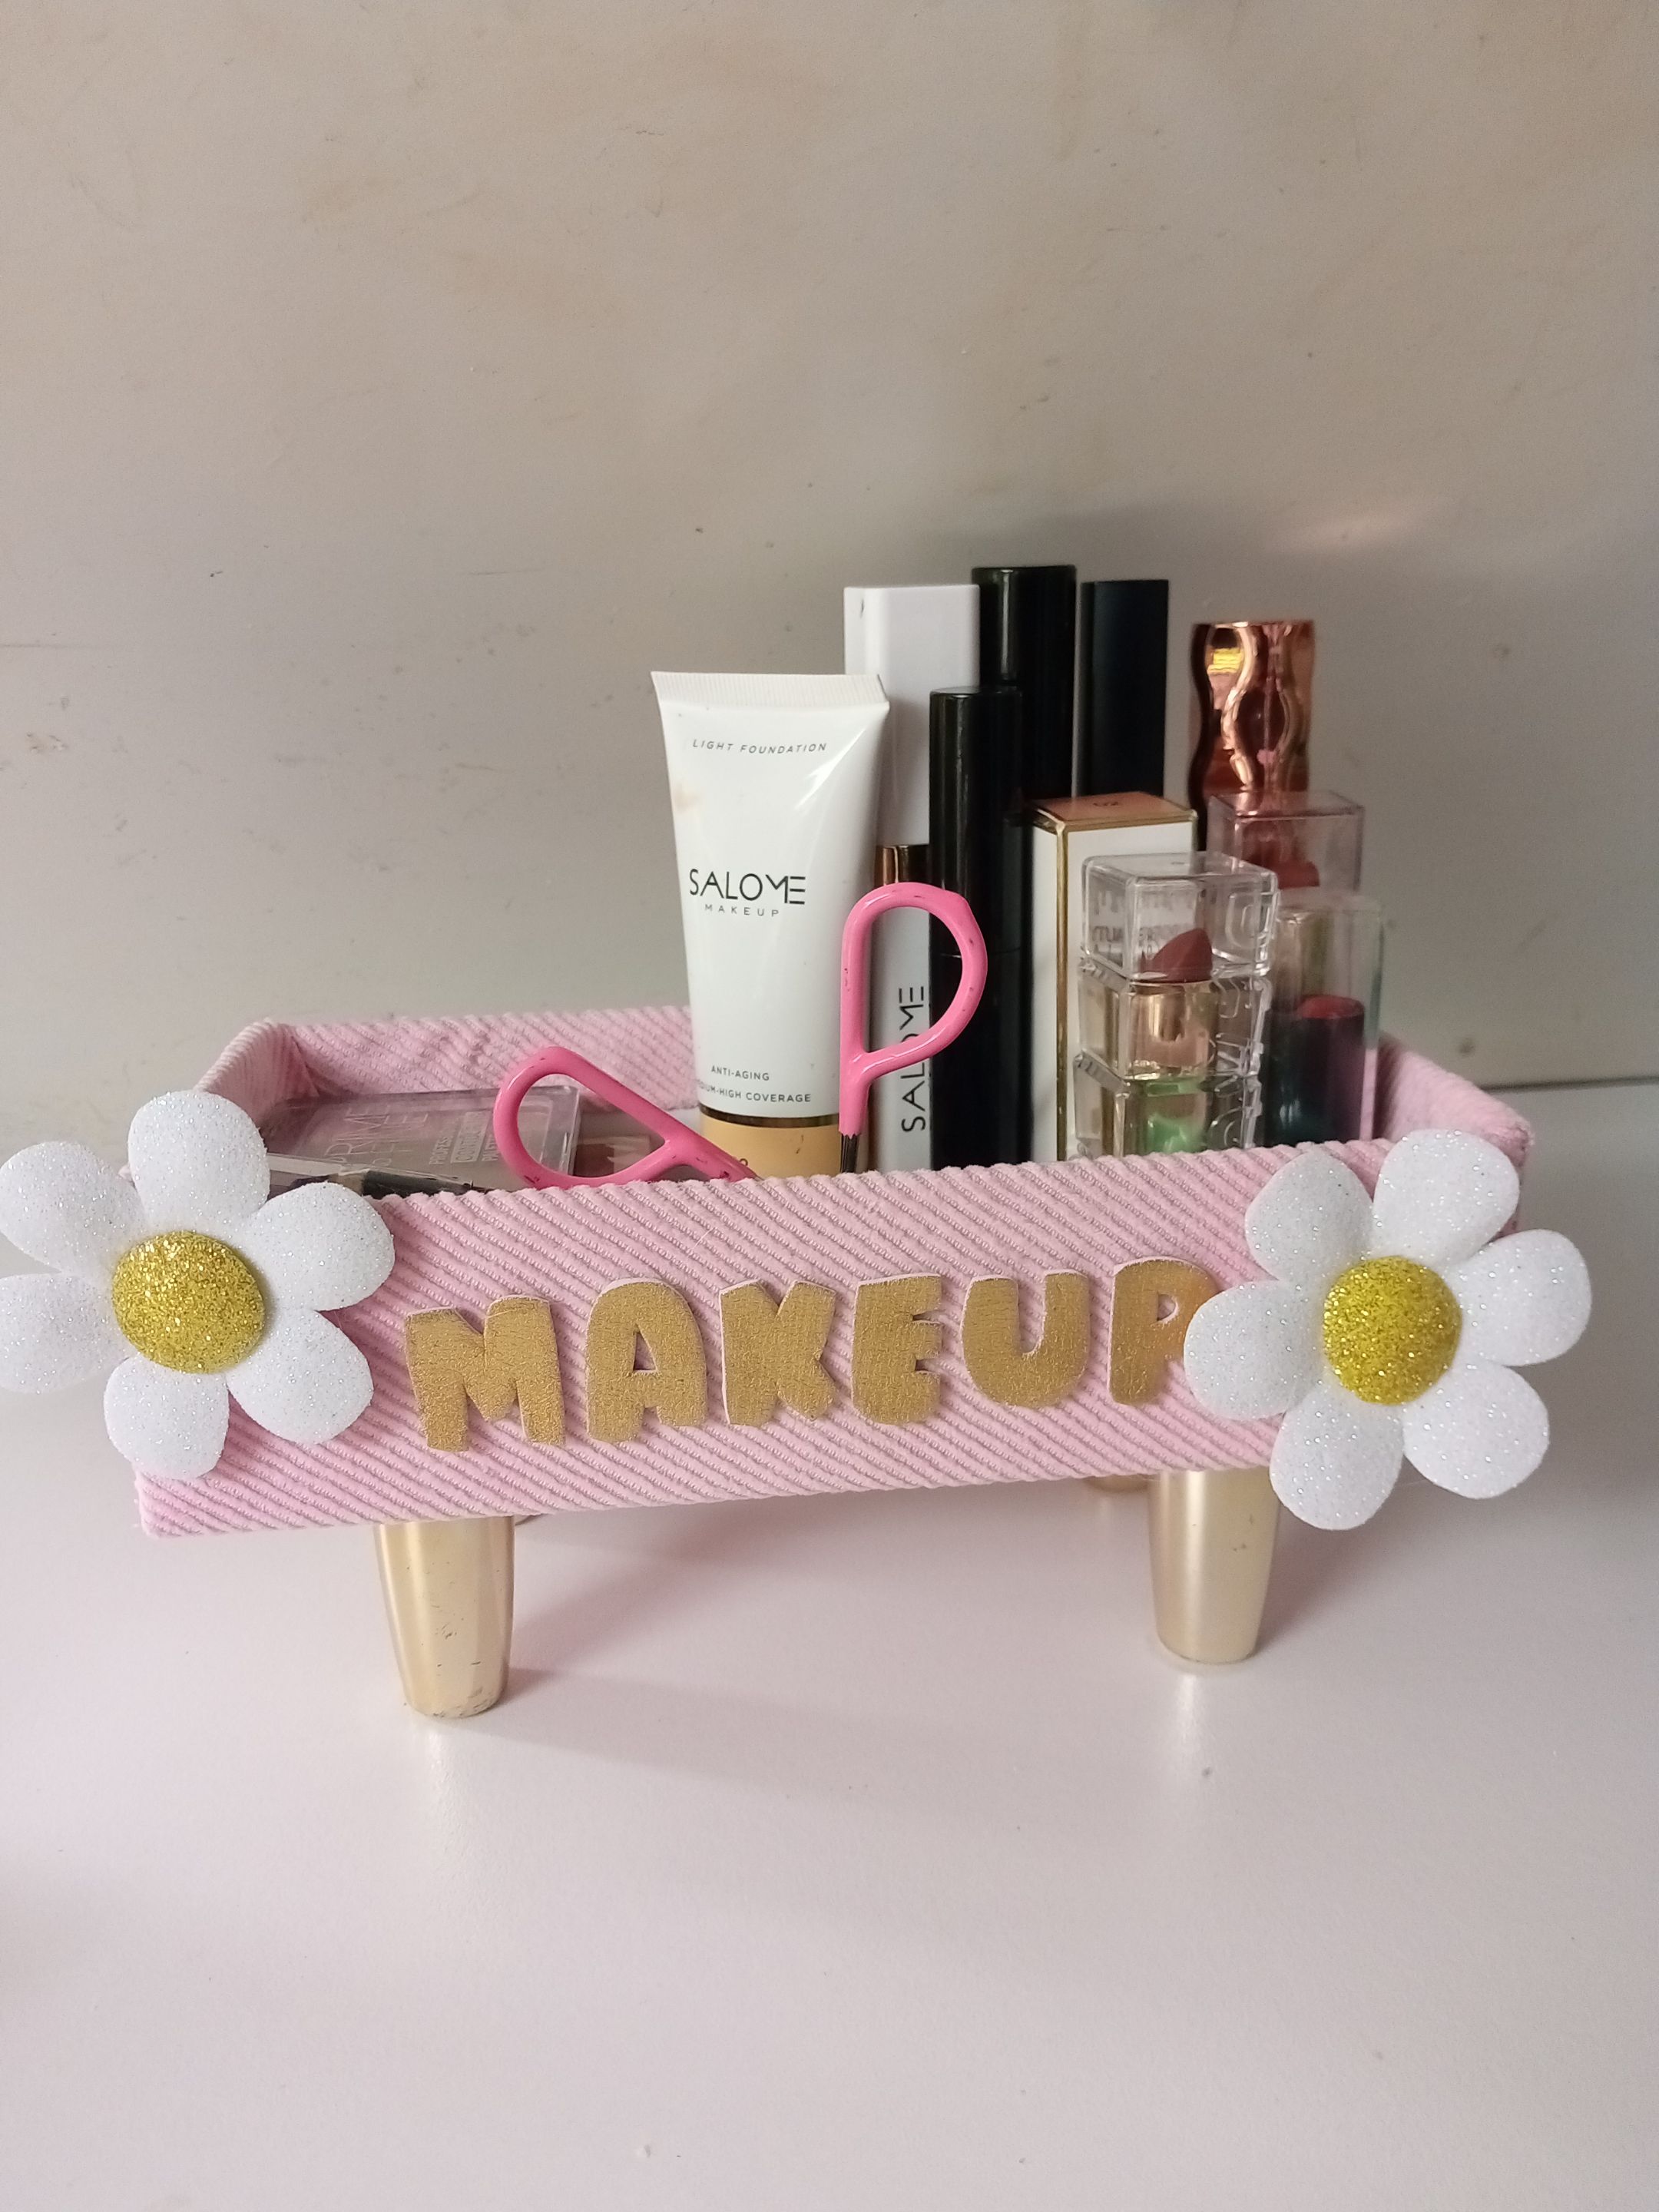
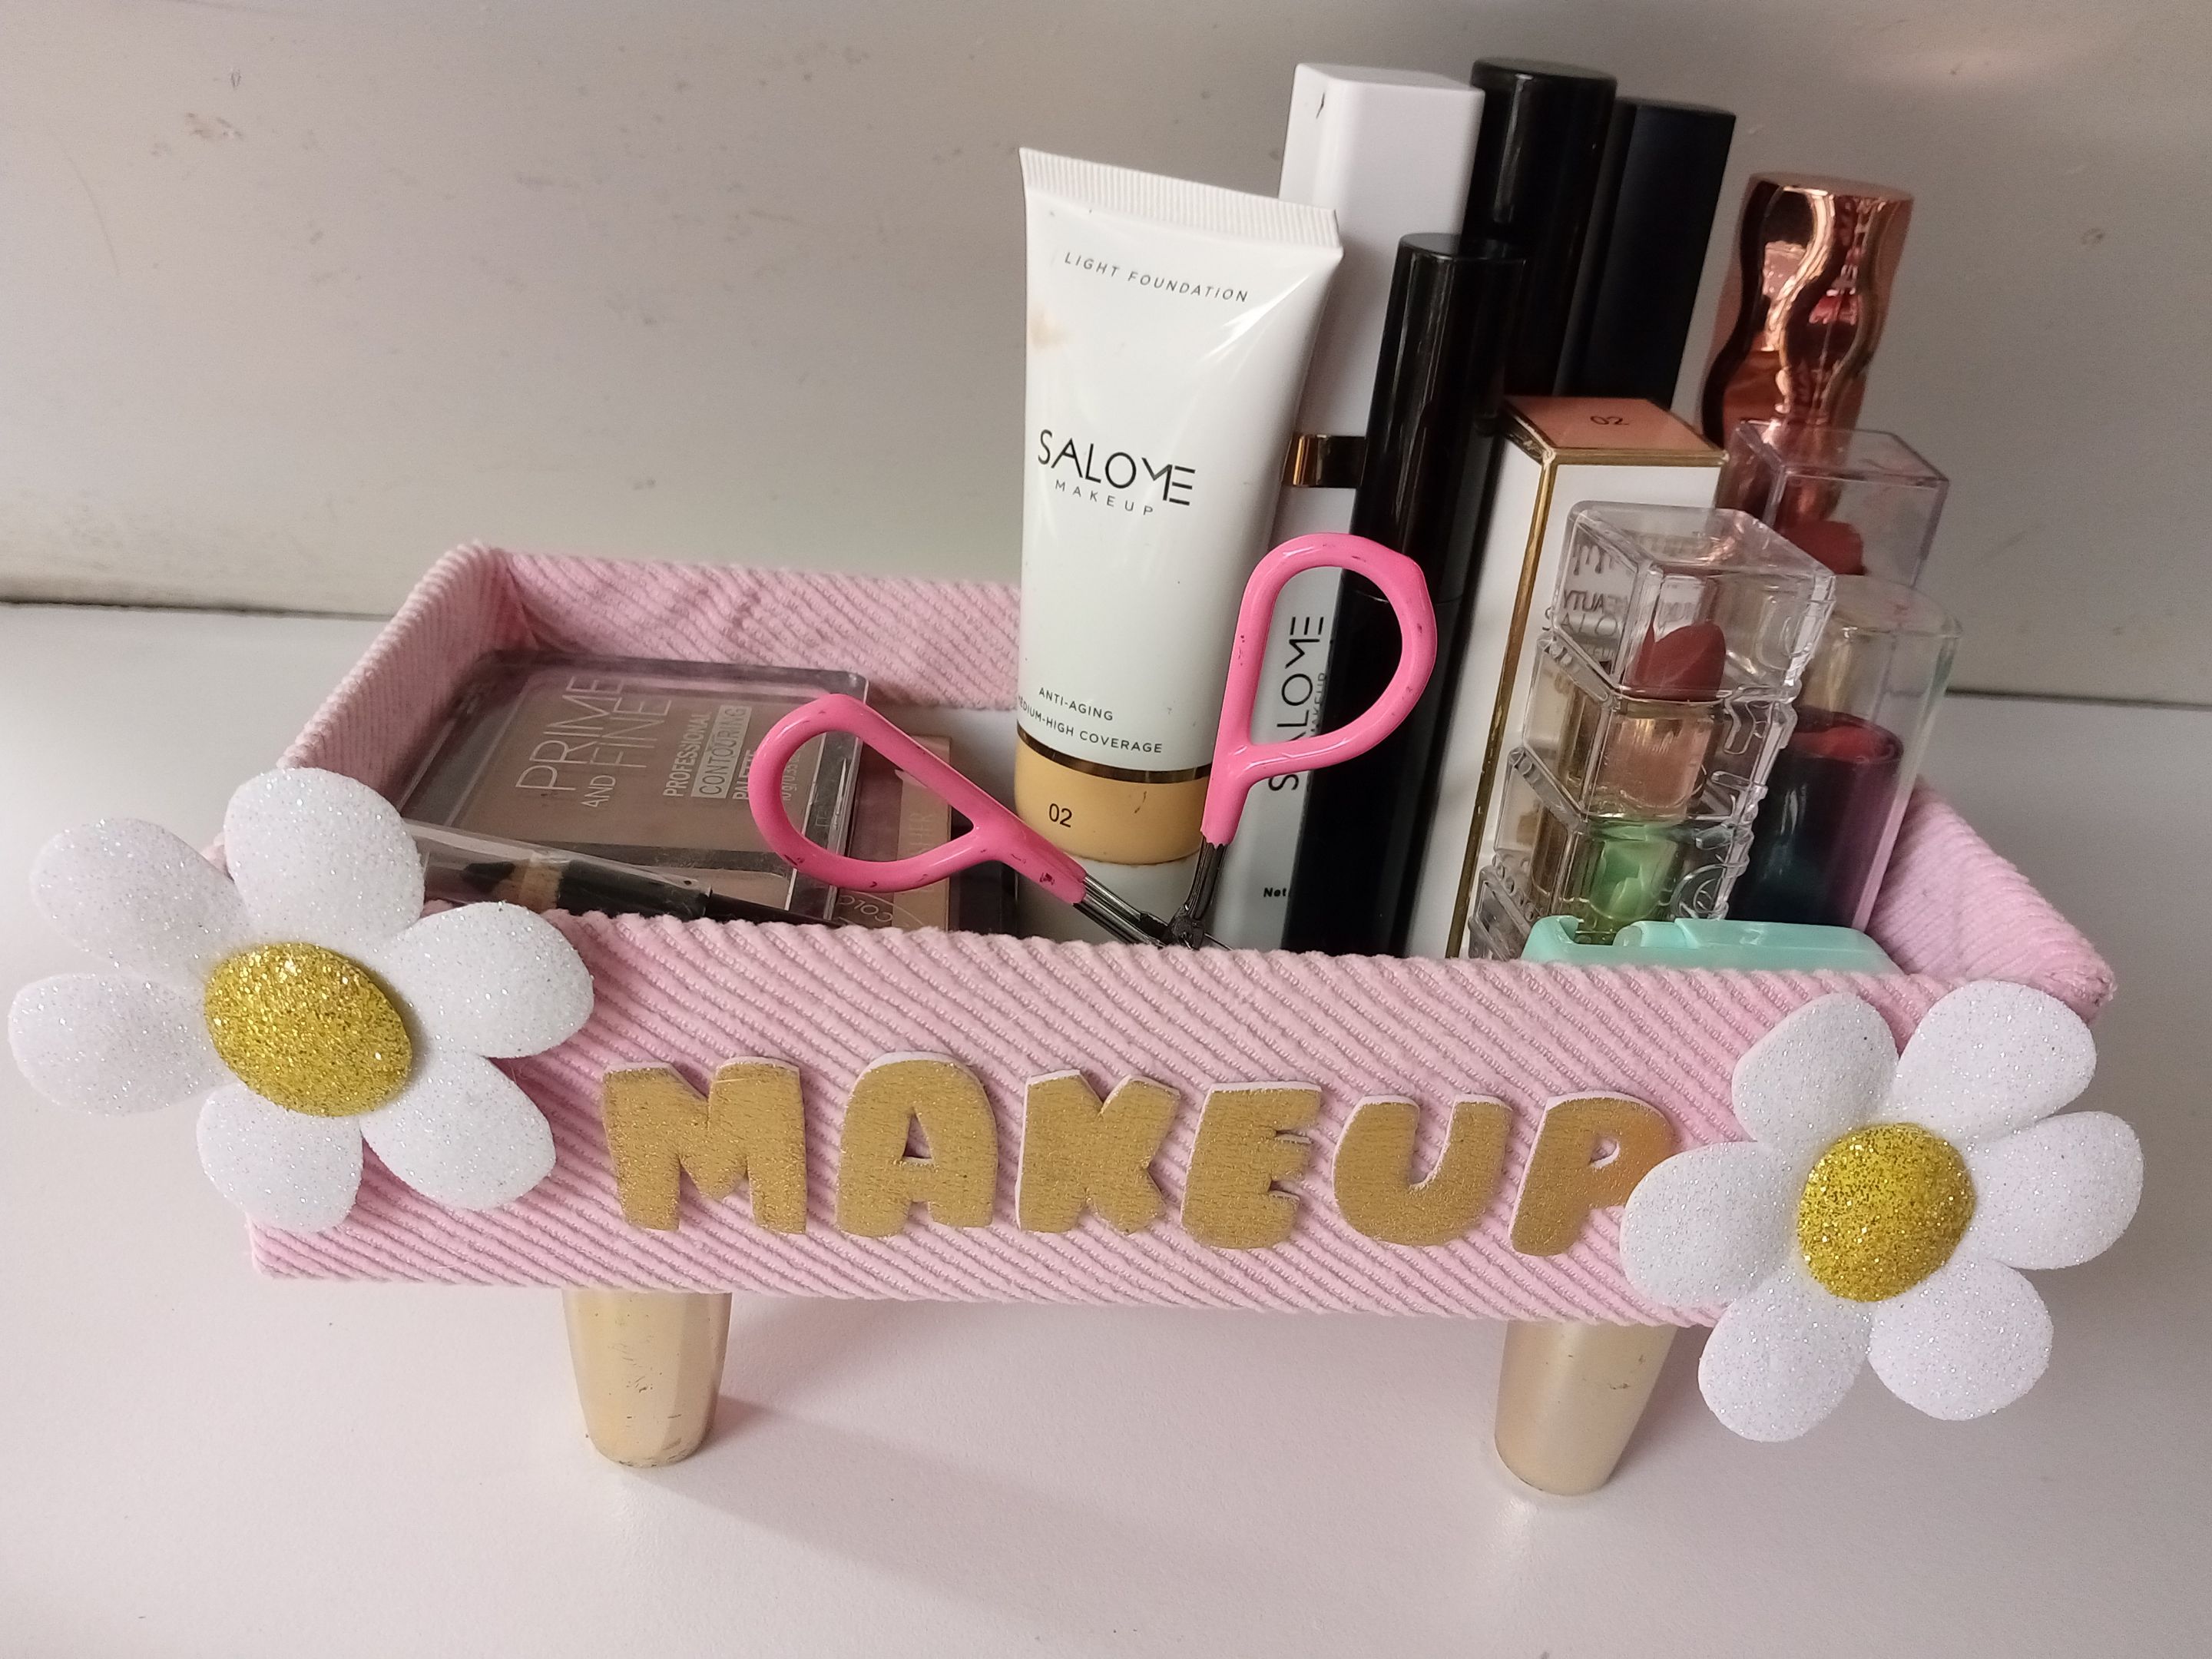
¡Buenas tardes, amigos! Espero que estén pasando una excelente semana. Por mi parte, estoy contenta de pasar por aquí a compartir una linda idea con ustedes. En esta ocasión, les comparto el paso a paso para elaborar un lindo organizador de maquillaje. Hace ya un tiempo que cambié mi peinadora, compré un espejo y metí mi maquillaje en una gaveta, y la verdad se me hace un poco incómodo, así que pensé en elaborar un pequeño organizador con una cajita resistente para colocar el maquillaje que más suelo utilizar y así tenerlo al alcance de mi mano en la parte superior de la peinadora.
Además, quise elaborar algo sencillo forrado con tela gruesa, unas patas recicladas de las tapas de unos esmaltes y un par de margaritas a los lados de la palabra "makeup".
**🔸Sin más que añadir, a continuación los dejo con el paso a paso:**
> ######
✨¡Hello friends who love creativity! I hope you are all well.✨
>
Good afternoon, friends! I hope you're having a great week. For my part, I'm happy to stop by to share a lovely idea with you. This time, I'm sharing the step-by-step instructions for making a cute makeup organizer. It's been a while since I changed my vanity table, bought a mirror, and put my makeup in a drawer, and honestly, it's a bit inconvenient, so I thought I'd make a small organizer with a sturdy box to hold my most frequently used makeup, keeping it within easy reach on top of my vanity table.
I also wanted to make something simple, lined with thick fabric, some recycled nail polish cap legs, and a couple of daisies on either side of the word "makeup."
> **🔸Without more to add, then I leave you with the step by step:**
---
---


|||
|-|-|


|||
|-|-|


|||
|-|-|


|||
|-|-|

✨Así es como pueden elaborar este o cualquier organizador que deseen, utilizando los colores de tela de preferencia. En mi caso, tenía pensado utilizar una tela de pana rosa, como un organizador que hice anteriormente, pero no me alcanzaba, así que me pareció buena opción y bastante neutro utilizar este color beige para combinar con un rosa floral. Espero que les haya gustado el paso a paso y se animen a elaborarlo.
❤️Hasta la próxima publicación.
>
✨
>
❤️Until the next post.

**♥️ESPERO QUE TE GUSTE,
¡Empecemos!**
**♥️I HOPE YOU LIKE IT,
Let's start!**
---

# ✂️ MATERIALES | ✂️ MATERIALS

- Caja de cartón.
- Tapas de esmaltes.
- Foami escarchado blanco.
- Foami escarchado dorado.
- Foami metalizado dorado.
- Pegamento.
- Tijeras.
- Regla.
- Hoja blanca.
- Lápiz.
- Cardboard box.
- Nail polish caps.
- White frosted foam.
- Gold frosted foam.
- Gold metallic foam.
- Glue.
- Scissors.
- Ruler.
- White paper.
- Pencil.

# 🌟 PROCEDIMIENTO | 🌟 PROCESS

###### ✨PASO 1:
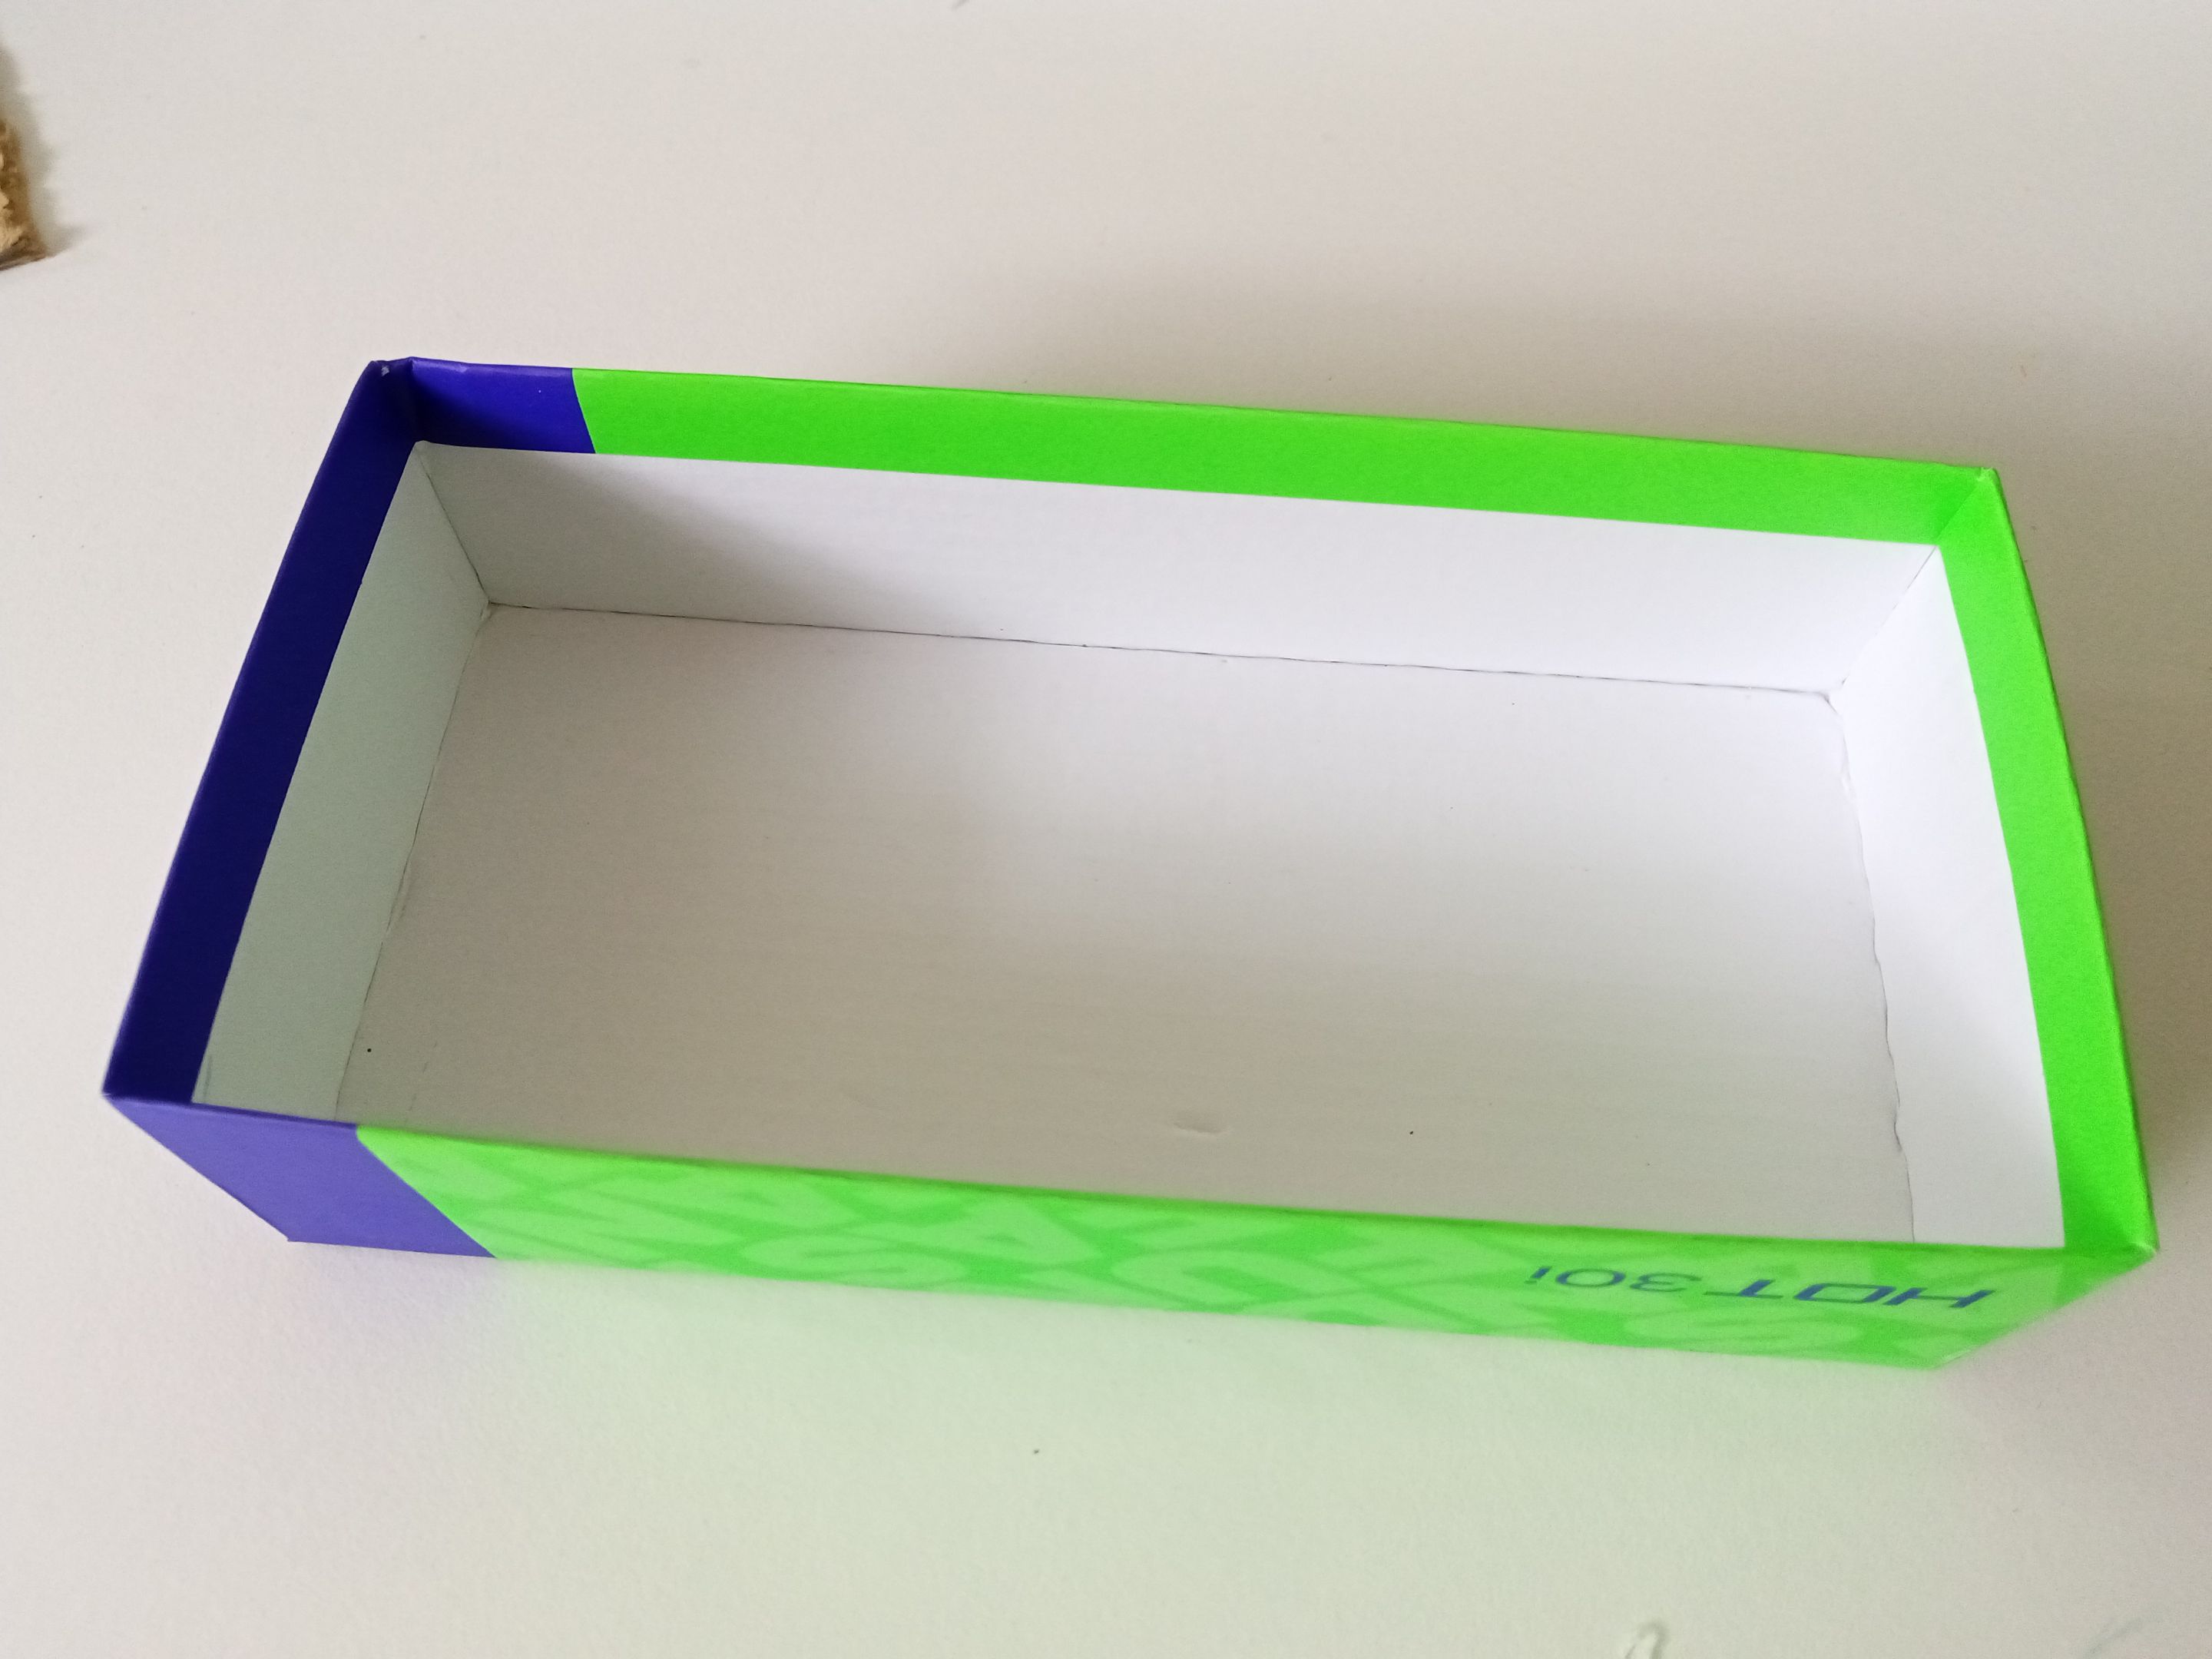
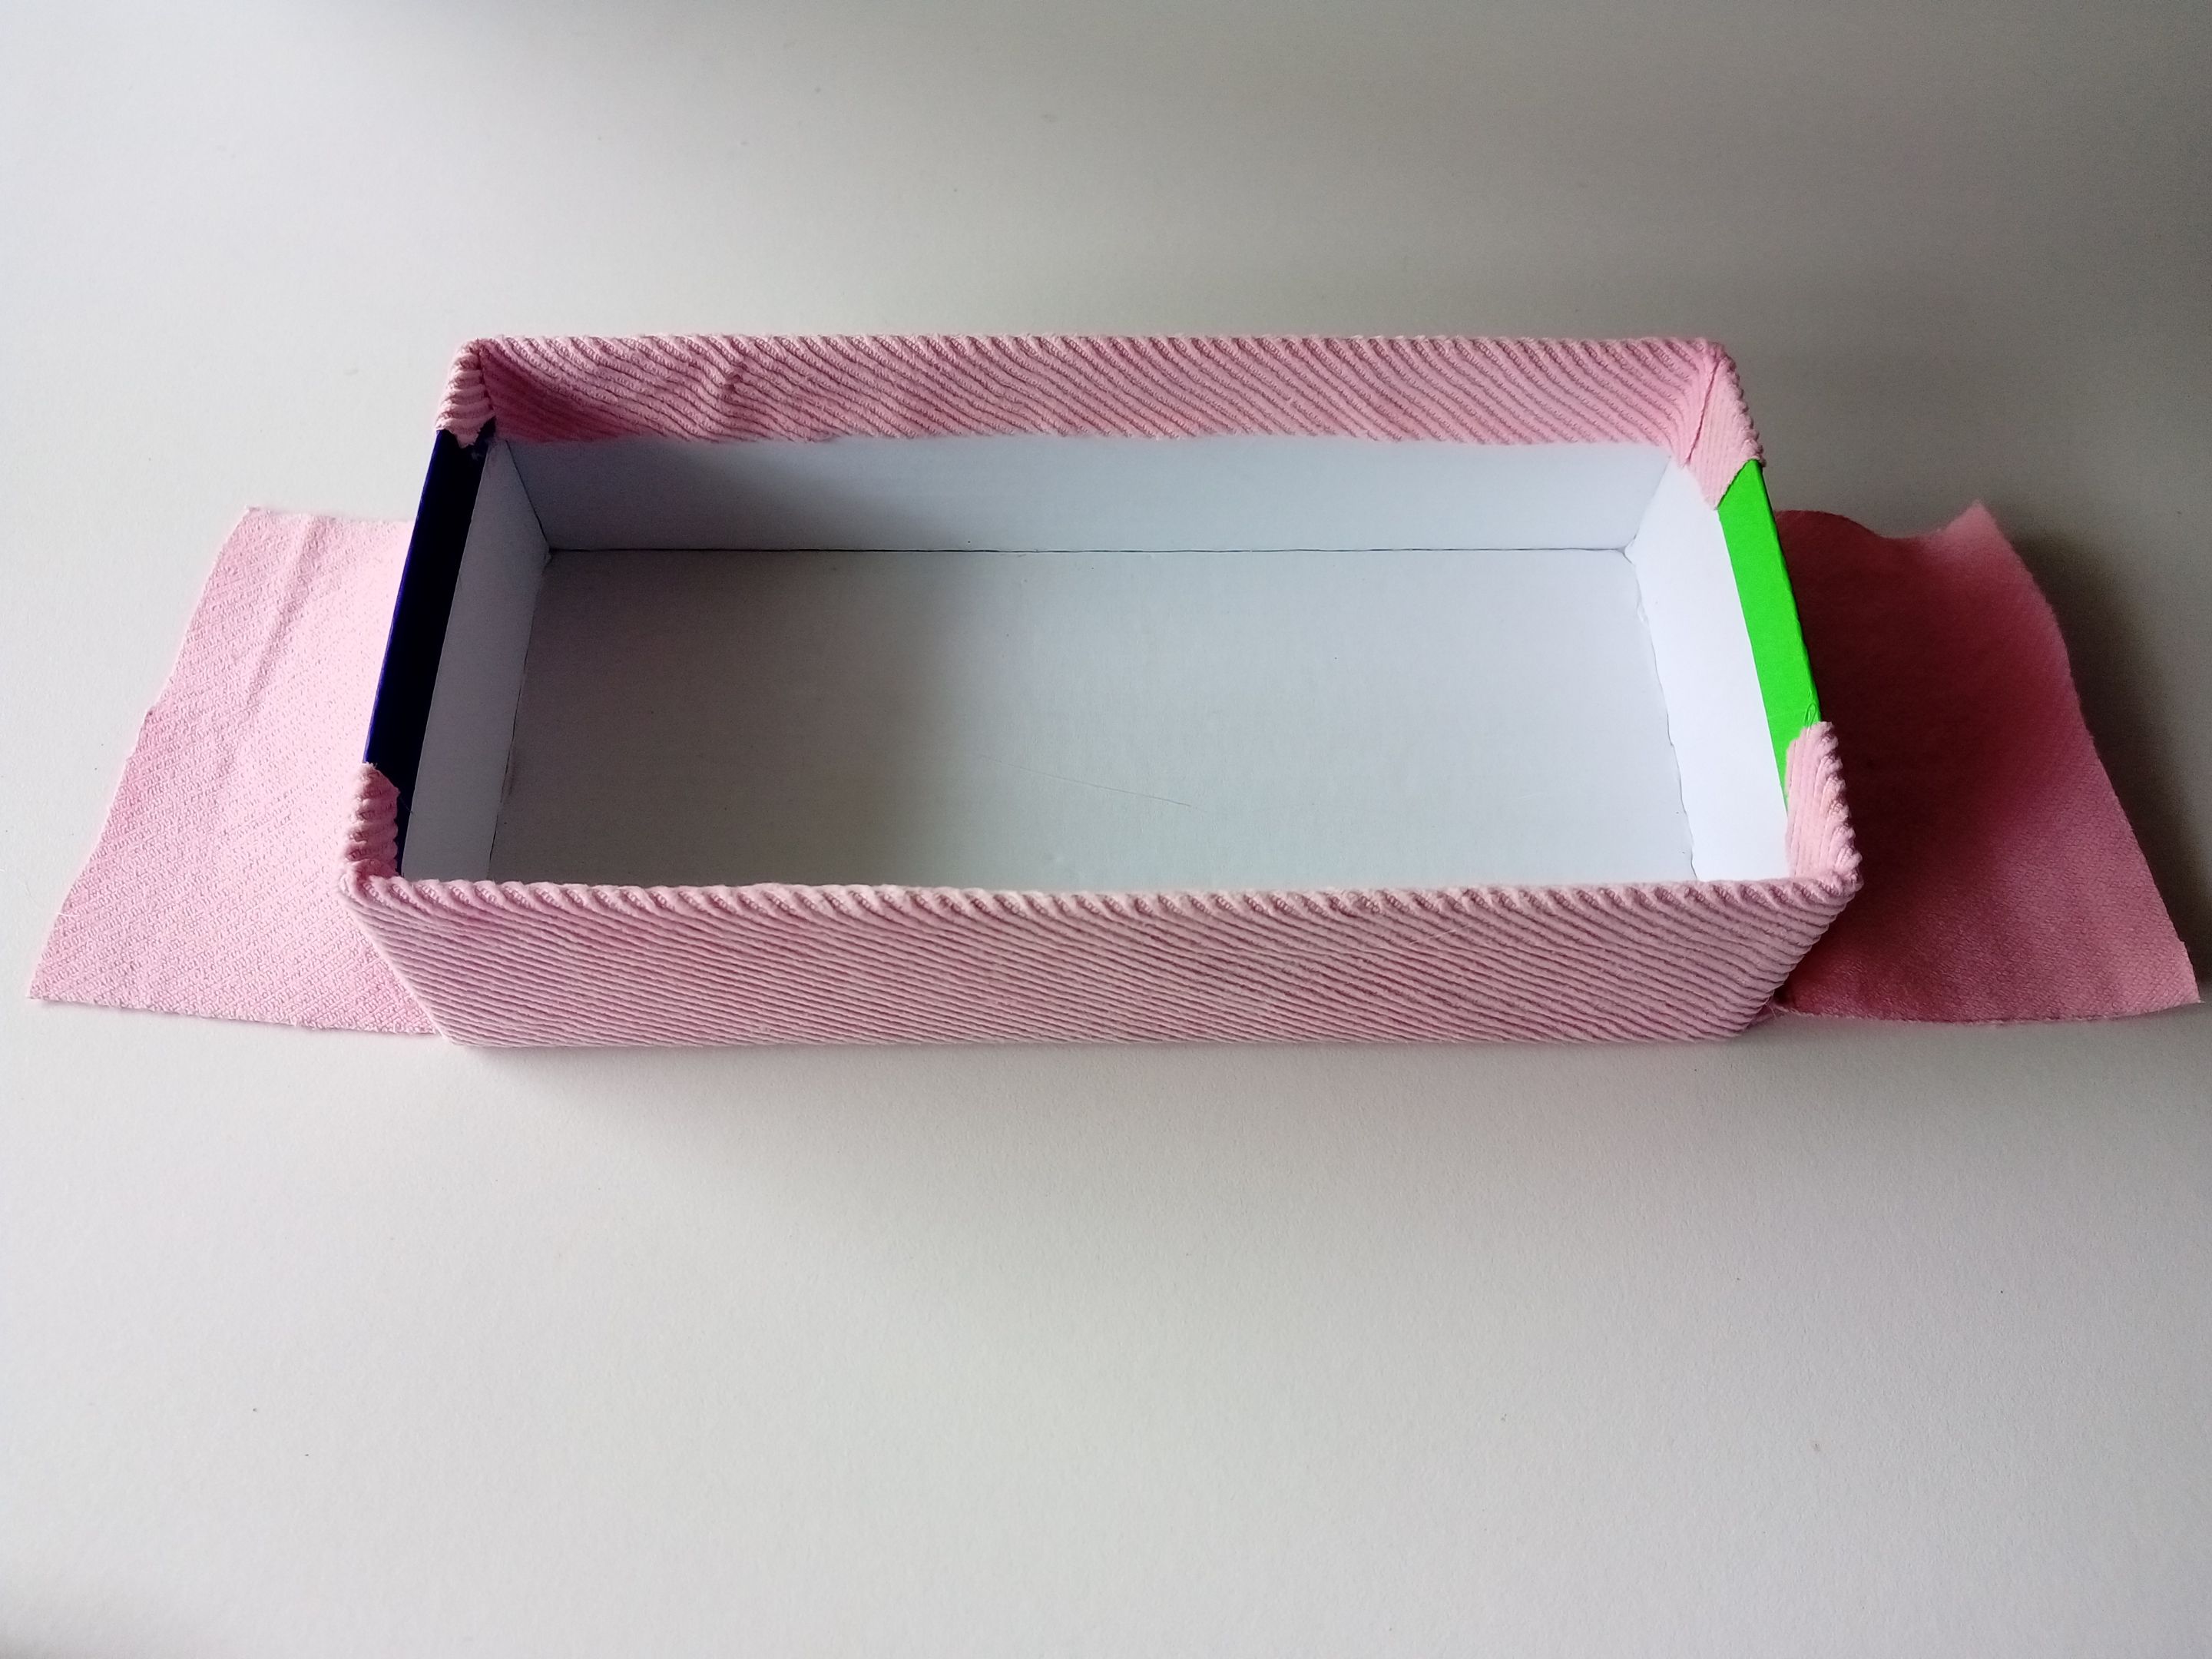
Lo primero que hice fue tomar la caja de cartón, que, bueno, en este caso es la tapa de una caja de teléfono, pues, como dije, quería un cartón resistente y este se me hizo perfecto, así que ahí tienen esta opción por si tienen alguna caja de teléfono en casa. Las medidas de la caja son de 20 cm x 10 cm y un grosor de 5 cm.
###### ✨STEP 1:
The first thing I did was take the cardboard box, which, well, in this case, is the lid of a phone box. As I said, I wanted a sturdy cardboard, and this one was perfect for me. So, here's an option if you have a phone box at home. The box measures 20 cm x 10 cm and is 5 cm thick.
###### ✨PASO 2:
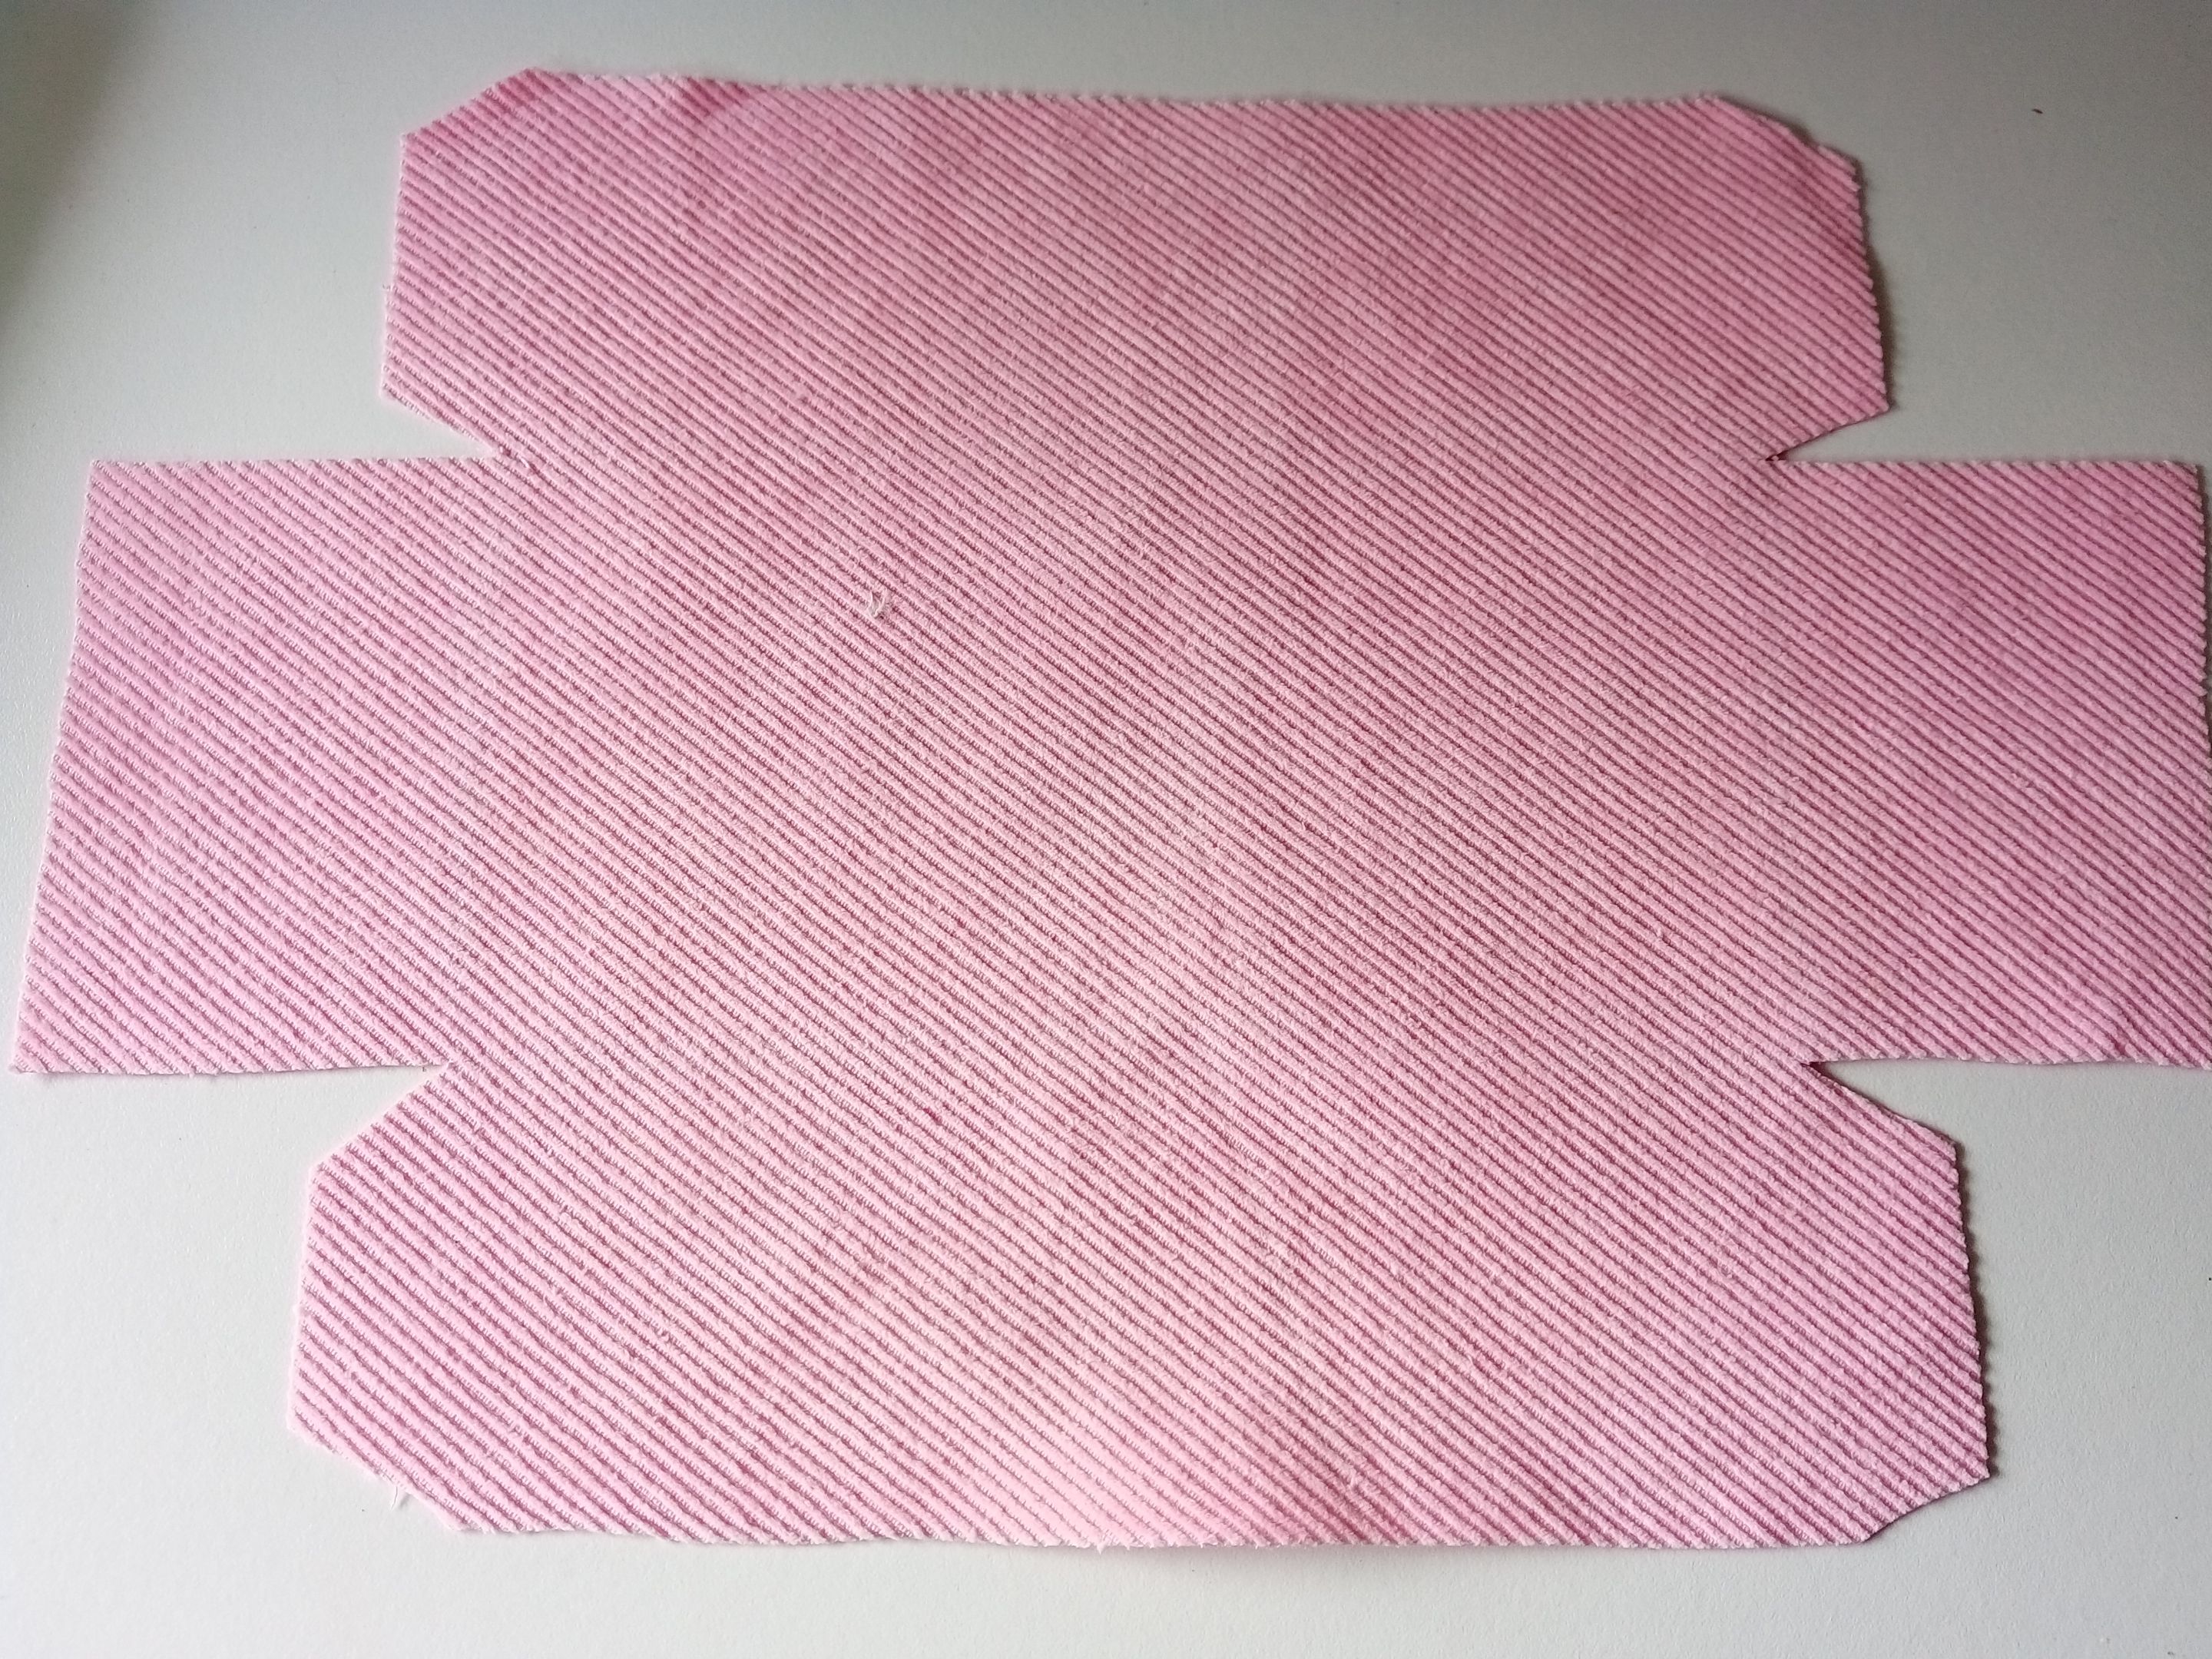
Seguidamente, tomé la tela y comencé a tomar las medidas para forrar muy bien, con un lindo acabado. Así que las medidas fueron las siguientes:
✨Base: 20 cm x 10 cm.
✨Paredes: 20 cm x 6 cm.
✨Paredes laterales: 9.5 cm x 6 cm.
✨Pestañas: 1 cm.
###### ✨STEP 2:
Next, I took the fabric and began measuring it to cover it nicely, with a nice finish. So the measurements were as follows:
✨Base: 20 cm x 10 cm.
✨Walls: 20 cm x 6 cm.
✨Side walls: 9.5 cm x 6 cm.
✨Tabs: 1 cm.
###### ✨PASO 3:
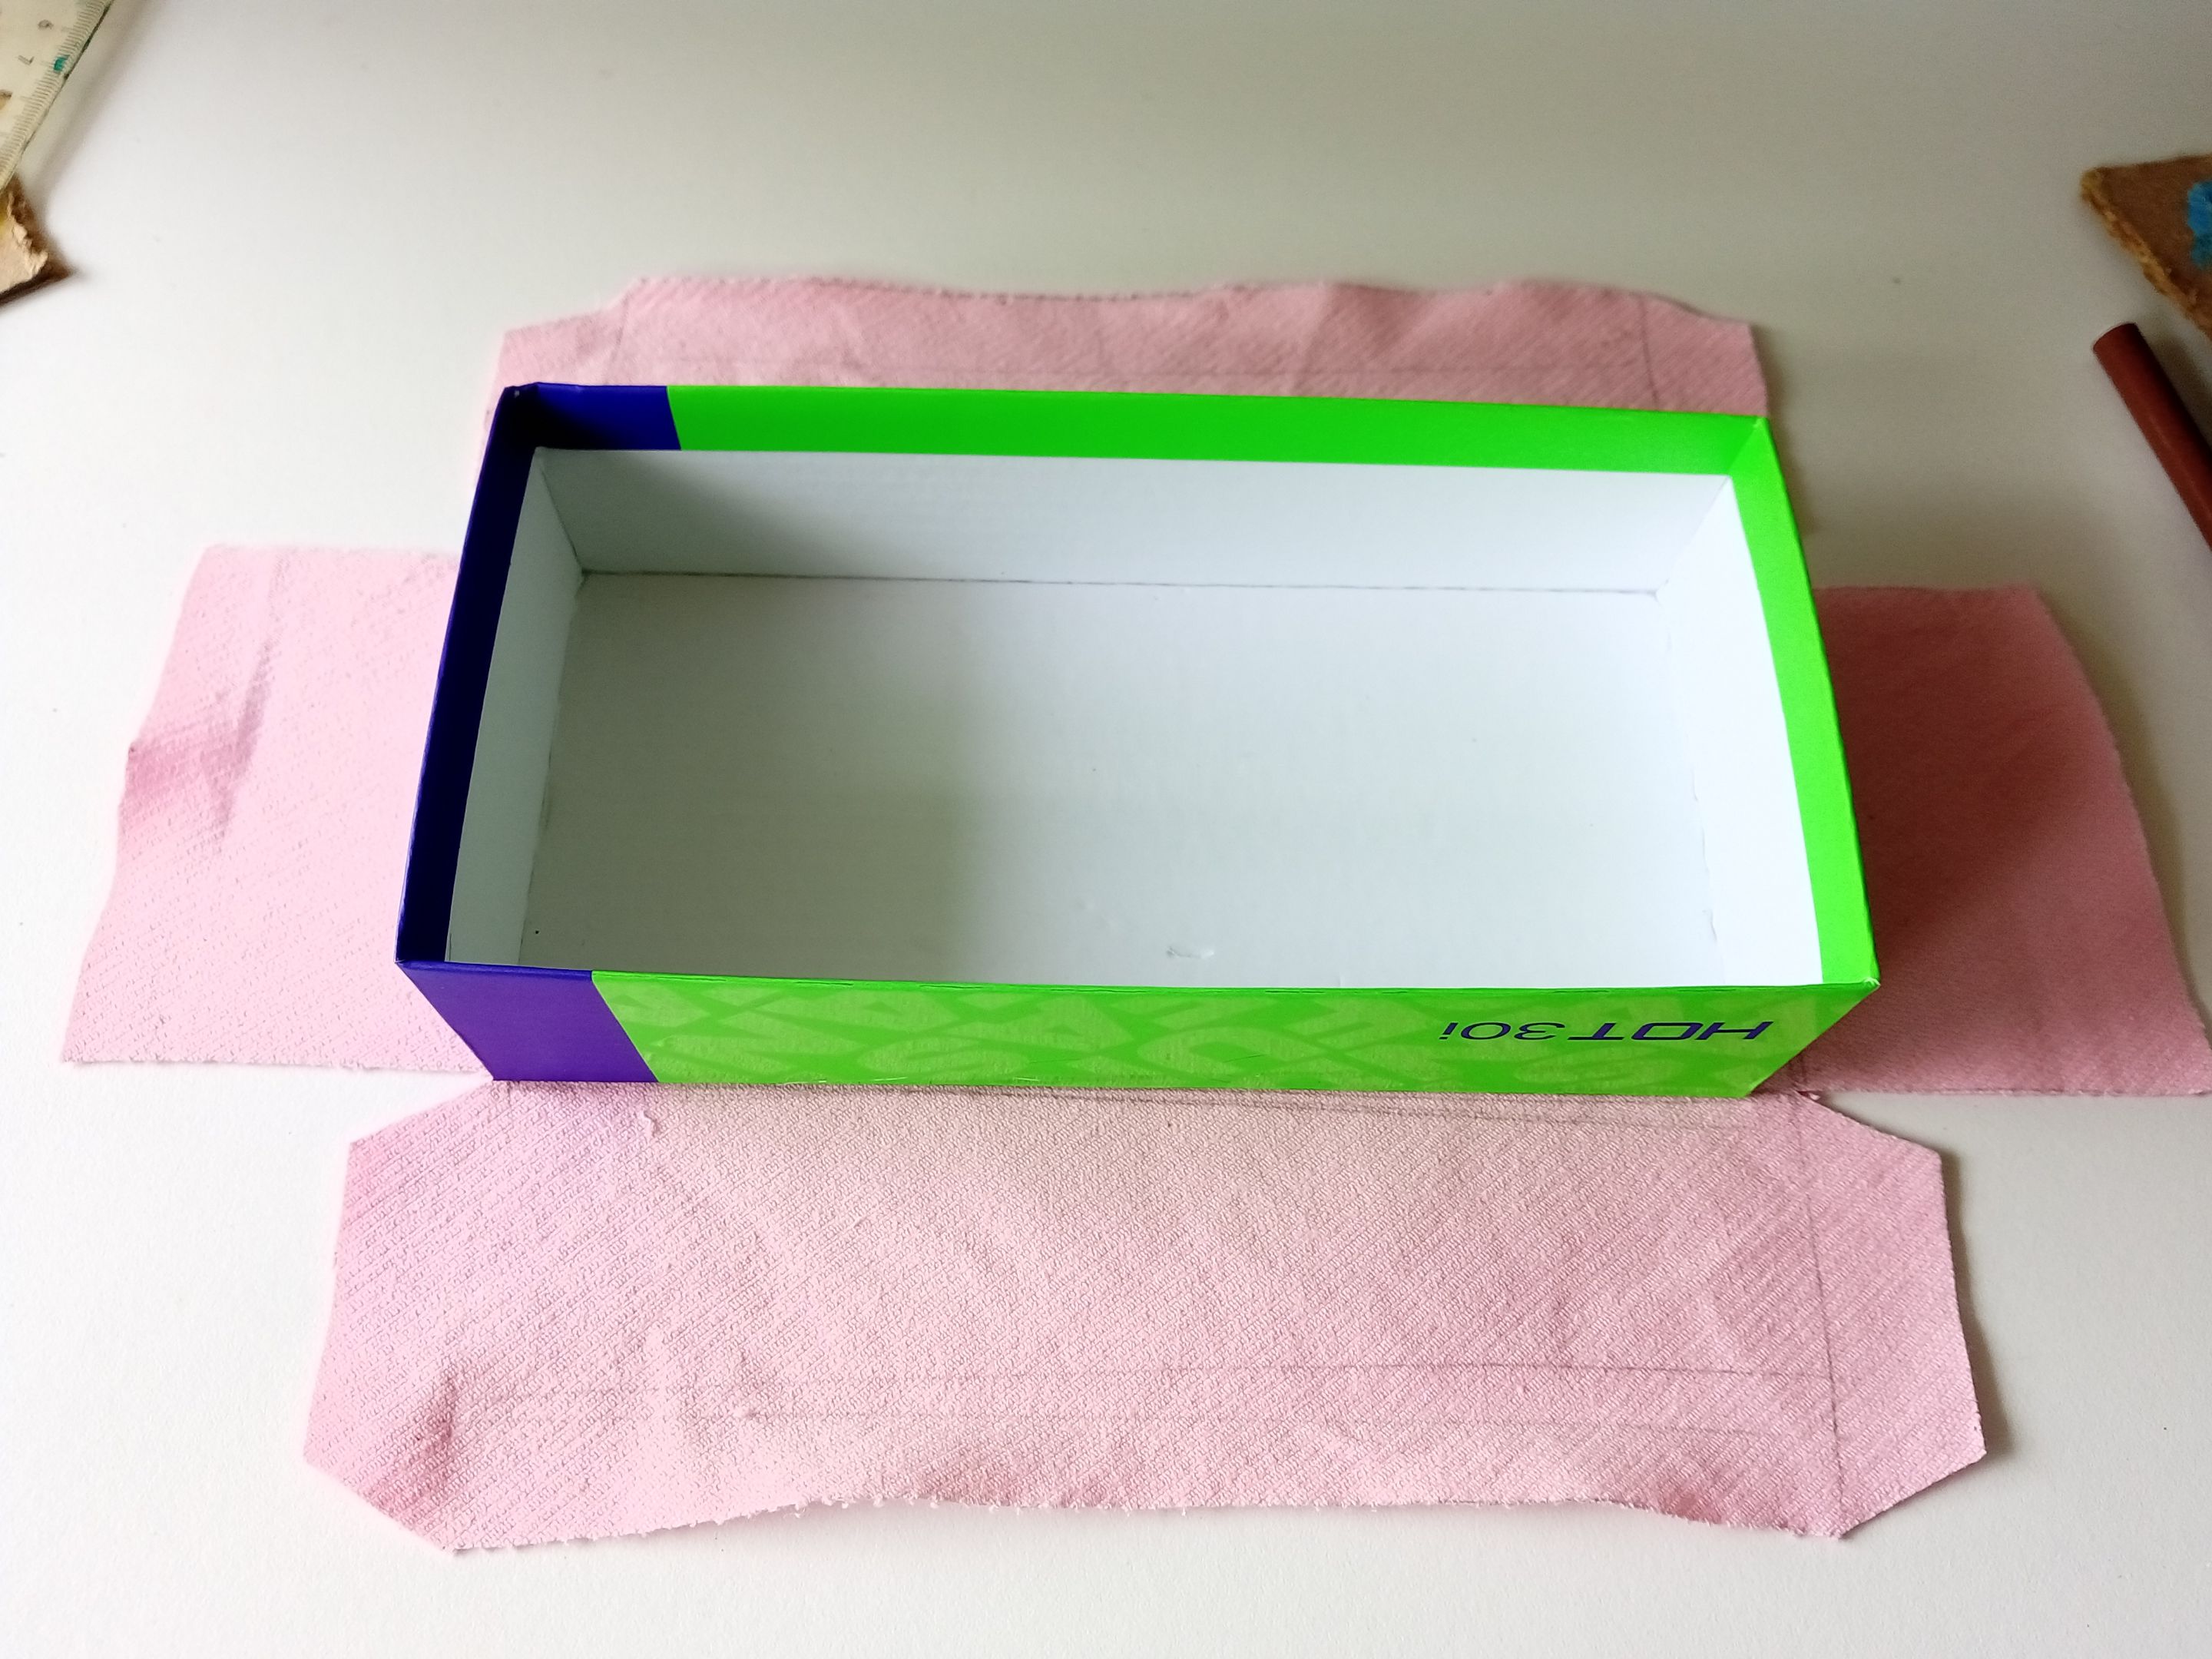
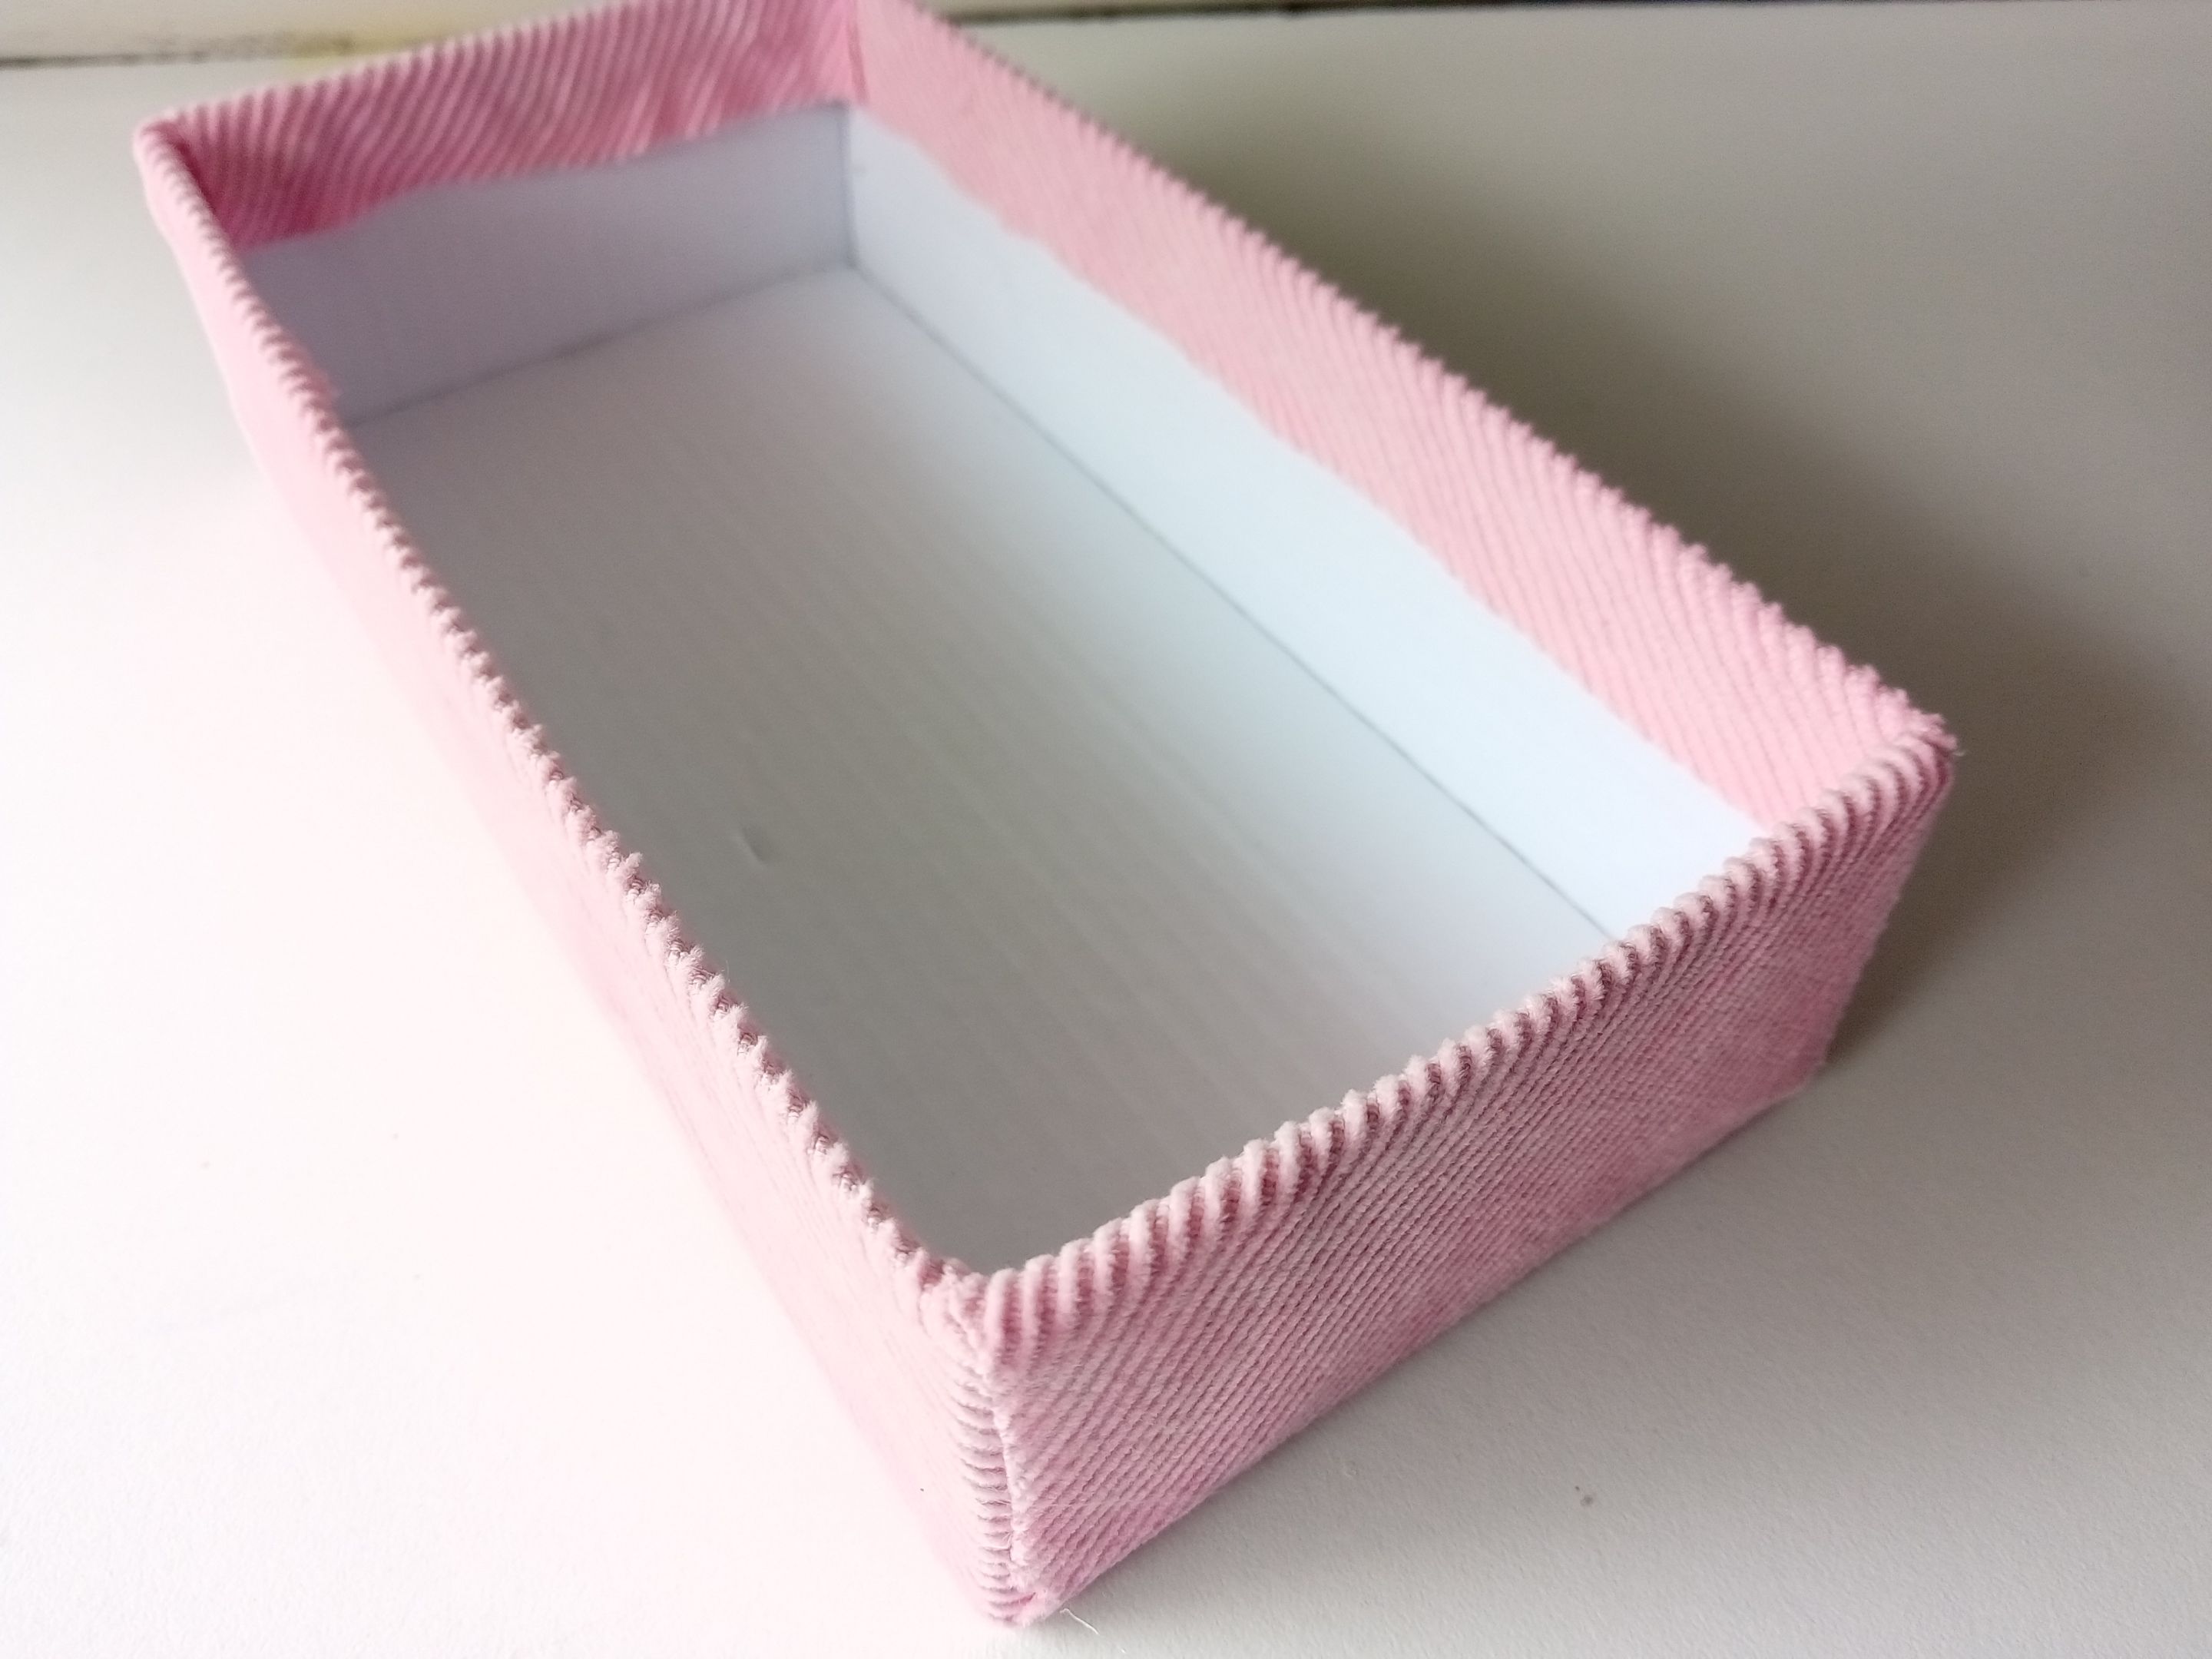
Al tener todo recortado, es momento de pegar la caja al centro de la tela, que sería la base, seguido de las paredes más largas, las cuales son las que tienen las pestañas laterales y el excedente superior, el cual también se debe pegar de una vez al interior de la caja, para finalmente pegar las paredes laterales y, nuevamente, el excedente superior en el interior de la caja.
###### ✨STEP 3:
Once everything is cut out, it's time to glue the box to the center of the fabric, which would be the base, followed by the longer walls, which are the ones with the side tabs, and the excess top, which should also be glued all at once to the inside of the box. Finally, glue the side walls and, again, the excess top to the inside of the box.
###### ✨PASO 4:
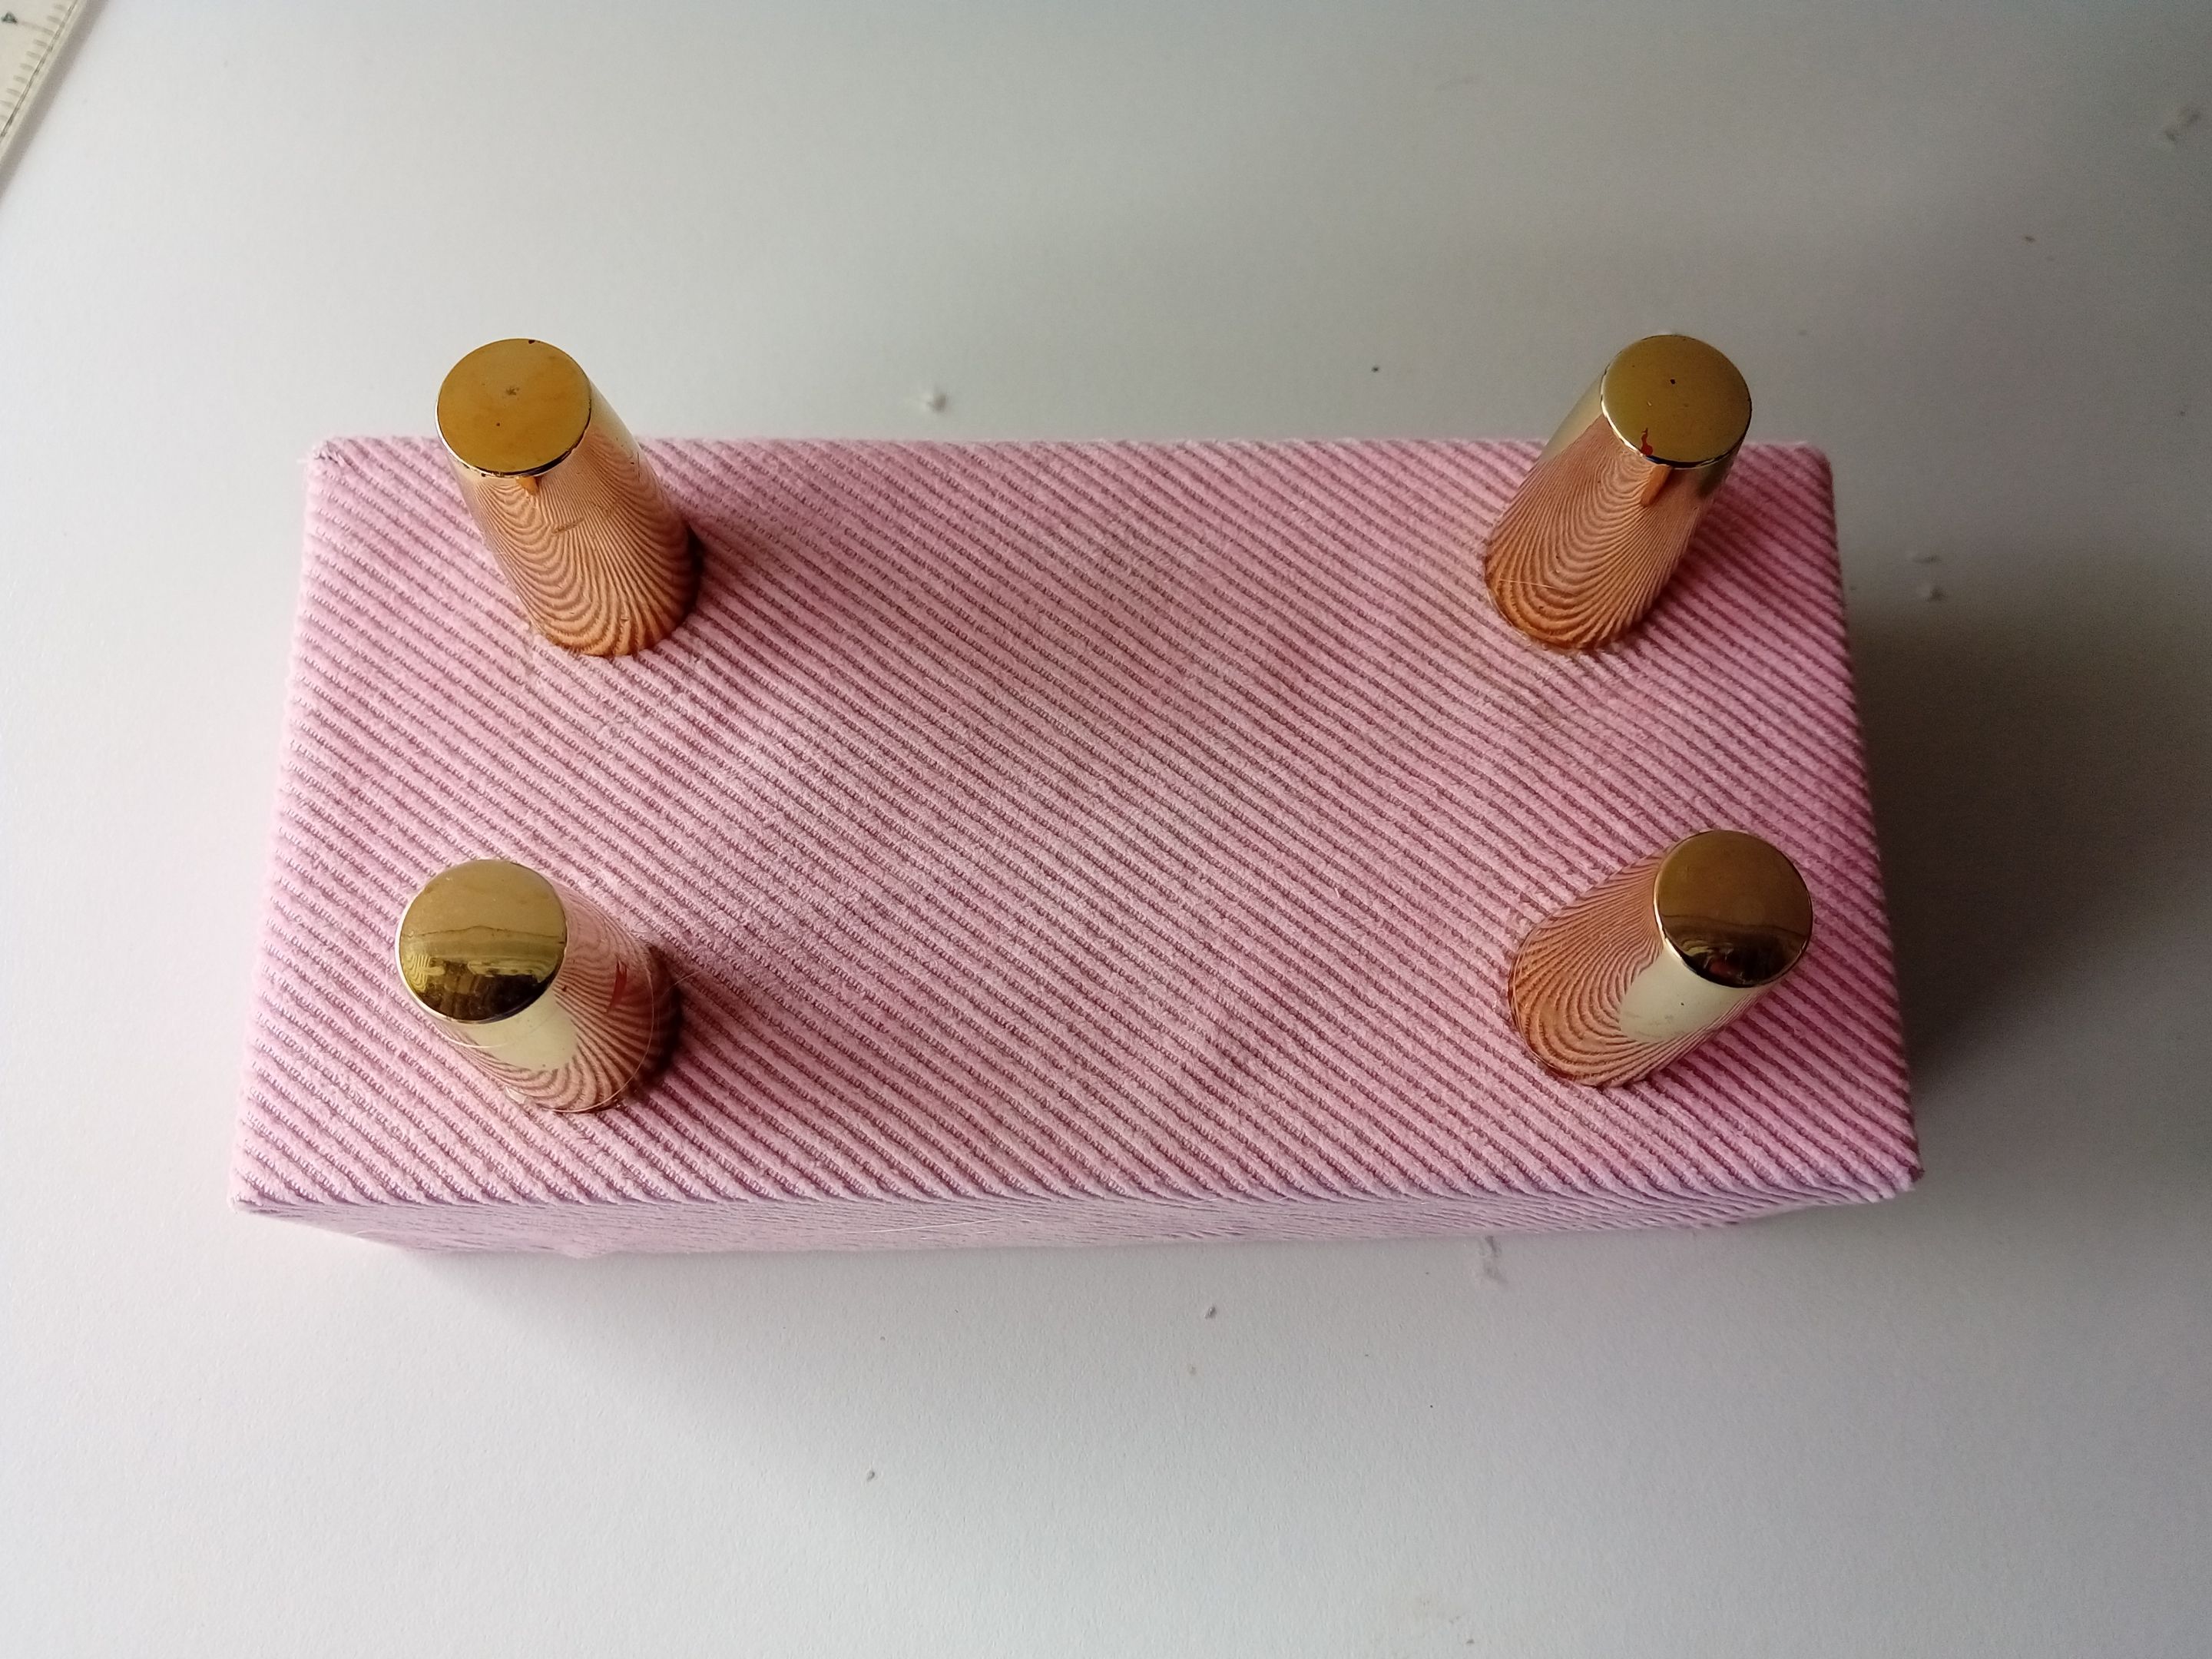
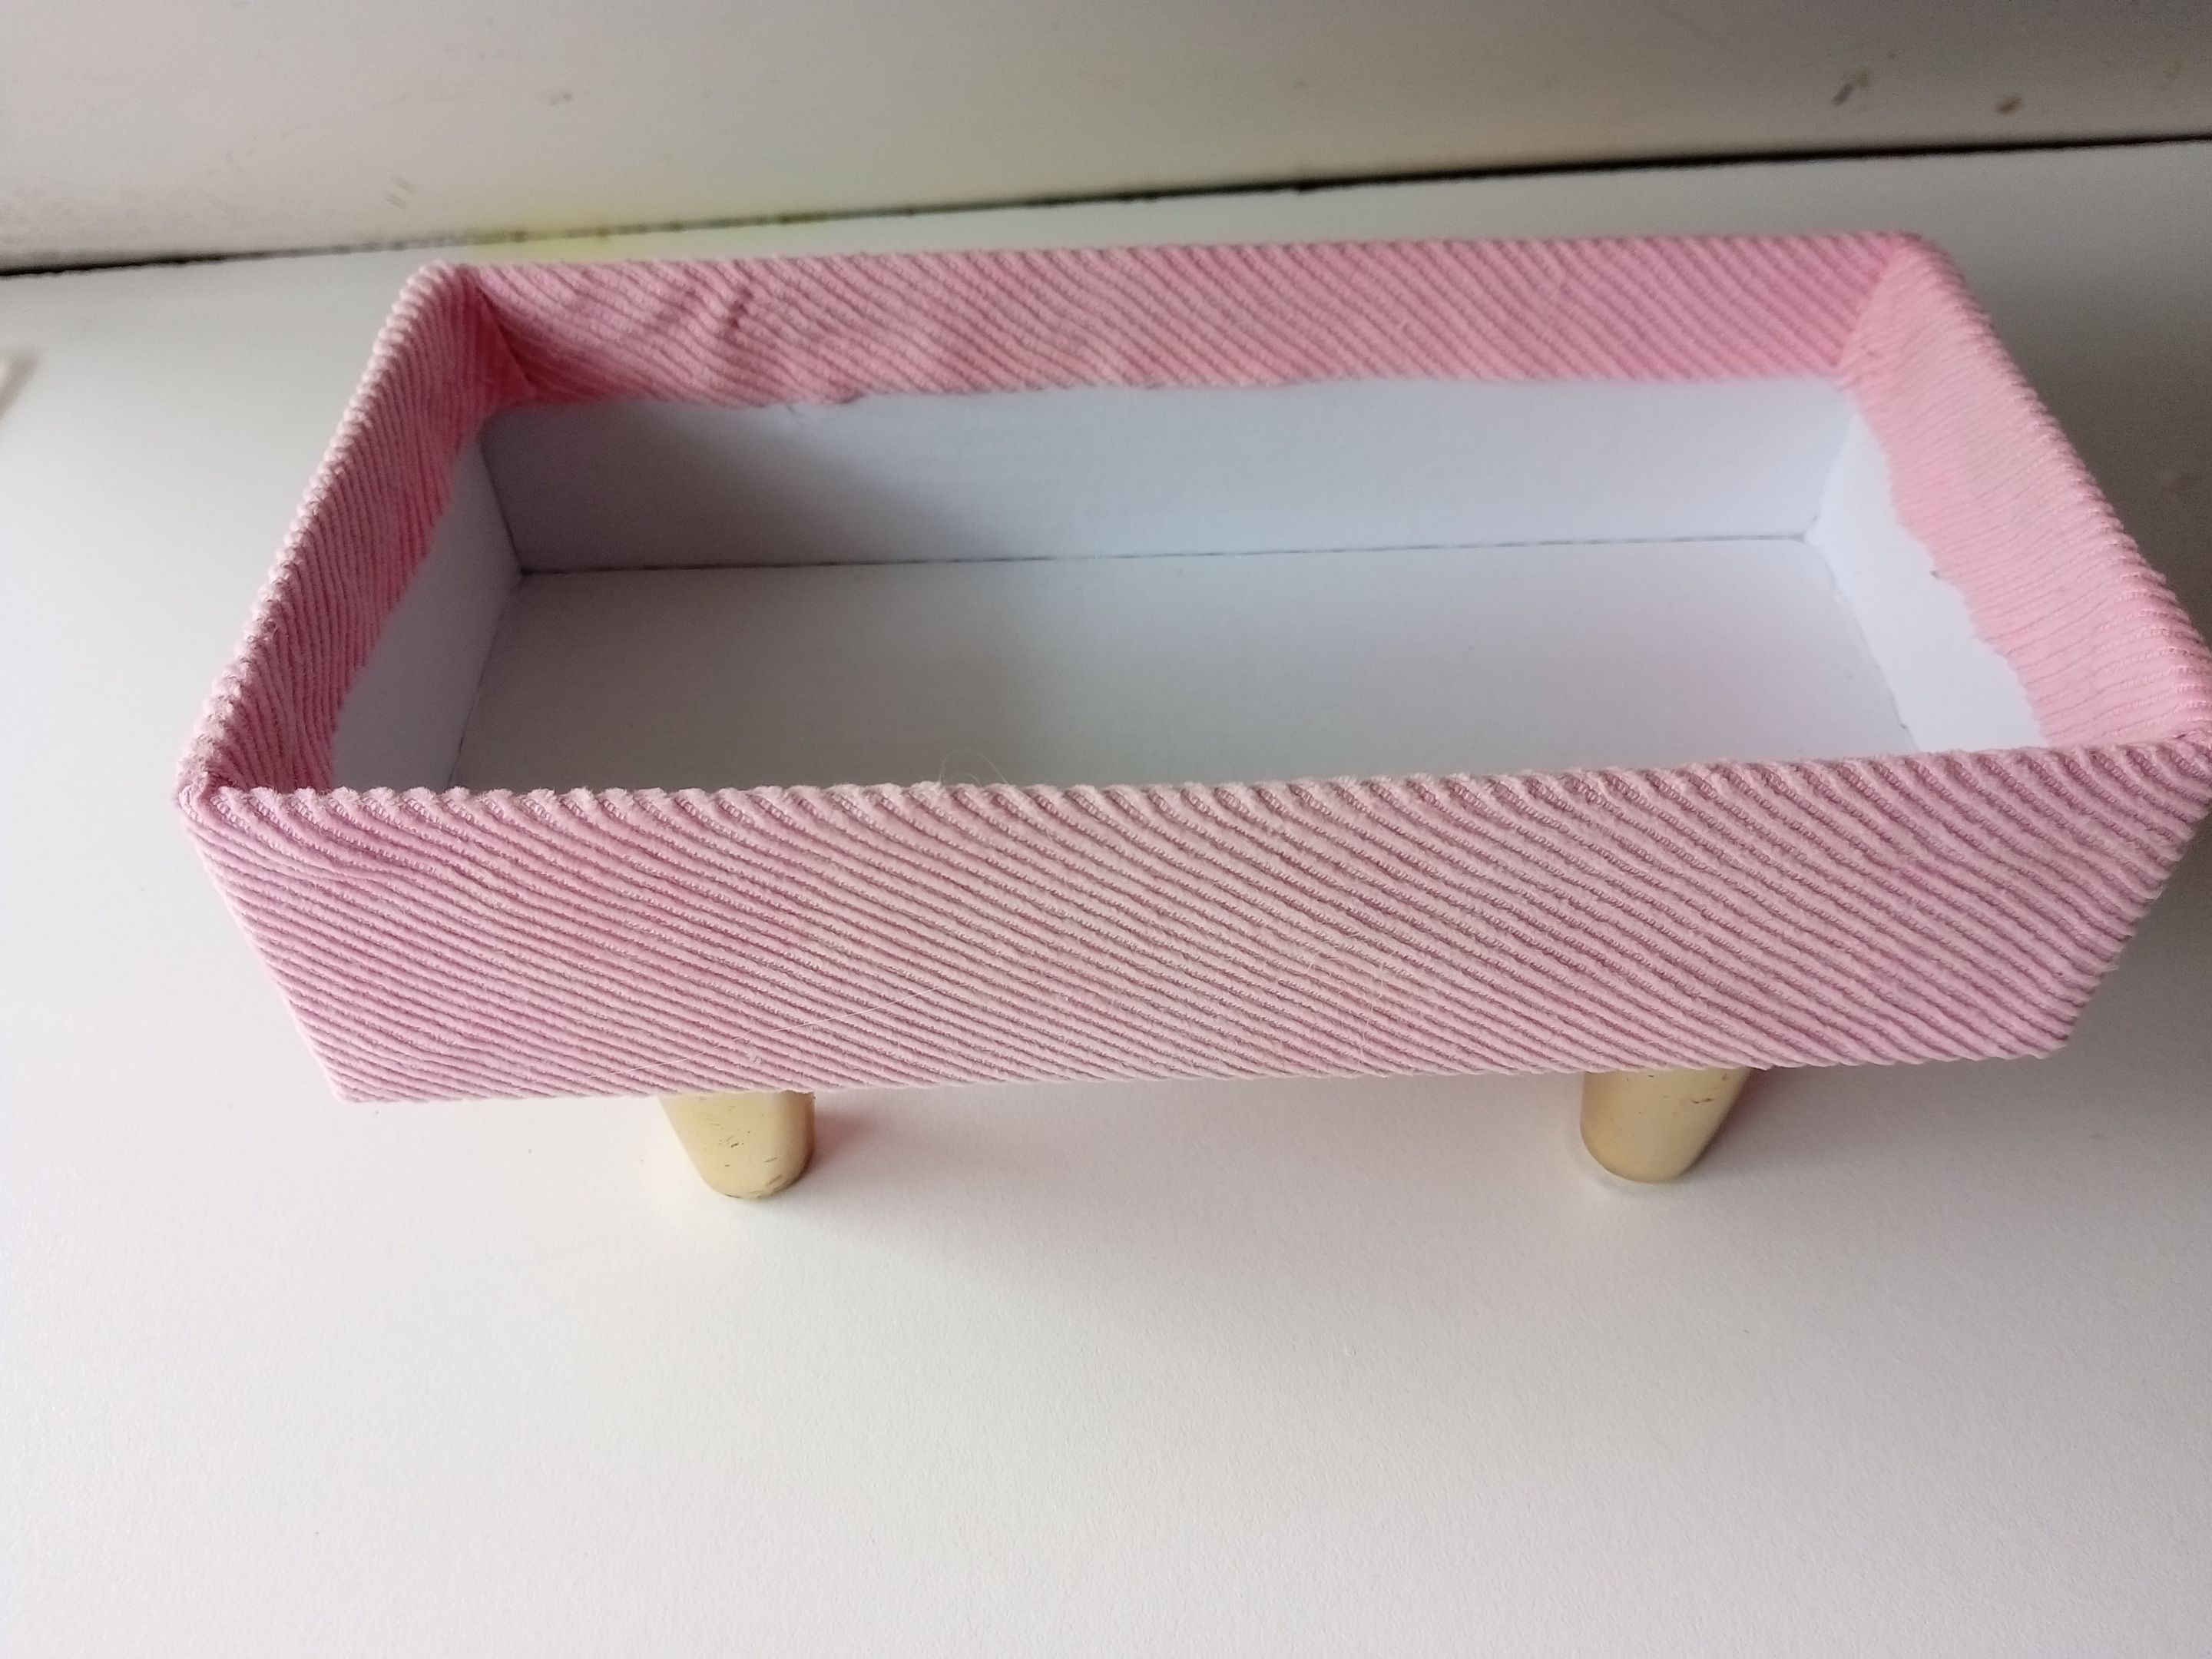
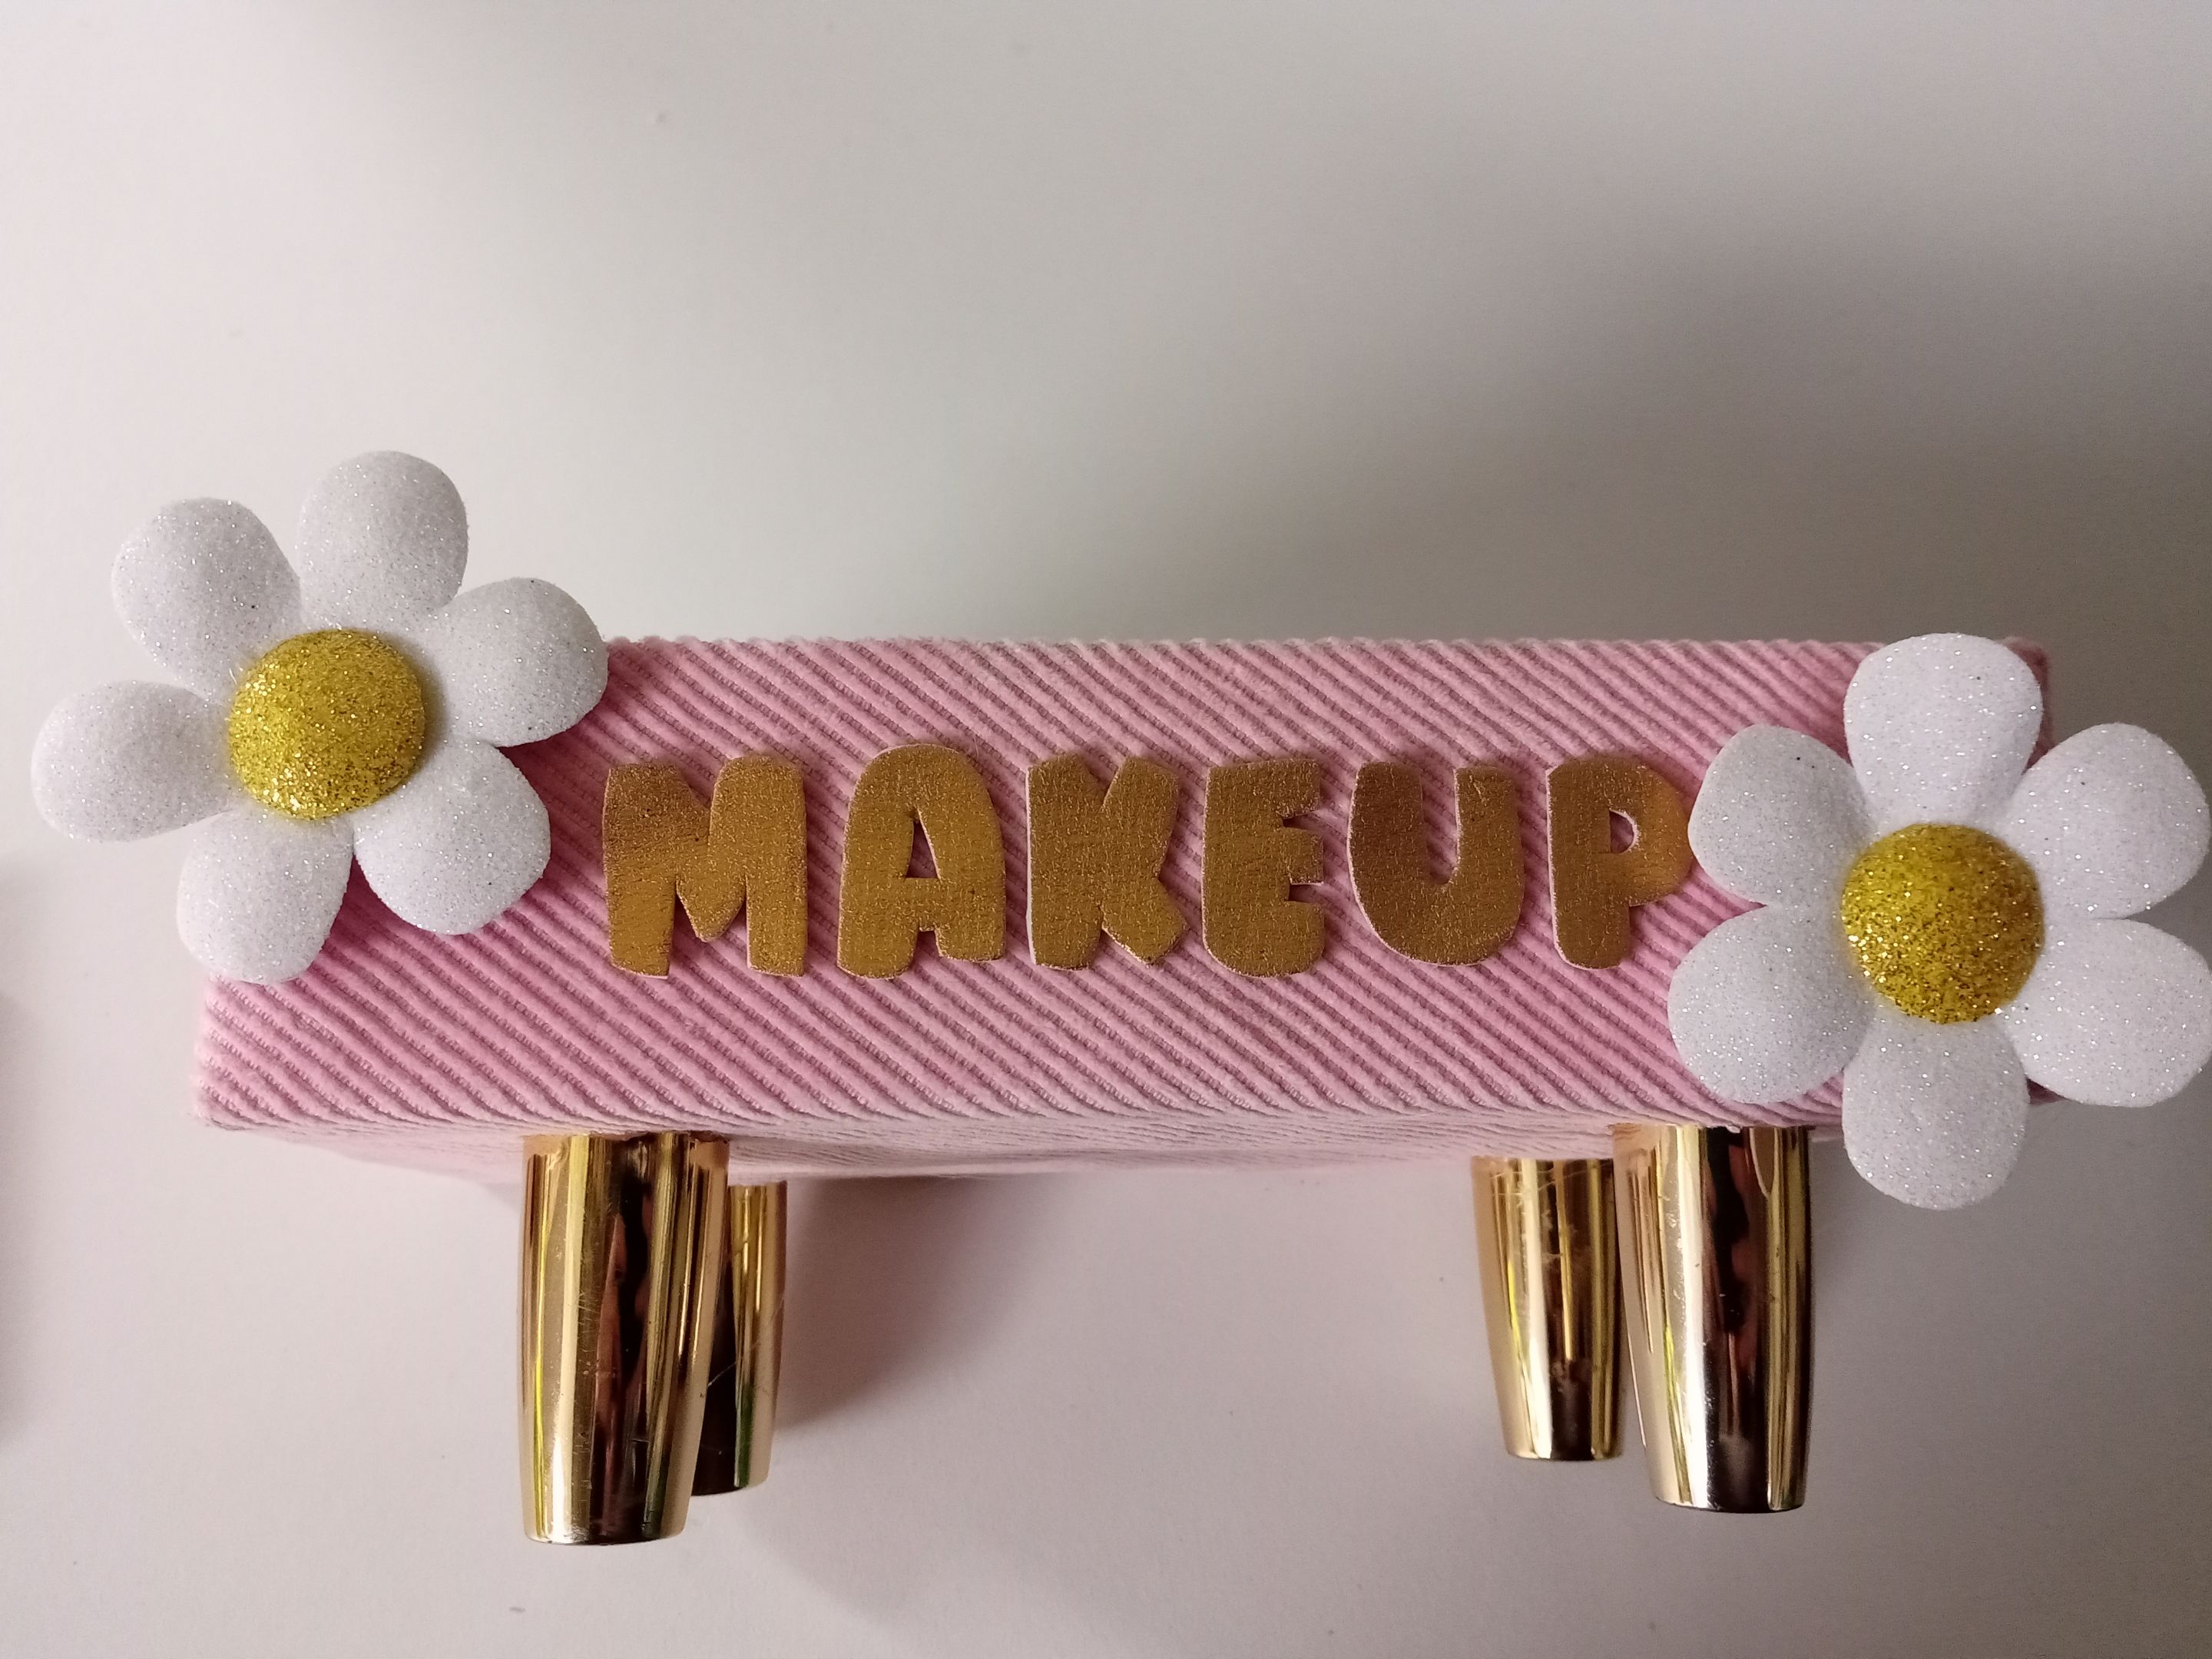
Al estar la tela pegada, es momento de tomar las tapas de esmalte y pegarlas justo en las cuatro esquinas por debajo de la base, pero dejando 1 cm o 2 cm de distancia de los bordes.
📌Por otra parte, si no les gusta el color de sus tapas de esmalte, pueden pintarlas para que queden con el color deseado.
###### ✨STEP 4:
Once the fabric is glued, it's time to take the nail polish caps and glue them right on the four corners below the base, leaving 1 or 2 cm of space from the edges.
📌Alternatively, if you don't like the color of your caps, you can paint them to your desired color.
###### ✨PASO 5:
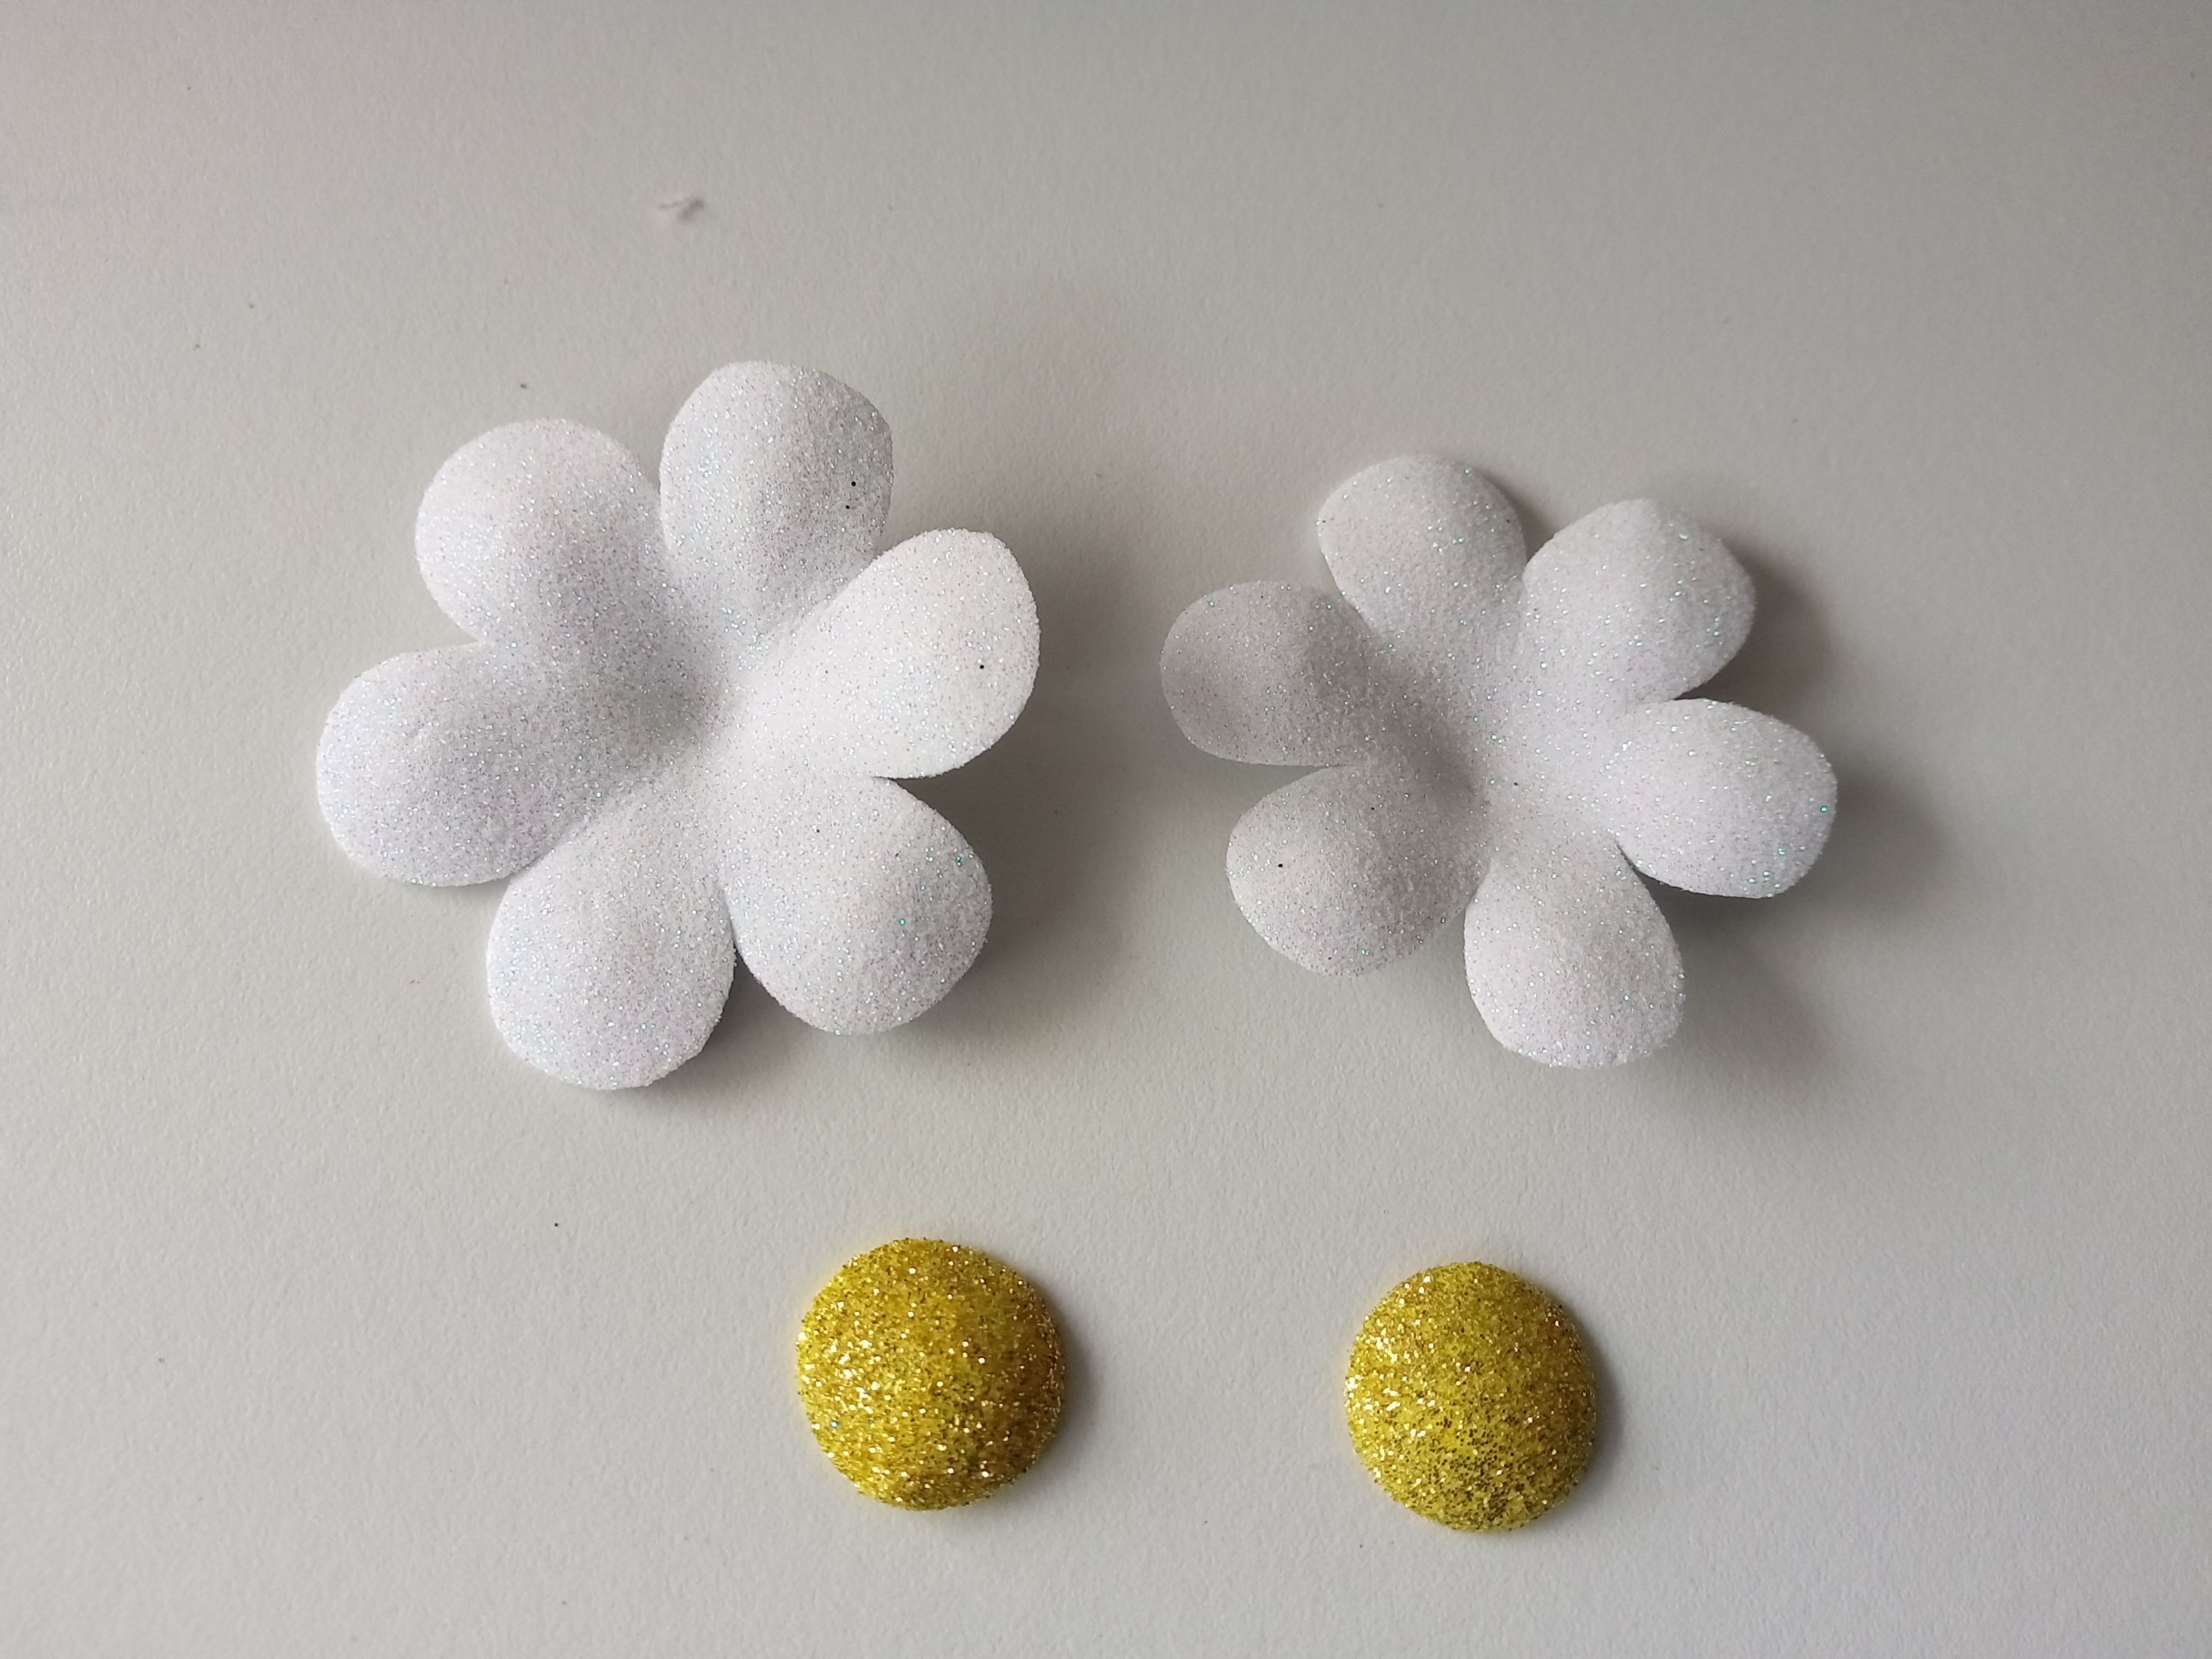
Ya casi para finalizar, recorté en foami metalizado dorado la palabra “MAKEUP”. Además, dibujé y recorté 2 flores junto con el centro de cada una en foami escarchado blanco y dorado, siendo los pétalos de 5 cm y el centro de 2 cm. Luego, los pasé por la plancha para darles forma y que se inflaran un poco los centros de cada una, uní y pegué en las esquinas de una de las paredes del organizador junto con Makeup en el centro.
###### ✨STEP 5:
To finish, I cut the word "MAKEUP" out of gold metallic foam. I also drew and cut out two flowers, along with the center of each one, from white and gold frosted foam. The petals are 5 cm long and the center is 2 cm. Then, I ironed them to shape them and make the centers of each one puff up a bit. I joined them together and glued them to the corners of one of the organizer walls, along with Makeup in the center.
# ✨RESULTADO: | ✨RESULT:

|||
|-|-|
---

---
**!TE DESEO UN GRAN DÏA¡**
Todas las fotografías son de mi propiedad.
Separador y Fotos editadas en [Canva](https://www.canva.com/)
**!I WISH YOU A GOOD DAY**
All photographs are my property.
Photos edited in [Canva](https://www.canva.com/)