######
✨¡Hola amigos amantes de la creatividad! Espero que estén todos bien.✨
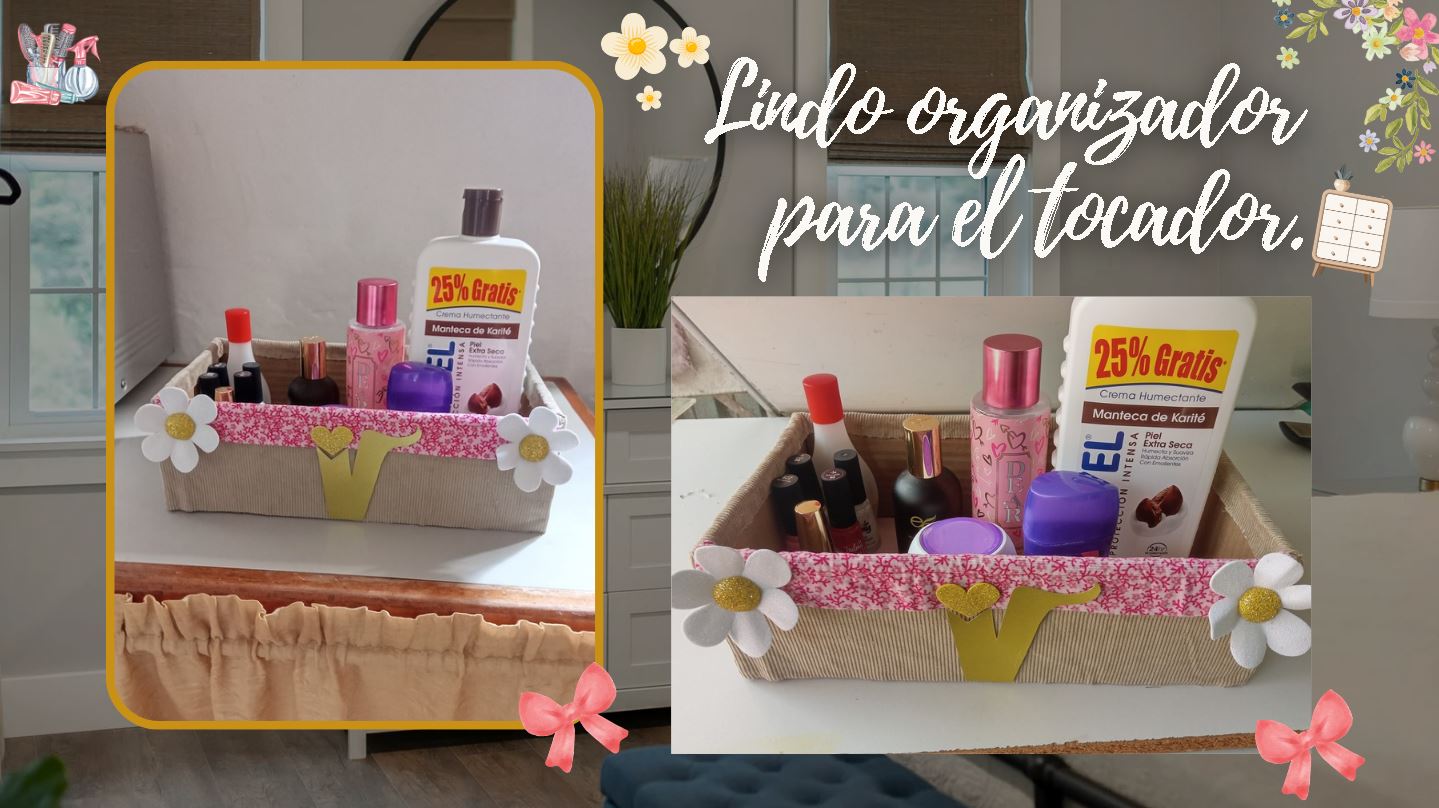
¡Buenas tardes, amigos! Espero que estén pasando una excelente semana. Por mi parte, estoy contenta de pasar por acá a compartir una linda idea con ustedes. En esta ocasión les comparto el paso a paso para elaborar un lindo organizador para el tocador. Hace unas semanas elaboré un organizador para la peinadora; esta vez me pareció buena idea hacer uno para mis productos personales, ya que los tengo en una gaveta y es muy fácil que todo se desordene.
Como me gustó tanto la decoración del organizador de maquillaje del otro día, quise que tuviera detalles como el otro organizador, así que no dudé en crear un par de margaritas.
**🔸Sin más que añadir, a continuación los dejo con el paso a paso:**
> ######
✨¡Hello friends who love creativity! I hope you are all well.✨
>
Good afternoon, friends! I hope you're having a great week. For my part, I'm happy to stop by to share a lovely idea with you. This time, I'm sharing the step-by-step instructions for making a cute vanity organizer. A few weeks ago, I made an organizer for my hairdresser; this time, I thought it would be a good idea to make one for my personal products, since I keep them in a drawer and it's easy for everything to get messy.
Since I loved the decoration on the makeup organizer the other day, I wanted it to have details like the other organizer, so I didn't hesitate to create a couple of daisies.
> **🔸Without more to add, then I leave you with the step by step:**
---
---

||||
|-|-|-|


|||
|-|-|


|||
|-|-|


|||
|-|-|


||||
|-|-|-|

✨Así es como pueden elaborar este o cualquier organizador que deseen, utilizando los colores de tela de preferencia. En mi caso, tenía pensado utilizar una tela de pana rosa, como un organizador que hice anteriormente, pero no me alcanzaba, así que me pareció buena opción y bastante neutro utilizar este color beige para combinar con un rosa floral. Espero que les haya gustado el paso a paso y se animen a elaborarlo.
❤️Hasta la próxima publicación.
>
✨This is how you can make this or any organizer you like, using any fabric colors you prefer. In my case, I was planning on using pink corduroy fabric, like a previous organizer I made, but I didn't have enough, so I thought it would be a good and fairly neutral option to use this beige color to combine with a floral pink. I hope you enjoyed the step-by-step instructions and are inspired to try it out.
>
❤️Until the next post.

**♥️ESPERO QUE TE GUSTE,
¡Empecemos!**
**♥️I HOPE YOU LIKE IT,
Let's start!**
---

# ✂️ MATERIALES | ✂️ MATERIALS

- Cartón grueso.
- Cartulina escarchada dorada.
- Foami escarchado blanco.
- Foami escarchado dorado.
- Telas con diferentes diseños o colores.
- Pegamento.
- Tijeras.
- Regla.
- Hoja blanca.
- Lápiz.
- Thick cardboard.
- Gold glitter cardstock.
- White glitter foam.
- Gold glitter foam.
- Fabrics with different designs or colors.
- Glue.
- Scissors.
- Ruler.
- White paper.
- Pencil.

# 🌟 PROCEDIMIENTO | 🌟 PROCESS

###### ✨PASO 1:
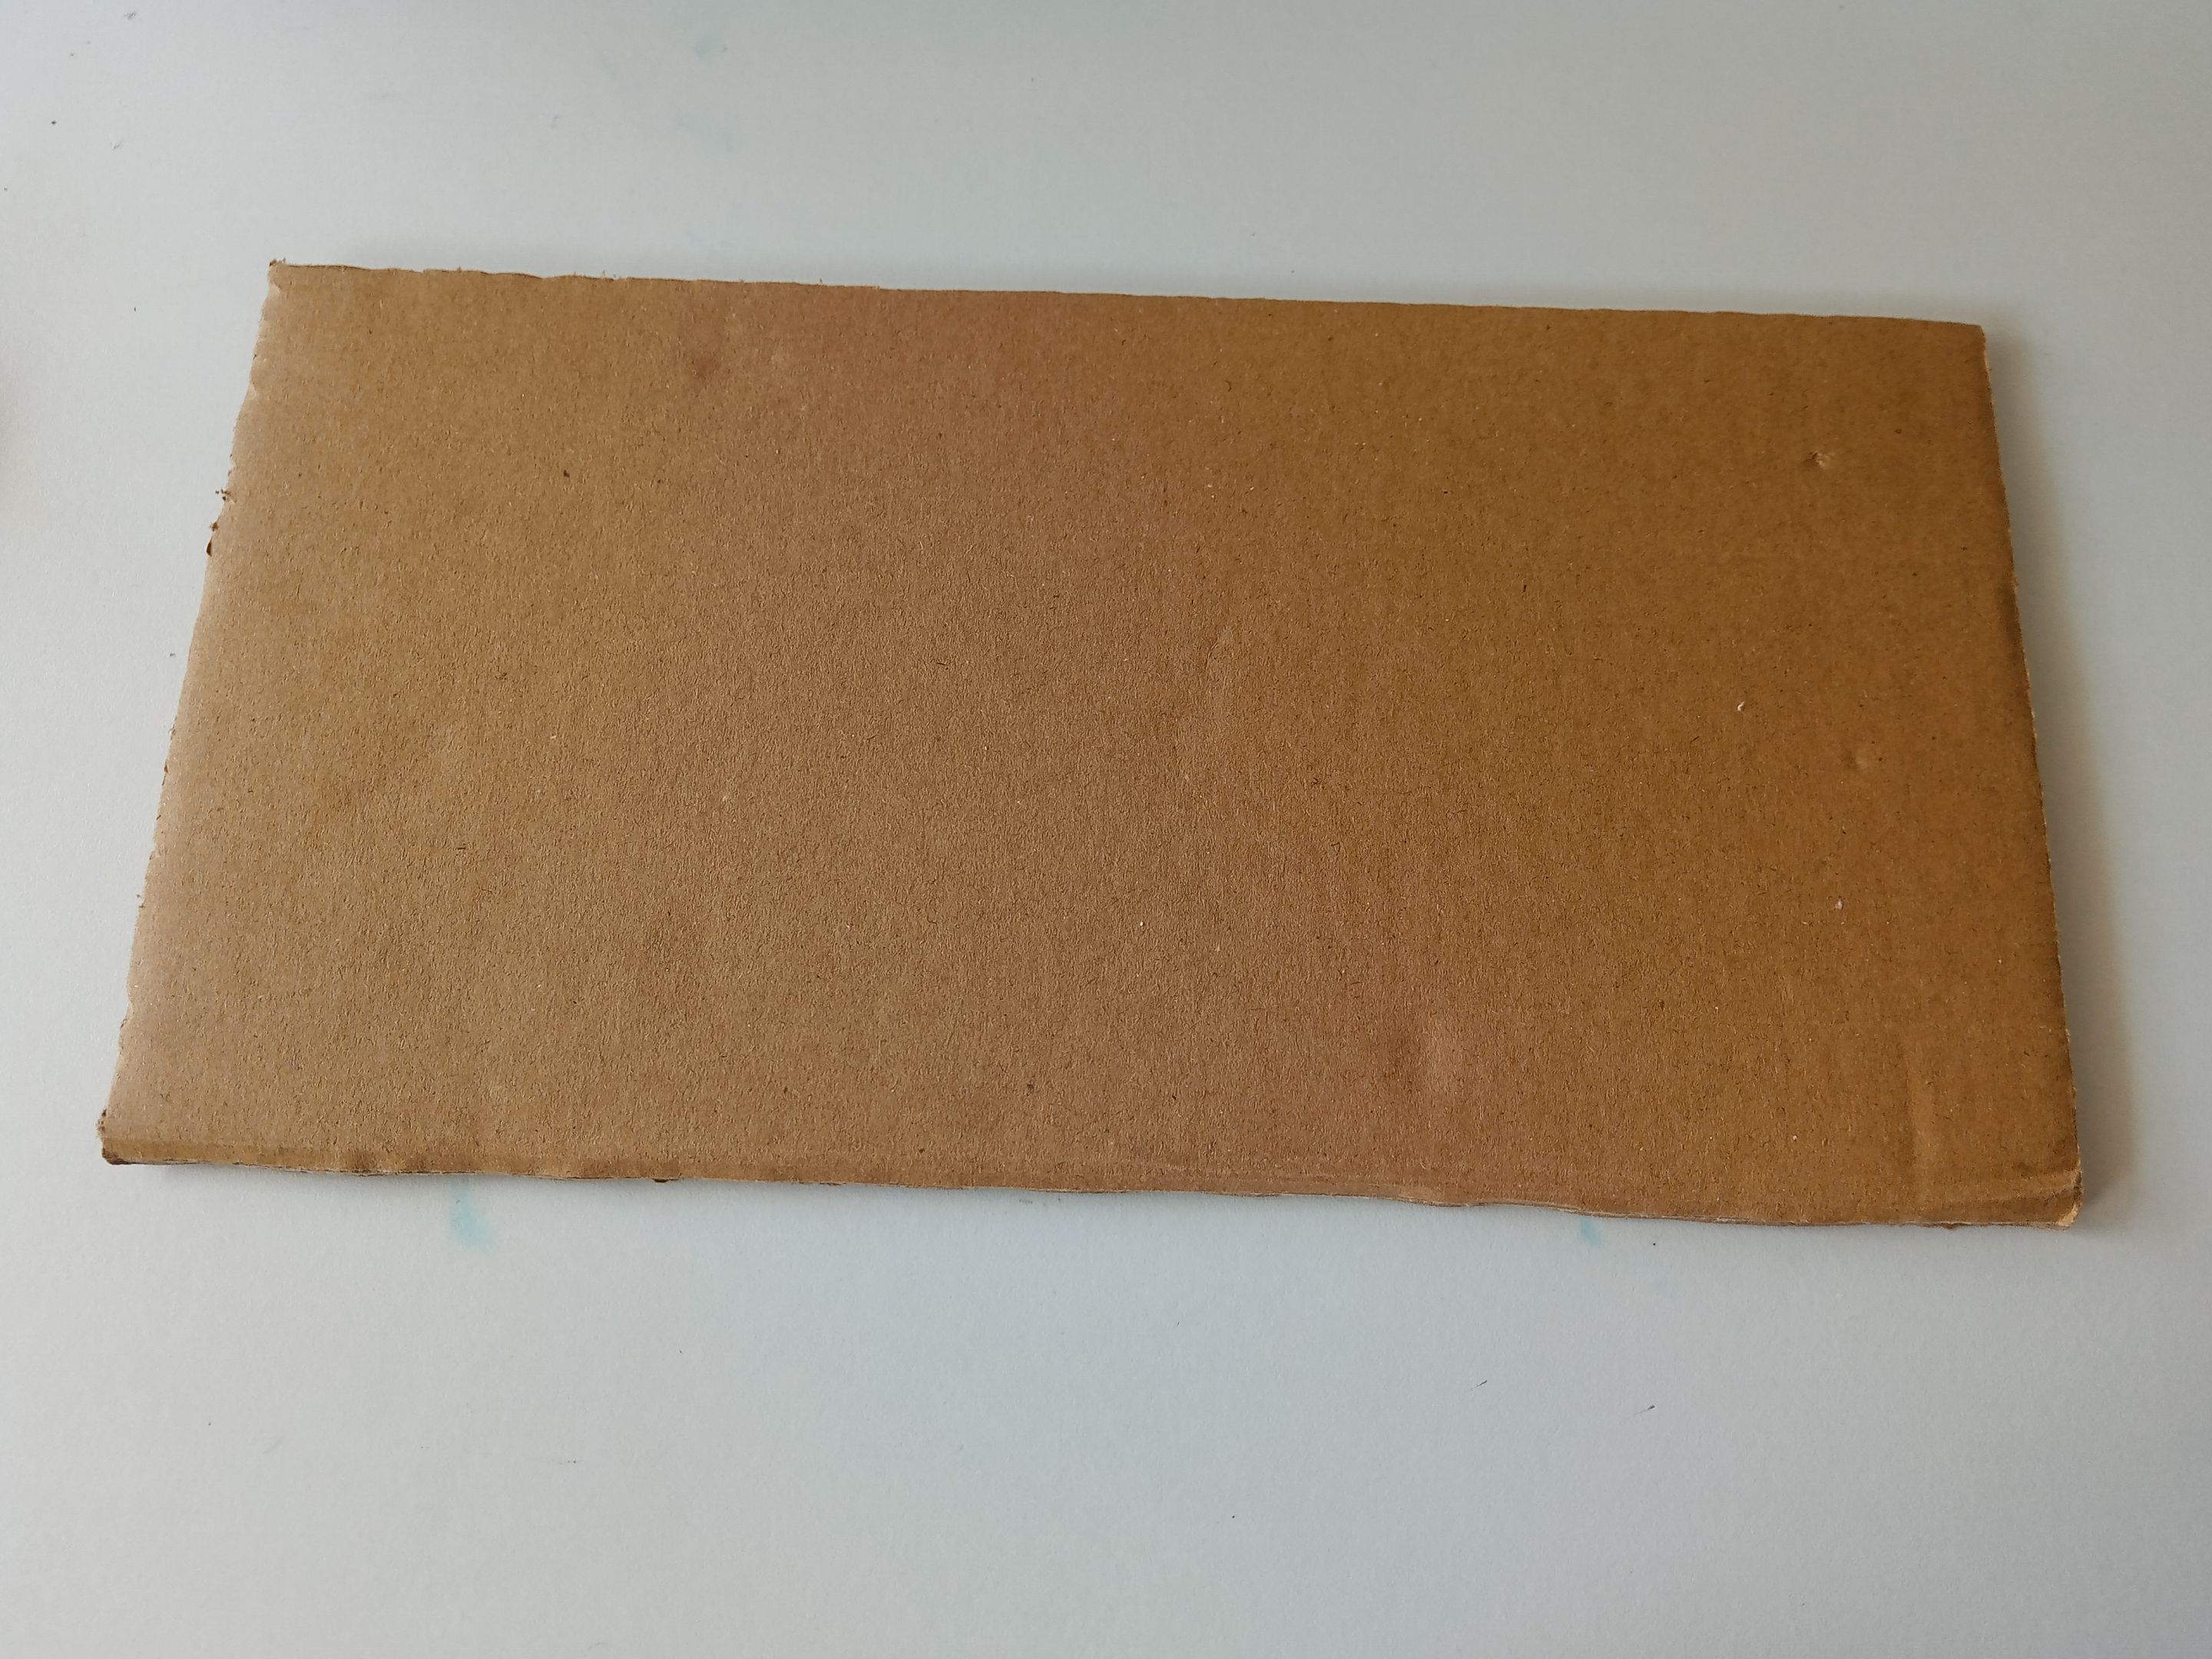
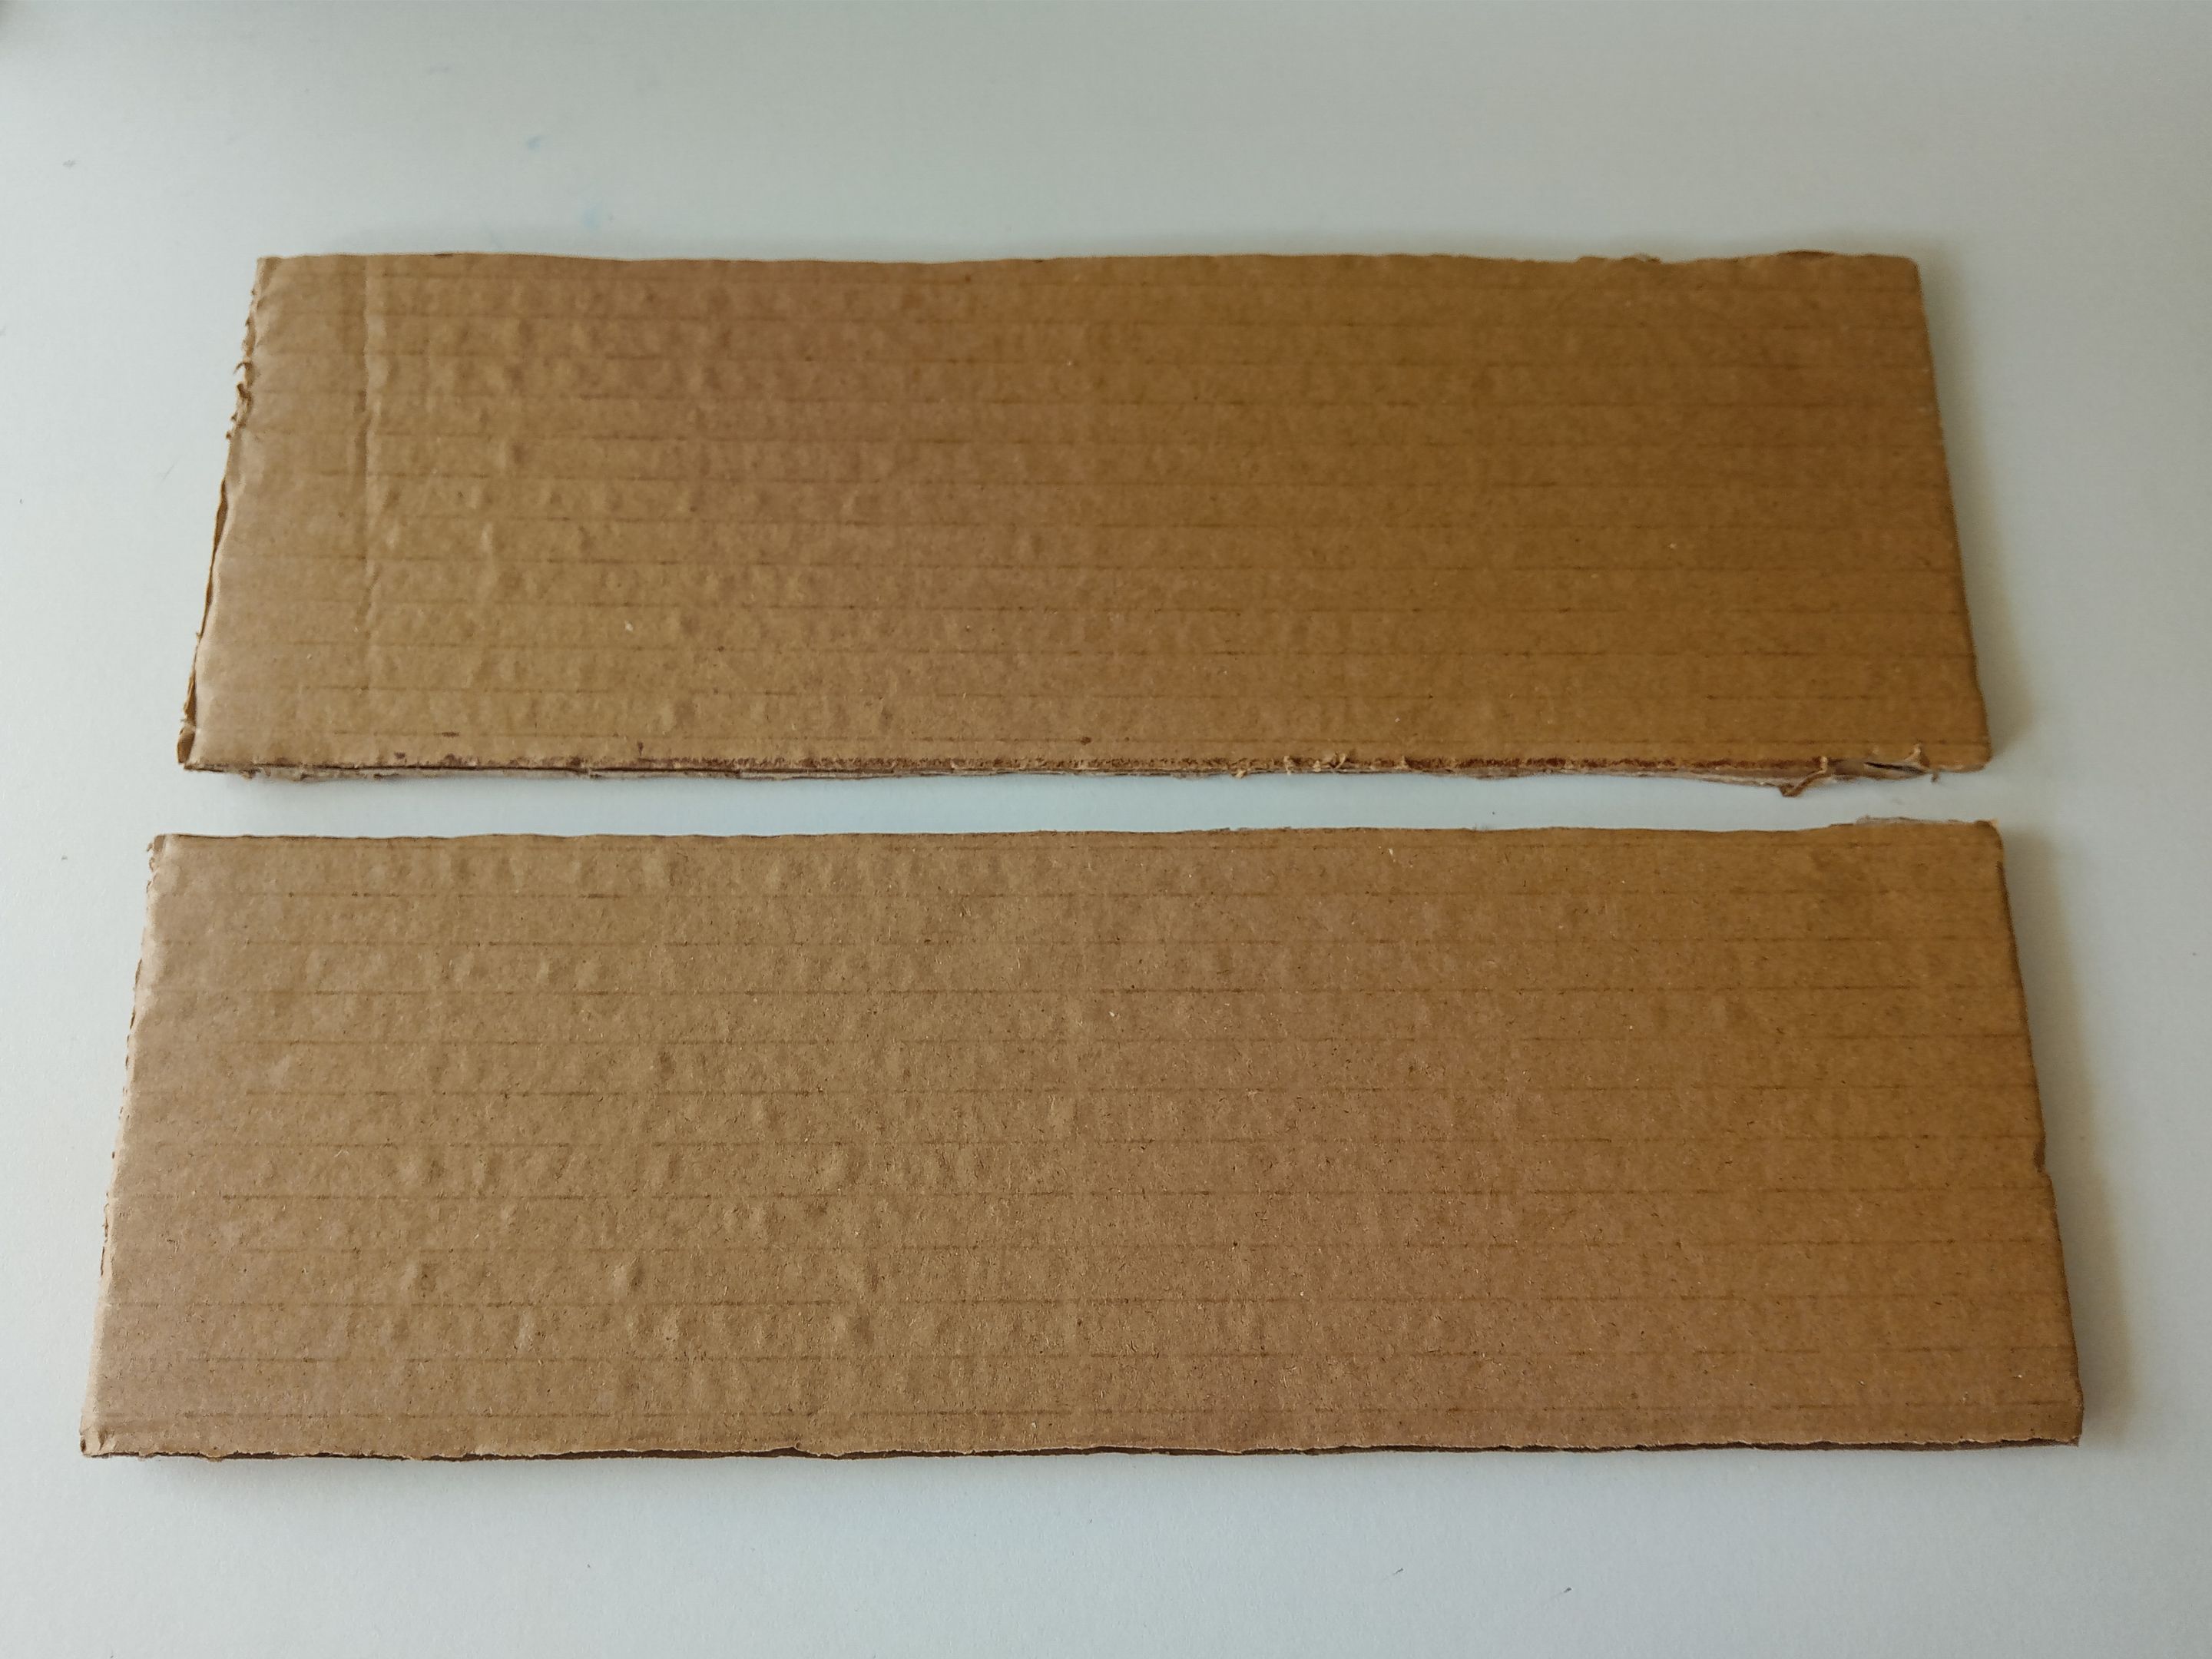
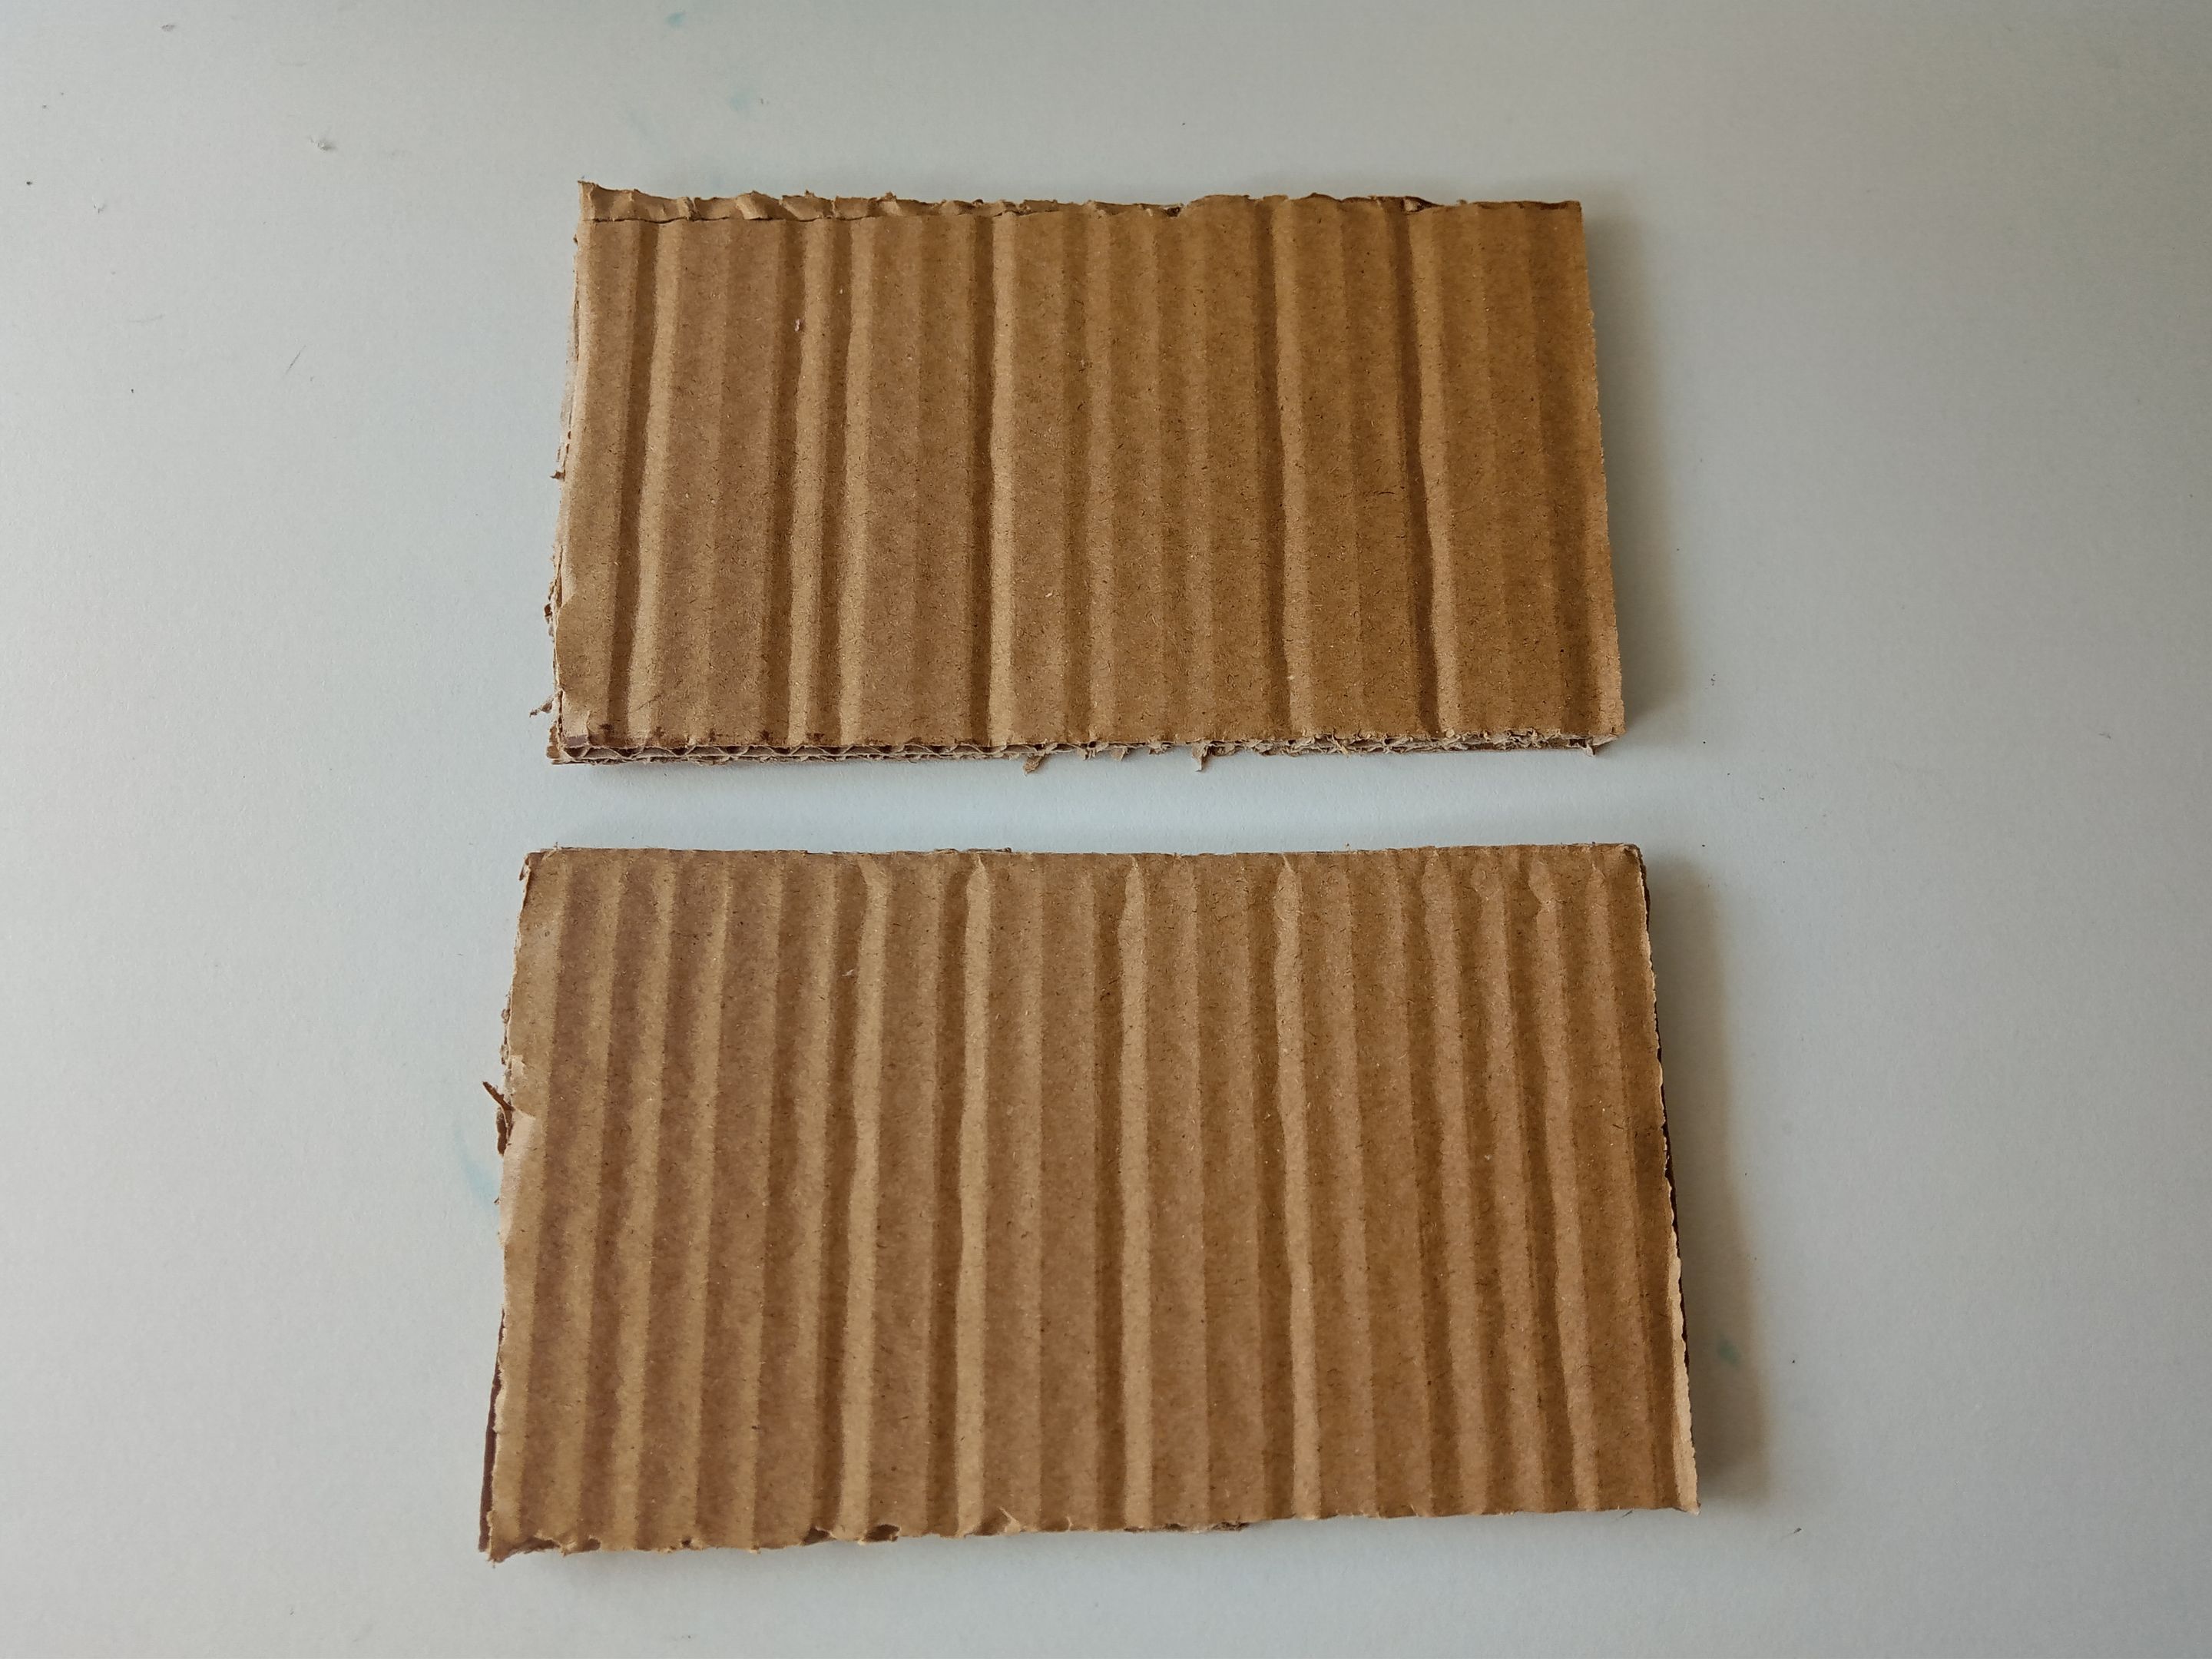
Lo primero que hice fue tomar el cartón grueso y recortar las paredes y la base del organizador. En este caso quise darle forma rectangular, para que fuera alargada para los cepillos y peines. Al tener lista la idea de la estructura, comencé a trazar y recortar cada una de las piezas, como explico a continuación:
✨Base: 31 cm x 16 cm.
✨Pared trasera y delantera: 31 cm x 10 cm.
✨Paredes laterales: 17.5 cm x 10 cm.
###### ✨STEP 1:
**The first thing I did was take the thick cardboard and cut out the sides and base of the organizer. In this case, I wanted to give it a rectangular shape, so it would be elongated enough to hold the brushes and combs. Once I had the structure idea ready, I began tracing and cutting out each of the pieces, as explained below:
✨Base: 31 cm x 16 cm.
✨Back and front walls: 31 cm x 10 cm.
✨Side walls: 17.5 cm x 10 cm.
###### ✨PASO 2:
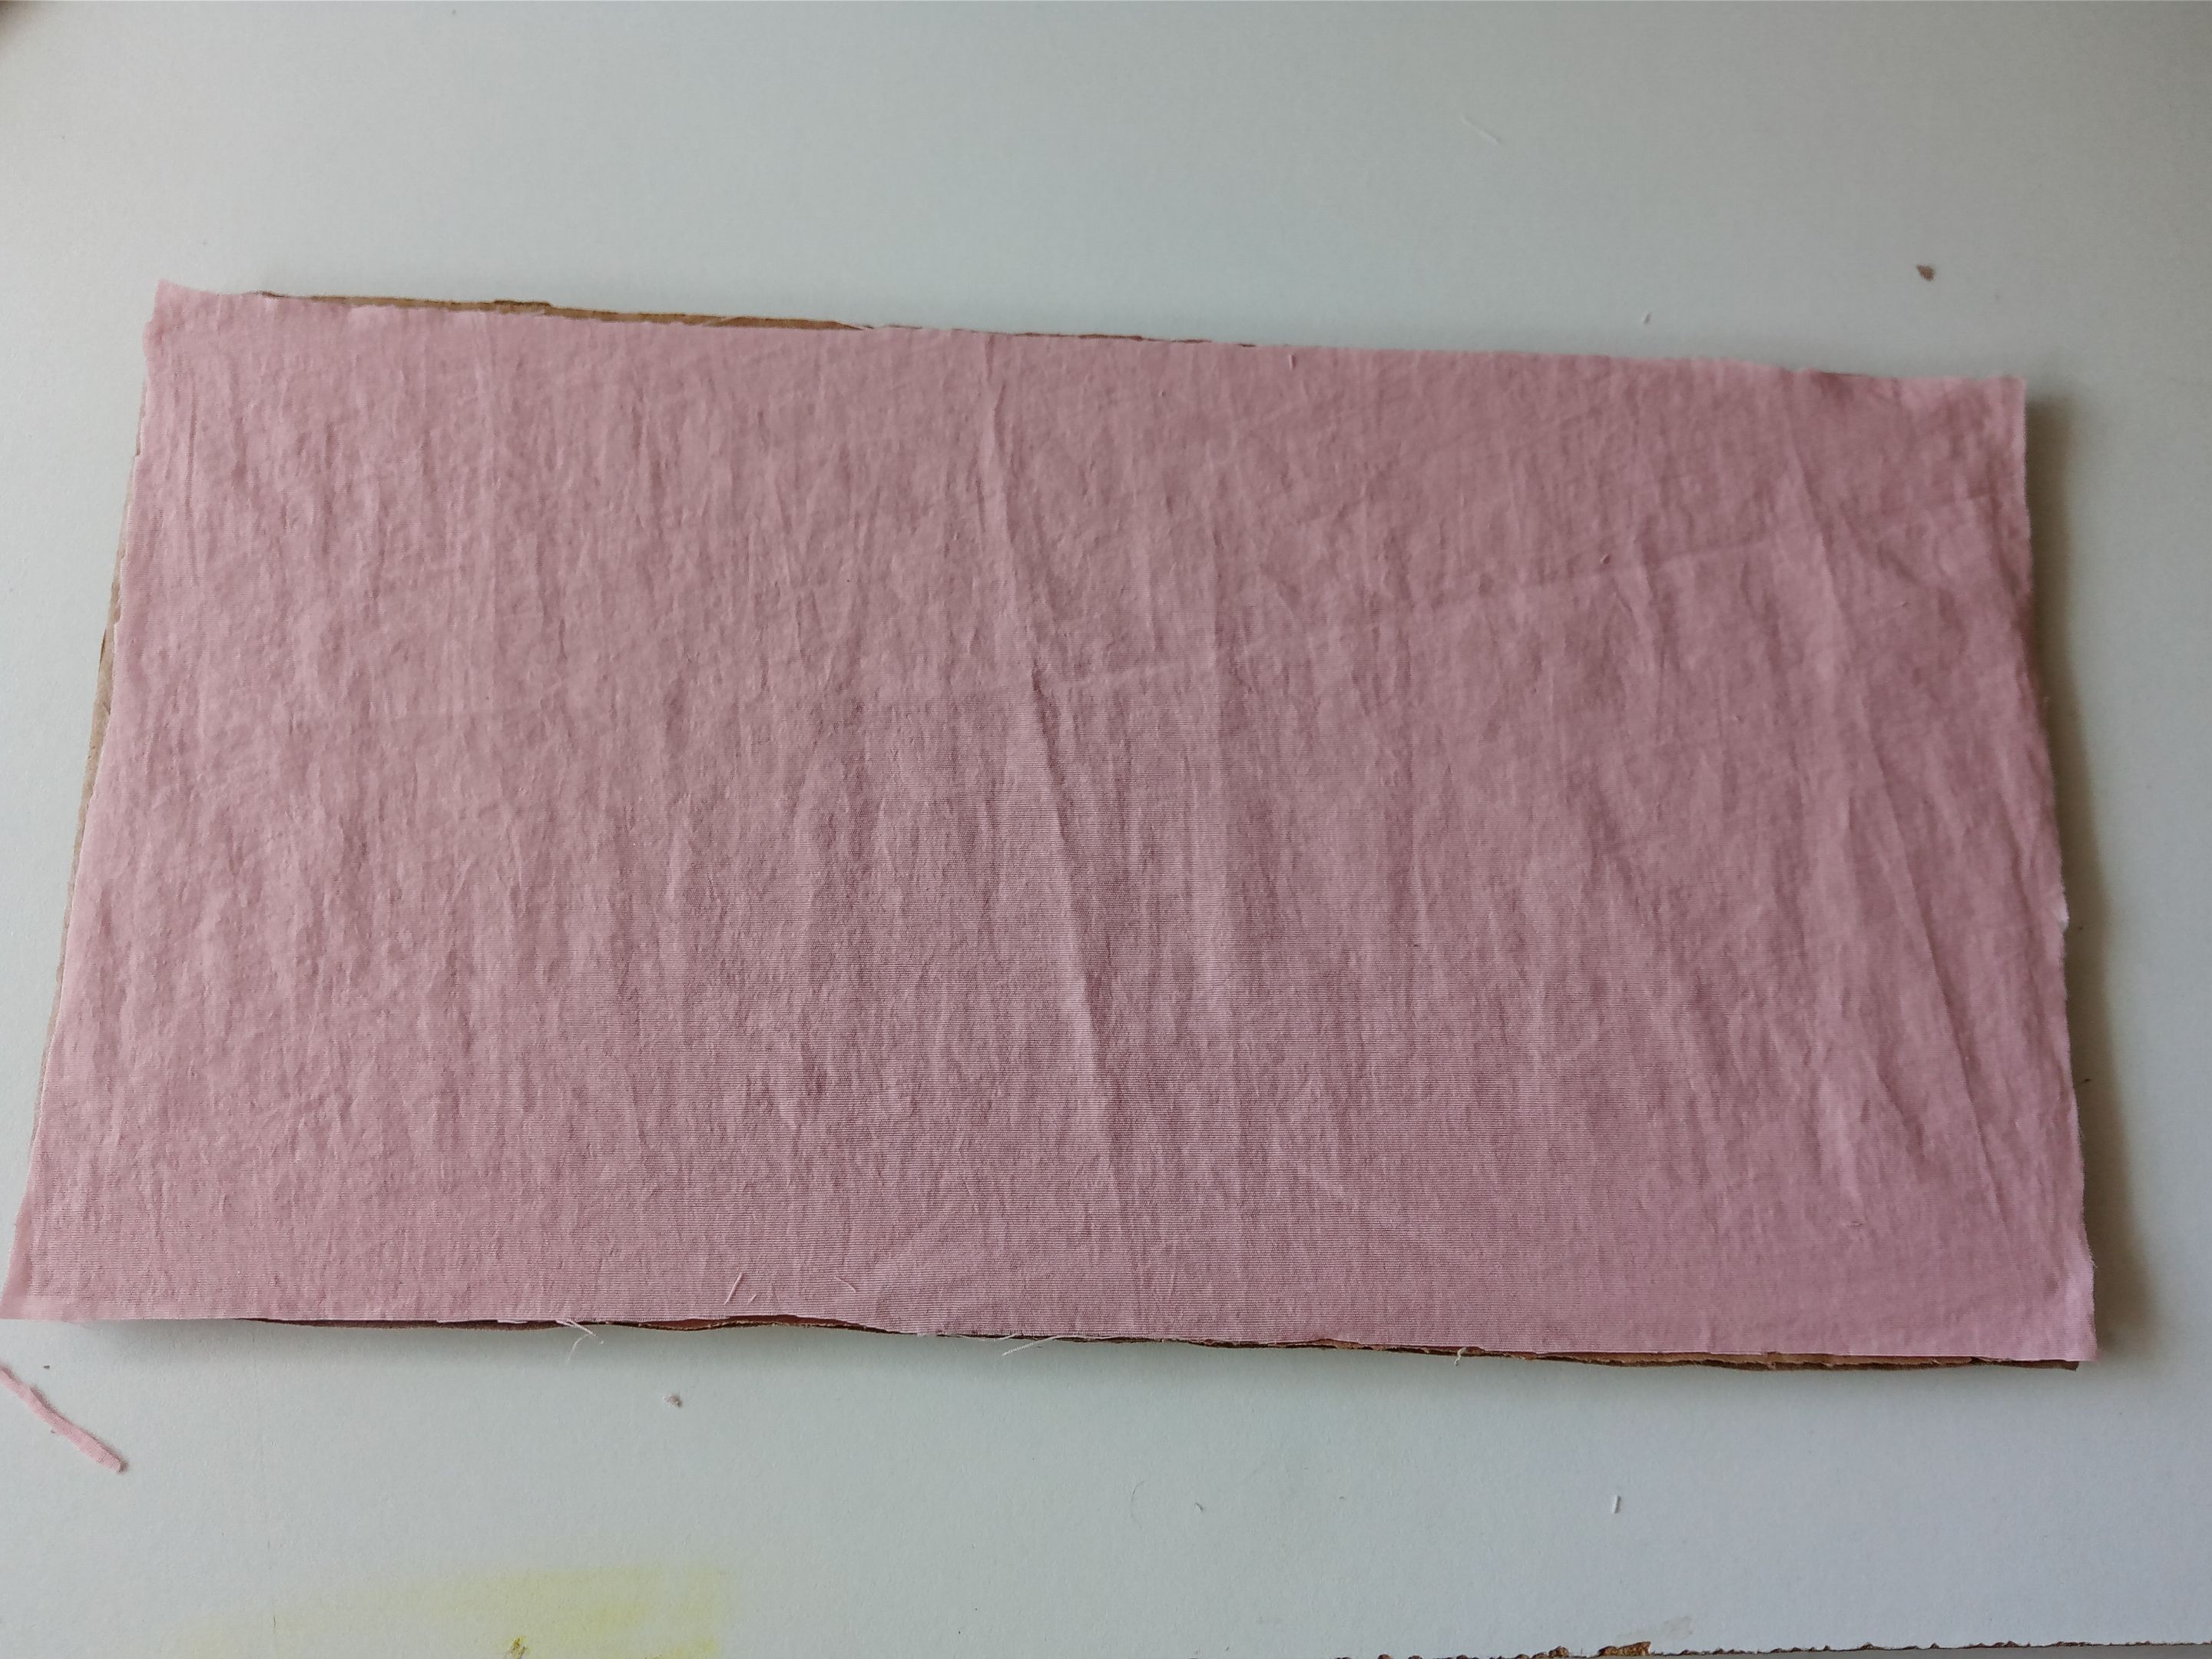
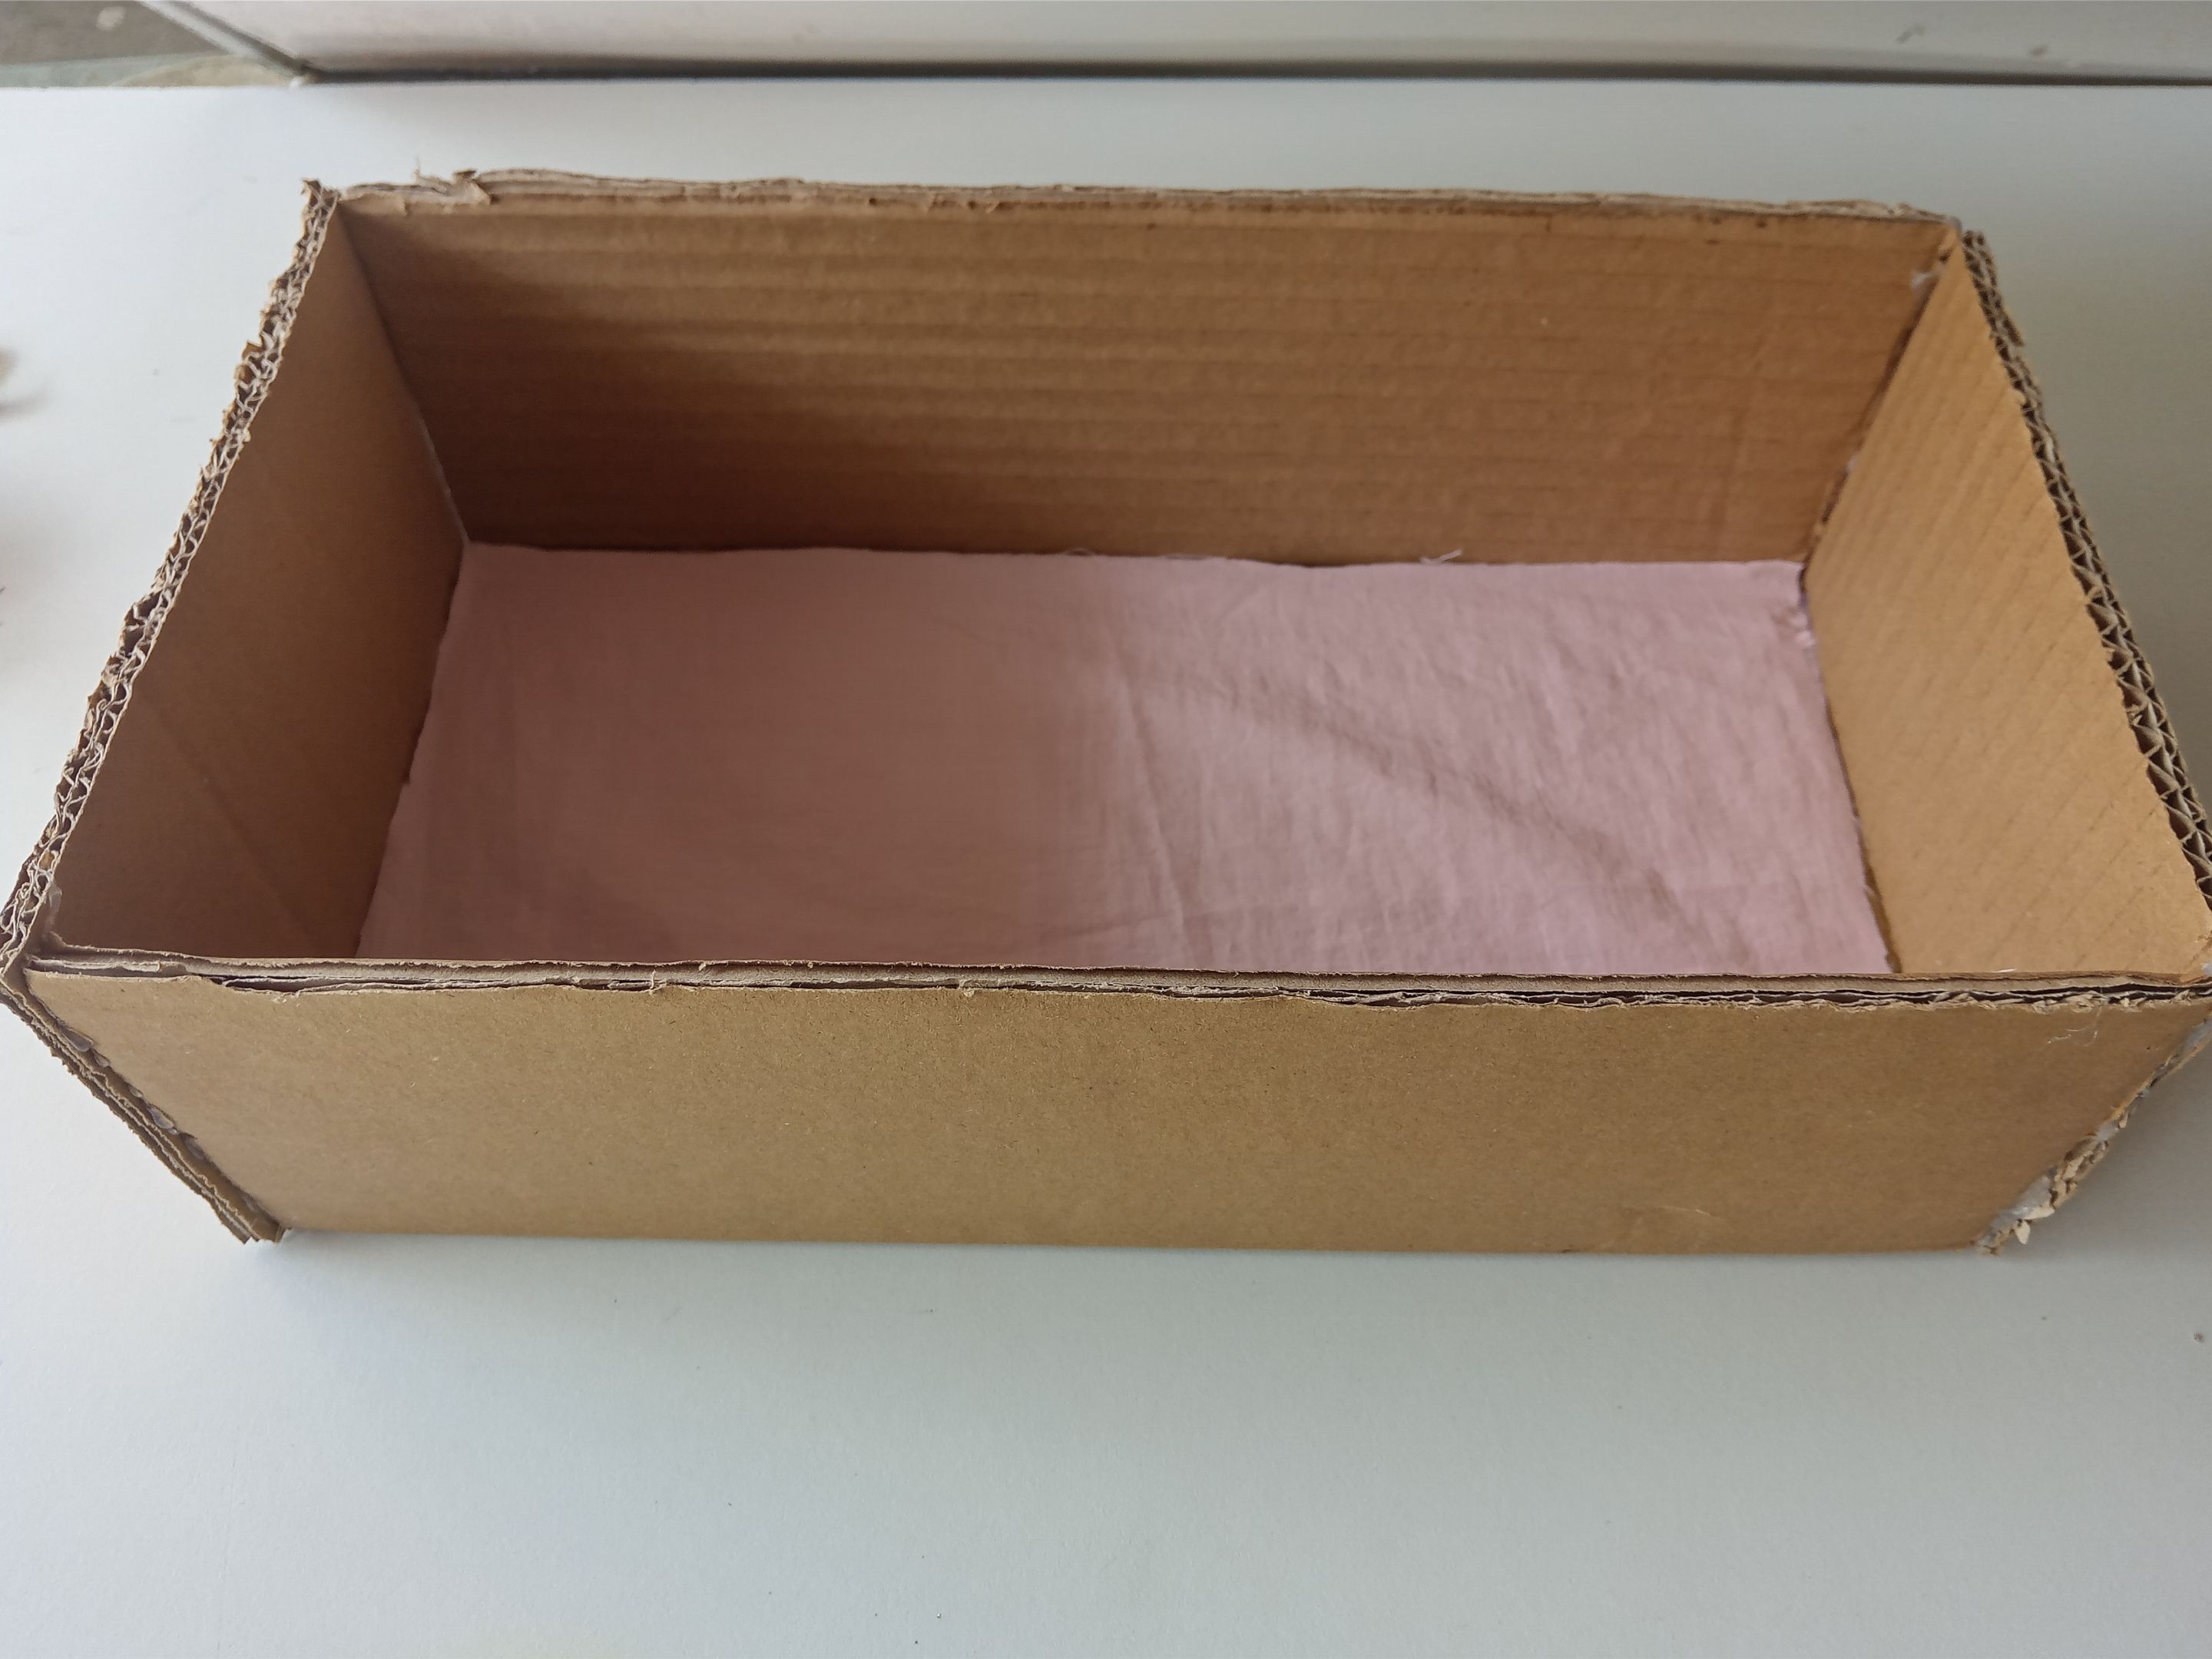
Tomé la pieza de la base y pegué sobre una tela simple sin diseño en tono rosa. Al estar forrada la base, pegué las paredes en el orden correspondiente: la trasera y delantera donde corresponden y las laterales sosteniendo las anteriores.
###### ✨STEP 2:
I took the base piece and glued it onto a plain, unpatterned pink fabric. Once the base was lined, I glued the walls in the corresponding order: the back and front where they belong, and the side walls holding the former together.
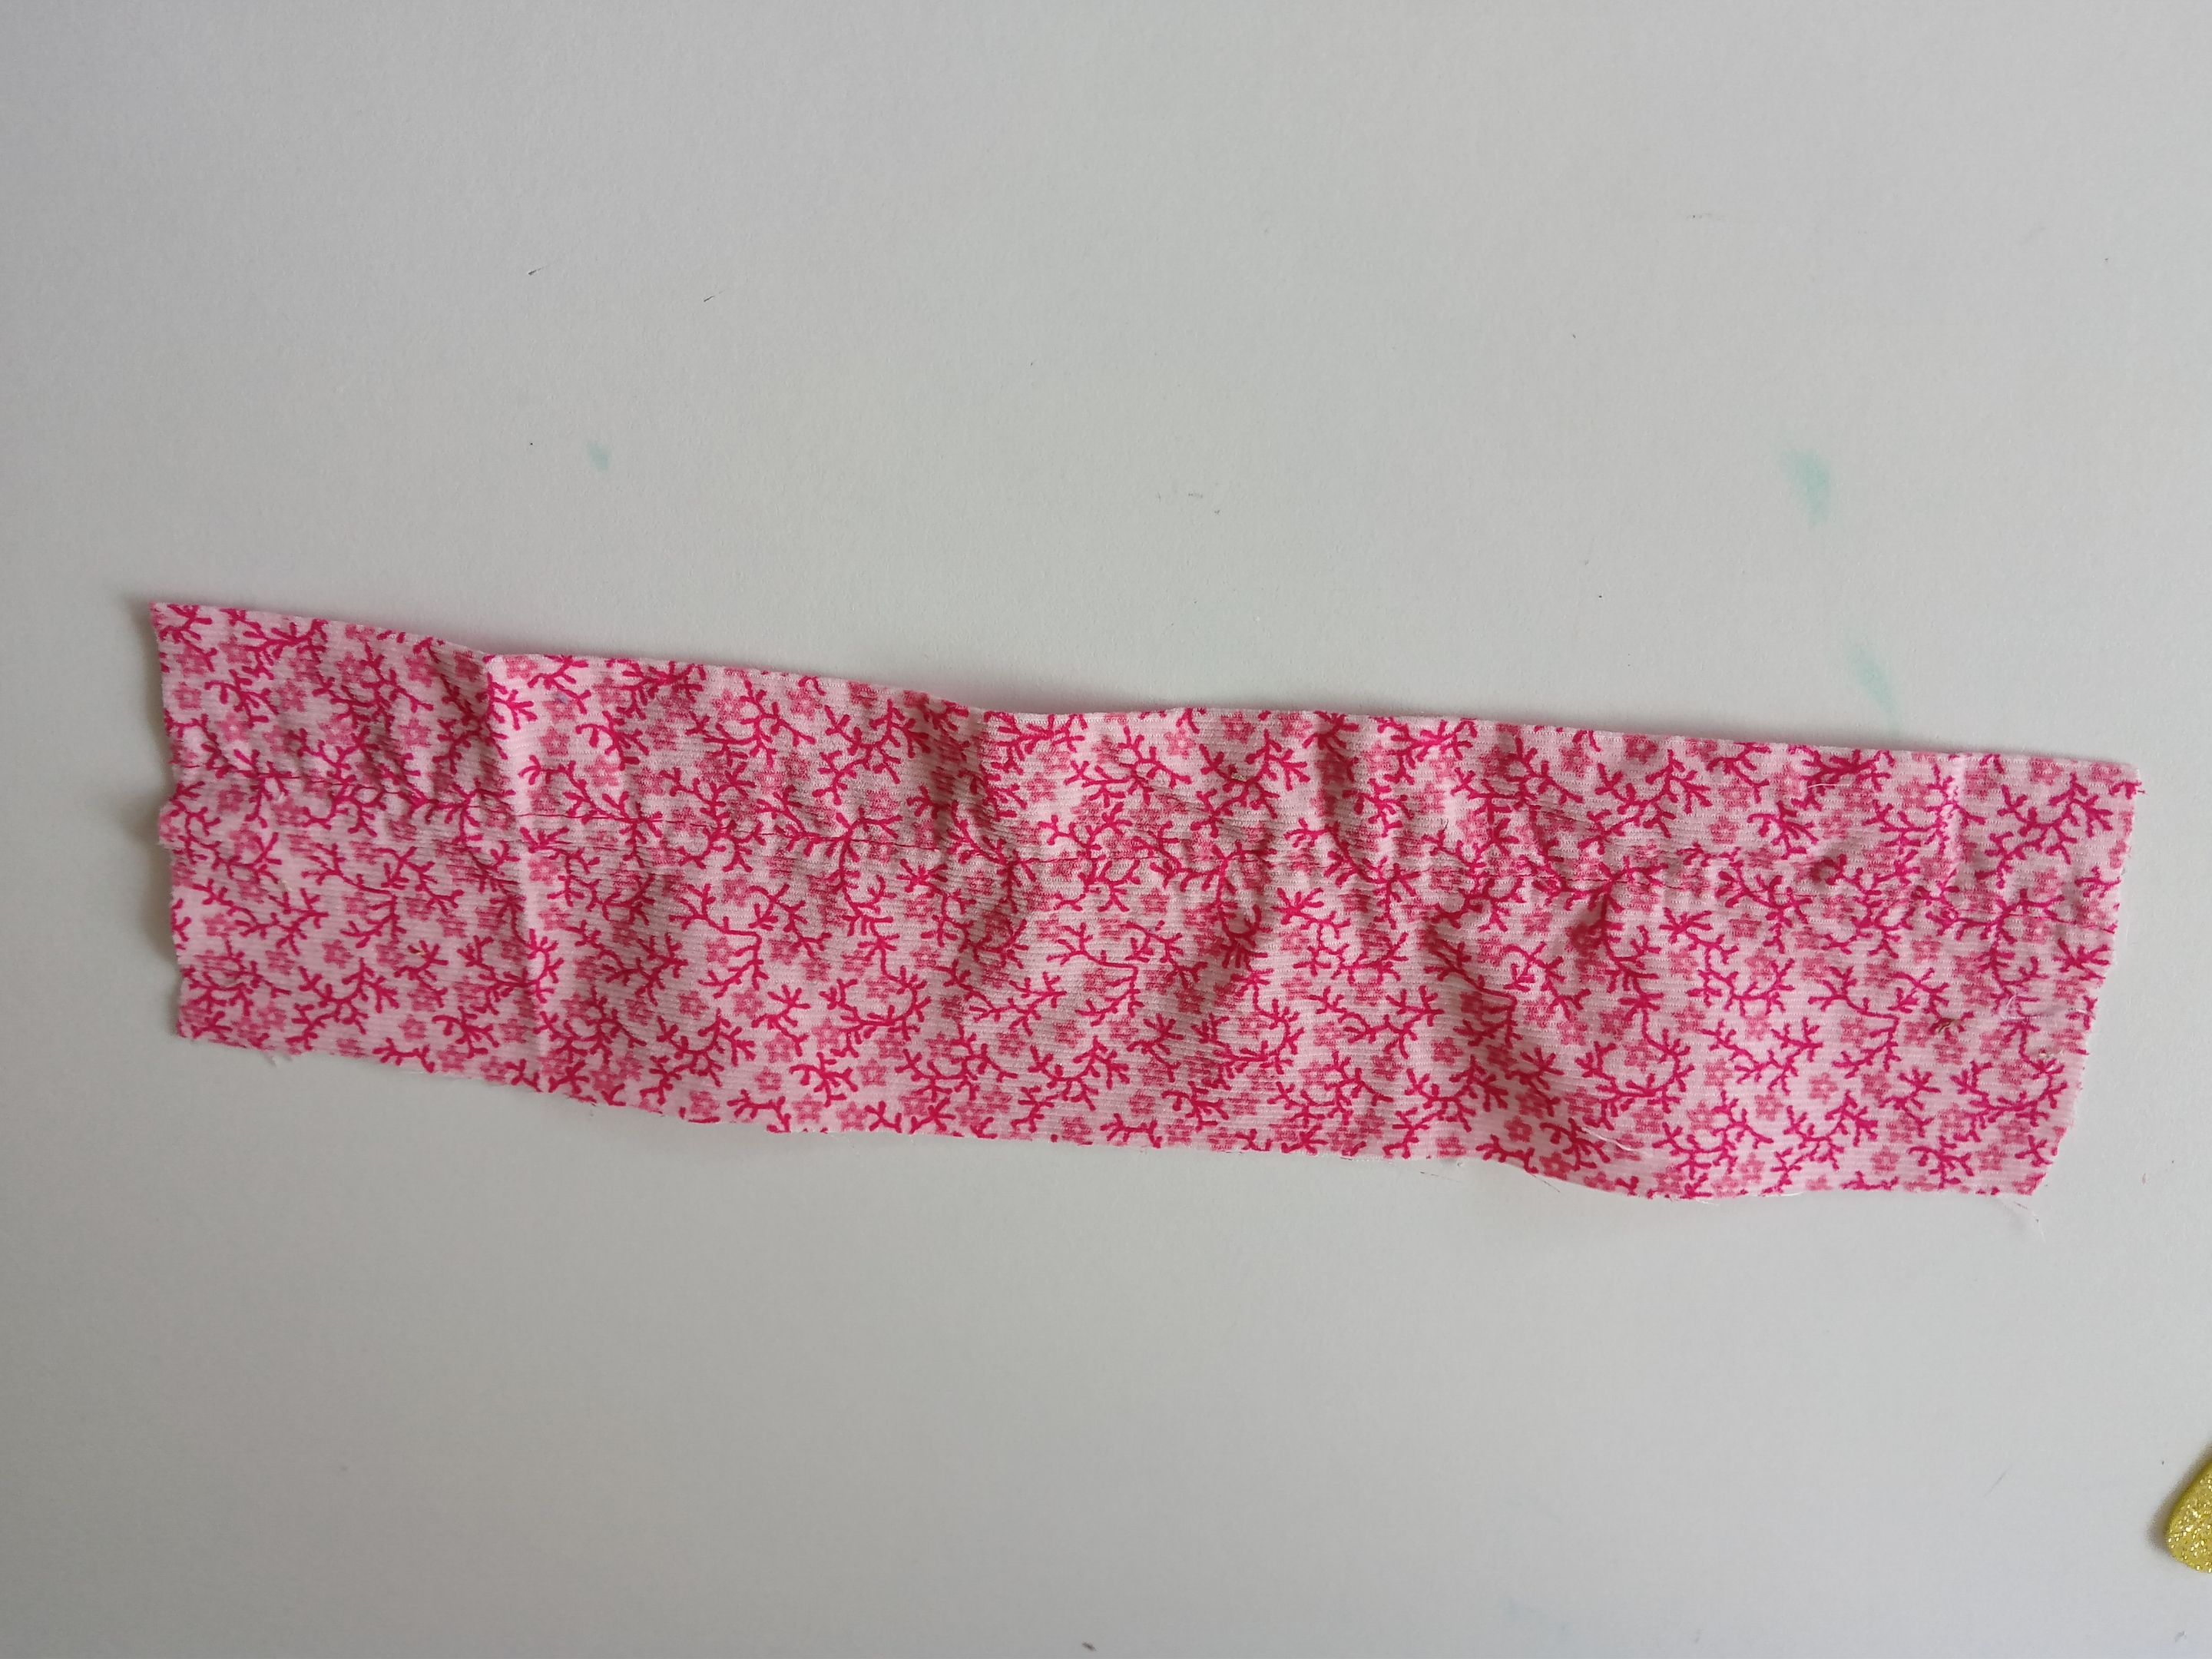
###### ✨PASO 3:
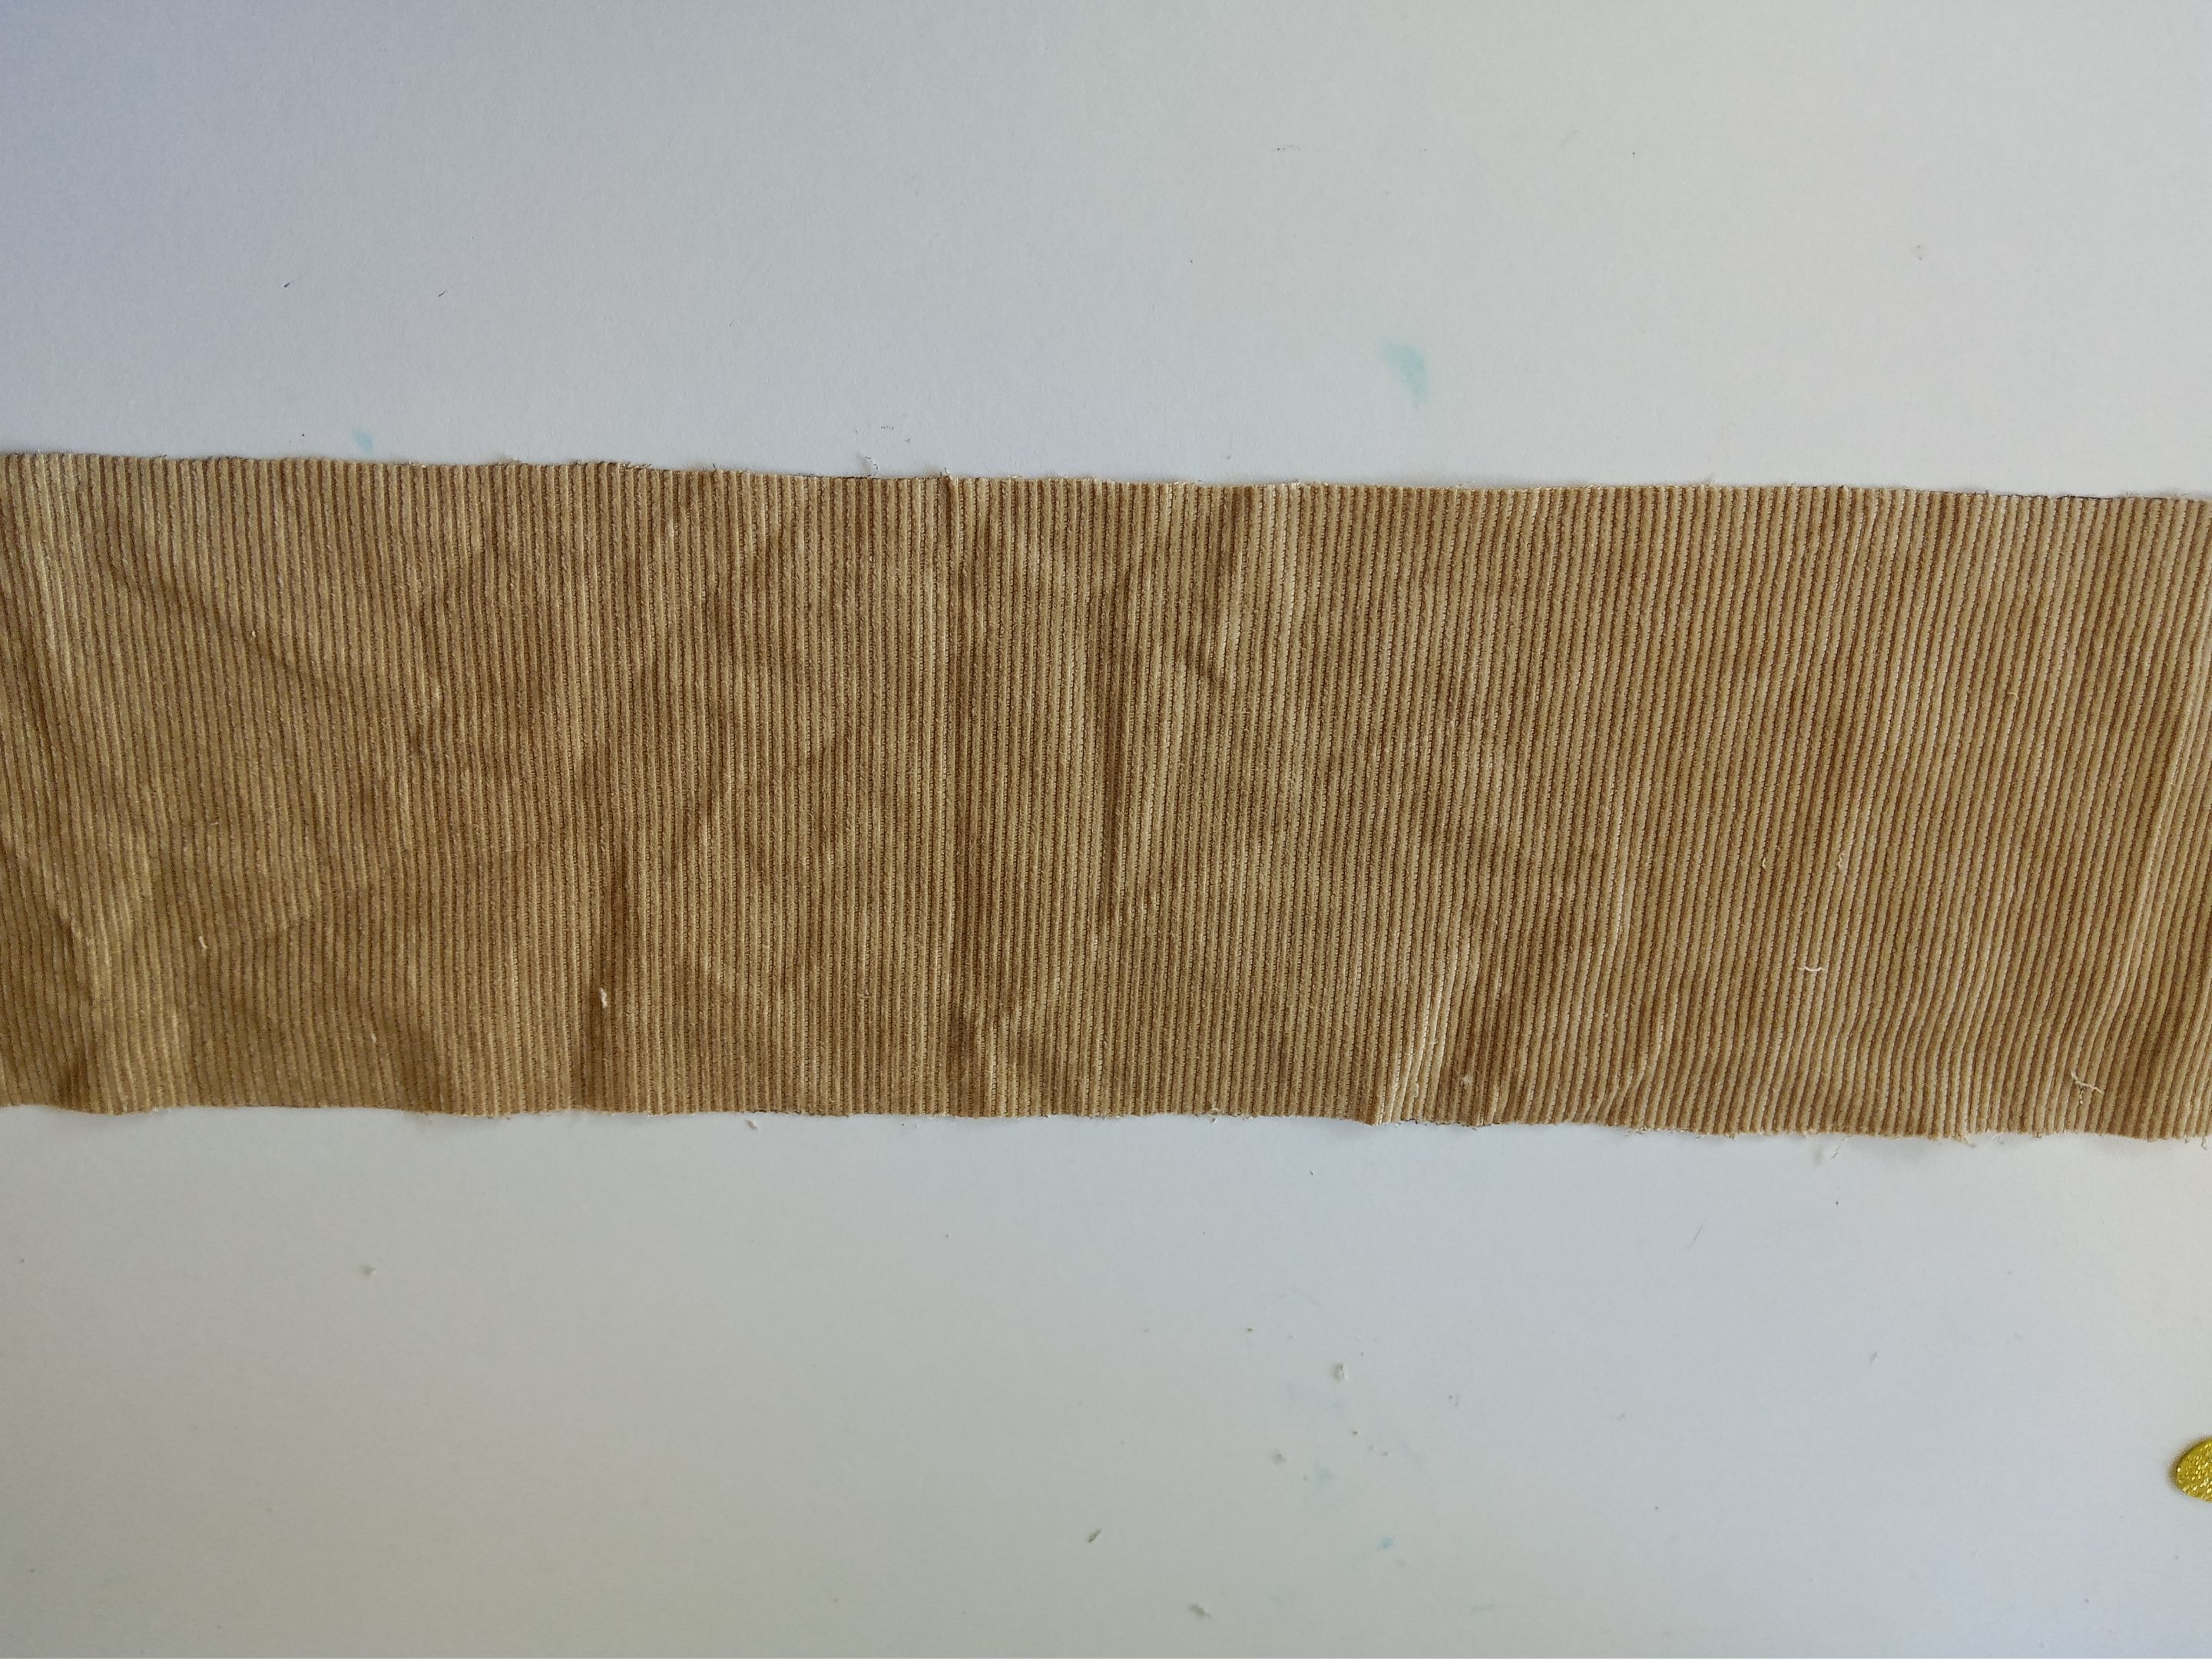
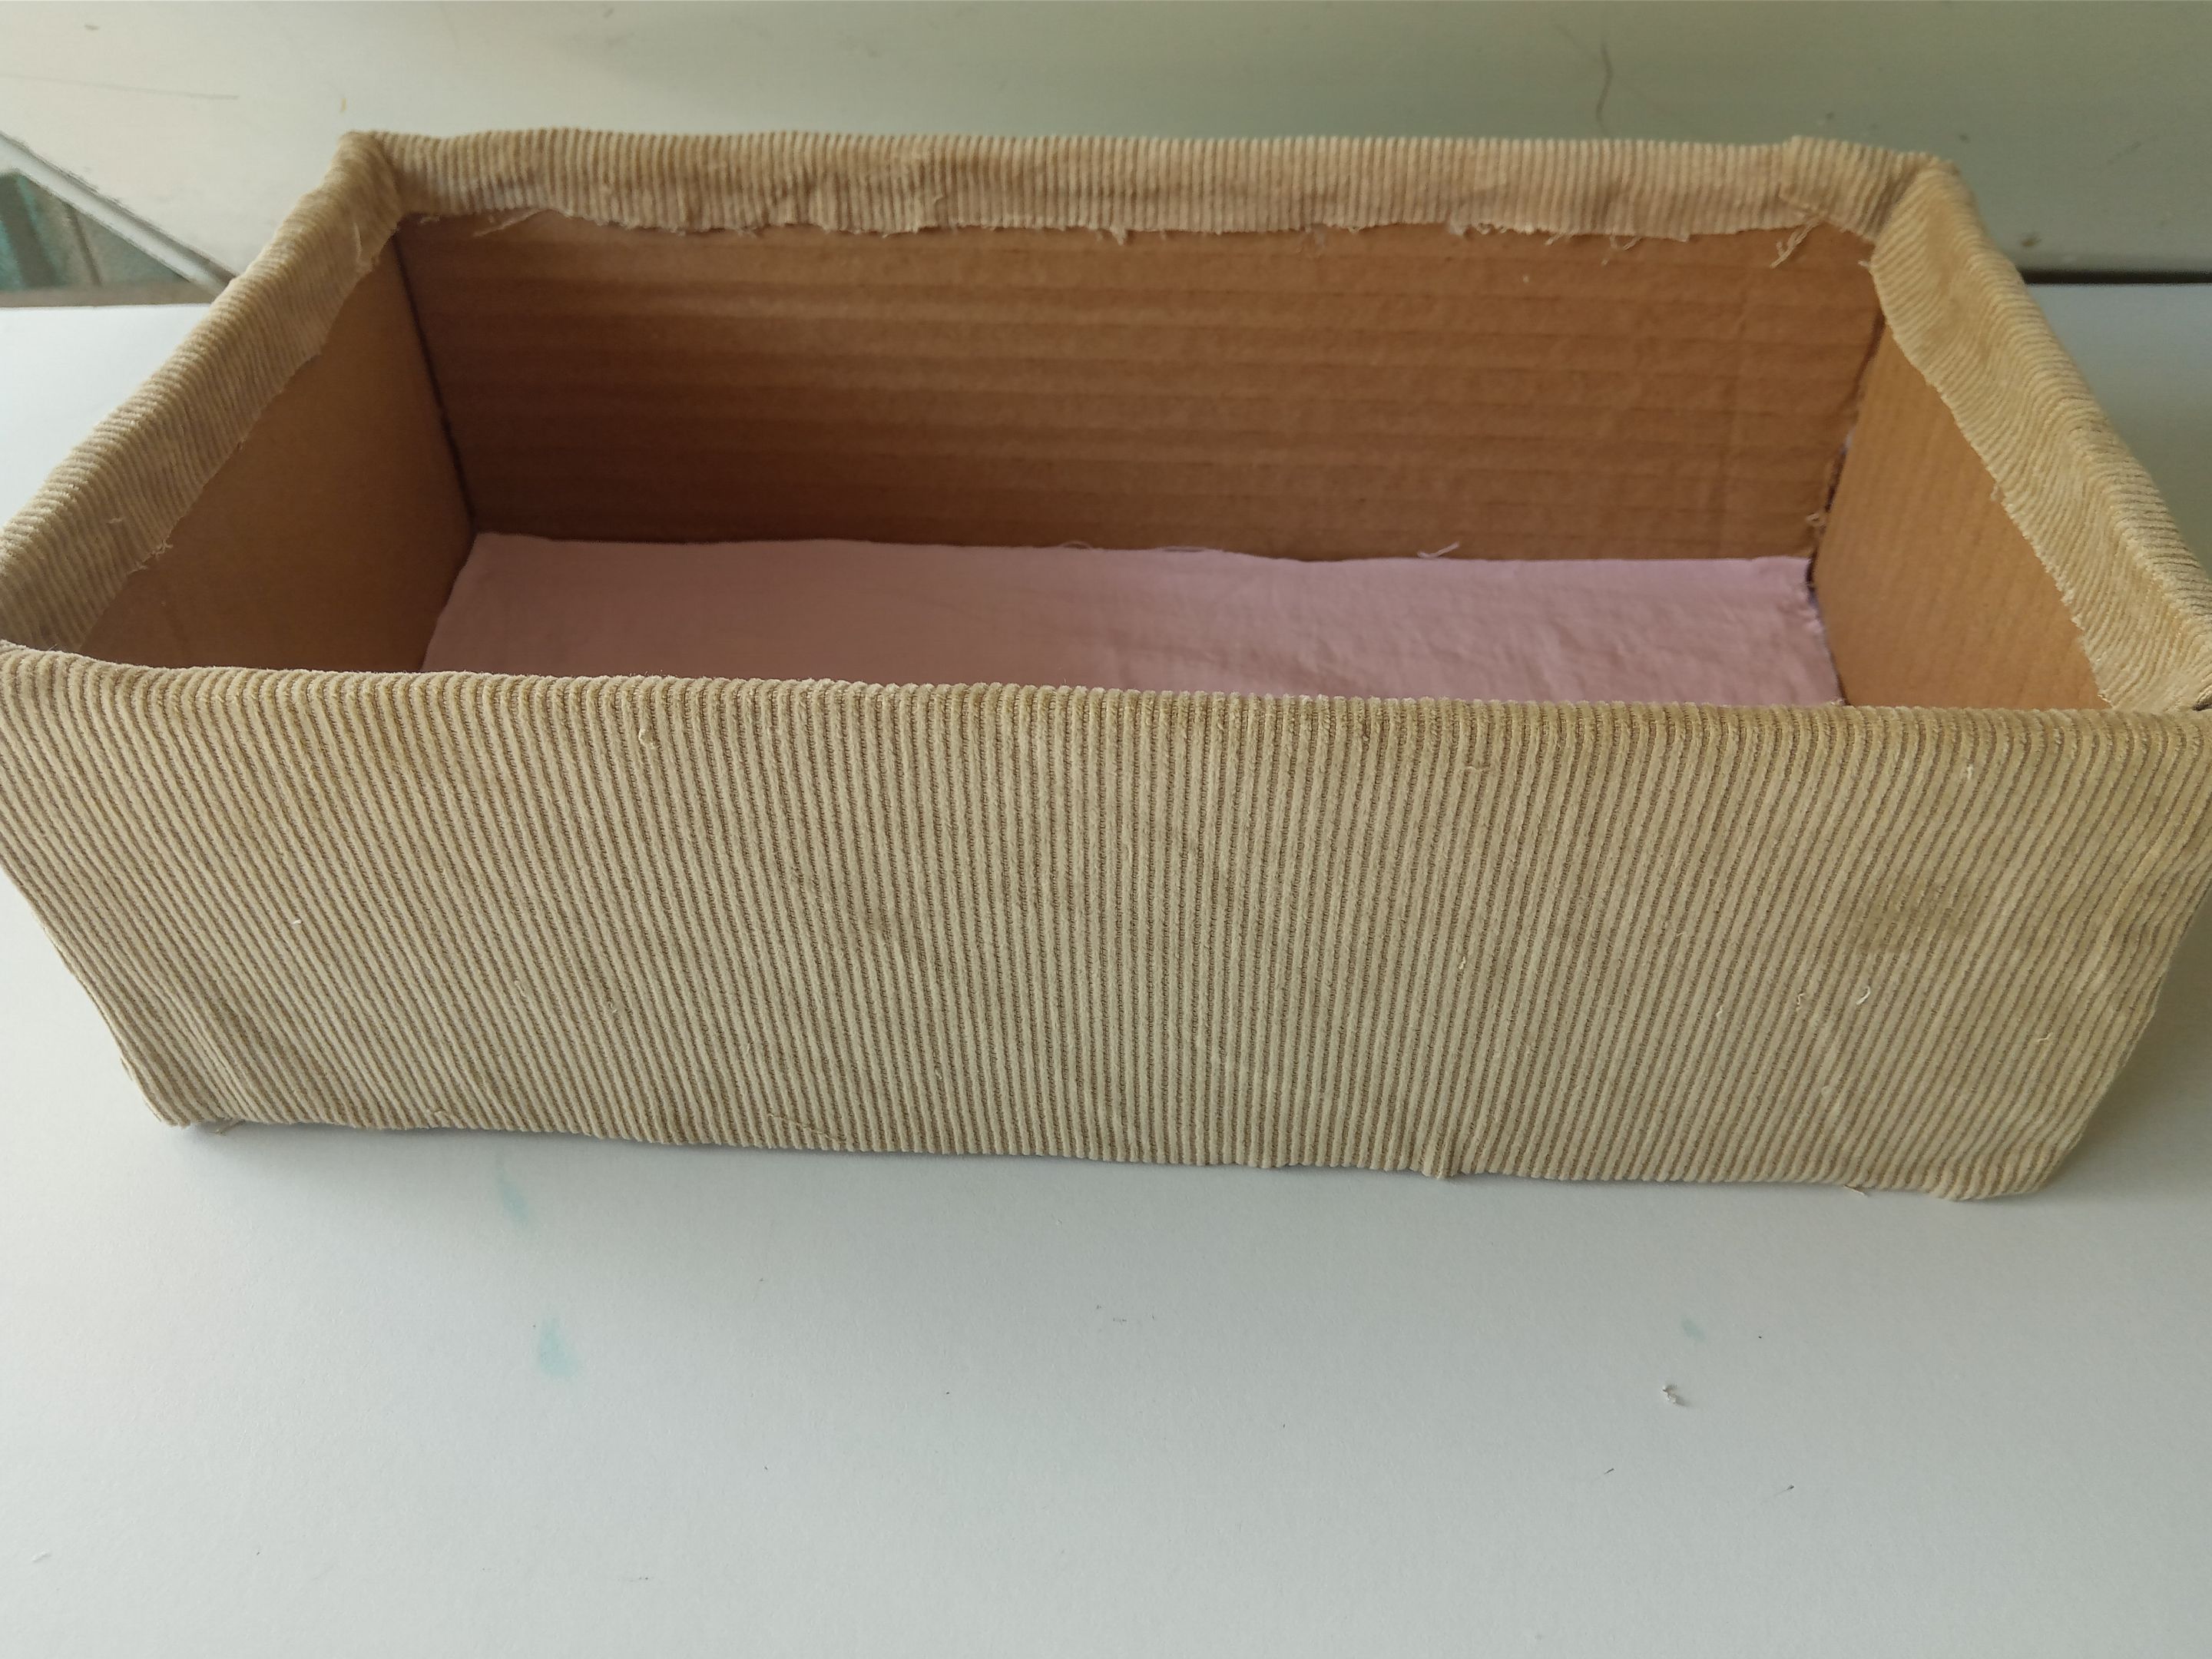
Ahora viene o la parte más divertida o la más complicada, jaja, pues a veces me da un poco de nervios que falte mucha tela a la hora de forrar, así que siempre intento cortar más tela de la que creo que puede ser según las medidas, para que sobre y cortar excedentes, pues es mejor que sobre a que falte. Pero no se preocupen que yo les comparto las medidas; en este caso recorté una tira de tela de 1.02 m x 13 cm. Seguidamente, pegué la tela alrededor de todas las paredes y el sobrante a la parte interna de la caja.
###### ✨STEP 3:
Now comes either the most fun or the most complicated part, haha. Sometimes I get a little nervous about missing a lot of fabric when lining, so I always try to cut more fabric than I think I'll need based on the measurements, so I can cut off any excess. It's better to have too much than too little. But don't worry, I'll share the measurements with you; In this case, I cut a 1.02 m x 13 cm strip of fabric. Next, I glued the fabric around all the walls and the excess to the inside of the box.
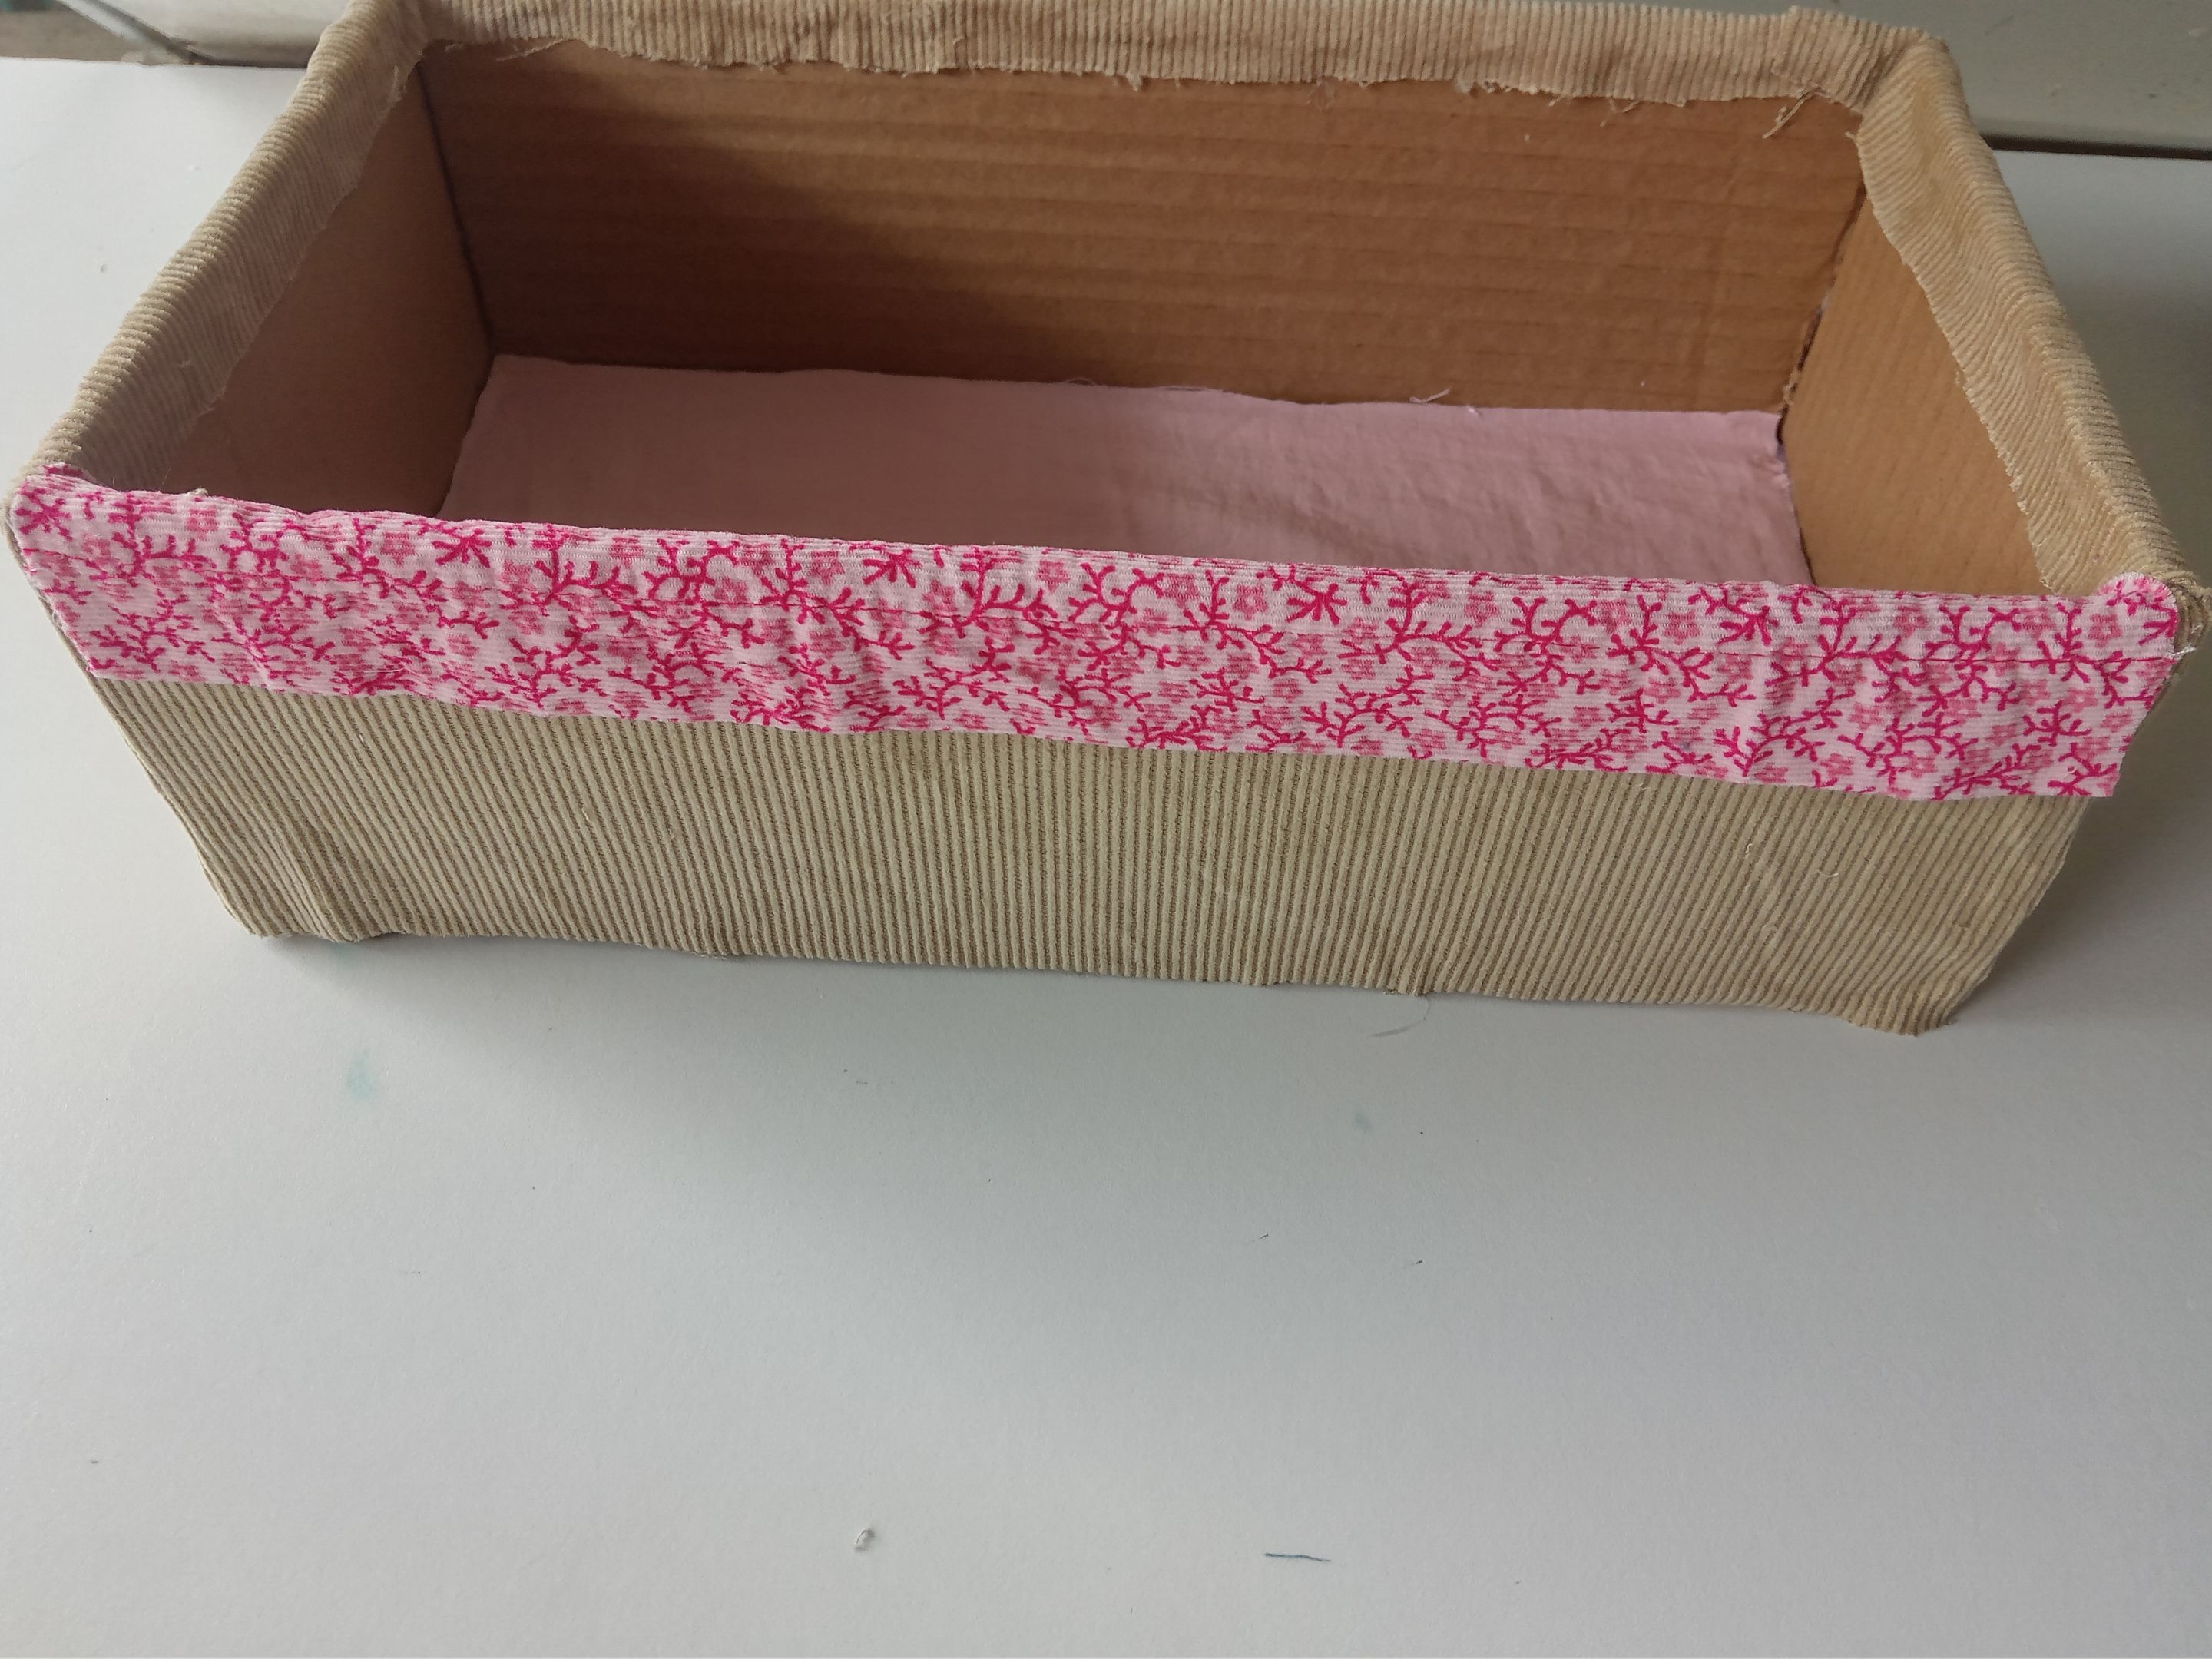
###### ✨PASO 4:
Luego de esto, quise darle otro color de tela a la parte superior, que no me alcanzó para todo, pero al menos para la pared de enfrente. Así que recorté un trozo de tela con diseño floral de 31 cm x 7 cm y pegué la mitad por fuera y el excedente por la parte interna.
###### ✨STEP 4:
After this, I wanted to add a different color to the top of the box, as I didn't have enough for the entire box, but at least I had enough for the front wall. So I cut a 31 cm x 7 cm piece of floral fabric and glued half of it to the outside and the excess to the inside.
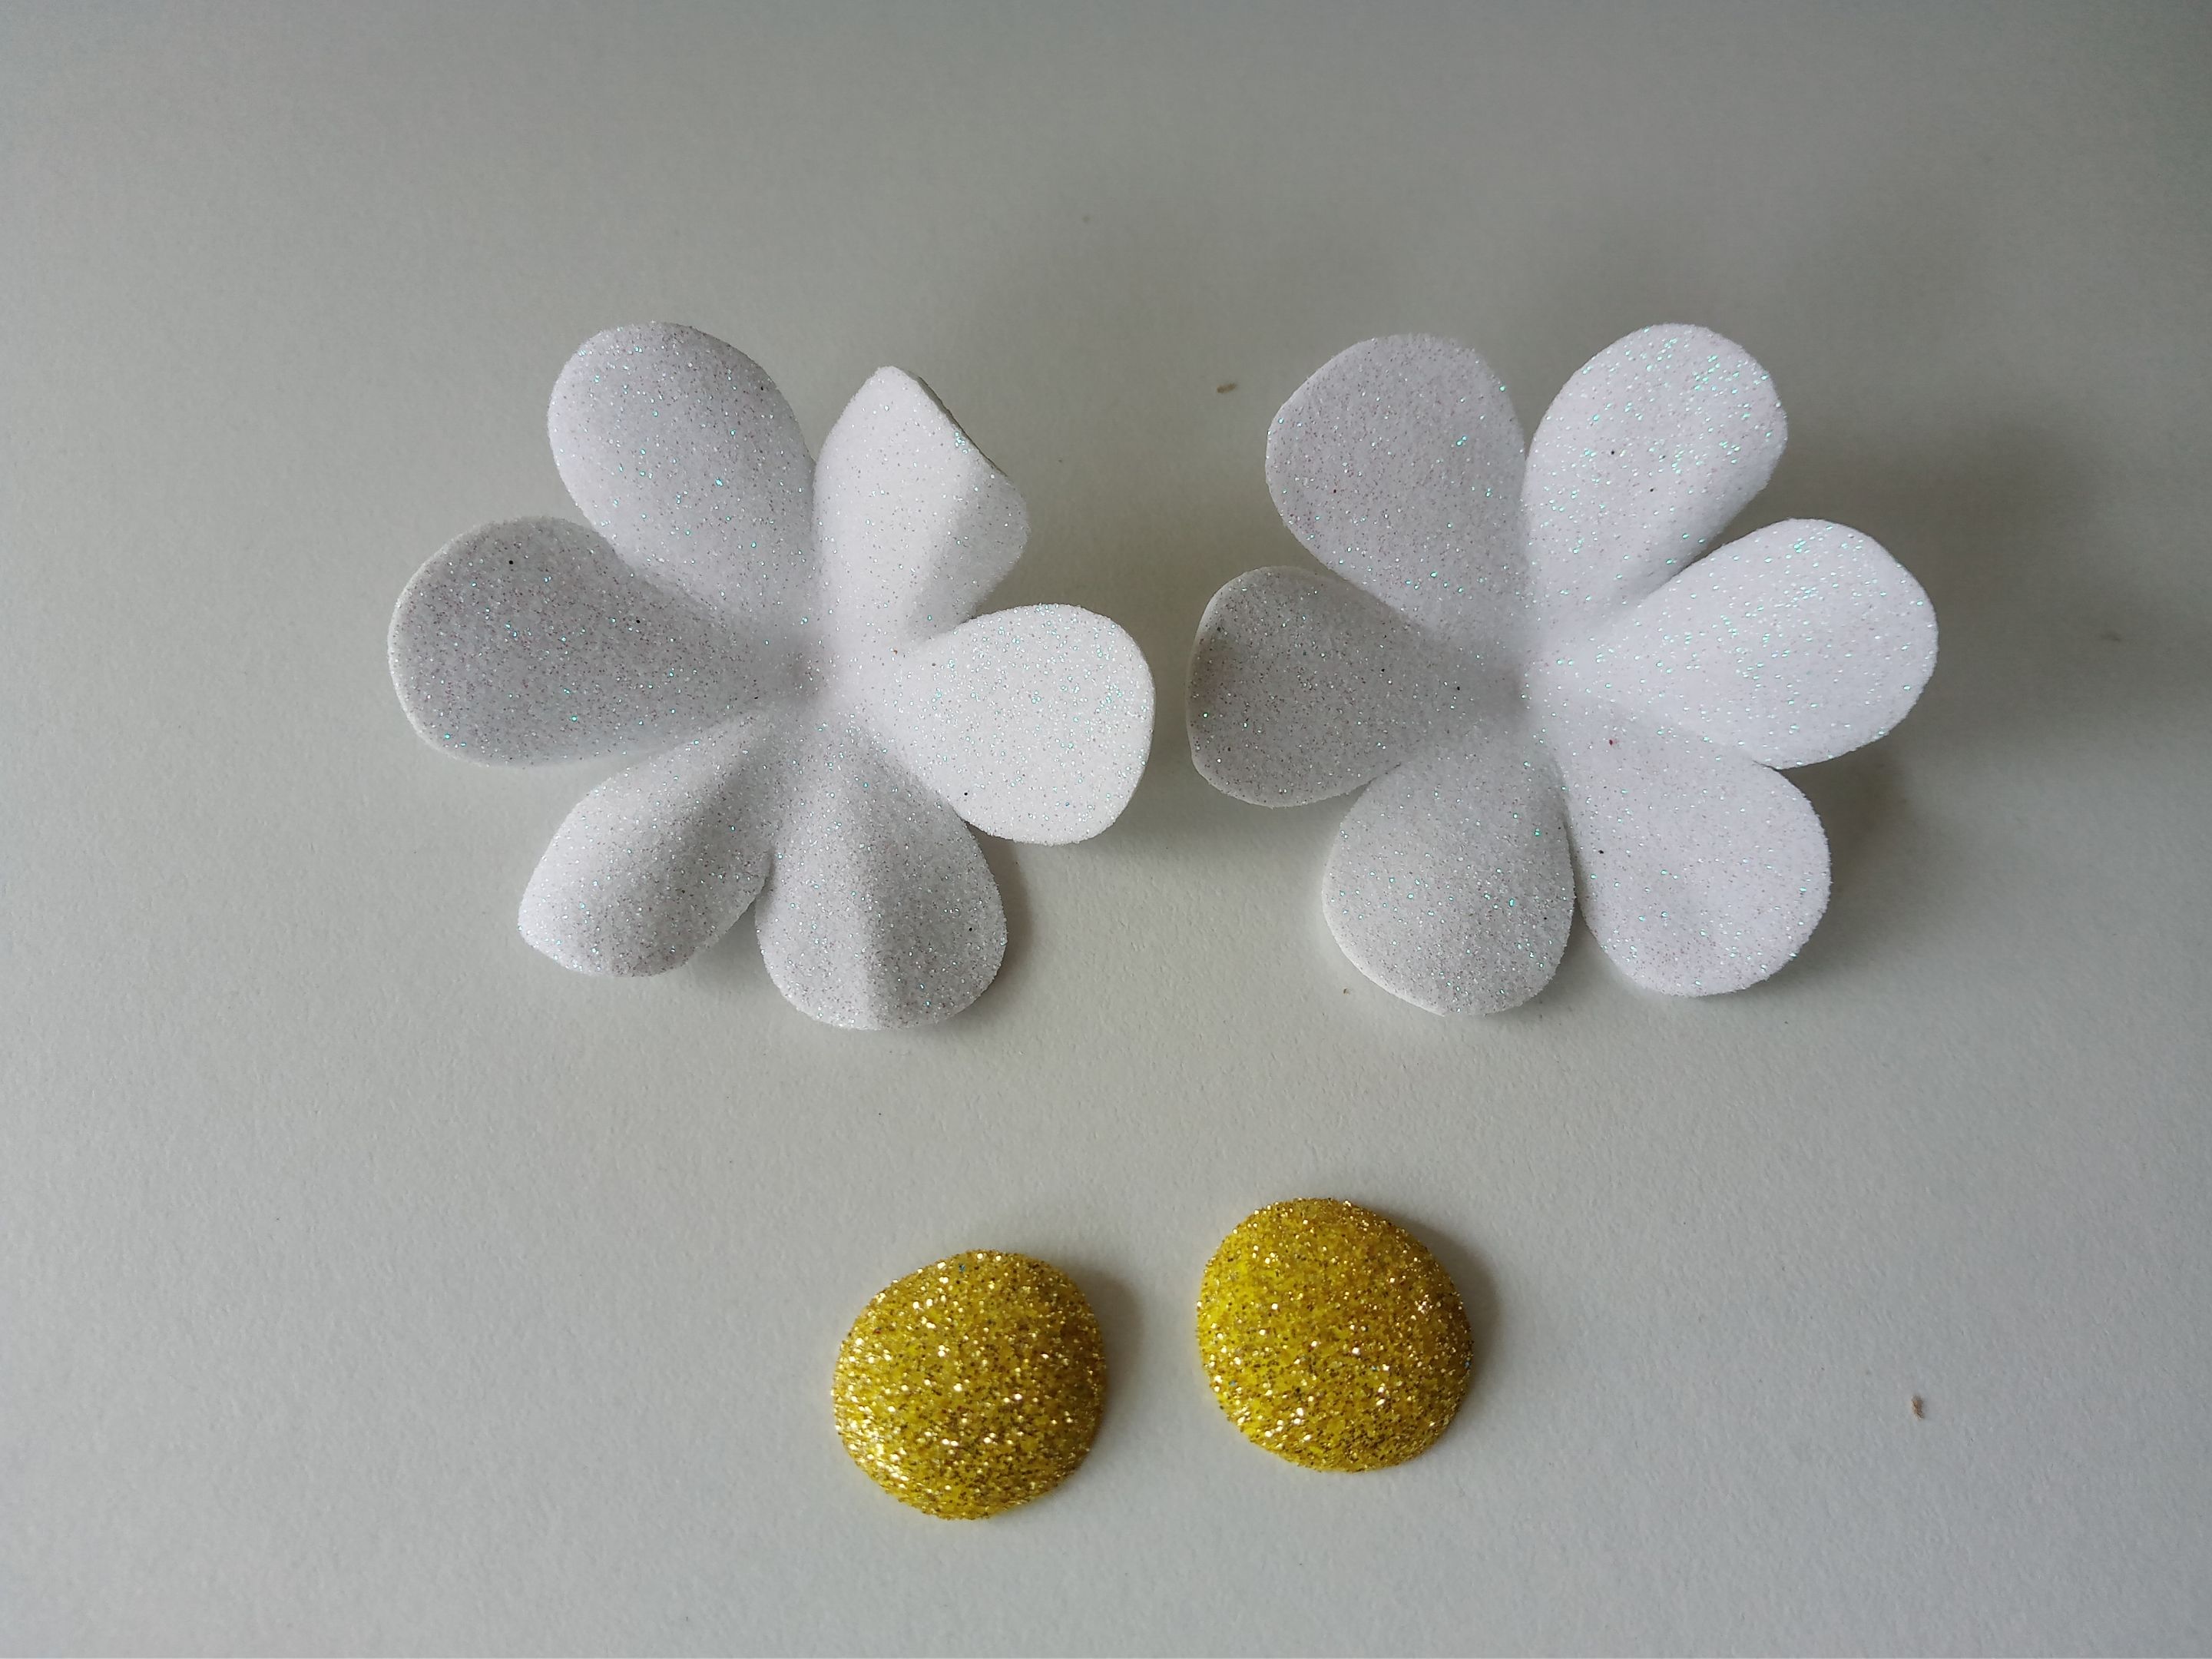
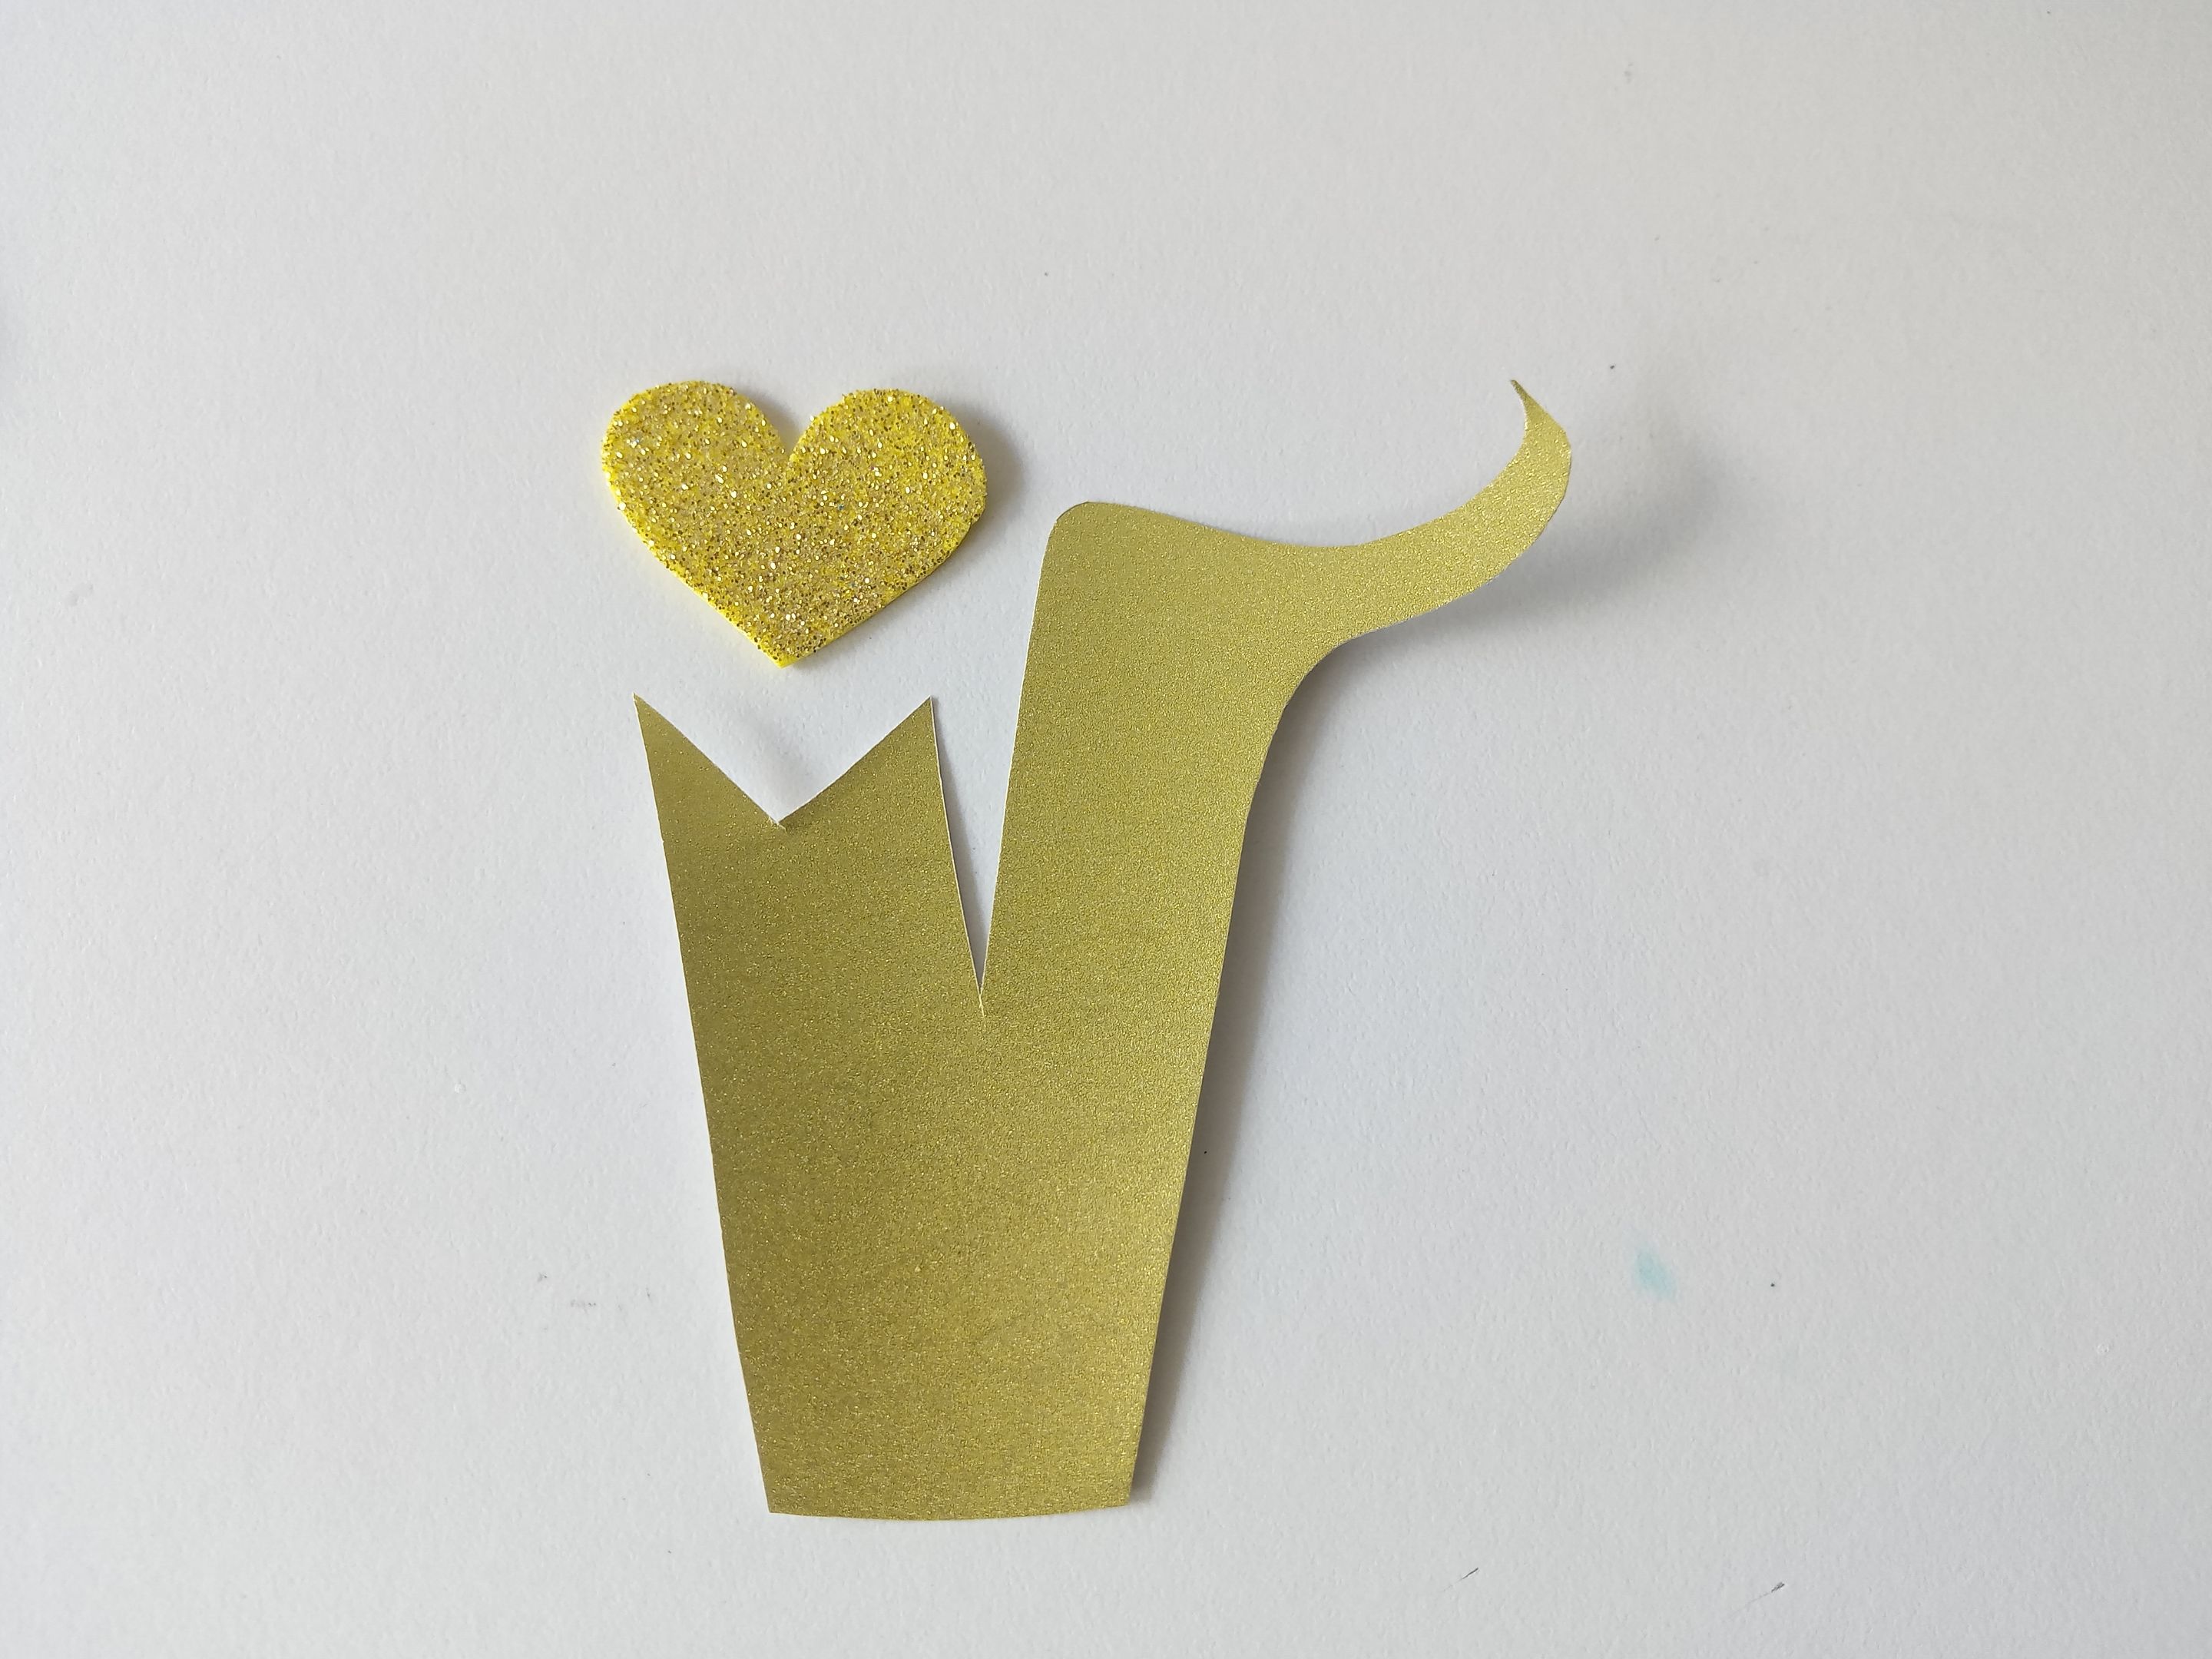
###### ✨PASO 5:
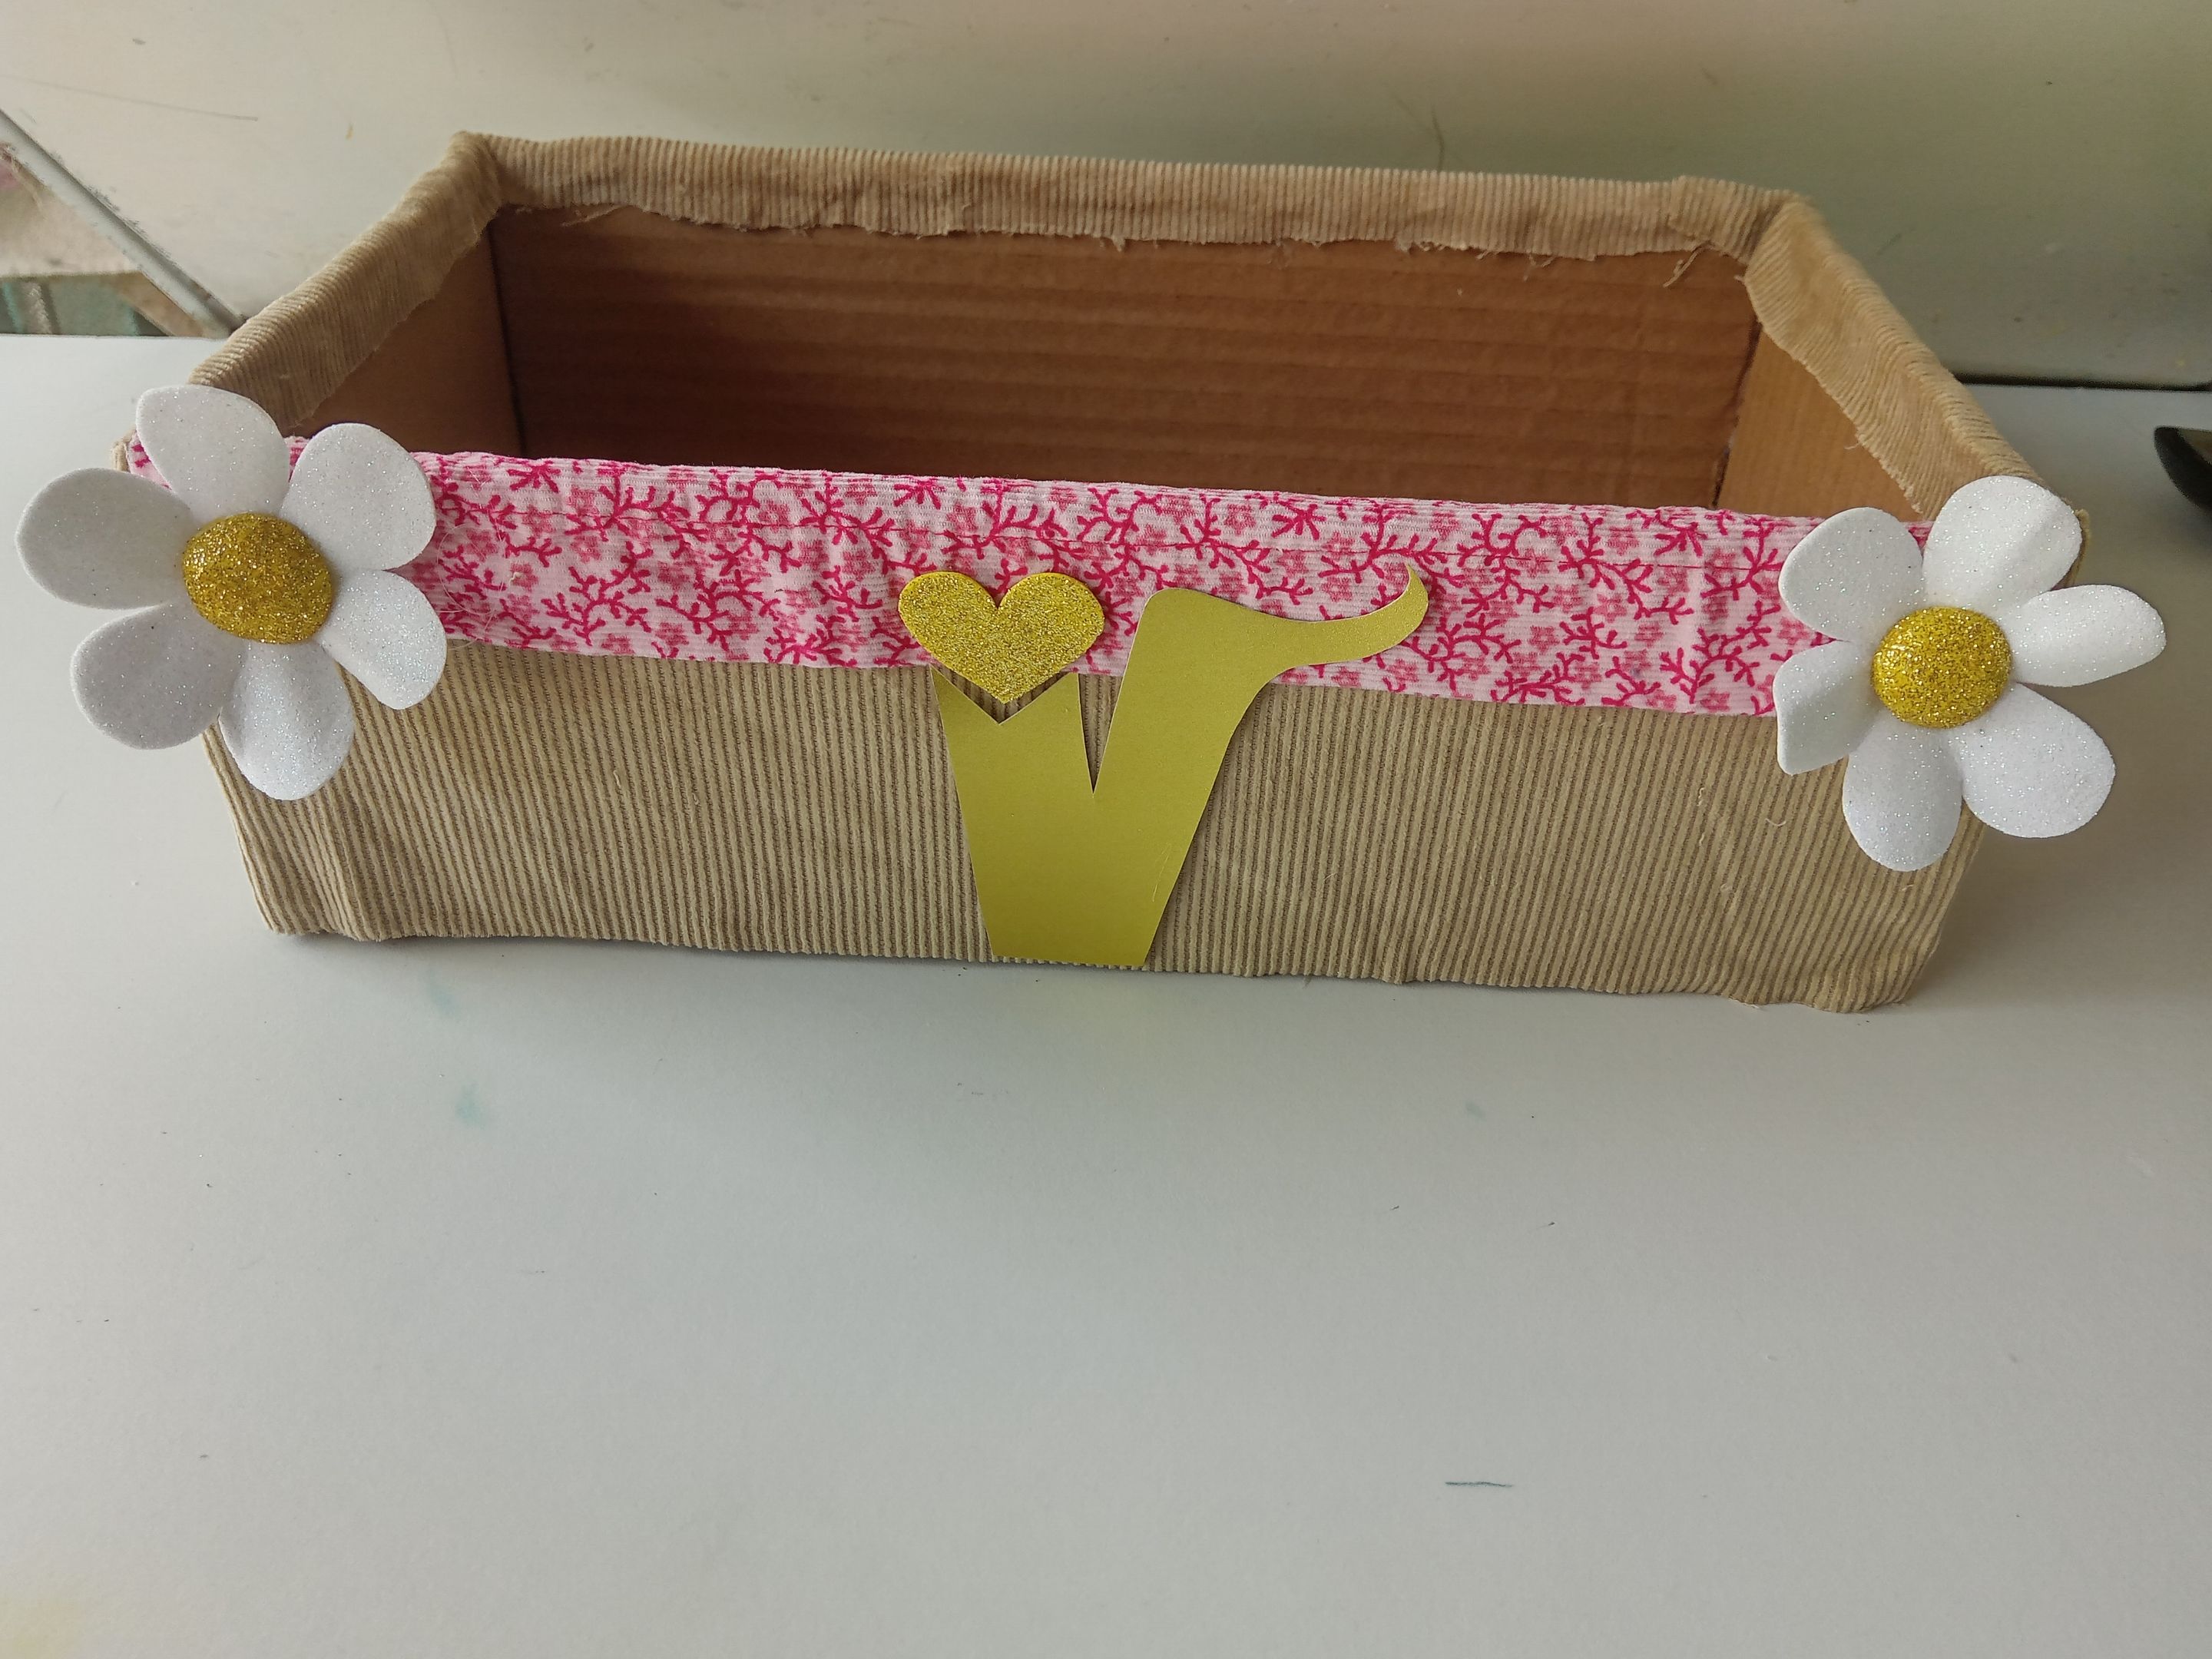
Ahora, para culminar, viene la parte de la decoración, así que en una hoja blanca dibujé 2 margaritas de 7 cm en foami escarchado blanco, el centro de 2 cm de circunferencia en foami escarchado dorado. Pasé la decoración, como he explicado anteriormente, por la plancha para dar más forma. Seguidamente, dibujé mi inicial de 8 cm x 7.5 cm, en cartulina escarchada dorada y un corazón que hace parte de la inicial en foami escarchado dorado. Finalmente, pegué en la pared de enfrente del organizador.
###### ✨STEP 5:
Now, to finish, comes the decoration part. On a white sheet of paper, I drew two 7 cm daisies in white frosted foam, and the center was 2 cm in circumference in gold frosted foam. I ironed the decoration, as explained above, to give it more shape. Next, I drew my 8 cm x 7.5 cm initial on gold glitter cardstock, and a heart that forms part of the initial was drawn on gold glitter foam. Finally, I glued it to the wall opposite the organizer.
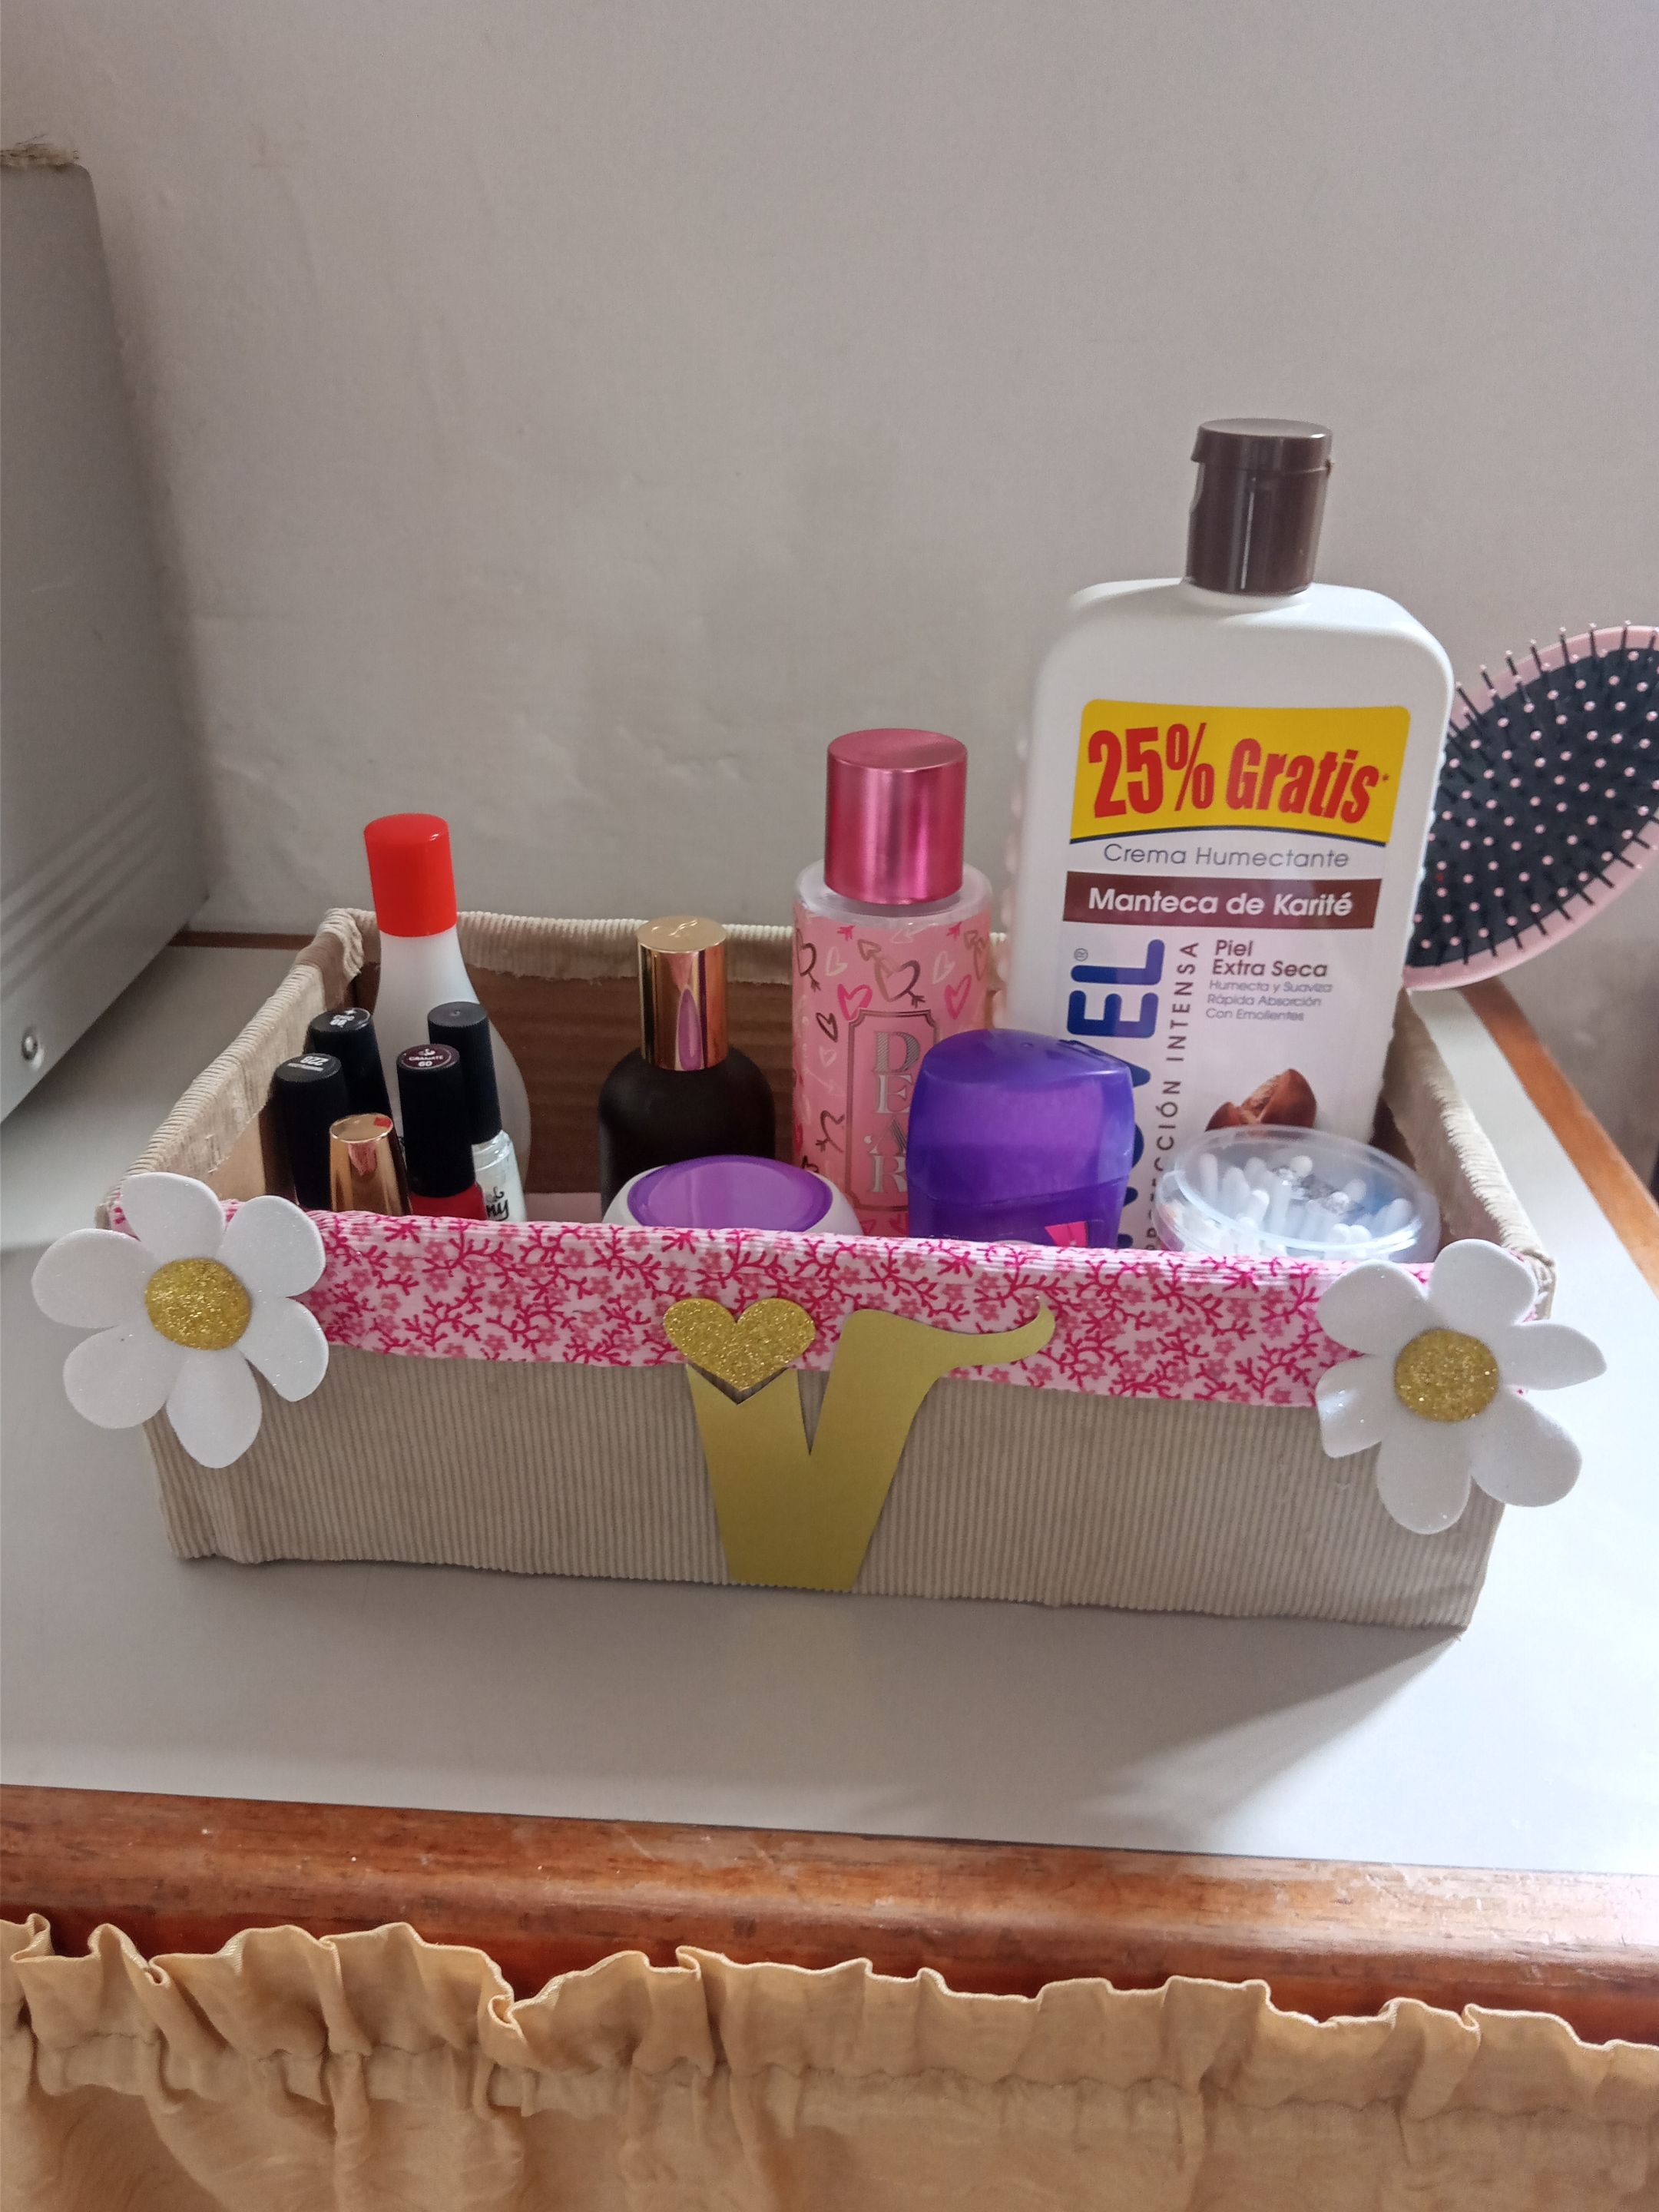
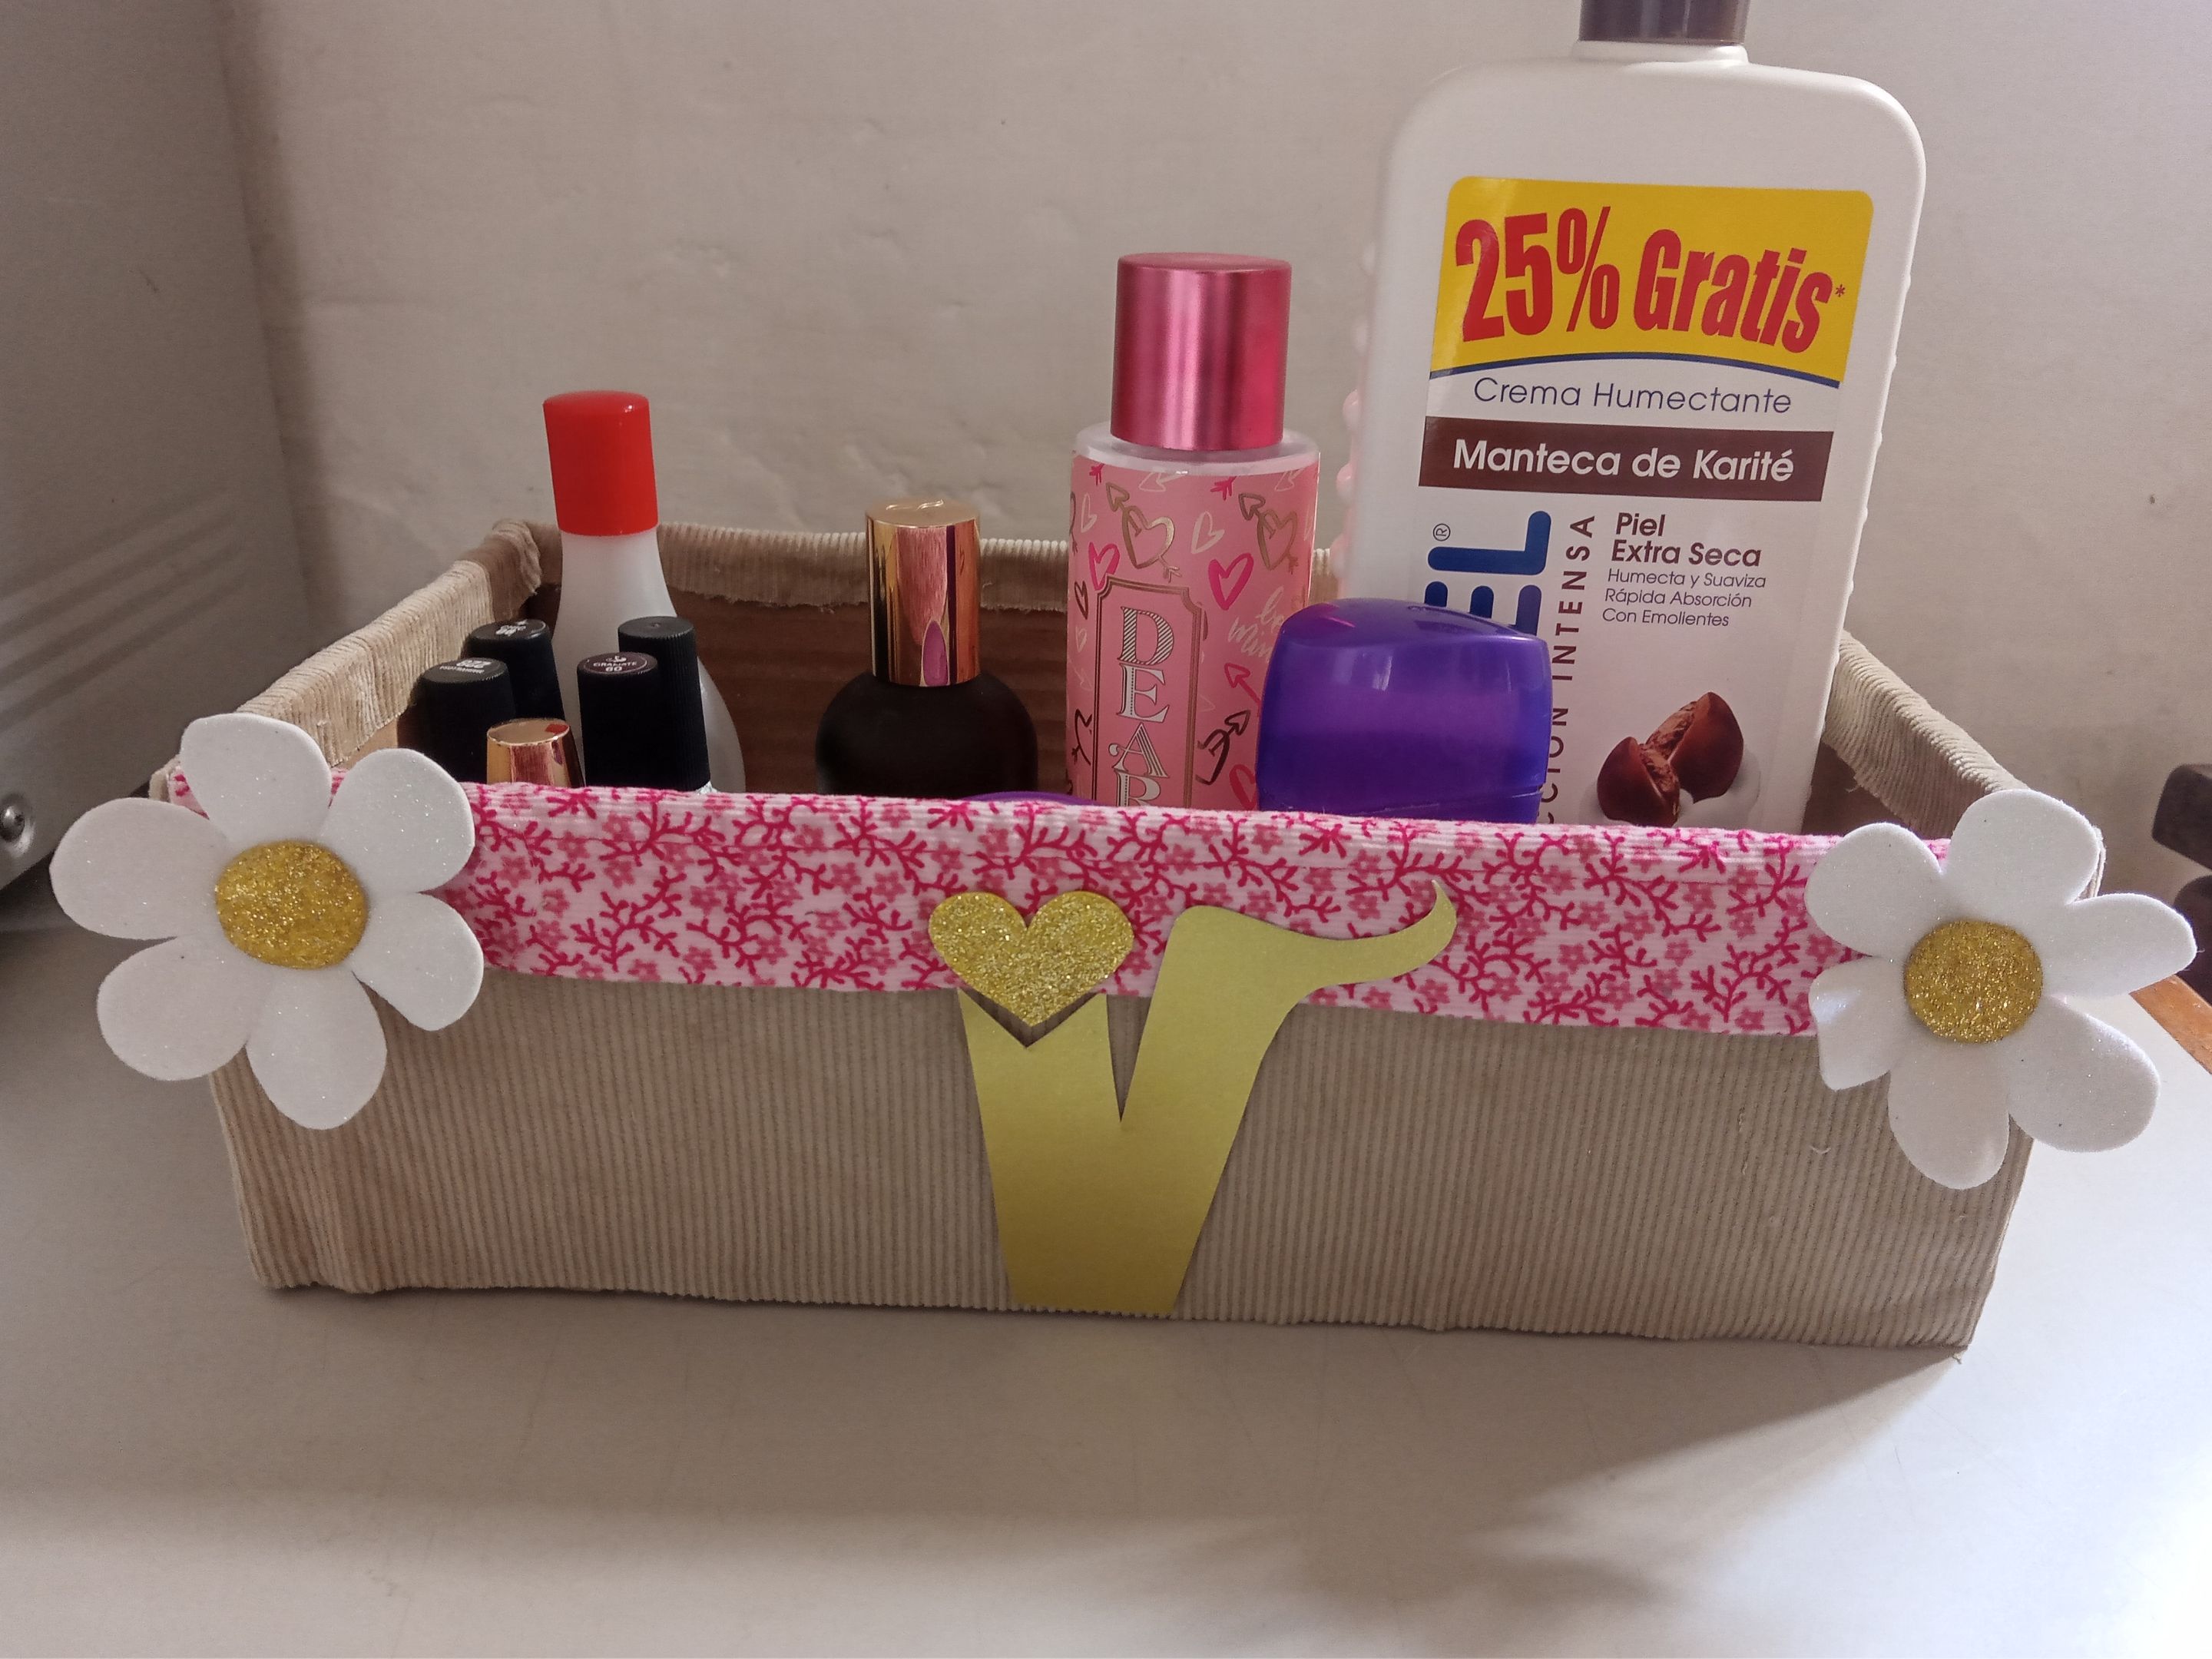
# ✨RESULTADO: | ✨RESULT:

|||
|-|-|
---

---
**!TE DESEO UN GRAN DÏA¡**
Todas las fotografías son de mi propiedad.
Separador y Fotos editadas en [Canva](https://www.canva.com/)
**!I WISH YOU A GOOD DAY**
All photographs are my property.
Photos edited in [Canva](https://www.canva.com/)
Posted Using [INLEO](https://inleo.io/@valenpba/espeng-lindo-organizador-para-el-tocador-nice-organizer-for-the-vanity-7yv)