######
✨💌🛠¡Hola amigos amantes de la creatividad! Espero que hayan pasado un muy buen comienzo de semana.🛠💌✨
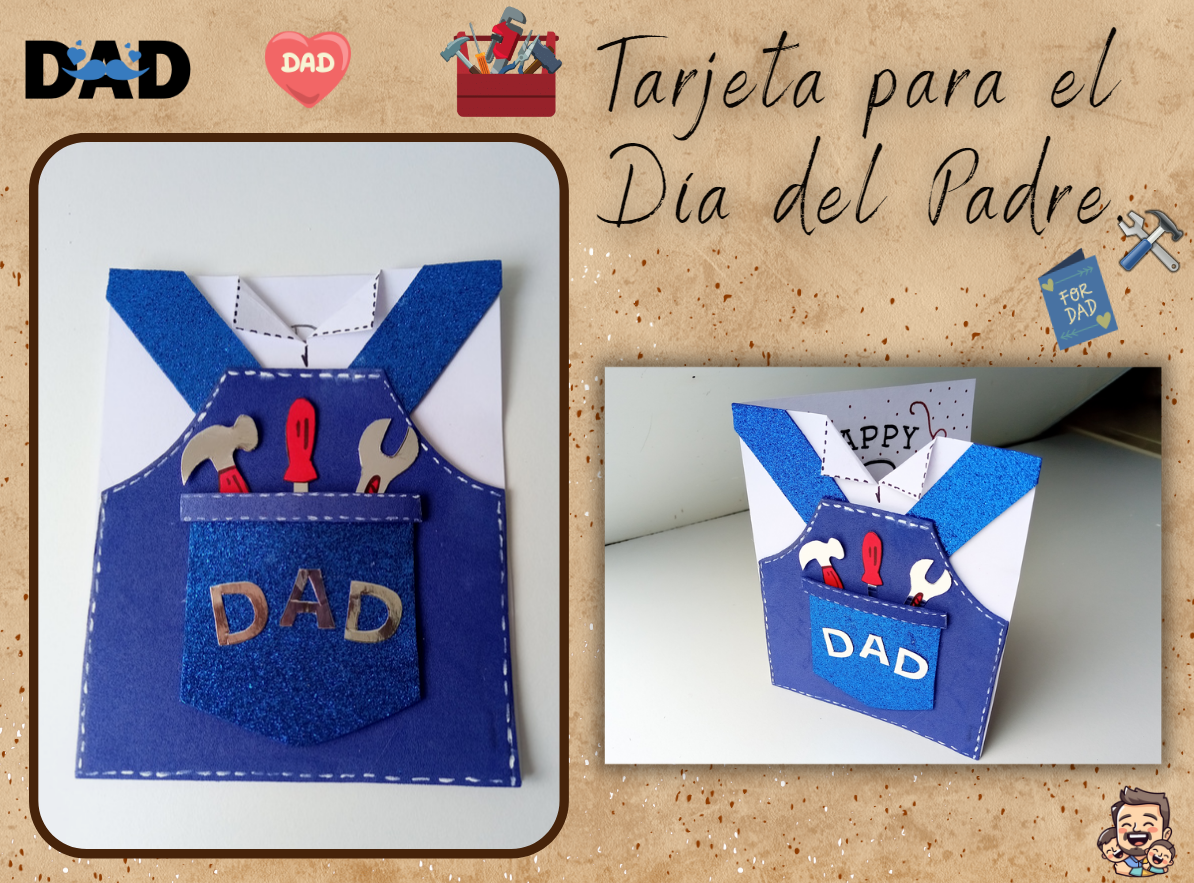
Espero se encuentren de lo mejor y hayan pasado un bonito lunes. En esta ocasión les comparto el paso a paso para elaborar una linda tarjeta para el **Día del Padre**. Casi se me olvida el día exacto del Día del Padre, en mi mente aún faltaba una semana más, pero se me ocurrió esta linda idea para compartir con ustedes, por si quieren darle un detalle más personalizado. Esto me pareció una linda idea y diseño, ya que mi papá sabe reparar todo y tiene mil herramientas y herramientas tiradas por todos lados, él es el que logra reparar cualquier cosa en casa y hasta trabaja en eso, pero en tal caso, puedes inspirarte e intentar hacerte un traje de oficina o lo que más te guste e ir acorde a lo que hacen sus padres. Me parece buena idea acompañar su sorpresa del día del padre con una bonita tarjeta elaborada por ustedes mismos.
**🔸Sin más que añadir, a continuación los dejo con el paso a paso:**
> ######
✨💌🛠¡Hello friends who love creativity! I hope you had a very good start to the week.🛠💌✨
>
I hope you are well and that you had a good Monday. This time I share the step by step to make a nice card for Father's Day. I almost forgot the exact day of Father's Day, in my mind there was still one more week to go, but I came up with this nice idea to share with you, in case you want to give it a more personalized detail. This seemed like a nice idea and design to me, since my dad knows how to repair everything and he has a thousand tools and tools lying everywhere, he is the one who manages to repair anything at home and even works on it, but in any other case, You can be inspired and try to make an office suit or whatever you like best and go according to what their parents do. I think it's a good idea to accompany your Father's Day surprise with a nice card made by yourselves.
> **🔸Without more to add, then I leave you with the step by step:**
---
---


**♥️ESPERO QUE TE GUSTE,
¡Empecemos!**
**♥️I HOPE YOU LIKE IT,
Let's start!**
---

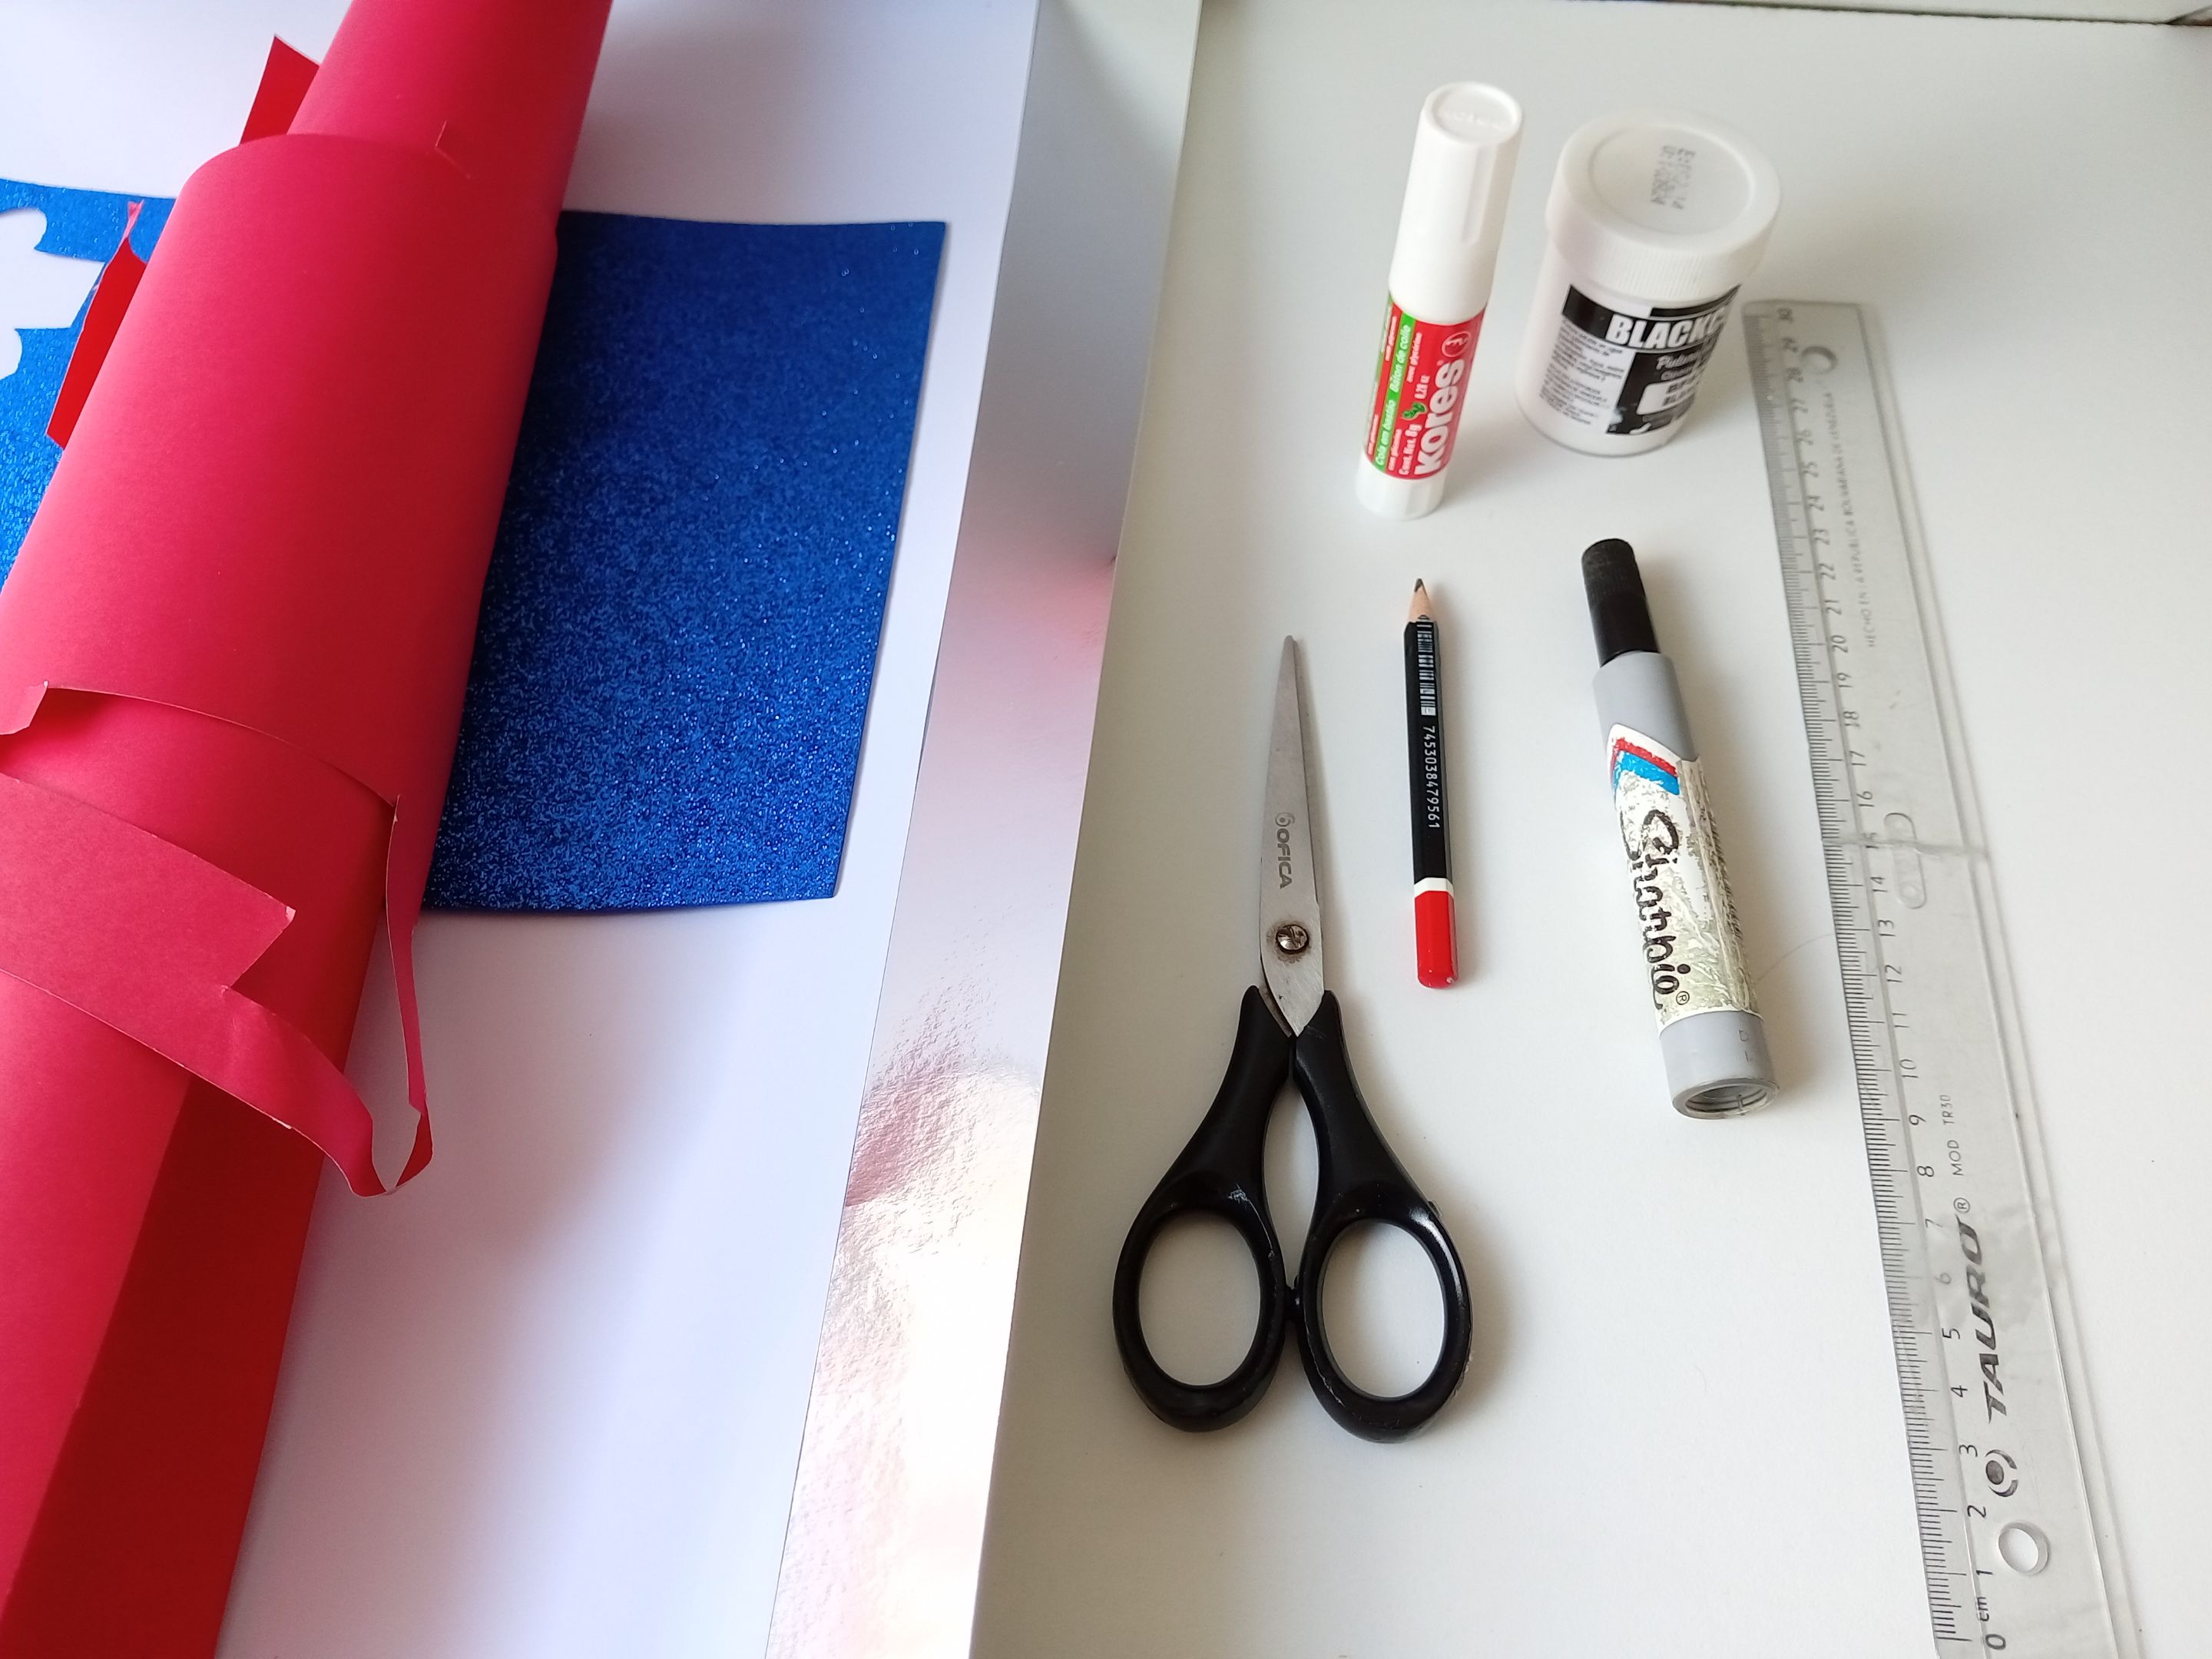
# 🛠 *MATERIALES* | 🛠 *MATERIALS*

- Cartulina escolar blanca.
- Cartulina escolar roja.
- Cartulina metalizada plateada.
- Foami escarchado negro.
- Foami escarchado azul.
- Foami azul.
- Pintura blanca.
- Marcadores.
- Hoja blanca.
- Lápiz.
- Tijera.
- Pegamento.
- White school cardboard.
- Red school cardboard.
- Silver metallic cardboard.
- Black frosted foami.
- Blue frosty foami.
- blue foam.
- White paint.
- Markers.
- white sheet.
- Pencil.
- Scissors.
- Glue.


# 💌 *PROCEDIMIENTO* | 💌 *PROCESS*

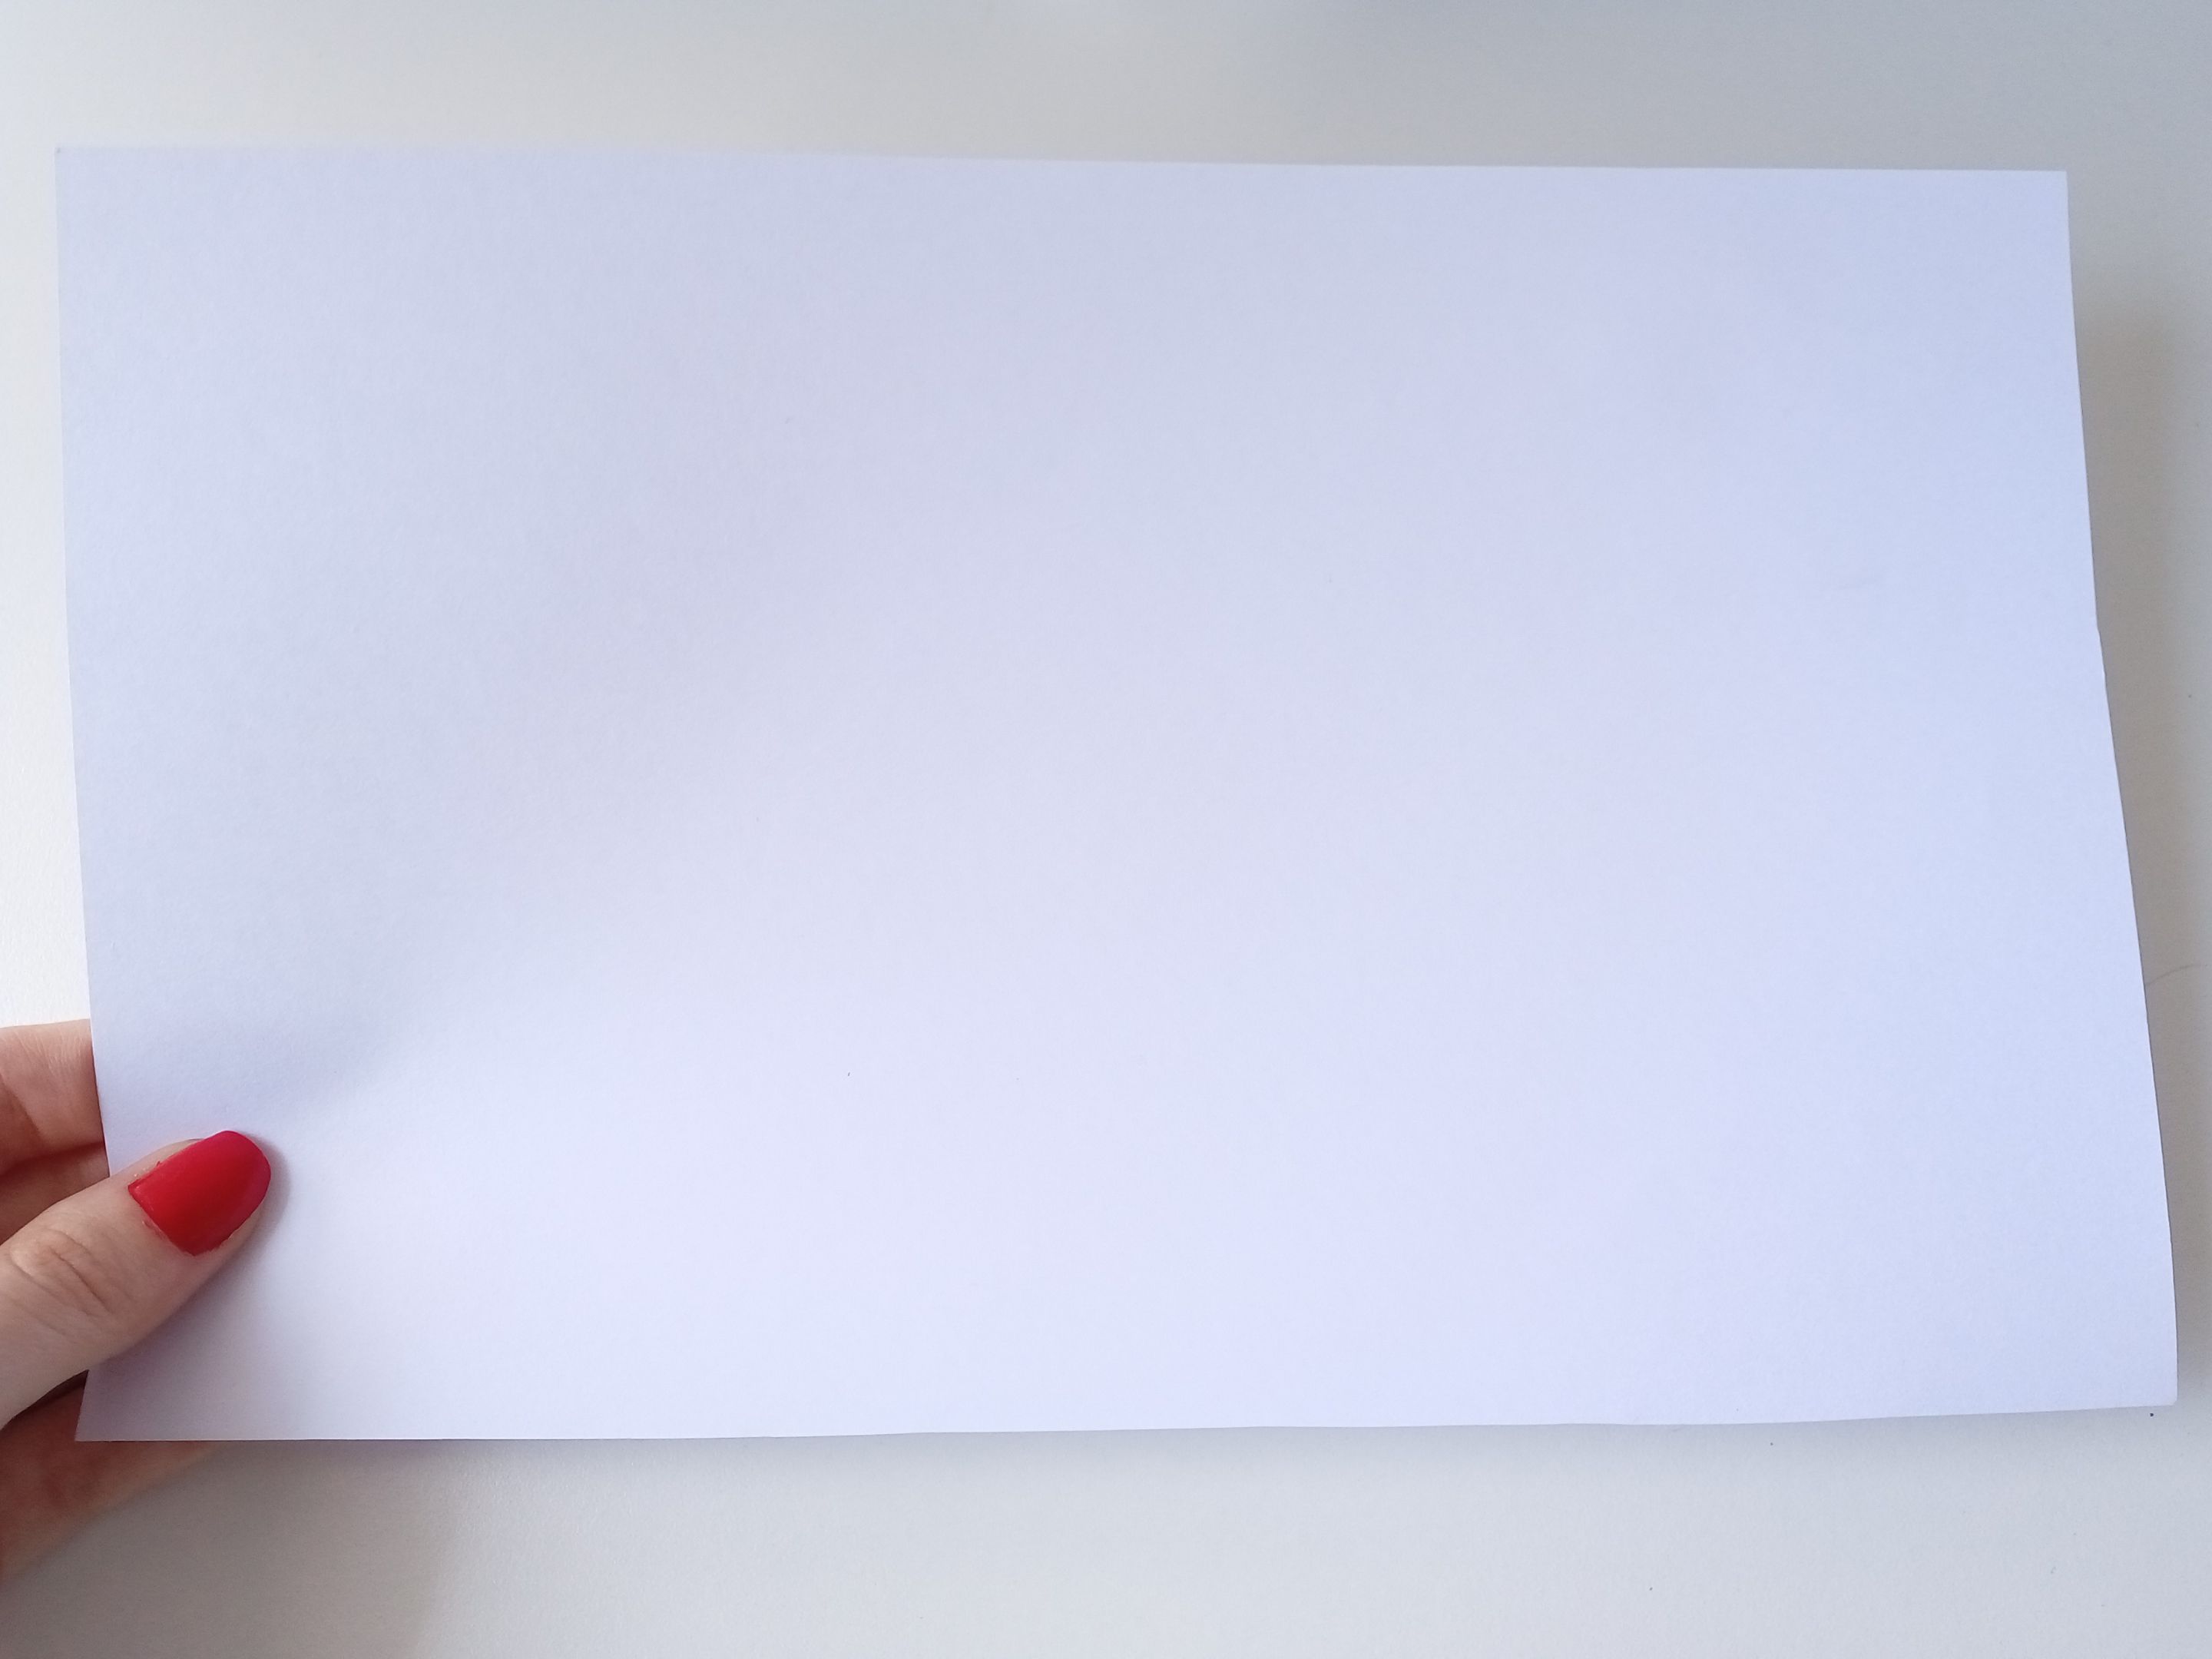
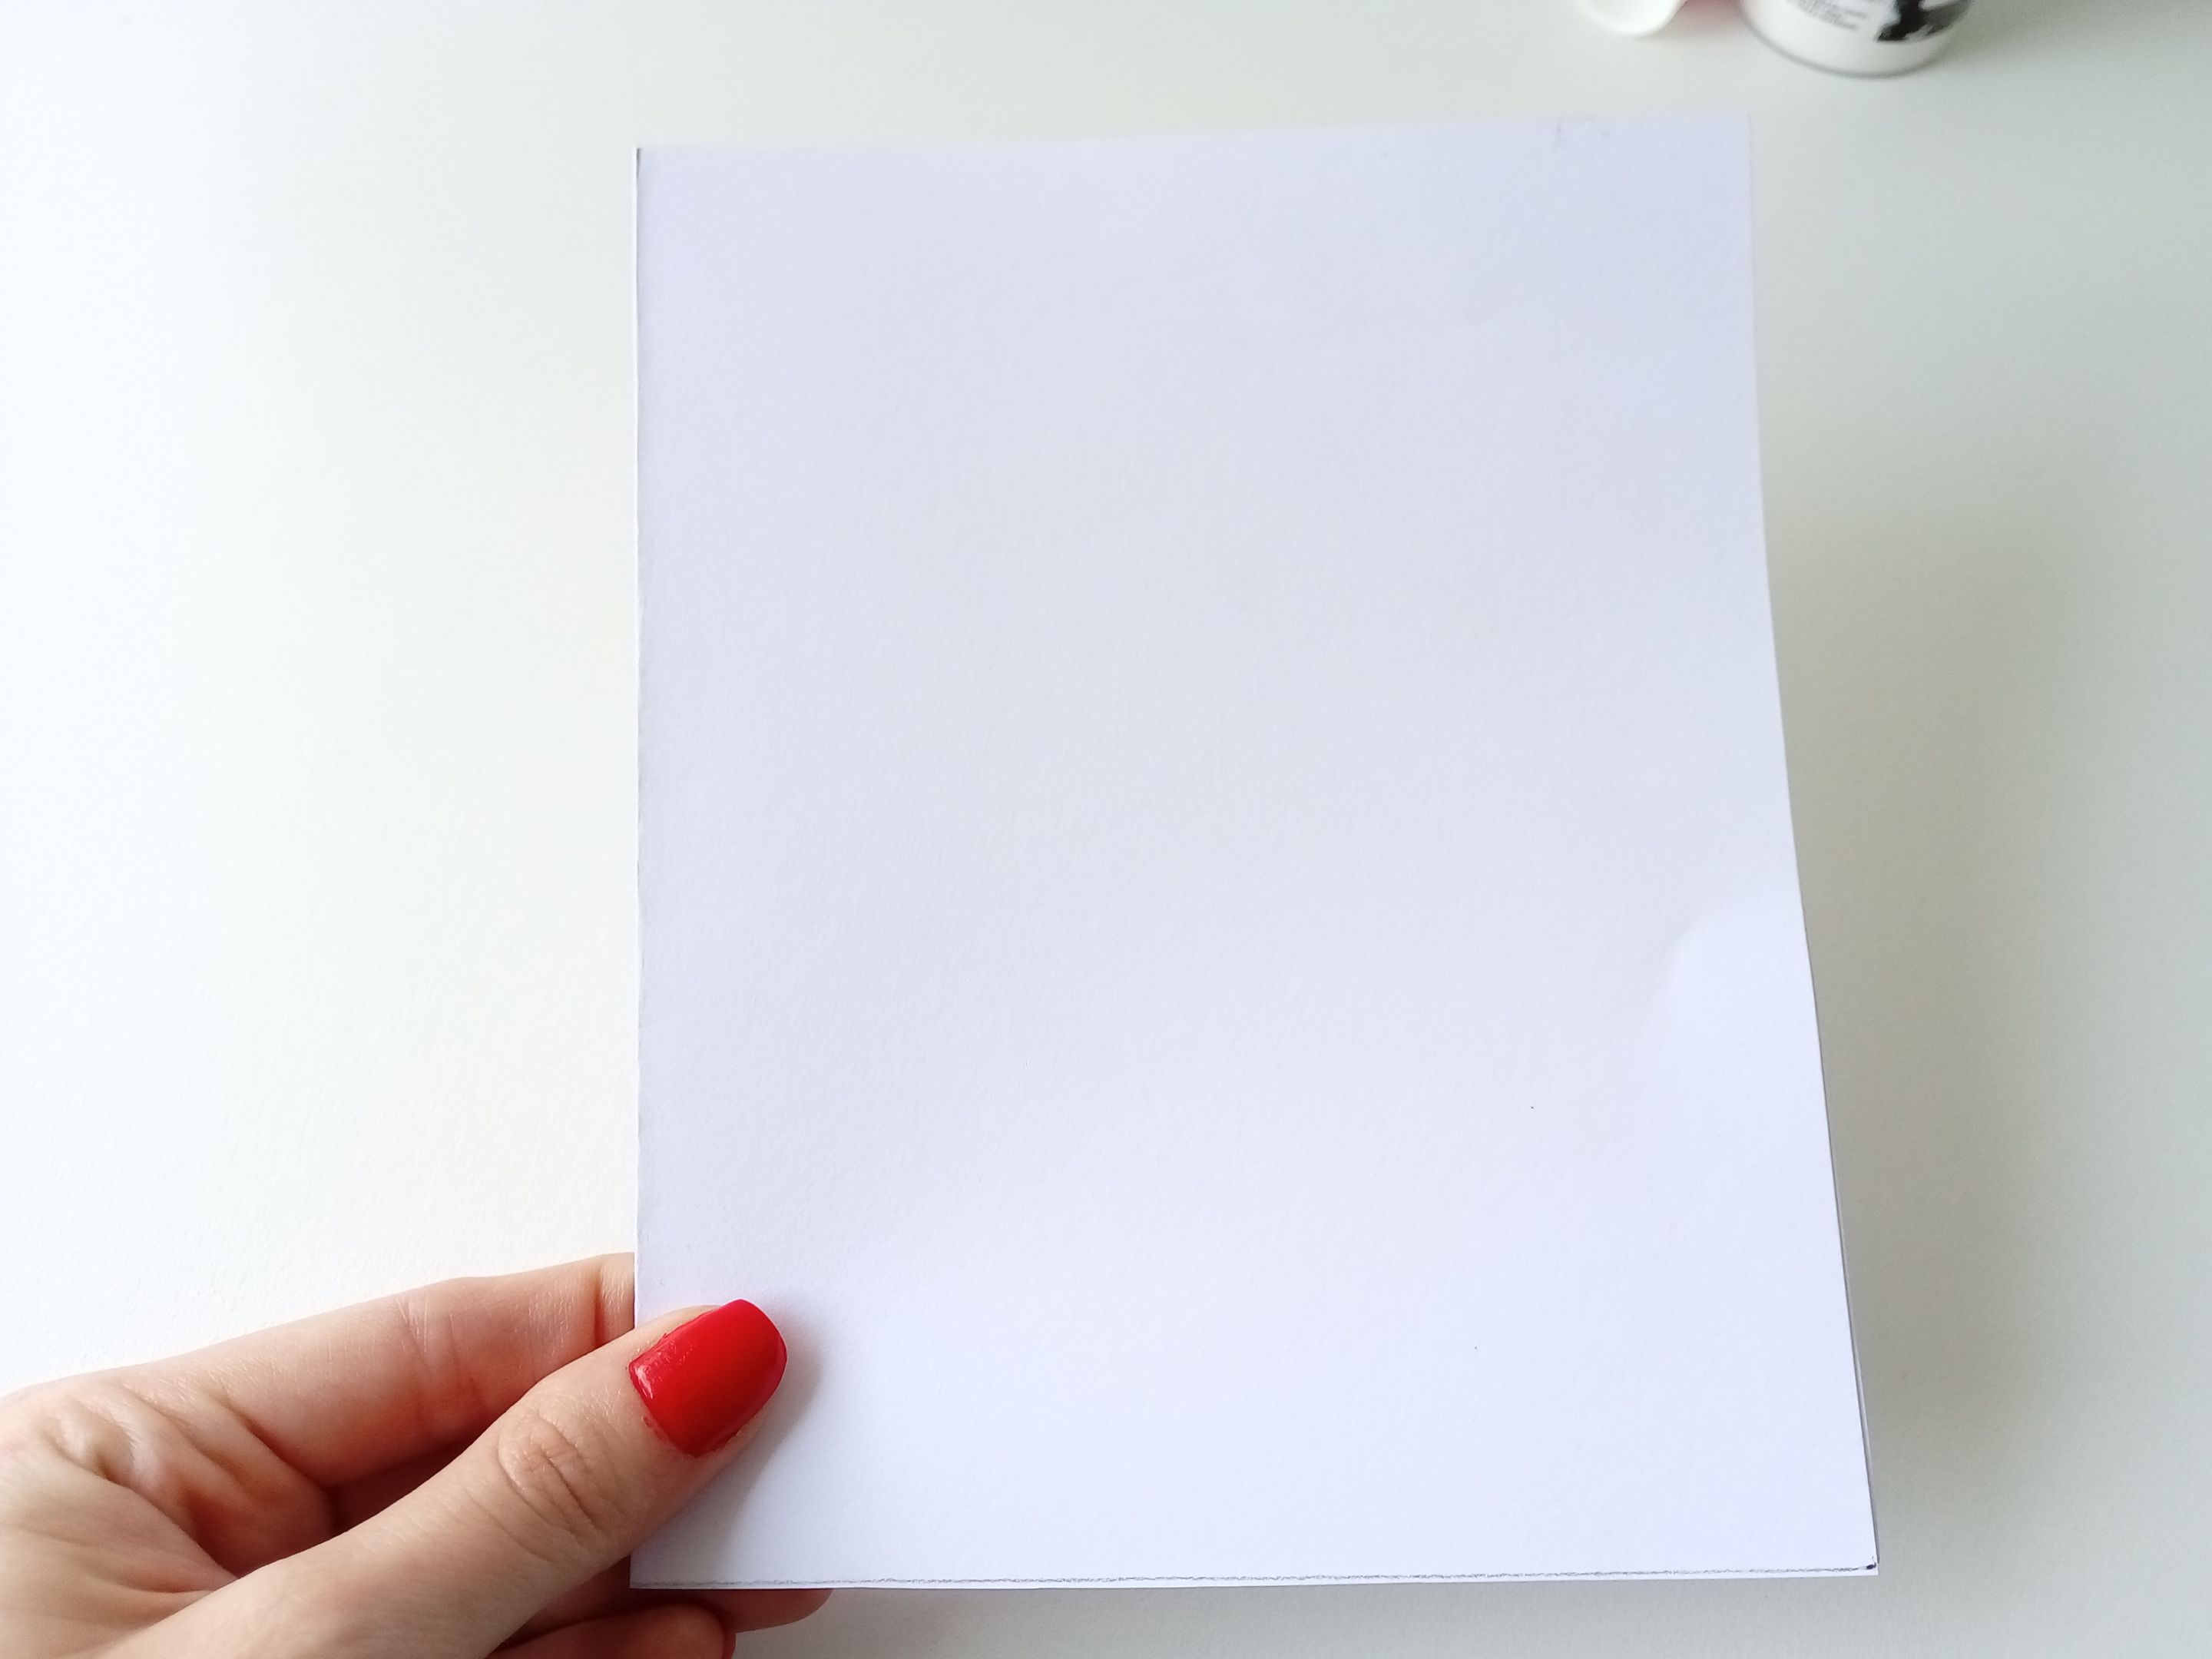
### - *PASO 1:*
###### Lo primero que hice fue trazar y recortar el tamaño que quería para la tarjeta en cartulina escolar blanca. En mi caso, 25 cm x 16 cm. Cortar, doblar por la mitad y esta sería la estructura la tarjeta.
### - *STEP 1:*
###### The first thing I did was trace and cut out the size I wanted for the card on white school cardboard. In my case, 25 cm x 16 cm. Cut and fold in half and this would be the structure of the card.

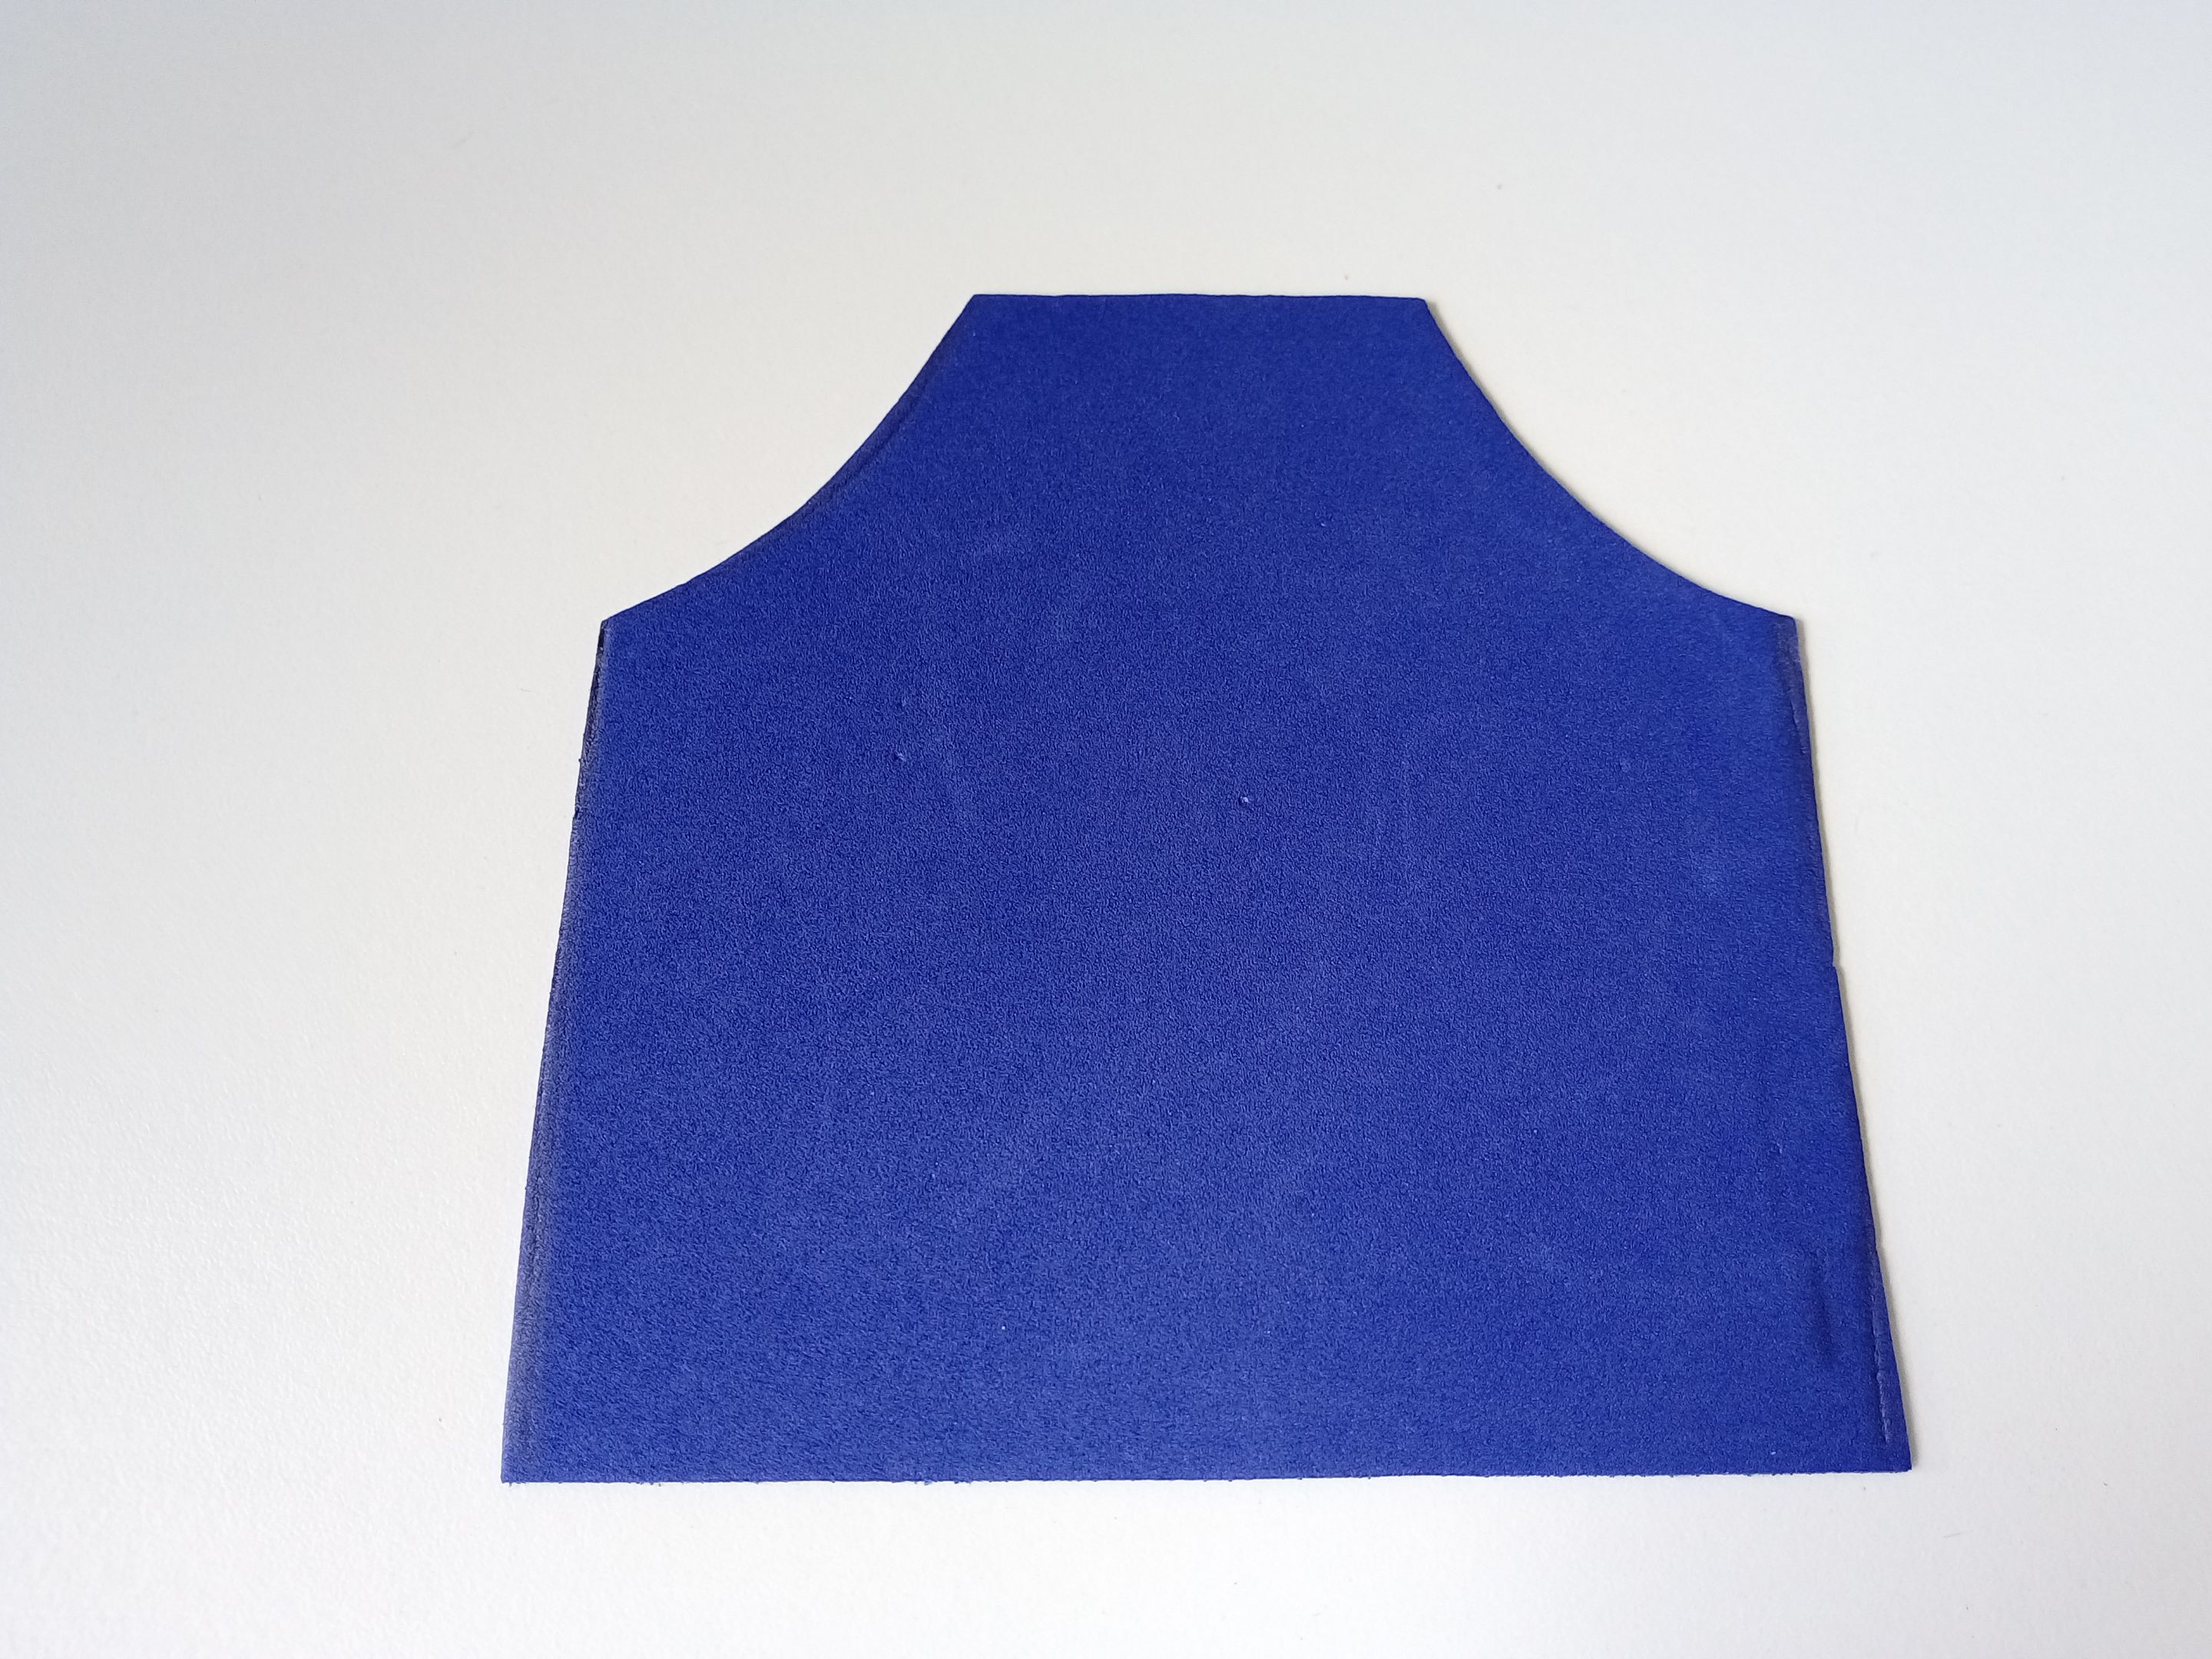
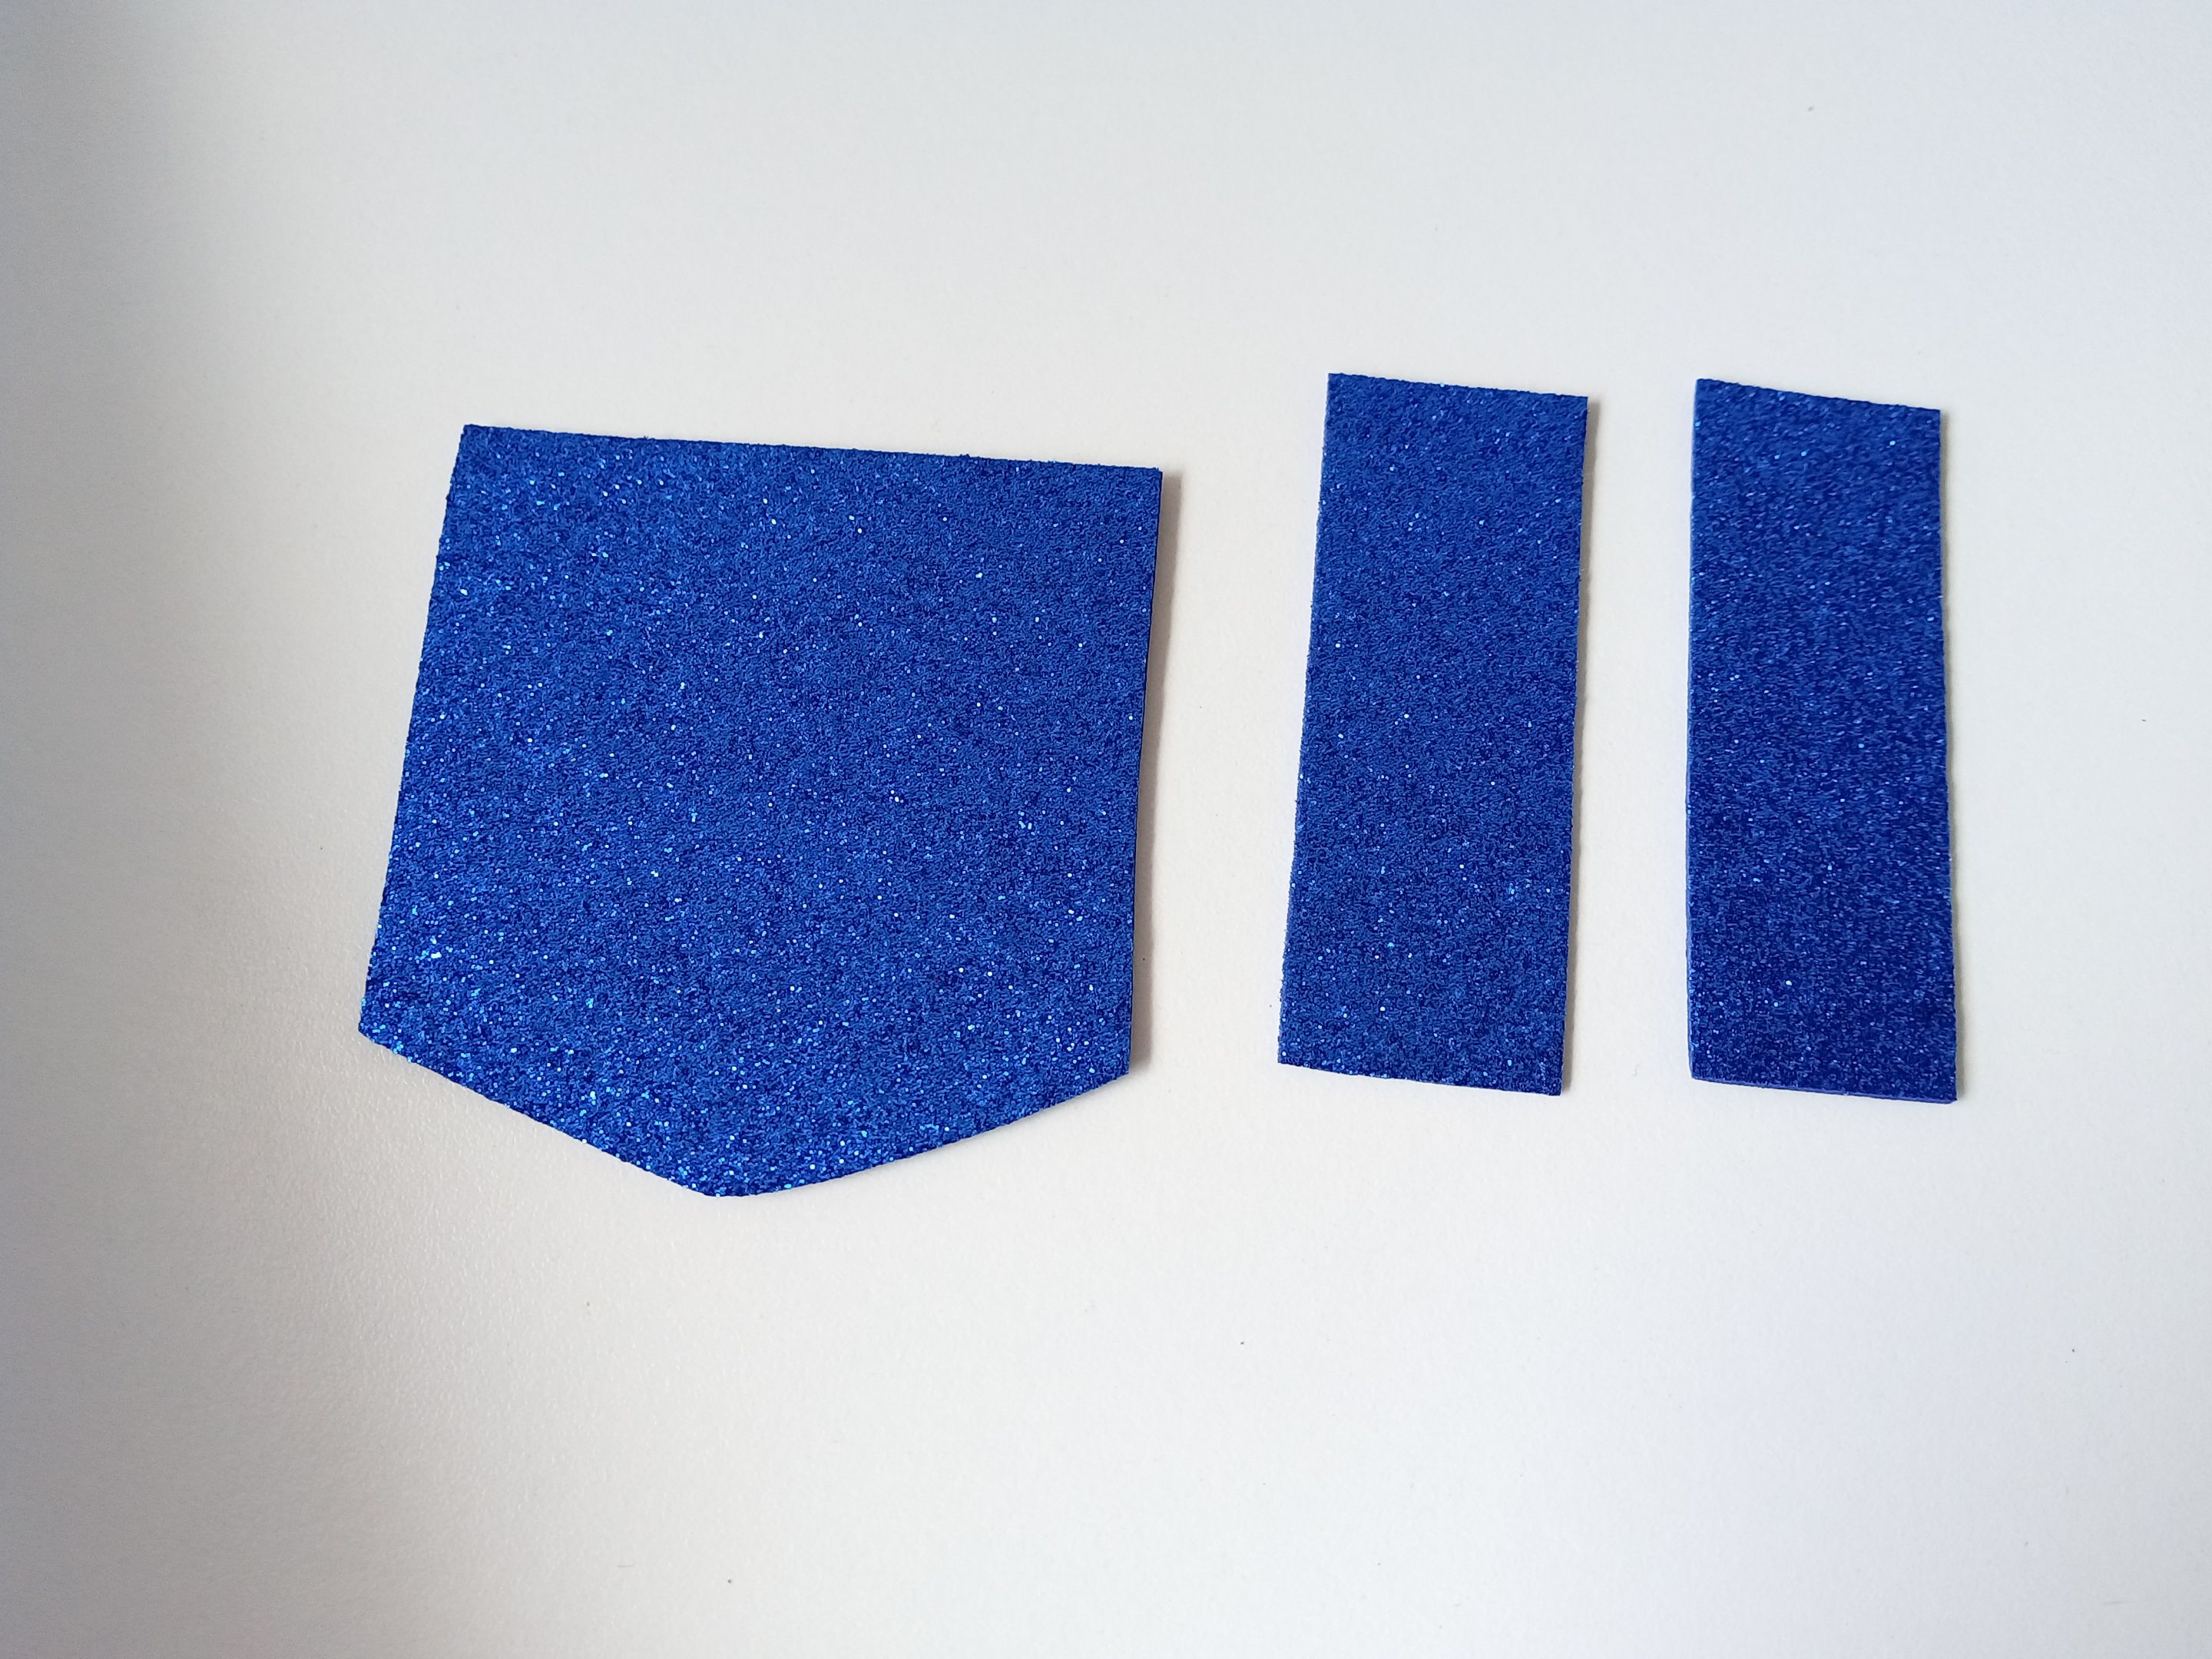
### - *PASO 2:*
###### Luego de esto, fui a sacar las piezas para el overol, pueden buscar un dibujo o dibujar a su gusto. En mi caso, quise usar dos texturas de foami diferentes, foami liso para el overol y foami escarchado para detalles como: los tirantes y el bolsillo. Para el overol las medidas fueron 12,5 cm x 12,5 cm, para los tirantes 2,5 cm de ancho y para el bolsillo 7,5 cm x 7 cm.
### - *STEP 2:*
###### After this, I went to take out the pieces for the overalls, you can look for a drawing or draw to your liking. In my case, I wanted to use two different foam textures, smooth foam for the overalls and frosted foam for details such as: the shoulder straps and the pocket. For the overalls the measurements were 12.5 cm x 12.5 cm, for the suspenders 2.5 cm wide and for the pocket 7.5 cm x 7 cm.

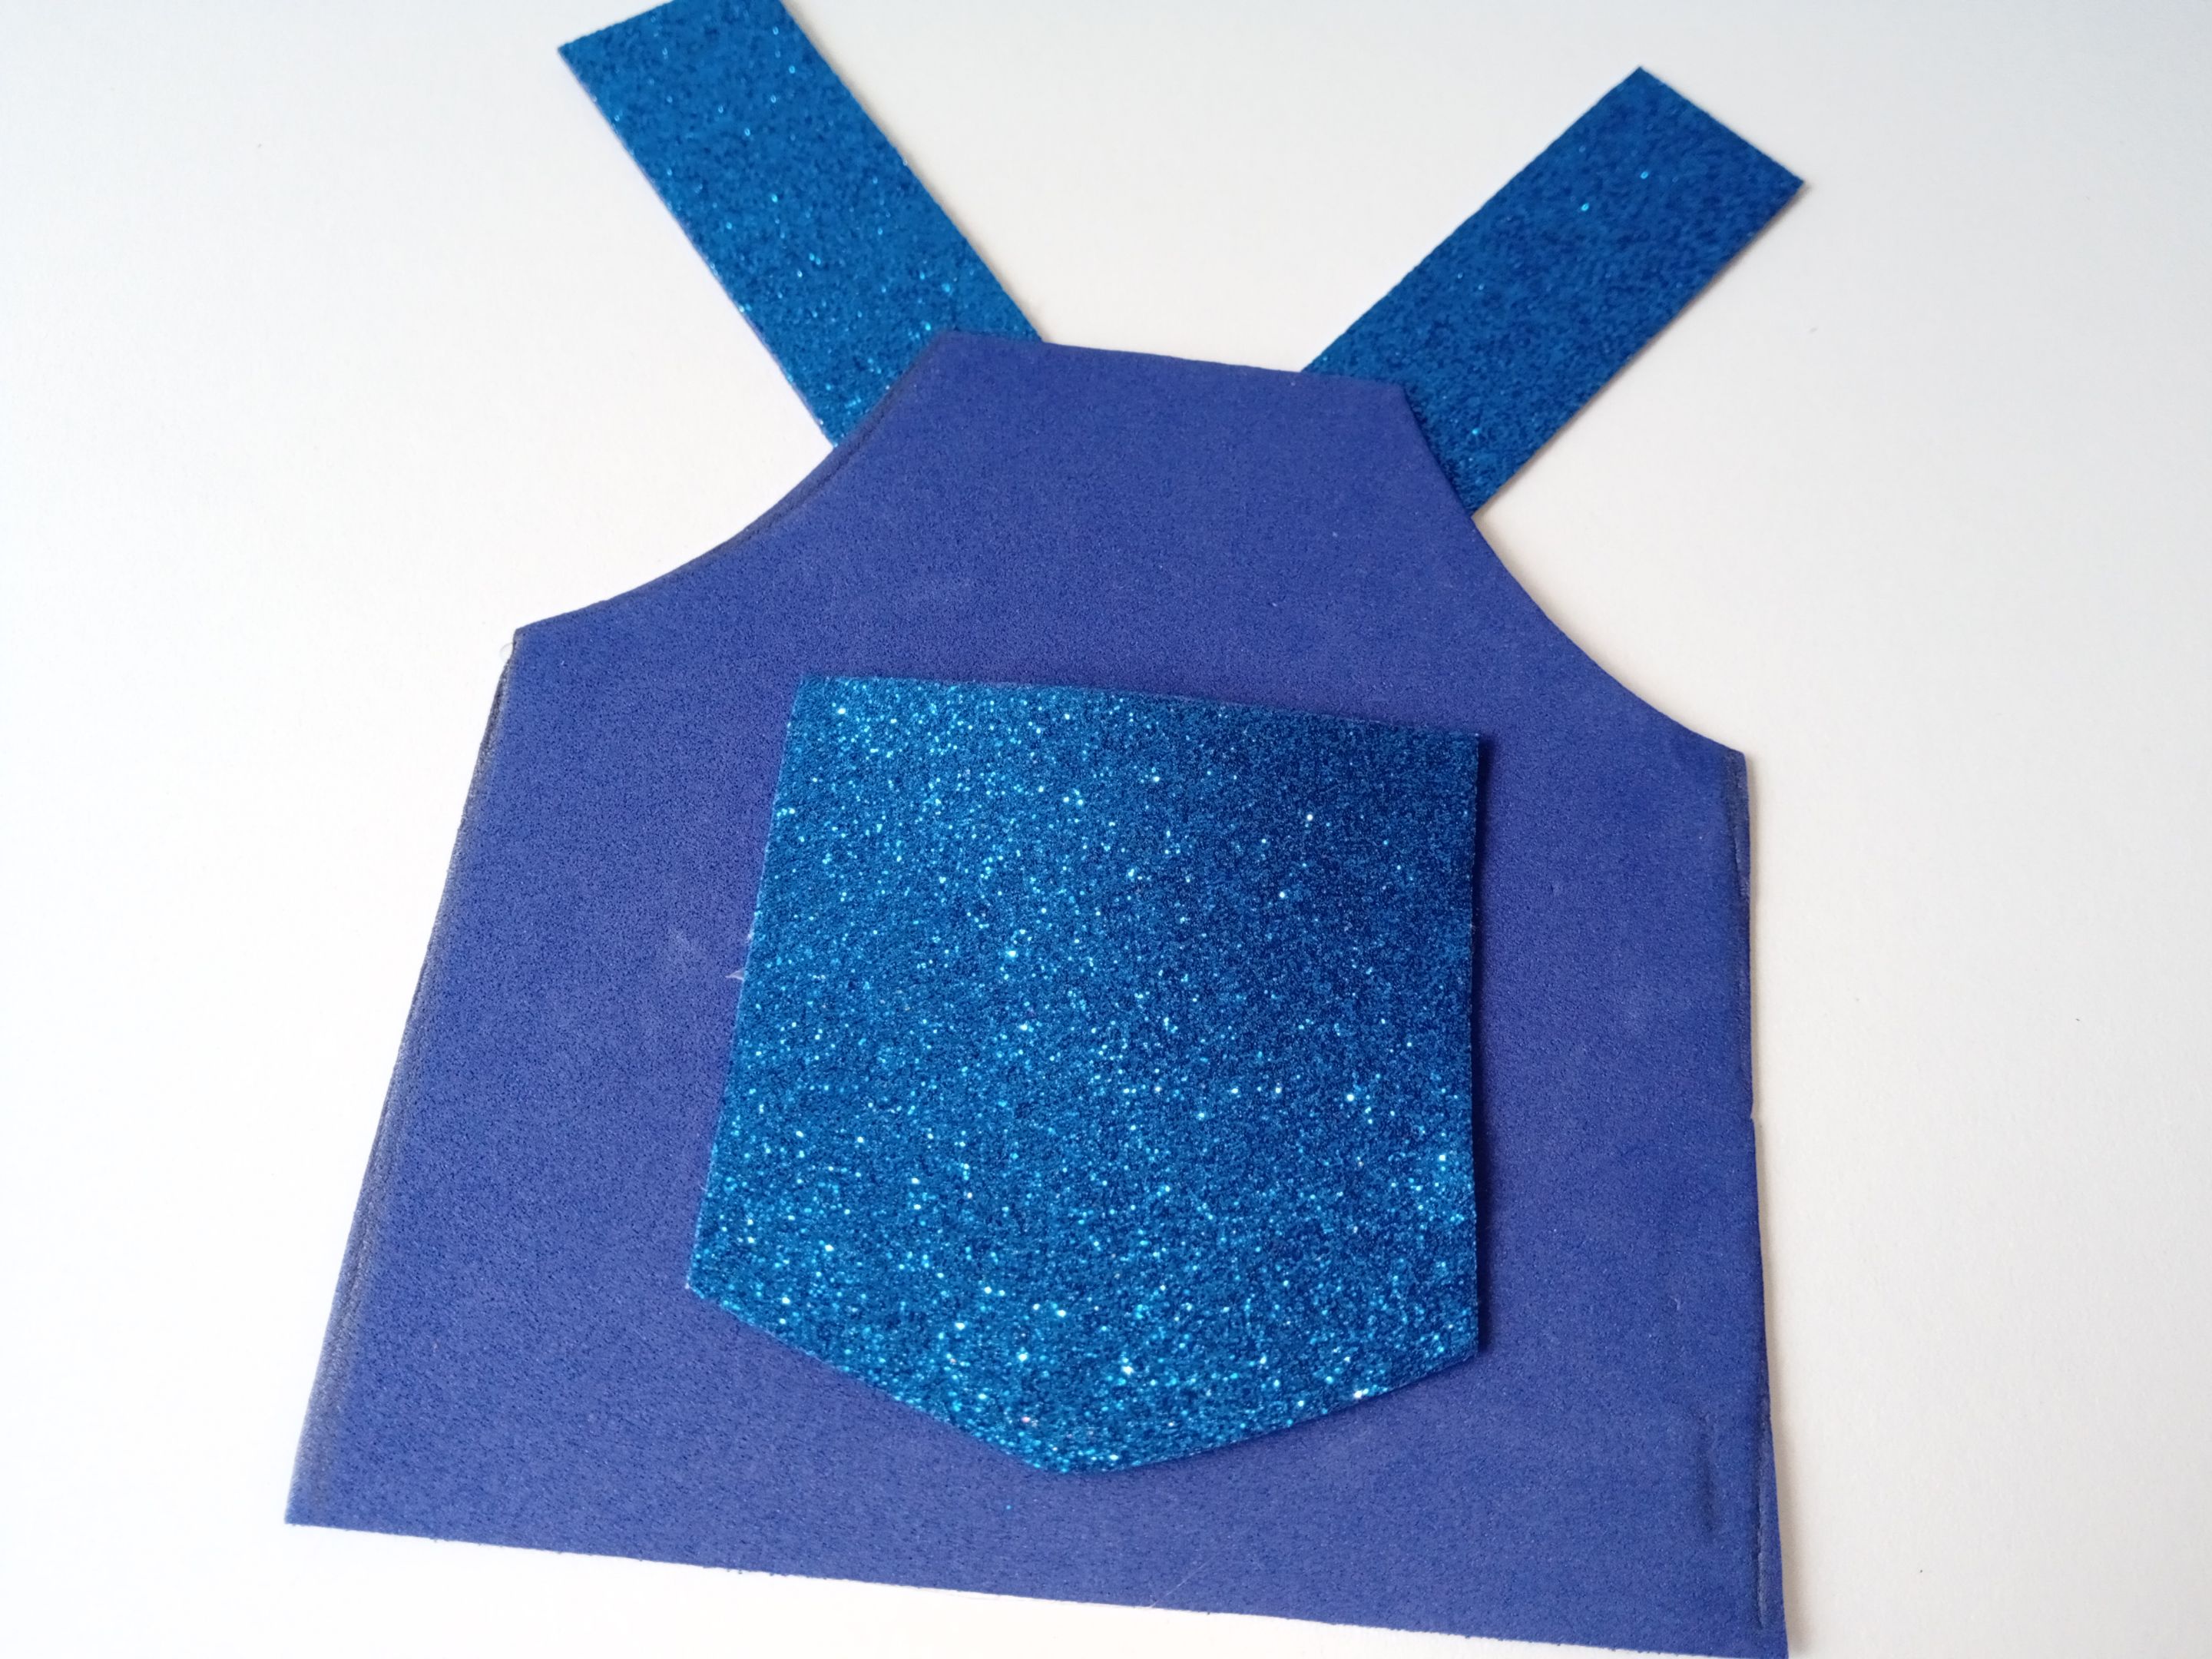
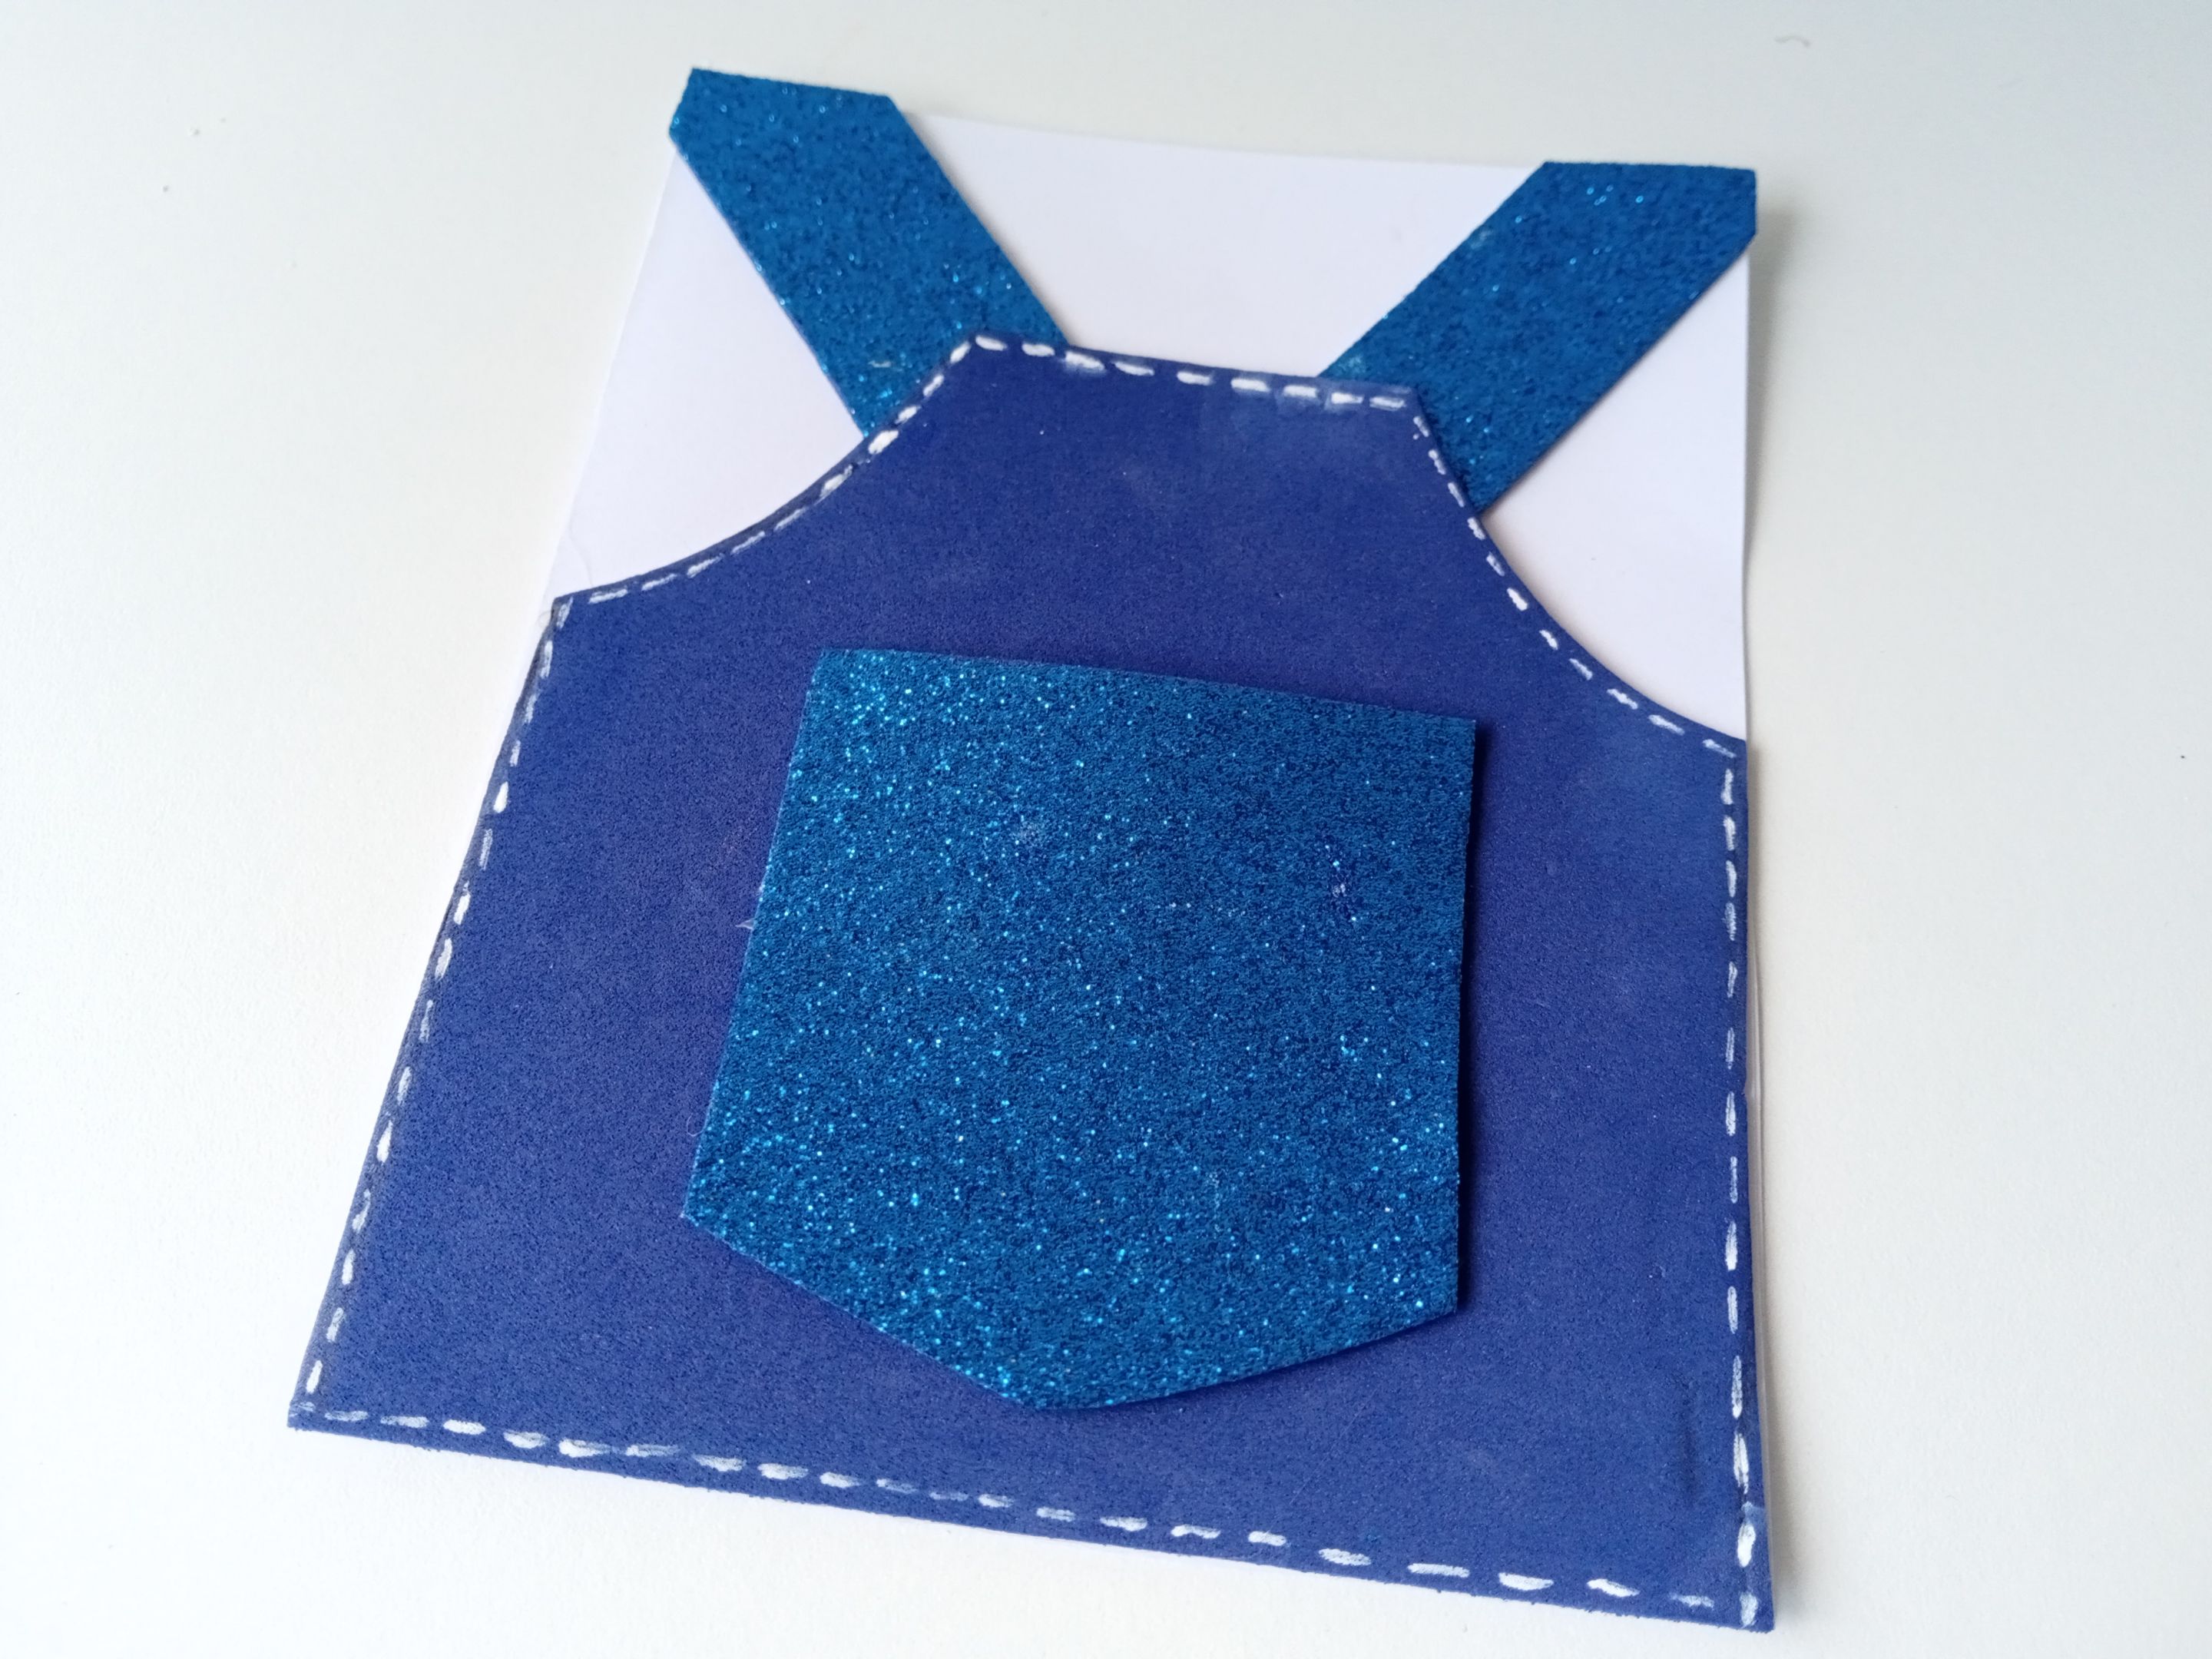
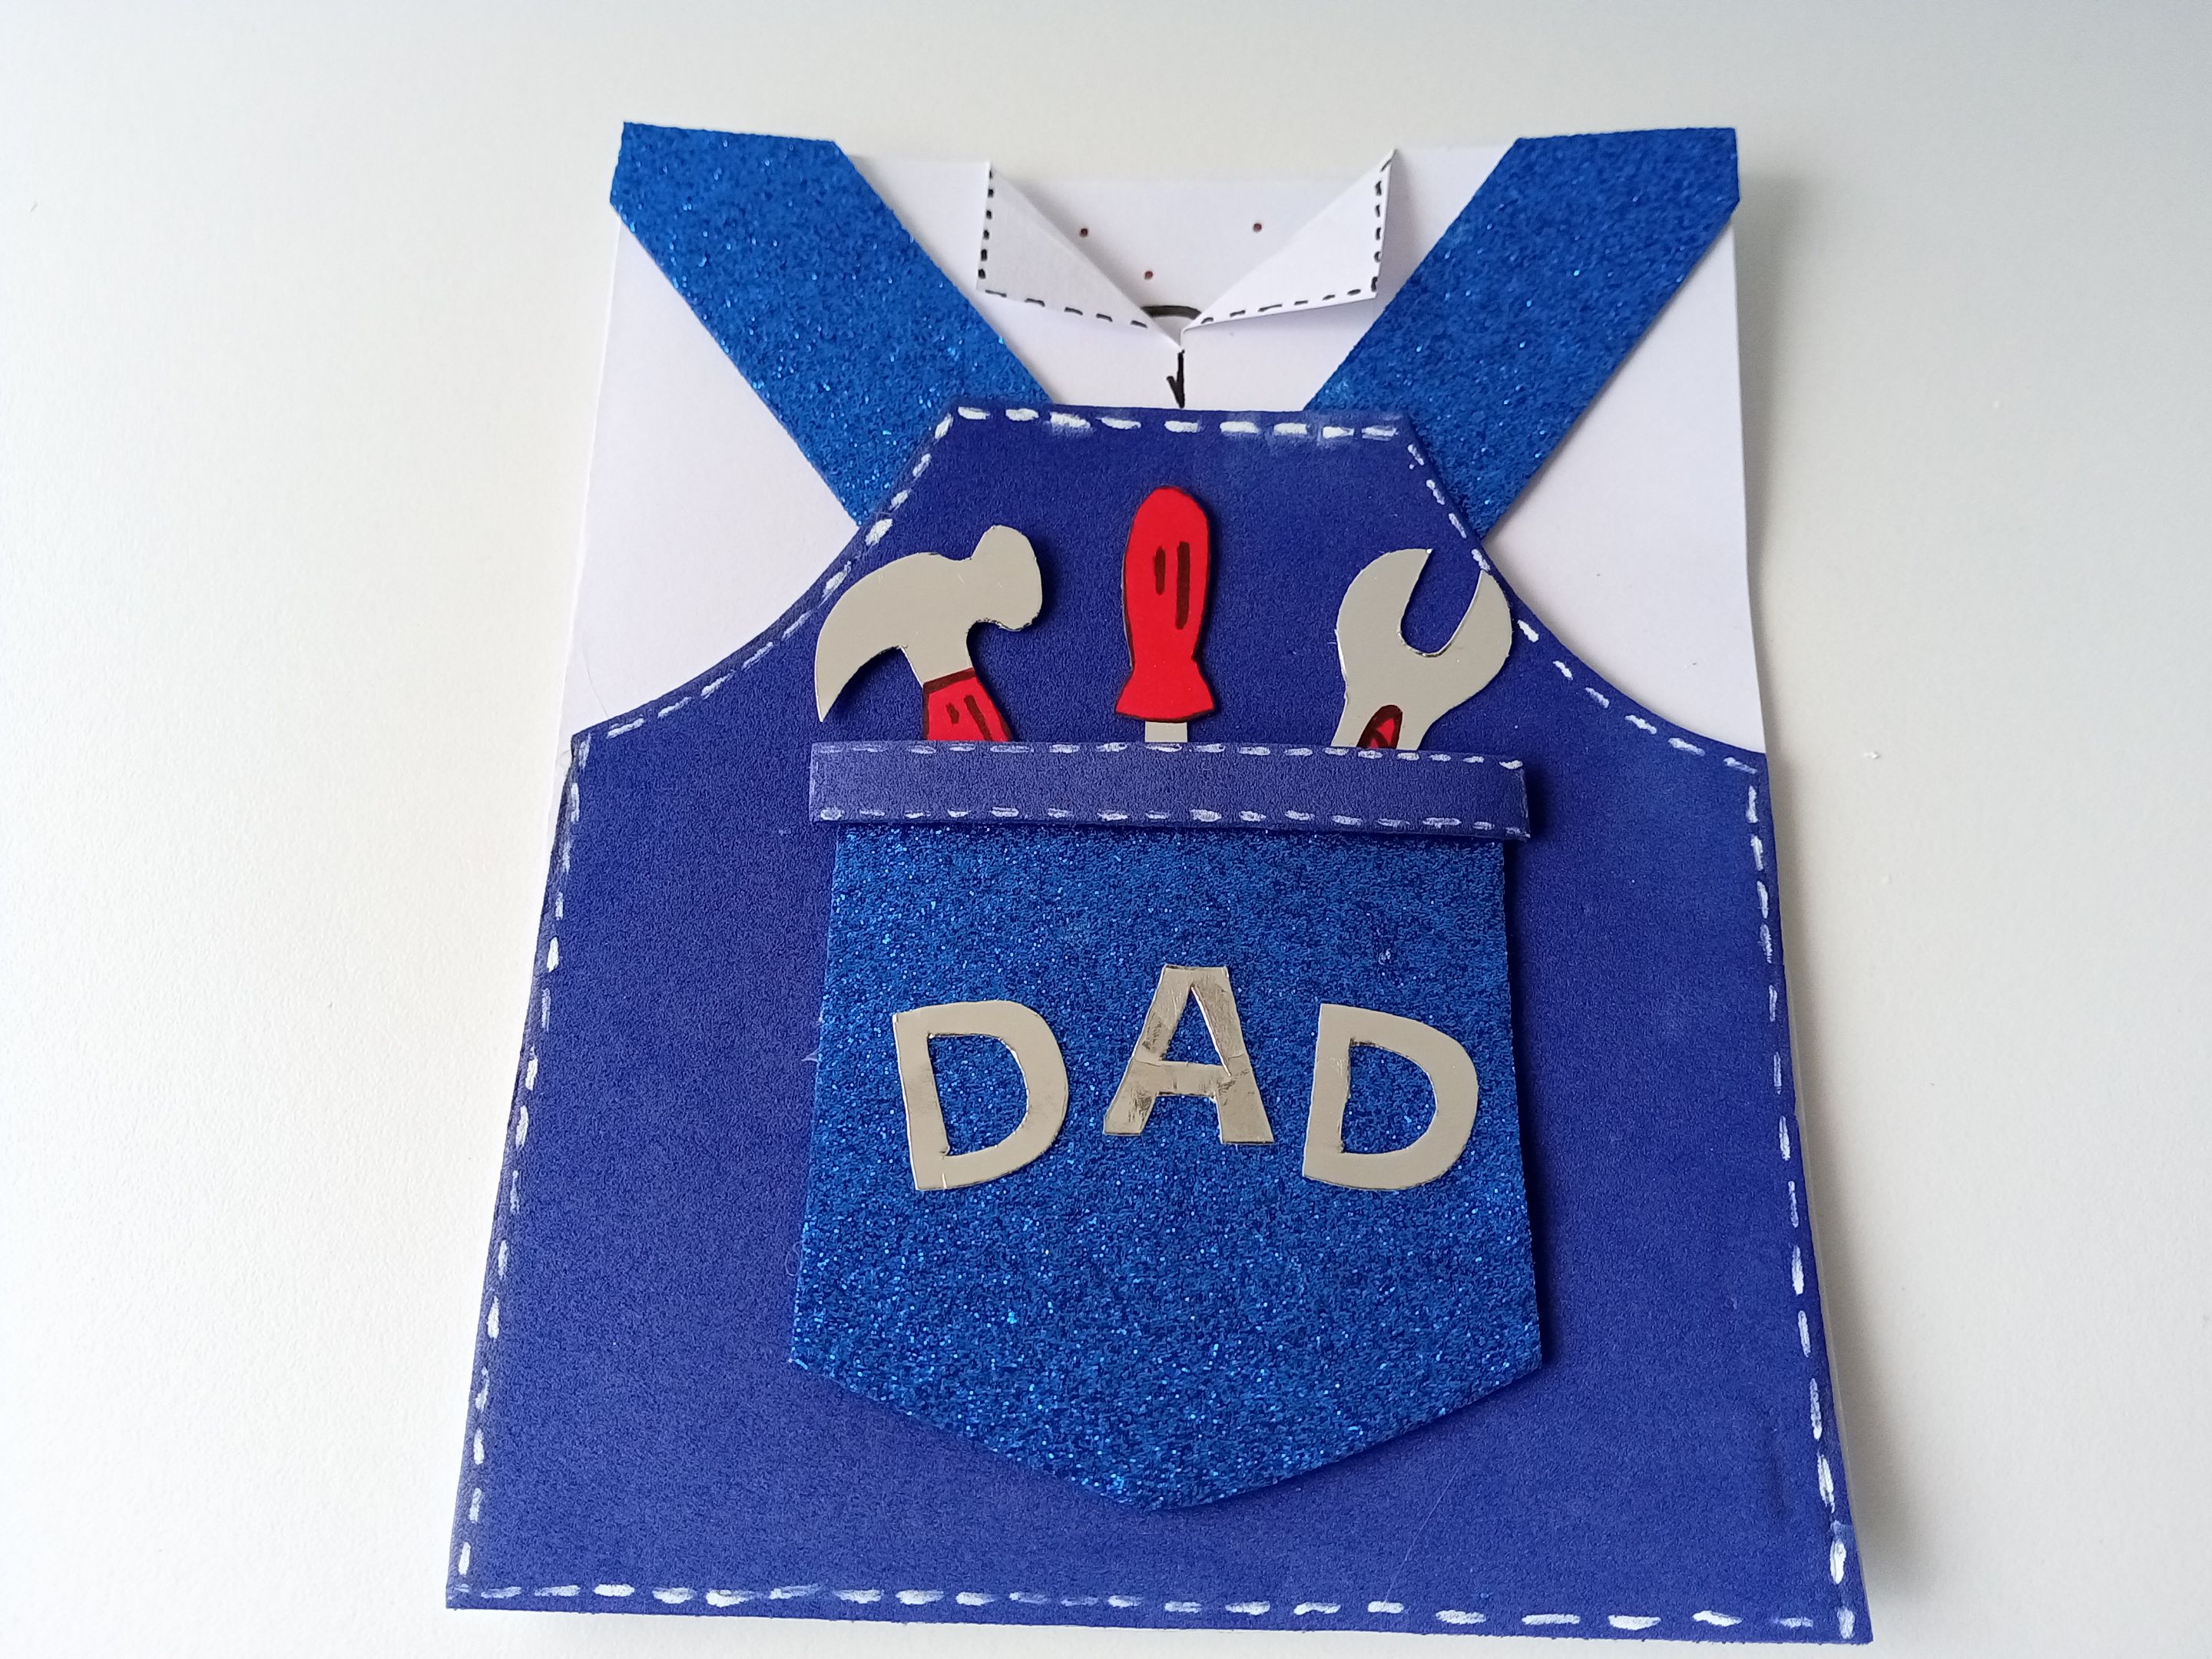
### - *PASO 3:*
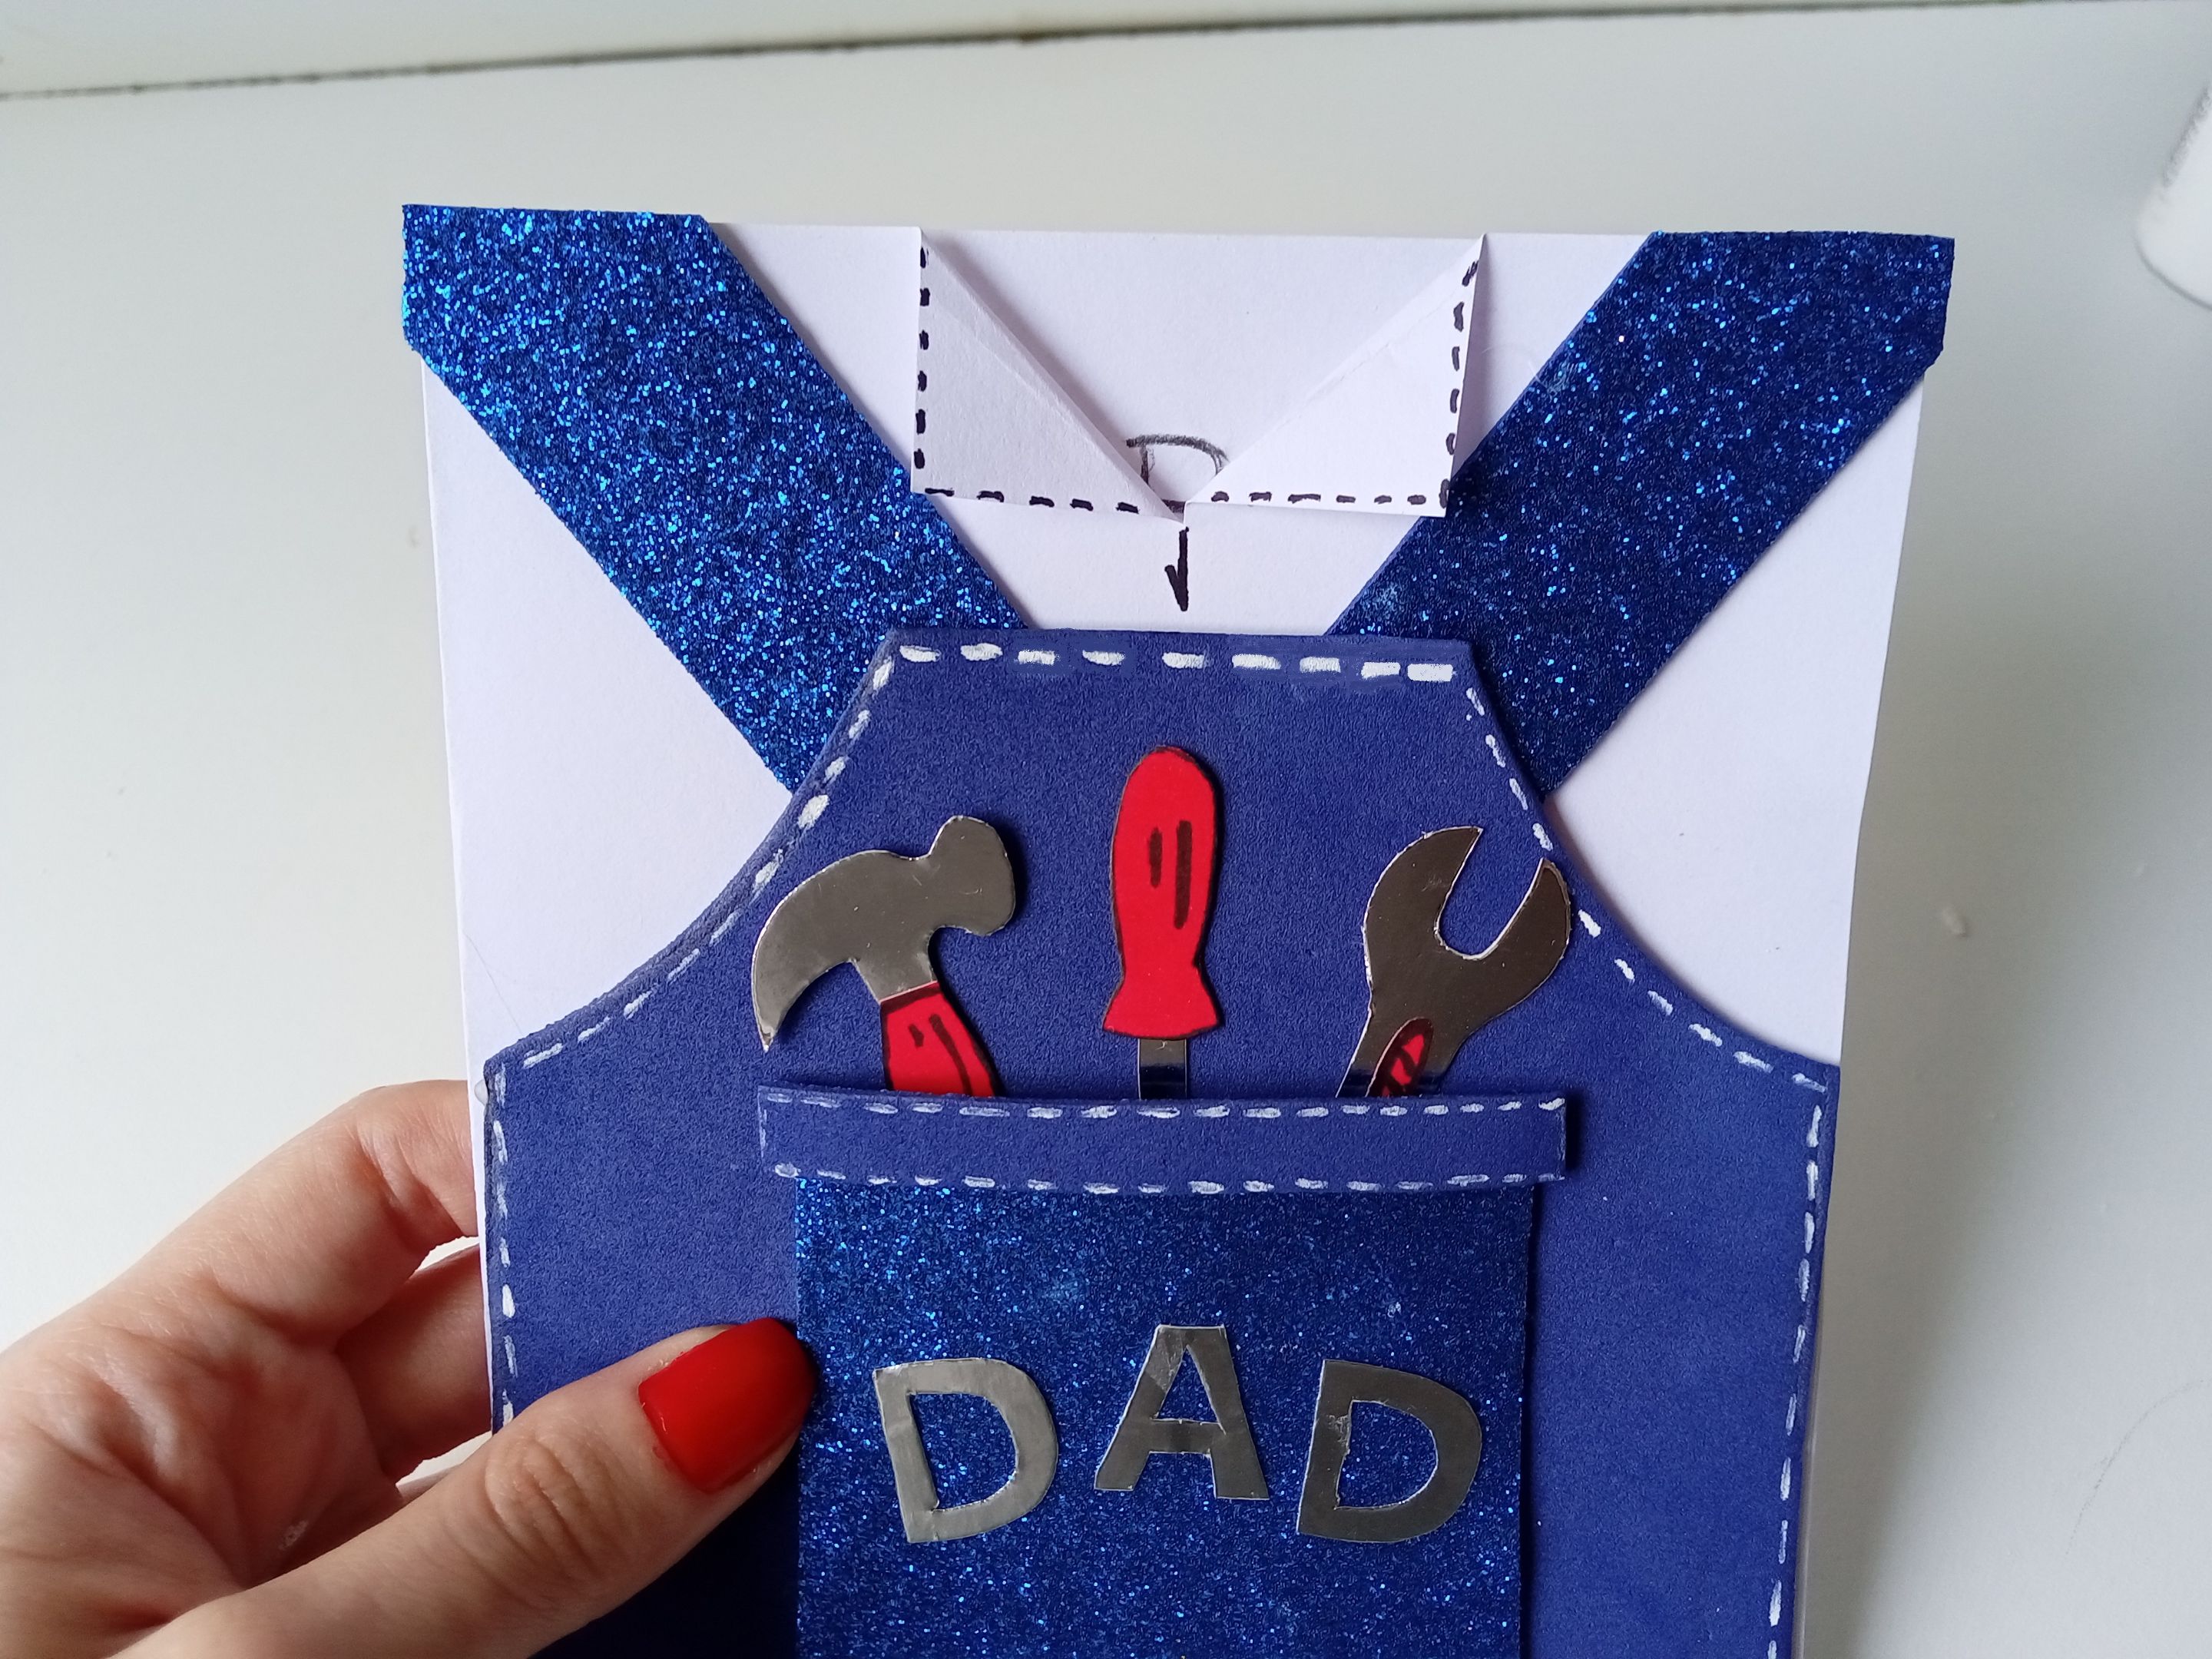
###### Una vez listo, pegué las piezas en el lugar correspondiente. Solo pegué el bolsillo por los bordes para que quedara un agujero en el medio. Luego pegué todo armado a una de las paredes de la cartulina blanca, corté el sobrante de los tirantes siguiendo la forma de la cartulina y para darle un lindo detalle, con pintura blanca, dibujé pequeñas líneas alrededor del borde.
### - *STEP 3:*
###### Once ready, I glued the pieces in the corresponding place. I just glued the pocket around the edges so there was a hole in the middle. Then I glued everything assembled to one of the walls of the white cardboard, cut the excess of the straps following the shape of the cardboard and to give it a nice detail, with white paint I drew small lines around the edge.


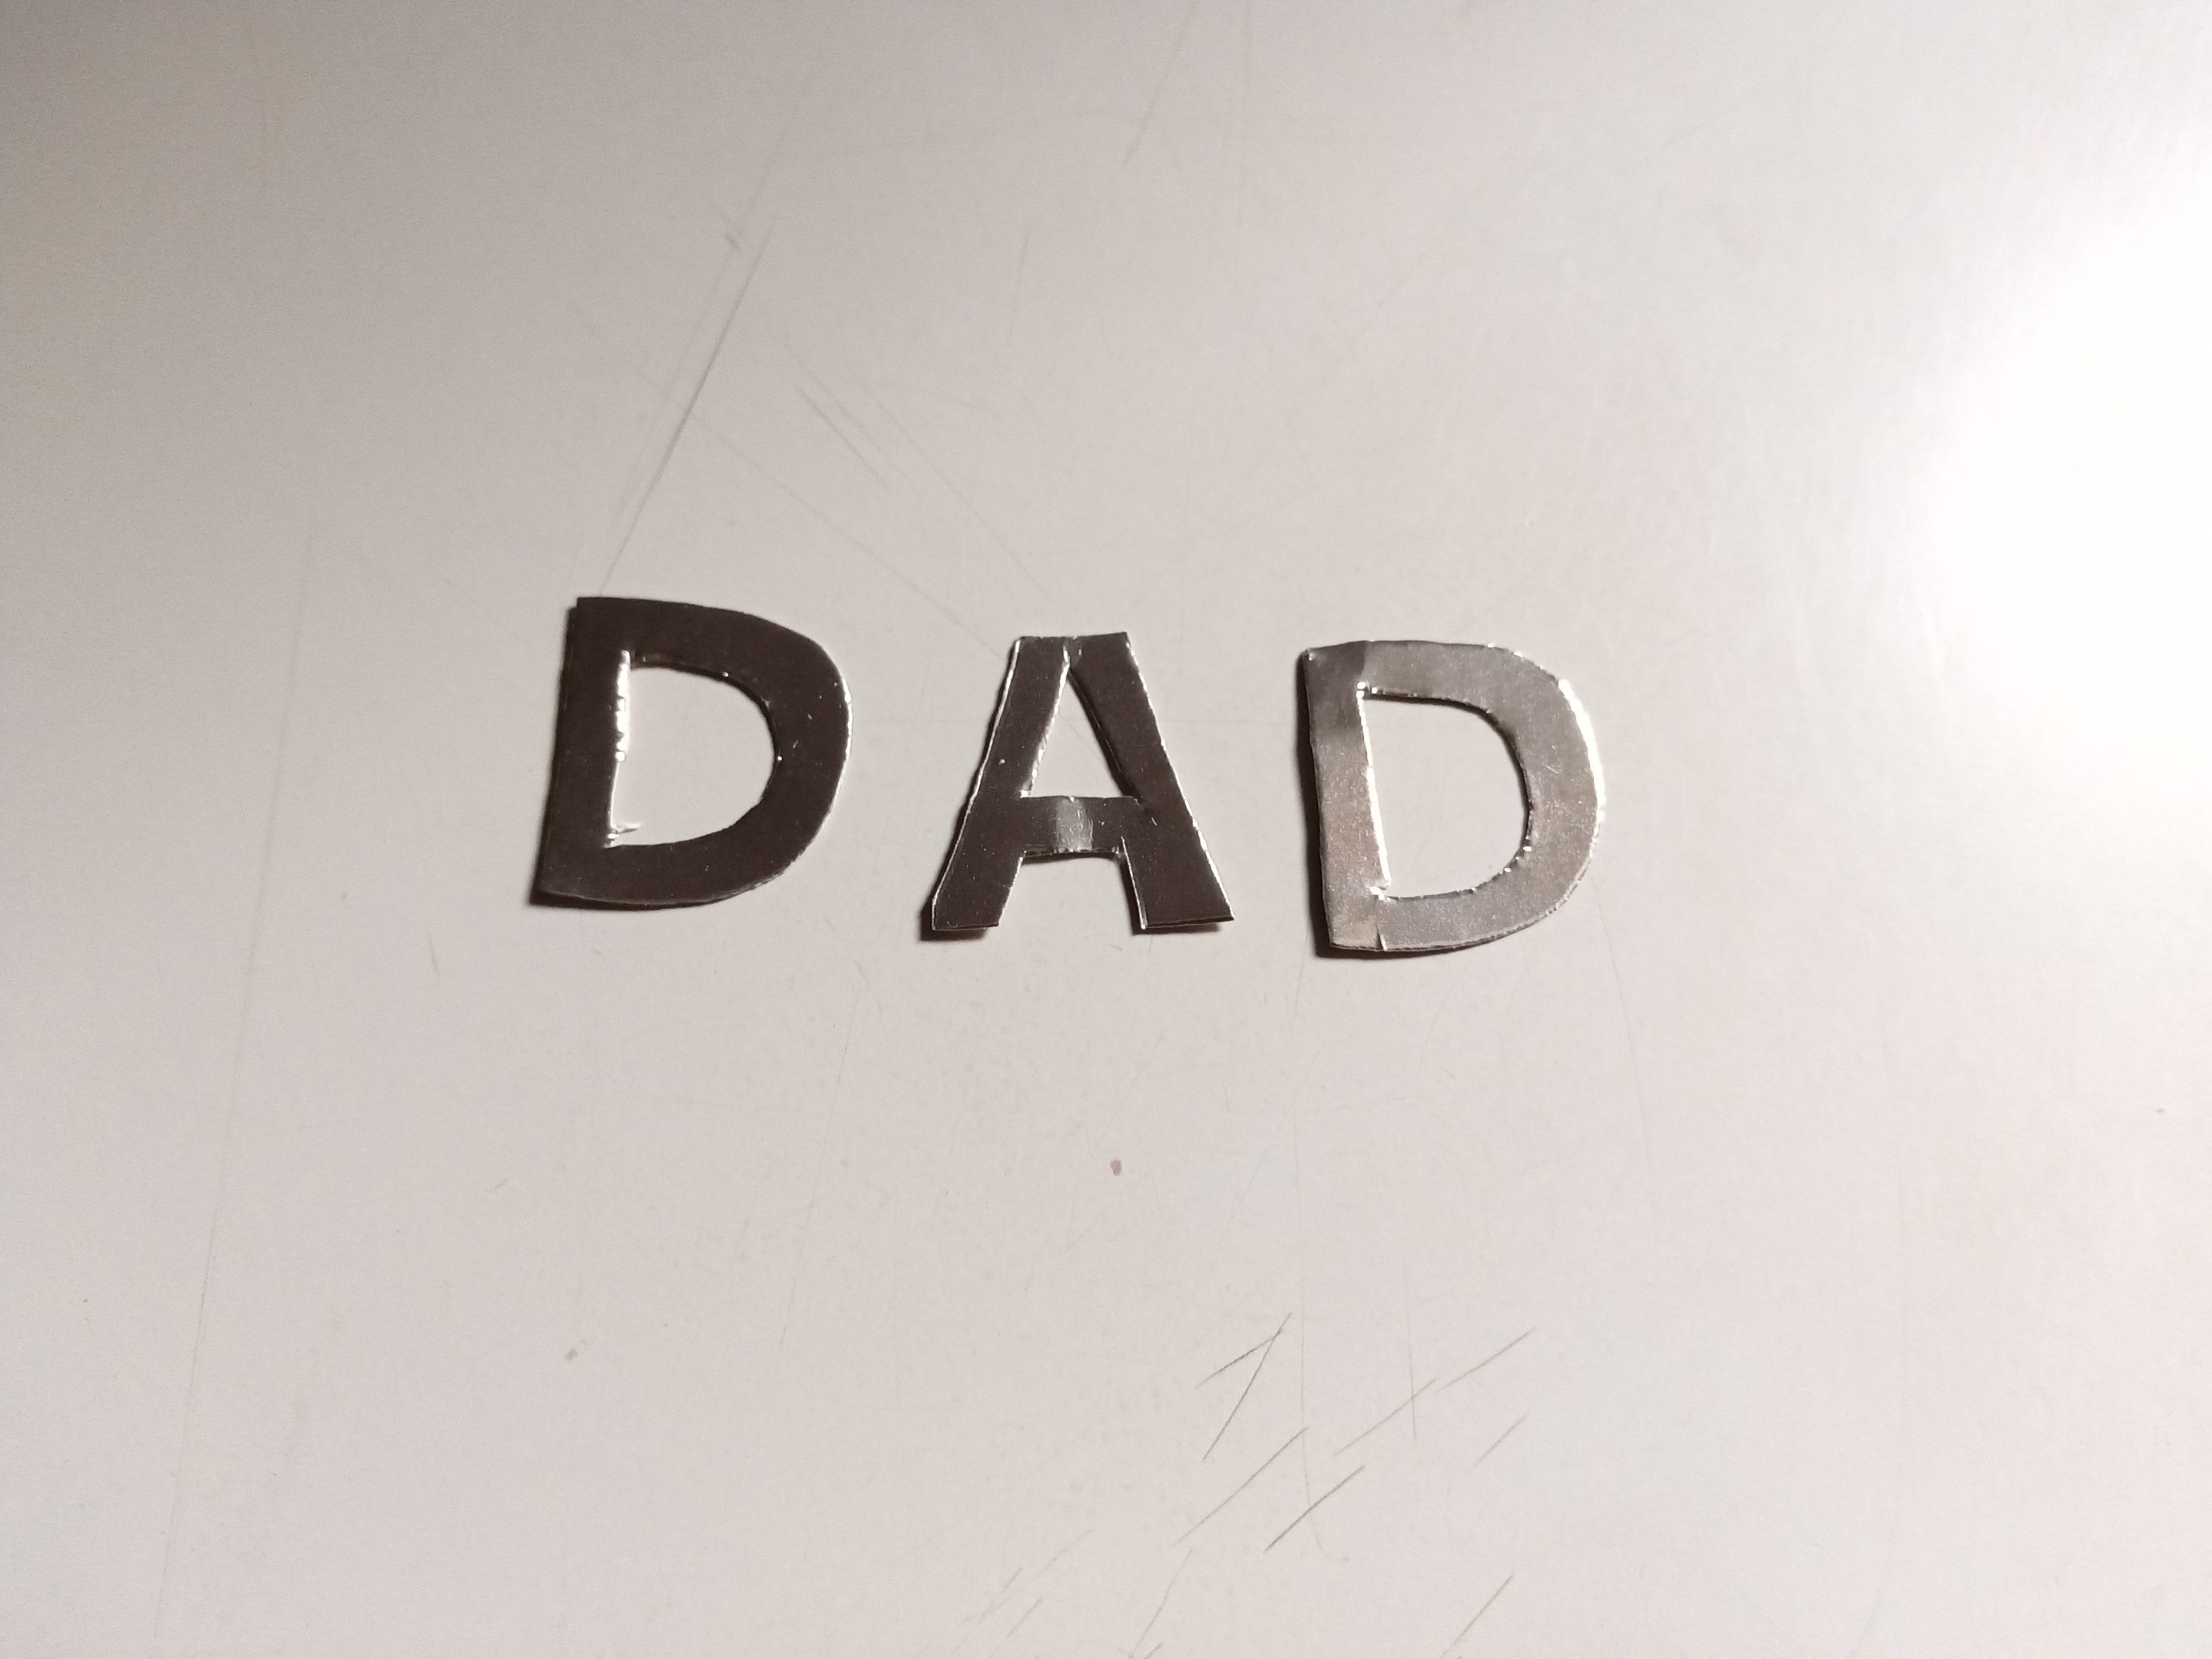
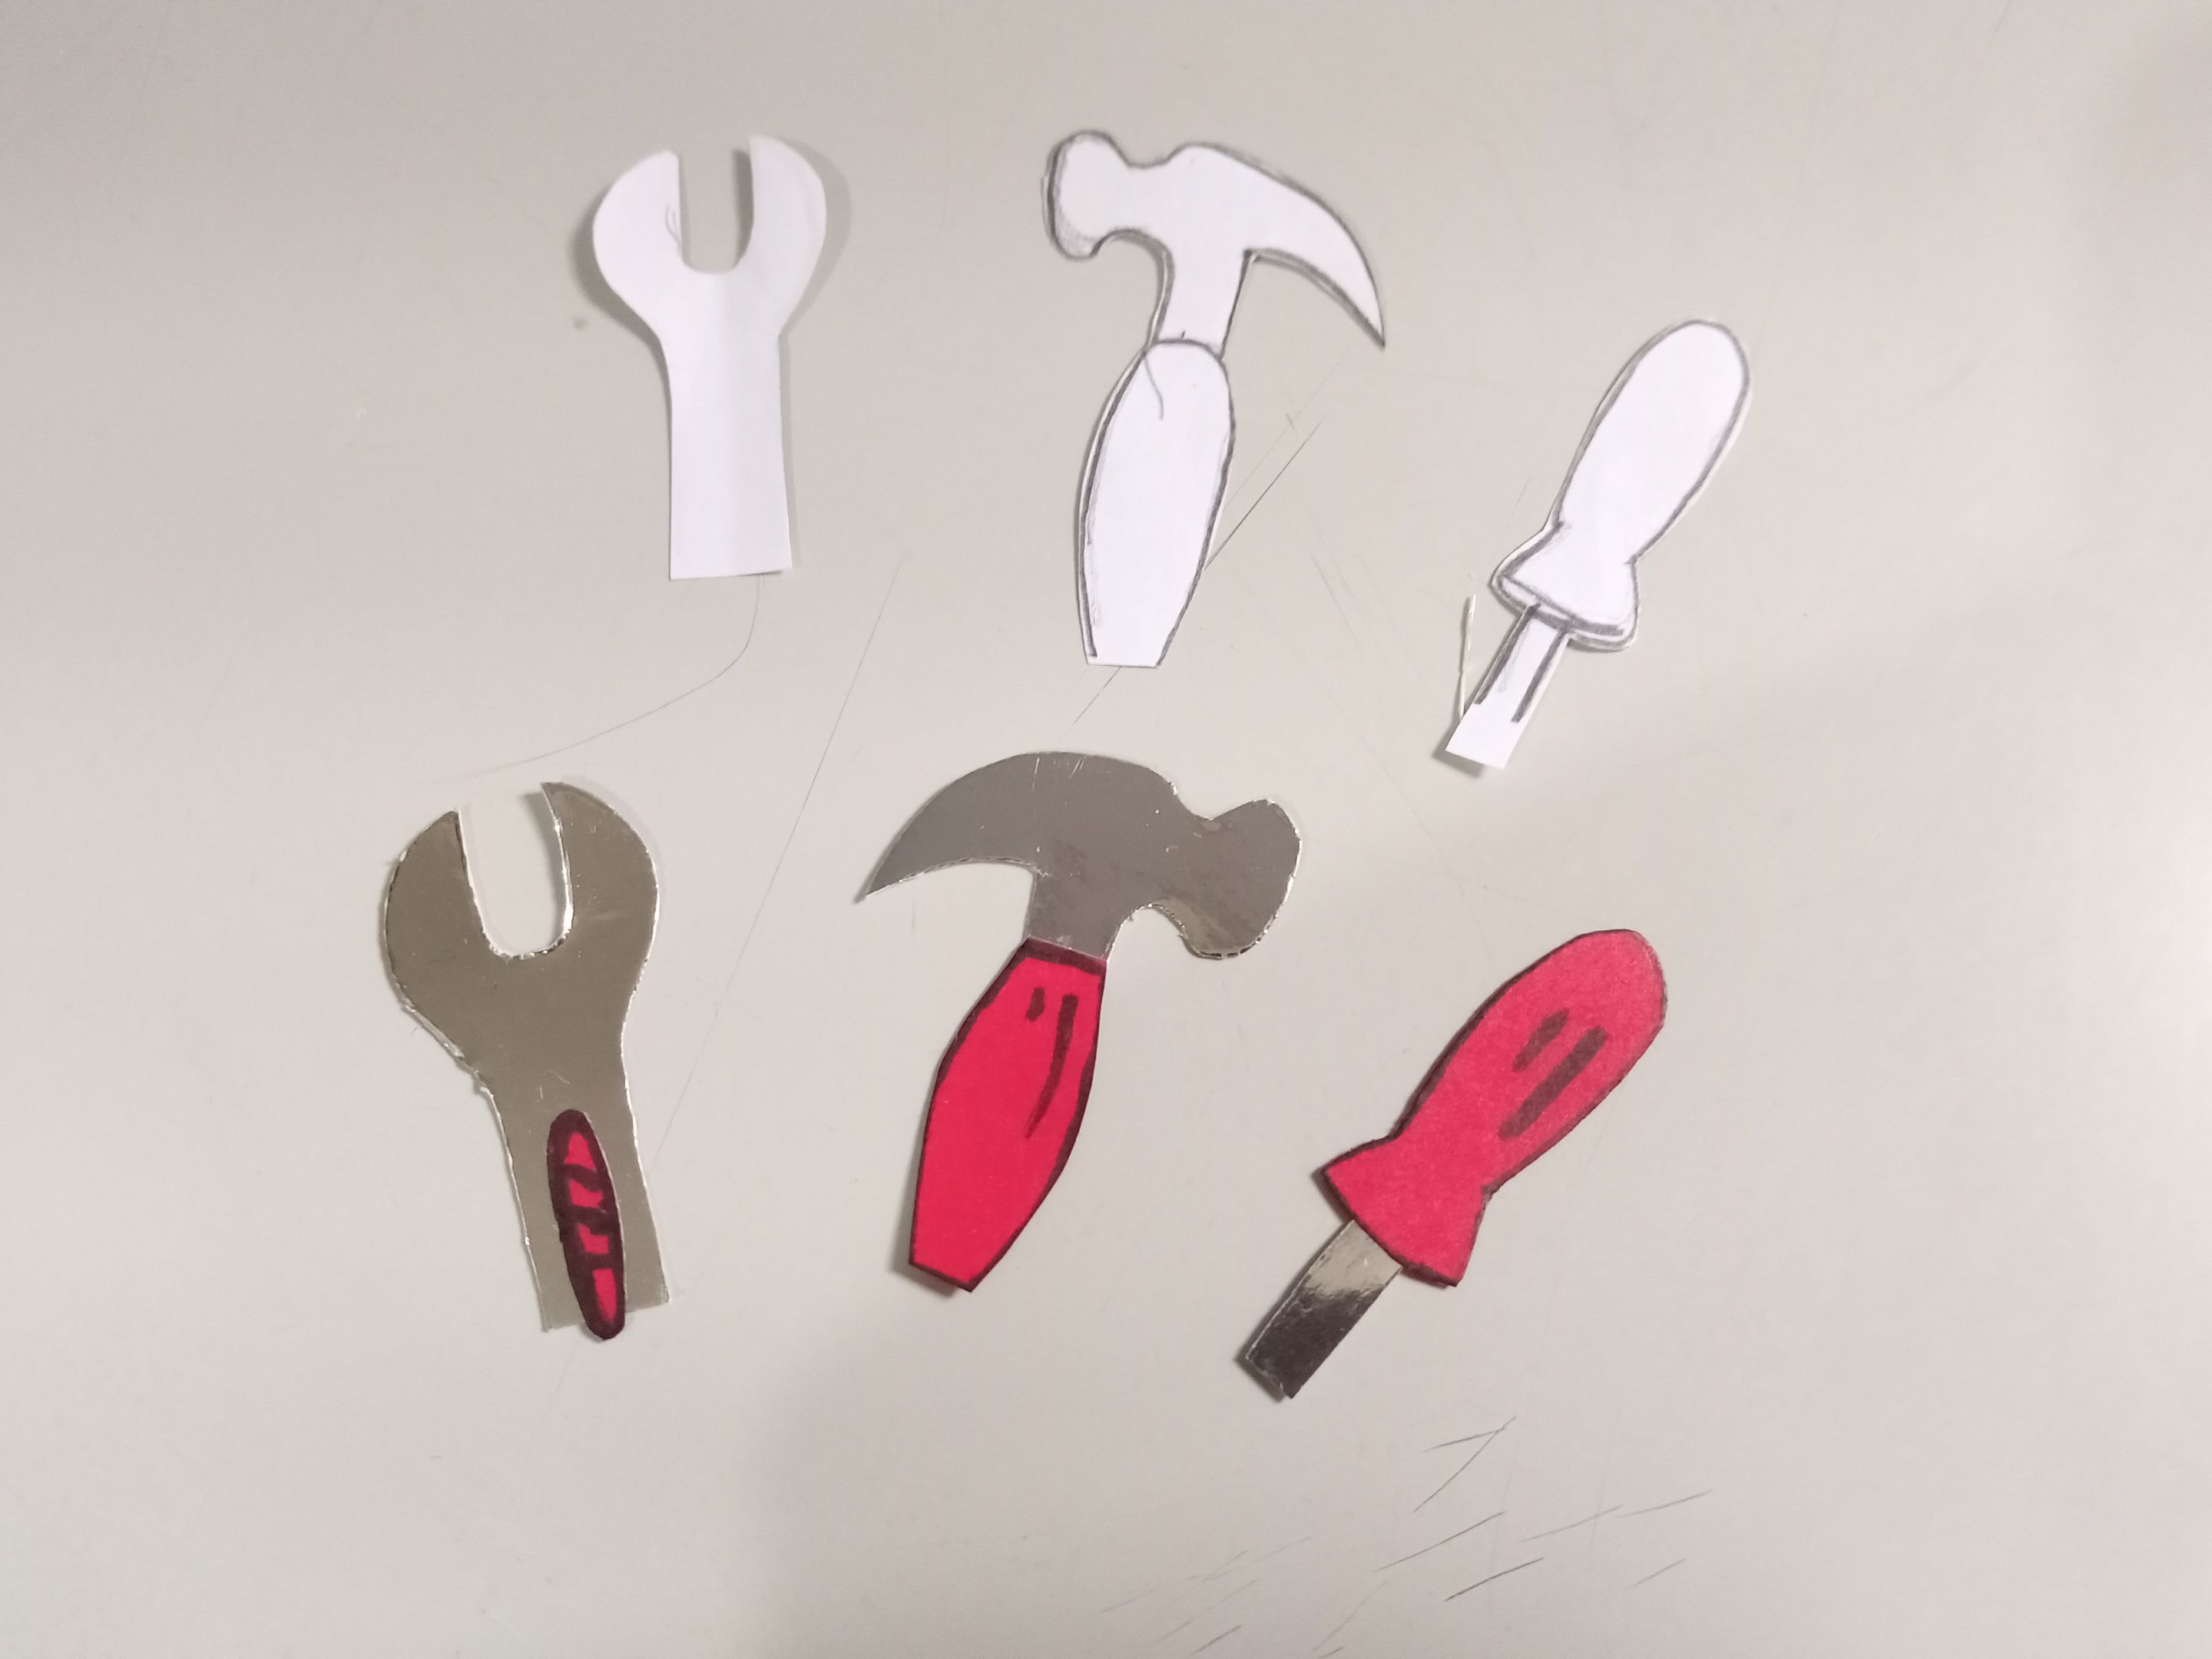
### - *PASO 4:*
###### Mientras se secaba, comencé a trabajar en los pequeños detalles. Dibujé y recorté la palabra **''DAD''** en cartulina metalizada plateada y además, dibujé el patrón de unas herramientas en papel blanco, las recorté y las transferí a la cartulina plateada metalizada. Para darle color a las herramientas utilicé cartulina roja. Después Le di algunos detalles con un marcador, pegué dentro del bolsillo y la palabra en el medio del bolsillo.
### - *STEP 4:*
###### While it dried, I started working on the small details. I drew and cut out the word **''DAD''** on silver metallic cardstock and also, I drew the pattern of some tools on white paper, cut them out and transferred them to the metallic silver cardstock. To give color to the tools I used red cardboard. Then I gave him some details with a marker, glued inside the pocket and the word in the middle of the pocket.

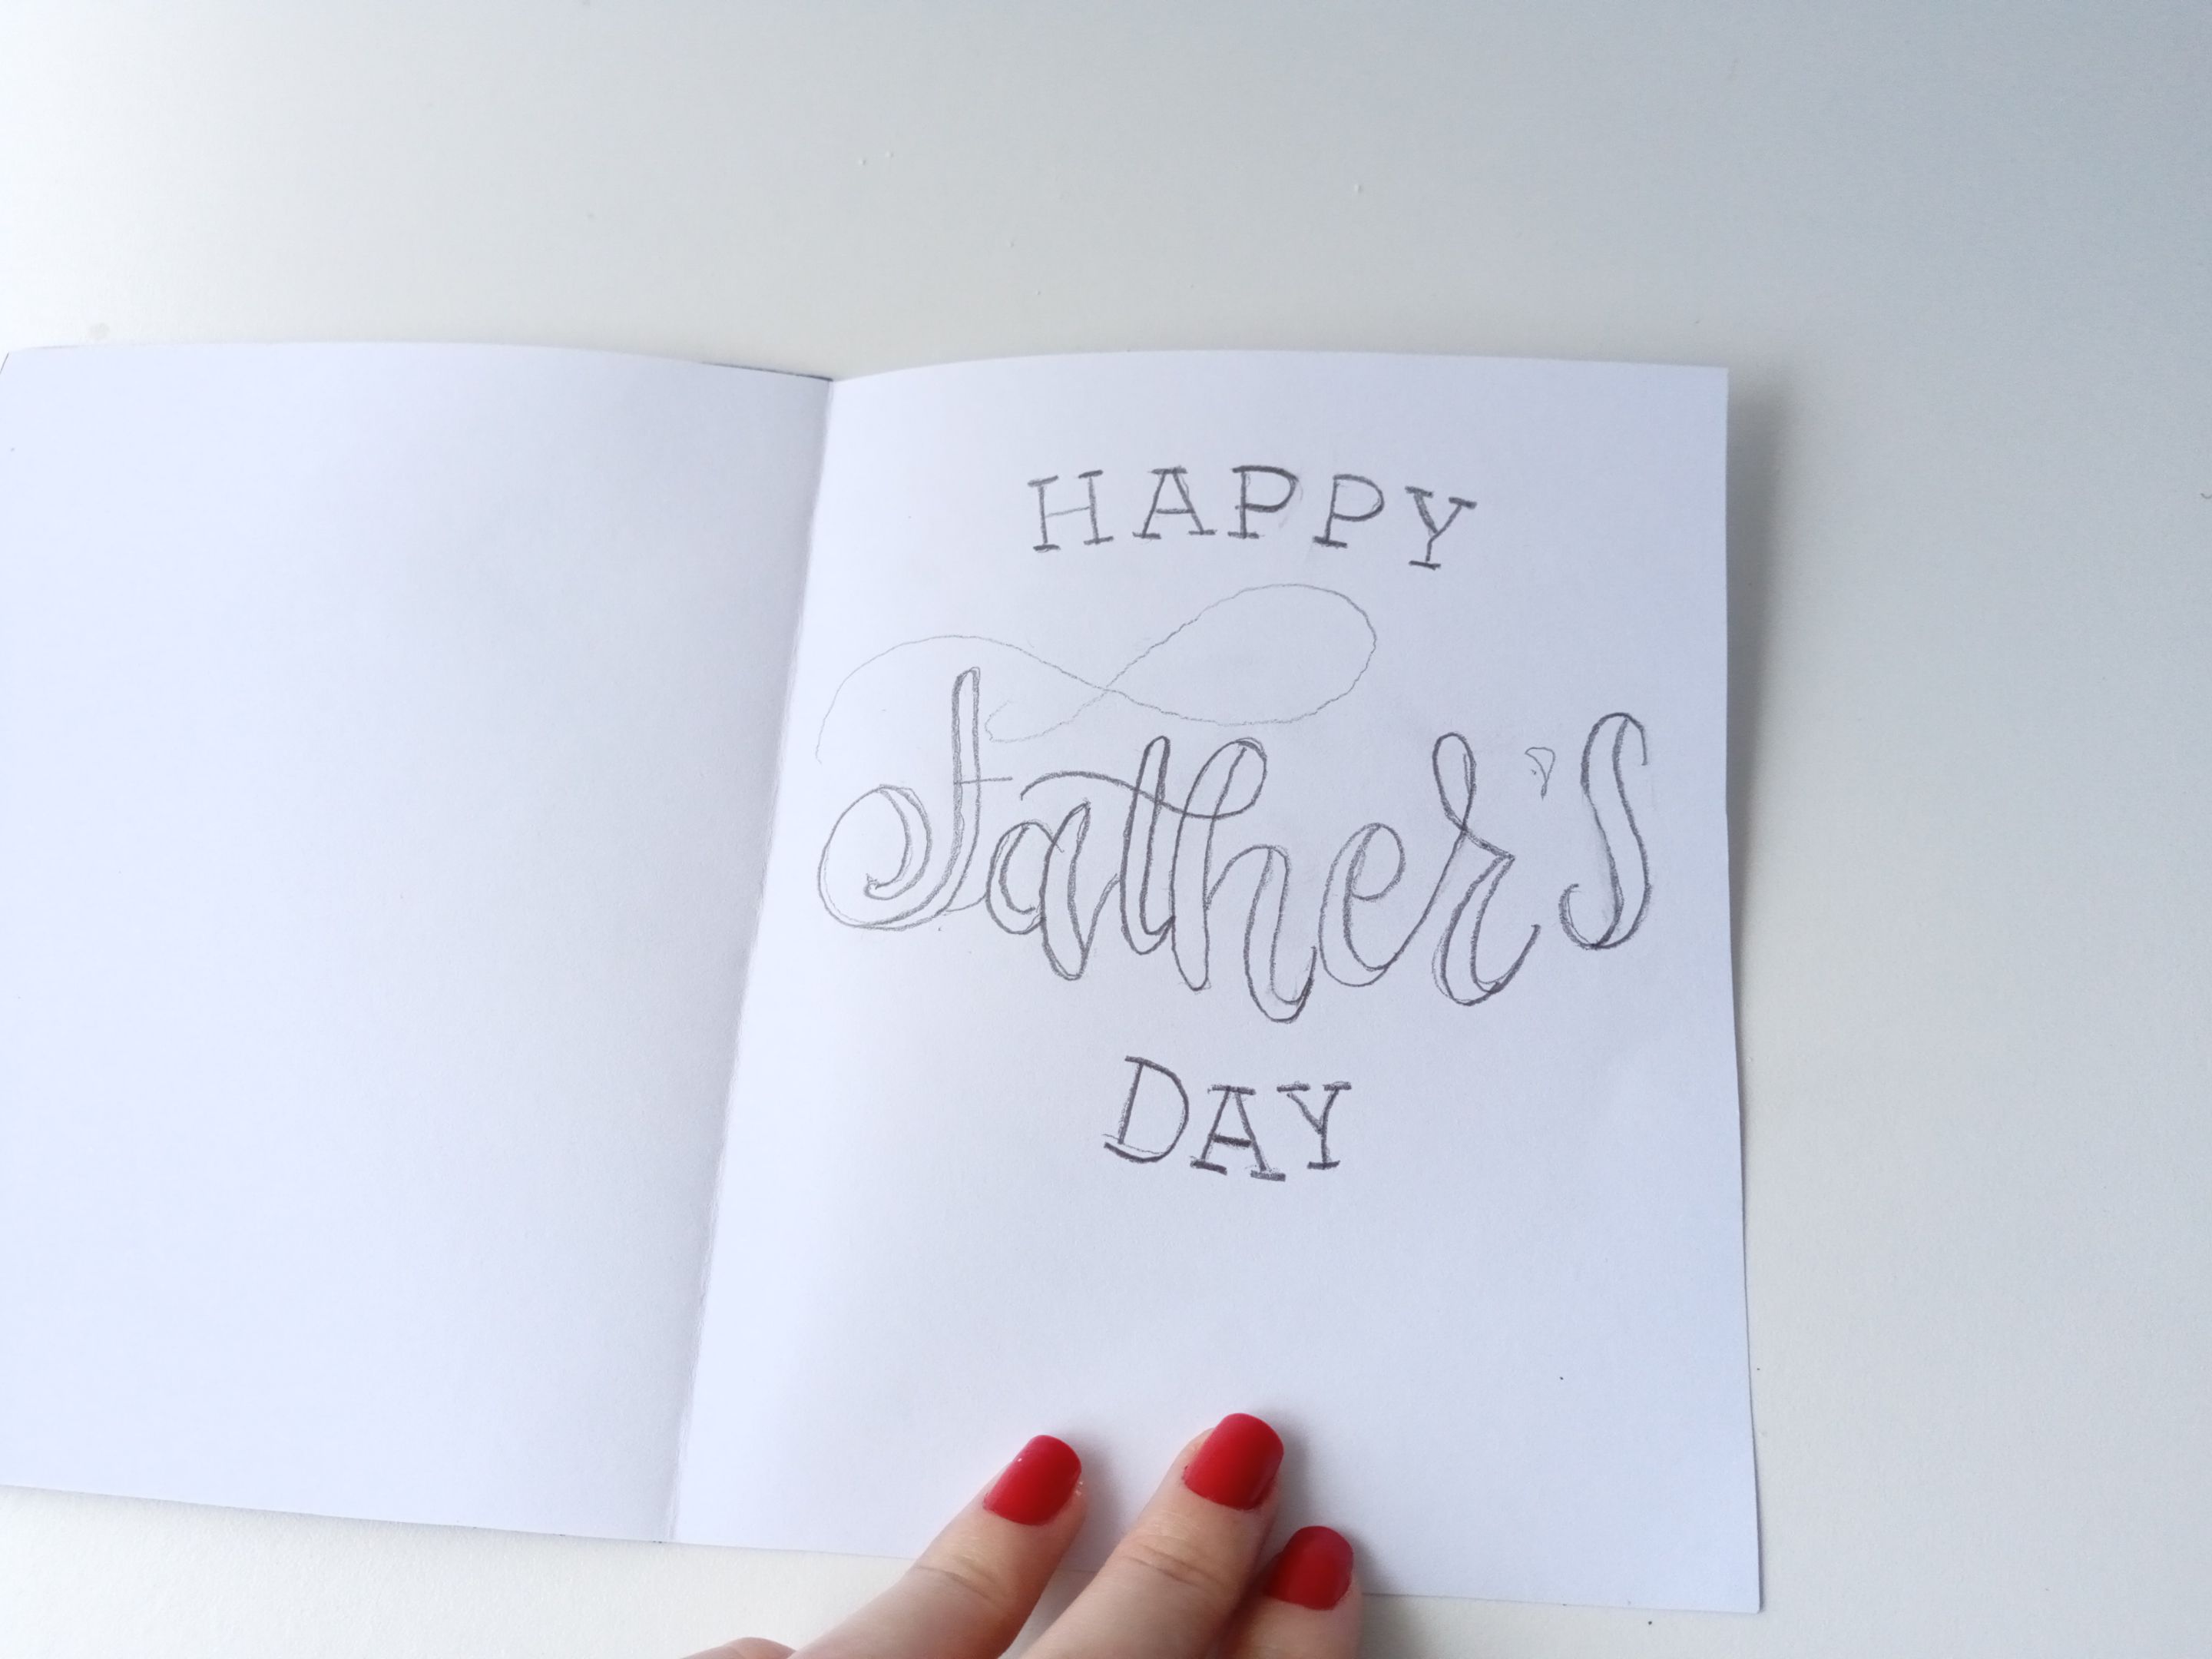
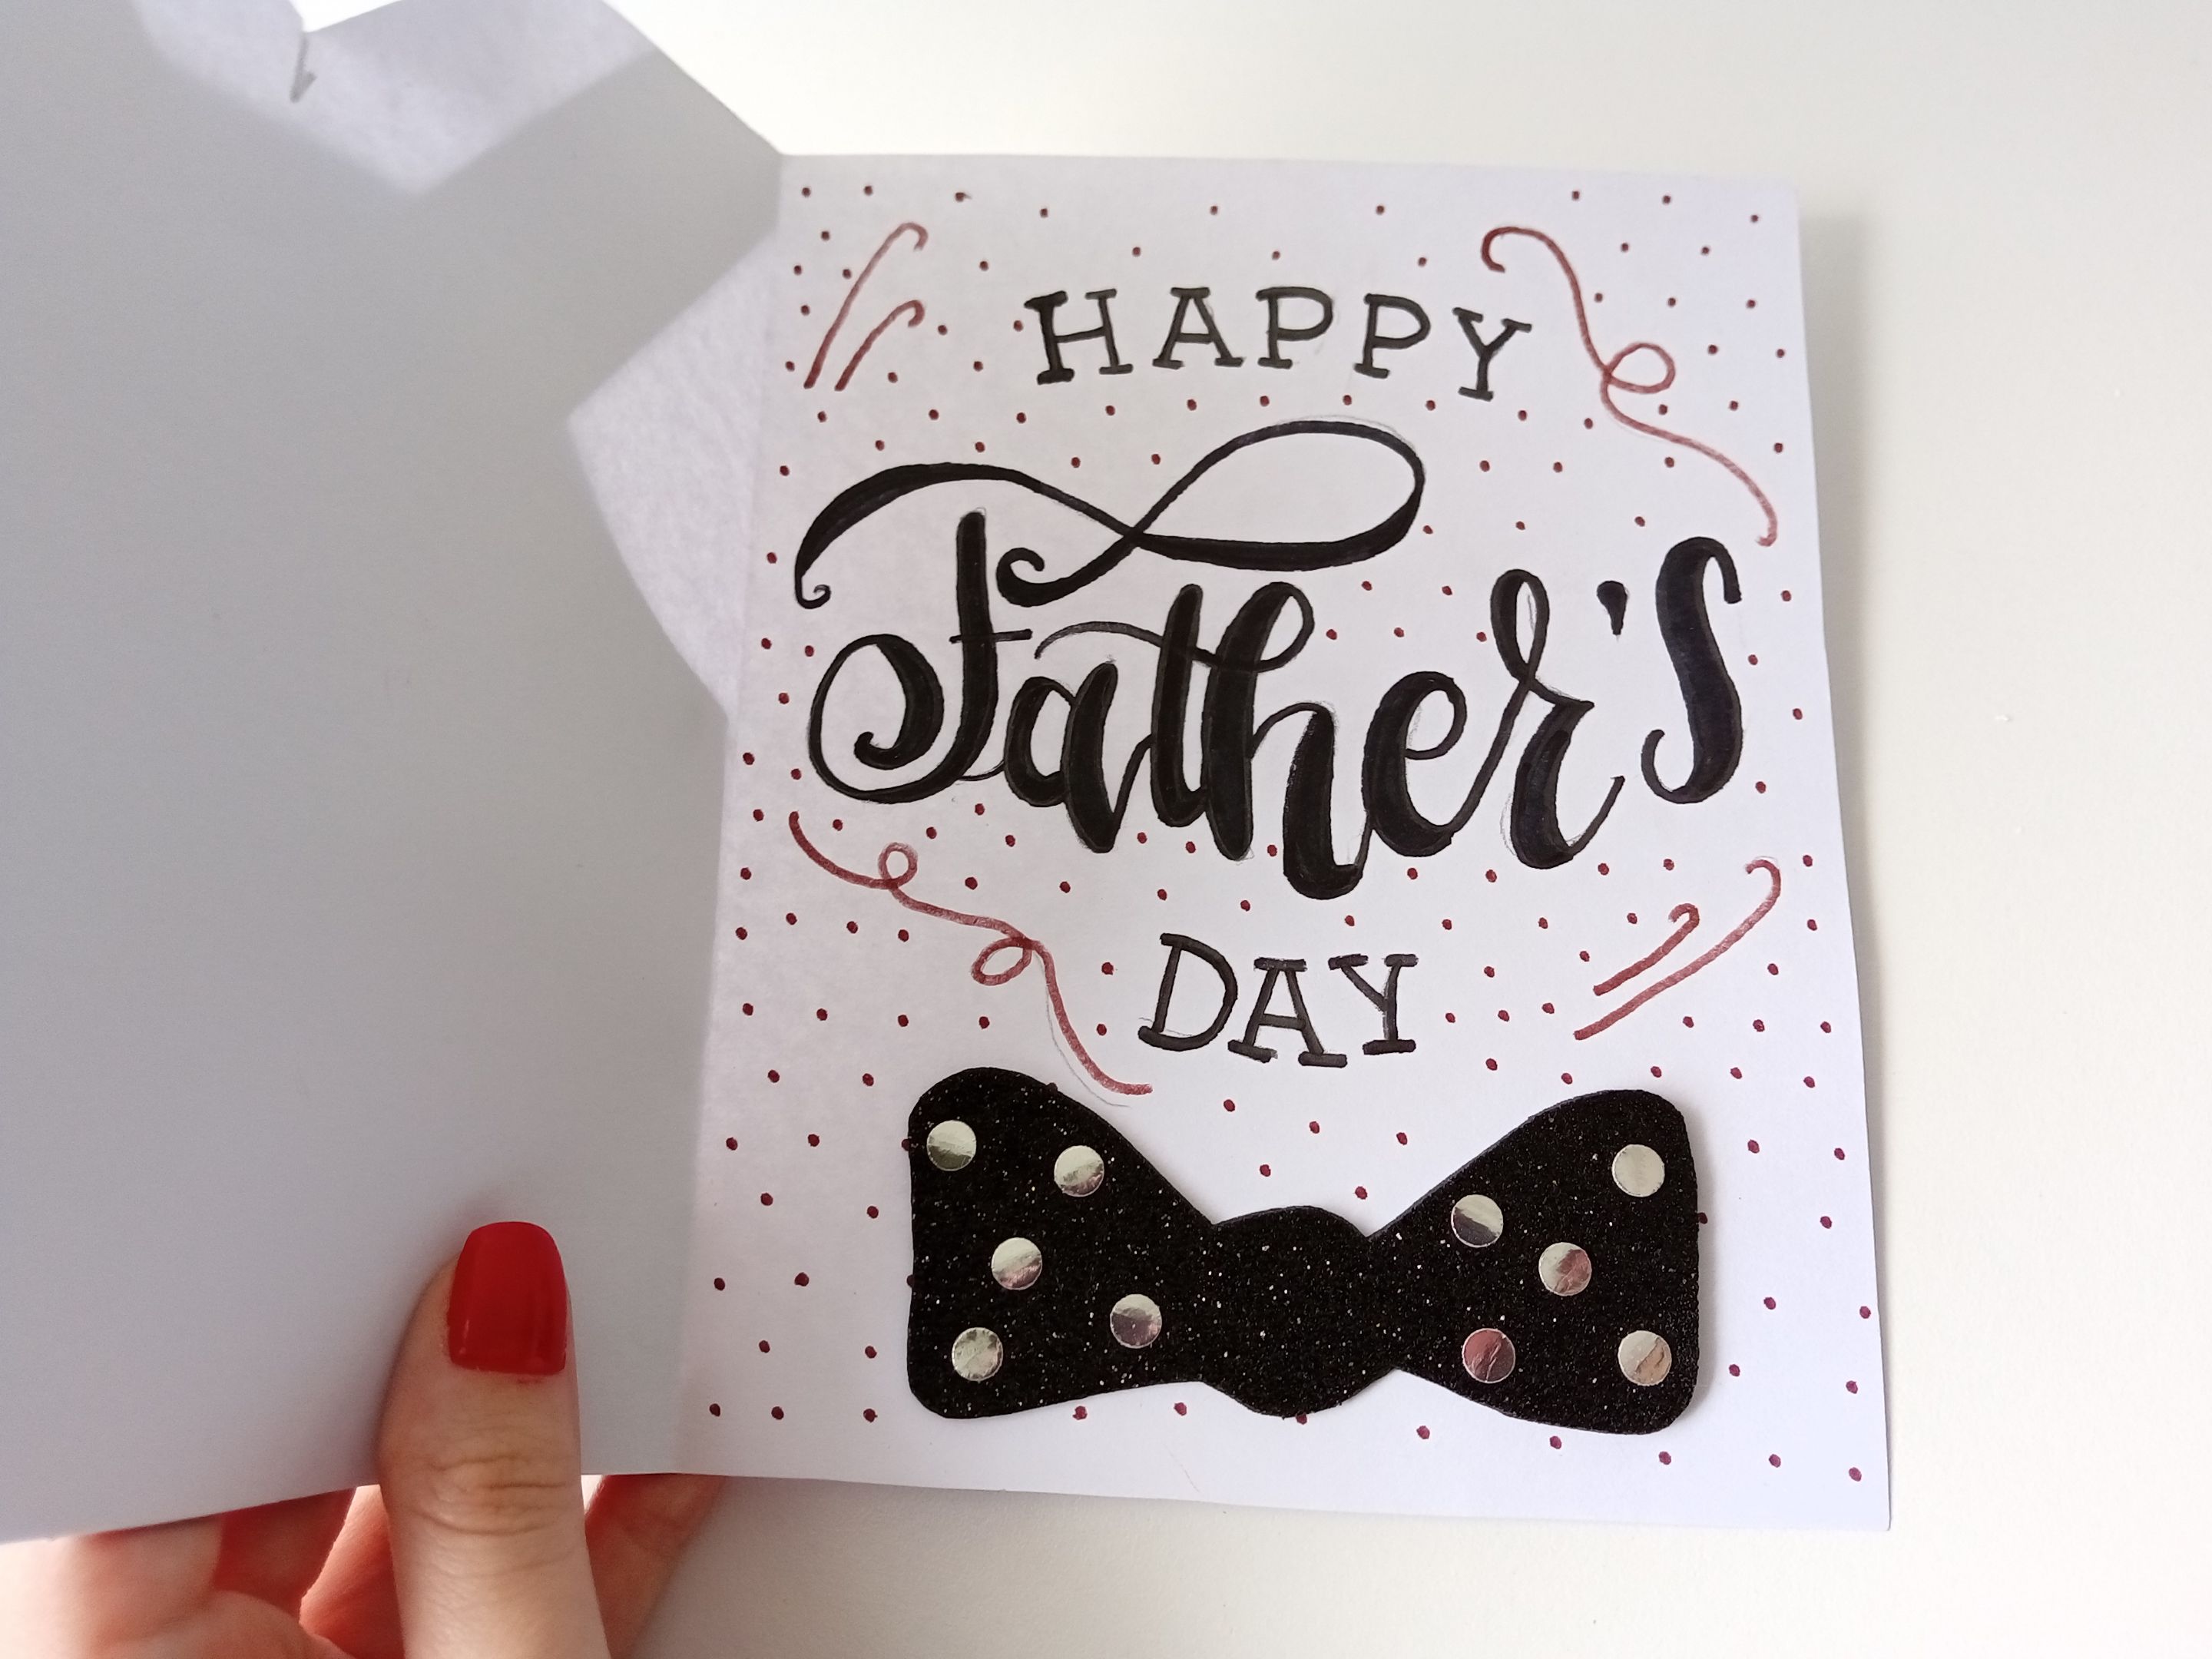
### - *PASO 5:*
###### Después de esto, para hacer la forma de una camisa, recorté un poco la cartulina blanca justo por la mitad del overol, doblé los extremos para hacer la forma y agregué detalles con marcador. Para terminar, adentro escribí la frase **''HAPPY FATHER'S DAY''**, remarqué con un marcador negro y le di algunos detalles extra. Además de esto, dibujé y recorté un lazo en foami escarchado negro, recorté unos círculos en cartulina metalizada plateada y lo pegué justo debajo de la frase.
### - *STEP 5:*
###### After this, to make the shape of a shirt, I cut out a bit of the white cardstock right in the middle of the overalls, folded the ends to make the shape, and added details with a marker. To finish, I wrote the phrase **''HAPPY FATHER'S DAY''** inside, highlighted it with a black marker and gave it some extra details. In addition to this, I drew and cut out a bow in black frosted foam, cut out some circles in silver metallic cardboard and glued it just below the sentence.


**✨💌¡Y listo!💌✨** Así es como, de esta manera sencilla y divertida, puedes hacer una tarjeta para este día tan especial. Recuerda que es solo una idea y que puedes hacerlo con la temática que quieras, ya sea otro traje o lo que tú crees, que pueda representar un poco más a tu papá. Espero que les haya gustado el paso a paso y se animen a elaborarlo.
❤️Hasta la próxima publicación.
**✨💌🛠¡And ready!💌🛠✨** This is how, in this simple and fun way, you can make a card for this special day. Remember that it is just an idea and that you can do it with whatever theme you want, be it another suit or whatever you create, that can represent your parents a little more. I hope you liked the step by step and you are encouraged to elaborate it.
❤️Until the next post.

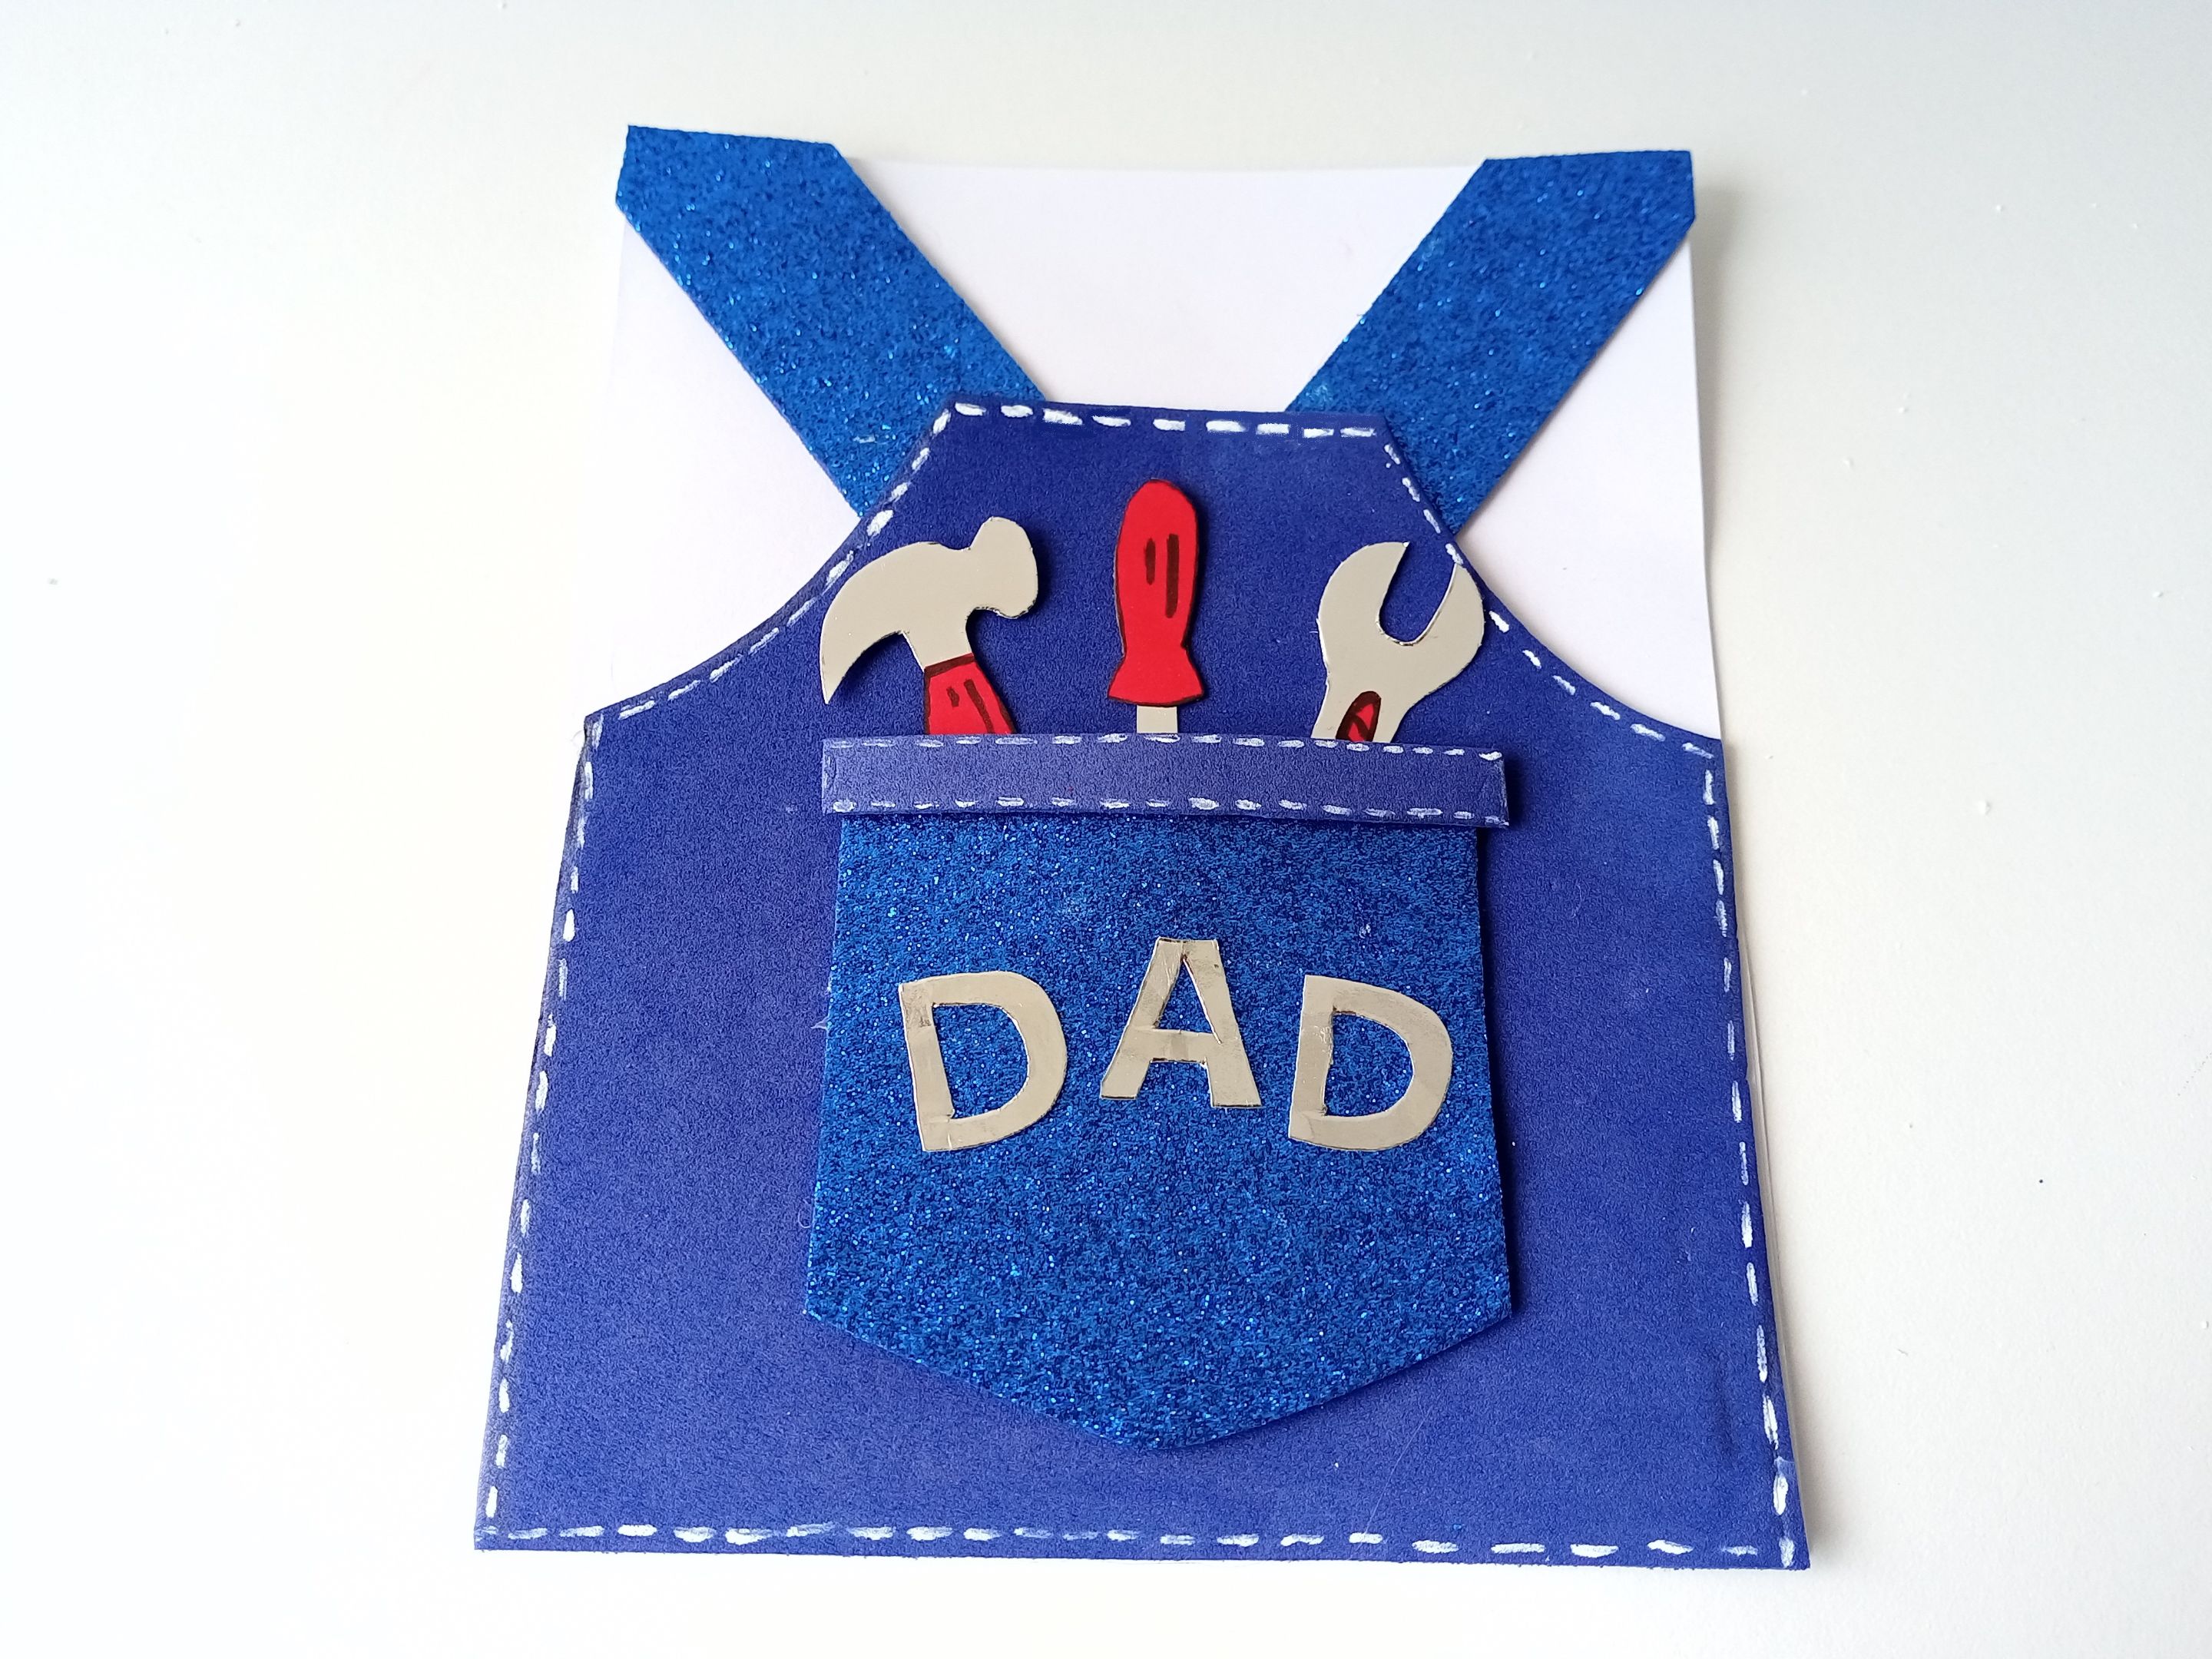
# ✨RESULTADO: | ✨RESULT:

---
🐦 [Twitter](https://twitter.com/valenpba)
---


---
**!TE DESEO UN GRAN DÏA¡**
Todas las fotografías son de mi propiedad.
Separador y Fotos editadas en [Canva](https://www.canva.com/)
**!I WISH YOU A GOOD DAY**
All photographs are my property.
Photos edited in [Canva](https://www.canva.com/)