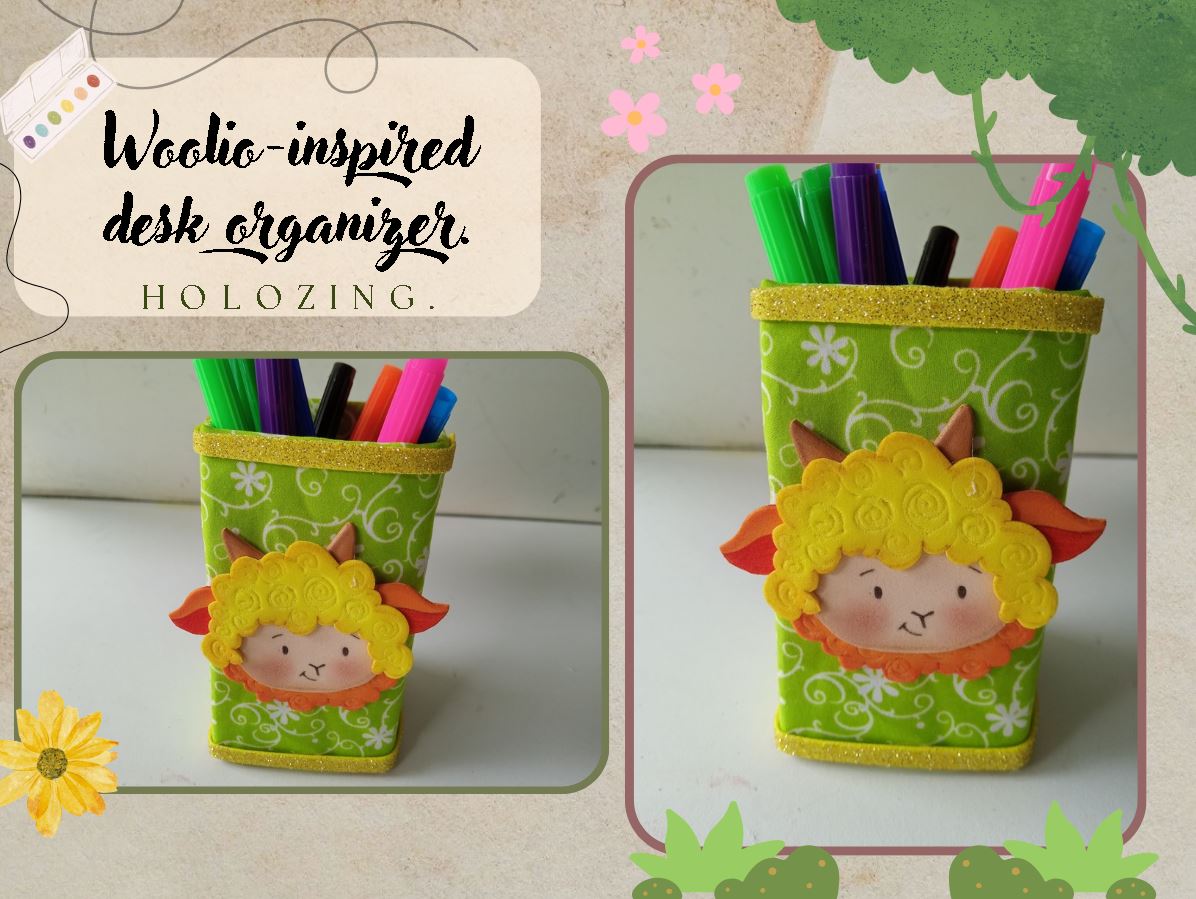
**✨¡Buenas tardes, amigos de holozing!✨** Espero estén pasando una excelente semana. Por mi parte, estoy contenta de pasar por aquí a compartir una linda idea con ustedes. En esta ocasión, les comparto el paso a paso para elaborar un lindo organizador de escritorio inspirado en Woolio. Hace mucho que no compartía algo sobre esta criatura y la verdad es que es una de las que más disfruto elaborar. Se me hace tierna, esponjosa y me parece que es muy de mi estilo. Además, decidí cambiar un poco sus ojos o rostro en general a como los suelo elaborar para adaptarlo a mi estilo.
**🔸Sin más que añadir, a continuación los dejo con el paso a paso:**
>
**✨Good afternoon, holozing friends!✨** I hope you're having a great week. For my part, I'm happy to stop by to share a lovely idea with you. This time, I'm sharing the step-by-step instructions for making a cute Woolio-inspired desk organizer. It's been a while since I shared anything about this creature, and the truth is, it's one of the ones I enjoy making the most. I find it cute, fluffy, and very much my style. I also decided to slightly change its eyes and face from how I usually make them to adapt it to my style.
> **🔸Without more to add, then I leave you with the step by step:**
---


|||
|-|-|

---
❤️ Hasta la próxima publicación.
❤️ Until the next post.
---
🐦 [Twitter](https://twitter.com/valpba)
---

---
**!TE DESEO UN GRAN DÏA¡**
Todas las fotografías son de mi propiedad.
Separador y Fotos editadas en [Canva](https://www.canva.com/)
**!I WISH YOU A GOOD DAY**
All photographs are my property.
Photos edited in [Canva](https://www.canva.com/)
**♥️ESPERO QUE TE GUSTE,
¡Empecemos!**
**♥️I HOPE YOU LIKE IT,
Let's start!**
---

# ✂️ *MATERIALES* | ✂️ *MATERIALS*

- Caja de cartón.
- Foami amarillo.
- Foami crema.
- Foami naranja.
- Foami marrón.
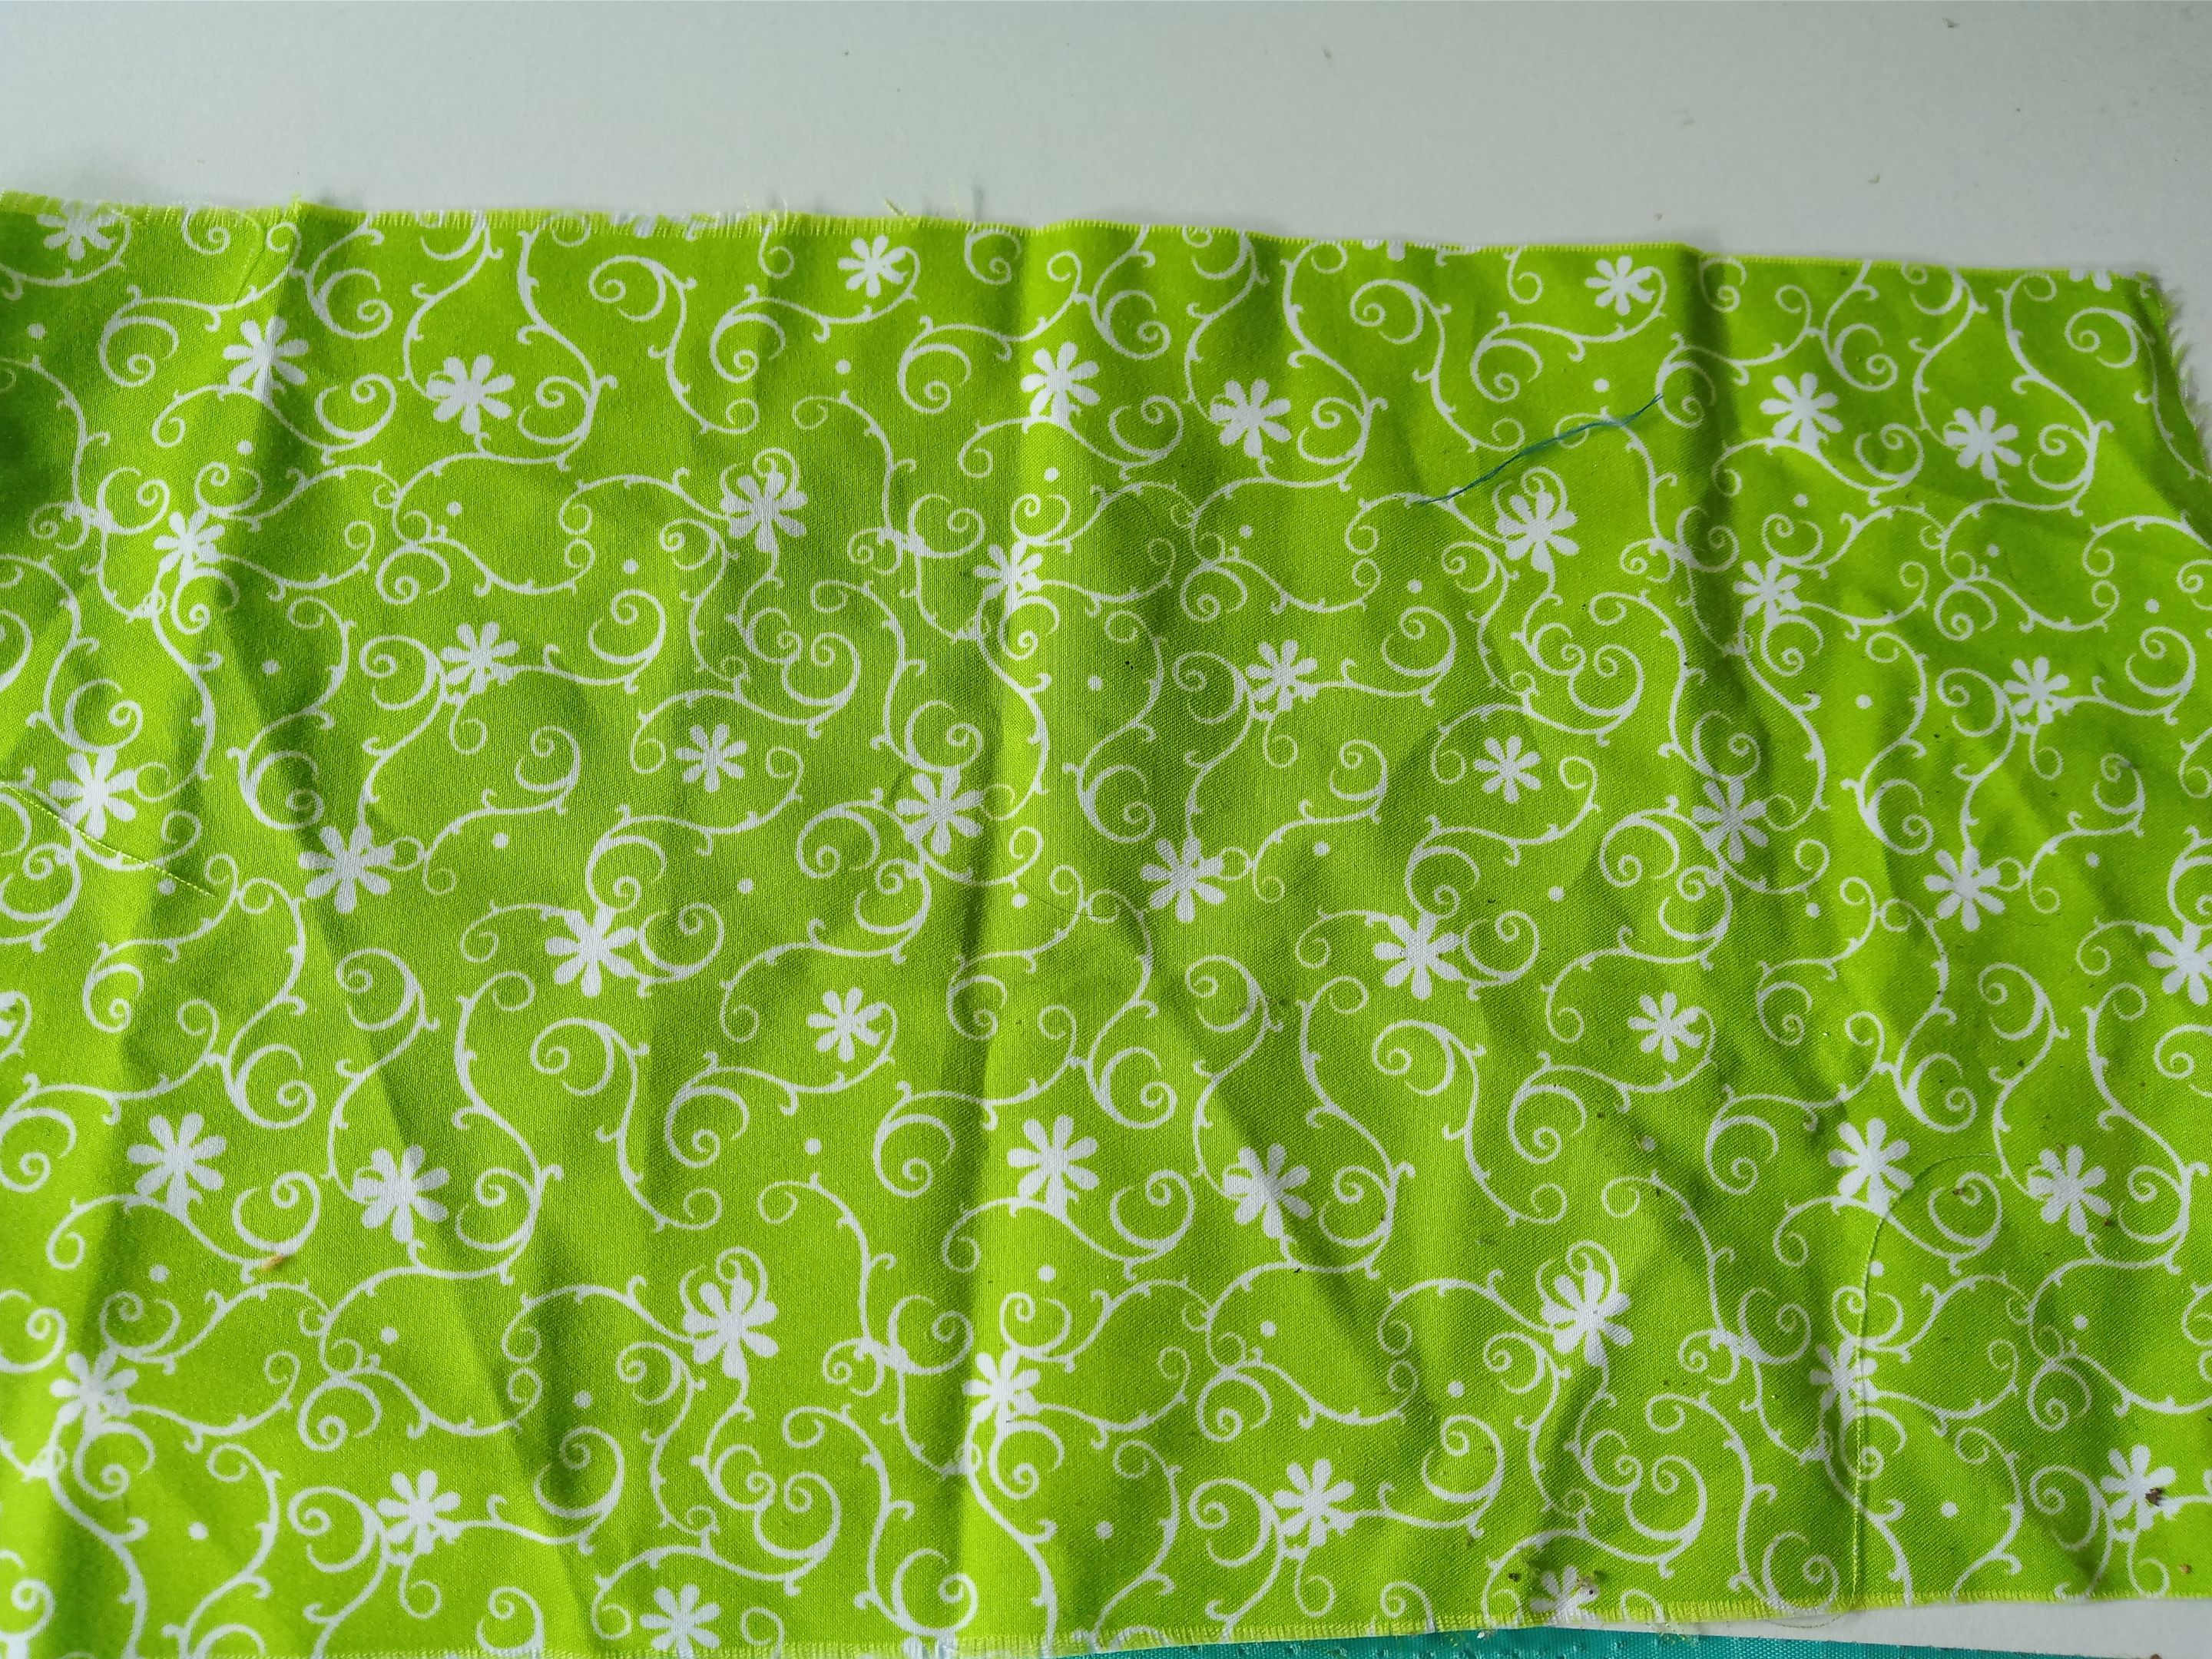
- Tela (diseño y color deseado).
- Pinturas y marcadores.
- Pegamento.
- Tijeras.
- Regla.
- Hoja blanca.
- Lápiz.
- Cardboard box.
- Yellow foam.
- Cream foam.
- Orange foam.
- Brown foam.
- Fabric (design and color of your choice).
- Paints and markers.
- Glue.
- Scissors.
- Ruler.
- White paper.
- Pencil.

# ✨ *PROCEDIMIENTO* | ✨ *PROCESS*

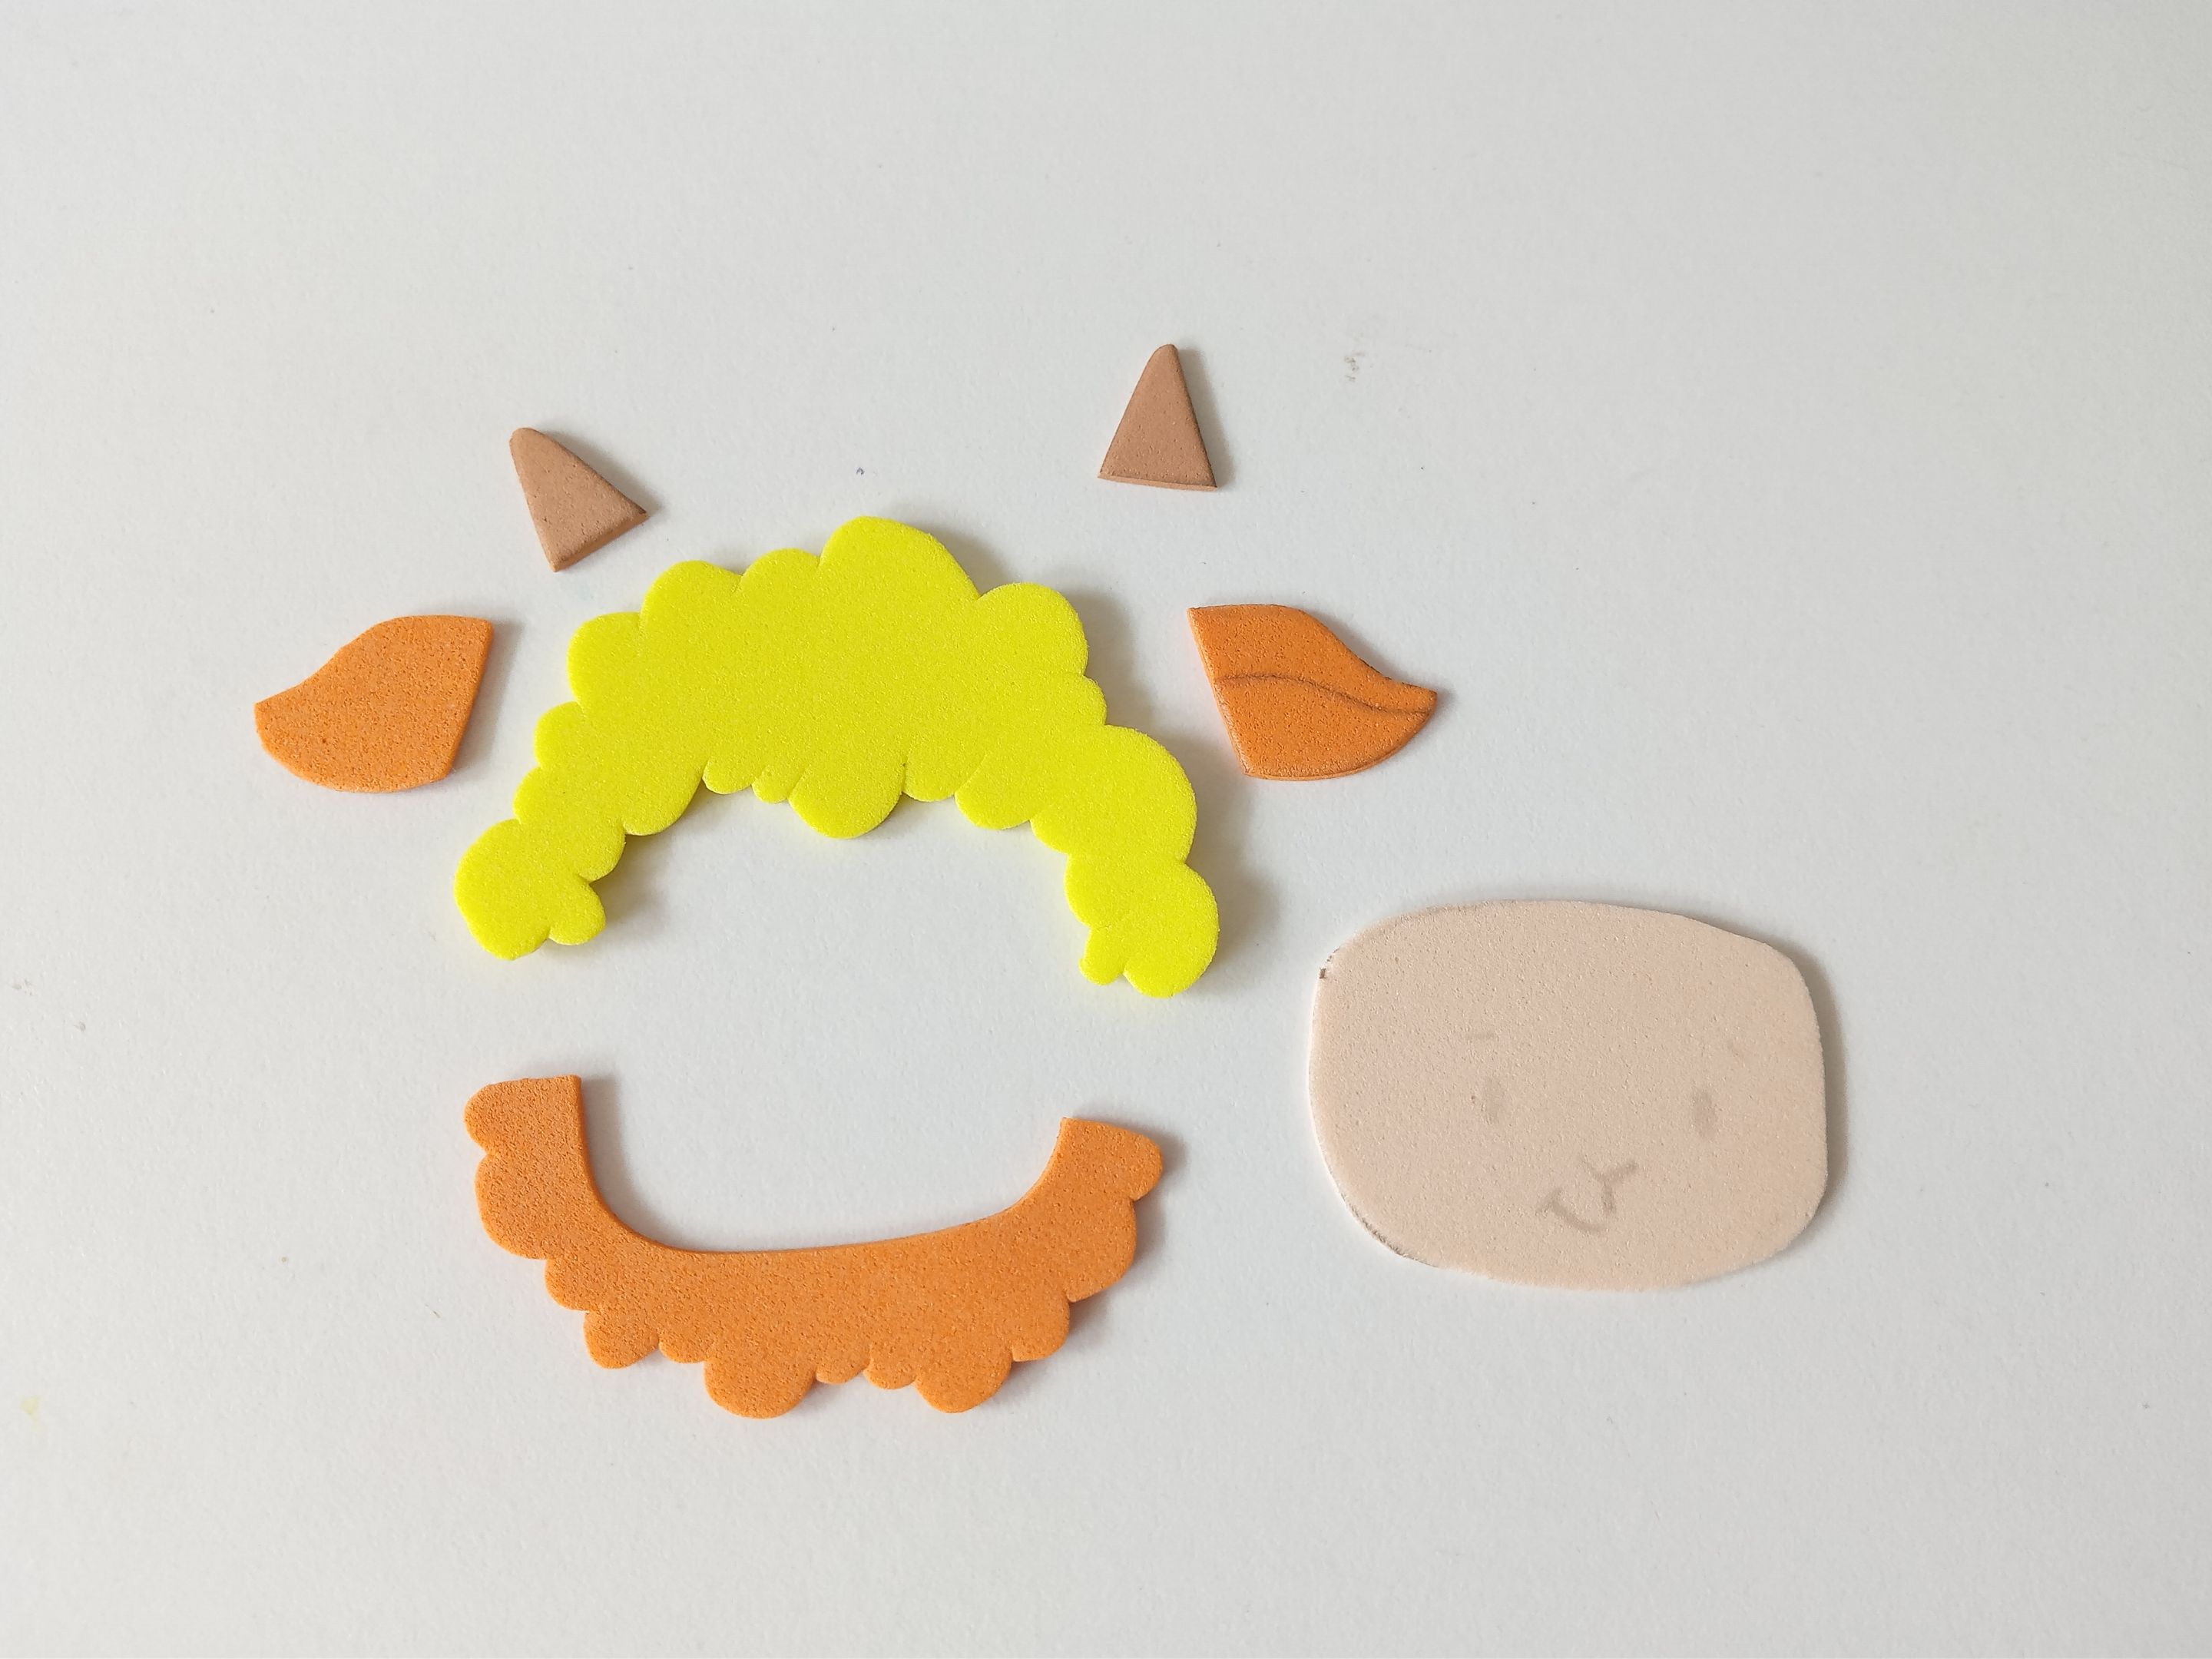
###### ✨ PASO 1:
Lo primero, como siempre, es tomar una hoja blanca y dibujar a la criatura que deseamos para este organizador que, como dije al inicio, me decidí por Woolio, pues me parece un personaje tierno y regordete, el cual es perfecto para una creación que ocupe el suficiente espacio sin necesidad de utilizar más elementos como decoración extra. Así que, al tener listo el diseño y tamaño, transferí a los colores correspondientes de foami, como explico a continuación:
✨Cabeza: 4.5 cm x 4 cm en foami crema.
✨Parte superior de lana: 6.5 cm x 3 cm en foami amarillo.
✨Parte inferior de lana: 6 cm x 1.5 cm en foami naranja.
✨Orejas: 2 cm x 1.5 cm en foami naranja.
✨Cuernos: 1.5 cm en foami marrón.
###### ✨ STEP 1:
The first thing, as always, is to take a blank sheet of paper and draw the creature we want for this organizer. As I mentioned at the beginning, I decided on Woolio, as it seems cute and chubby, perfect for a creation that takes up enough space without needing to use additional elements as extra decoration. So, once I had the design and size ready, I transferred the corresponding colors of foam, as explained below:
✨Head: 4.5 cm x 4 cm in cream foam.
✨Wool top: 6.5 cm x 3 cm in yellow foam.
✨Wool bottom: 6 cm x 1.5 cm in orange foam.
✨Ears: 2 cm x 1.5 cm in orange foam.
✨Horns: 1.5 cm in brown foam.
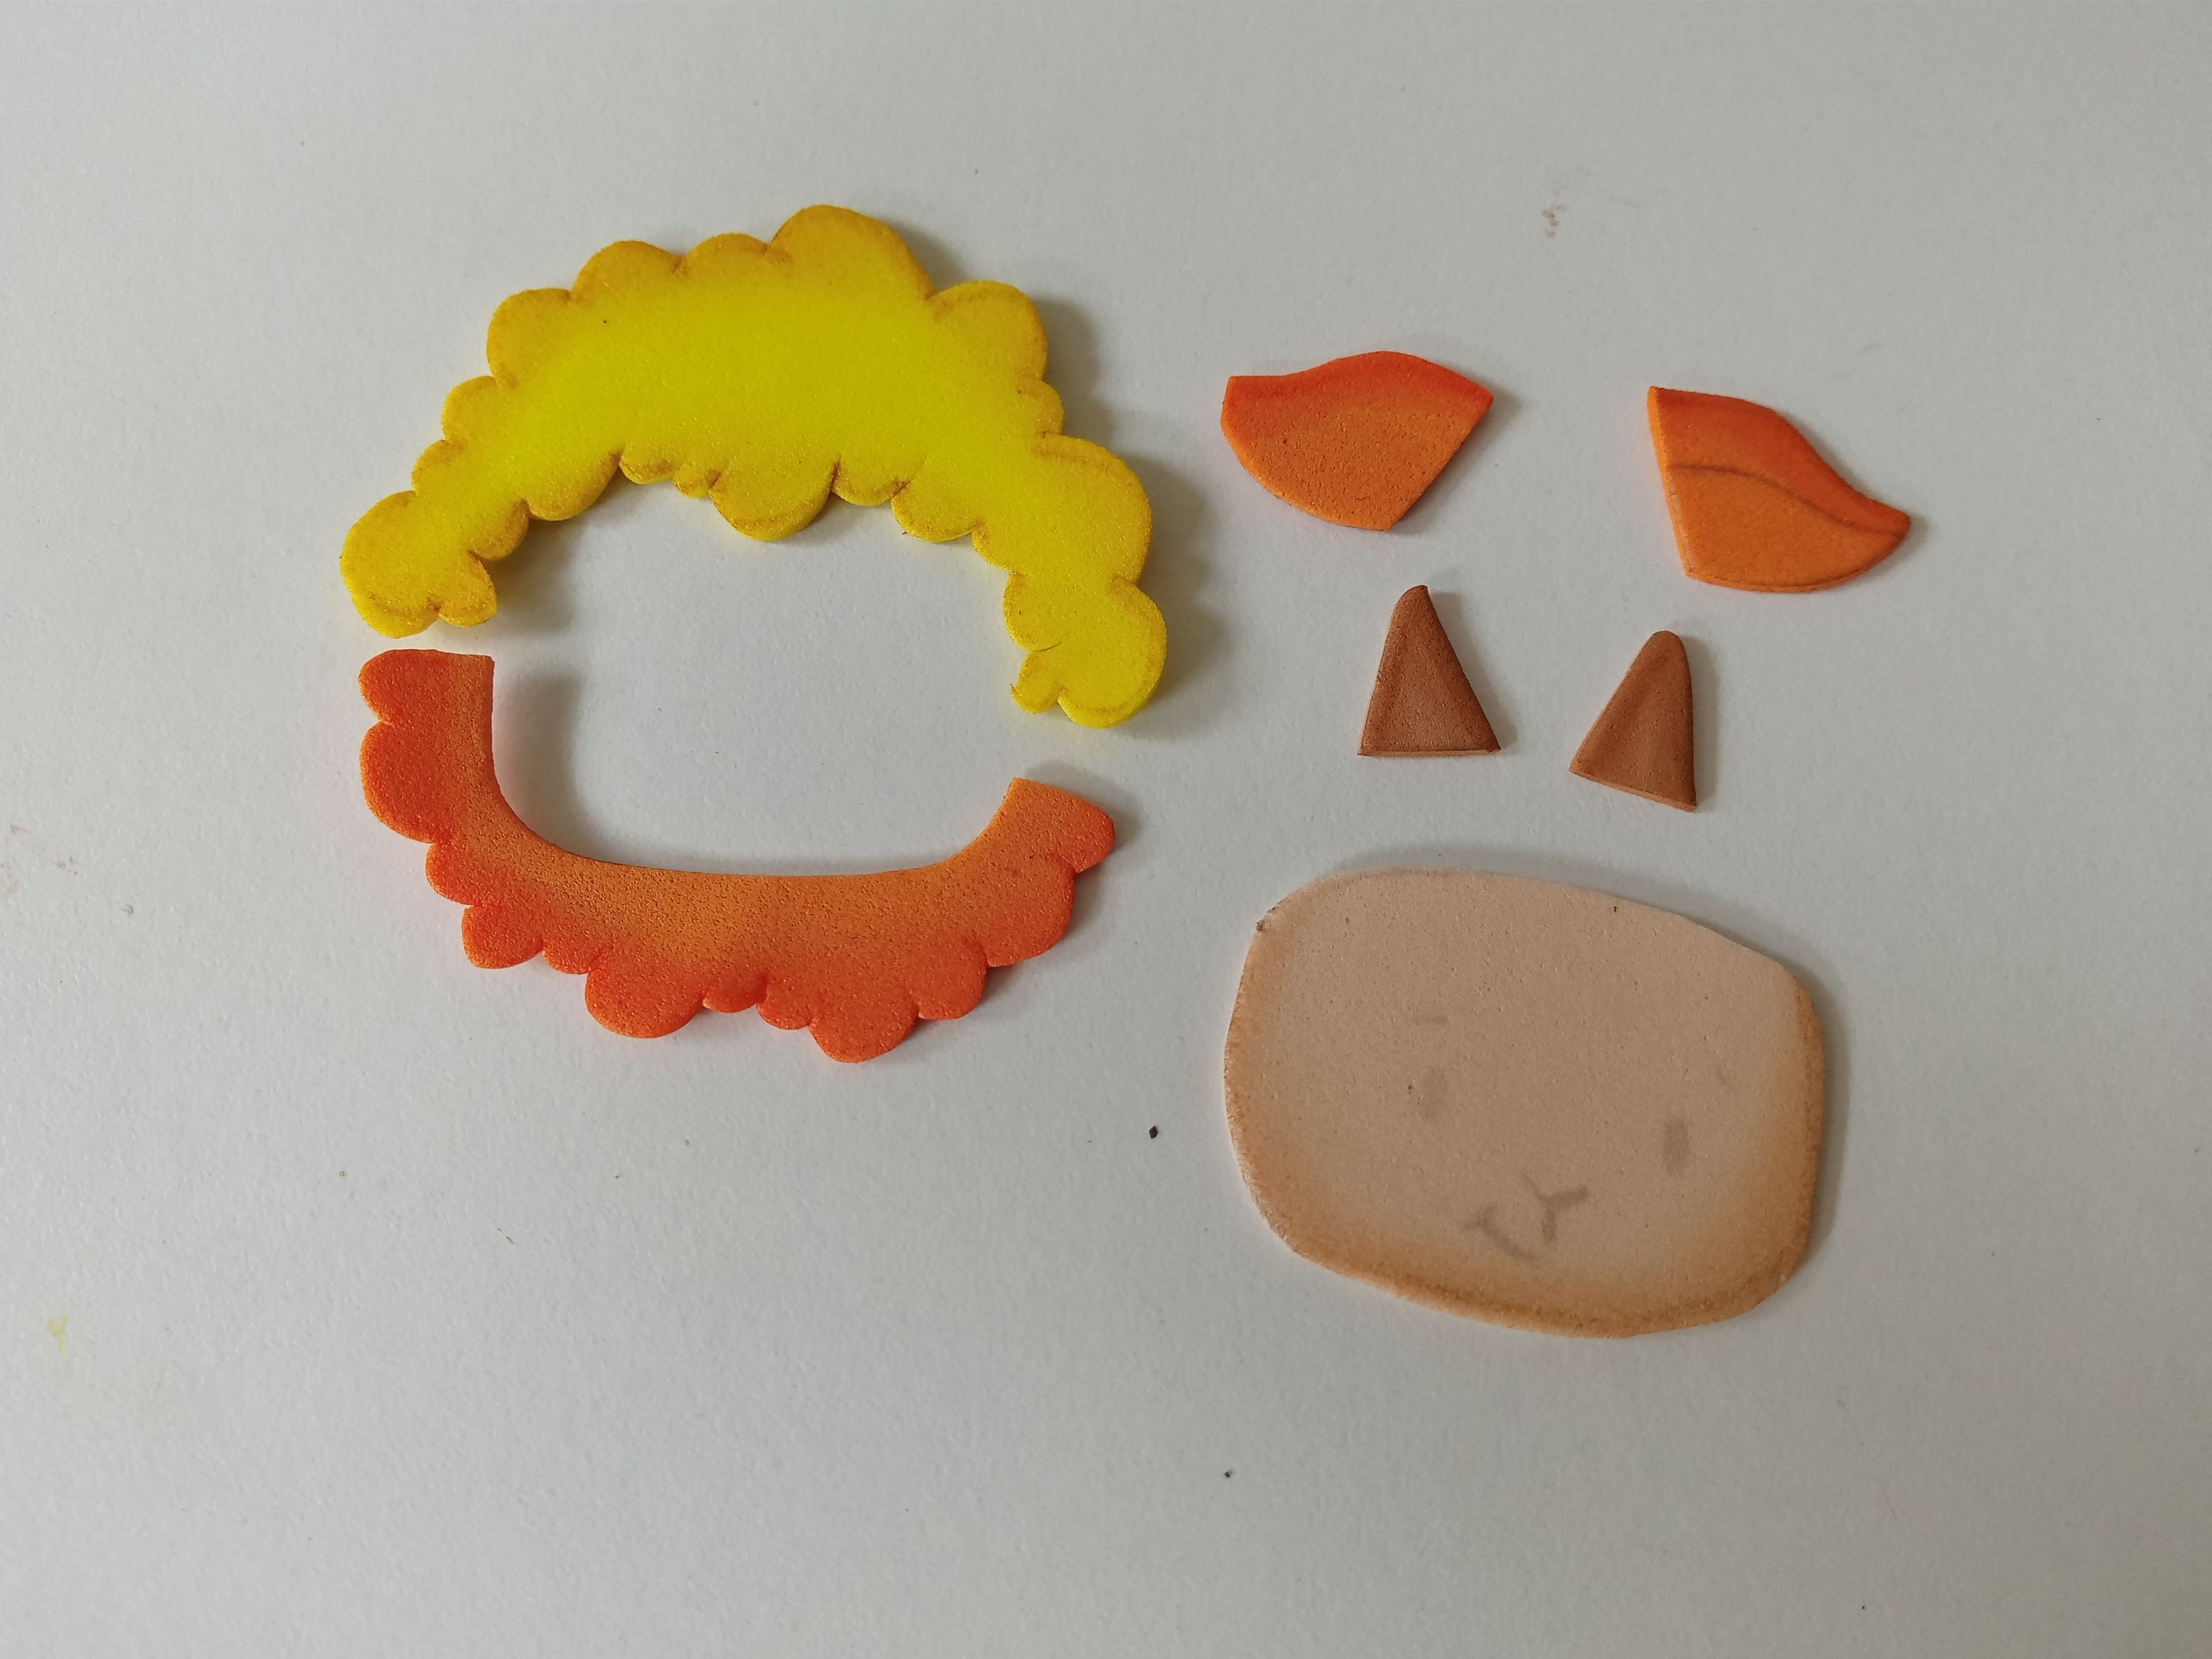
###### ✨ PASO 2:
Al tener las piezas recortadas, es momento de dar color a los bordes utilizando pinturas o marcadores, un tono más oscuro que el de cada pieza. En el caso de la cabeza, utilicé un tono marrón para hacer contraste y bronceado. Al estar secas las piezas, es momento de dibujar detalles más específicos, con marcadores como ojos, ceja, boca, nariz y orejas. En el caso de la lana, como quería darle otra textura y que se viera prolijo, hice pequeños remolinos con un palito de brocheta.
###### ✨ STEP 2:
With the pieces cut out, it's time to color the edges using paints or markers, a darker shade than each piece. For the head, I used a brown shade for contrast and a tan. Once the pieces were dry, it was time to draw more specific details with markers, such as eyes, eyebrows, mouth, nose, and ears. For the wool, since I wanted to give it a different texture and make it look neat, I made small swirls with a skewer.
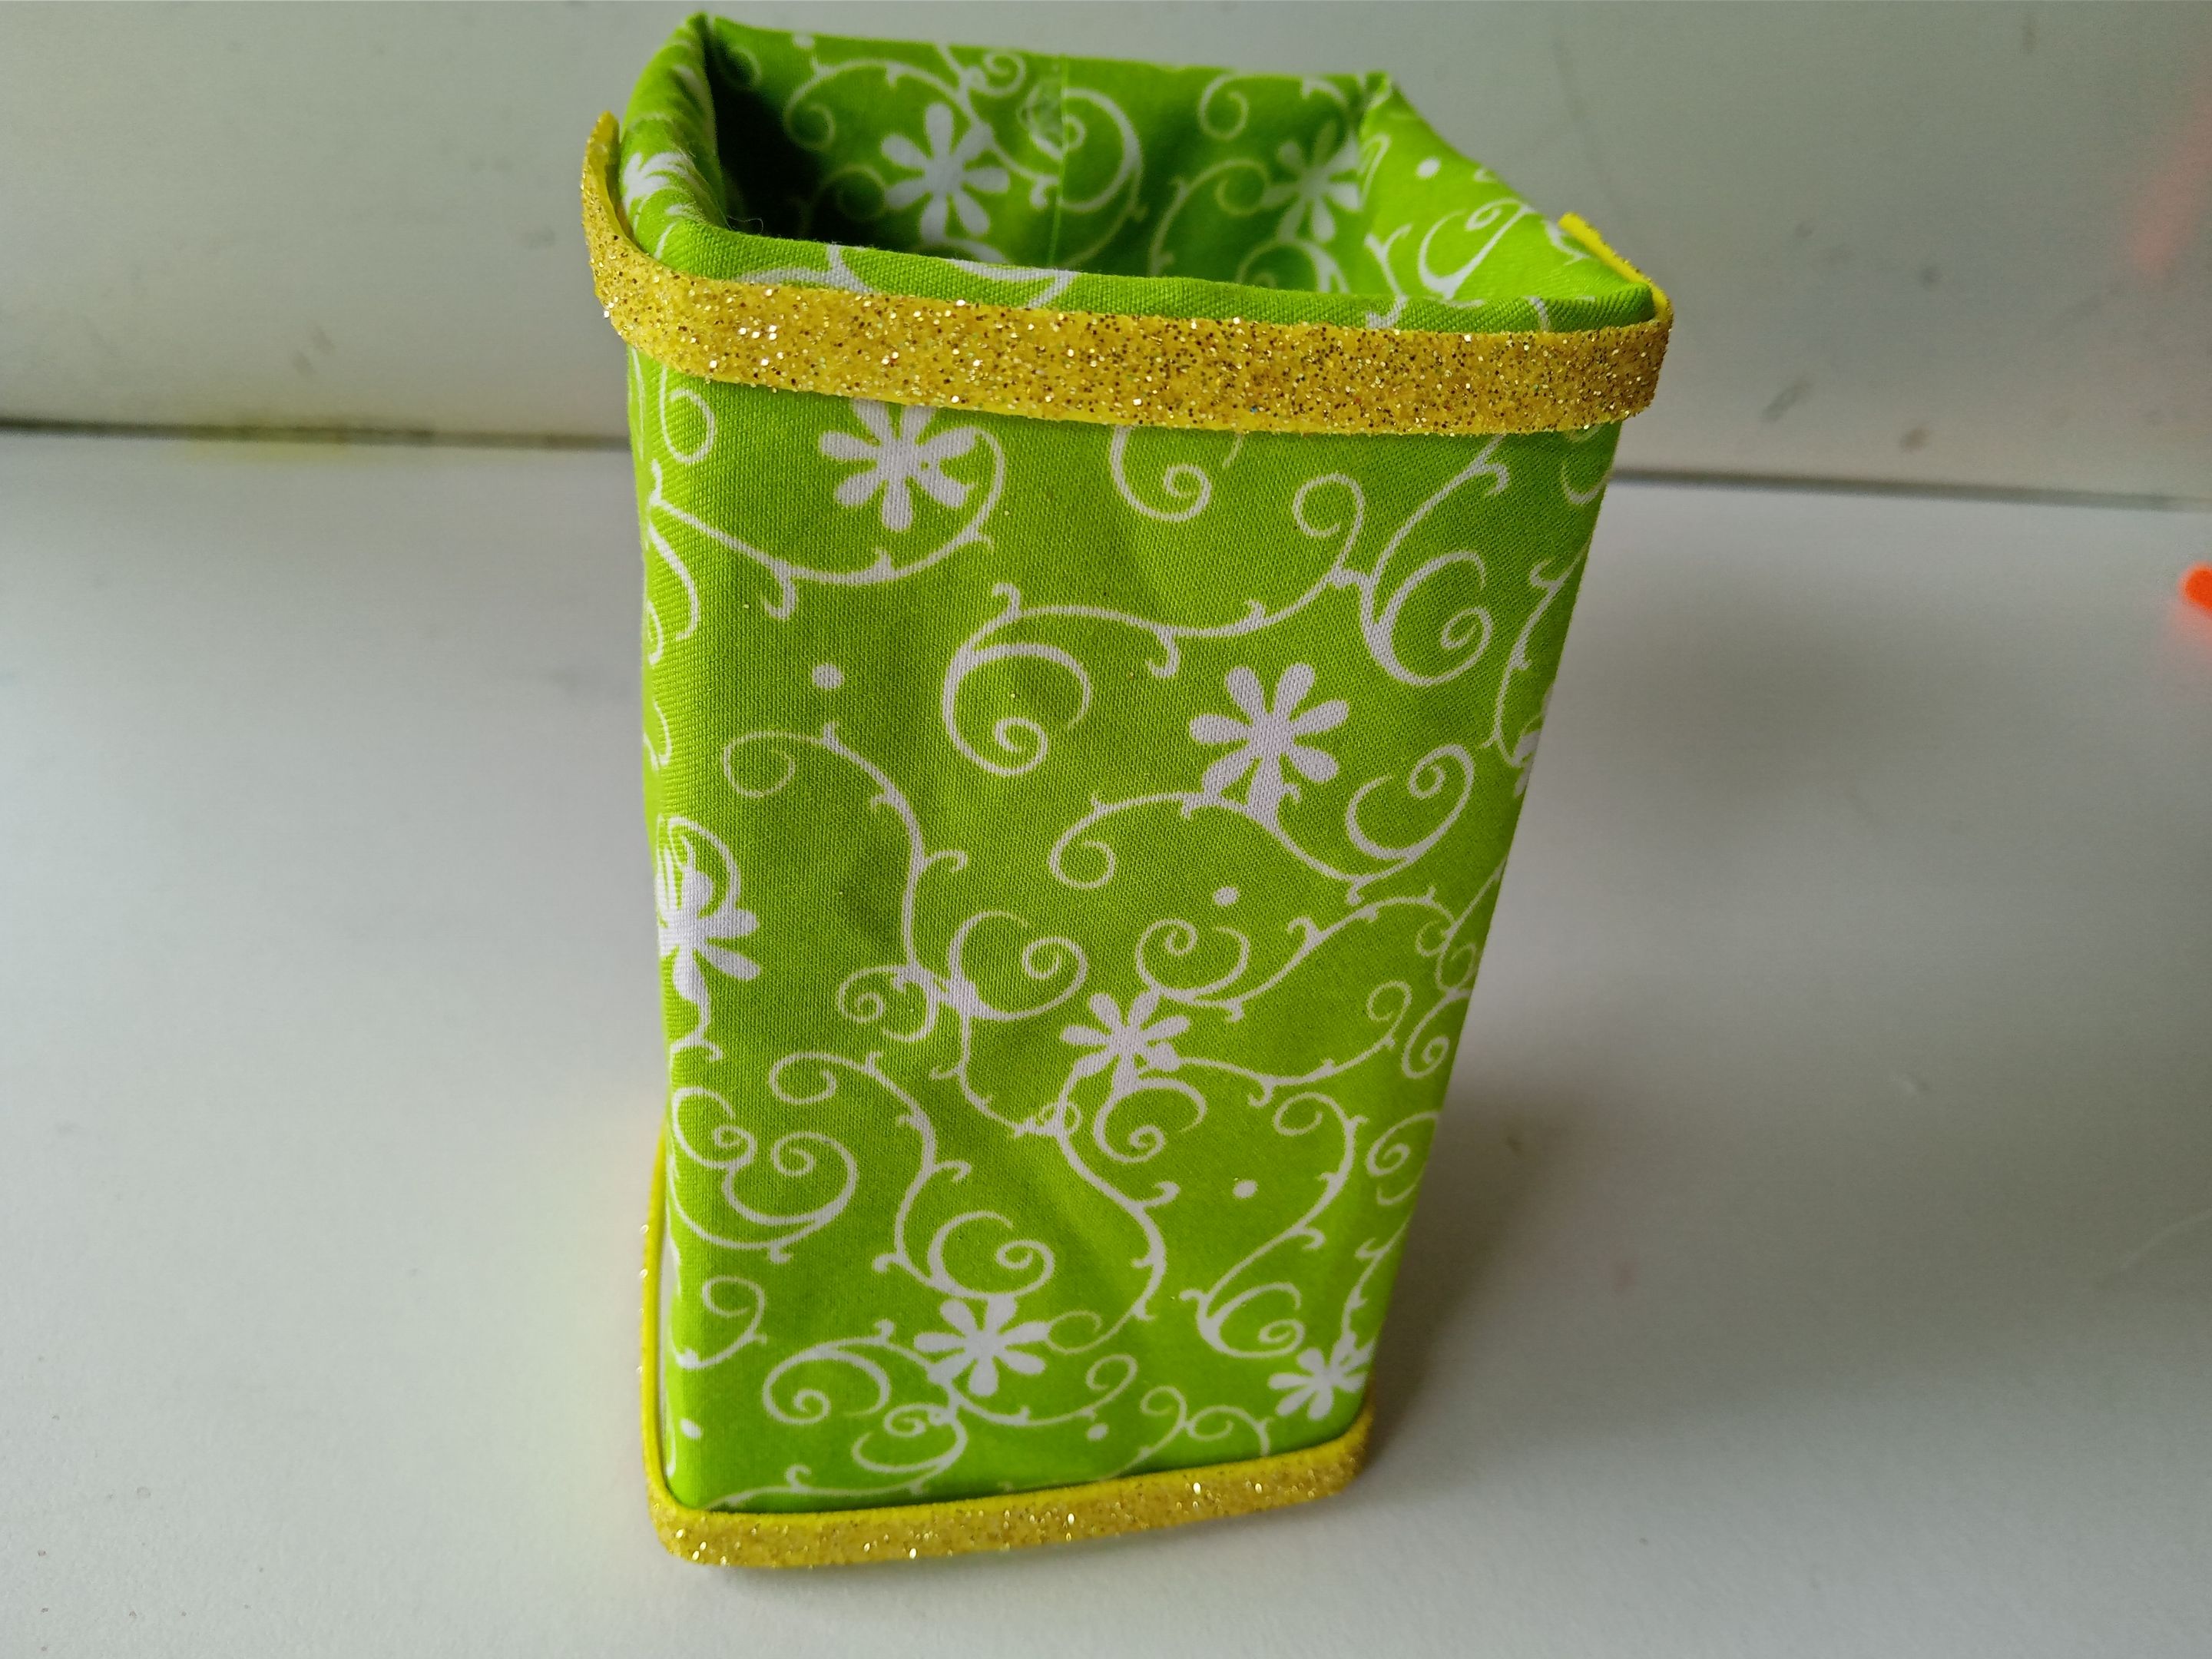
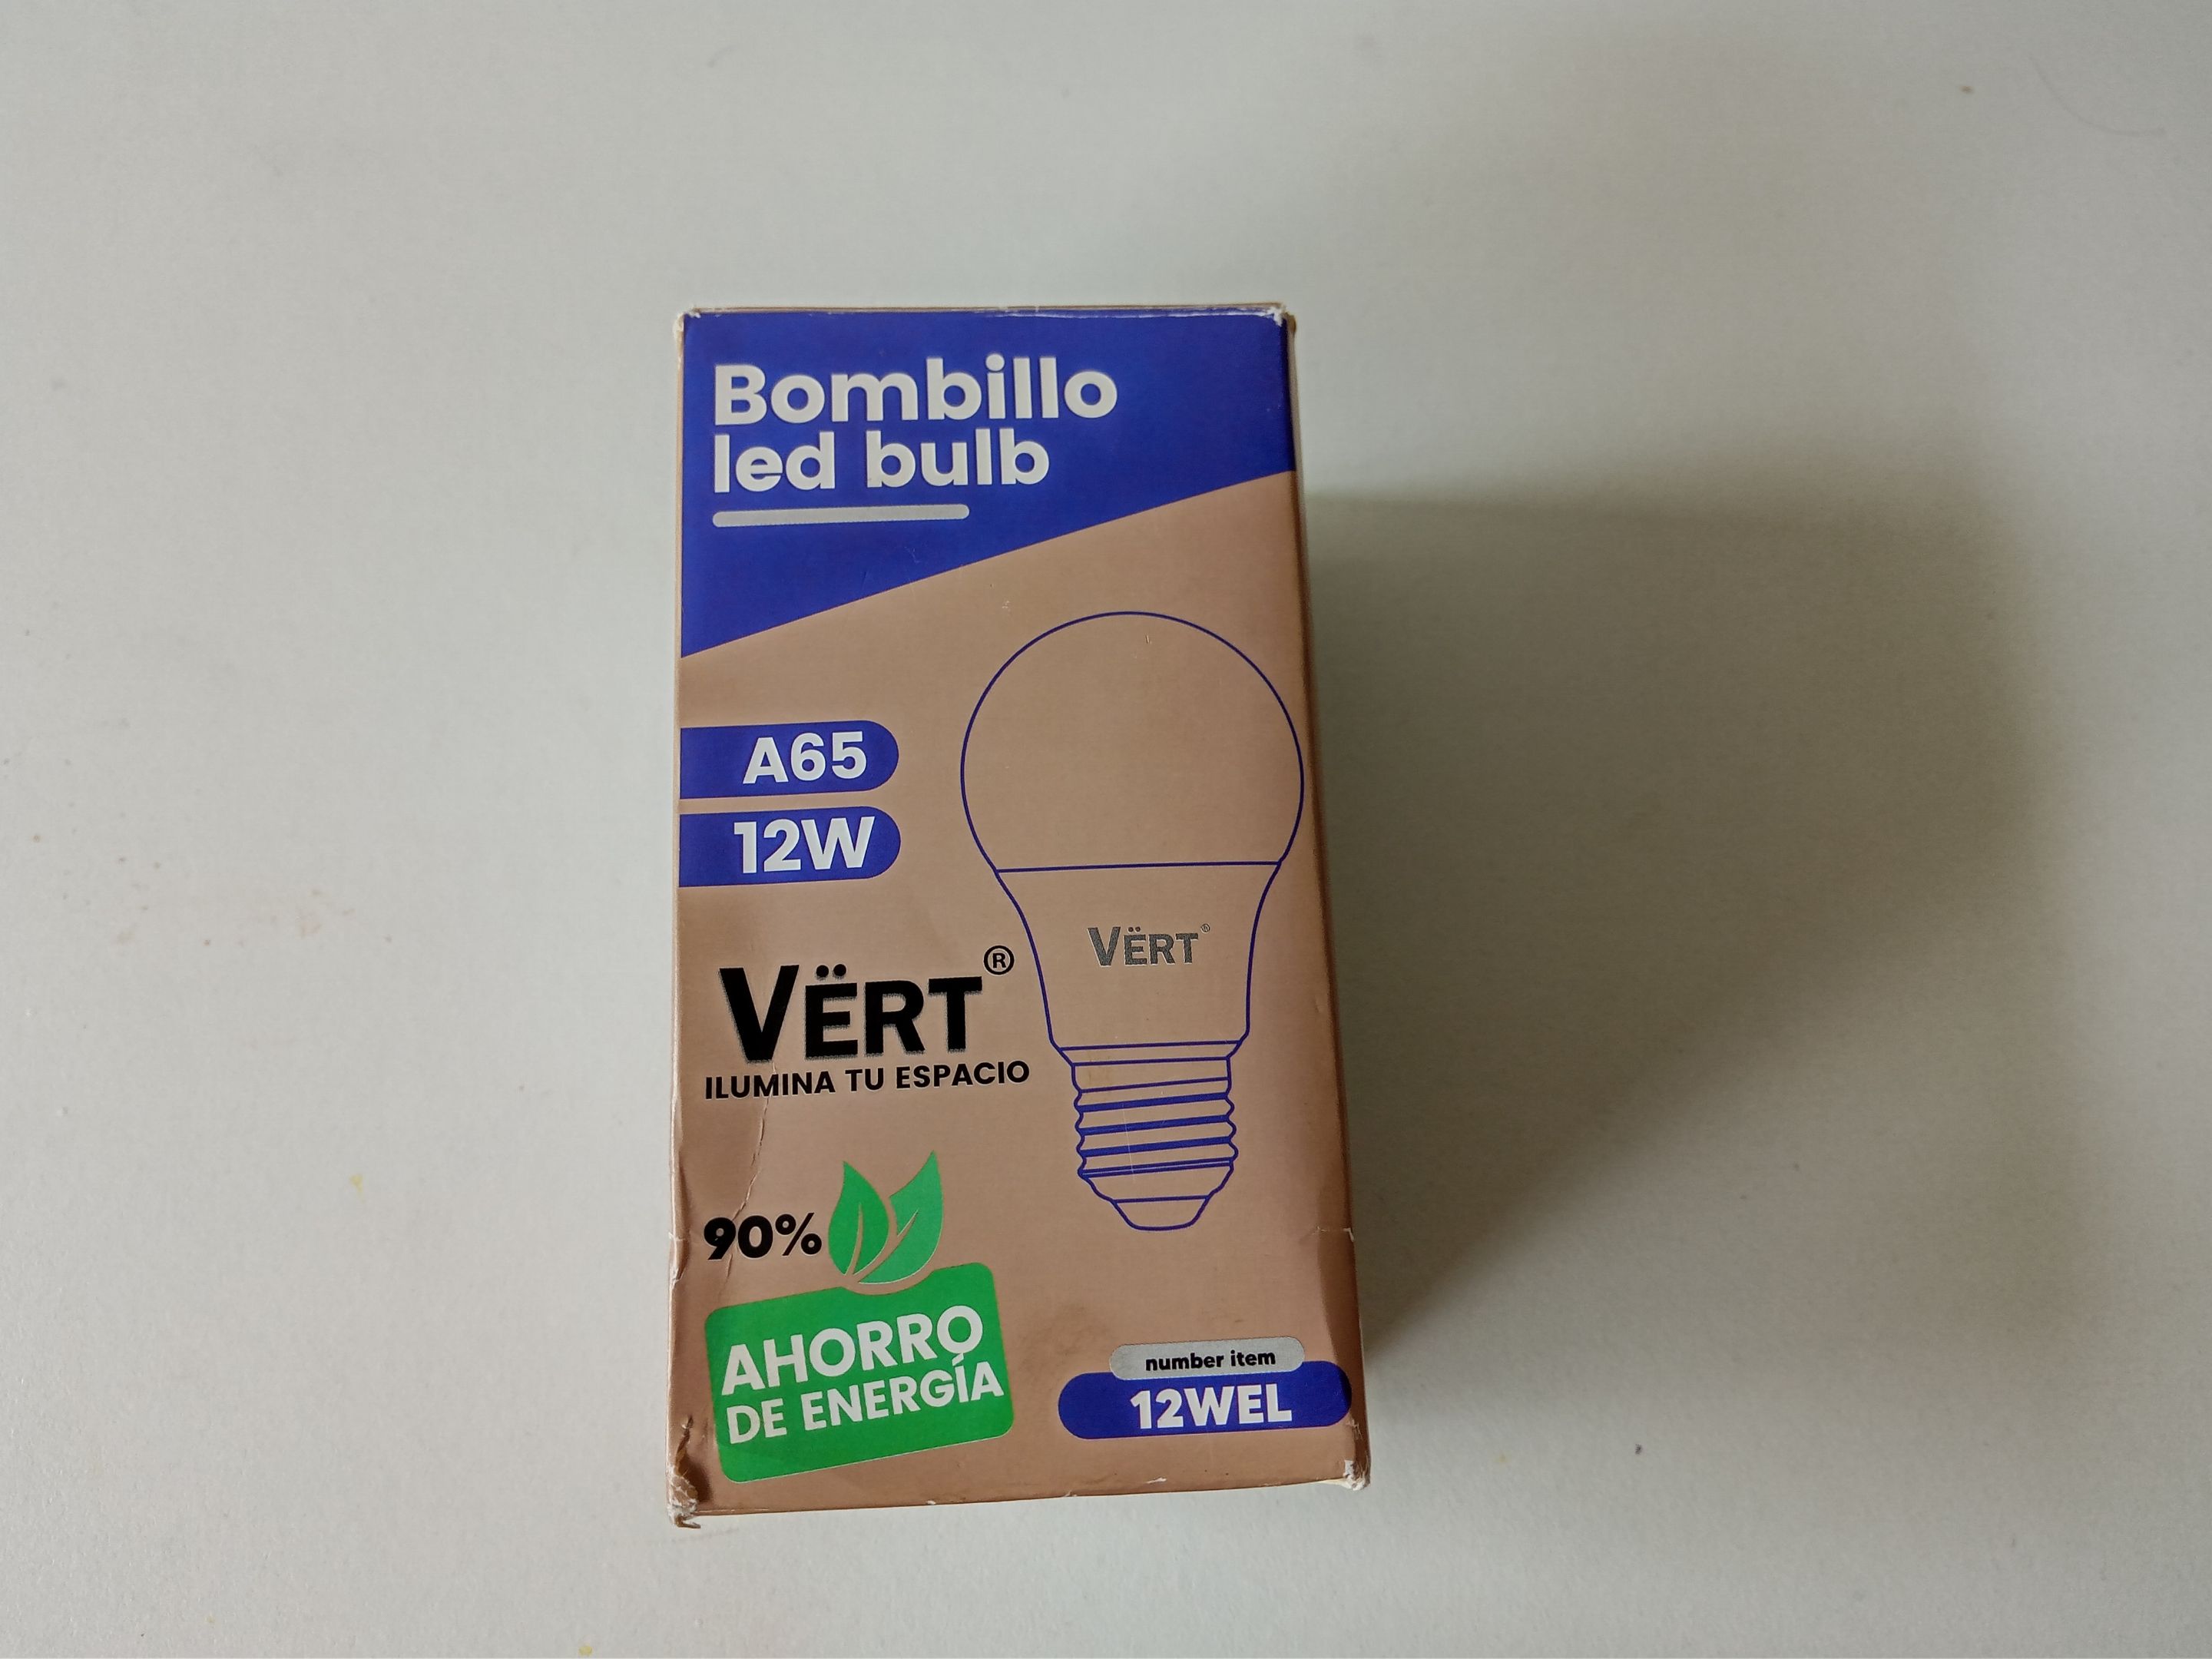
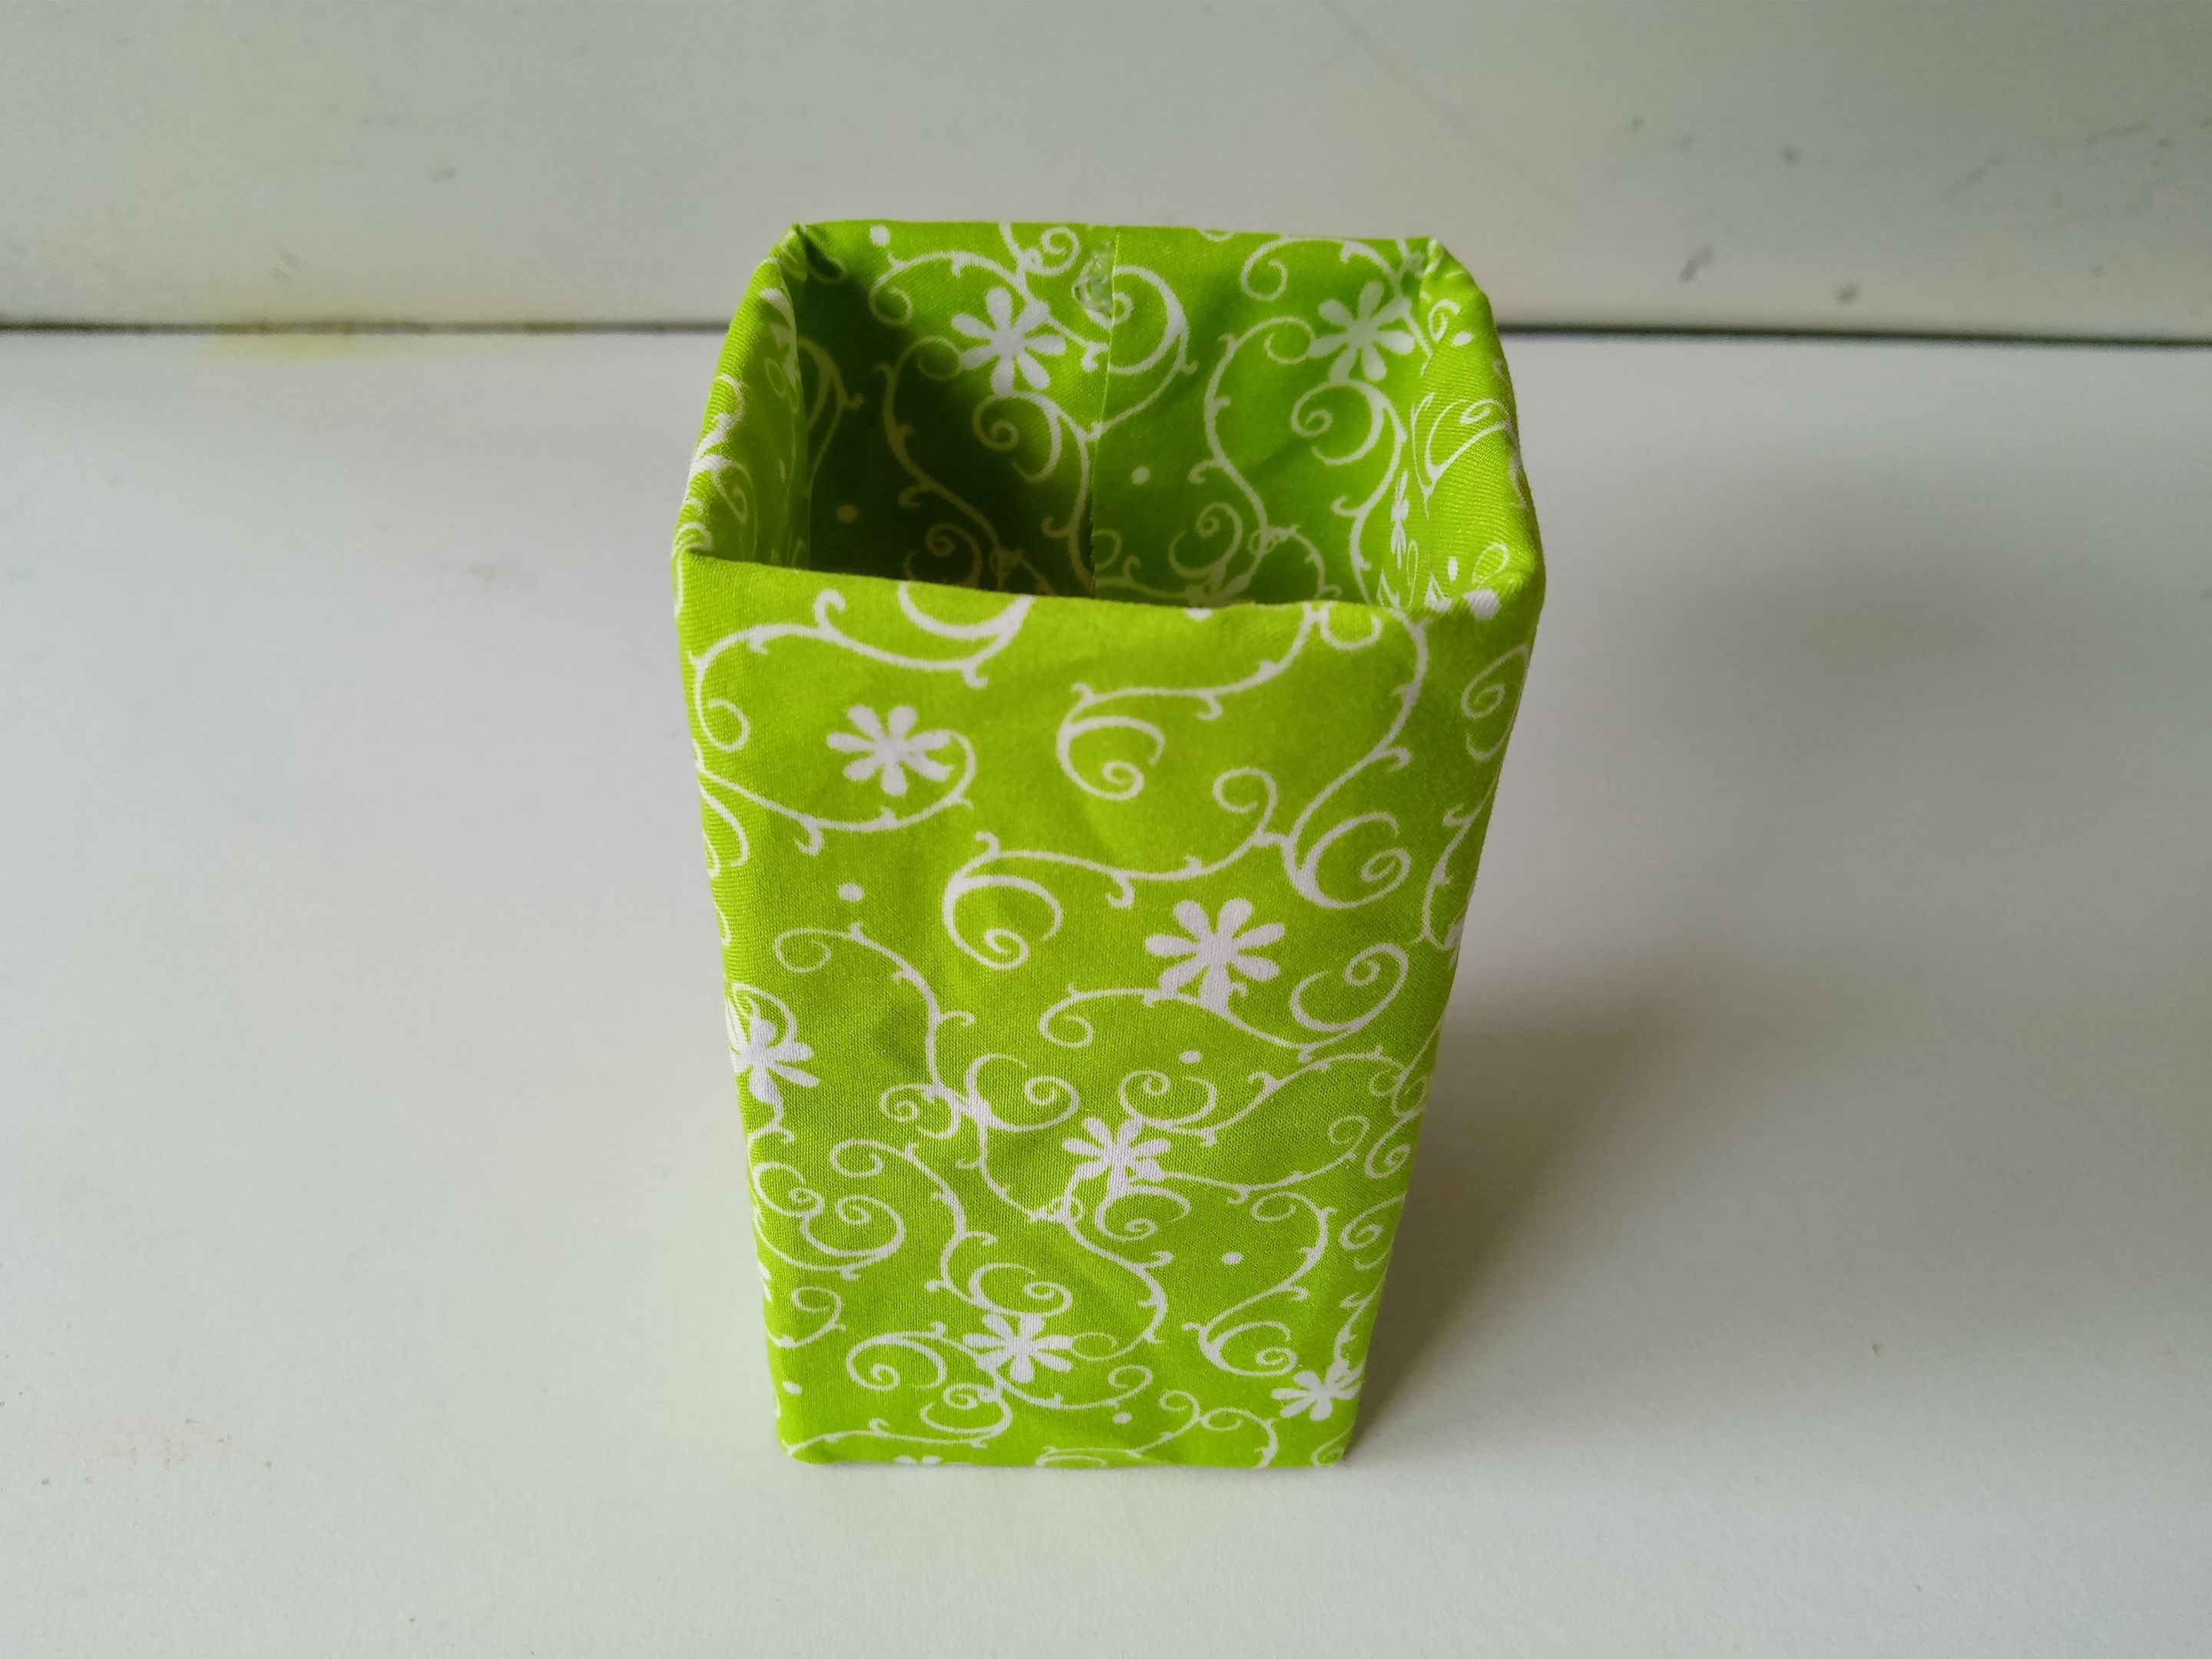
###### ✨ PASO 3:
Luego, tomé la caja de cartón, que en este caso es una caja de bombillos, a la cual le recorté la parte superior donde está la tapa y las pestañas. Seguidamente, recorté un trozo de tela 1 cm más largo que cada lado, tanto horizontal como verticalmente, y forré la caja. El restante de tela de la parte superior, la pegué por el borde interno de la caja.
###### ✨ STEP 3:
Next, I took the cardboard box, which in this case is a light bulb box, and cut off the top part where the lid and tabs are. Next, I cut a piece of fabric 1 cm longer than each side, both horizontally and vertically, and lined the box. I glued the remaining fabric from the top to the inside edge of the box.

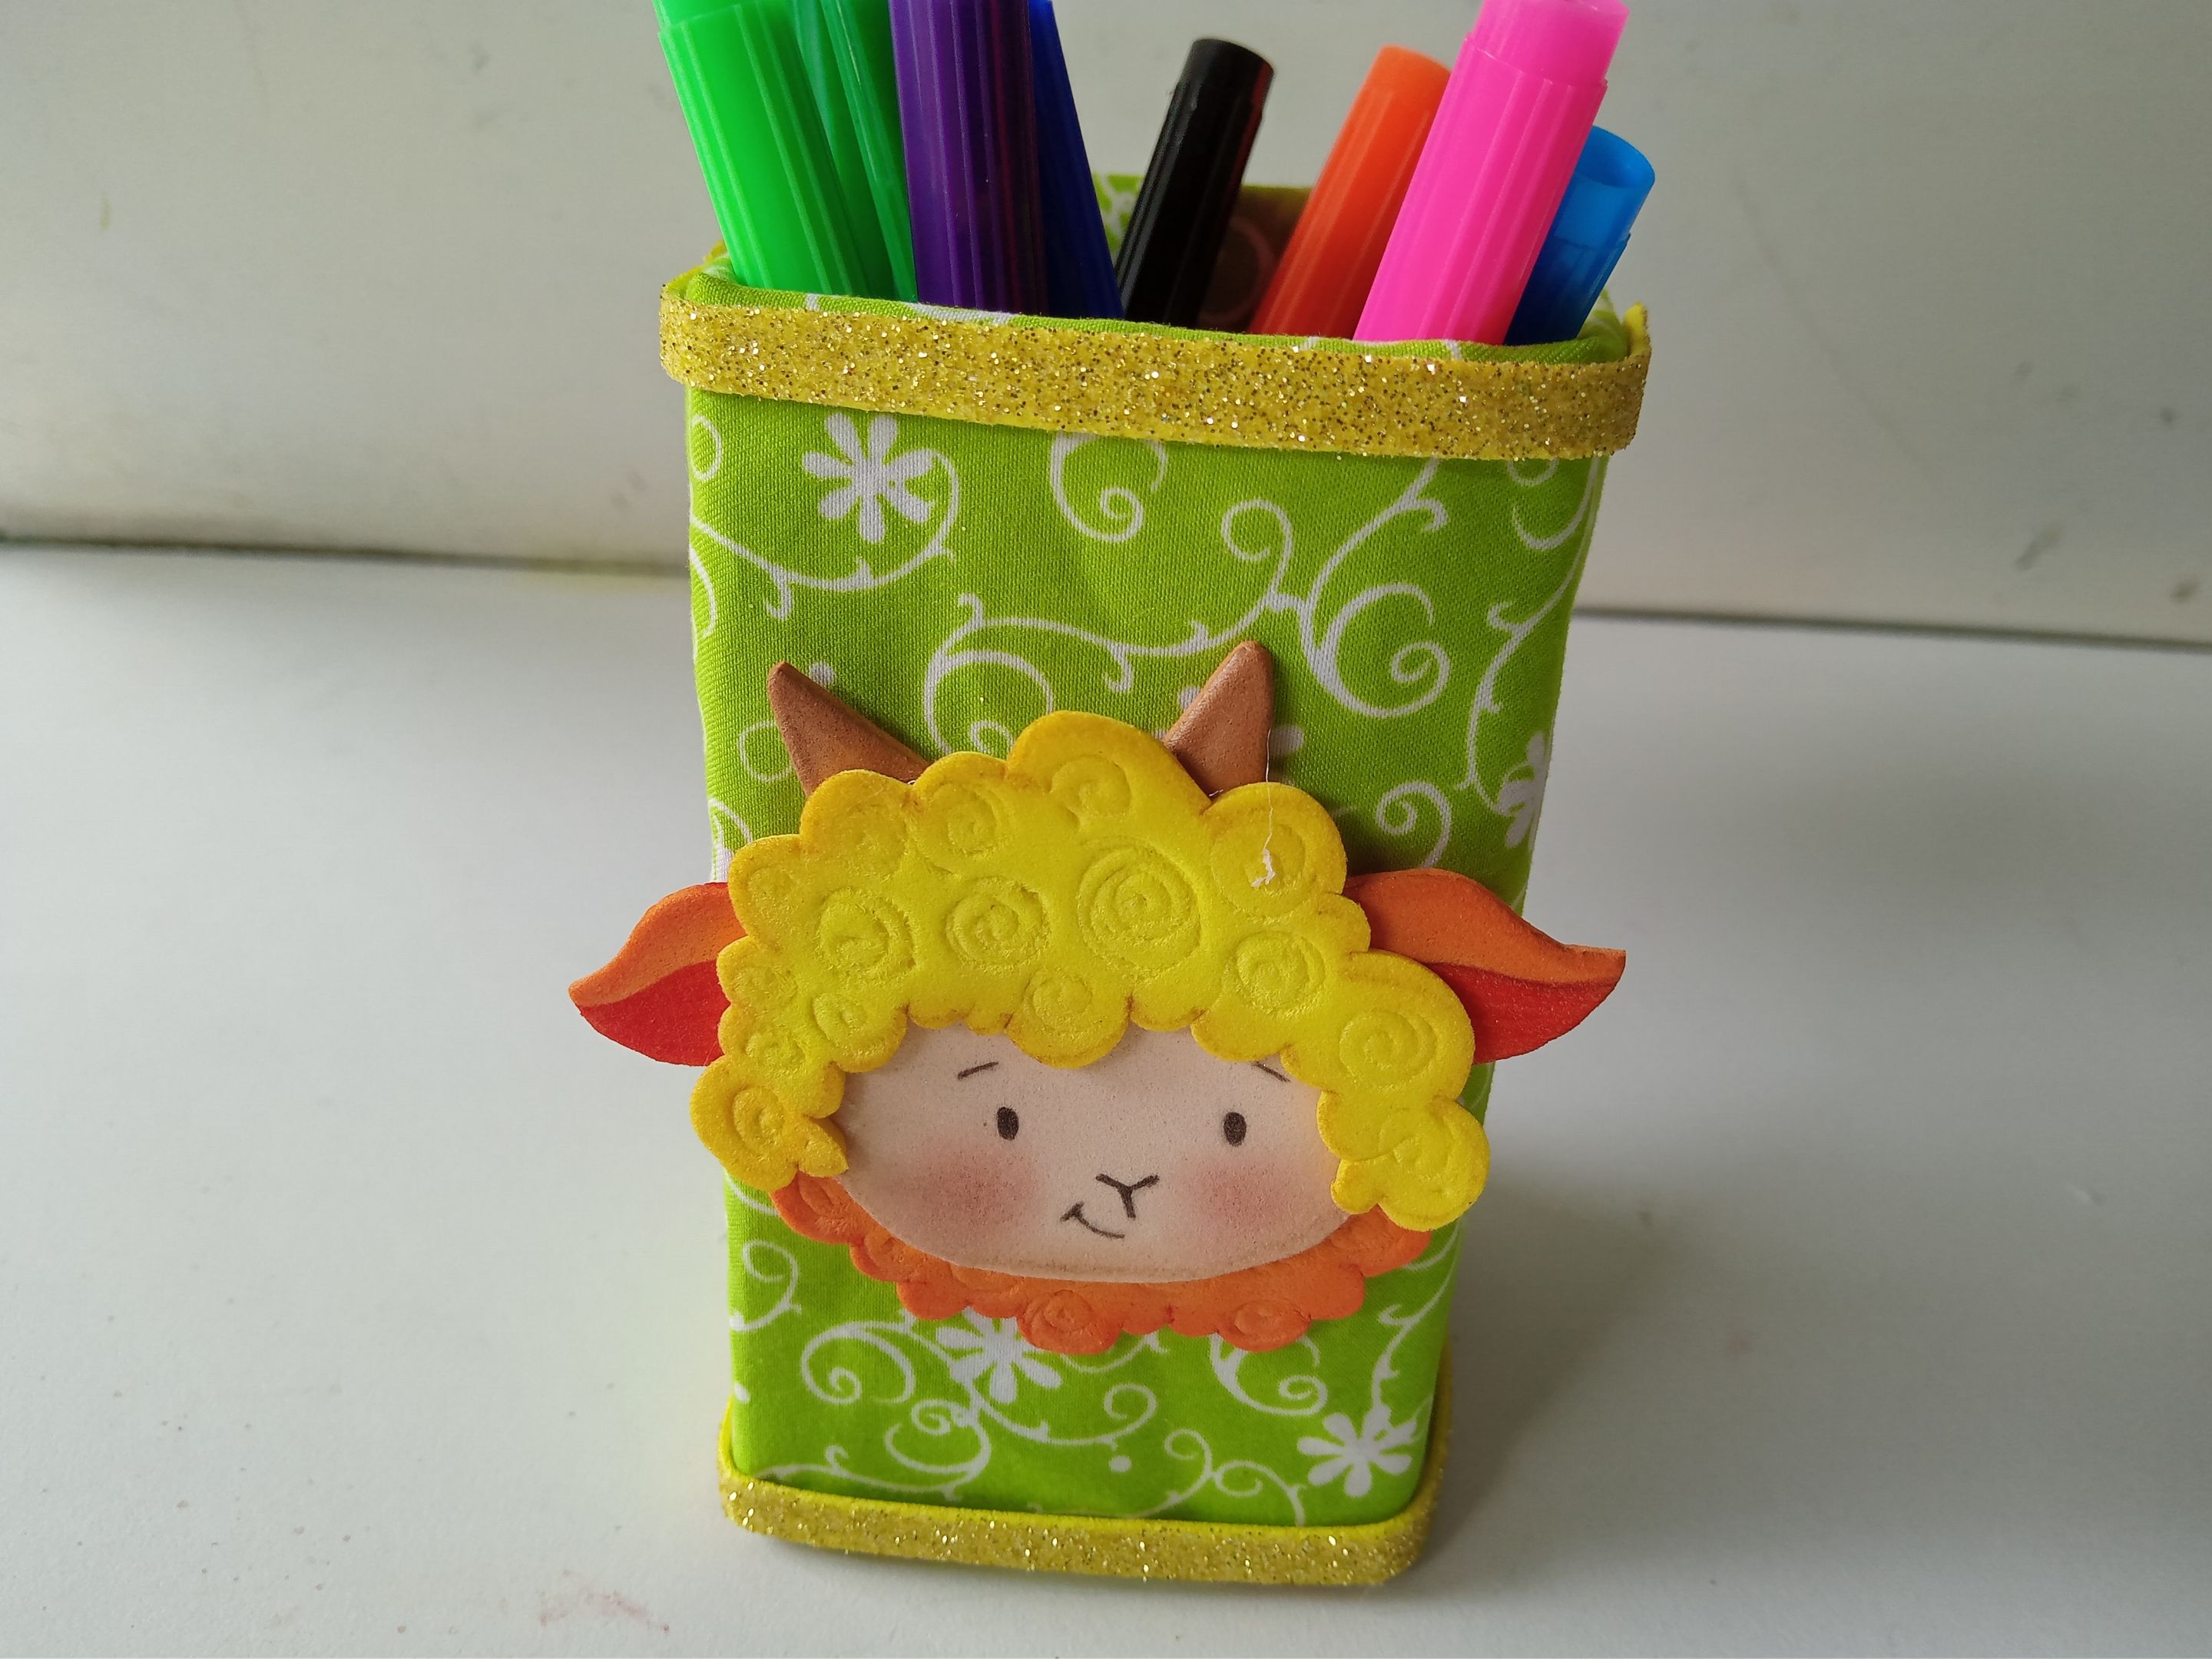
###### ✨ PASO 4:
Para finalizar, recorté 2 tiras en foami escarchado dorado de 0.5 cm y las pegué tanto en el borde superior como inferior del organizador. Además, pegué las piezas hasta armar a Woolio y pegué a la criatura en medio del organizador.
###### ✨ STEP 4:
To finish, I cut two 0.5 cm strips of gold glitter foam and glued them to both the top and bottom edges of the organizer. I also glued the pieces together until Woolio was assembled and glued the creature to the middle of the organizer.