Hello Everyone✨
It's a beautiful Monday and I'm excited to share with you one of my most recent creations. I've had it in mind to make a crochet item for myself since I can't exactly remember the last time I took out some time to make something for myself.
 A lot of ideas kept streaming in, making it hard to pick out one particular item to make. Eventually, I chose a shirt with the consolation that there would always be time to make the other items for myself or for clients.

I chose the crochet shirt because it seemed like the most practical thing to make judging from the fact that I like to wear shirts. With this as a drive, I got to work.
Materials Needed.
- Yarn of any colour
- 2.5mm hook
- A pair of scissors
- Darning Needles
- Stitch Markers
For this project, I decided to go against the norm and use a small sized crochet hook. Whenever it comes to large crochet projects, I usually prefer using larger hook sizes for ease and speed but there I was at the end of this project, wondering why I never tried using the smaller hooks sooner. This was made easier because of the thin acrylic yarn I used.
Procedure
I started by making a chain of 140. The number of chains can be adjusted to suit the size but I used this number because from the jump, I already pictured how I wanted this shirt to turn out.
Oh, and yes, I had a little injury on my thumb the same day I decided to begin this project but not even the injury could stop me.
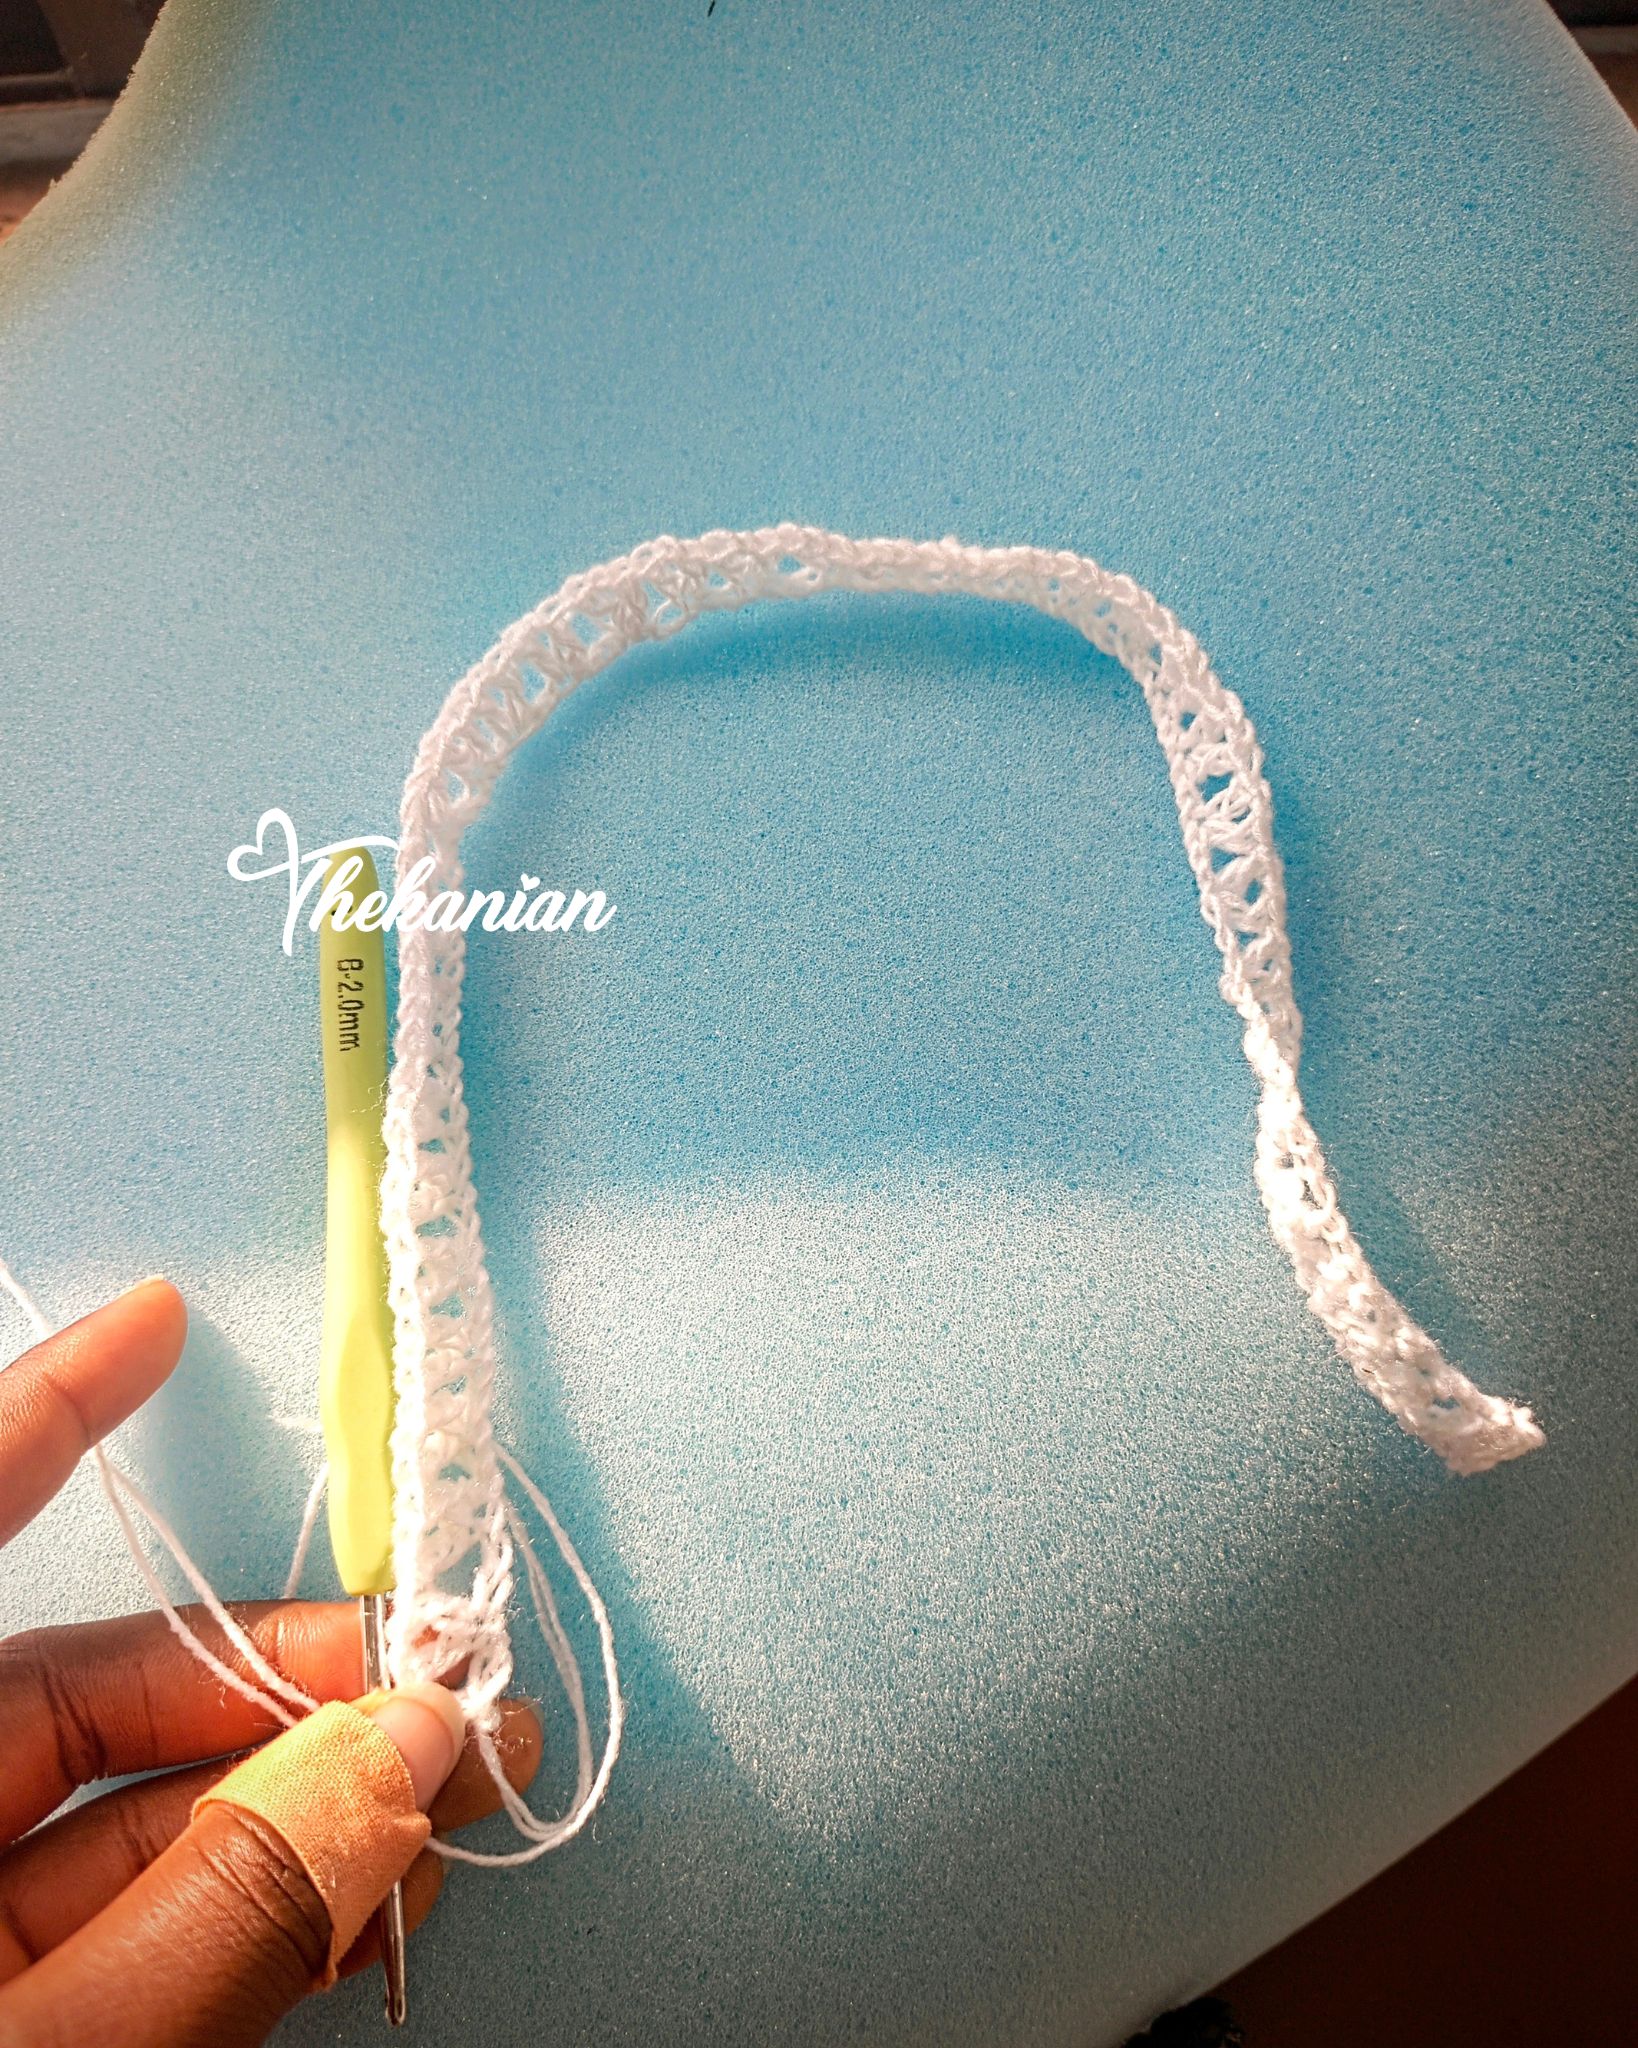
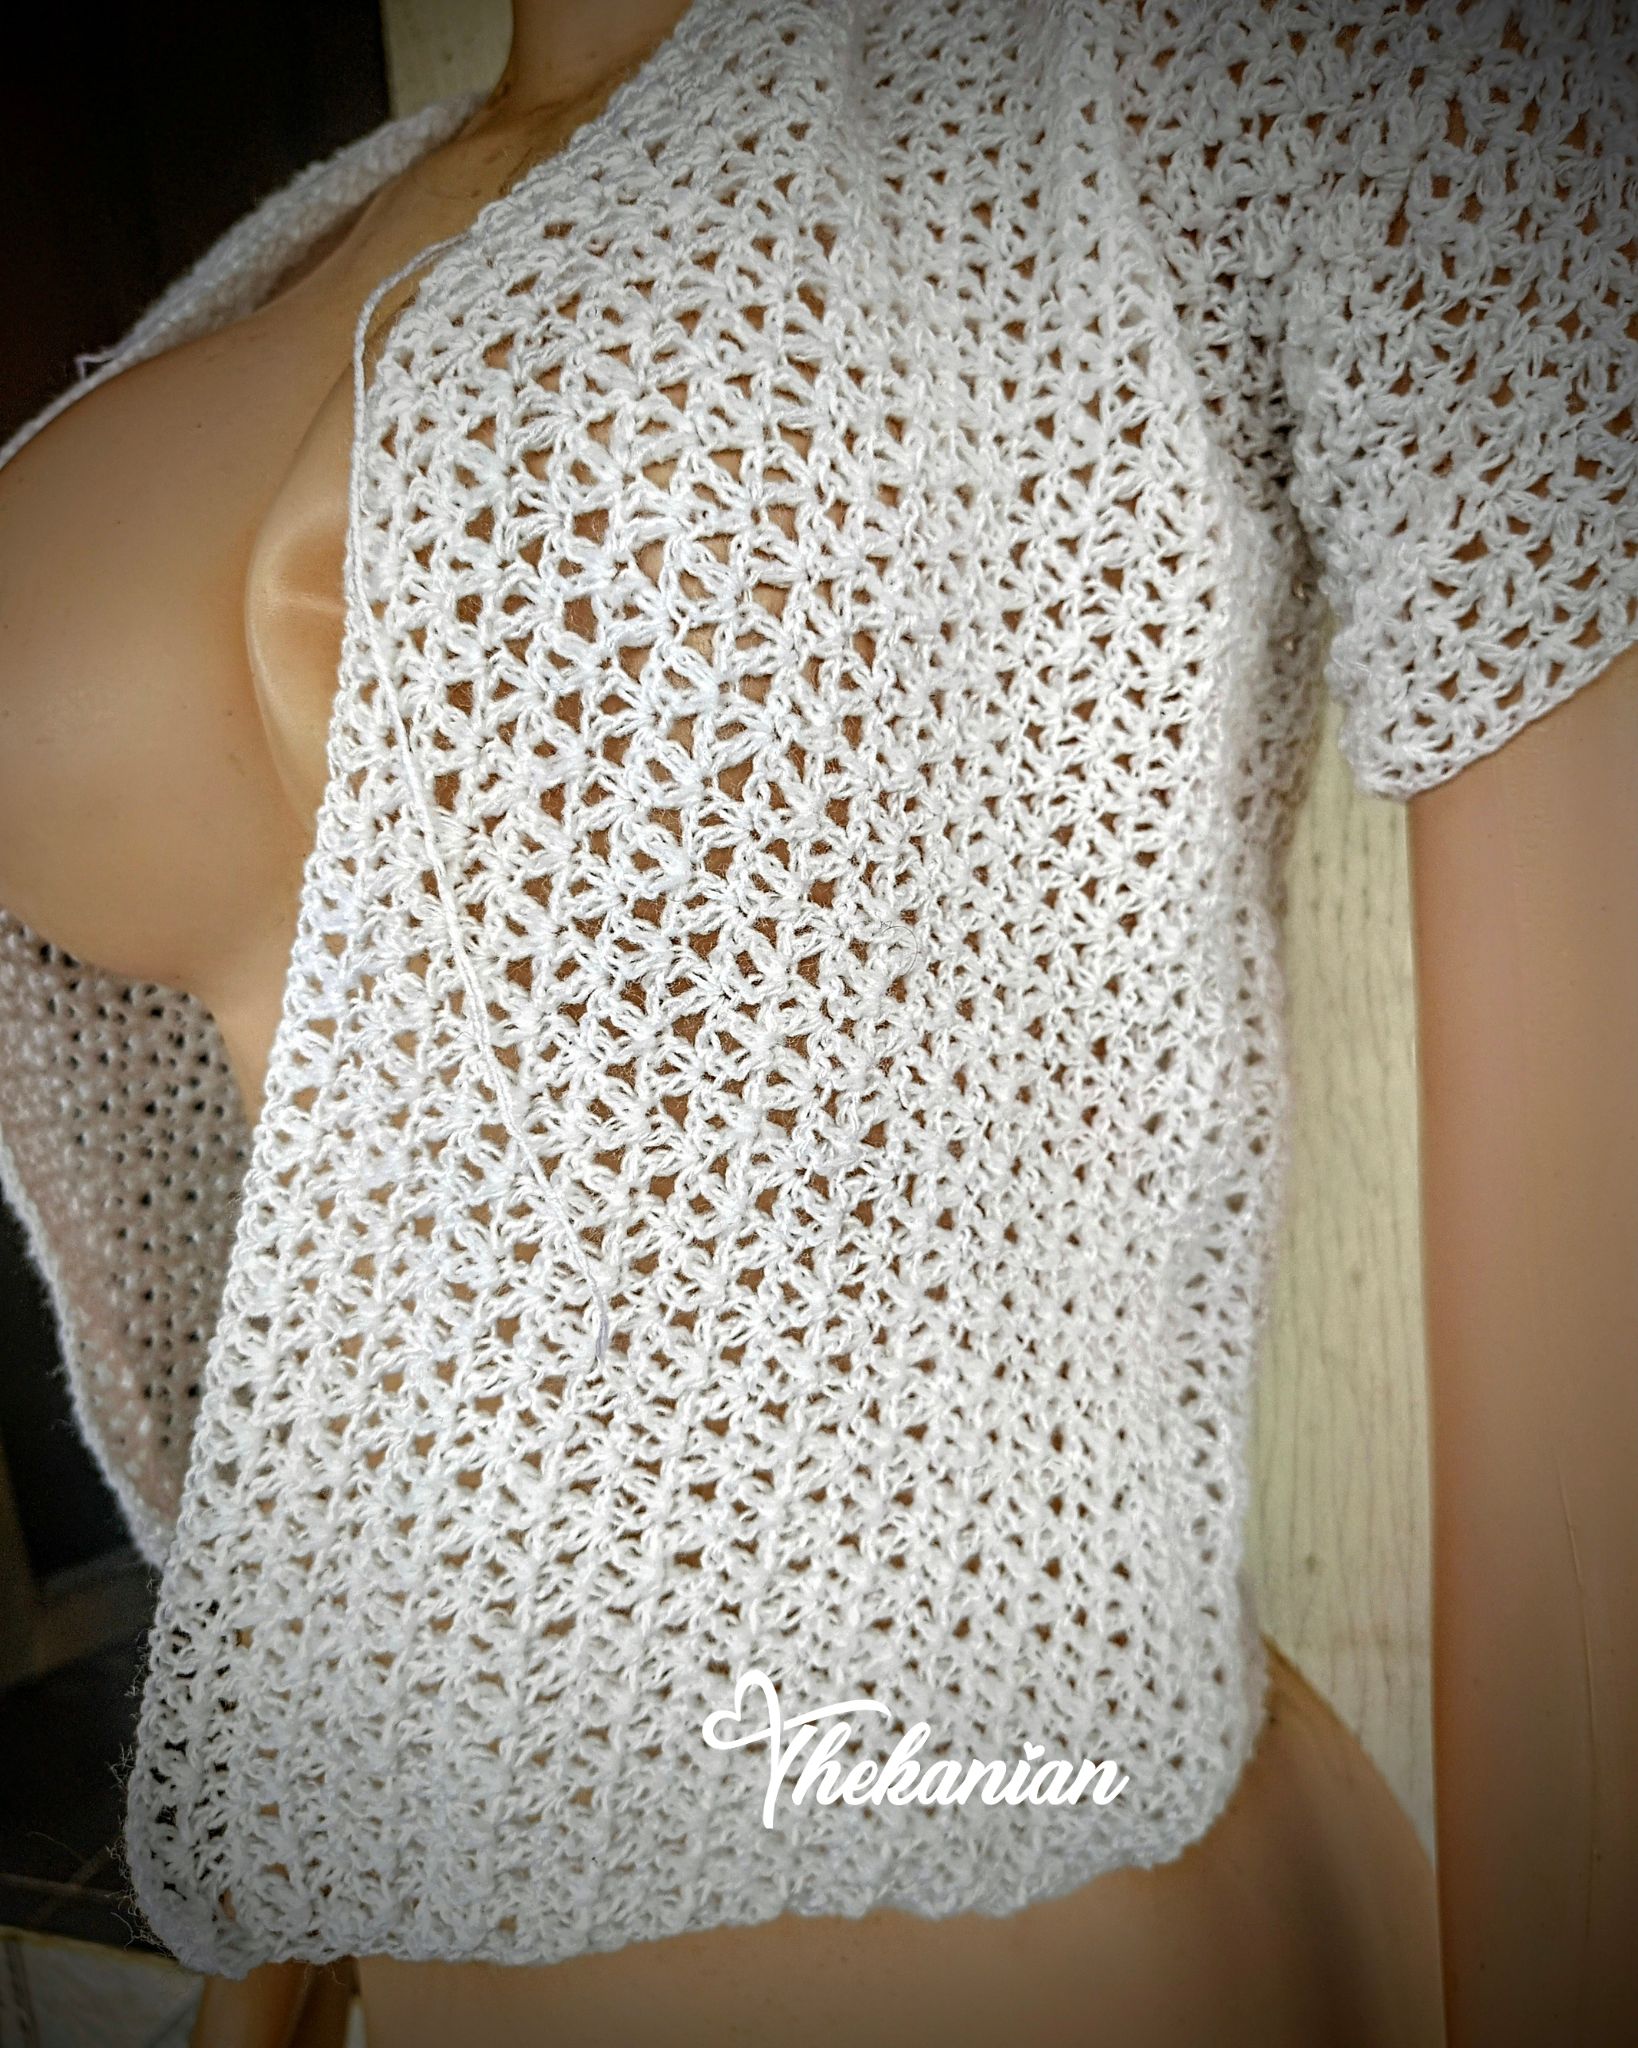
Next, I made a V-stitch. To make the V-stitch, I yarned-over, inserted my hook into the fourth stitch from the end and then made a double crochet stitch. Without making a chain of one, I went into the very same stitch and made another double crochet stitch.
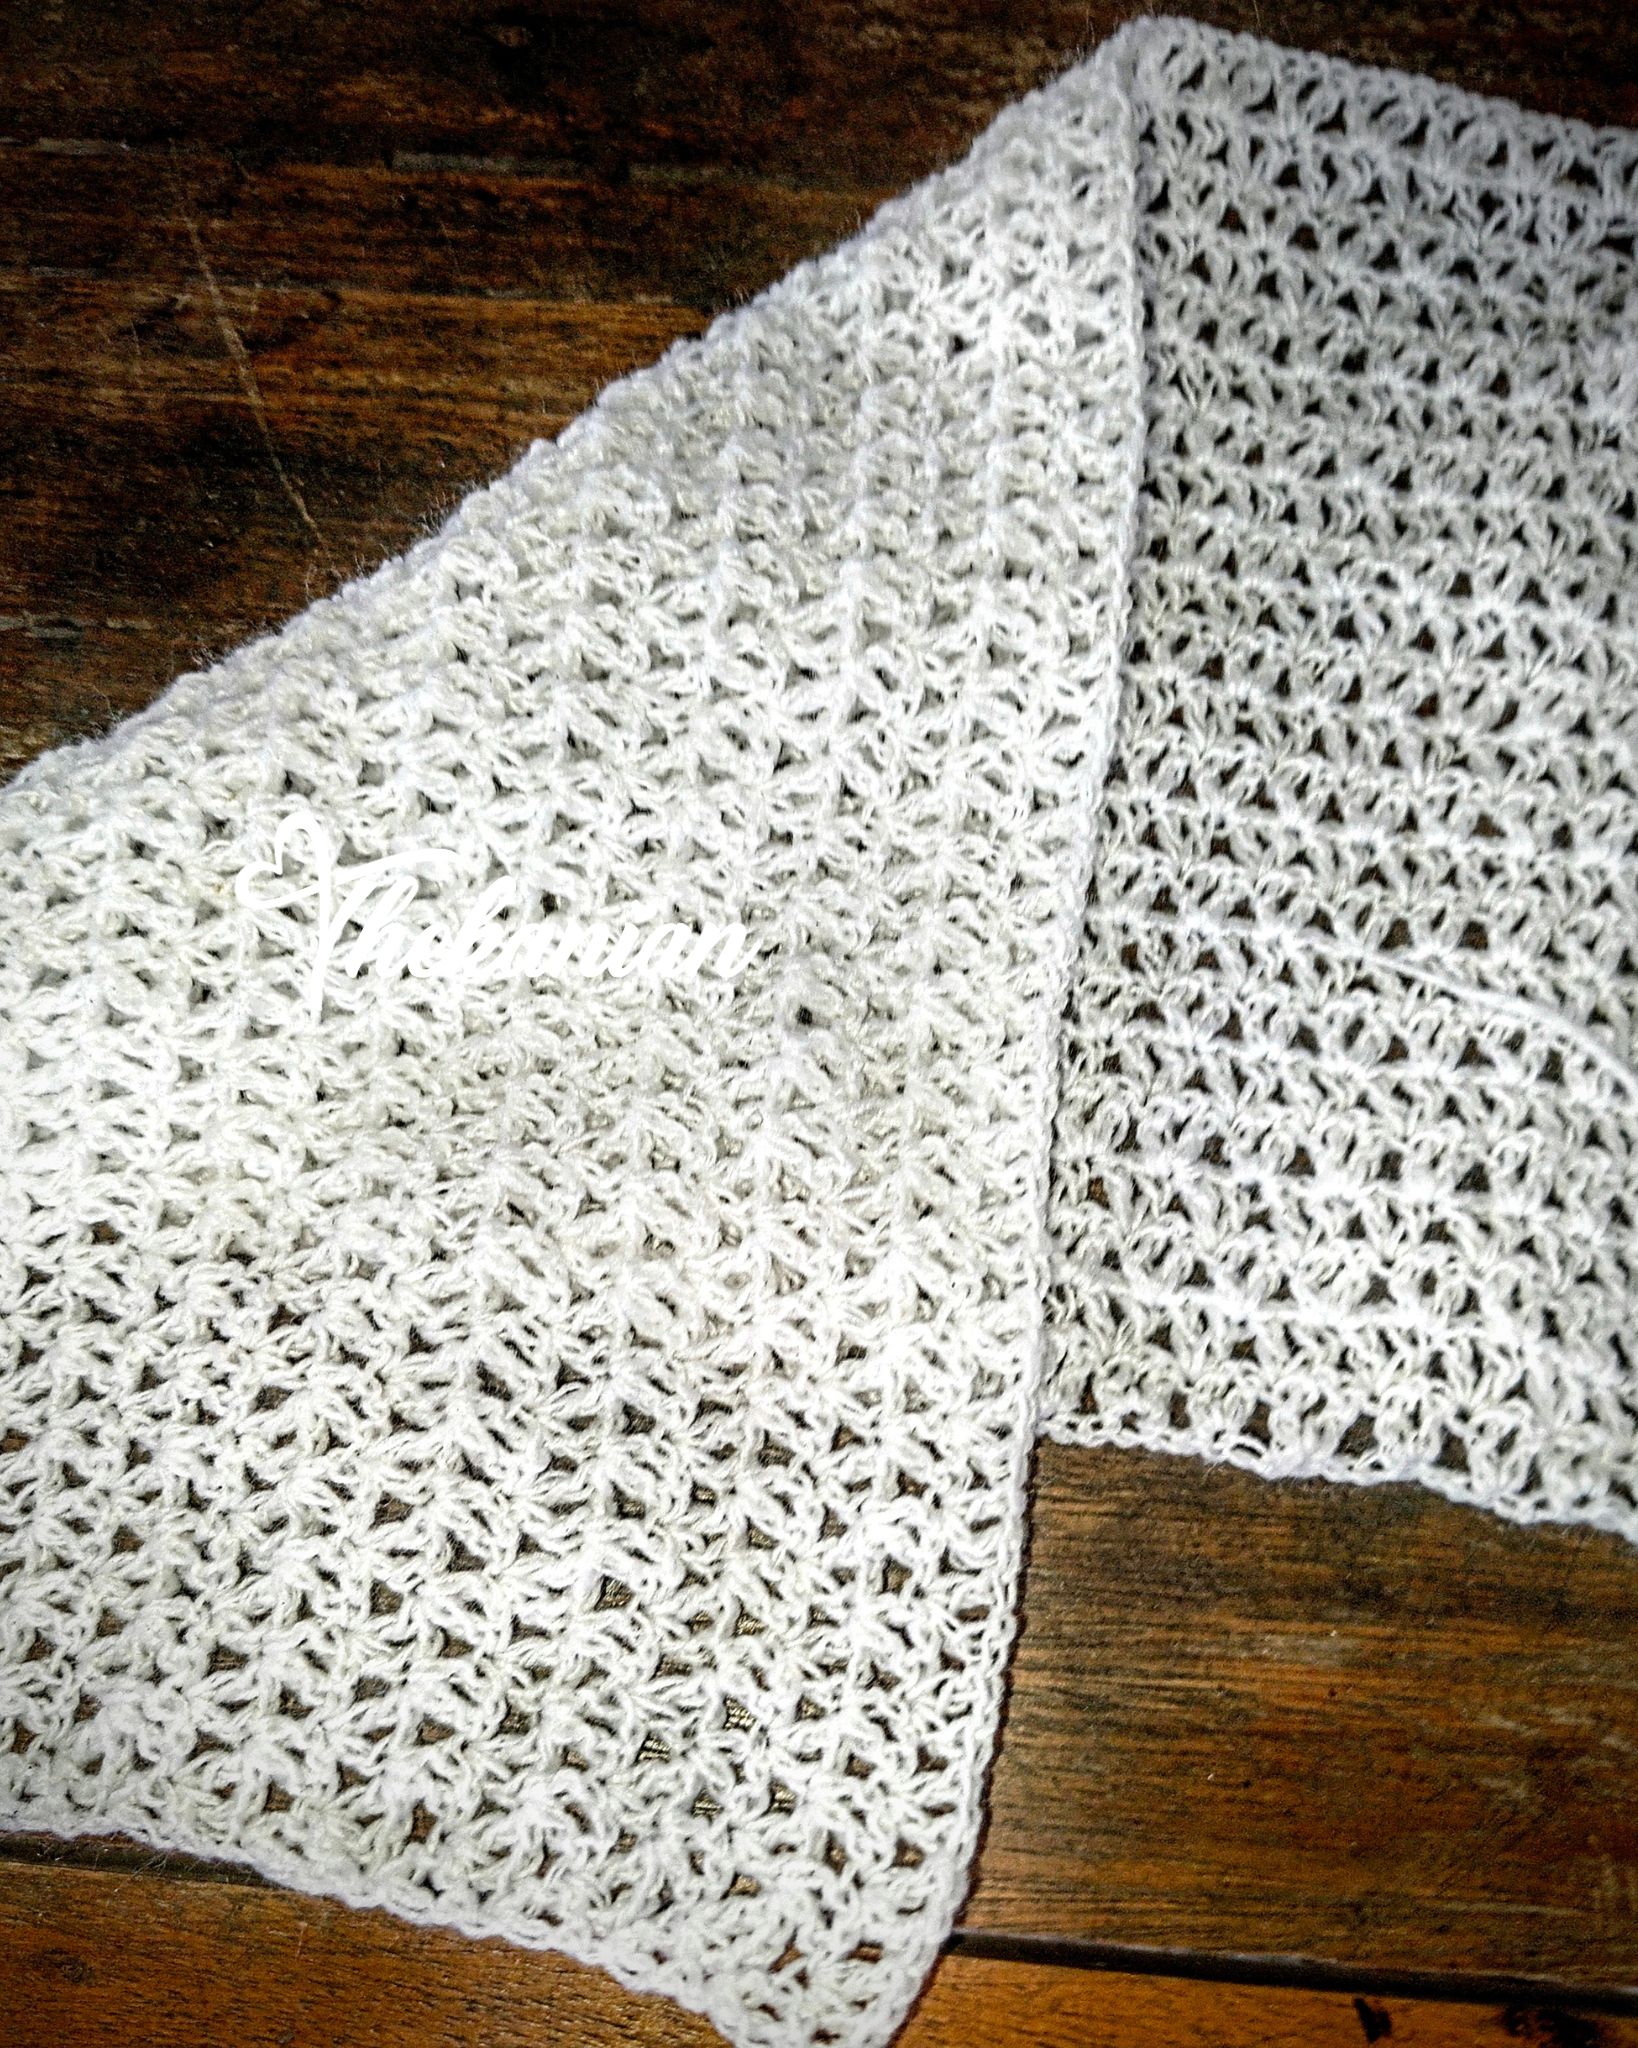 To continue the V-stitch, I counted two chains from the first V-stitch and then inserted two double crochet stitches together in the third chain. Every V-stitch is separated by a chain one and two chains.
At the end of the first row, I made a chain of two, turned my work over and instead of working into the V-stitches I just made, I worked into the chain one space I kept. This was pretty much the pattern used throughout the project.
Side note
One has to be very careful while inserting stitches, especially at the end to prevent inserting too many or too little stitches.
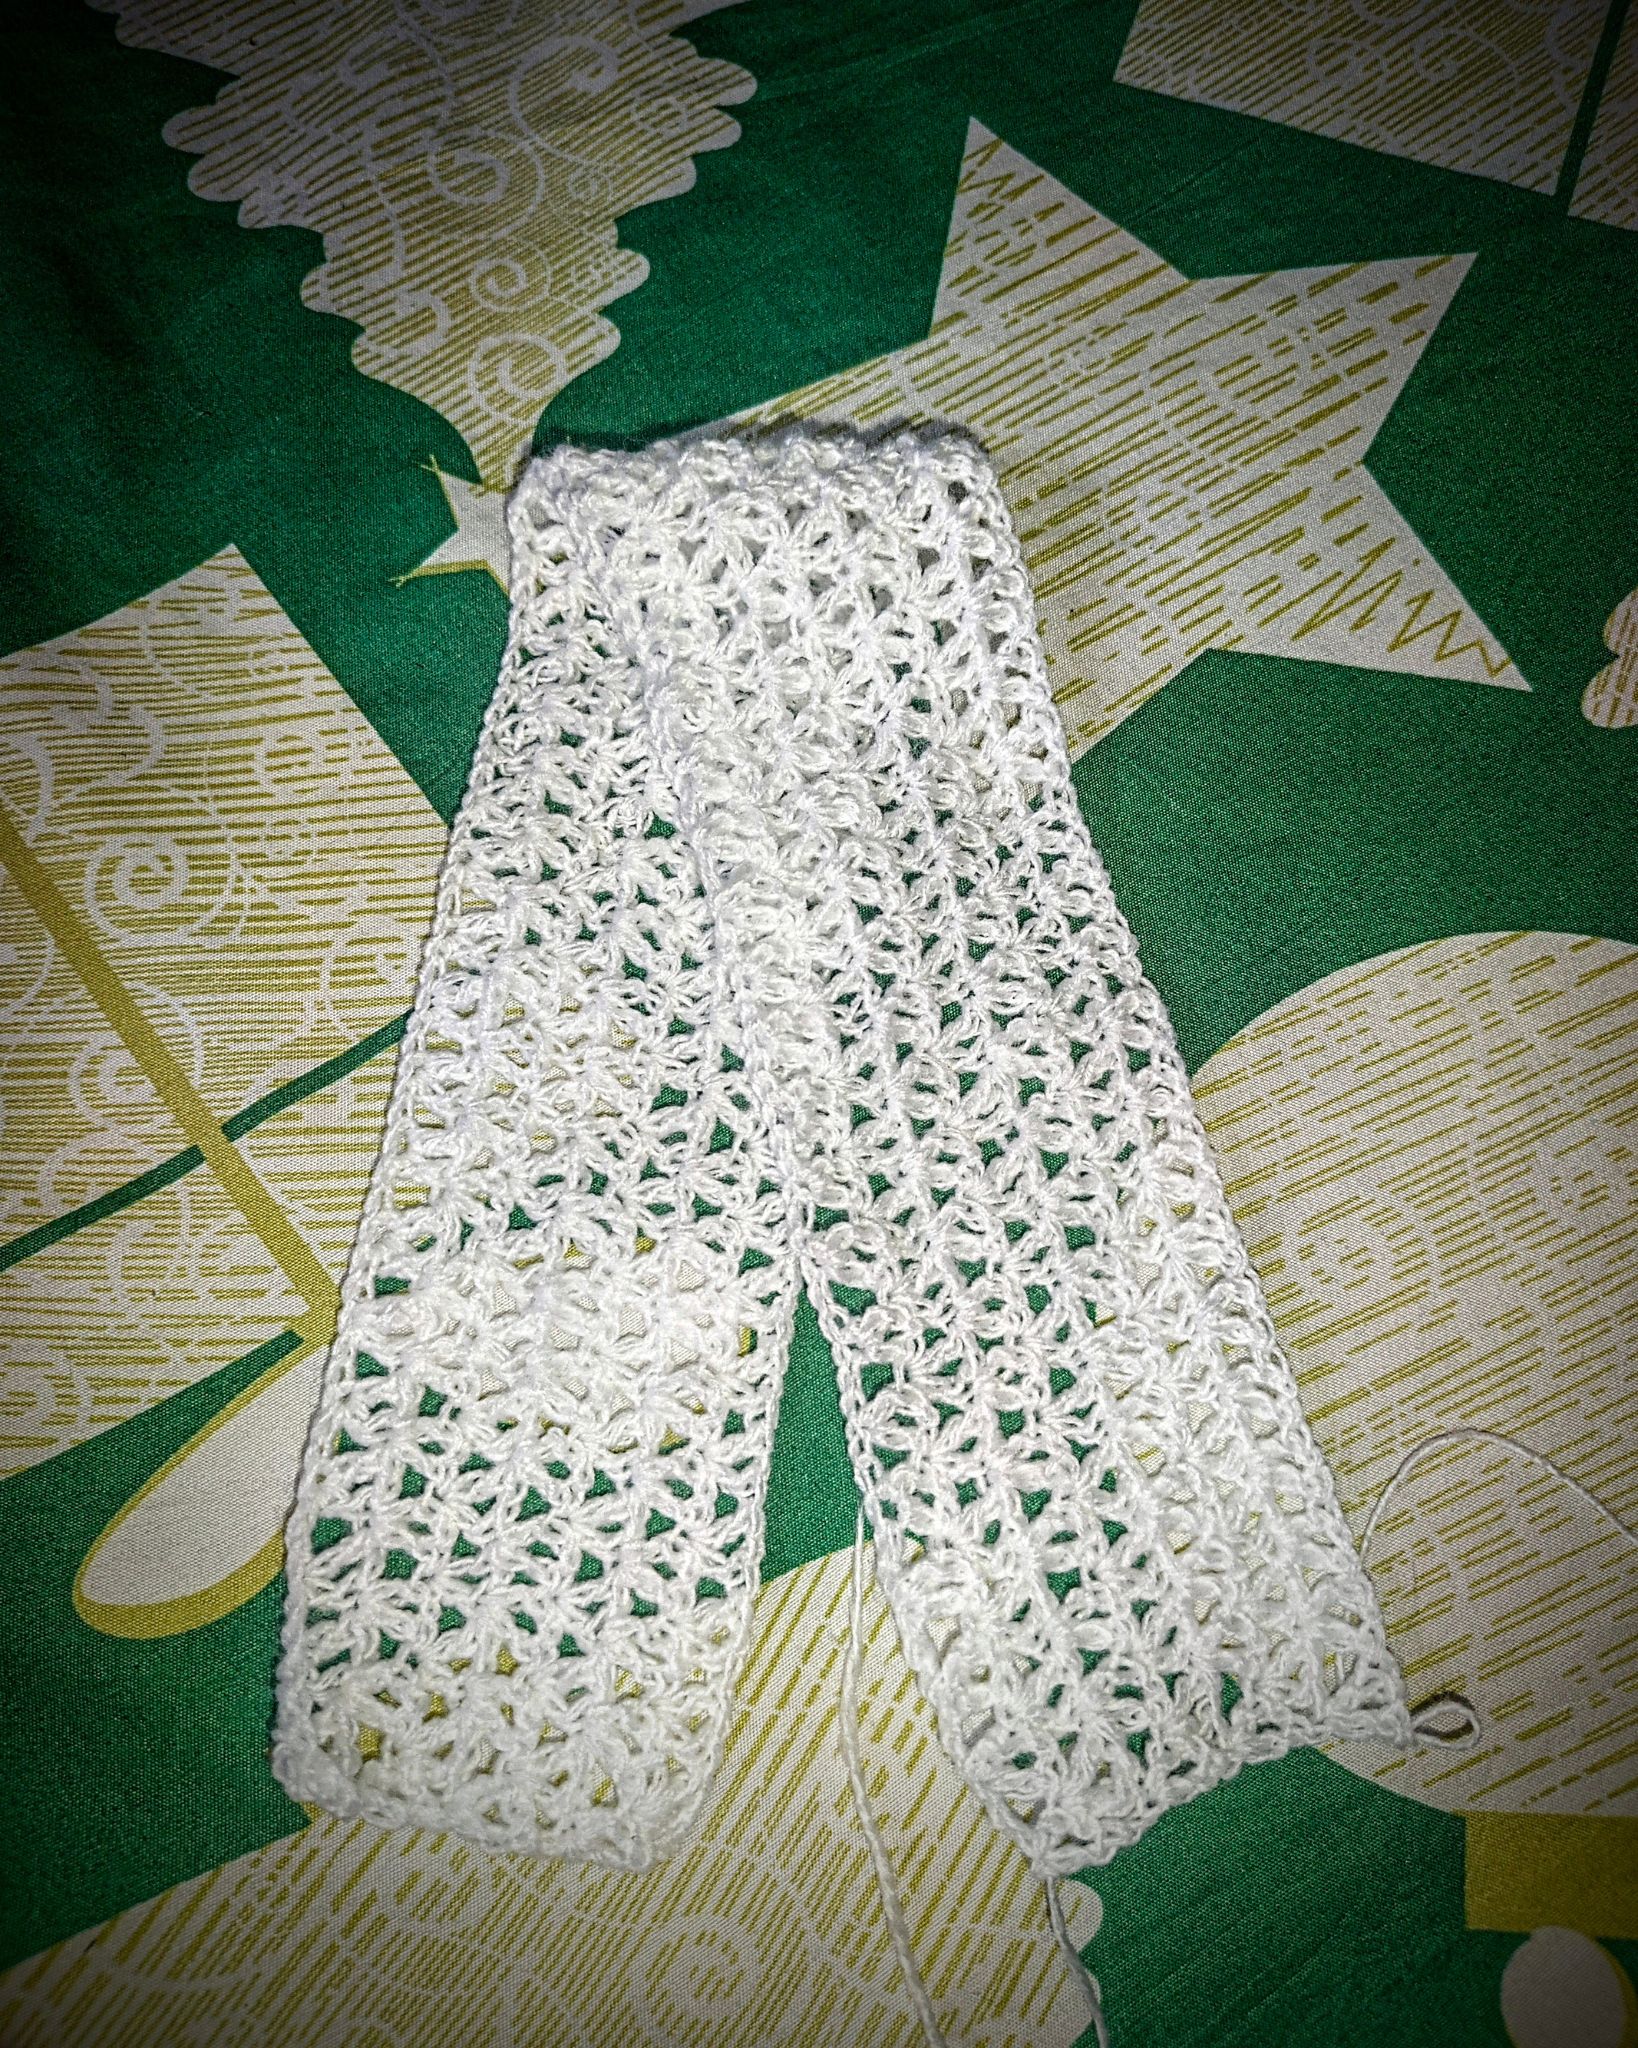
For this project, I worked in three different panels; two front panels and one back panel.
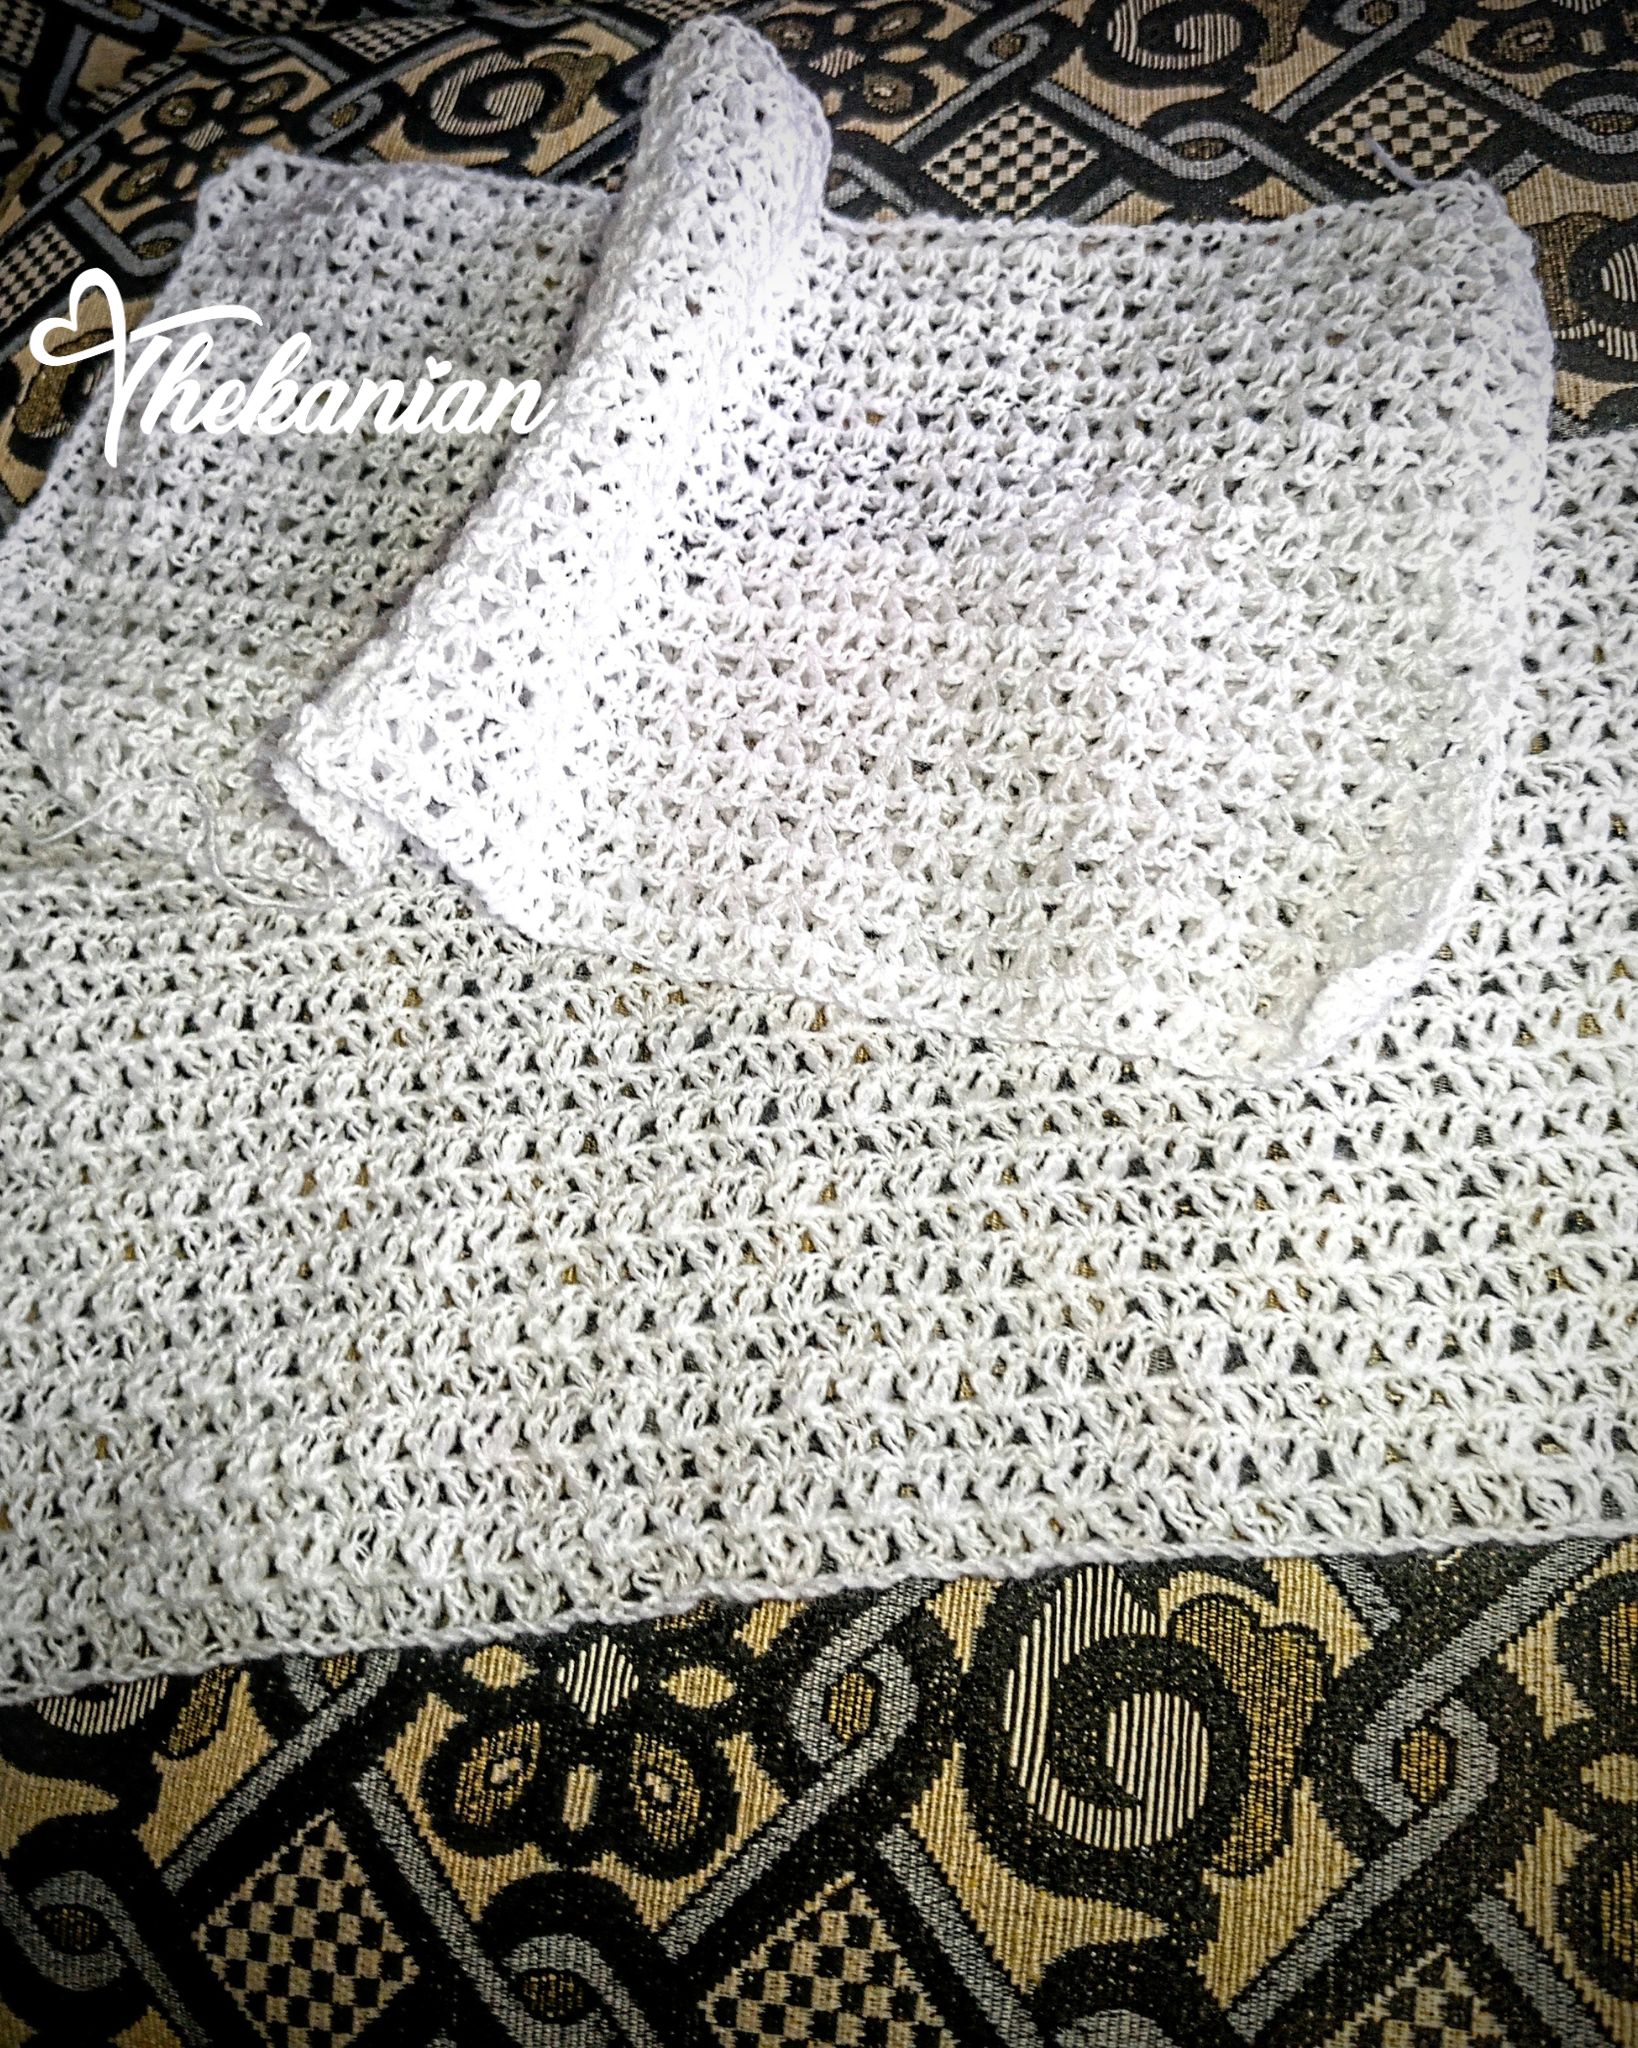
For the front panel I made a total of 18 rows. From the 14th row, I began making decreases. This decrease will later serve as part of the collar. I repeated this for both of the front panels.
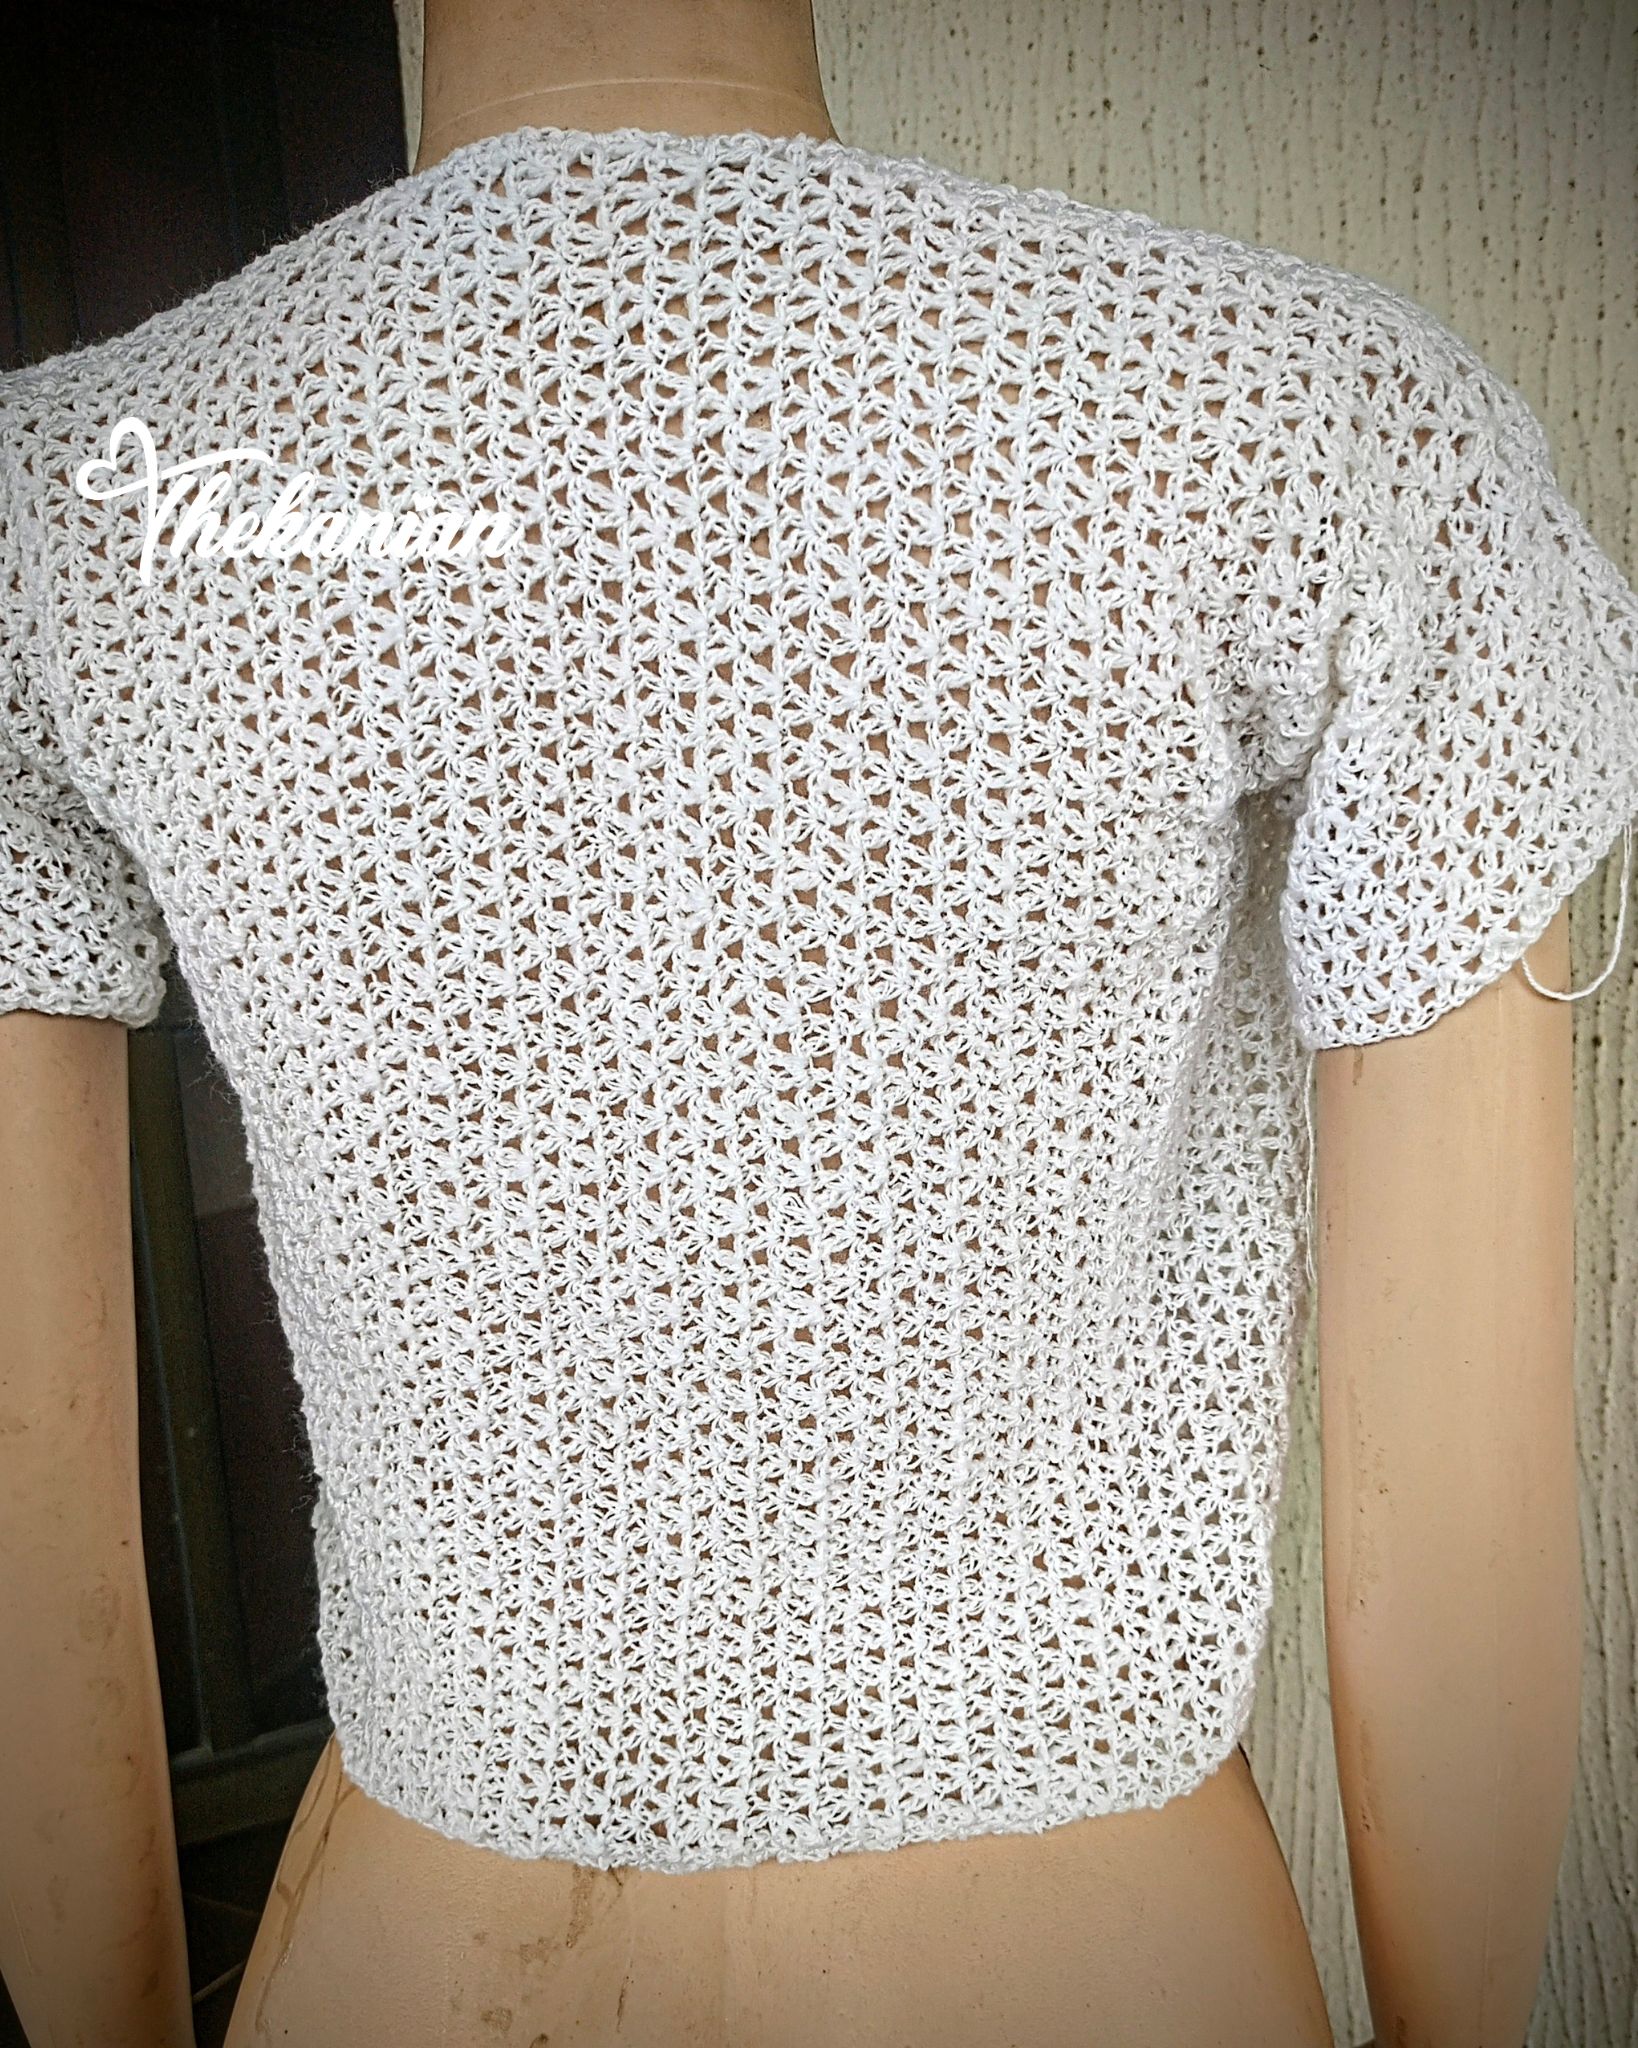
 The back panel had a total of forty rows; a few rows more than than the initial front panels.
The lack of extra rows on the front panel was compensated for while creating space for buttons and button holes. This broght the front rows up to par with the back rows.
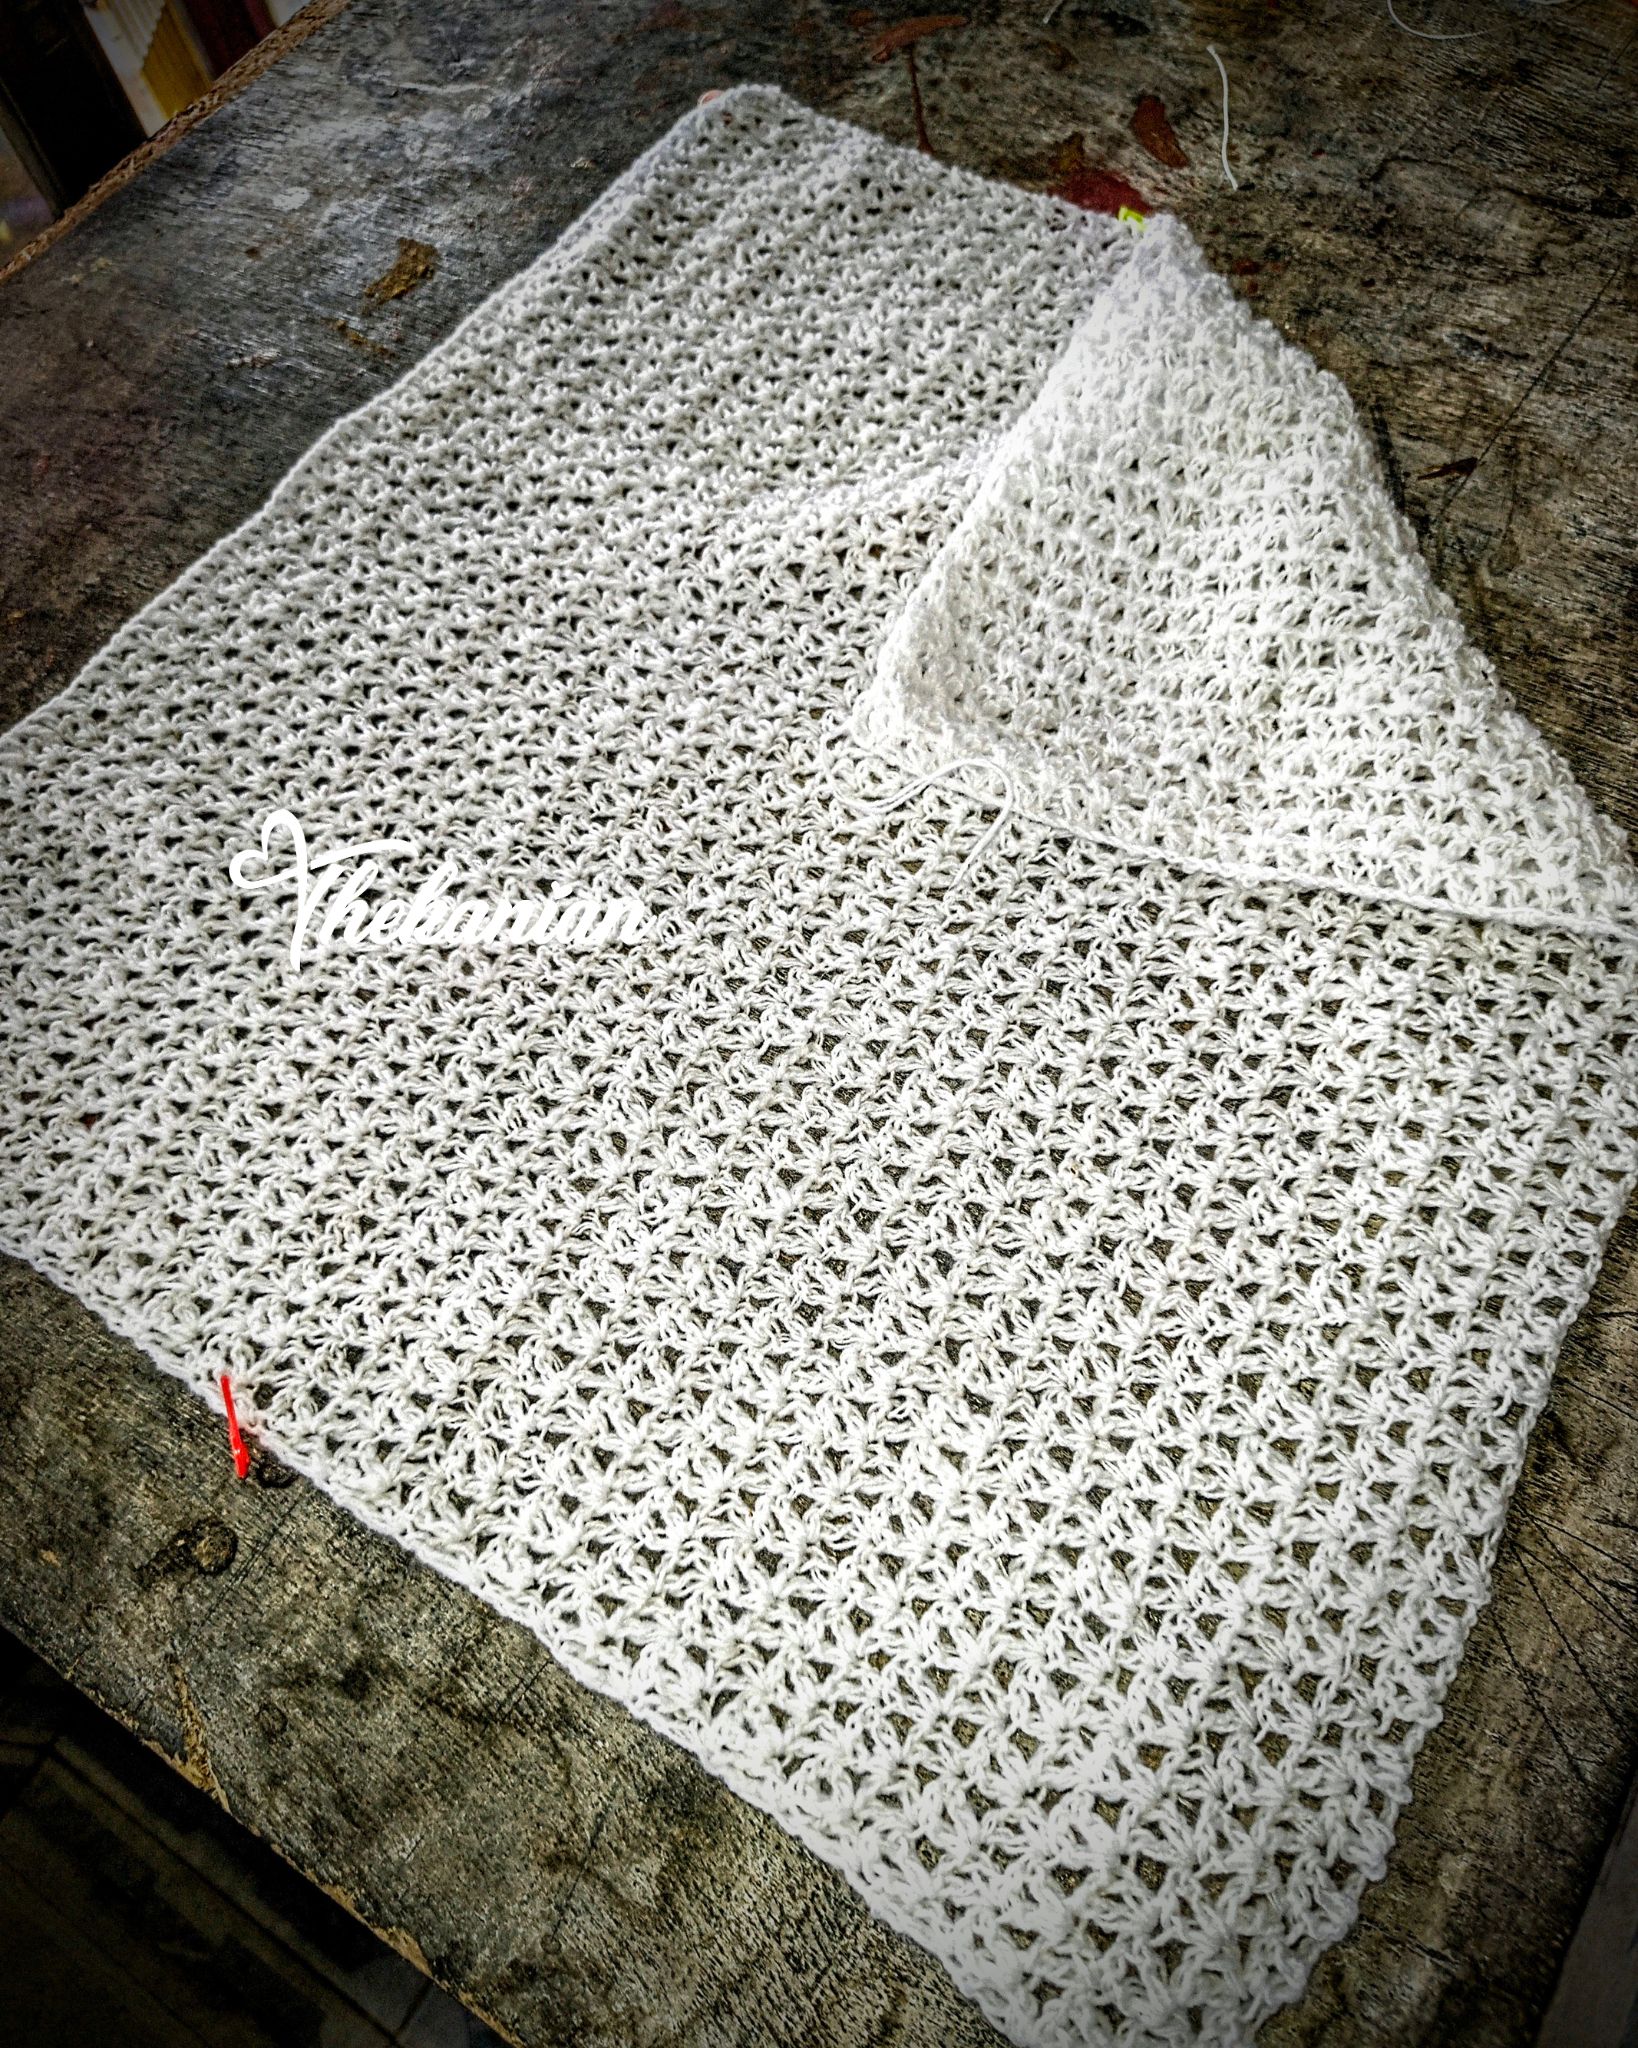
After making the three panels. I went ahead to make the sleeves. I made a total of four sleeves using the same pattern. However, I used a chain of 40 as my beginning chain.
After getting all components ready, it was time to couple everything together. For some reason, I felt very reluctant to do this part although it was seemingly the easiest part of this entire project.
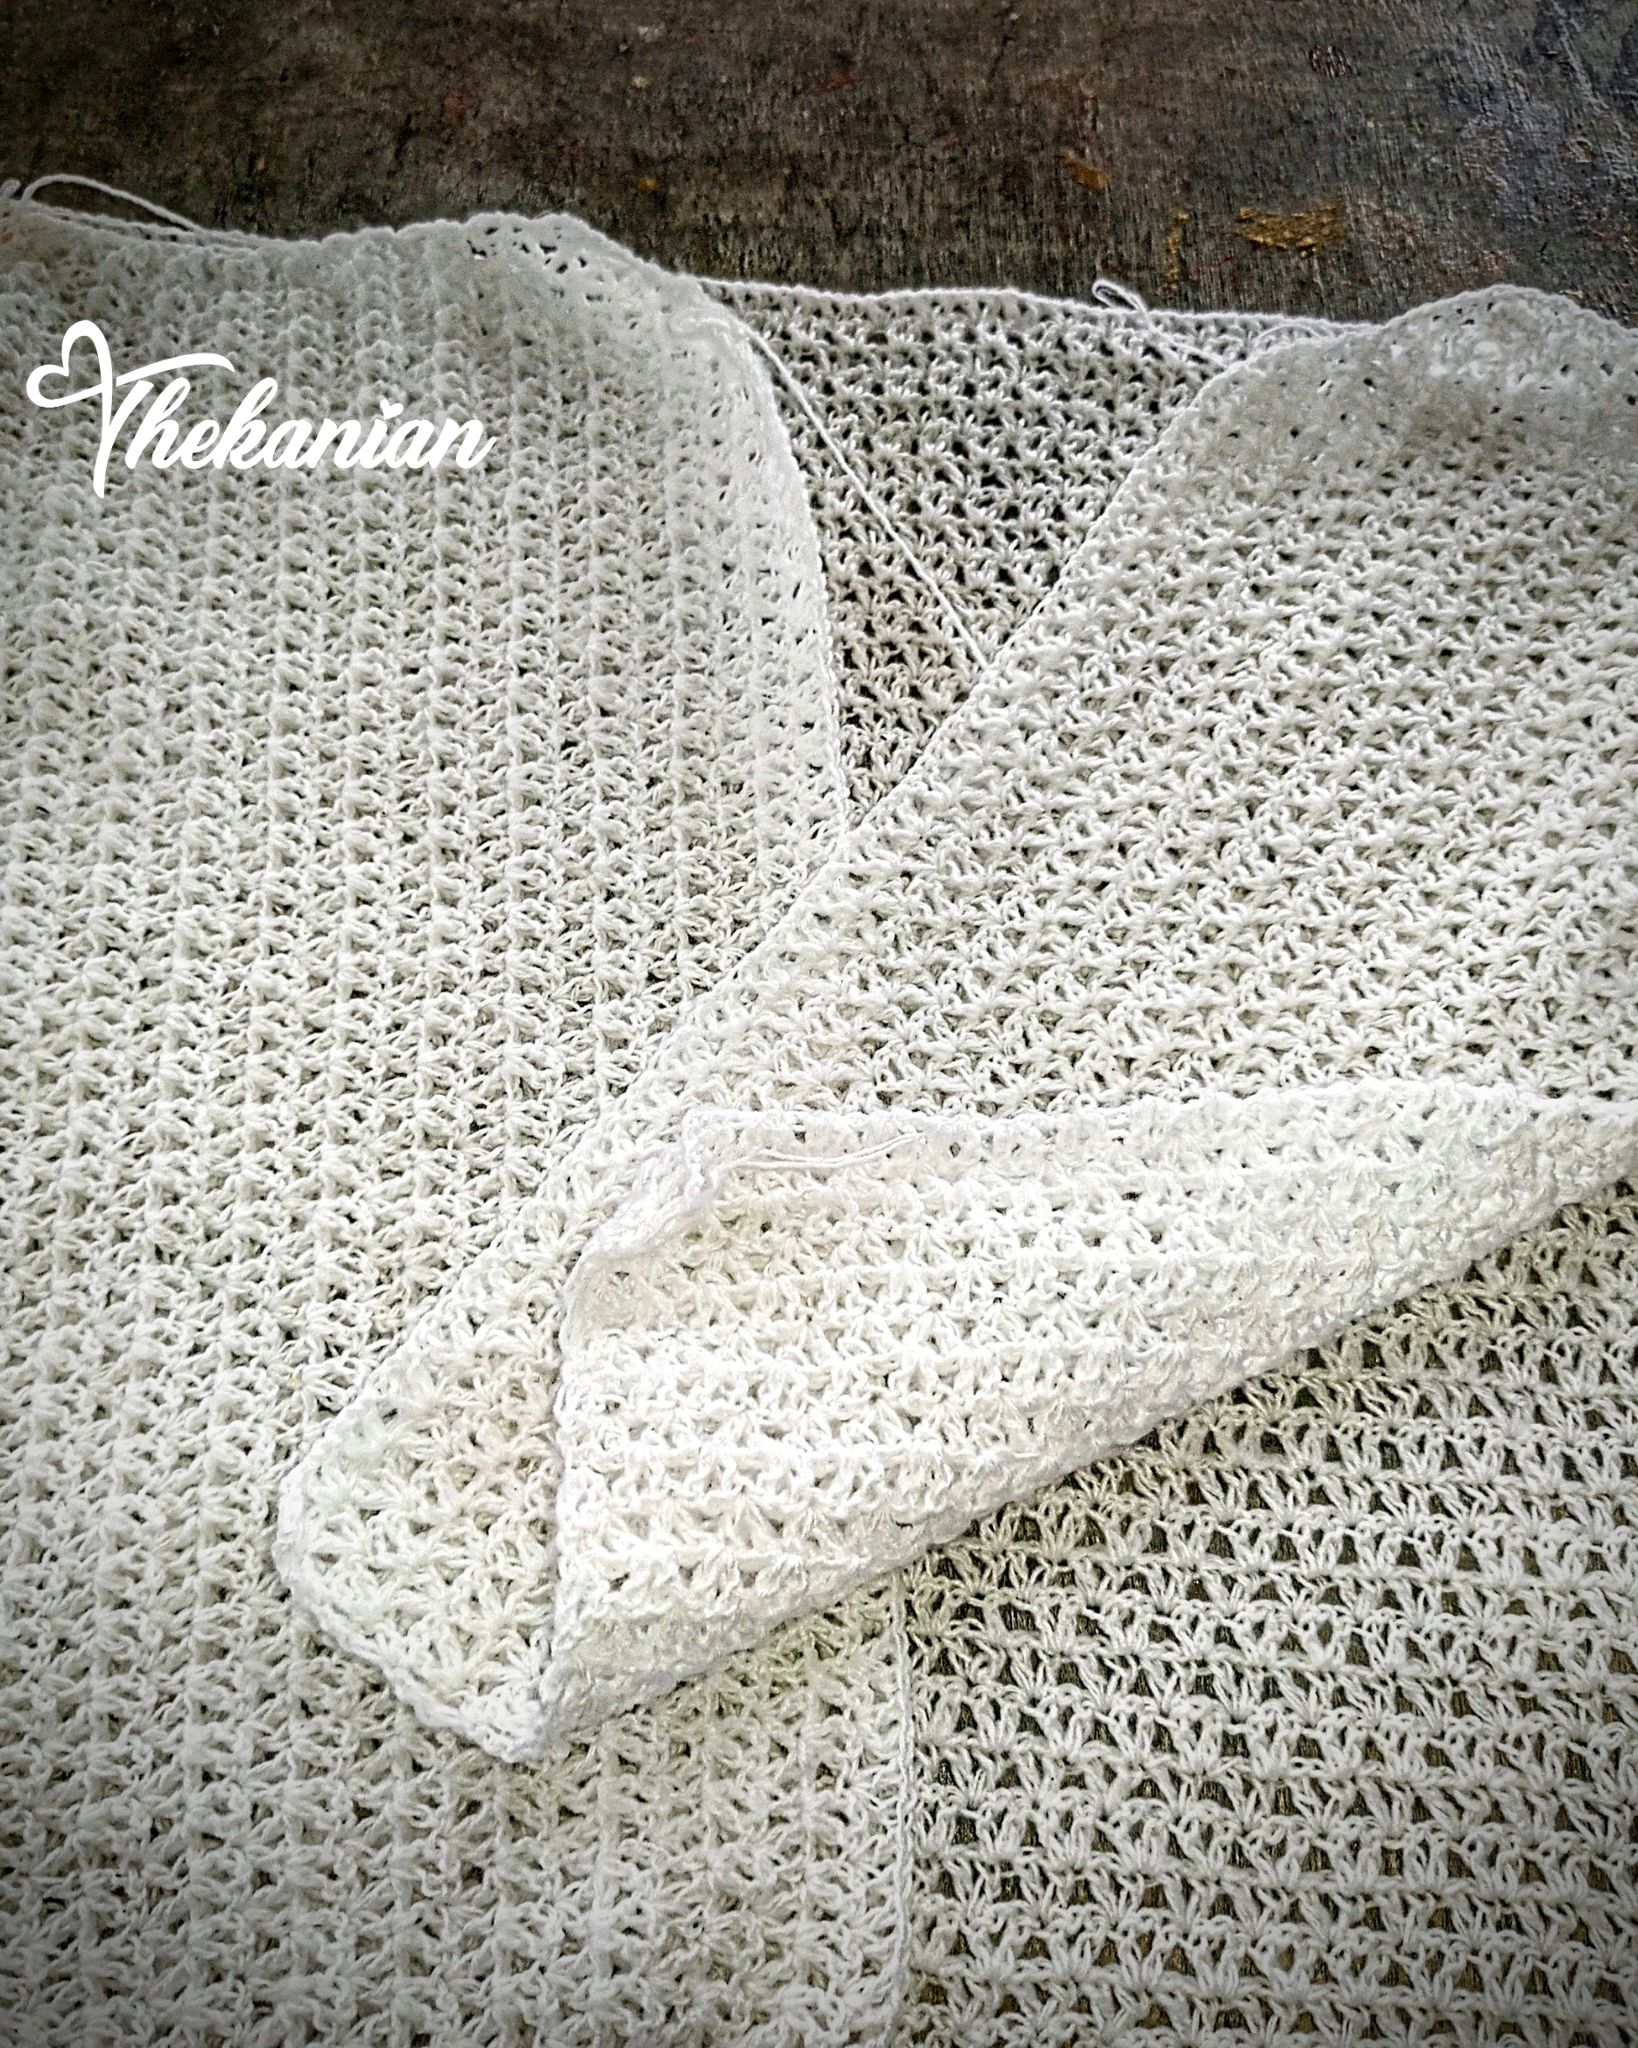
 To do this, I marked the points I would be joining using my stitch markers and once I was satisfied with the placements, I began coupling the parts starting from the shoulder. I used single crochet stitches to couple but one can always choose to use a darning needle to do this part as long as they know what they're doing.
 After coupling all the parts, it was time to put some finishing touches to this masterpiece, including the collar and the buttons.
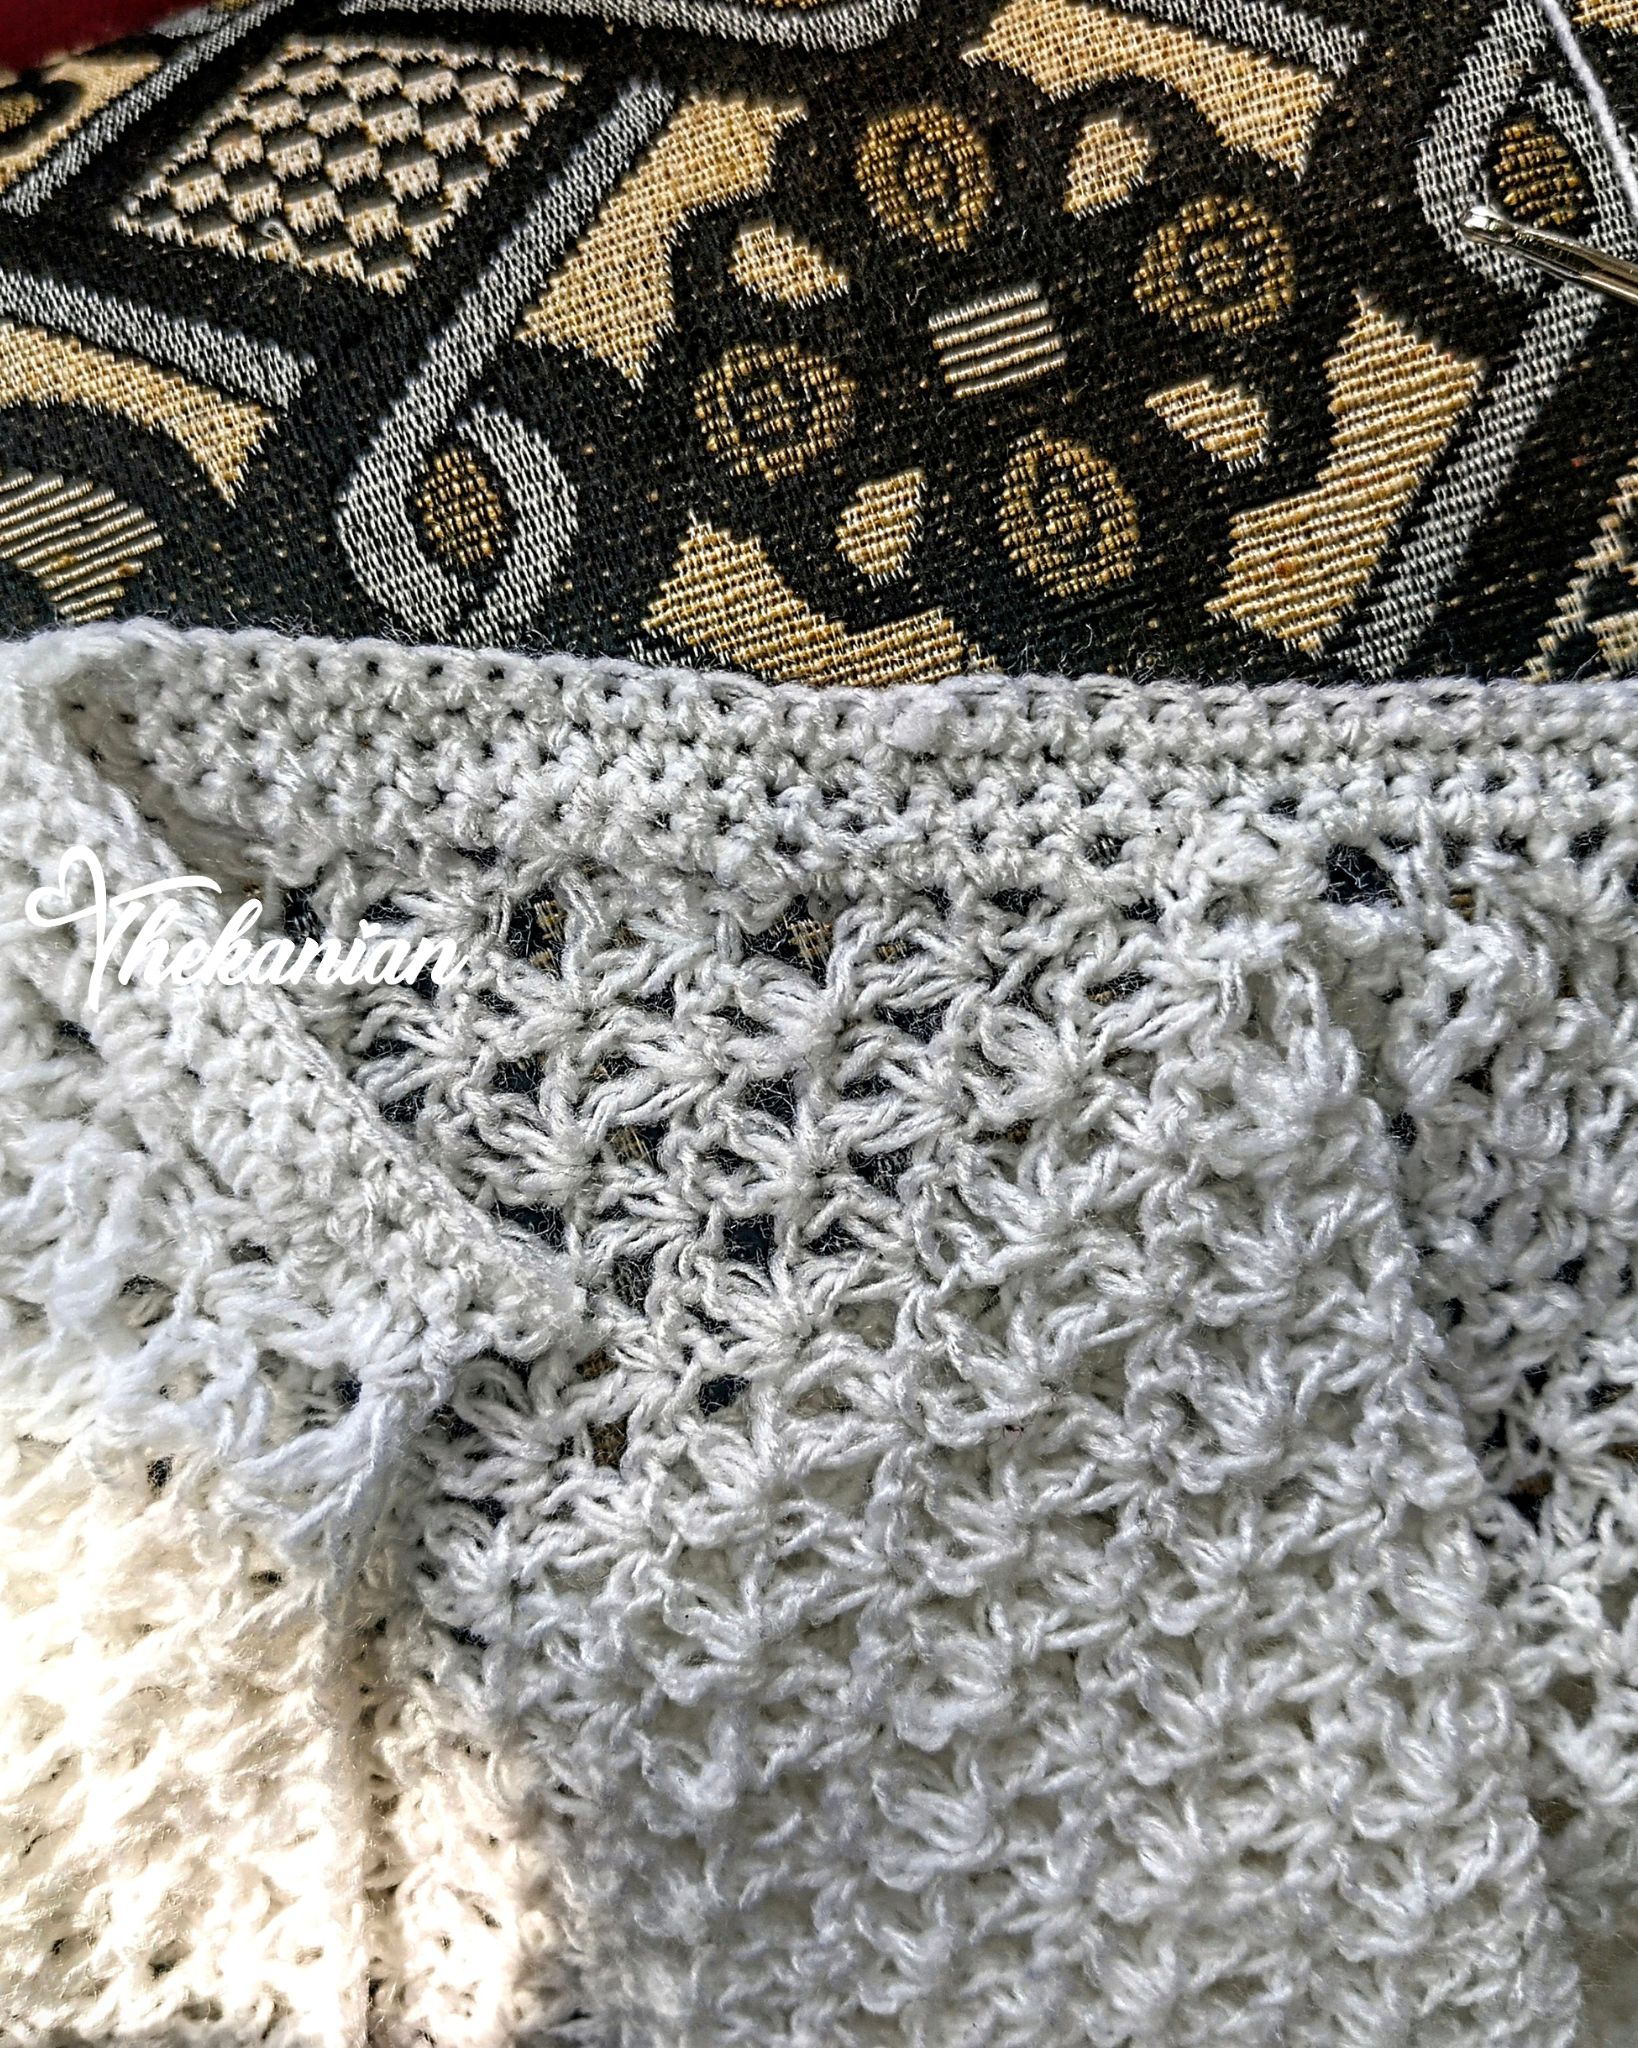
For the collar, I inserted my hook into one end of the decreases I made in the front panel and worked single crochet stitches all the way to the other end. To get the pointy ends of the collar, I made increases in every last stich. For the collar, I made a total of 15 rows of single crochet stitches.

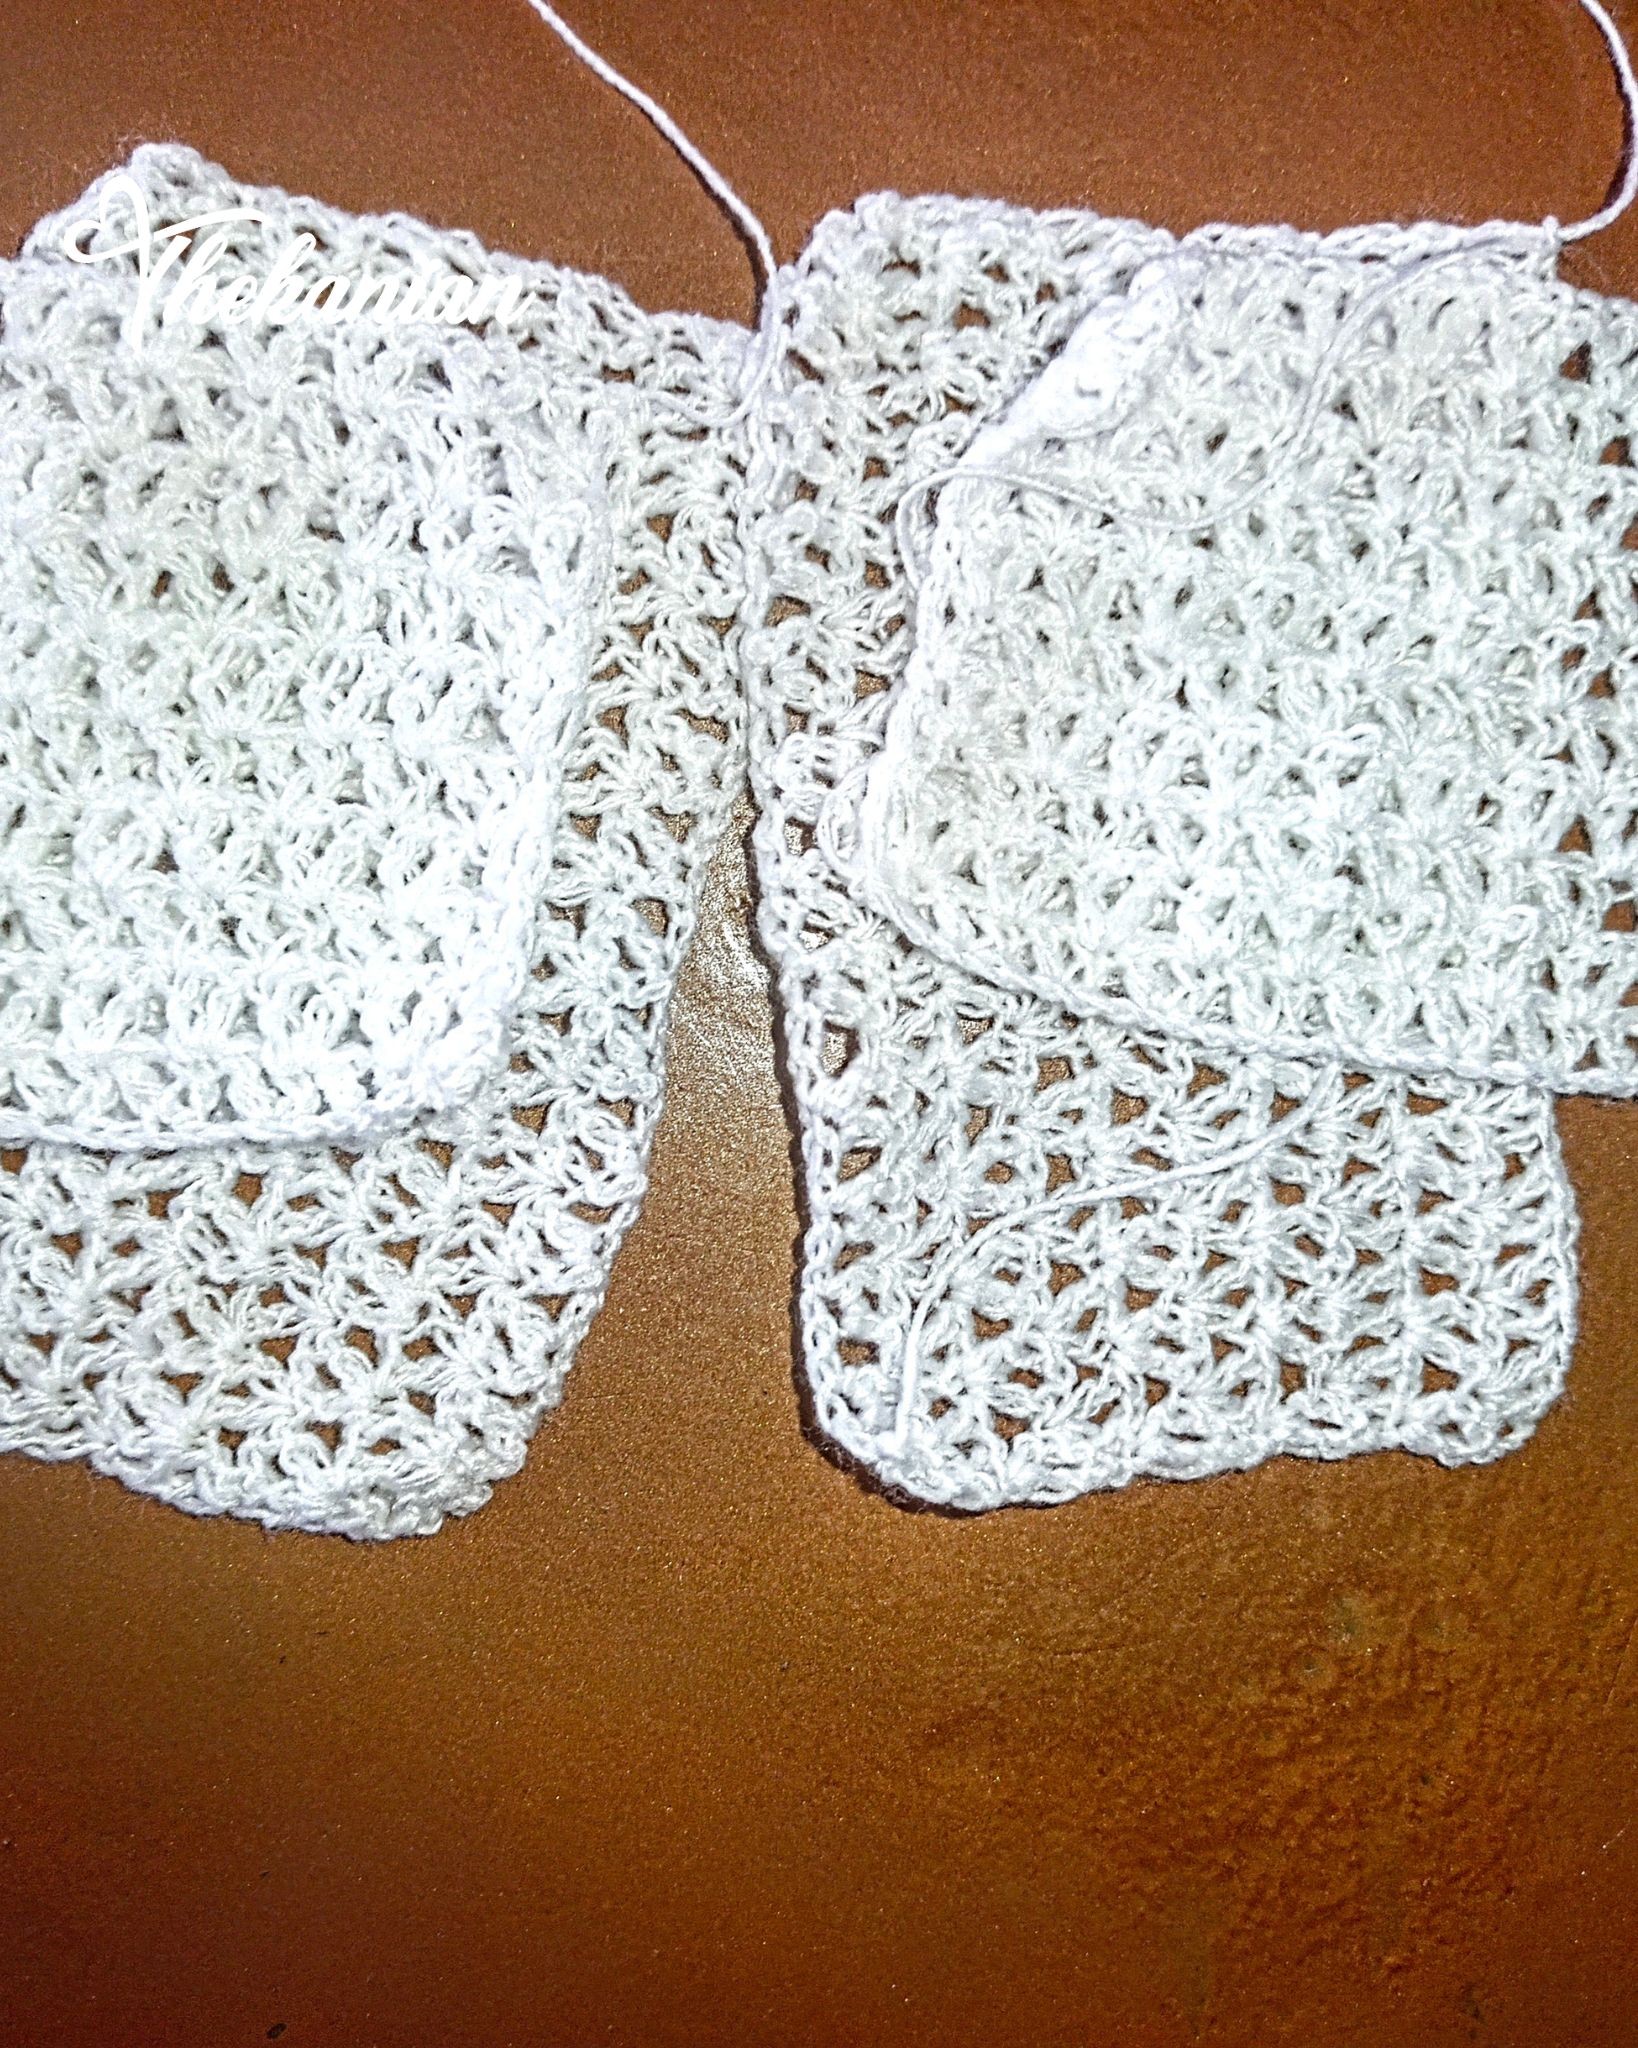
From the end of the 15th row, I worked single crochet stitches through the edges of the collar and down the body of the shirt. This was the beginning of the creation of the button holes. I made a total of 5 rows of single crochet stitches up and down, making sure to properly define the ends. By the third row I skipped two chains(that would serve as the button holes) and then continued this all the way down. Each button hole was seperated by ten single crochet stitches.
For the other panel of the shirt, I repeated the same number of rows but without the holes.
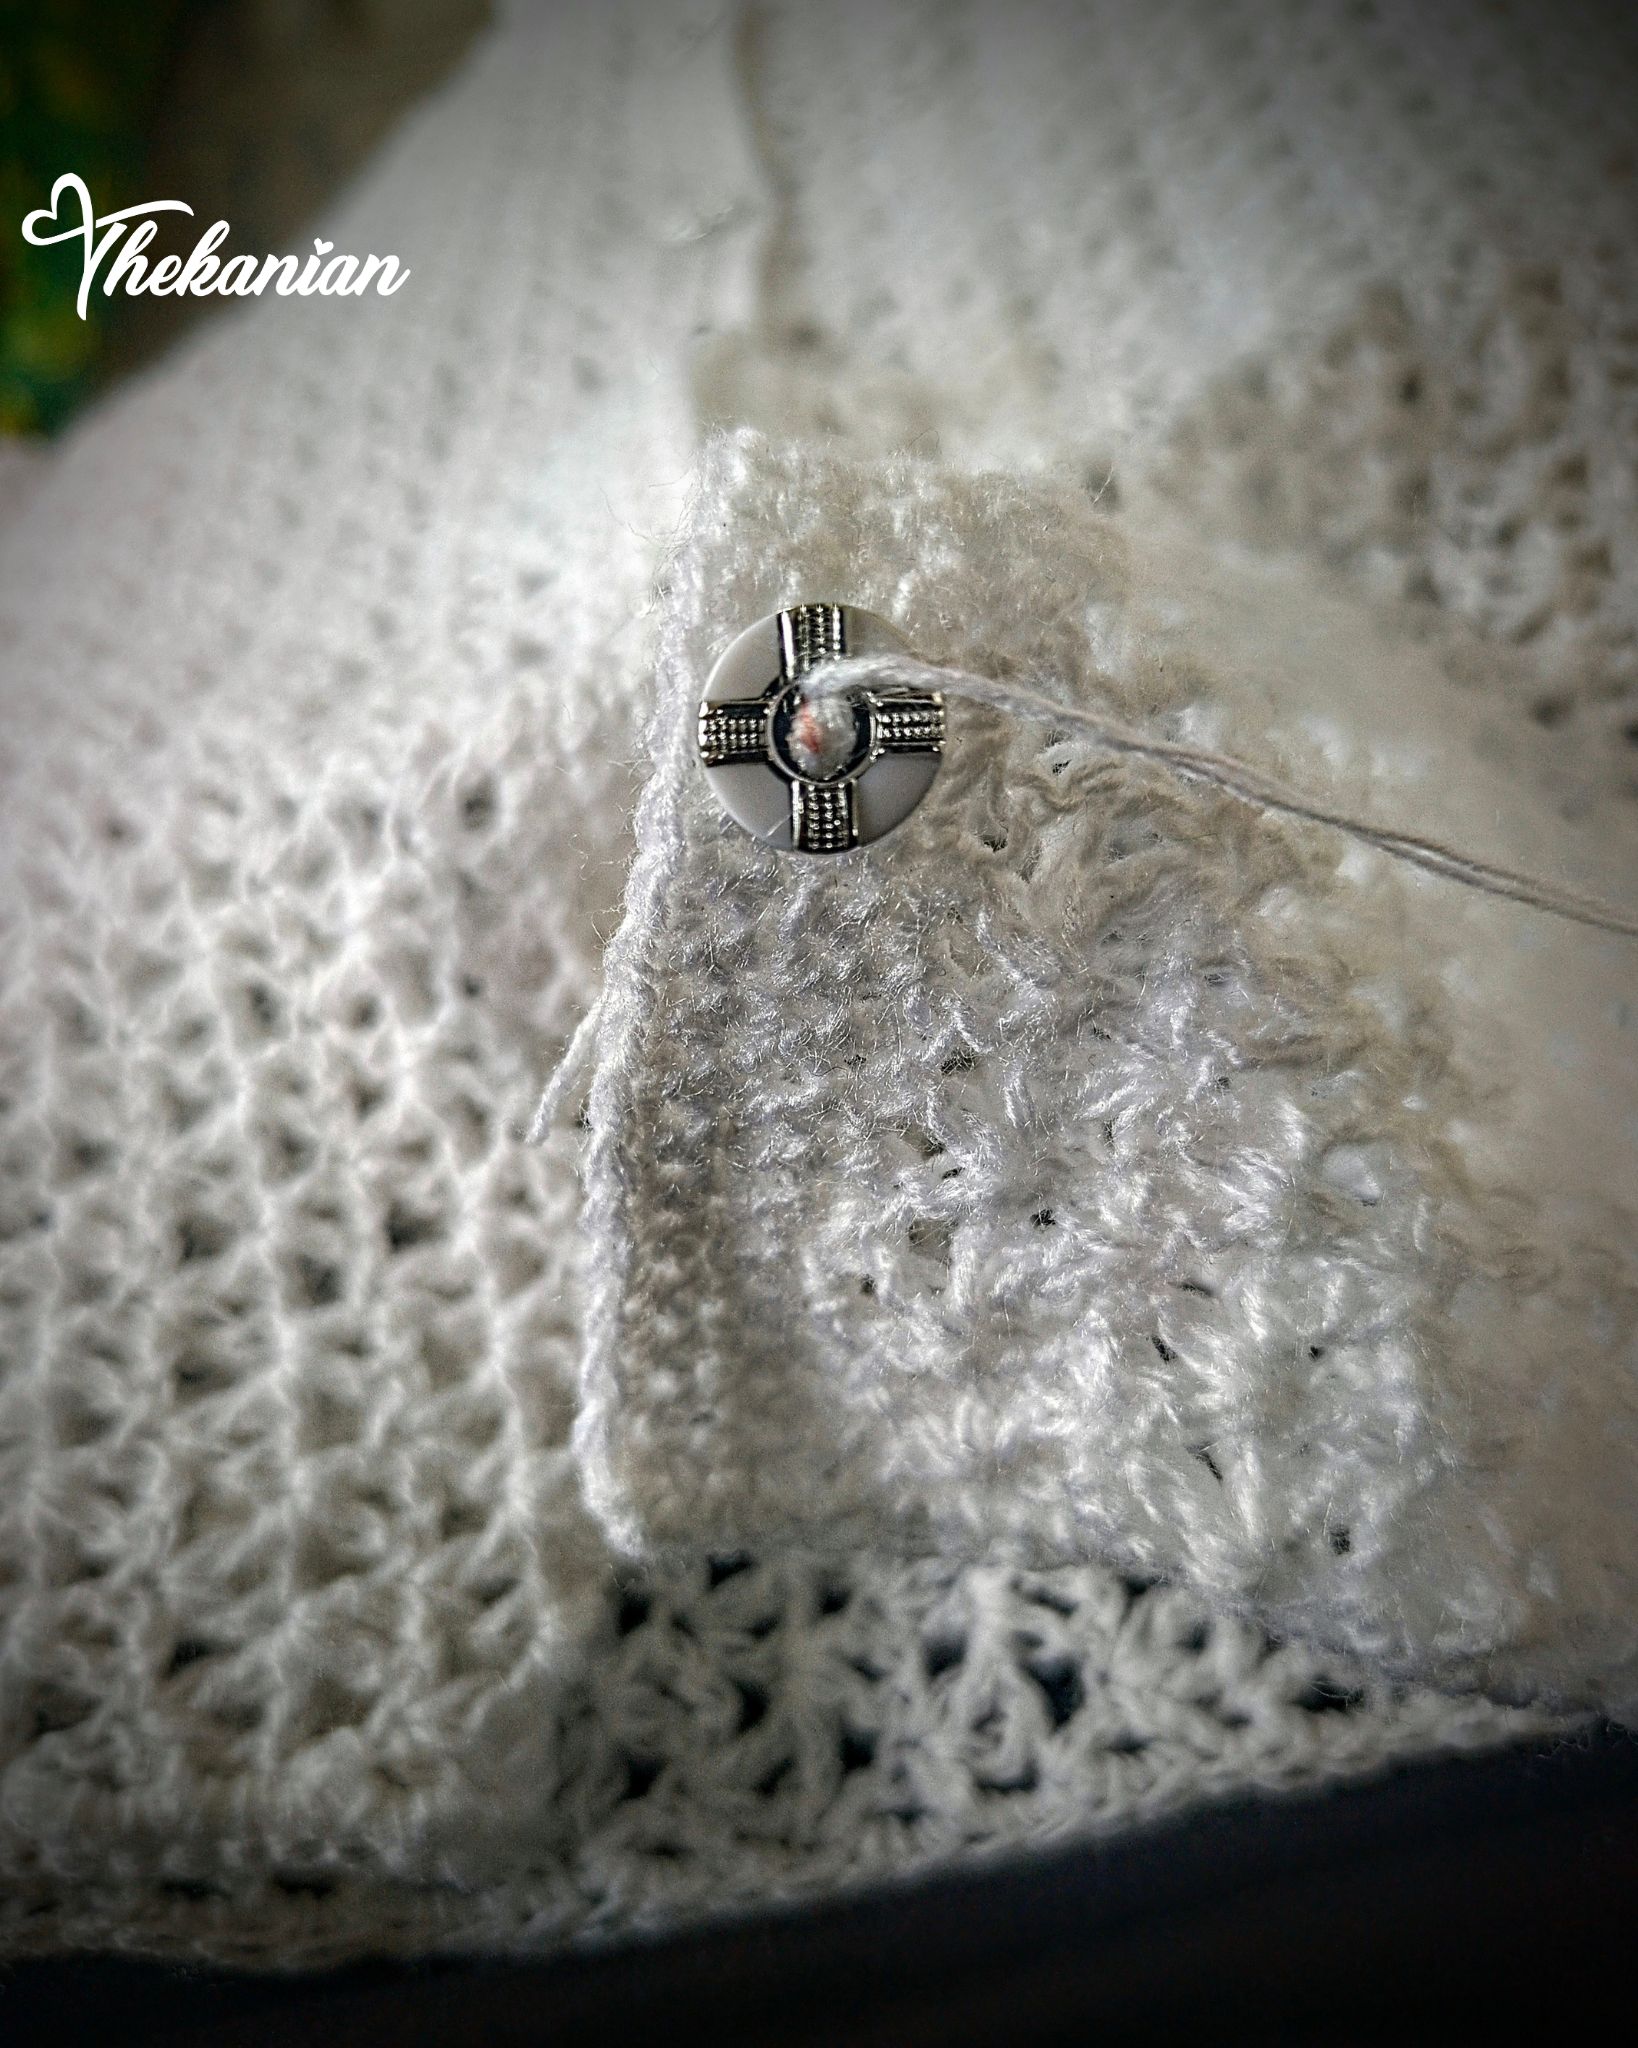
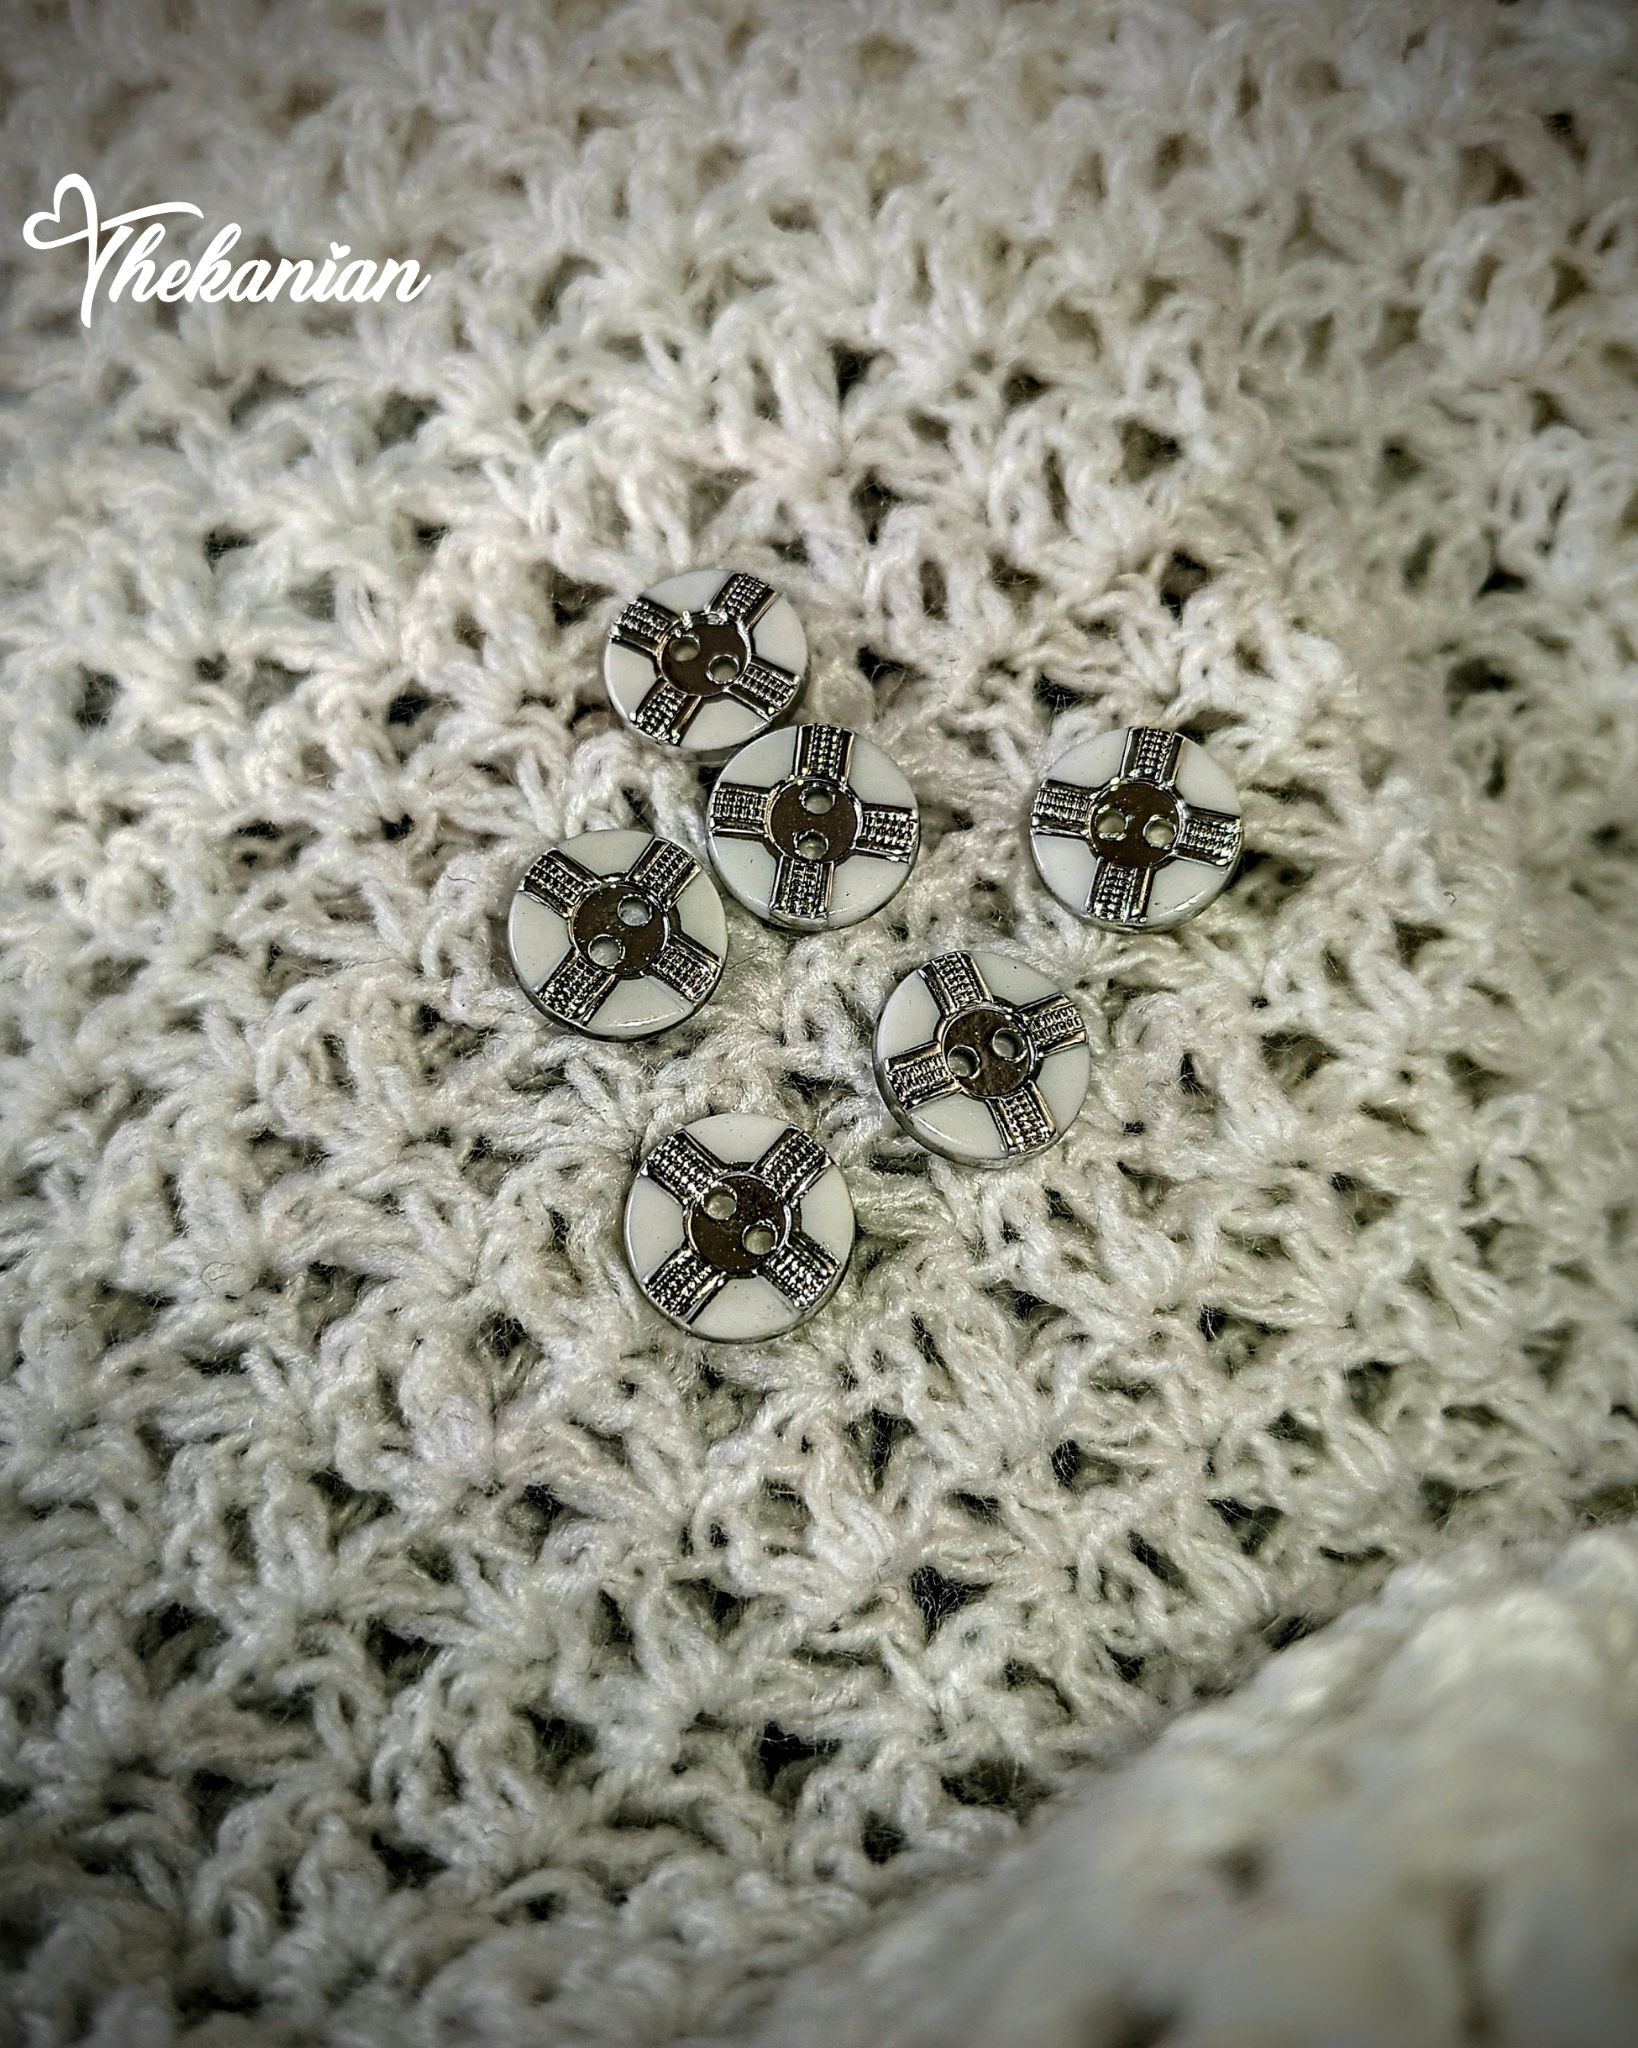 Then, it was time to attach the buttons. I chose white buttons for this shirt because I didn't want any contrasting colors. Using my metal darning needle, I sewed the bottons on, making sure to properly align them with the holes I already created.
 Blood stained button
While attaching the last button, my darning needle drew some blood from my left thumb, maybe as a reminder that I was sewing the button in too tightly.
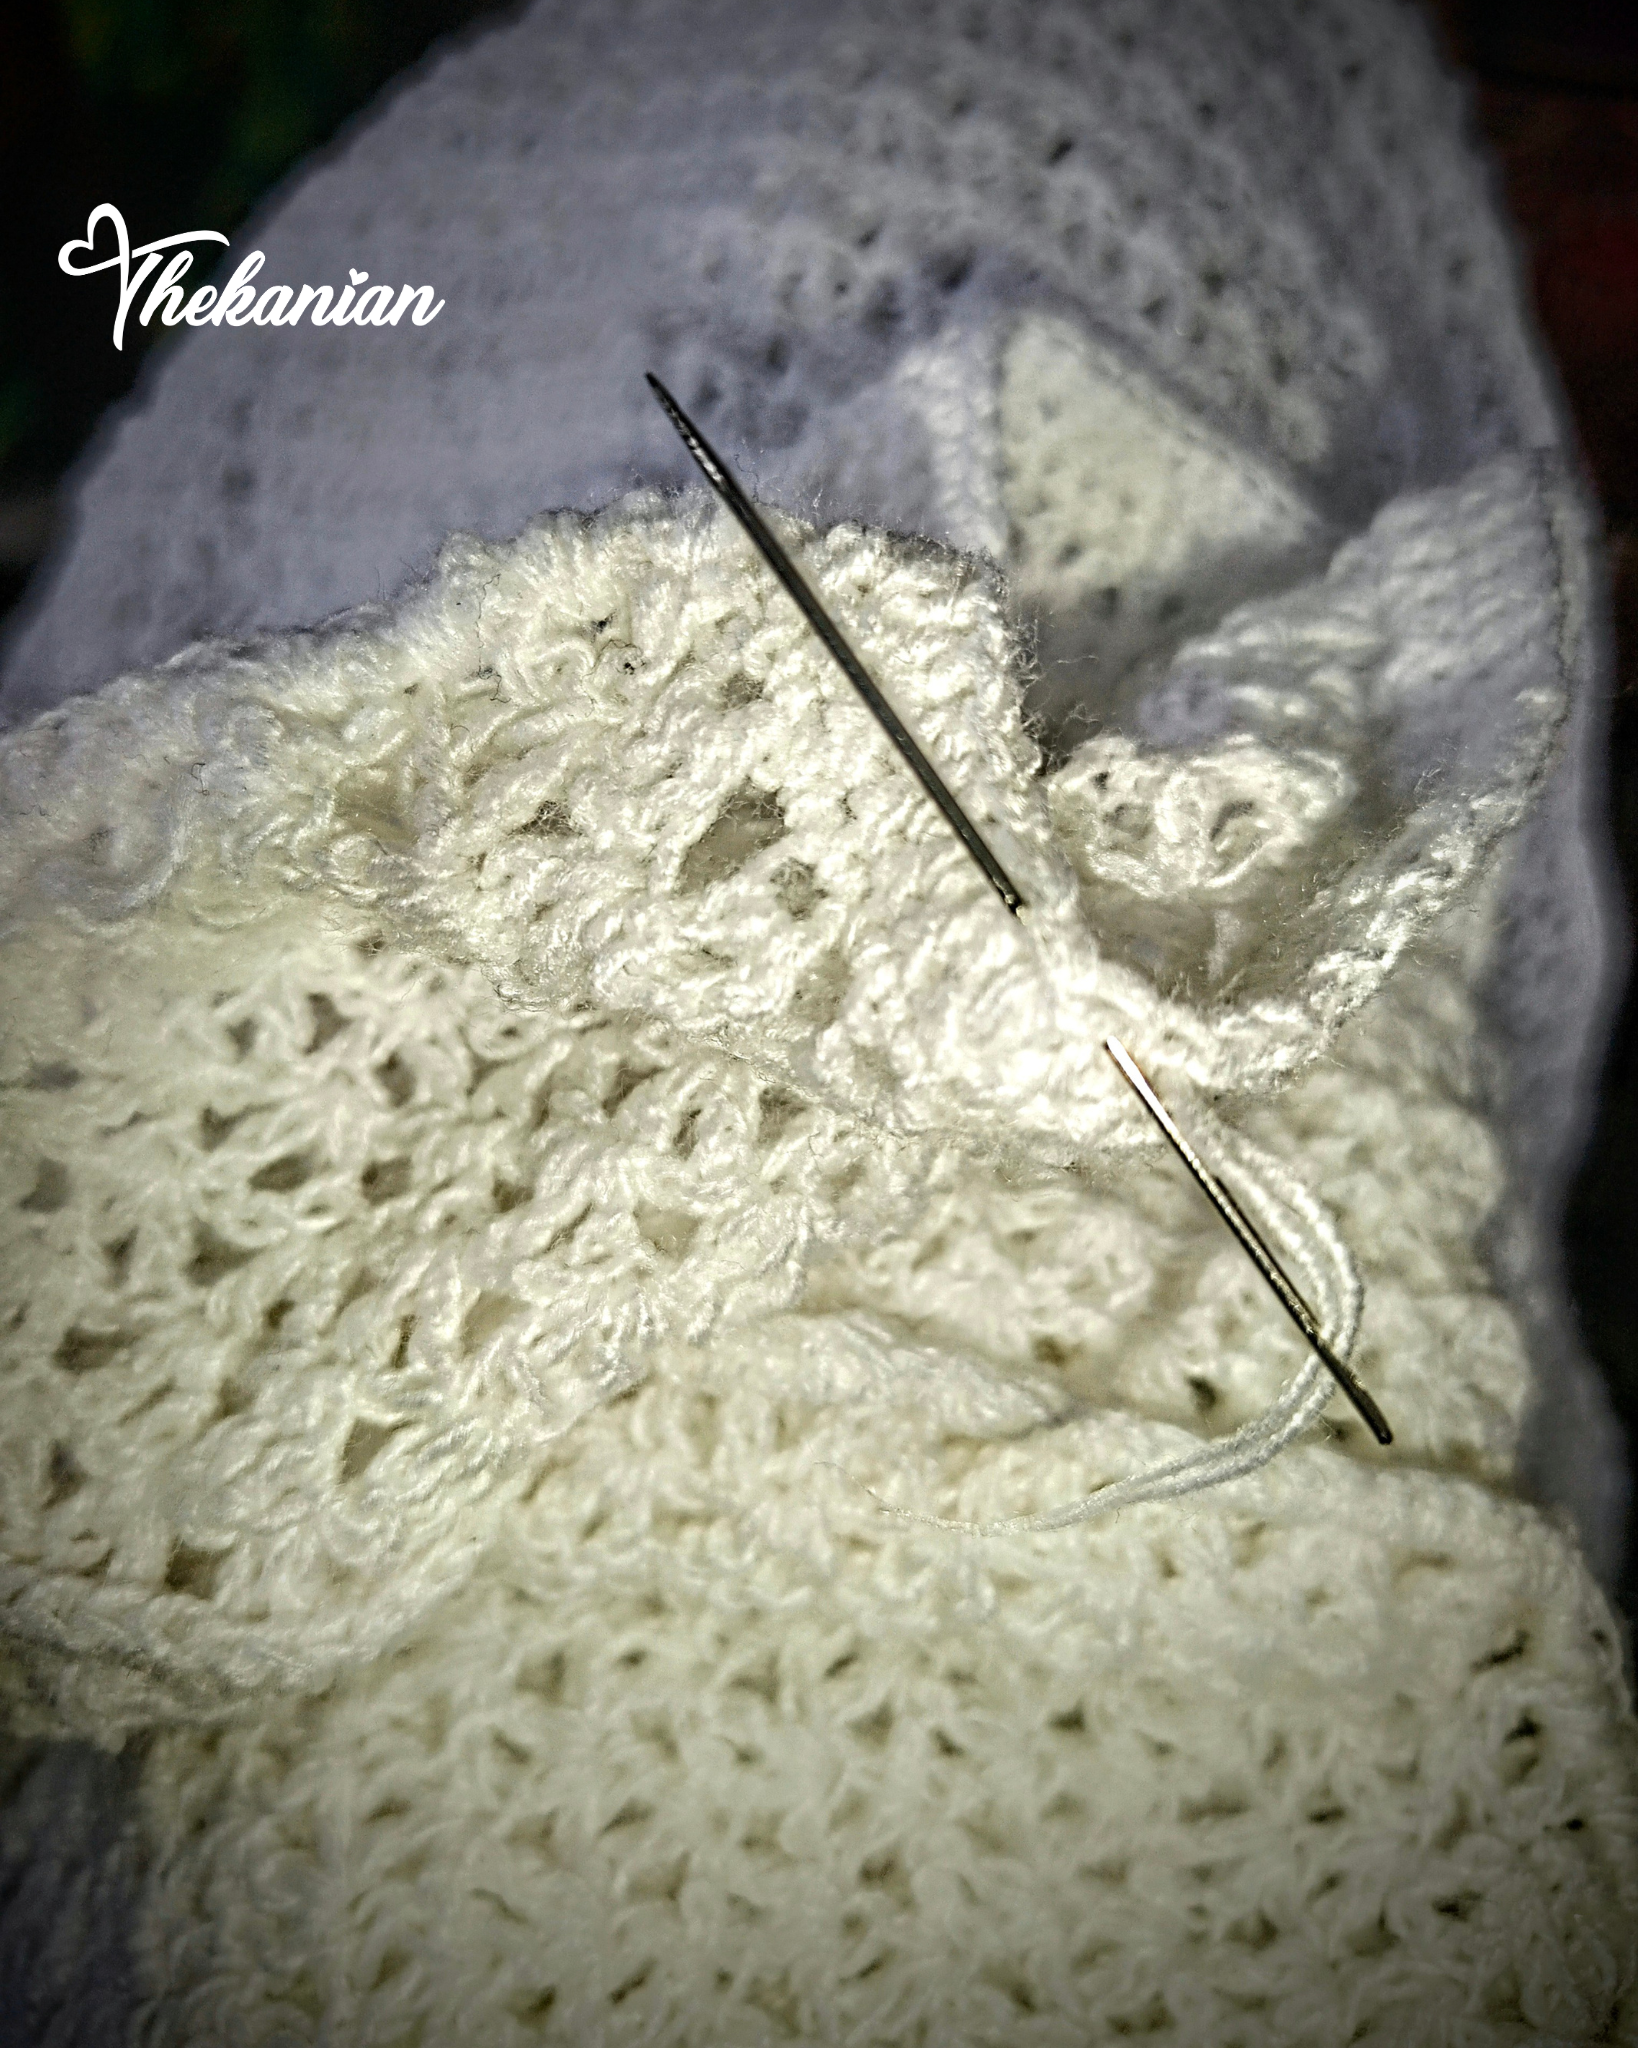
The next thing I did was go round all my edges with a row of single crochet stitch and for the sleves, I went round both of them with three rows of single crochet stitches. Then, I sewed in and cut off any loose ends.
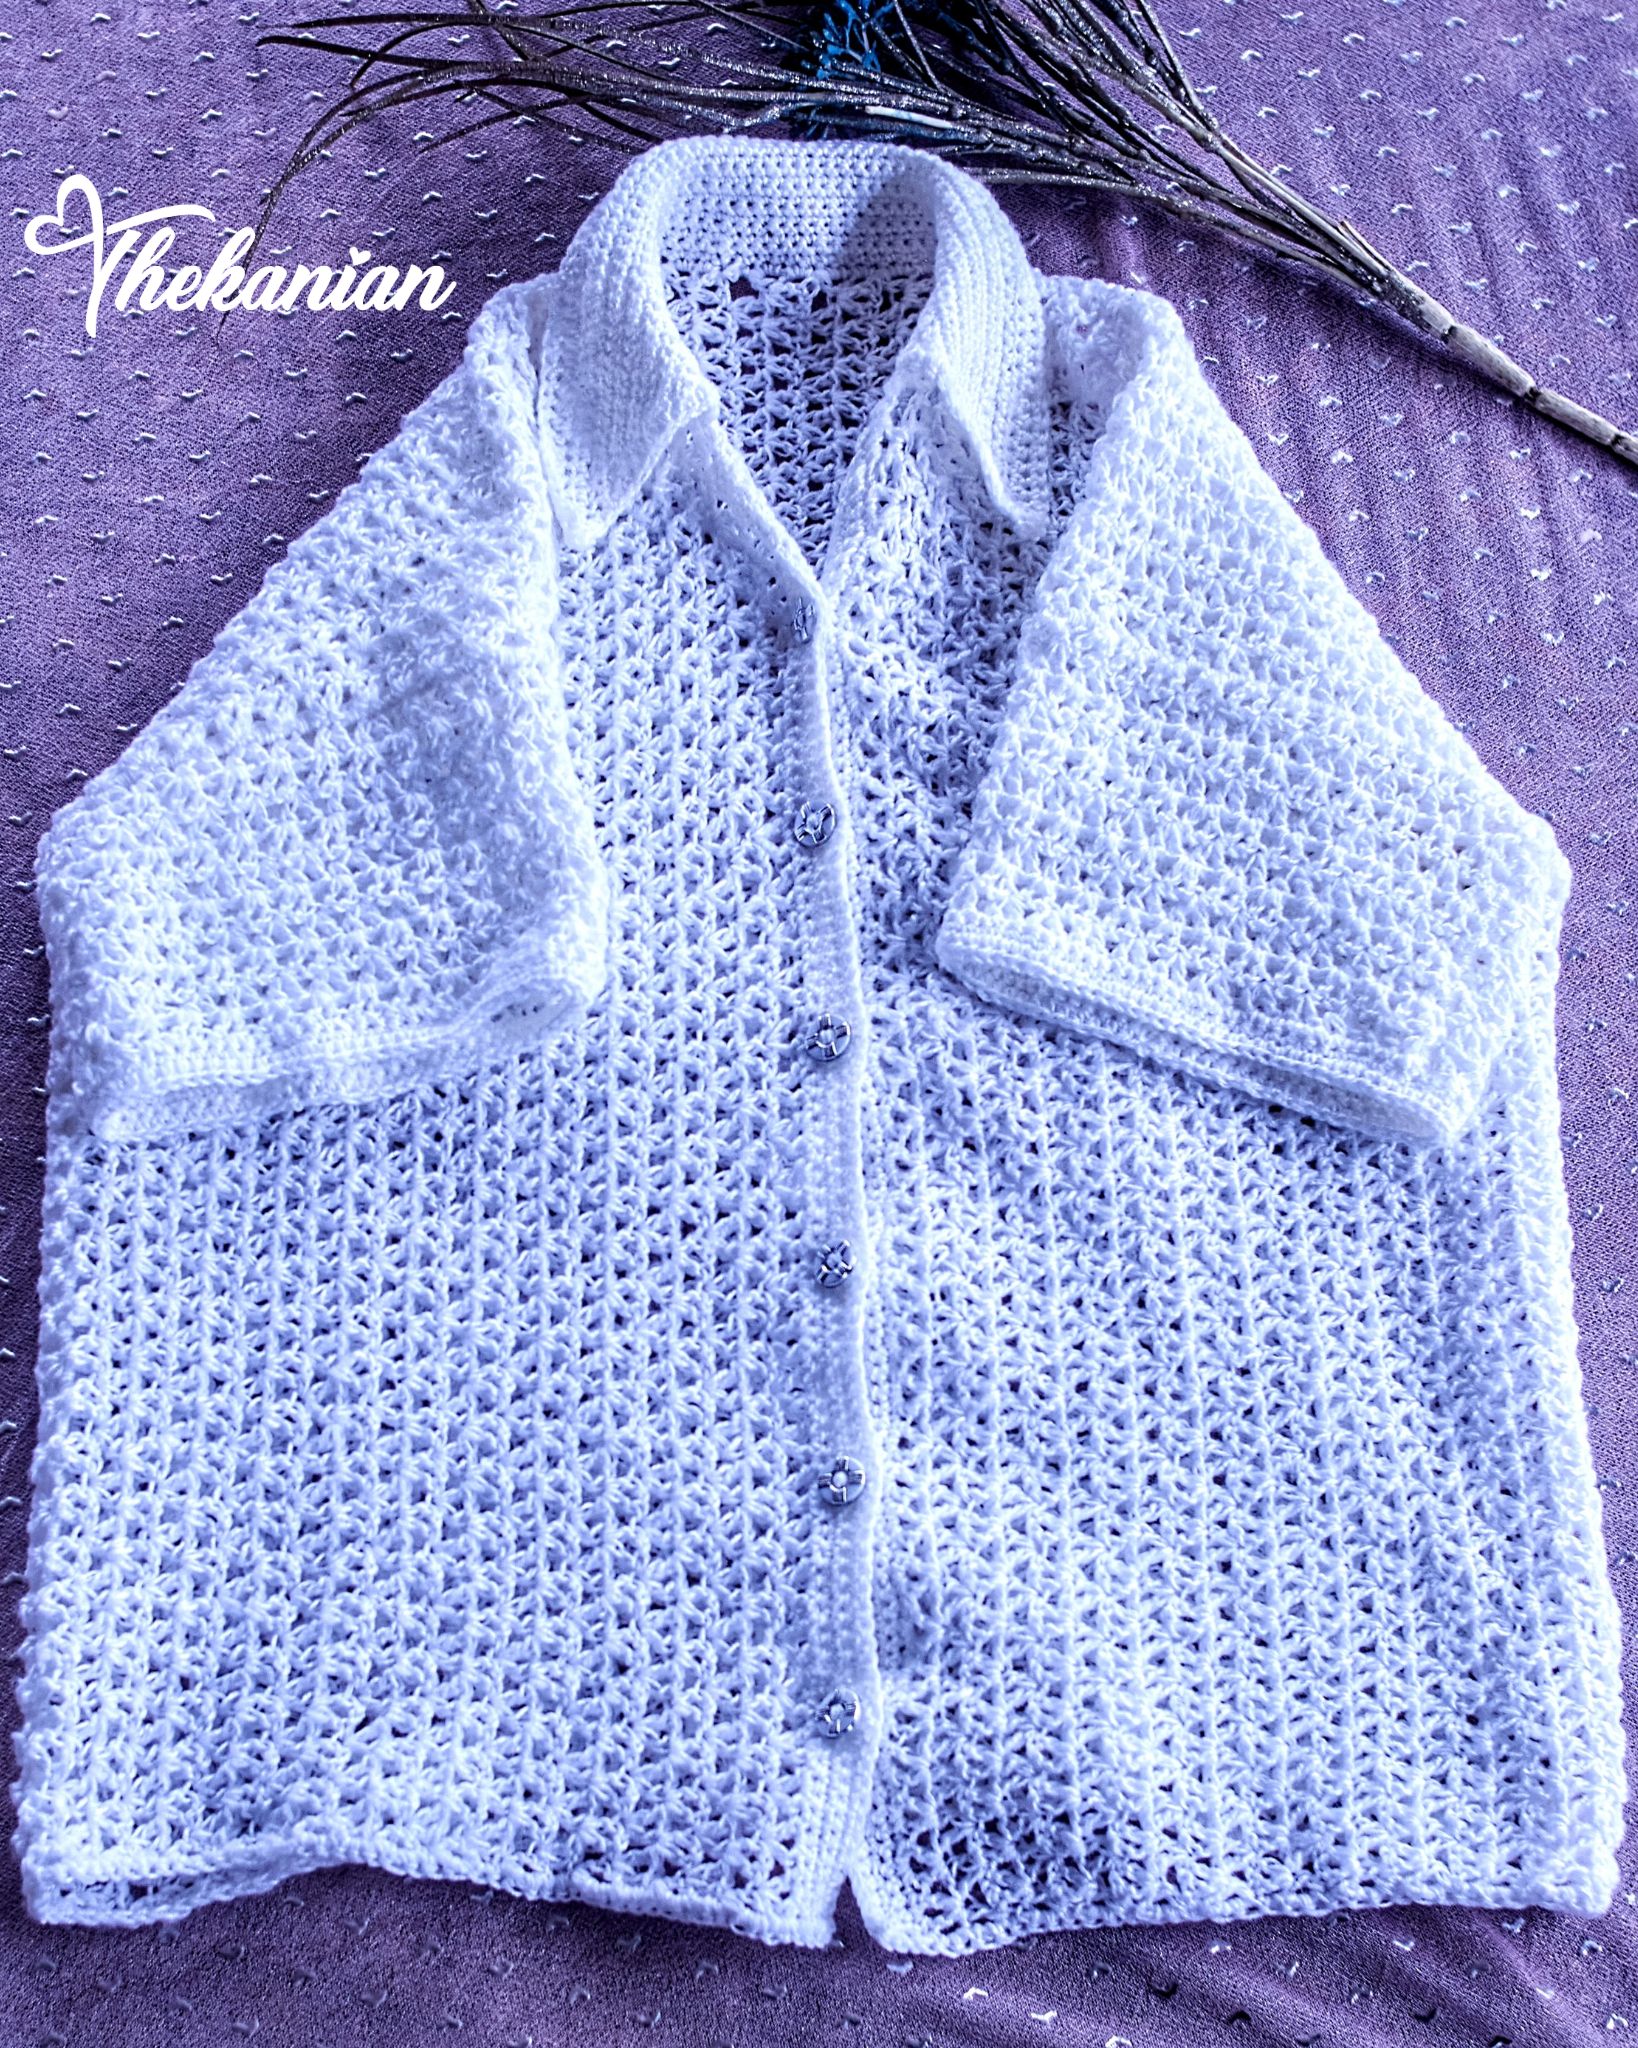 The final thing I did was use a steamer to loosen some tension and straighten out the shirt.
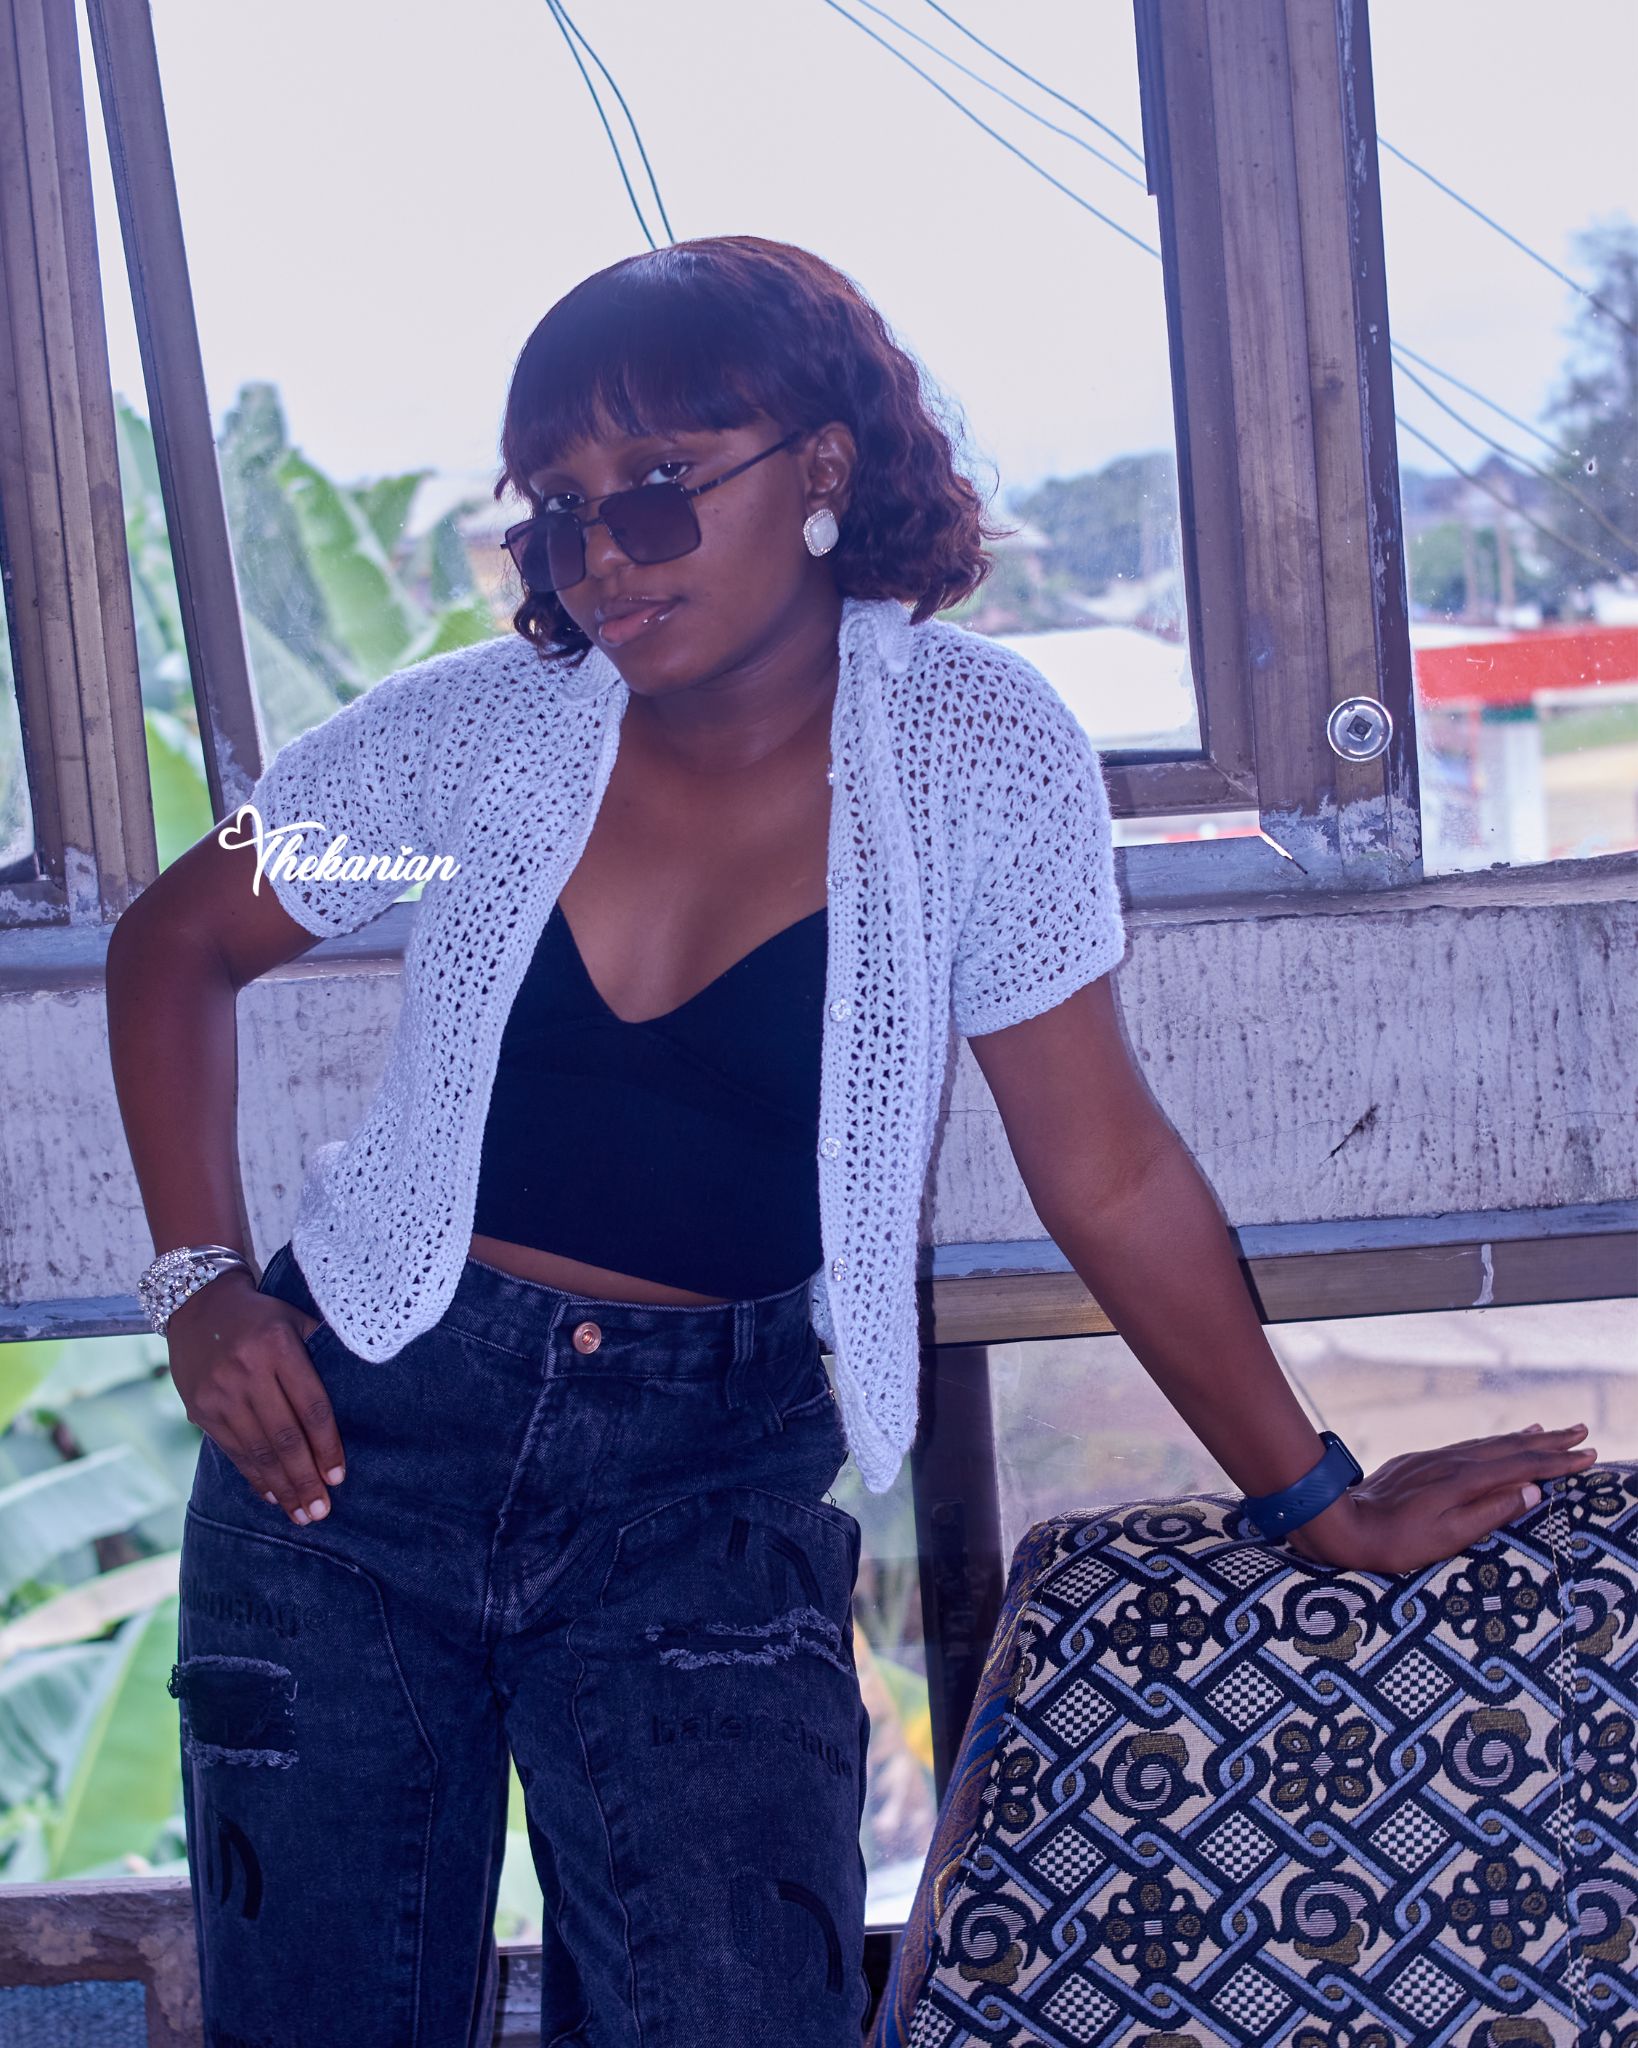
 Contrary to popular opinions, this particular crochet shirt is a lightweight shirt and it doesn't attract heat. Perfect for summer.
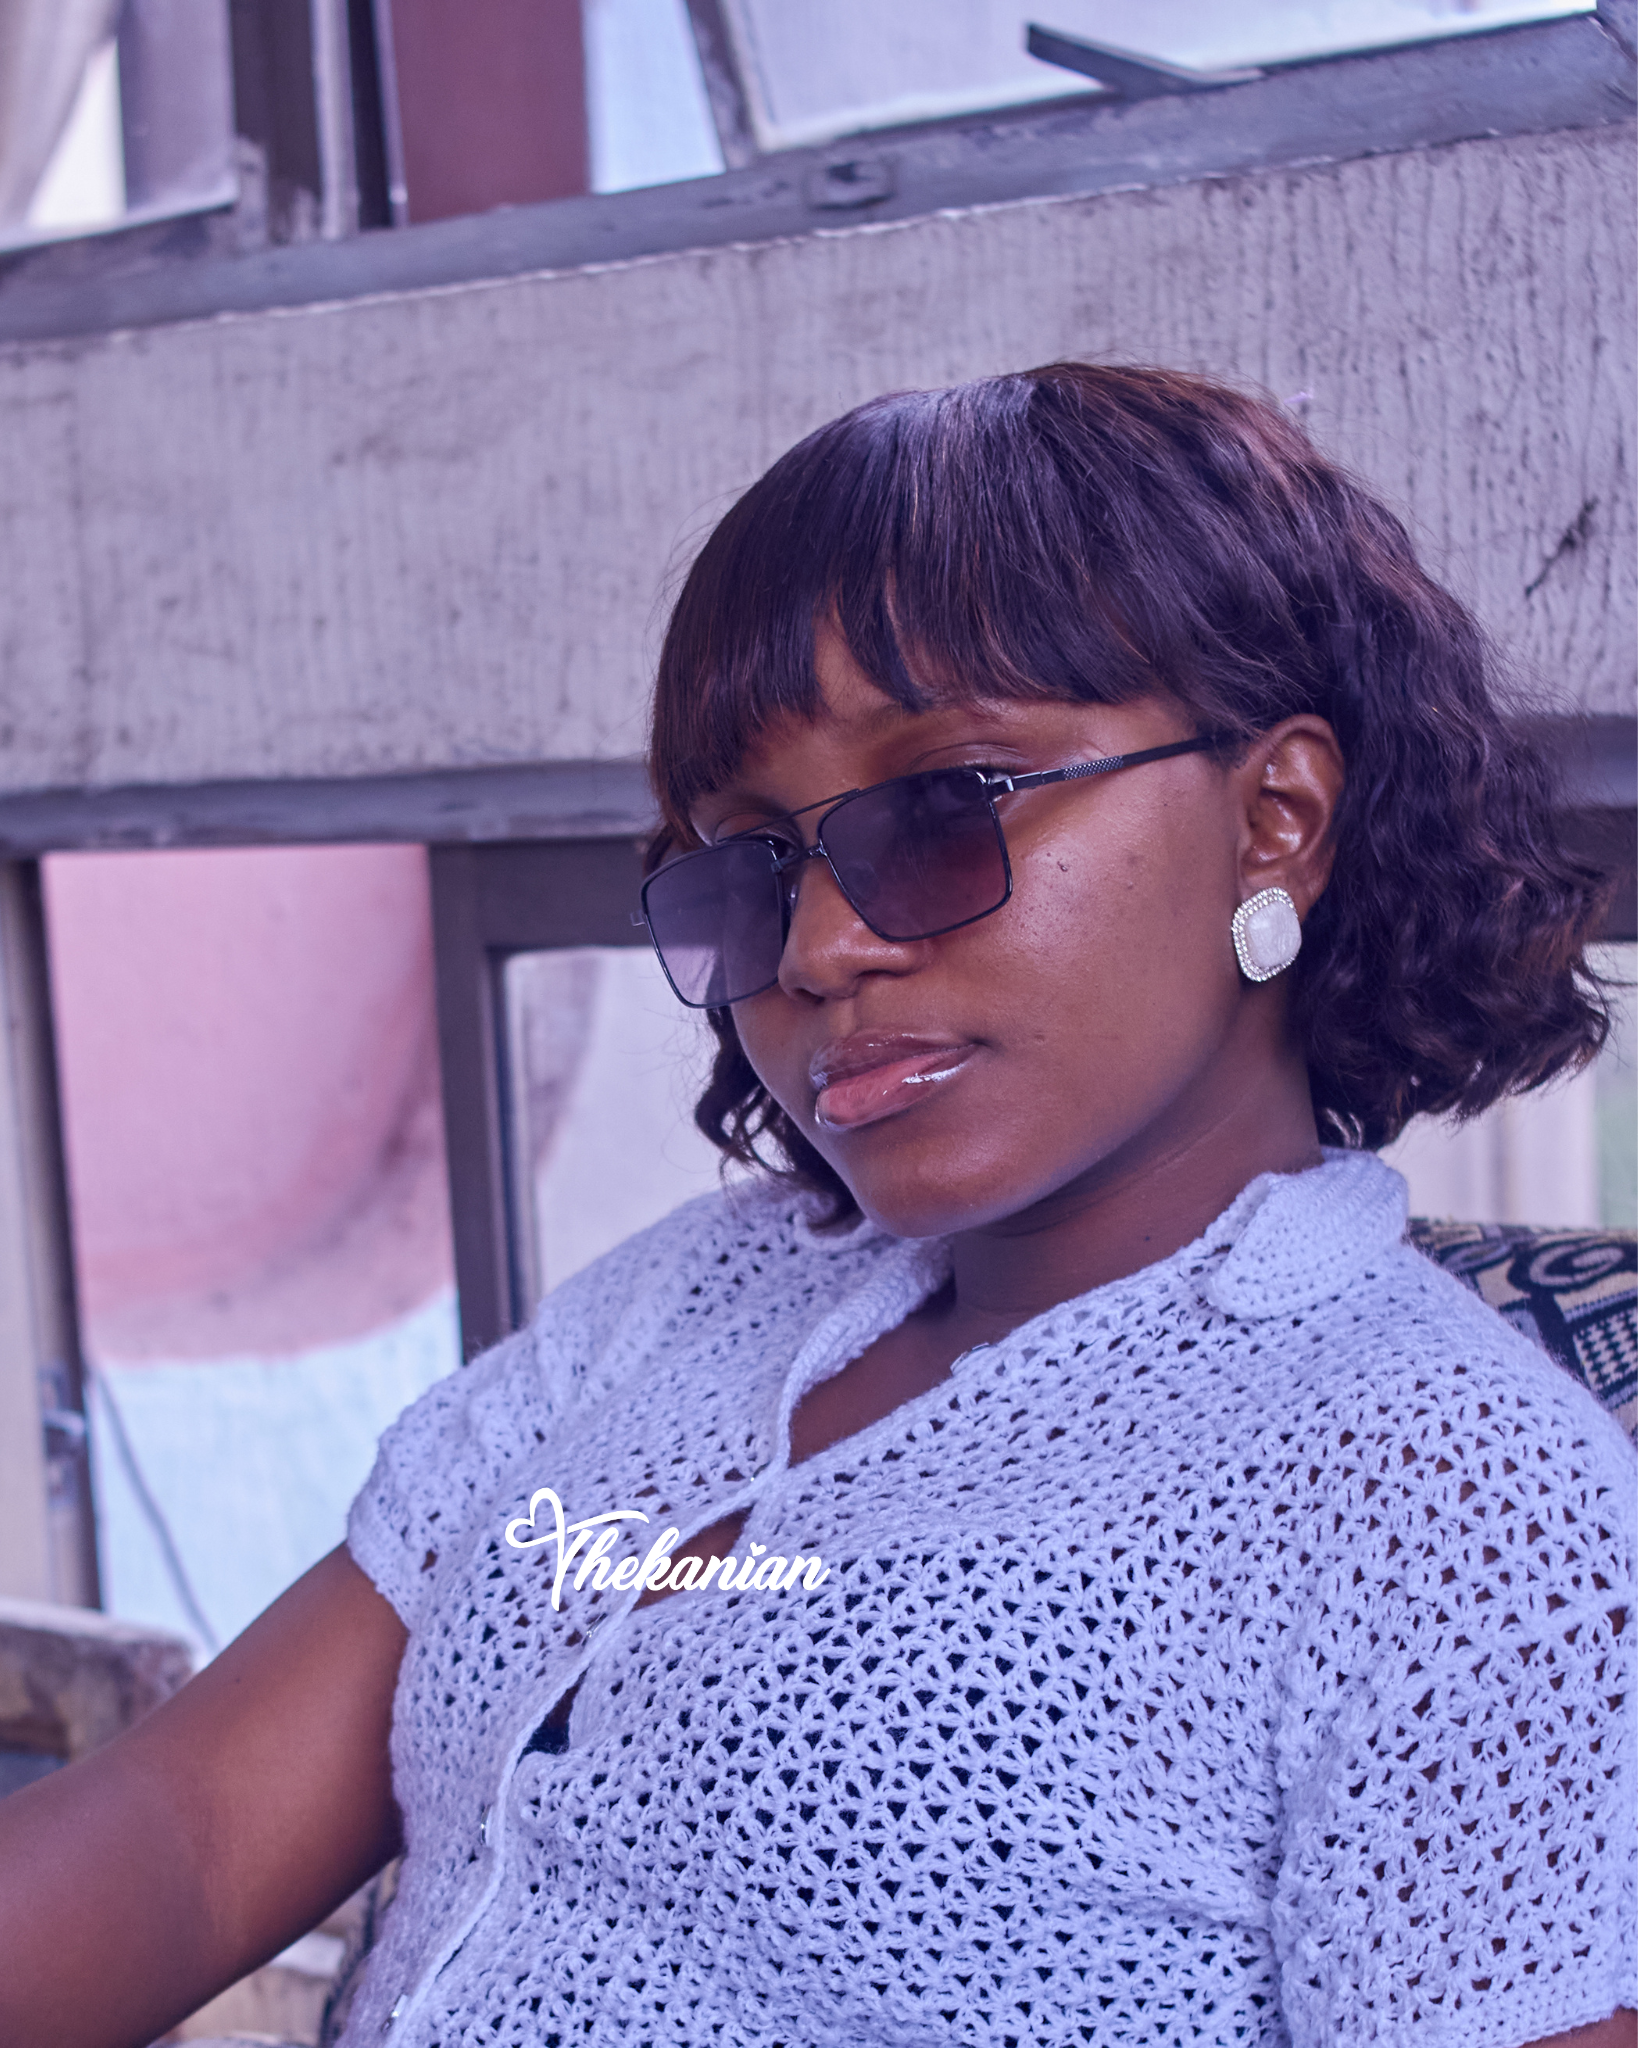
 I absolutely loved how well this shirt turned out and decided that it deserved a proper shoot. Luckily, I friend was willing to collaborate with me and together we worked on creating some amazing images.
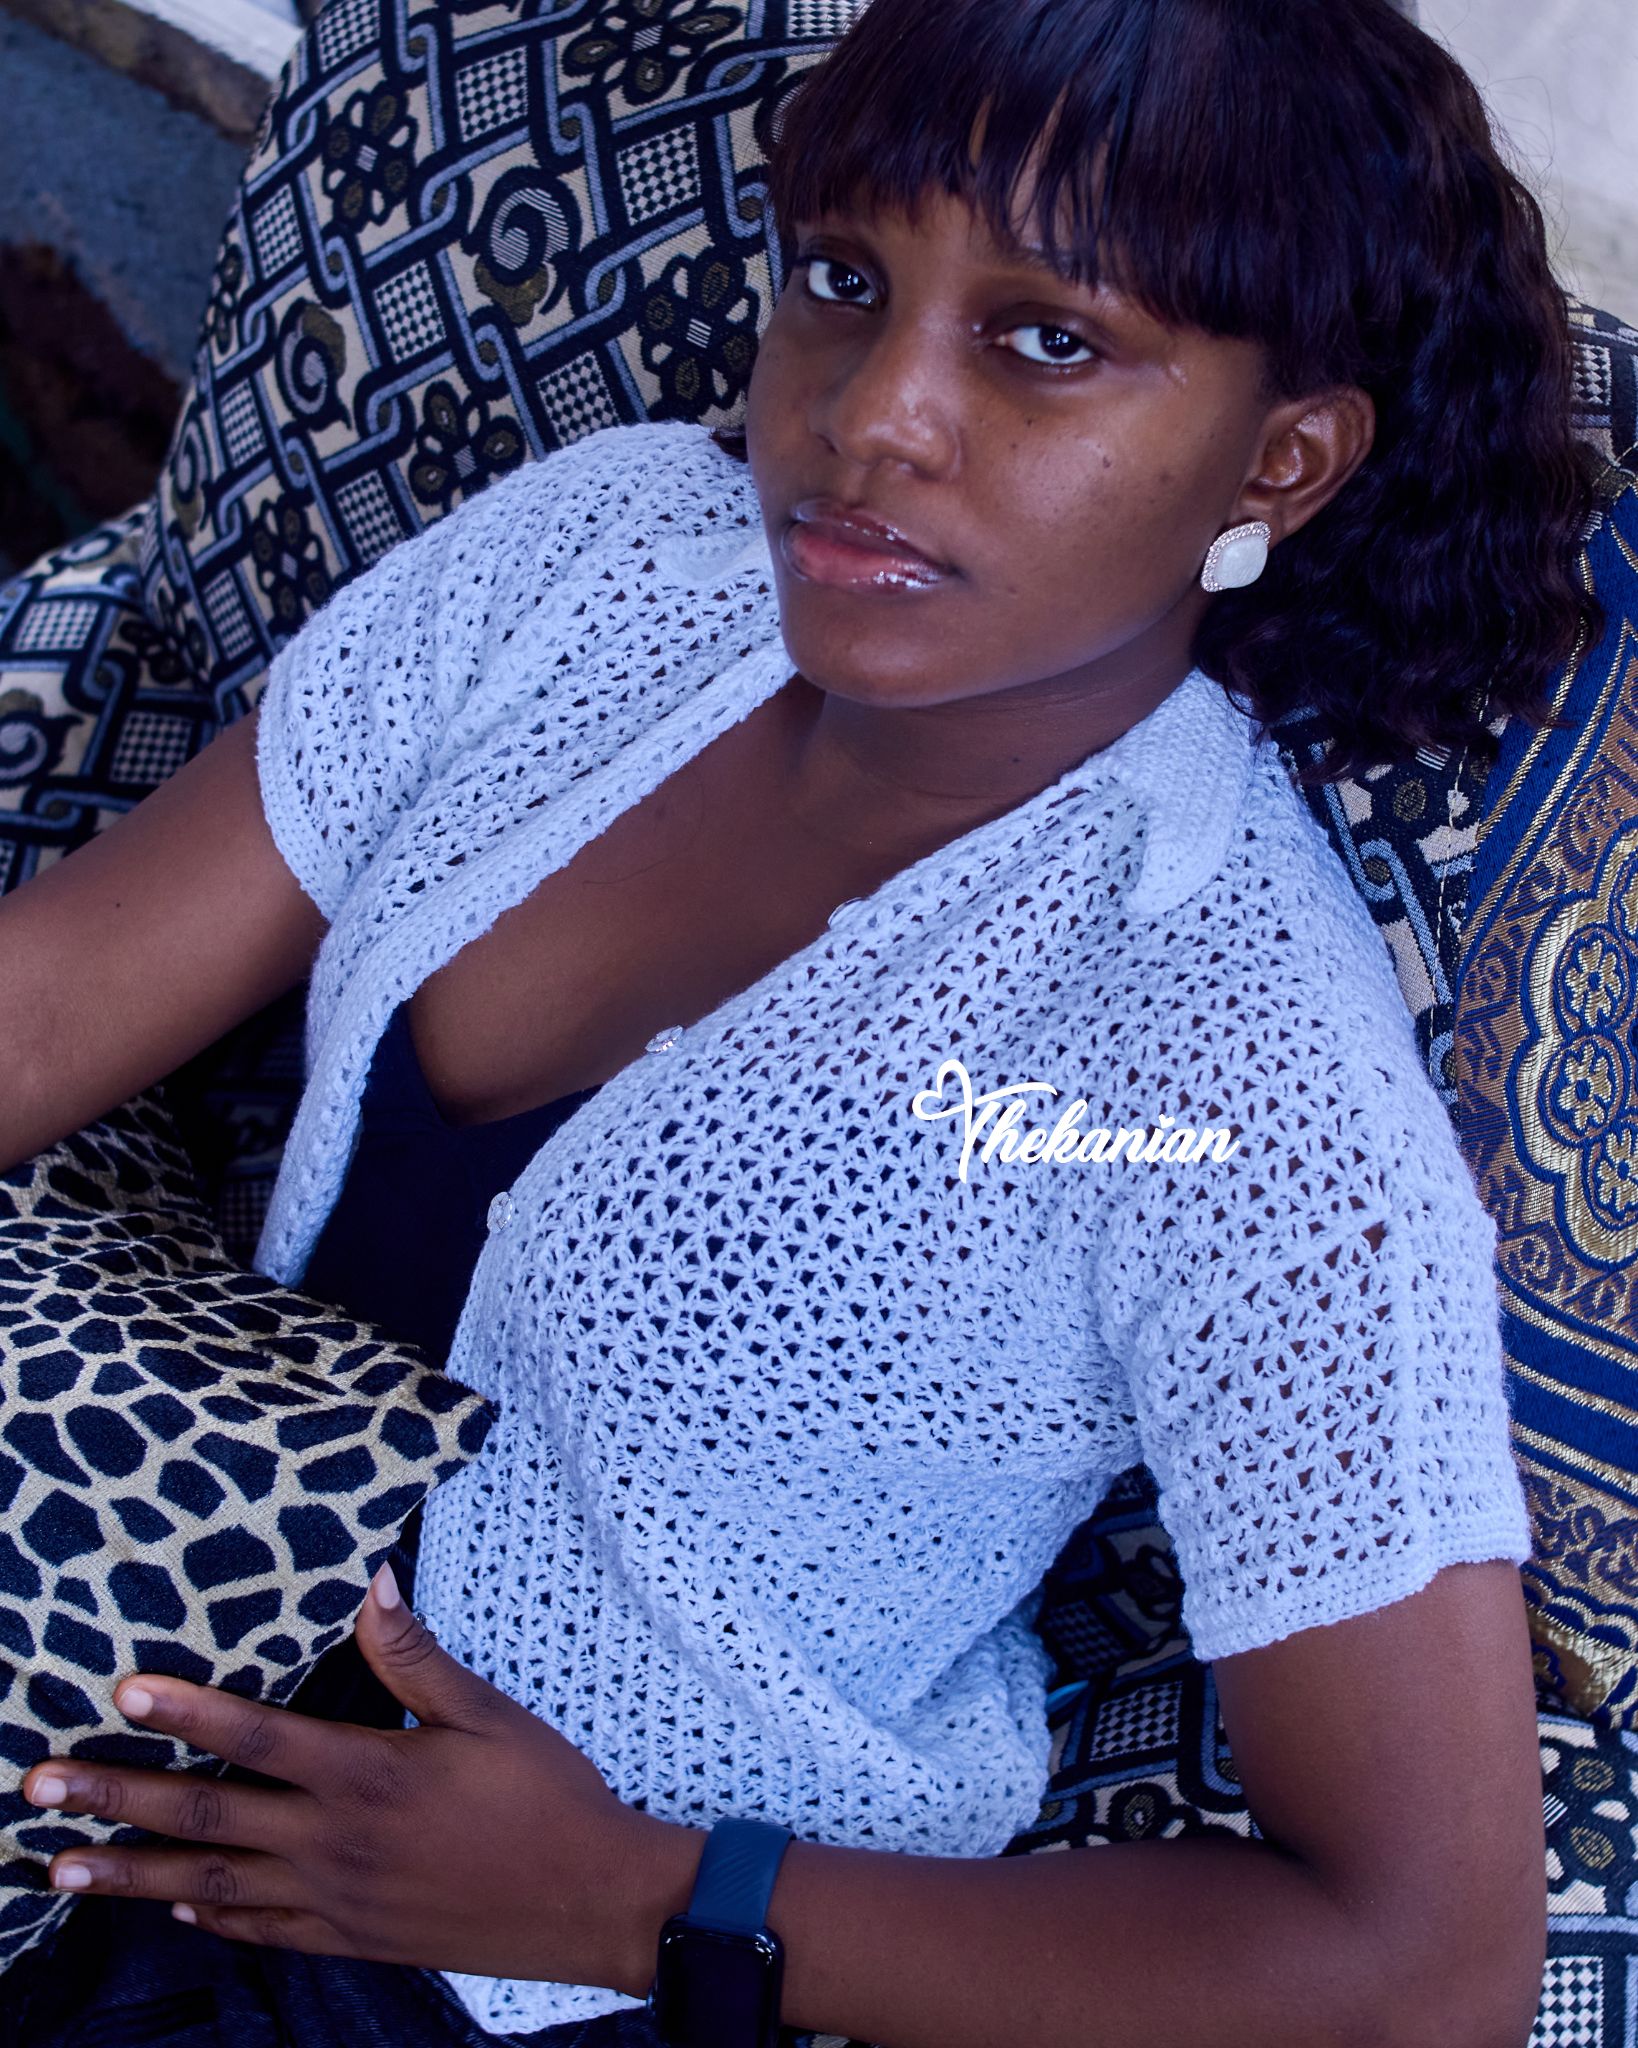
What do you think of this crochet V-stitch shirt? Would you be willing to add one of these to your collection?
Images belong to me, except stated otherwise.