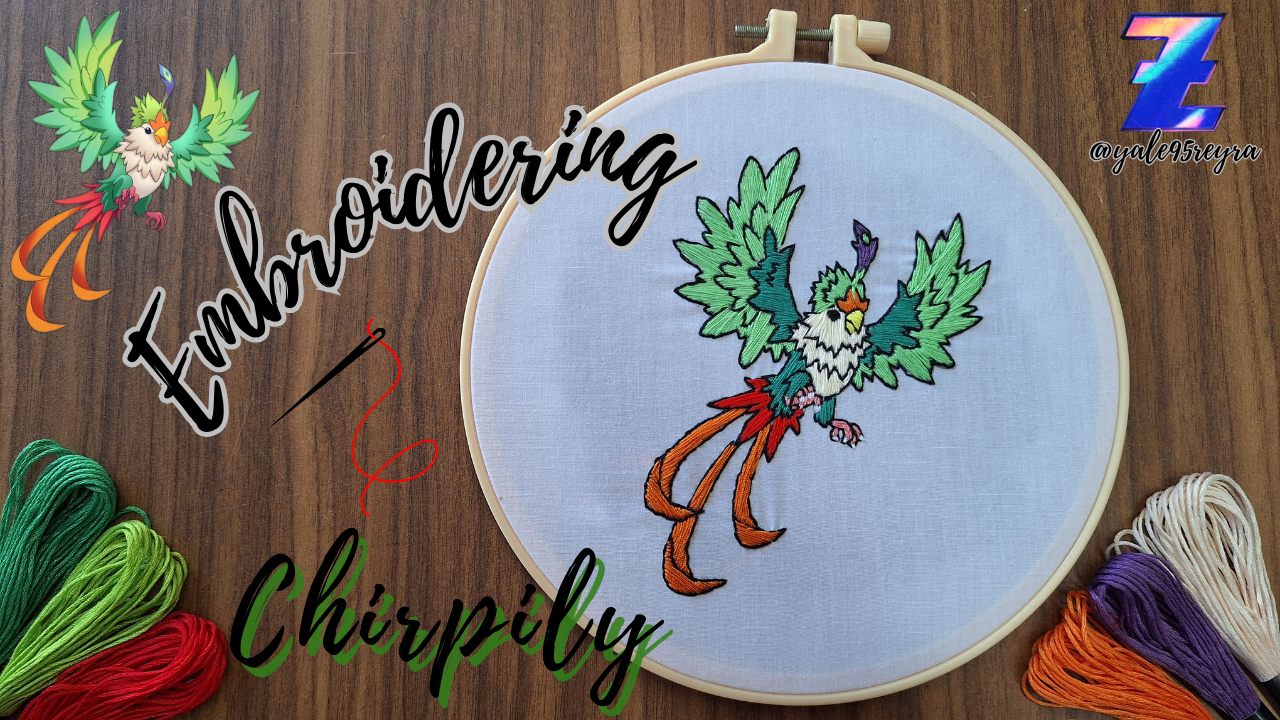
Hello Holozing community, today I want to show you a new fan art. This time it's dedicated to Chirpily, this beautiful and vibrant character I love for her diverse colors and the elegance with which she raises her feathers.
I must confess that at one point I thought I wouldn't finish this project, because just outlining the silhouette made me anxious. It took me a long time, as the stitches are small and necessary for the curves to turn out well, and this design, in particular, had many, especially in the plumage area. Filling in the colored threads, although it also took me almost a day to do this while also sharing the time with housework, was much easier. However, I'm happy to have finished it and don't regret having done this embroidery, because I loved the result. I hope you like it. Below, I'll show you the necessary materials and the step-by-step creative process.
Hola, comunidad Holozing, hoy quiero mostrarles un nuevo fanart. En esta ocasión está dedicado a Chirpily, este hermoso y vibrante personaje que me encanta por sus diversos colores y la elegancia con la que eleva sus emplumadas alas.
Debo confesar que en un momento pensé que no terminaría este proyecto, pues solo bordando la silueta me dio ansiedad. Me llevó mucho tiempo, pues son puntadas pequeñas que son necesarias para que las curvas queden bien hechas y este diseño, en especial, tenía muchas, y más en la parte del plumaje. Rellenar con los hilos de colores, aunque también me demoré casi un día en esto compartiendo el tiempo con los quehaceres del hogar, fue mucho más fácil. No obstante, yo estoy feliz de terminarlo y no me arrepiento de haber hecho este bordado, pues me encantó el resultado. Espero que les guste. A continuación, te muestro los materiales necesarios y el paso a paso del proceso creativo.
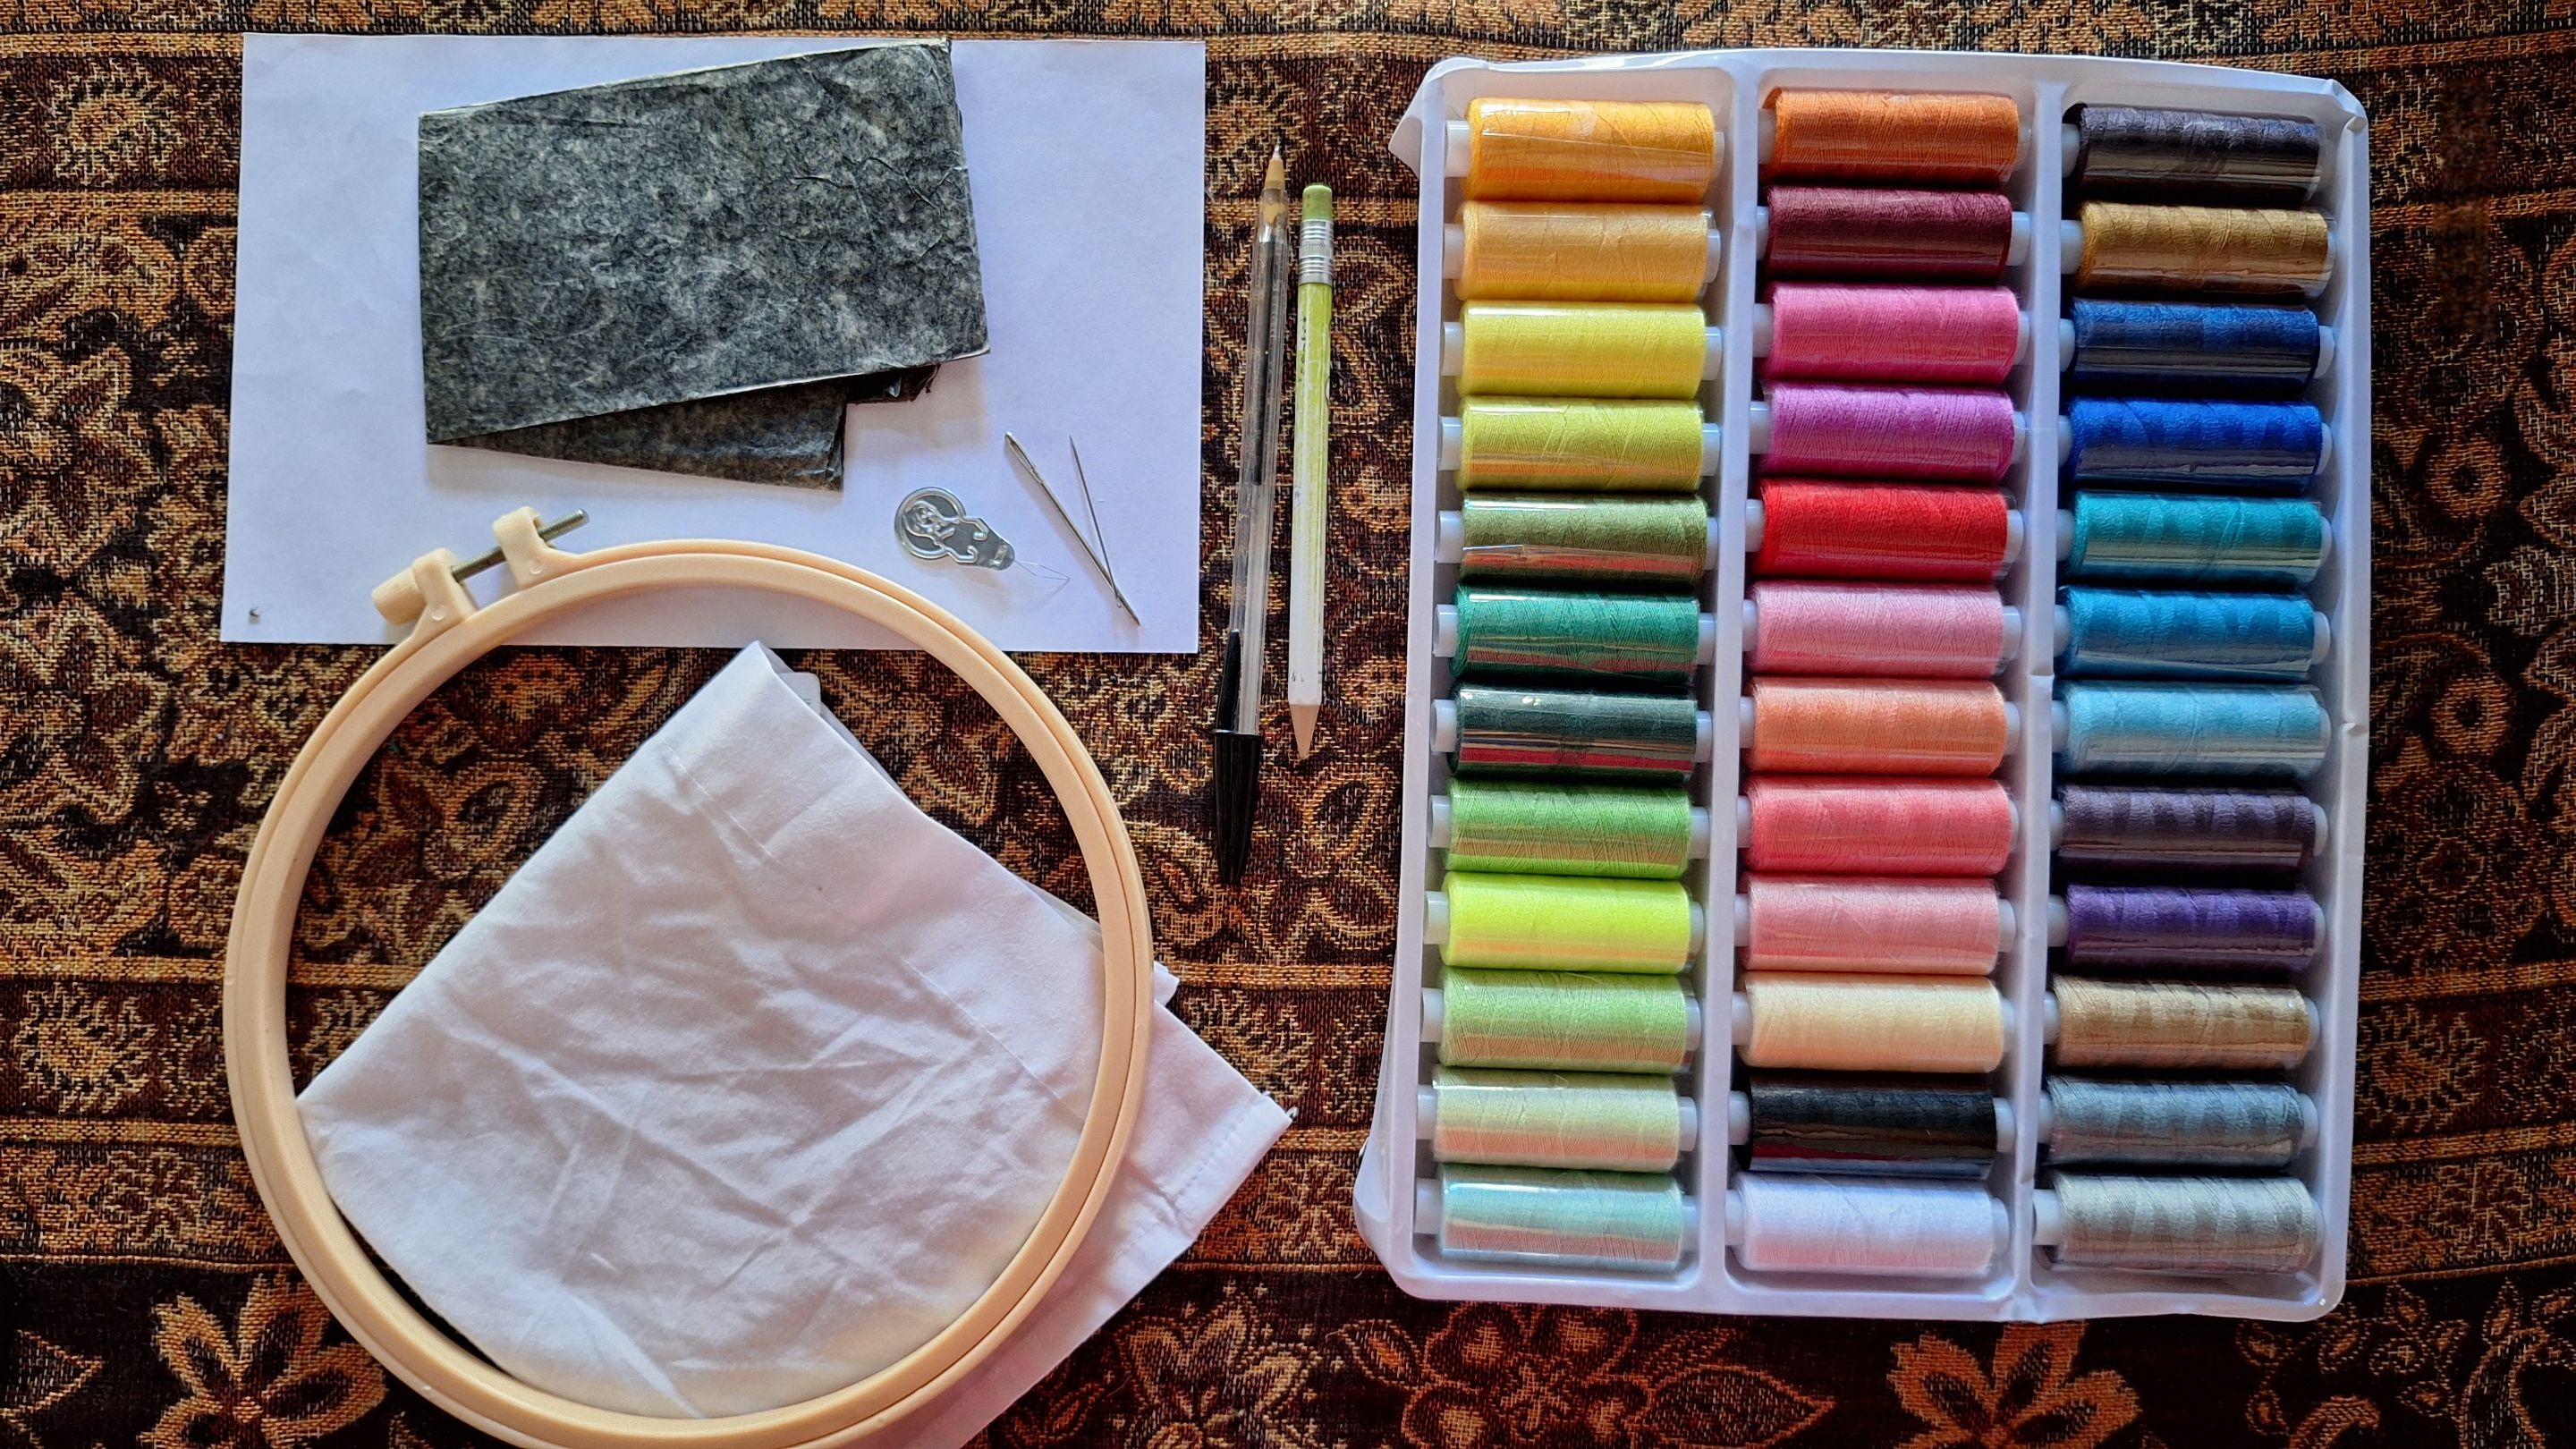
- Cloth / Tela
- Hand needle / Aguja de mano
- Embroidery thread / Hilo de bordar
- Embroidery hoop / Aro de bordar
- Threader / Enhebrador
- Paper sheet / Hoja de papel
- Carbon paper / Papel carbón
- Scissors / Tijera
- Pencil / Lápiz
- Water soluble marker / Marcador soluble en agua
| https://images.hive.blog/0x0/https://files.peakd.com/file/peakd-hive/yale95reyra/EoCgjMWrkaiyFnPMJcTFPPV6tDeBFSr8YgG88iw9236ZS1geXFr2wLExq6b836RiNVE.jpg | https://images.hive.blog/0x0/https://files.peakd.com/file/peakd-hive/yale95reyra/EoK5P8swUzbz9DVd1ogKCELjnt2iqWXe5GD7LazHxJ4VArTC2XP719sUo3gZZJvxxgW.jpg |
| https://images.hive.blog/0x0/https://files.peakd.com/file/peakd-hive/yale95reyra/Eo252ccfyFxpu4KgPDEnYrafSYaw8CfGY1DnmHyHodL2c4U8JyHzLhKSk2o2E9BA3Pj.jpg | https://images.hive.blog/0x0/https://files.peakd.com/file/peakd-hive/yale95reyra/EoK6rz1r34Gjt5LudkaGYcEaarentgWA8RMhQKRQb2XFzWLCvjzSCv6dpV67SZMxw3L.jpg |
The first thing I did was draw the character on a sheet of paper. Then, to transfer it to the fabric, I placed carbon paper on top of it and then the sheet of paper where the design is located. Being very careful not to move the paper and the fabric, I traced the entire drawing. As you can see on the fabric, it's a bit light; therefore, I went over each line with a pen to improve visibility and prevent it from becoming too light with hand manipulation.
Lo primero que hice fue dibujar el personaje en una hoja de papel. Luego, para transferirlo a la tela, coloqué un papel carbón encima de esta y luego la hoja de papel donde se encuentra el diseño. Con mucho cuidado de no mover el papel y la tela, fui calcando todo el dibujo. Como puedes observar en la tela, se muestra un poco claro; por lo tanto, con un bolígrafo repasé cada línea para mejorar la visibilidad y evita que se aclare mucho más con la manipulación de las manos.
| https://images.hive.blog/0x0/https://files.peakd.com/file/peakd-hive/yale95reyra/EogMmFiC82UdTQu9qwxKHiUe4HDZjtLayEEZm3G2TvYkSMLxc4FTh9kF2zDr6eHPF5v.jpg | https://images.hive.blog/0x0/https://files.peakd.com/file/peakd-hive/yale95reyra/Eoc81fT6X8RPU1J9o3S2mgN25sjbXzUBSDLhMRnivX5yPvP2KBiqhWLNmx3TSQbwWTz.jpg |
For this embroidery, I didn't use skeins of thread, but rather a set of spools I purchased that came in a wide variety of colors. This way, I don't have to separate the strands of thread from the skeins, which I can then use for other projects. I did this embroidery entirely with a freehand needle, starting with the entire silhouette in black. I used the backstitch to properly capture the curves of the feathers.
Para este bordado no utilicé madejas de hilo, sino un set de carretes que compré que contaba con una gran variedad de colores. Así no tengo que separar las hebras de hilo de las madejas que luego me pueden servir para otros proyectos. Este bordado lo hice totalmente con la aguja de mano, comenzando con toda la silueta de color negro. Utilicé la puntada paso atrás, para conseguir correctamente las curvas del plumaje.
| https://images.hive.blog/0x0/https://files.peakd.com/file/peakd-hive/yale95reyra/EoGwP5XZphEUzGcEYavsC9LVZTQQfaHA79XwaR7gQw1aHxrvVbJjavJZYqZYEyZXDri.jpg | https://images.hive.blog/0x0/https://files.peakd.com/file/peakd-hive/yale95reyra/EoeGRHyH3LSkovYTK6whh4pcYzUqatno1Tqt95JaoXvLA66YFsPcyo9iL3His4Xa35T.jpg |
| https://images.hive.blog/0x0/https://files.peakd.com/file/peakd-hive/yale95reyra/Ep3fidwgcptyfrczix3GDS1WYvQgZyVqwZ3ngqfcS7AV3fX4aM1Rrd26EFM4uPFY2hC.jpg | https://images.hive.blog/0x0/https://files.peakd.com/file/peakd-hive/yale95reyra/EoyQQfEEwGa3AFYqXkGDVu18VXVT8aK1MnDmn6tptLjTLdUYqrrqmWiLVnrx164SQeE.jpg |
I started filling in the smaller parts, the yellow beak and the feathers on the front, using the orange, violet, and a green gradient that the character has on the long feather on his forehead.
Comencé a rellenar por las partes más pequeñas, el pico de color amarillo y las plumas de la parte frontal, utilizando los colores naranja, violeta y como un degradado de color verde que tiene el personaje en la pluma larga de la frente.
| https://images.hive.blog/0x0/https://files.peakd.com/file/peakd-hive/yale95reyra/EoK5MP5mjfHk3uk5m9rgxduKqwuCDjwLFvhWnetQiVsVFdpTAaf5YYEt8BsffNuv6CA.jpg | https://images.hive.blog/0x0/https://files.peakd.com/file/peakd-hive/yale95reyra/EoEsVNDpLLZrgcaPhdSMHmyQCYmoKSmh8KRTQhZAU887HkeqwgvhQDZny4a6qQiK9DR.jpg |
Using white thread and a dark shade of pink, I embroidered the paws. It was a bit difficult to get this part right. From the moment I decided to make this character and saw the claws, I quickly realized I'd have to do this embroidery with a hand needle. With a magic needle, I have no idea how it would turn out; each claw wouldn't have been clearly defined.
Con hilo blanco y un tono oscuro de color rosa bordé las patas. Fue un poco difícil lograr que se entienda bien esta parte. Desde que decidí hacer este personaje y vi las garras, rápidamente me di cuenta de que tendría que hacer este bordado con la aguja de mano, pues con la aguja mágica no tengo idea de cómo saldría, no se hubiese definido cada garra.
| https://images.hive.blog/0x0/https://files.peakd.com/file/peakd-hive/yale95reyra/EoCi6HyMKfMnYDmXwoM1Wiuw6CL91o1w9Y8GpLQzTXpv3wnEywfiWJfpsqCttAxVS1q.jpg | https://images.hive.blog/0x0/https://files.peakd.com/file/peakd-hive/yale95reyra/Eoc9PjhXxanNZJUfkkQ1oVxqckxqCGvB4Z7L7U1TB3PBg3iGNnnUuBM362pULeDfLxu.jpg |
With a light beige thread color, I embroidered all the feathers on the chest and face.
Con un color de hilo beich claro, bordé todo el plumaje del pecho y la cara.
| https://images.hive.blog/0x0/https://files.peakd.com/file/peakd-hive/yale95reyra/Eoc68V3kFNTjW5zpNpZVkorqPKzTNMSZCnSeho2vpfF8PNx8sftaH99zSAYzg6Lw5fv.jpg | https://images.hive.blog/0x0/https://files.peakd.com/file/peakd-hive/yale95reyra/EowH1U9NePVCZtkJhdcVjhhTEotxxM1CTFijrsvtJ3jP5DCq6jD48AdRmKyTtRxwp5H.jpg | https://images.hive.blog/0x0/https://files.peakd.com/file/peakd-hive/yale95reyra/EouB4a6LGHRVUvqKepqqMCjE17wtqomwA9yE6nerYrQ7UDc9fniPuUvDi5To6eufU9y.jpg |
Using two shades of green thread, I embroidered the rest of the body and feathers, doing it with the same color distribution as the character.
Utilizando dos tonos de hilo verde, bordé el resto del cuerpo y las plumas, haciéndolo con la misma distribución de colores que el personaje.
| https://files.peakd.com/file/peakd-hive/yale95reyra/EoGxV5vysGokNu3pZXTyzW7ipUF4KtcZdkDKB5EbxKBukjXRgTE84keqxRqi8nN6v2D.jpg | https://files.peakd.com/file/peakd-hive/yale95reyra/EpA4zagSsVPzTm77iH97JwMj5f5Yanqskgr6K8N9hBkYPCKH2QfVuSb3iwPxfVWwehu.jpg | https://images.hive.blog/0x0/https://files.peakd.com/file/peakd-hive/yale95reyra/EopvG4yURCH8xoCCDM5Bn3heefnqa8M73SsAjDCKcvYB3BXwRBXD2PnodiJ2LNkTWhW.jpg |
Finally, with red thread I embroidered the shortest tail feathers and with orange the three longest feathers.
Finalmente, con hilo rojo bordé las plumas más cortas de la cola y con el color naranja las tres plumas más largas.
| https://images.hive.blog/0x0/https://files.peakd.com/file/peakd-hive/yale95reyra/EoEq777d1Ey4kufSaYBSo9nTYjsLtp1dyTTeUmsy14ZNkaNVtqP3ReHpmQ5ACJtPe43.jpg | https://images.hive.blog/0x0/https://files.peakd.com/file/peakd-hive/yale95reyra/EoAaJiepJGQkzfGd2ZV71VTF8A4X8h4d1degLAekByudE5irzzWGunnJcgDrc6GvJe7.jpg |
| https://images.hive.blog/0x0/https://files.peakd.com/file/peakd-hive/yale95reyra/EoeFouvB9GuivrY8P5vn3PY9wvTJgQ8RvZSi2PNXaHozN7vouEF3VF97U7RY3kSEjye.jpg | https://images.hive.blog/0x0/https://files.peakd.com/file/peakd-hive/yale95reyra/EoK7HXgCMUJQWZfoFkpPGgWtCVwysPA6C6SM5SbLFkF68W8fboqJkbdHAn8S4TwQ14H.jpg |
And so, this beautiful Chirpily character is finished, captured on the fabric, highlighting its vibrant colors. It would look great embroidered on a beach bag or summer garment, as it has a tropical style. I hope you liked it. Let me know in the comments what you think and any new suggestions. Best regards.
Y de esta forma se encuentra terminado este hermoso personaje Chirpily, plasmado sobre la tela, resaltando sus vivos colores. Se vería genial bordado en un bolso playero o en una prenda veraniega, pues tiene un estilo tropical. Espero que te haya gustado, déjame en los comentarios qué te pareció y nuevas sugerencias. Un saludo.

• • •⊰🐦⊱•⊰🐦⊱•⊰🐦⊱•⊰🐦⊱• •
Photos of my property taken with the phone Cover made in Canva English is not my native language, translated by DeepL
• • •⊰🐦⊱•⊰🐦⊱•⊰🐦⊱•⊰🐦⊱• •